Patio Cooler
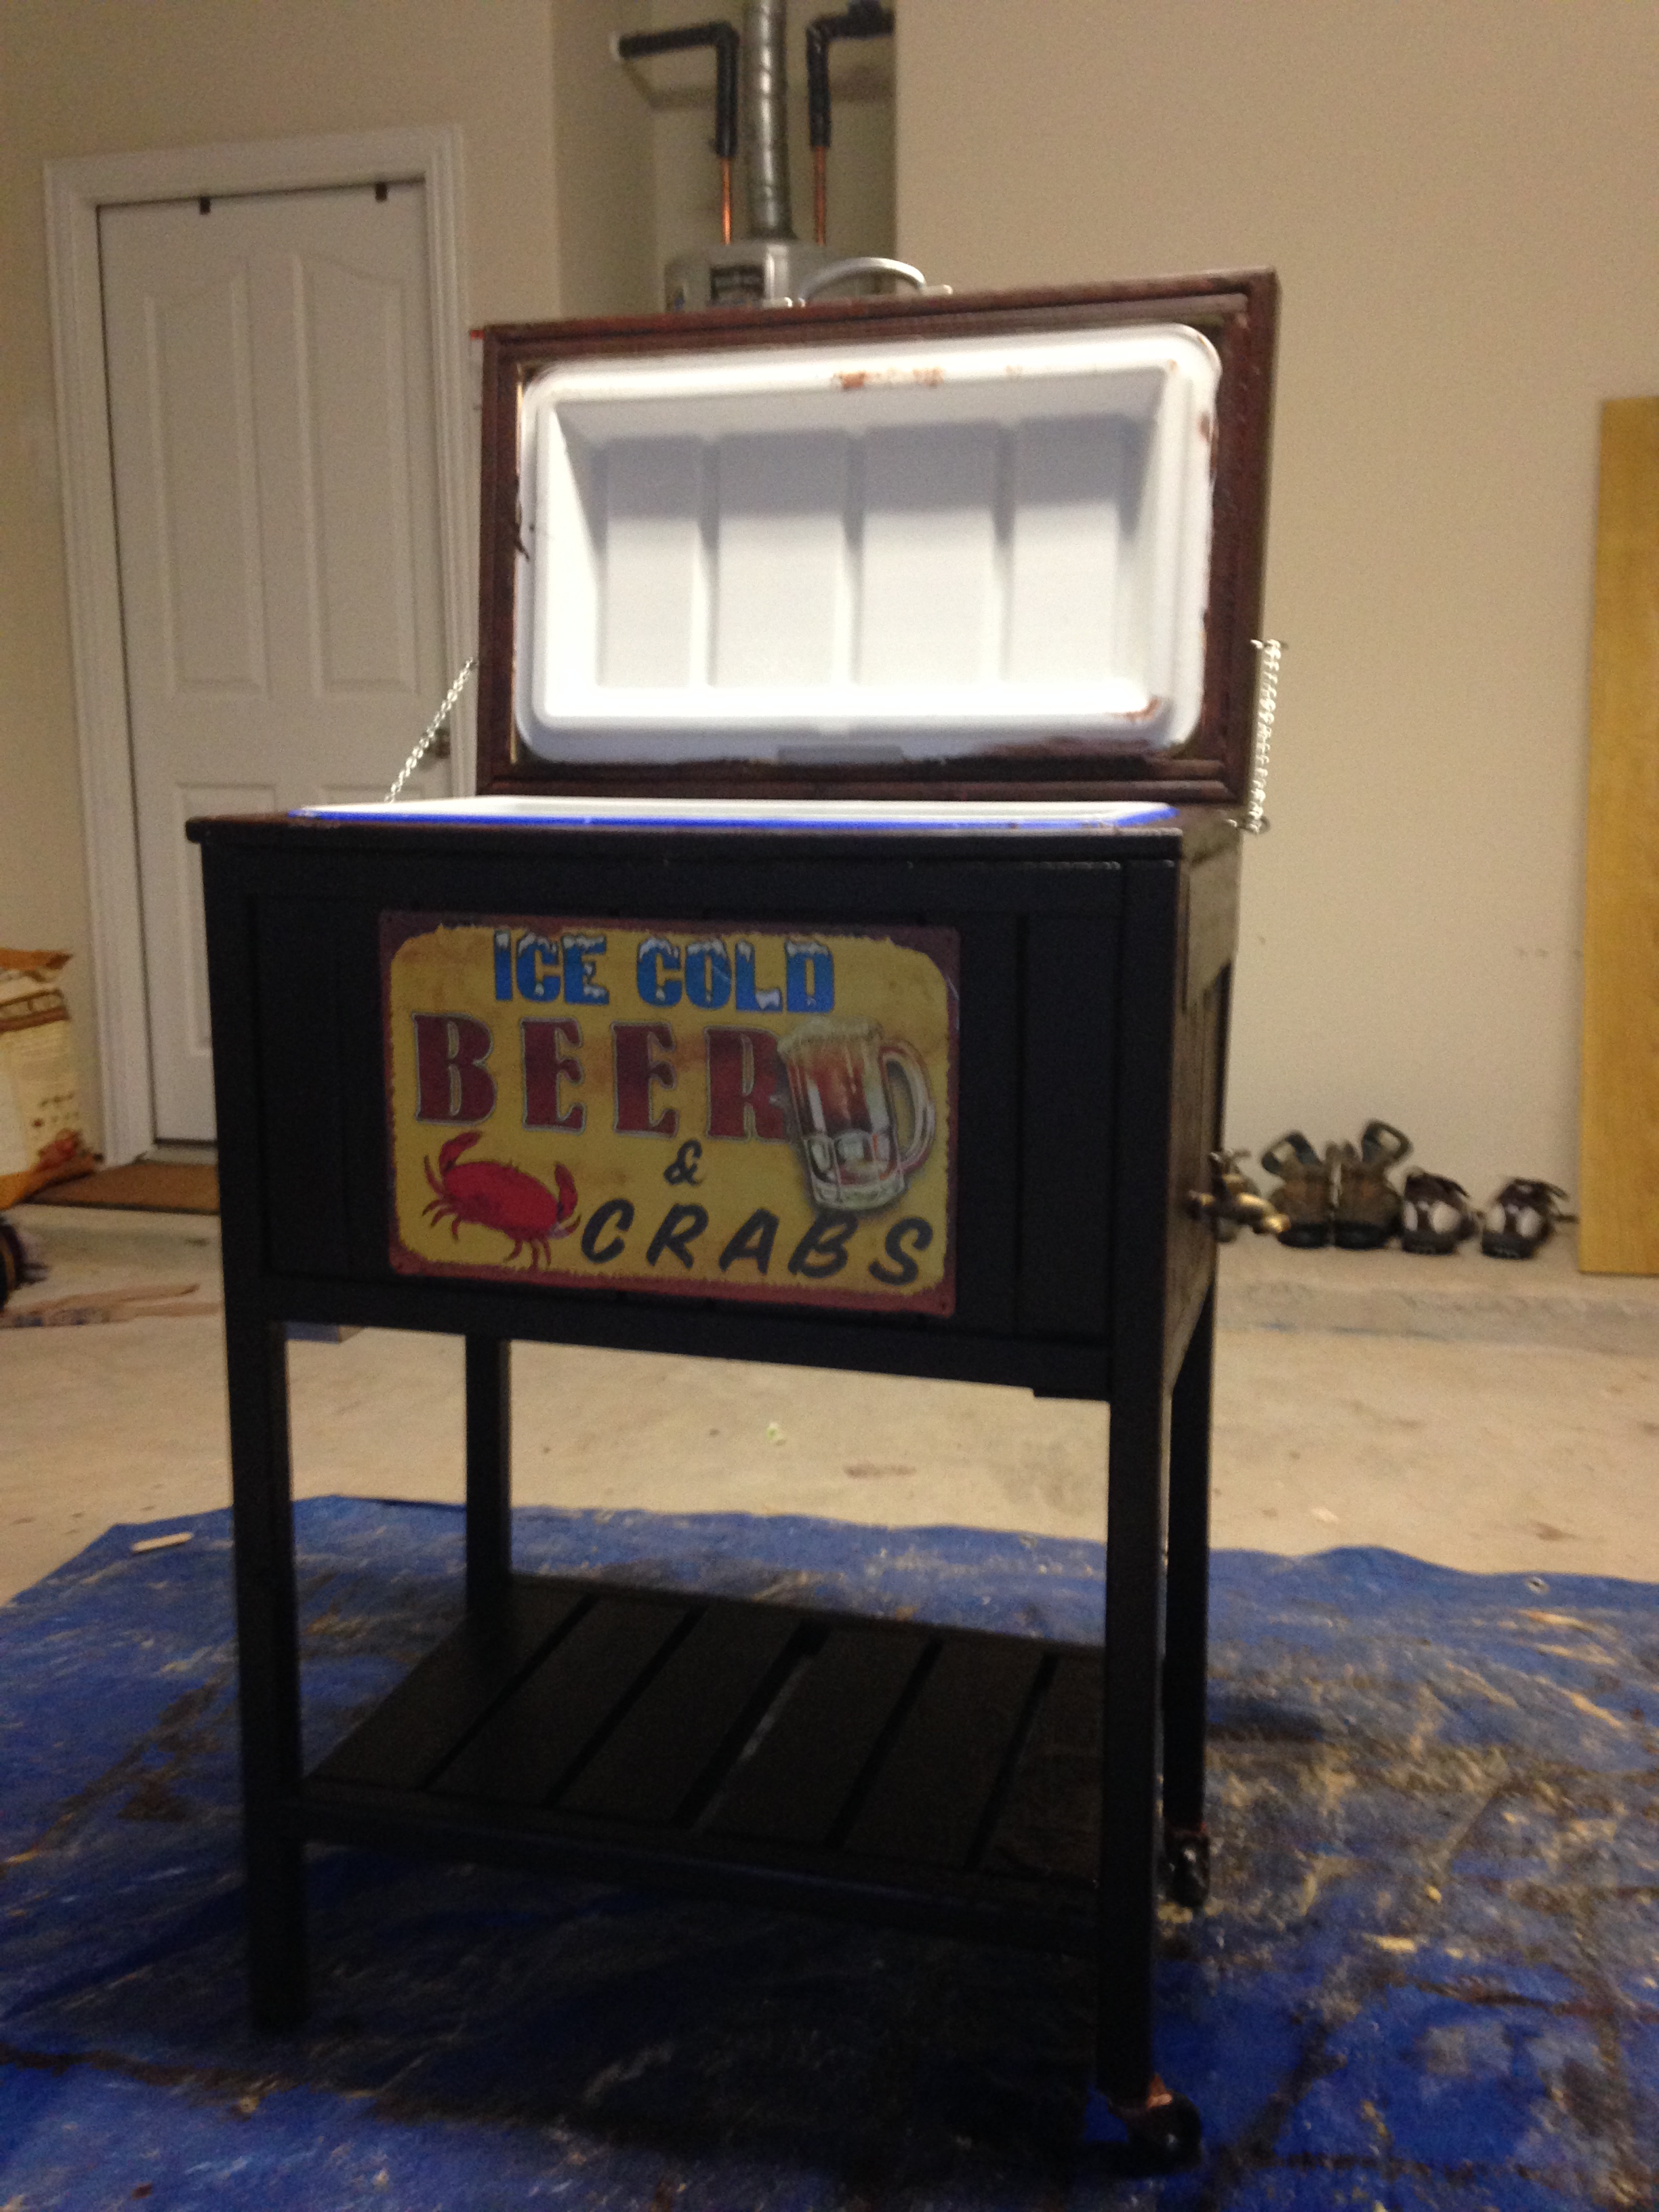
This was one of my first DIY projects - while the "perfectionist" in my is not overjoyed by the final product, I think it's pretty good for a newbie. It's a gift, so I'm sure my brother-in-law will like it. Plus, I learned a lot about what do do in the future!
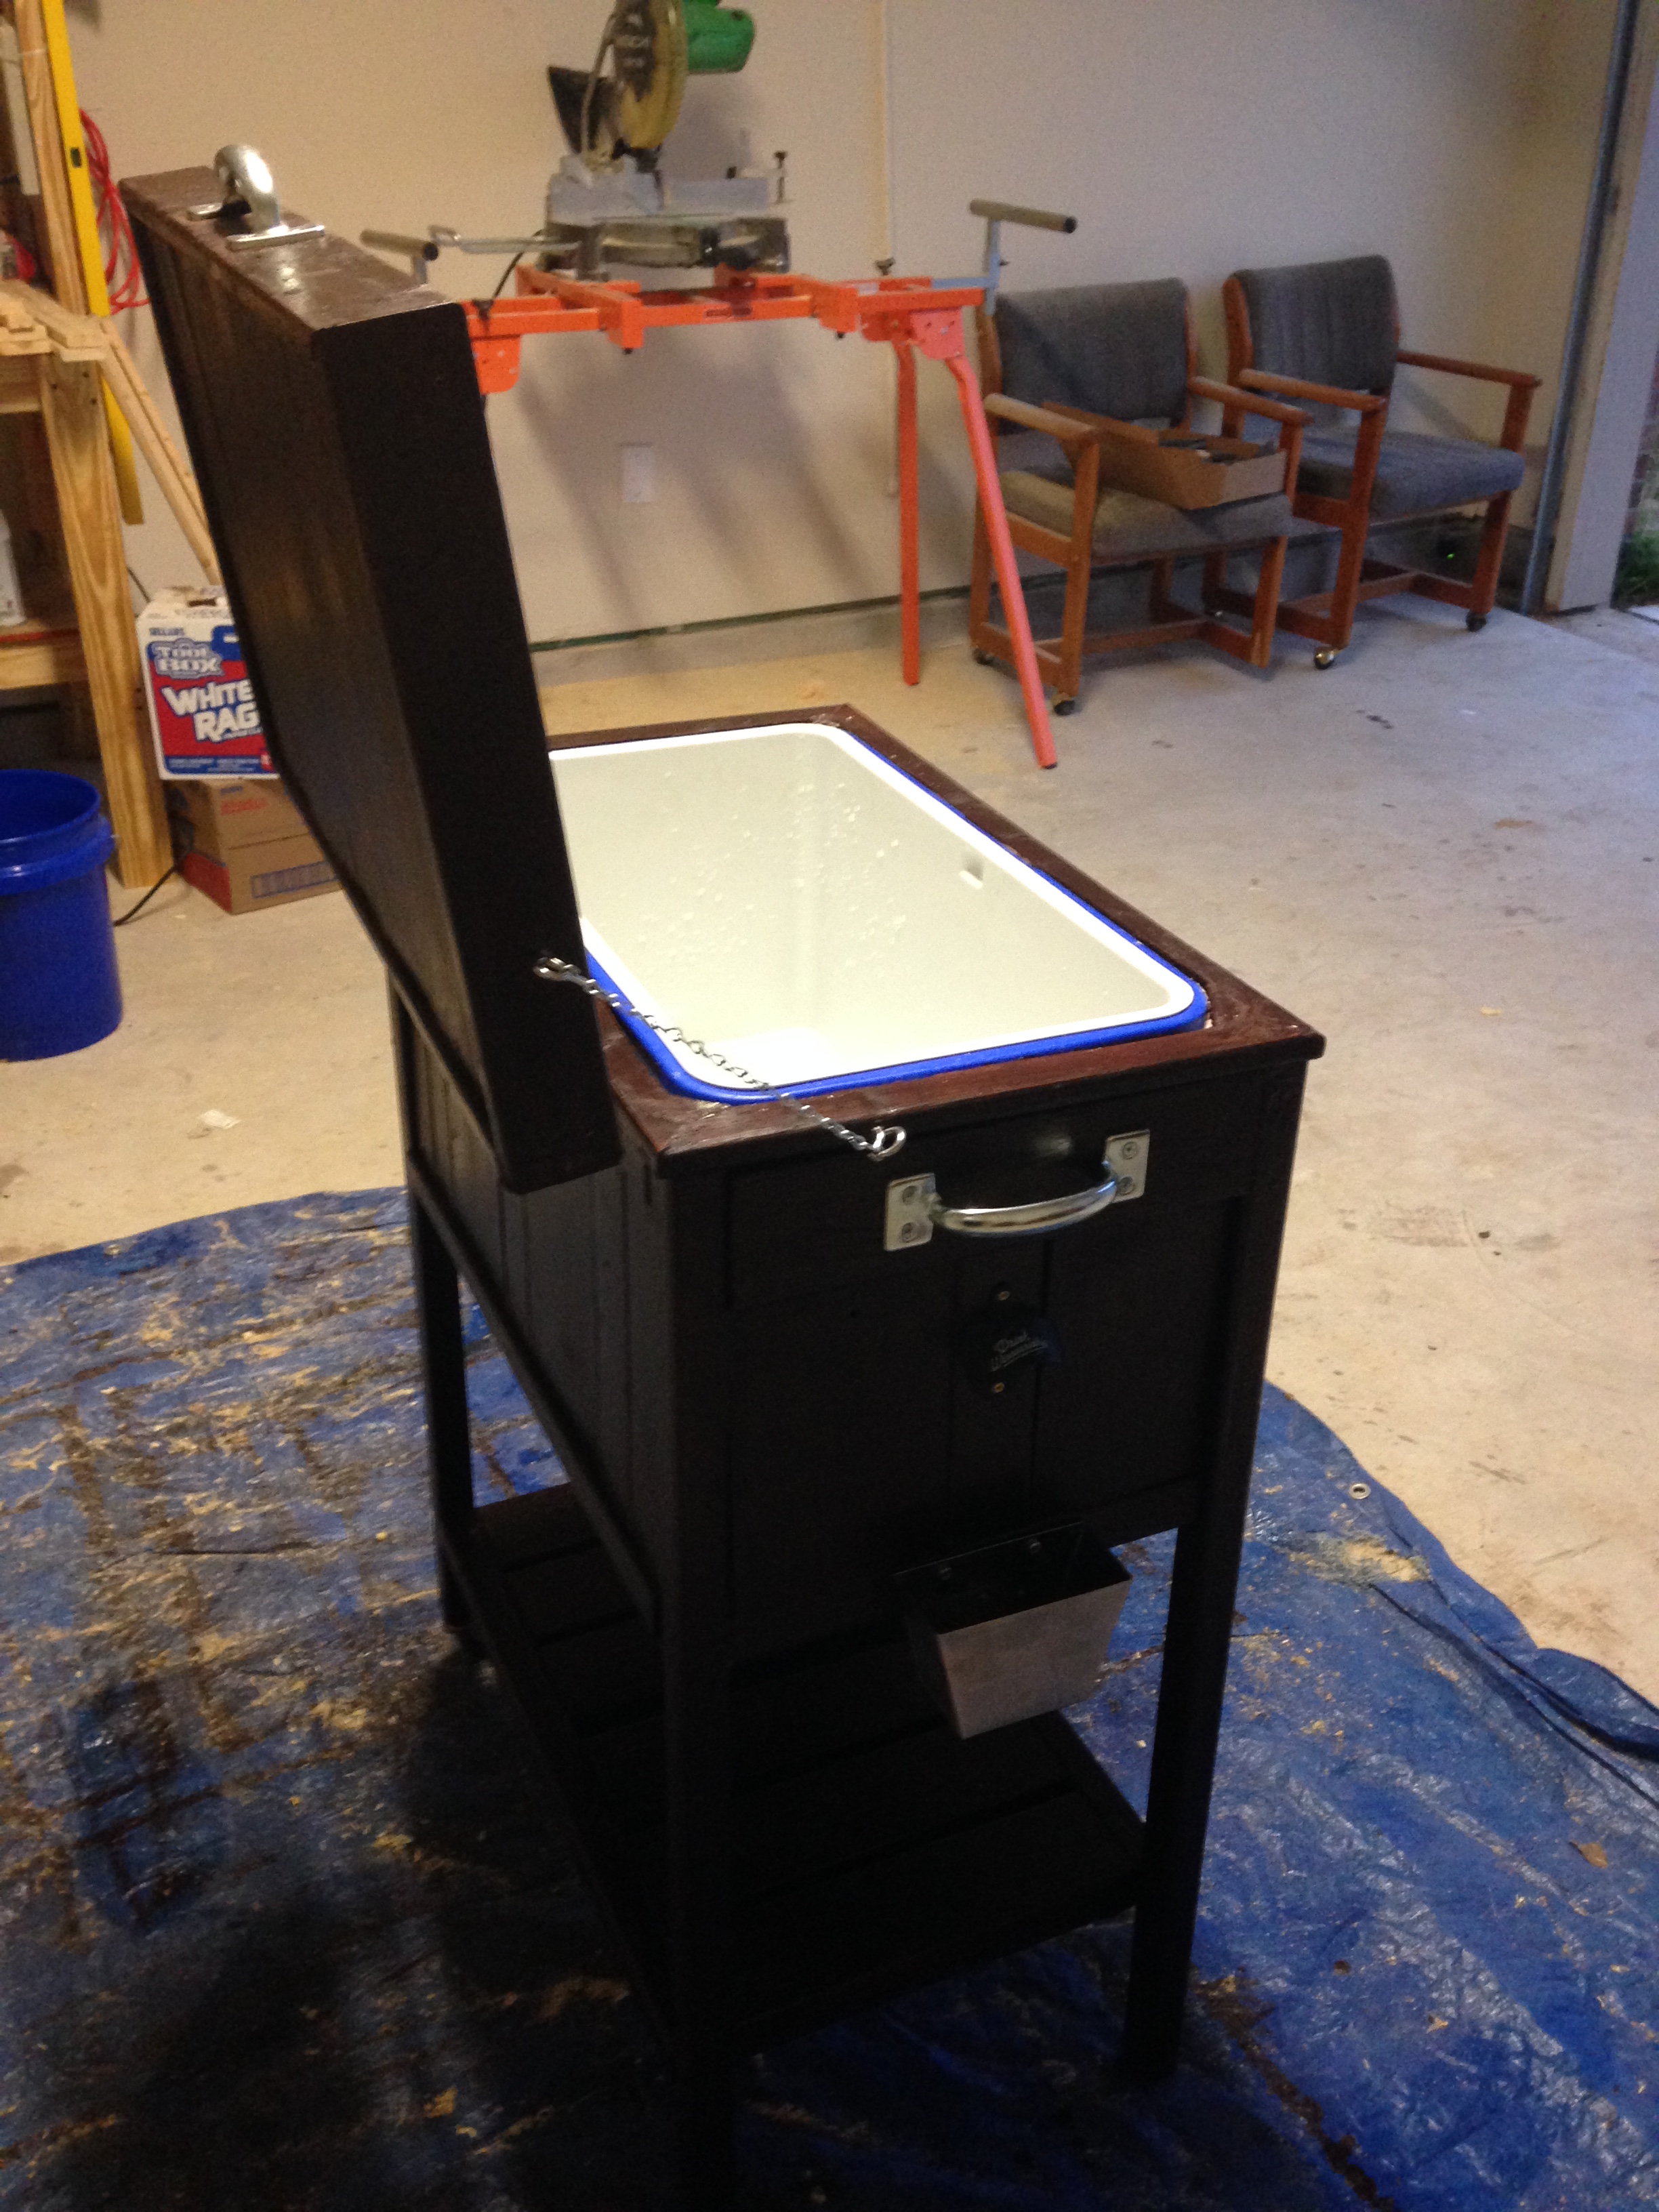
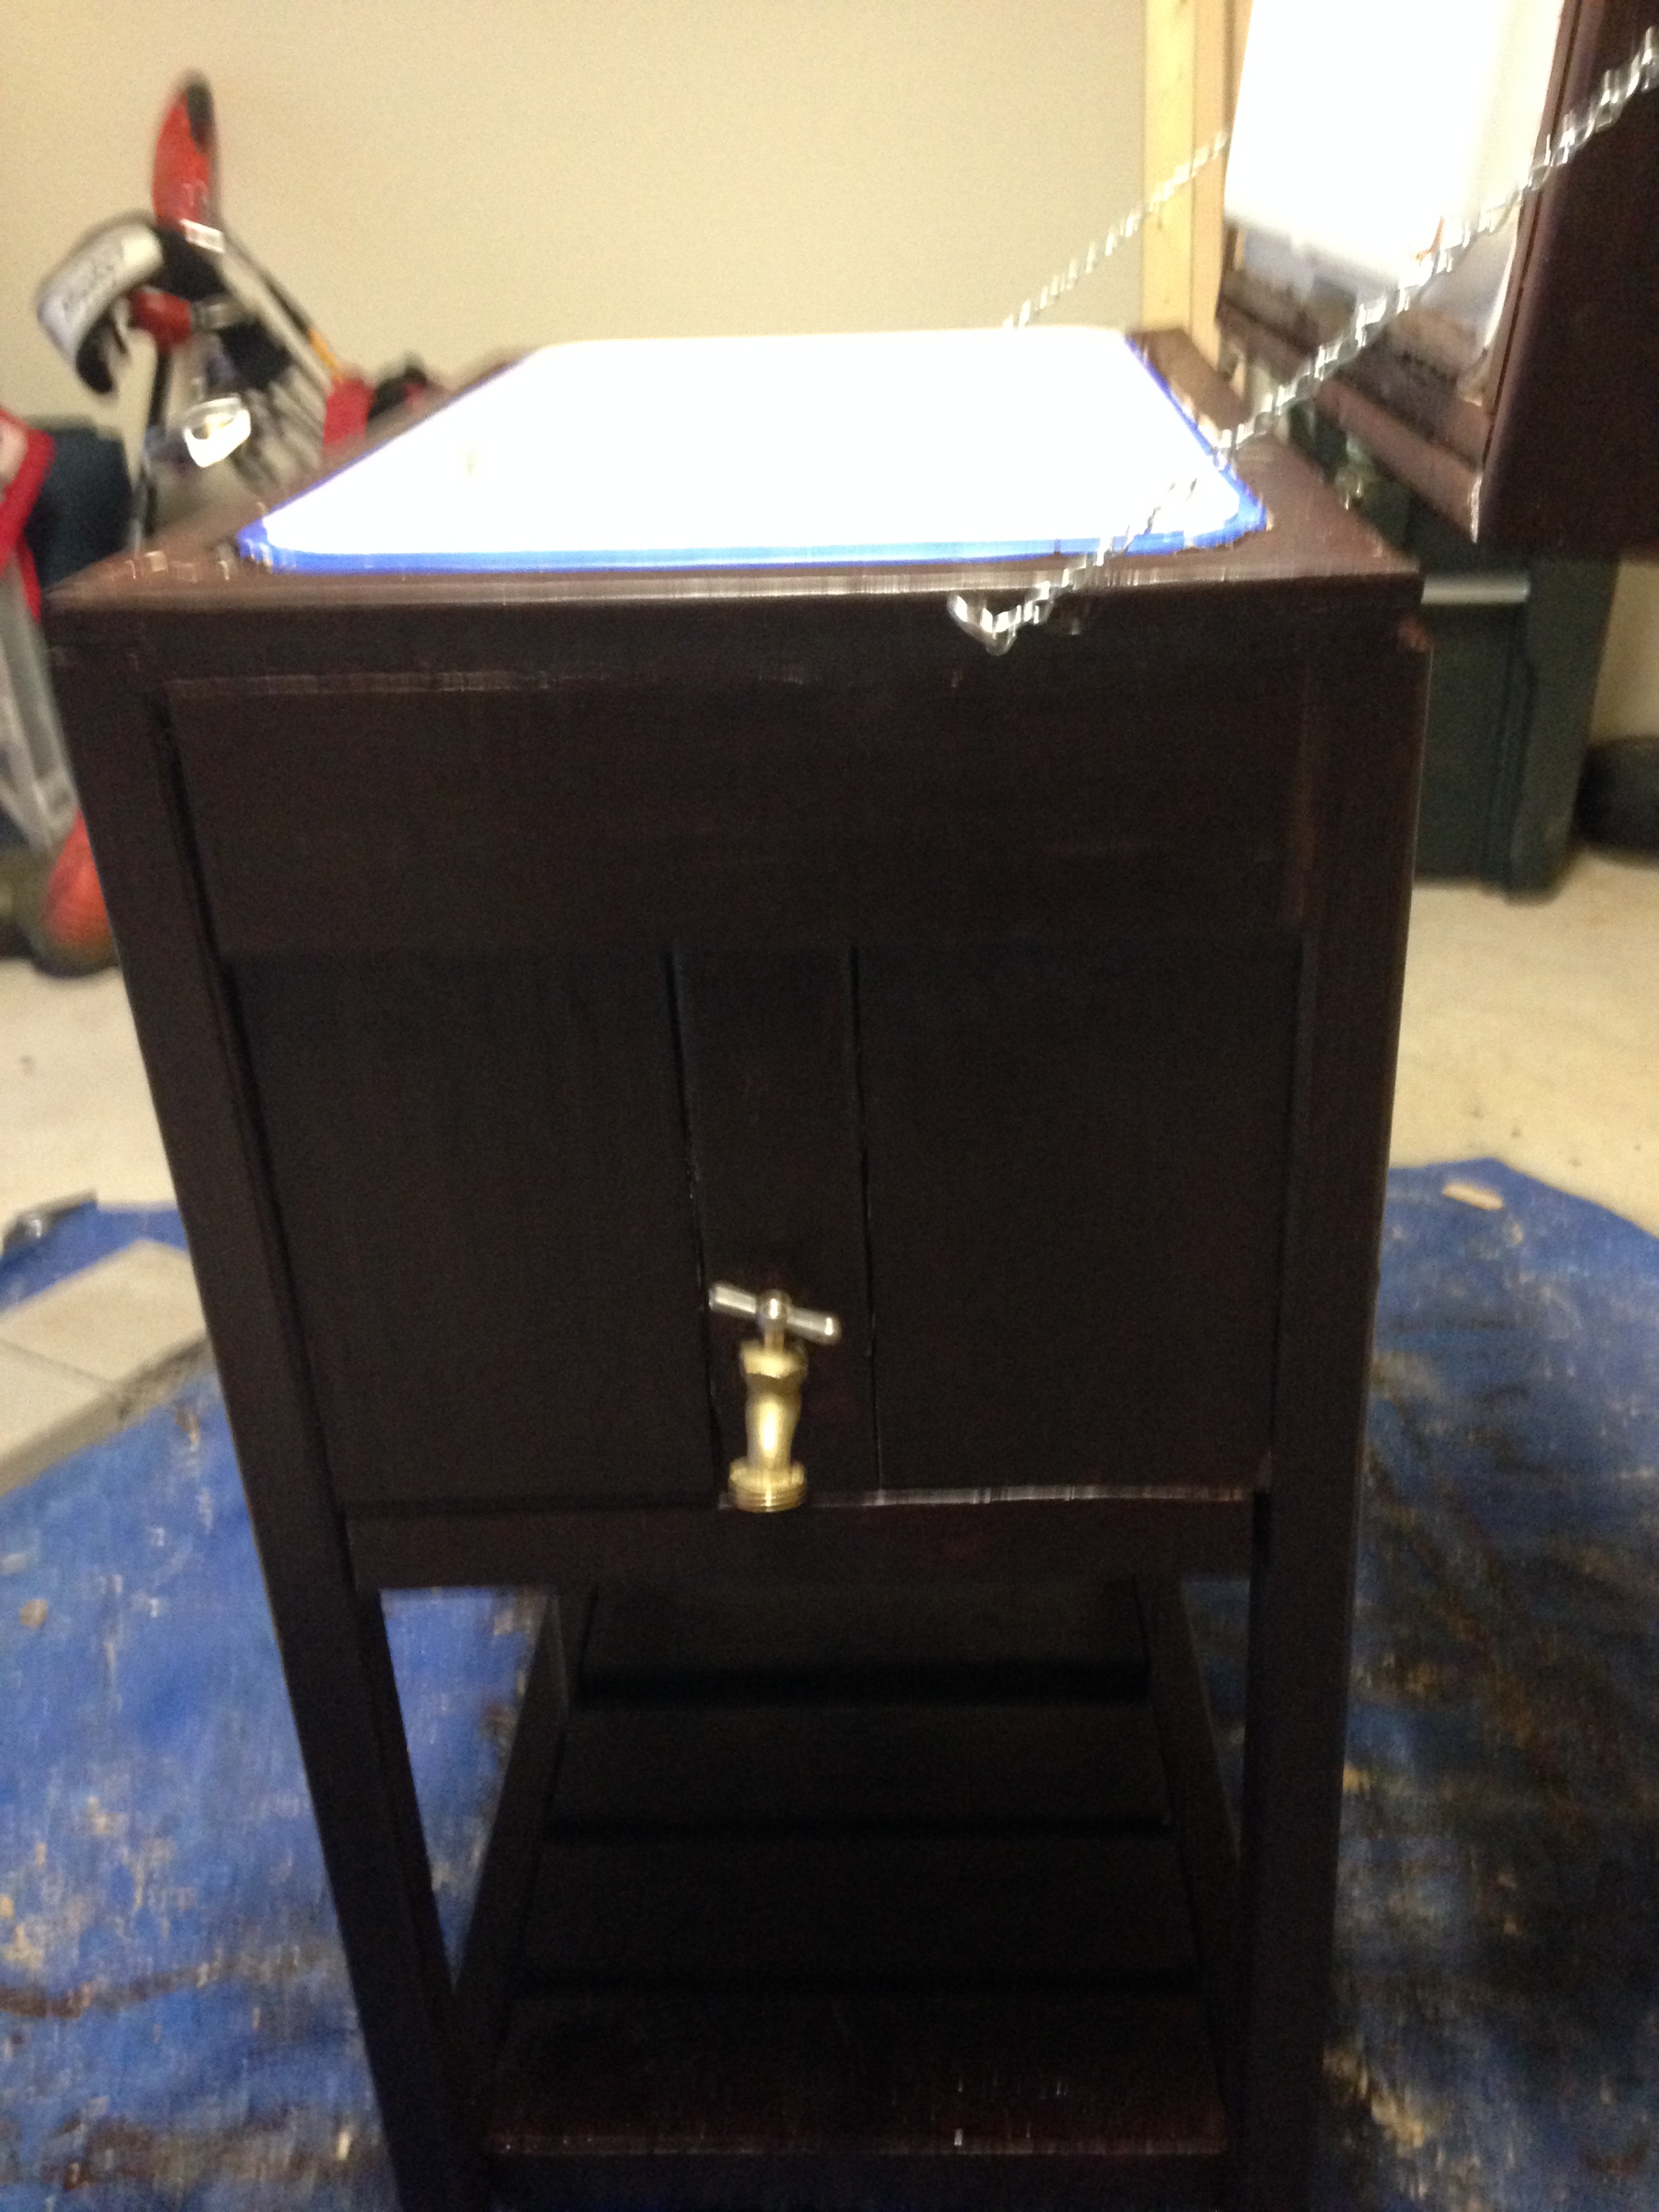
One main change I made was with the drain. I had a hard time getting a good seal with the plans provided. So instead, I got a smaller hose (1/2-inch OUTER DIAMETER) and put it through the cooler drain instead of on the outside. This still caused a seal issue, but I used rubber/putty cement around the inside of the cooler drain & hose, as well as where the hose entered the wood cooler on the inside. This only allowed the water to exit the drain or stay in the cooler until it passed through the drain.
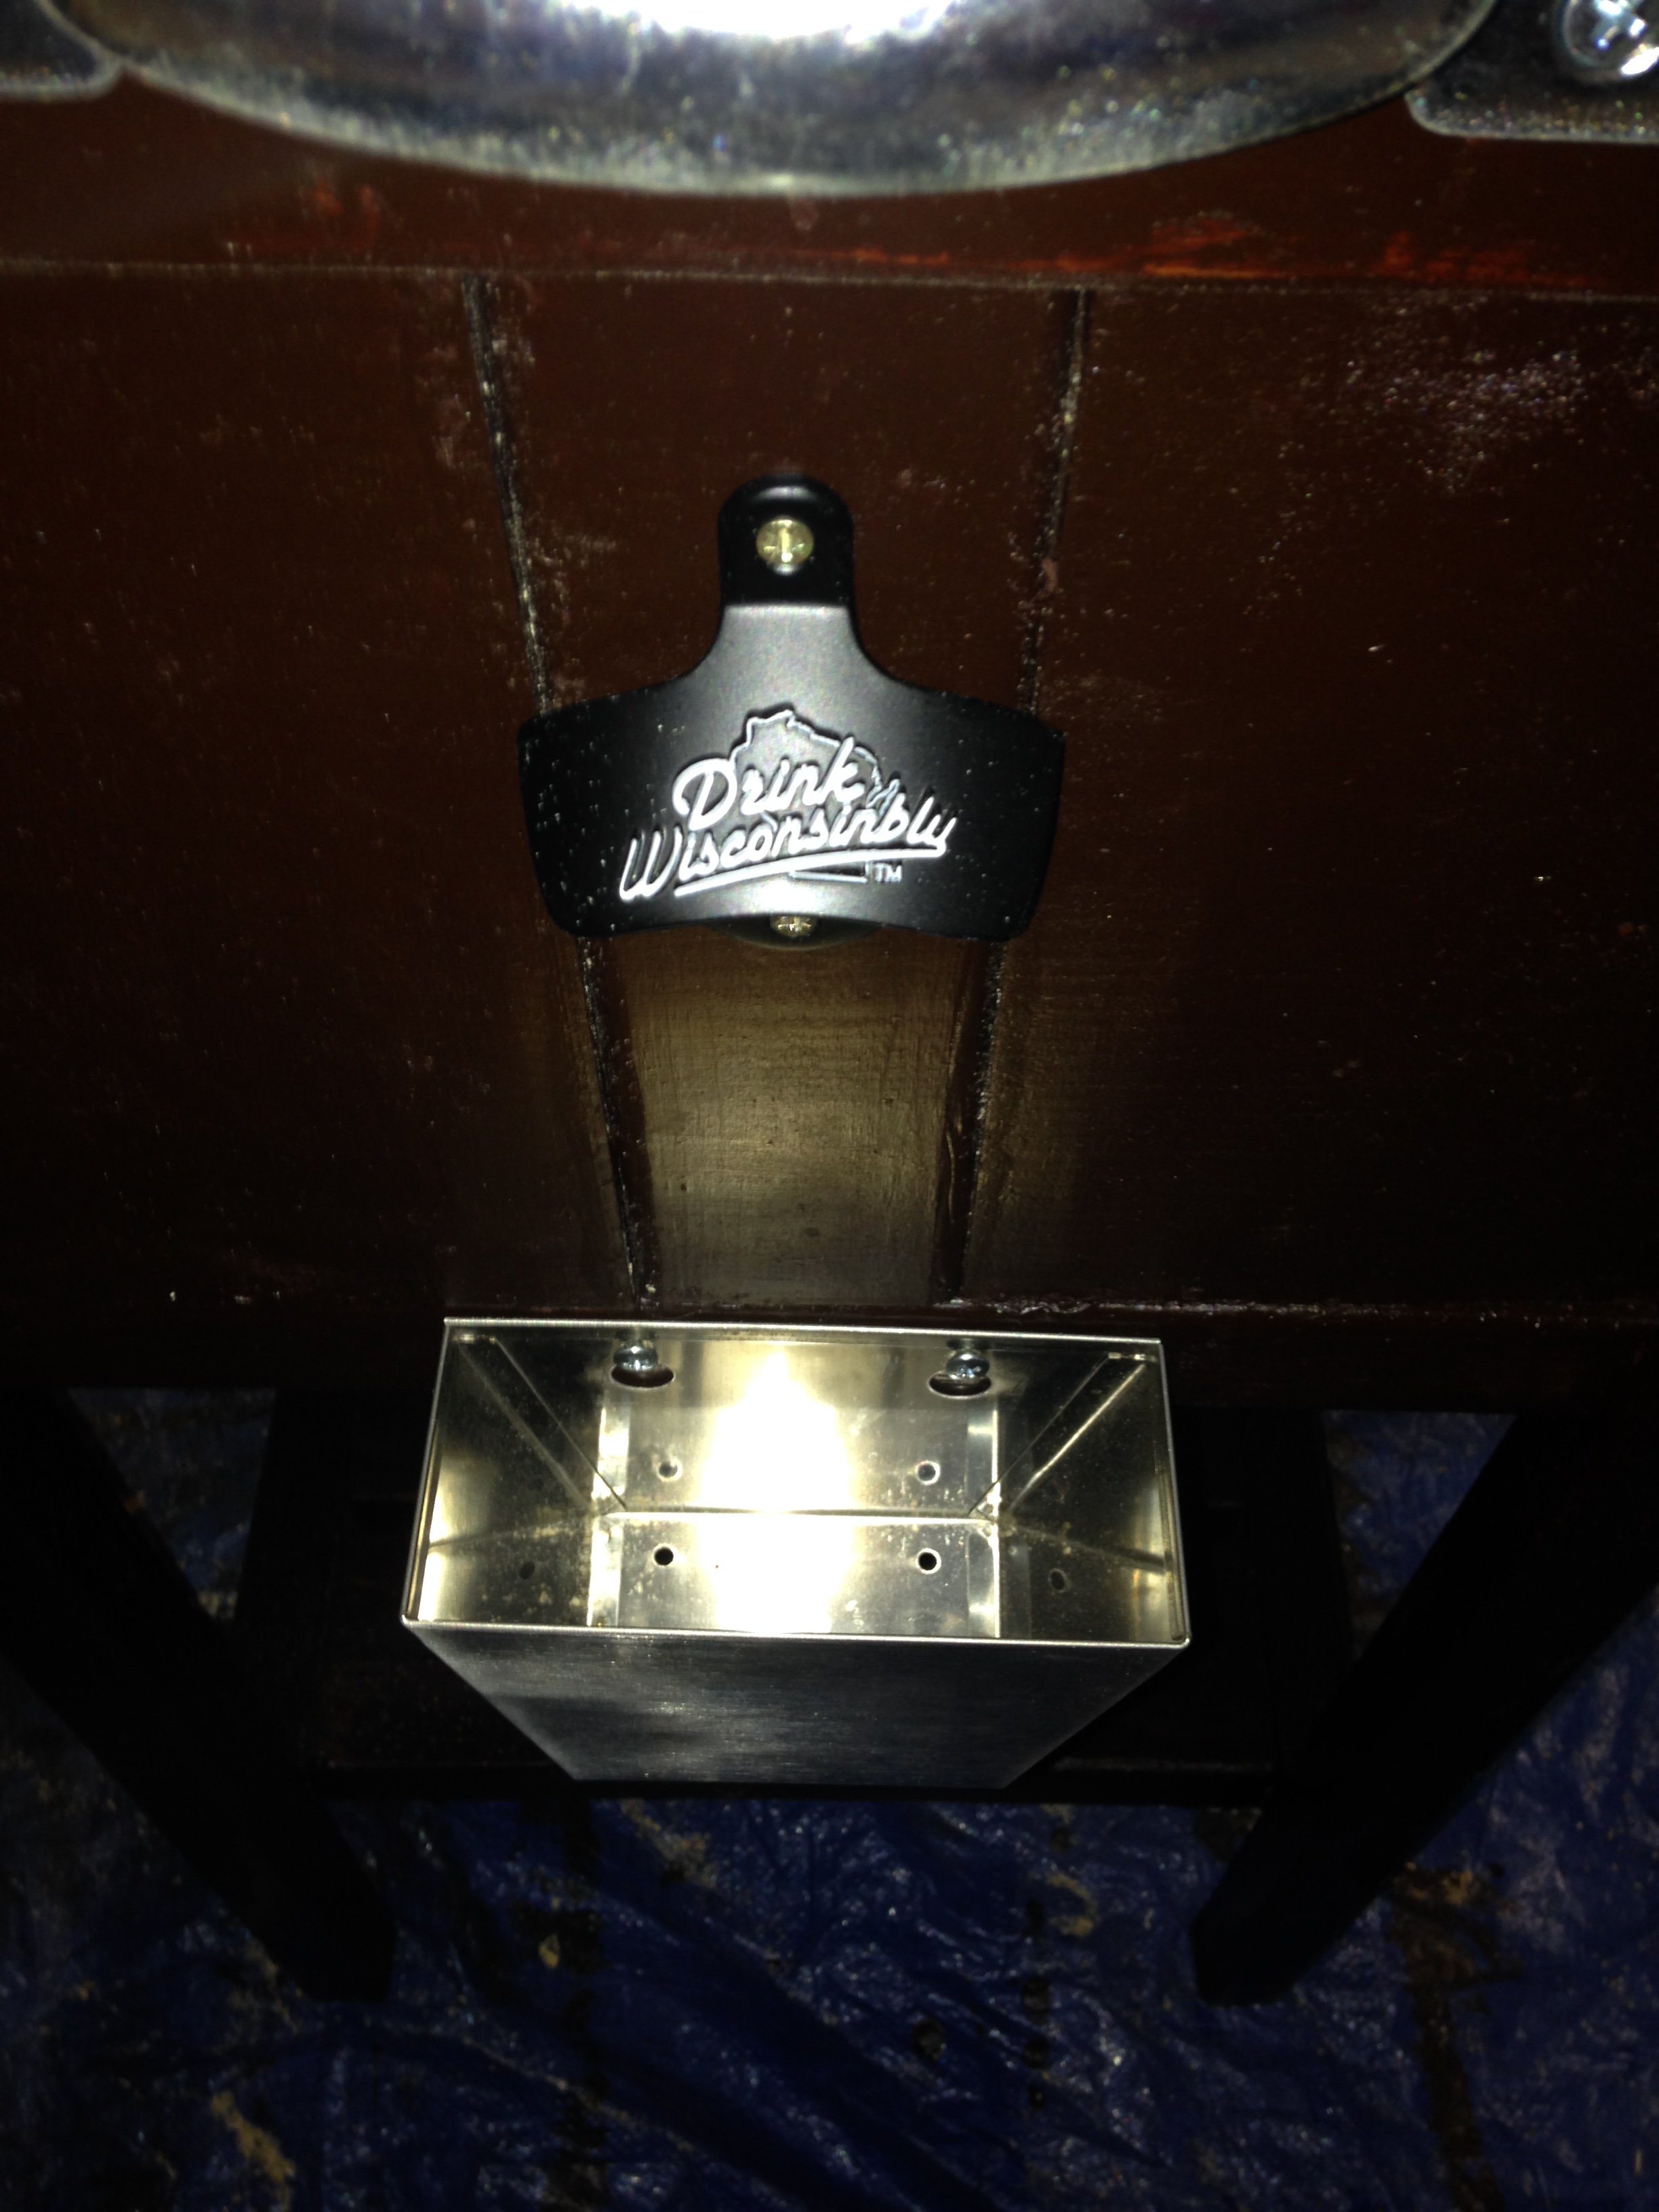
I skipped the side shelf, but added the little steel bucket to catch bottle caps. And while I live in Texas, I had to give a shoutout to my Wisconsin roots (notice the bottle opener says "Drink Wisconsinbly".
All in all, I think it was a fairly good project for a DIY newcomer. Looking forward to figuring out what my next project will be!


Comments
Ana White
Mon, 02/16/2015 - 13:17
I bet your brother-in-law
I bet your brother-in-law loves it! That's super fun!