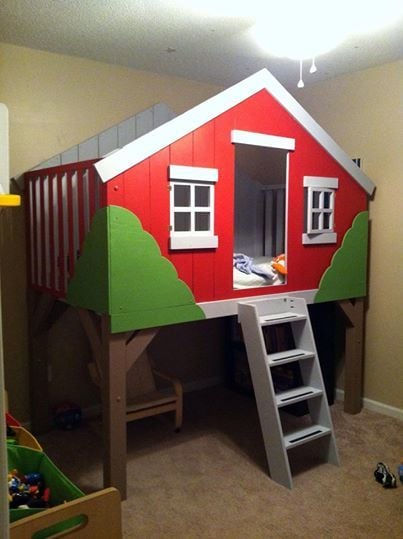
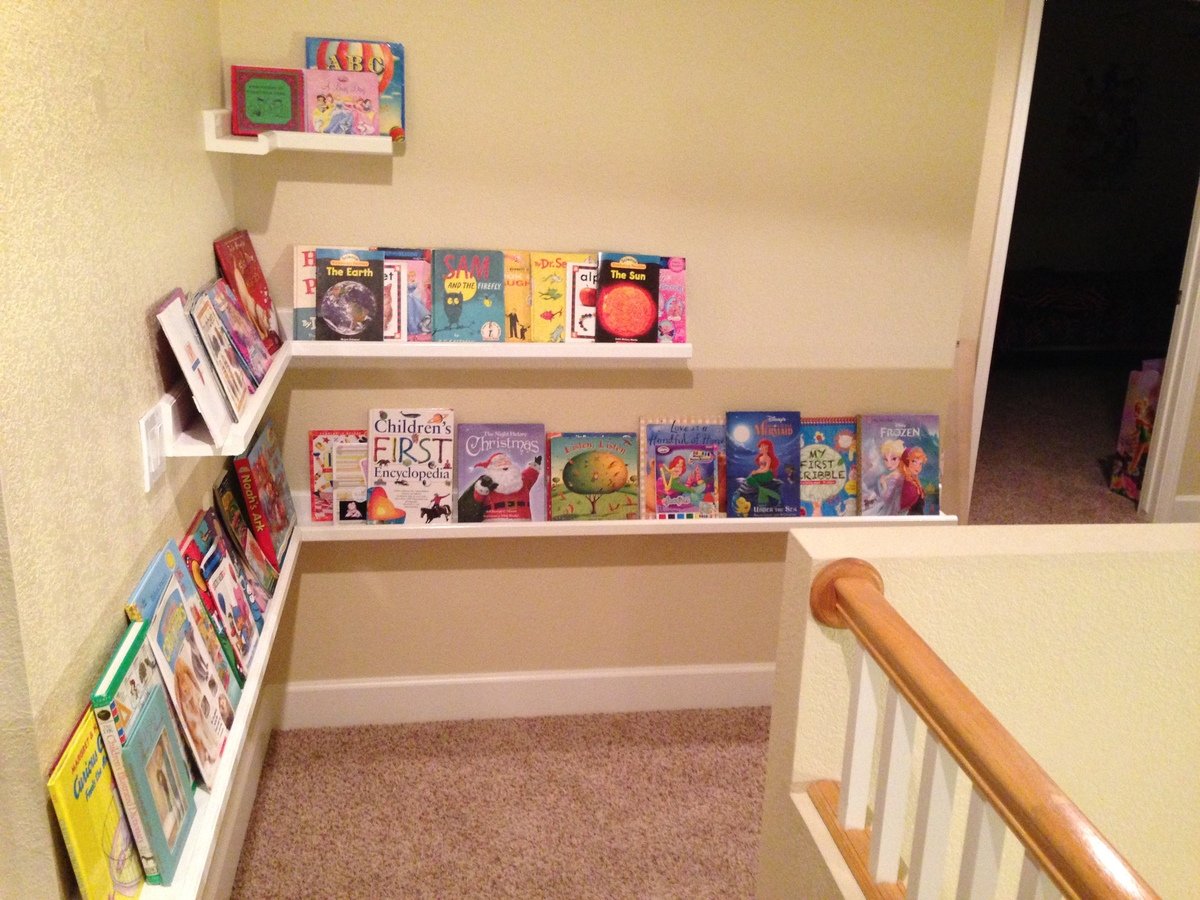
Book Nook For The Girls!
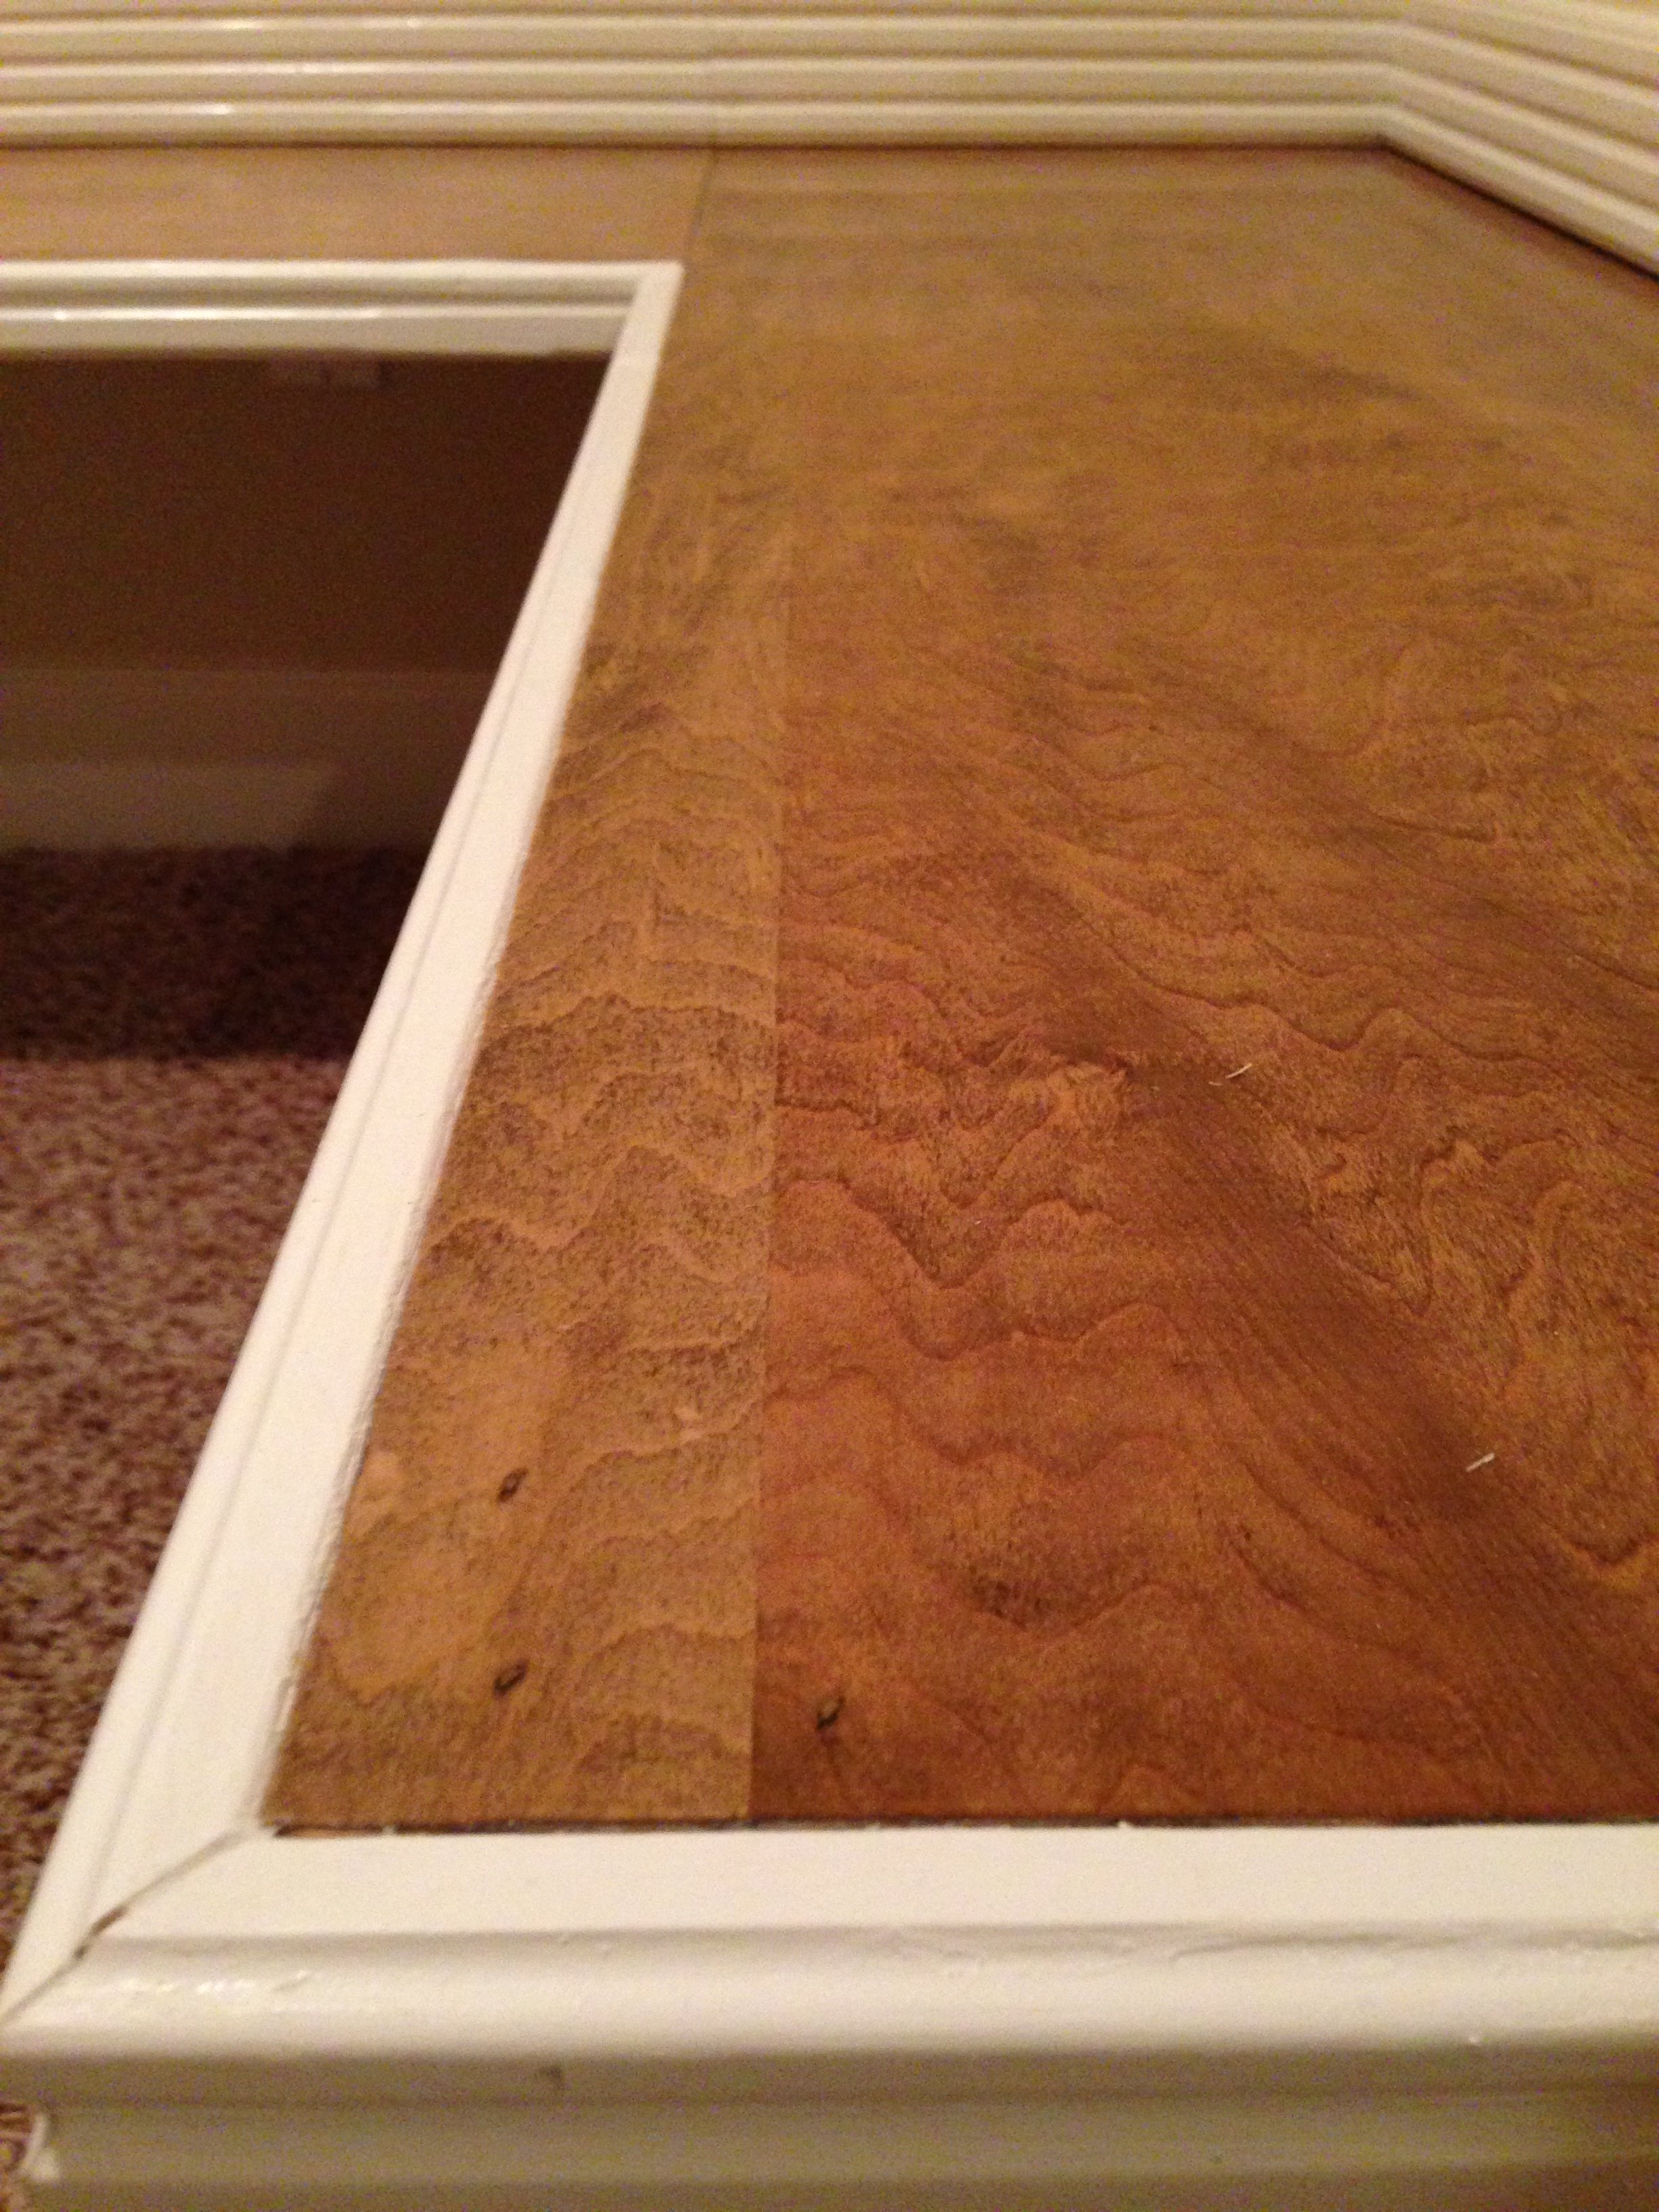
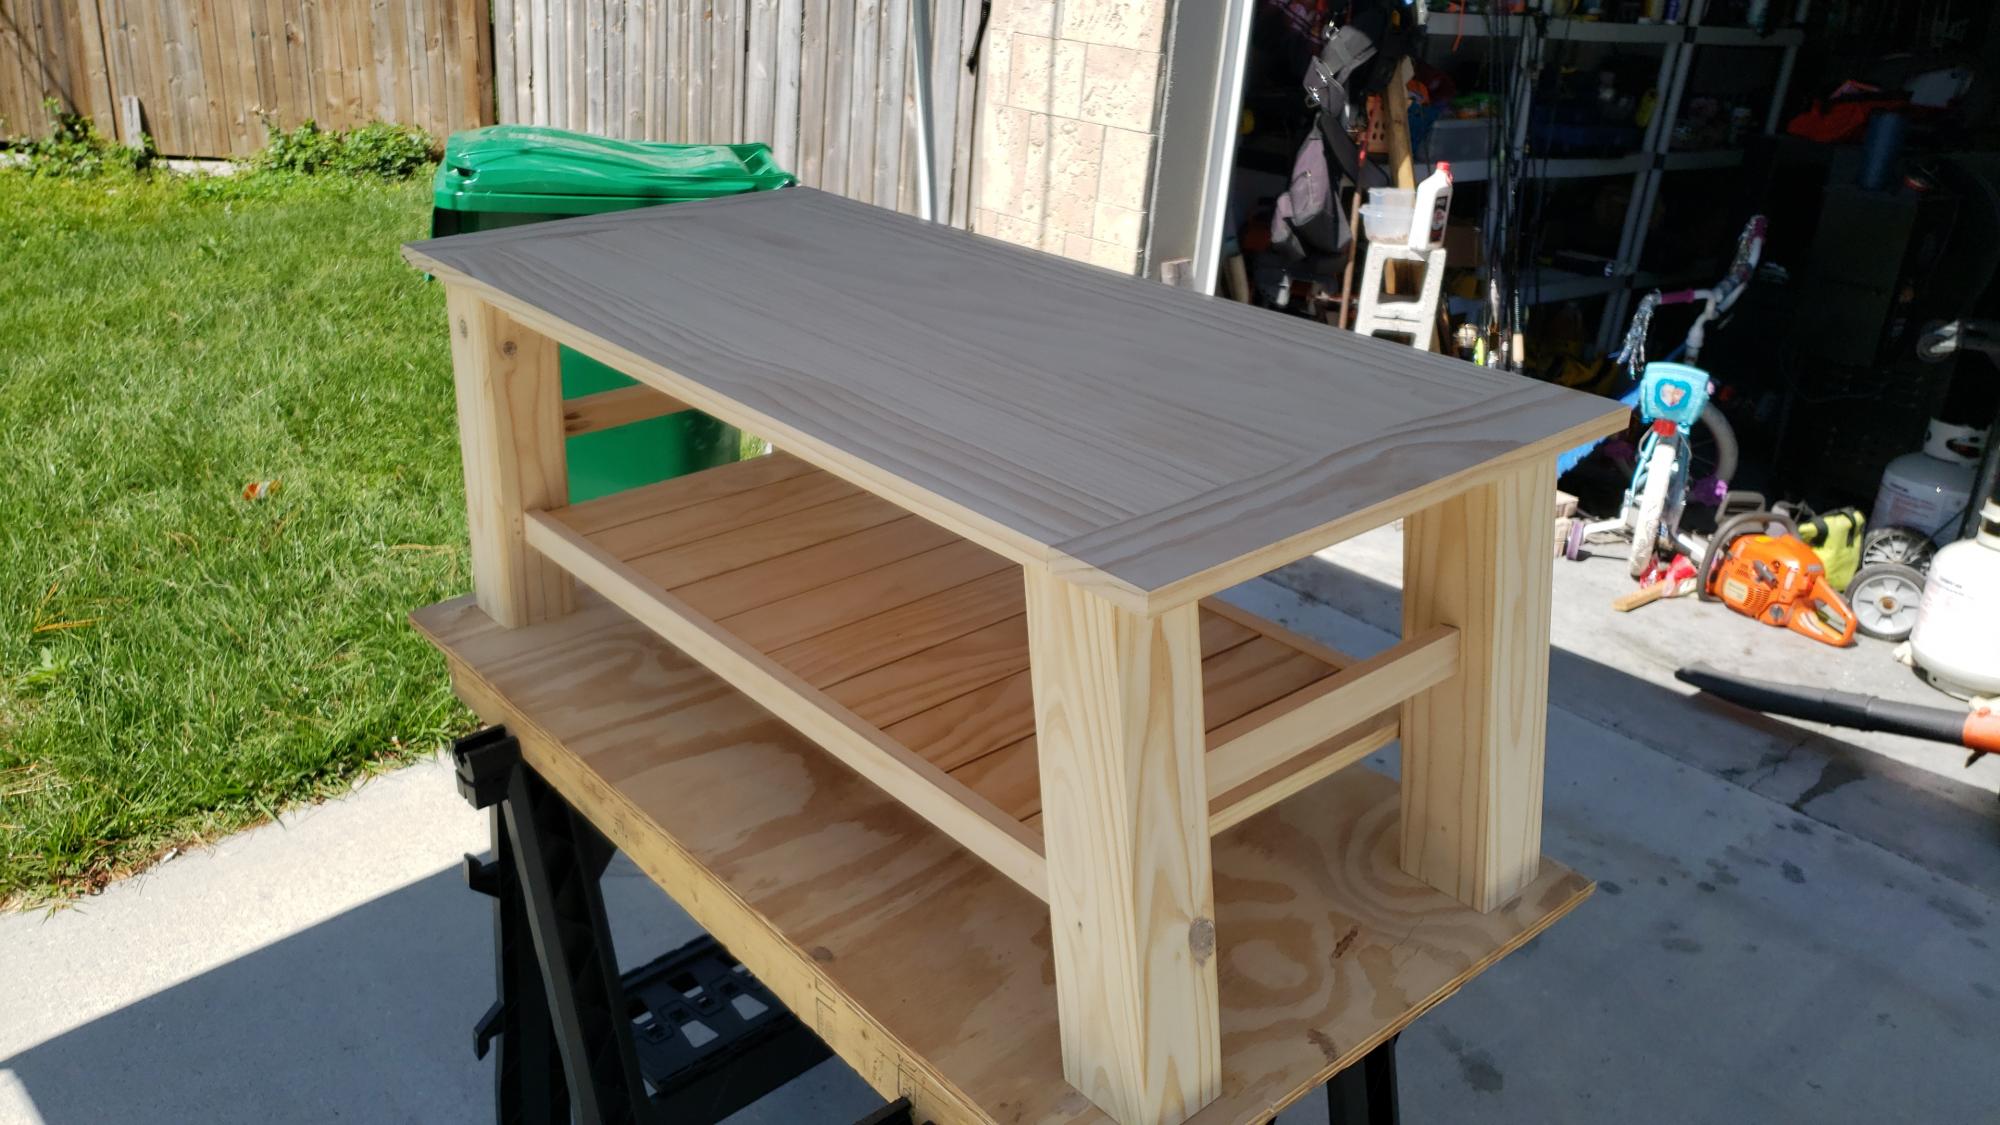
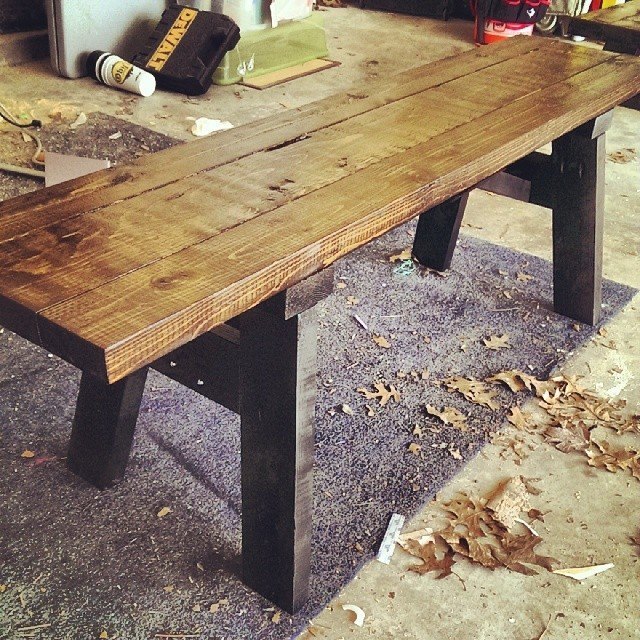
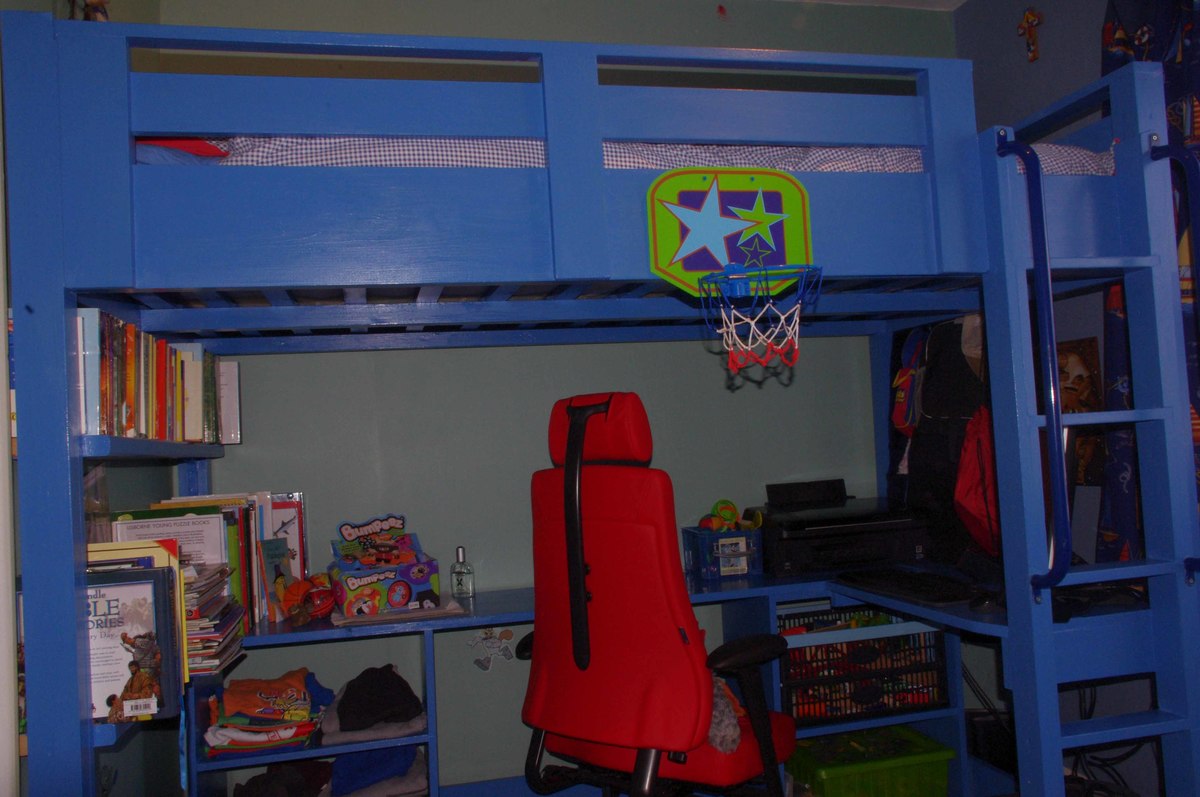
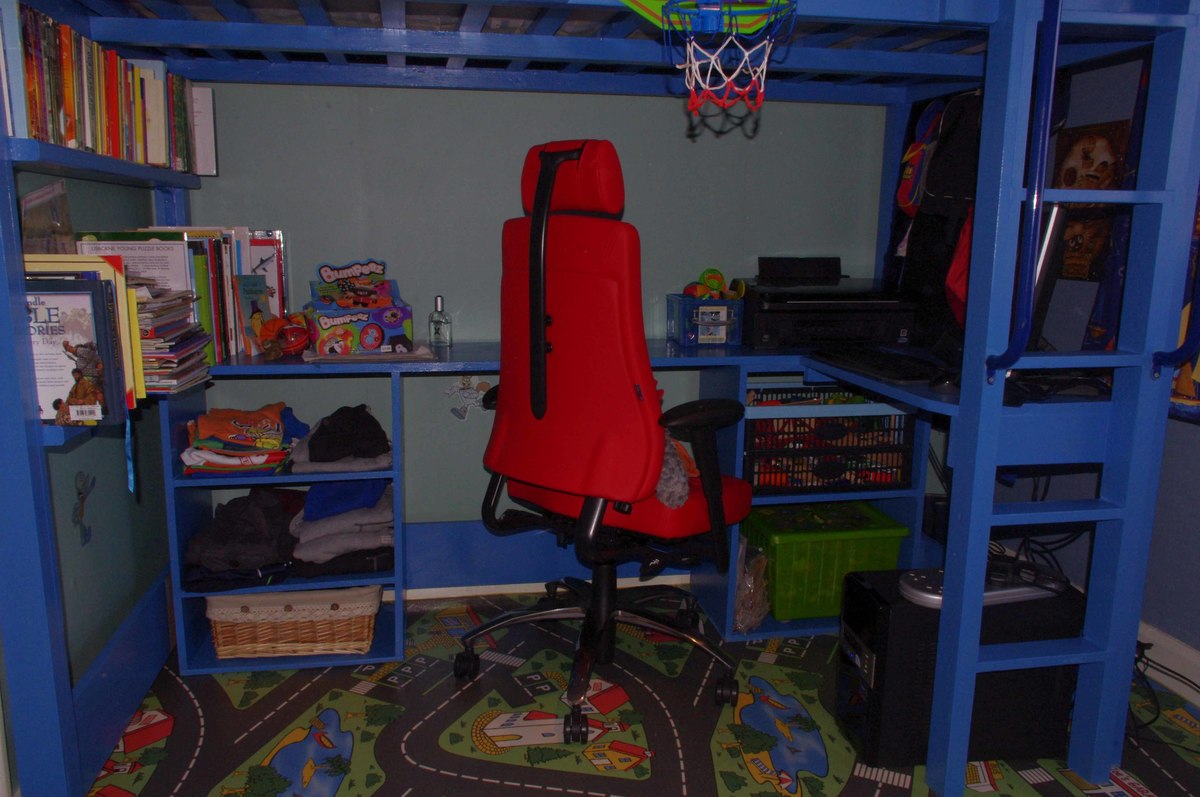
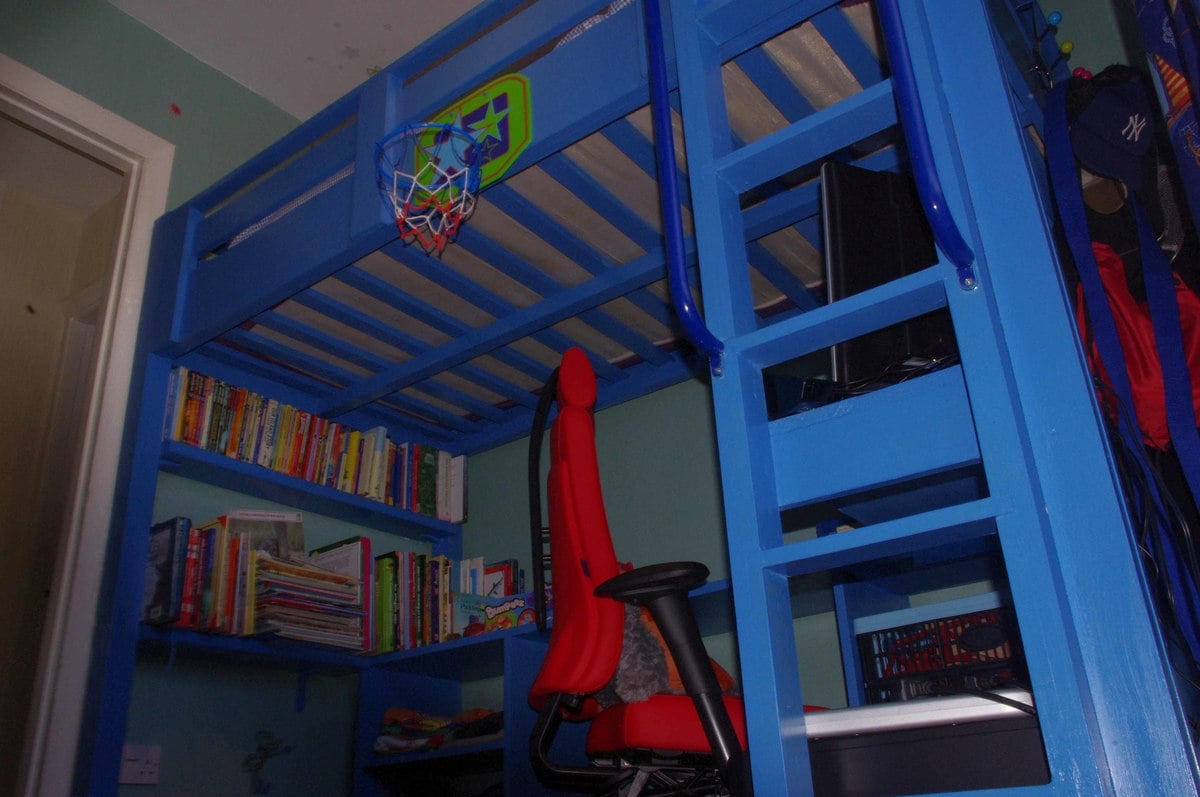
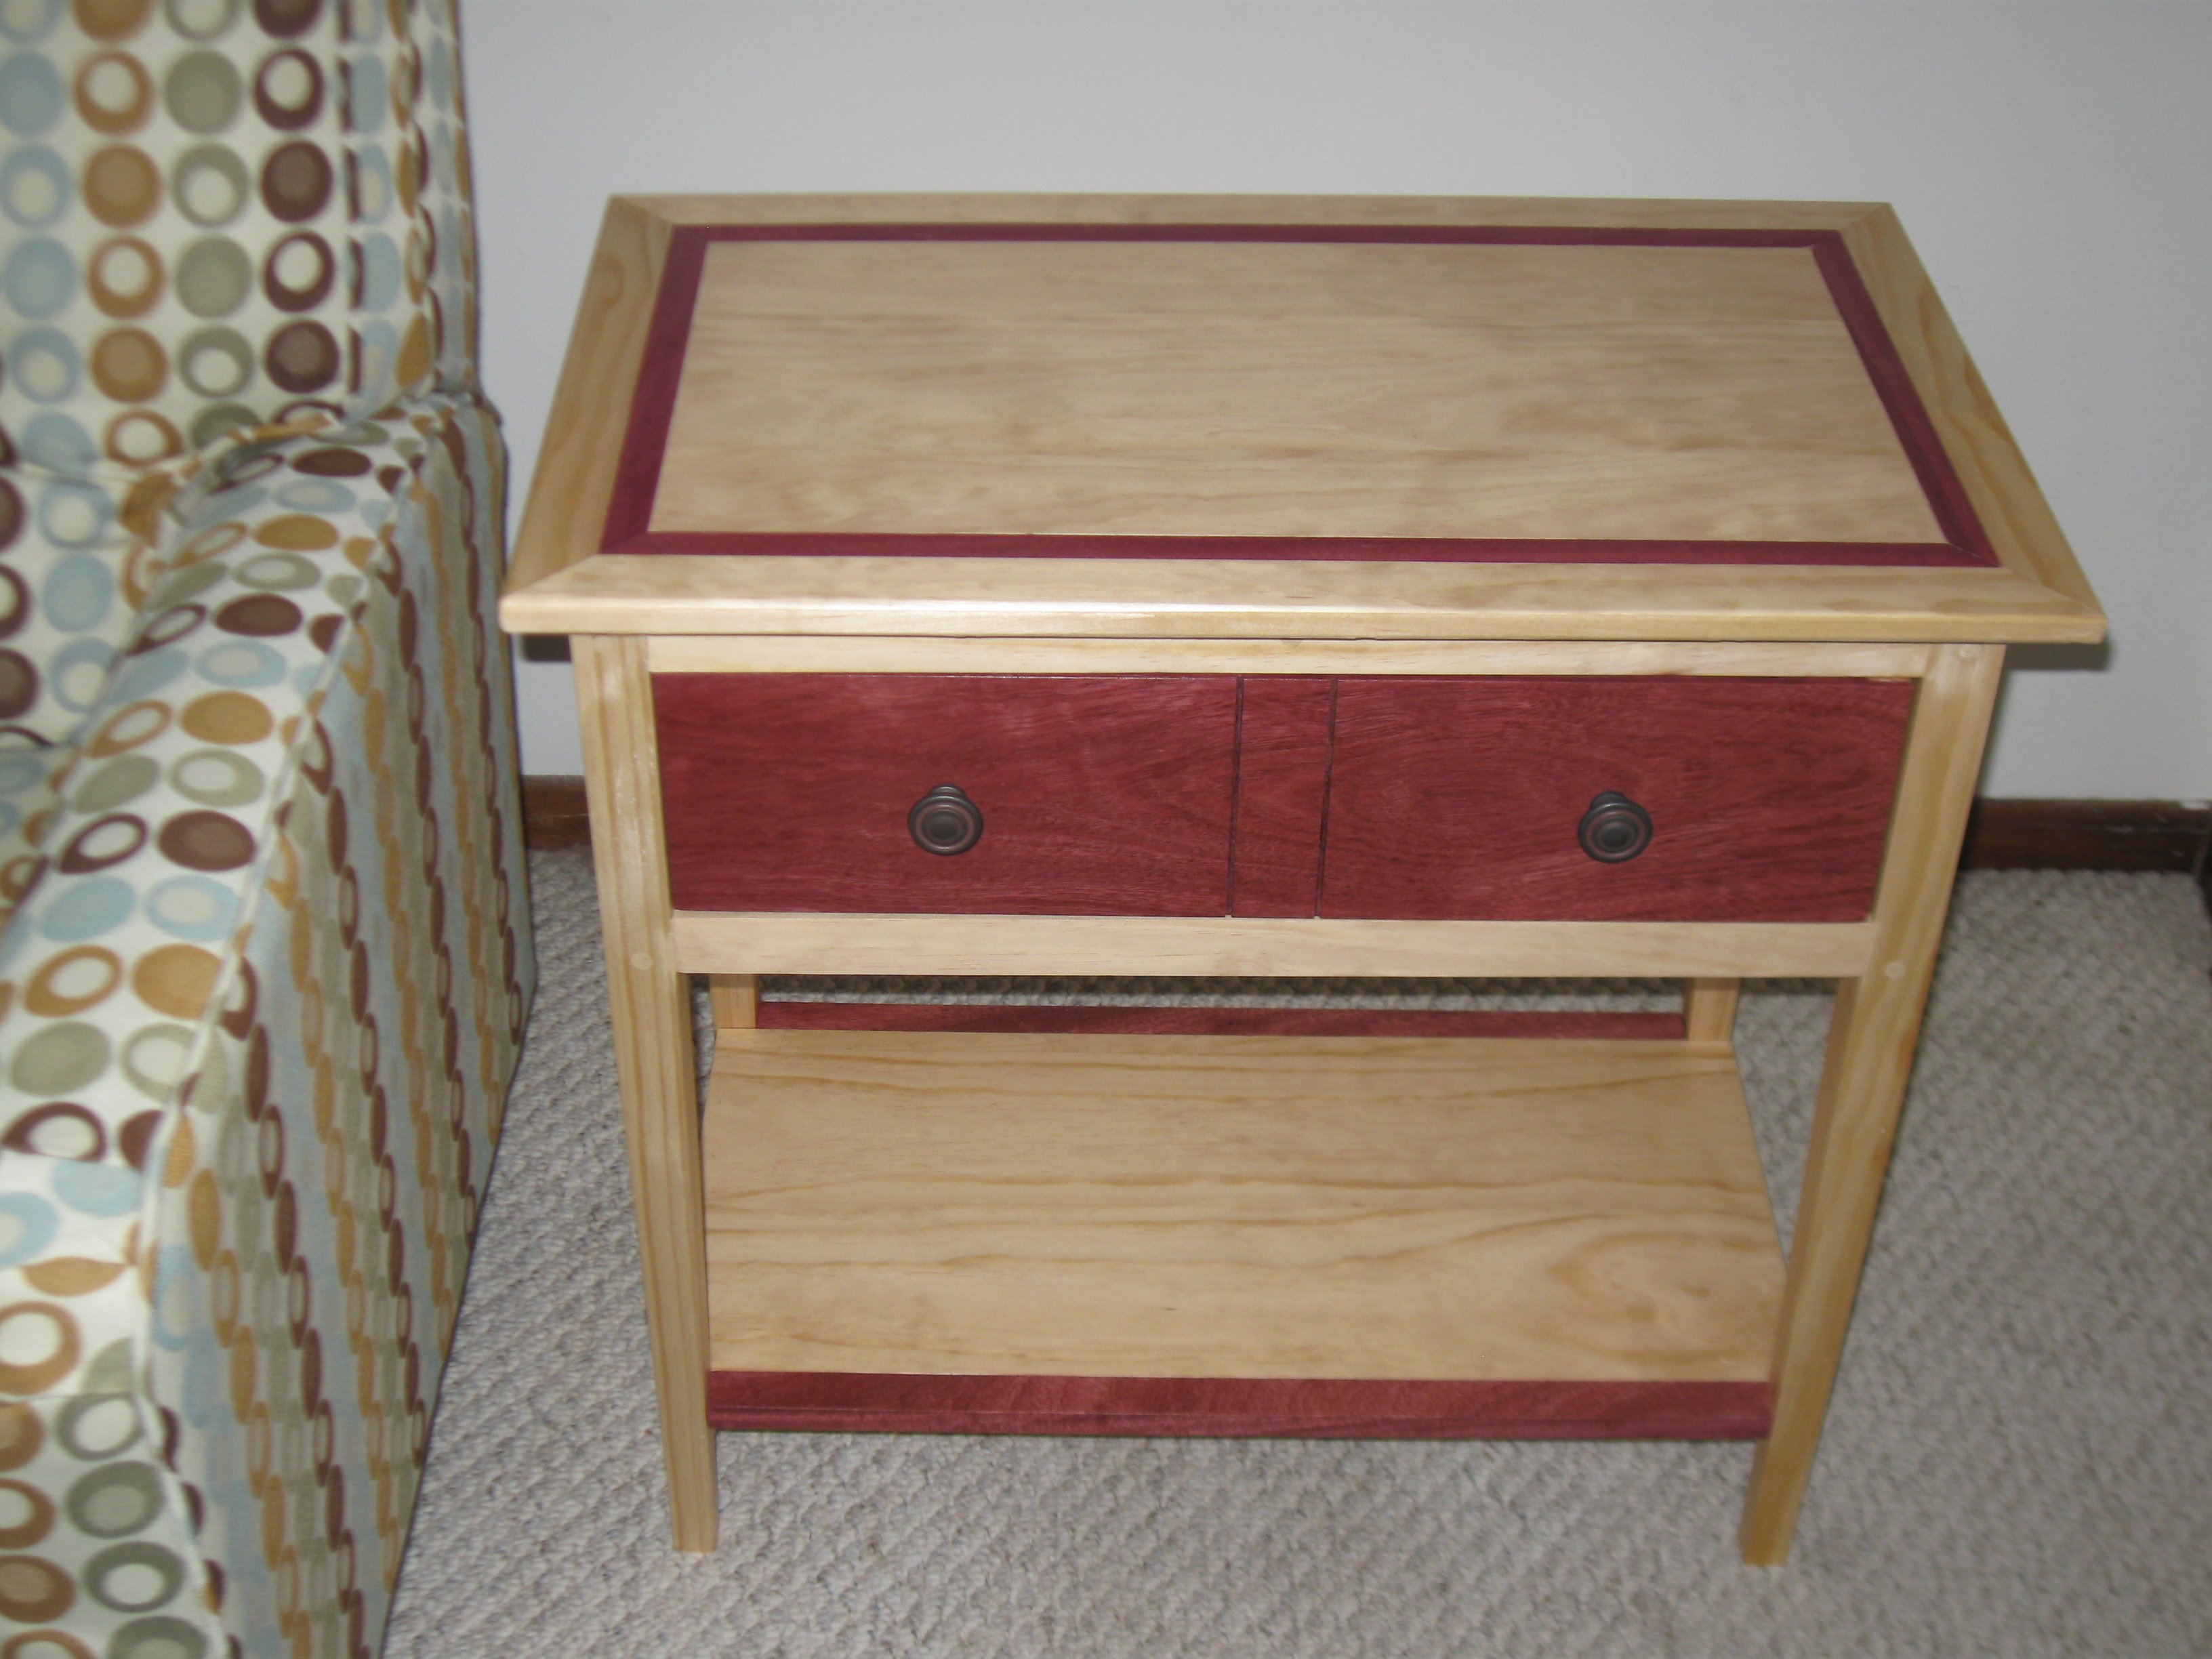
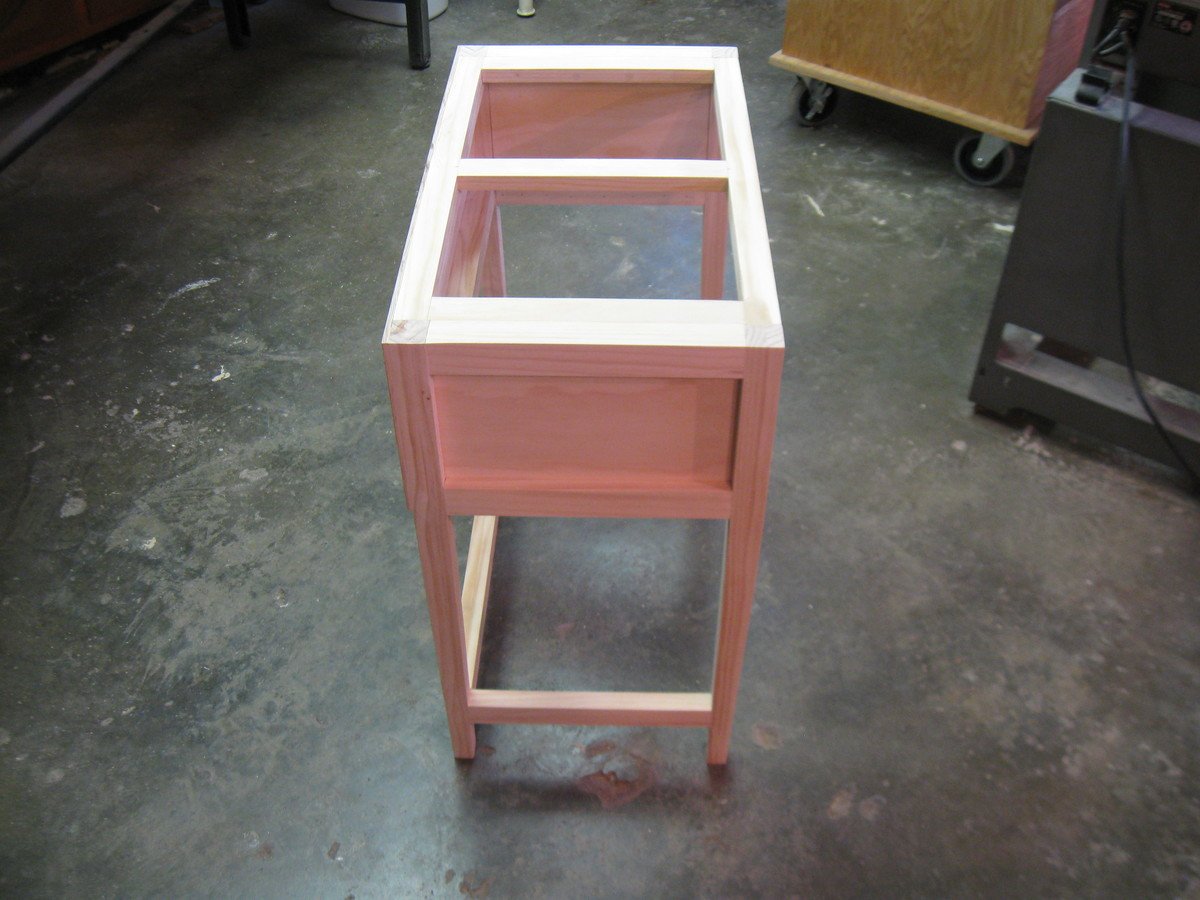
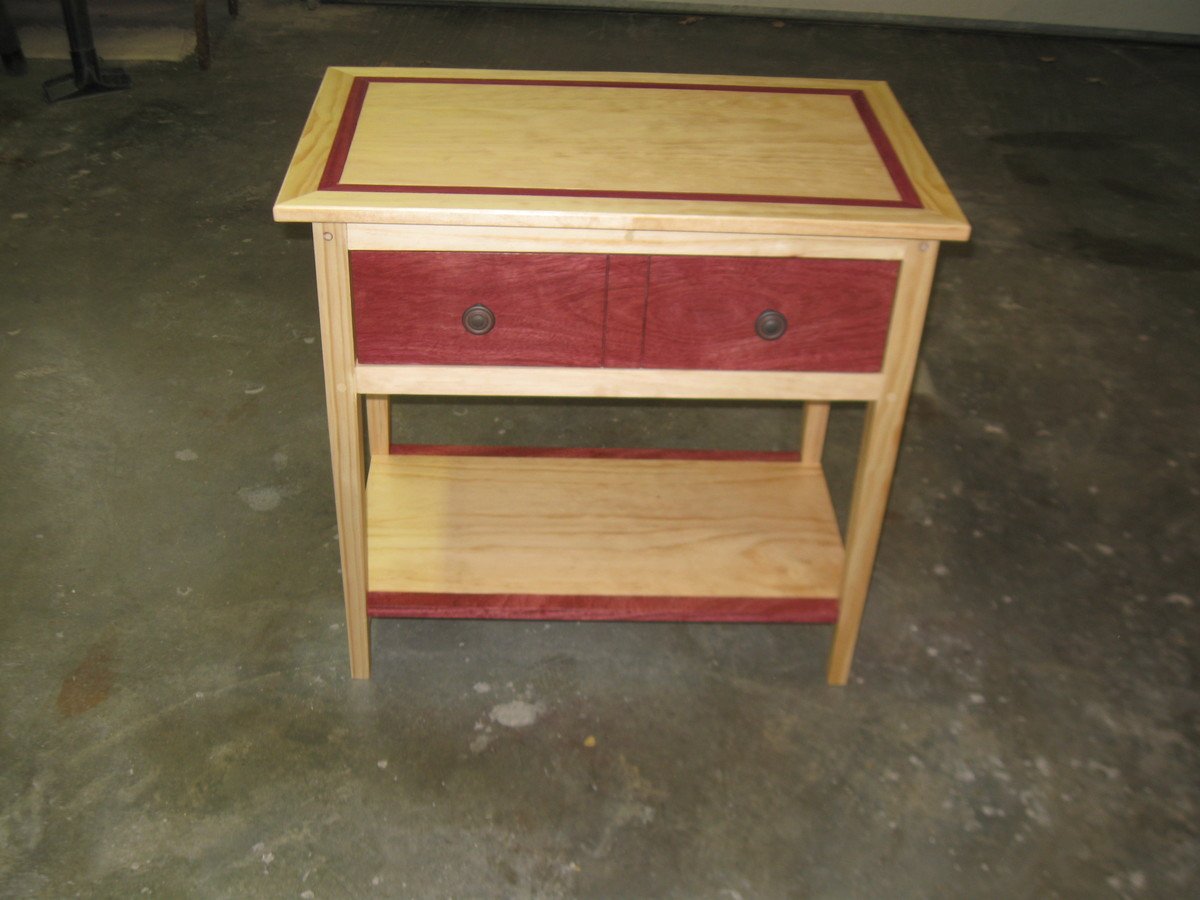
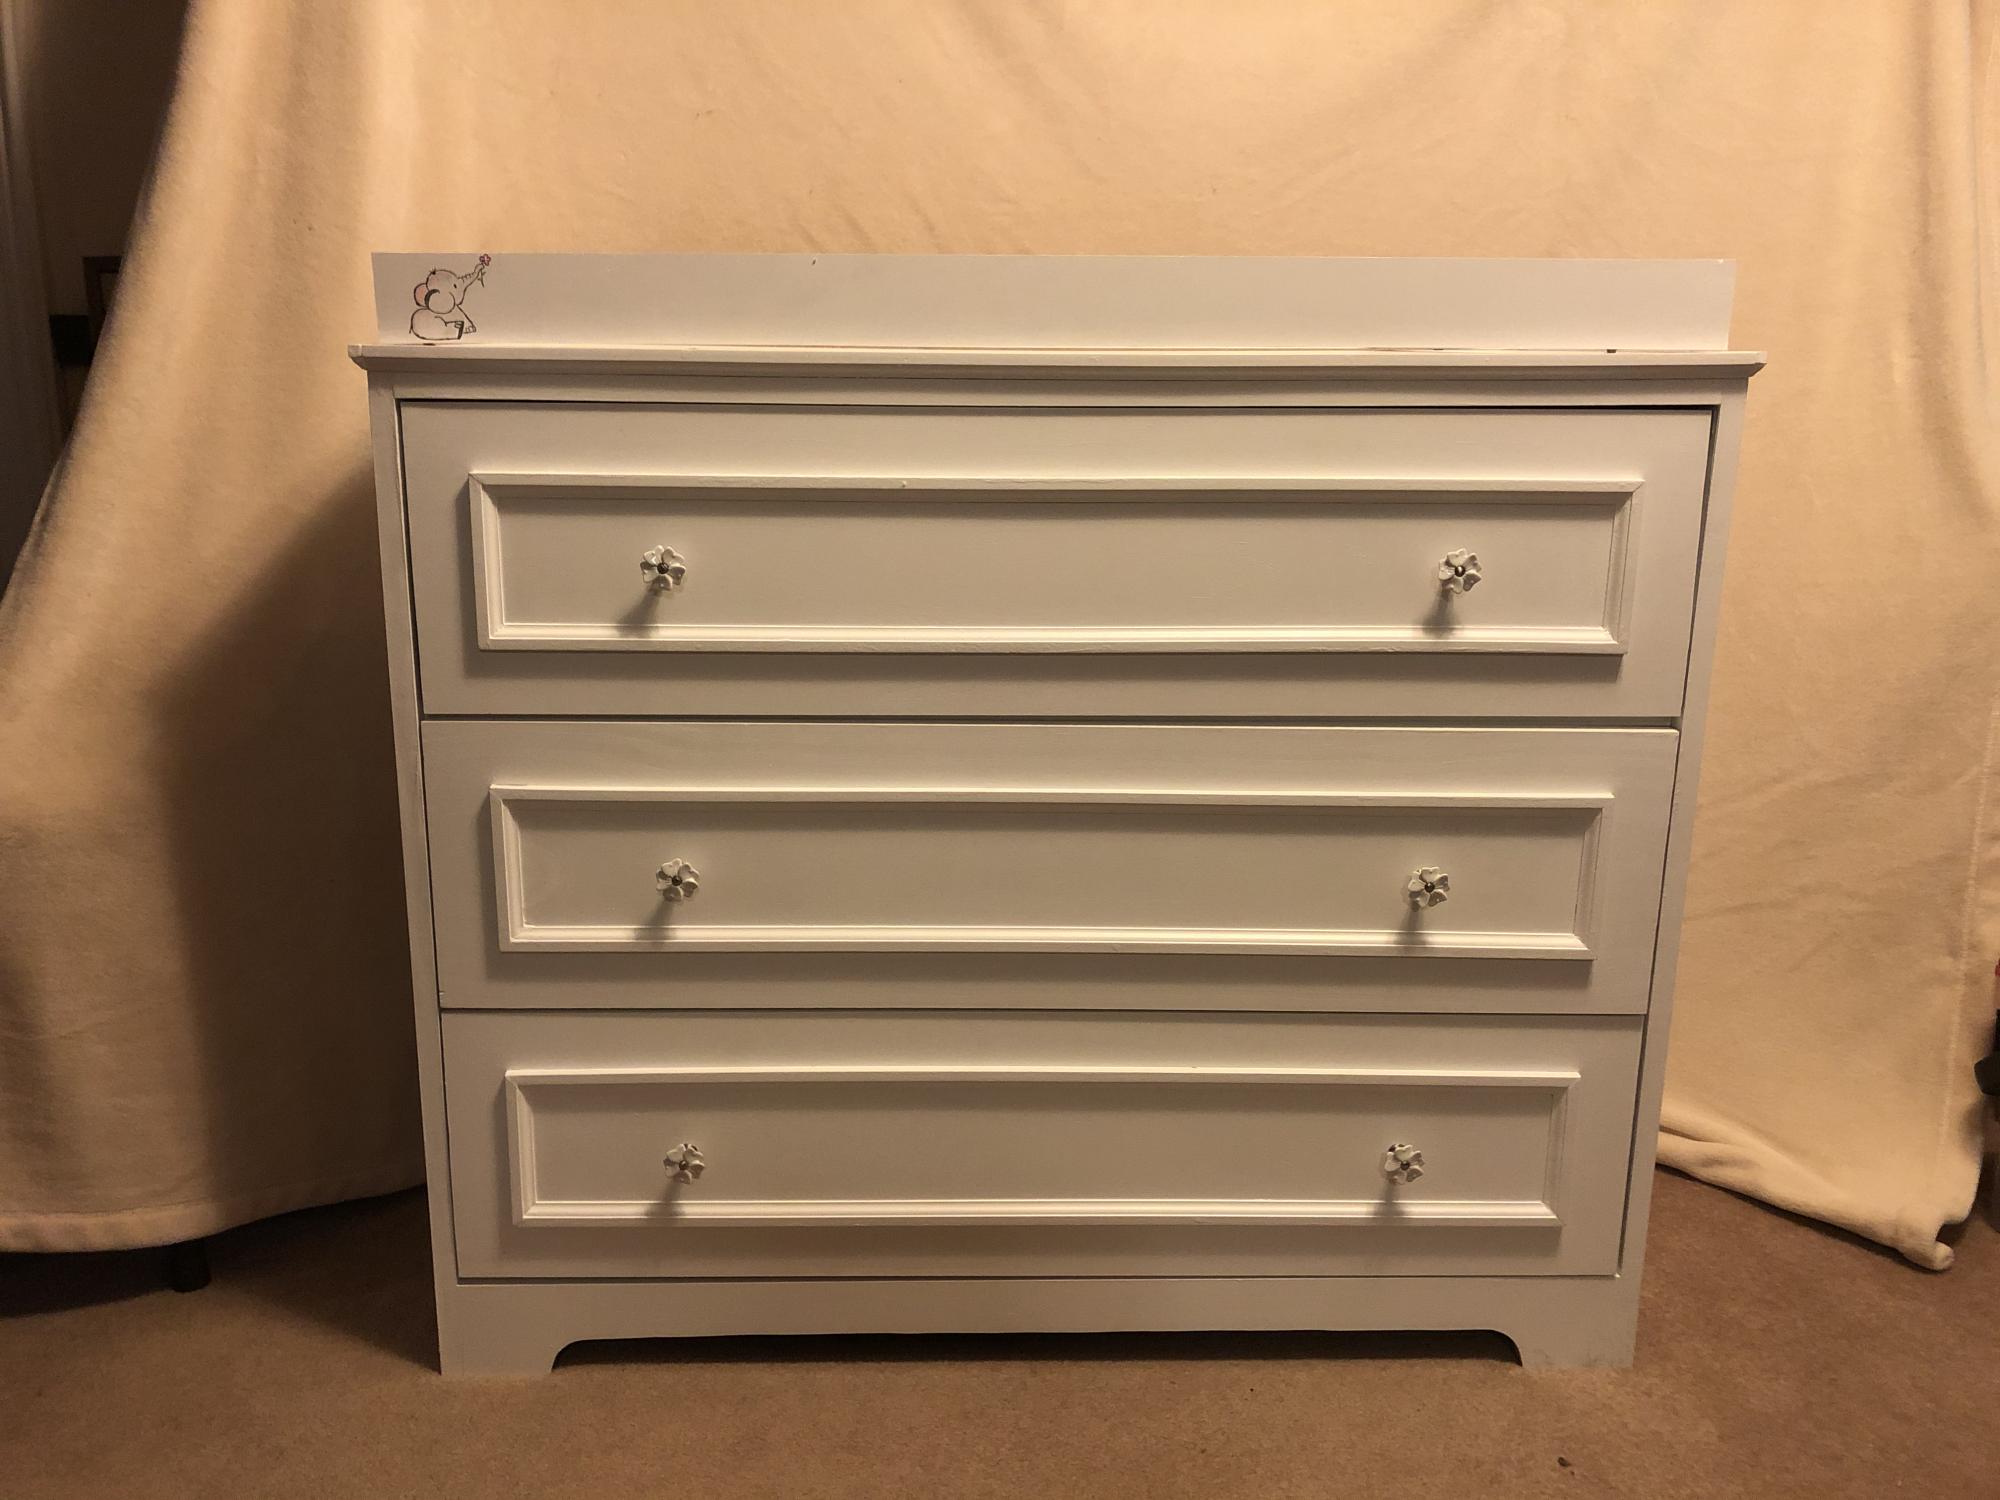
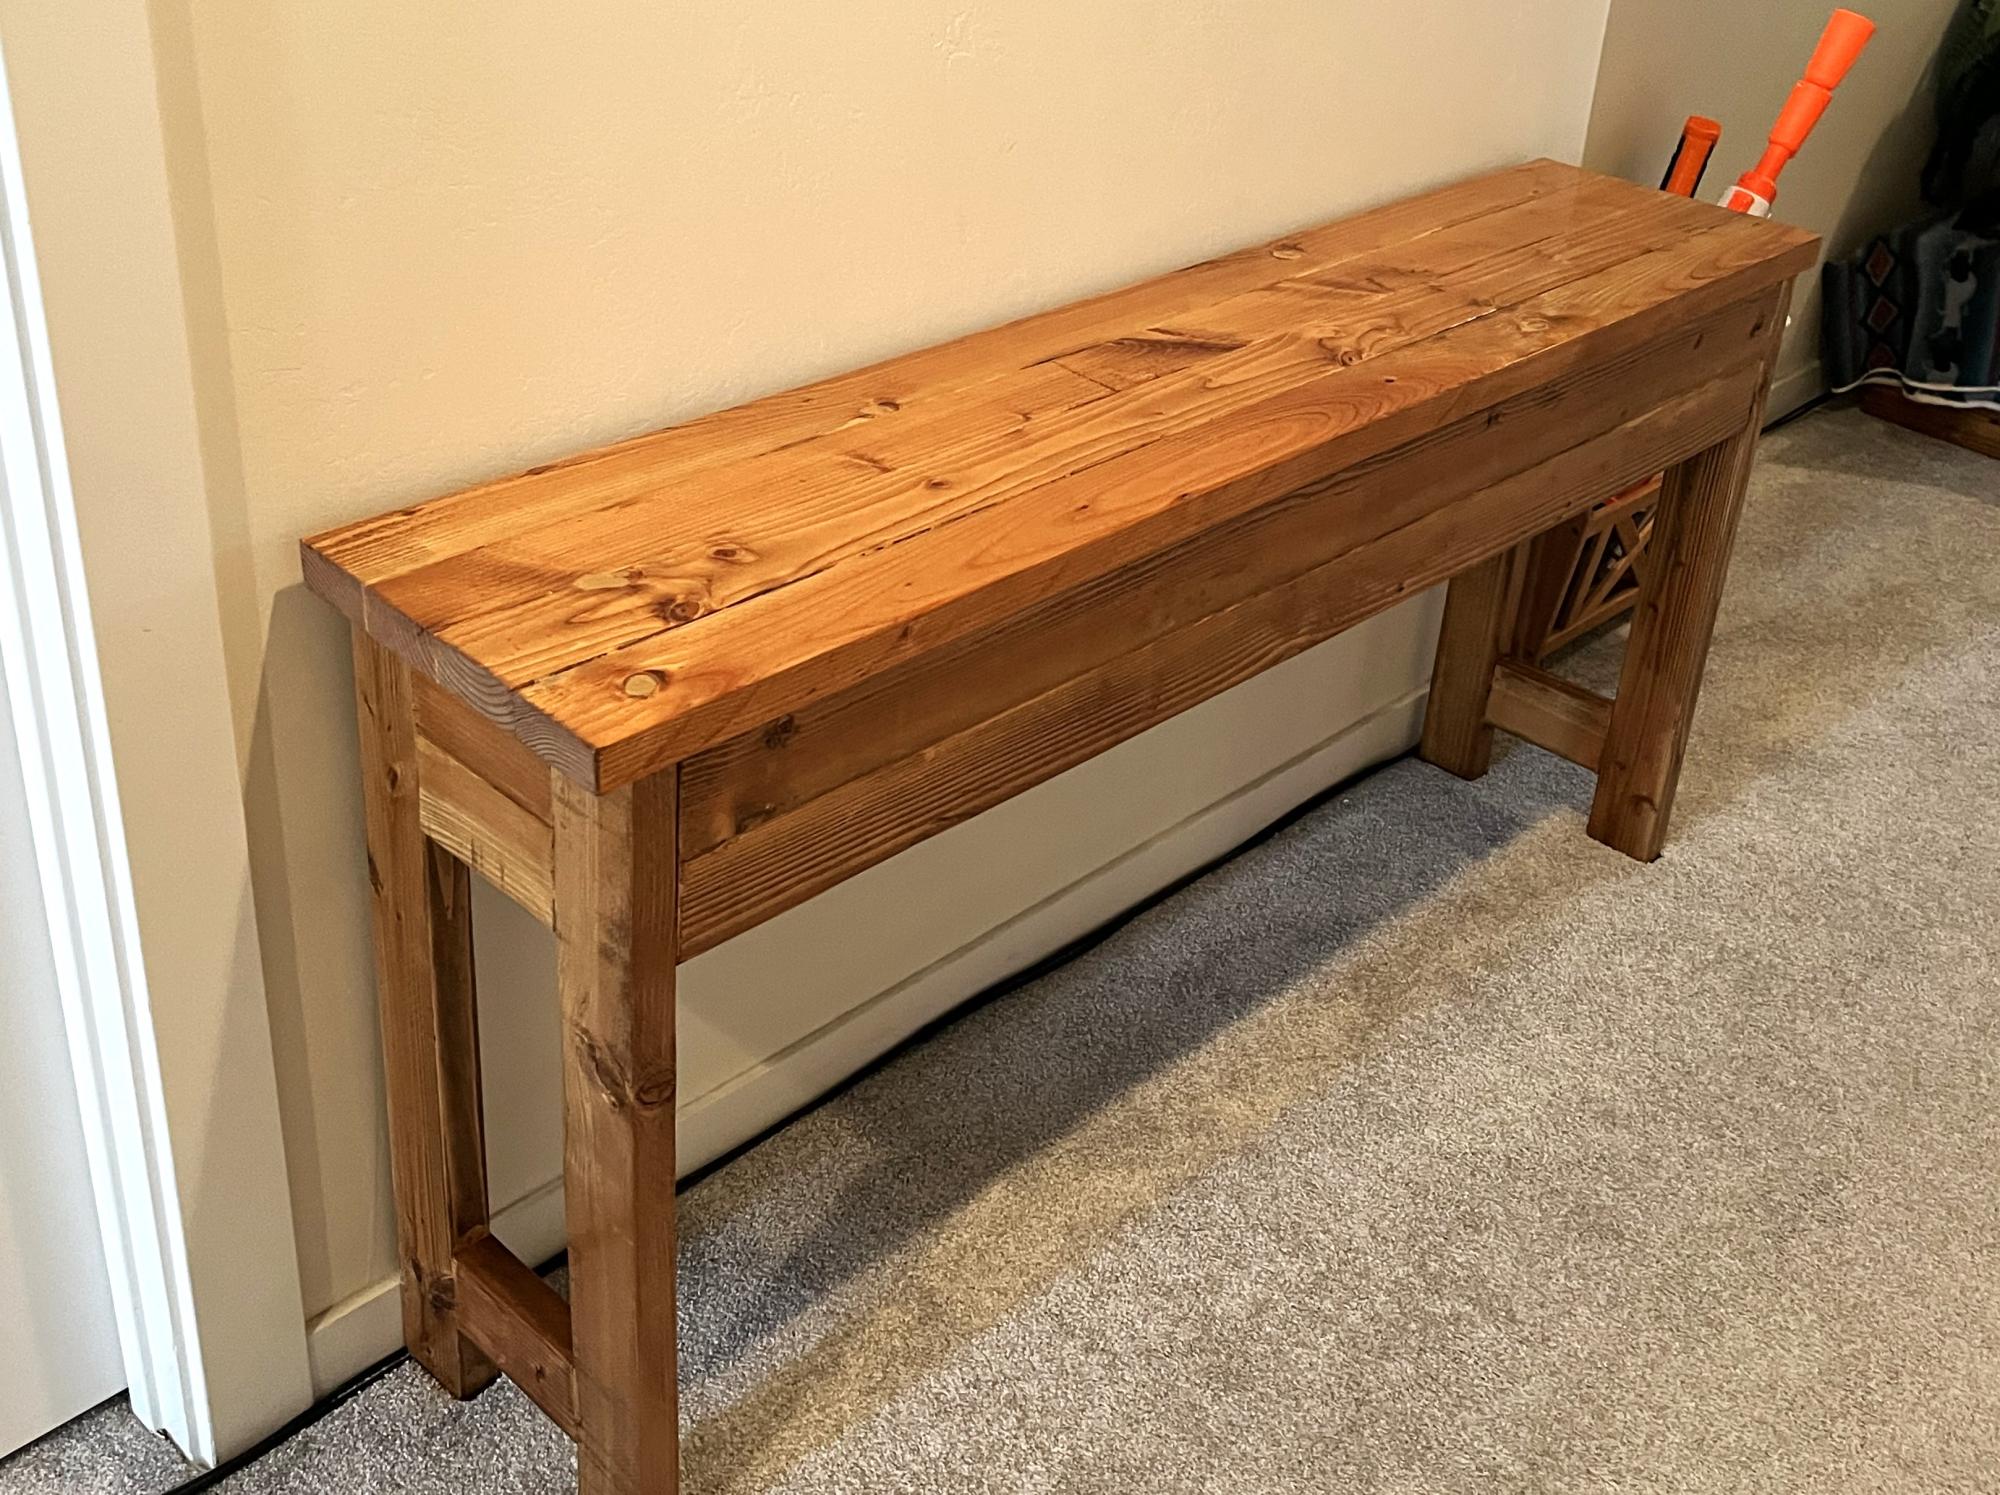
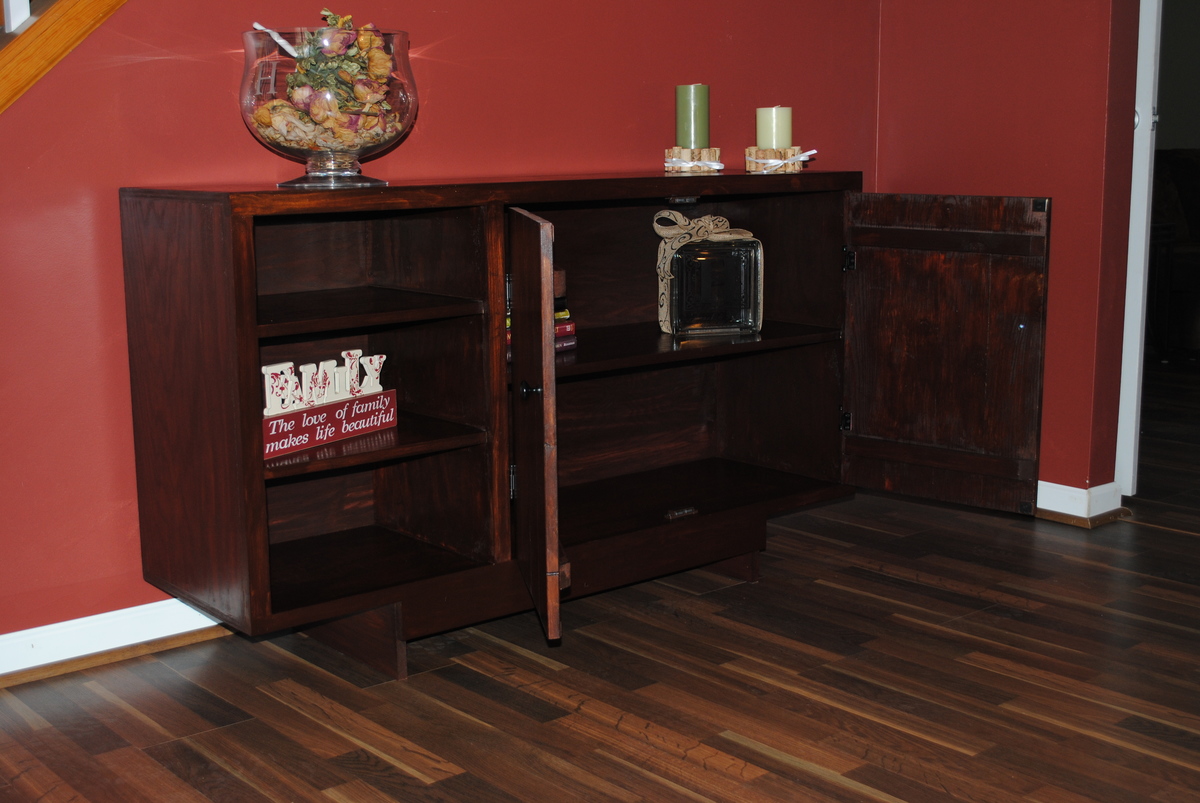
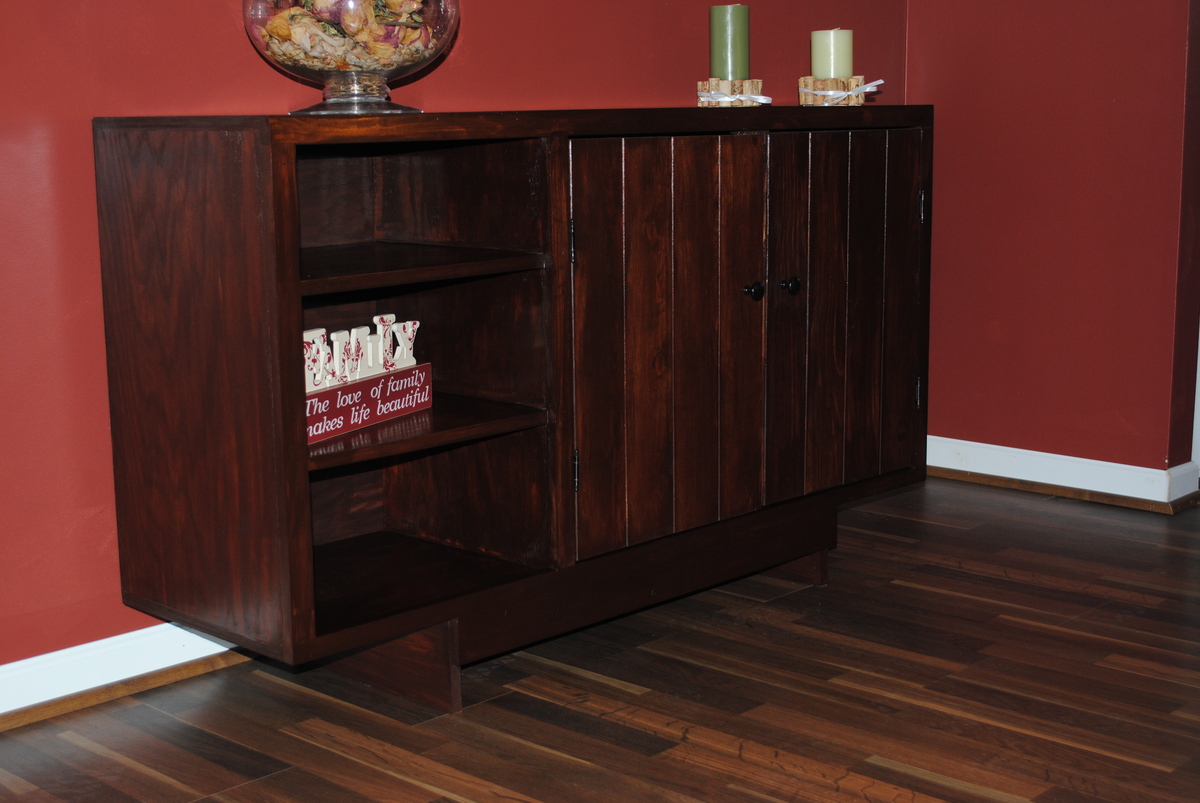
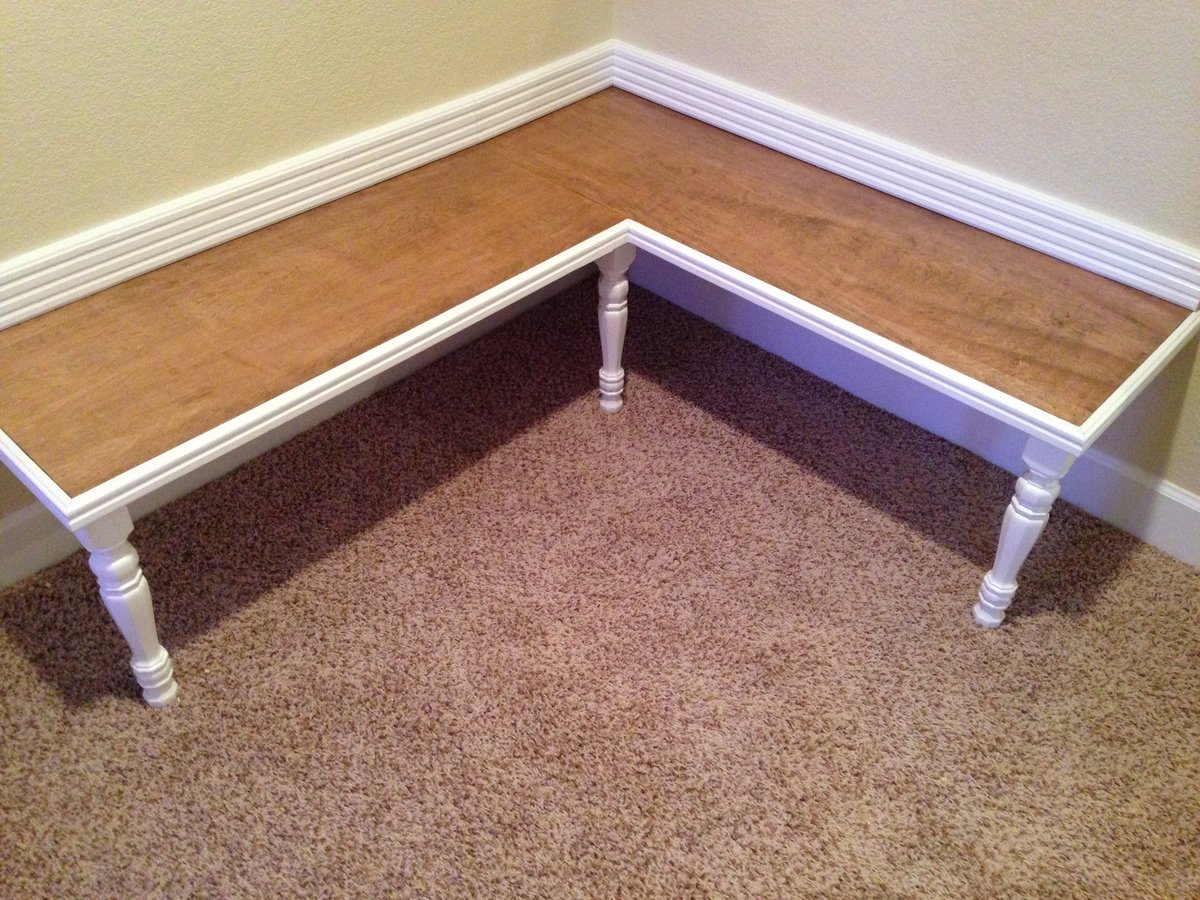
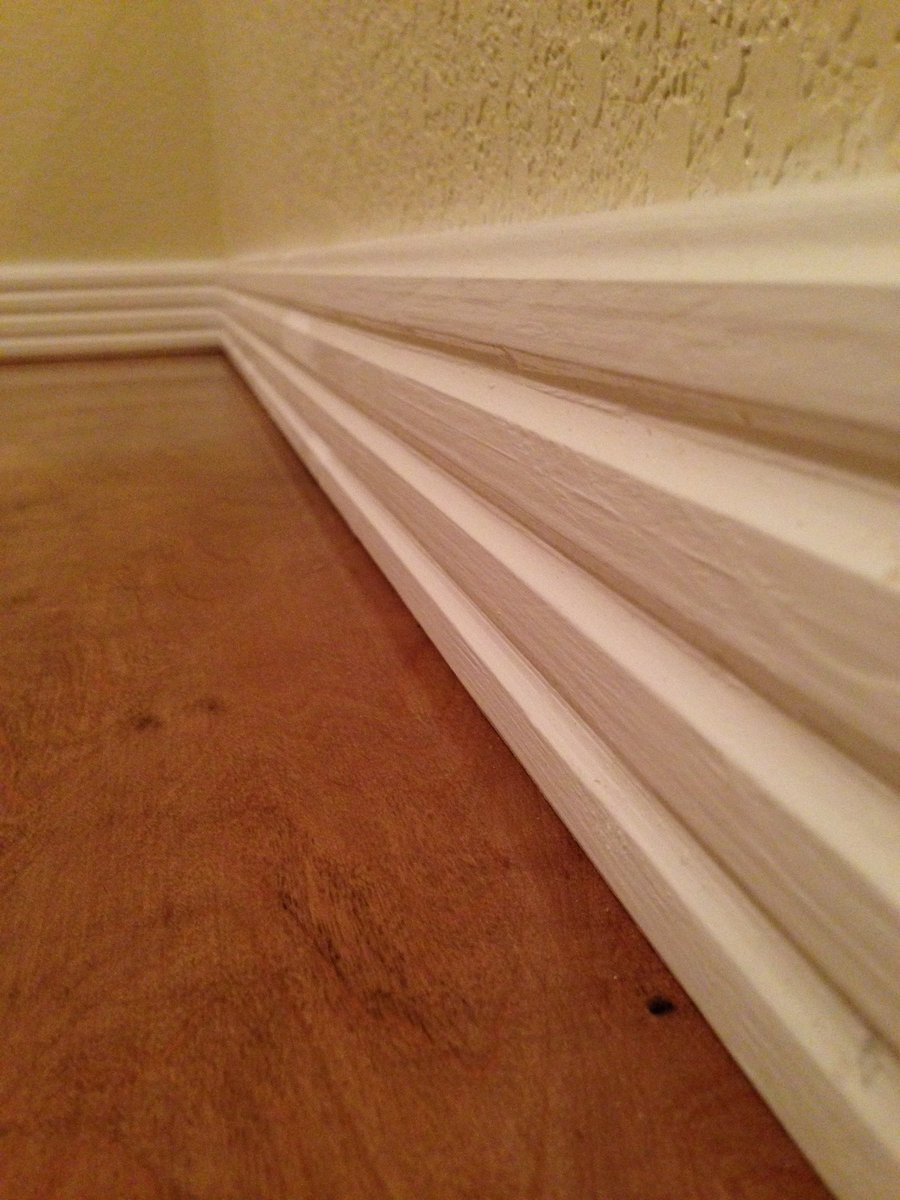
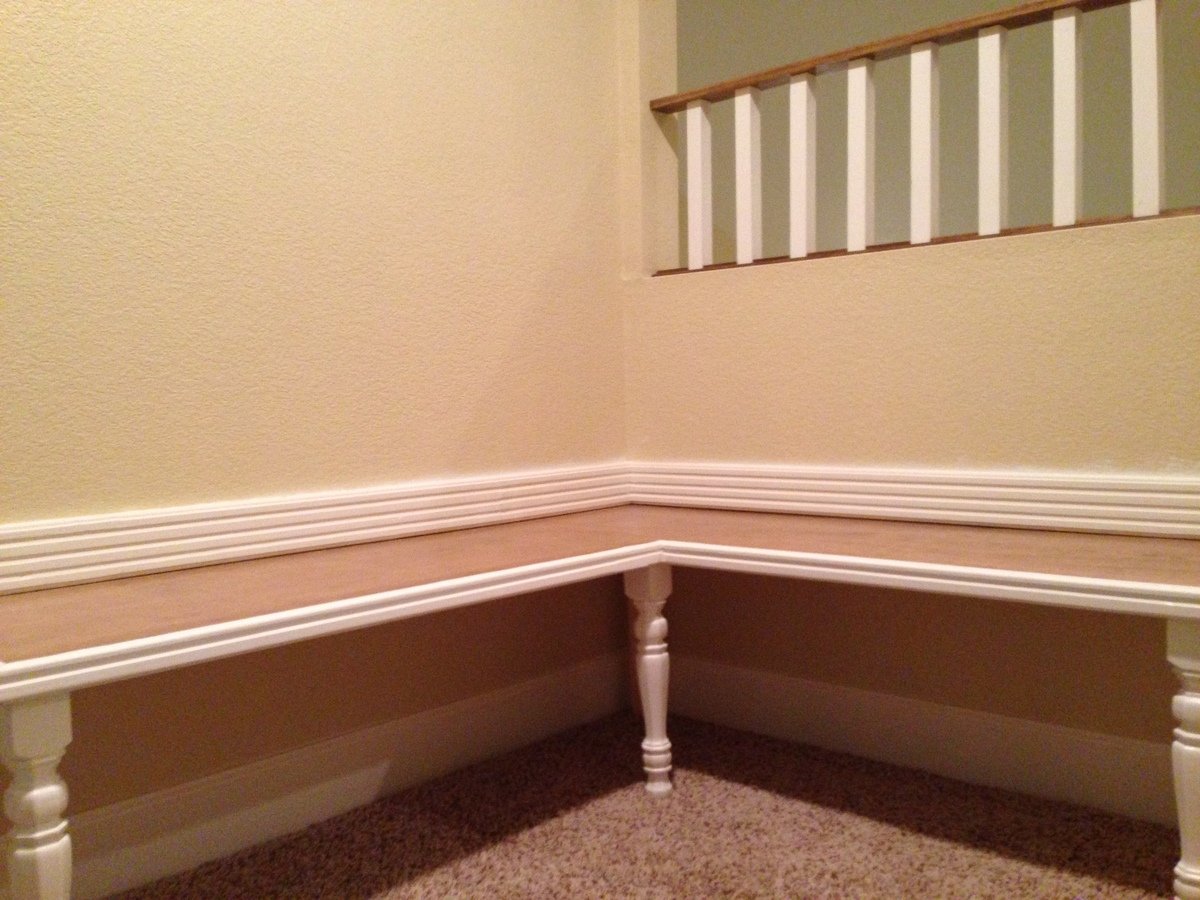
My wife and I wanted to turn our upstairs hallway/vacant little area into a book nook for our girls. My wife found some shelves that she wanted me to copy, so I did, but I added some custom routing to them. I had an area where I wanted to build an L shaped bench for the girls to hang out and read on. I had some old chair legs lying around, that I decided to recycle and use for the bench. I knew it would be a lot of work to sand them down and restain them, and my wife LOVES everything painted white (I don't get it) so I painted them white. At that point I had an idea to use some maple hardwood plywood for the bench seat, but I wanted it to be trimmed/outlined in white. I ran some pine furring through my joiner/planer and then I did some custom routing to it. I finish sanded the pine trim pieces and then painted them white as well. The maple plywood got a lite scuffing with 220 then stained and clear coated with some water based oil modified minwax semigloss poly. After I finished building the nook, there was some concern of the girls climbing up over the top of the bench and falling from the second story. I then custom routed some kiln dried pine, and planed some 2x2 furring, until it was square. The 2x2 was painted white and the kiln dried pine was stained and cleared, then I installed the safety rail. If anyone wants a build plan, I can write a step by step on how to build this or something similar to it.

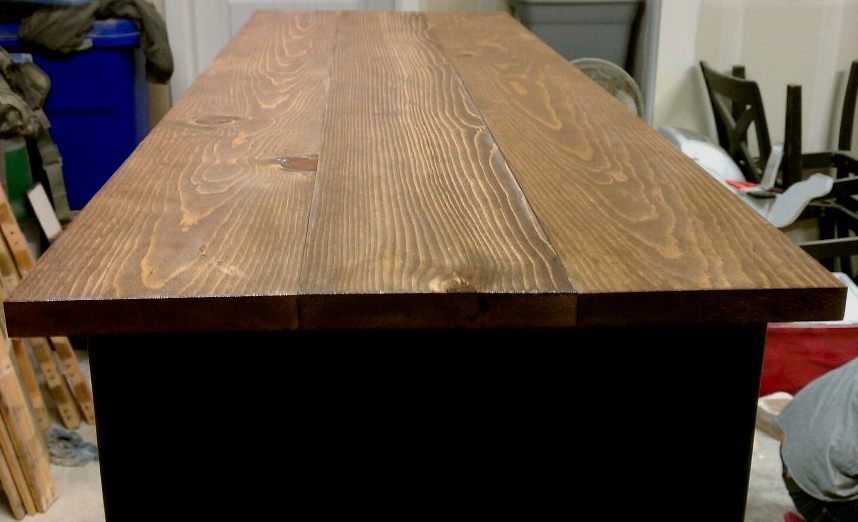
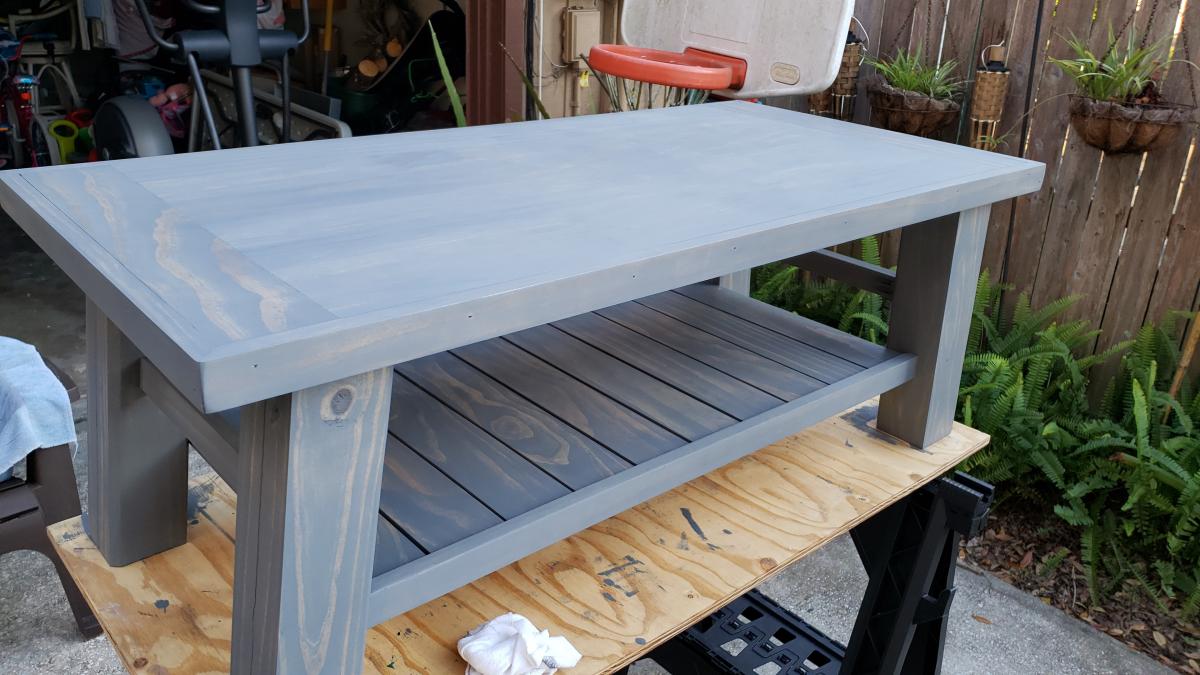
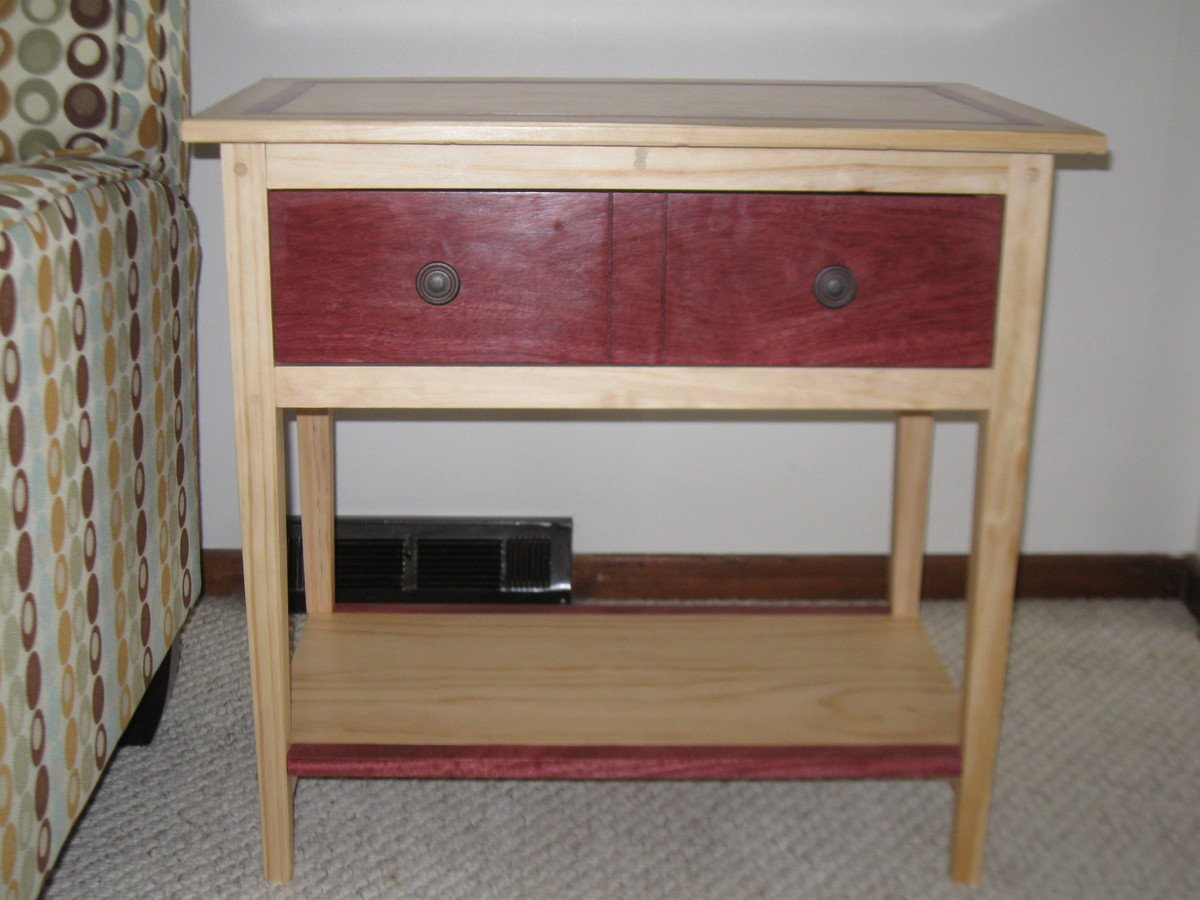
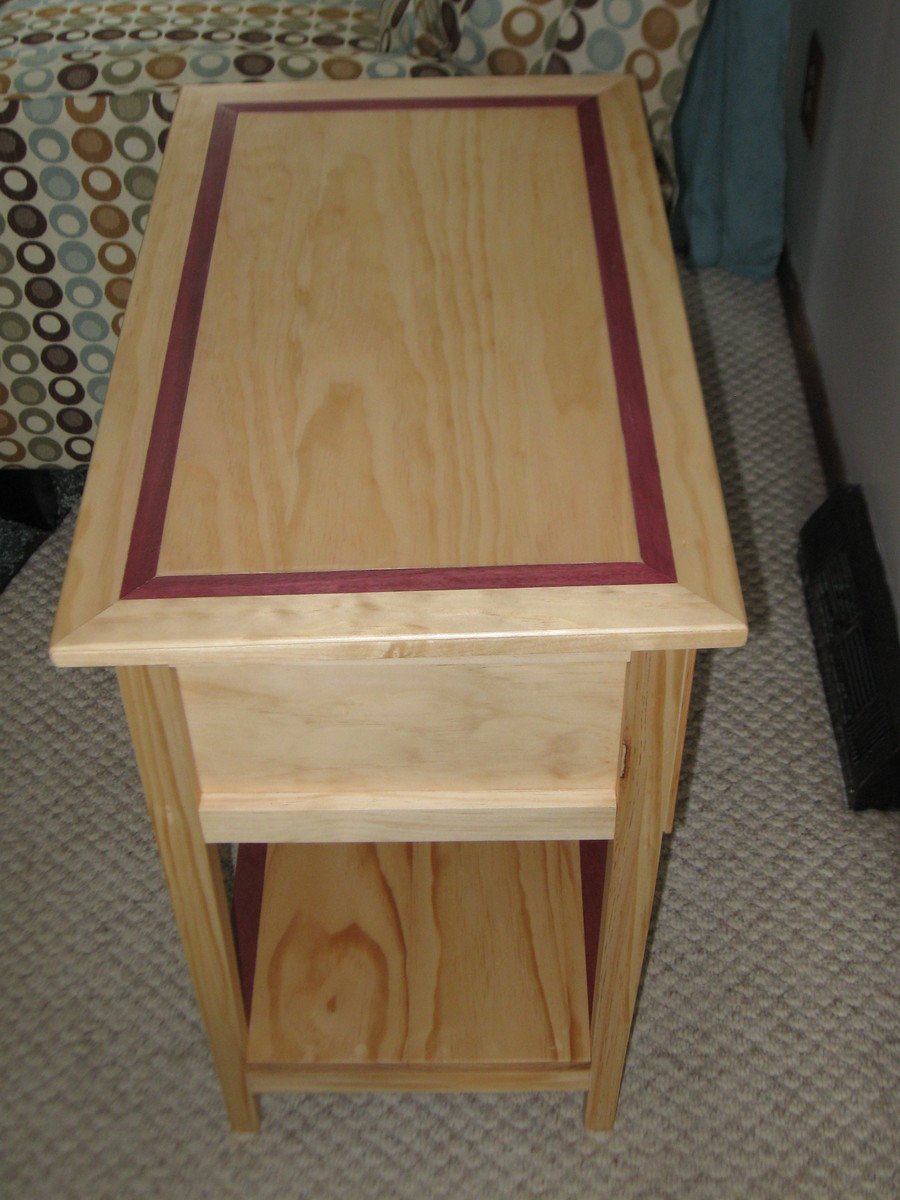
Minwax Special Walnut Stain - 1 dripping wet coat with foam brush, then whipe off puddled stain after 15 minutes.
Minwax Water Based Oil Modified Semi Gloss Polyurethane- 3 coats with a light sanding using 220 grit after coat number 1 and 2. Wait two hours after coating before you sand.
White Paint (I just purchased some that matches my base board paint)