Wood Nightstand

I loved the look of the original but went with more of an antique icebox feel. Made from cherry and aged with lye and a danish oil top coat.
reader build


Built from Plan(s)
I loved the look of the original but went with more of an antique icebox feel. Made from cherry and aged with lye and a danish oil top coat.
reader build
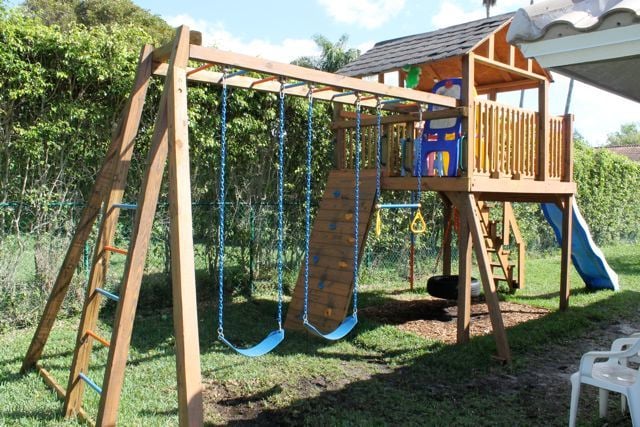
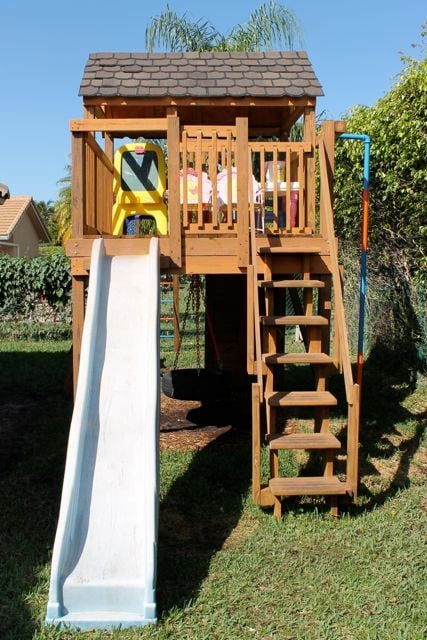
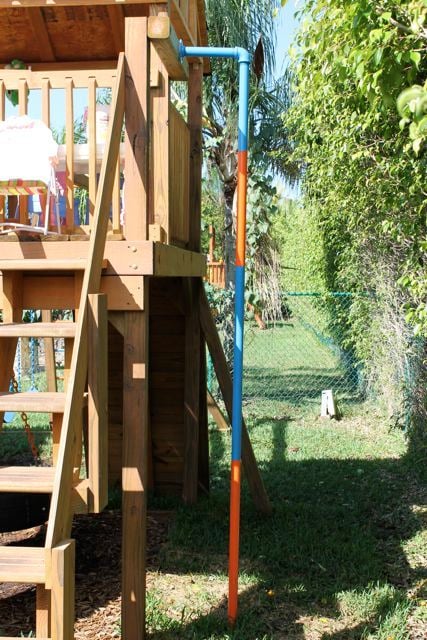
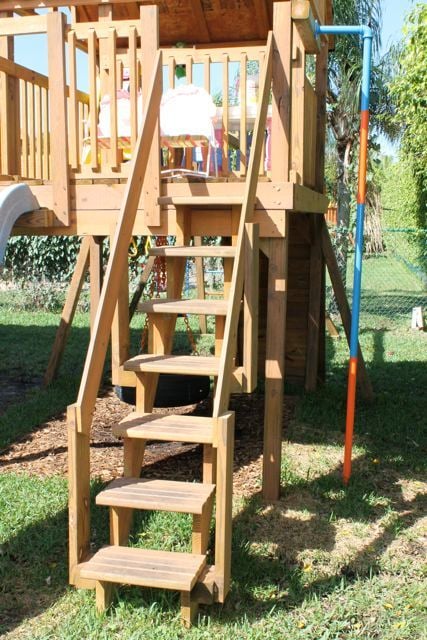
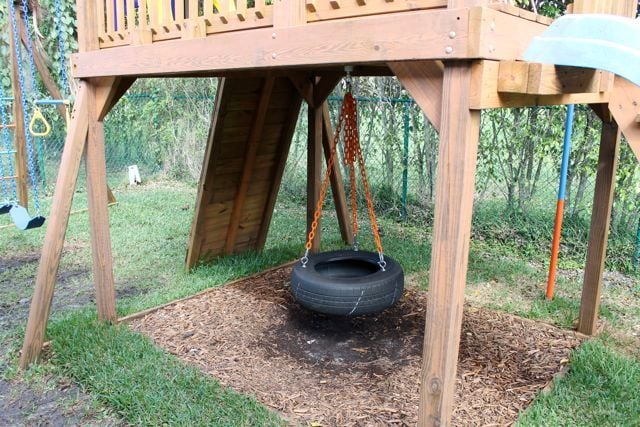
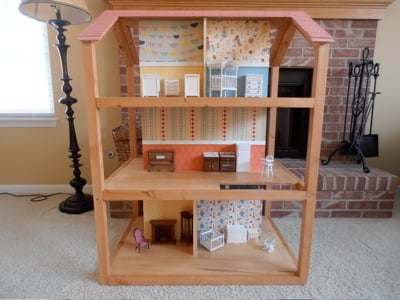
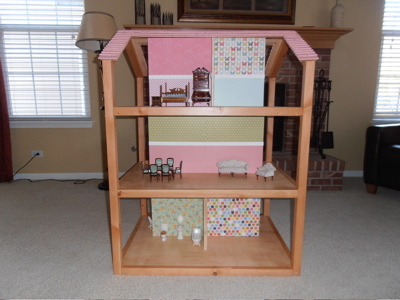
My husband Jon recently built this playhouse with/for a friend of his from work. It took them two months to complete and it's awesome! Jon's friend is also a die hard Gators fan so they made sure to add blue and orange as much as they could. Thanks Ana for giving them the courage to take on such a feat!


Wed, 03/21/2012 - 01:51
Great Job! All this says is "GO BRONCOS!" I'm an Idaho girl and I love the BOise State colors, lol! "Playhouse" is an understatement. This is a jungle. This is a huge play structure! and it is awesome.

In reply to Great Job! All this says is by birdsandsoap
Sat, 04/14/2012 - 07:08
Haha! Thanks birdsandsoap! I think it's awesome that you saw something special in a totally different way. Glad you liked our color scheme and project! ;)
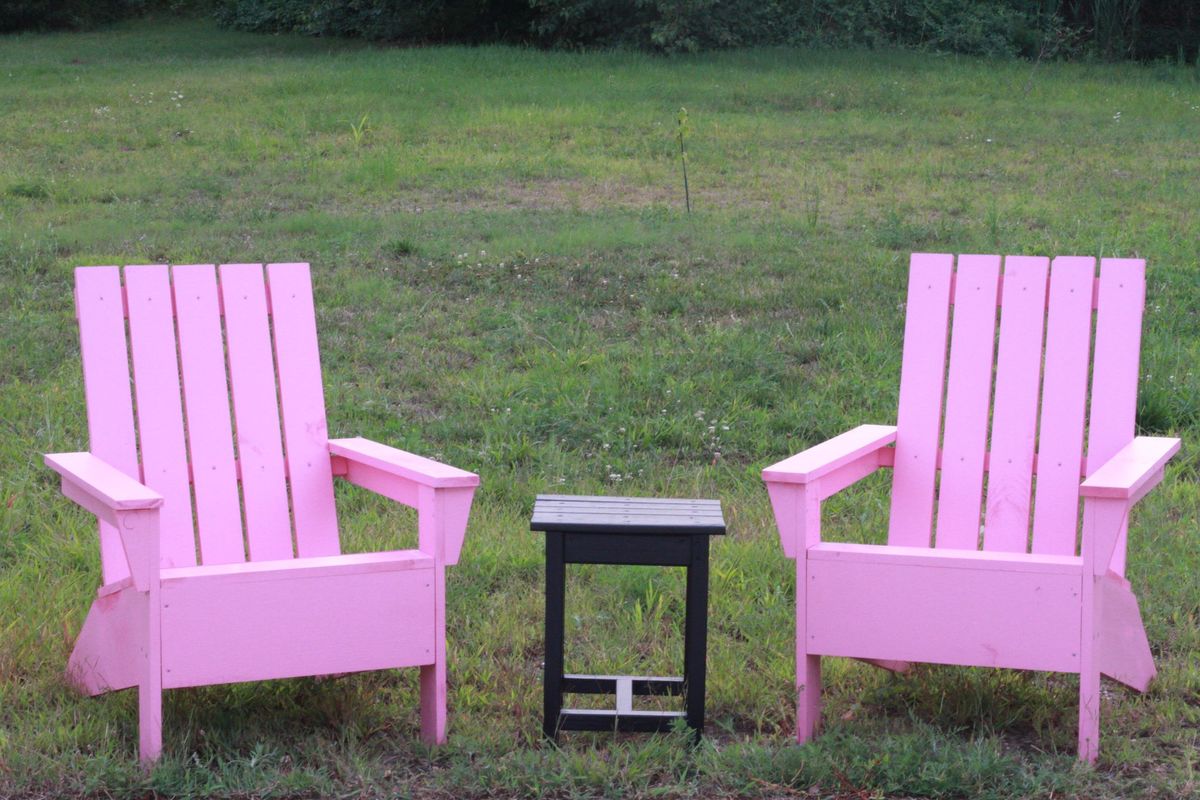
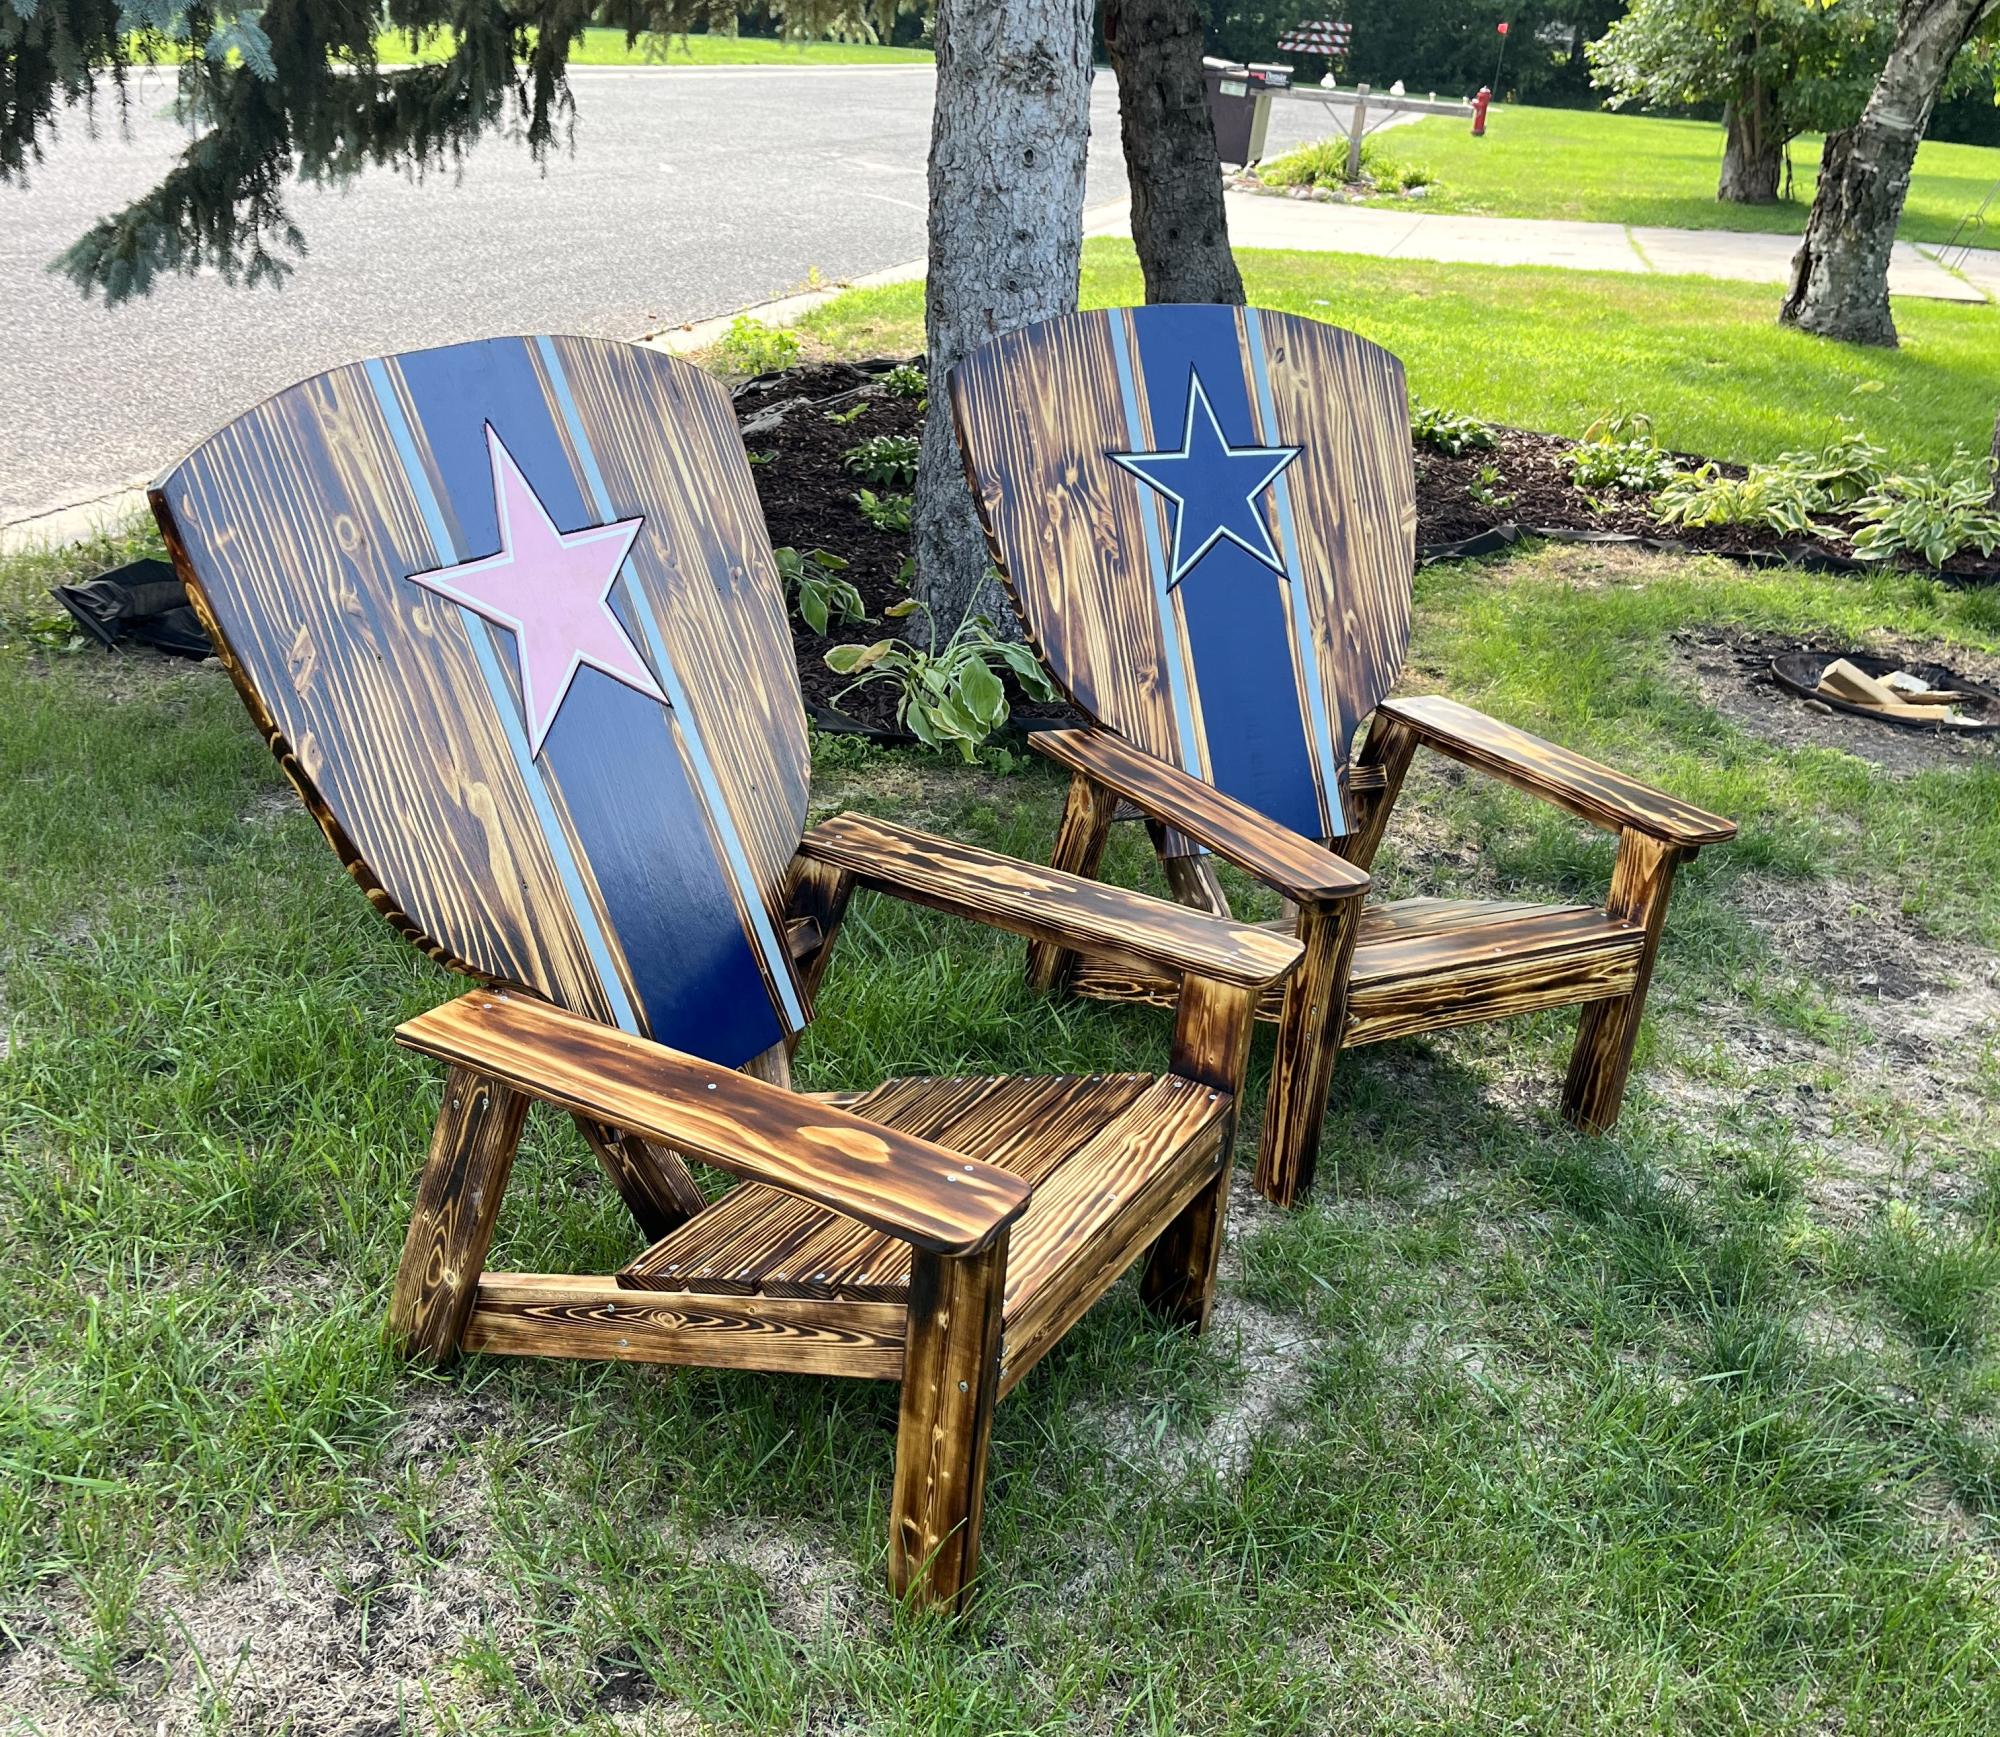
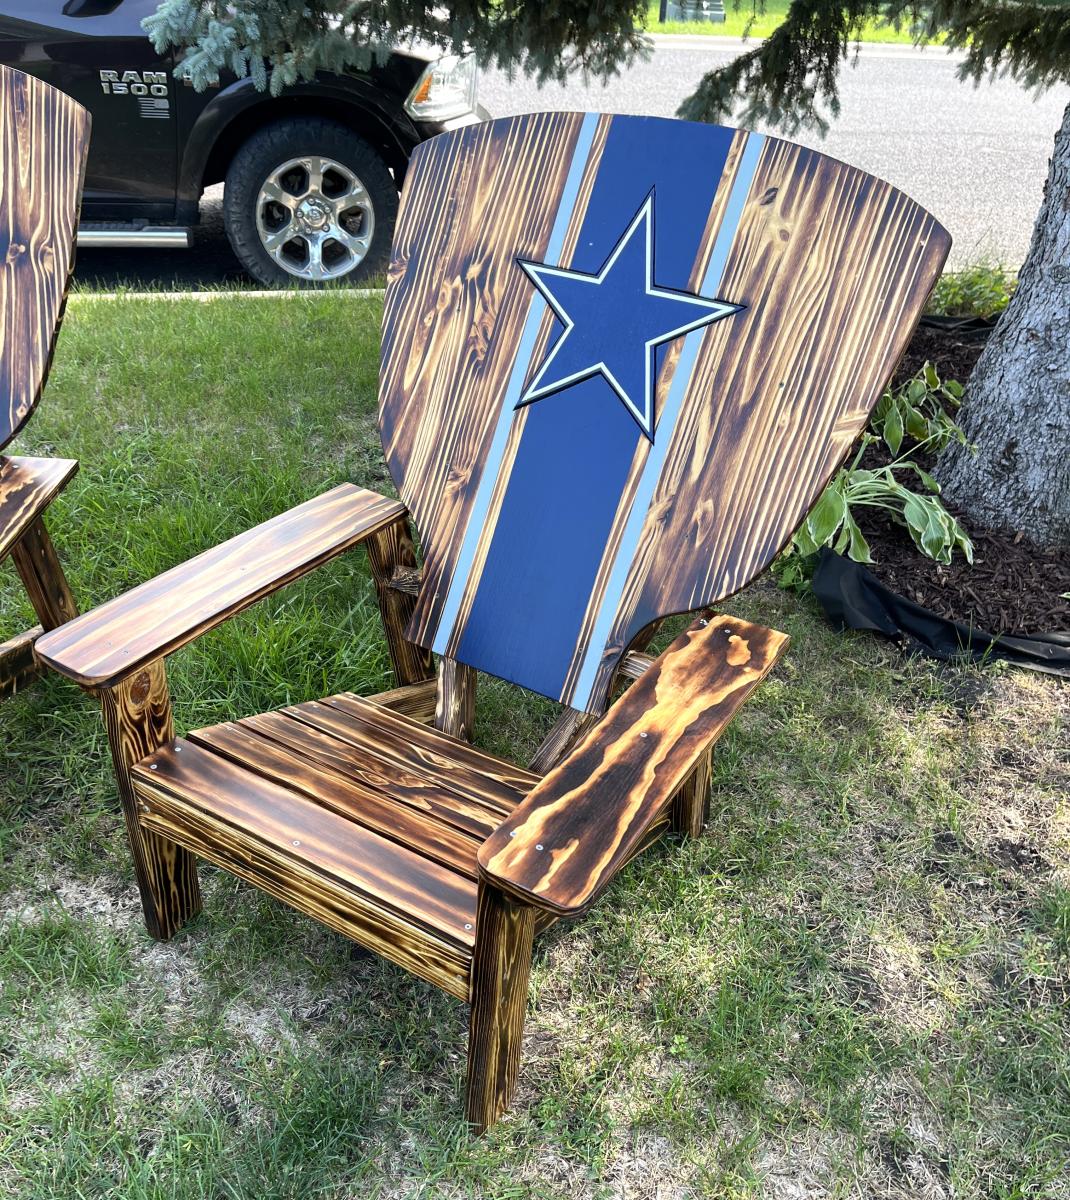
Two Pink Adirondack Chairs
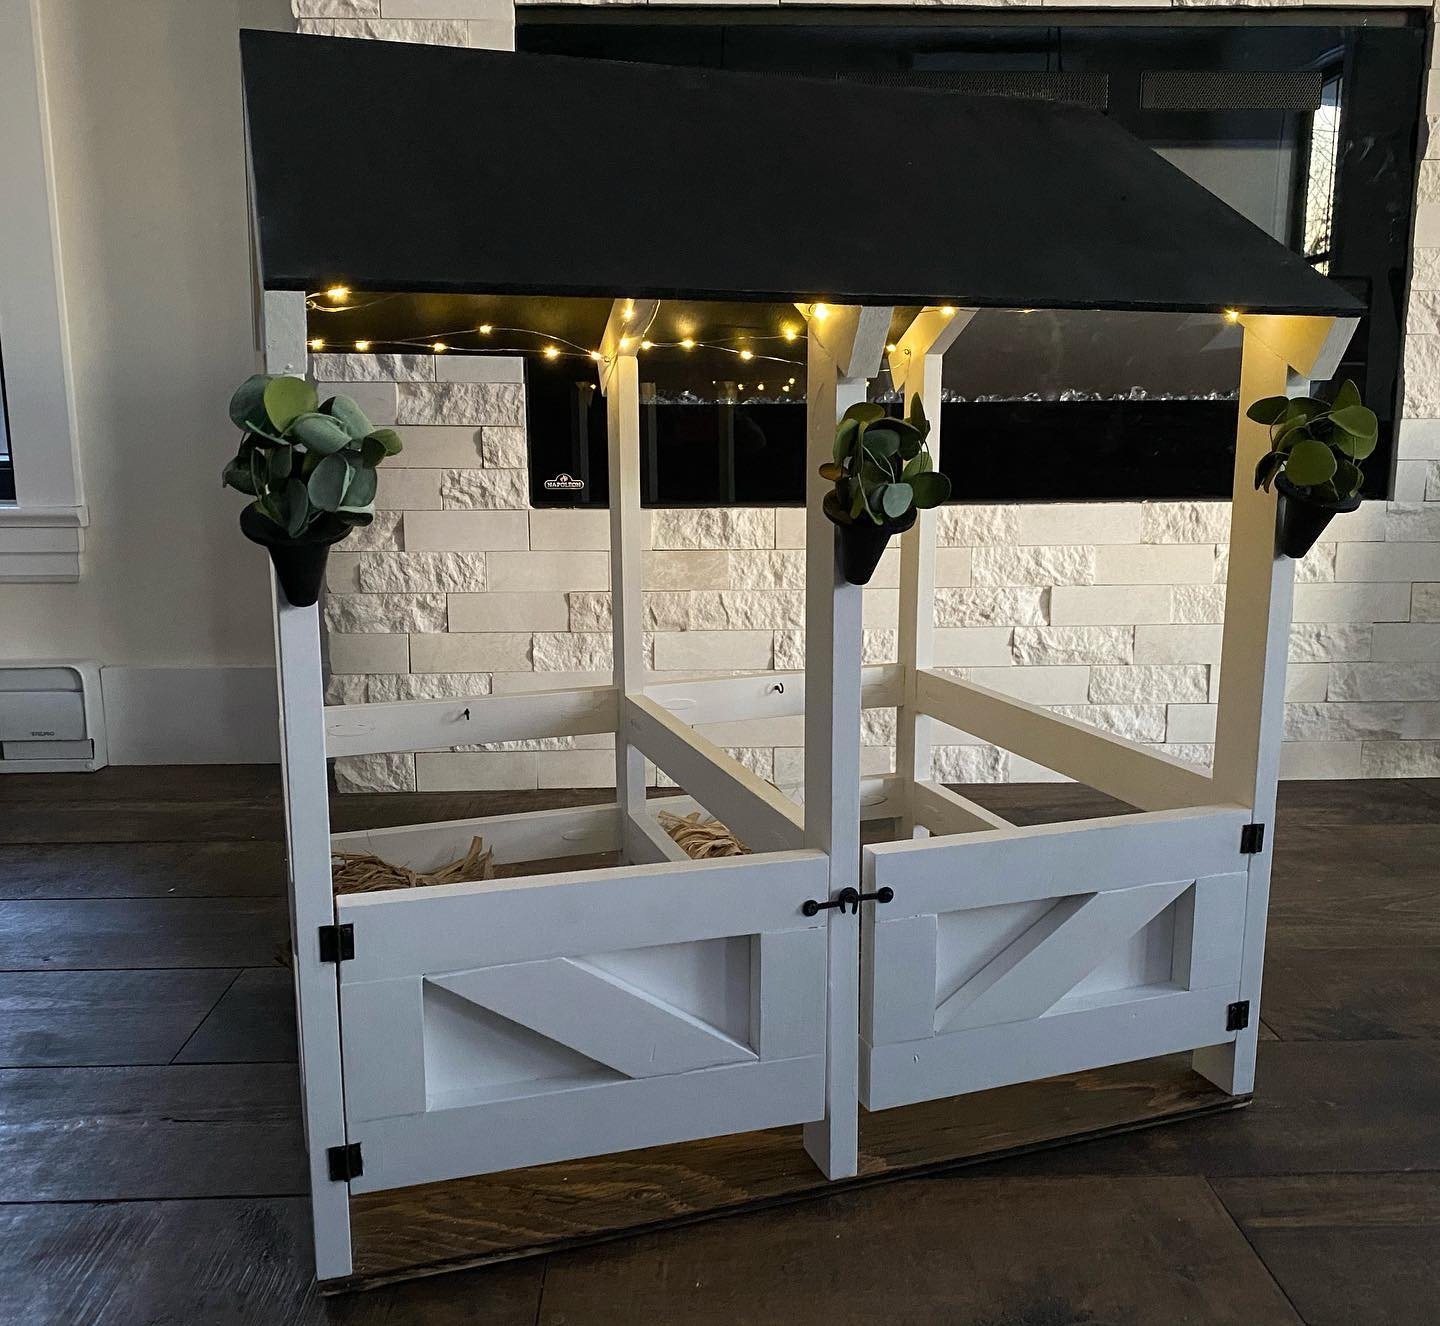
Loved creating the Ana White Horse Stable with a few additions! I added planters and twinkle lights for my girl!
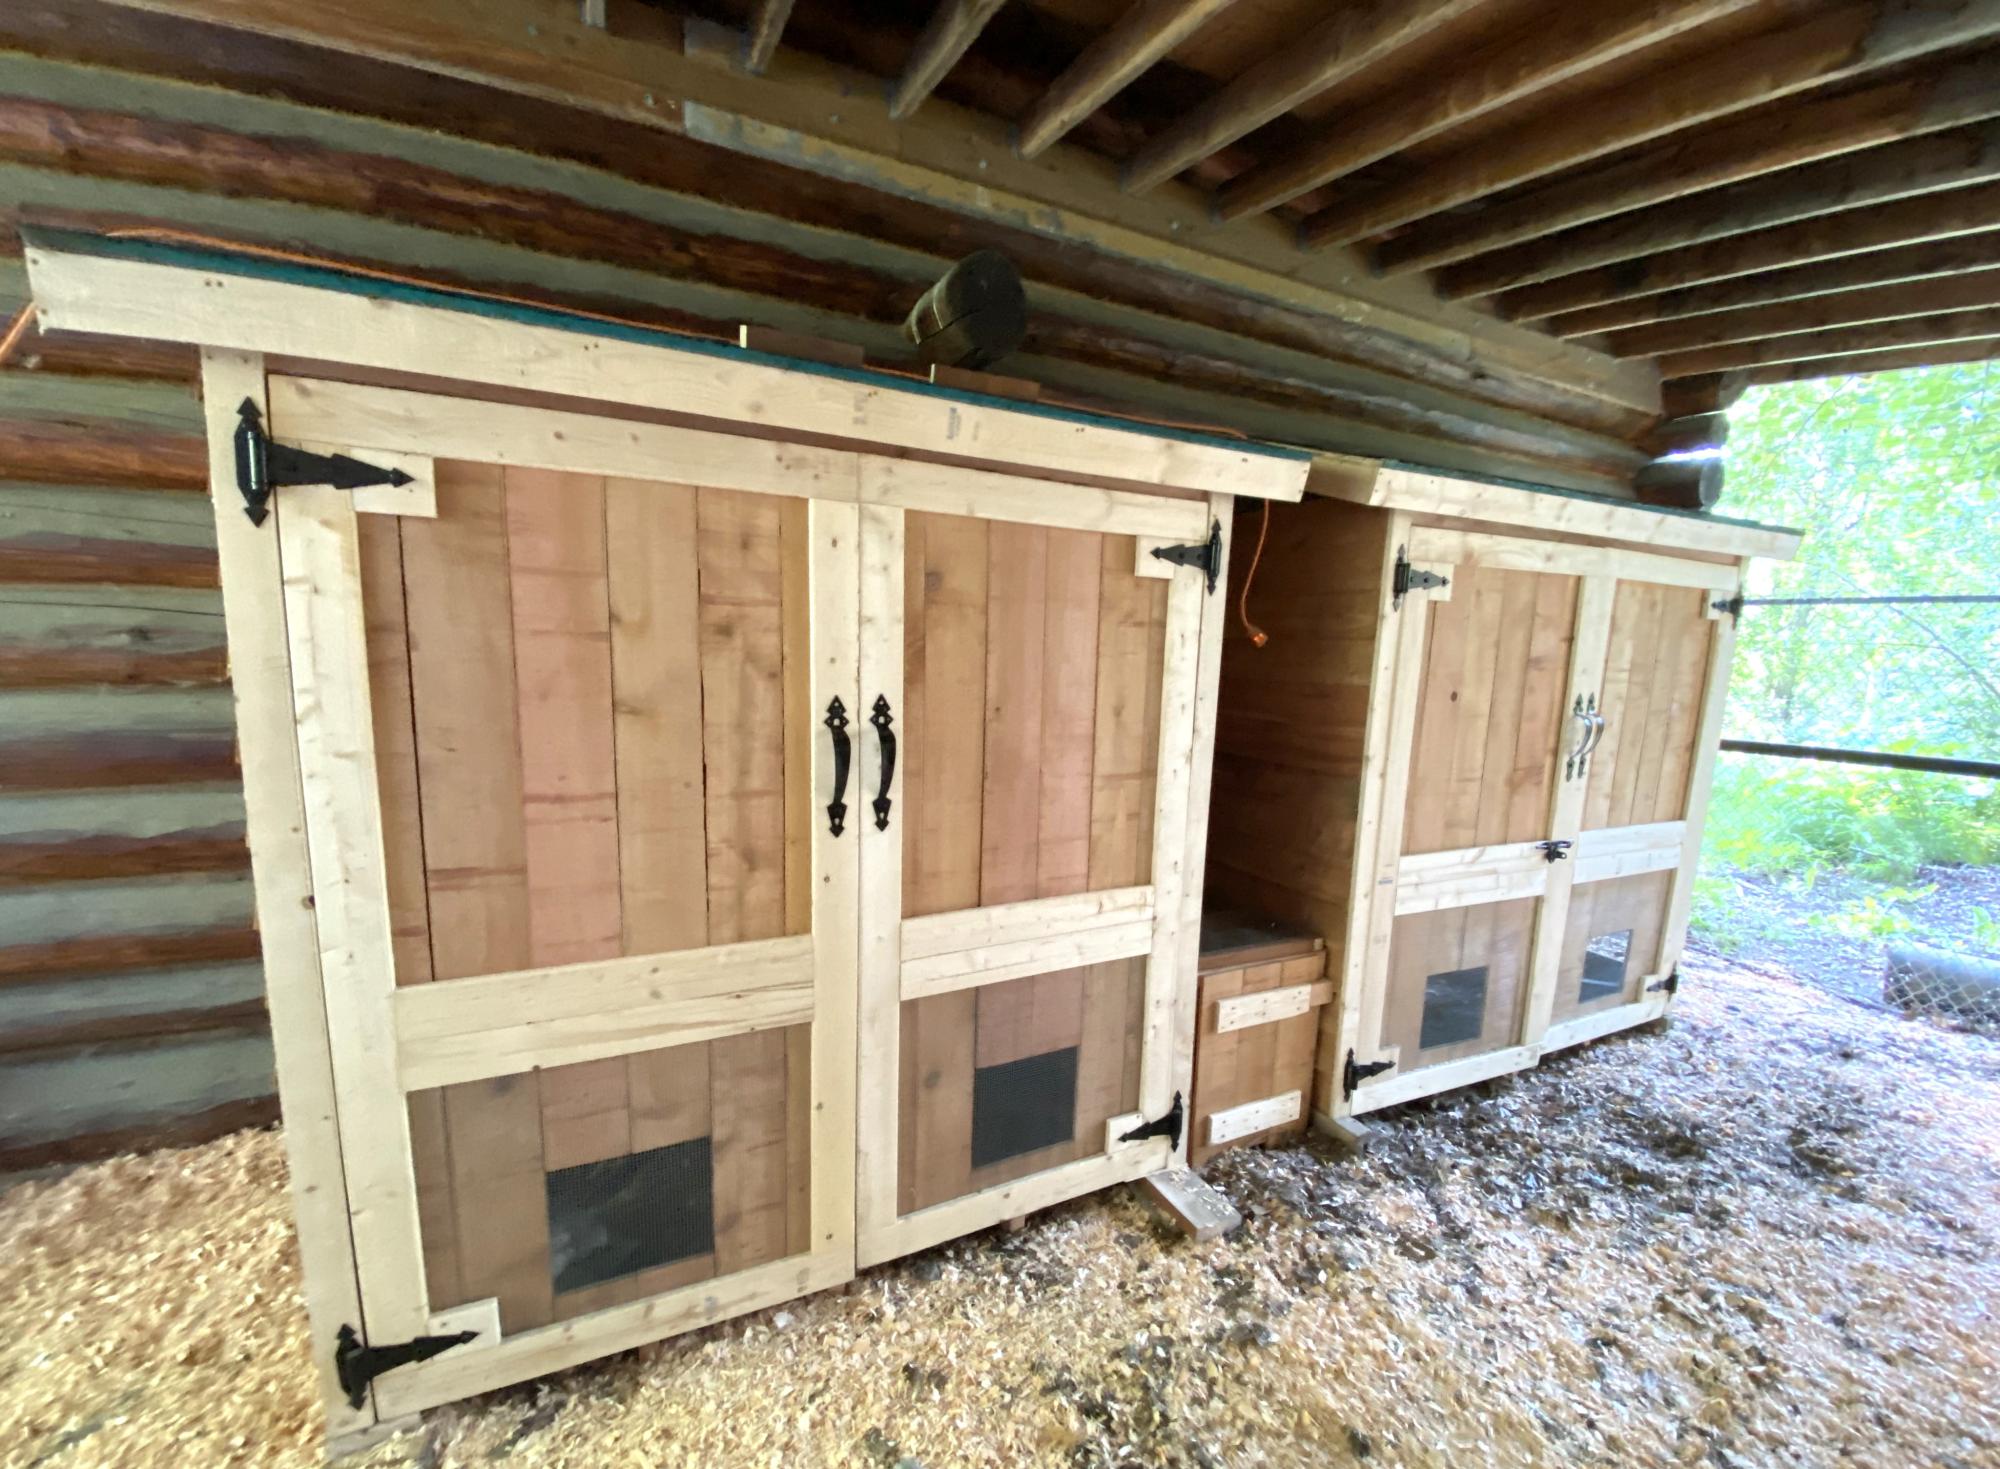
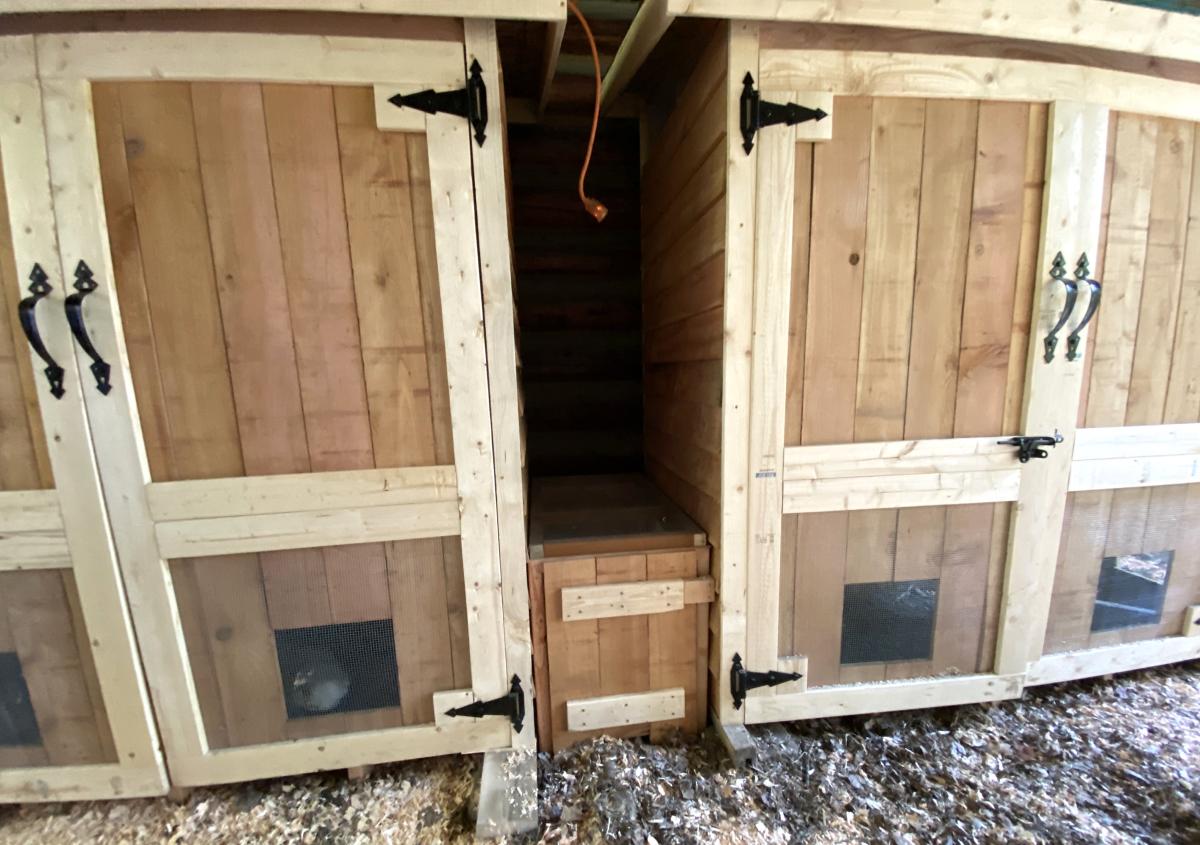
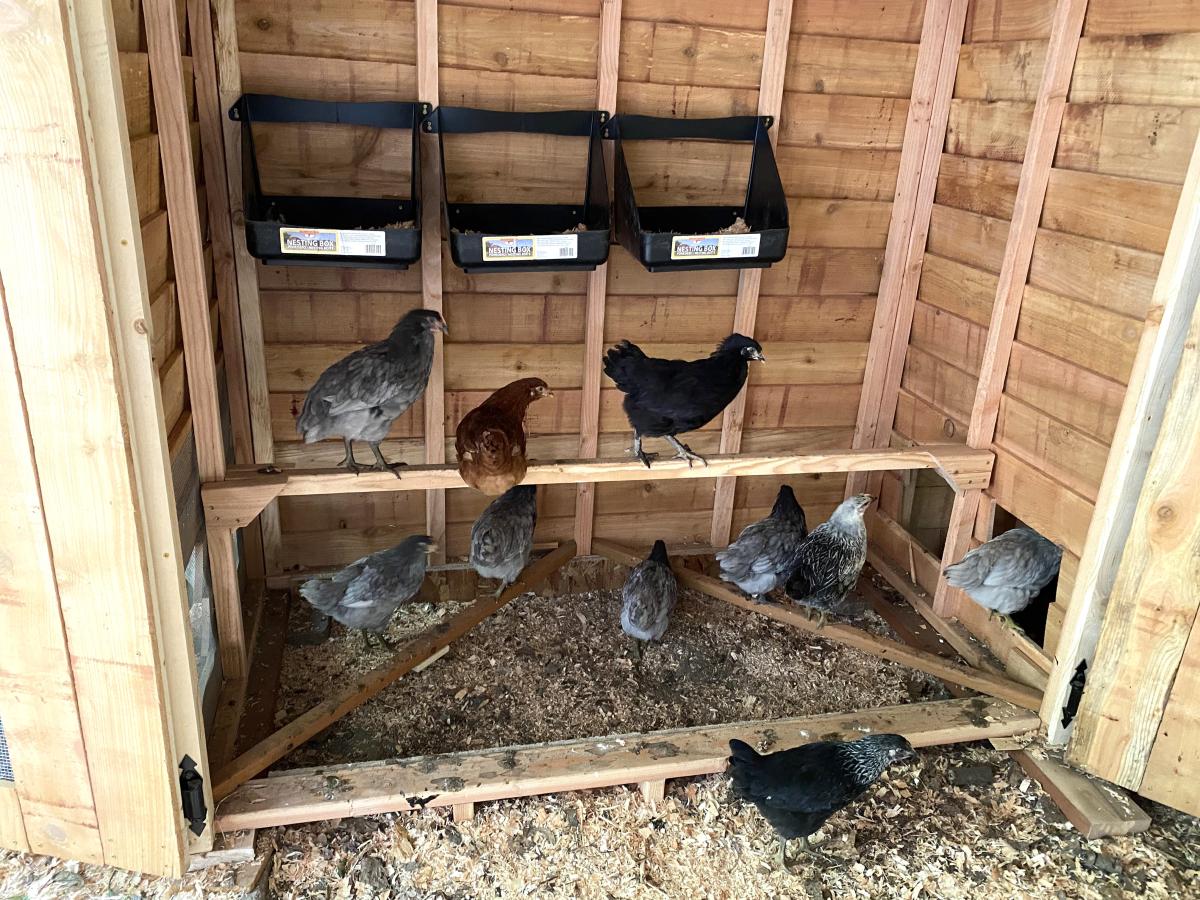
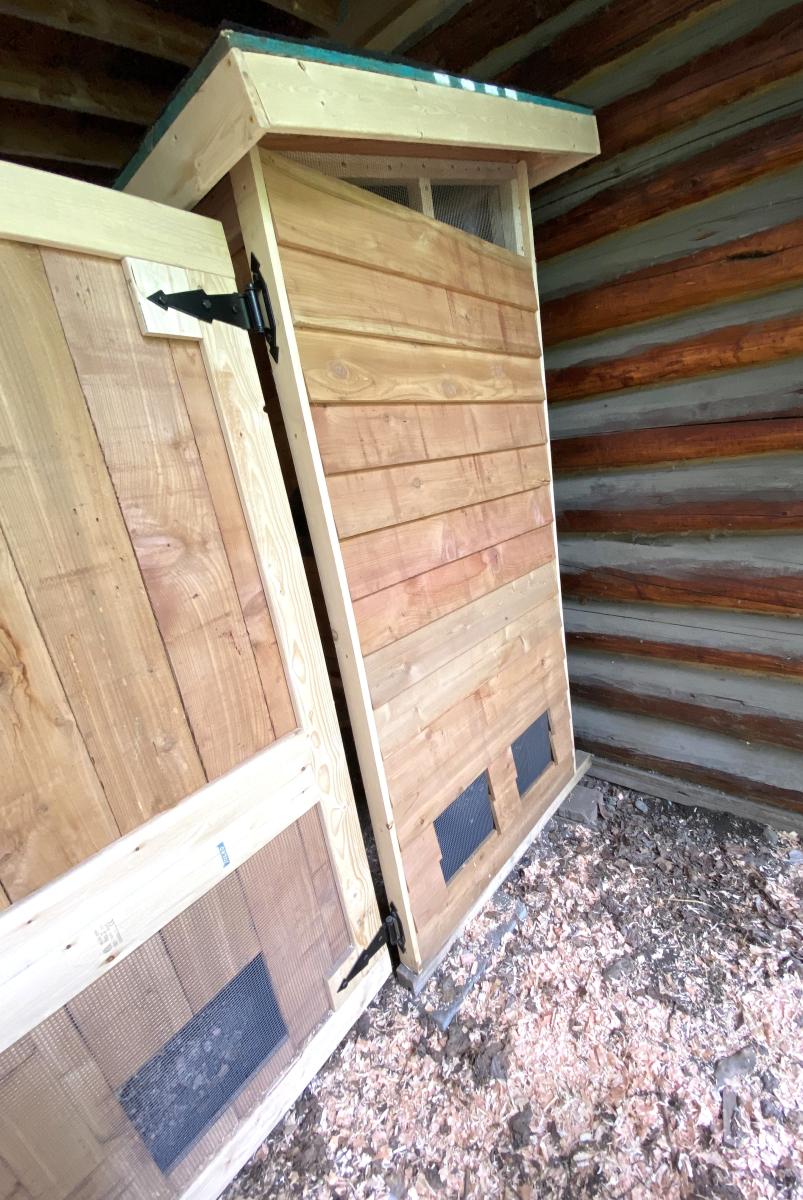
Our family decided to raise chickens but needed a place to keep them safe at night. We used your shed plan and adapted it to create necessary venting for the chicks.
Since we had 16 chickens we knew one coop would not be enough space so we built two. We created a vented tunnel between the two coops so the hens could go back and forth between them as they wished while still being protected. The girls are very happy in their new space!
Thank you for your great plans.
Holly

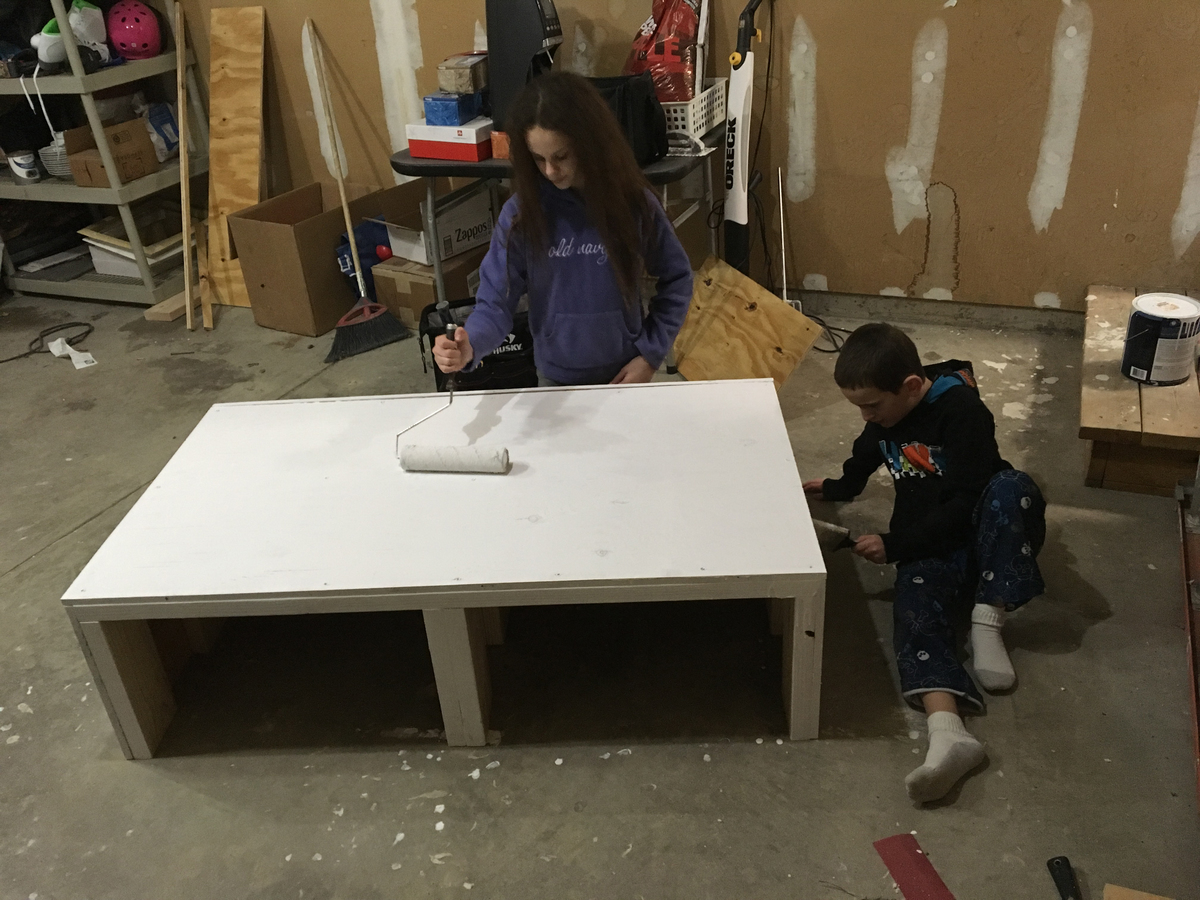
This the first project my husband attempted. I hope I can be more involved in the next project. I'm very proud of his first table! We plan on putting it on the screened in porch of our new house we are getting ready to build.


Mon, 04/09/2012 - 08:33
I have a question. When you stained the top, how did you ensure that your paint was not affected by the stain? I am working on m y first project. I have it all together, painted the bottom, but am stumped by how to stain the top with out ruining all my hard work. Any advice would help.
Sun, 05/13/2012 - 12:29
So sorry I just saw your comment! We used a scrap piece of cardboard to put up against the table when "edging" the stain or paint. We could get in the corner alone the bottom where the stain and paint meet without having to have super steady hand or be completely stressed. Hope this helps!

Took a day to build a bench to match my table! I am in love with this bench.
Take a little extra time on your angles to make sure you get them right or you will end up with a gap!
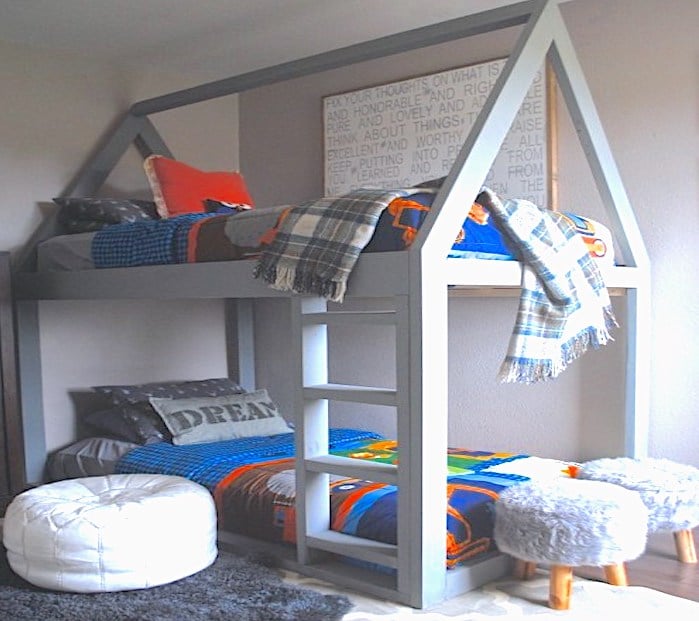
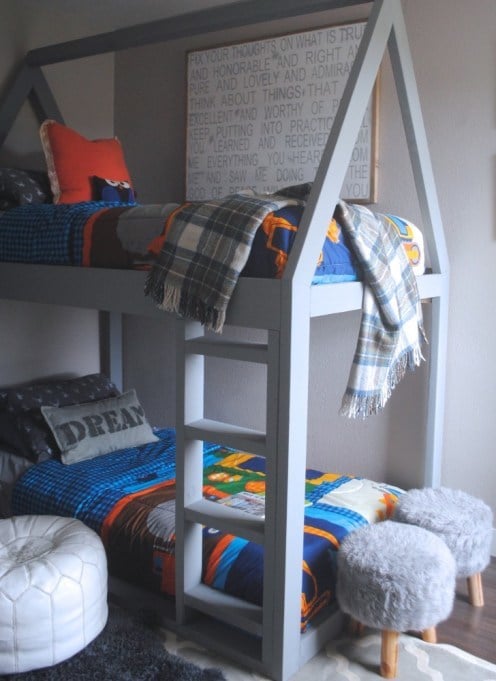
House Beds are a huge trend right now. I saw my first house bed over a year ago and I fell in love and I swore that as soon as we built our daughter a toddler bed someday, I would make a super cute pink house bed, decorated in cute pom pom buntings and it would be perfect. Well, fast forward a year, and she’s only 16 months, still a ways away from being in a toddler bed. Then I had a idea! We are in the process of decorating our boys bedroom. and we needed to build them a new bunk bed set as their old set was massive and took up half their room. Click link below to view the full tutorial!
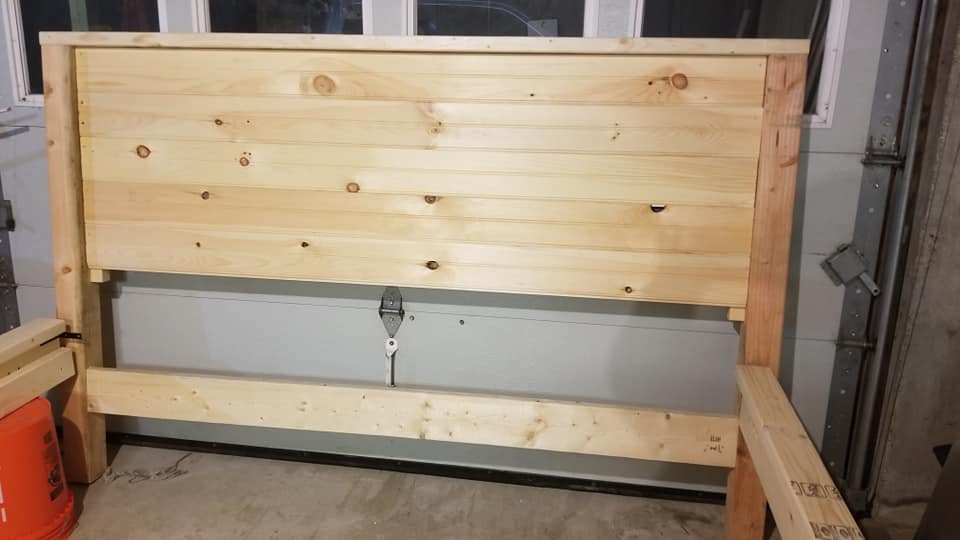
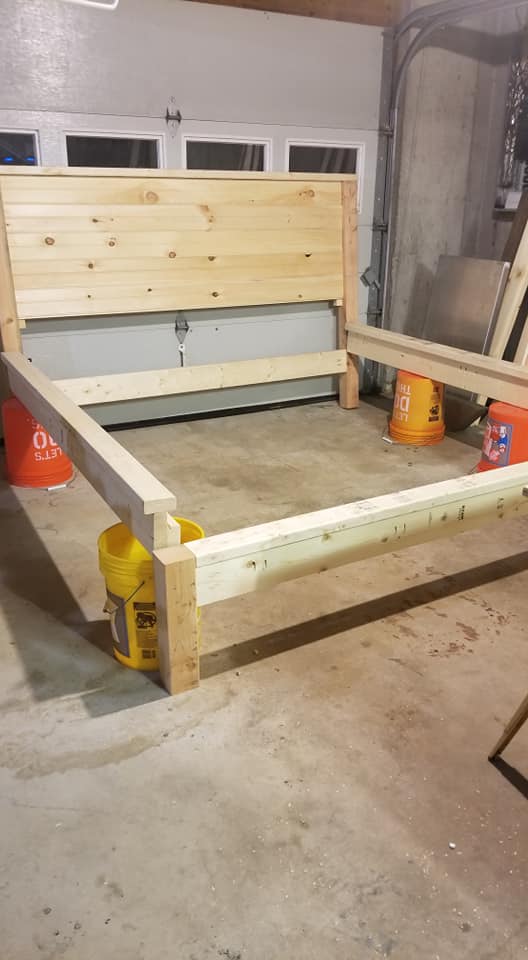
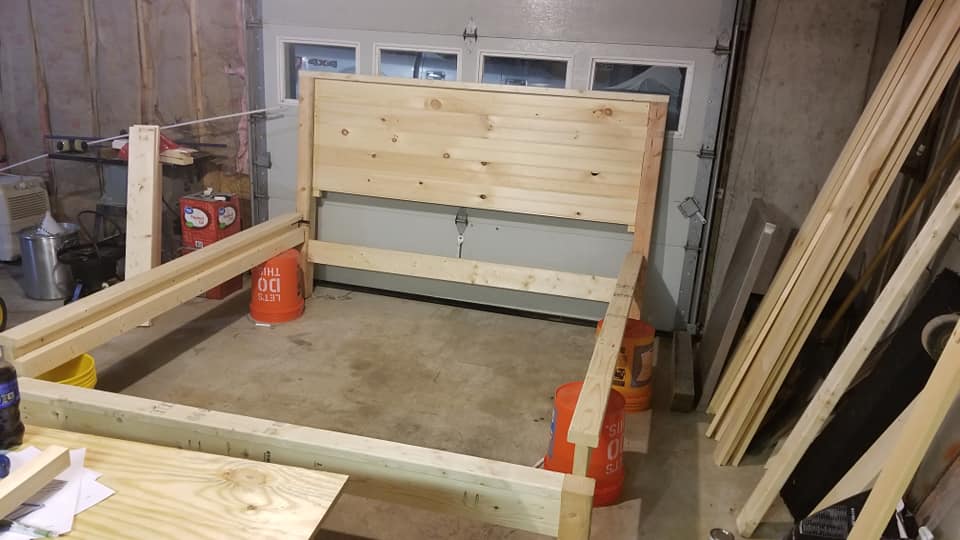
My daughter got a new king mattress. We went shopping for a bed frame, they were all really expensive or junk. Decide to make our own. So far its coming out great. Total build time 5 hours.
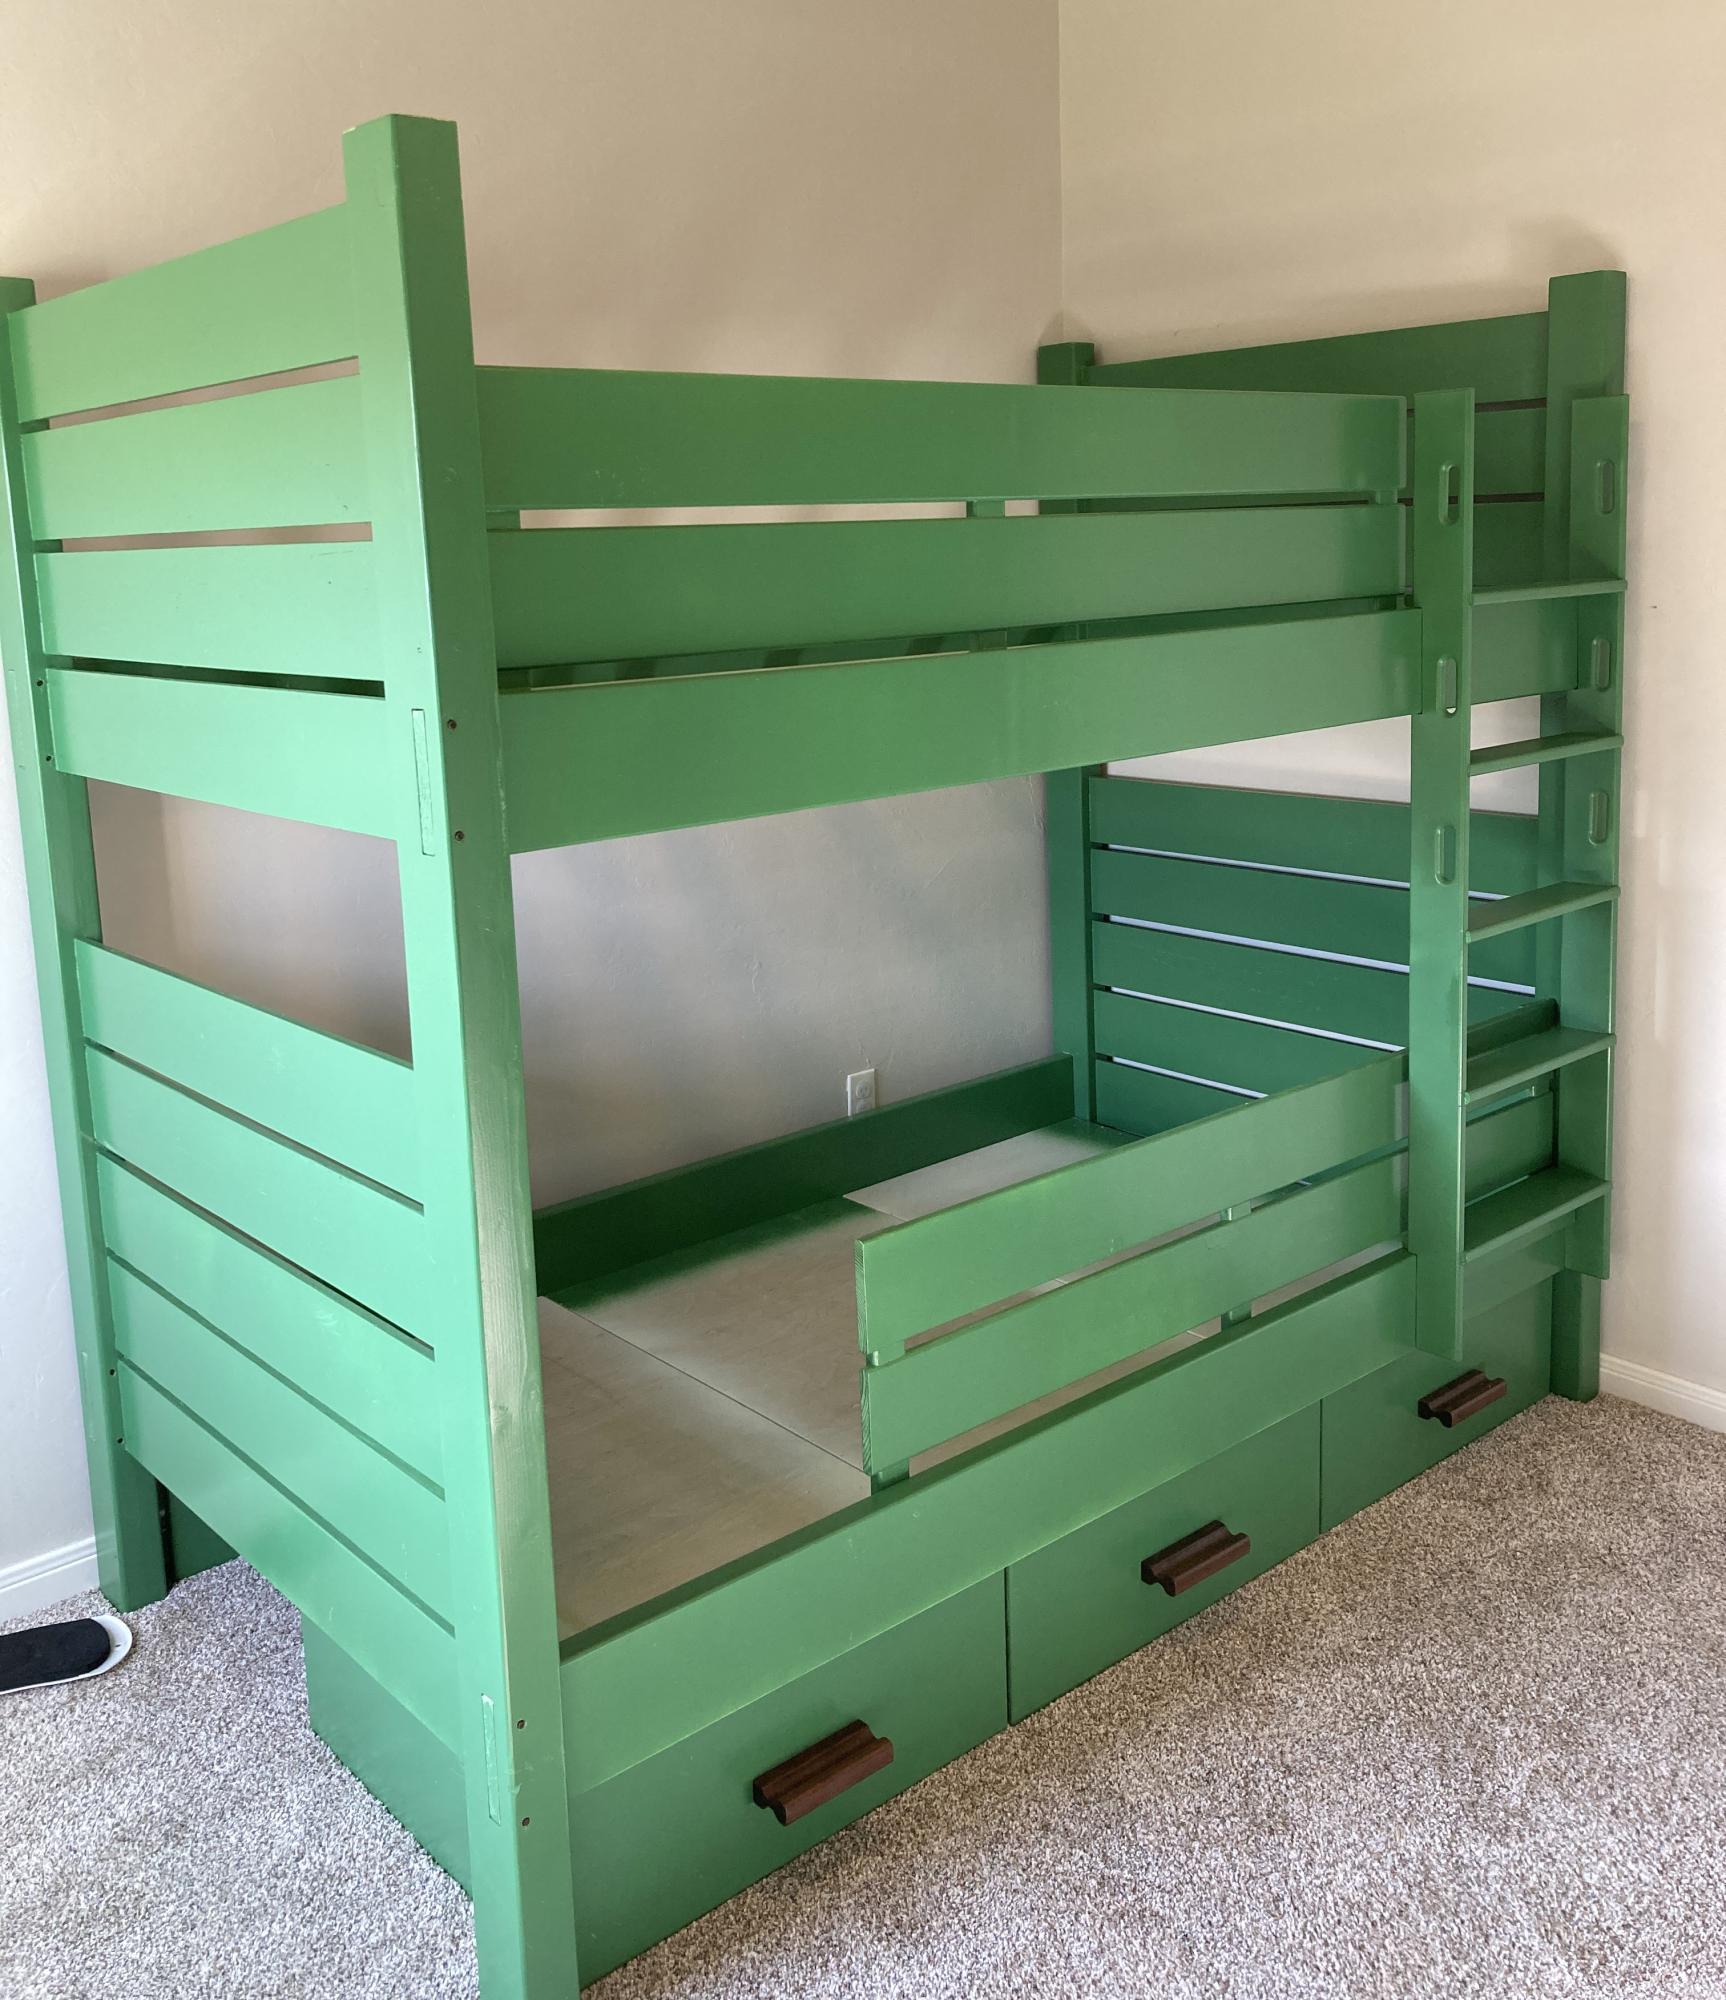
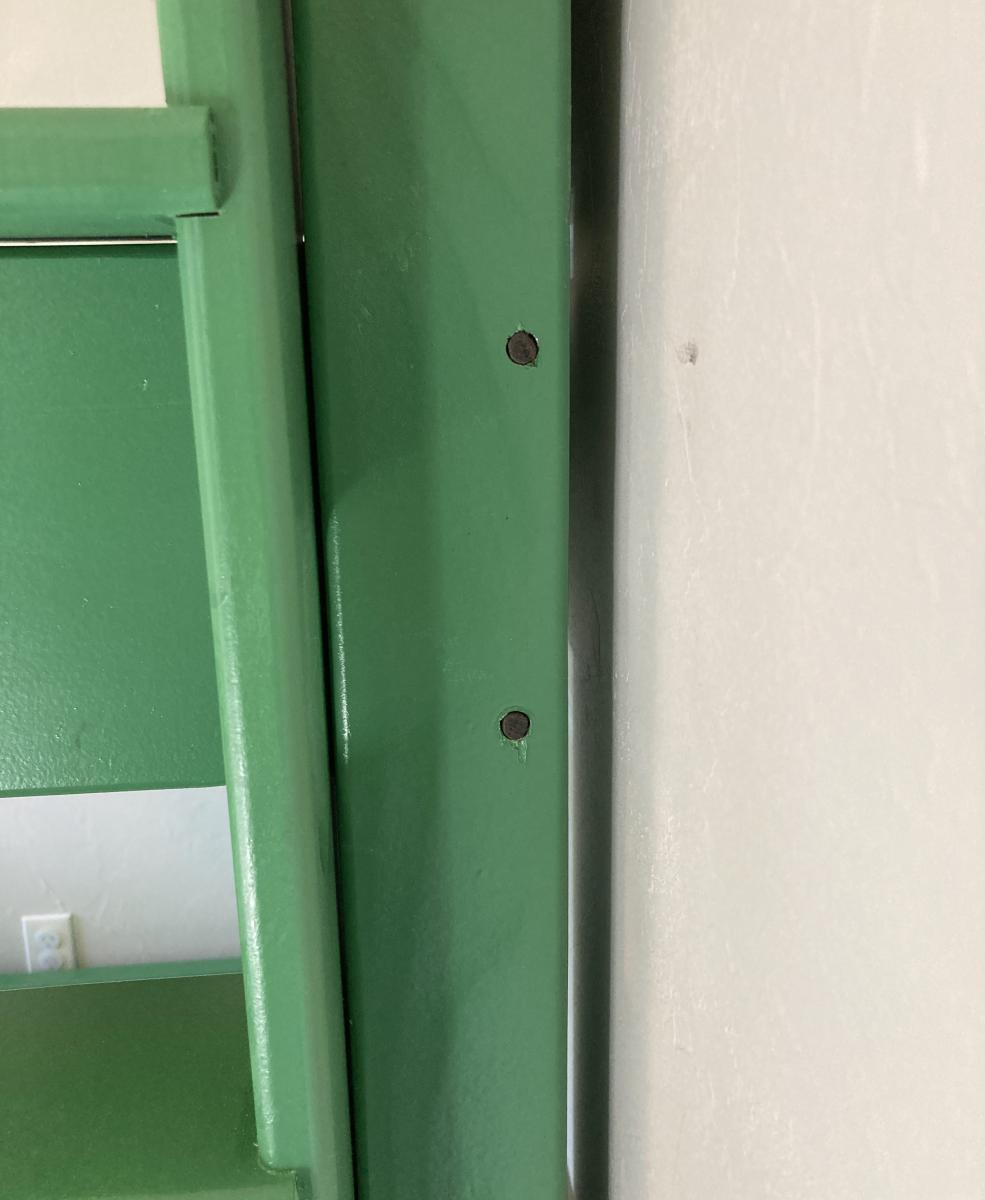
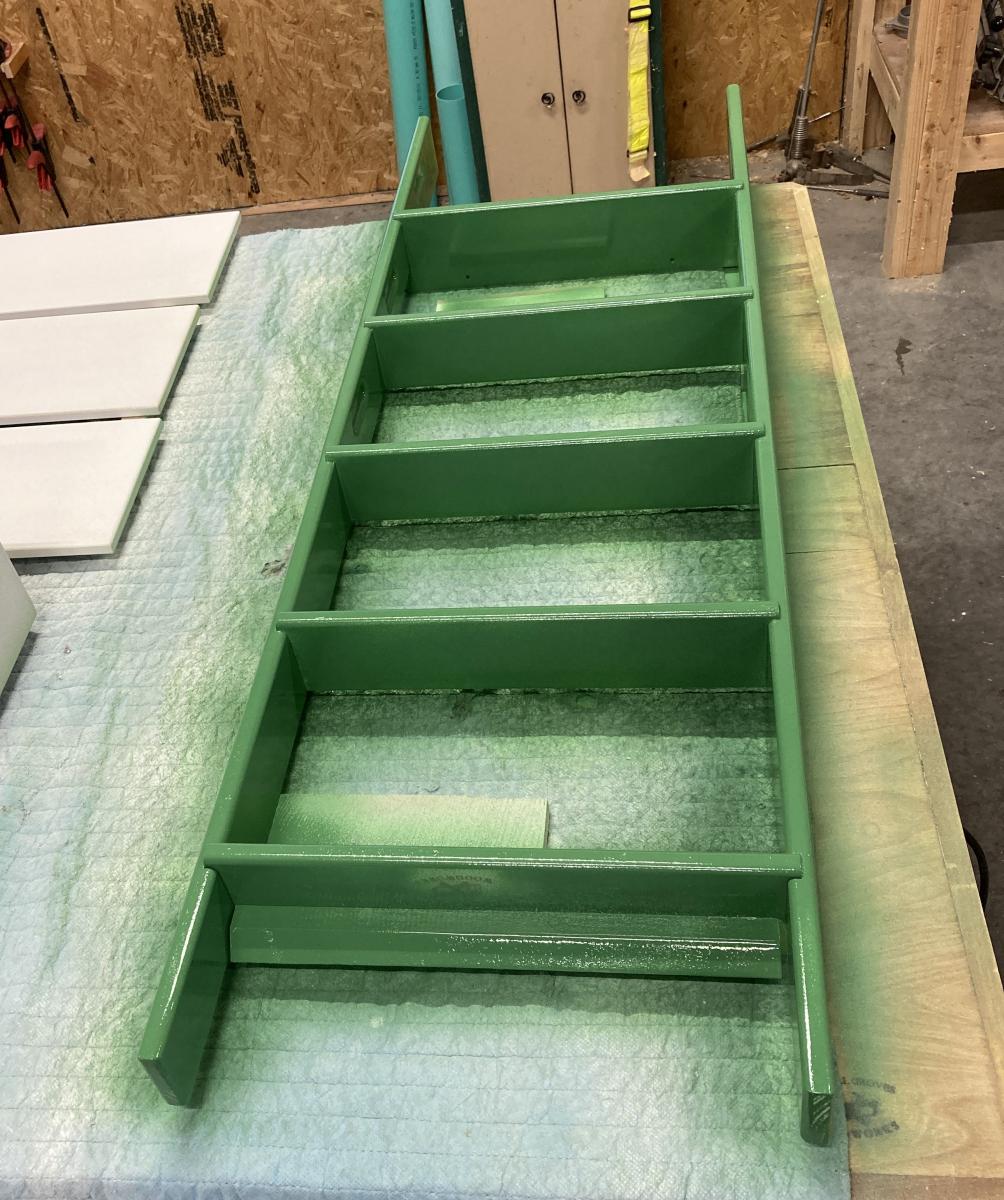
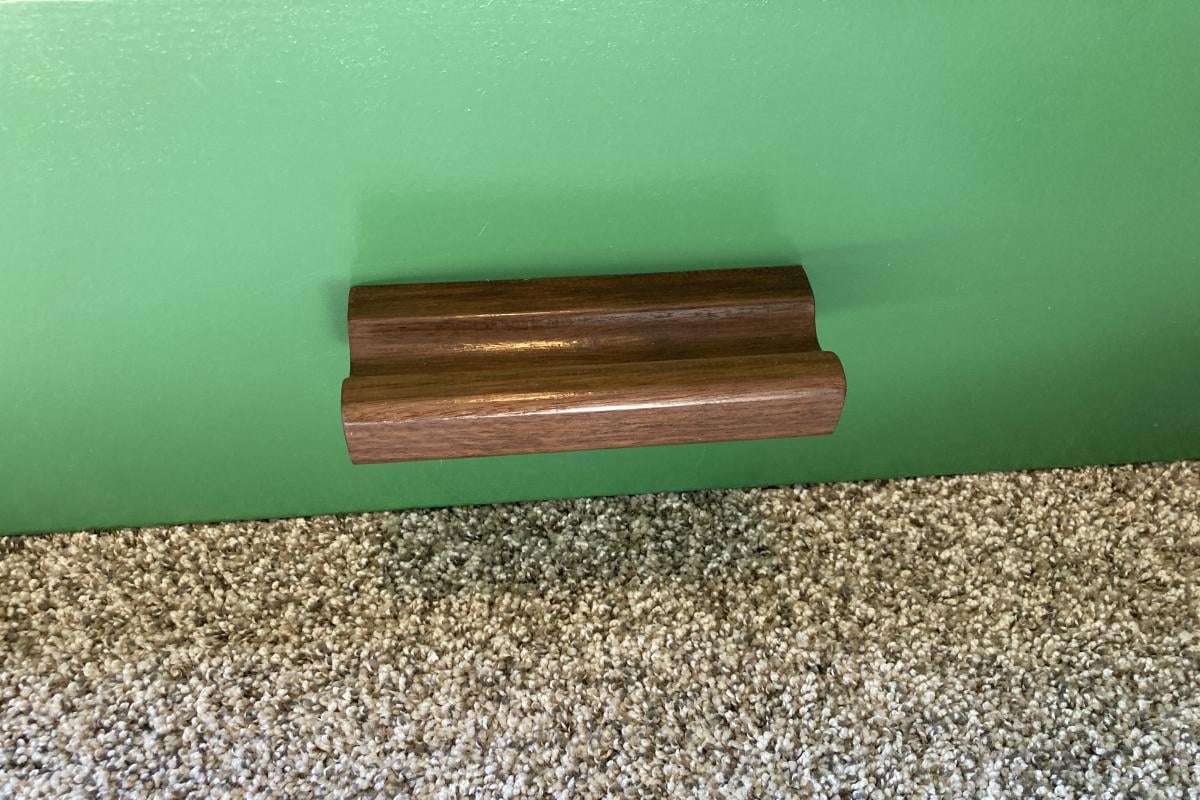
My latest project - a bunk bed for our grandboys, coming to visit in a few weeks from Germany. The end slats are connected with 36 stopped mortise and tenon joints. The rails are connected with 8 through mortise and pegged tenon joints. The drawer pulls are walnut and large enough for a toddler to operate with both hands. The fences use dowels and are pegged on the ends. The ladder utilizes a french cleat to hold it in place.
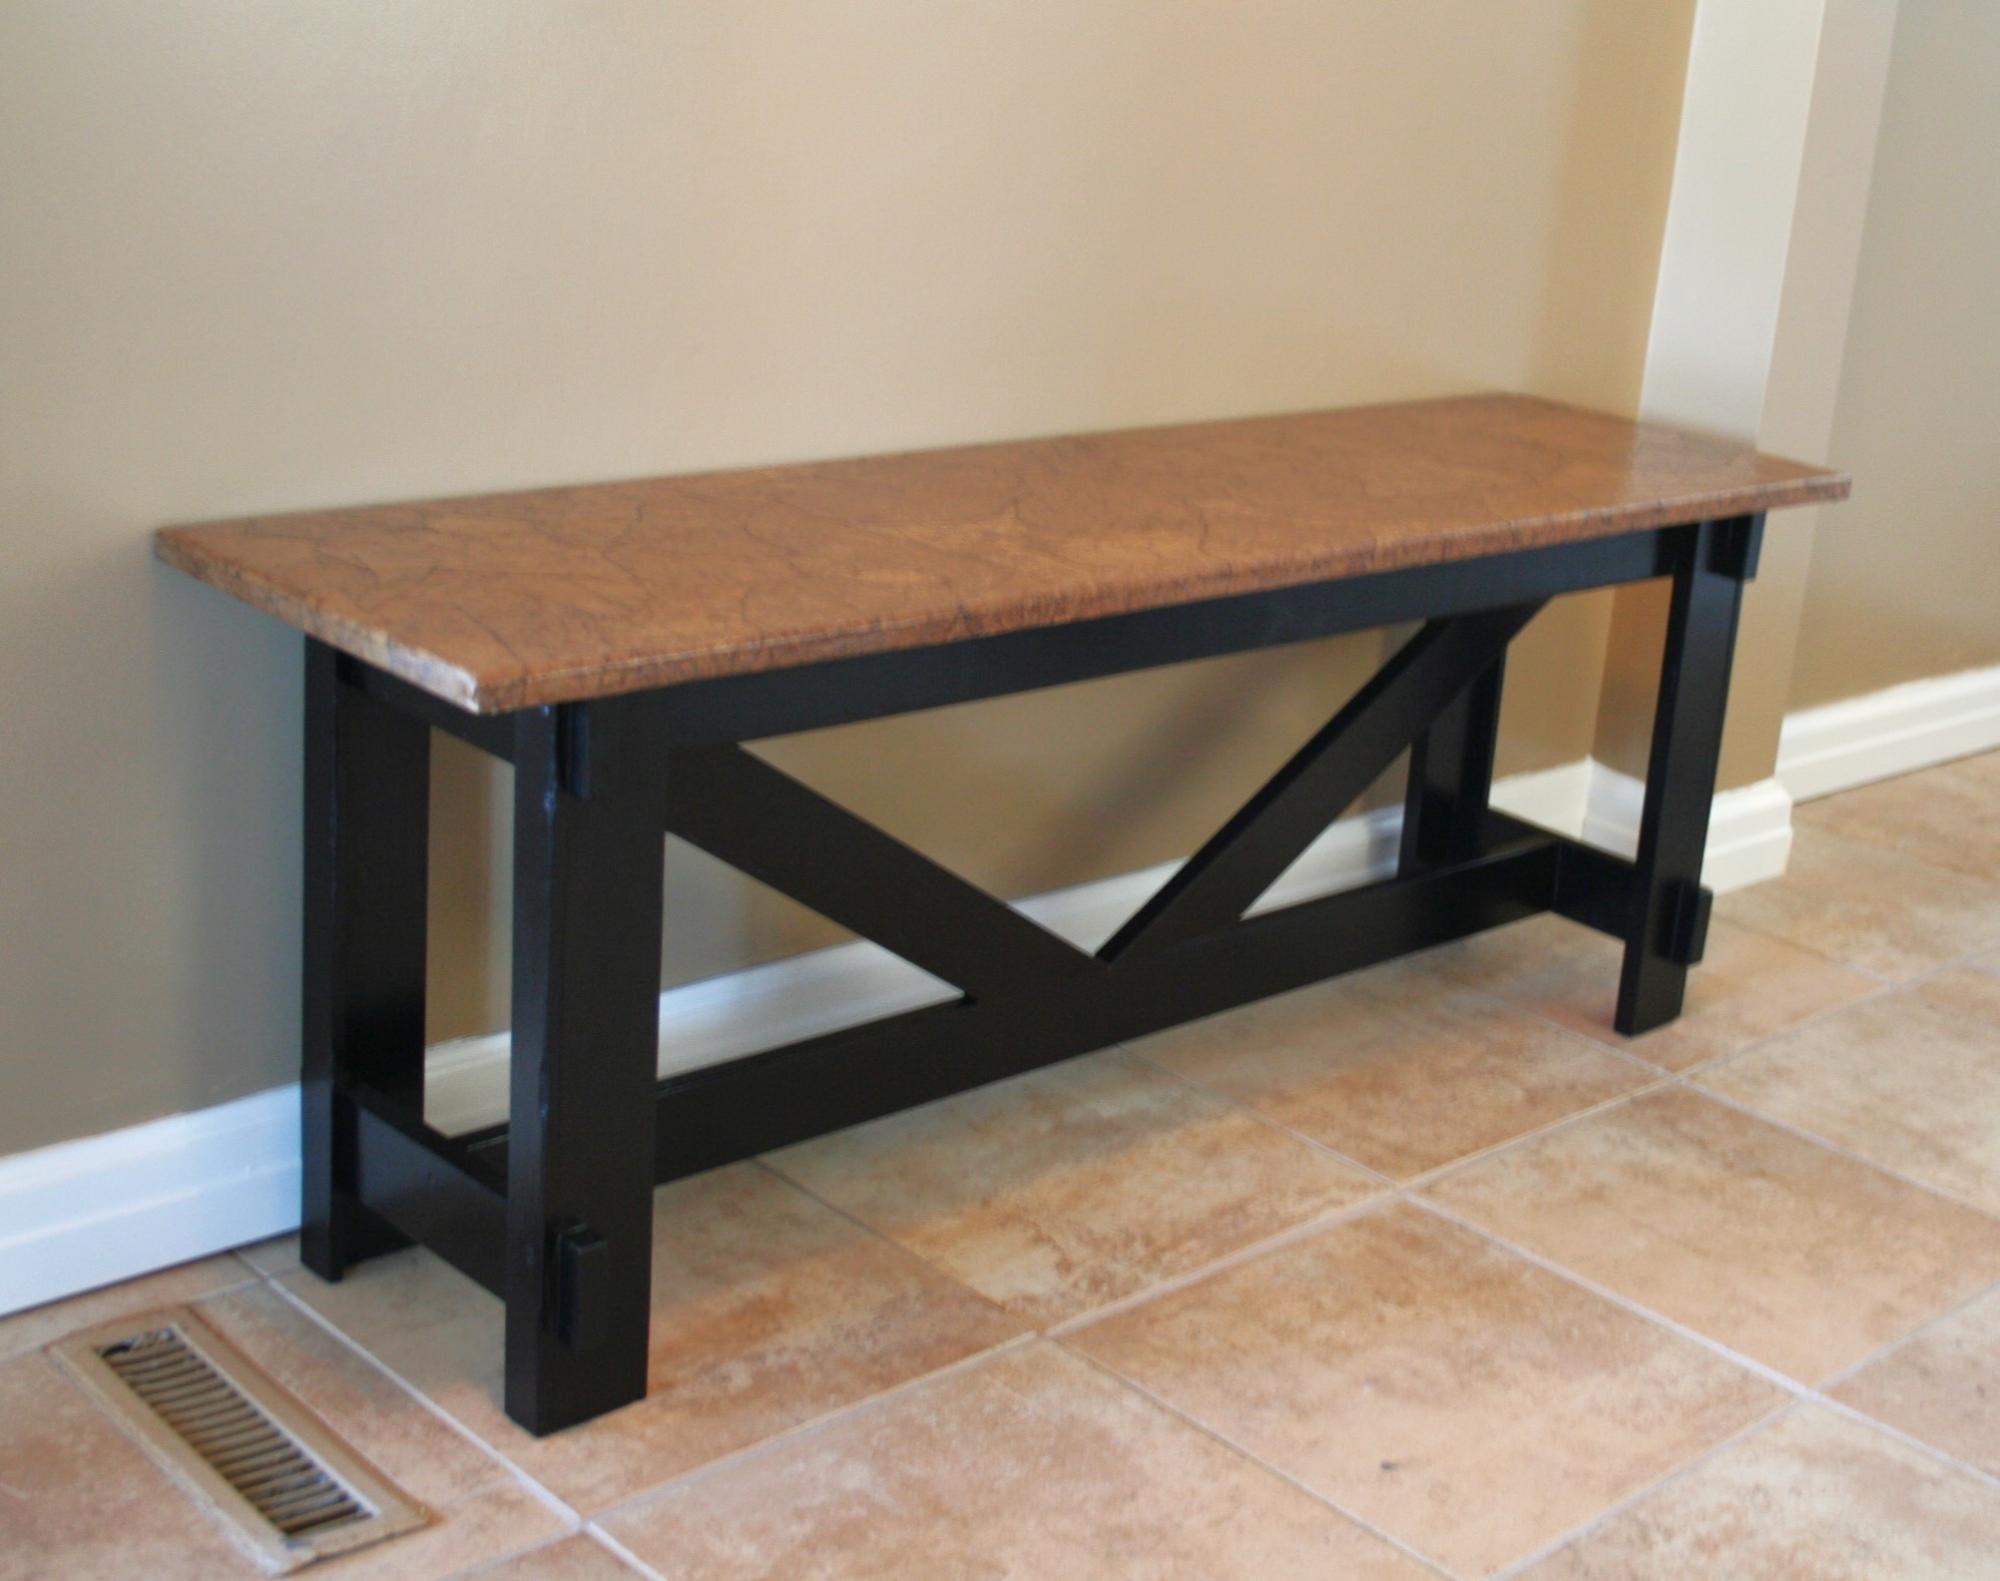
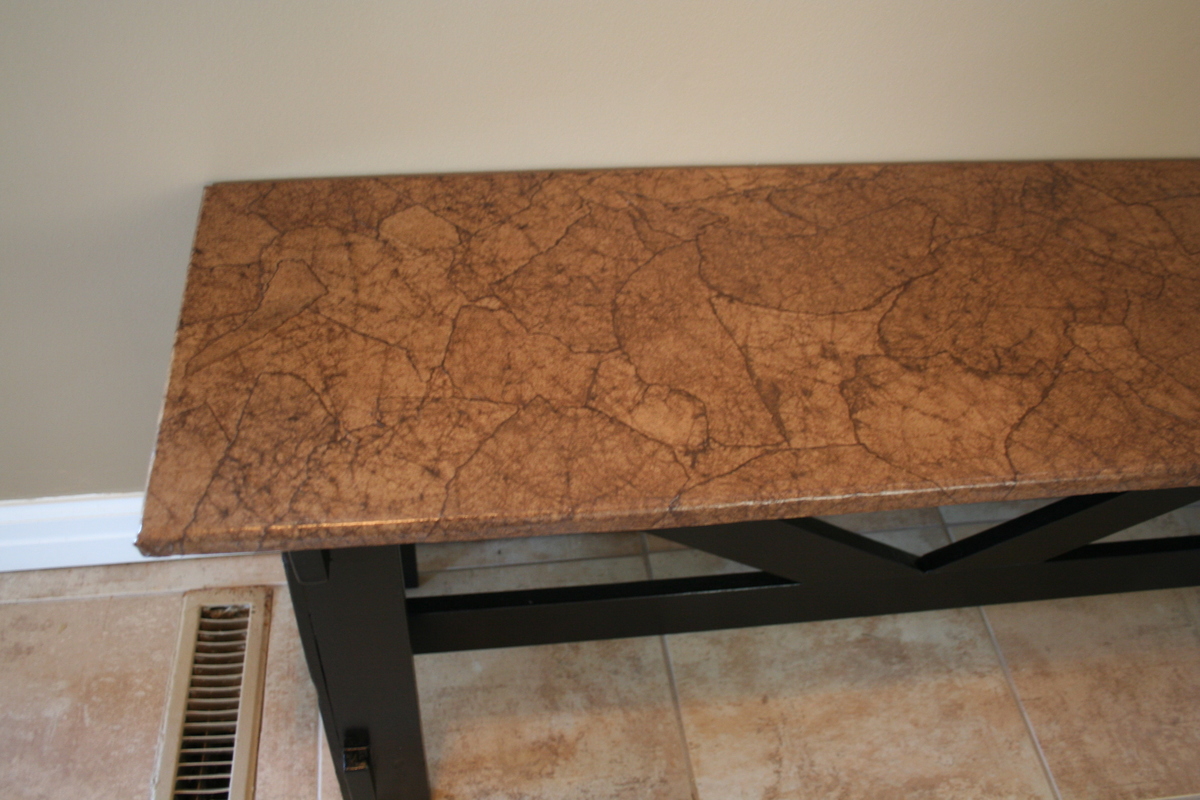
Thank you ana ... and all of you "braggers" ... I have a huge list of projects now, but this is the first one from your ideas. I had an old piece of 3/4 plywood left over from something else so that became the top .. and other sizes were adjusted as needed. I realize now that i should have taken pictures along the way ... it was pretty ugly before finish :) The top is brown paper bagged ... the best instructions out there are at http://lovelycraftyhome.com/2011/11/09/the-ultimate-brown-paper-floorin… ... it is truly almost magic how beautiful such simple ingredients and technique become (and cheap) Thanks again!
Mon, 03/26/2012 - 09:17
wow, this is awesome :) Can you send the measurments? My email is [email protected]
Mon, 03/26/2012 - 10:20
my finished dimensions ended up being 13 (W) x 48 (L) x 18 (H) ... found Ana's dimensions were very adjustable though ... the only trick was the cross braces ... and those i ended up having to hold in place and draw the cut lines .. my geometry failed me :)
from what i hear the "paper bagging" is quite durable .. there are reports all over the web of people who have had it in place on their floors for years with only occasional touchups with poly ... definitely time consuming with needing so many poly coats .. but they go quickly. i'm putting it on my stairs next ... have tile below, will be wood above .. and i'm too cheap to pay for hard wood stair tread!!
Wed, 03/28/2012 - 13:25
You did a wonderful job!!!! Mine is holding up just fine, my son practically does cartwheels on it everyday, no problem! Now, I'm about to start on my floors this week, cant' wait to see how it turns out!
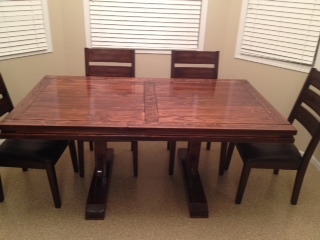
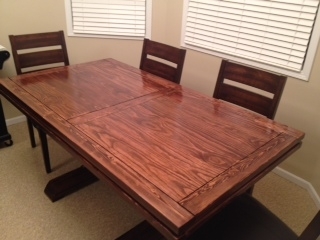
This is my first table. I used the Triple Pedestal Farmhouse Table plans, but modified it to fit our kitchen.
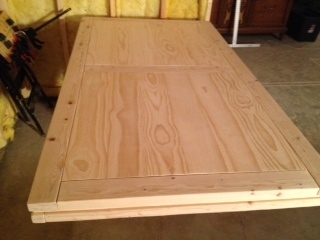

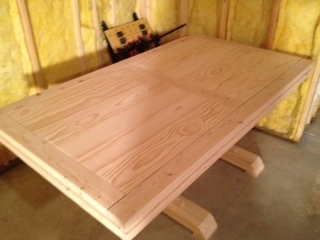
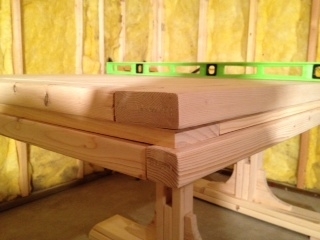

Tue, 01/14/2014 - 16:35
Great job on this table! I like how you placed the pedestals, you can push the chairs all the way in on the ends. Your finish looks beautiful!
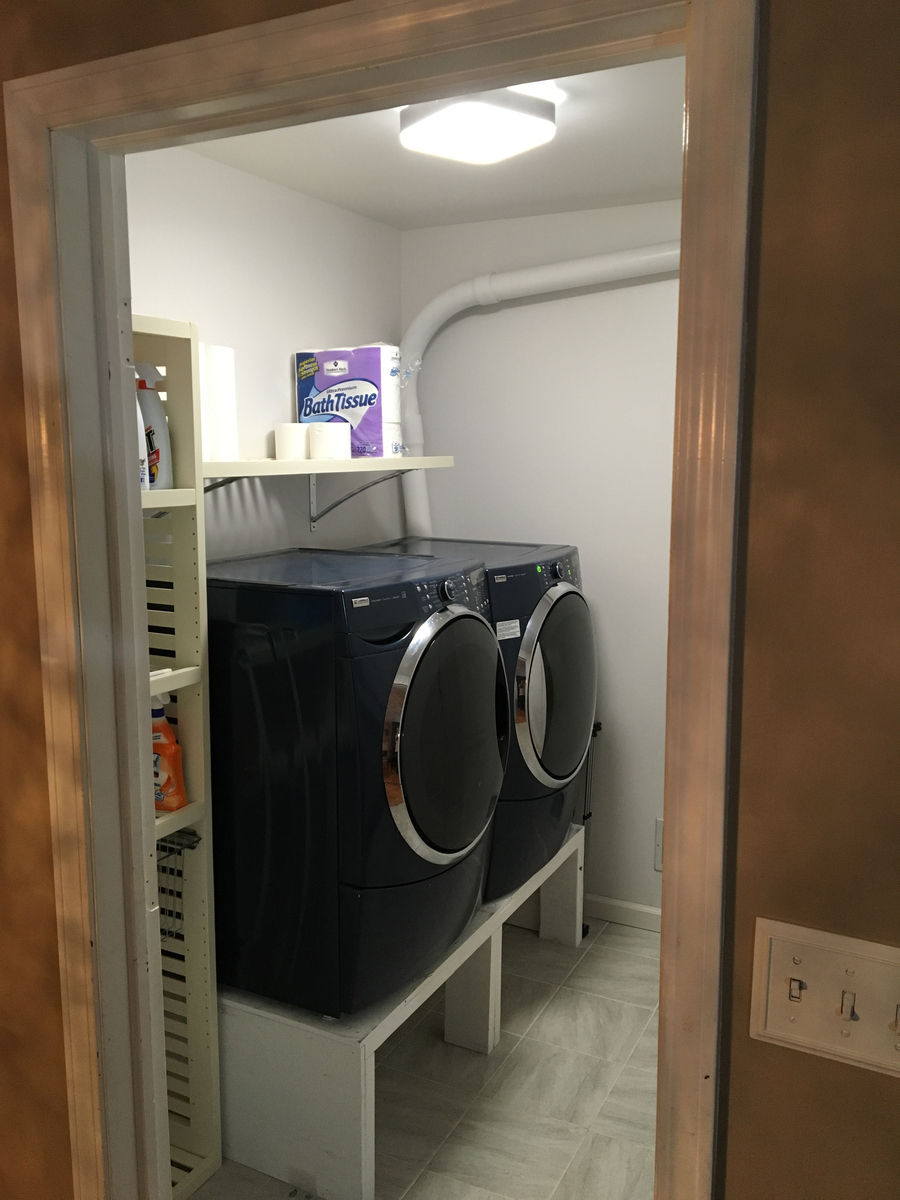
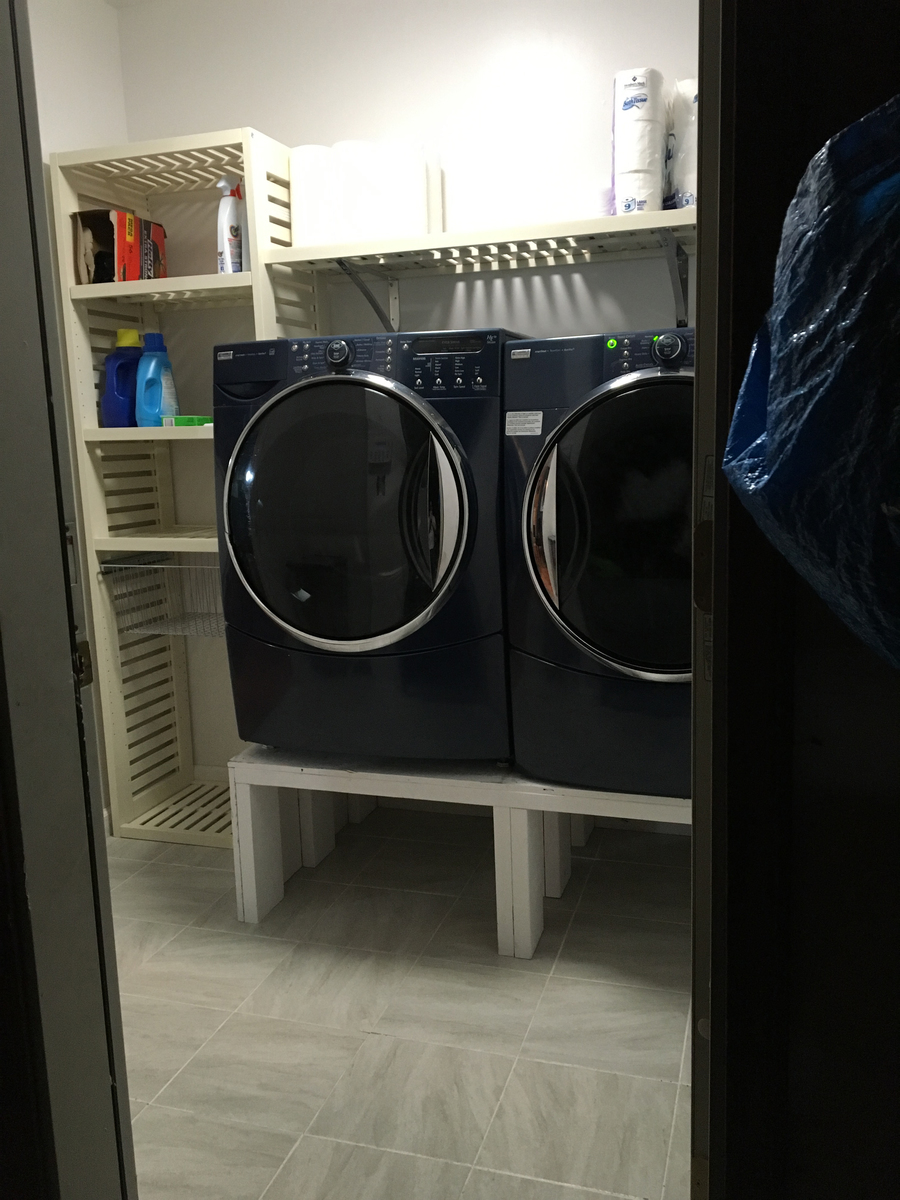
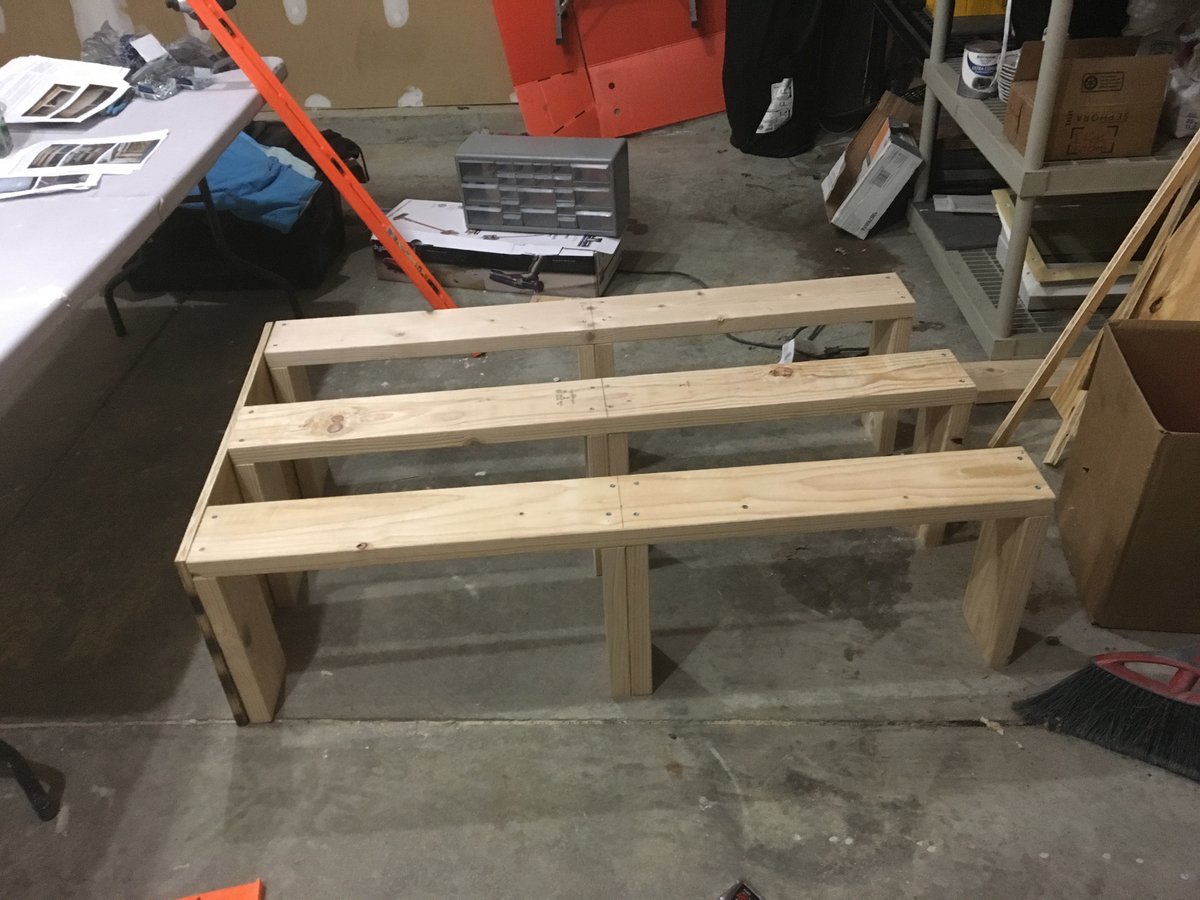
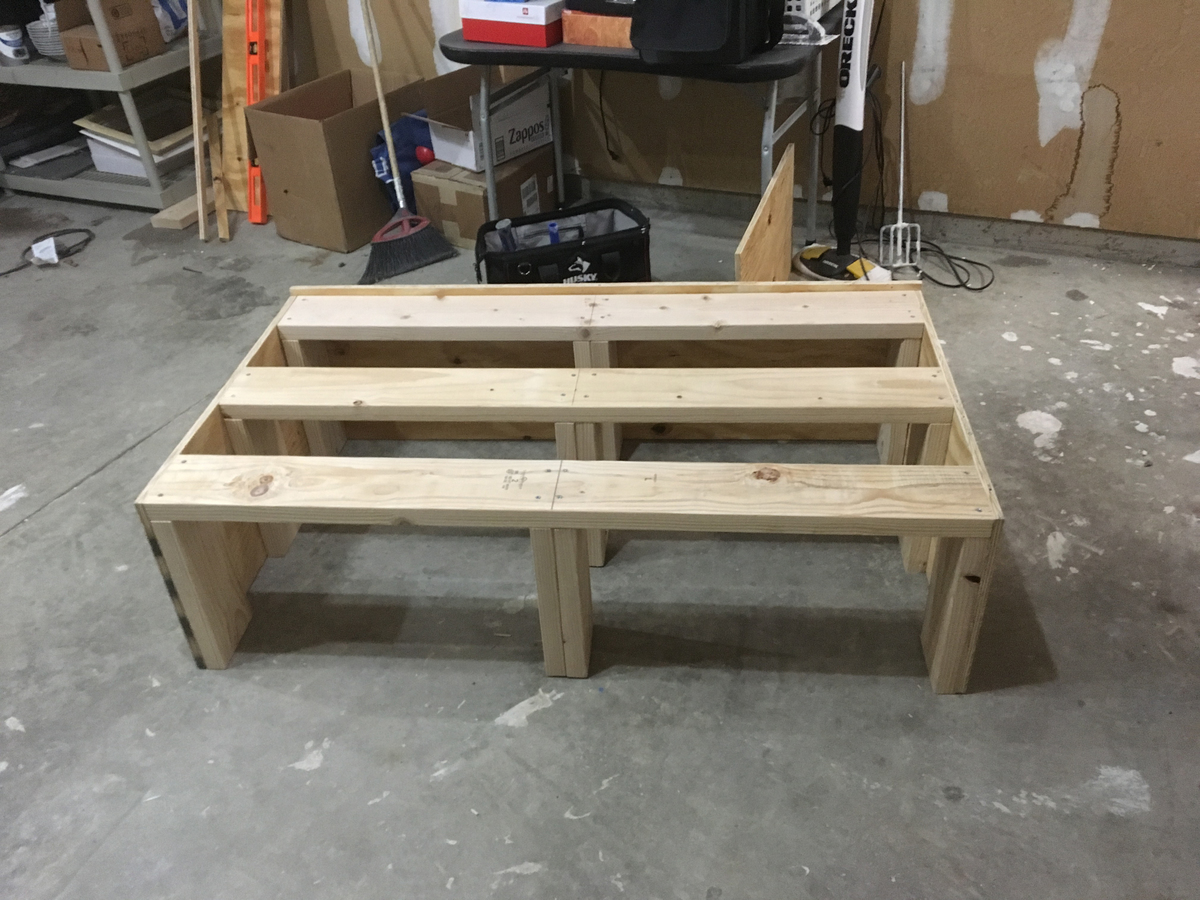
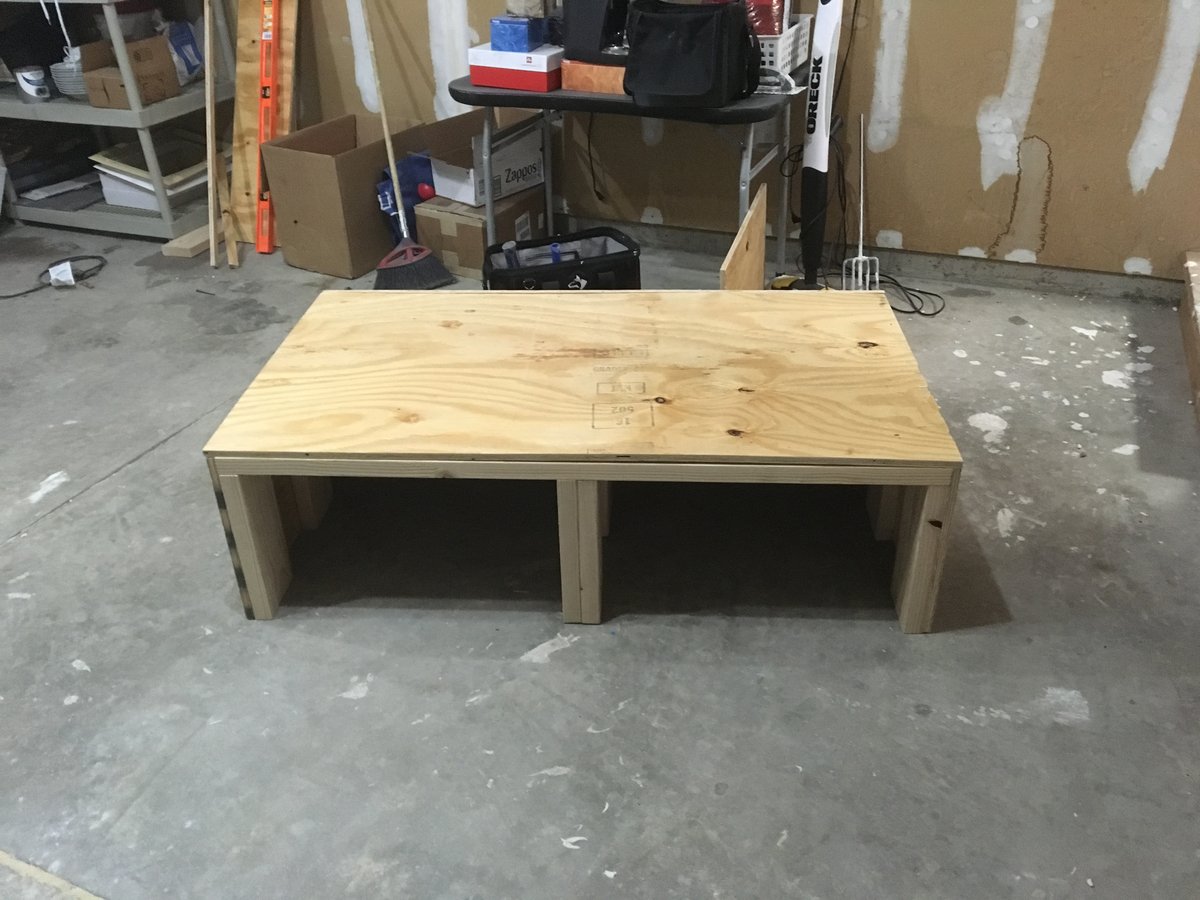
Thank you dmccoy!! Washer & Dryer Pedestal / Platform with Drawer
Followed your plan and these came out sturdy and solid.
I adjusted it to 55 inches to fit my smaller space and decided to not build the drawers.
So simple to put together and saved over $400
I used these plans and did a little modification!!!!
BP3
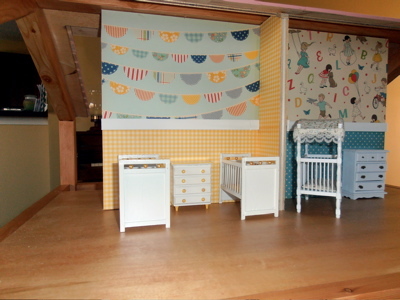
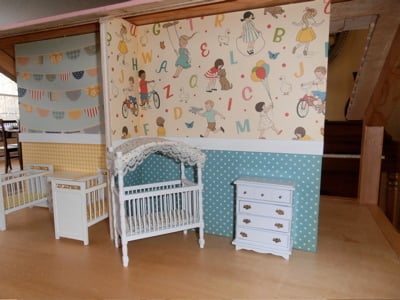
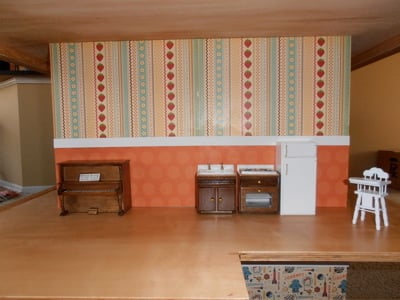
My first attempt at a woodworking project. I LOVED IT!! But I'm not sure which I loved more...the building or the decorating. I can't wait to build more!
Sun, 07/22/2012 - 01:51
I love the print on your scrapbook paper. Timeless.
Mon, 09/24/2012 - 20:31
I'm curious about the scrapbook paper, do you know which paper she used? Thanks!
Mon, 09/24/2012 - 20:30
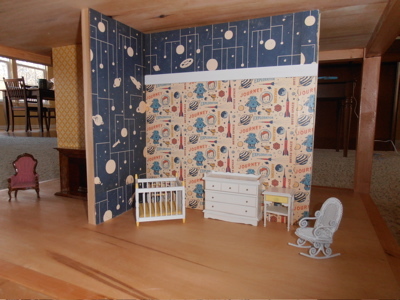
Hi! can you tell me about your decorating supplies? Did you use scrap book paper for the walls? I am really interested in the wall with letters and children playing! Also, what furniture did you use?
Thanks!!
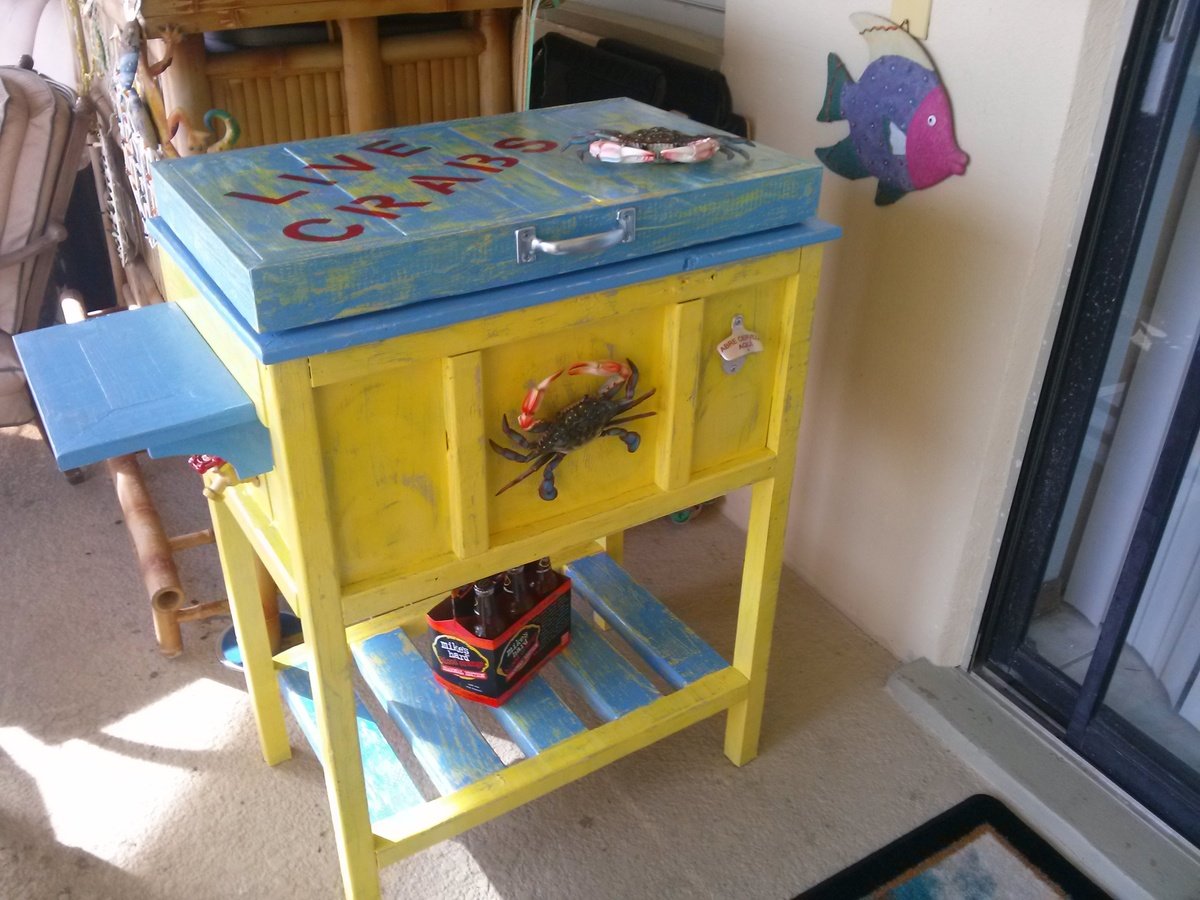
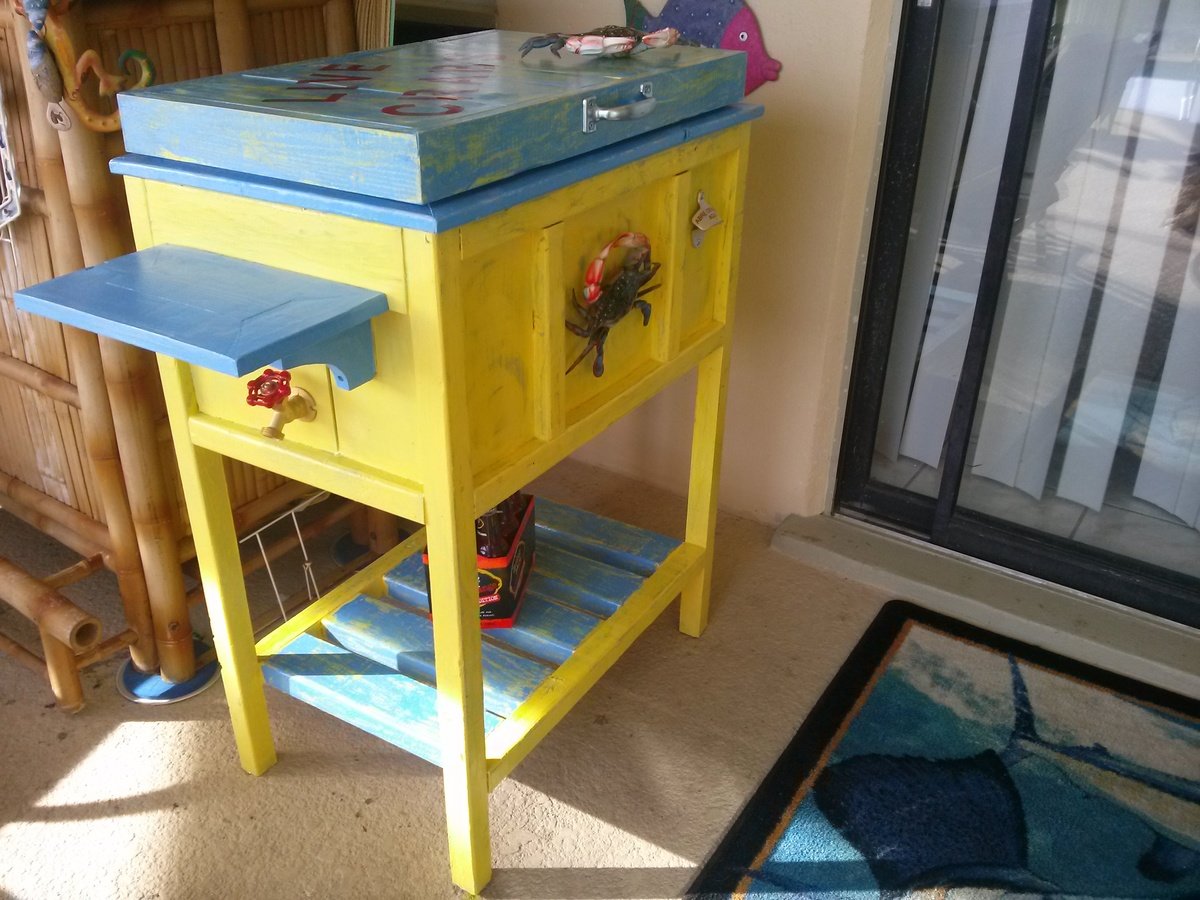
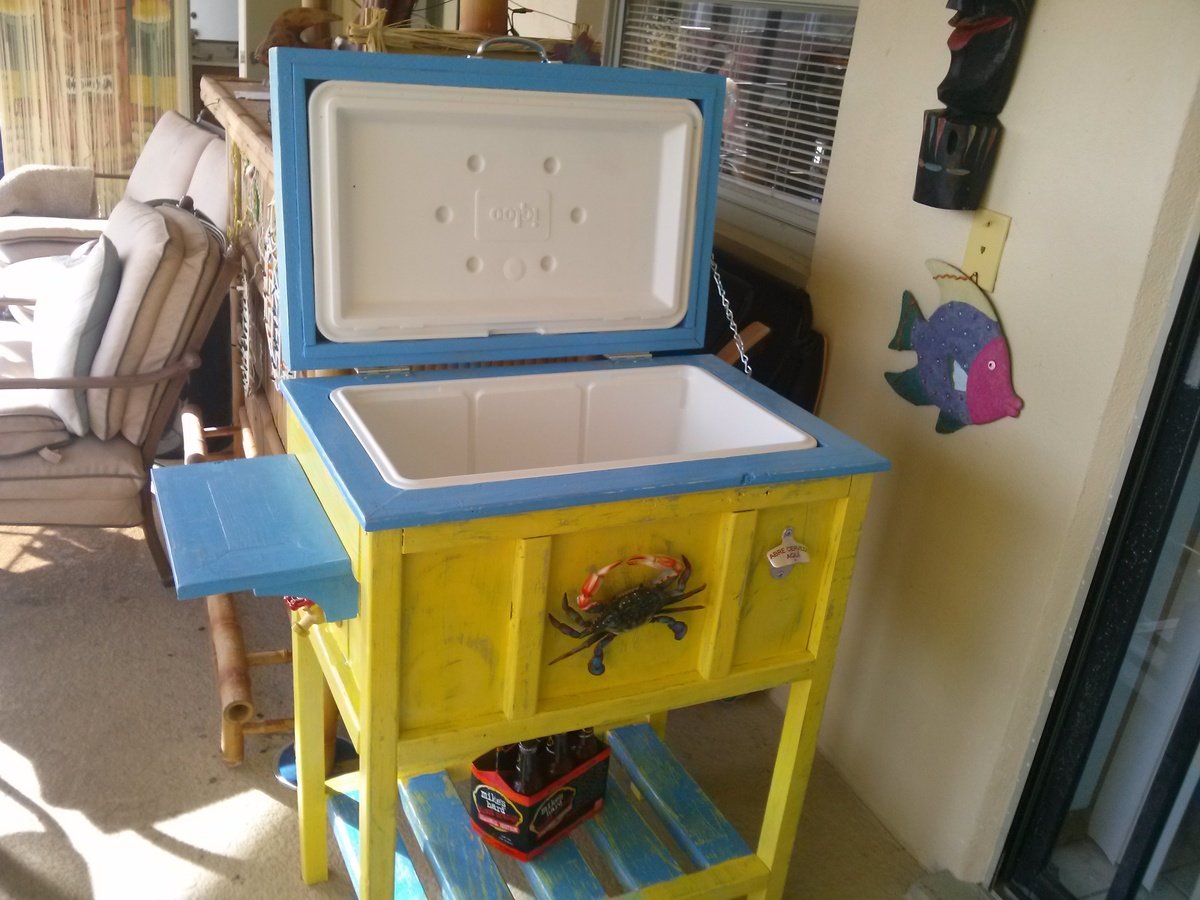
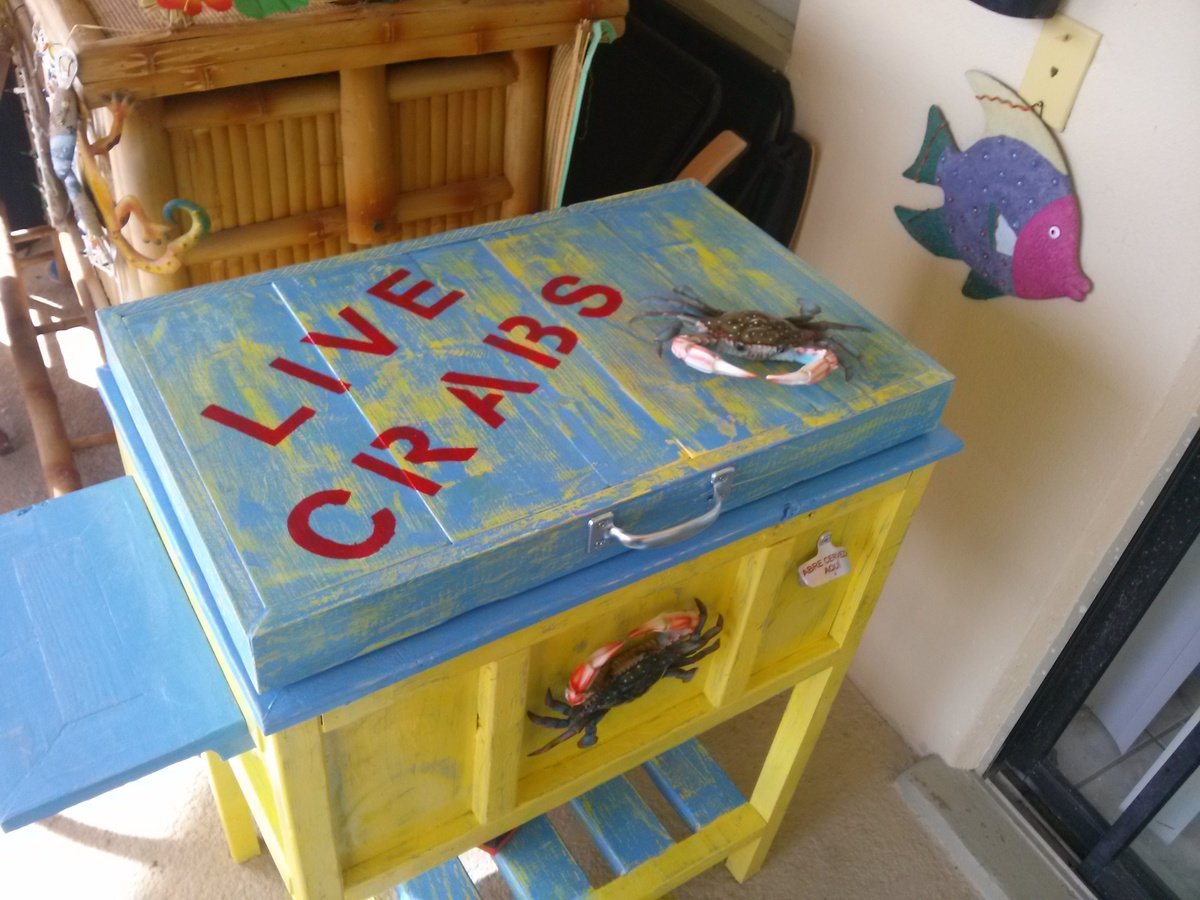
My wife and I saw the wood cooler plans here and decided that would be a great project and great addition to our outdoor tiki patio area. The build wasn't that bad. I could not find the exact cooler as listed so I got a different one and the dimensions were different, but I accommodated for it. We went with a tropical rustic look and decorated like a live blue crab crate. Really came out amazing.We had slated to paint it yellow with blue trim, but yellow was too bright so then started painting lid blue over the yellow to see what it looked like and decided to sand it down and do something different. That's when the magic happened. When I started sanding, blue and yellow came out and look faded and rustic, and it looked amazing. So we went with that as our scheme. Sanded up areas to look distressed!!! We put the shelf and spout on the opposite side to fit our area better. All in all was a great project and love the results. Going to break it in for the superbowl in 2 weeks!!!! My wife was a great help doing the painting and my 11 yr old daughter pitched in on the wood work. Thanks girls!! Contact me with any questions. So what you think of it?????

Mon, 01/20/2014 - 21:29
looks great! I love the finish, it's really fun. Nice job.
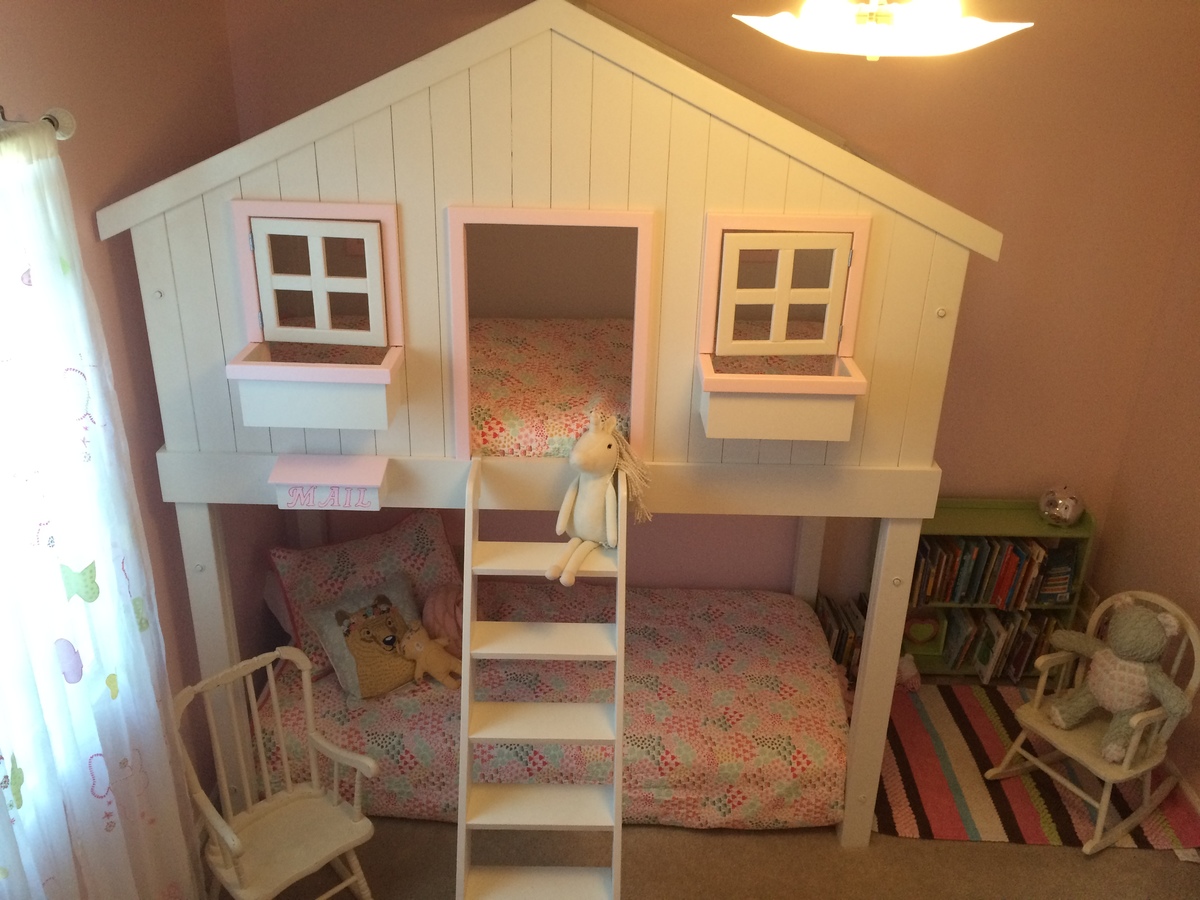
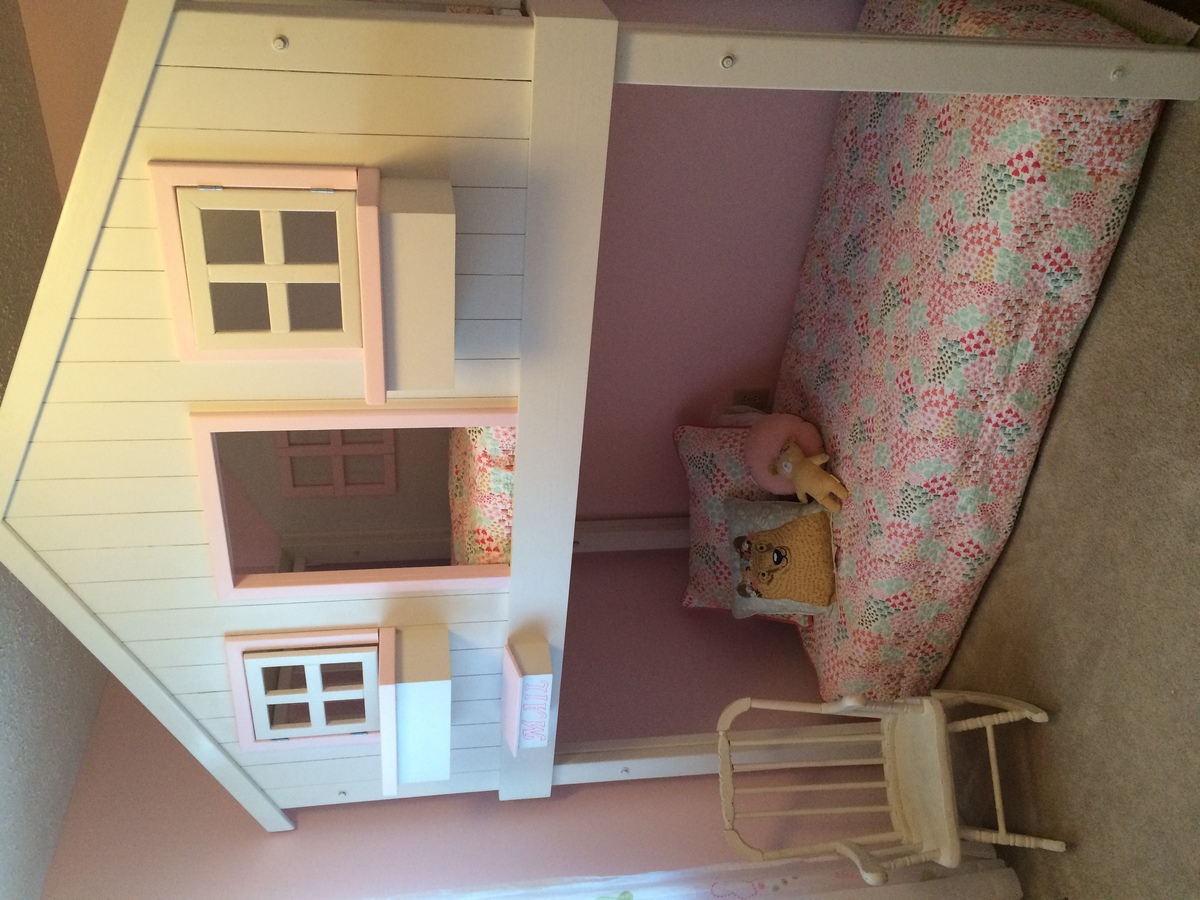
A little upgraded version. Made it a little taller so little sister could sleep below!
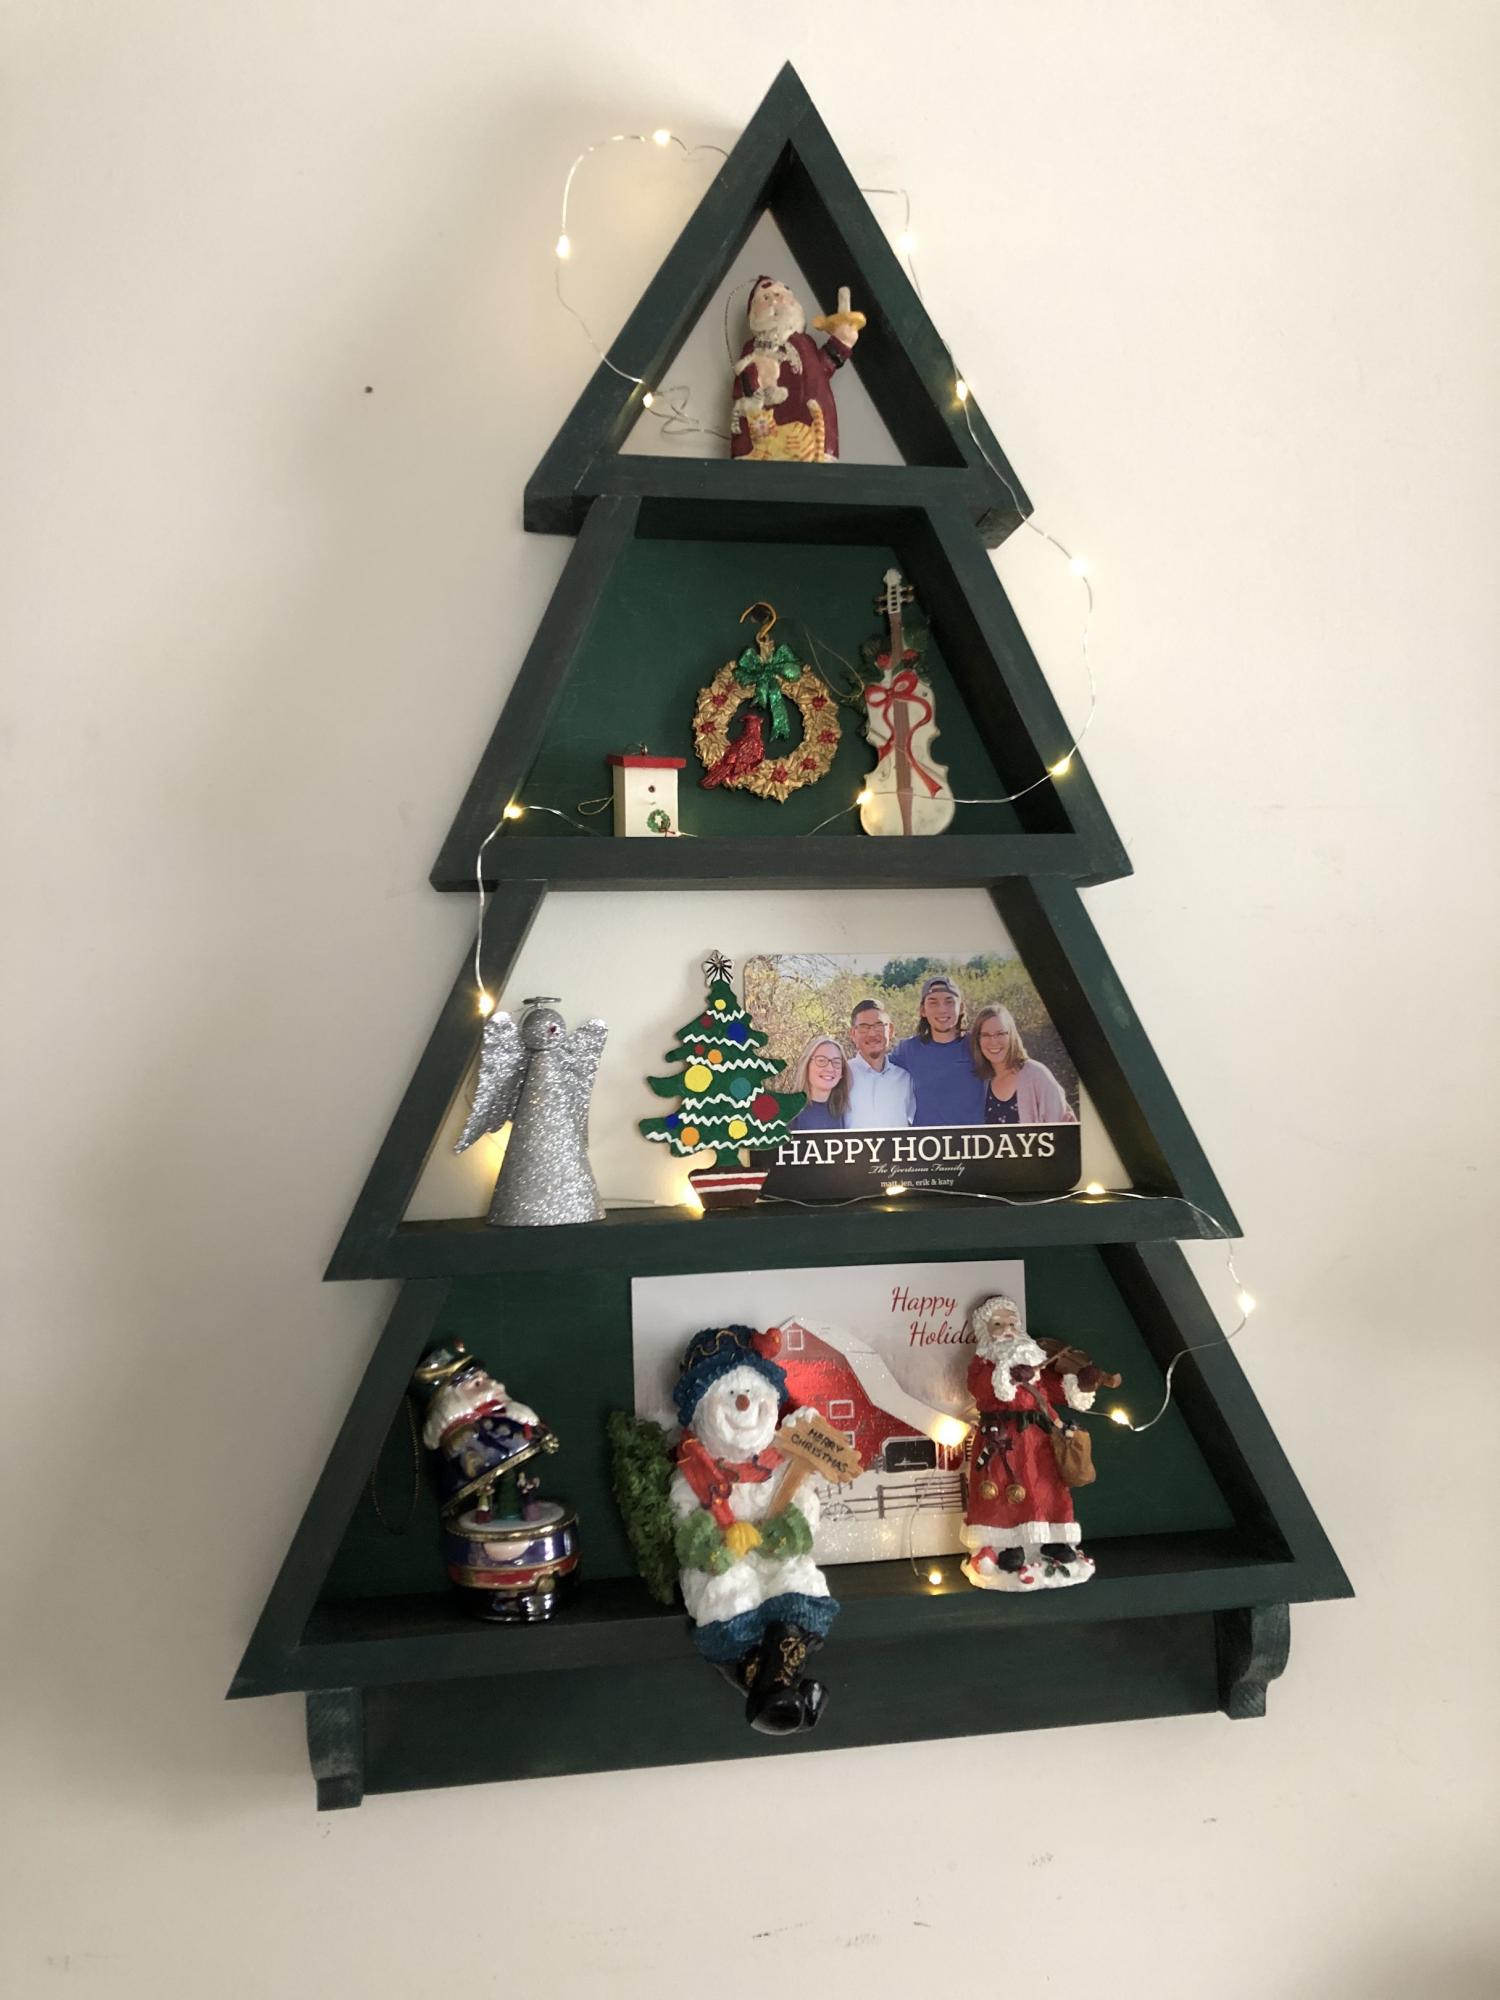
This has been such a popular post this season, so I had to give it a try. I was worried that the angles wouldn't match up but it turned out wonderful. I think a beginner woodworker could build this if they had a miter saw and good measuring skills.
Thanks for a terrific plan!
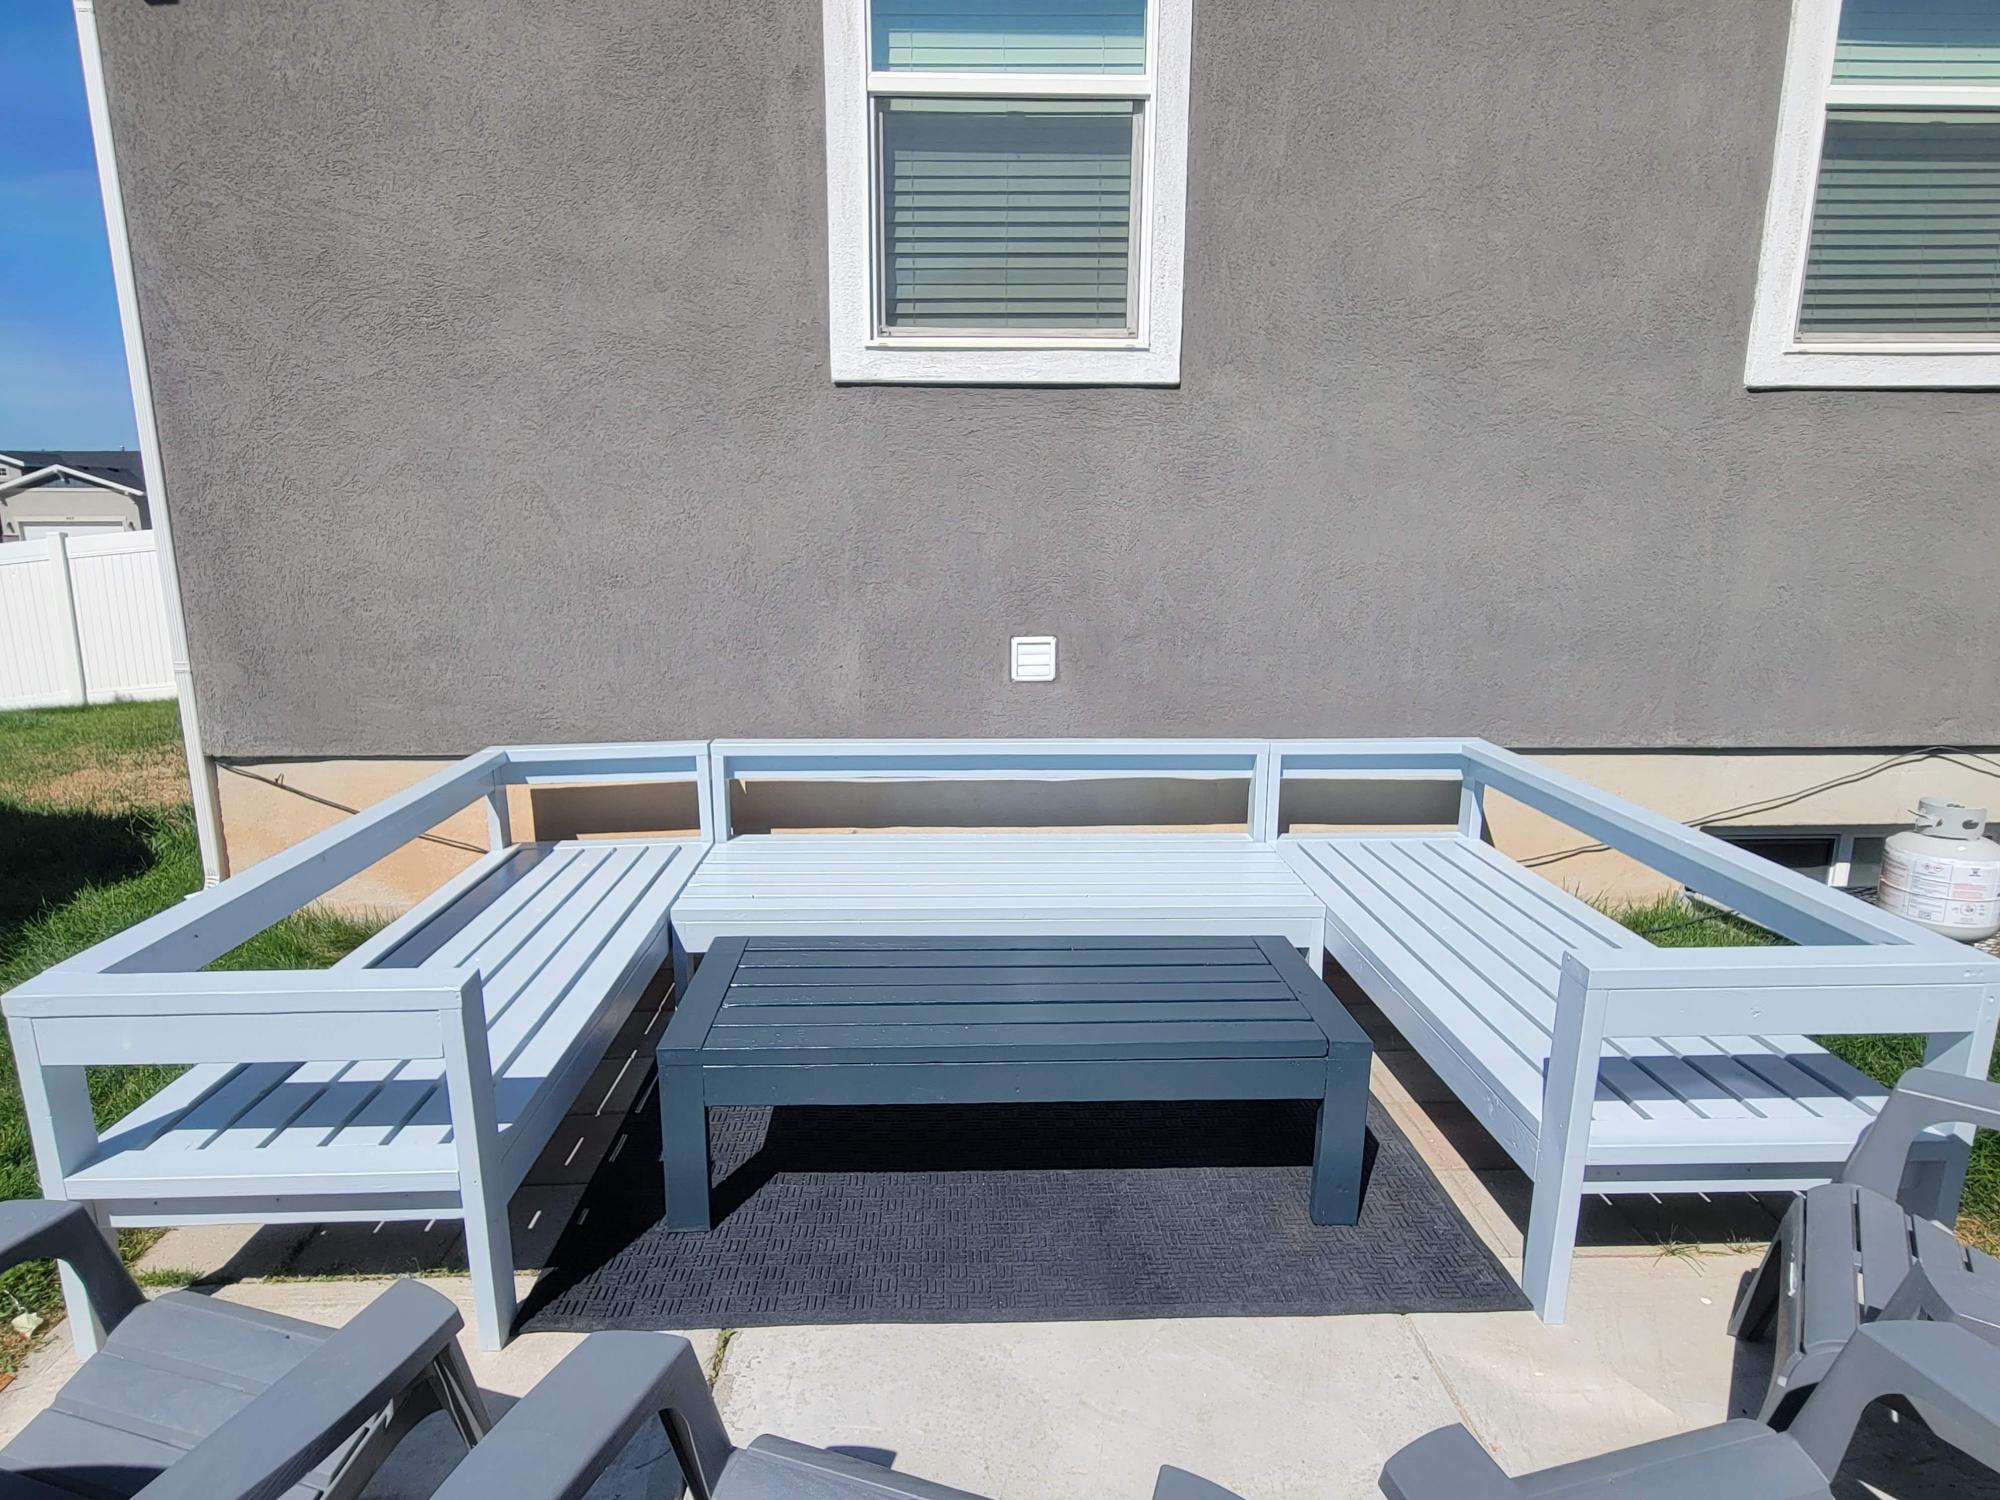
Outdoor sectional and coffee table
by Stephanie
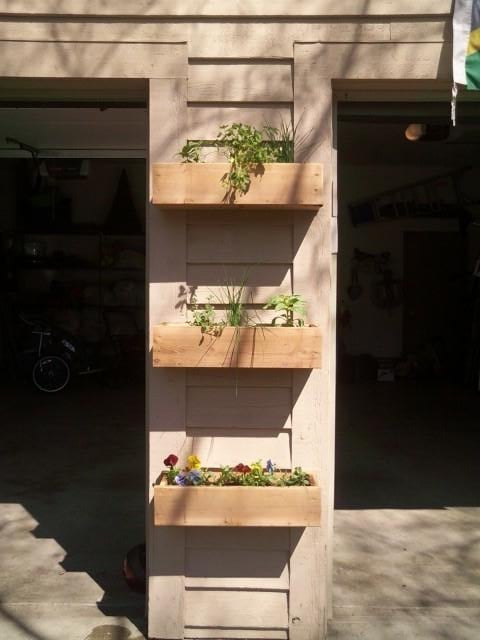
Decided to build a vertical herb garden after seeing a brag post. I used 3 six foot cedar fence pickets cut to 22 inches to fit between our garage doors. I used 2 inch nails and wood glue to keep everything together.
The best part was ripping th left over pieces of cedar at a 45 degree angle to use as hangers. I have not seen this described yet on this site yet. After you rip the boards you attach the one side to the back of the box so that the short side is flush. The other portion you attach to the wall so that the pieces will slide together to form a full board again. Its a great way to get the boxes flush against the wall and avoid expensive hanging accessories. It also allows you to do all your gardeining at your potting bench and then hang them when you are done.
Tue, 04/03/2012 - 11:27
looks great, and the french cleat idea is brilliant for planter boxes. Strength and mobility.
Thu, 11/01/2012 - 10:24
That technique you used is called a French Cleat system. I had three parallel rails installed on the walls in my garage, and, so far, have built two cabinets that hang on the walls (I have many more to go!).
Anything to which you can attach a cleat on the backside can be hung on a corresponding cleat on the wall! Pencil boxes, pegboard sheets (I have pegboard hanging on cleats), swivel lights, paper towel holders, an old bookcase (makes for instant shelving), etc.
Hugs!
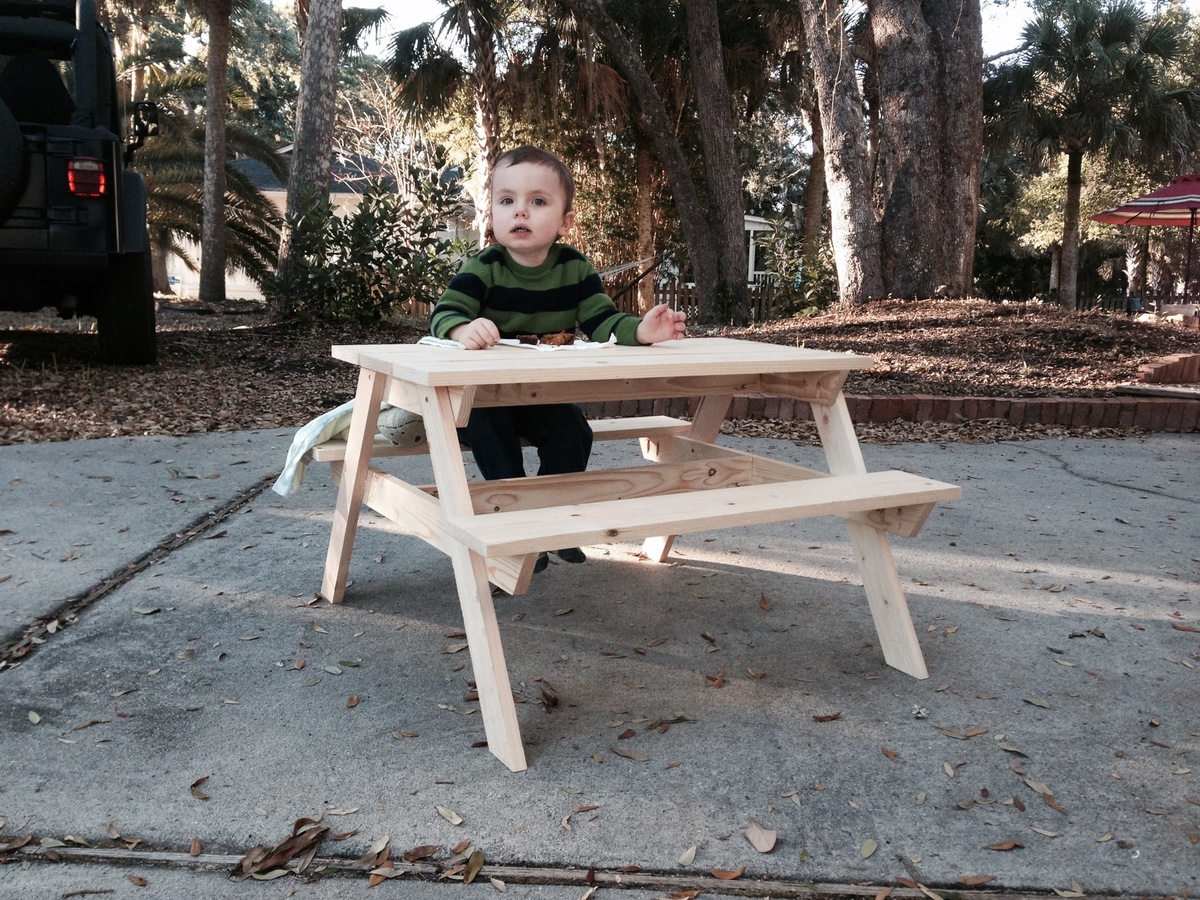
This was a fun, easy project. The main modification I made was to use 1 x 6 boards for the bench tops.
I also used my Kreg Jig extensively for this project. There are no visible screws on the tabletop or bench tops.
My grandson Oliver couldn't wait for me to put a finish on it. He had to try it out while snacking on his great-grandmother's pumpkin bread.


Comments
Ana White Admin
Wed, 08/02/2023 - 15:42
Great nightstand!
Thanks for sharing, it looks fantastic!