Community Brag Posts

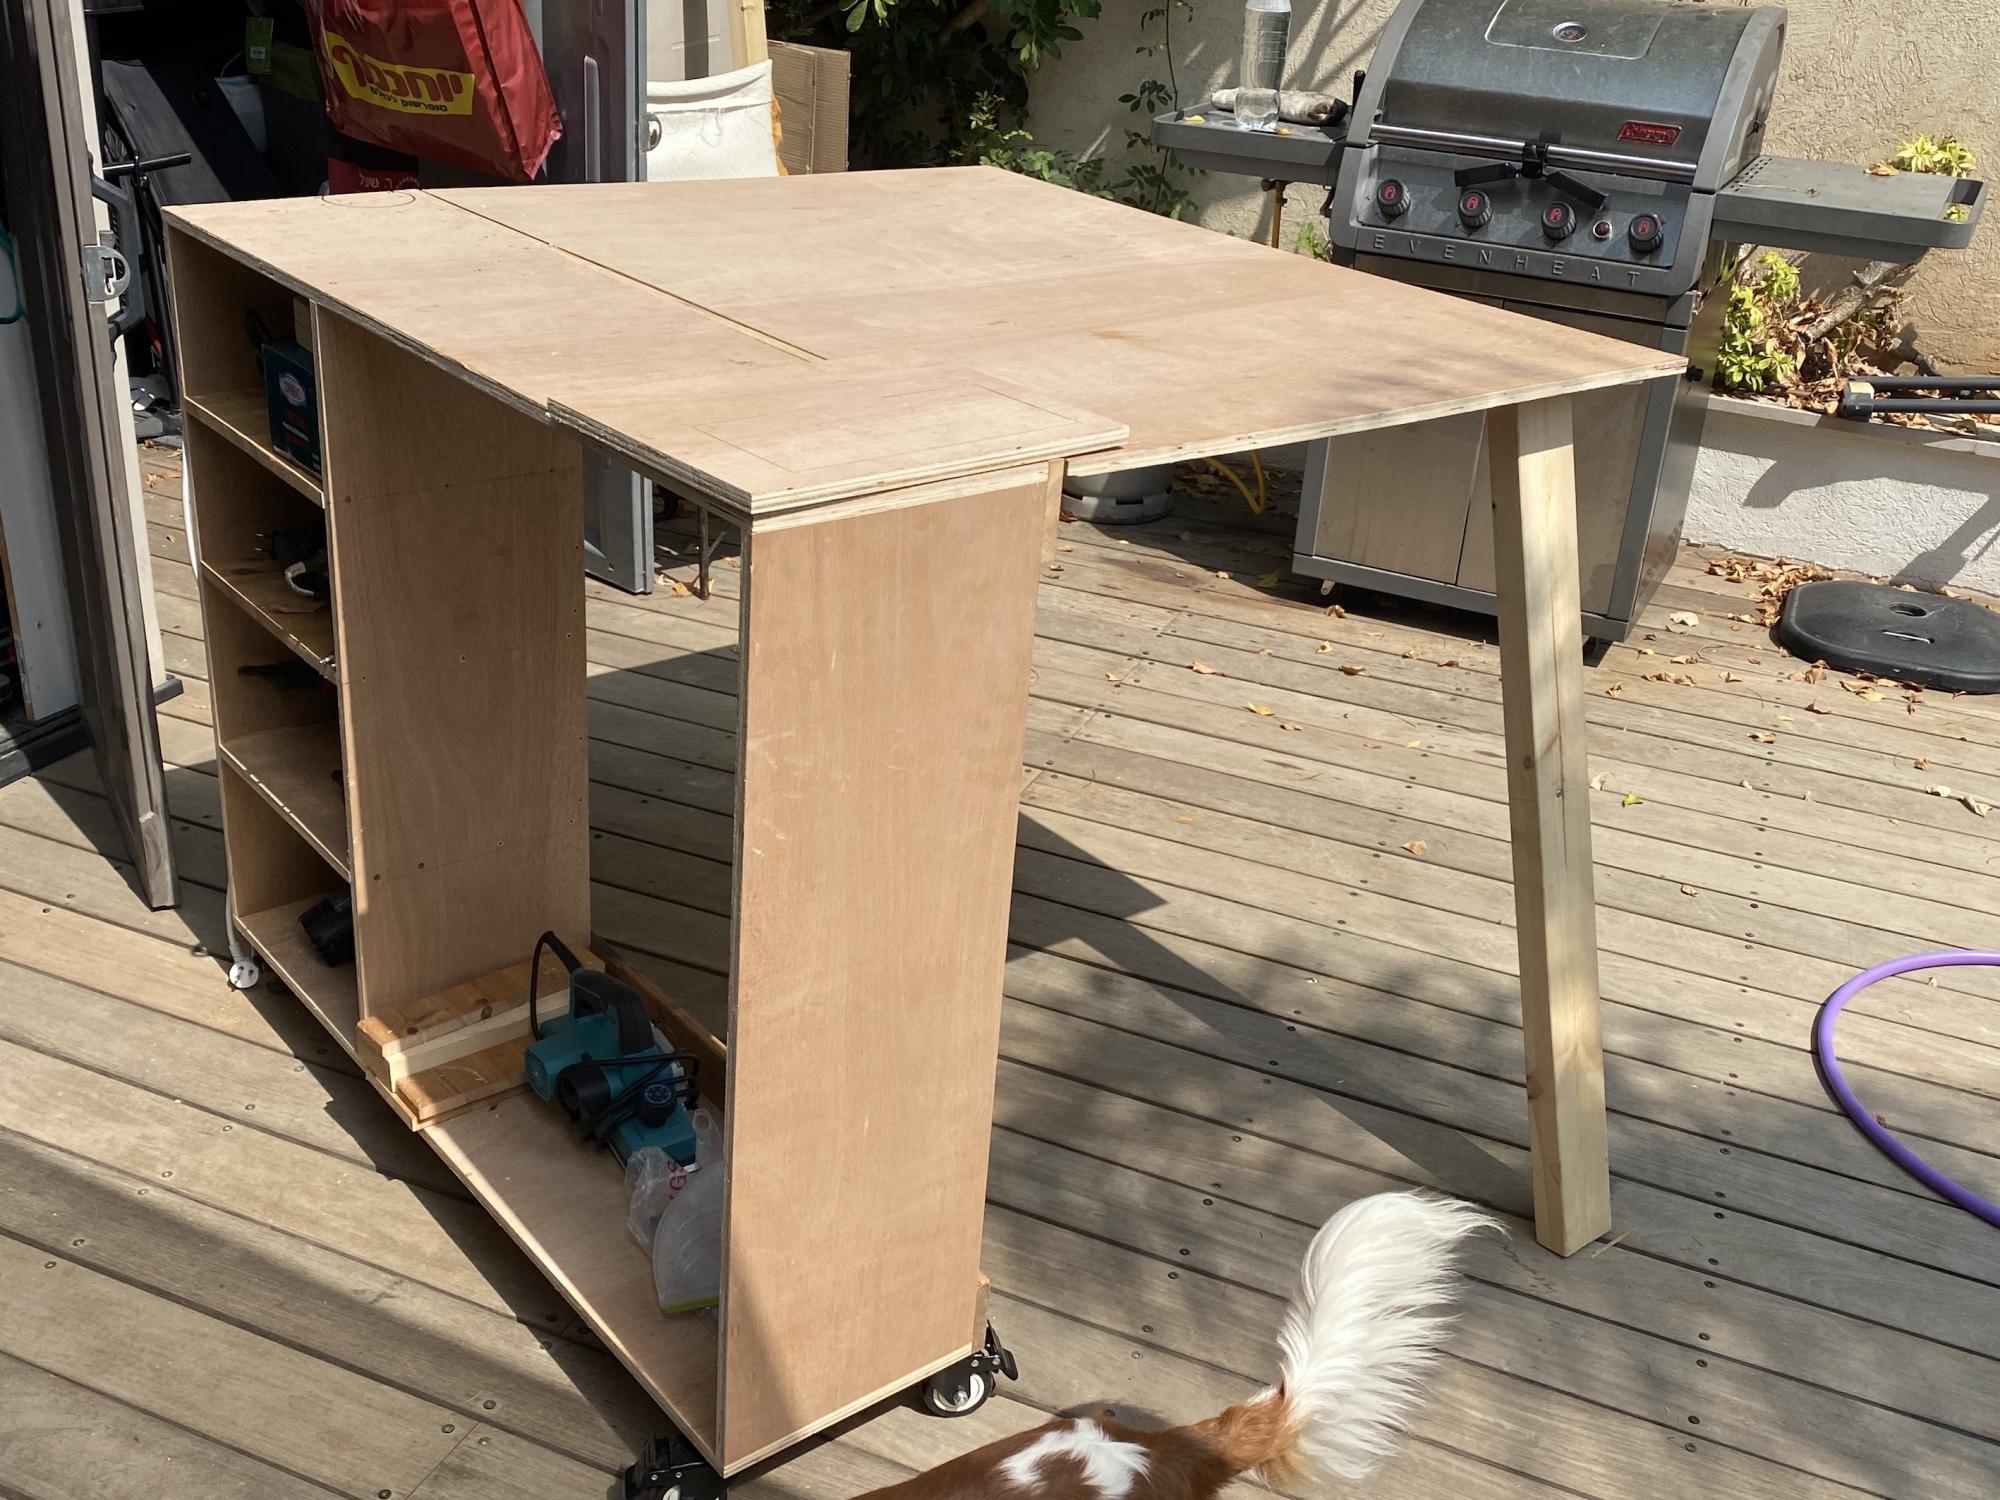
My First work - folding workbench
Submitted by saariko on Mon, 08/31/2020 - 03:54

So this is my first ever work.
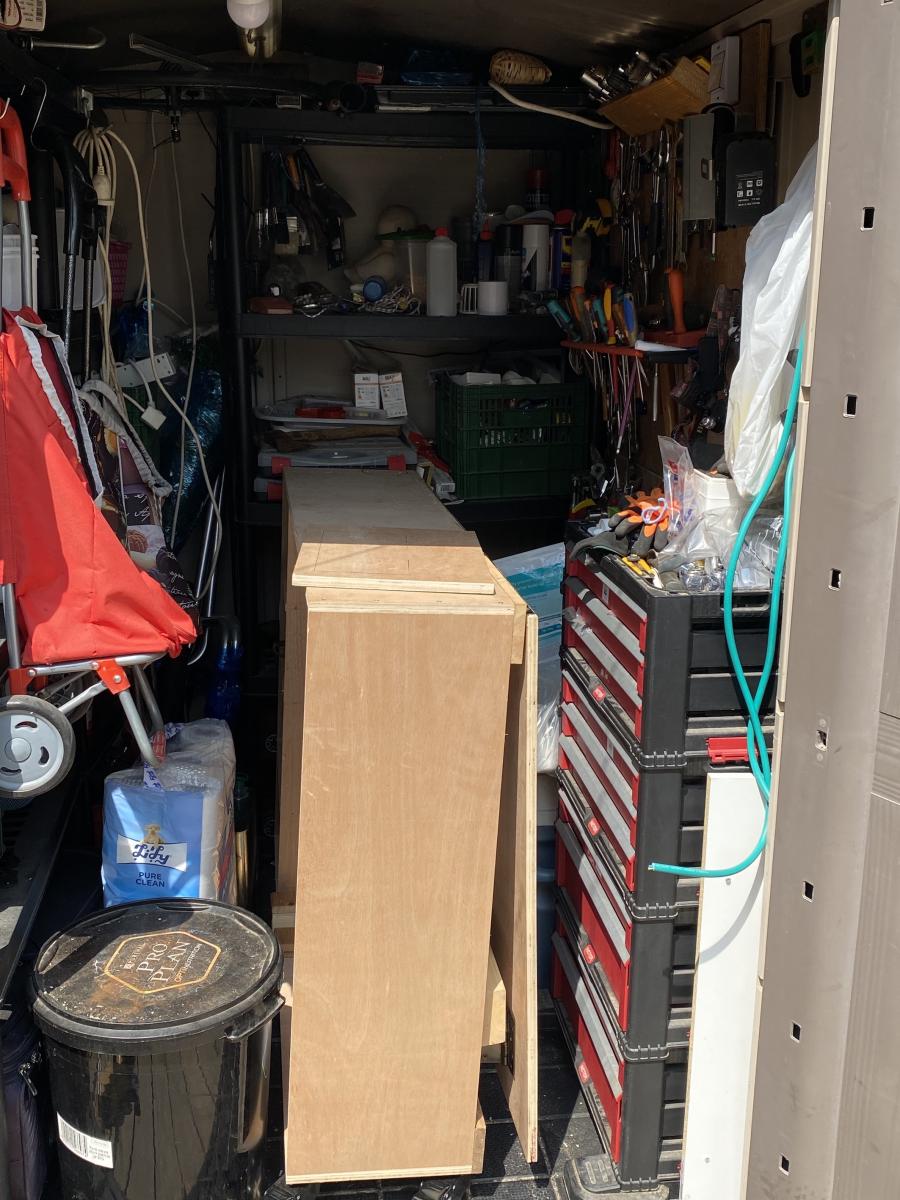
I have a very limited storage place (outside shed) and the super benefit, is that folded, this workbench is just the perfect fit (you can see in the picture how well it's fitted).

I am a tall person, so I took the liberty to add some CM's to the total height, and also extend the 'Flap' to be bigger. It's both beneficial but also adds some risk, as it's less stable when folded. And needs to be taken care when moving around.

I added magnets to the legs, with a piece of metal on the bottom side of the flap, so when opening the flap, the legs are held until released. (you need a fairly strong magnet for the 2X4.

One thing I noticed, and needs to modify is that the hinges holes are paralel to each other, that mean, that you either need very flat screws, or as I did, screwed them on alternating holes. So when closed, there is no pressure from the tip of the screw. Another solution is to use a hinge where the holes are not parallel to each other. ( i saw something like that online.)

I still want to add 2 top drawers, and a shelf, but it's pretty complete and functional as it is.

Super excited !!!
Built from Plan(s)
Estimated Cost
70$
Estimated Time Investment
Afternoon Project (3-6 Hours)
Recommended Skill Level
Starter Project

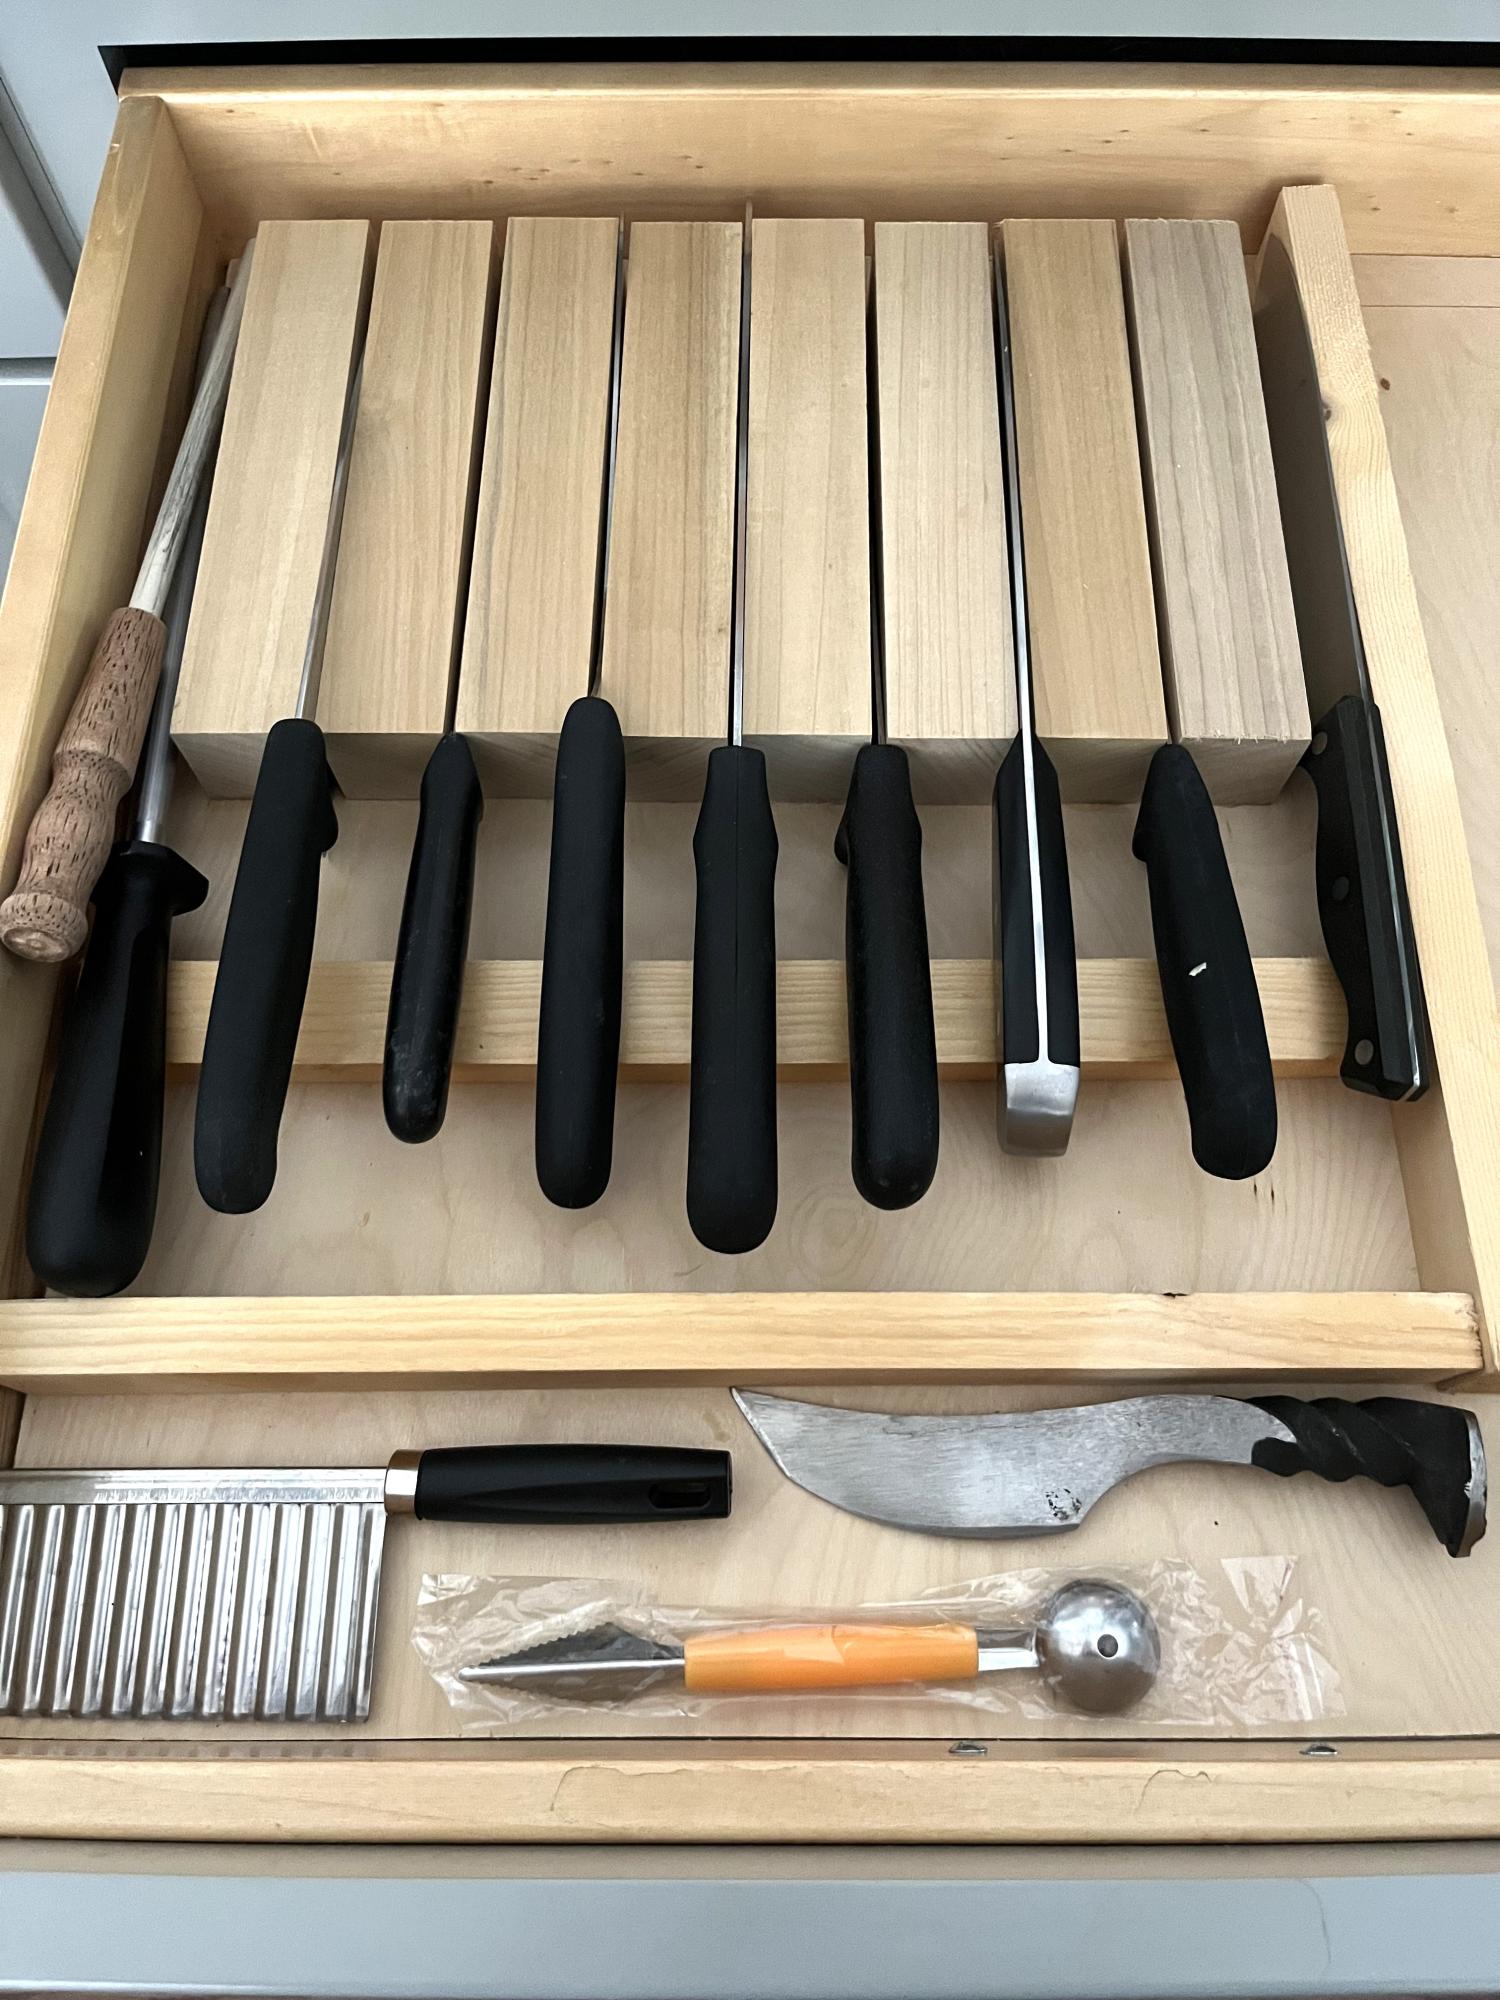
Custom Knife Drawer Insert

Submitted by Anonymous (not verified) on Mon, 08/26/2024 - 09:18

I made the in drawer knife block following Ana’s plan but tweaking for my needs and drawer size. I love it. It was easy to make and I’m a total beginner.

Karen

Built from Plan(s)

Flip Top Storage Bench

Submitted by TheBramFam on Mon, 11/12/2012 - 18:30

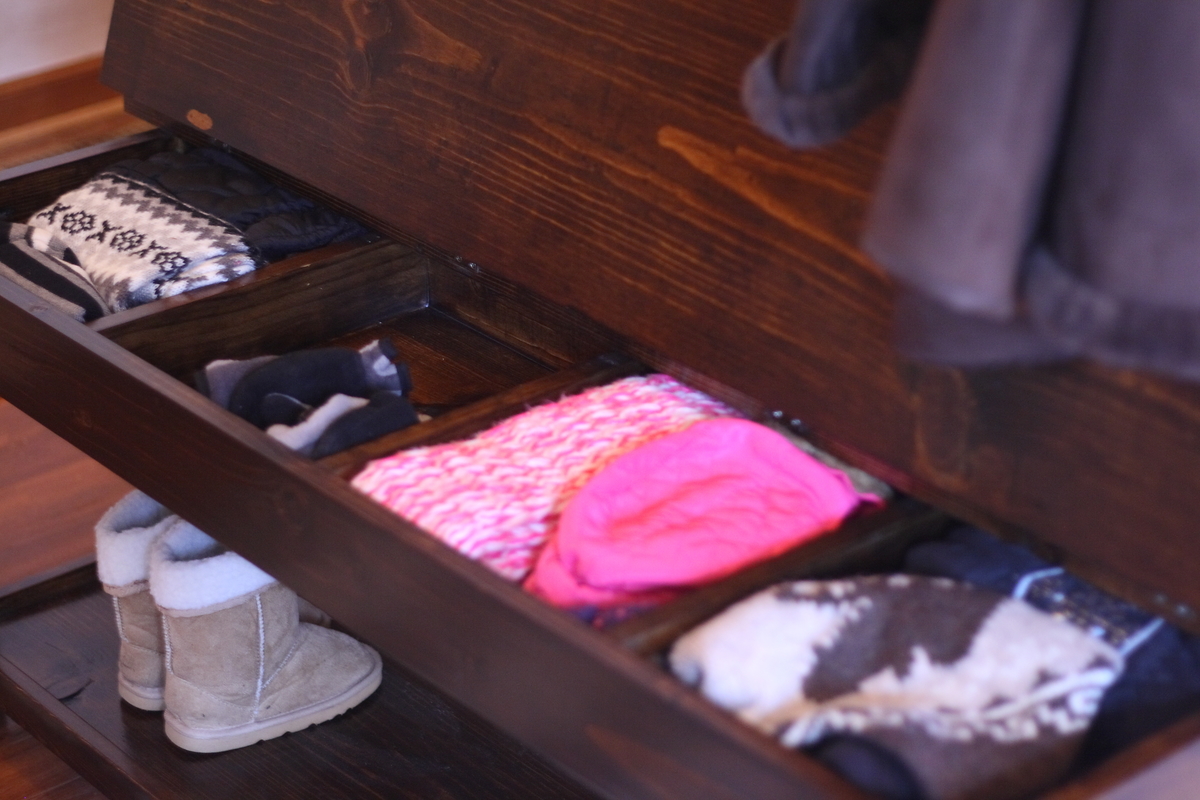
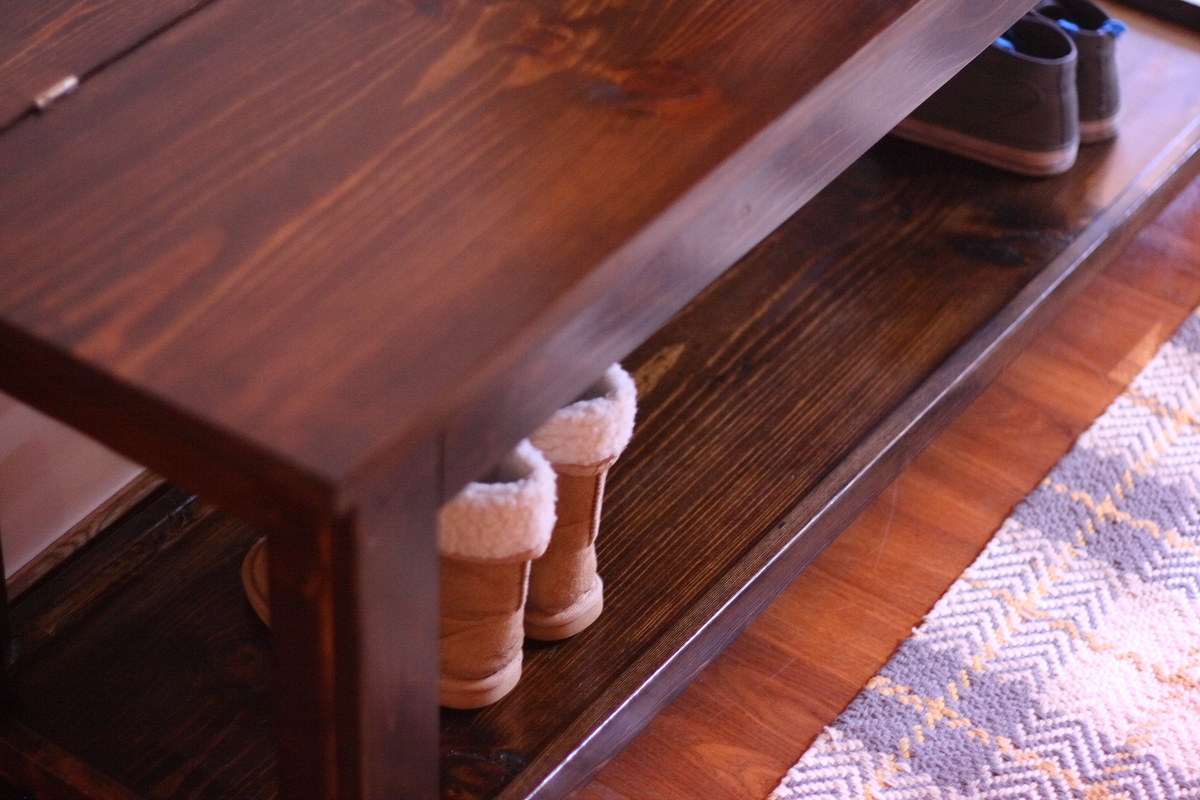
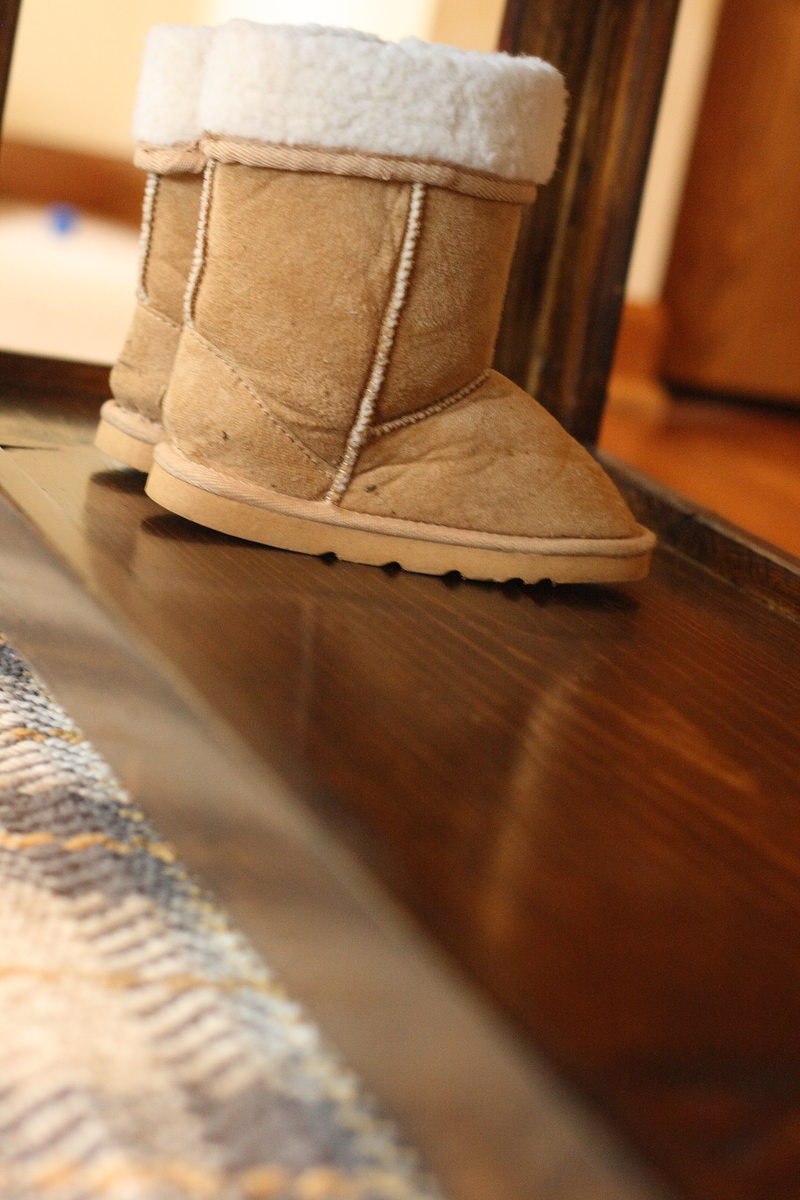
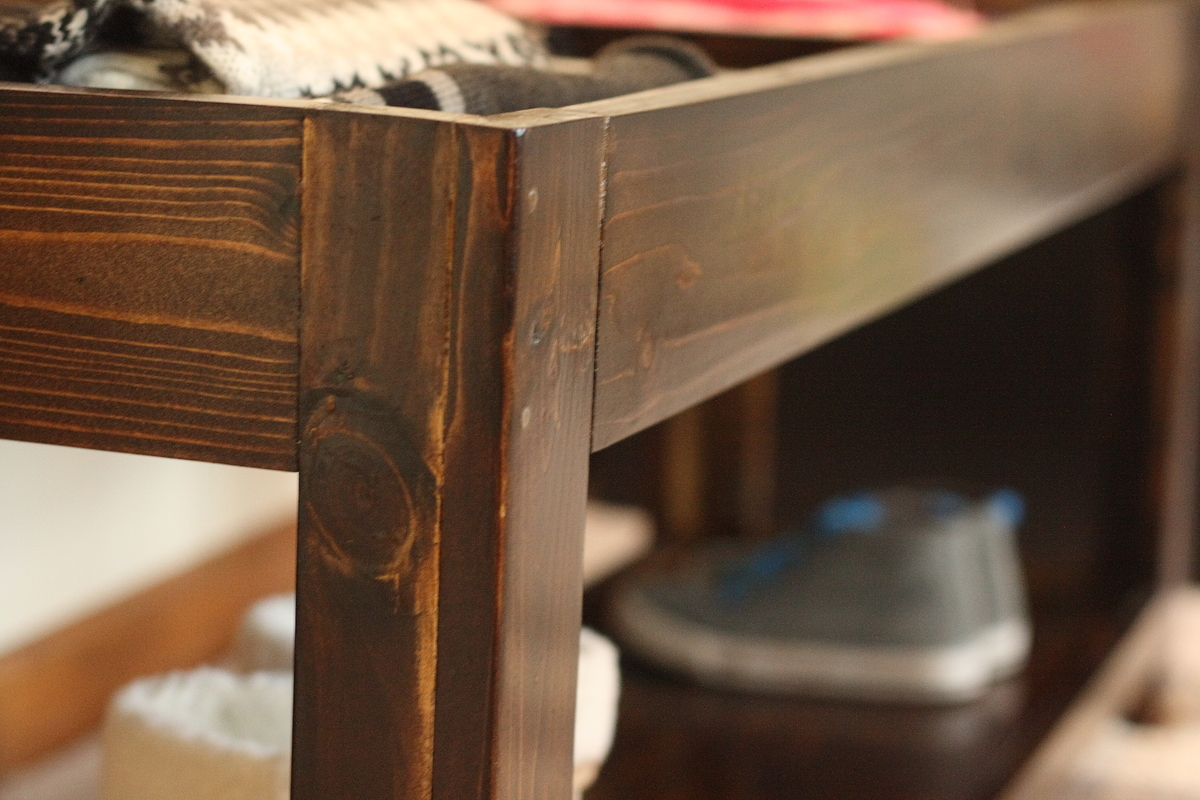
As soon as I opened Ana's new book I fell in love with the bench on page 33. When I met her in Chicago she said she was going to draft a new set of plans, and of course she didn't let me down! I followed her plans to a T! The size was perfect for my "mudroom" and this was technically my first project since I insisted on not having my husband's help. It was also my first time going to the hardware store and purchasing the wood...I think that part will take some getting used to!

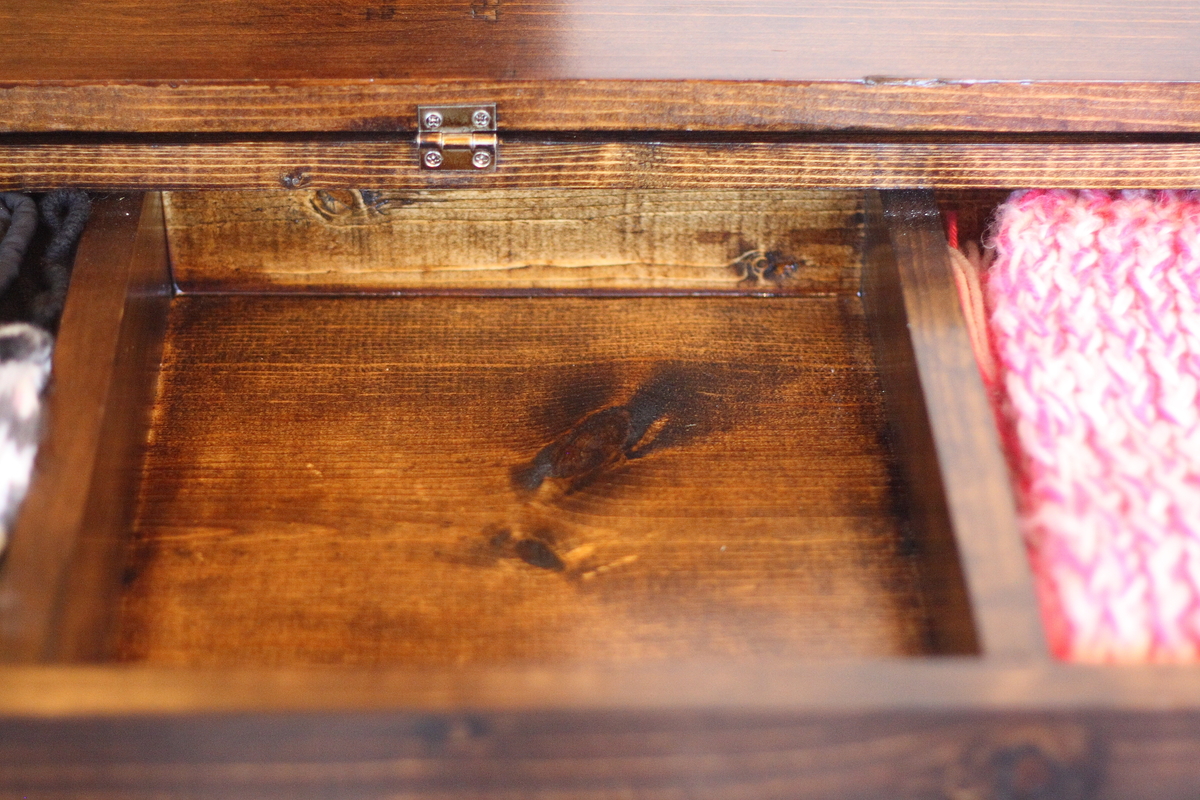
After I had it built I decided that I wanted to make everyone in my family a "cubby" inside the storage area. I just used some scrap 1x3's and glued them into place. I then stained it with Minwax Dark Walnut stain and then used oil based poly (3 coats). The entire family loves the new bench and my toddlers LOVE their "cubbies". Thank you again Ana!

Estimated Cost
$75
Estimated Time Investment
Day Project (6-9 Hours)
Finish Used
Minwax Dark Walnut Stain & Minwax oil based Poly
Recommended Skill Level
Beginner

Comments

spiceylg

Tue, 11/13/2012 - 05:34

Terrific job. I especially liked the divided interior. You should be proud.

Jackie Bramel (not verified)

Tue, 11/13/2012 - 10:22

Thank you so much!!!! It's still surreal that I made something so beautiful!
dmcarwin

Tue, 01/29/2013 - 18:42

I love that you added cubbies! You did a fantastic job all around! I have been wanting to make this bench too, and here I am AGAIN looking at the plans....Thanks for sharing!

Tardis bench

Submitted by Jaime04285 on Sun, 08/31/2014 - 22:46

I used the woven back bench plans to make this doctor who tardis inspired bench. It will be a memorial bench for a young girl who recently passed in our community. She loved doctor who as do I so I changed the back a bit to represent the Tardis windows and of course painted it tardis blue. I will also give it two coats of polycyclic.

Built from Plan(s)
Estimated Cost
$35 including paint and not including some wood I already had on hand.
Estimated Time Investment
Day Project (6-9 Hours)
Finish Used
Paint and polycrylic
Recommended Skill Level
Beginner

Comments

Ana White

Tue, 09/02/2014 - 12:16

Thank you for sharing and for your thoughtfulness to your community and the young girl.

Modified Mimi's faux mantle

Submitted by brayroux on Tue, 12/20/2016 - 10:09

Added deeper sides to the project so I could fit an electric fireplace into it

Estimated Cost
$175 for the fireplace
$350 in wood and finish supplies
Estimated Time Investment
Week Long Project (20 Hours or More)
Finish Used
Valspar furniture paint in Mark Twain Ombra Gray
Valspar Antiquing Glaze
Recommended Skill Level
Intermediate

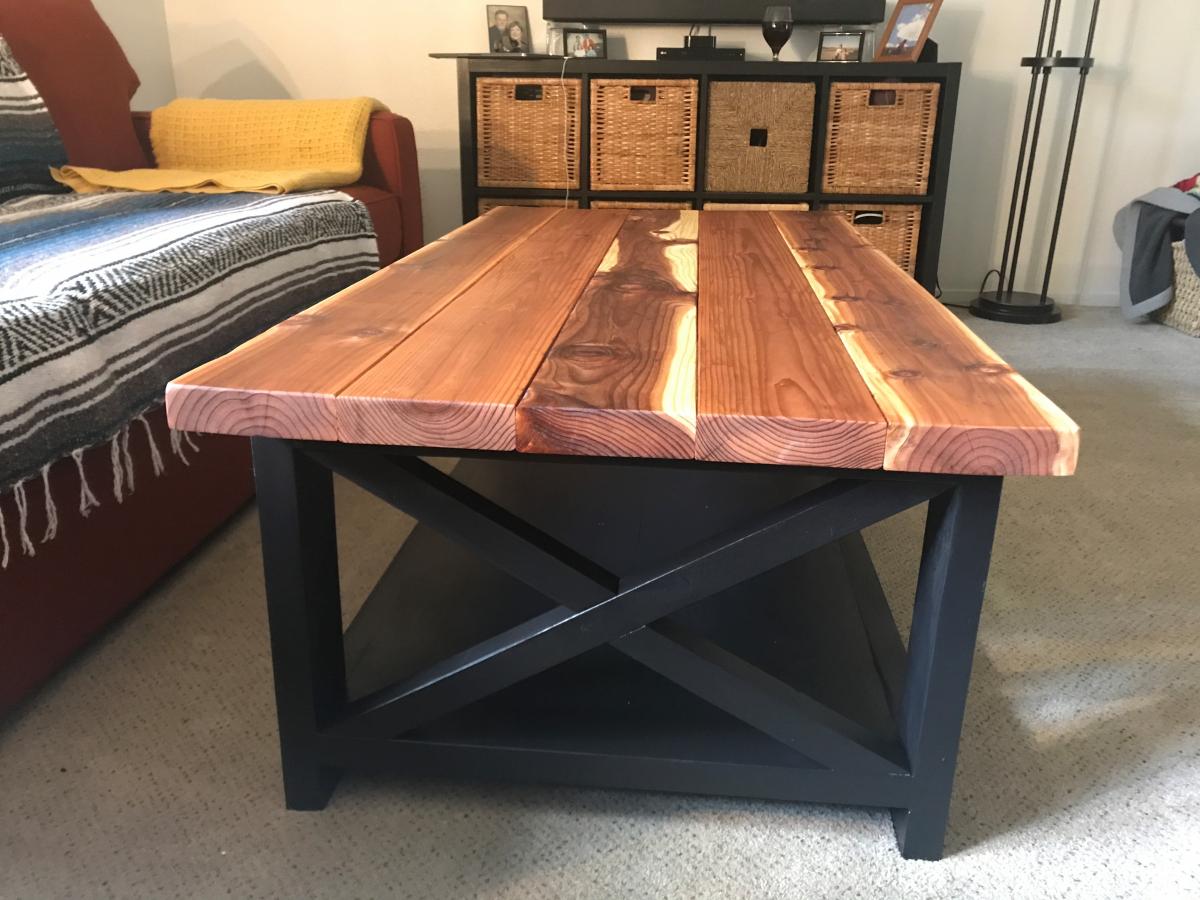
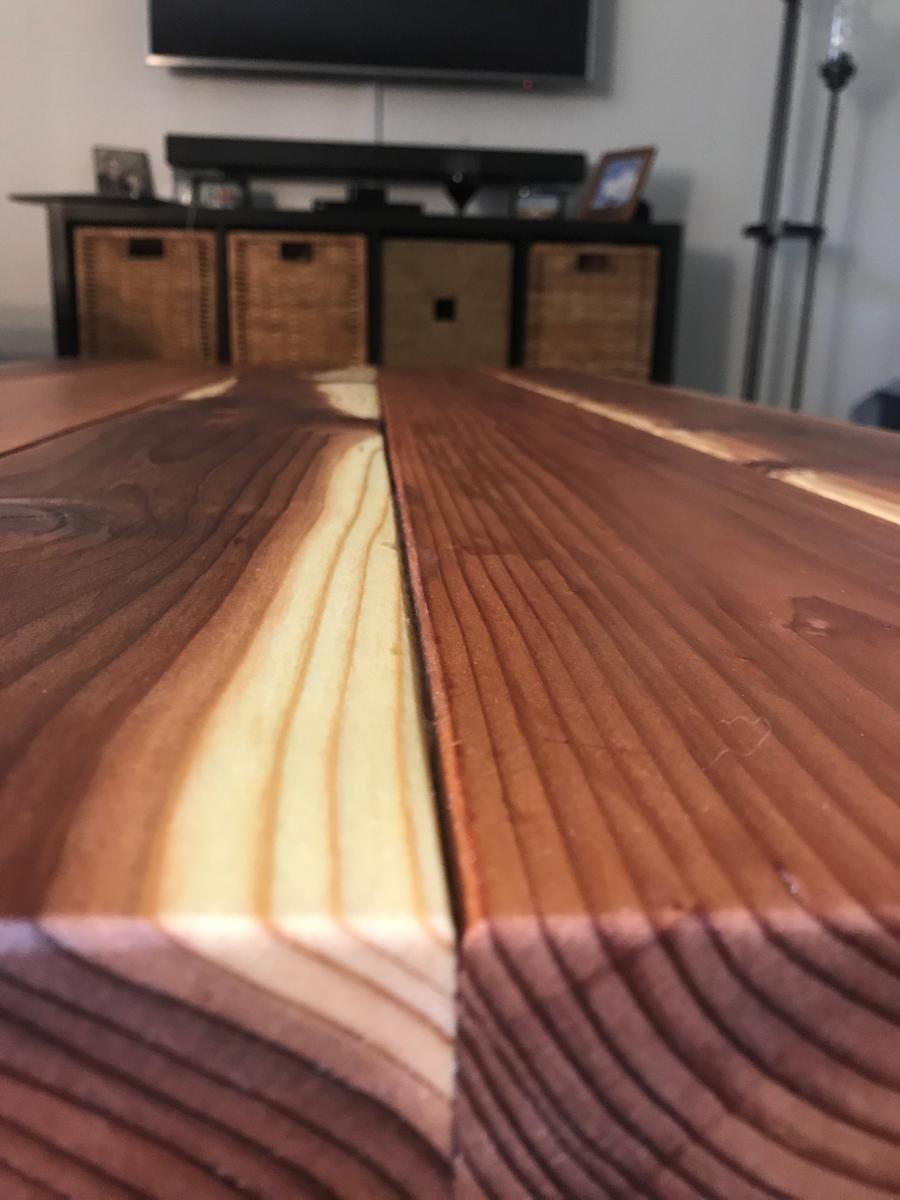
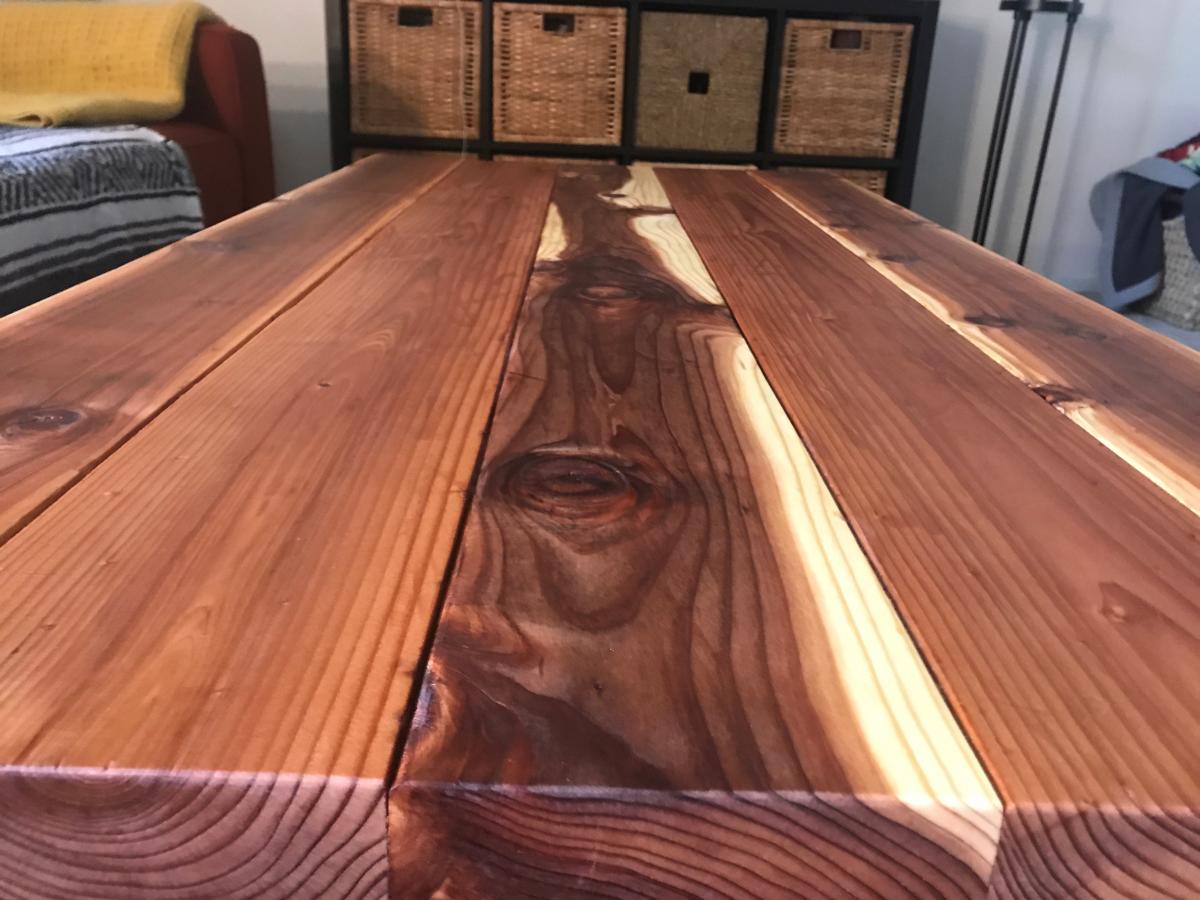
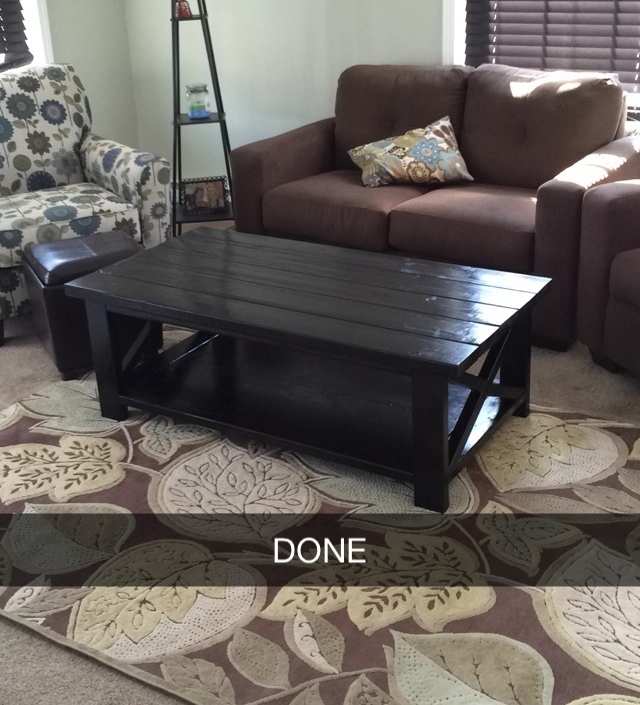
B-Hive's Rustic X Coffee Table

Submitted by B-hive on Tue, 09/01/2020 - 12:34

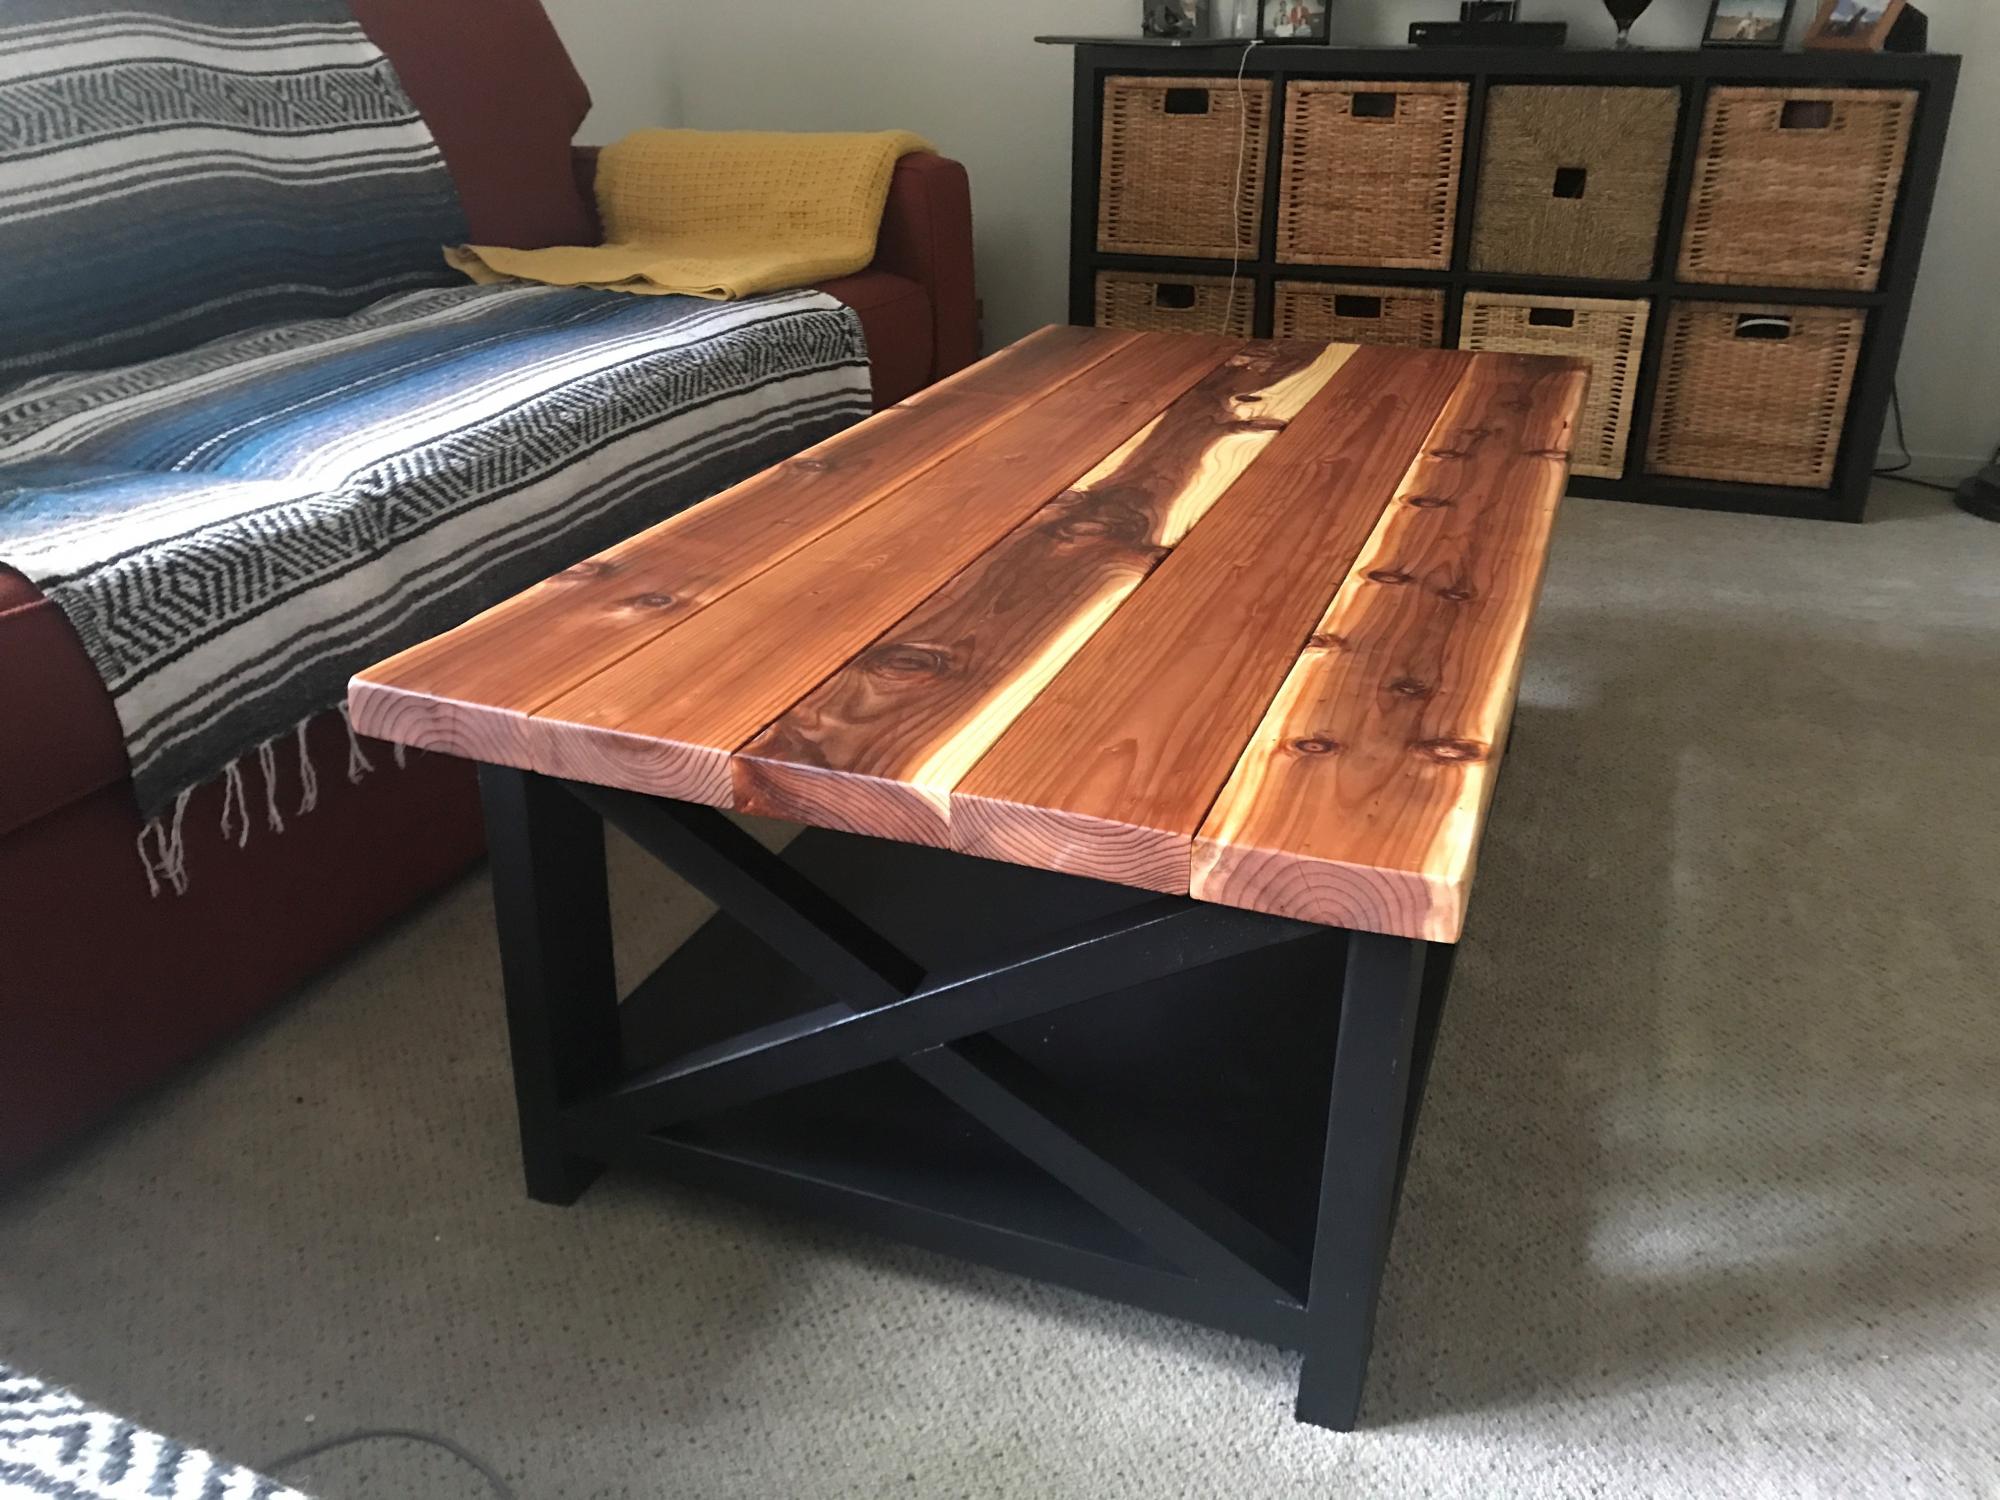
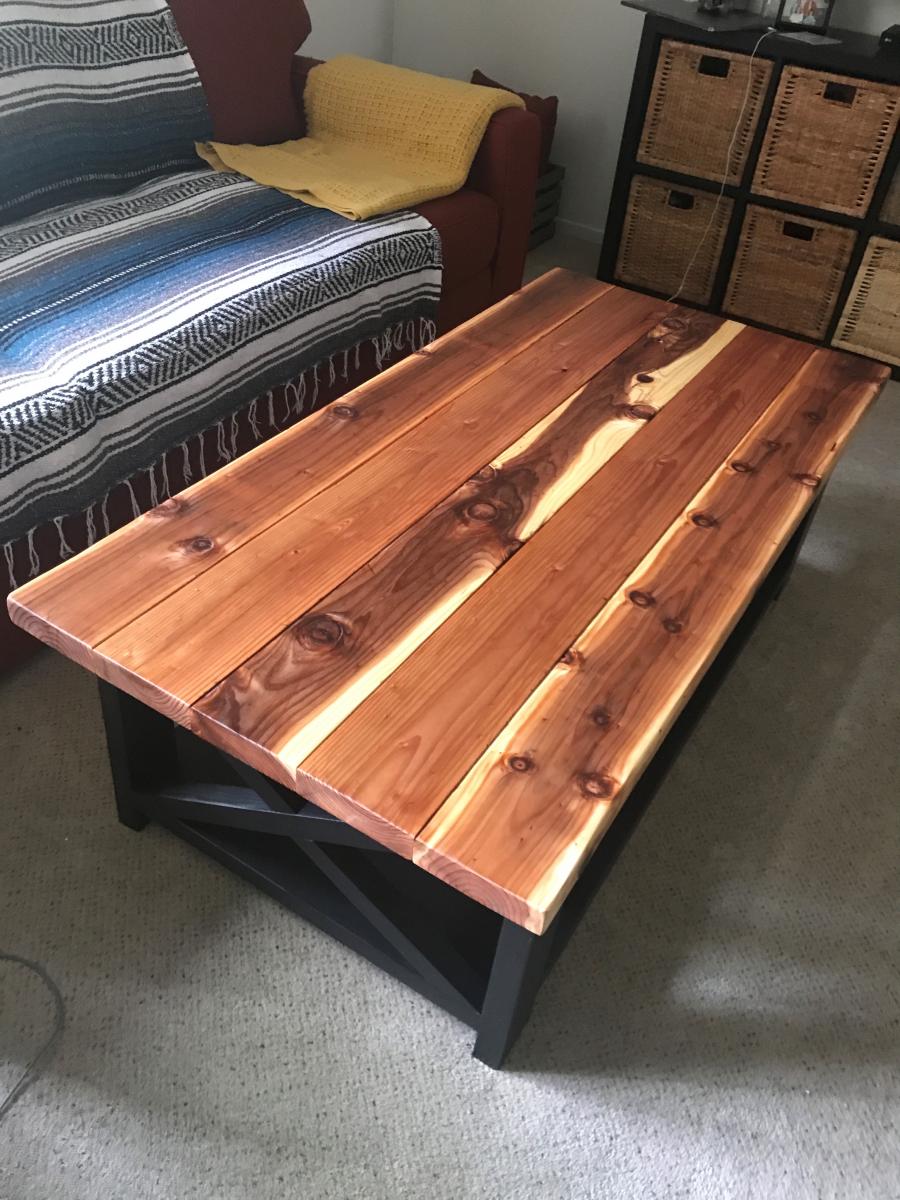
This is our first project using one of Ana's plans. We made one modification adding stability to the top of the structure, but otherwise stayed pretty true to what was described.

Next up is the matching end table!

For the full story of our piece, please visit our website.

Built from Plan(s)
Finish Used
Structure is painted in an eggshell black interior paint.

Top is in a clear Danish finishing oil and wipe-on polyurethane.
Recommended Skill Level
Intermediate

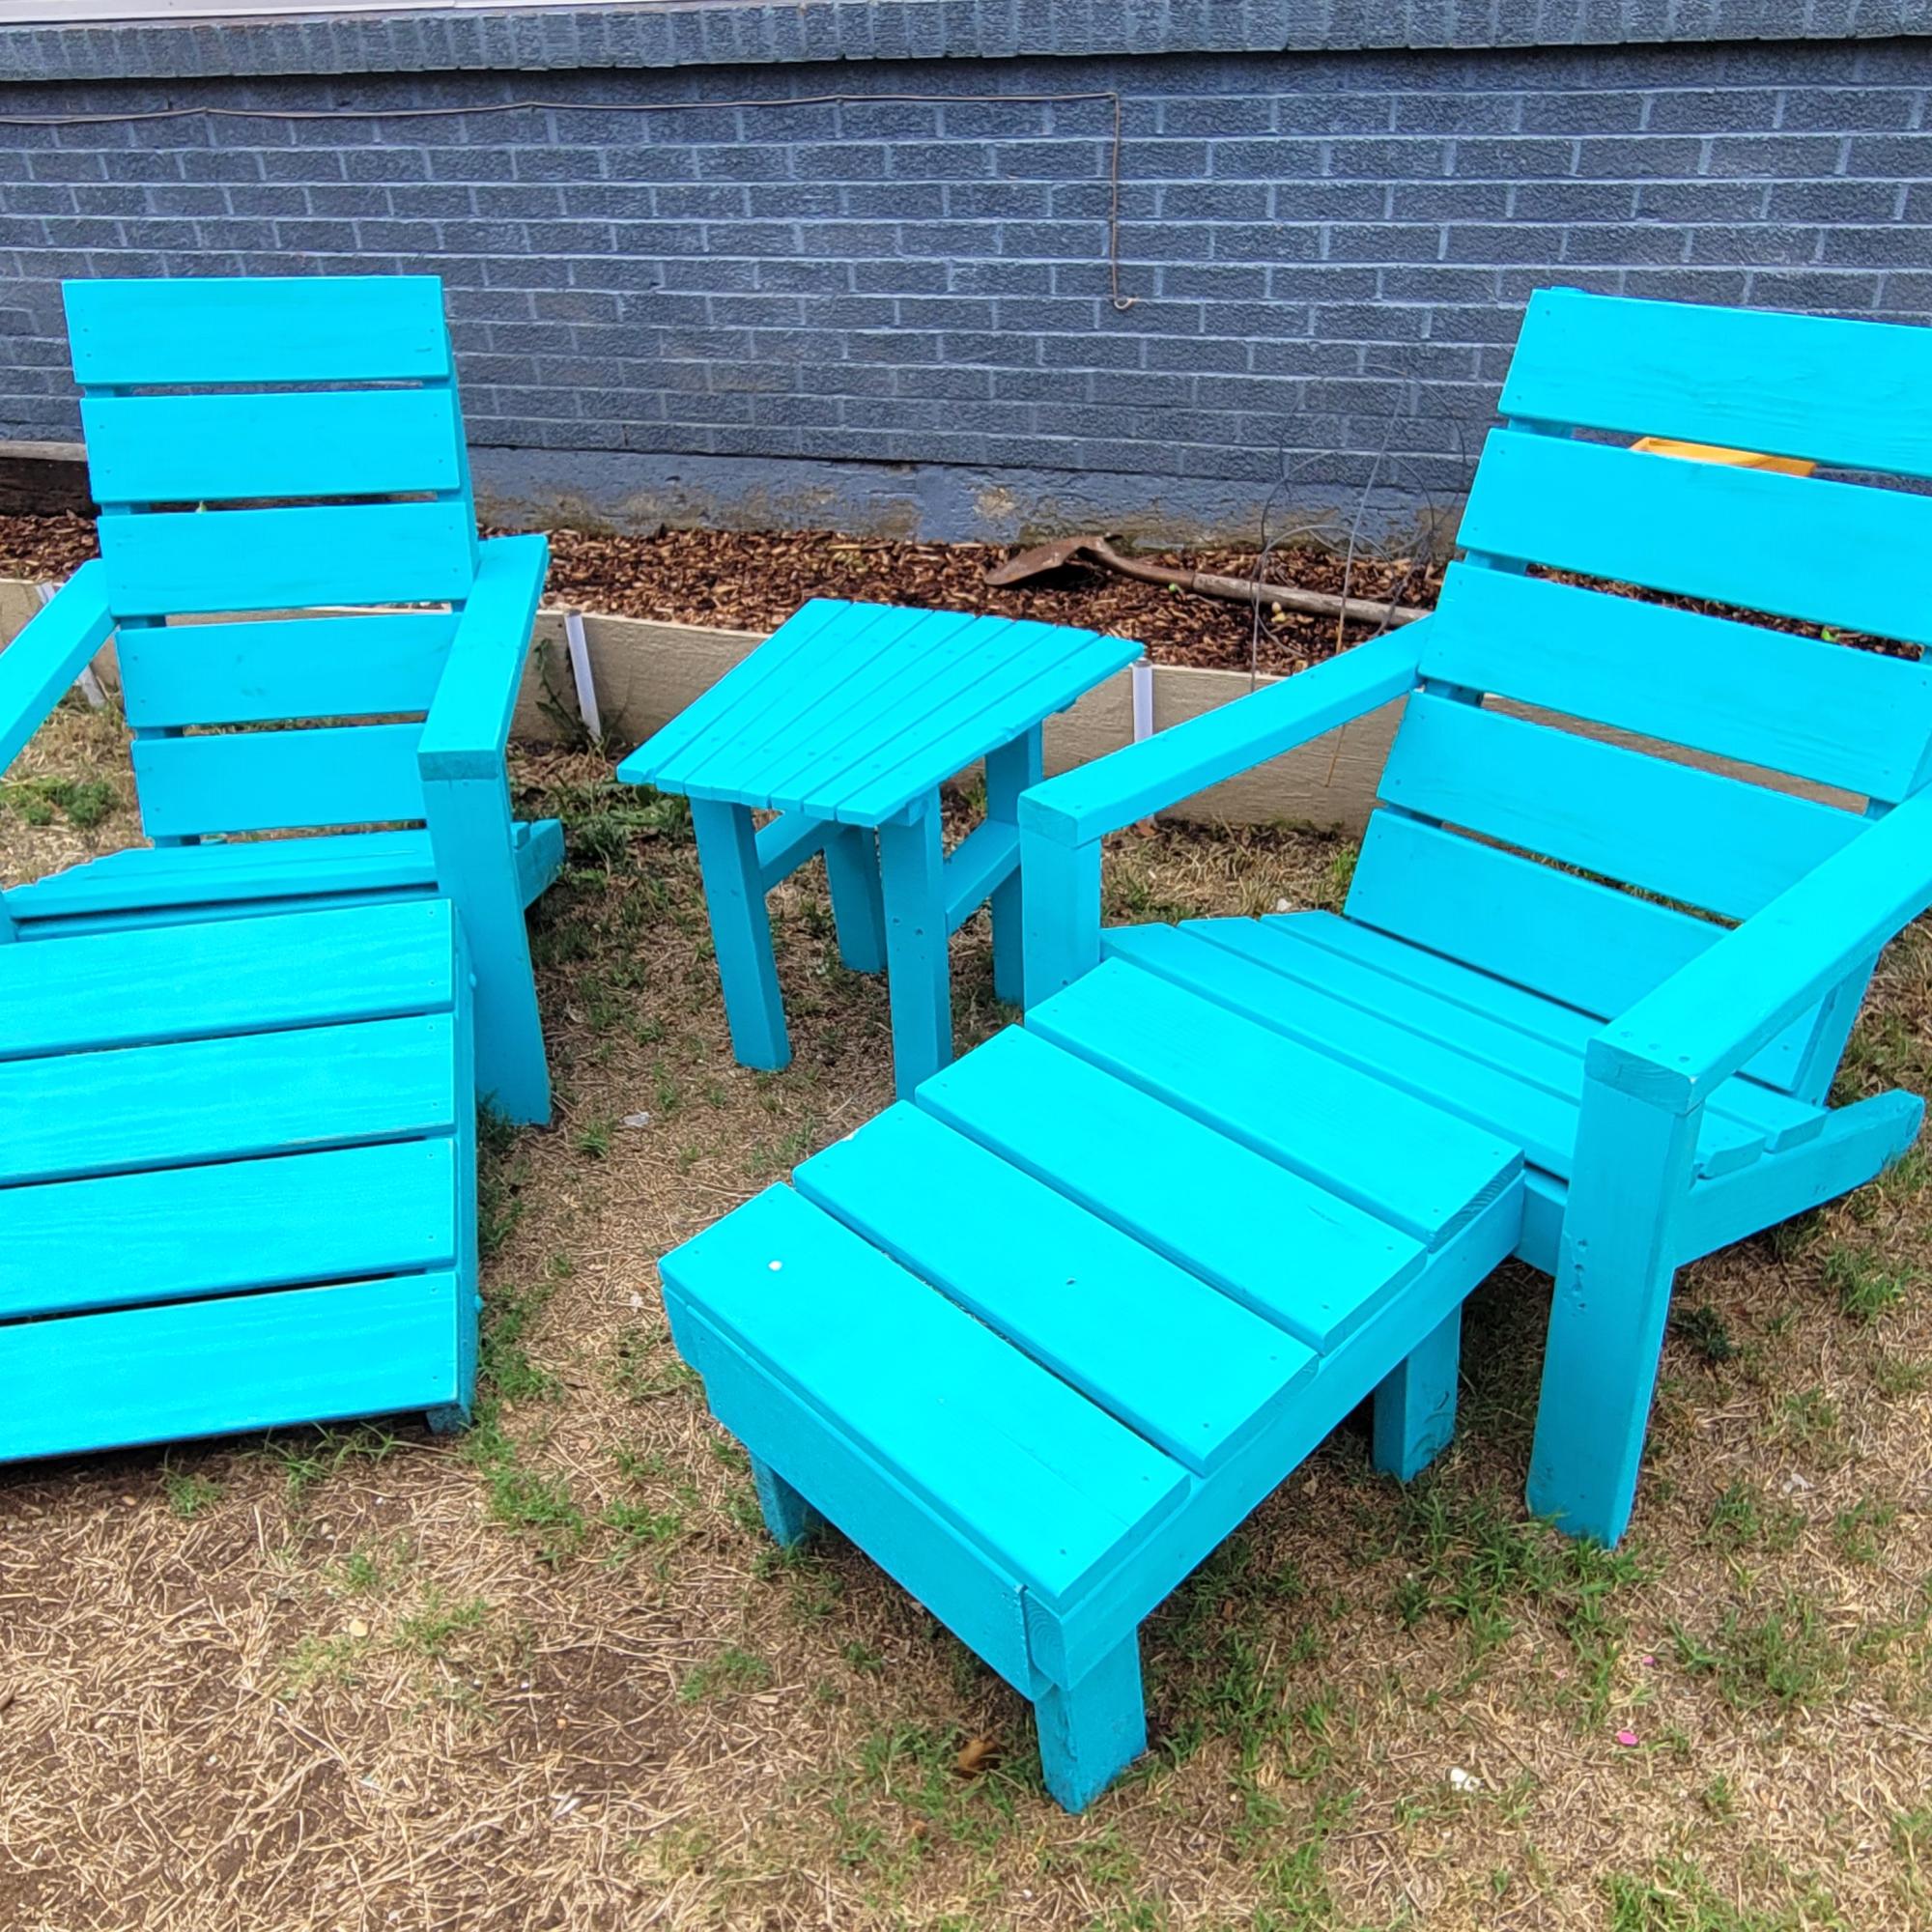
DIY Adirondack Set

Submitted by Anonymous (not verified) on Tue, 08/27/2024 - 14:59

My 1st attempt at the adirondack chair. 2nd one (right) I made 2 inches wider. I also threw together a little table.

FUN BUILD
I have plenty of orders for more.

Craig Blasi

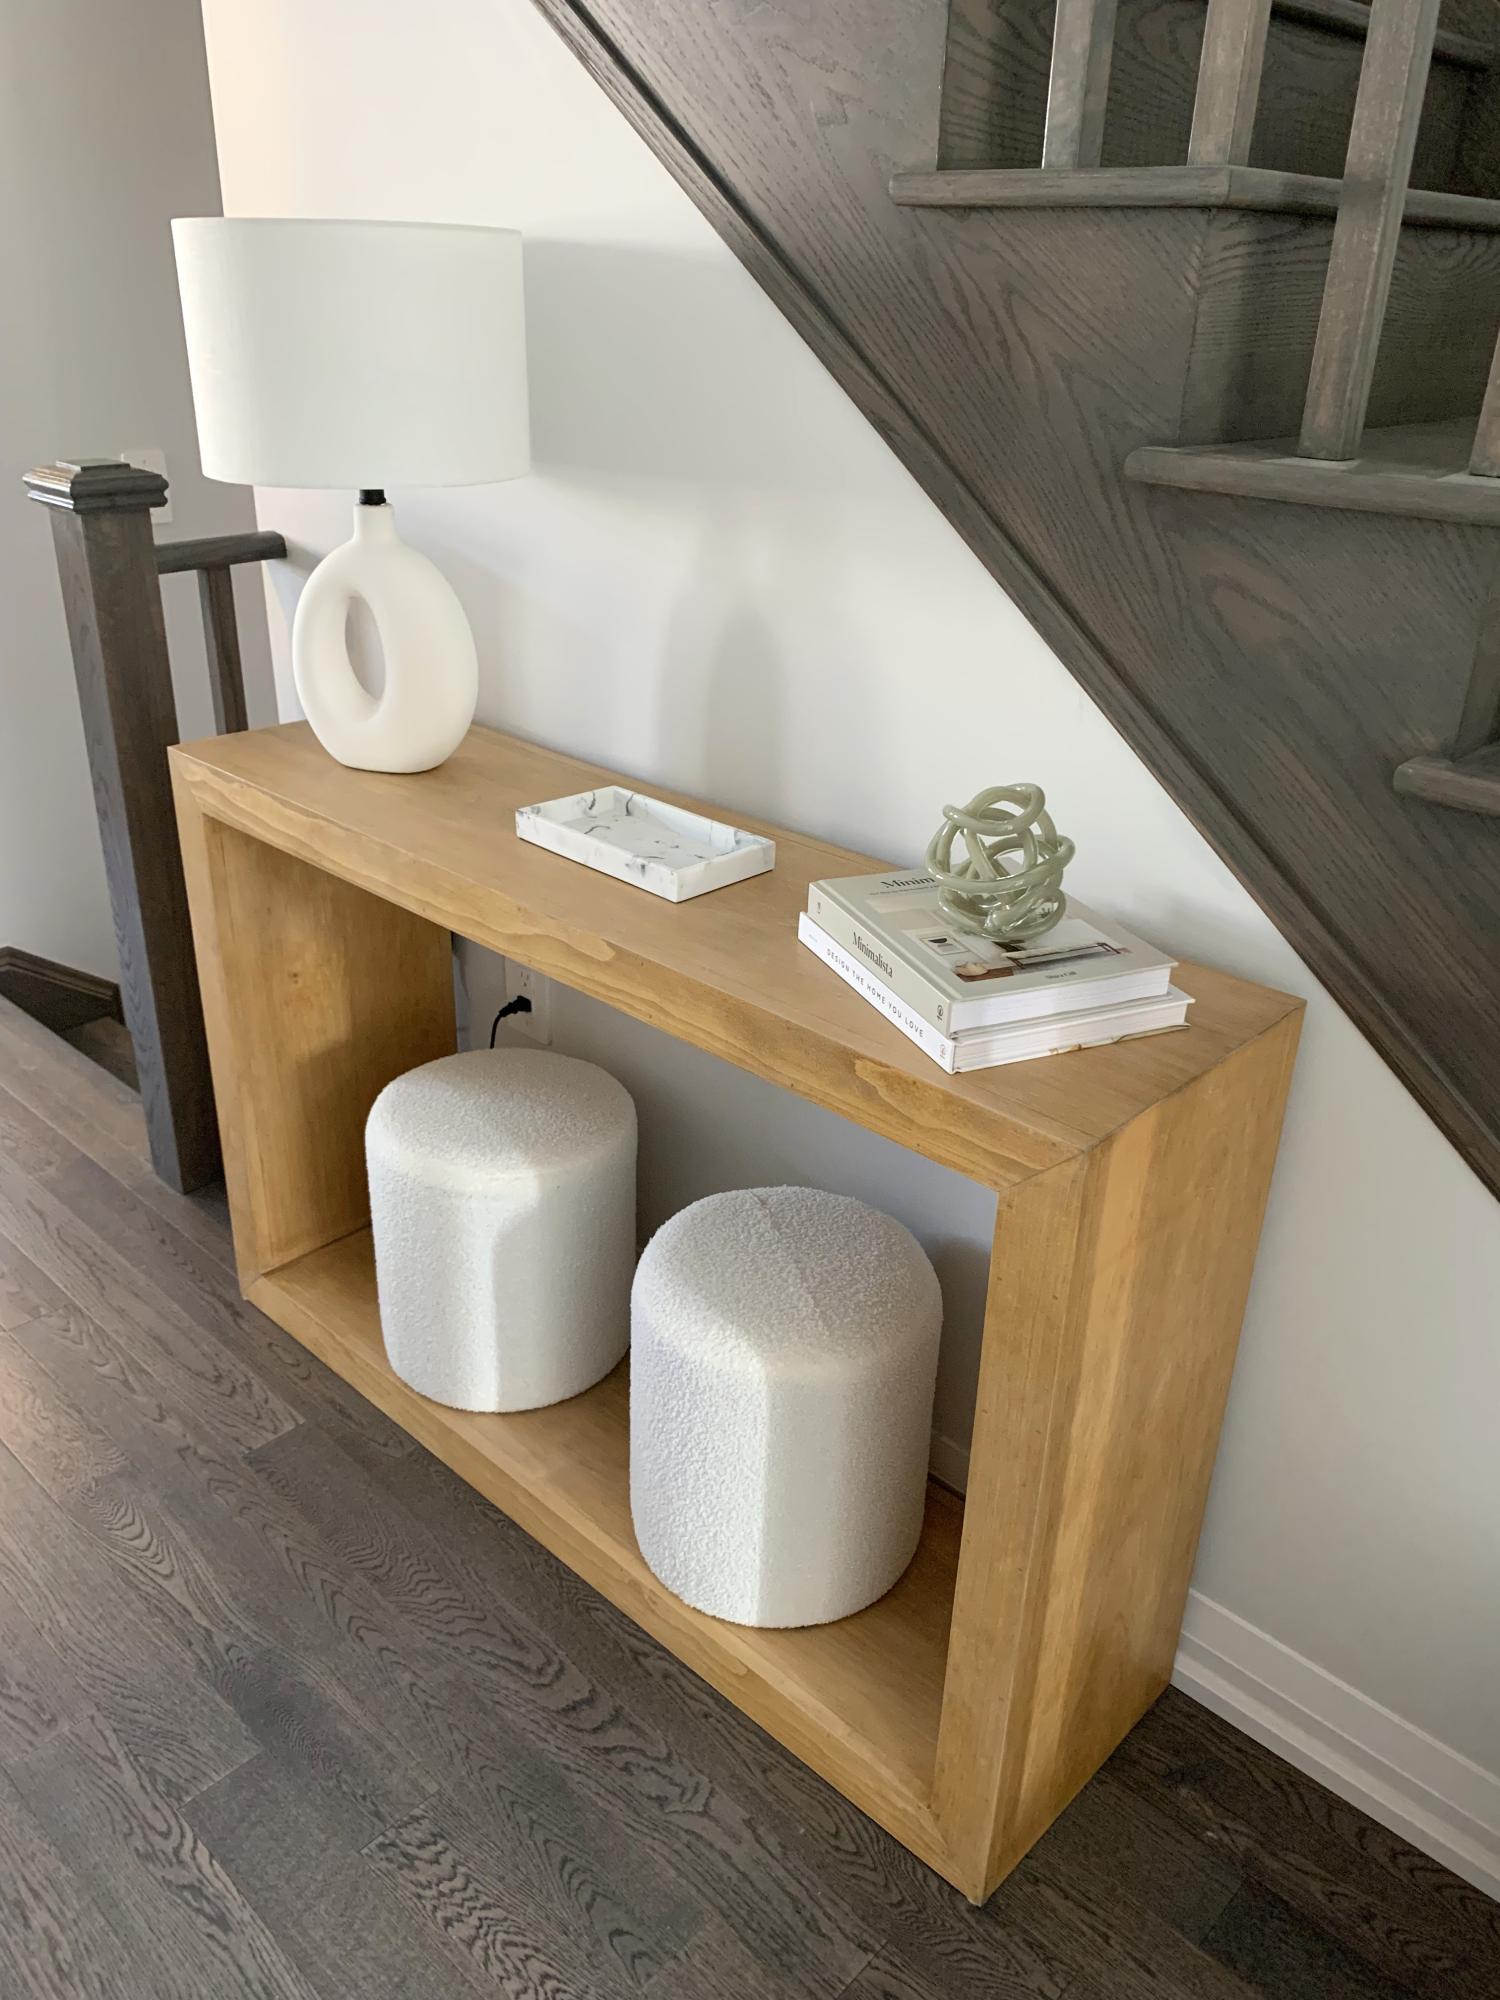
Modified console table

I'd been looking for a similar table for months but couldn't find one that I liked and that would fit at the bottom of my stairs. I found this pattern and changed the dimensions by removing just one of the top boards so that the final depth is 10.5" deep rather than 14". It's exactly what I wanted and get to brag about it!

Estimated Time Investment
Weekend Project (10-20 Hours)
Recommended Skill Level
Starter Project

Christmas Chalkboard

Submitted by Sue Hill on Sat, 12/24/2016 - 07:12

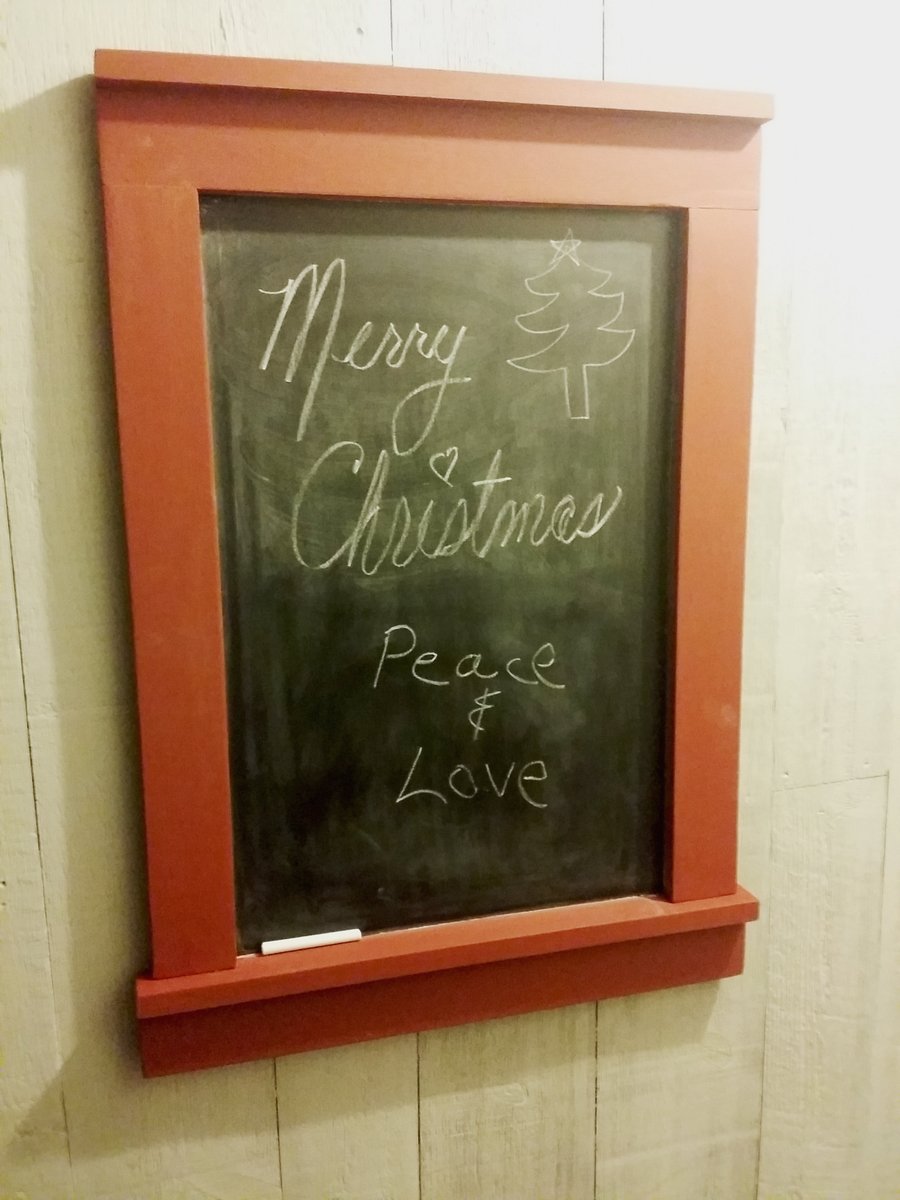
I made this craftsman frame to fit a 16" x 24" chalkboard. I followed the plan, using 1x3's and 1x2's, attached with a Kreg Jig which made it easy. Oh, and glue. I usually buy full sheets of plywood and paint them with chalkboard paint but time was short and I used a 24" x 48" prepainted panel. I cut three 16" x 24" chalkboards from this panel. 

I allowed 1/2"  all around the inside dimension in order to glue and staple the chalkboard to the back of the frame. I decided to paint them all with a barn red paint sample. Cheap enough and they're going under the tree to three family members!

Built from Plan(s)
Estimated Cost
$35 for all three
Estimated Time Investment
Afternoon Project (3-6 Hours)
Finish Used
Behr Barn Red Sample Interior Latex Paint
Recommended Skill Level
Beginner

Farmhouse Table

Submitted by Anonymous (not verified) on Fri, 09/04/2020 - 18:52

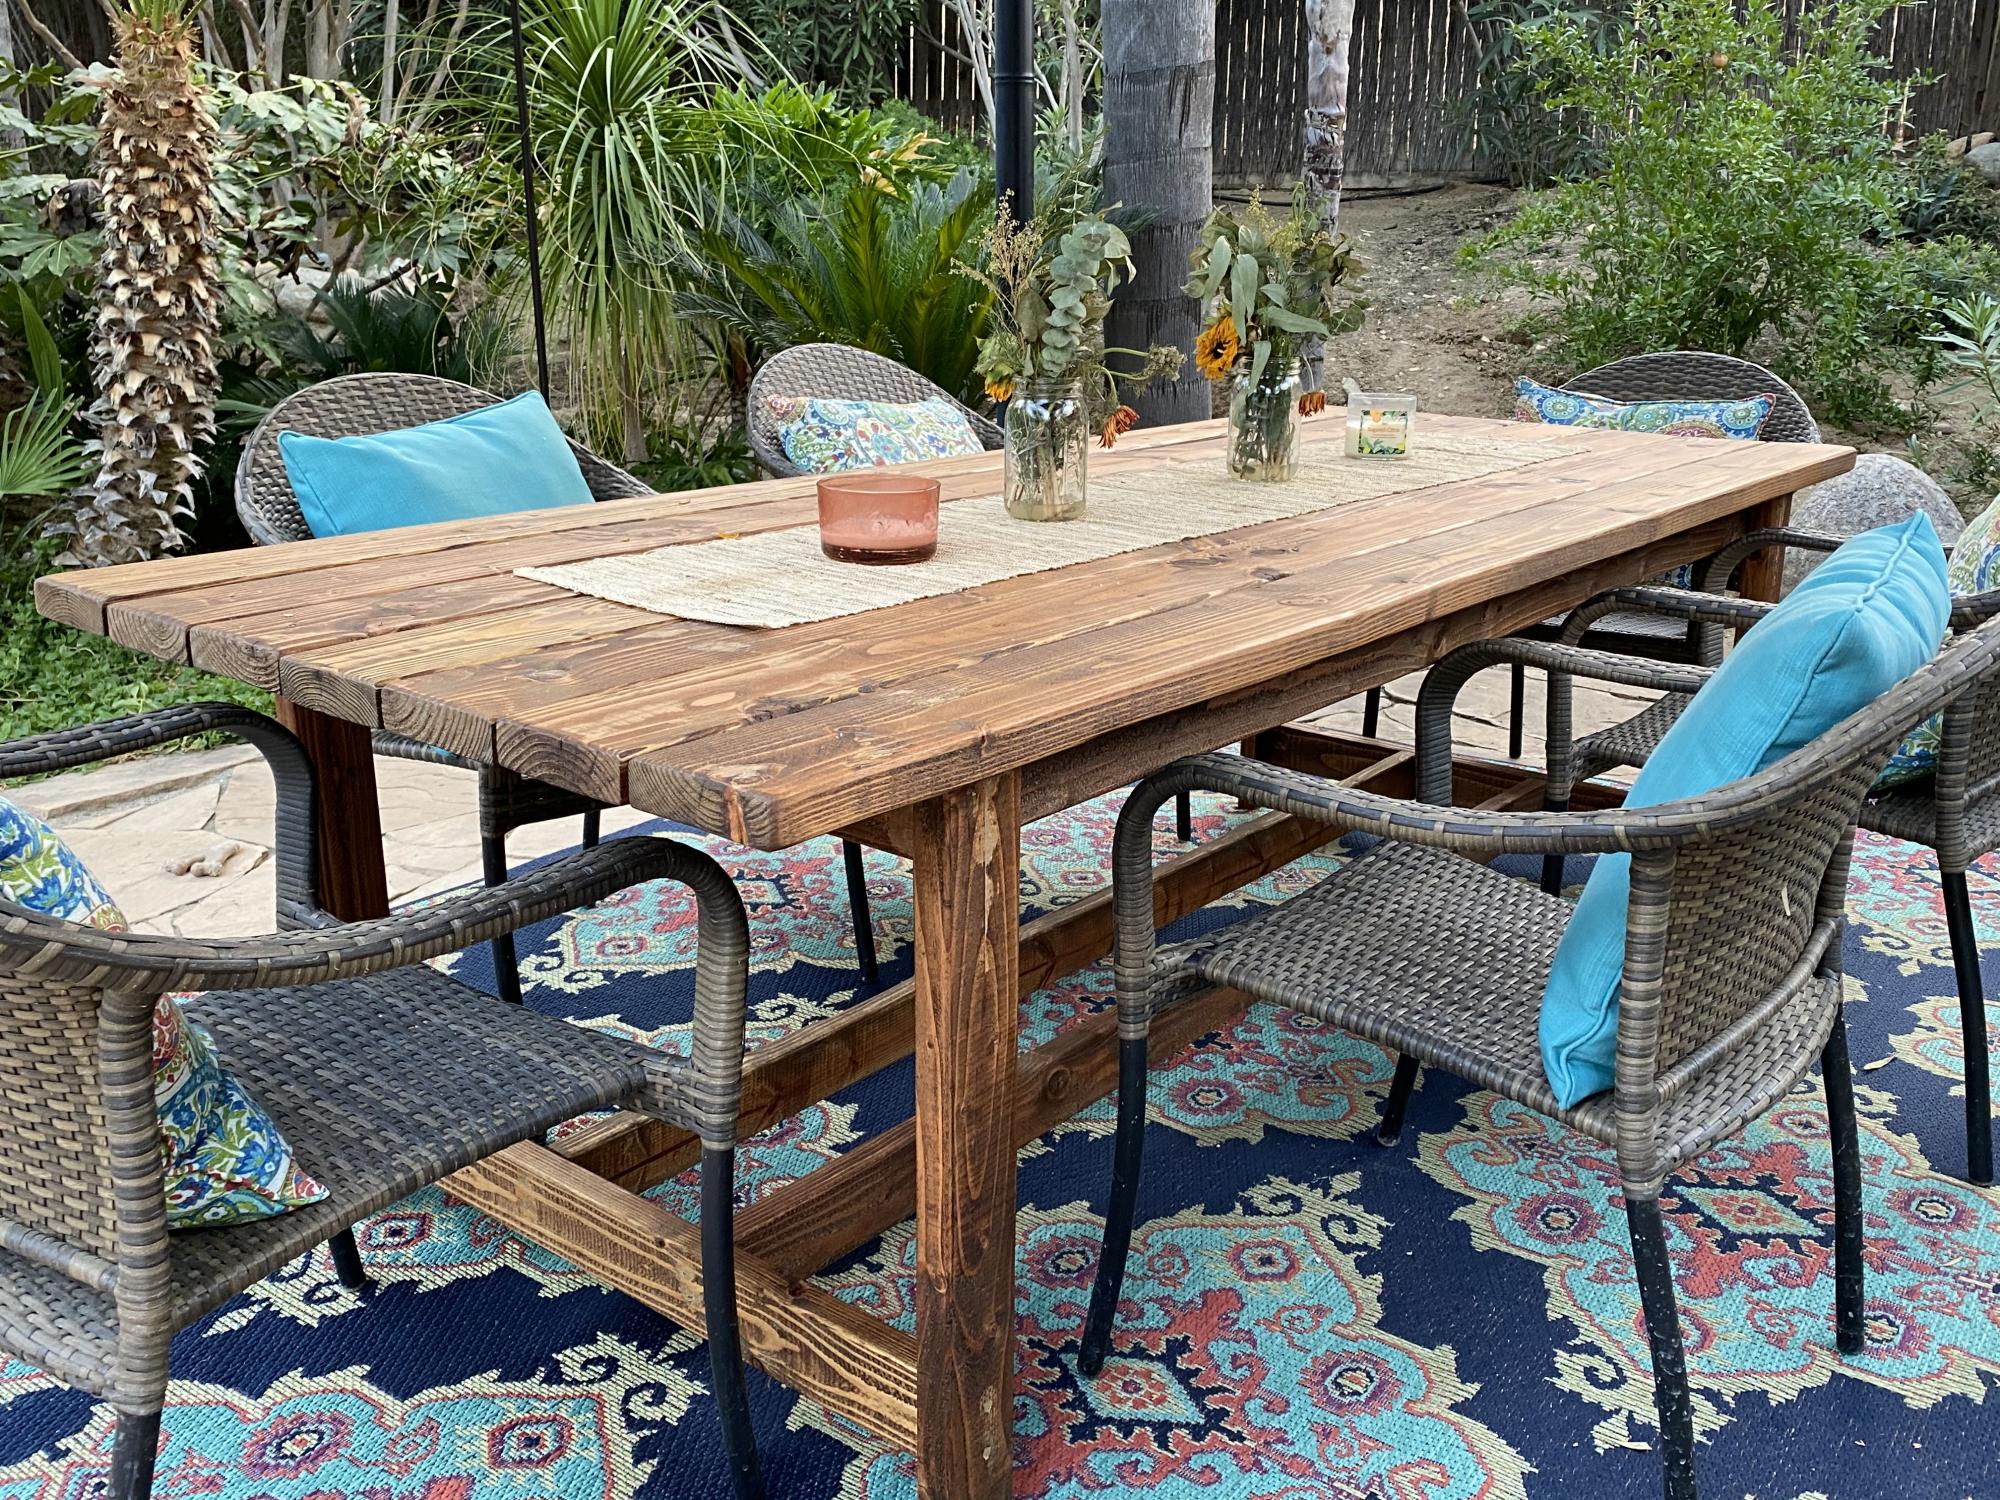
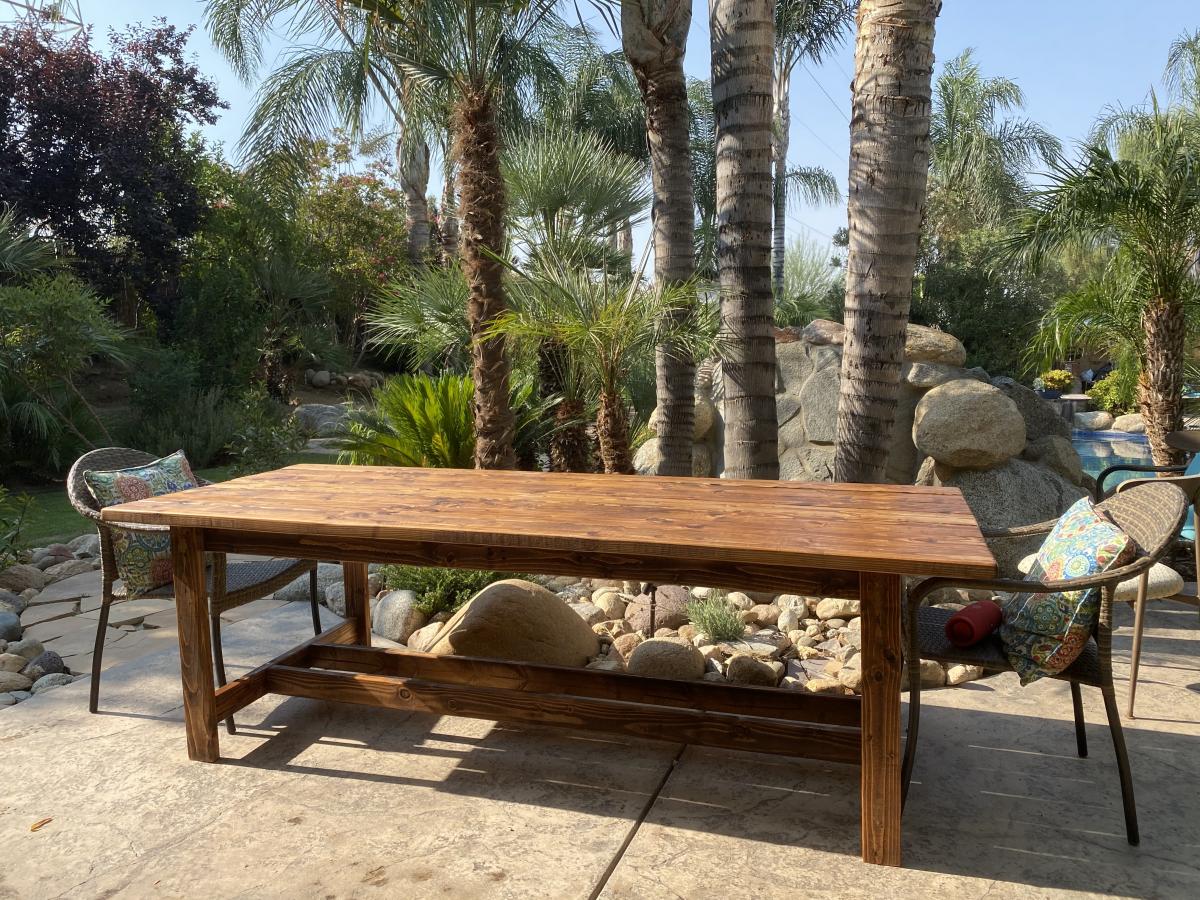
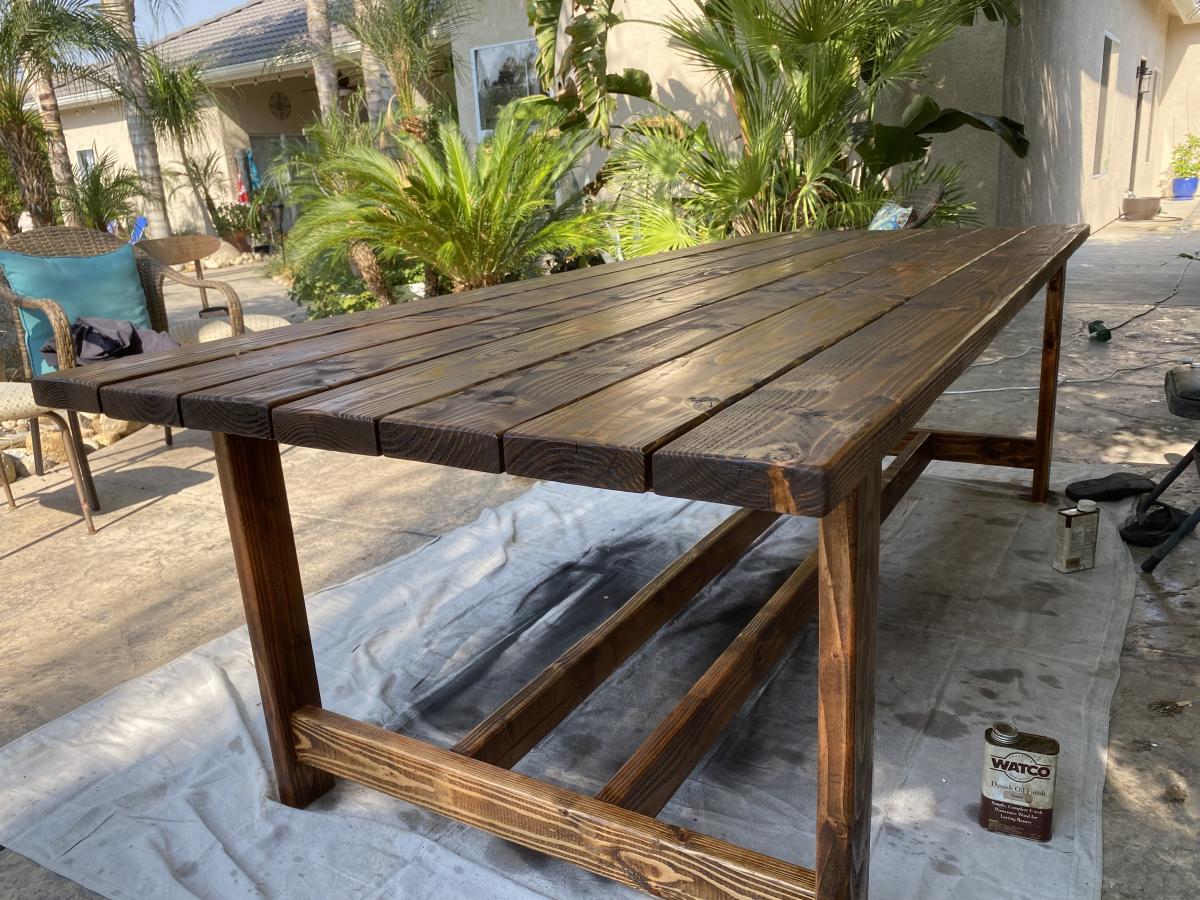
Thanks for sharing this project. I made a few adaptations knowing my friends, family, and monkey grandkids would be climbing all over the table. Everyone loved the table and we have broken it in with a great party.

Changes:
I added a second bottom stretcher that also serves as a footrest and ran them between the bottom legs rather than on top.
I added on 2x6 to the table width which required changing the leg dimensions.
I also ran an extra 2x4 middle support brace.

Results:
This table is a tank! Thanks!
I used the Danish Oil and the Thompsons to seal.

Now I am ready for another project.

Thanks Ana!

The Martin's

Estimated Cost
$75.00
Estimated Time Investment
Weekend Project (10-20 Hours)
Finish Used
Danish Oil (Natural) and Thompsons (Natural)
Recommended Skill Level
Beginner

Ten Dollar Ledges

Submitted by solomonson on Wed, 11/21/2012 - 21:42

After a floating shelf fail, I threw this one together with scraps. Time investment below includes waiting for paint to dry and hanging it up.

Built from Plan(s)
Estimated Cost
scraps
Estimated Time Investment
Day Project (6-9 Hours)
Finish Used
Valspar Antique White, latex.
Recommended Skill Level
Beginner

Kids Picnic Table

Submitted by MandaA on Sun, 09/07/2014 - 10:36

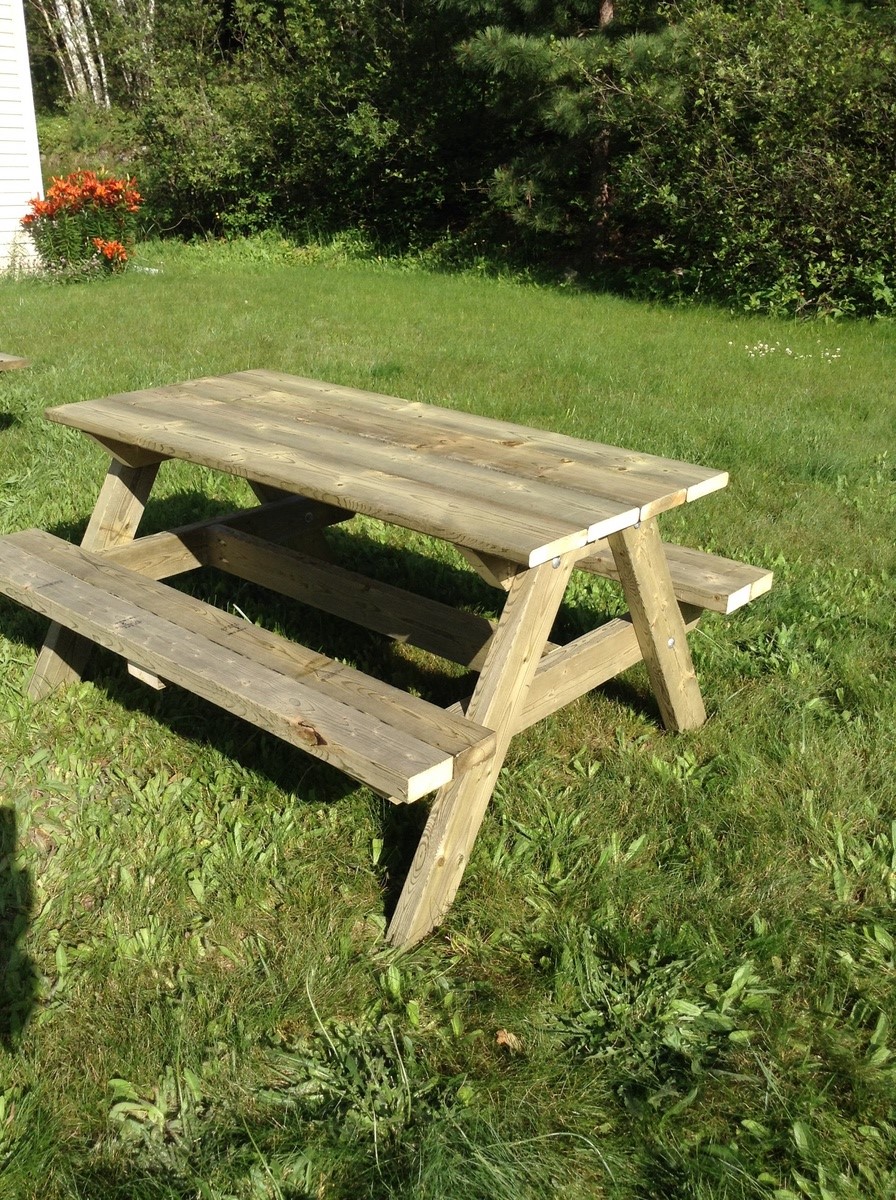
Excellent plans, fit my 15 month old nephew and 8 year old daughter! Easy to follow plans

Built from Plan(s)
Estimated Cost
$40
Estimated Time Investment
Afternoon Project (3-6 Hours)
Finish Used
None as yet
Recommended Skill Level
Beginner

Grandy Sliding Door Console

Submitted by Anonymous (not verified) on Tue, 12/27/2016 - 02:52

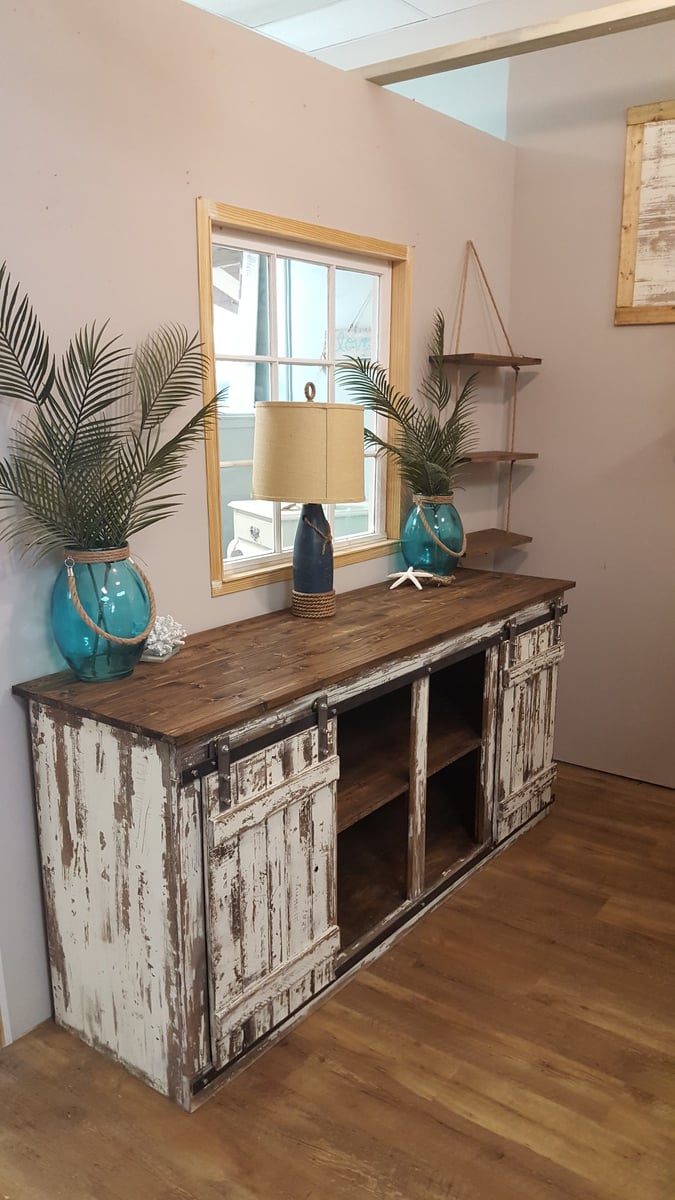
Sliding door console built by Kathryn and Scott Winkler of K & S Coastal Home Furnishings. Kathryn added her own unique chippy finish to set this piece off!

Estimated Time Investment
Weekend Project (10-20 Hours)
Finish Used
Chippy Finish
Recommended Skill Level
Intermediate

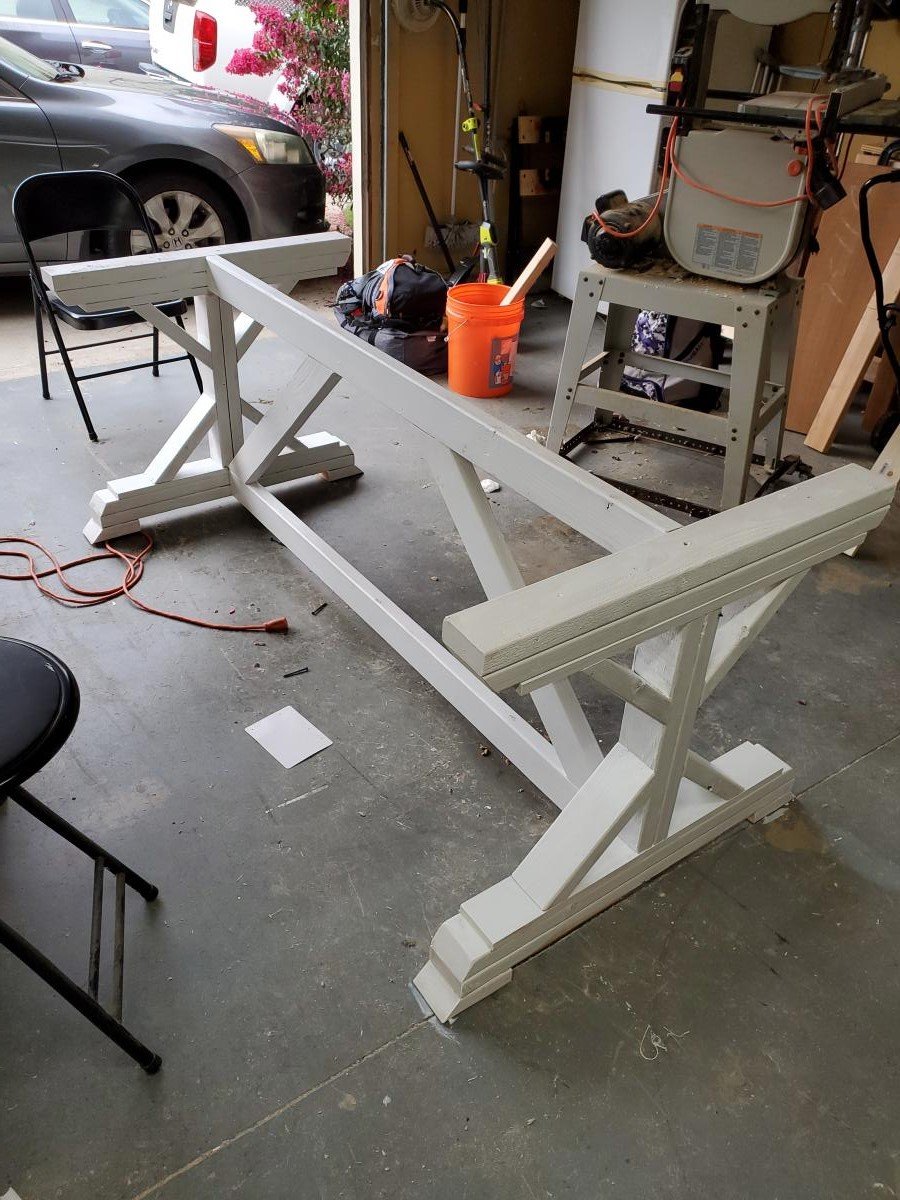
Fancy x farmhouse table

Submitted by Keldani5 on Mon, 09/07/2020 - 03:50

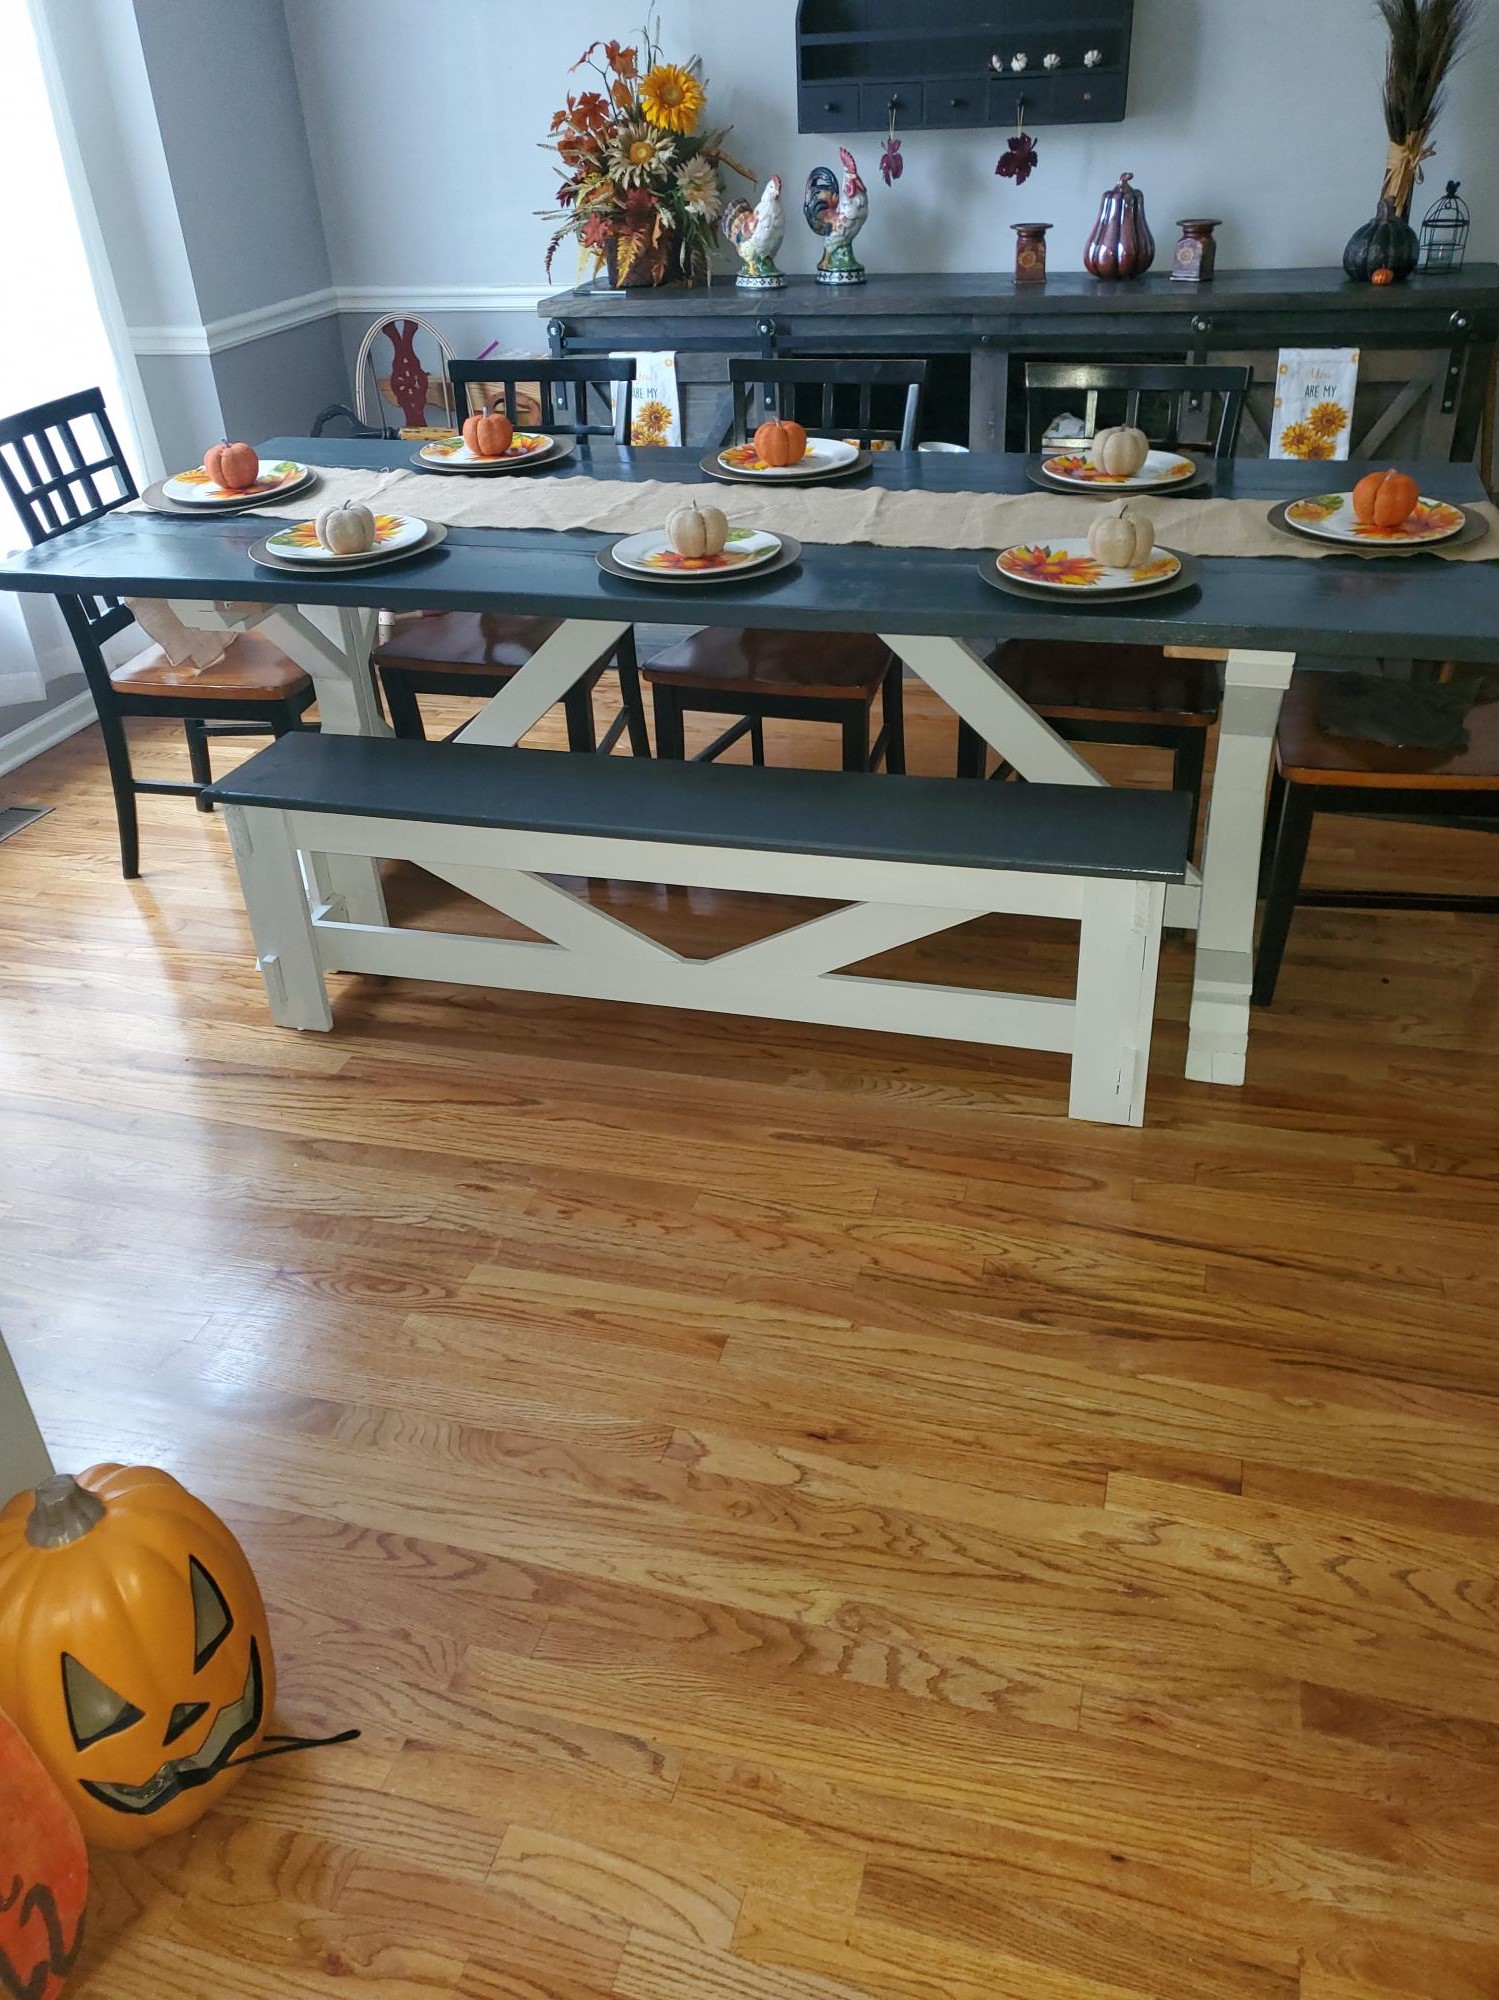
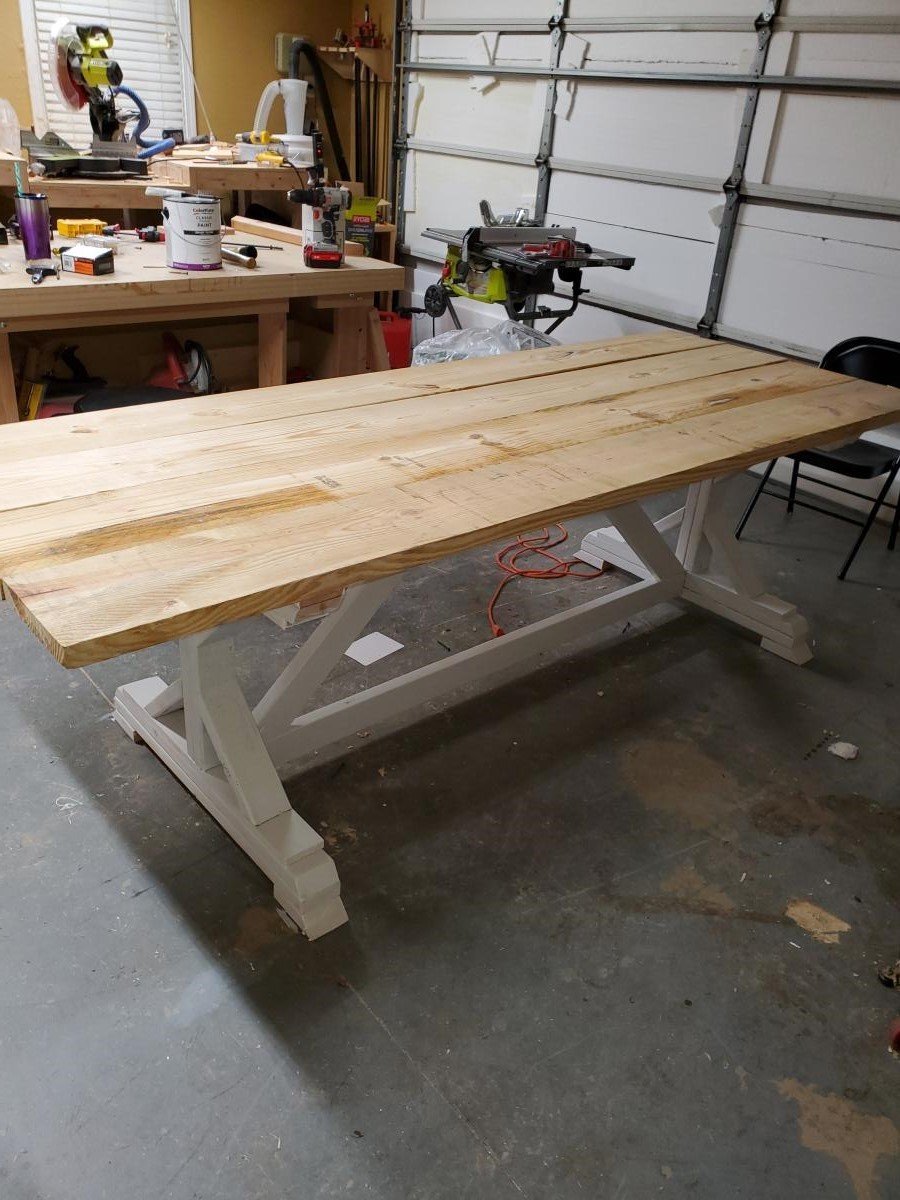
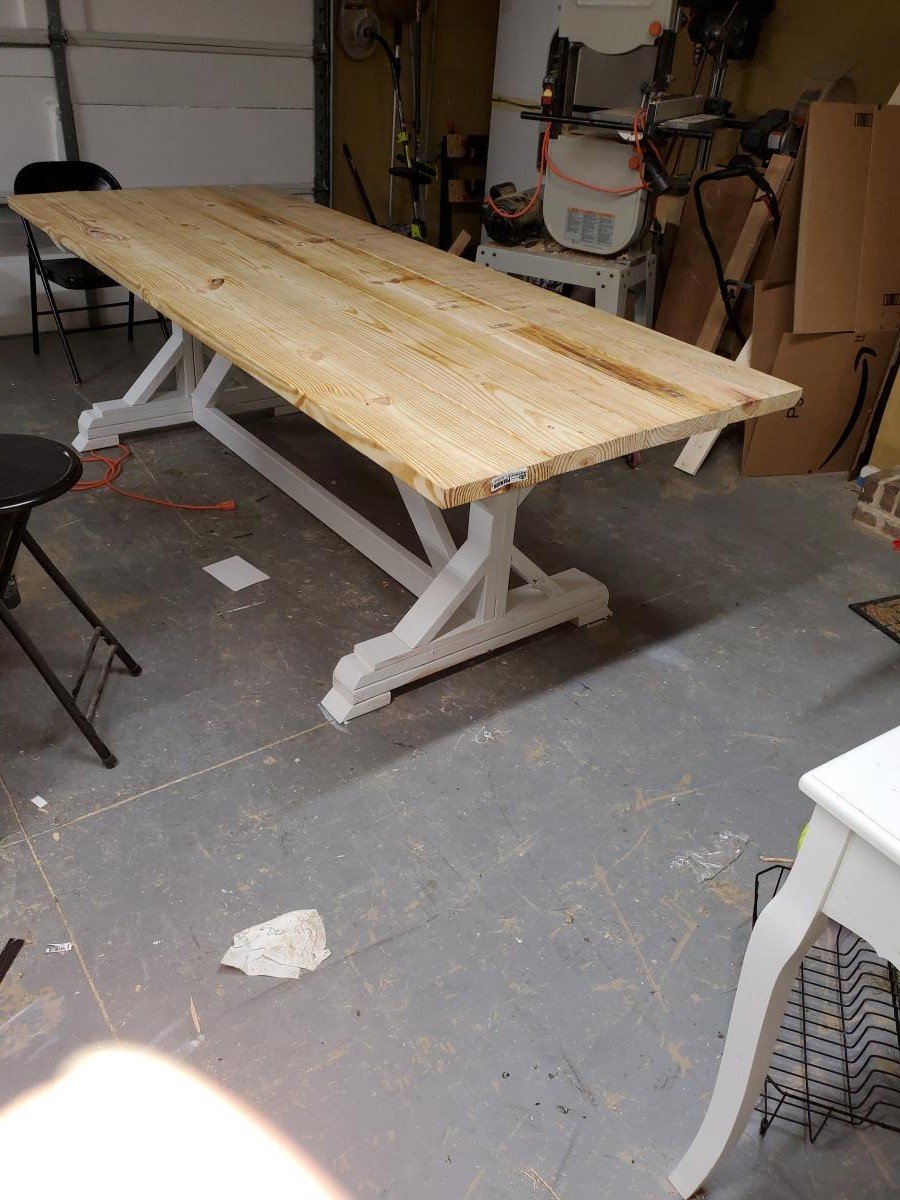
This was a weekend job, had a lot of angles and I had to scribe a lot of them

Built from Plan(s)
Estimated Cost
145.00
Estimated Time Investment
Weekend Project (10-20 Hours)
Finish Used
for the top I used a carbon gray poly stain. The bottom was just a satin white
Recommended Skill Level
Intermediate

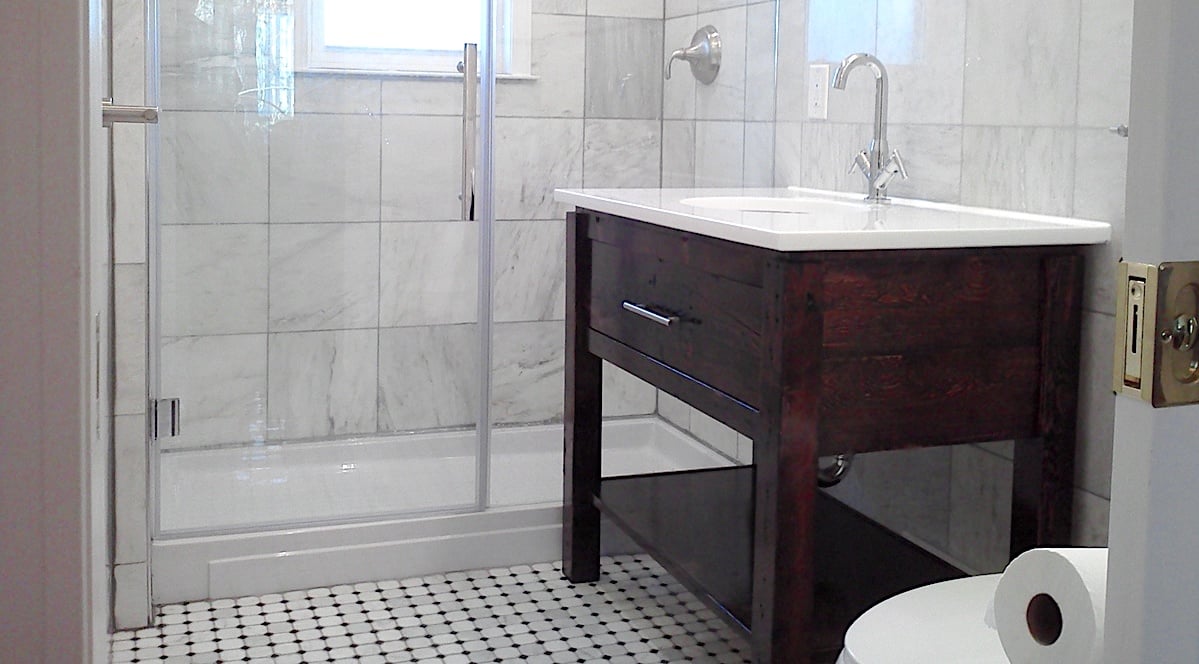
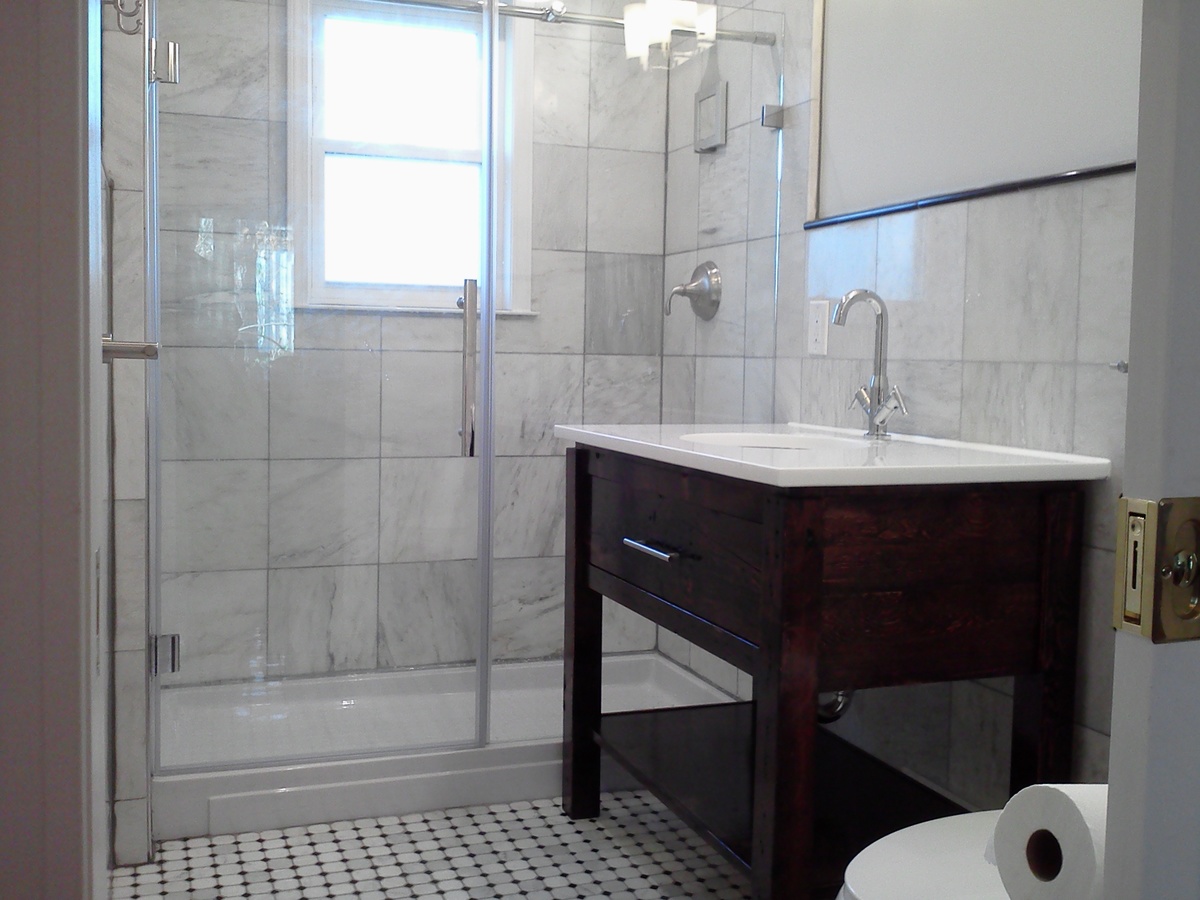
Custom size bathroom vanity

Submitted by Eliyahu on Sun, 11/25/2012 - 13:02

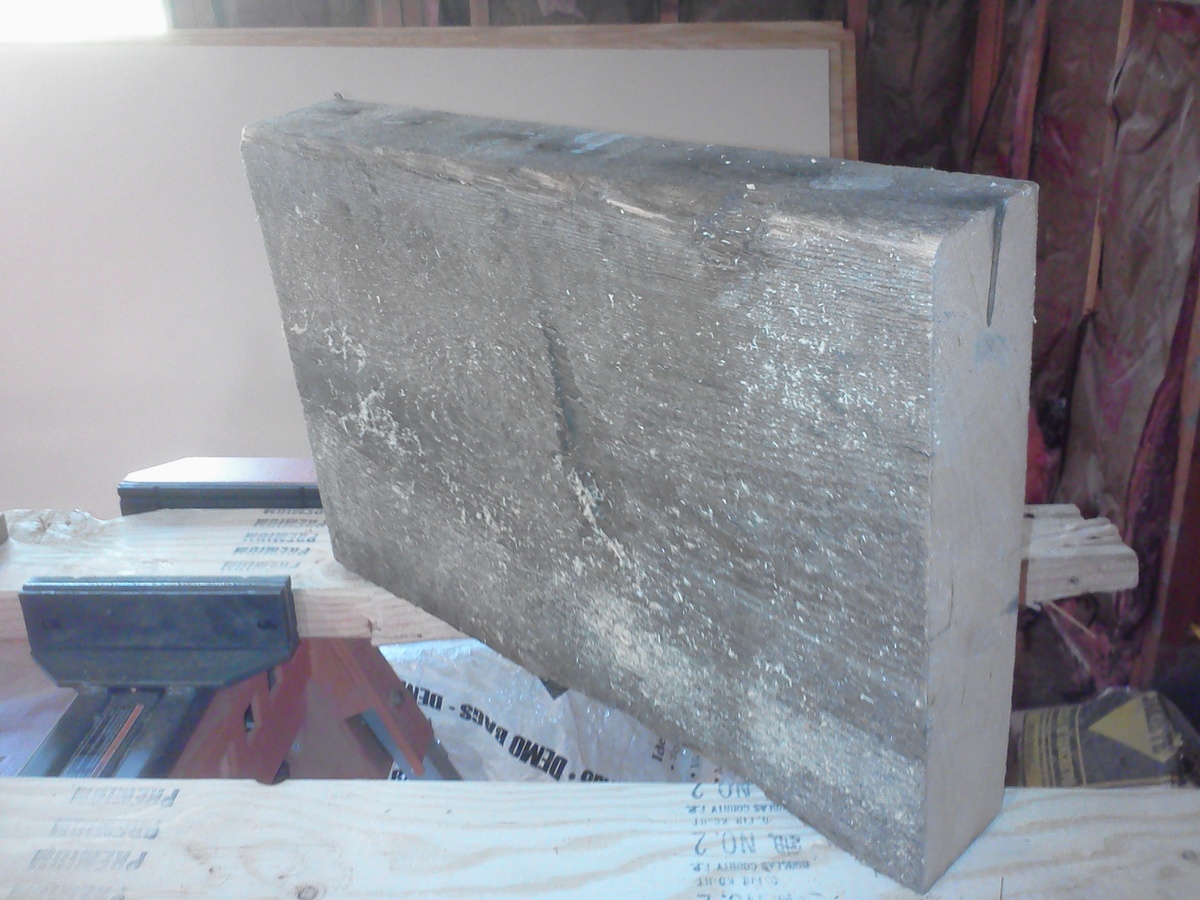
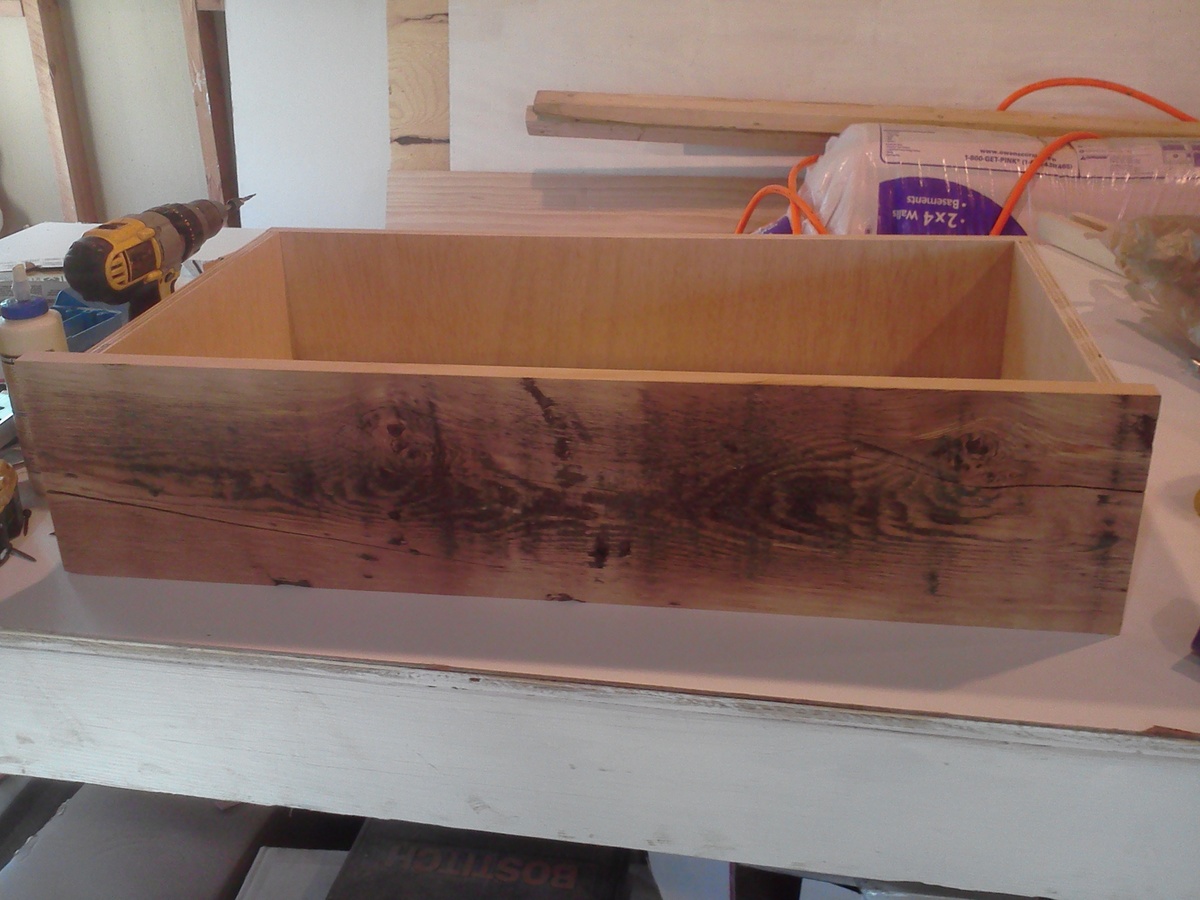
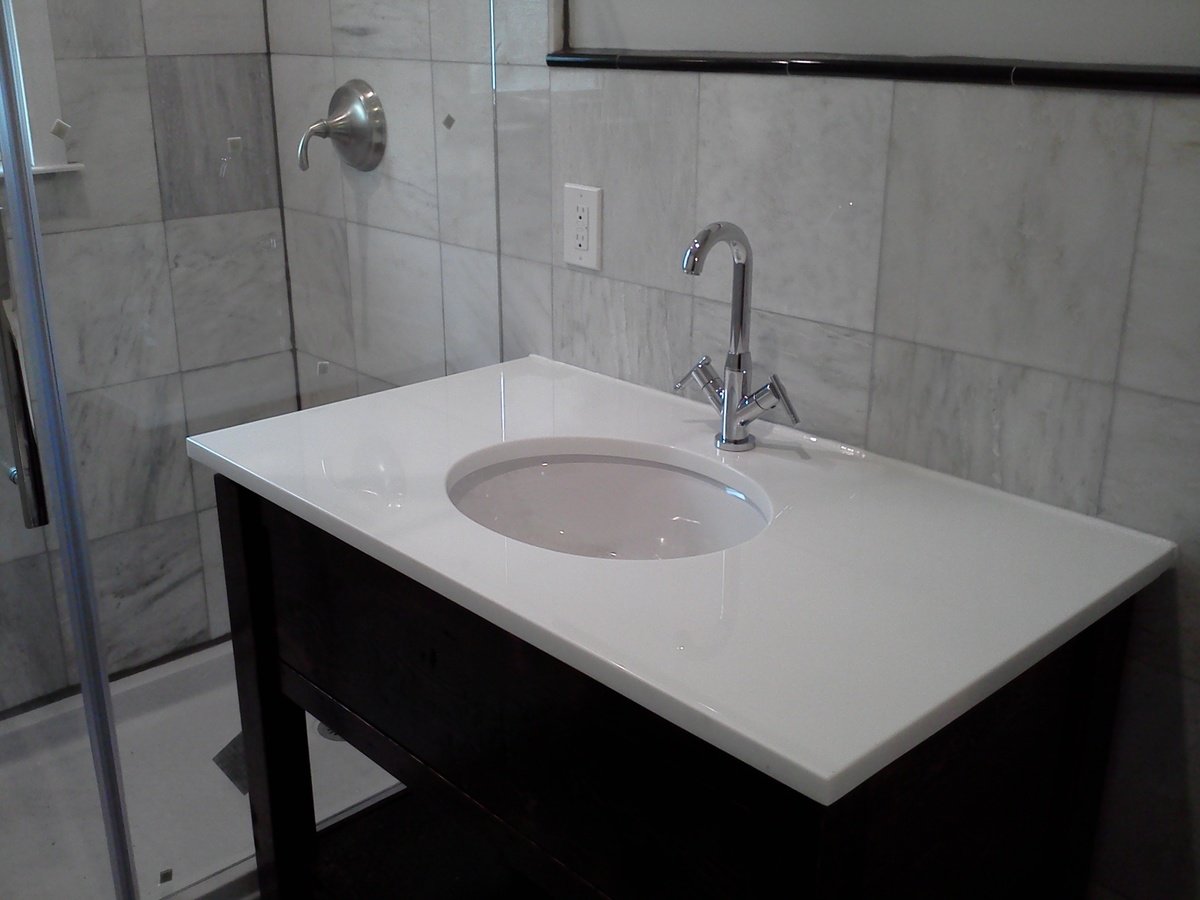
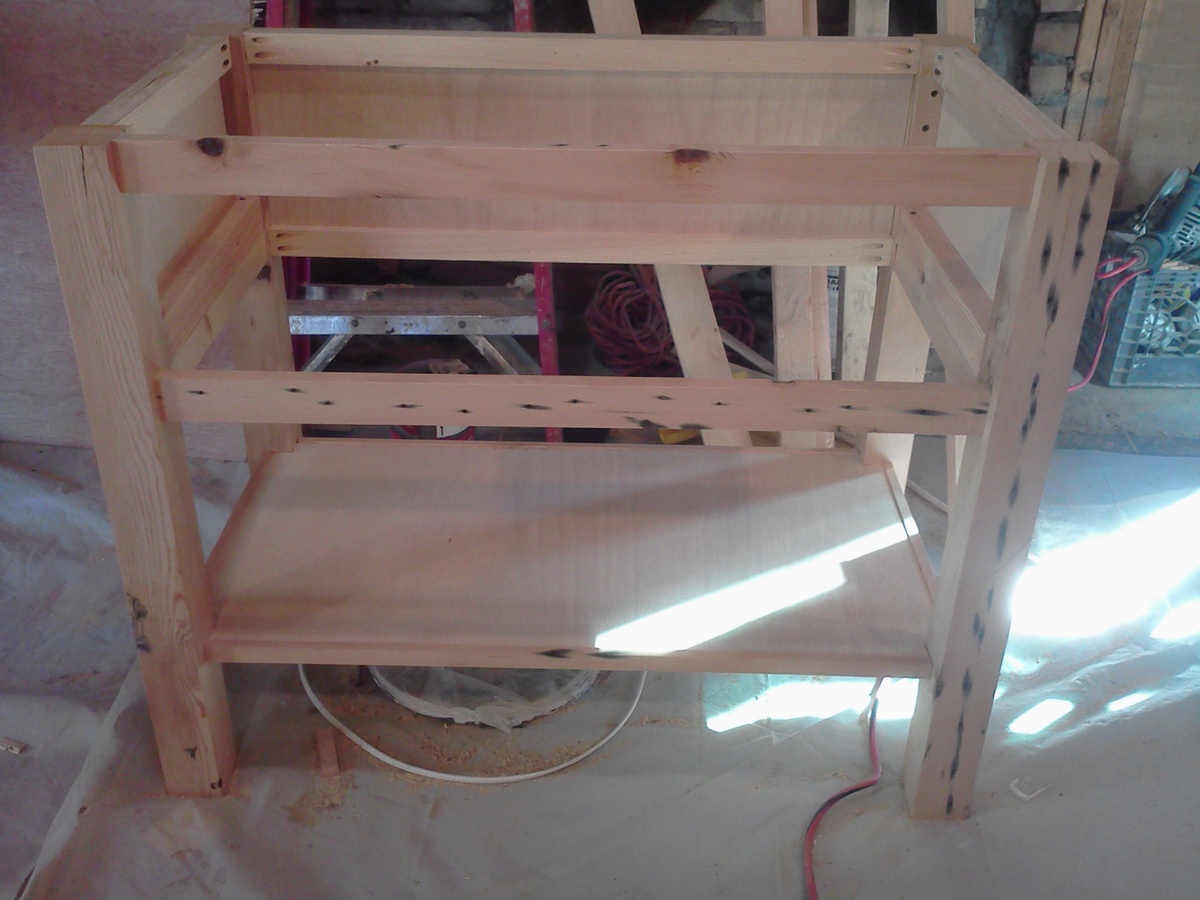
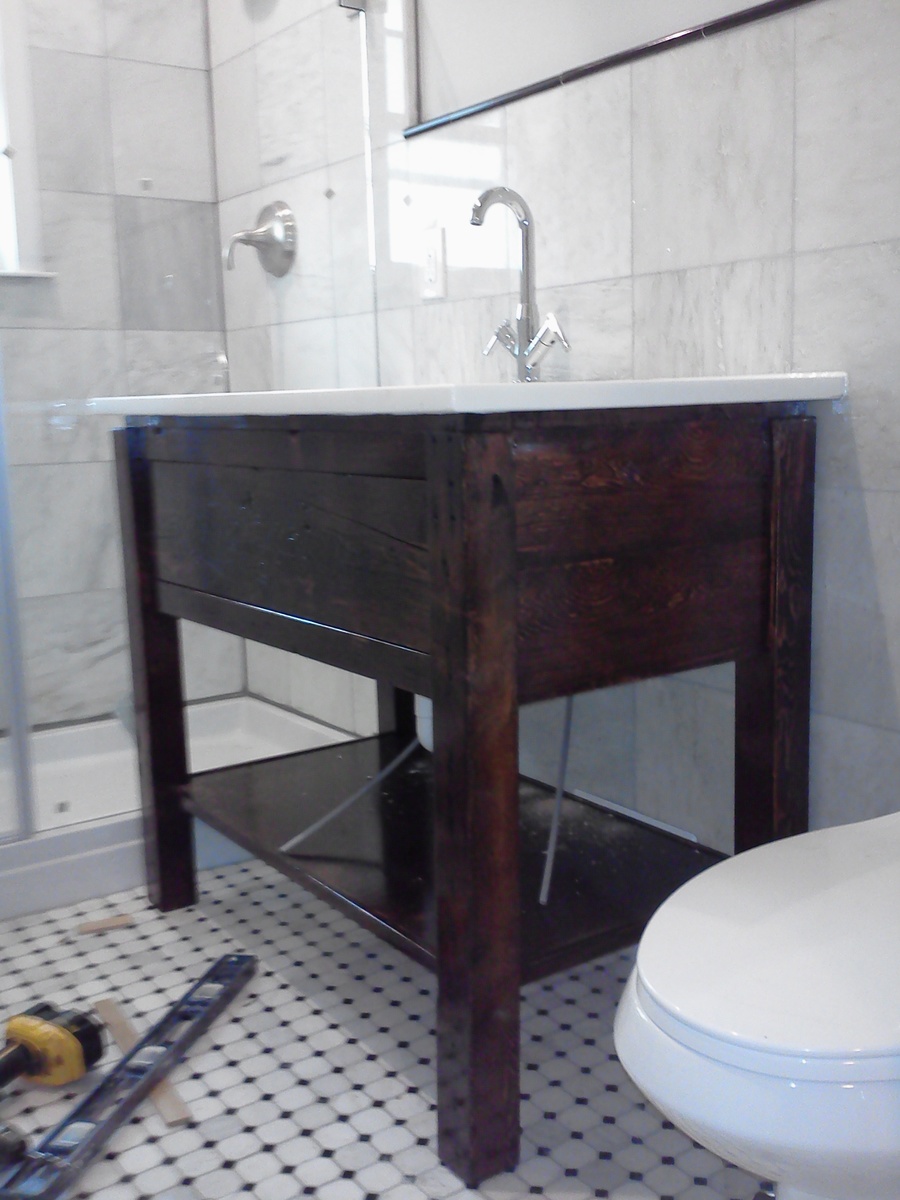
Hello, this is my first post and i wanted to thank Ana for this great website. my wife and i bought a new house and we renovated one of the bathrooms. i looked all around for a bathroom vanity and i could not find anything that was simple yet classic and elegant that would fit the place and compliment the space. so i started by ripping down a 4 x 12 beam that i bought from a salvage yard and turned it to the vanity. the vanity measures 38" x 24 "x 34.5" and it has a full size pull out shelve and a soft close hinges and it has an open bottom shelf. the finish is dark walnut and high gloss polyurethane. if you have any questions feel free to ask. Thank you.

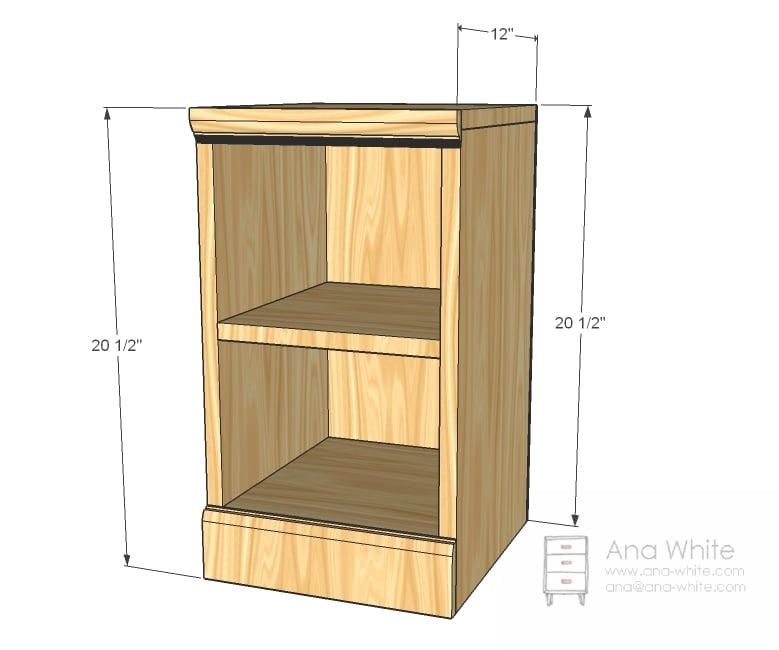
ana white bathroom vanity

Built from Plan(s)
Estimated Cost
materials about $200
Estimated Time Investment
Week Long Project (20 Hours or More)
Finish Used
dark walnut
Recommended Skill Level
Intermediate

Comments

Carra (not verified)

Tue, 11/27/2012 - 08:51

The vanity is very nice but I LOVE the shower!

Coffee Table

Submitted by MBuckson on Mon, 09/08/2014 - 11:52

This was my first project and it turned out way better than I expected. One of the most time consuming parts was finding pieces of wood that were not warped from Home Depot. The Xs really make the table look amazing, and even though mine are not perfectly symmetrical, I think I did pretty well since my compound miter saw will only cut up to 45 degrees. I had to use a jig saw for the 60 degree cuts, which was kind of a nightmare. 

Built from Plan(s)
Recommended Skill Level
Beginner

Comments

jayheedan

Tue, 09/09/2014 - 09:46

MBuckson, nice job on the table, it looks great.  A 60 degree cut is the same as a 30 degree cut, cut backwards.  Because Miter saws work with a straight line (180 degrees) the middle postion is 0 (90 degrees) depending on which way you flip the board your are working with.  So the 45 degree postions are half of the 90 degree (0 postion).  If you want a sixty degree cut add fifteen degrees to the 45, which you would actually subtract the 15 to get 30 degrees since you are flipping the board and cutting it backwards.  Or atleast that is how I understand it.

dbscott1

Wed, 09/24/2014 - 16:37

I used the 2x2 with the max length of the opening and just scribed it after clamping it down. I then duplicated it 3 more times (which included the half pieces for the X) for for the same length. I then scribed two that would be cut up... found it easier to cut the mini X pieces in half for easier handling on the mitre saw. Jays version works well also.

D

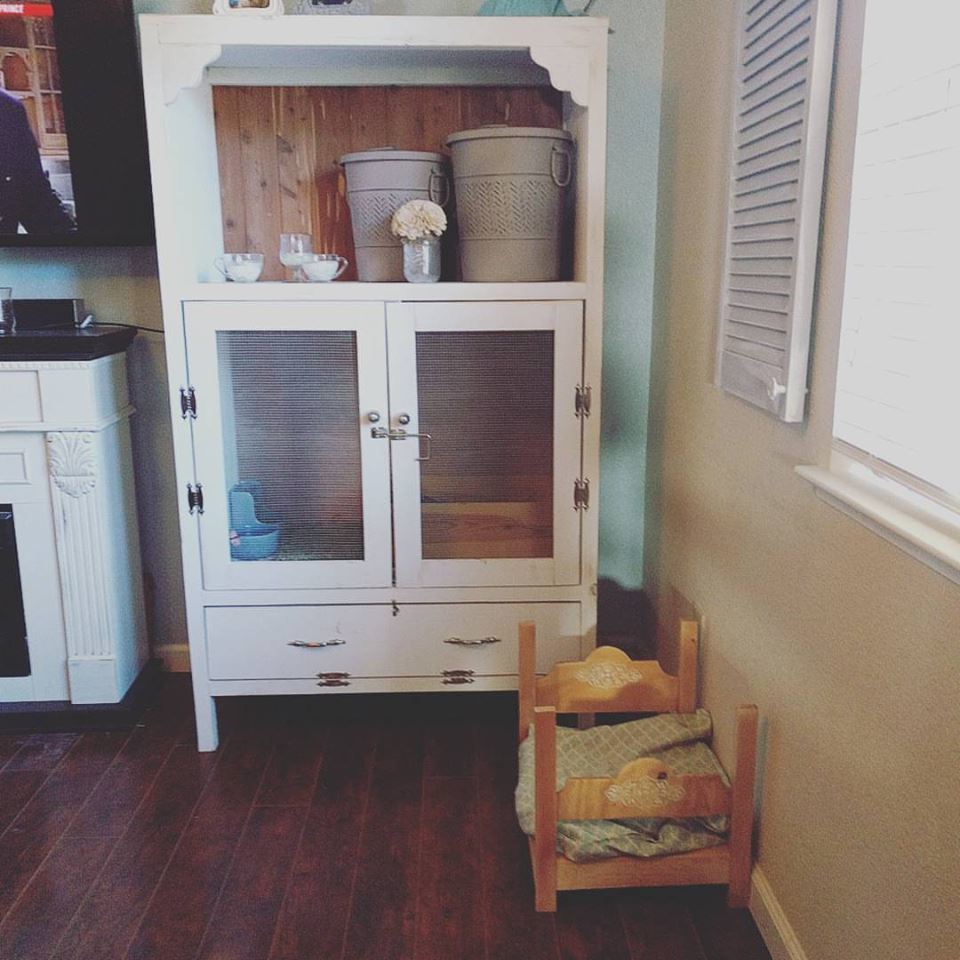
Modified this to fit my bunny!

Submitted by Anonymous (not verified) on Wed, 12/28/2016 - 15:48

I used Ana's plans, but switched things around a little as I went. I wanted something fancy for my bunny to hang in when I'm not home. The biggest modification I made for a bunny was the bottom. I wasn't happy with the stability of the chicken wire even though my bunny is just a few pounds. I used a more solid plastic called plaskolite ( you can find it in the lighting section of Lowes) We are planning on adding levels for the bunny as well as a cloroplast tray to fit the bottom since bunny poo can get stinky. We took about 2 weeks to complete this project and it was definitely a learning experience! We also tried to cut costs by getting some of the wook and backing from Habitat for Humanity! 


We also made the little bed with the leftover wood from this project :-)

Built from Plan(s)
Estimated Time Investment
Week Long Project (20 Hours or More)
Finish Used
We used a chalk paint and painted everything BEFORE we added the doors and hardware. Then we distressed it a bit with some sandpaper.
Recommended Skill Level
Intermediate

Antiqued Farmhouse Console Table

My wife wanted a table for the entry way; so, of course, I showed her plans from this site. Wasn't hard to build at all. Since I knew she wanted an antique look, I left the screws exposed for a more rustic look.

Built from Plan(s)
Estimated Cost
$150
Estimated Time Investment
Weekend Project (10-20 Hours)
Finish Used
Behr Antique White Chalk Paint
Behr Clear Decorative Wax
Behr Dark Decorative Wax
Recommended Skill Level
Beginner
Back