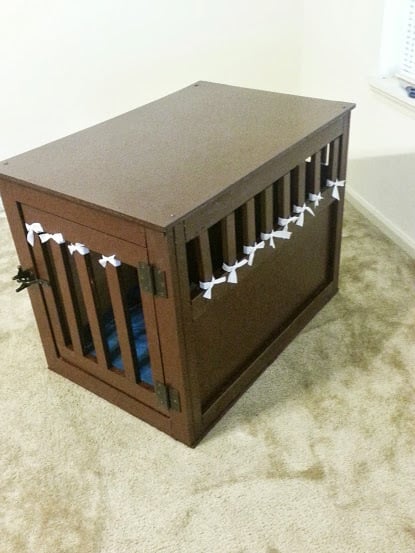
This was my first project ever. I did it around April 2013. I worked with my boyfriend on it, and I think it turned out really well. I plan on making more for friends and family. I didn't use finishing nails the first go round, so I am going to make sure to do that this time. Also, I bought the cheap pine from Home Depot, but it split terribly, and the bowing made for inconsistent cuts. I ended up going back and getting red oak to finish it up, so about 75% of the box is pine and the rest is red oak(not including the MDF board, or plywood, etc). I did an MDF board on top and plywood on the bottom.
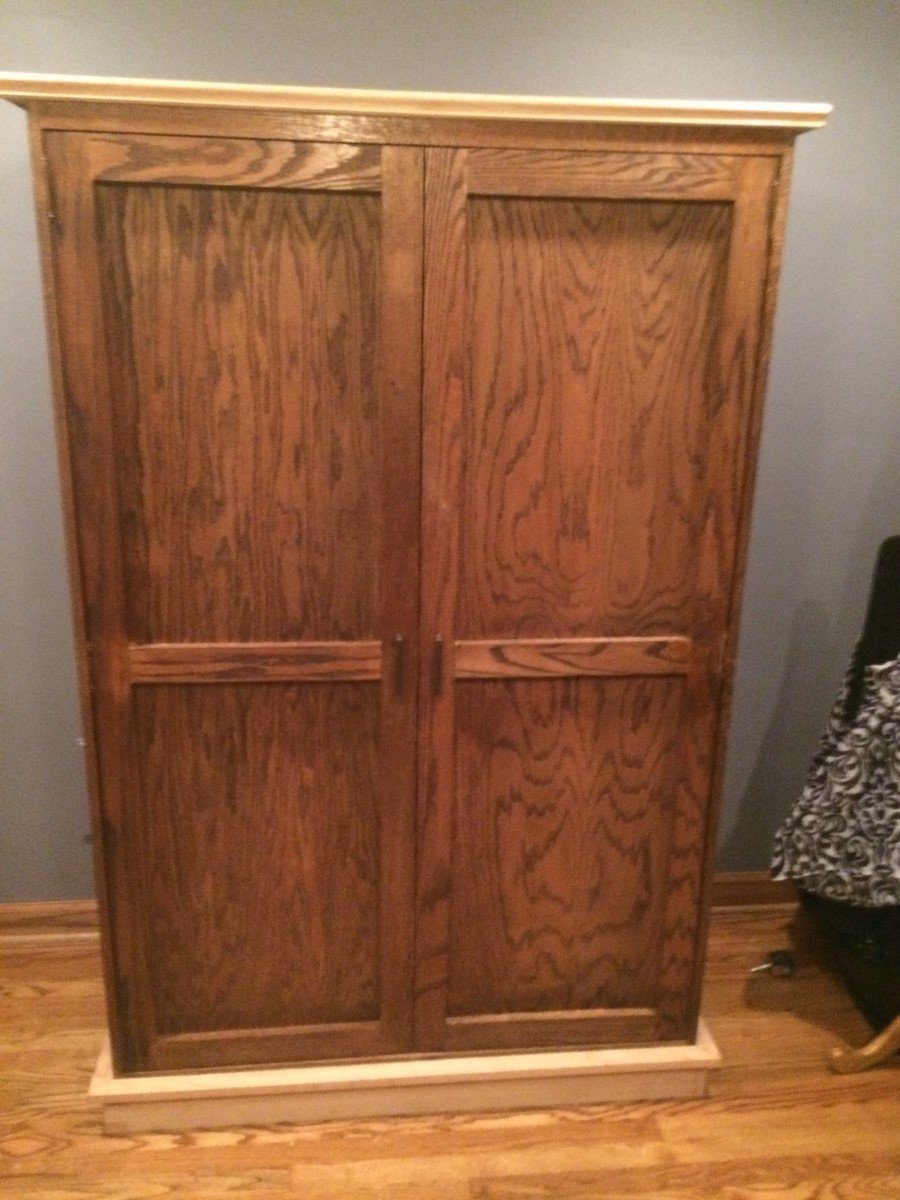
We ended up painting the crate instead of staining, and we did a polyurethane coat on the top to help protect from the eventual spills that will occur. I didn't paint the inside of the crate, mostly because you don't notice it is unfinished and I was a bit lazy. Originally I did line the bottom of the crate with cushioning and fabric and stapled it to the bottom (pictured) as a bed for Roxie; but, with the "Snowmageddon" this past winter here in Birmingham, I was stuck out on the road all night and while my apartment manager came and fed her and took her out, she did decide she was going to pitch a fit by eating the handmade bedding. Not a big deal though, now she has a bed from TJ Maxx that works perfectly.
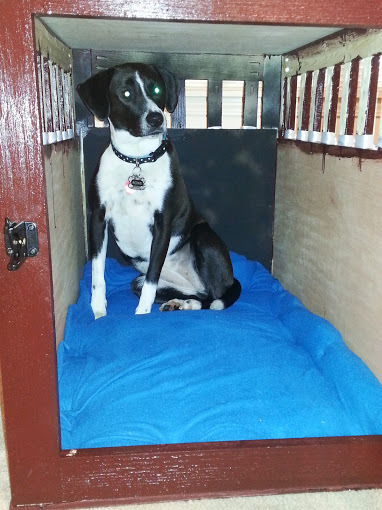
Roxie is a border-collie/lab mix, and she tends to be more border collie in size (50 lbs, about knee height). I went directly from the specifications here on the site and Roxie fits in this well with plenty of room to stretch out. I work and go to school, so she is in the crate for about 8 hours a day, give or take, and she has been doing just fine with it.
I should note that my dog did not really like her original wire crate. We trained her with it, and she would go on command, but she never liked it. After this was built and the first time we let her check it out, I was amazed. She went straight in and laid down. Now it's her favorite spot in the house (other than on my bed of course).
I have received more compliments on it than I can count, and I have people begging me to make one for them. This was definitely worth it! Great plans!