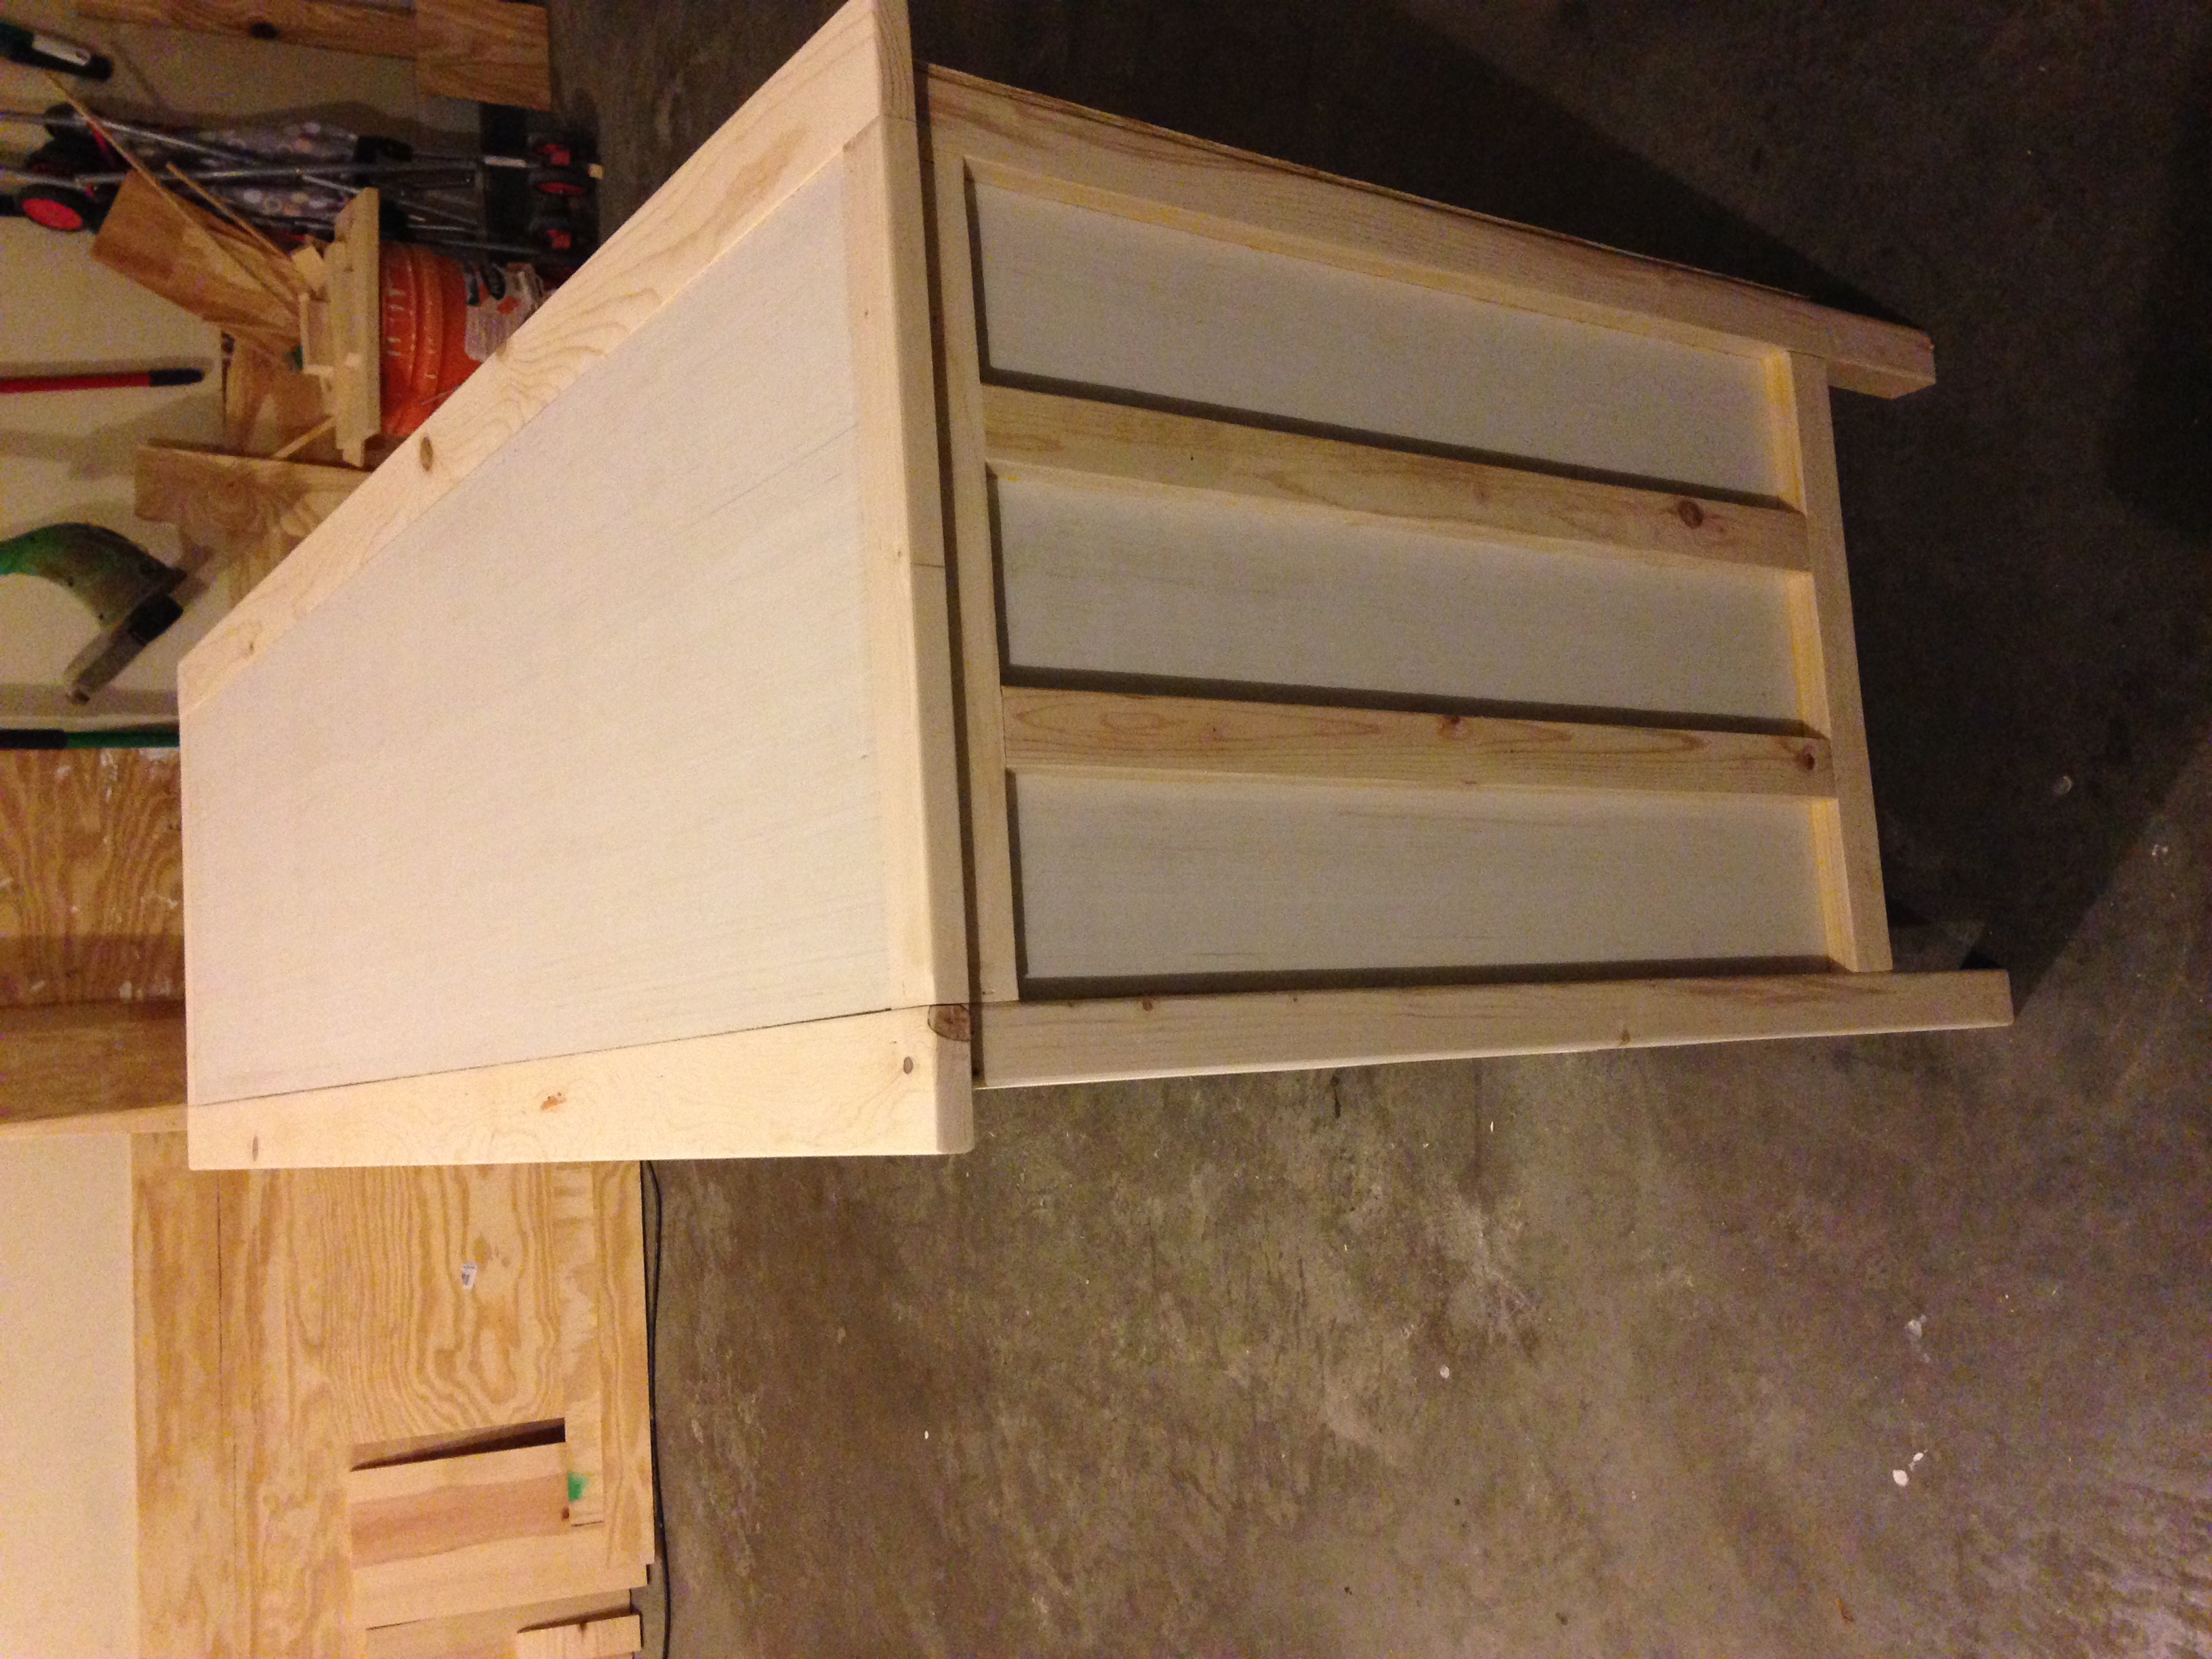
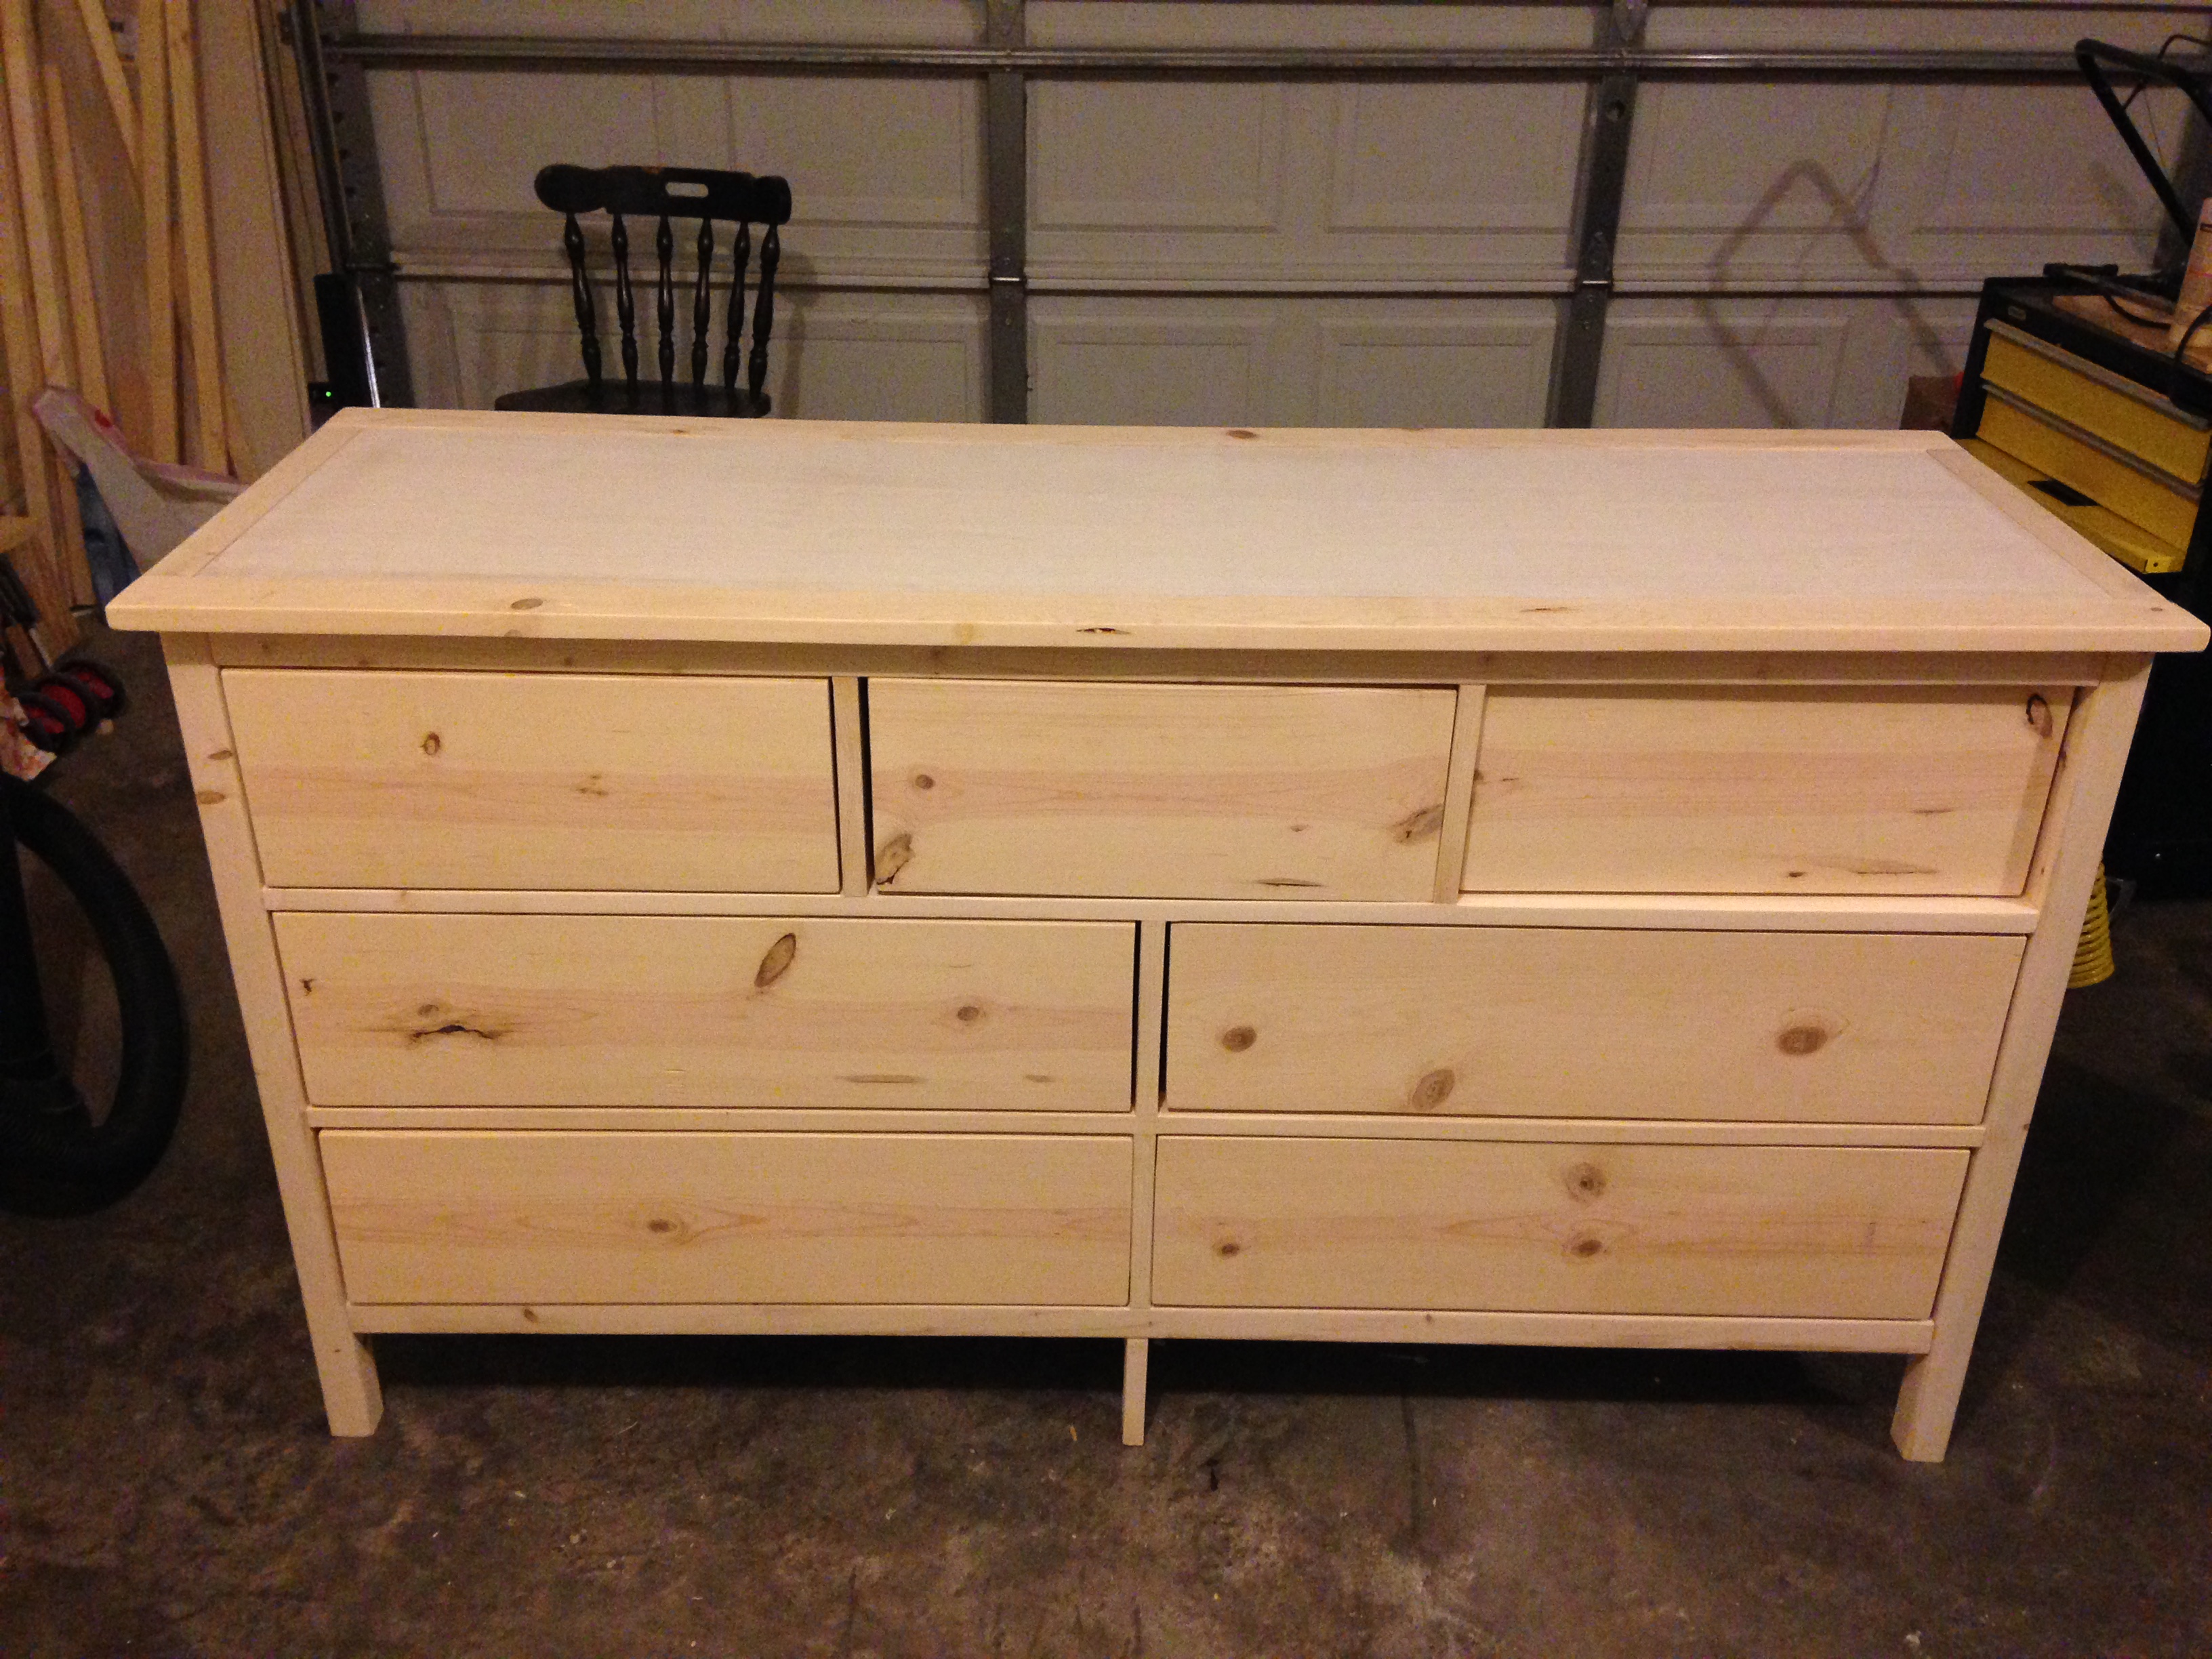
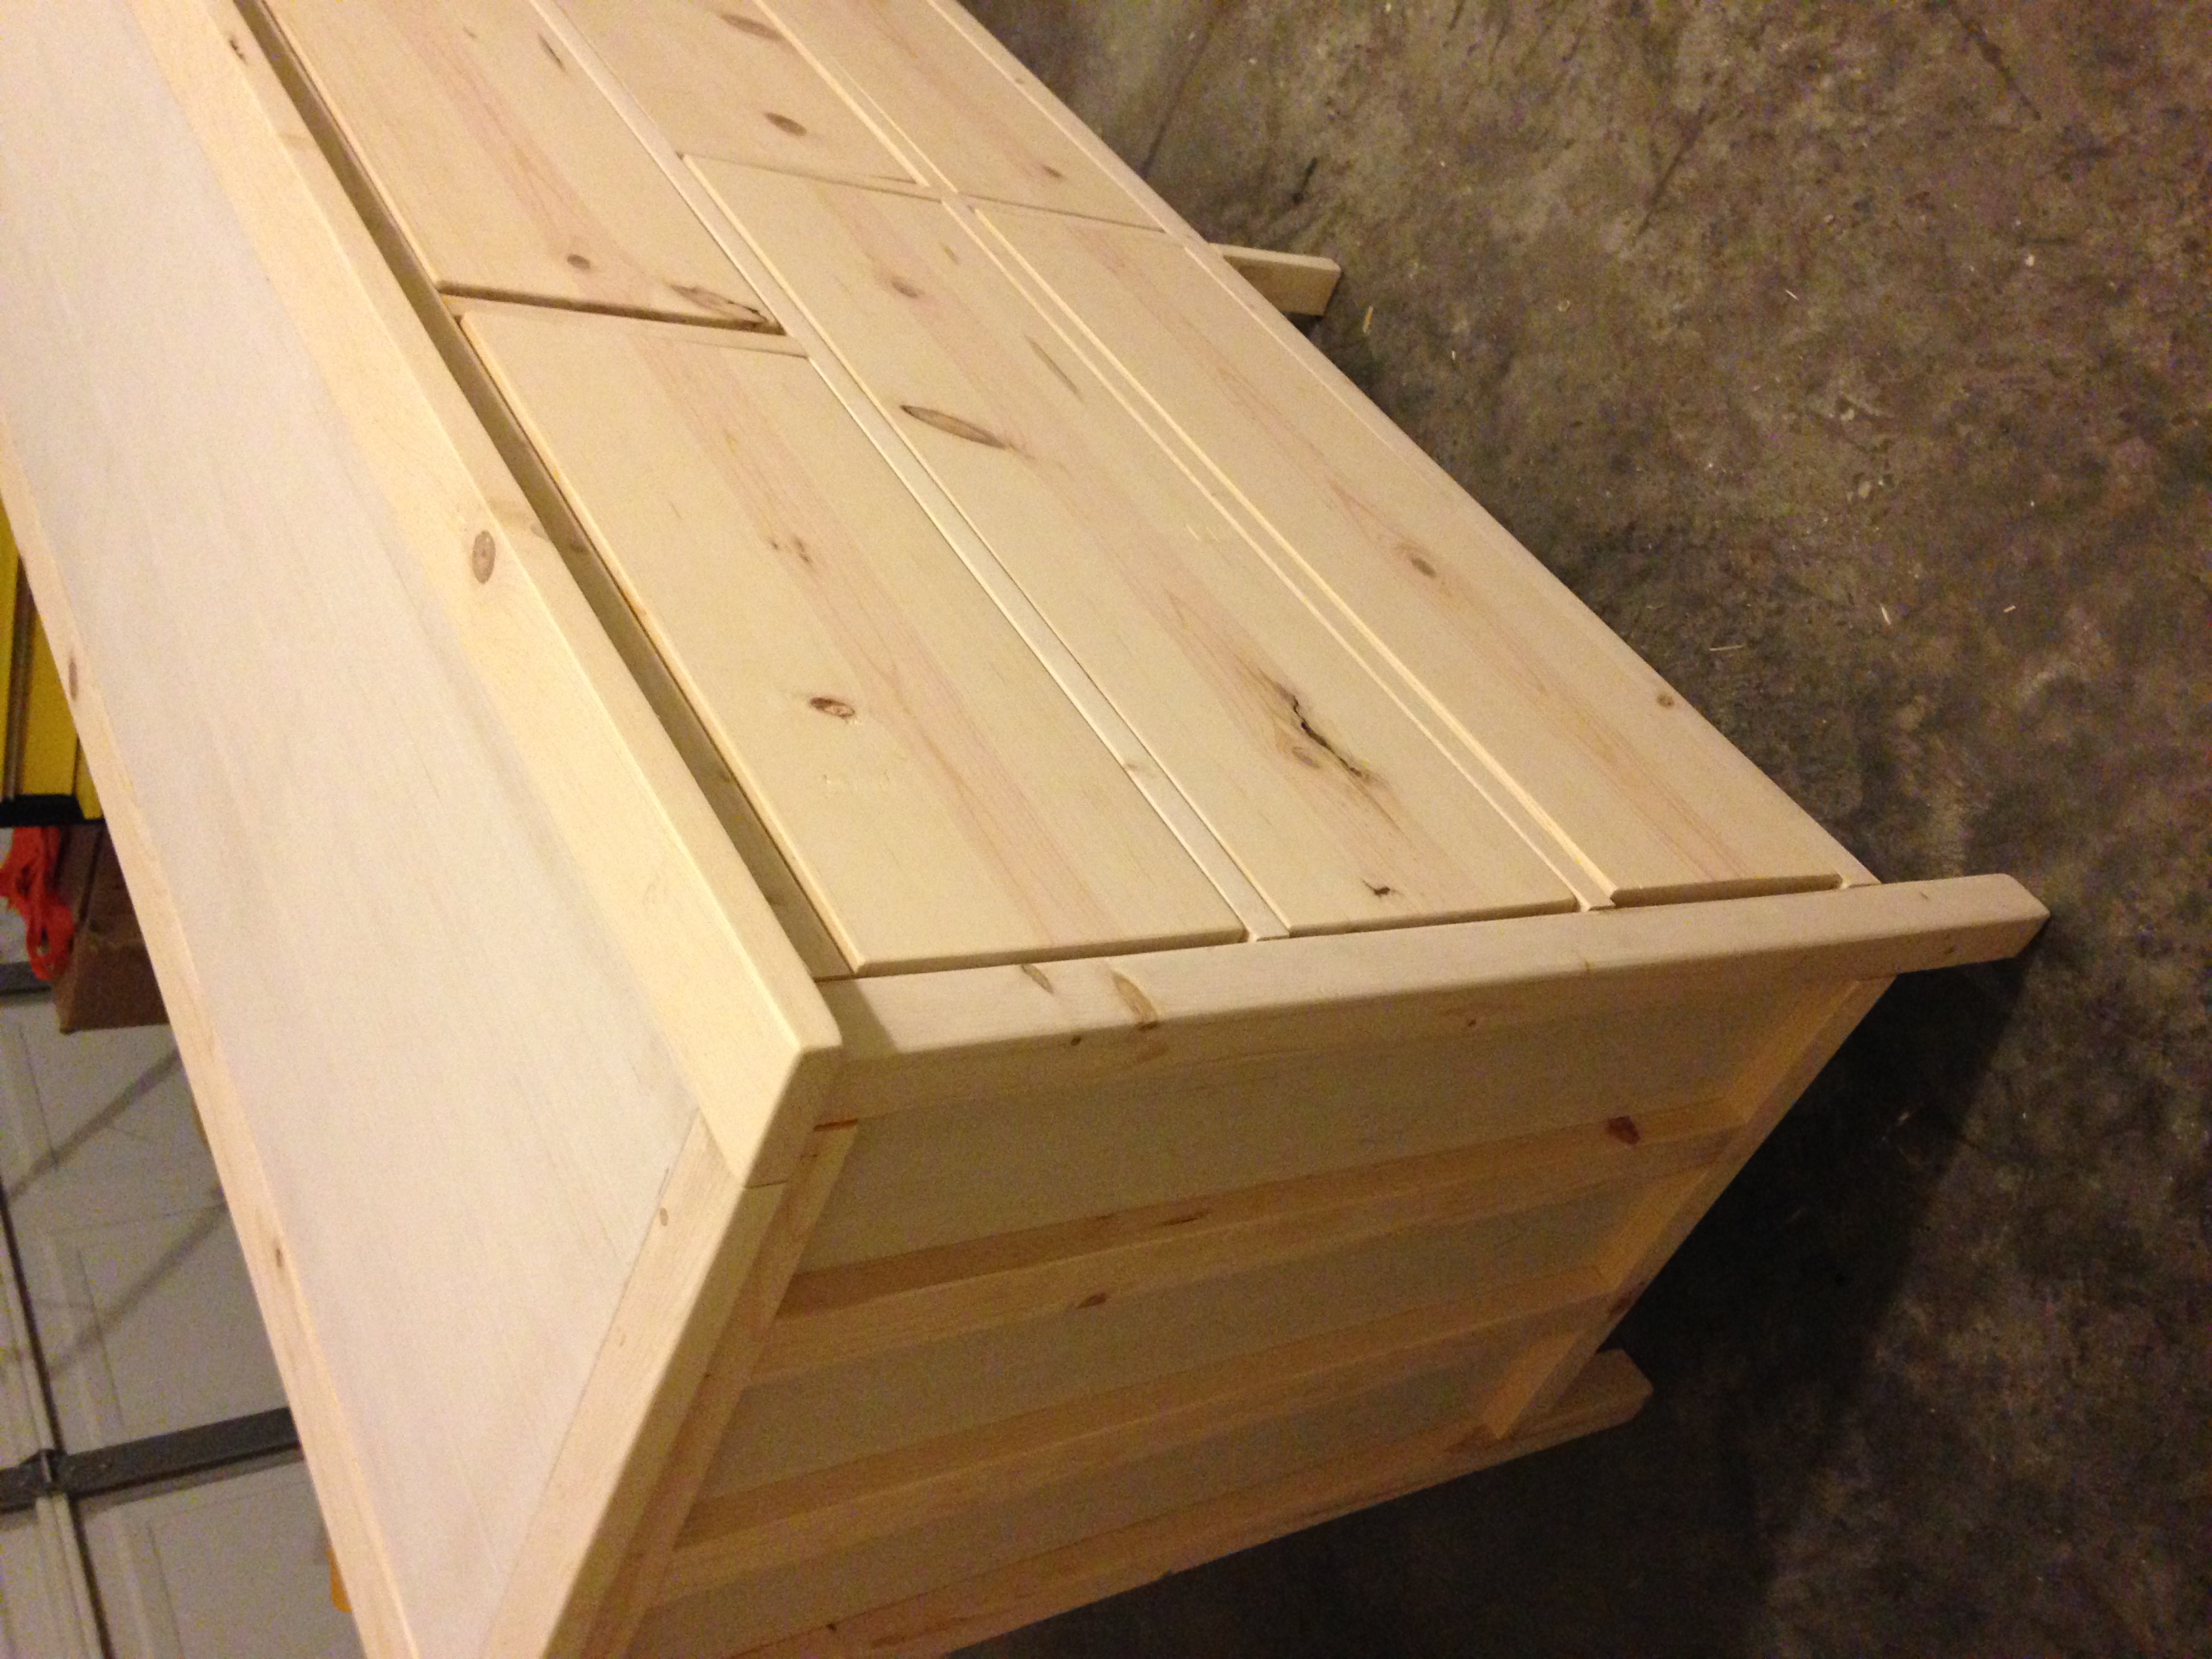
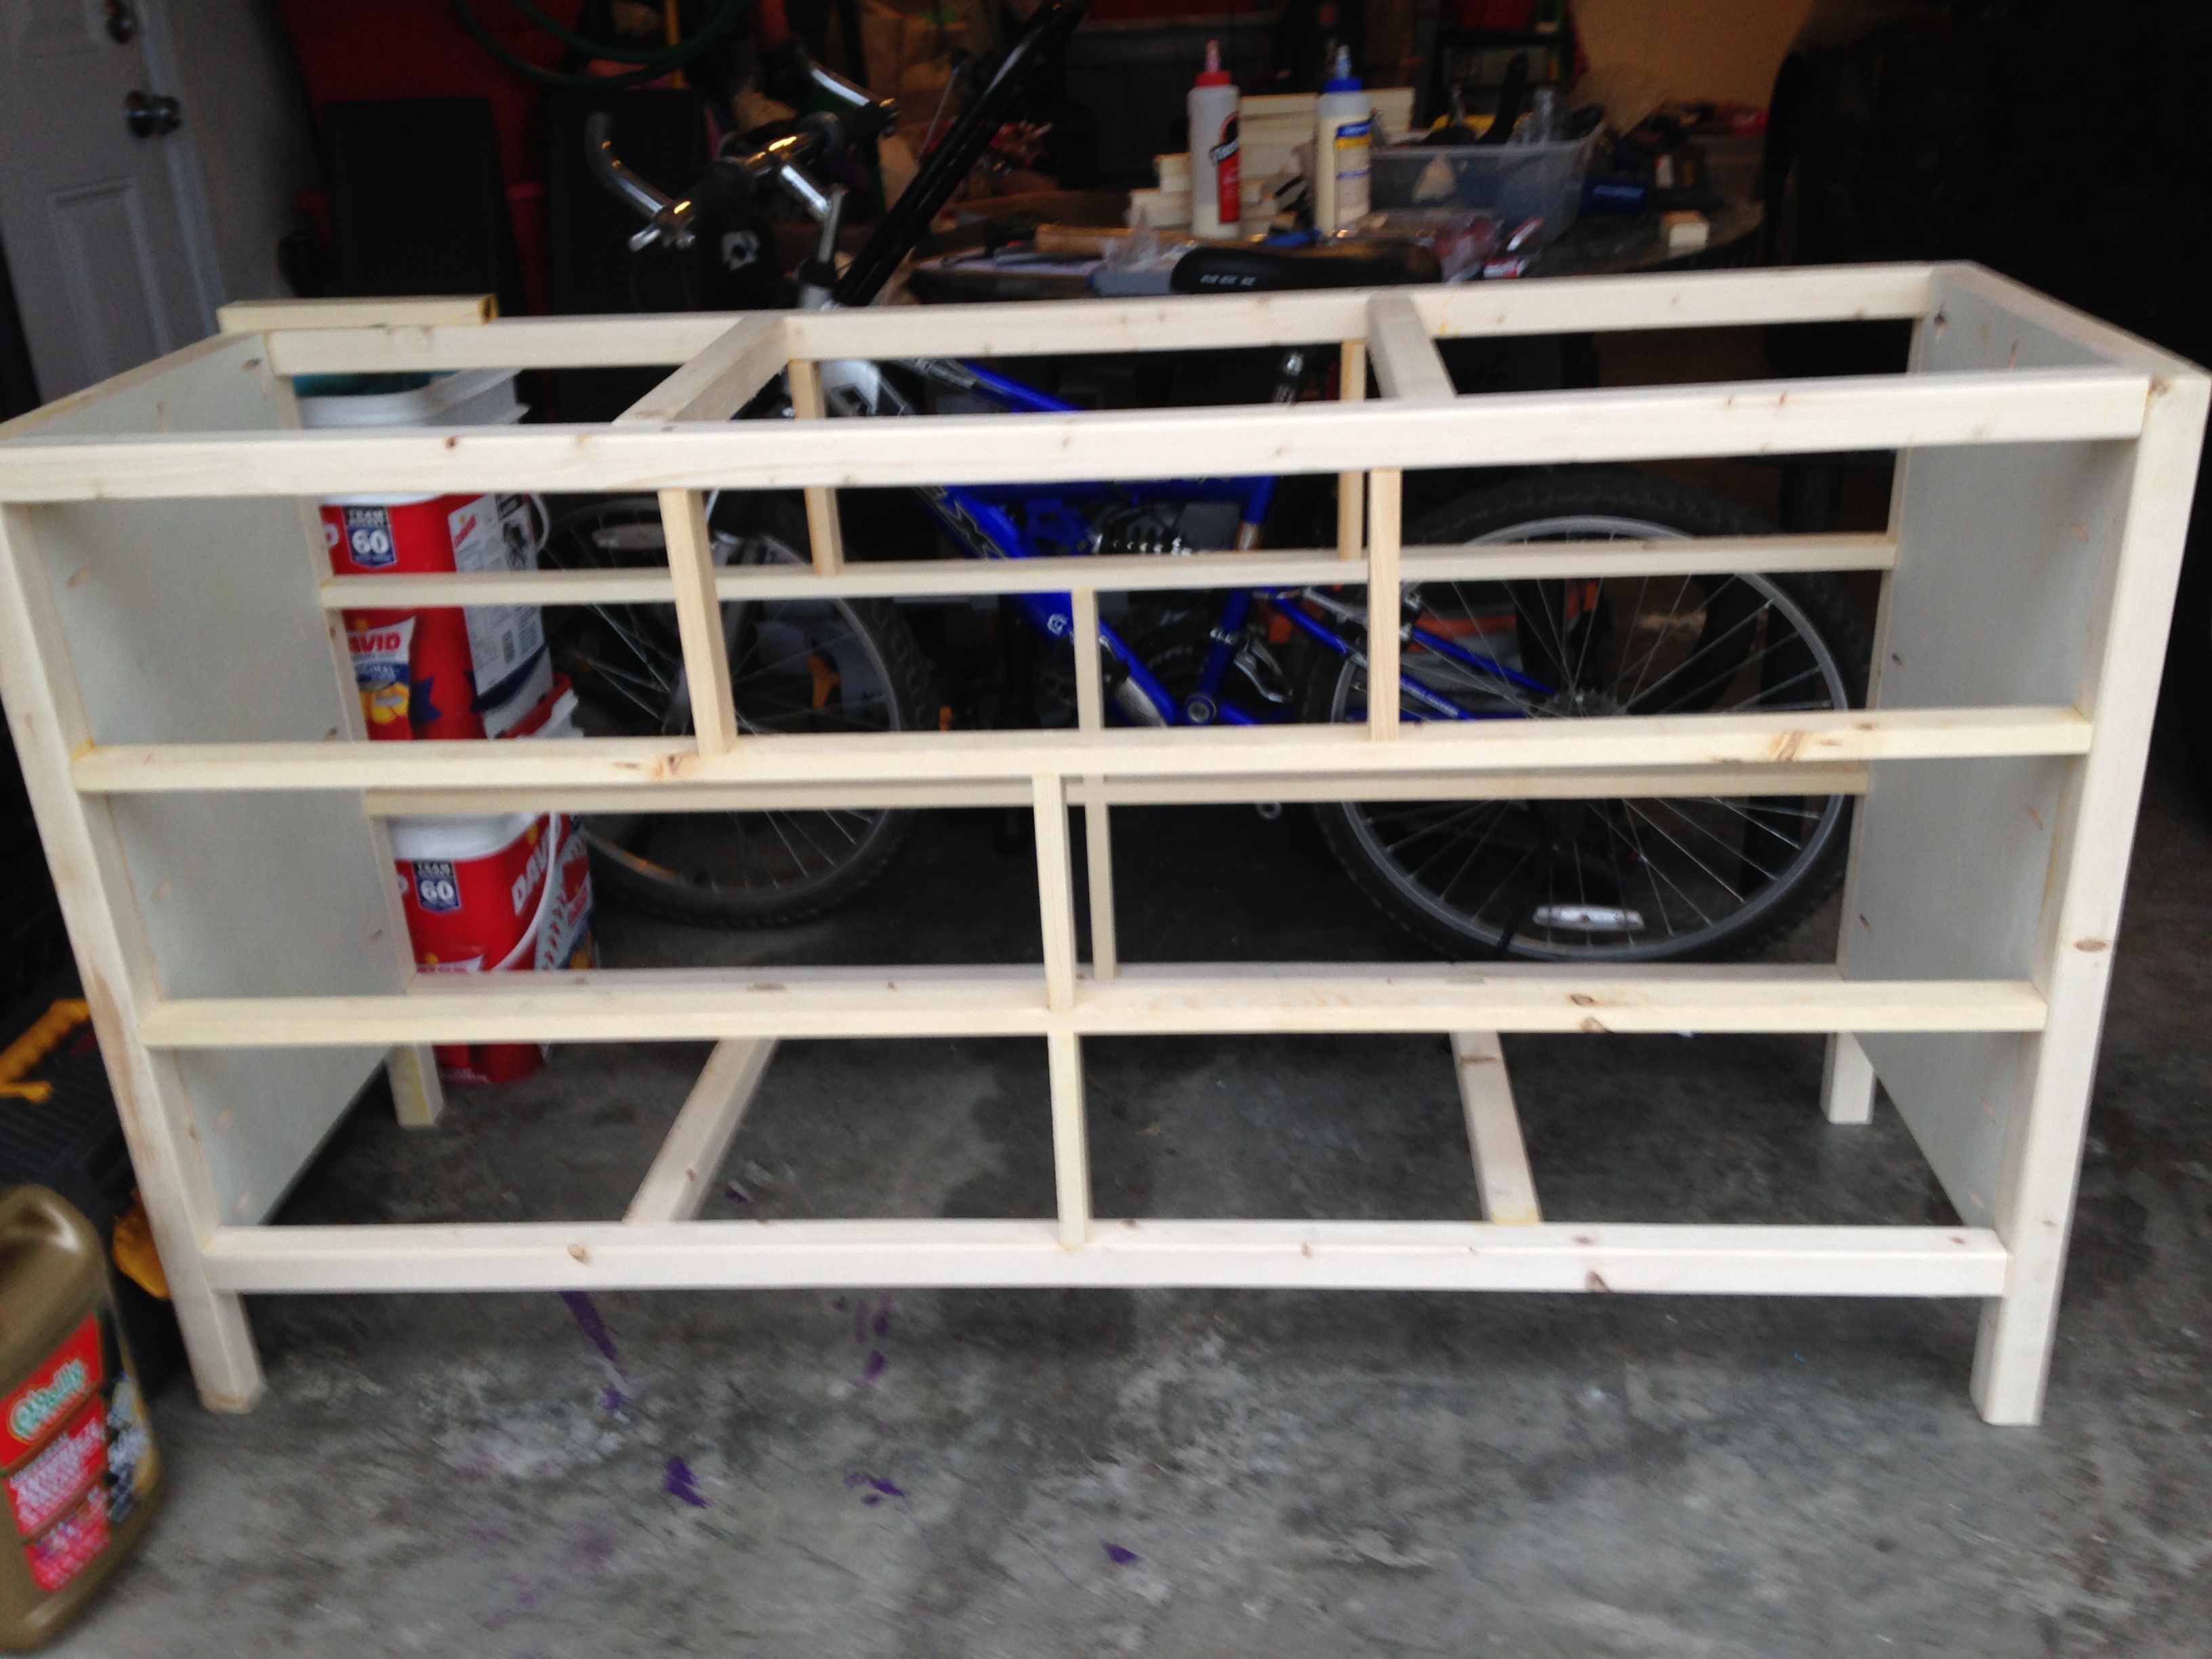
Build Michaela's Kitchen Island

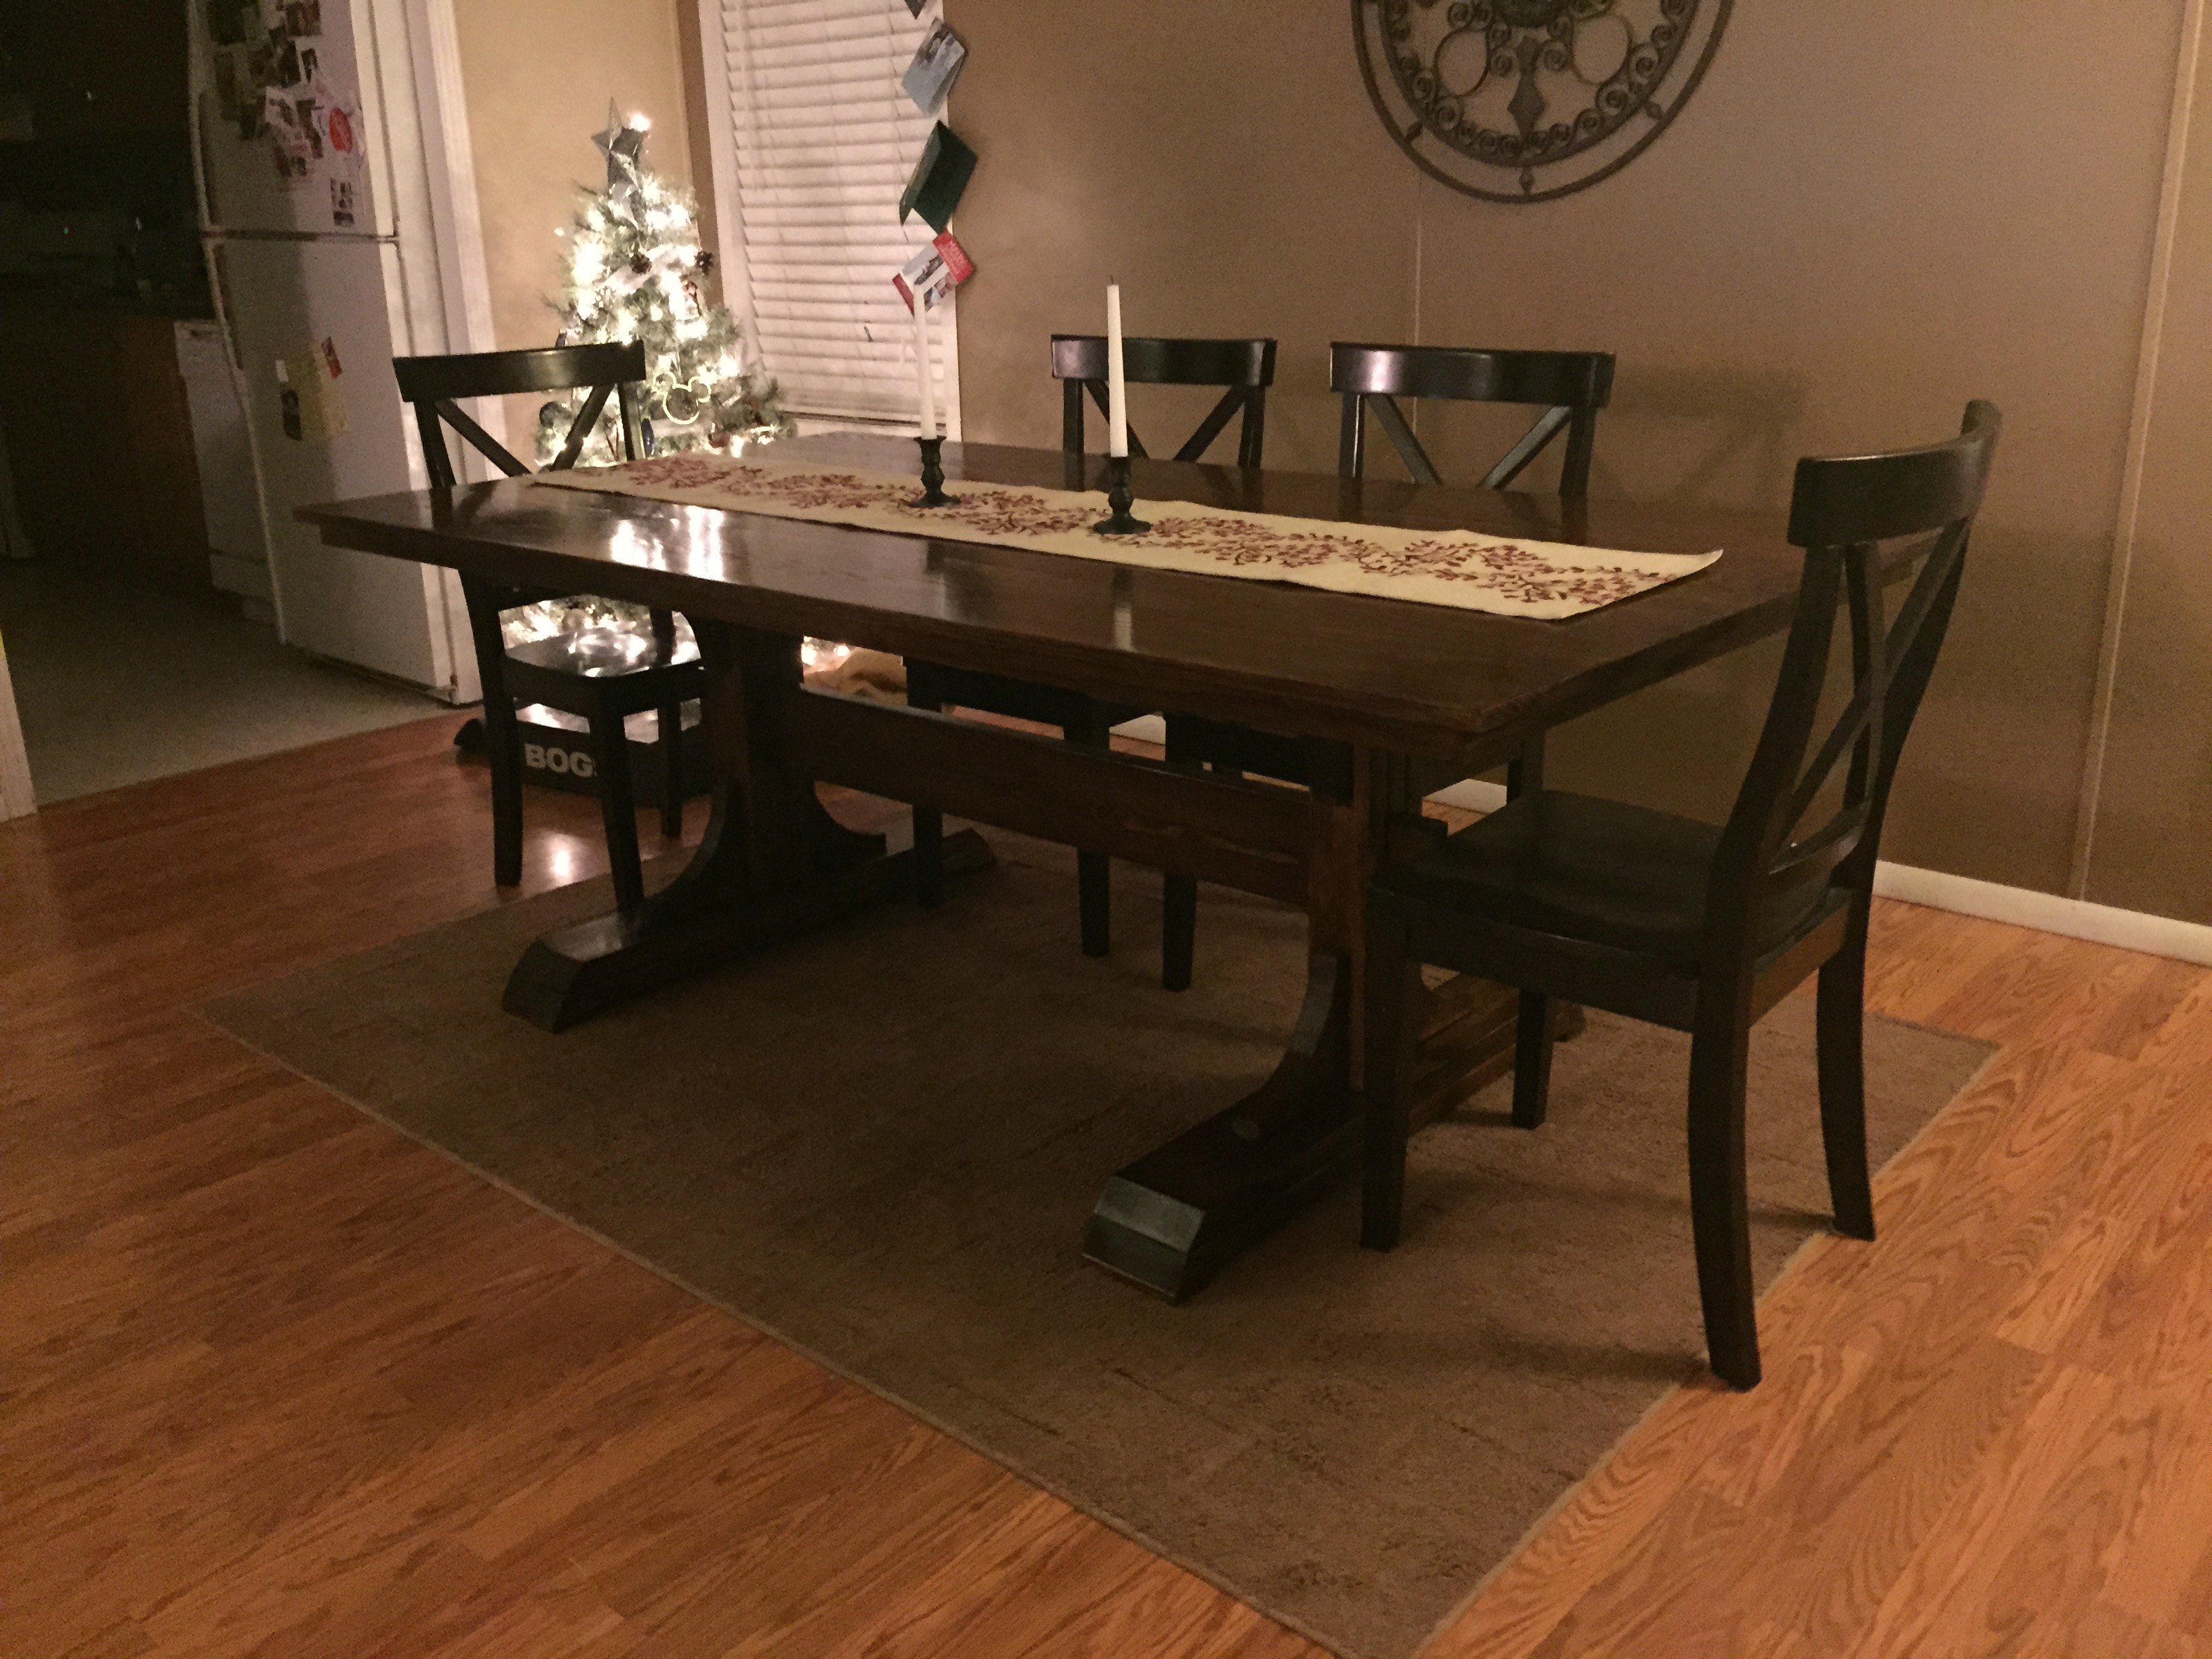
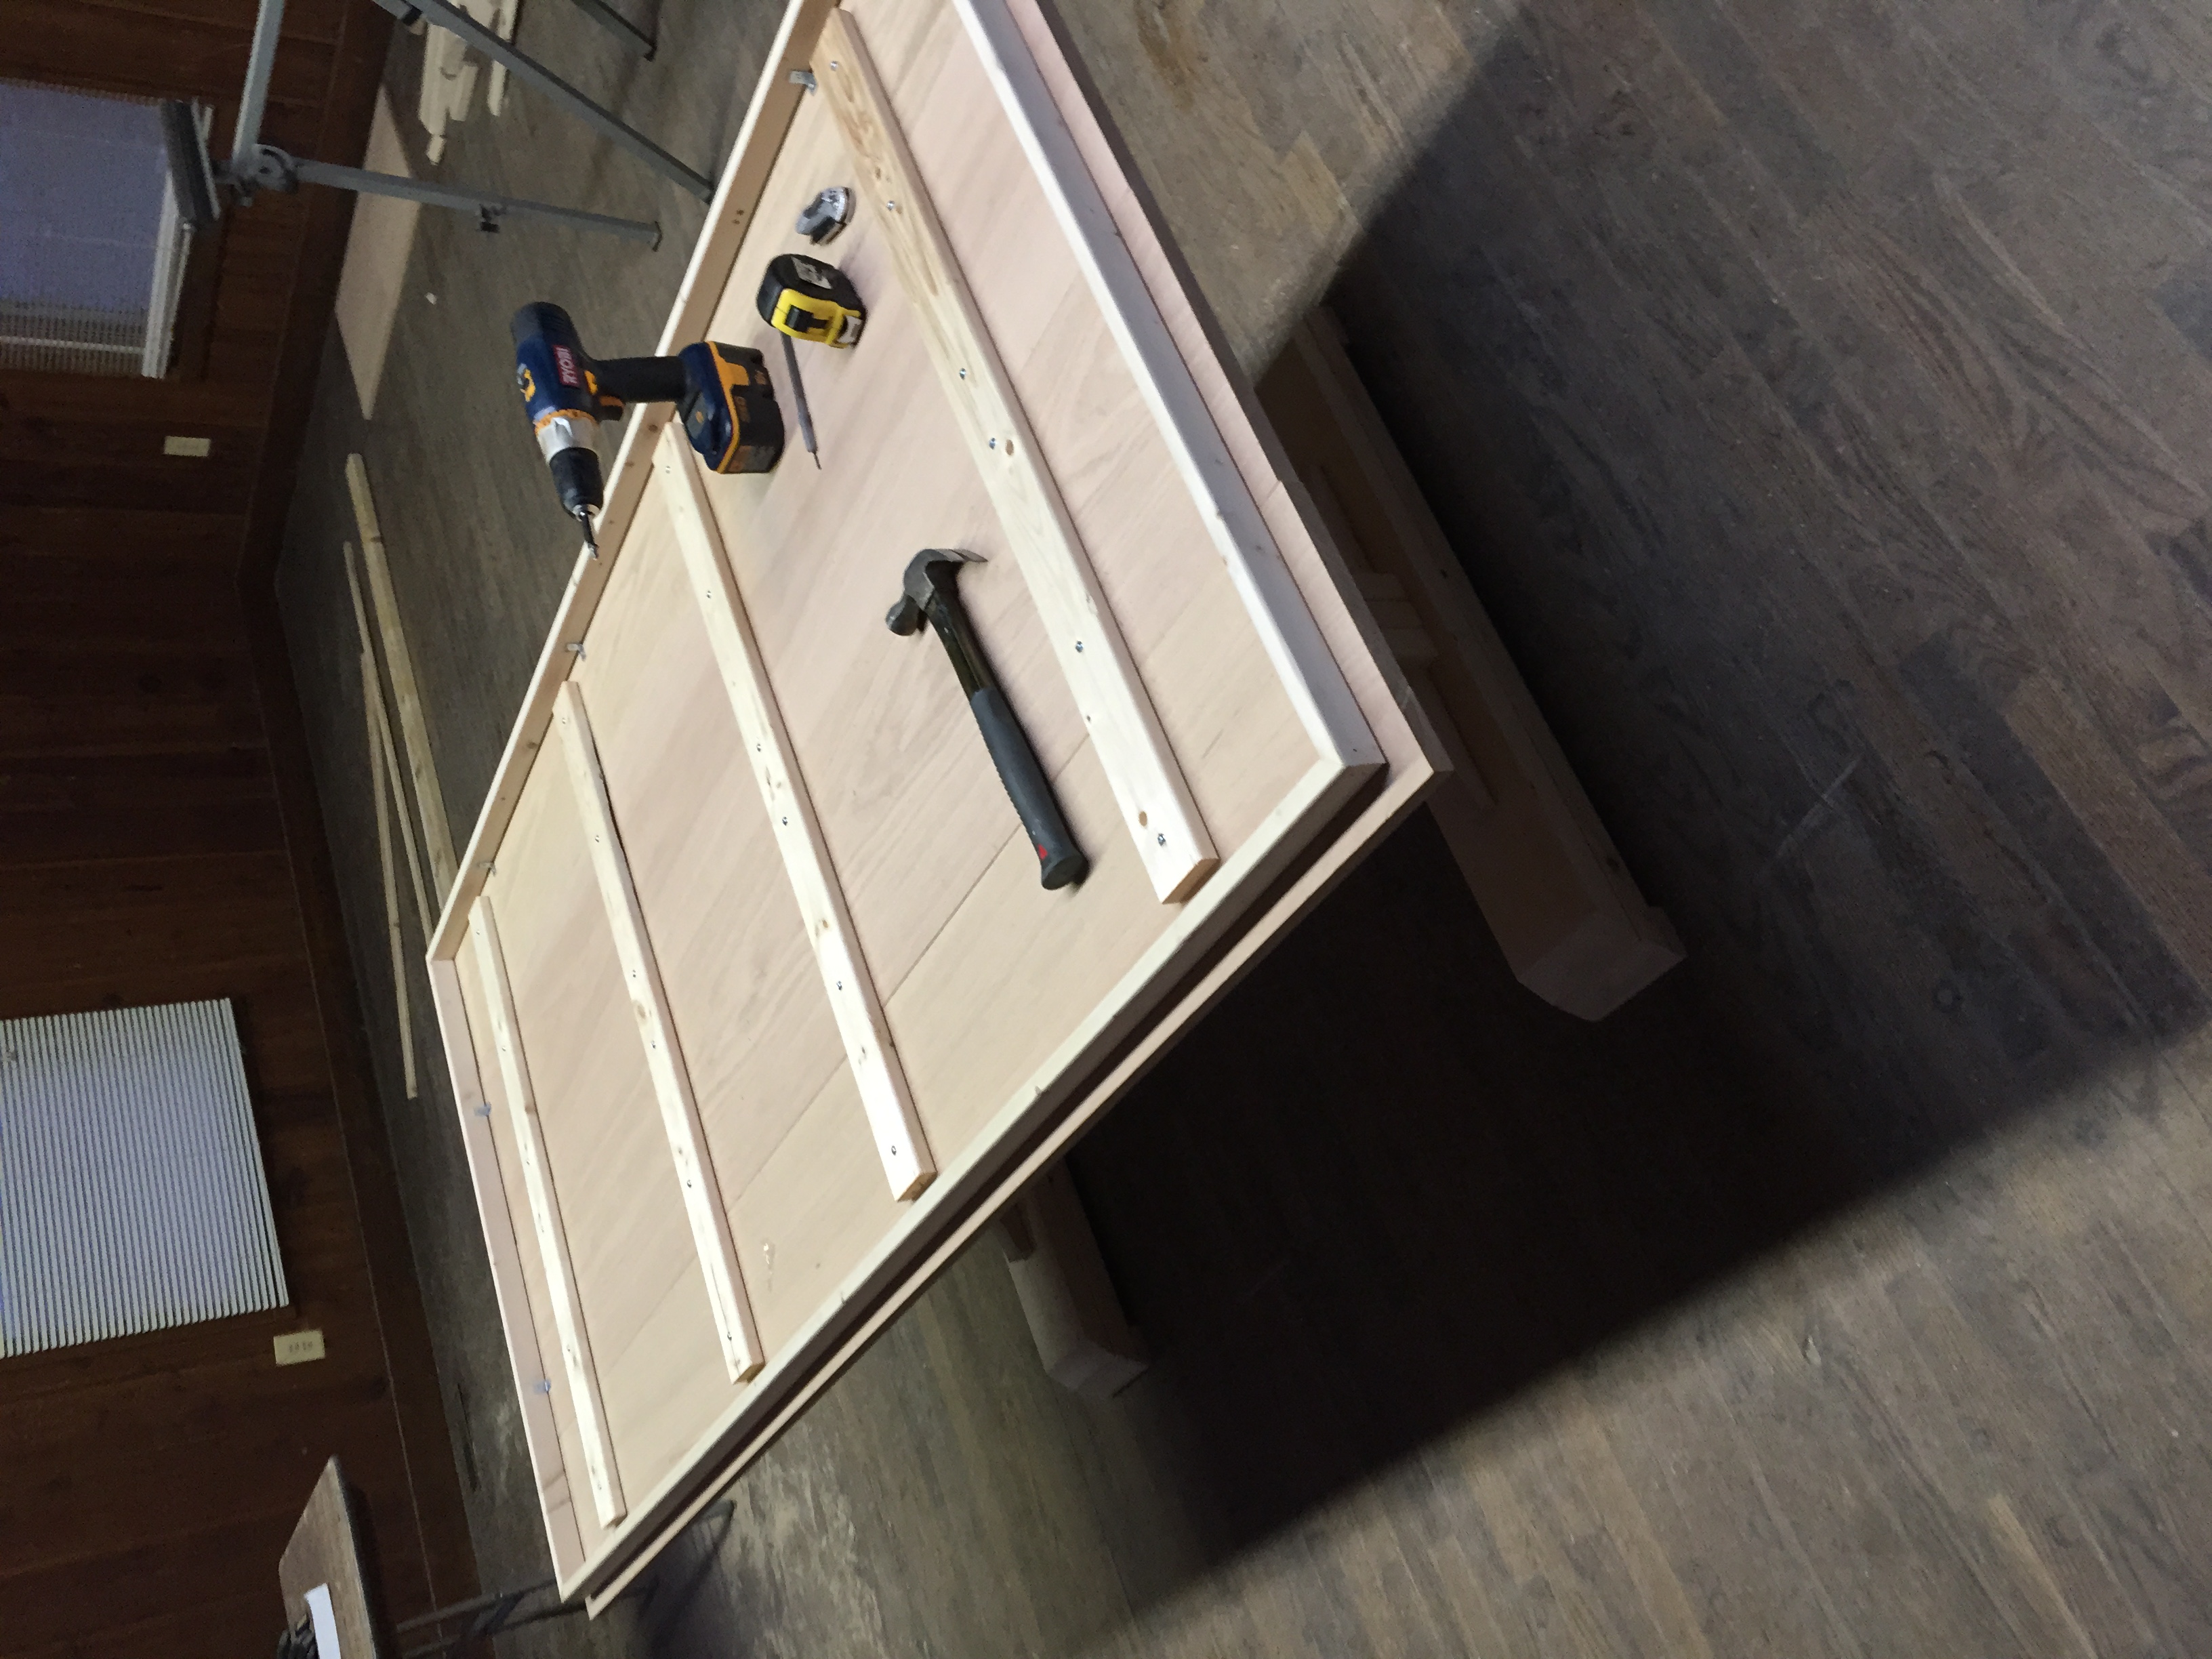
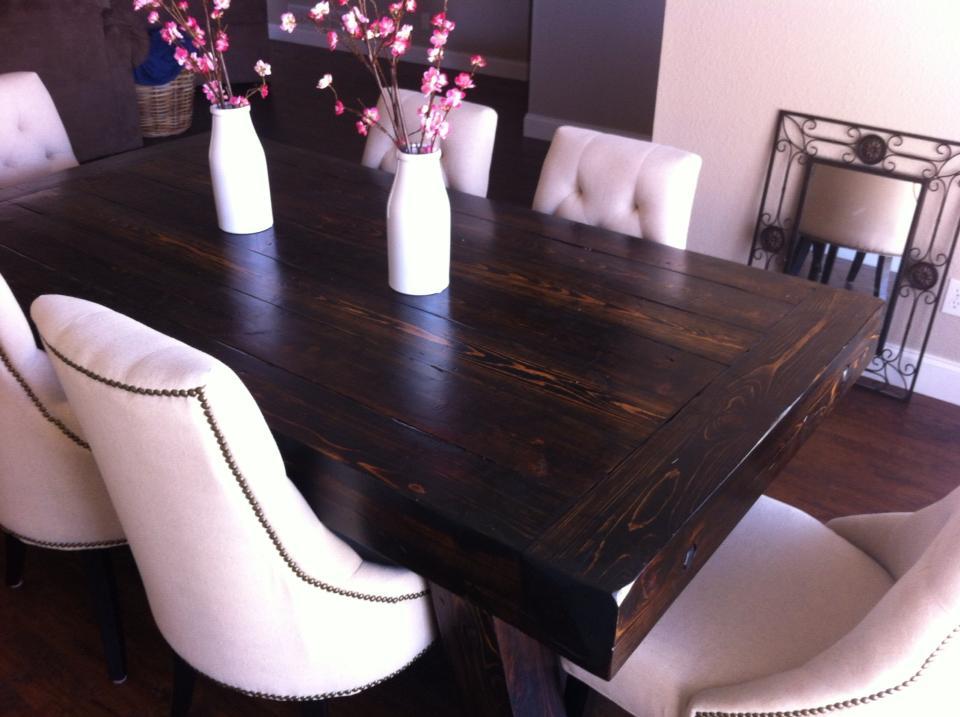
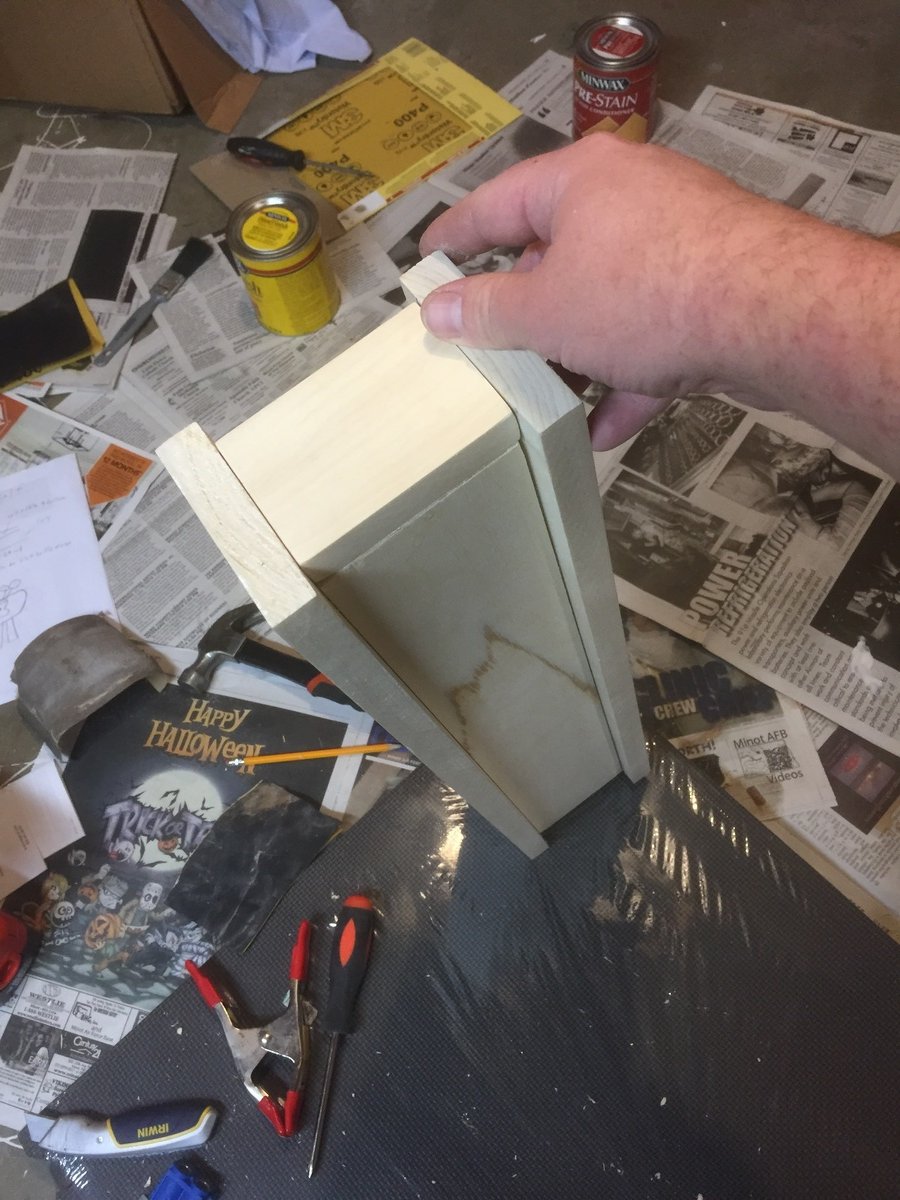
I really liked the look of the kitchen island in the plans, but we needed something longer, so I added 2' to the length, an extra drawer, and some supports in the center (worried the shelves might sag otherwise). We also wanted an overhang for stools, so I added a foot to the width and some decorative corbels. For the top we used reclaimed bowling alley wood. A really fun project and were really happy with it. Thanks for the plans!


Built from Plan(s)
Estimated Cost
$800
Estimated Time Investment
Week Long Project (20 Hours or More)
Finish Used
paint/faux distress, stain, and water lock
Recommended Skill Level
Intermediate