2x4 Modern Adirondack chairs
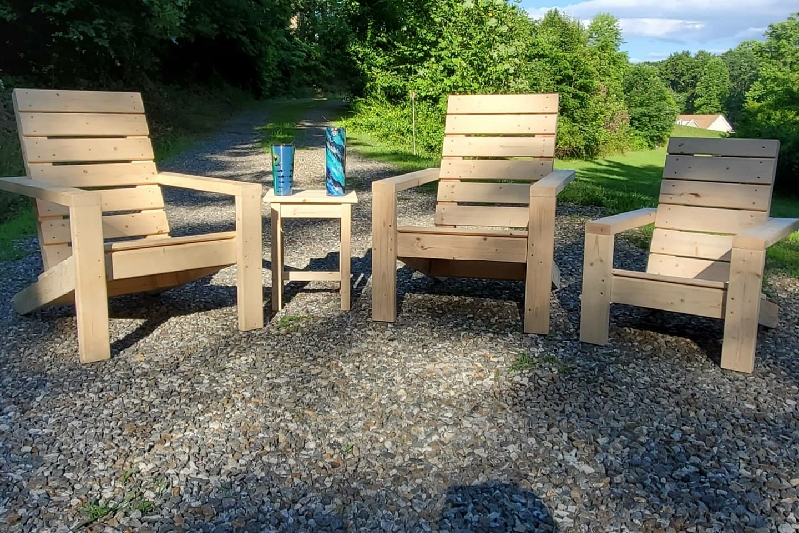
In March of this year, I was furloughed due to COVID-19. Like most people, I looked for something to do while hoping my employer would bring me back to work. I found your site and it has been a lifesaver. What started out as completing projects for our home, turned into extra income to pull through these tough times. I've really come to enjoy wood working and have built things I never thought I could have before. I modified this plan to use 1x4s for the seat and back because I couldn't find any decent 1x10s at the time. I then scaled everything down for the kid's chair.
Estimated Time Investment
Day Project (6-9 Hours)
Finish Used
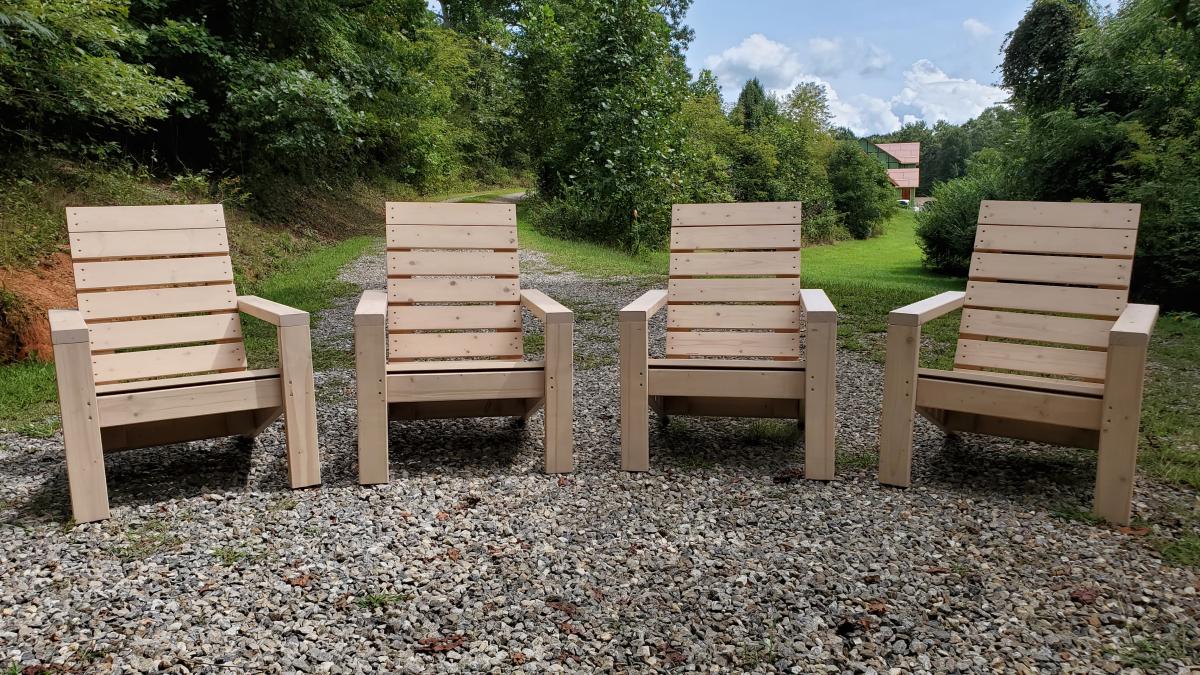
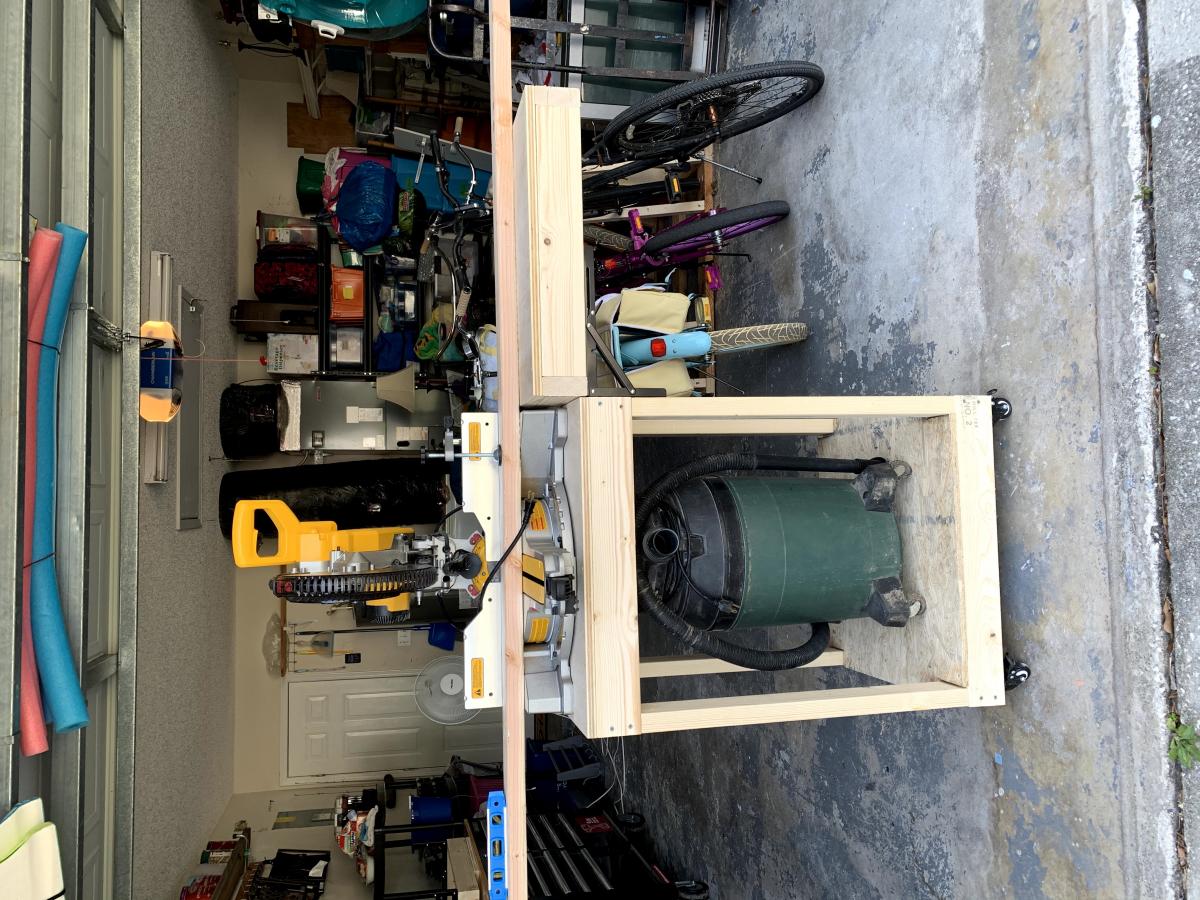
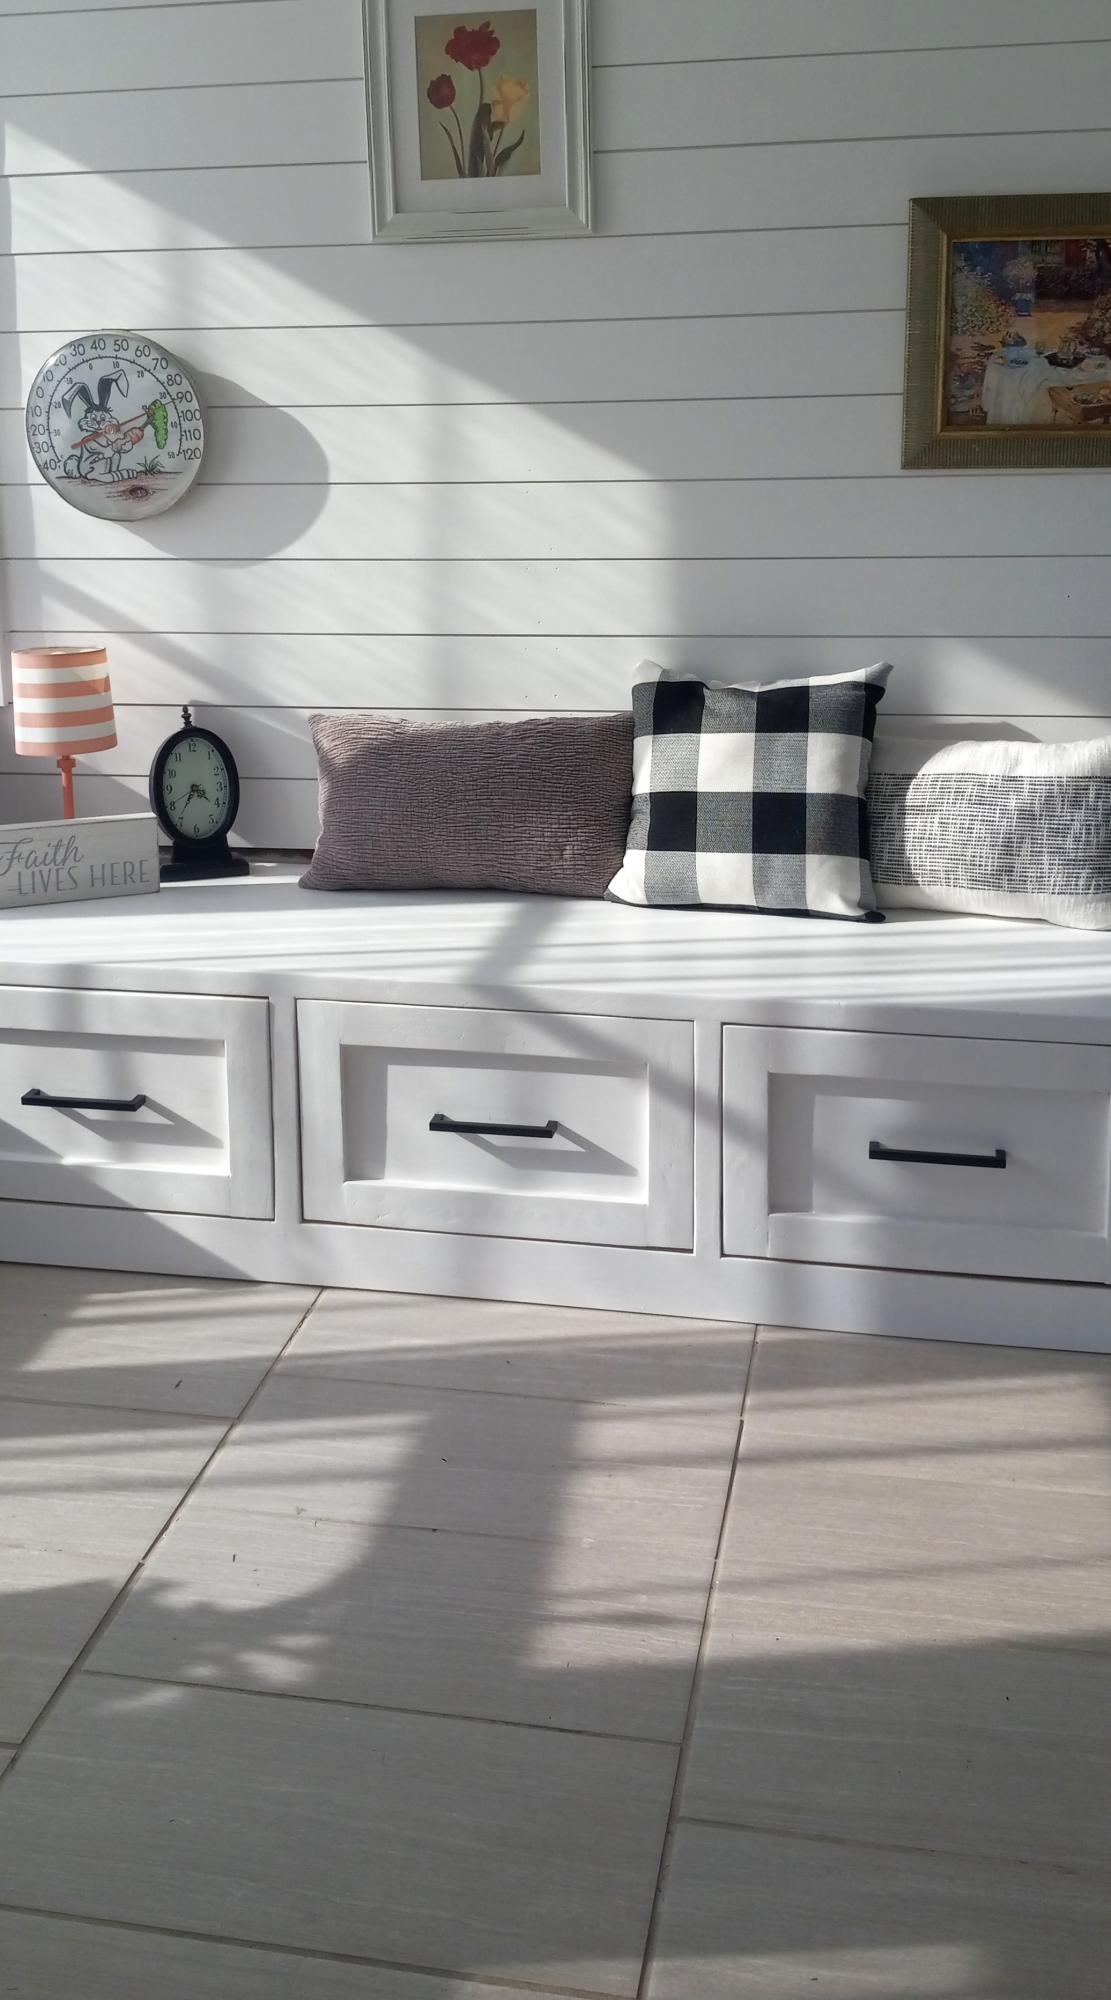
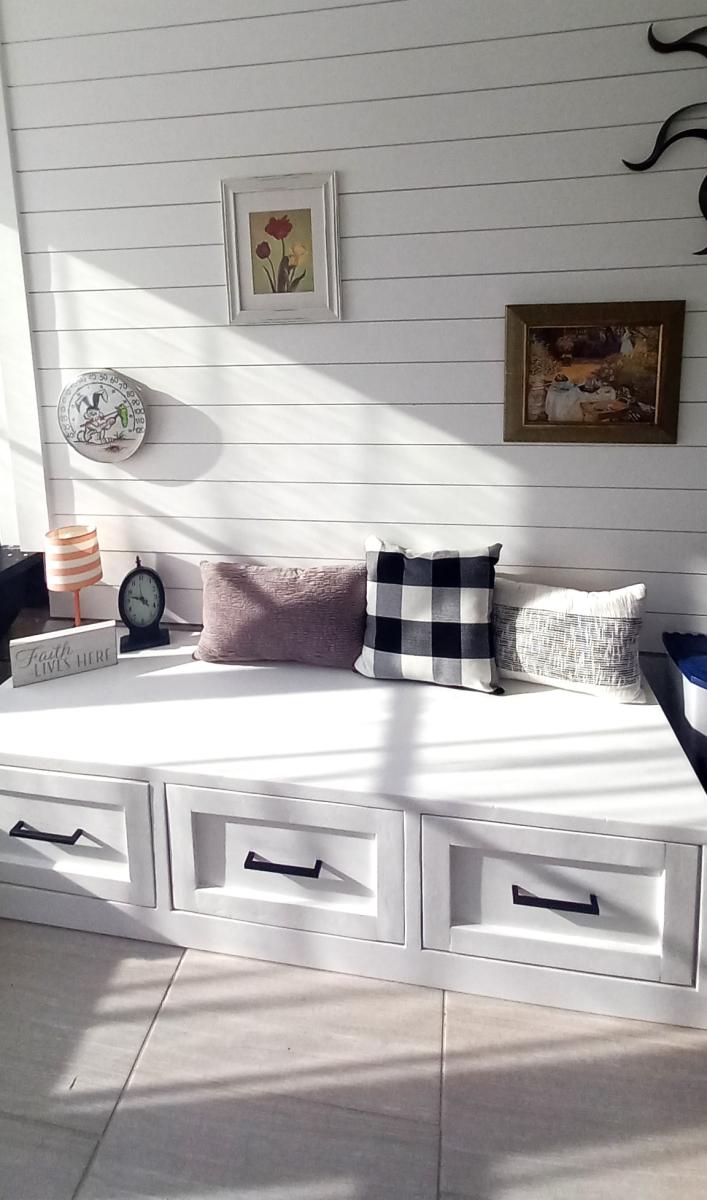
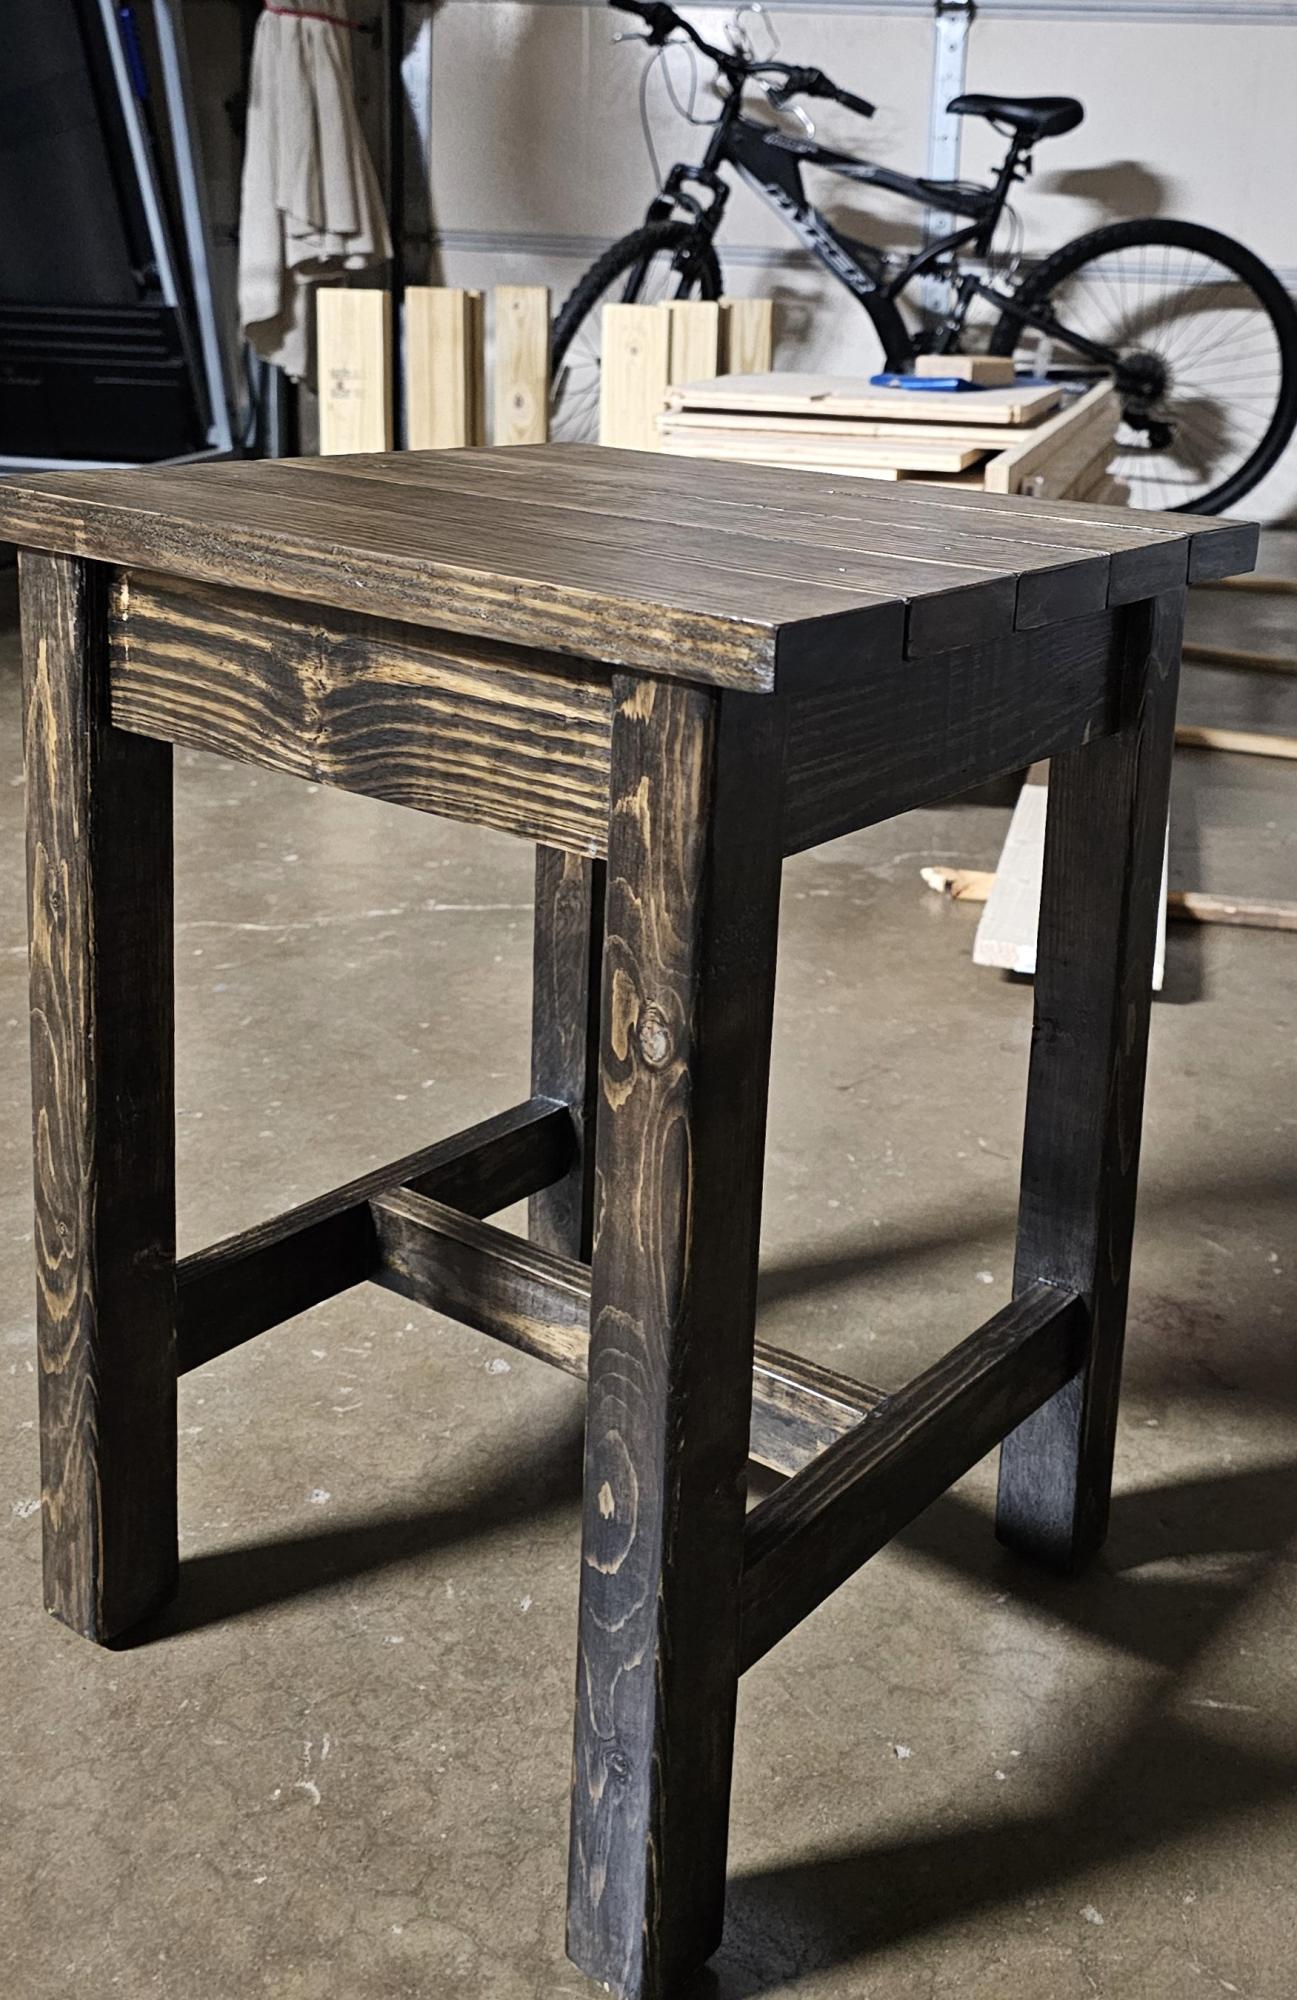
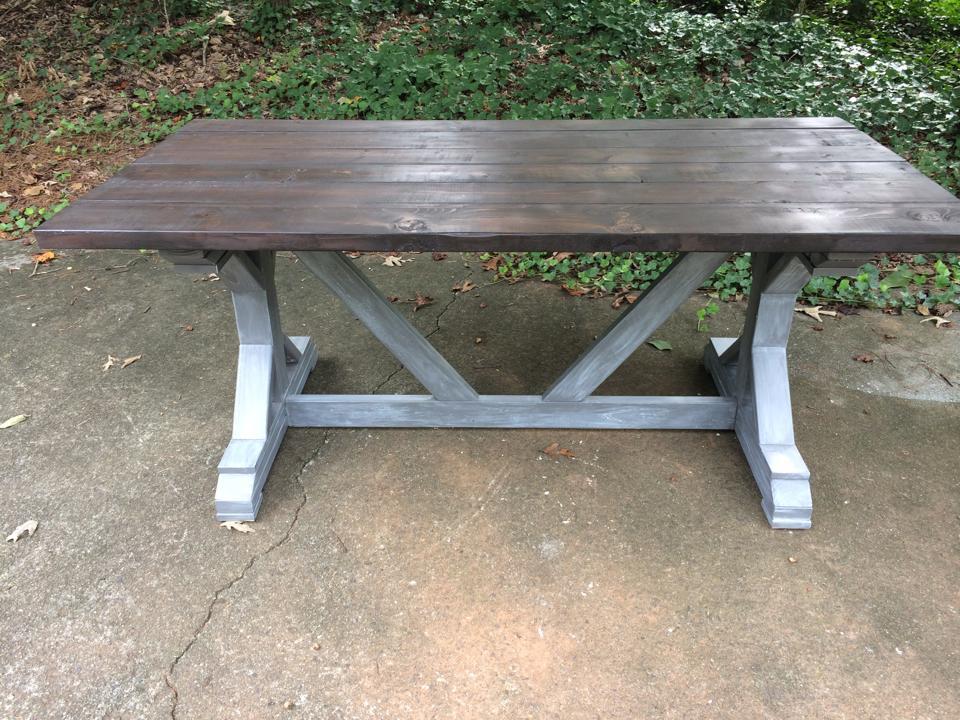
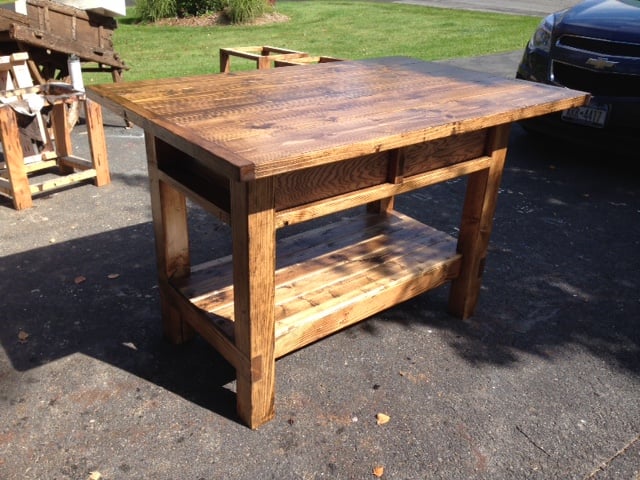
The first picture is raw. The second picture I used Behr Semi-transparent sealant and deck stain in Rose Beige.


Comments
Ana White Admin
Wed, 09/16/2020 - 09:47
Great mods!
I like the look of these with the 1x4's on the back, thanks for sharing!