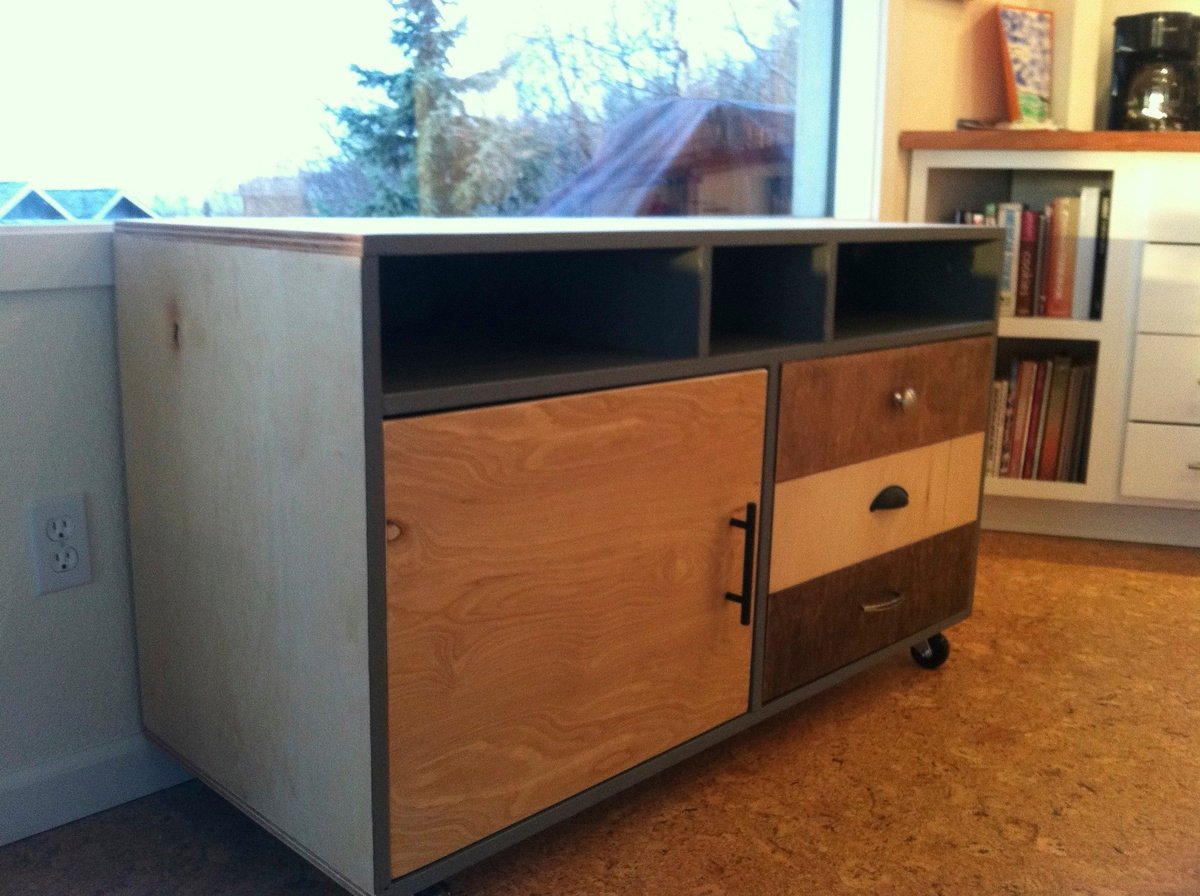
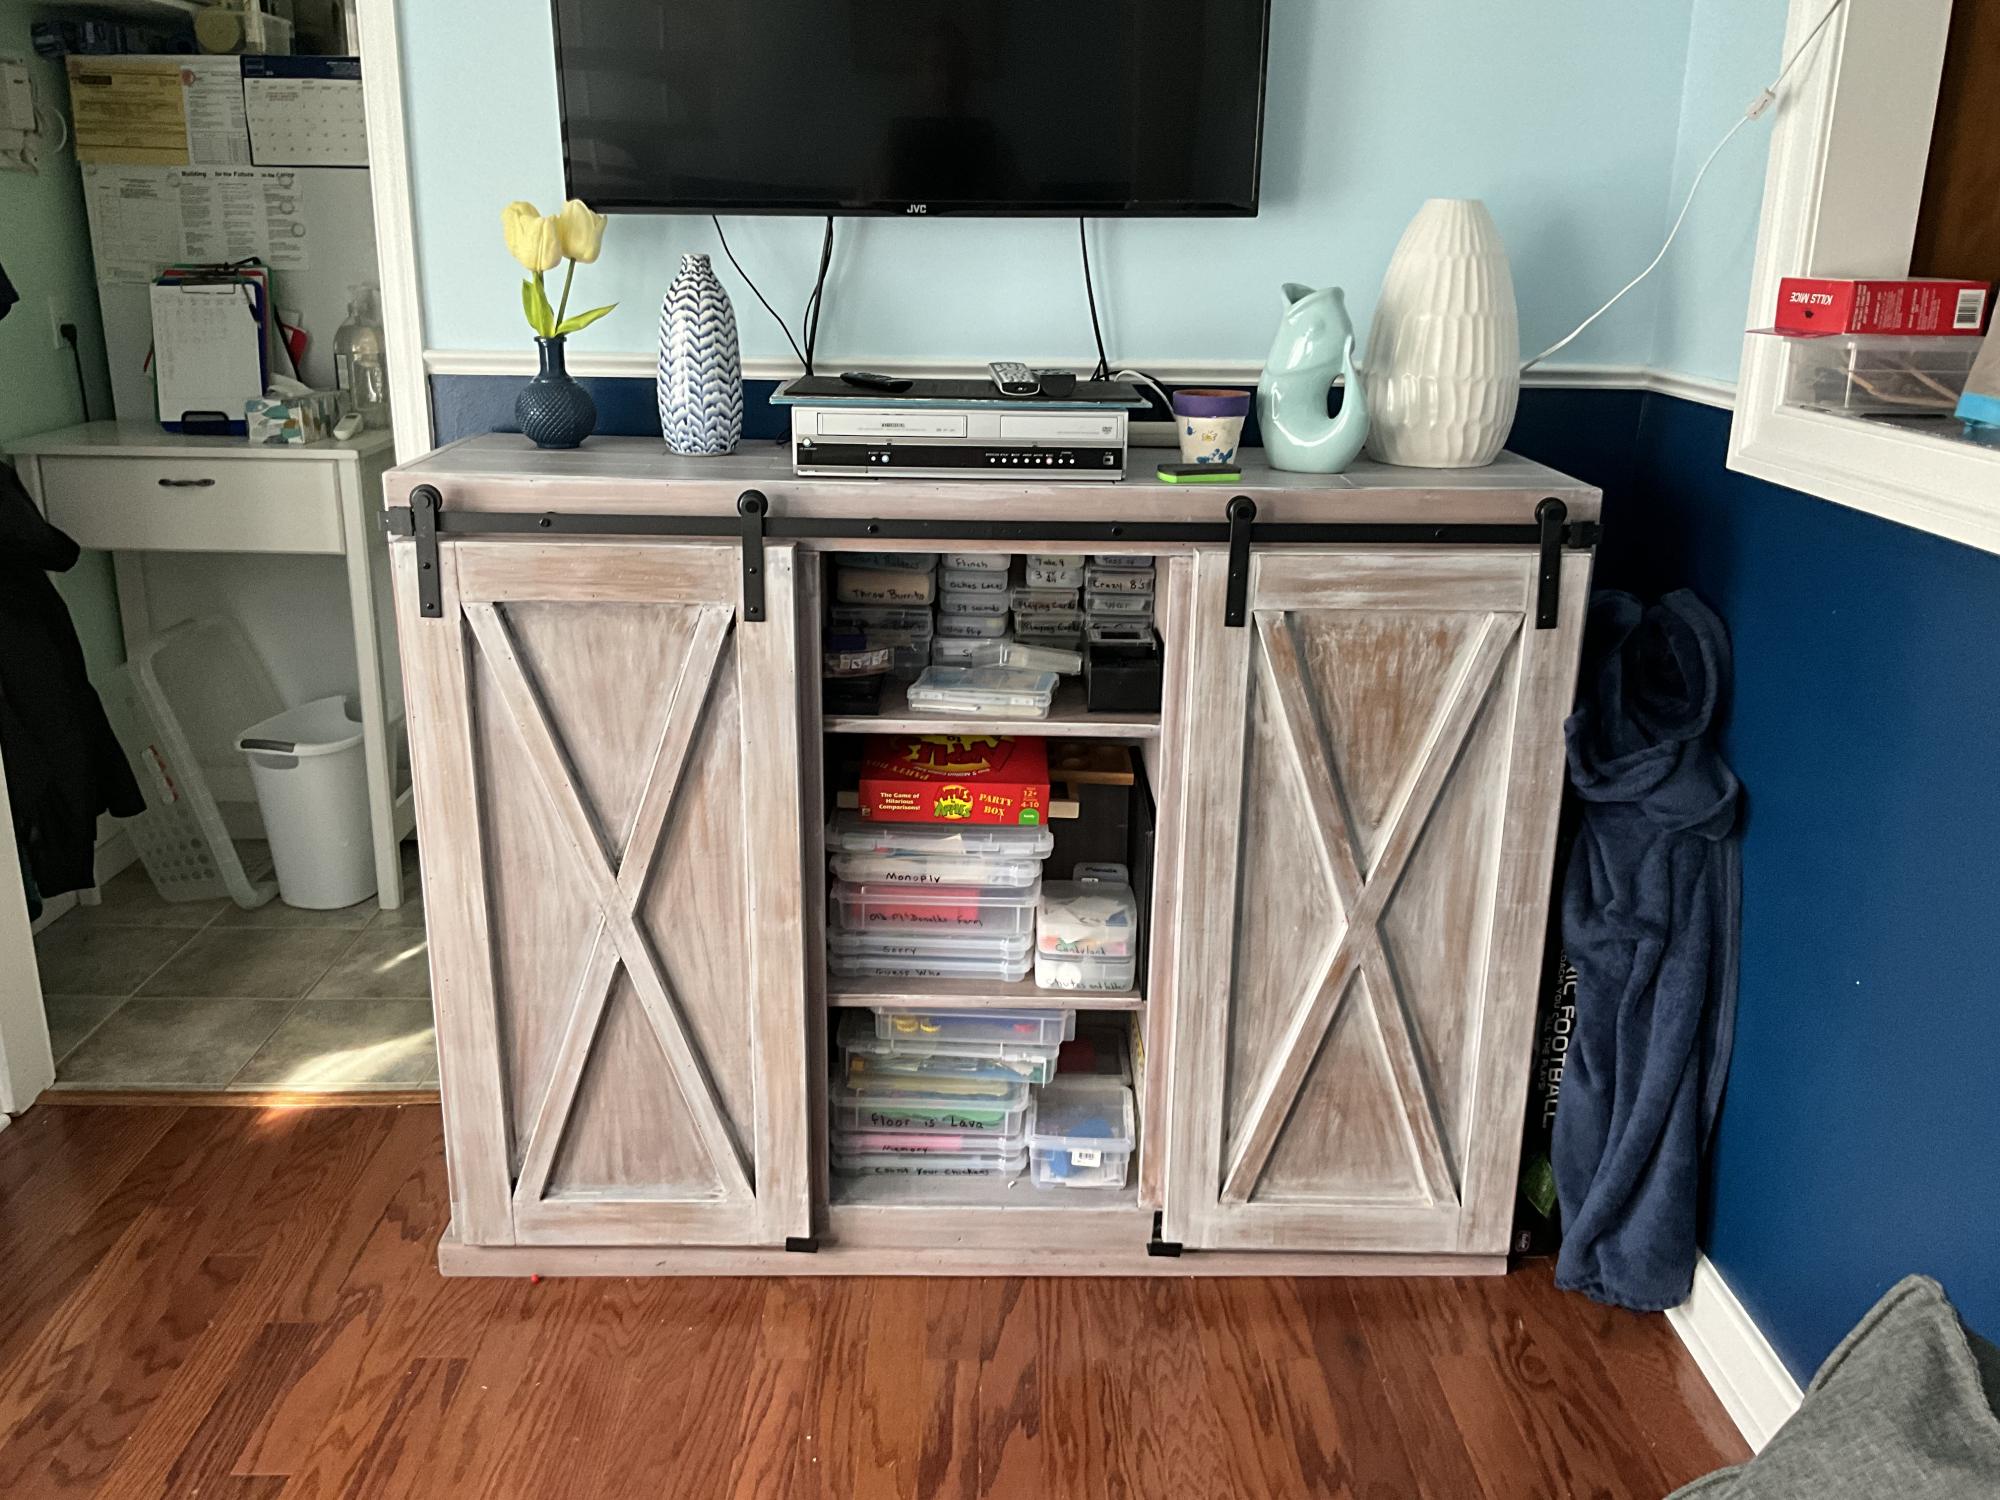
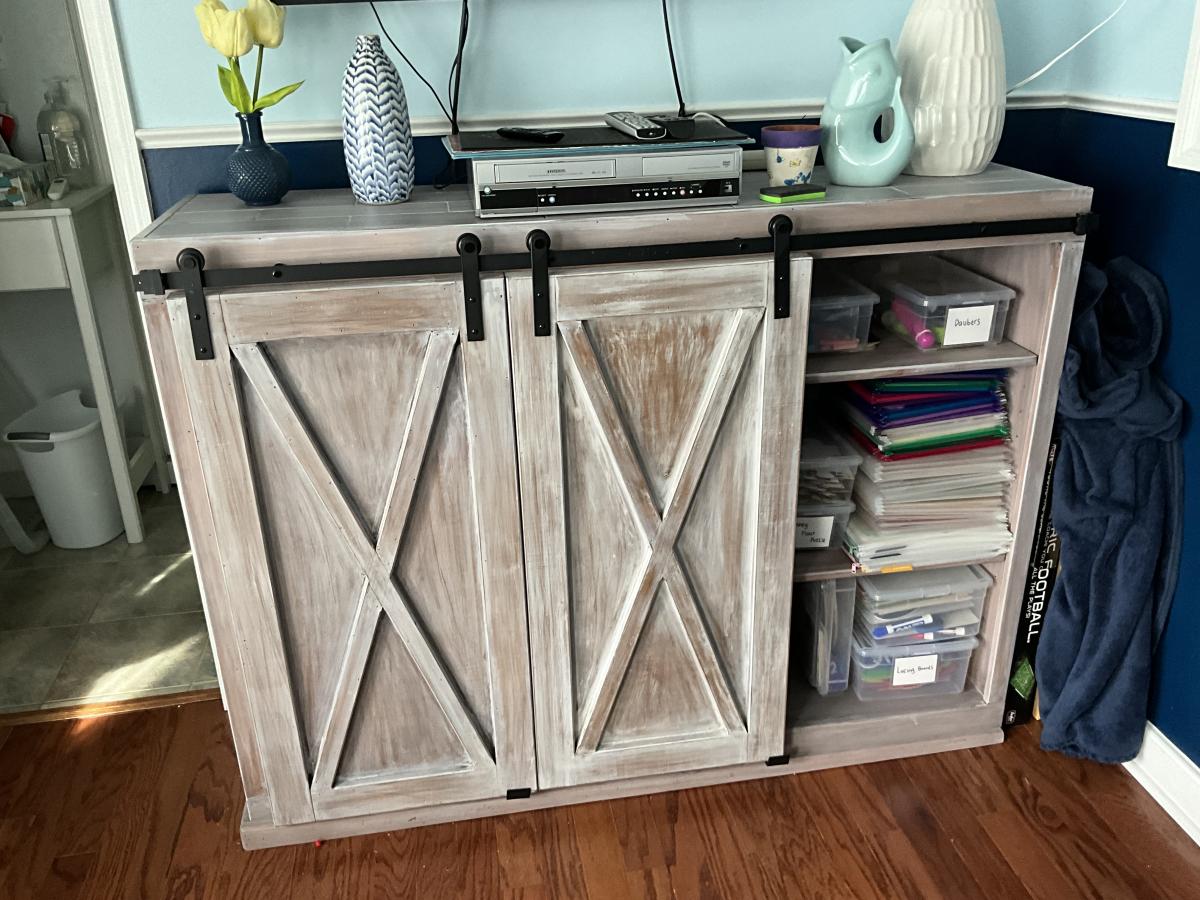
Modern Patchwork Media Console
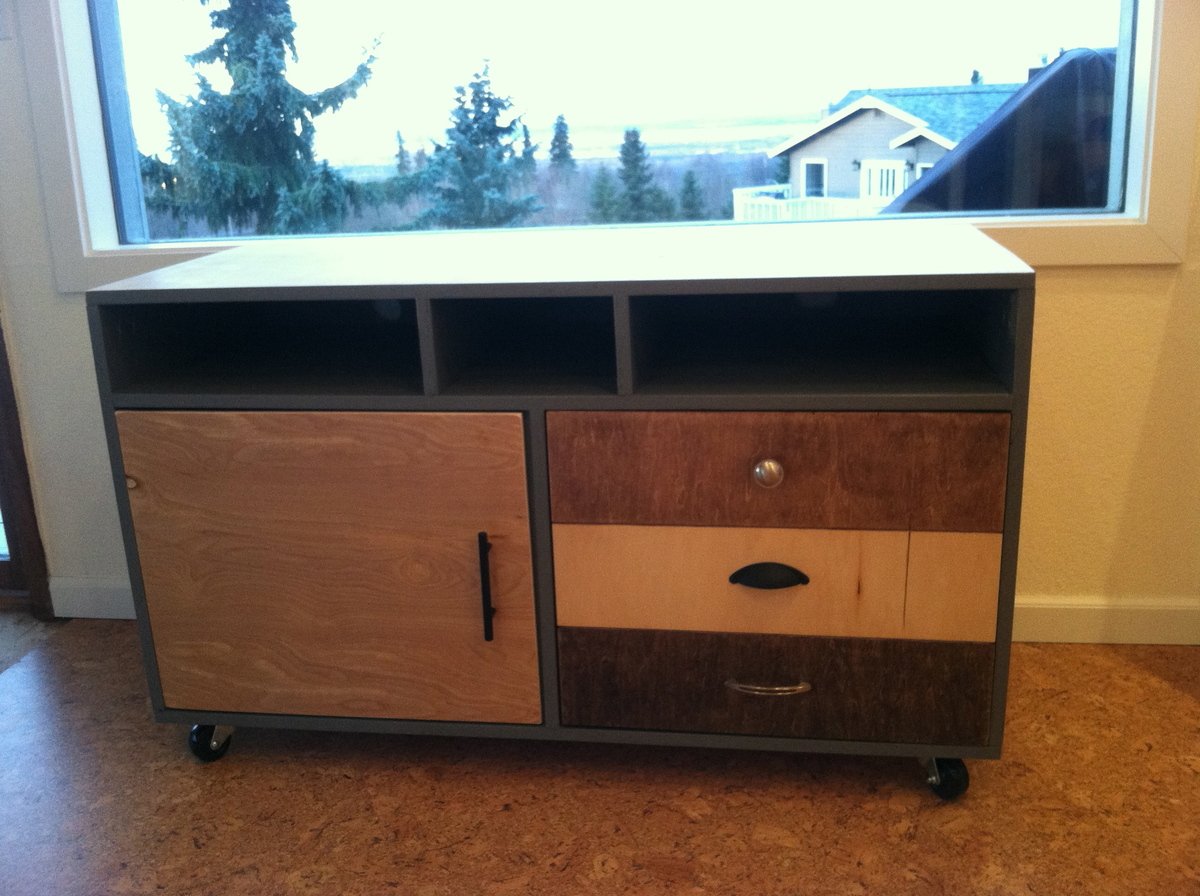
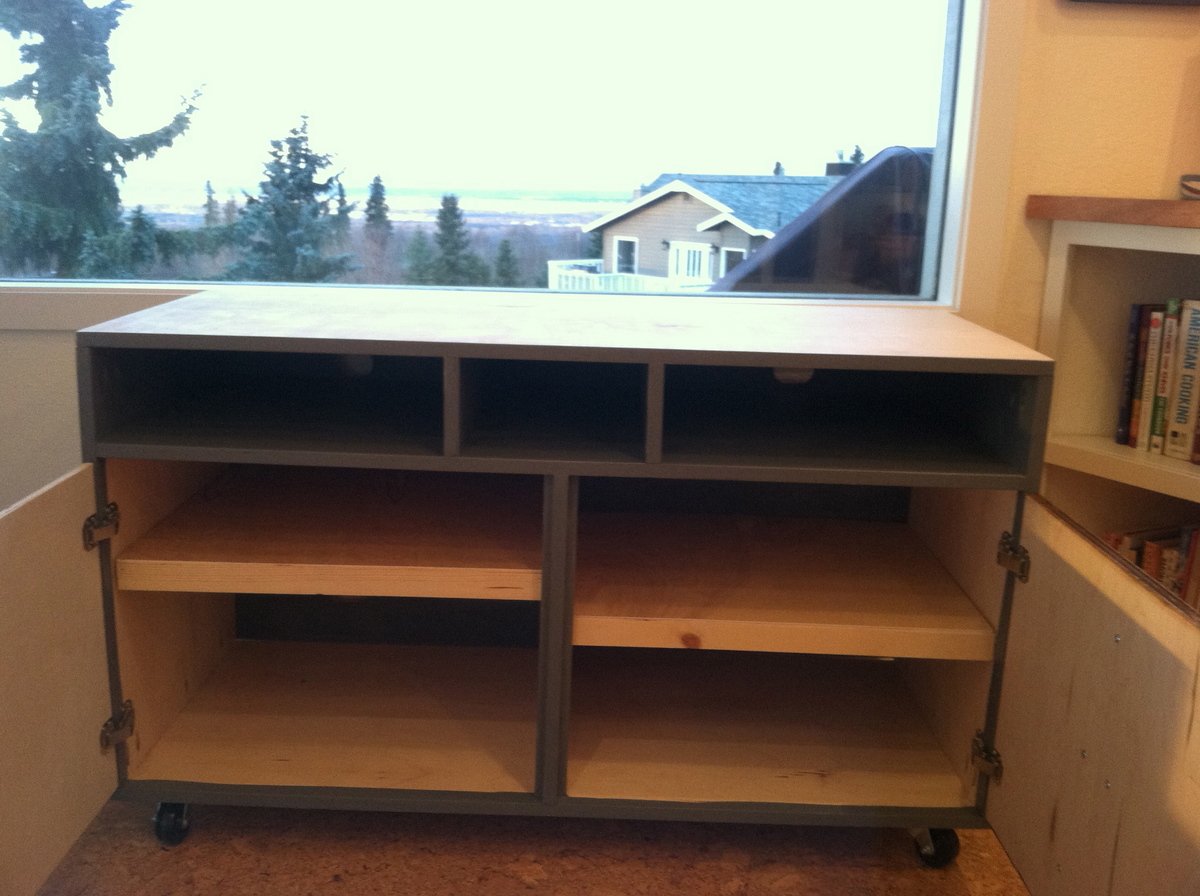
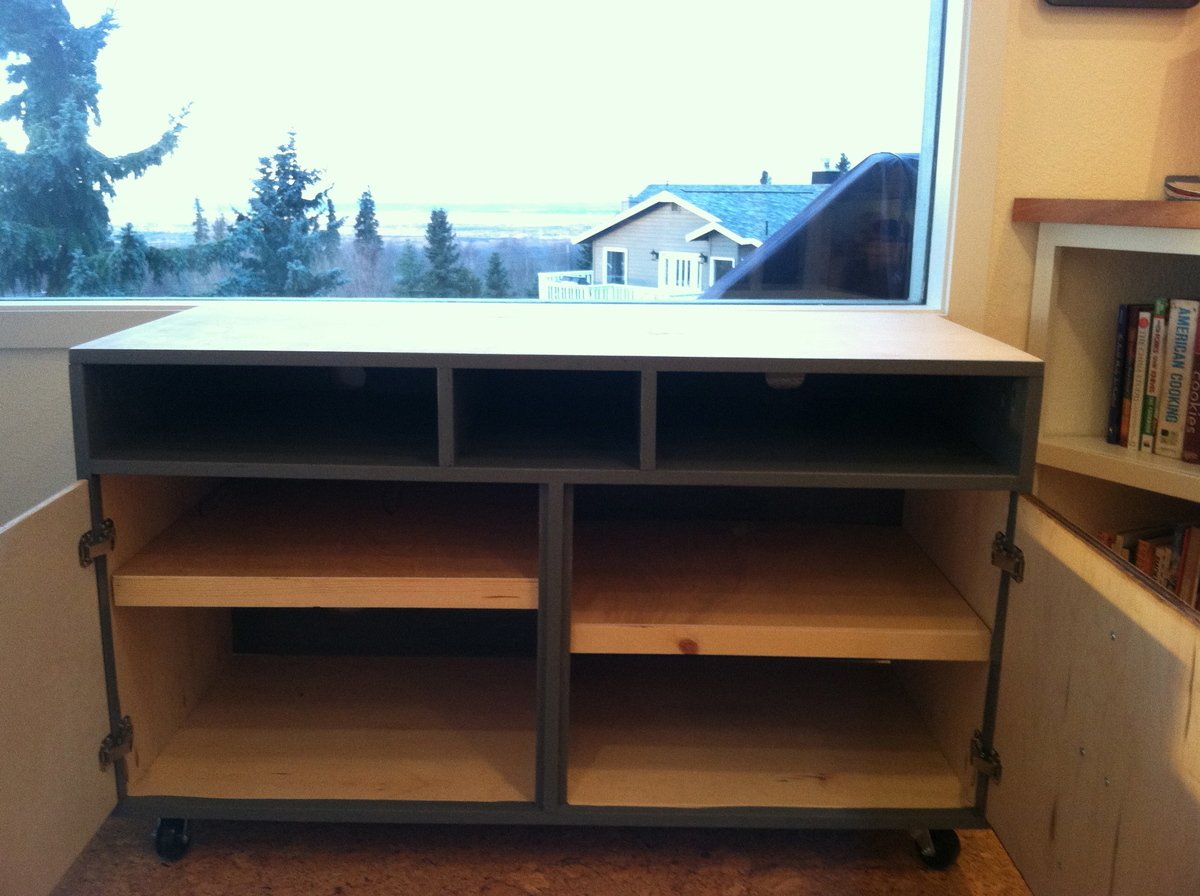
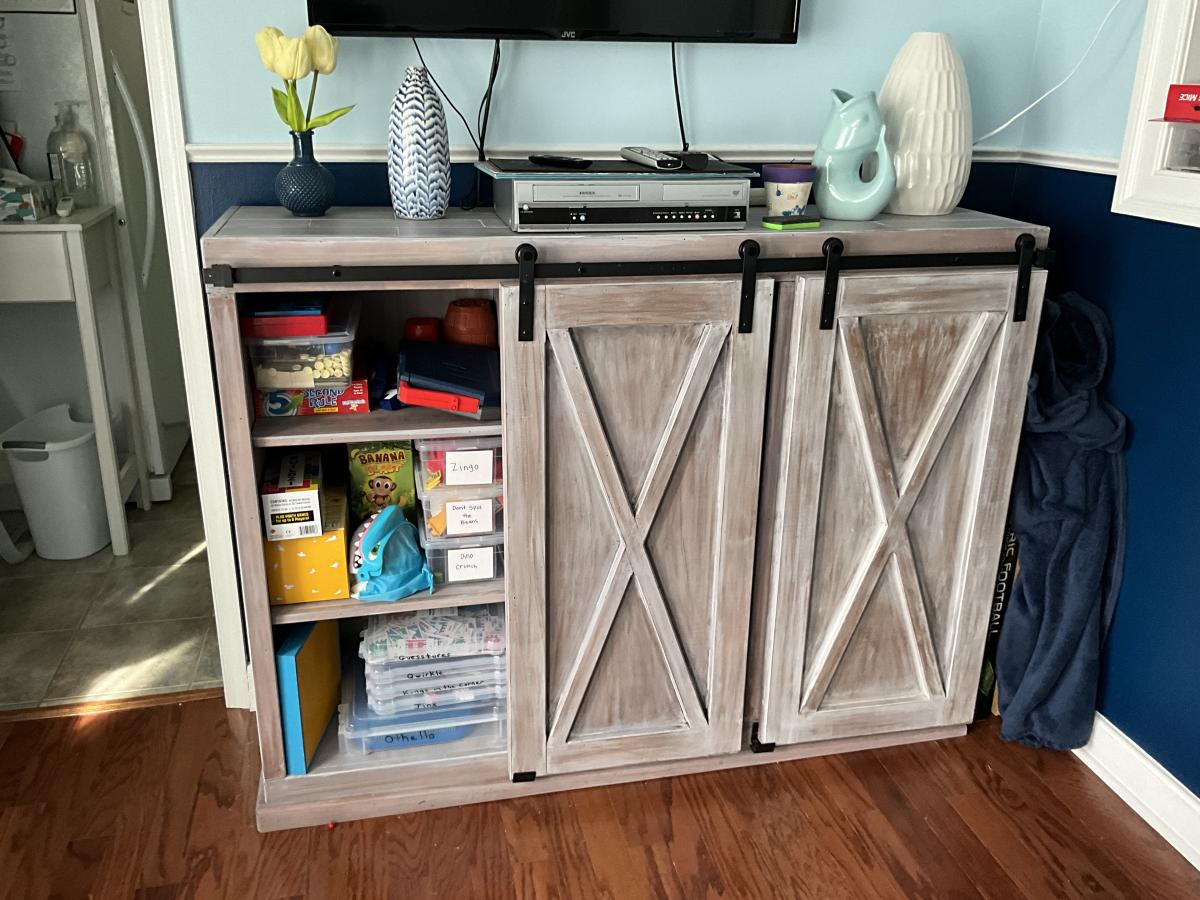
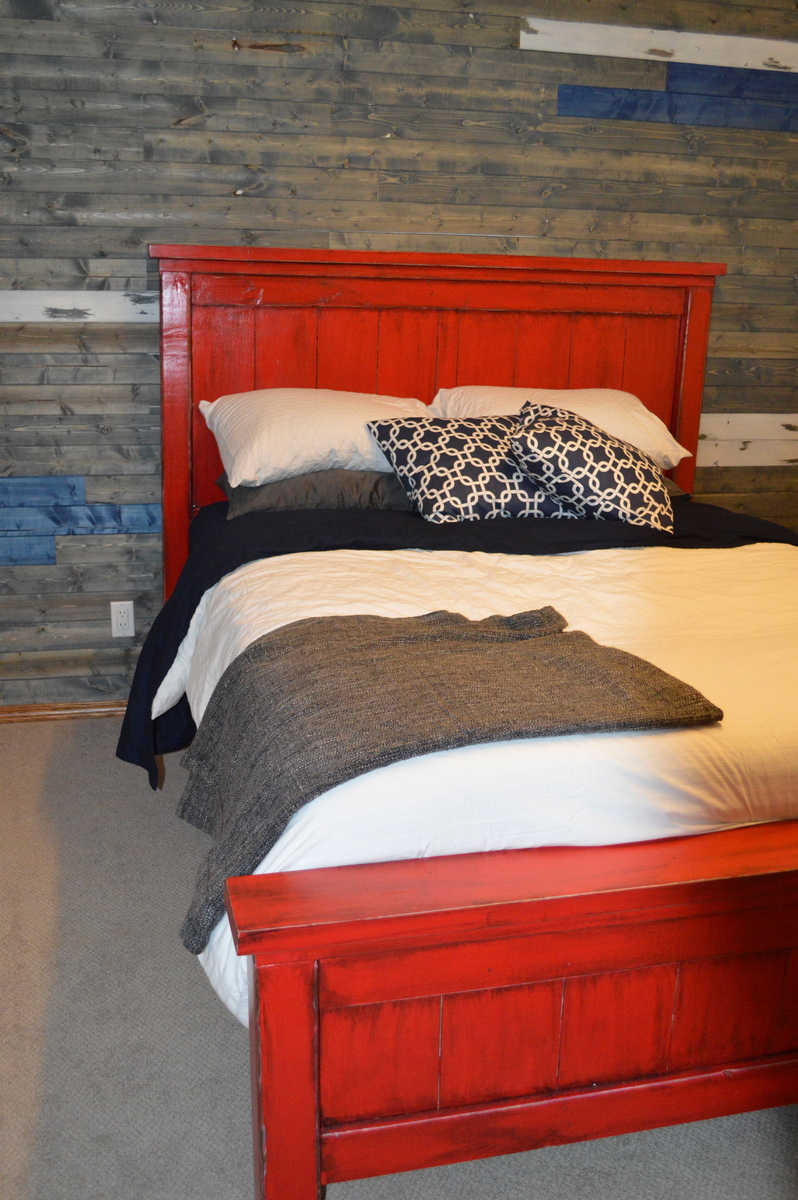
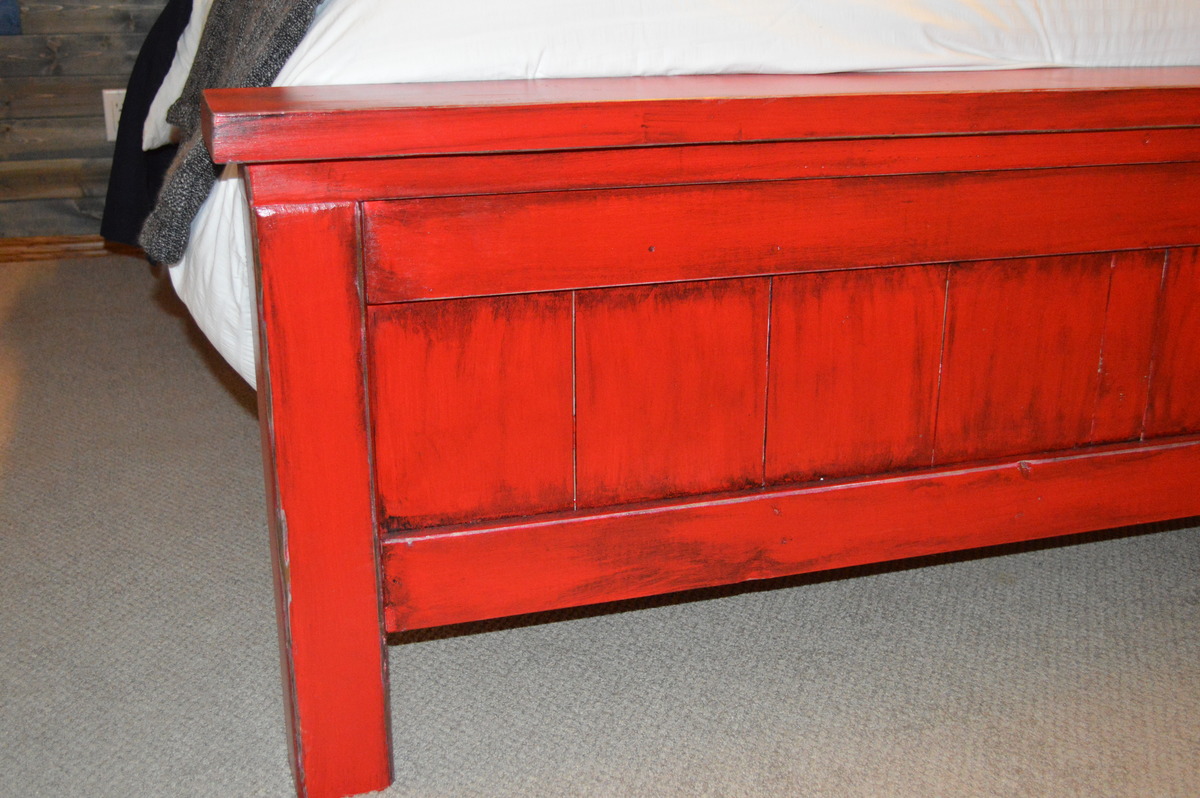
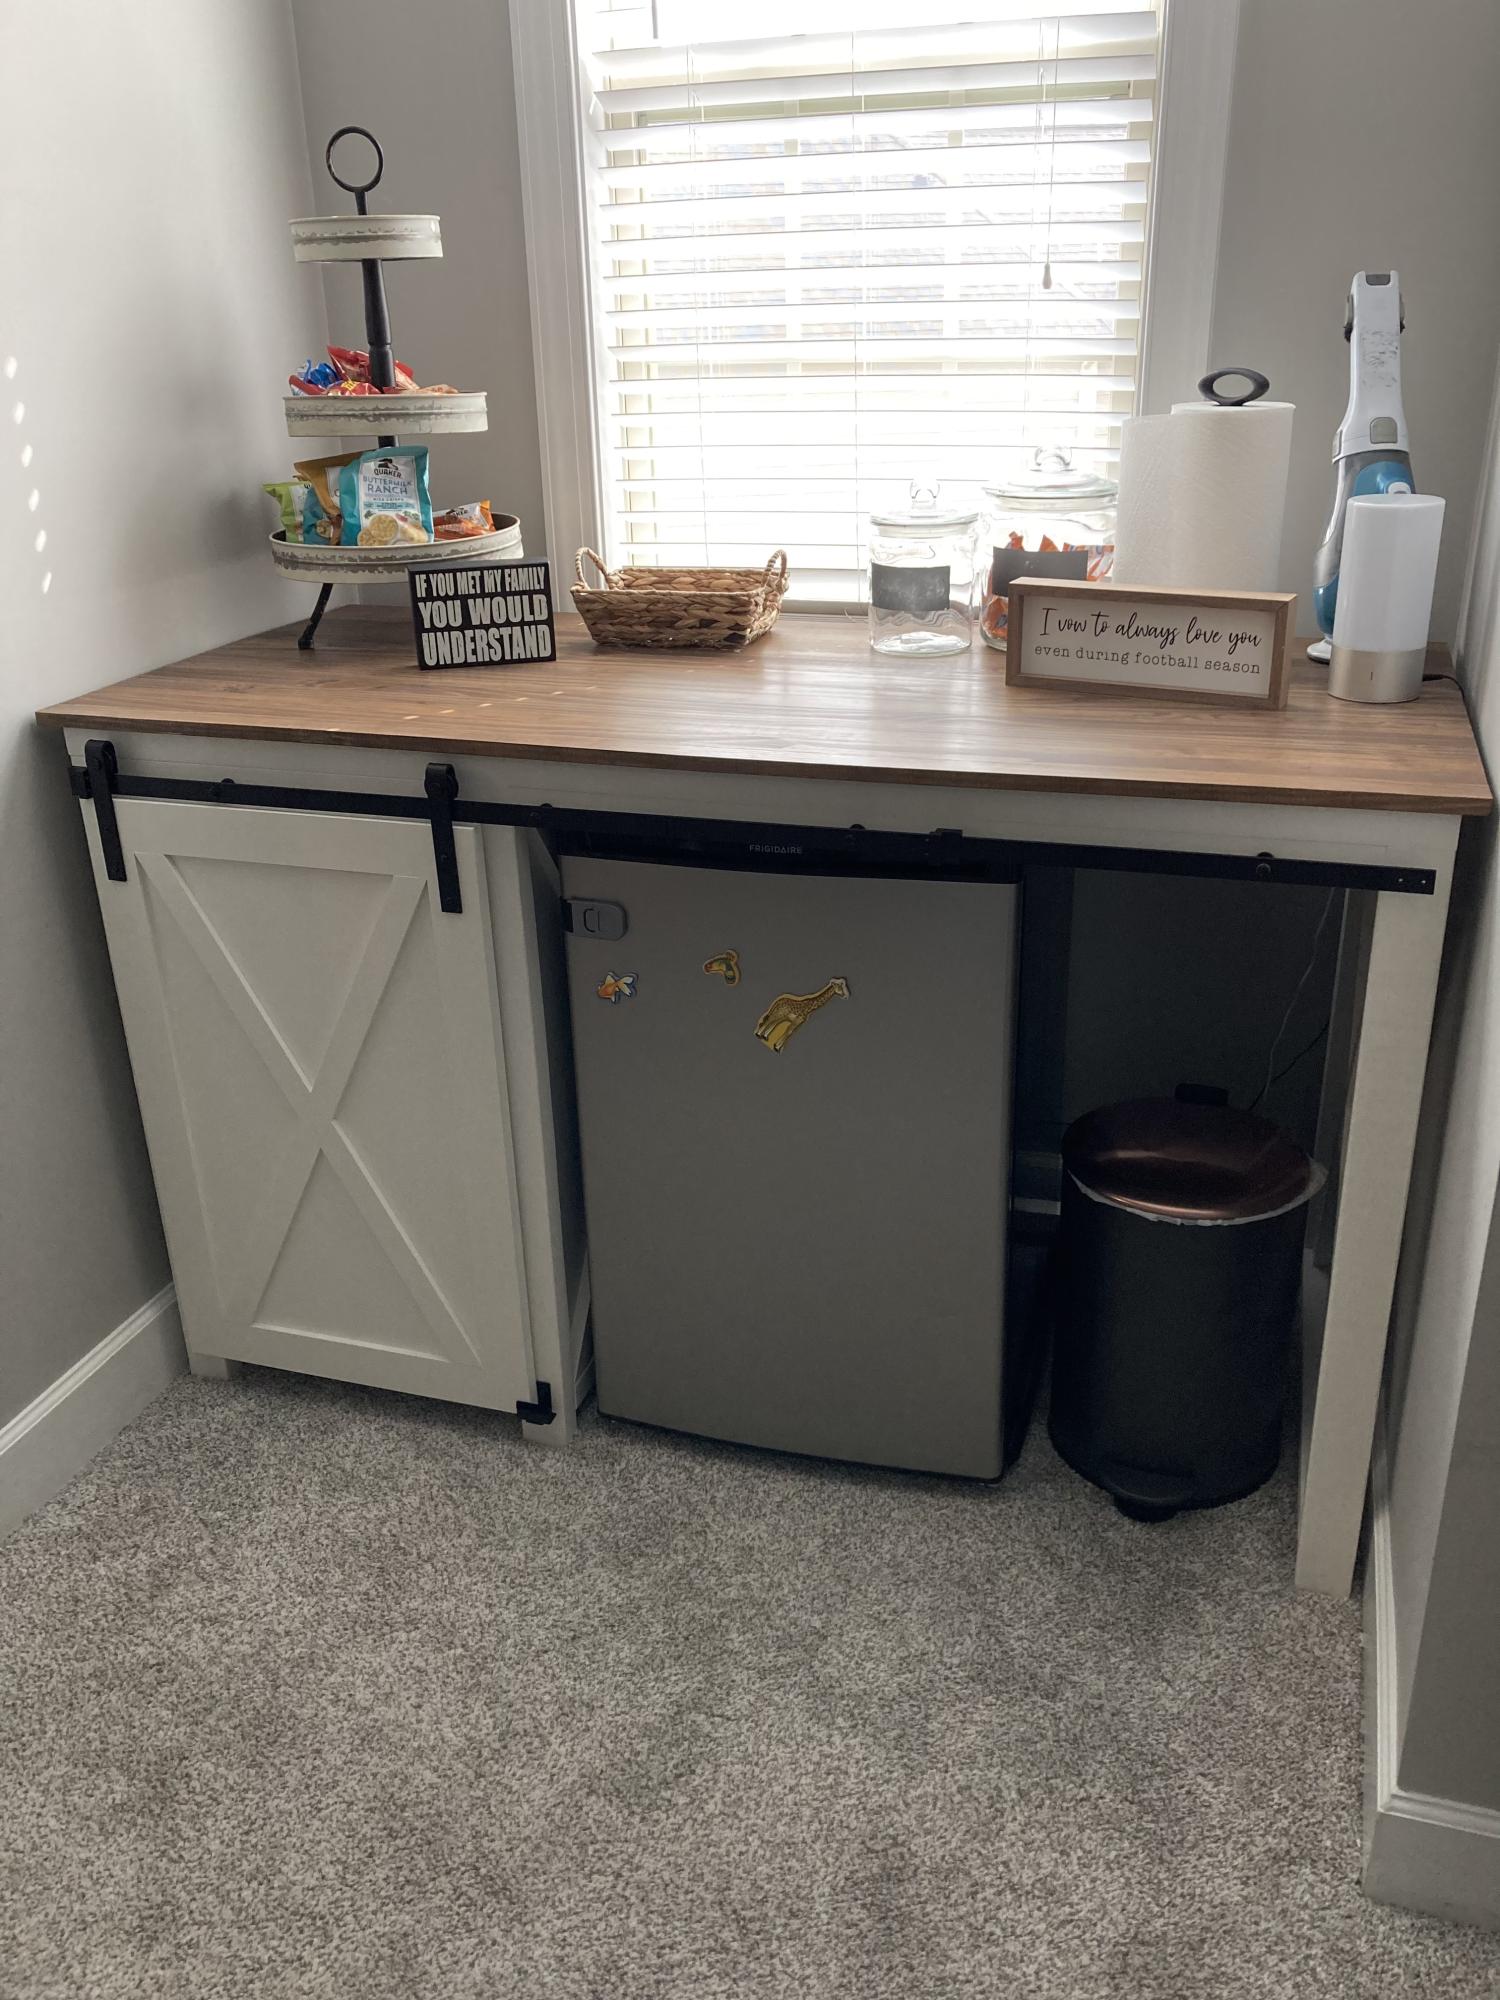
I modified the modern patchwork dresser plans to create this media console. Used three different stains for the door fronts and painted the interior a dark gray. Wanted two doors instead of drawers but wanted to maintain the original look. I created a faux drawer front with a flush hinge.
Built from Plan(s)
Estimated Cost
$100
Estimated Time Investment
Weekend Project (10-20 Hours)
Finish Used
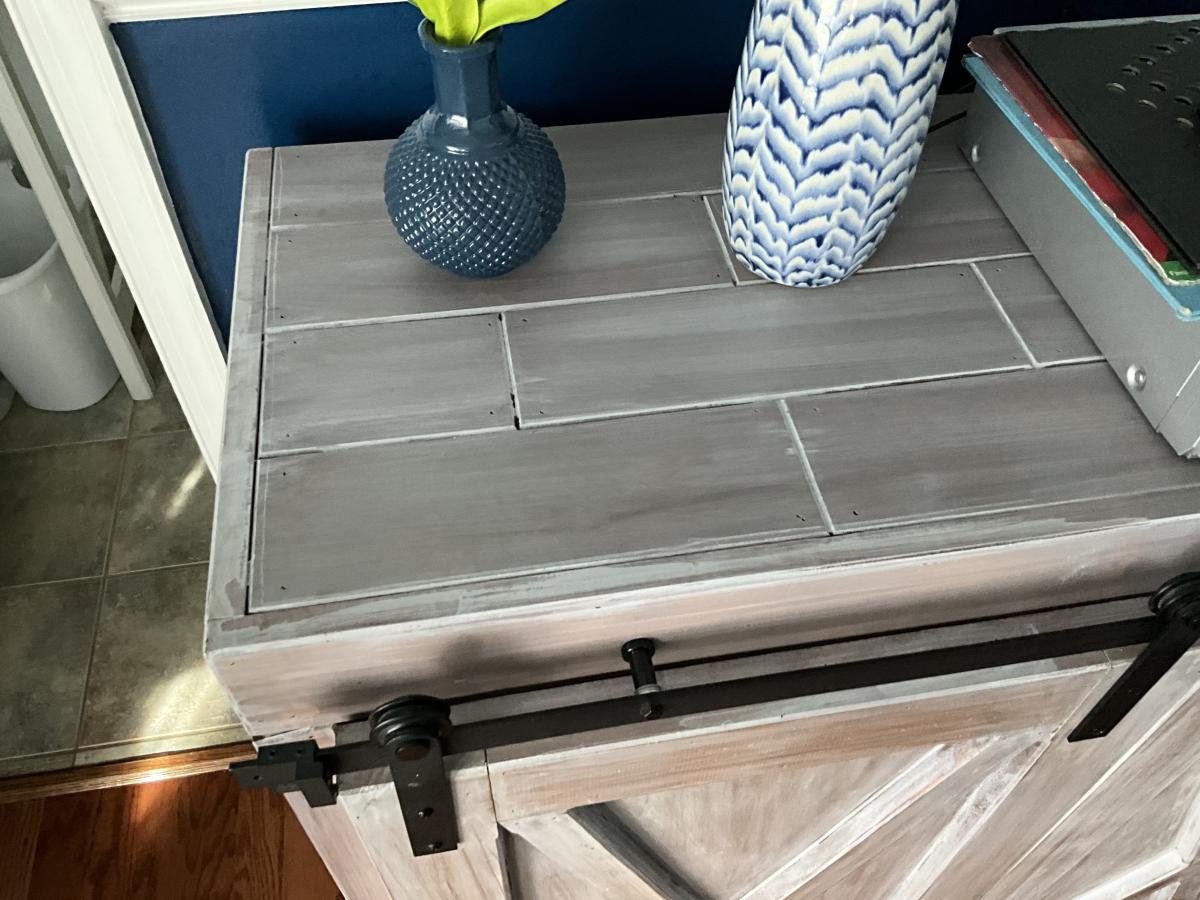
Three different Minwax stains with a poly topcoat
Recommended Skill Level
Beginner


Comments
Pam the Goatherd
Tue, 10/29/2013 - 11:37
I've been wanting to make
I've been wanting to make that into a media console ever since Ana first posted the plans. I'm glad to know that it can be done. Yours looks really good!