Community Brag Posts

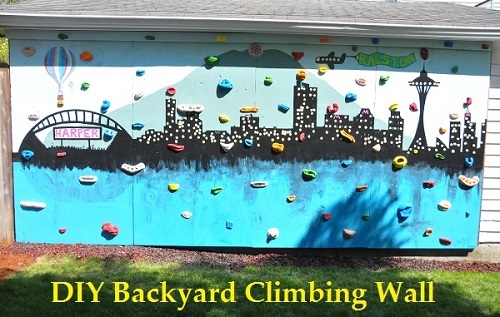
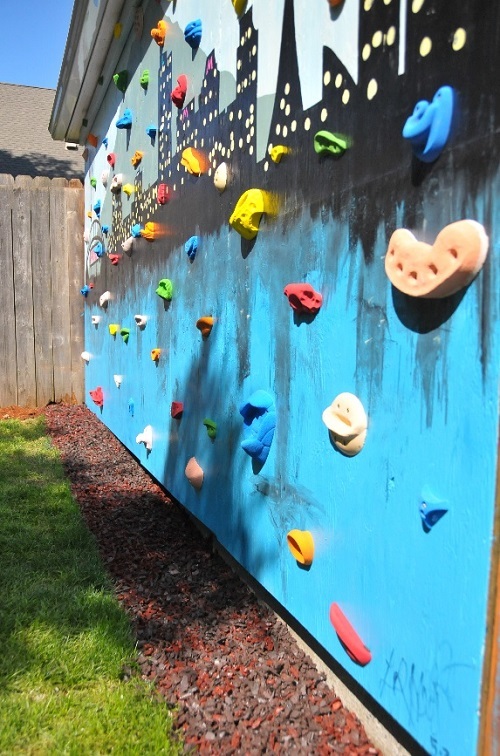
DIY Backyard Climbing Gym

My very first woodworking project was Ana-White's farm house bed! I've made so many projects now, I decided to start fancy'ing up my backyard!. We took all pressure treated wood to make the wall foundation, painted it, sealed it, then used Screw on Holds to make the climbing portion.

I have a full tutorial listed here http://www.impatientlycrafty.com/2013/05/07/diy-backyard-climbing-wall/

Thanks Ana for helping inspire me to create more wood stuff!!!

Estimated Cost
$500
Estimated Time Investment
Weekend Project (10-20 Hours)
Finish Used
I painted with latex paint, and acrylic paint, then sealed it with rustoleum clear coat (4-5 coats)

we simply sketched out the design from ideas online..
Recommended Skill Level
Beginner

Lowboard Entertainment Center

Submitted by Jihyun on Sun, 03/29/2015 - 12:38


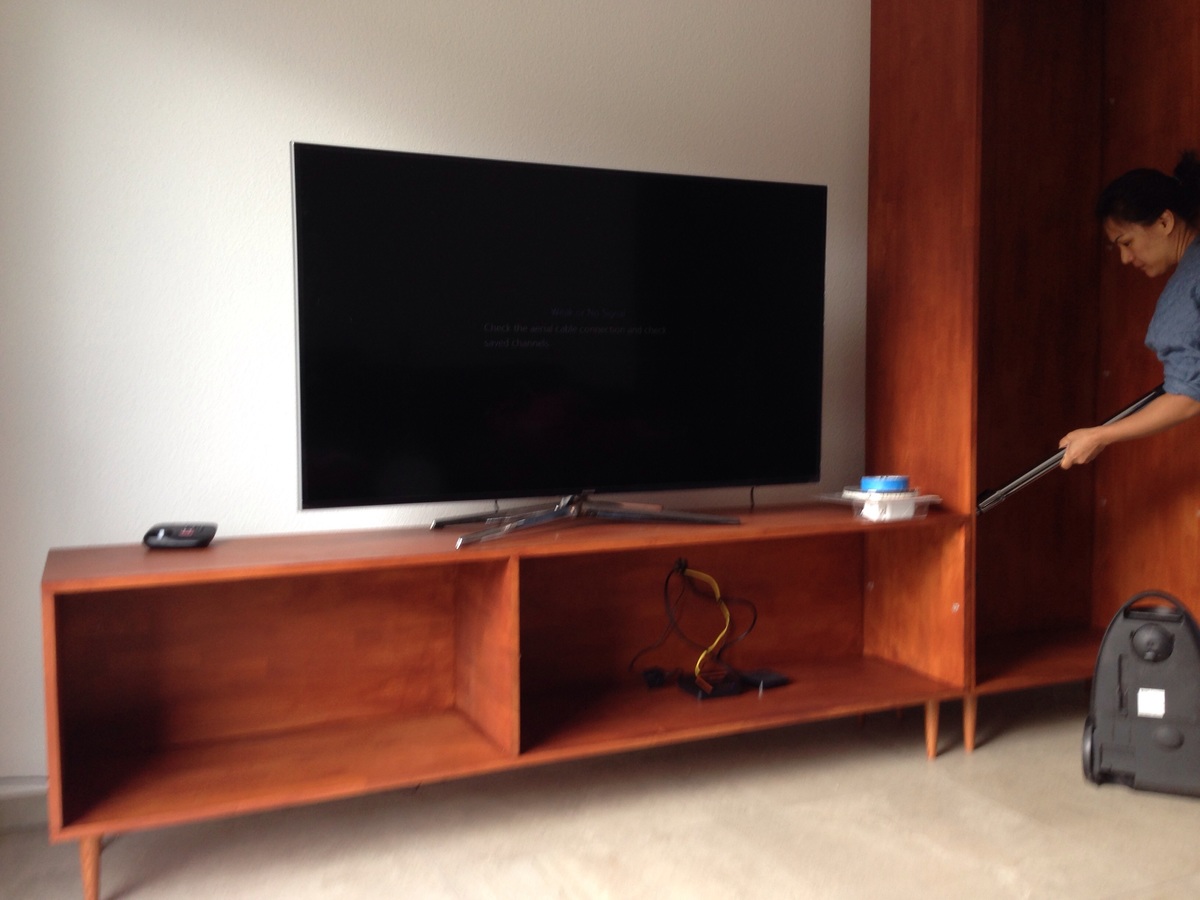
Just moved to Germany and needed an entertainment center. Looked at furniture stores and everything was either extremely expensive or IKEA particle board junk. 

My husband and I found out about Hornbach, basically Home Depot or Lowes of Germany.

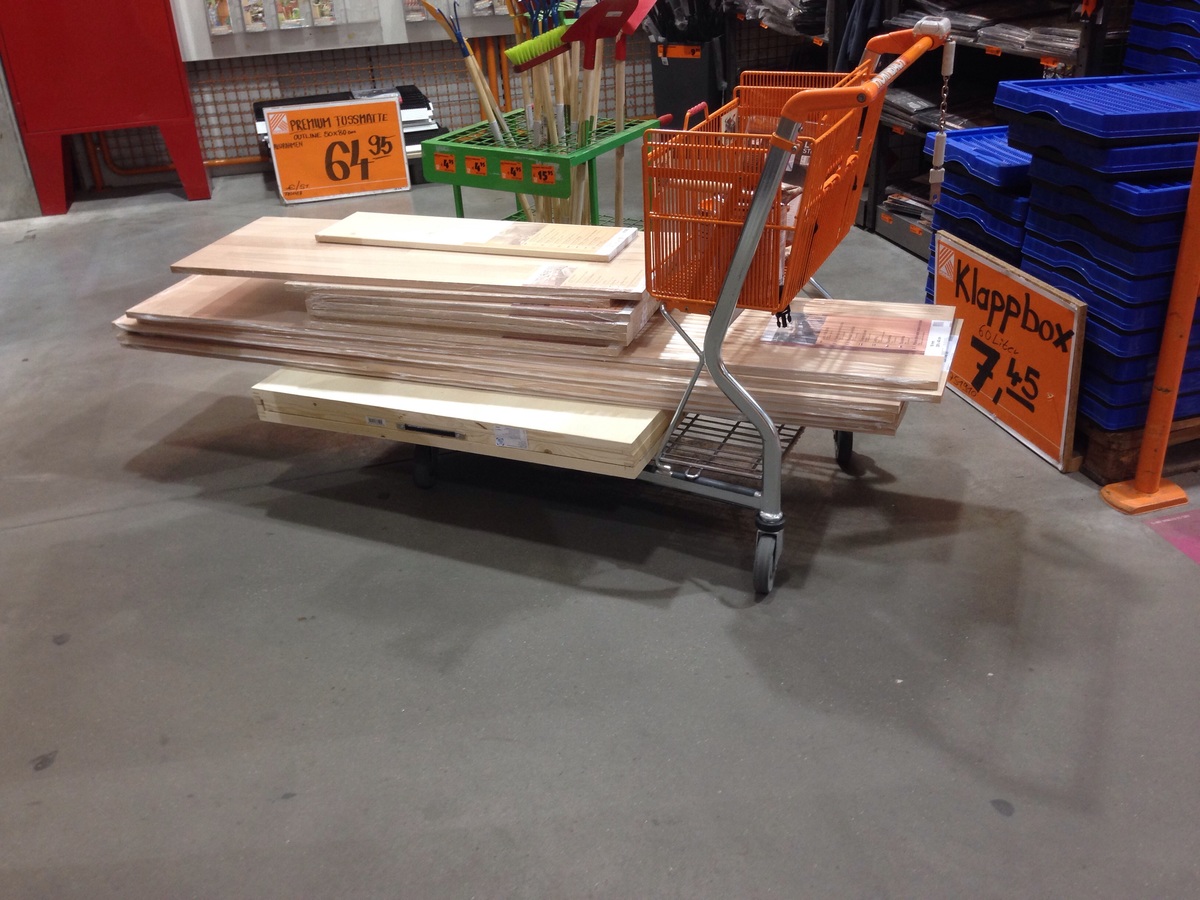
Found all the materials and some tools with the help of the English speaking staff. 

Used some pretty cool looking butcher block type wood they had that was reasonably priced. Didn't recognize any of the stain brands so picked a color and crossed our fingers.

Overall one of my easiest projects and a fun experience here in Europe. 

Estimated Cost
$200
Estimated Time Investment
Weekend Project (10-20 Hours)
Finish Used
No idea but cherry finish.
Recommended Skill Level
Beginner

Farmhouse Desk

Submitted by Anonymous (not verified) on Thu, 06/29/2017 - 09:46

My husband built me this beautiful farmhouse desk for my guest bedroom! Thank you for the plans! I am in love with it and now enjoy working on grad school homework!


Danielle 

Estimated Cost
$60
Estimated Time Investment
Weekend Project (10-20 Hours)
Recommended Skill Level
Beginner

Comments

Adirondack Chairs

Submitted by Anonymous (not verified) on Mon, 10/04/2021 - 12:57

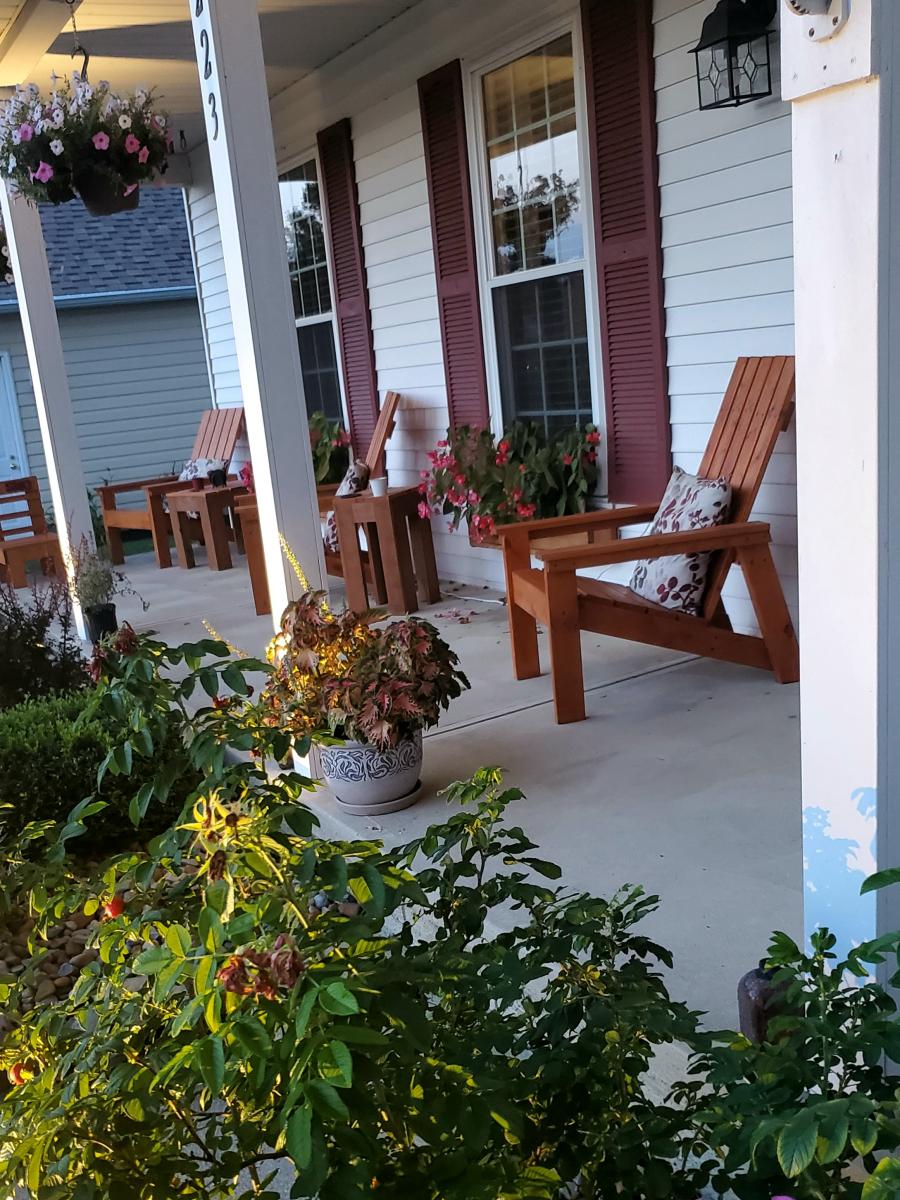
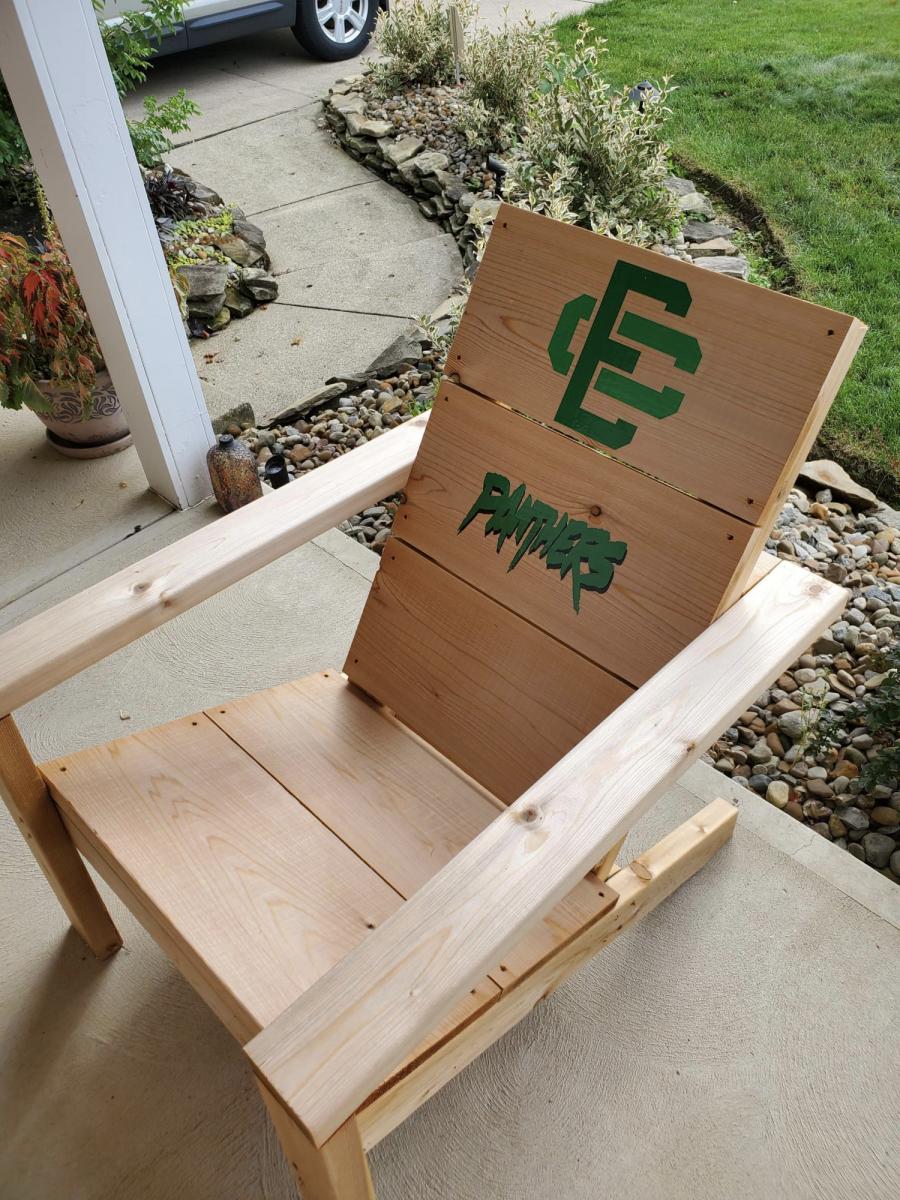
The first is a modern adirondack chair mad3 of cedar and I added some vinyl stickers for my son's high school logo.

The second are a set I made using just pine and stained with cedartobe stain. They stay under the cover of the porch and are in excellent condition after 4 years.

Comments

Seasonal And Holiday

Kelsey's Simple Cheap Easy Console Table

Submitted by community-cont… on Fri, 02/25/2011 - 10:43

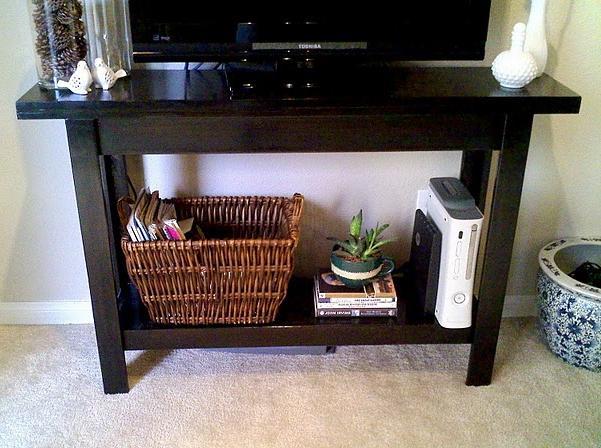
I just wanted to send in some photos of the simple, cheap, and easy console table that my father and I made a couple weeks ago. It only took us 3 1/2 hours to build, and your plans made it incredibly easy for beginning carpenters like us! We modified the plans slightly by adding a fully functionable shelf to the bottom, and used the Minwax stain in Ebony for a sleek Pottery Barn meets Cost Plus look. The total cost for this project was less than $50, and we still have leftover wood for future projects! Your tutorials are great, they make carpentry not-so-scary for beginners like us!! Thank you, thank you, thank you!! For more pictures, feel free to drop by my blog http://www.jamesandkelsey.com/ Thanks again!

Estimated Cost
$50
Estimated Time Investment
Afternoon Project (3-6 Hours)
Recommended Skill Level
Beginner

Sandbox with built-in hinged benches

Submitted by jlhamilton on Thu, 05/09/2013 - 11:55

Gave the plans to my father-in-law who built it for our daughter. Turned out great with no real issues with the plans! I love having the lid/seats built into the design.

Estimated Time Investment
Day Project (6-9 Hours)
Finish Used
Left it sanded but unfinished. No stain or paint.
Recommended Skill Level
Beginner

Comments

transitional bath room vanity

Submitted by Texalyn on Tue, 03/31/2015 - 07:14

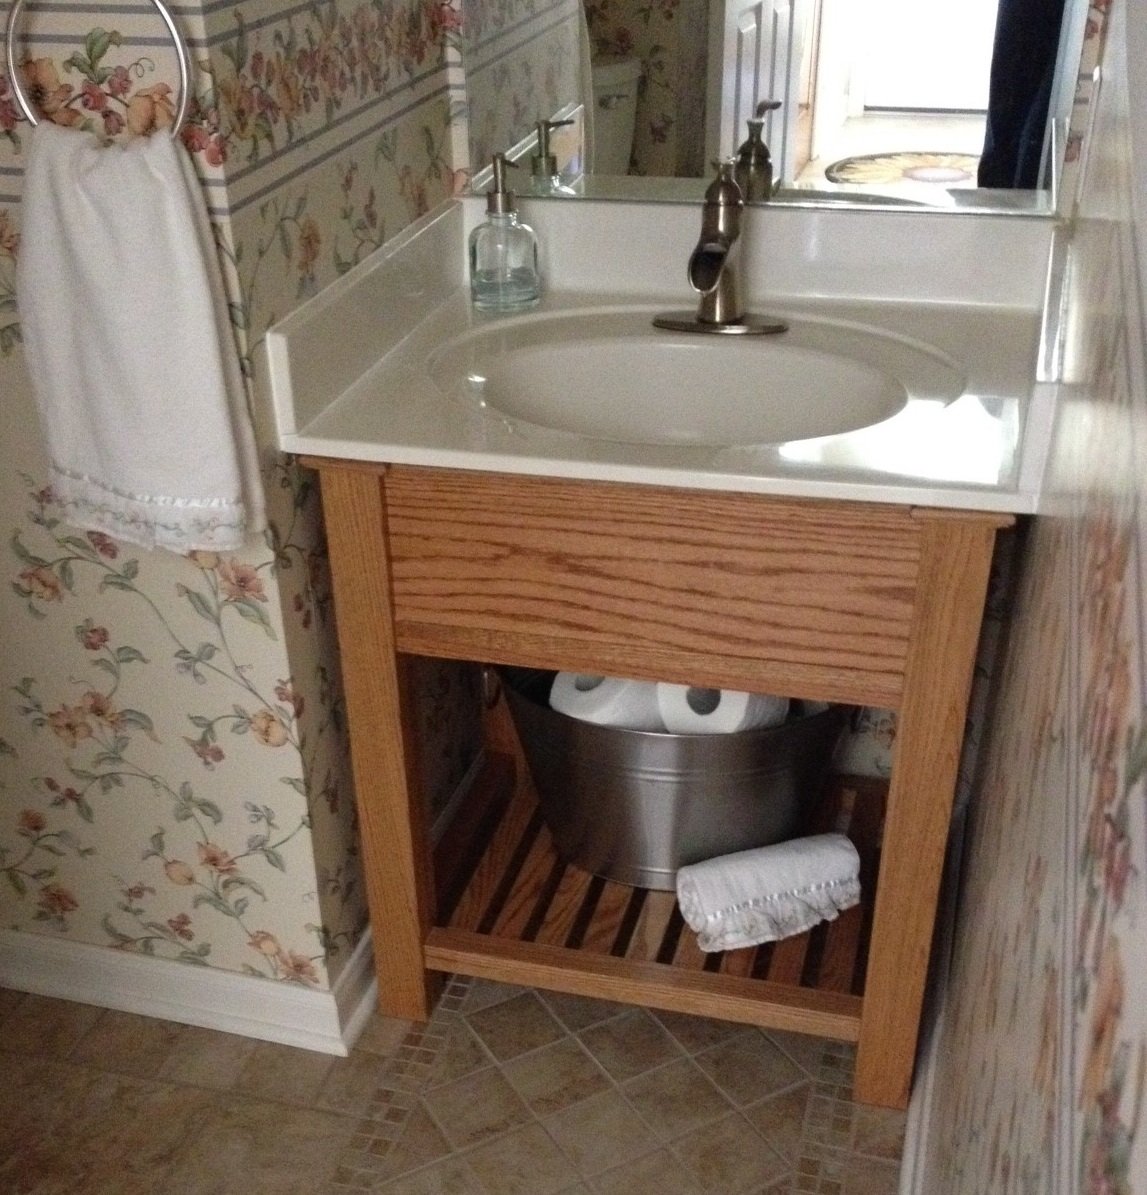
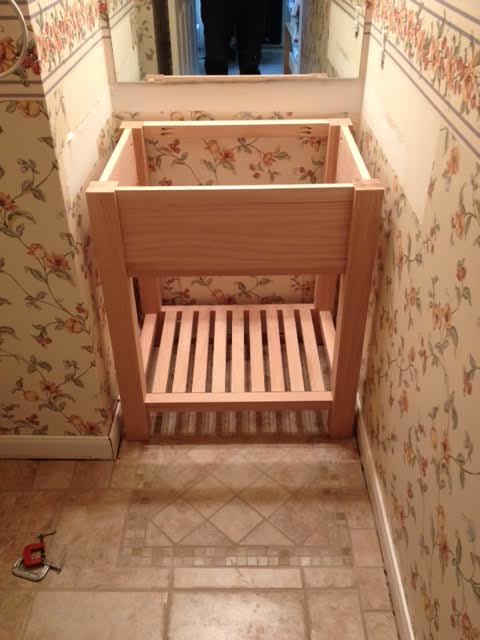
I changed the height of the Connor Side Table to that of a bathroom vanity and added an apron to hide the underside of the sink.  I carefully built the vanity to be level, then discovered that the underside of the sink surround is wavy (apparently they are made by being poured into an upside down mold, hence the wavy surface).  I added trim at the top of the vanity to hide the shims stabilizing the sink top.  Thx to Rogue Engineer for the well-written plans, and thx to Ana White for your Kreg pocket hole jig video.  It made me feel confident I could pull this off!

Built from Plan(s)
Estimated Cost
$150
Estimated Time Investment
Weekend Project (10-20 Hours)
Finish Used
MinWax Golden Oak stain, two coats of MinWax Clear Satin Polyurethane, with light sanding with fine sandpaper between coats
Recommended Skill Level
Beginner

Comments

Western jail bunk bed

Submitted by Anonymous (not verified) on Sun, 07/02/2017 - 13:55

Still waiting to add the stained jail sign. But a dad's twist to a mom's honey do project added the porch to the front to catch my youngest if he falls out of bed. 

Built from Plan(s)
Estimated Cost
$400
Estimated Time Investment
Week Long Project (20 Hours or More)
Finish Used
Cedar stain and high gloss finish
Recommended Skill Level
Intermediate

Kitchen set

Submitted by ShannonB on Wed, 03/09/2011 - 06:48

My husband I built this kitchen set for my daughter's 2nd birthday. She just loves it. For the sink I used the same plans as the stove and changed them a little. There is not enough room below but we used the Cute Play Pie Hutch plan too. The double door fridge we use as a pantry. I can't find the plans for the fridge but we used Ana's plans for that too.

Estimated Cost
Under 200.00
Estimated Time Investment
Week Long Project (20 Hours or More)
Finish Used
White semi gloss paint and Pink semi gloss paint. We primed it before we painted it.
Recommended Skill Level
Starter Project

My Farmhouse Queen Bed

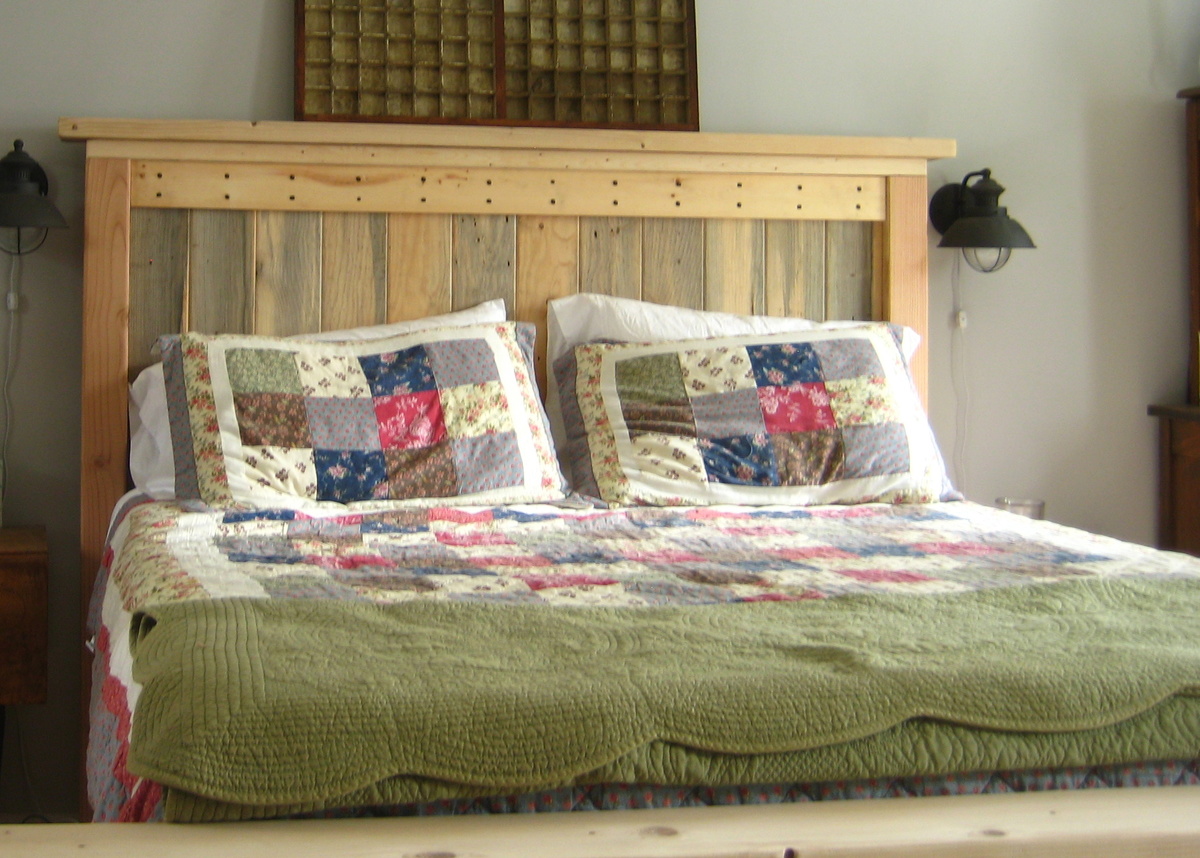
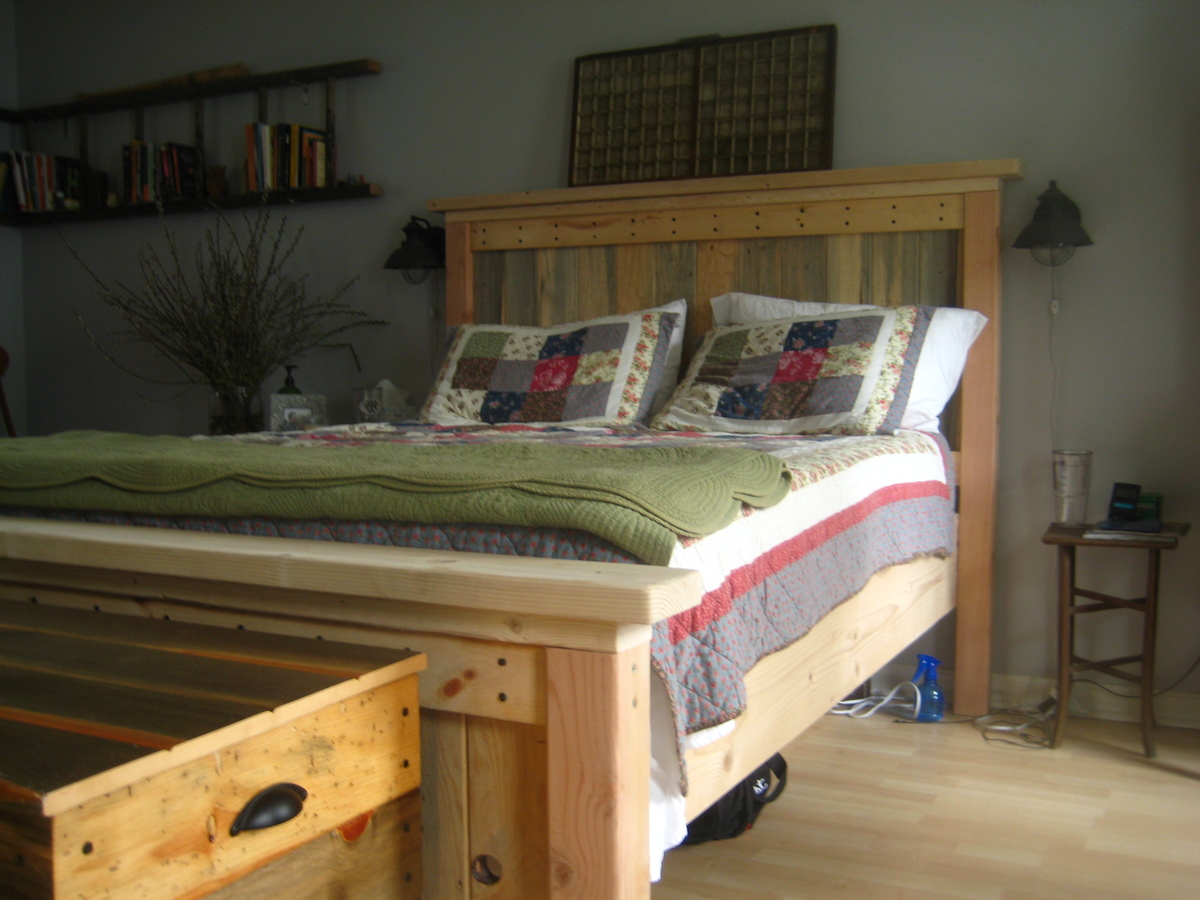
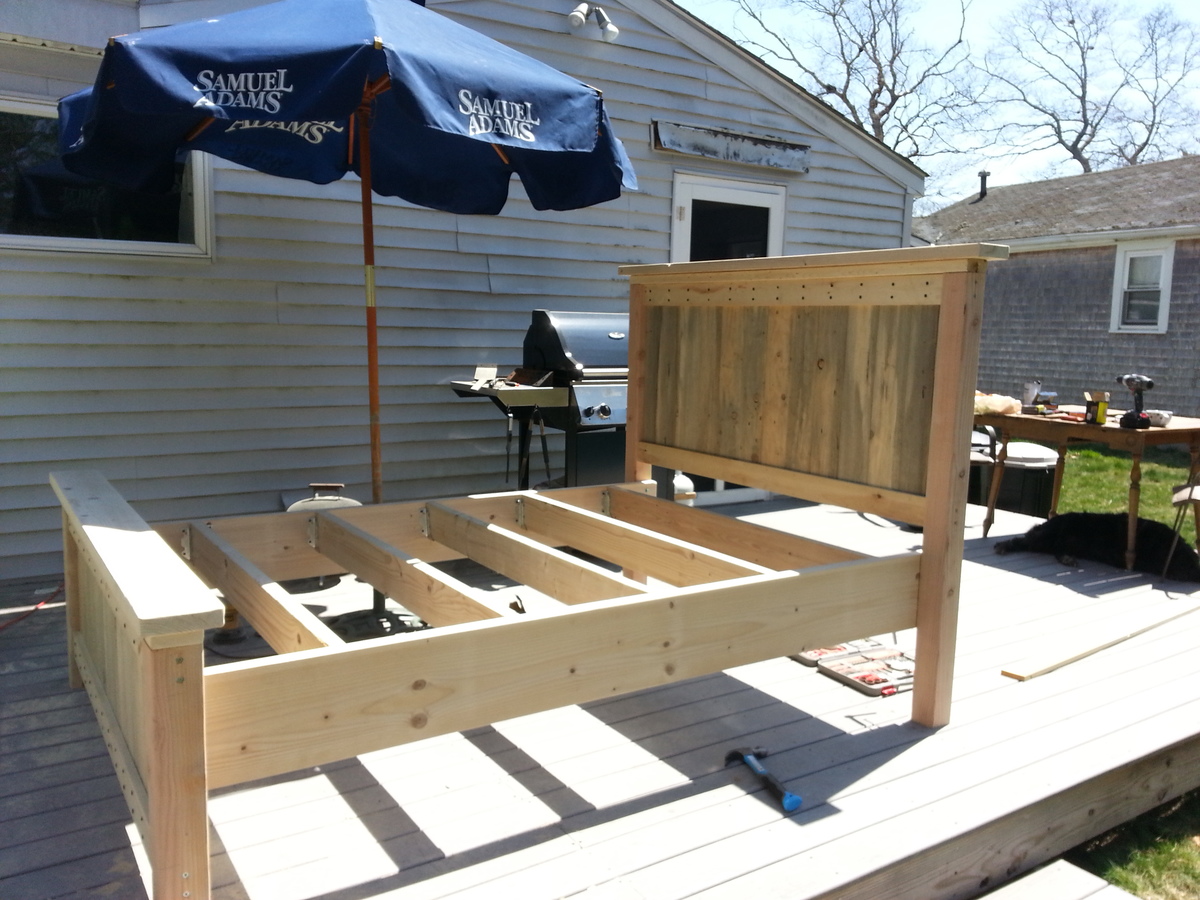
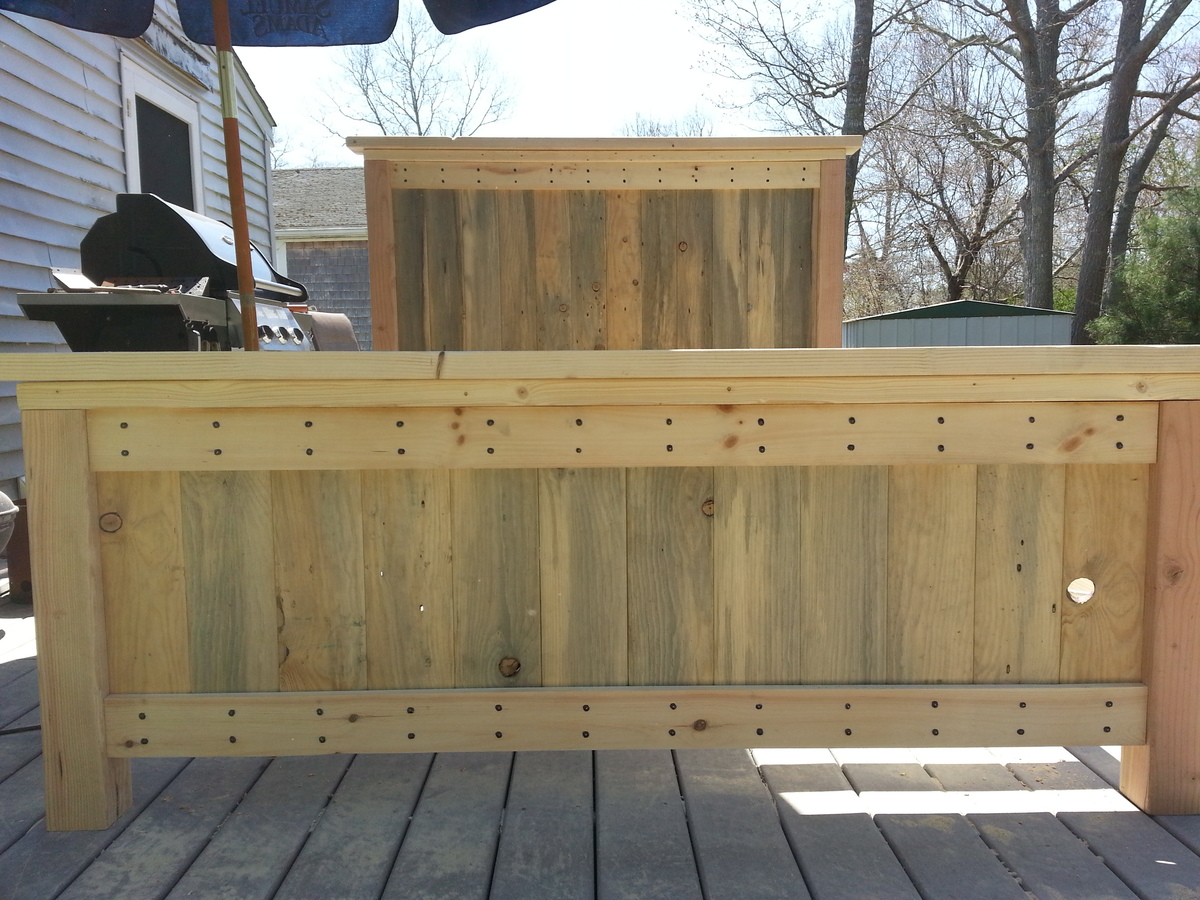
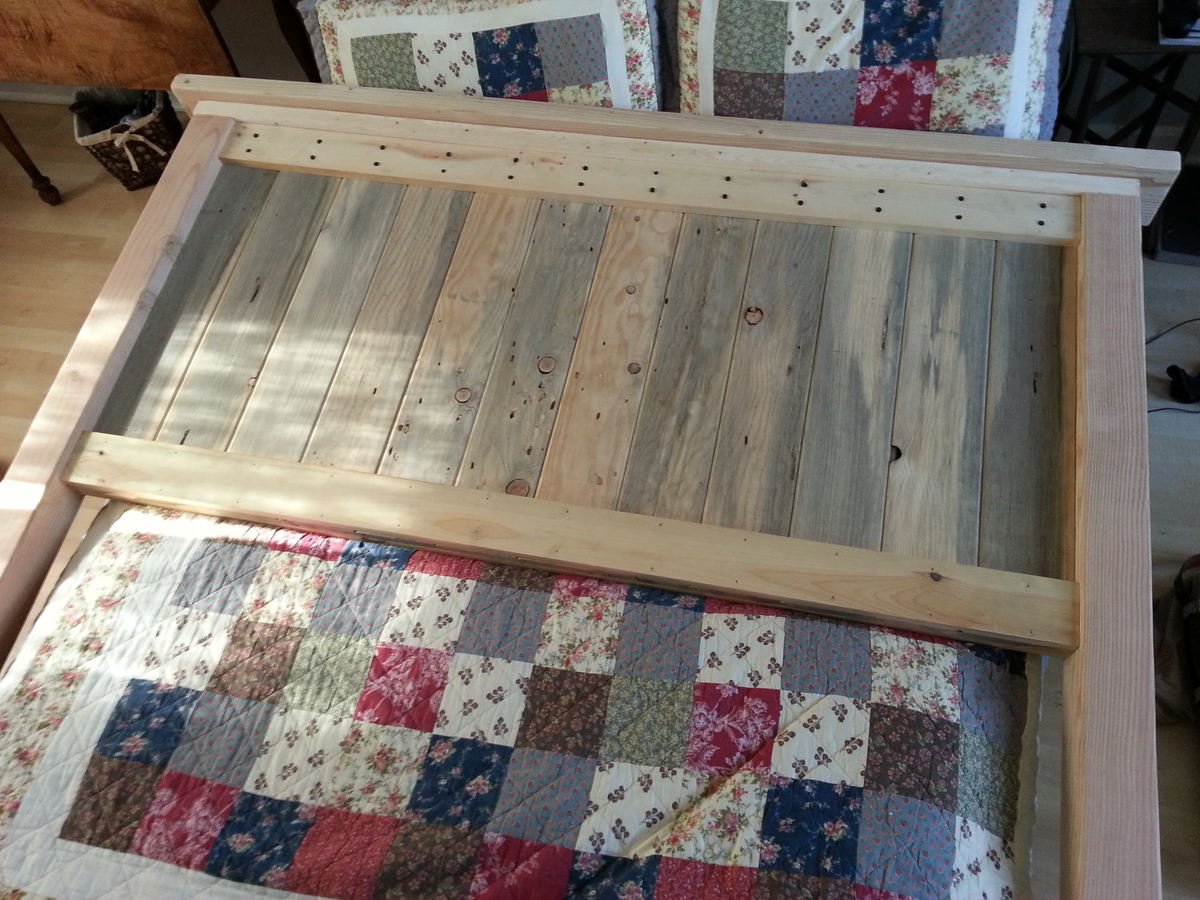
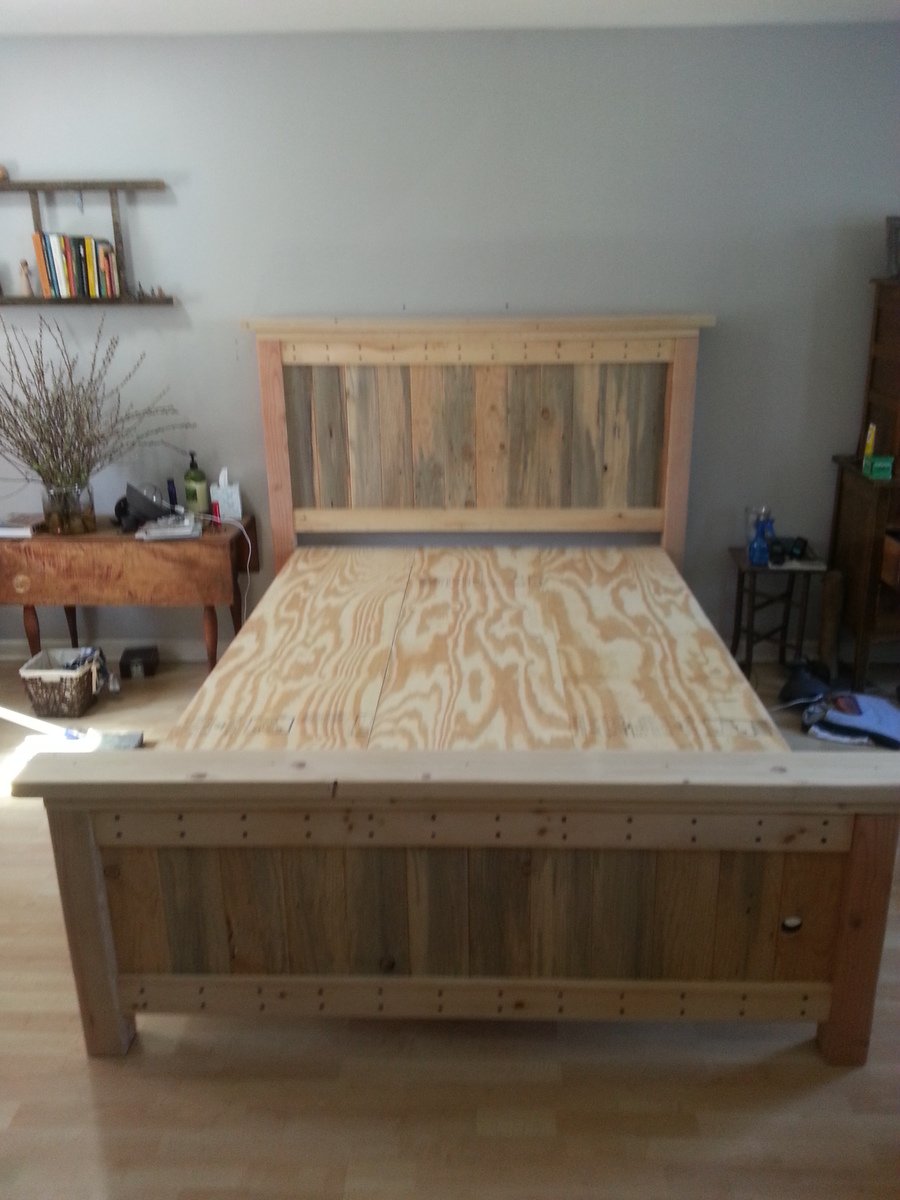
I admired this project the first time I saw it, I thought about building it for a few months and got the opportunity when my Fiance left town. I completed this project in a weekend with a had from my friend (more just to hold the pieces where I needed them). I had previously built her a hope chest out of a Rare and Beautiful tongue and groove pine, I used the same wood for the head and foot board so they would match. Overall these plans were great, I changed a few things to make it a little more what I wanted. I made the foot board 24" in height with a total of 20" of tongue and groove. I also used some wrought head nails to give a little more character to the piece as well, you can find them here, http://www.rockler.com/product.cfm?page=1152 . I wont do too much to the piece, more than likely just add a couple coats of shellac to match the previously mentioned hope chest. I hope you all enjoy this project as much as I did.

Built from Plan(s)
Estimated Cost
$350
Estimated Time Investment
Weekend Project (10-20 Hours)
Recommended Skill Level
Beginner

Comments

liam91

Wed, 07/03/2013 - 08:44

Did you need to pre-drill the nail holes? I am worried the wood will split with these types of nails. Thanks

capecodfarm

Thu, 07/11/2013 - 12:36

Yes you do, I made a jig so I knew all the nails would line up with my wood and be in the same place. The bit was half the size of the nail, they are really just for a decorative look. Good luck with everything.

liam91

Thu, 07/11/2013 - 12:51

I figured out my biggest mistake was not lining up the nails with the grain of the wood. Once i had the nails lined up in the right direction they went in mostly without a hitch. One of the panel boards did split but was hidden by the 1x4 face board. Thanks again for the idea and i'll post pics when completed.

Growth chart

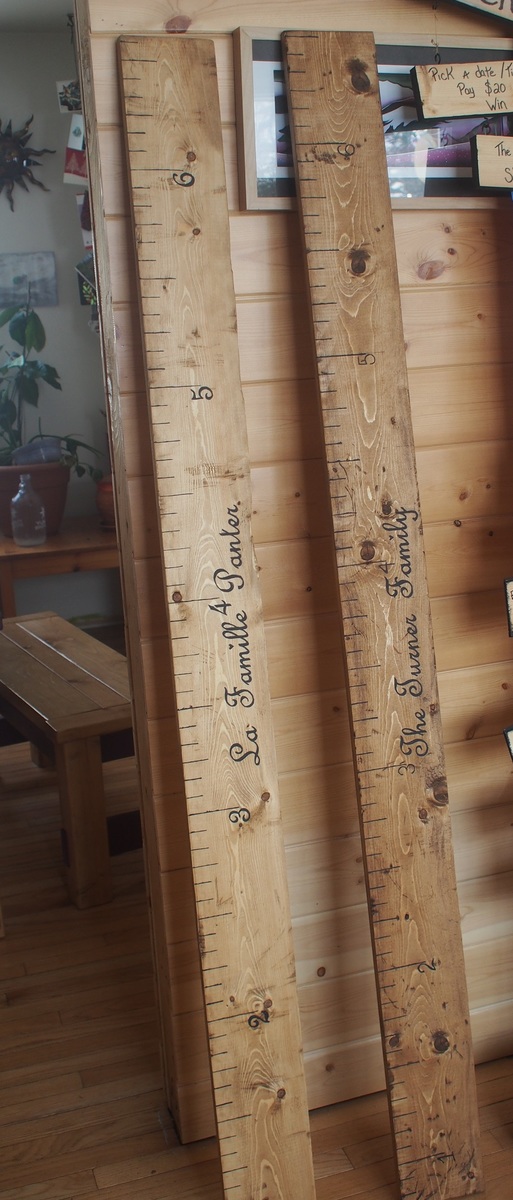
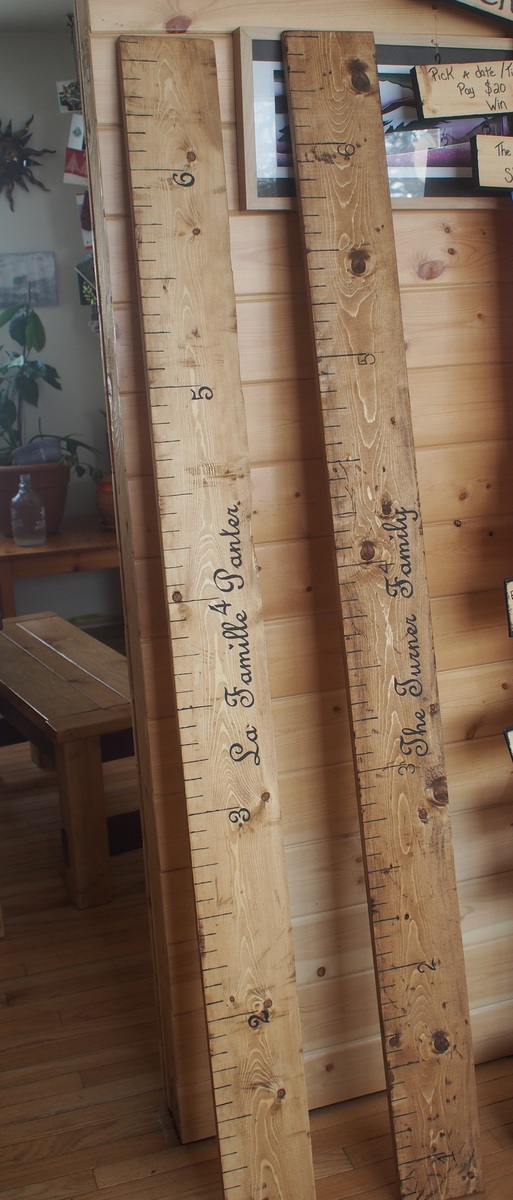
My friends are all having kids these days, and I had a lot of scrap 1x6 kicking around. 

After applying a stain on the boards, I printed the letters and numbers as large as I wanted them. I used ''French Script MT'', size of font 185 and I cut them out to make a template.

I happened to have some chalk board paint, which gives it a nice mat color. 

I recommend to leave enough space for baseboards, in my case Ive started numbering the charts at 8'' high. A picture hook is set in the back to hang it on the wall, you could also simply screw it on the wall. 

Its quick to make and doesnt require a lot of cutting!

Estimated Cost
the price of a 1x6 board, about 6 feet long.
Estimated Time Investment
An Hour or Two (0-2 Hours)
Finish Used
The darker color is Minwax ''Colonial American''.
the lighter color is Minwax ''Natural''. I like it a bit better for these boards as I think it will be easier to see the lines that the family will draw to mark their kid's height as they grow.

I used a black chalkboard paint to paint the numbers and letters, I free-handed these after drawing them with a pencil, using a template for reference.
Recommended Skill Level
Starter Project

Comments

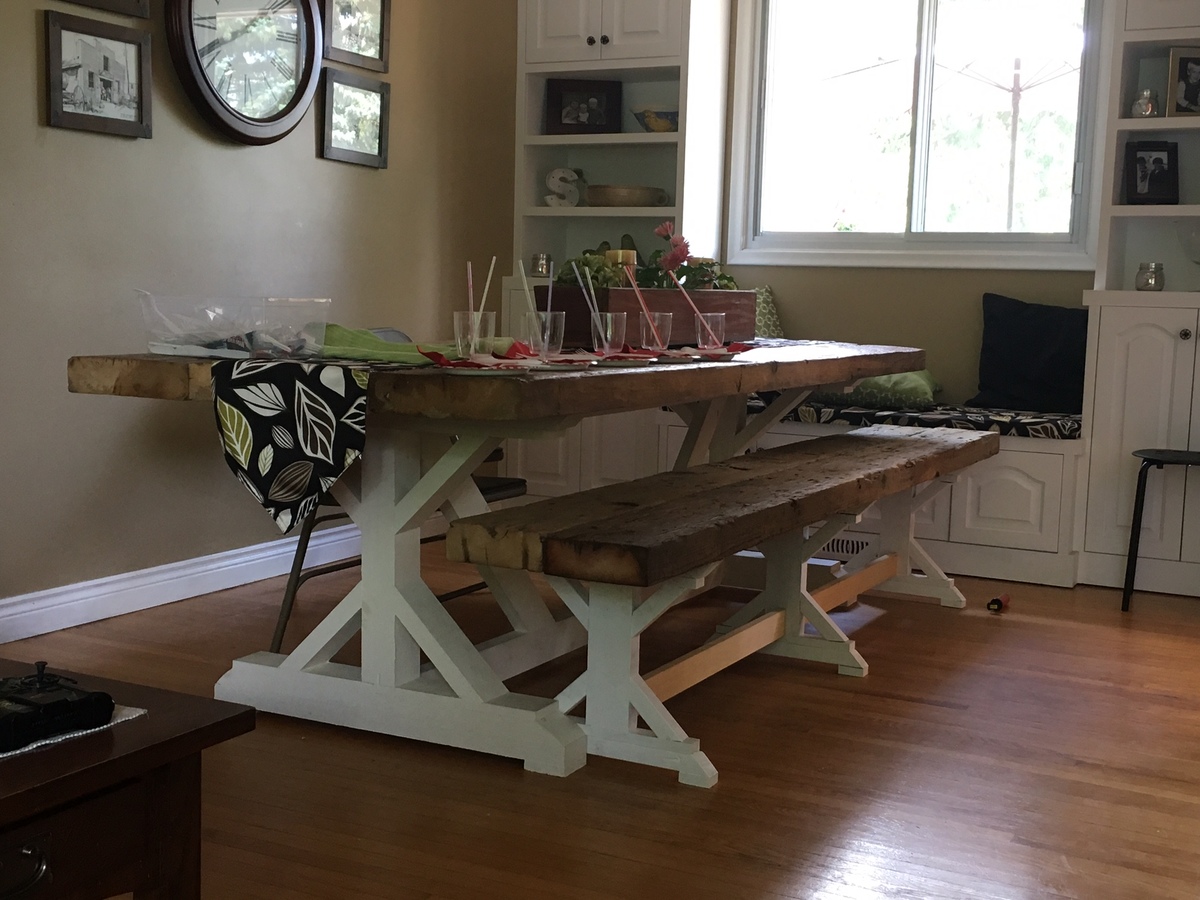
Fancy X table and Bench

Submitted by Anonymous (not verified) on Tue, 07/04/2017 - 12:28

This table and bench was a first build for me and my husband. We had so much fun working on it together that we can't wait to figure out what our next project will be. Would probably not take as much time the next time we did something. Fairly inexpensive but we splurged on the thick reclaimed wood for the tops to add the character we wanted.

Estimated Time Investment
Weekend Project (10-20 Hours)
Recommended Skill Level
Beginner

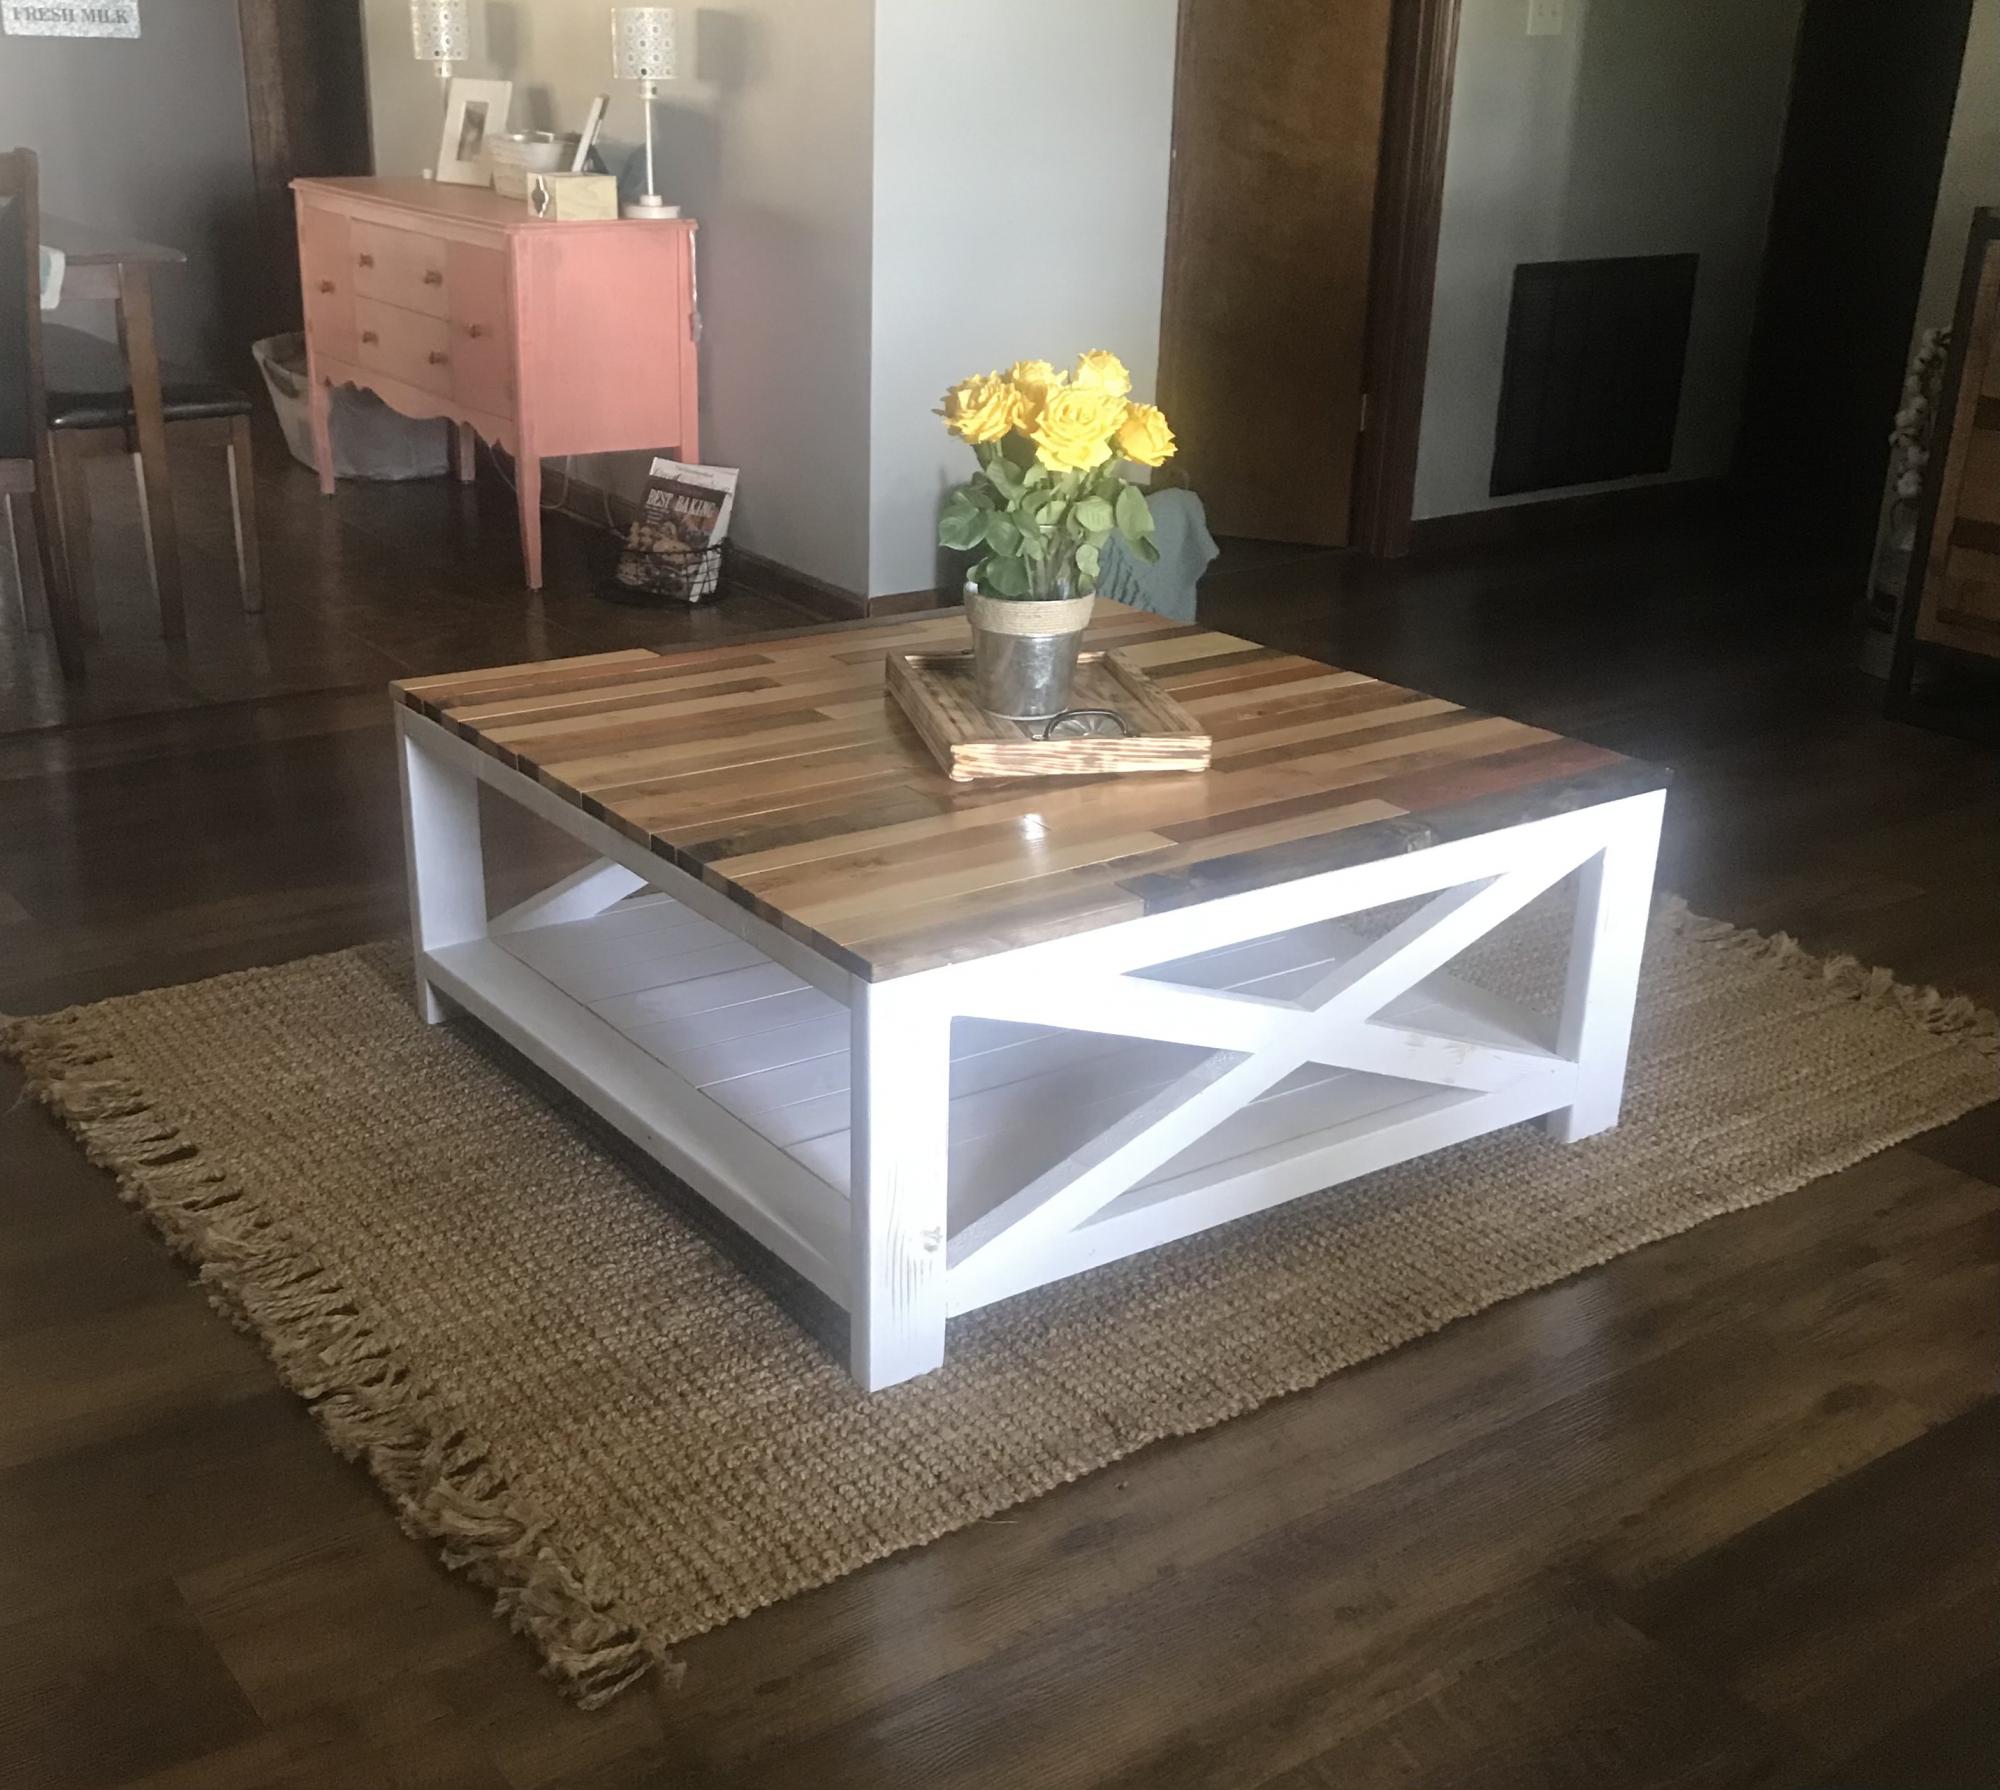
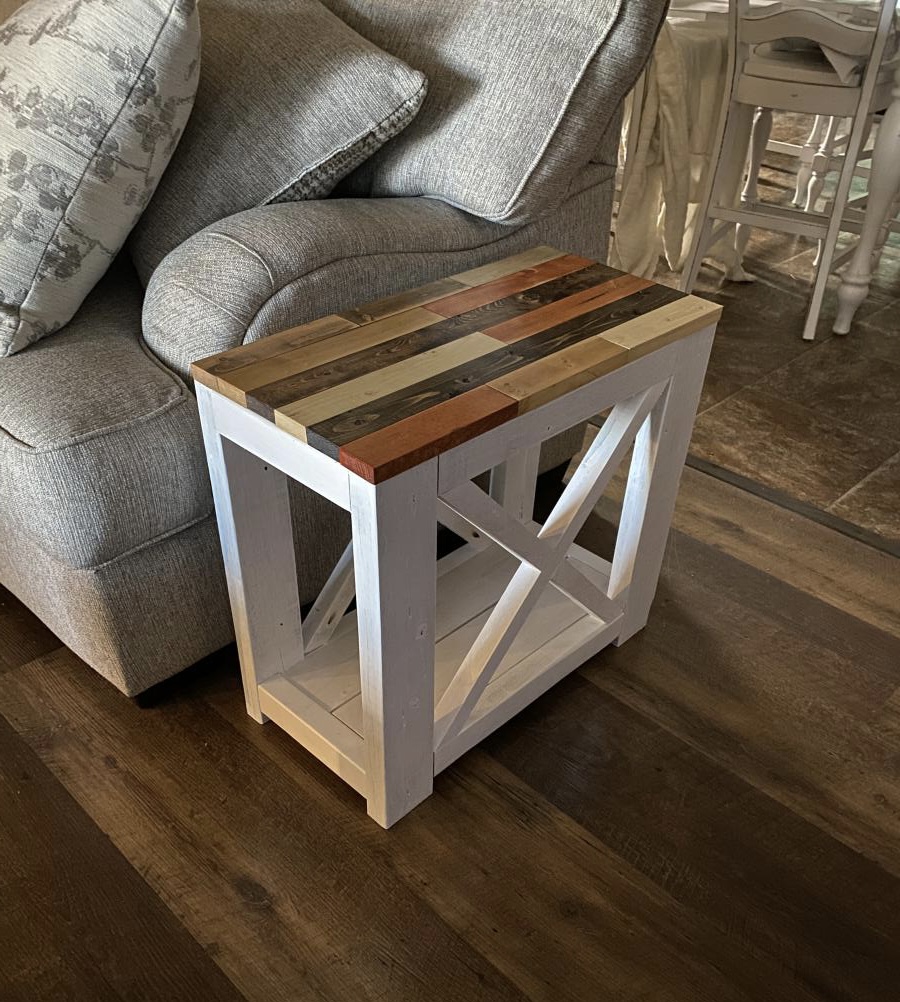
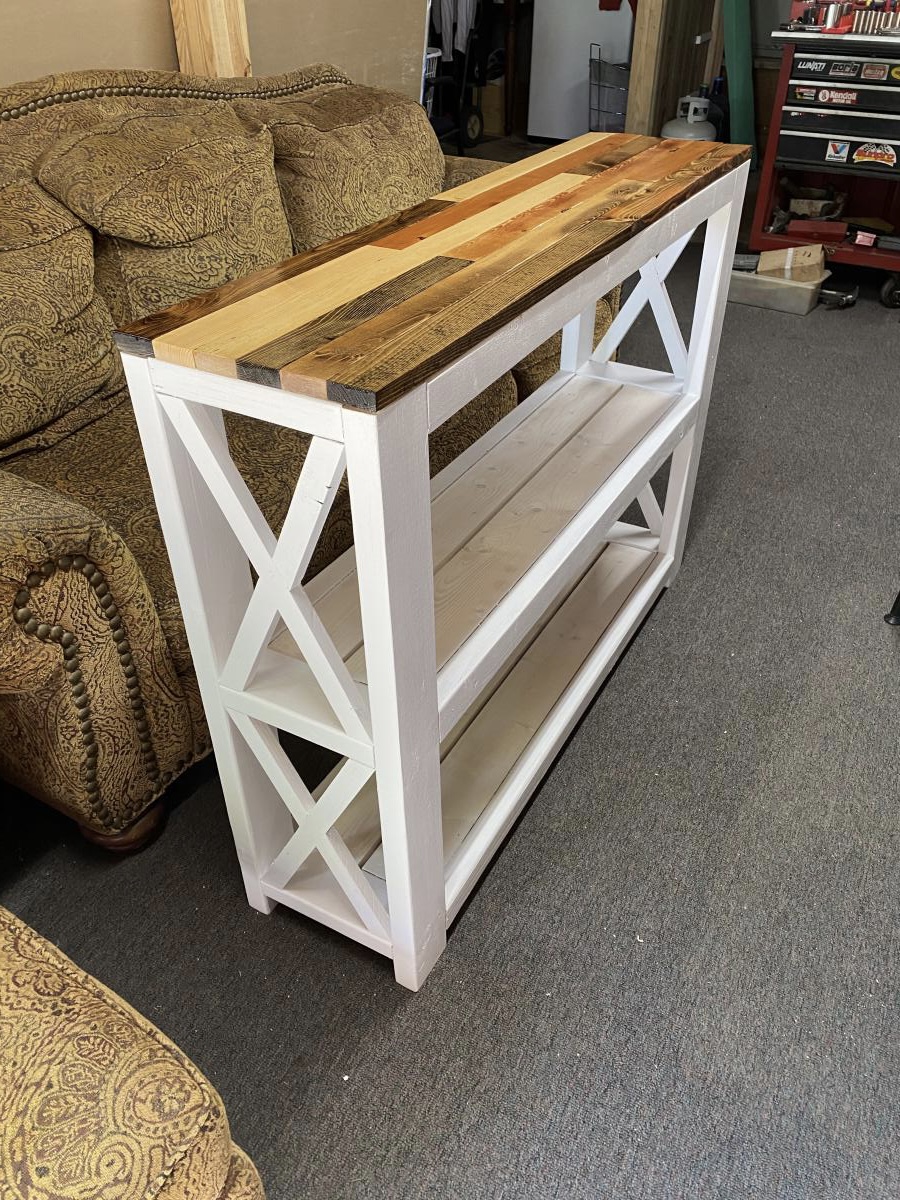
Farmhouse tables

Submitted by Anonymous (not verified) on Mon, 10/04/2021 - 13:46

Farmhouse coffee table, sofa table and end tables, plans from farmhouse but added a twist to the tops, 2” strips each stained a different color.

Comments

Rolling Laundry Cart

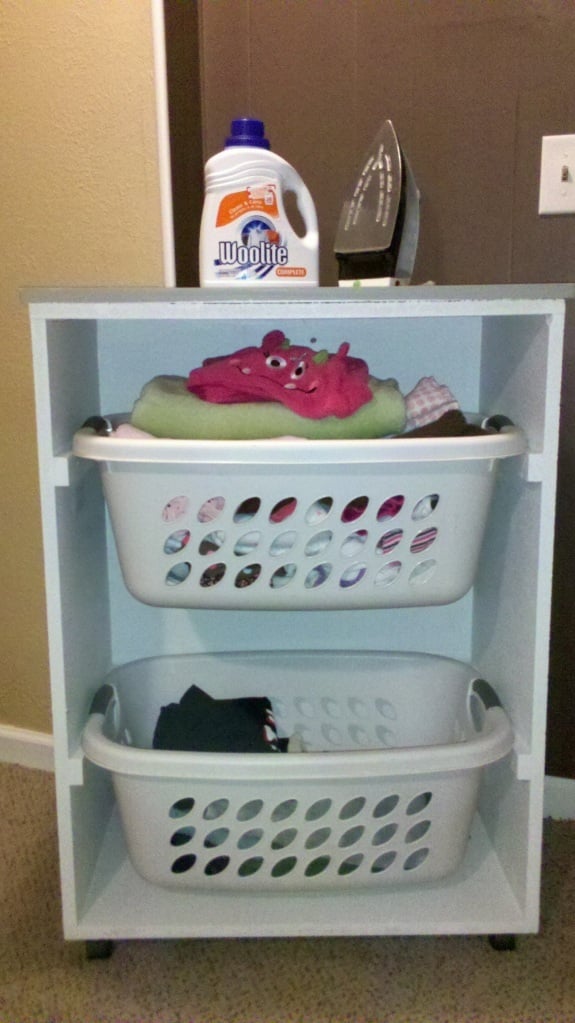
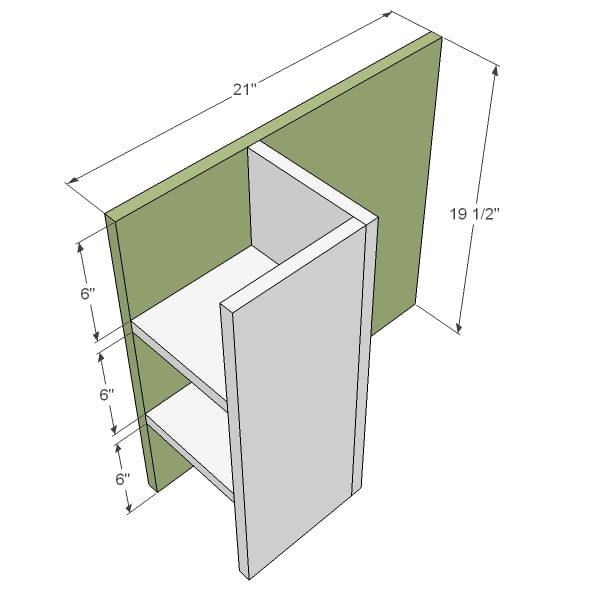
I built this entire project out of the scraps from the closet organizer and a 1×2 that I had. You could use the metal brackets Ana suggests, but the 1x2s are working great for me. The wheels are from an old rolling Target TV stand.
We used two tracks, instead of three, because I do huge loads of laundry in my front loaders. If you want to do the closet organize and this, do the closet first.This will be a free project. That's right, $0 out of pocket! Oh, and the top is scrap wood, just glued, and screwed (counter sunk).It made for a more finished “island” look. This step is completely optional. It's just for looks. I would love to add a towel bar to the side of this and a bracket to hold my iron too. The mini ironing board does fit on top!

Built from Plan(s)
Estimated Cost
$0 - Free after closet organizer!
Estimated Time Investment
An Hour or Two (0-2 Hours)
Finish Used
White Olympic paint on the sides and then early grey paint, diluted with white for the top boards.
Recommended Skill Level
Starter Project

Carrots and Lettuce Raised Beds

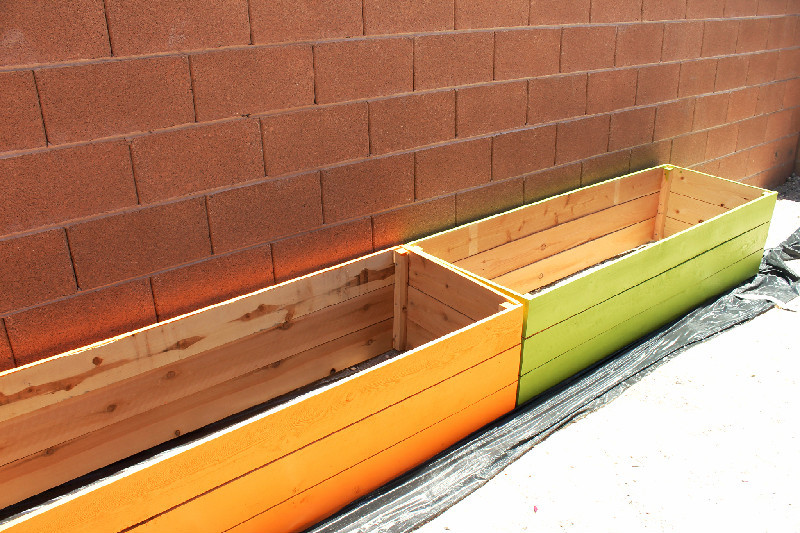
I made these for my Mother's Day present to myself. I painted them the color of Carrots and Lettuce. Working on the third one titled "tomatoes today." Easy to build, fun and quick....

Estimated Time Investment
An Hour or Two (0-2 Hours)
Finish Used
Lowes Orange and Lime Green Paint.
Recommended Skill Level
Starter Project

Comments

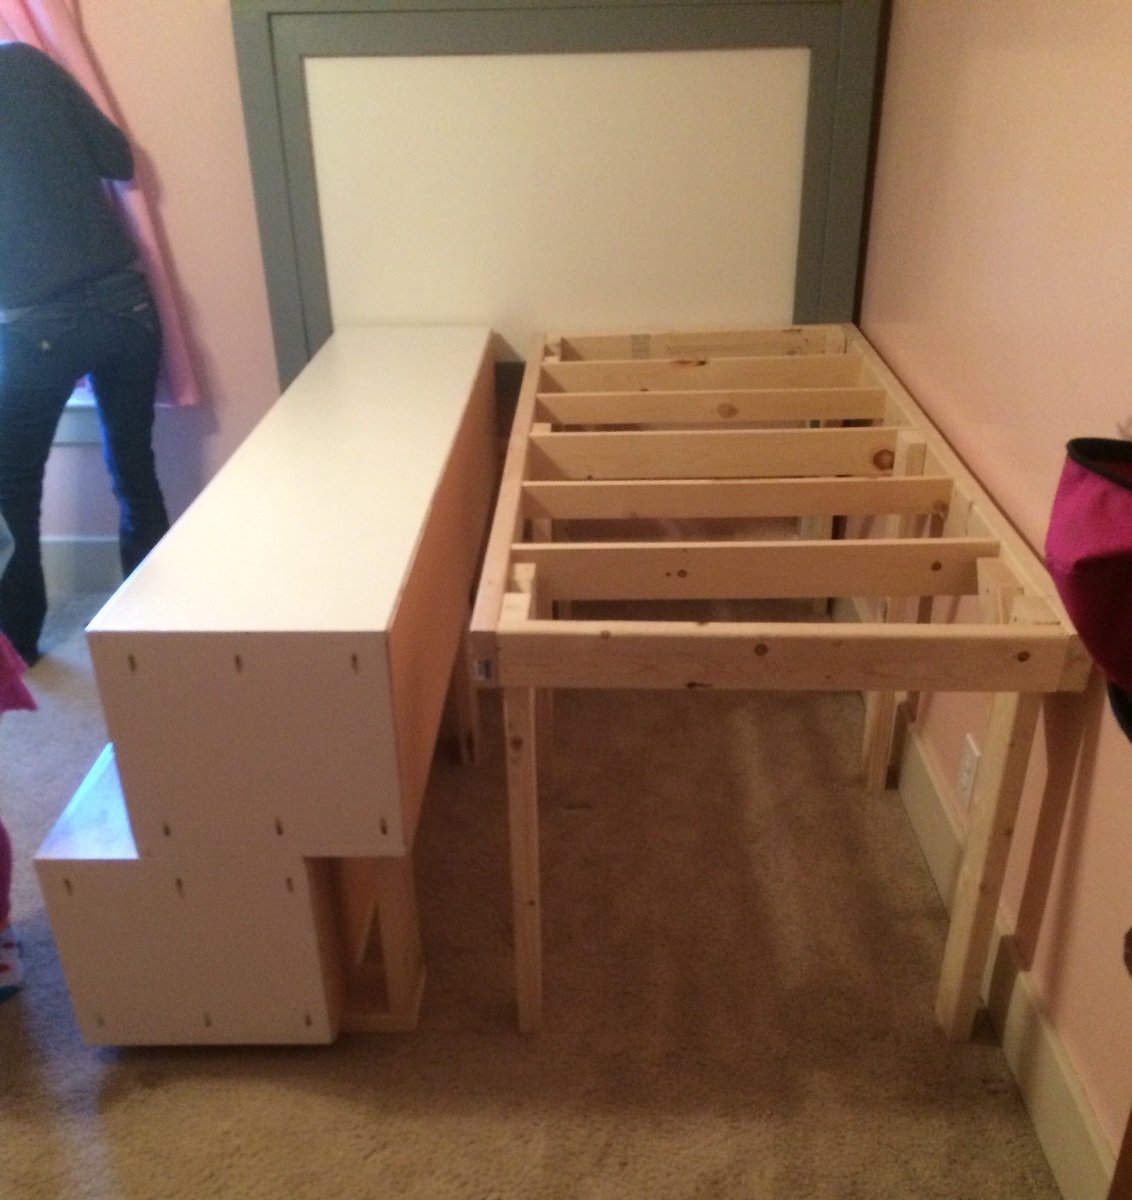
Farmhouse storage bed - double the storage

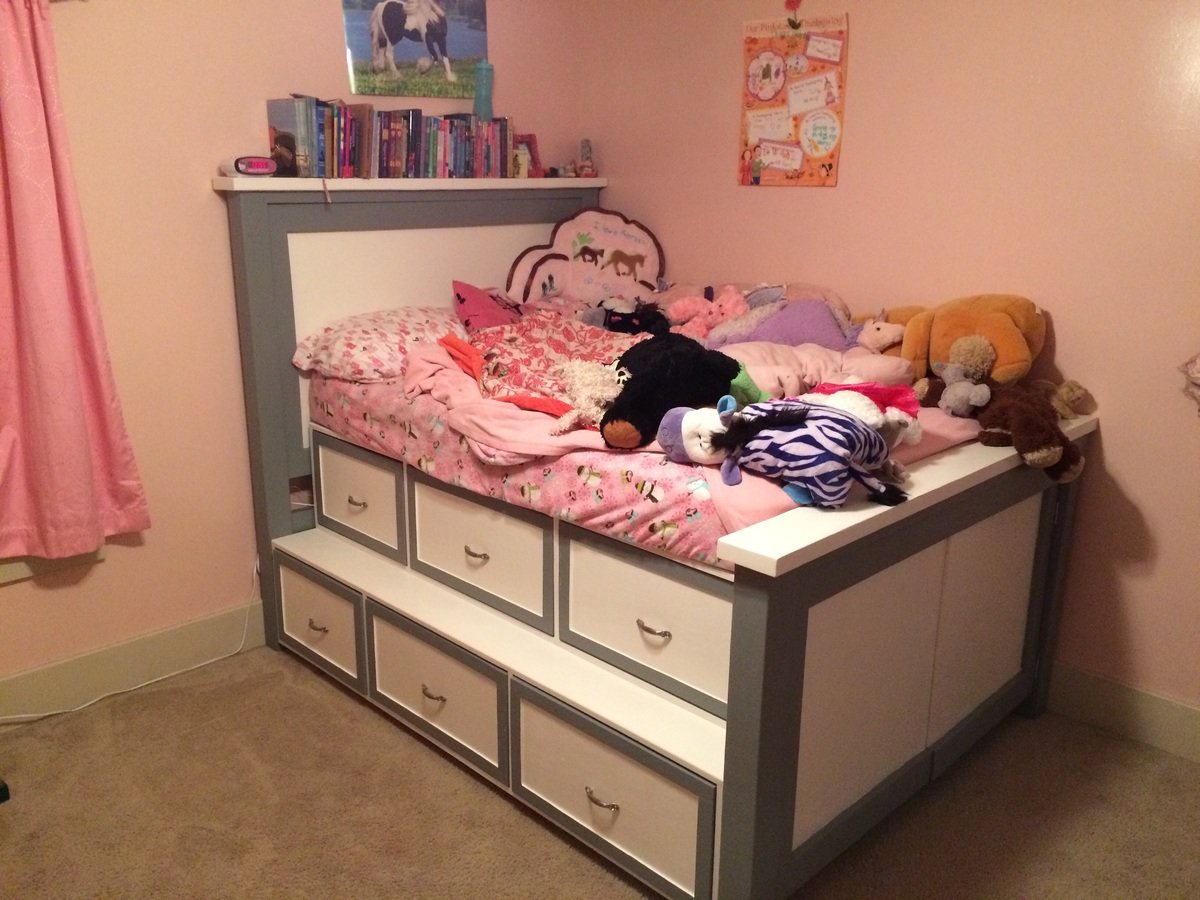
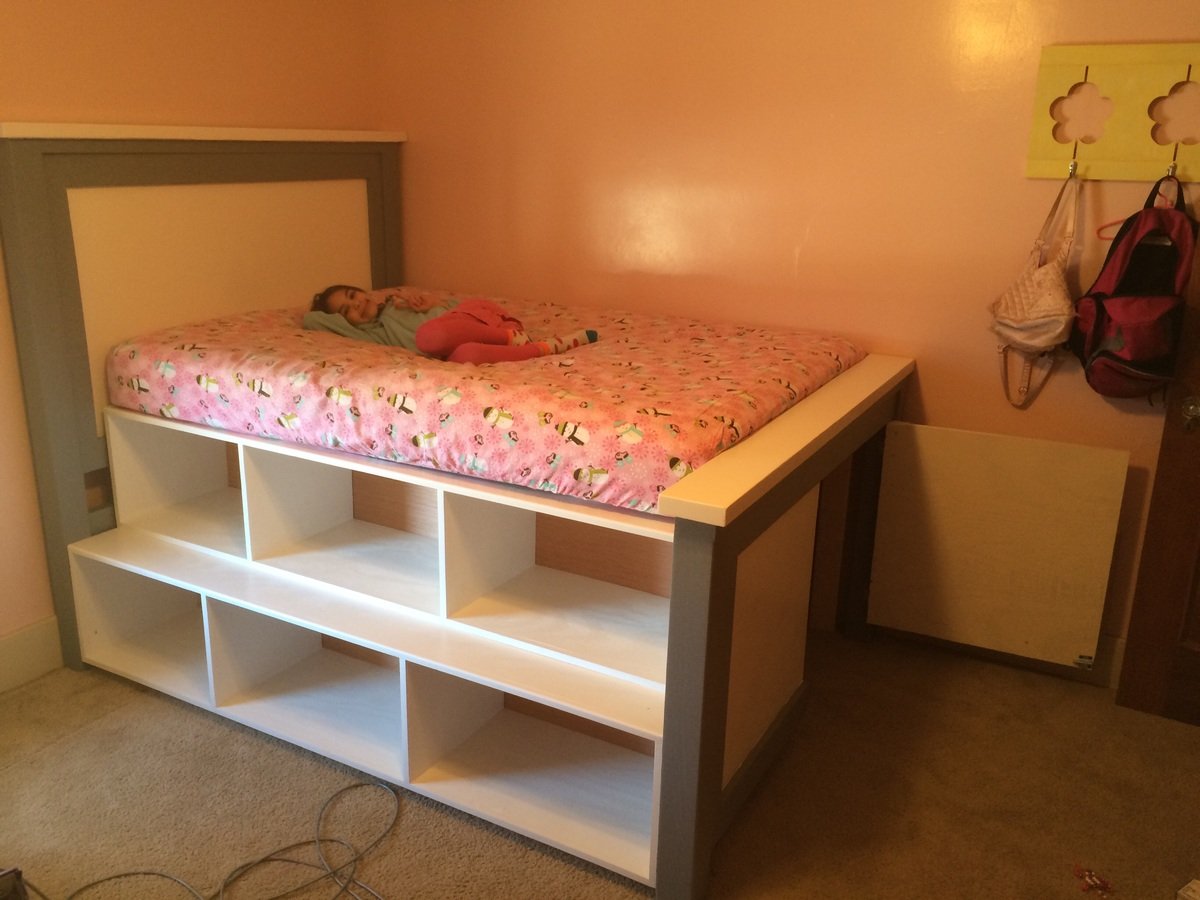
Queen sized storage bed in width for  a full sized mattress. I wanted this against the wall, so i put both sets of drawers on one side and hinged the footboard for access underneath. 

Estimated Cost
$400
Estimated Time Investment
Week Long Project (20 Hours or More)
Finish Used
Paint
Recommended Skill Level
Beginner

Comments

bdrez33

Thu, 04/08/2021 - 08:26

I just finished building the same bed and designed it with a second set of drawers above... I WISH I HAD SEEN THIS FIRST!! What an ingenious design with the step built in. I made a step stool for my daughter to get into the bed, but this was really a fantastic idea. Well done!

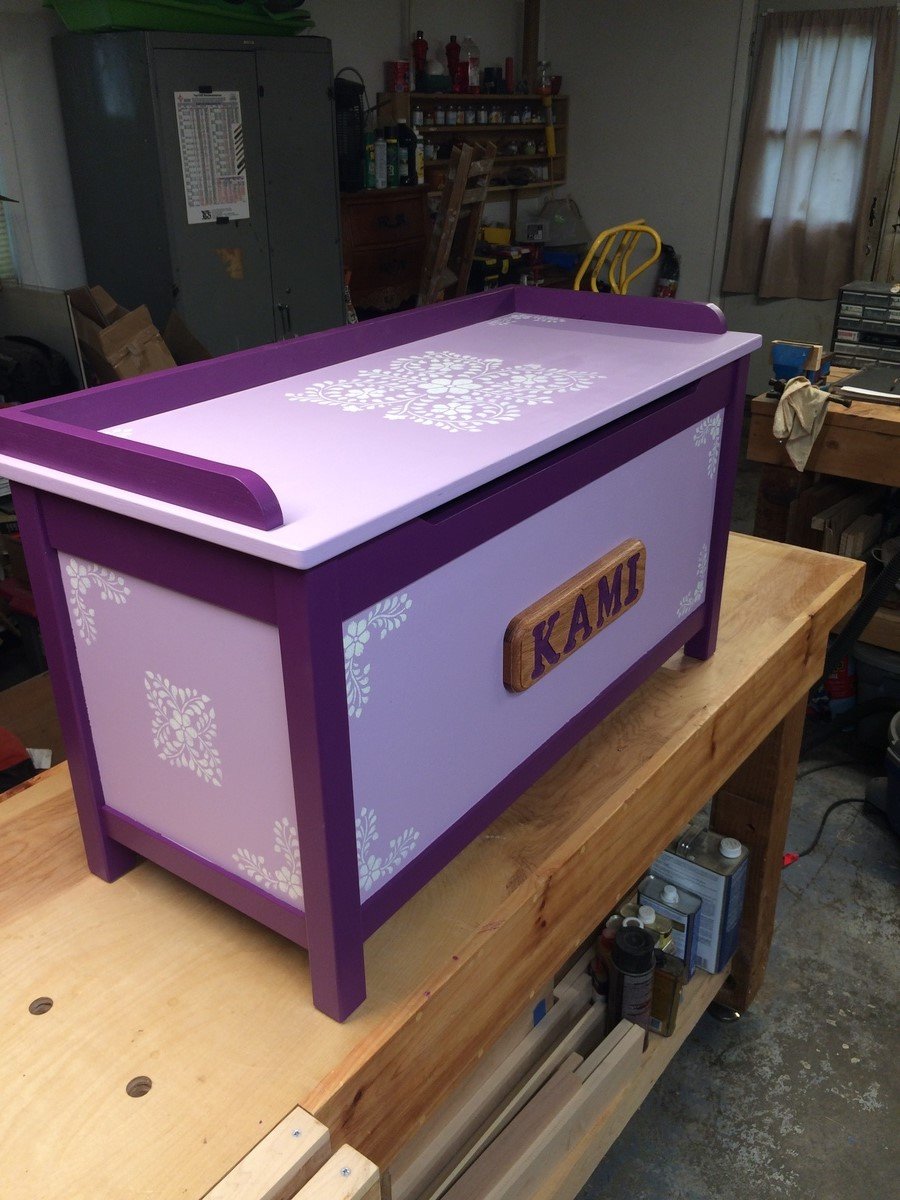
Toy Box

Submitted by Anonymous (not verified) on Fri, 07/14/2017 - 00:28

I really enjoyed building this toy box! I used rockler torsion hinges on this and loved how smooth they moved and the install. Thank you for the inspirational plans!!

Built from Plan(s)
Estimated Time Investment
Weekend Project (10-20 Hours)
Finish Used
Interior Paint
Recommended Skill Level
Beginner

Blanket Rack

Submitted by Anonymous (not verified) on Mon, 10/04/2021 - 14:35

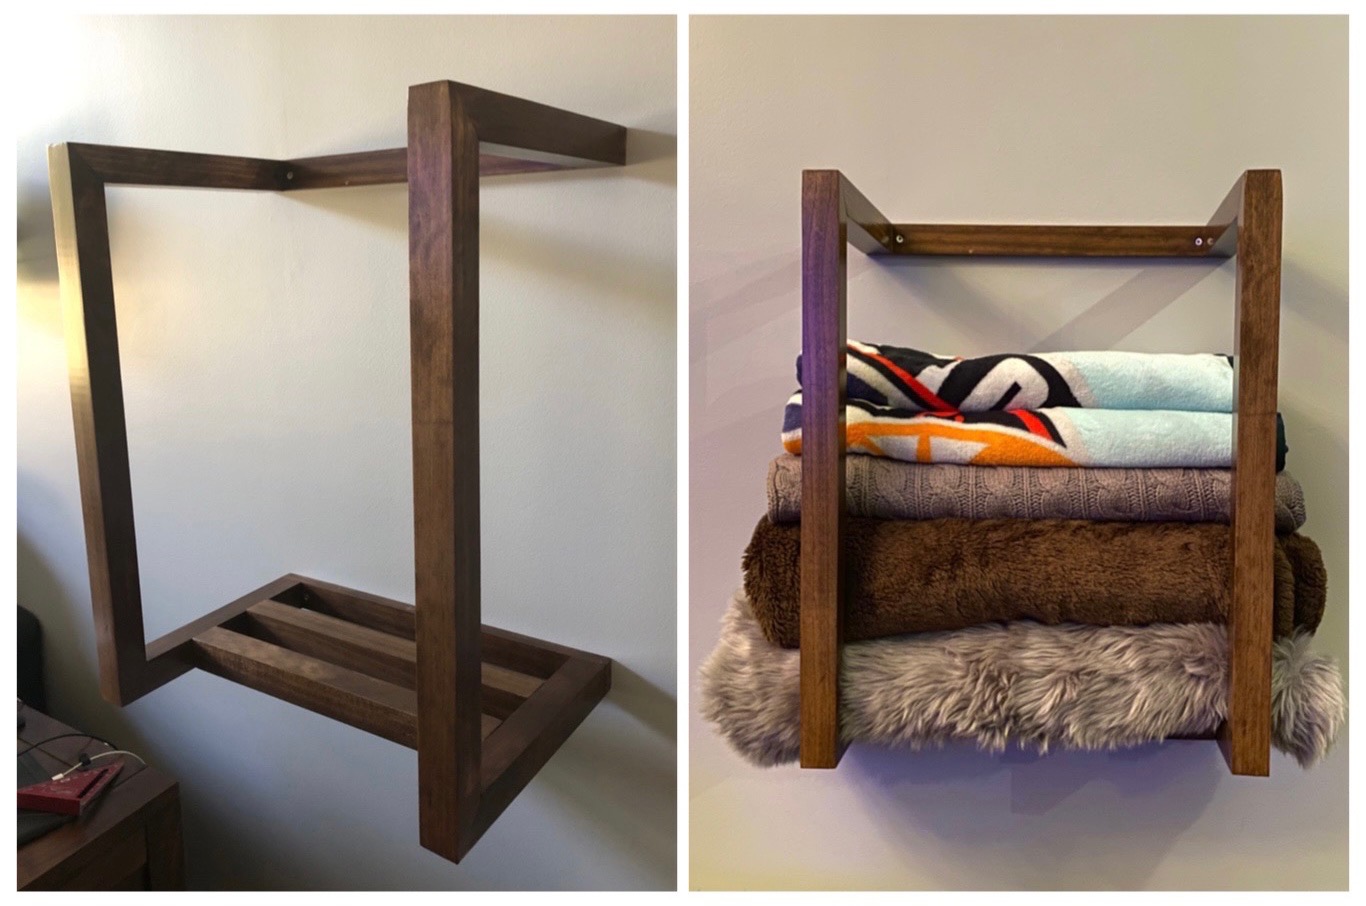
A modern twist on storing throw blankets. It was made out pine, stained, and three coats of polyurethane.

Comments

Narrow Farmhouse Table

Submitted by beingbrook on Wed, 03/09/2011 - 13:03

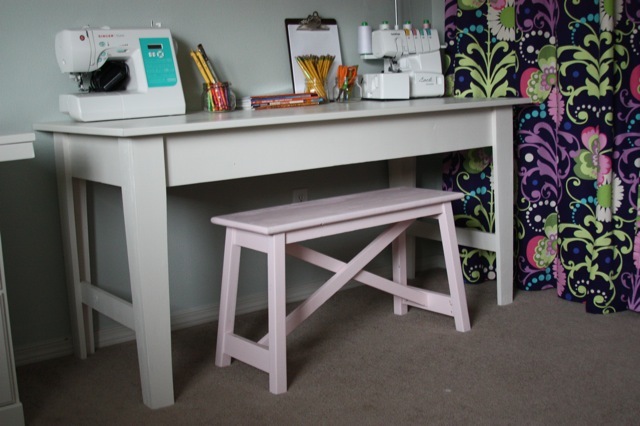
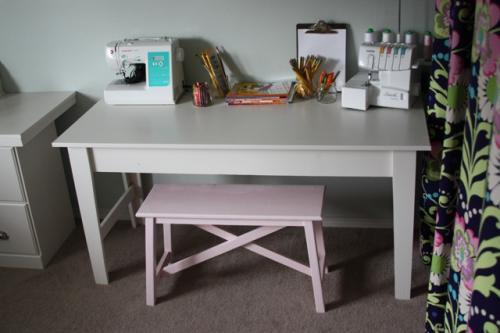
I really wanted a sewing table/desk for my office but wanted something that could be repurposed in a few years when we move. I chose the Narrow farmhouse table plan because it was a really sturdy plan that was easy to modify for our needs and was a timeless enough style that I can use it in another room if need be. I especially loved the look of the legs.

We made our table smaller to fit our space and also made it about 1 or 2 inches shorter because I’m really short and wanted a comfortable place to sew and craft. The top of our table is 58″ by 24″. We used MDF for the top instead of slats because my kids use this as a craft/coloring table when I’m not sewing. I didn’t want their pencils to poke through their papers if they got caught on the slats. We used thin molding for the edge of the MDF to give it a nice finished look.

Built from Plan(s)
Estimated Cost
$75
Estimated Time Investment
Afternoon Project (3-6 Hours)
Finish Used
Filled all the nail holes with wood filler. Sanded. Primed and then painted with 2 coats of Sherwin Williams Enamel paint in Dover white.
Recommended Skill Level
Beginner

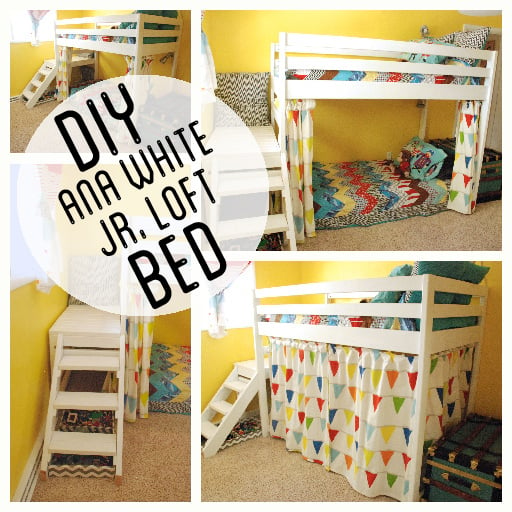
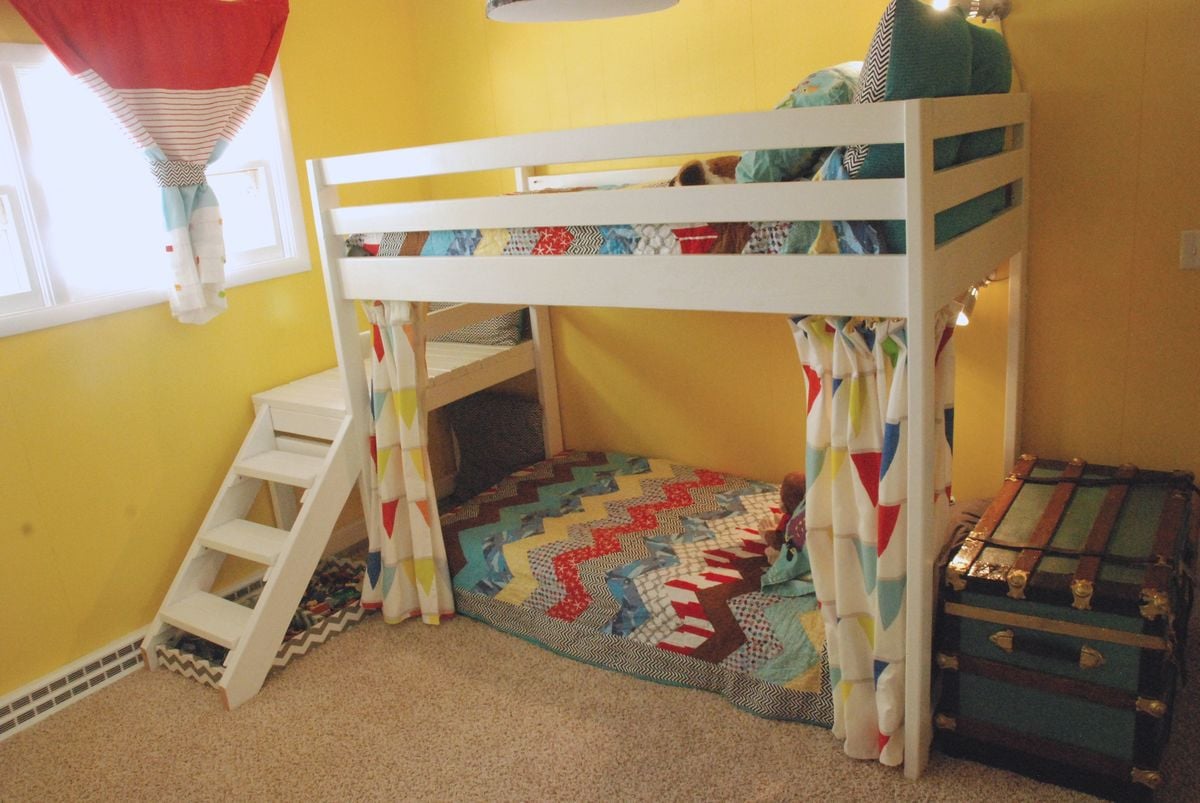
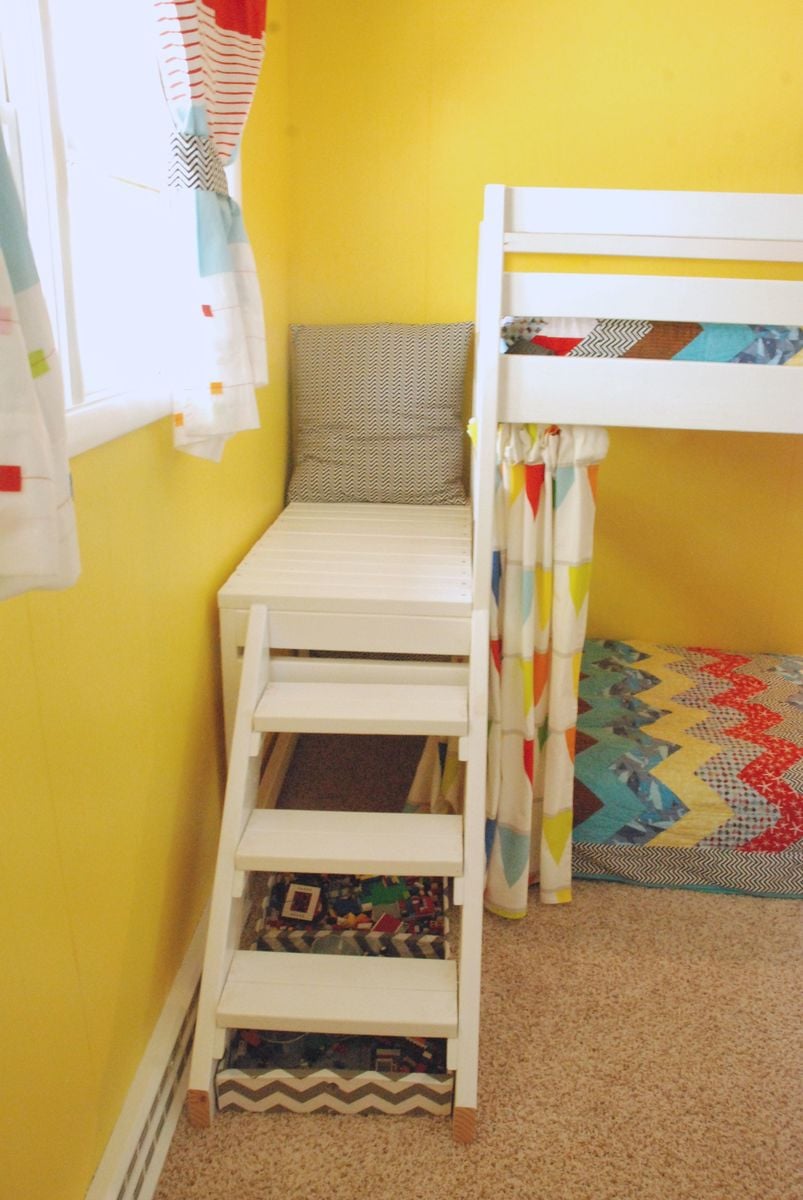
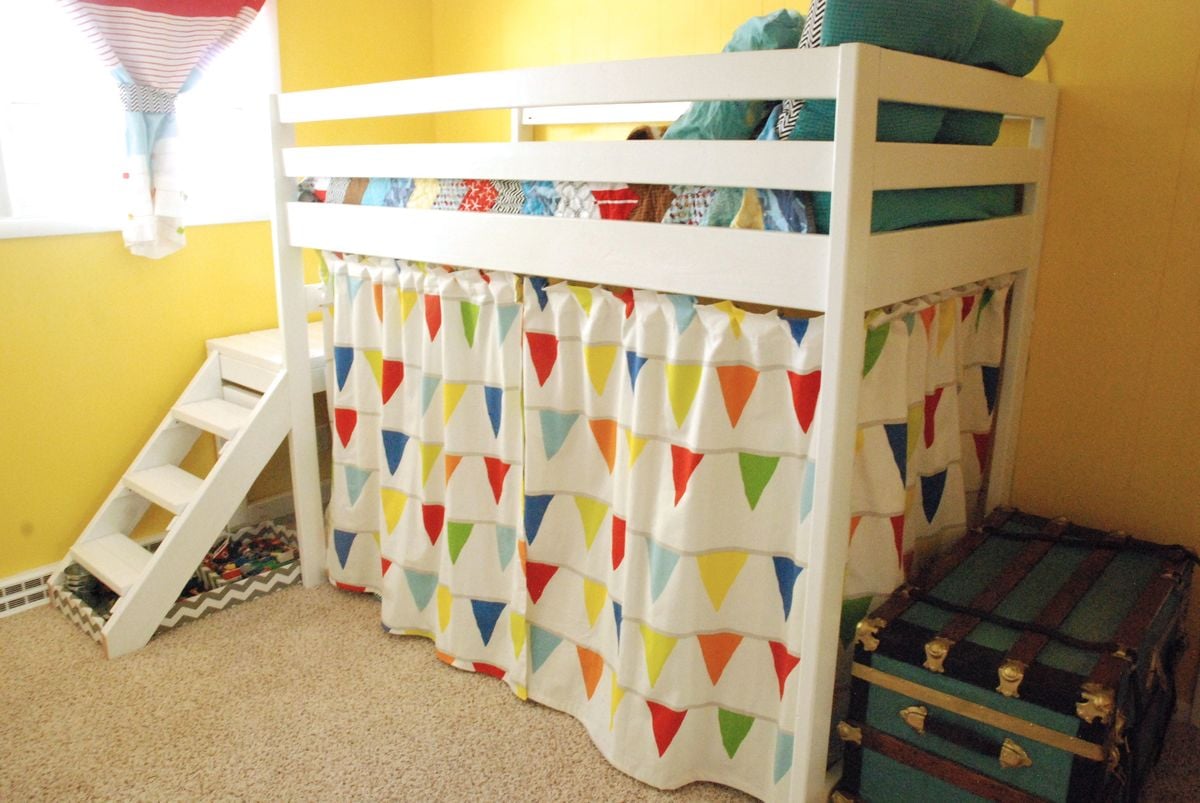
DIY Jr. Camp Loft Bed with Curtain

Check out the details about how we build the bed on my blog: http://www.brightgreendoor.com/2013/05/diy-ana-white-jr-loft-bed.html

Although nothing about it was difficult, it was time consuming, and consumed the greater part of two weekends.

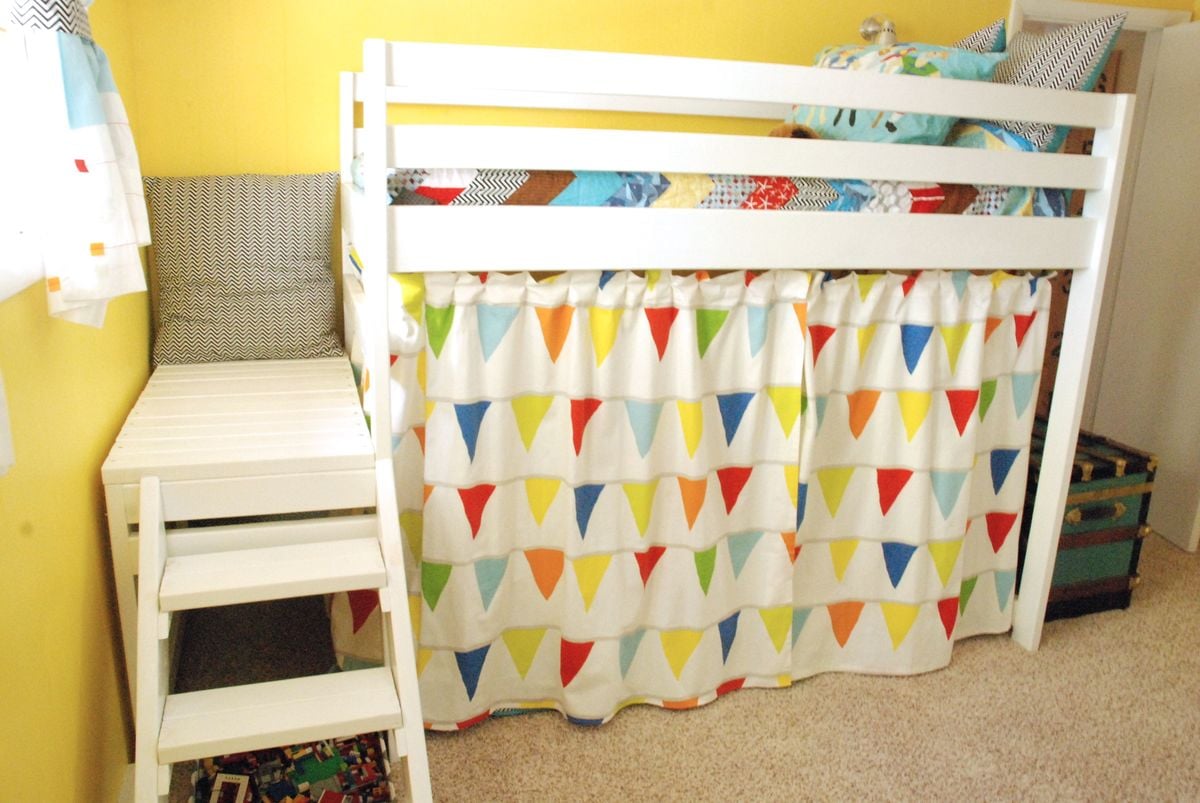
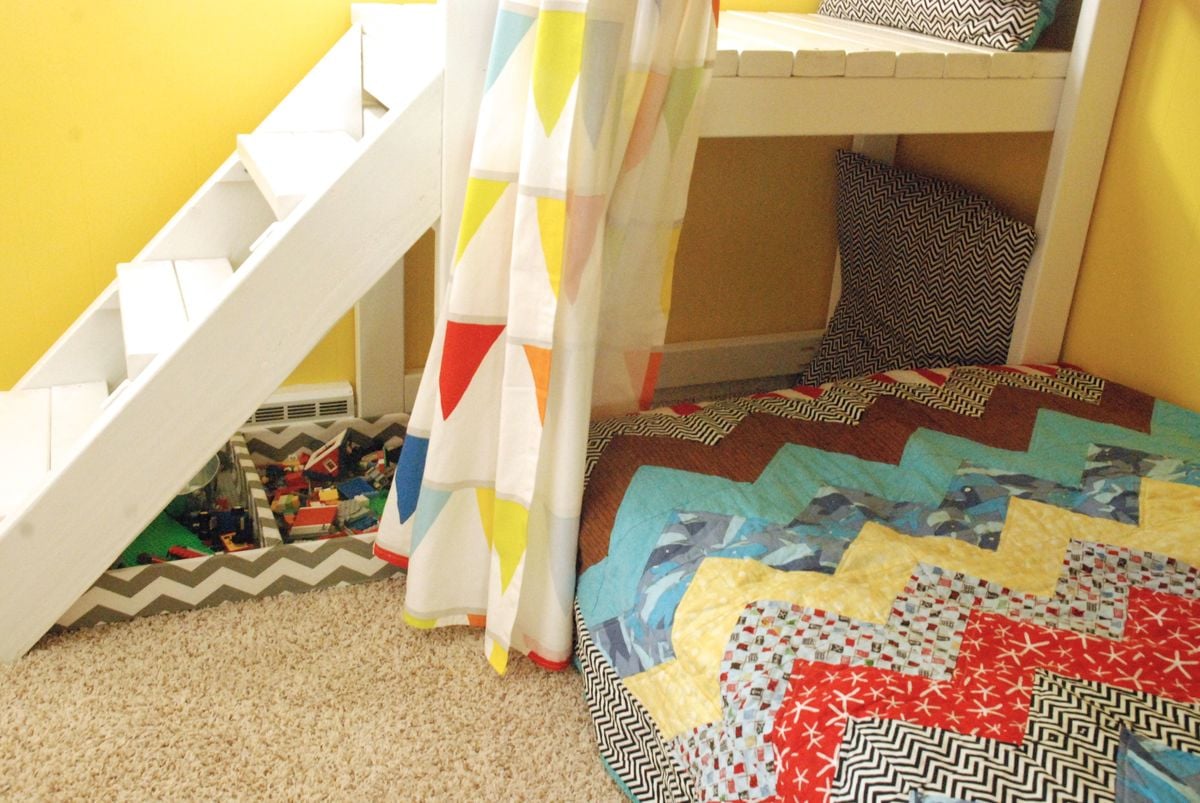
We followed the plans on Ana White’s blog pretty close, other than narrowing up the stairs by a few inches due to a furnace vent that would have been in the way.

We bought all of our boards at Menards which came in just under $100 including the large piece of plywood. I spent chunks of time throughout the week getting all of the boards sanded. Then we spent a Saturday getting all the boards cut to the proper size. Then it was a week full of giving all the wood 2 coats of Bulls Eye primer and a top coat of high gloss cabinet paint.

I also installed the Ikea Kvartal track system around the inside of the bottom bunk. I used leveler clips from Ace to hang Ikea curtains that I altered.

My boys were SO excited the whole time we were building it and love it. My little one calls the whole bed his “top bunk”, even though he sleeps on the bottom. They also have dubbed the area under the platform the “hideout” and think they are invisible when they are hiding in there.
Estimated Cost
$100 for bed, $50 for curtain and track
Estimated Time Investment
Weekend Project (10-20 Hours)
Finish Used
Two coats of Zinsser Bulls Eye 1-2-3 Primer and one coat of Ace Cabinet Paint in Bright White. Painted all wood before assembly.
Recommended Skill Level
Beginner

Comments

AmandaAK

Fri, 06/21/2013 - 18:46

These are awesome and I think it's so smart you stained them after you cut them and before you drilled them! Thanks for that time saver! Question? Is the bottom bunk raised or did you raise the height of the planned bed? I want to make ours a bunkbed too, but don't want it to be too tall.
Thanks