Minnie Mouse Chair
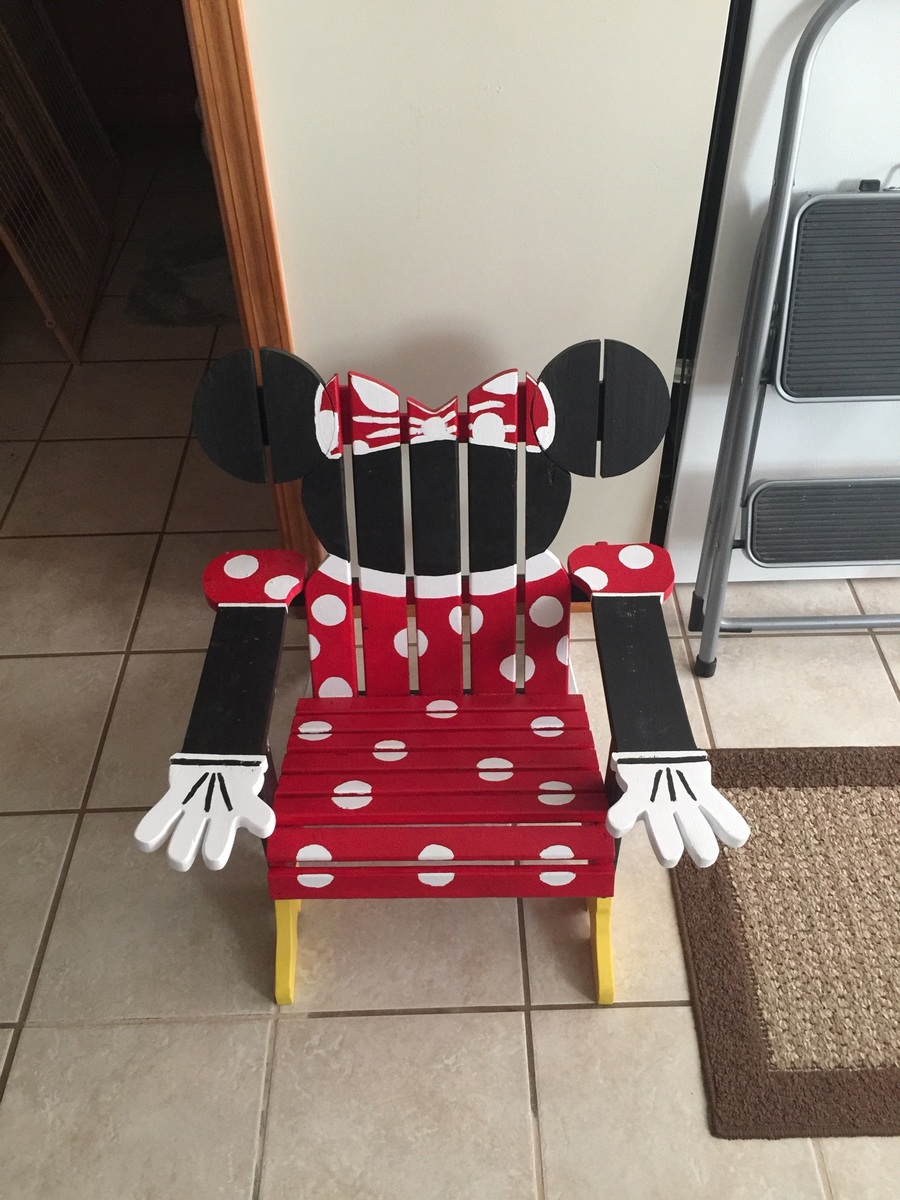
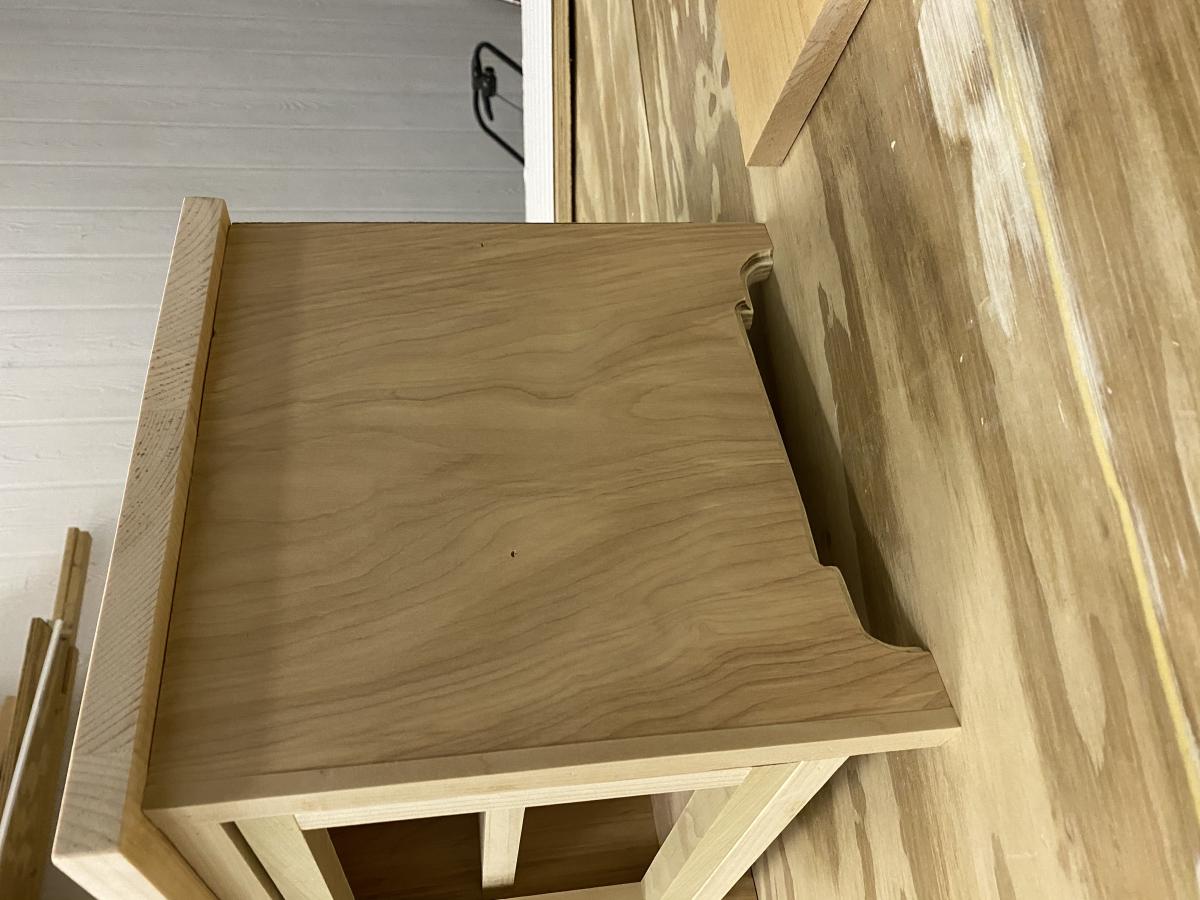
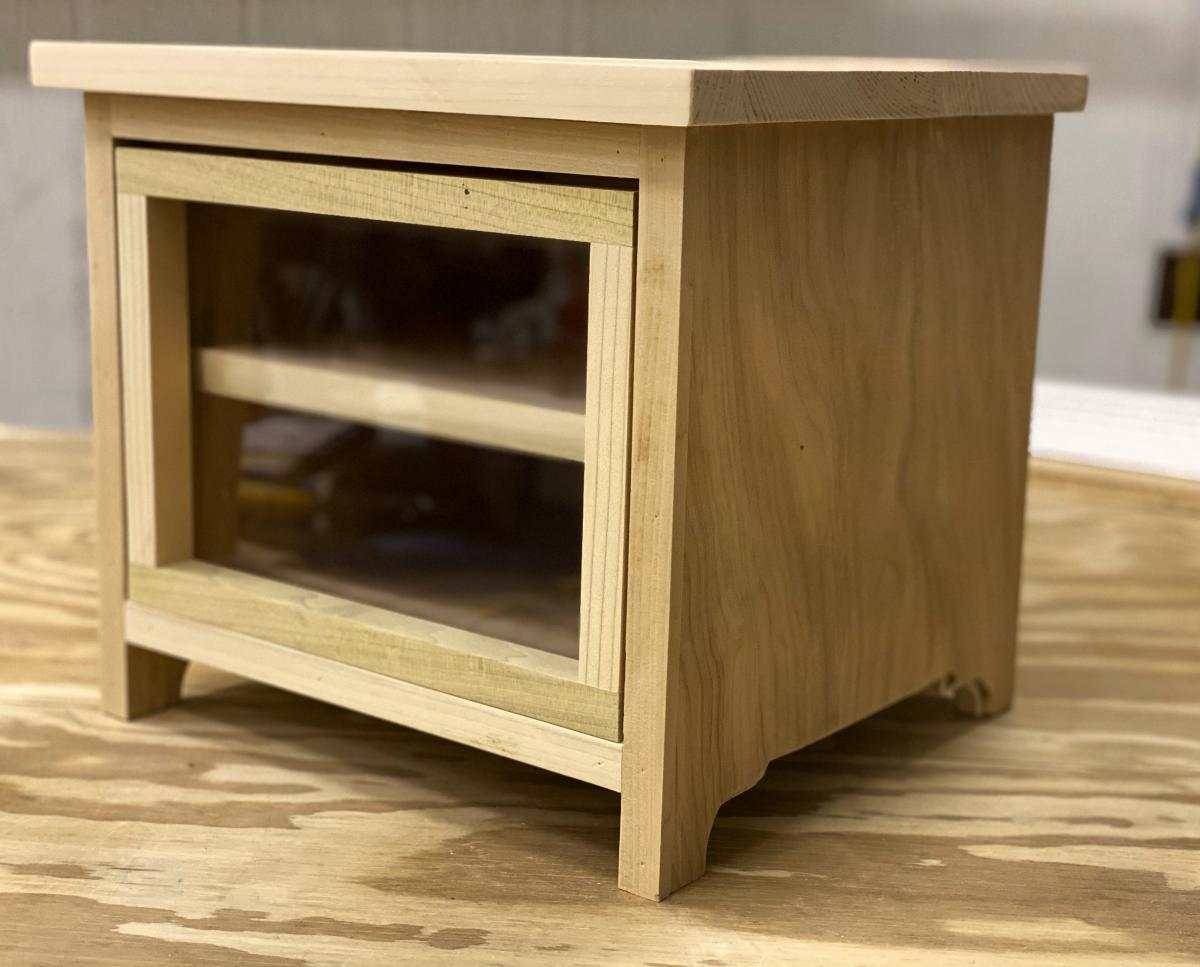
Made based on a picture i was shown,and used the kids andarondac plans on this site

Made based on a picture i was shown,and used the kids andarondac plans on this site
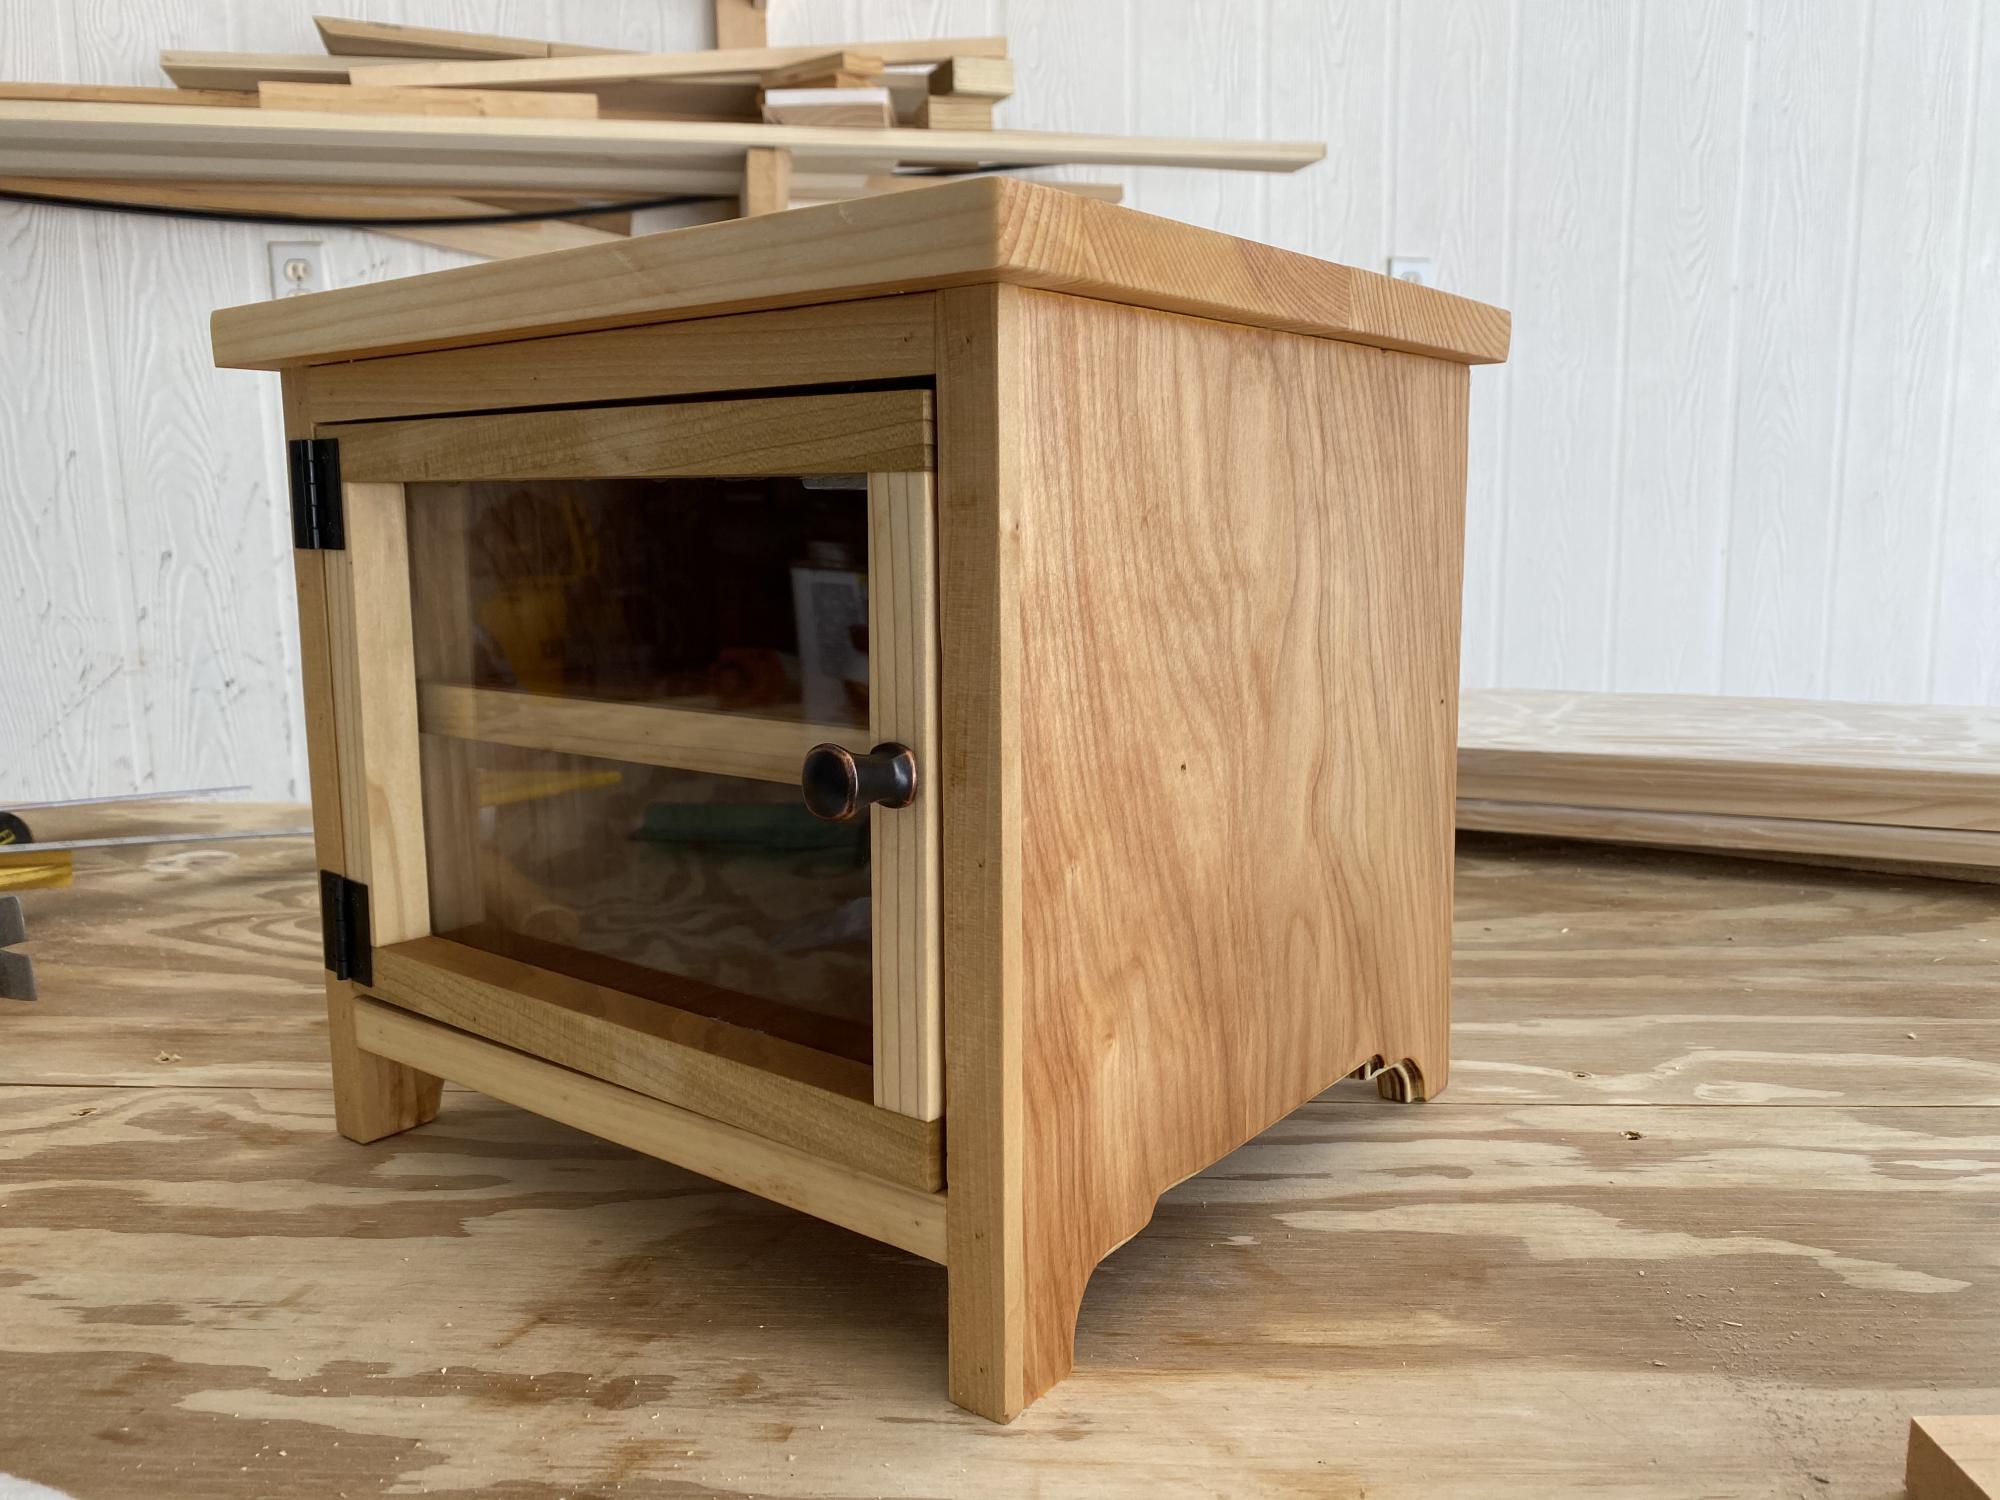
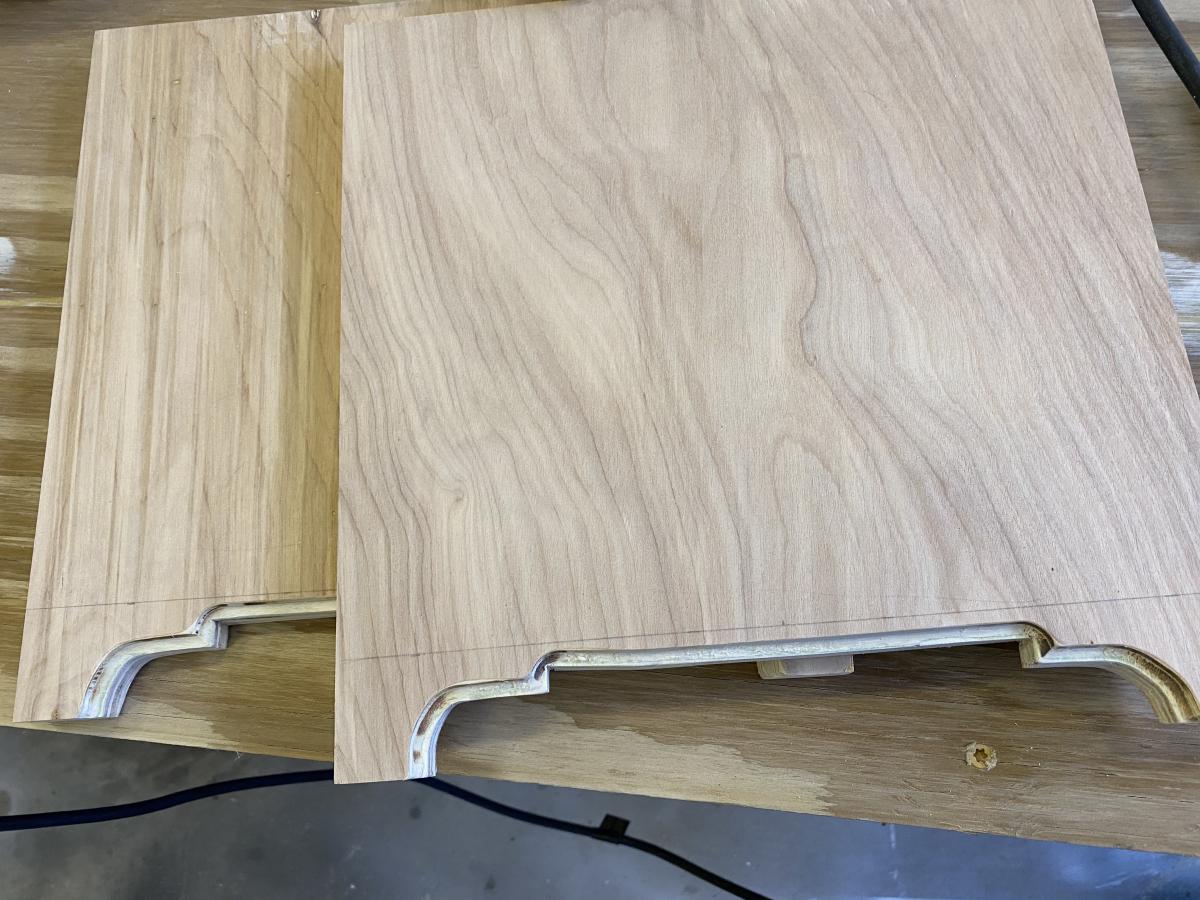
I found the knob on clearance for 59 cents at Lowe’s and the hinges were under $3. The rest was just pretty plywood and some thin poplar instead of edge banding with a boiled linseed oil finish.
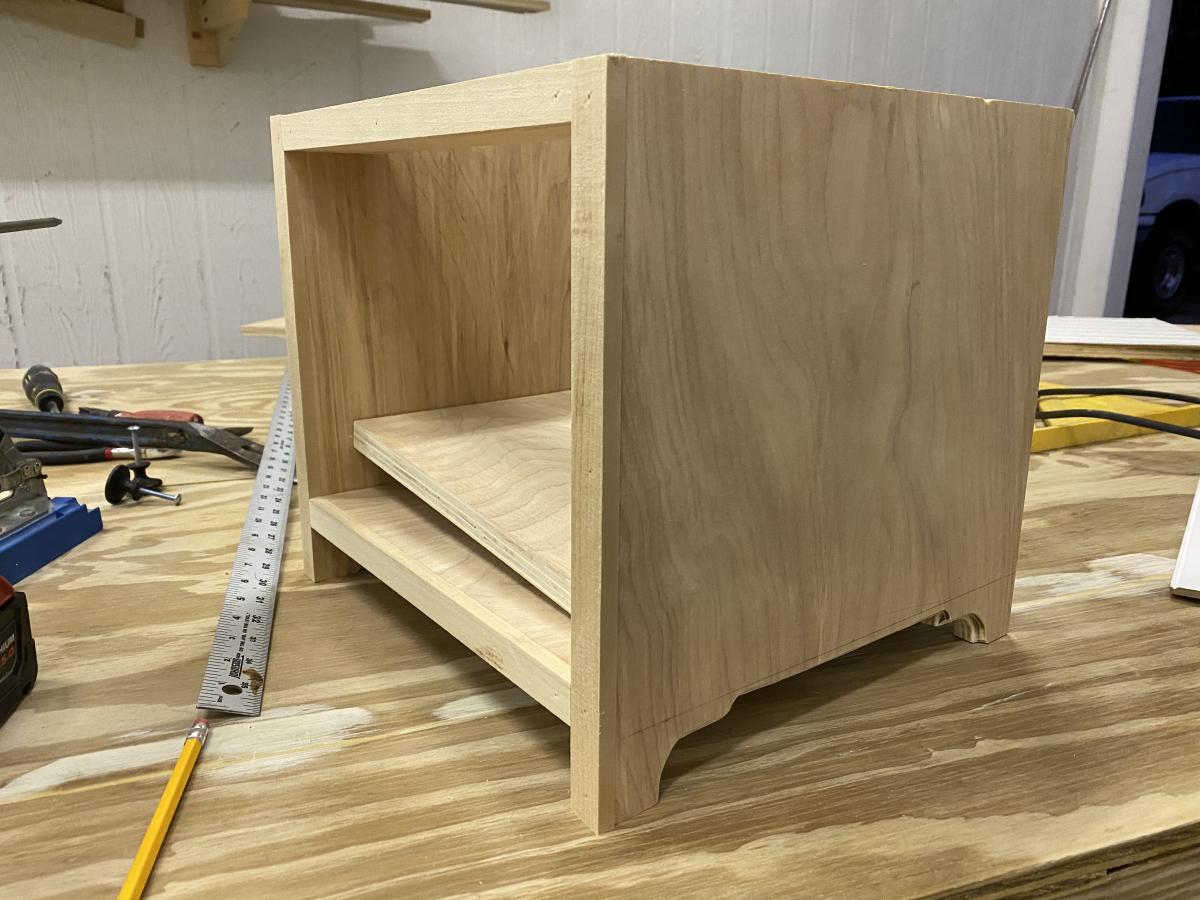
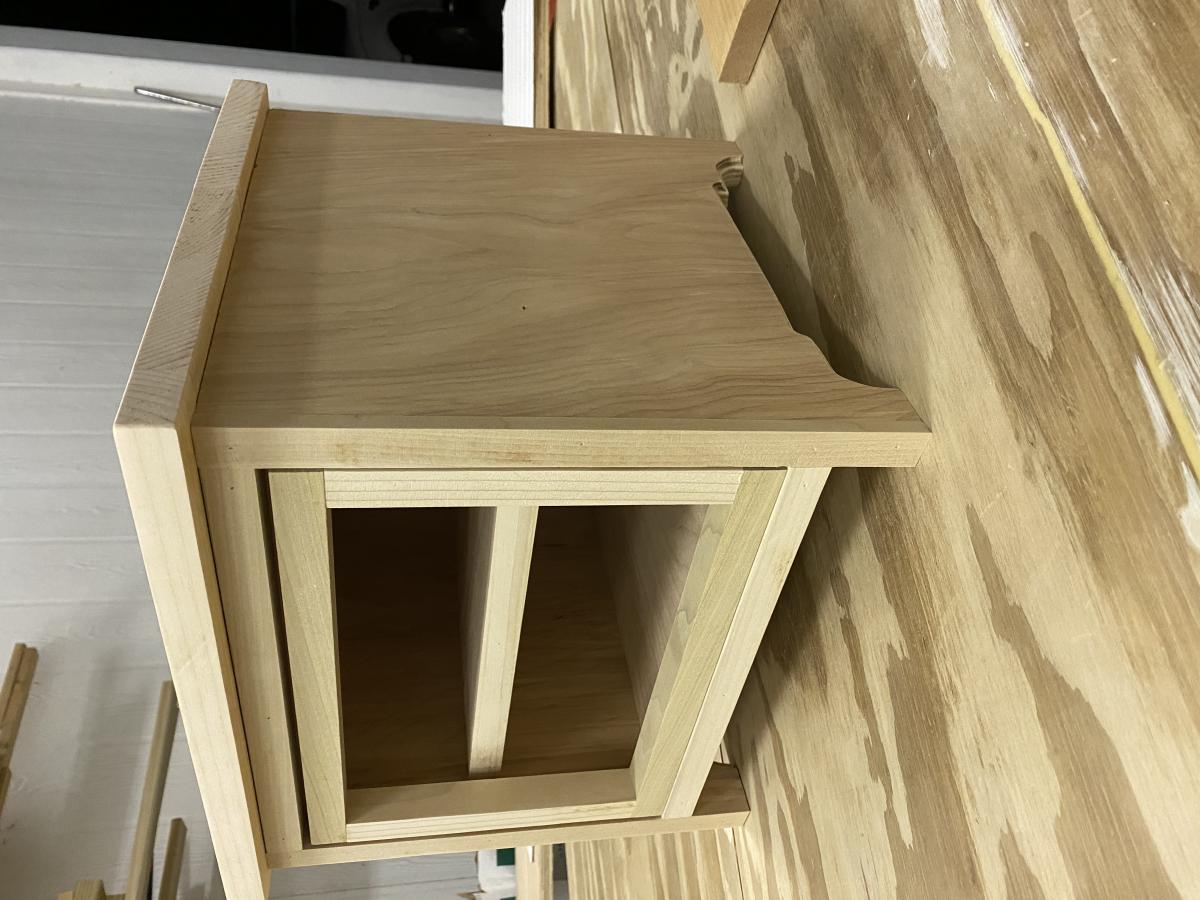
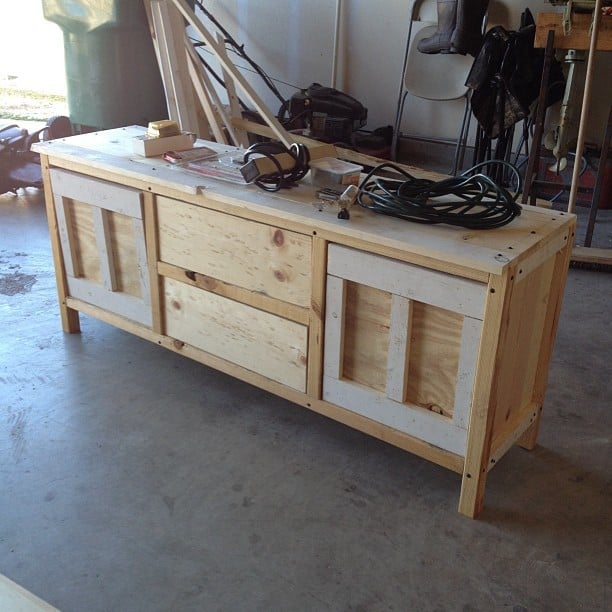
This is the first project my husband and I have made. Funny enough, it was suggested in the directions to not do this as a first project. We had already gotten the materials and our minds were already made up on building this media console. We just took it one board and one nail at a time. Sometimes we would take one step forward only to turn around and take two steps backwards. We learned A LOT on this project. Needless to say, we loved working together and building our own furniture... We will be building more for sure!
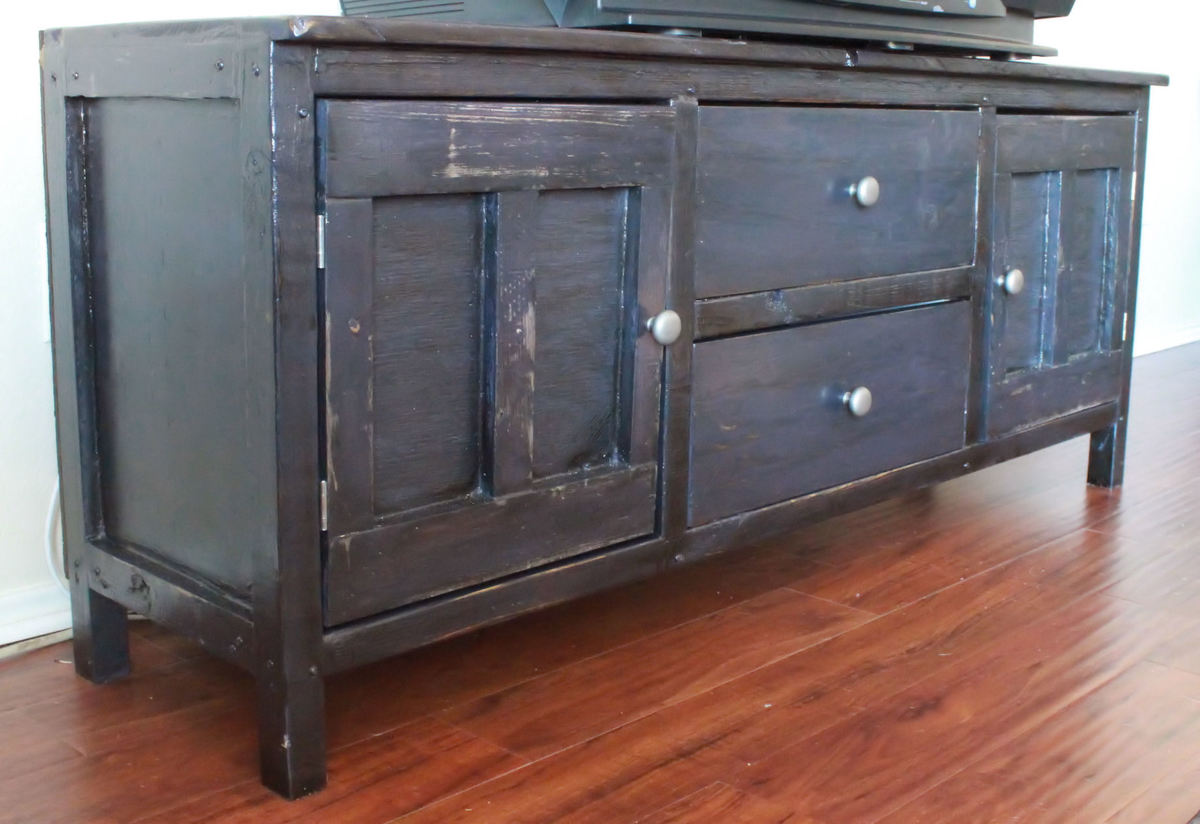
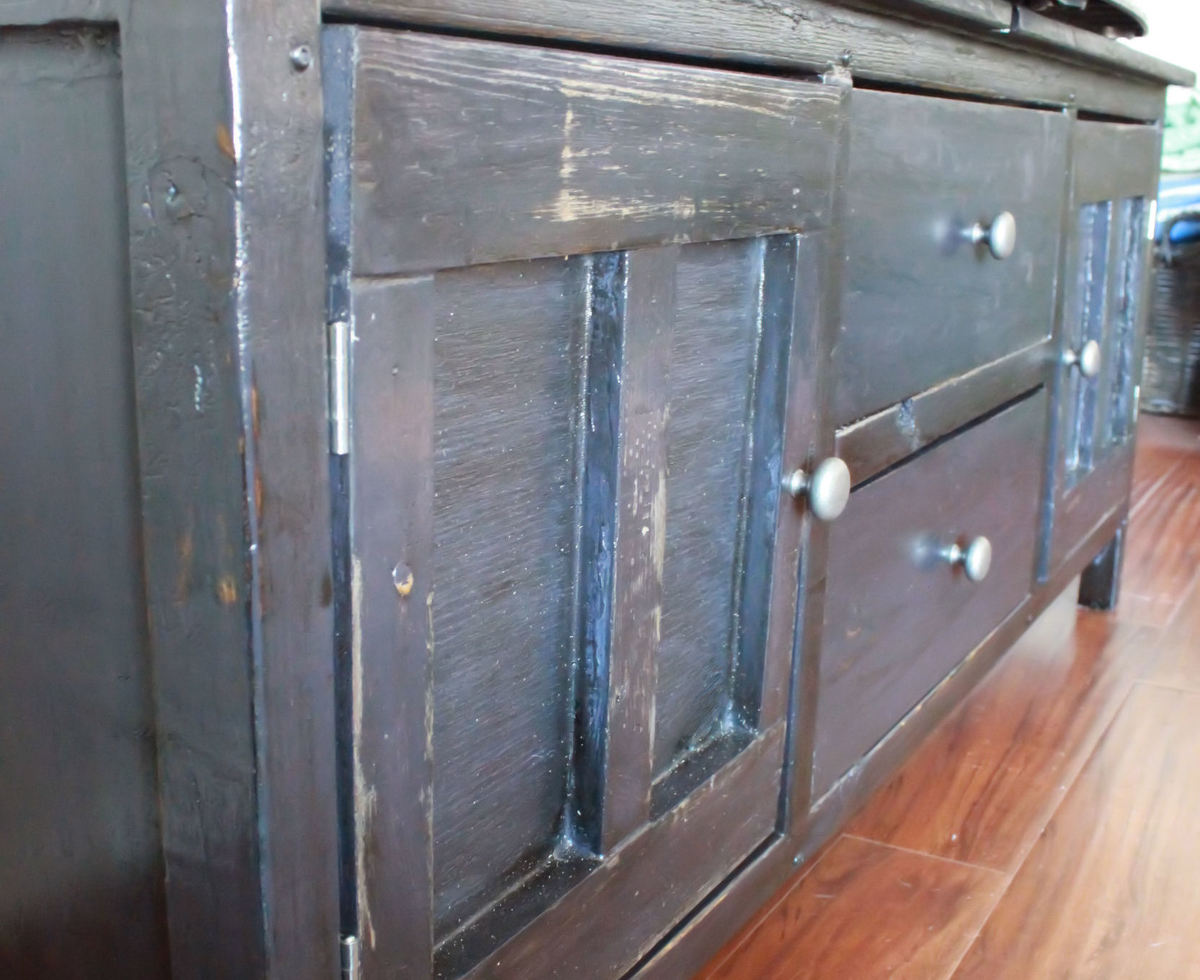
This was such a great project and not too complicated for my first large one. I loved using the milk paint to create the old world distressed charm.
I built this 7 months pregnant and couldn't be happier with it. The plans were excellent and easy to follow. I was intimidated by the hard ware at first but that was also very simple. Overall very happy with this project build.
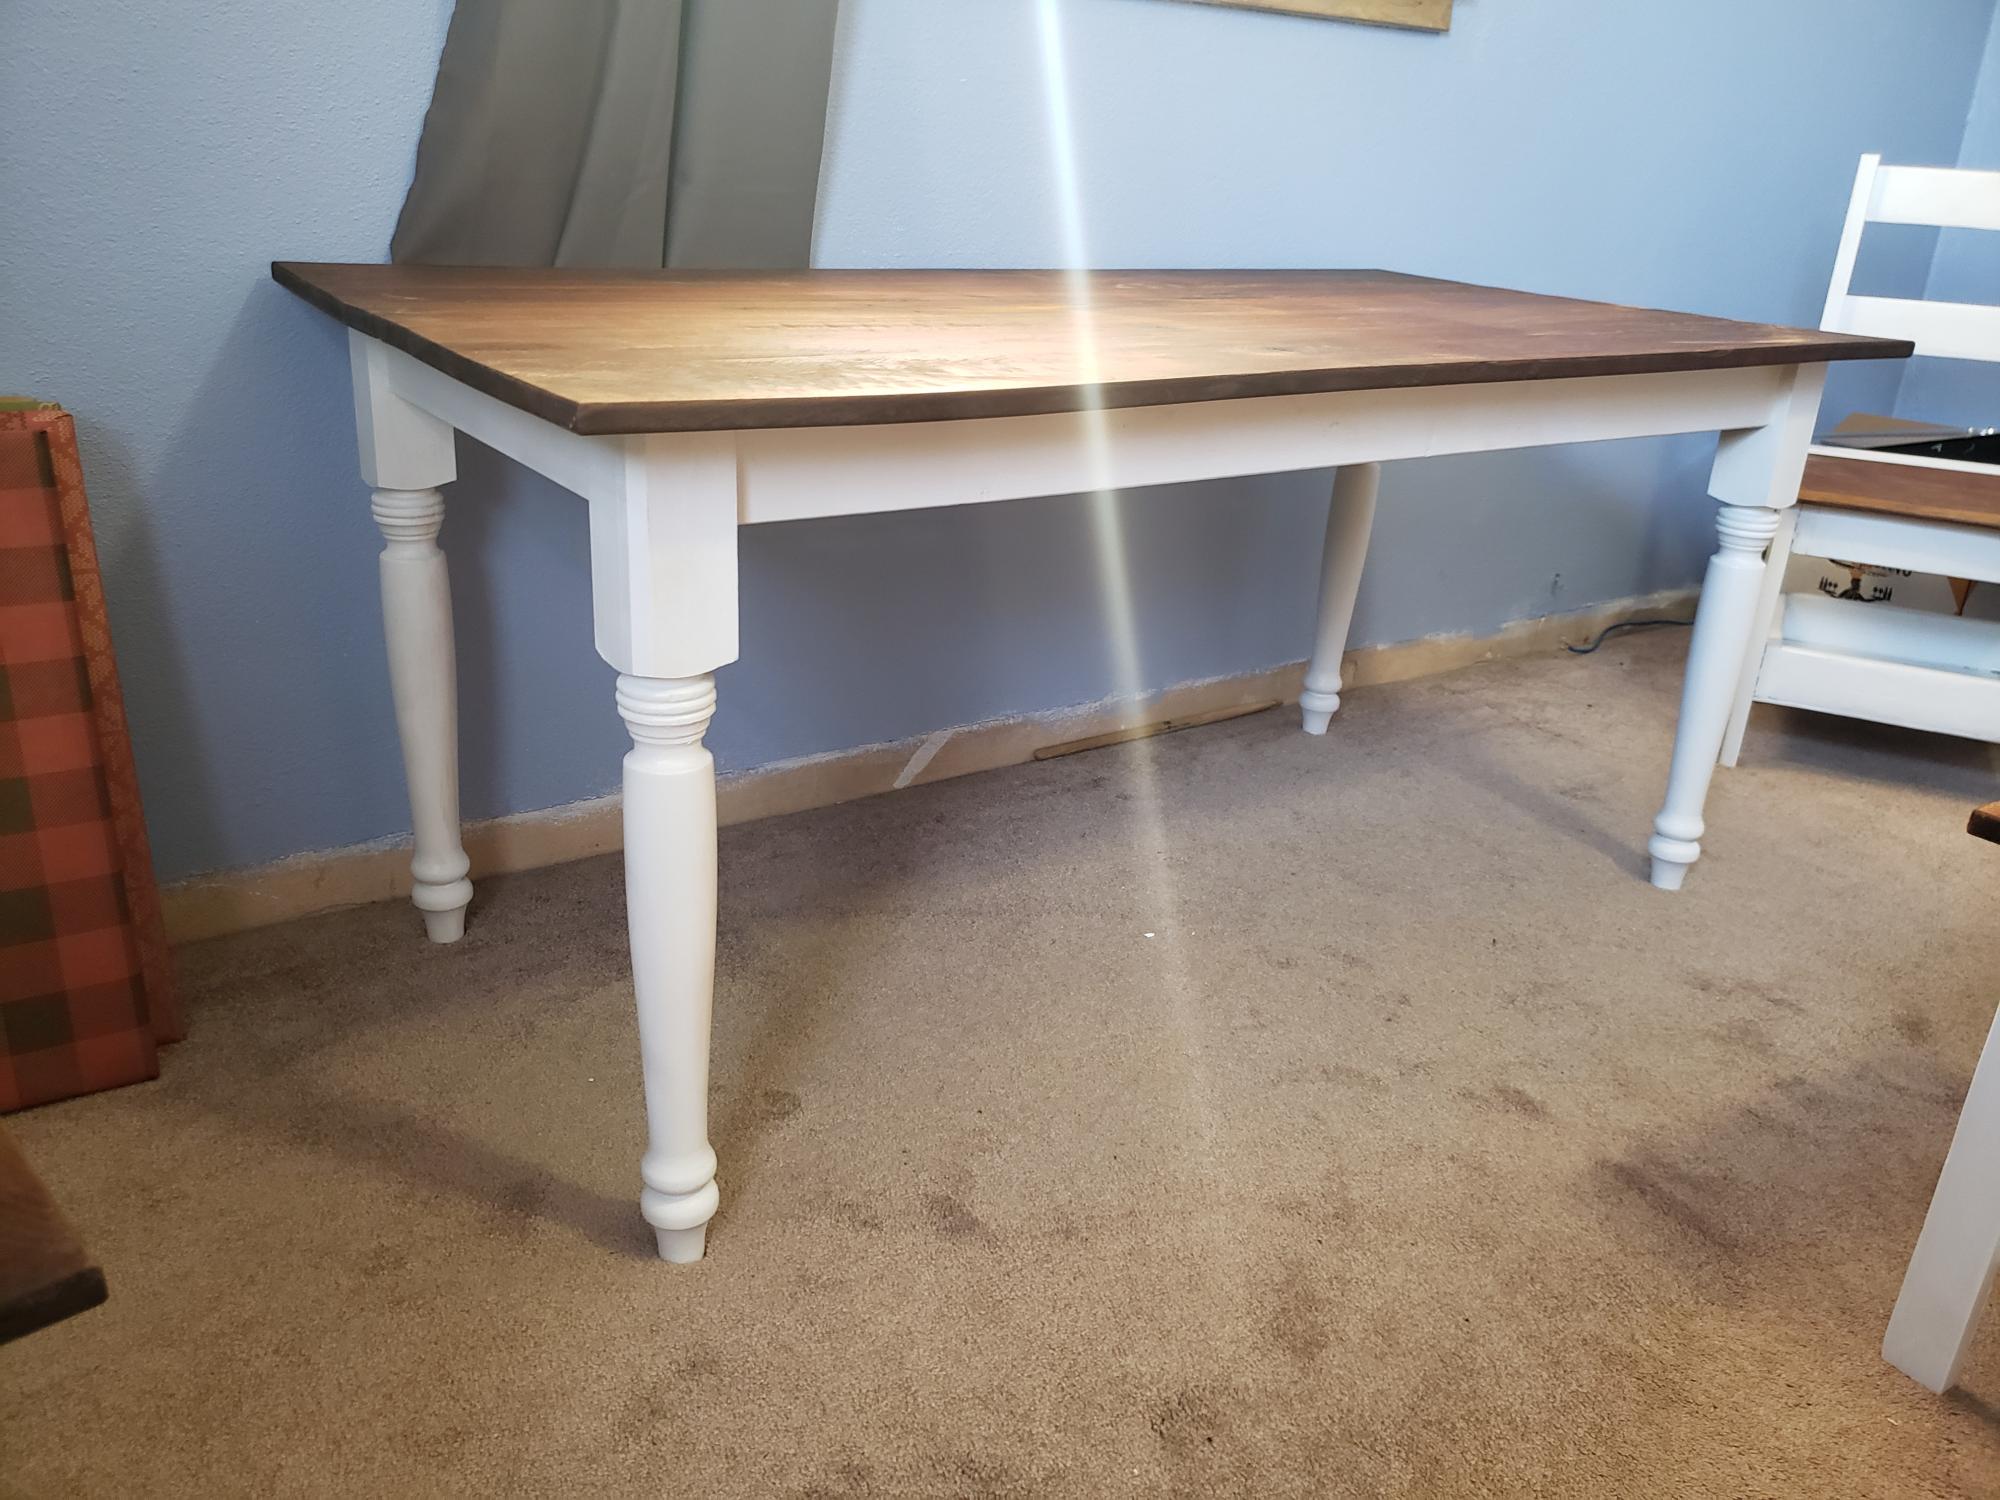
Made per the plans but I made walnut tabletop for it
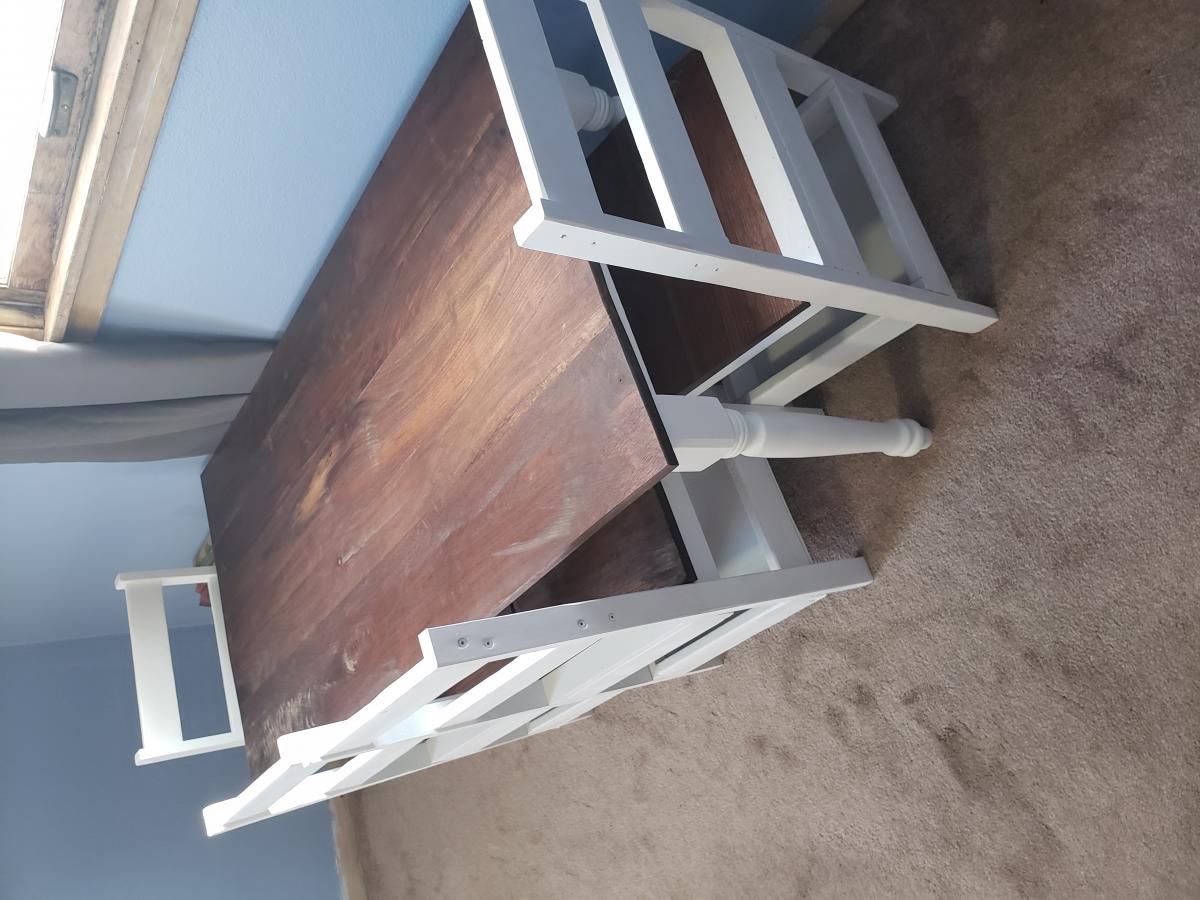


 My FIRST carpentry project! Good thing my husband was willing to help as it was a little heavy and I was googling terms like "counter-sink." It would have been so much easier if we hadn't made it a birthday surprise for my daughter. She LOVES it!
I purchased choice 2x4s and was so sad to see how much sanding the planks still required, even with an electric rotary sander. That added a few hours-perhaps because I am such a beginner!
We used a white nylon rope which matched her room better, but again, increased the cost a bit.
I am really proud of the results!


Thu, 11/20/2014 - 17:44
You should be VERY proud of the great job you did on your first building project, it looks awesome! Love the color, and that smiling face says it all! Well done!!
Fri, 11/21/2014 - 09:26
Wow what a great idea for this wall space! Your daughter has a really cute room!
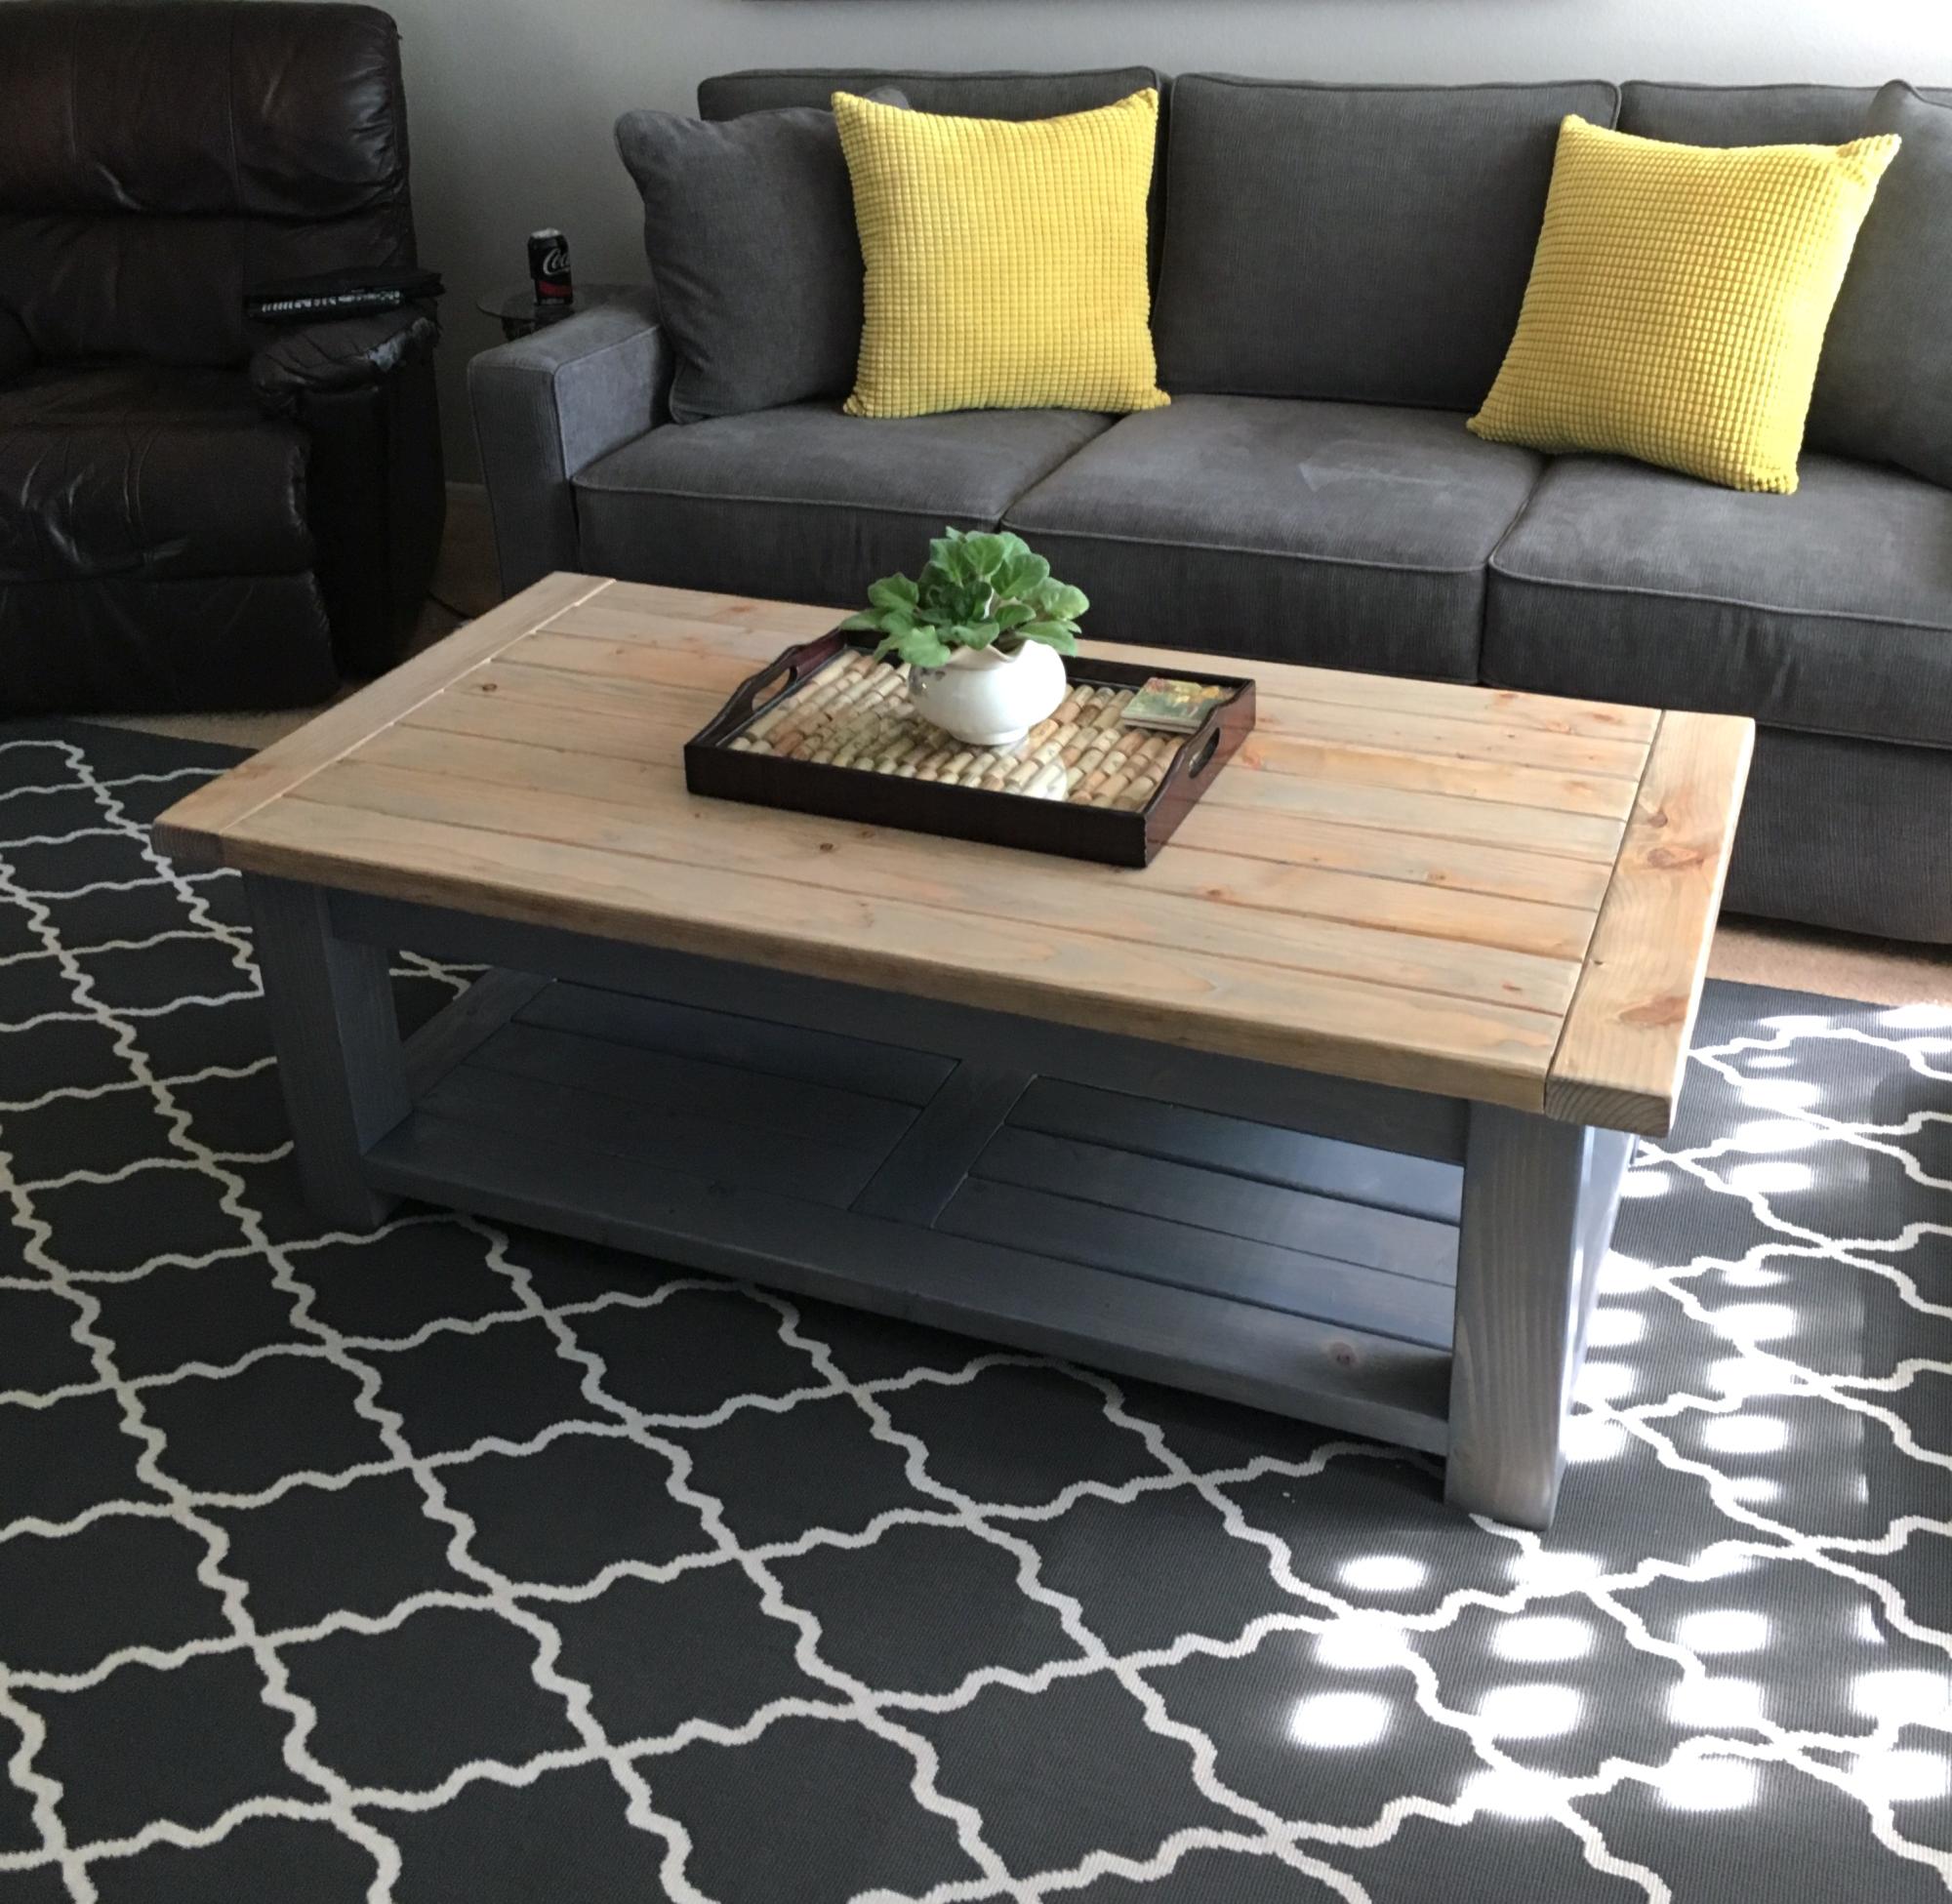
Followed the plan until we decided on a bottom shelf. Where there's a will there's a way. Made it a little bit harder but well worth it

This was my first bench build and I’m happy with the way it turned out! I adjusted the plans to account for wood movement of the table top using mortise and tenon joinery and draw board pins on the bread board ends. Also edge glued the table top boards and used z-clips to attach the bench top.
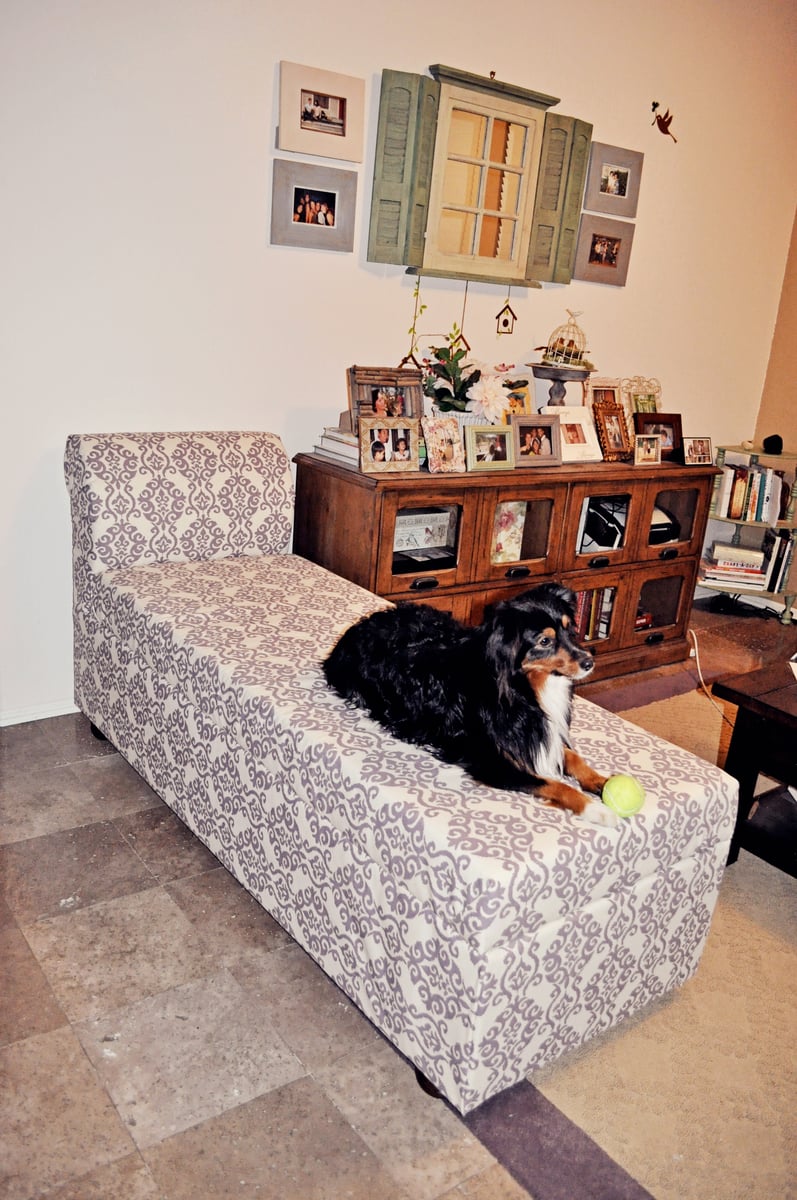
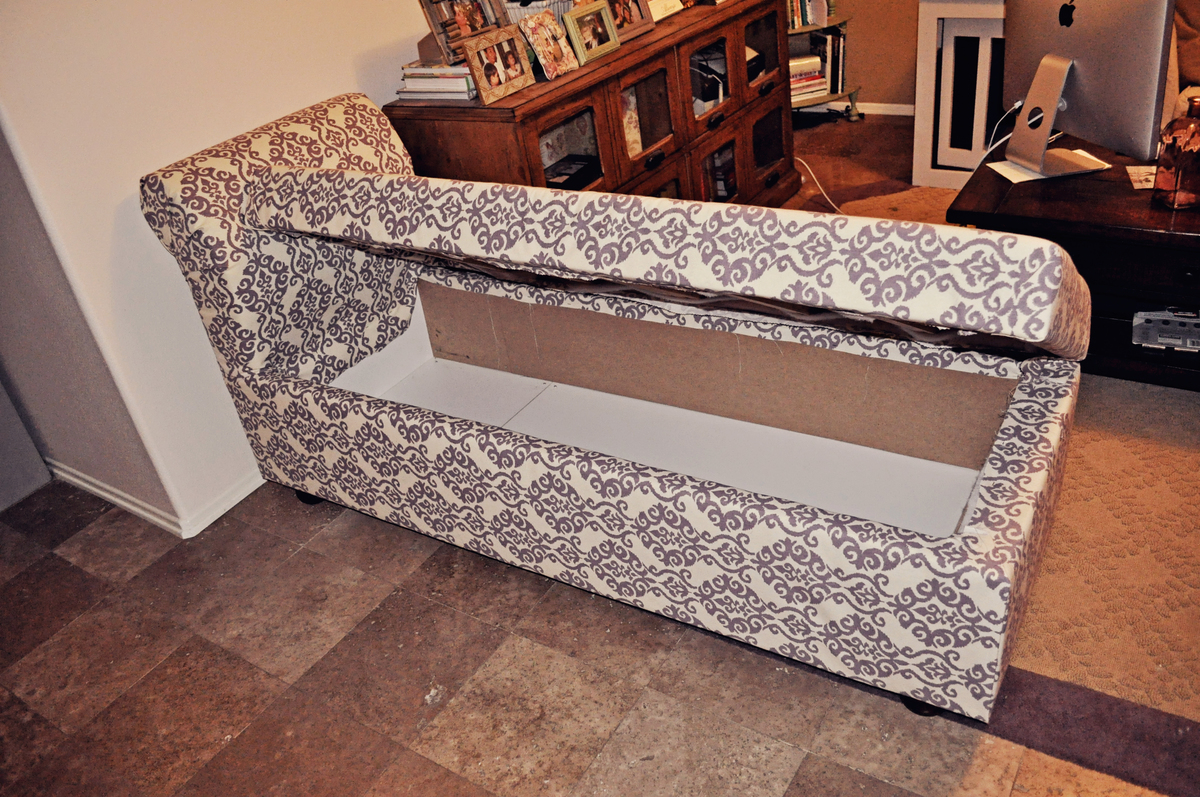
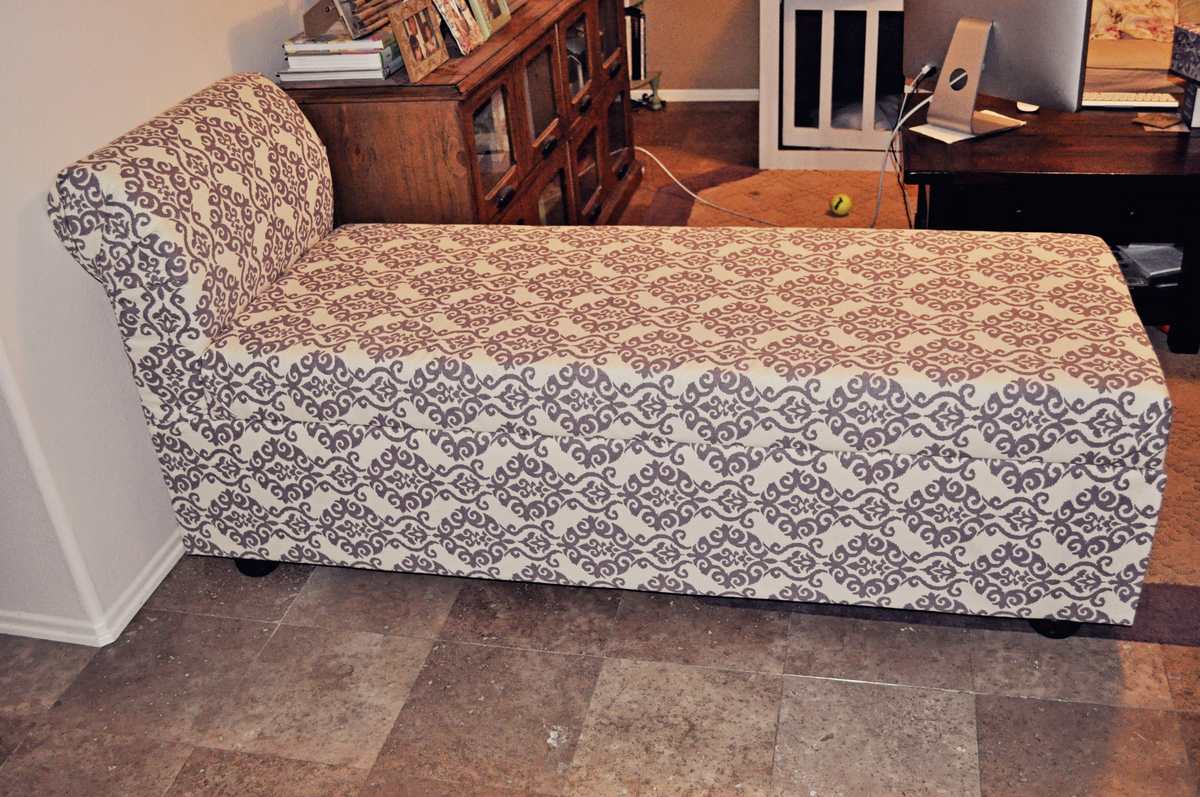
It took the husband and I a good 3 days to finish this project. You can read more of my experience with this chaise on our blog:
http://tonyandkristine.blogspot.com/
For the plans, I found them at Lazy Liz on Less blog:
http://lazylizonless.blogspot.com/2012/05/it-took-me-while-to-decide-wh…
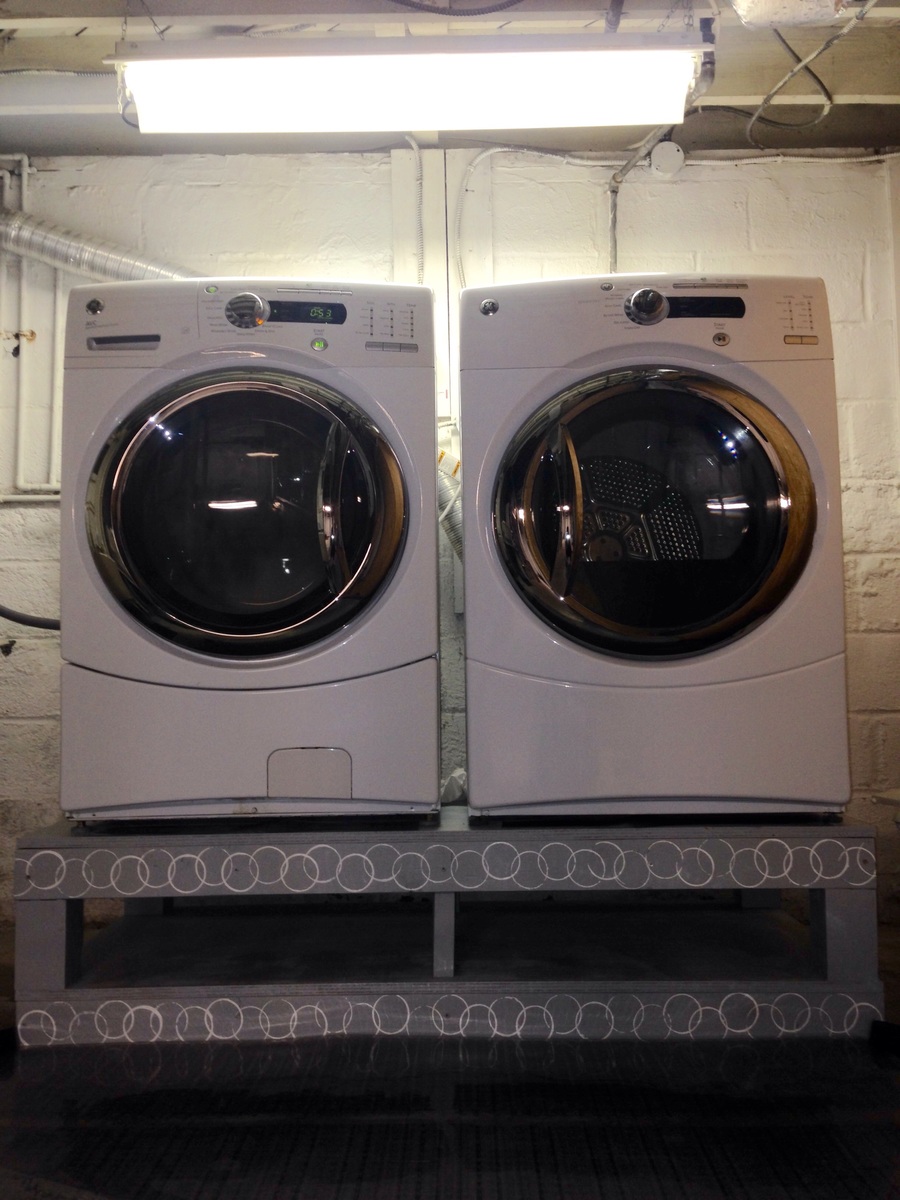
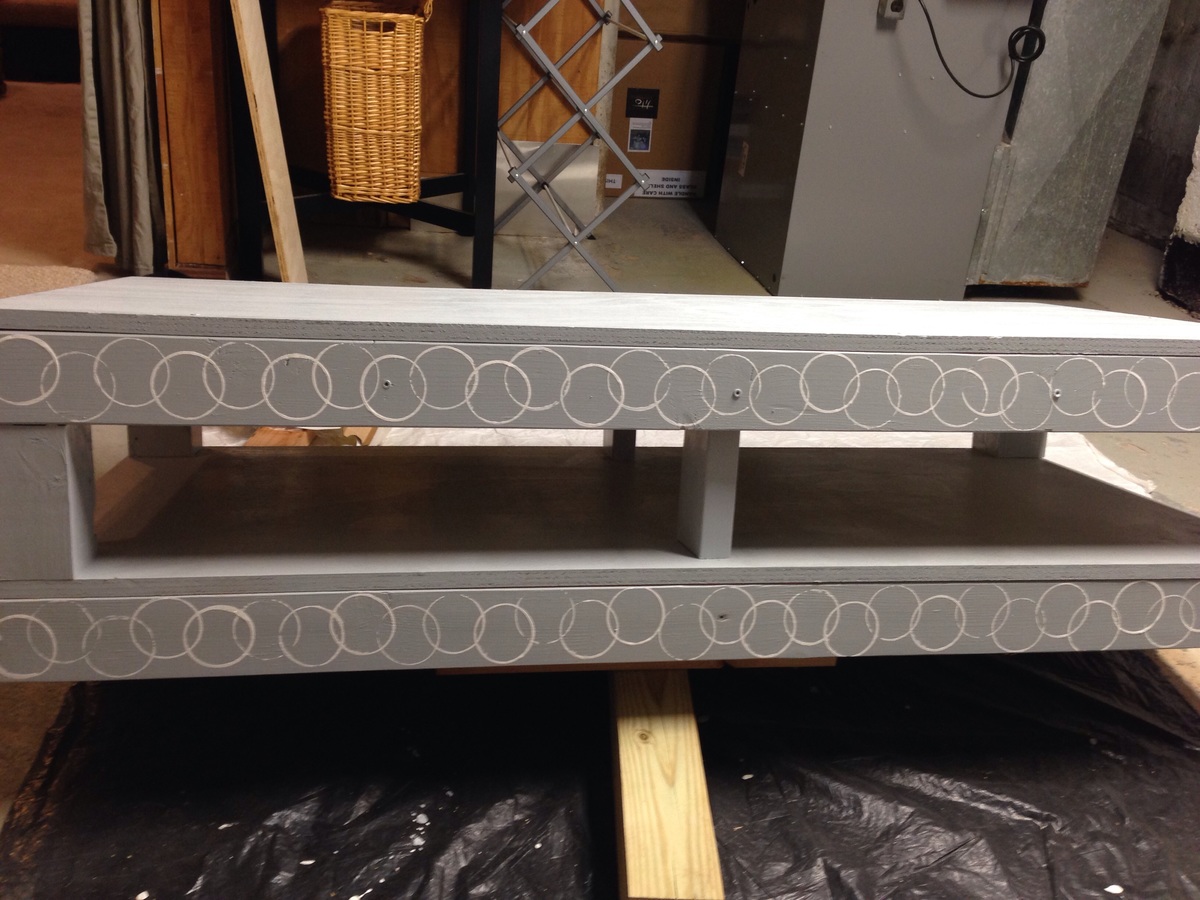
Thank you so much to Sausha and this site for the instructions, shopping list and measurements! I finally have my pedestal! No more back aches! I modified the height to 15" by making the posts to 6" and added center posts using 2x4.
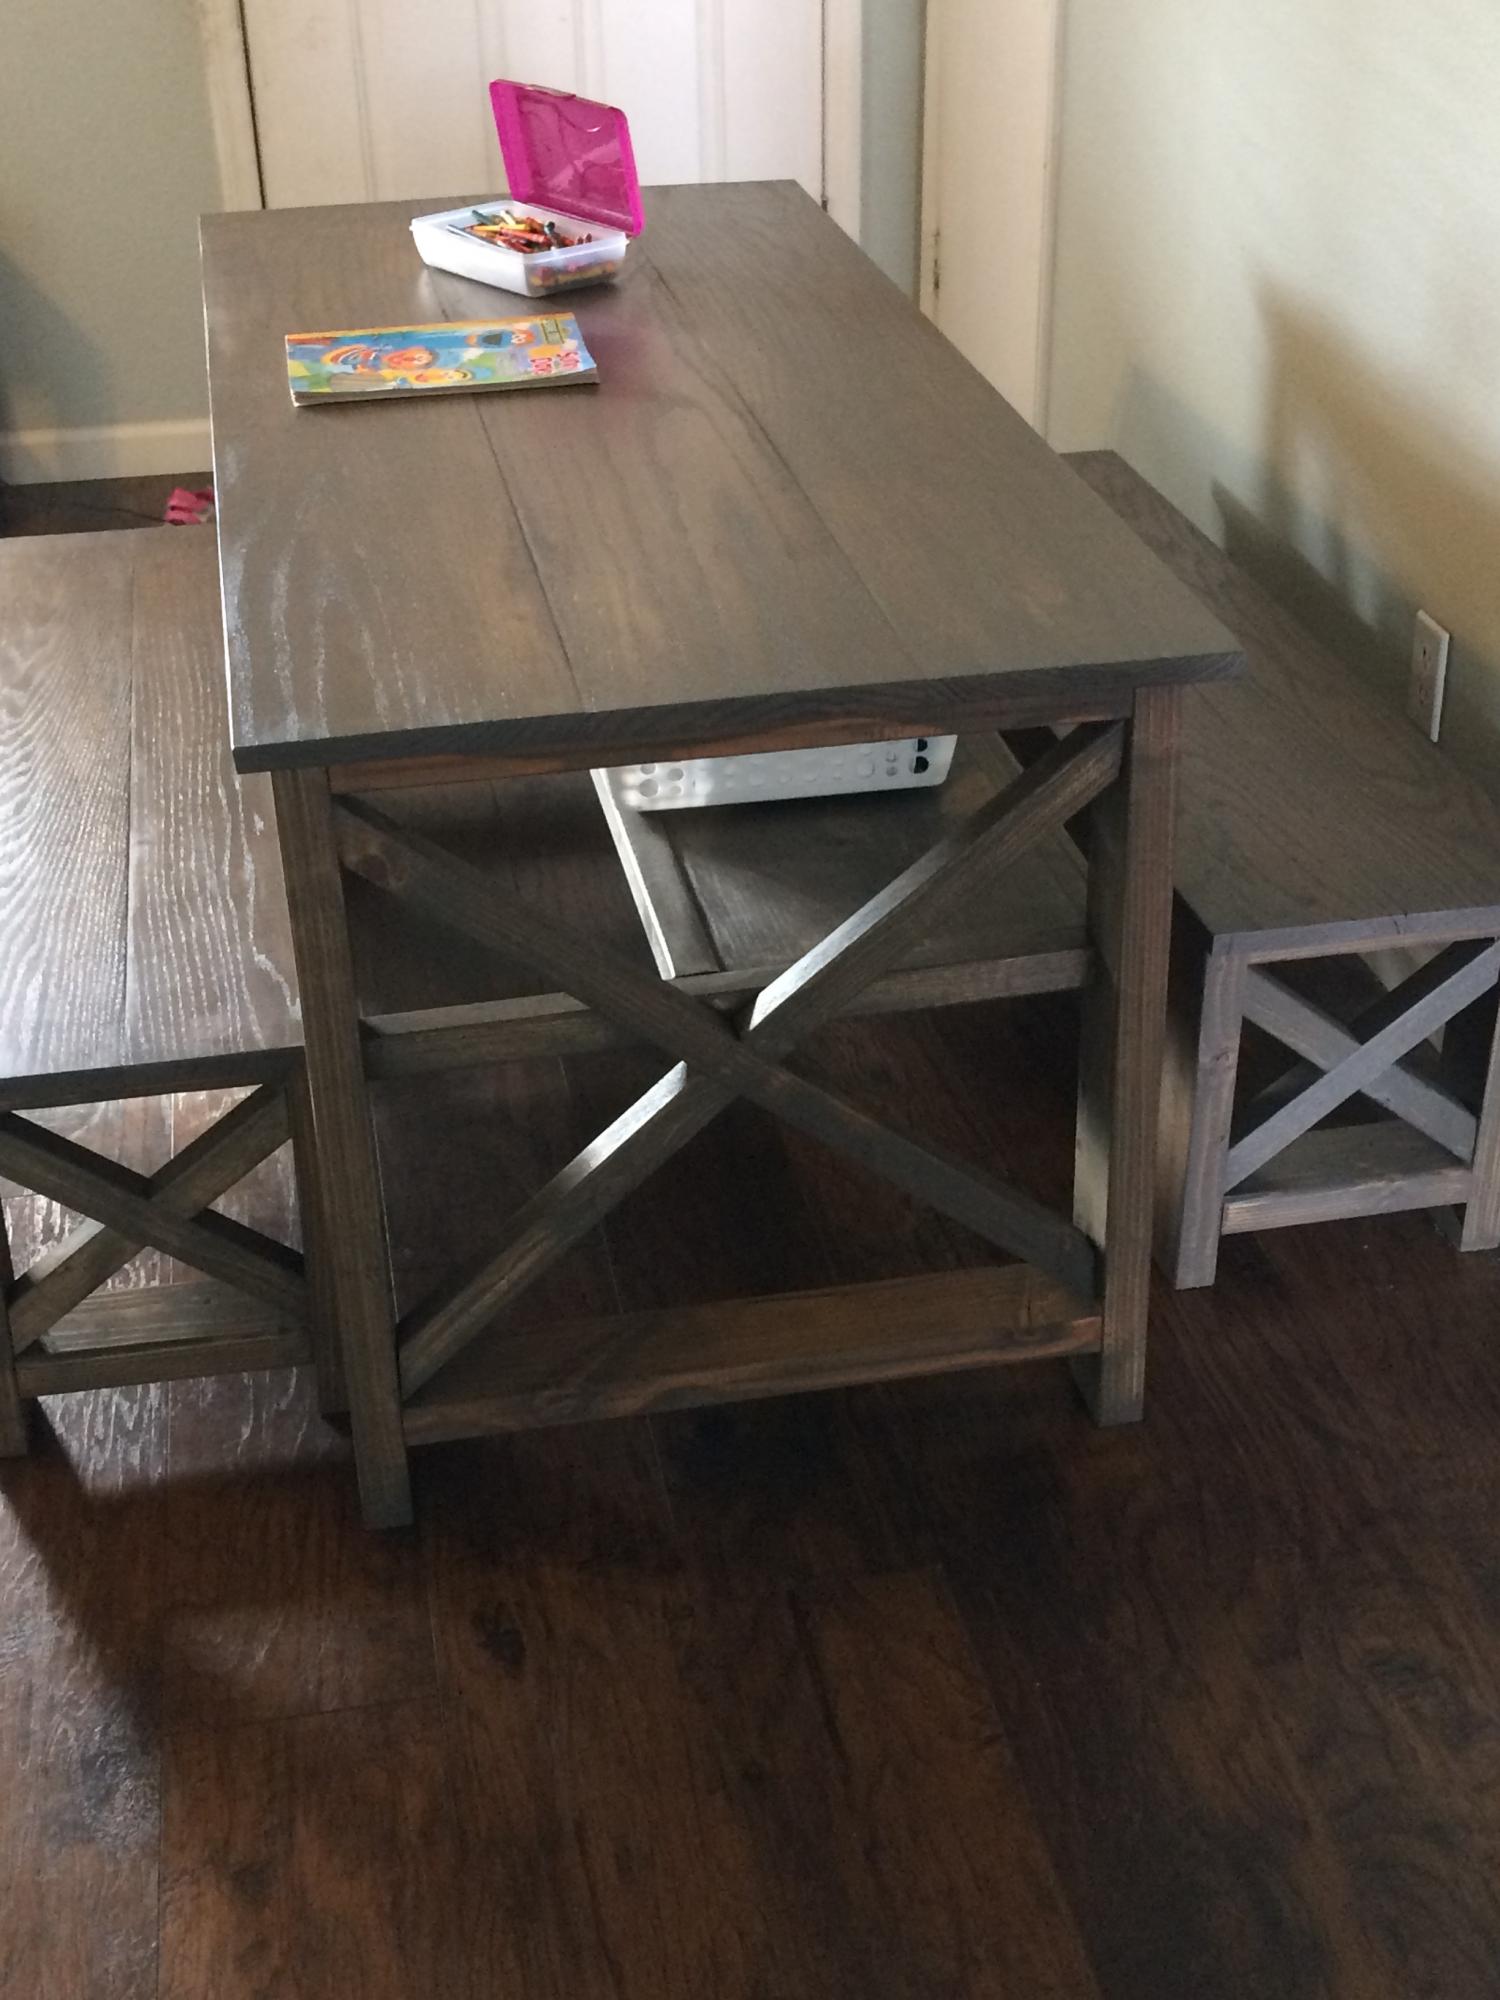
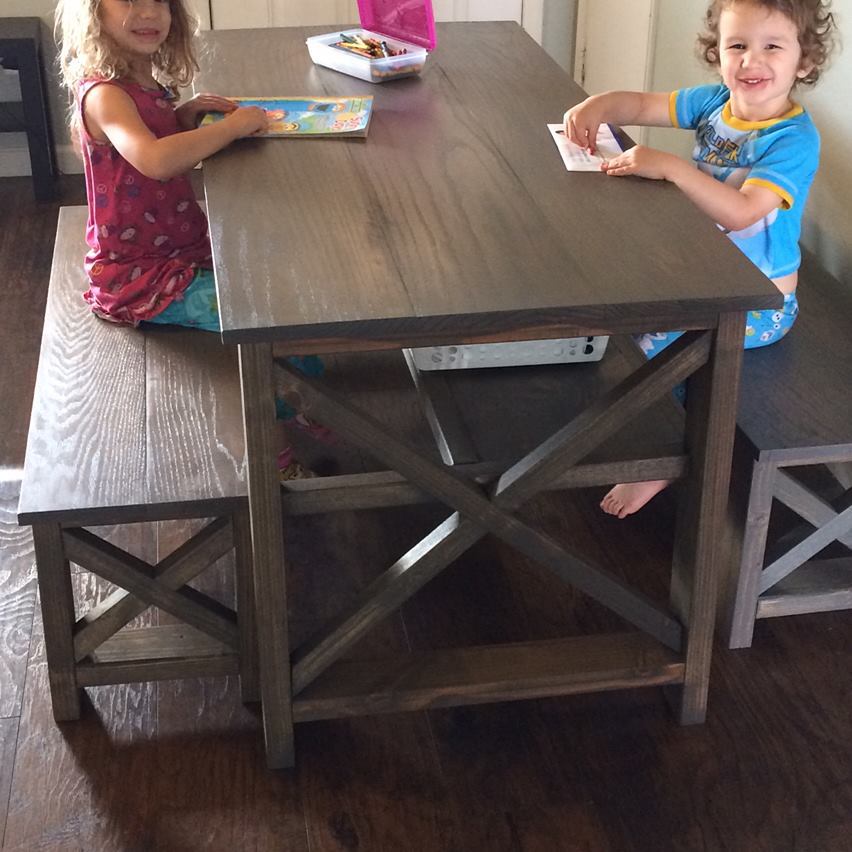
This is a twist on the Rustic X console. I made it wider, shorter and only did one shelf which is indented so the benches can both slide under for easy storage.
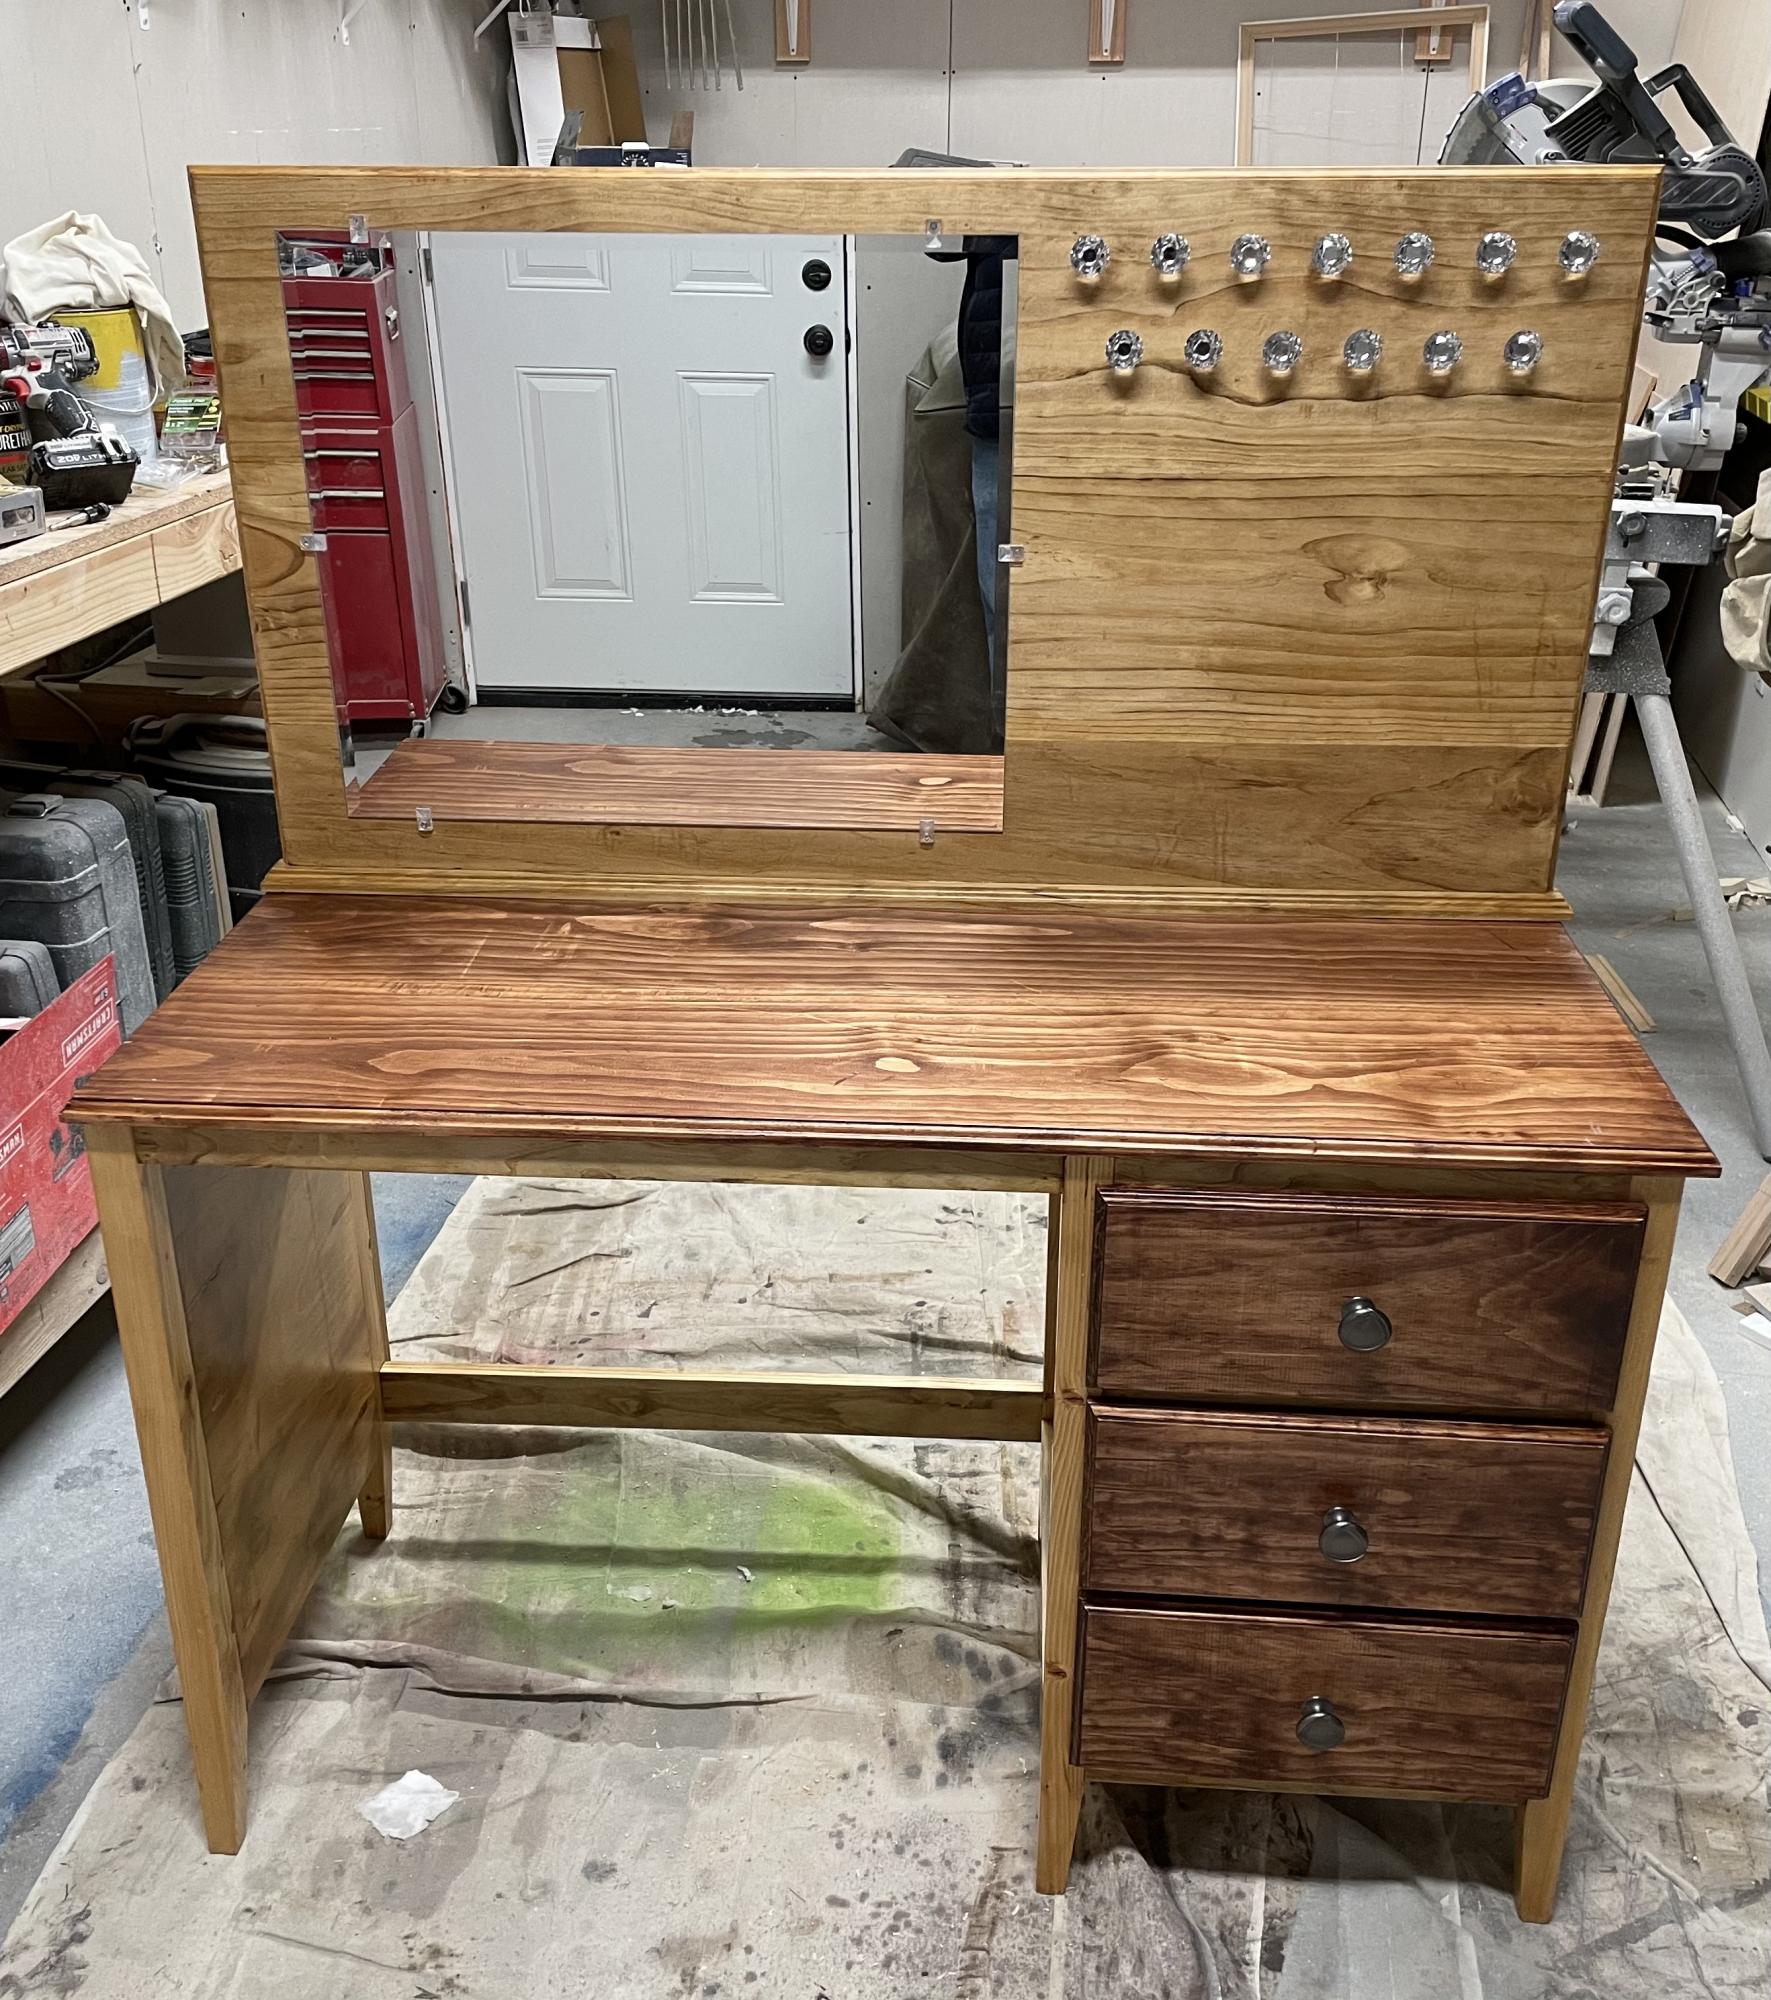
I built this for my adult daughter’s Christmas present. I modified the plan to have three drawers instead of the cubby. I also tapered the bottom of the legs. I added a back piece to hold a mirror. I also added door knobs to the back for necklaces.
The top and the back board are both 4 boards glued and clamped together. I finished the edges of the top, drawer fronts, and the back board with an ogee router bit.
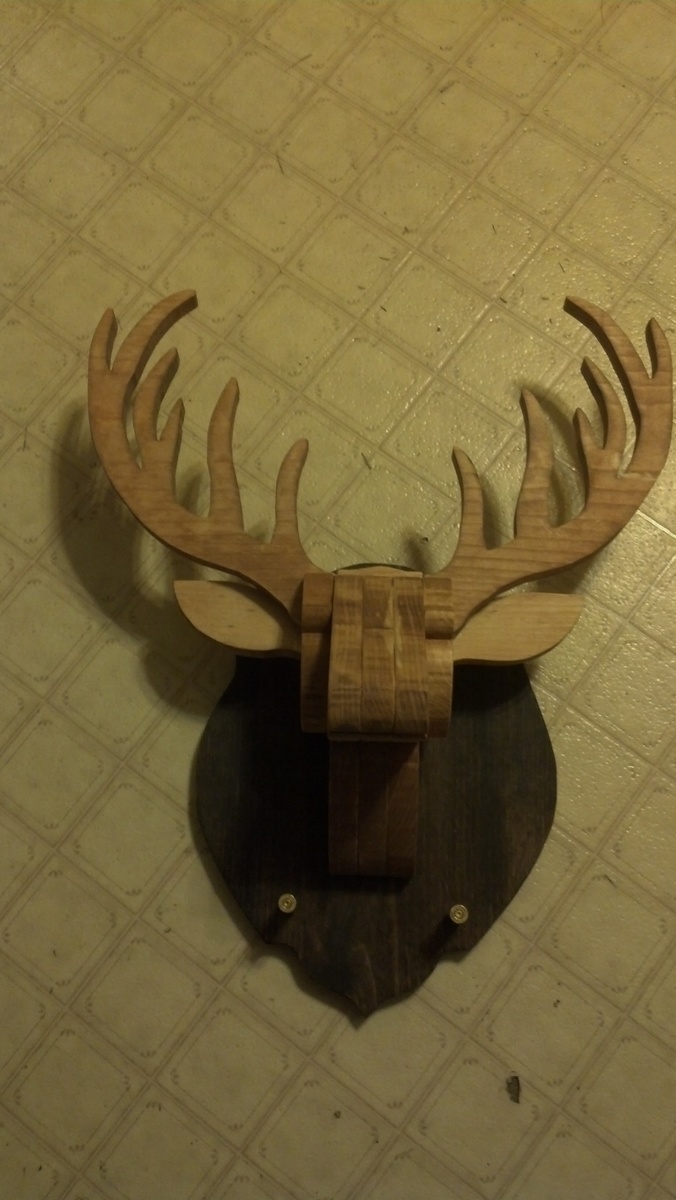
I did this project for my father's birthday this February. Any ideas to improve it let me know. I hand drew the plaque on the back. I used some old brass when I went hunting in the past.
Mon, 01/28/2013 - 08:15
This is too cool! Is it too much to ask for a daytime photo? This is great!

This is my Thank You Project. I made this as was presented with the plans from my daughter and asked to make it. Thanks to Ana White for posting great plans to follow. This unit has been through five moves with teenagers doing the lifting. There are no issues except I did repaint it. http://ana-white.com/2011/12/plans/hillary039s-locker-cabinet-charging-cubbies This is my first project so I followed the plans exactly.
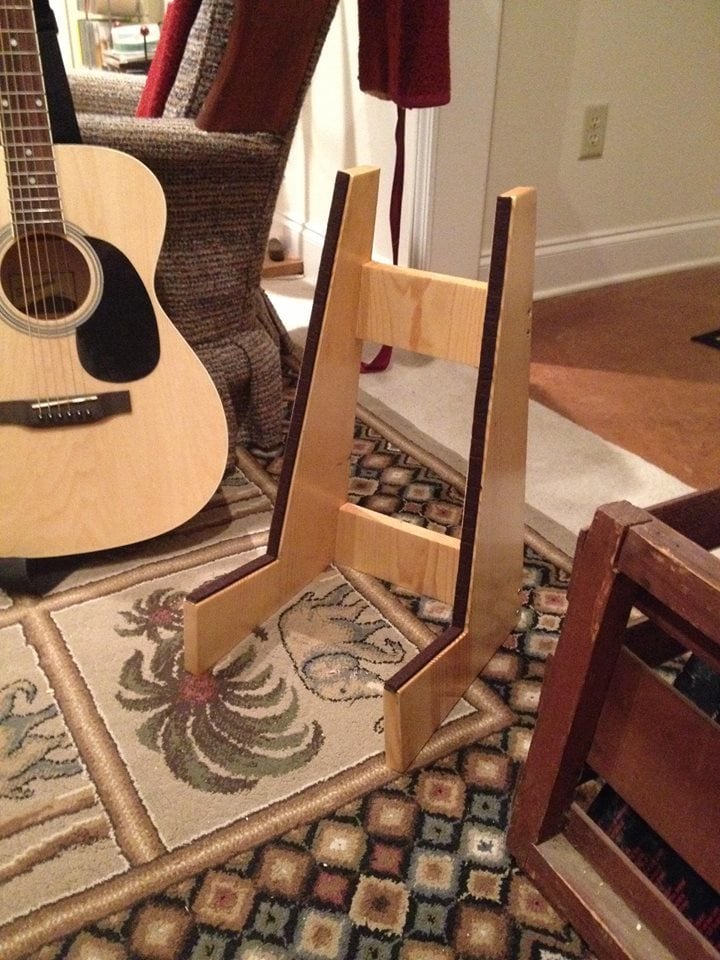
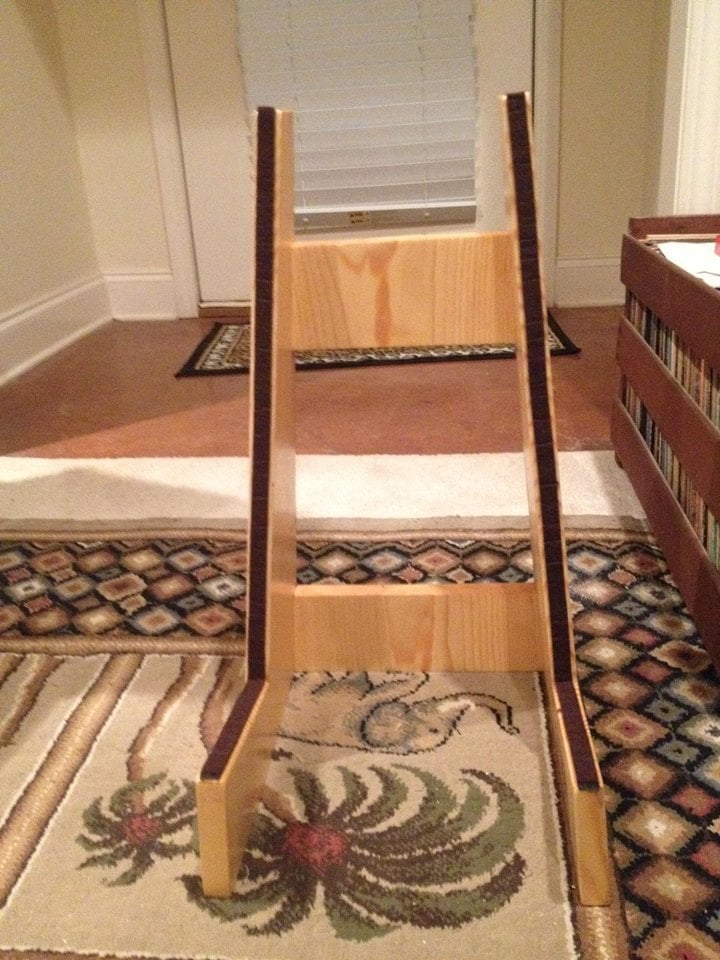
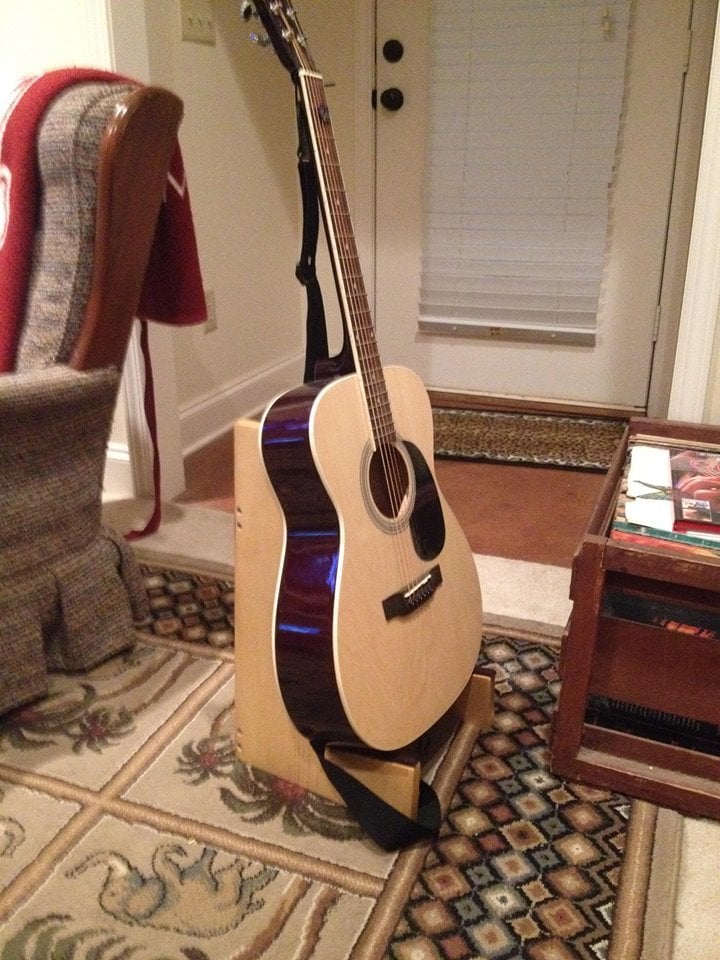
Built this guitar stand basically by using on-hand materials left over from another project. Used 1x12's; 18" tall fir for sides and back braces (cut at 5 degrees on each side). Added felt strips to protect the instrument.
Thu, 05/28/2020 - 17:37
Very nice and well designed. Thanks for some ideas!
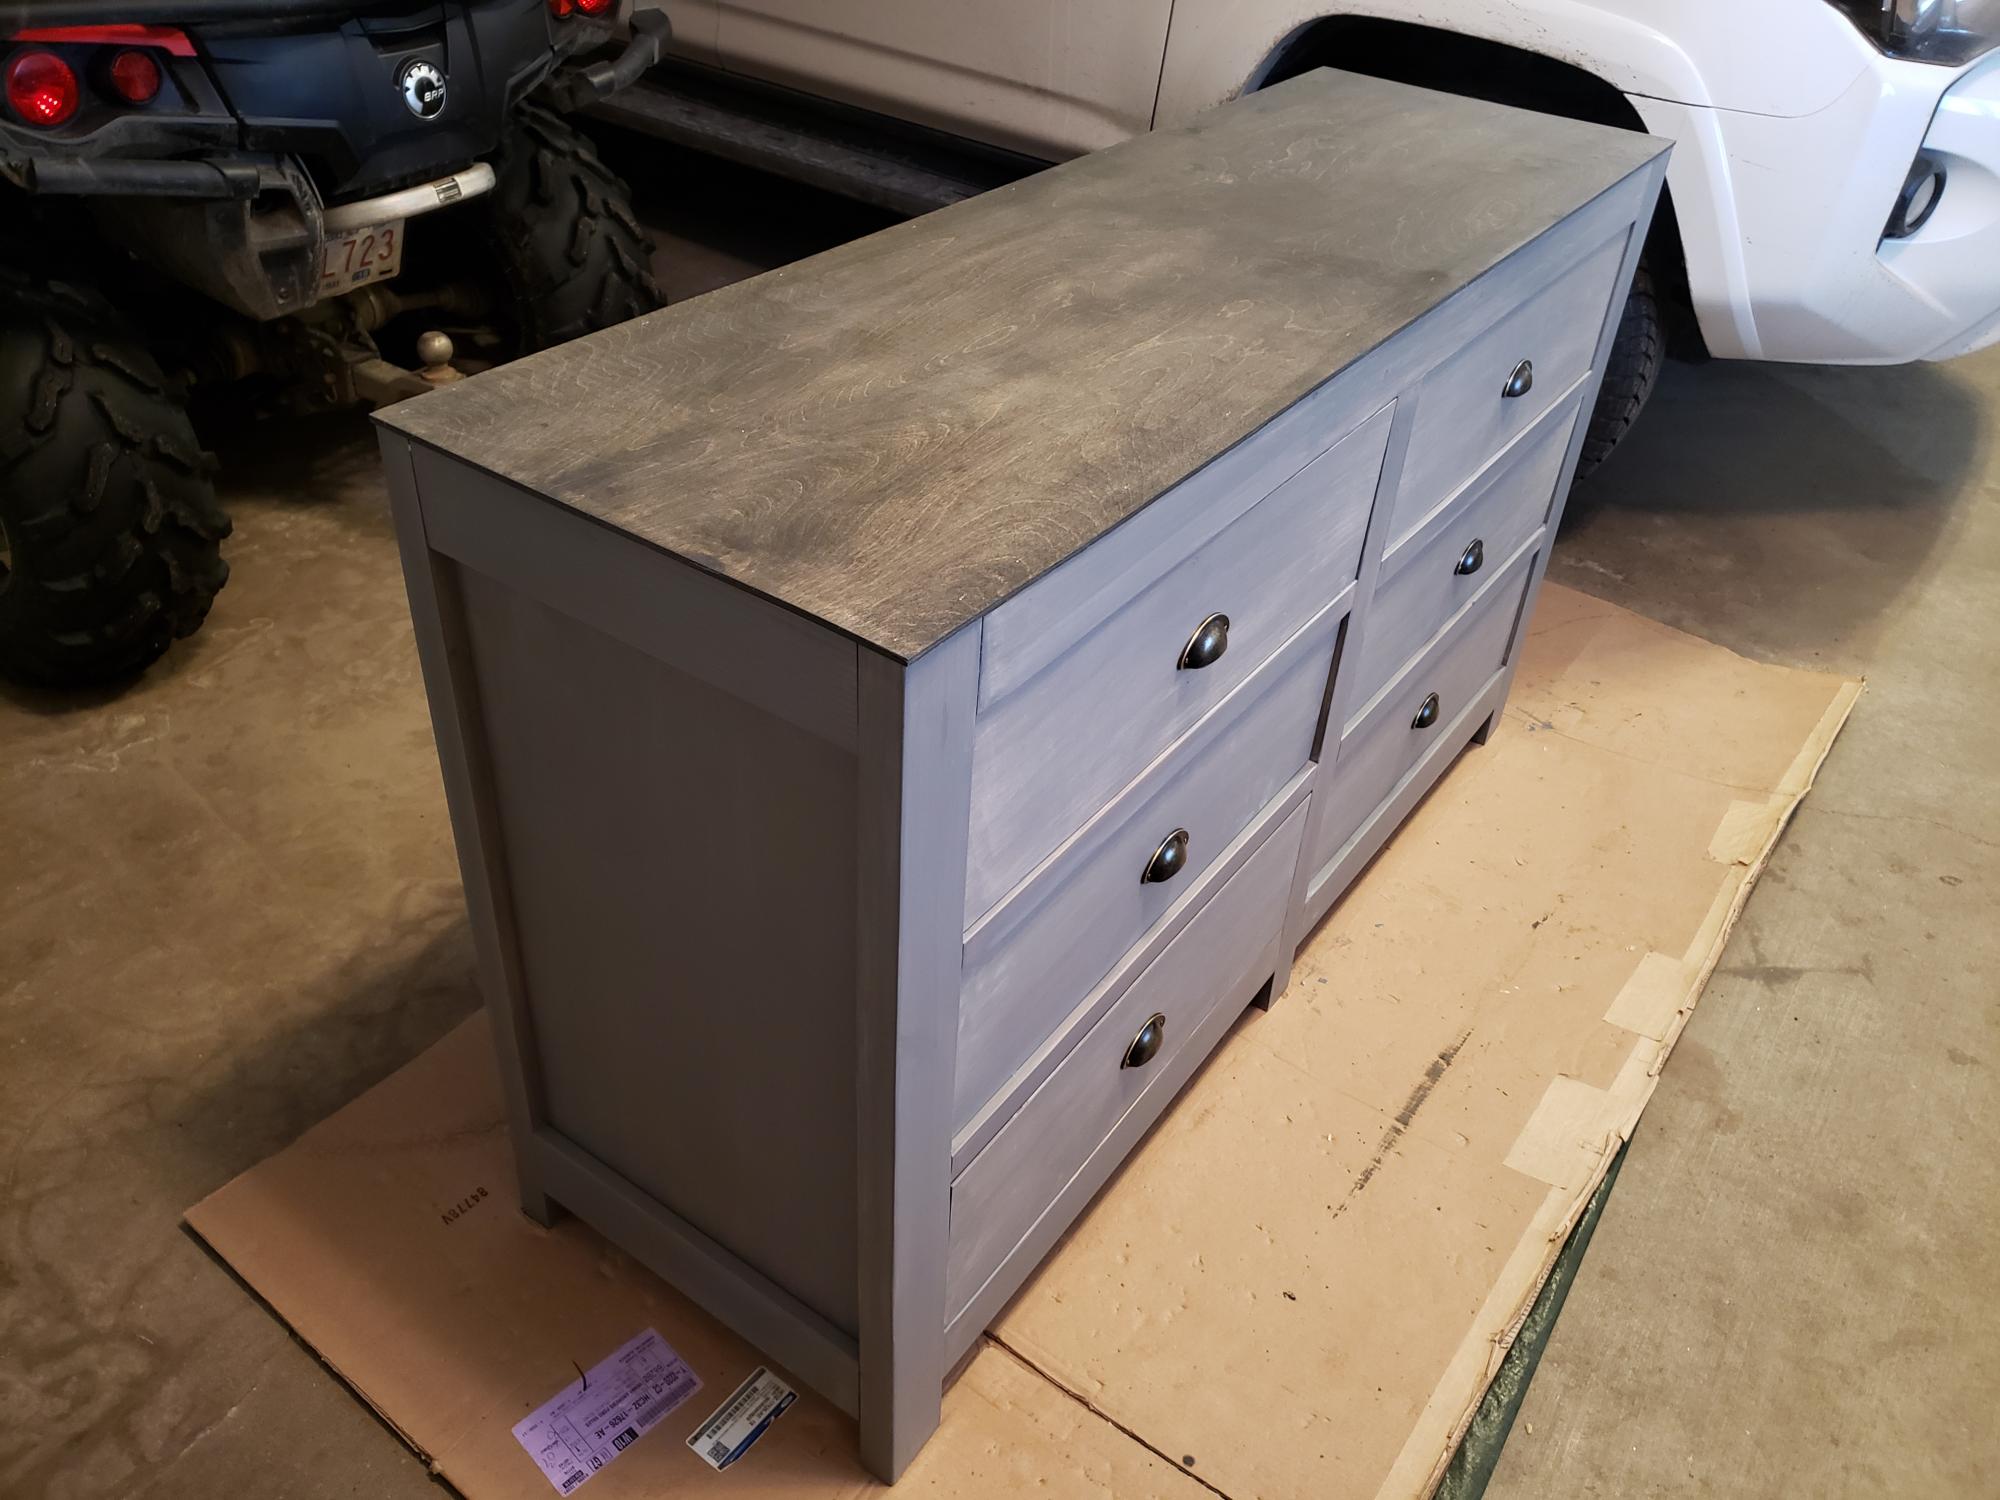
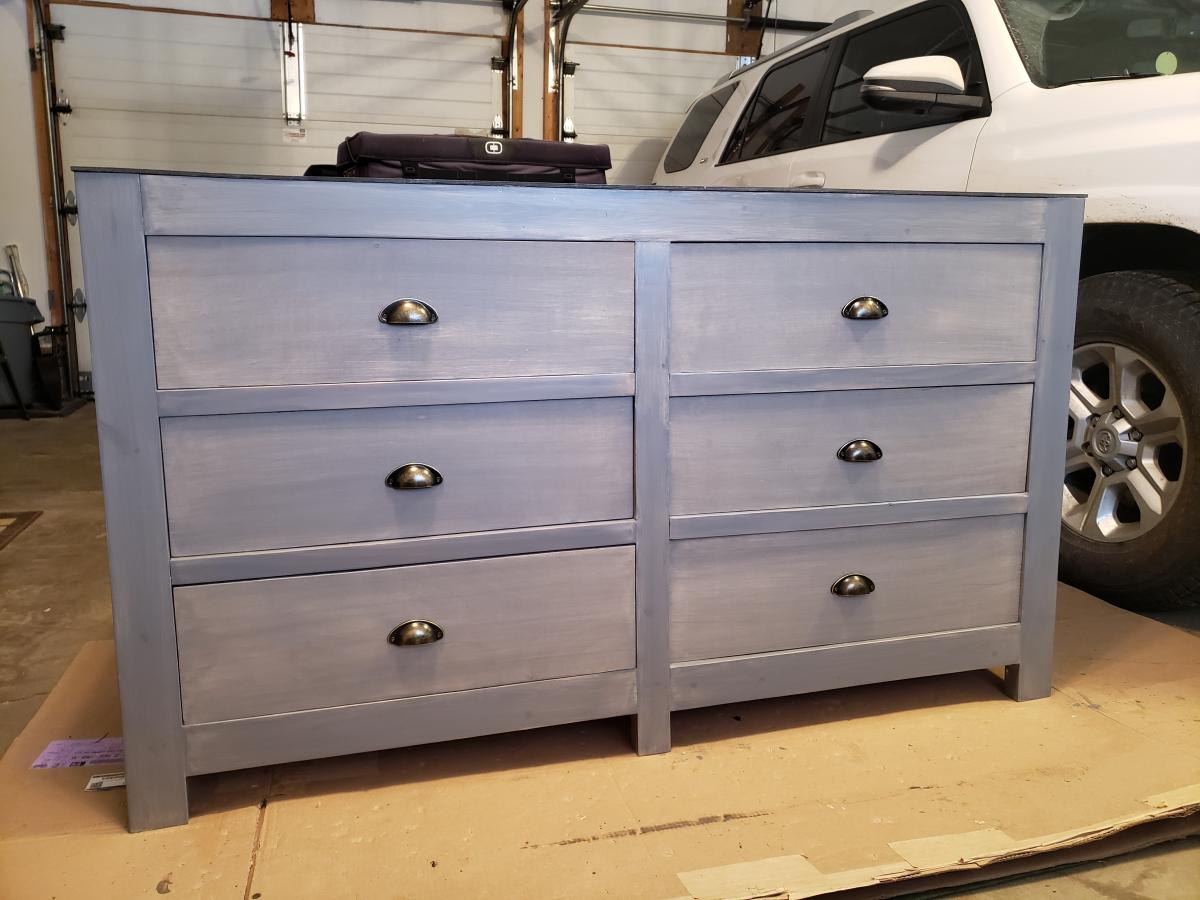
Made this dresser for my newest Grand daughter. Turned out pretty nice. A few mistakes for sure!!! But I am proud and its functional. Worked on it off and on for a month.
Mon, 12/21/2020 - 11:23
Thank you for all the plans. I started wood working a year ago and I am still learning.

We followed the plan exactly as instructed, but instead of cutting the arch accents out of wood, we simply attached decorative shelving brackets to the legs.


Wed, 01/30/2013 - 13:31
Looks good! The use of metal brackets really makes it a unique piece.
Thu, 01/31/2013 - 07:31
Your table looks awesome, particularly with your L-brackets. Would you mind sharing where you got the L-brackets?
Thu, 01/31/2013 - 07:36
Of course! They are decorative shelf brackets we picked up at Lowes.

This coffee table was my first build. Its a blend of mulitple coffee table designs by Ana White.


Comments
Ana White Admin
Tue, 02/21/2017 - 10:33
So cute!
You did an amazing job, thanks for sharing!
tika1977
Tue, 02/28/2017 - 12:46
did you copy off mine
did you copy off mine