Community Brag Posts

DIY Dust Collector

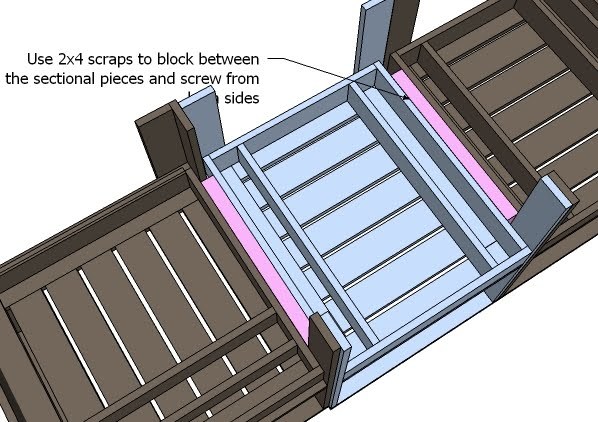
I have allergies to wood dust, which can make working in my shop a challenge. To help deal with the large amount of dust I've been kicking up lately with my table saw, I built my own dust collection system. It's not as good as a professional dust collector, but it's pretty good, and it was really easy to build.

Estimated Cost
$20
Estimated Time Investment
An Hour or Two (0-2 Hours)
Recommended Skill Level
Beginner

Comments

claydowling

Sun, 12/04/2011 - 07:13

On facebook somebody suggested that putting the port for the vacuum in the center would improve the vortex action. That would match the configuration of the vortex collectors, which draw from the center as well.

StacieM

Wed, 12/07/2011 - 16:23

I have got to try this! My boyfriend complains about the sawdust EVERY time I make something and this would really reduce the justification for complaining :-) Thanks for the plans!

Guest Room Farmhouse Bed with planked wall

Submitted by The Allens on Sat, 11/02/2013 - 15:05

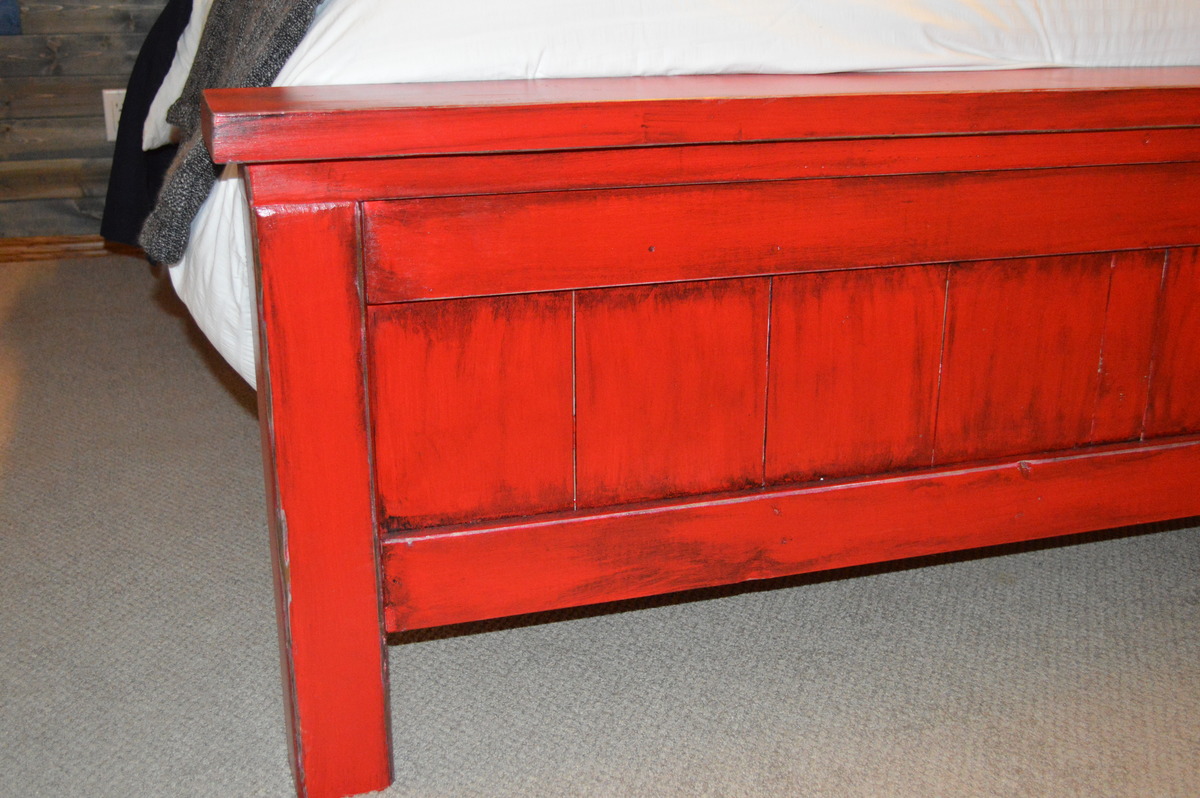
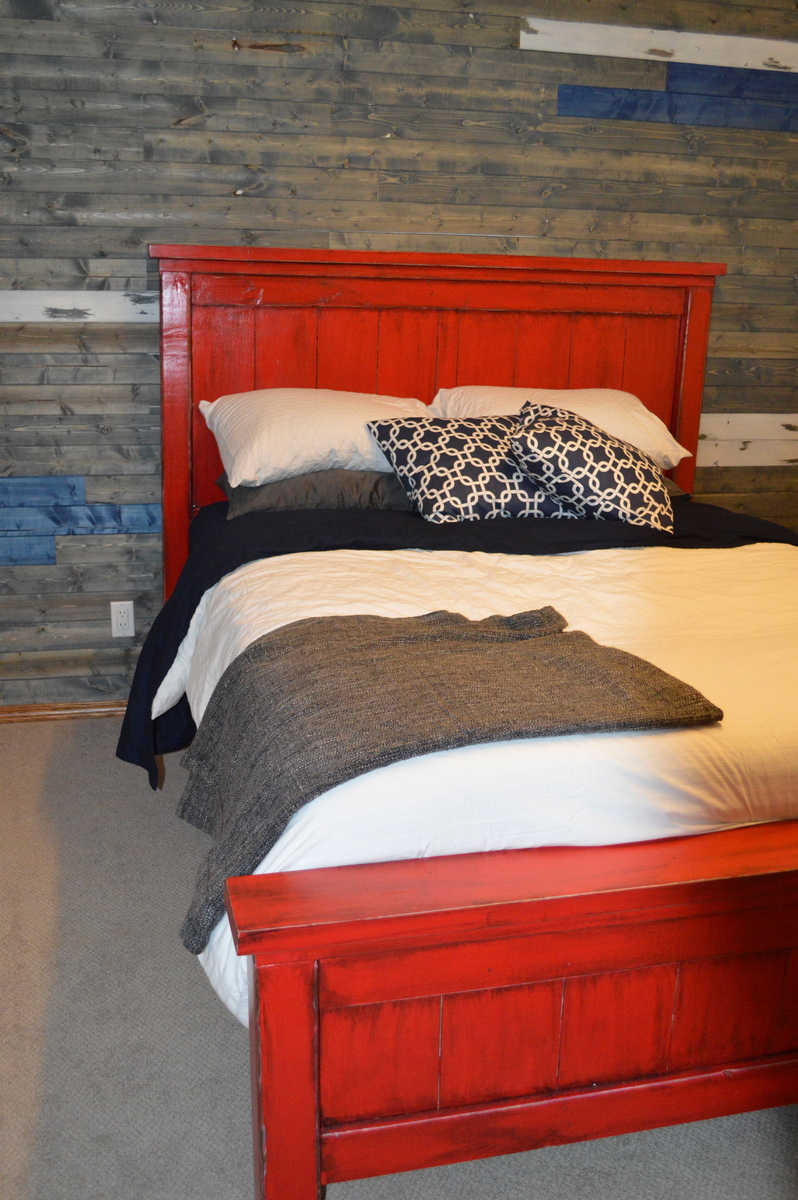
We loved the first farmhouse bed we built so much, that we decided to build another one for our guest bed. We loved the red paint, and weren't too sure how to accent it, so we went with a planked feature wall. Just need to build some night stands and hang some pictures and our guest room should be complete!

Built from Plan(s)
Estimated Cost
$150
Estimated Time Investment
Weekend Project (10-20 Hours)
Finish Used
We primed and then painted 3 coats of red paint, I think California Poppy BEHR paint. Then I used a glaze, that I tinted with black paint, brushed it on and then wiped off with a damp rag. Finished it off with Minwax Polyurathene semi gloss clear coat.
Recommended Skill Level
Starter Project

Comments

JoanneS

Sat, 11/02/2013 - 18:16

Awesome project! Love the bed and red finish, and the plank wall is brilliant! Love it!

The Allens

Sun, 11/03/2013 - 19:22

We didn't have any old distressed wood, so we bought pine tongue and groove from the hardware store and stained them ourselves. Then we just used a nail gun to attach them to the studs on the wall. It was surprisingly easy to do, just a bit time consuming. And nerve wrecking, we figured it would look either really good, or just awful! W are very pleased with how it turned out!

Action Figure playset

Submitted by Anonymous (not verified) on Tue, 01/19/2016 - 11:03

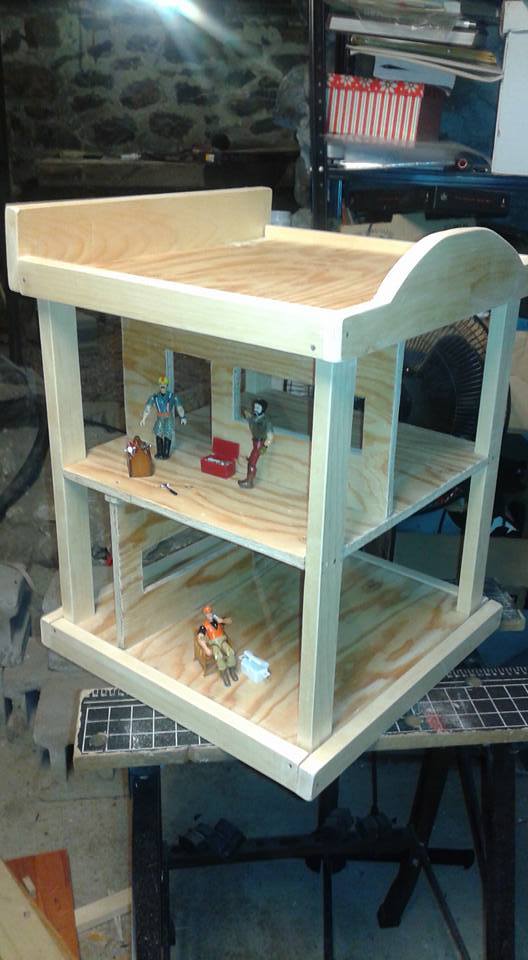
Action figure playset built from firehouse playset plans.

Built from Plan(s)
Estimated Cost
$30 Canadian
Estimated Time Investment
Afternoon Project (3-6 Hours)
Recommended Skill Level
Beginner

Snack Cabinet to fit dormer

Submitted by Anonymous (not verified) on Sat, 03/25/2023 - 10:05

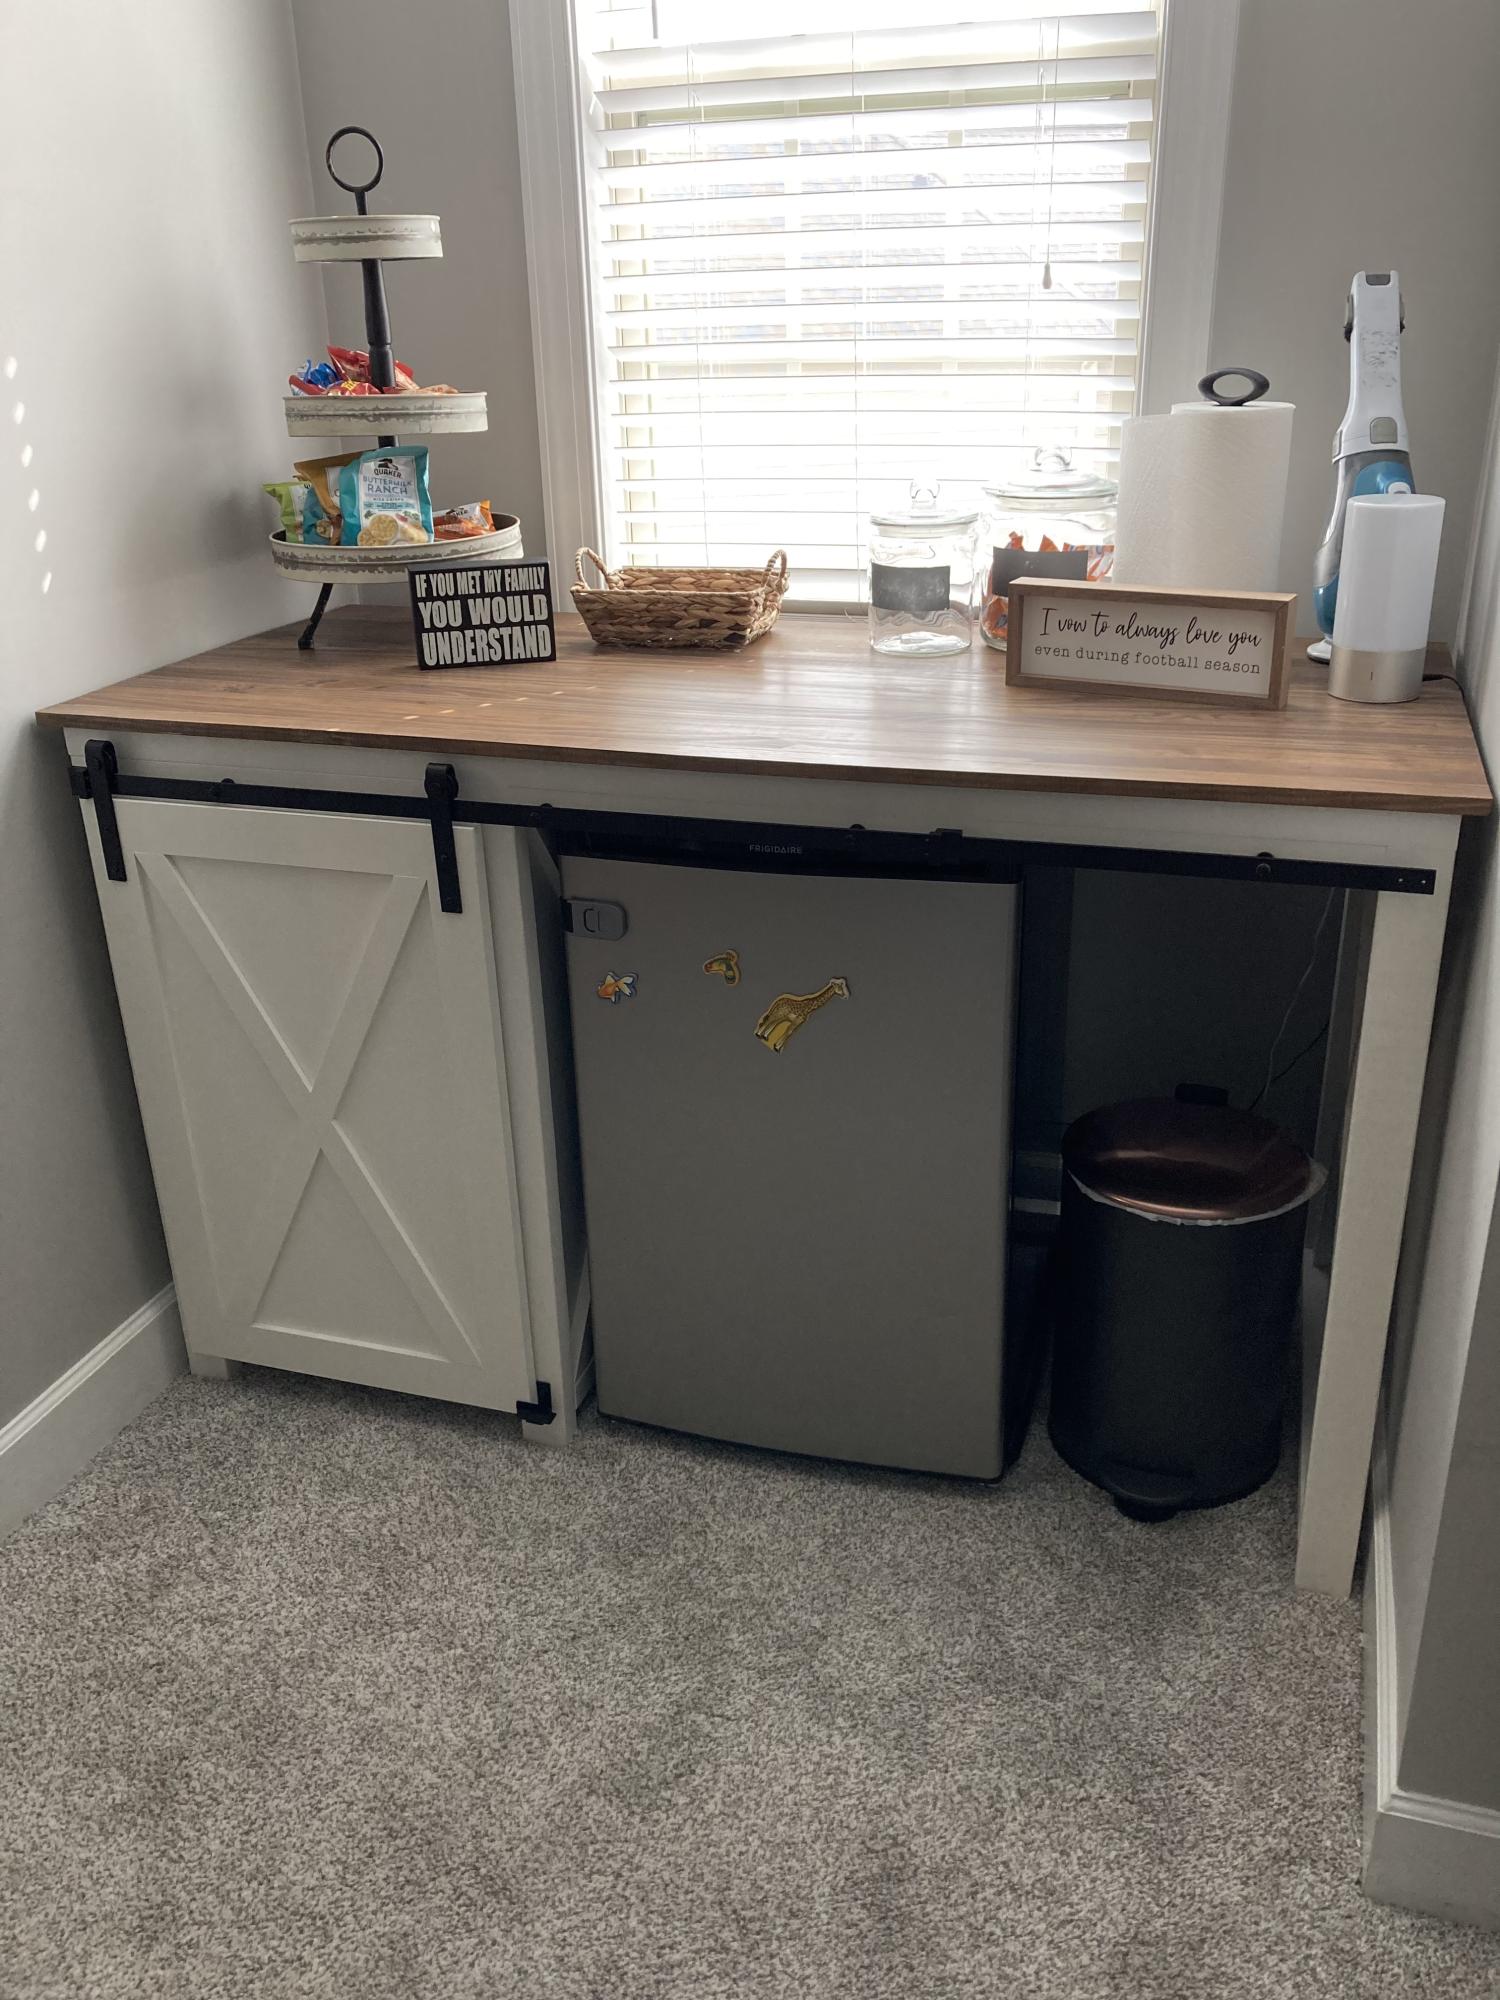
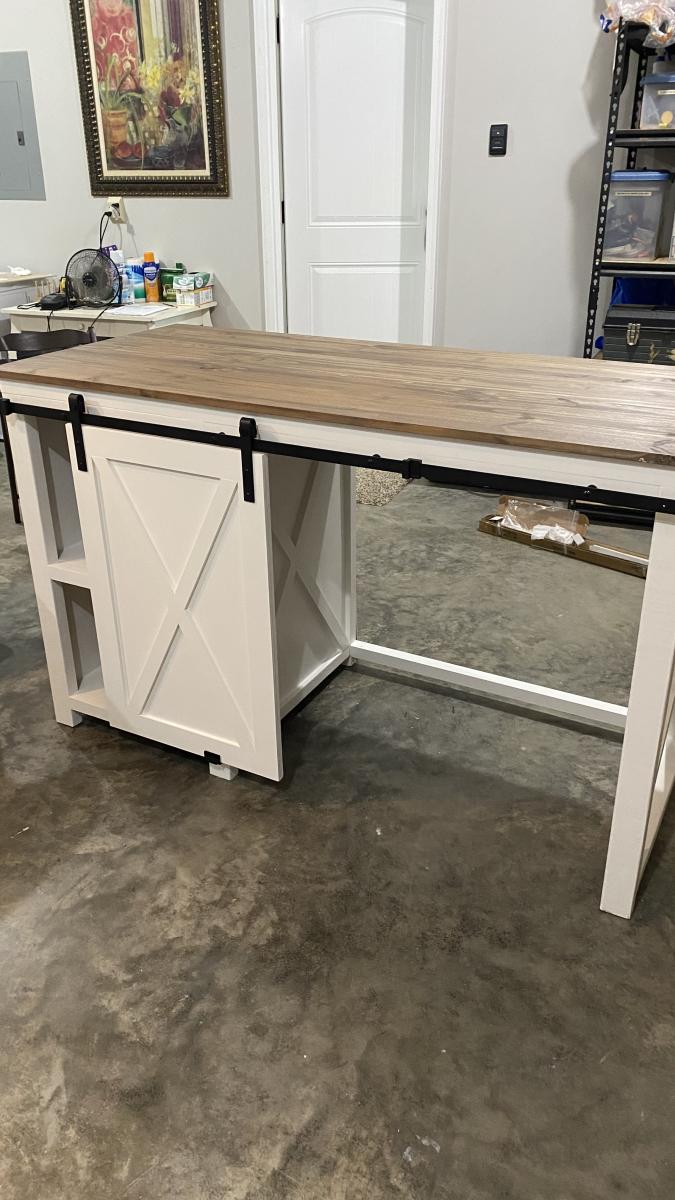
Our son and his wife wanted a snack cabinet in their bonus room dormer. My husband and I used your Farmhouse Desk plan and tweaked it with your Barn Door Cabinet plan. They love it! It was a first cabinet build for us and we were proud! You are our go to for ideas and plans. Thank you!

Comments

Kitchen Island

Submitted by lbrown on Sun, 12/11/2011 - 19:52

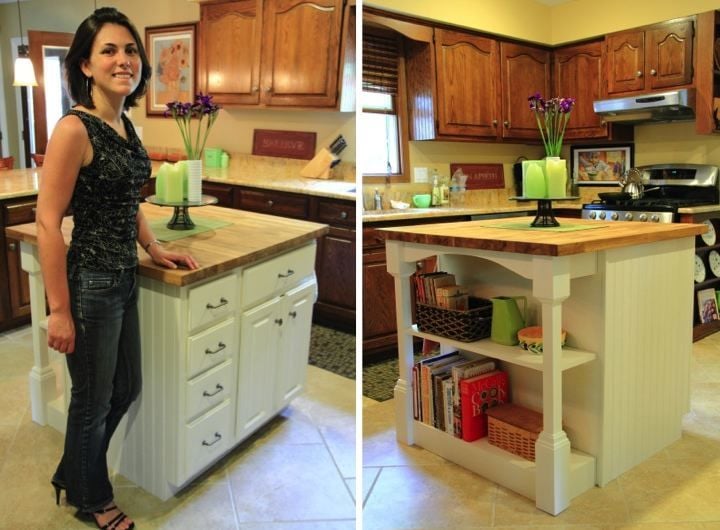
I made this kitchen island for my mom last year by repurposing two cabinets and building a bookcase for the back.

For details: http://www.homeandawaywithlisa.com/blog/2011/11/28/kitchen-island-for-m…

Estimated Cost
$200
Estimated Time Investment
Weekend Project (10-20 Hours)
Finish Used
I used white paint for the finish
Recommended Skill Level
Intermediate

Comments

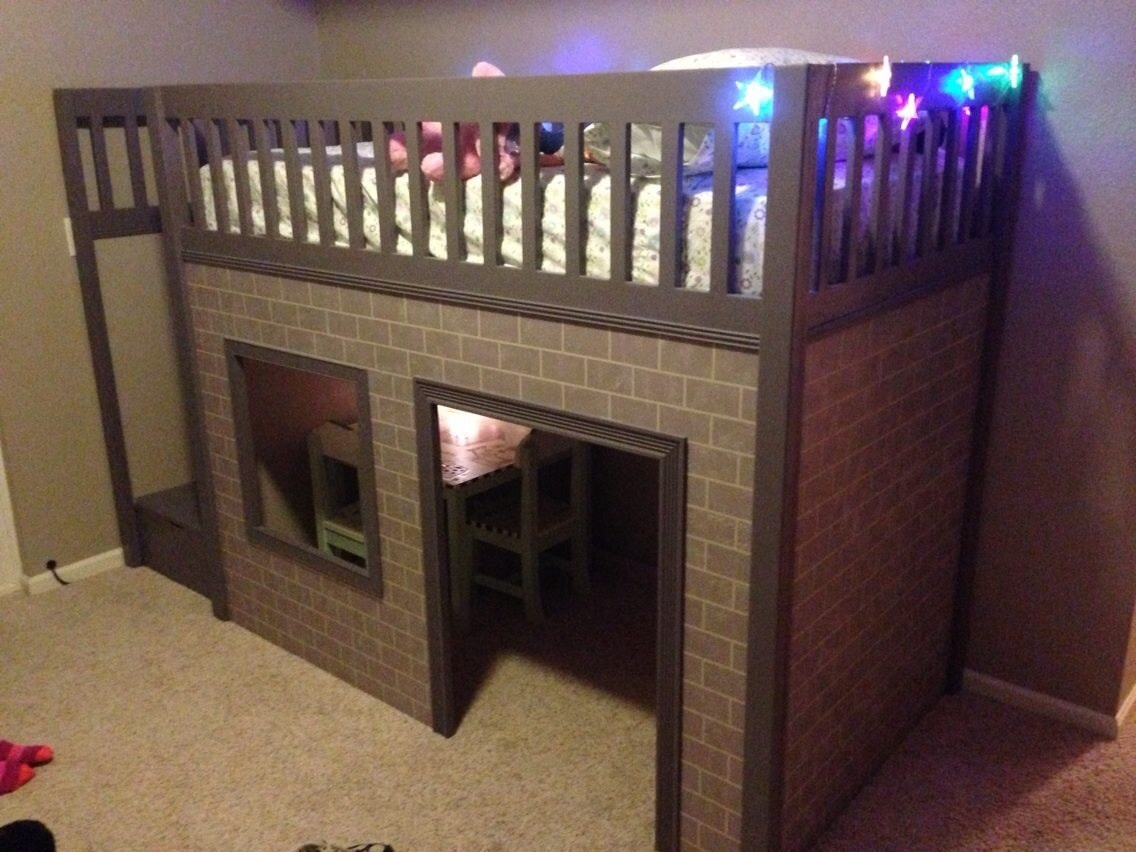
Finished the amazing playhouse loft bed

Submitted by gftl33 on Tue, 11/05/2013 - 12:27

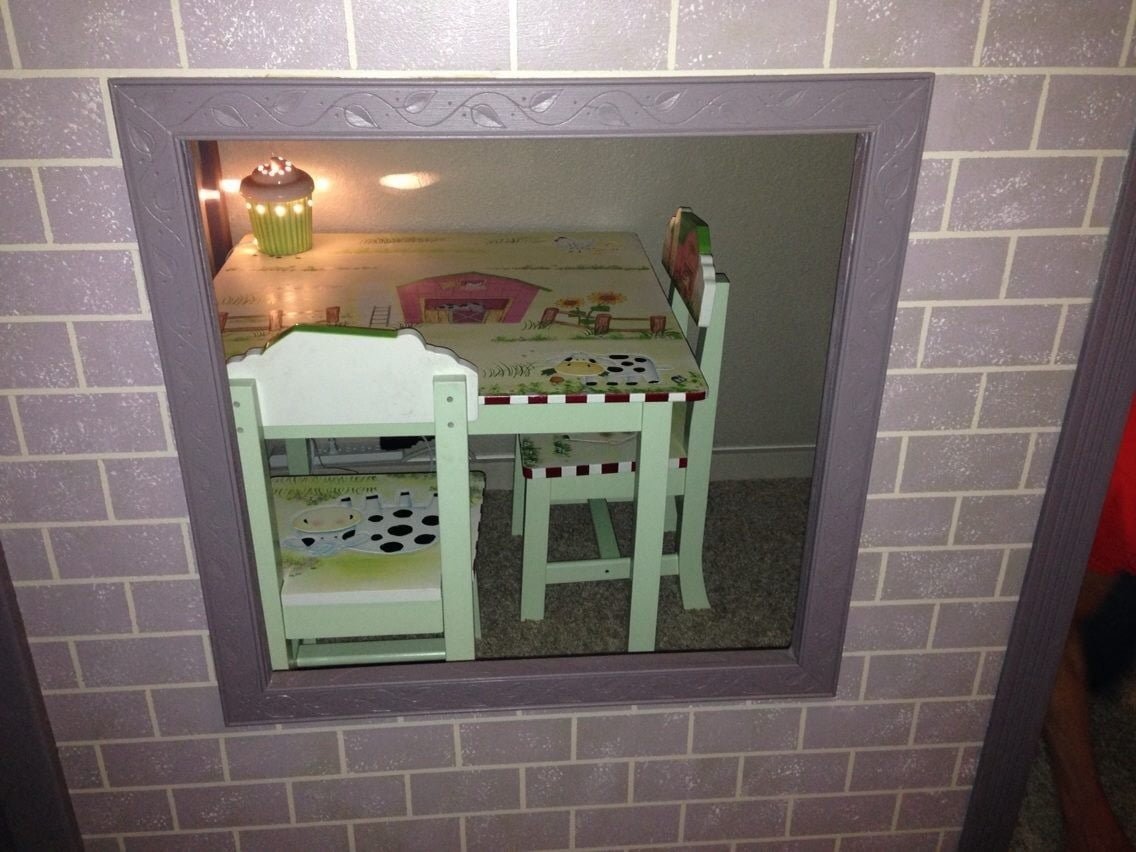
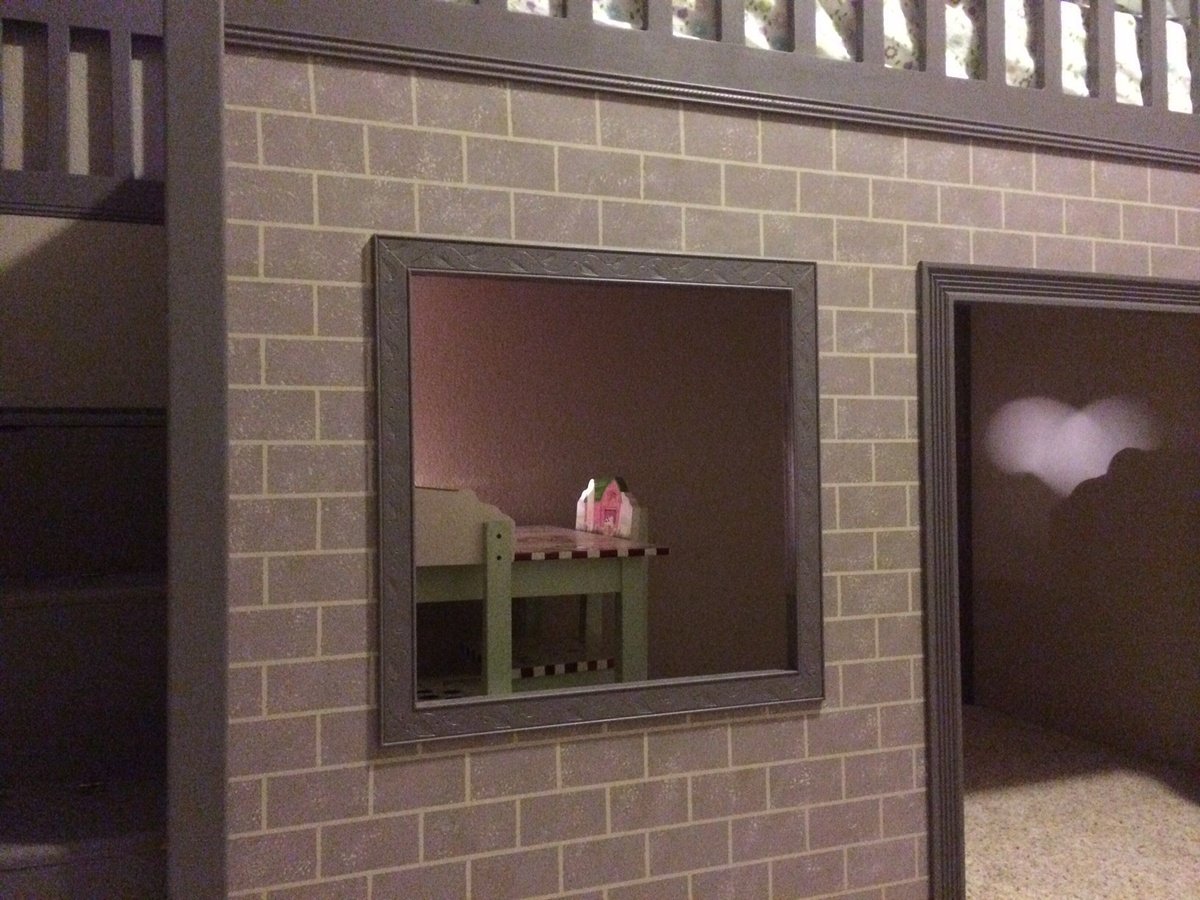
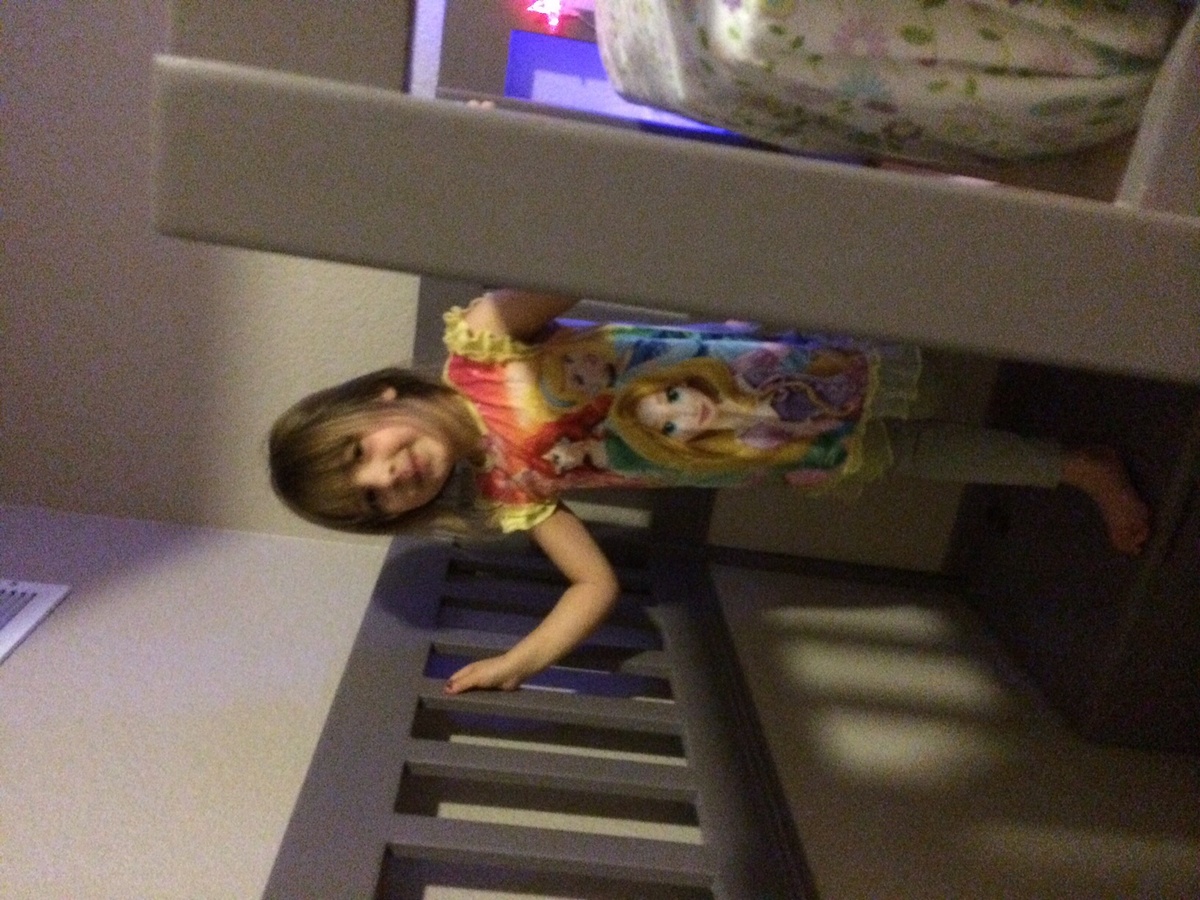
My granddaughter is so in love with her loft bed! She feels so special, and she is! Thanks for such wonderful plans.

Estimated Time Investment
Week Long Project (20 Hours or More)
Finish Used
I created the brickwork by using 1/4 " tape 3 colors of paint sponged on to create 3 dimensional looking "bricks". Added trim at seams, mitered corners around window and door. Fabulous house!,,
Recommended Skill Level
Intermediate

Comments

JoanneS

Tue, 11/05/2013 - 14:05

Love this project! It is absolutely beautiful! Your paint details and trim work make it a castle! :)

Great Hall Tree Plan!

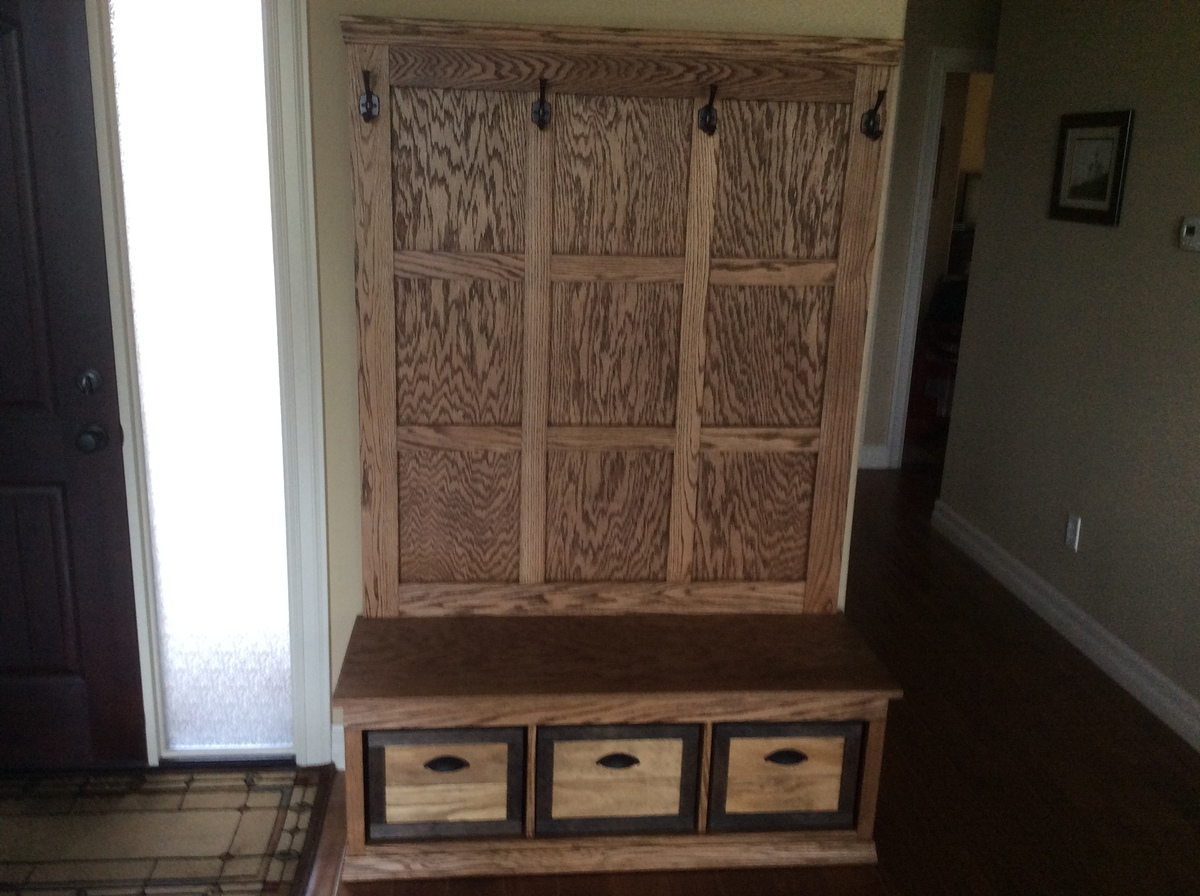
Our first major furniture build so the great plan really helped out. Positive feedback from everyone who sees it. We ended up building the "3-drawer open shelf simple entry console" next and modified the design to match this hall tree. We couldn't find baskets that we liked so made the custom crates for storage. On the entry console we built drawers with the crate design on the front.

Built from Plan(s)
Estimated Cost
$340
Estimated Time Investment
Week Long Project (20 Hours or More)
Finish Used
Min wax aged oak gel stain with tung oil
Recommended Skill Level
Intermediate

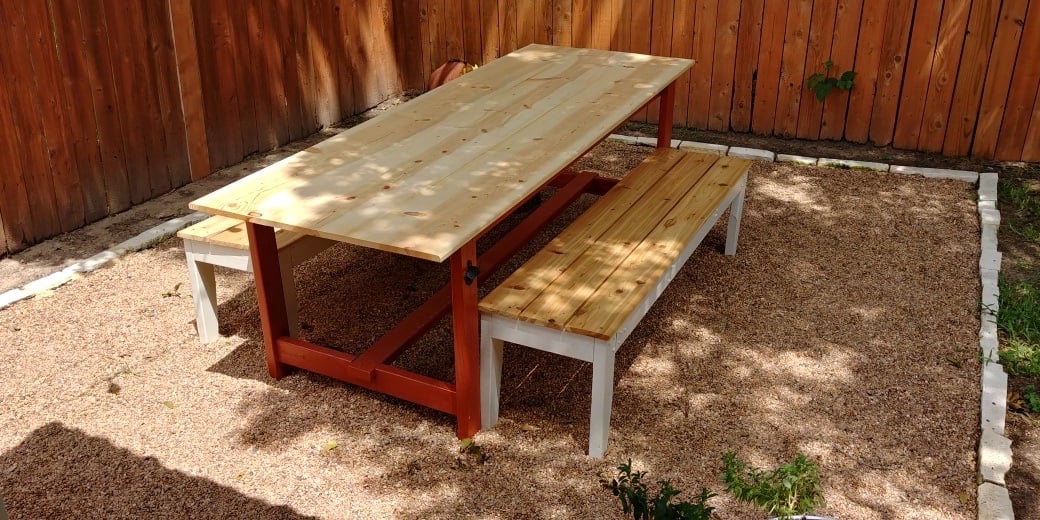
Farm Table for Birthday

Submitted by Docmike on Sun, 06/23/2019 - 20:15

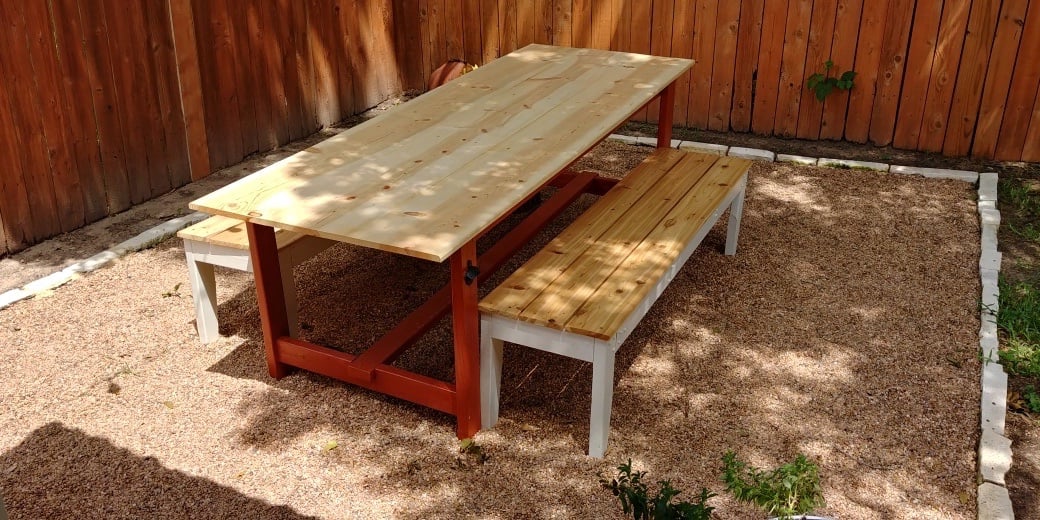
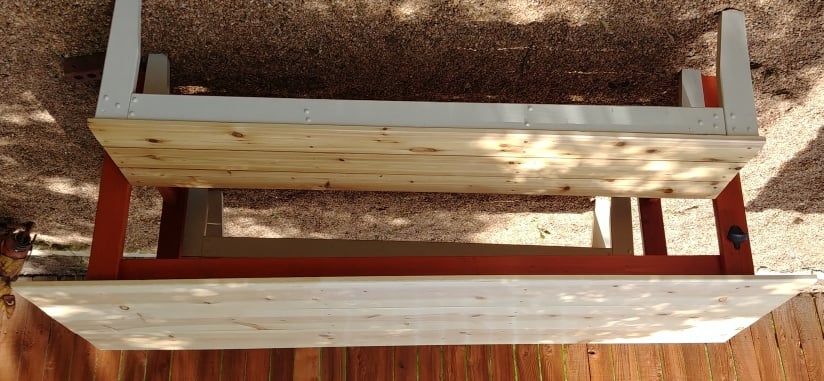
This table was for my wife's birthday present.  I followed/modified the simple and pocket hole farmhouse table plans.  The table top is 1x12 pine as I couldn't find any cedar that wasn't cupped or warped after several weeks looking and wanted a wider board top.  Then we used the easiest padded bench plans, adding height as suggested to the legs and using 3 cedar 1x6's for seats.  All tops were sanded and sealed before 4 coats of marine spar poly were used.  

Thanks for the plans, Ana.  

Estimated Cost
$300 - $400
Estimated Time Investment
Week Long Project (20 Hours or More)
Finish Used
Minwax Pro Polyurethane Spar Varnish
Recommended Skill Level
Beginner

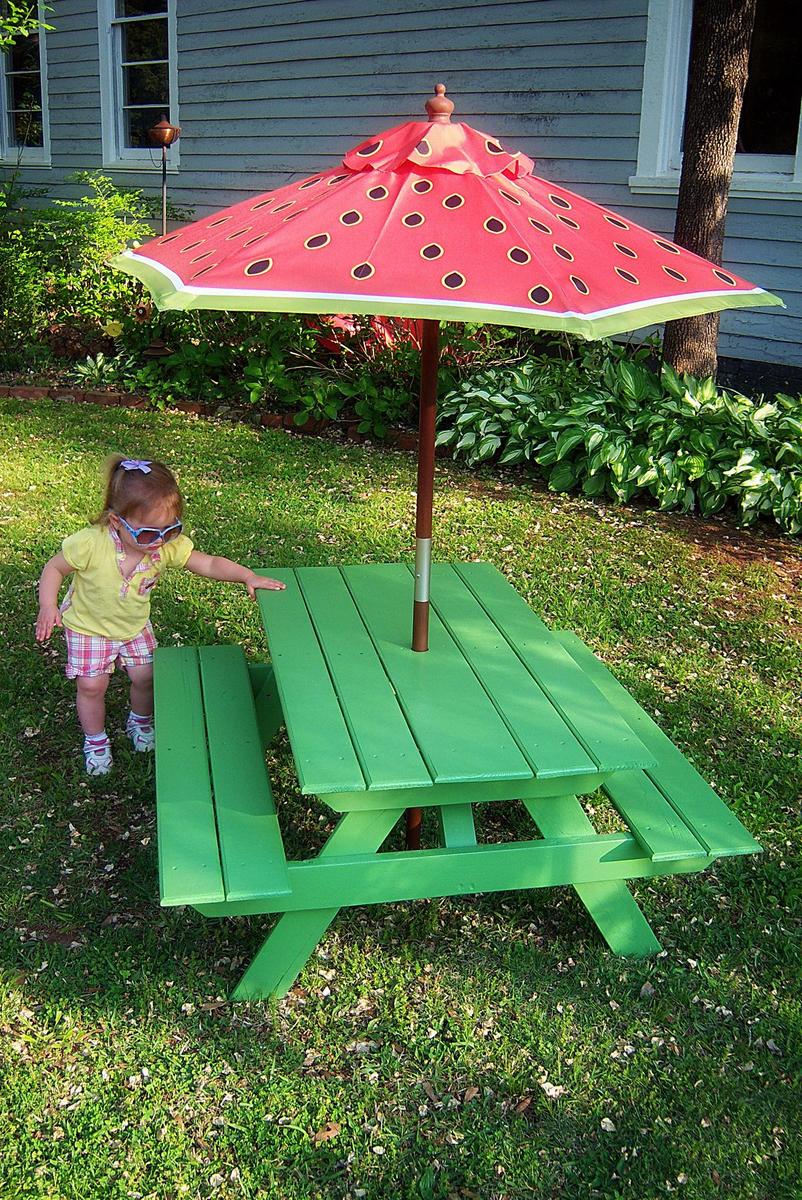
Little Kids Picnic Table with Umbrella

Submitted by Handy Andy on Tue, 04/04/2023 - 11:35

My daughter was given this umbrella at Christmas, but needed a table to go with it.  Ana's plans for the preschool sized picnic table worked perfectly.  I built it using one standard sized shipping pallet and even got to try out my new router!  Thanks Ana!

Built from Plan(s)

Comments

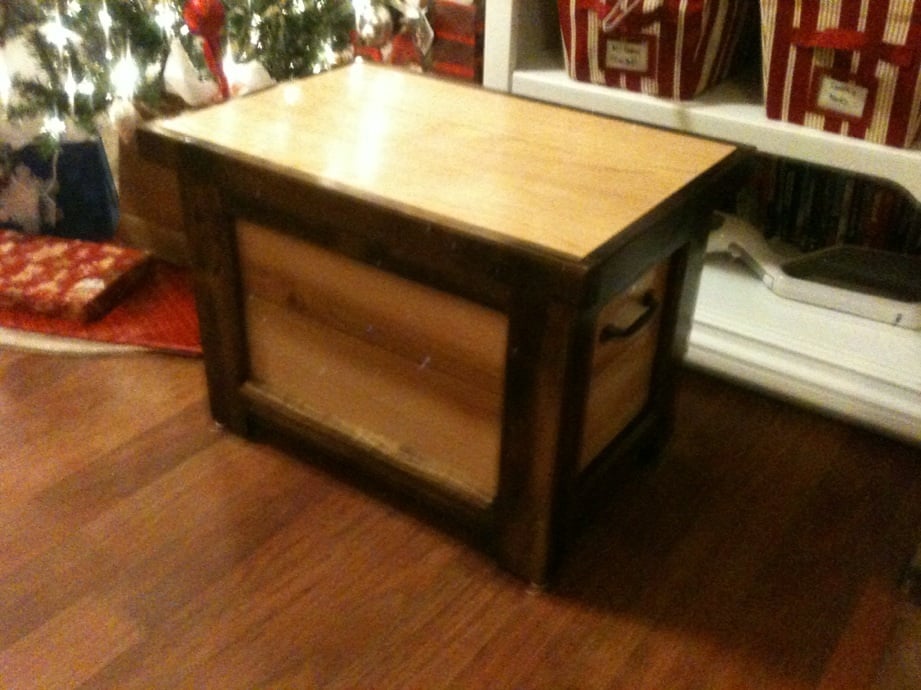
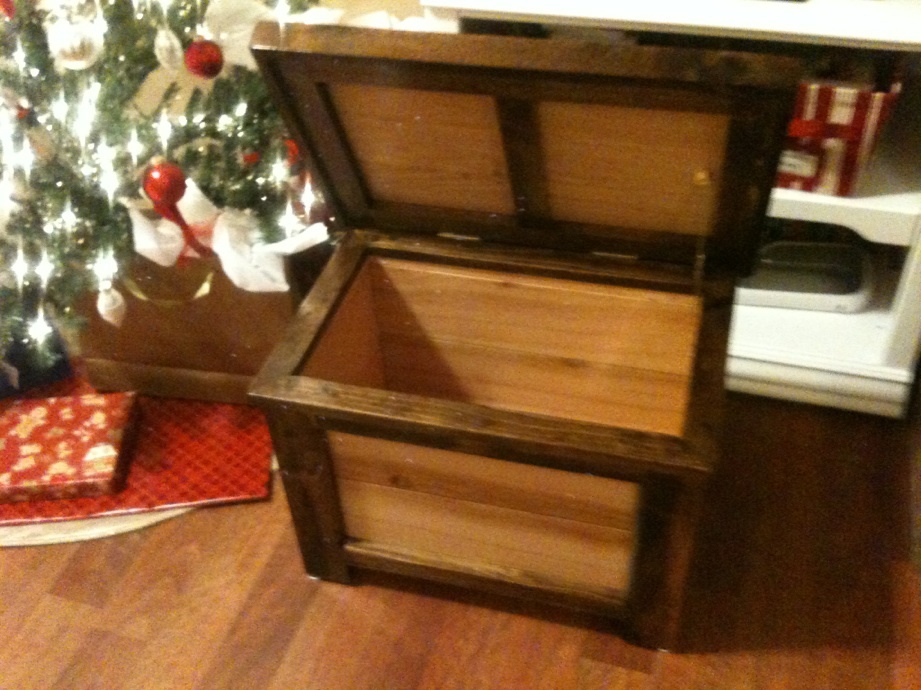
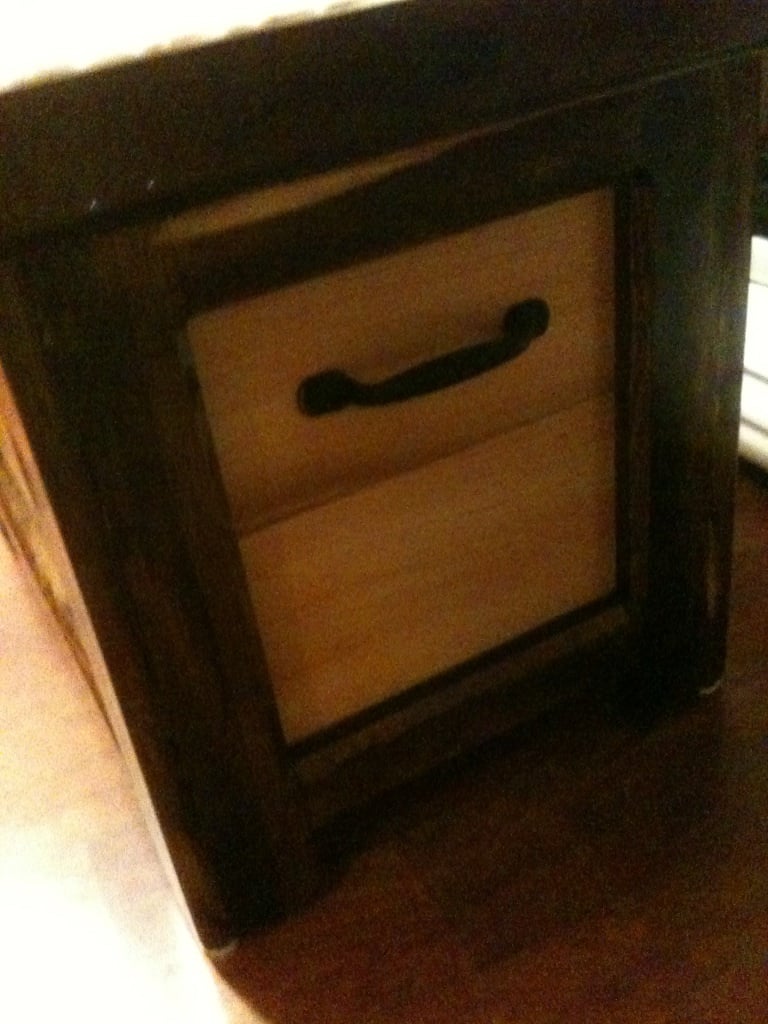
Small Cedar Chest

My husband built this for his grandma as a Christmas present. The frame is made of white pine and then the slats are cedar.

Estimated Cost
$35
Estimated Time Investment
Weekend Project (10-20 Hours)
Finish Used
Minwax stain in Provincial on the pine, and clear coat on the cedar.
Recommended Skill Level
Intermediate

Comments

Sunshine Art

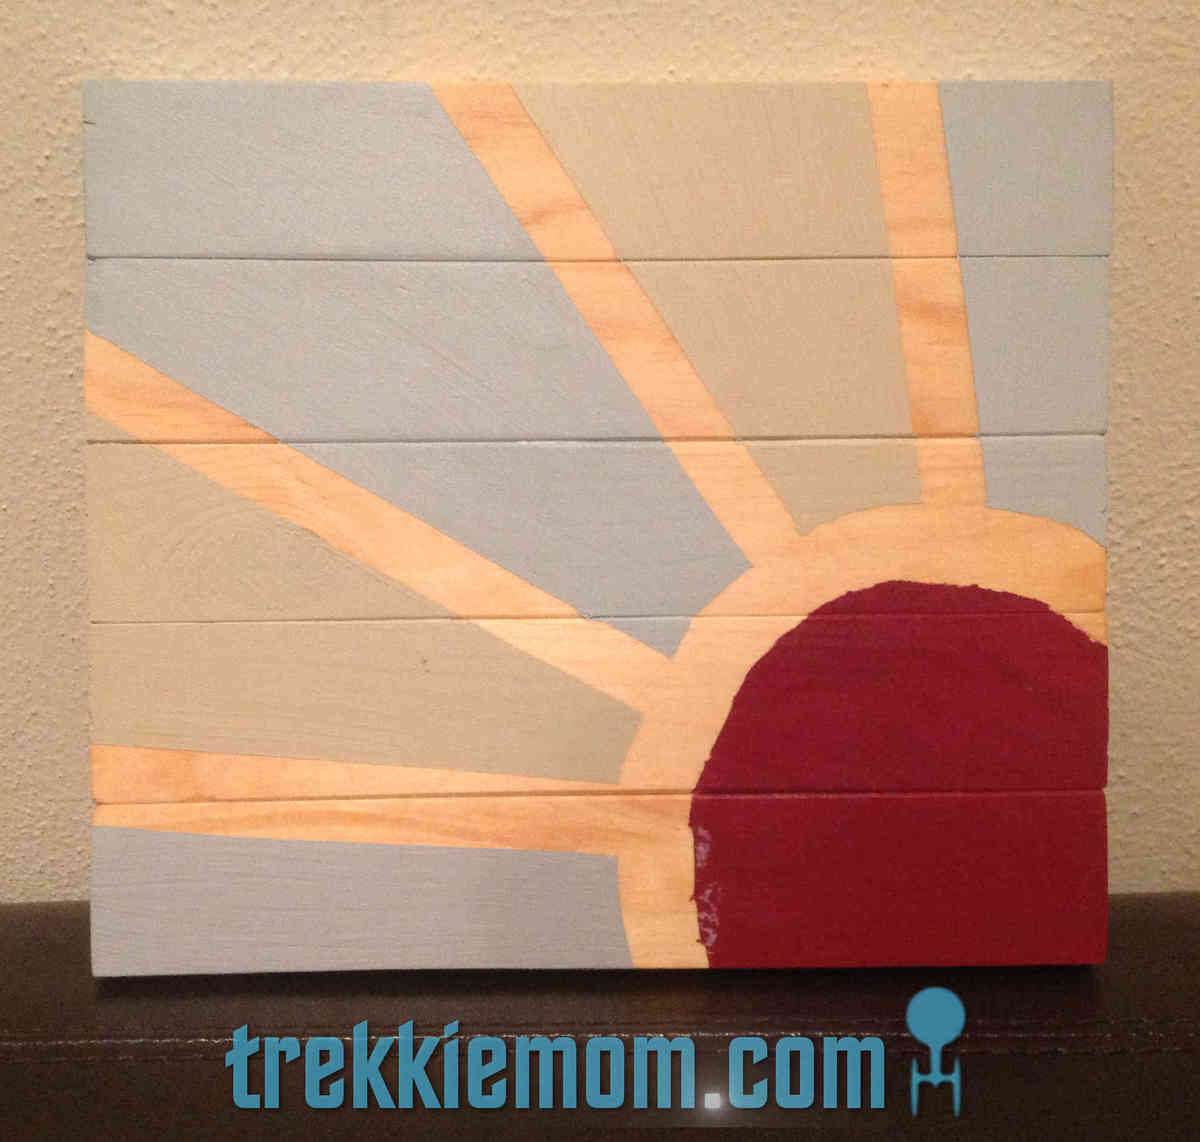
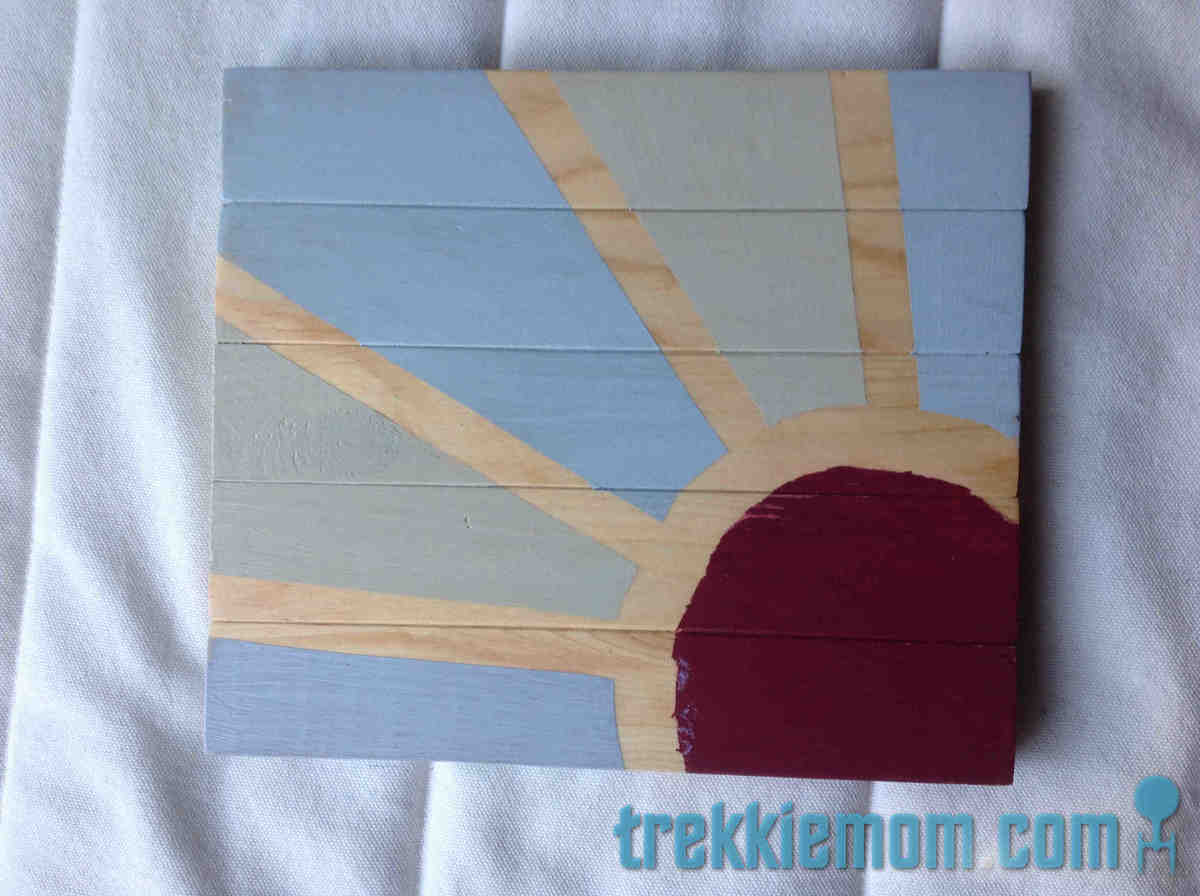
I used wood glue and scrap 1 x 2s (yellow pine). Cutting the 1 x 2s, 9 inches long (there are 5), I sanded them and then glued them together with wood glue, leaving them clamped together overnight. The following evening, I stained the piece with a light wood stain for the rays. The next night, I used painter's tape to create my version of the sun, so that my son, who wanted to paint it, didn't feel pressure to stay in drawn pencil lines with a paint brush. My son picked out the colors and where to paint them from my Lowes oops paint collection. After the paint dried, I sanded very lightly to give it a bit of an aged feel before applying 2 coats of Polyurethane to seal it, lightly sanding between coats. A self leveling picture hanger finished it off. The finished product was not too much bigger than my IPad.

I was inspired by two other bloggers' bigger projects.
http://www.iammommahearmeroar.net/2013/10/how-to-create-giant-art-for-g…
http://www.inspiredbycharm.com/2012/01/from-wood-to-wall-the-making-of-…

I like a bit of the sun on the wall.
Estimated Cost
$4-$6
Estimated Time Investment
Afternoon Project (3-6 Hours)
Finish Used
Minwax Golden Pecan, 3 different oops paints, 2 coats of Polyurethane
Recommended Skill Level
Starter Project

Play Vanity

Submitted by tcalford on Fri, 01/22/2016 - 13:59

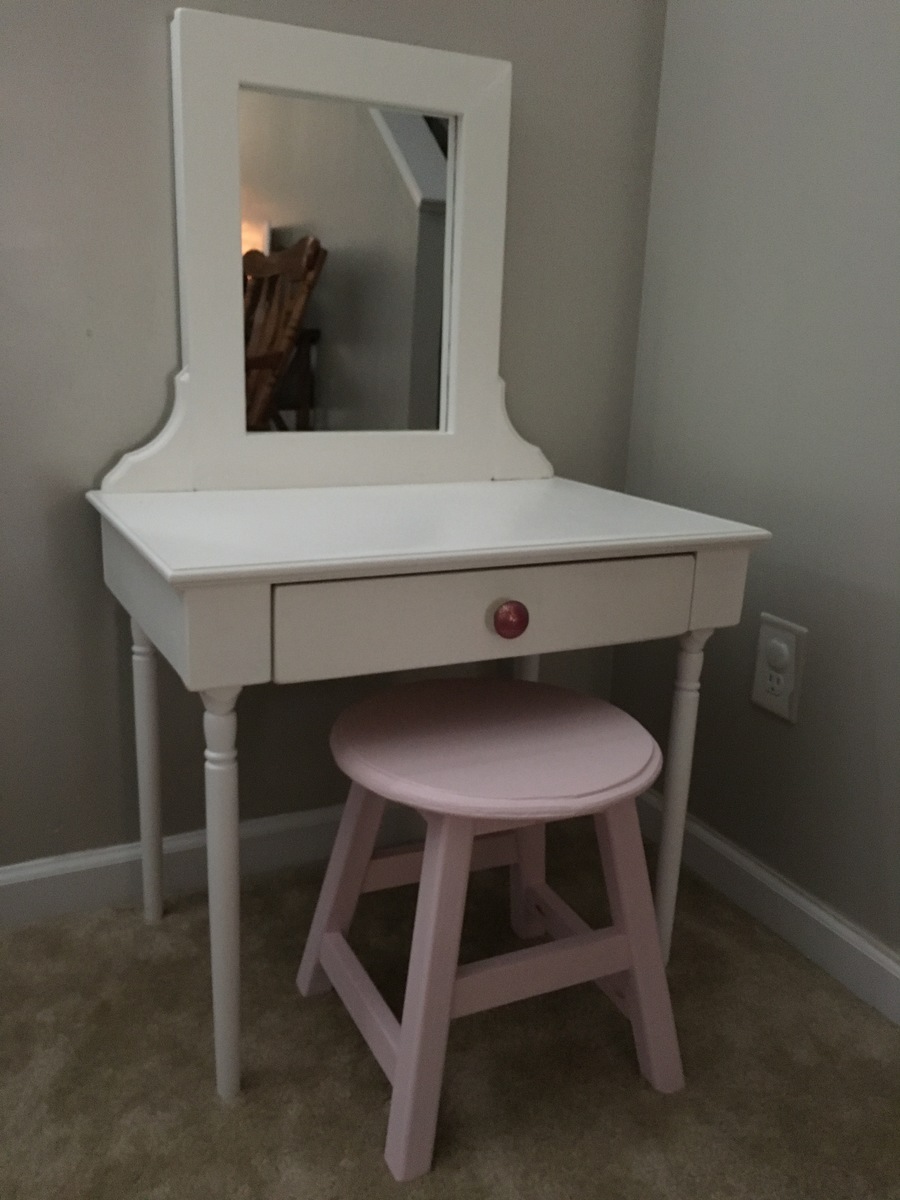
Last year I was fortunate enough to stumble upon Ana White's website when researching play kitchens as a Christmas gift for our little girls. I had never built anything previously, but the plans seemed simple enough, I enjoyed making their gift, and they love playing with the kitchen set. I looked for something to continue the Christmas gift tradition this year and found the play vanity plans shared from That's My Letter. It turned out great and was again simple for someone who doesn't have many tools or experience. The girls have enjoyed playing with vanity very much, much more than I imagined. I look forward to finding something to continue the tradition for next Christmas, and hopefully to have time for a few other projects in between! Thanks for all share these plans.

Built from Plan(s)
Estimated Time Investment
Weekend Project (10-20 Hours)
Recommended Skill Level
Beginner

Deck sofa

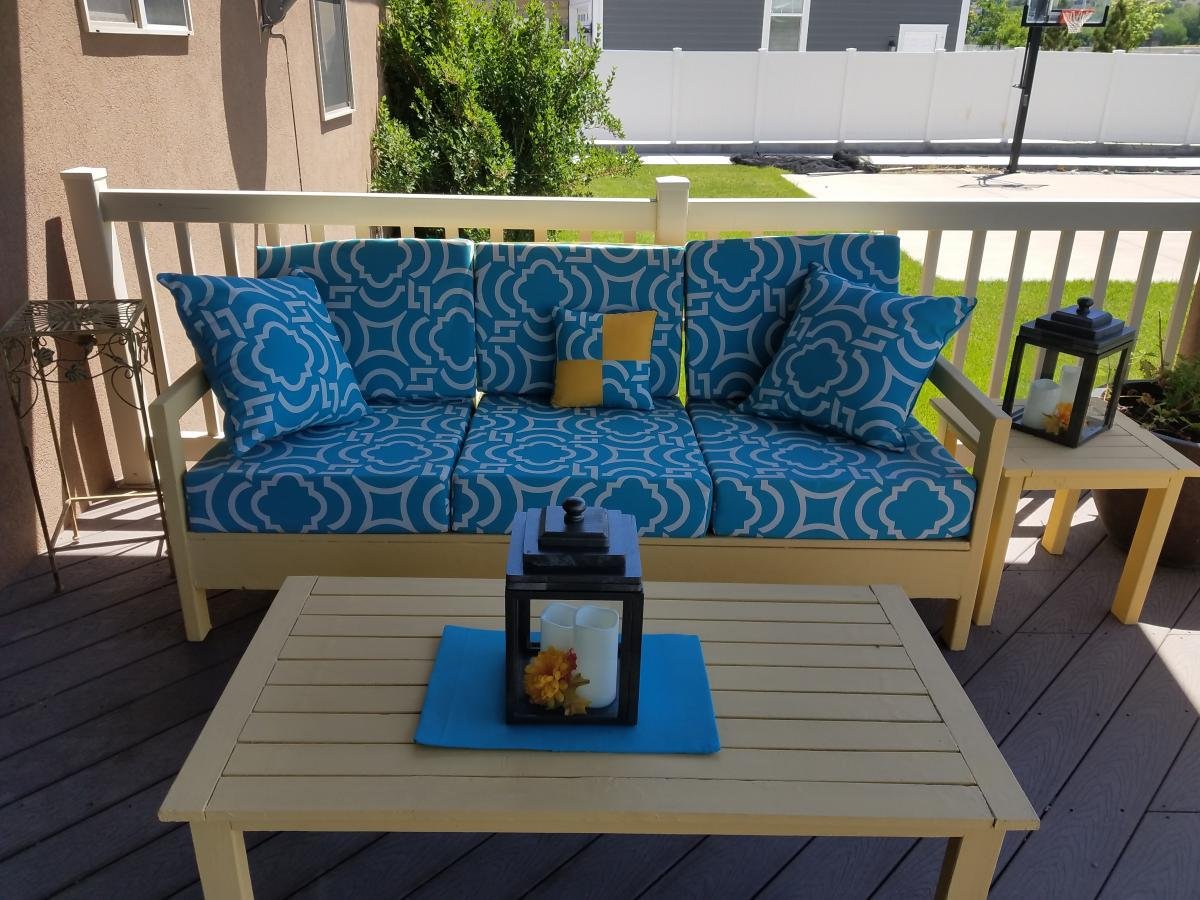
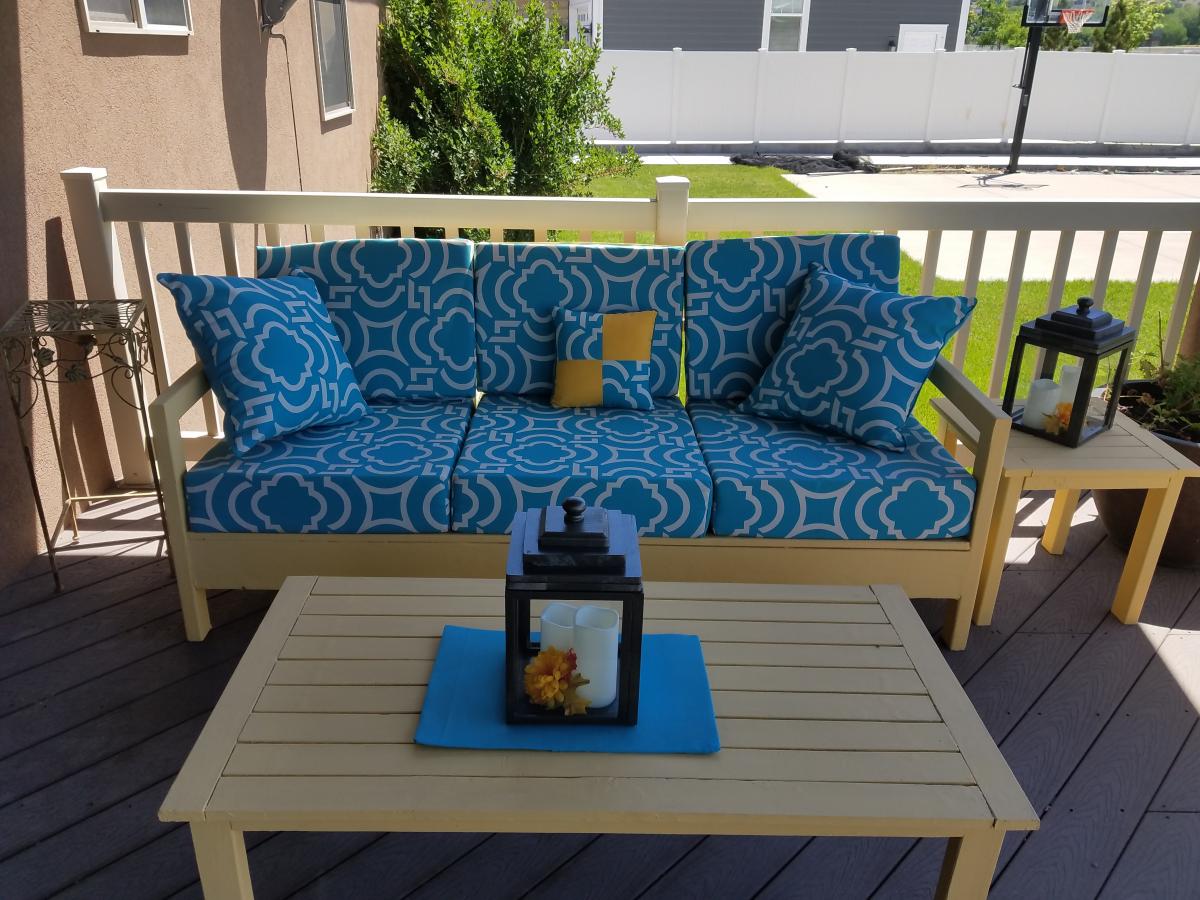
Love the fact that I can build just what I want for my deck furniture! I built this two seasons ago, and since I hate refinishing furniture, I used deck paint to finish it. It leaves a little rougher surface, but since I made cushions it really doesn't matter. The paint looks almost the same as it did the day I painted it after two years of winter snow and hot summer sun.

Estimated Cost
$180 including cushions
Estimated Time Investment
Weekend Project (10-20 Hours)
Finish Used
Behr Deck Over paint
Recommended Skill Level
Intermediate

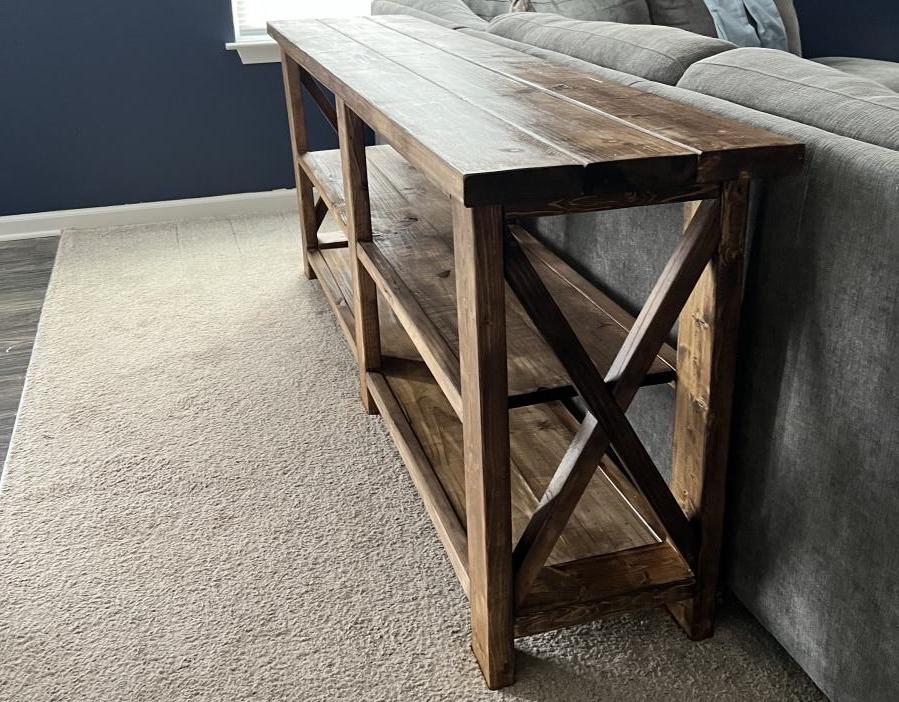
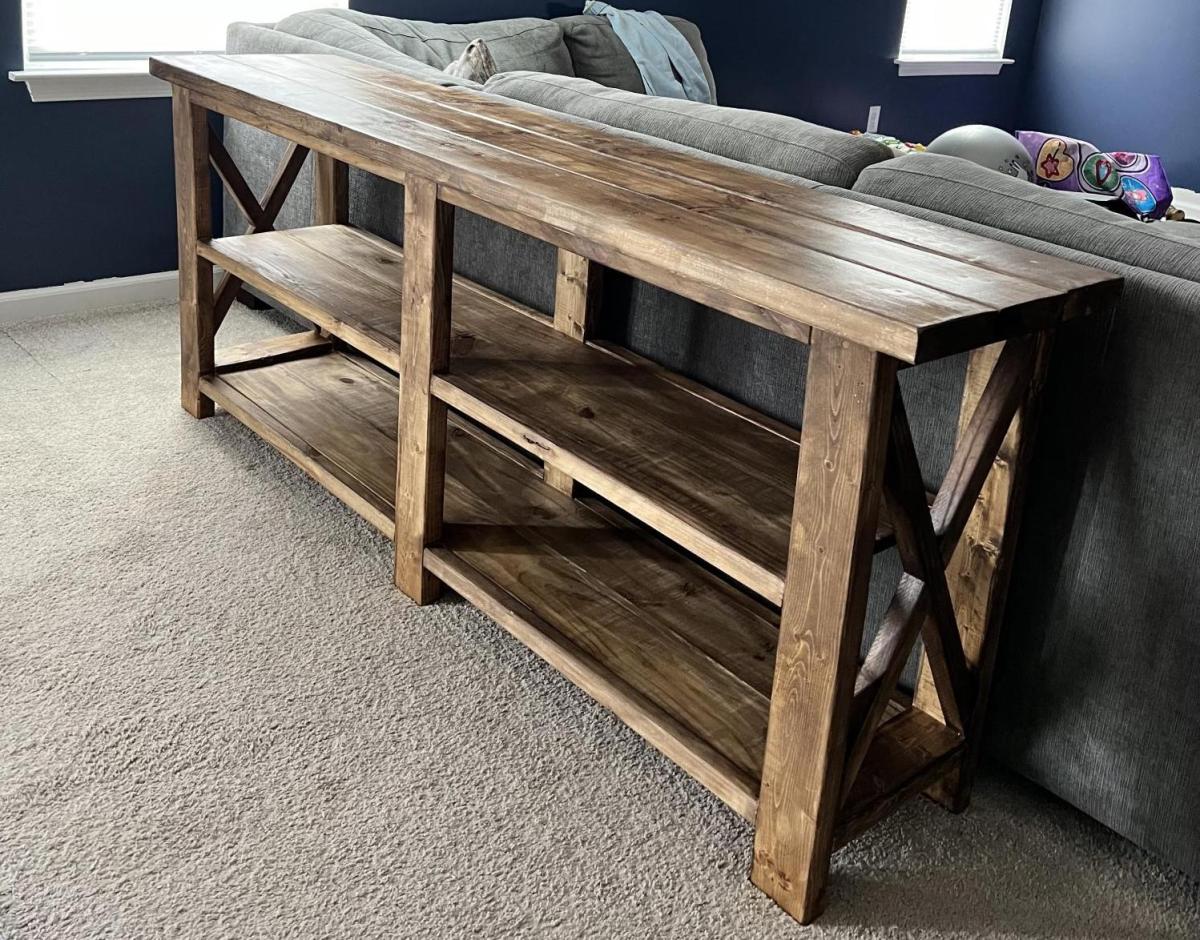
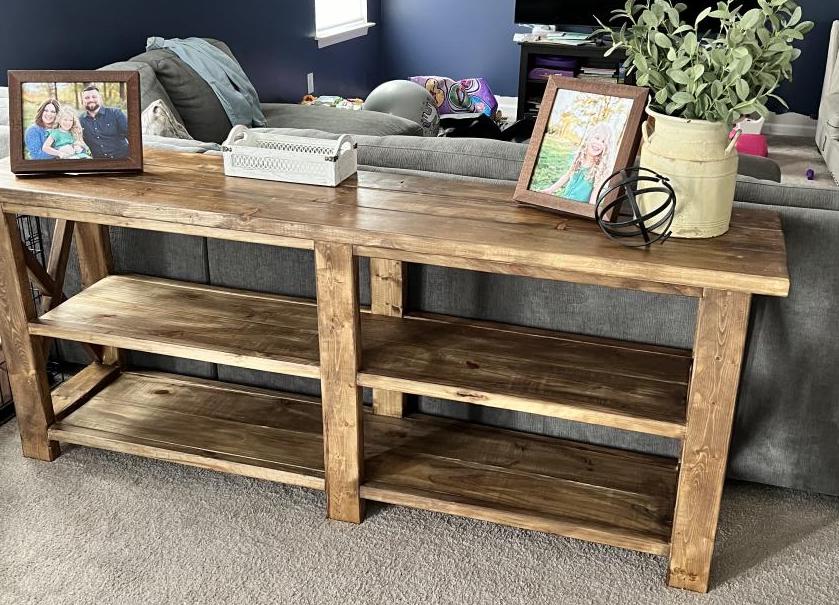
Rustic X for the win!

Submitted by Anonymous (not verified) on Mon, 04/10/2023 - 16:57

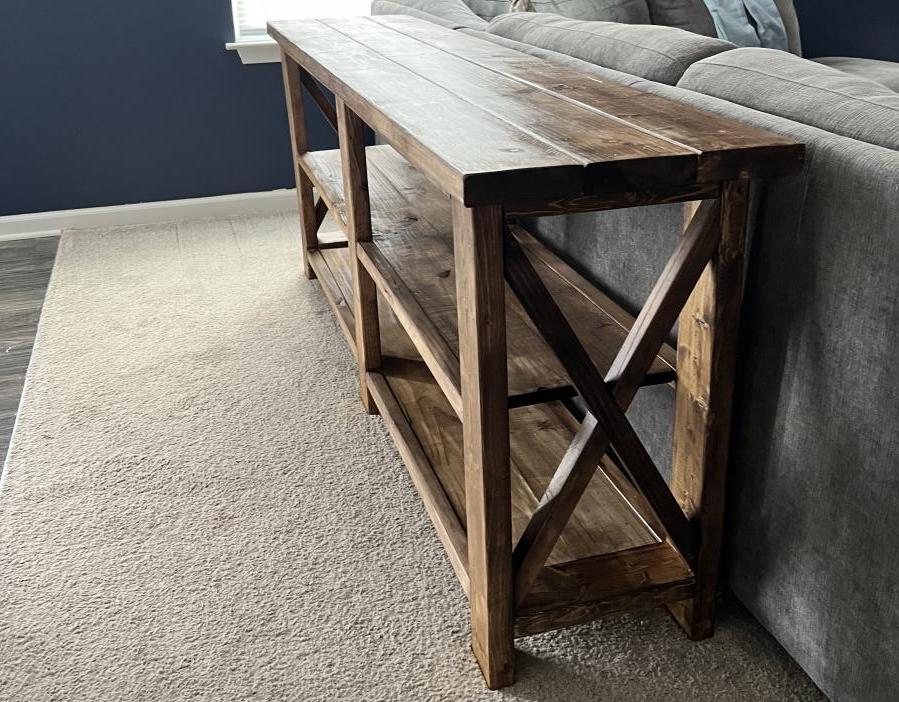
This was my first Ana White plan after lurking for awhile! I’ve dabbled with other DIY furniture and woodworking plans but this my first one for indoors that required some more meticulous finishing. Super happy with how it turned out!

Built from Plan(s)

Comments

Adirondack Table with modified top

Submitted by stacynabby on Mon, 12/19/2011 - 14:09

I used the design for the adirondack side table, but modified the top to have glass tiles. I just used a 12x12" sheet of glass tiles from the blue store to create the top. The wood is just clear poly. This is my Mom's Christmas present.

Built from Plan(s)
Estimated Time Investment
An Hour or Two (0-2 Hours)
Recommended Skill Level
Beginner

Comments

Kristan (not verified)

Tue, 12/20/2011 - 14:19

AWESOME!!! I'm inspired by this to take your design and turn it into a mobile chess table!!! soooo pretty!!

keyetta

Fri, 01/06/2012 - 03:30

Hey i love your rendition of this table, would like to use the same rendition, only thing i cant figure out is what you did under the tiles, did you use plywood or places the tiles on top the regular wood pieces

claydowling

Fri, 01/06/2012 - 07:05

Plywood, particle board or MDF is what should be under the tiles, not solid wood. Better yet would be a plywood bottom with a thin cement board or hardibacker over it. If you put it over solid wood, expansion and contraction of the wood will pop the tiles loose over time, and probably sooner than you like to think about.

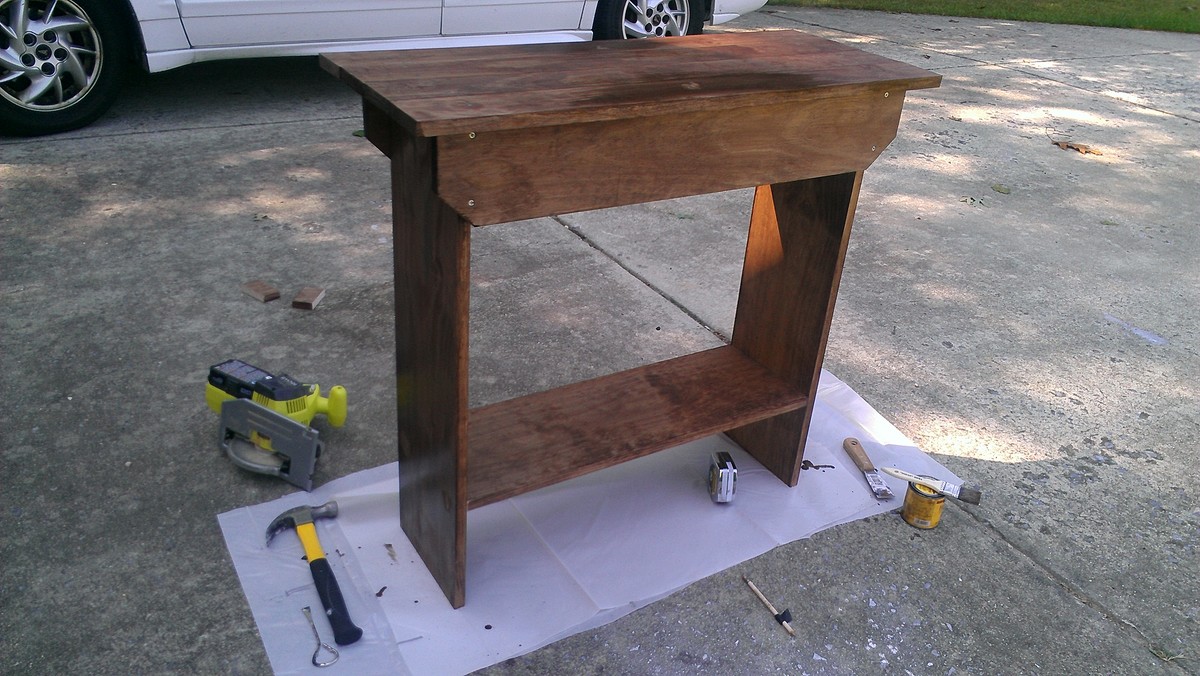
Rustic Console Table

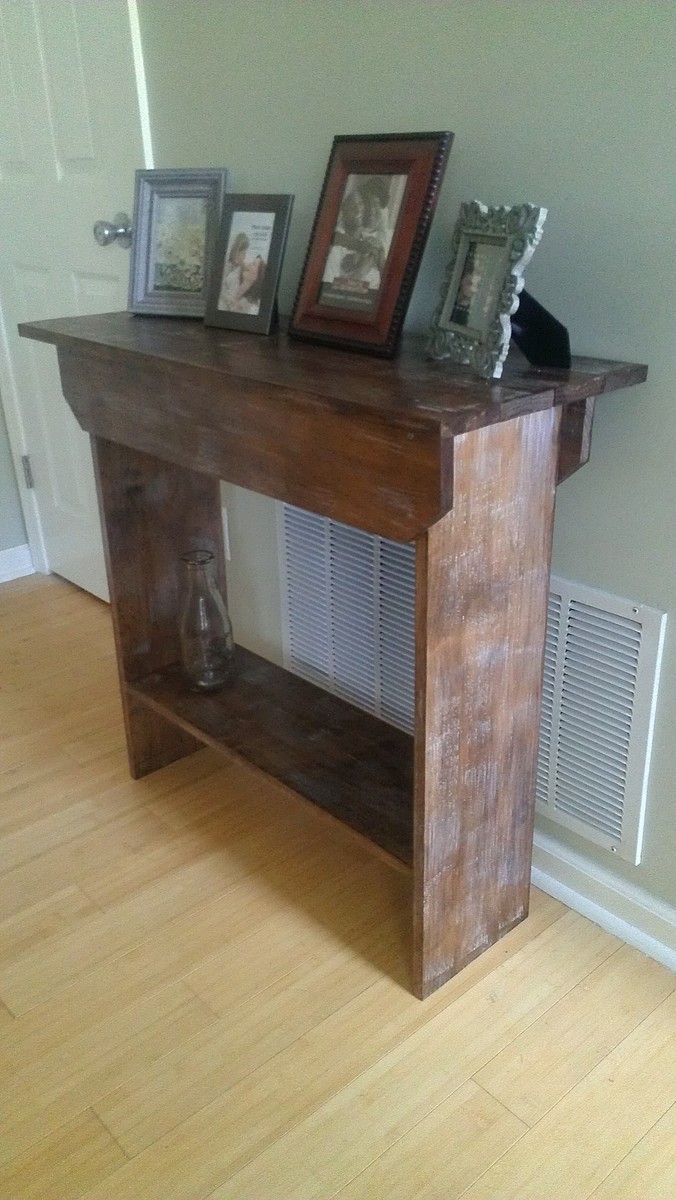
Used the reclaimed wood bench top plans for this project to make it a console table. This was very easy to alter. Rather than cutting out a triangle at the bottom, I left it uncut. I squared off the top edges too in addition to placing the boards longways instead of small pieces like a bench.

The finish I made it look rustic painting VERY lightly white one and instantly wiping it off for the rustic effect.

Pretty good for my first project every!

Estimated Time Investment
Day Project (6-9 Hours)
Recommended Skill Level
Starter Project

Art storage

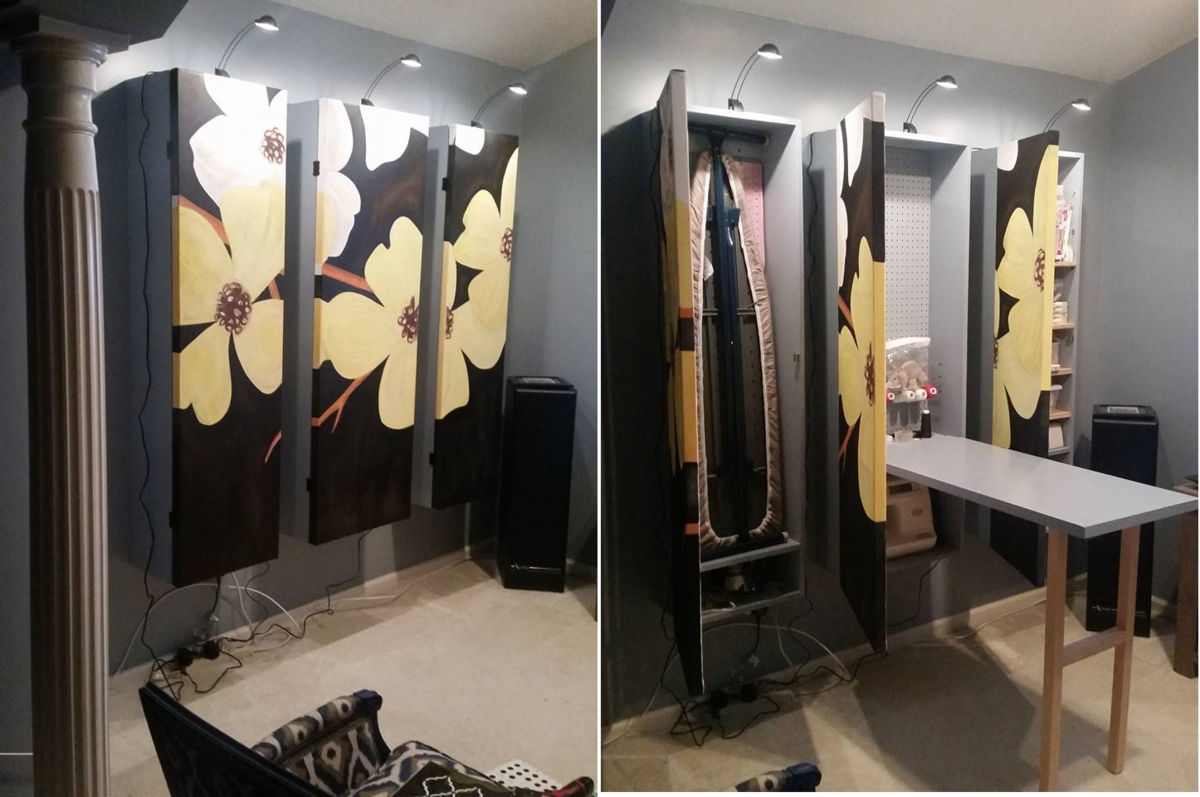
We wanted our sitting room to look more like a sitting room than my craft room. So My husband came up with the idea from my first woodworking project (I built a cabinet for our kitchen and used the canvas art work that was hanging on the wall as the door for the cabinet.) His idea was to make three large cabinets and make our own cavas frames to fit the cabinet. Our girls and my husband painted the artwork and I built the cabinets. Now I just have to hide all of the cables.

Finish Used
Paint
Recommended Skill Level
Beginner

Planter step

I only needed one step up, but replacing the old, cracked, weird, faux concrete step with the new planter box worked great!

Estimated Cost
$86
Estimated Time Investment
Day Project (6-9 Hours)
Finish Used
Solid color exterior stain.
Recommended Skill Level
Intermediate

Comments

Seasonal And Holiday

Craft table

Submitted by randyeby on Sat, 04/15/2023 - 08:46

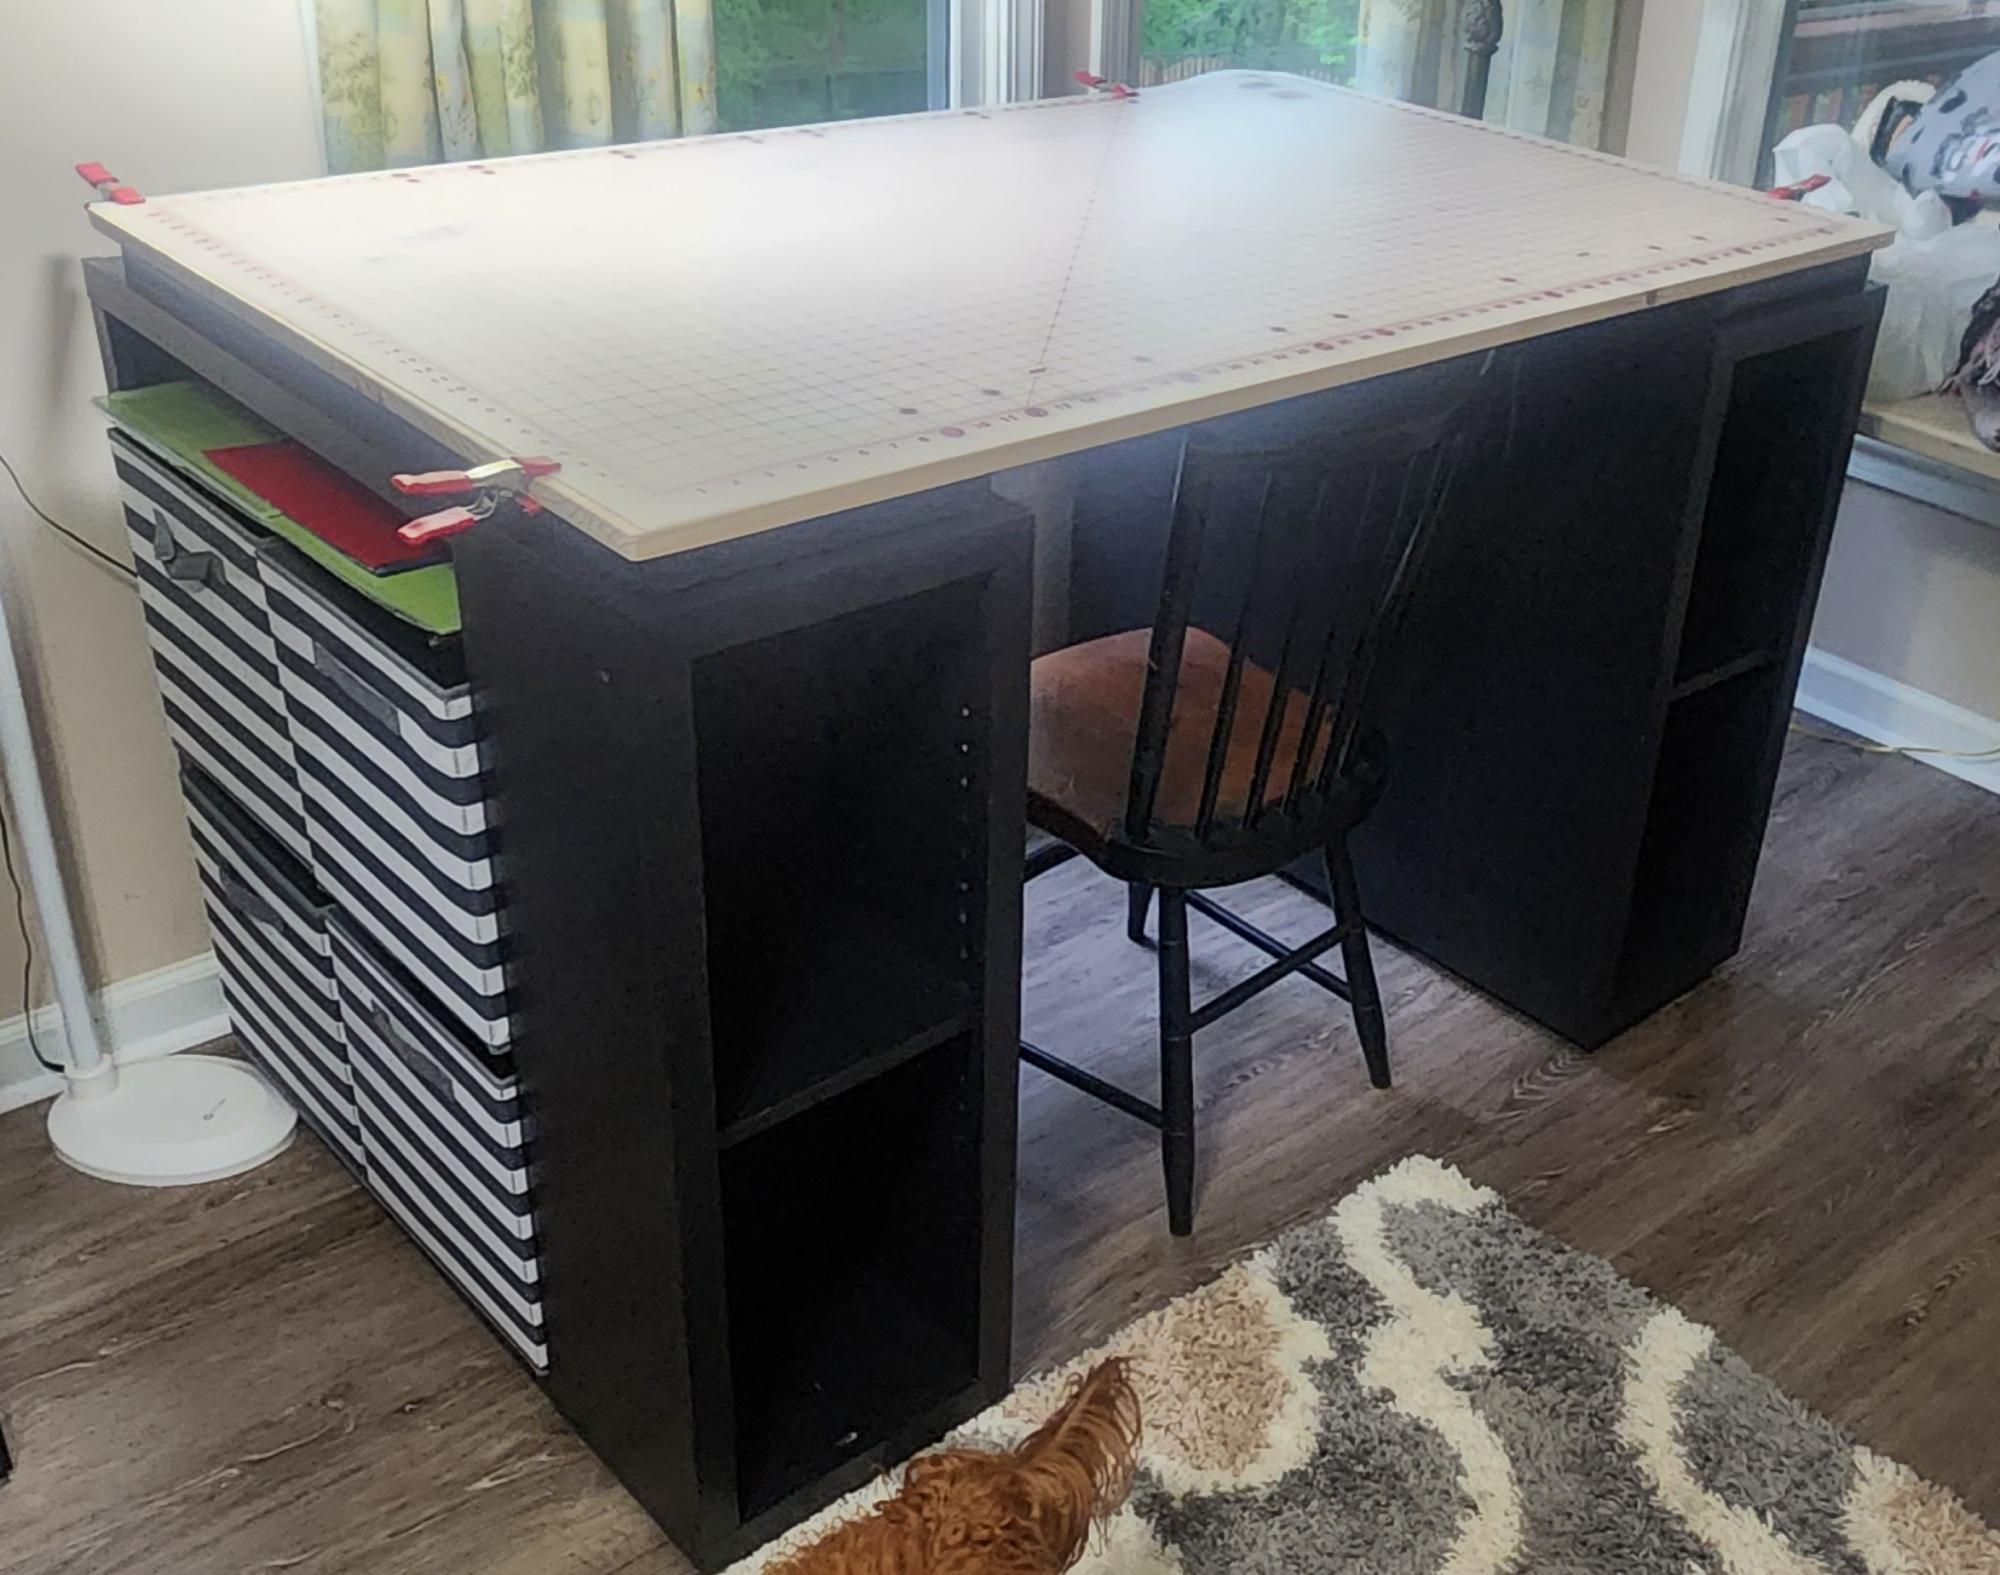
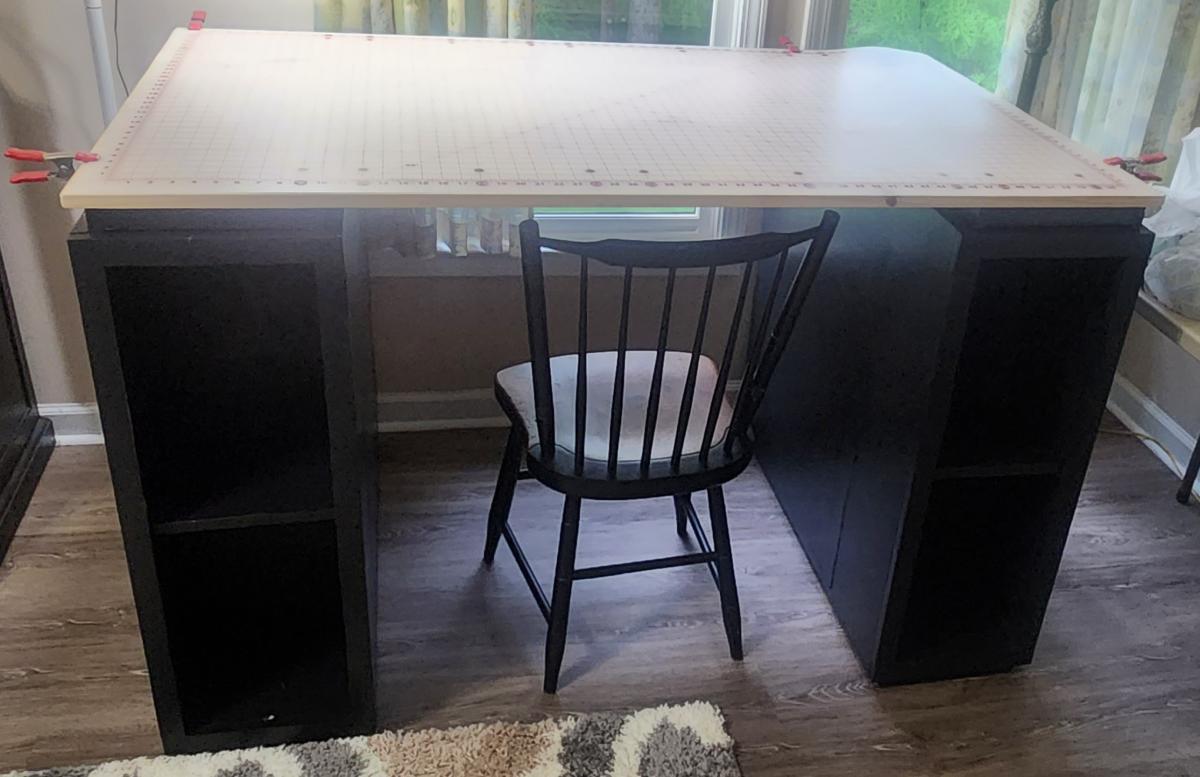
Fun build for my wife. Added back boards to the shelves. They were routed and set flush to the cabinet

Built from Plan(s)

Comments

Dream Dollhouse

Building this dollhouse was fast and pretty easy, but finishing it was super time-consuming. It should be big enough for her dolls...and dinosaurs. LOVE how it turned out and am so excited (for Santa) to give this to our 3 year old for Christmas!!!
Thank you, Ana for the plans!

Estimated Time Investment
Week Long Project (20 Hours or More)
Finish Used
semi gloss white and blue-green paint for exterior finished with a water based poly spray. (doesn't yellow)

3 coats of Minwax stain for floors covered with 2 coats of poly.
Recommended Skill Level
Beginner

Comments

Tanya Hunter

Mon, 11/11/2013 - 20:31

Hi, where did you get your plans for this house? I am interested in something similar only on a larger scale for American Girl dolls.

allieallieoxnfre

Tue, 11/12/2013 - 08:03

I followed the plans for the Dream Dollhouse. (The text in the description is the link to the actual plans) It. Is. HUGE. I'm not familiar with the American Girl dolls, but this should fit nearly anything and could be modified easily if you had to make it bigger or only 2 stories.

jkassel78

Tue, 11/12/2013 - 09:41

Great job! This is also on my list of to dos for Christmas. I'm sure your little one will love it for years to come. :) The spiral staircase was a great idea and makes this so unique.