Garage shelves
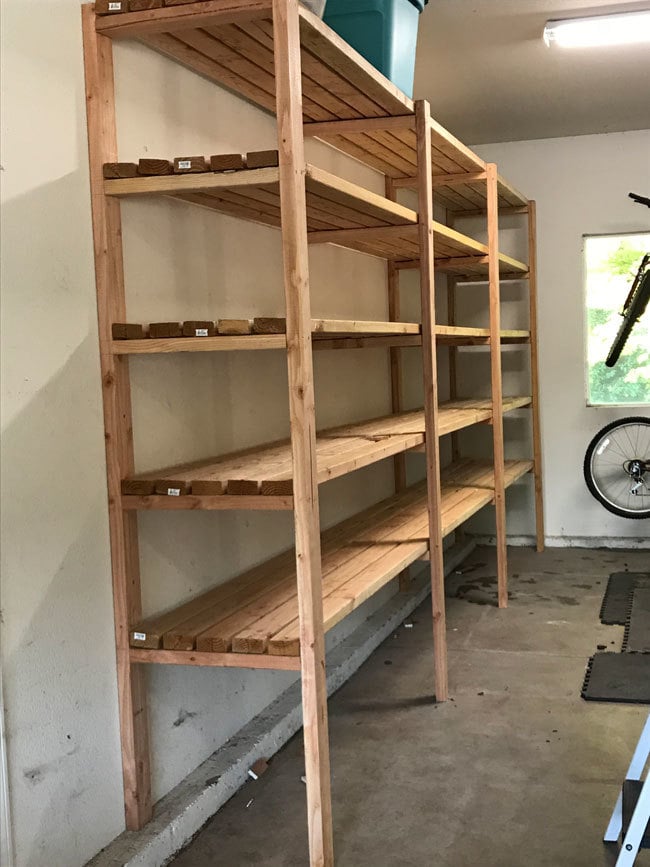
Designed to store 56 qt clear sterilite totes. Spaced 17” apart and used 5 2x4s so 23” deep. We have a lip of our foundation that sticks out so we had to adjust for the difference in leg heights.
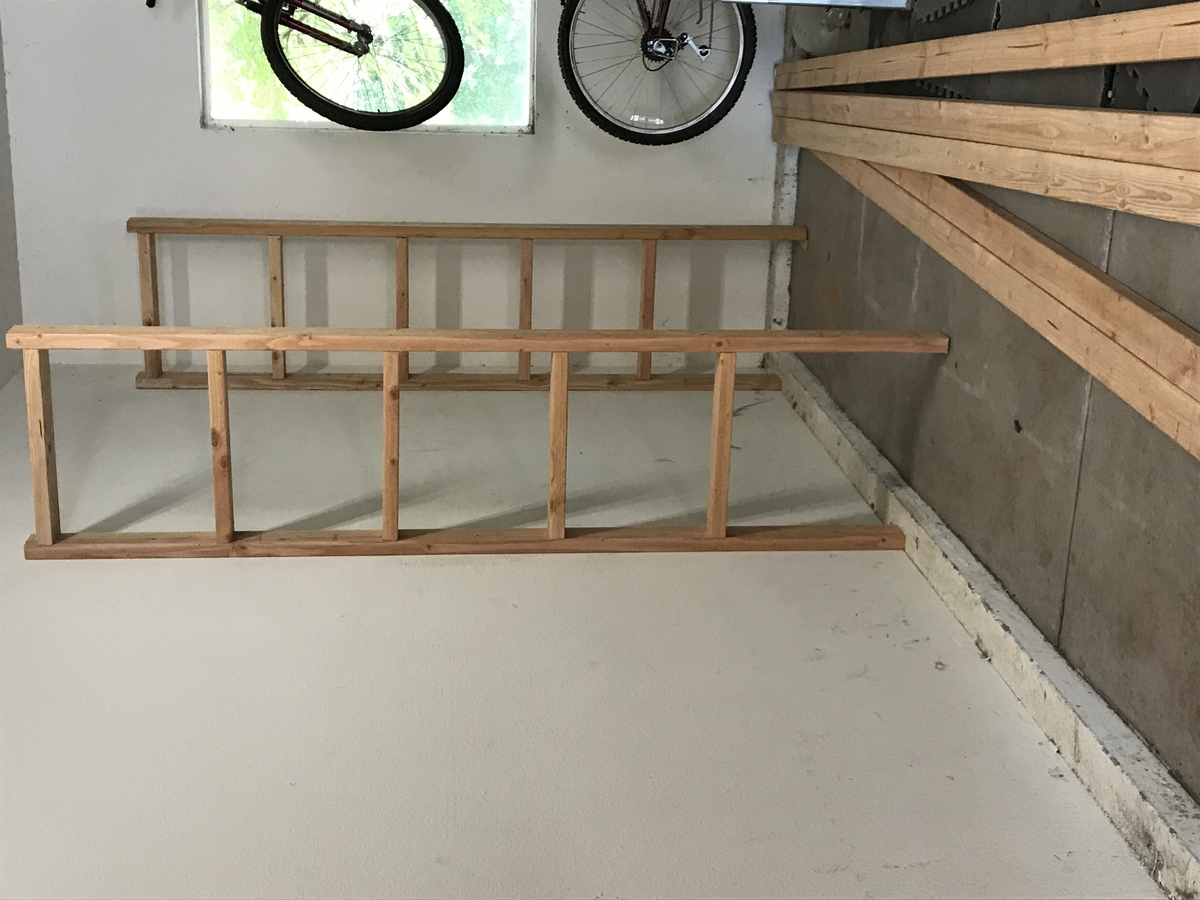
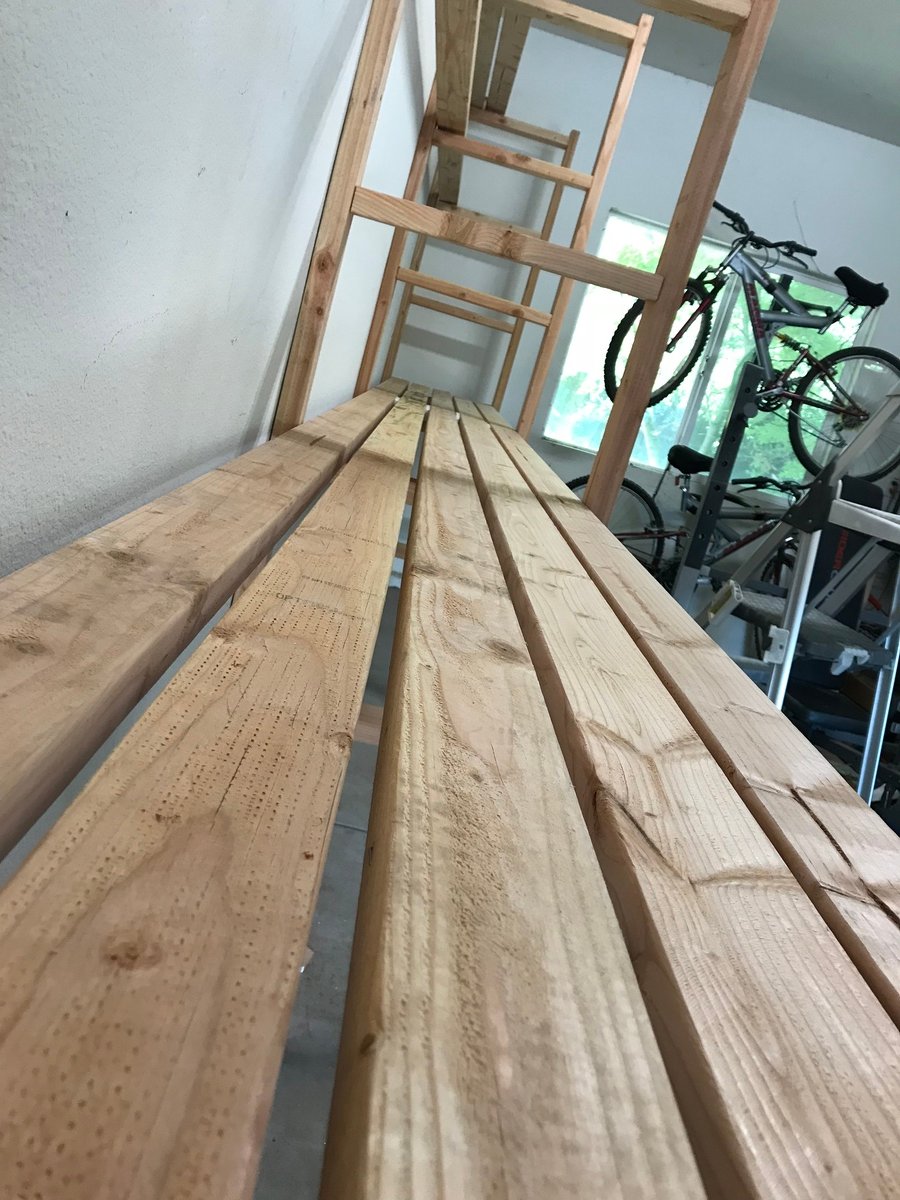
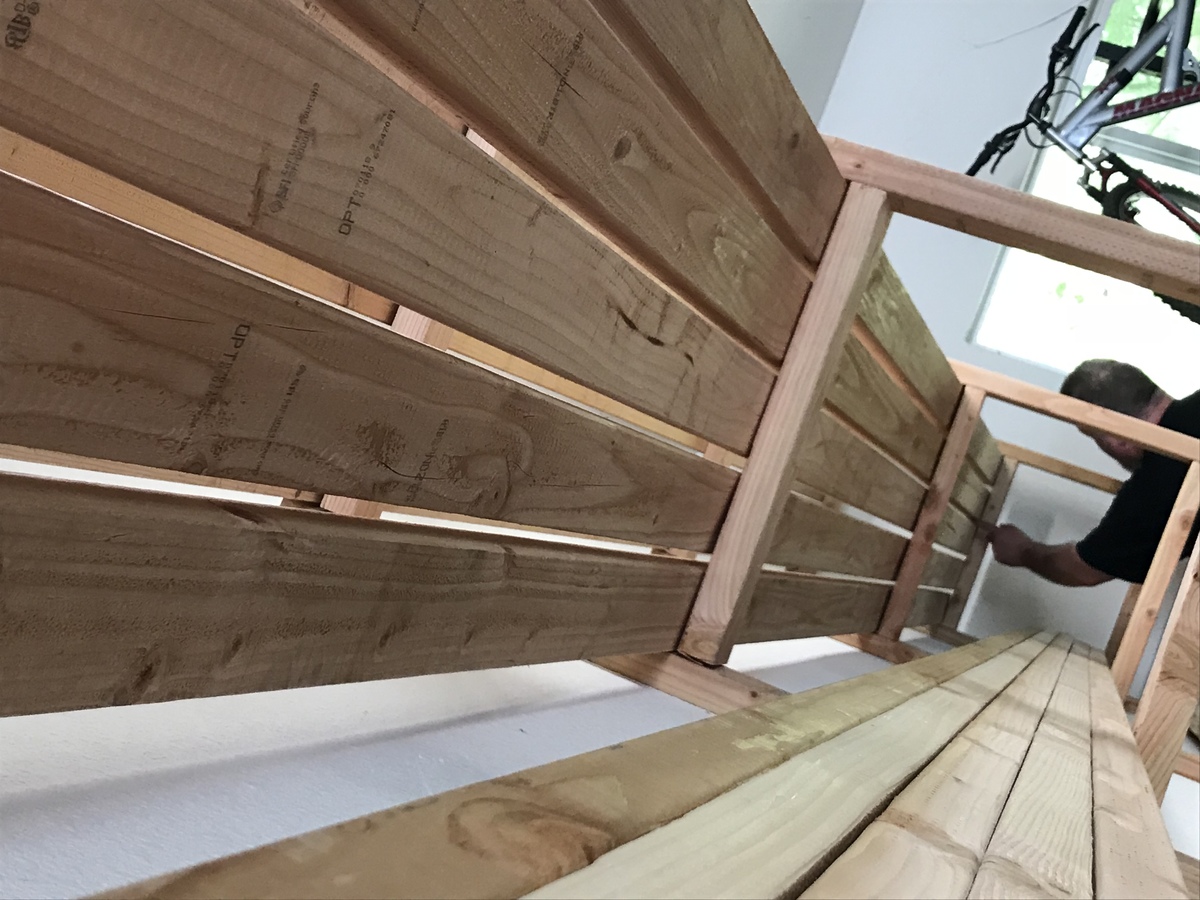

Designed to store 56 qt clear sterilite totes. Spaced 17” apart and used 5 2x4s so 23” deep. We have a lip of our foundation that sticks out so we had to adjust for the difference in leg heights.


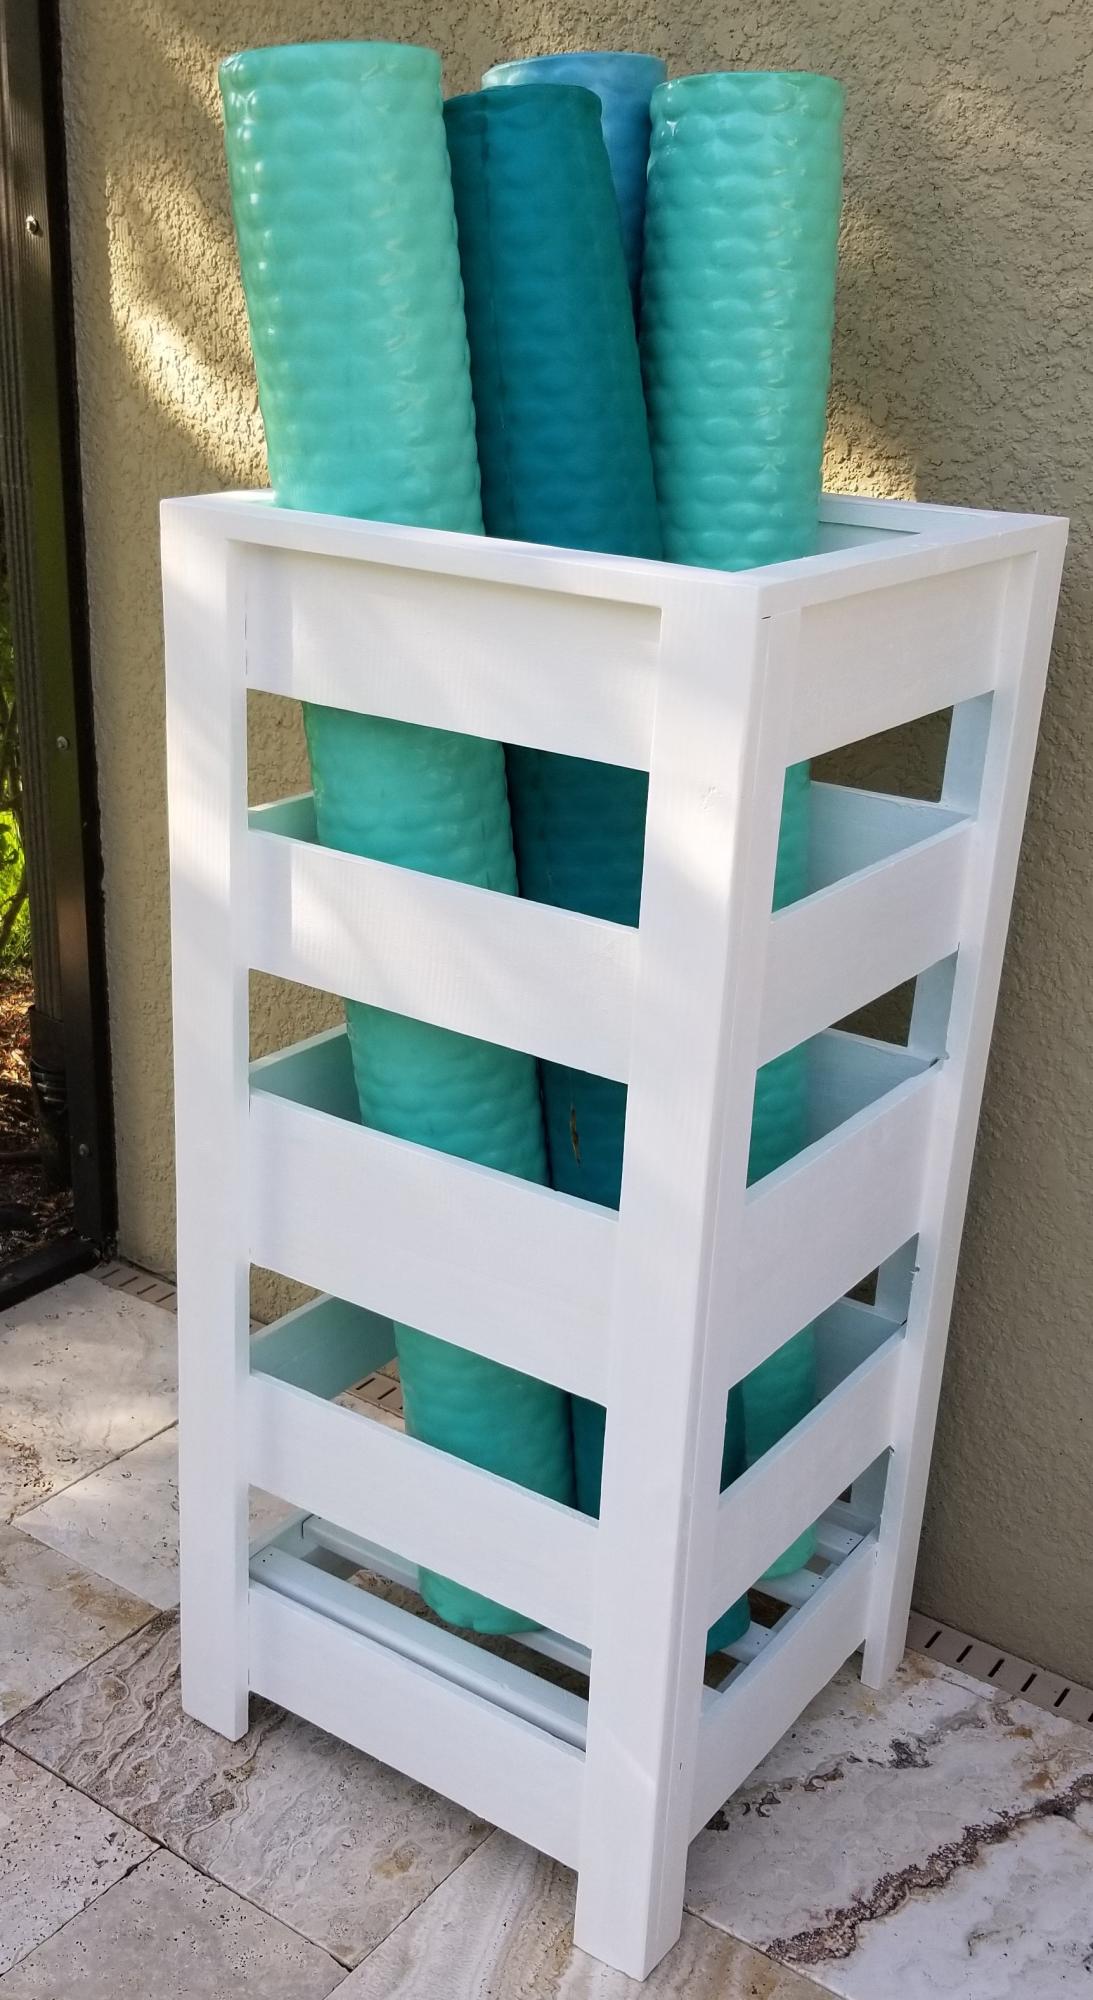
I modified the plans for the planter box to make a holder for Pool Noodles. I made it 40" tall and used 4-4" fence pickets and 1-5.5" fence pickets. I used a 4" spacer and the openings worked out perfect. I stained inside and out since it would show with 2 coats of the solid stain. It is perfect! Thank you so much for the inspiration and plans!

Mon, 06/06/2022 - 14:04
This is so smart and looks great too, thank you for sharing!
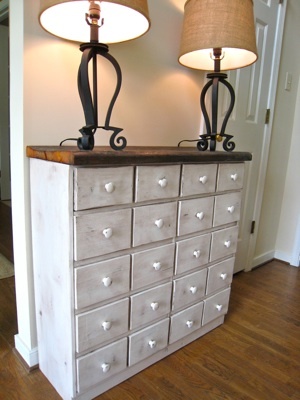
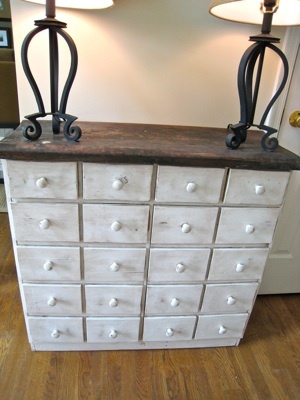
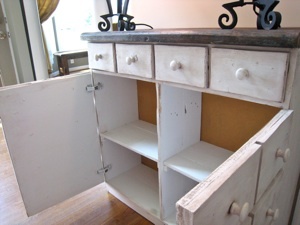
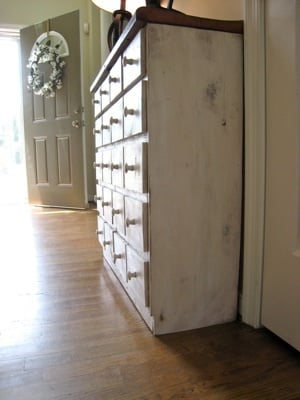
I used a combination of Ana-White's Building Plan along with close examination of the Pottery Barn Andover Table to create my Apothecary Console. I've recently picked up a bunch of free pallets and have been experimenting with ways to use them.
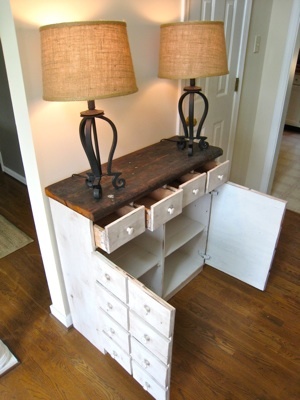
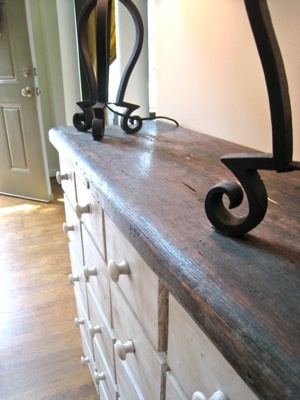
Pallets were used for about 95% of this project. The only thin I bought was 1/2" plywood for the doors, 20 wooden knobs, and two sets of hinges. I took some backing off an old dresser and used that for the back and I found an old rotted piece of antique wood at an antique store that I used for the top.
Since I didn't buy 1x12", I had to join together some 1x6"s that I pulled off the pallets. There's a lot more to tell about this project so if you're interested, I documented the whole thing on our blog:
http://www.tommyandellie.com/Site/Home/Entries/2011/7/18_A%7Bpallet%7Do…
Sat, 07/16/2011 - 05:52
In my blog, I posted that I would not build it like this again......I would buy 1x12"s for sure.
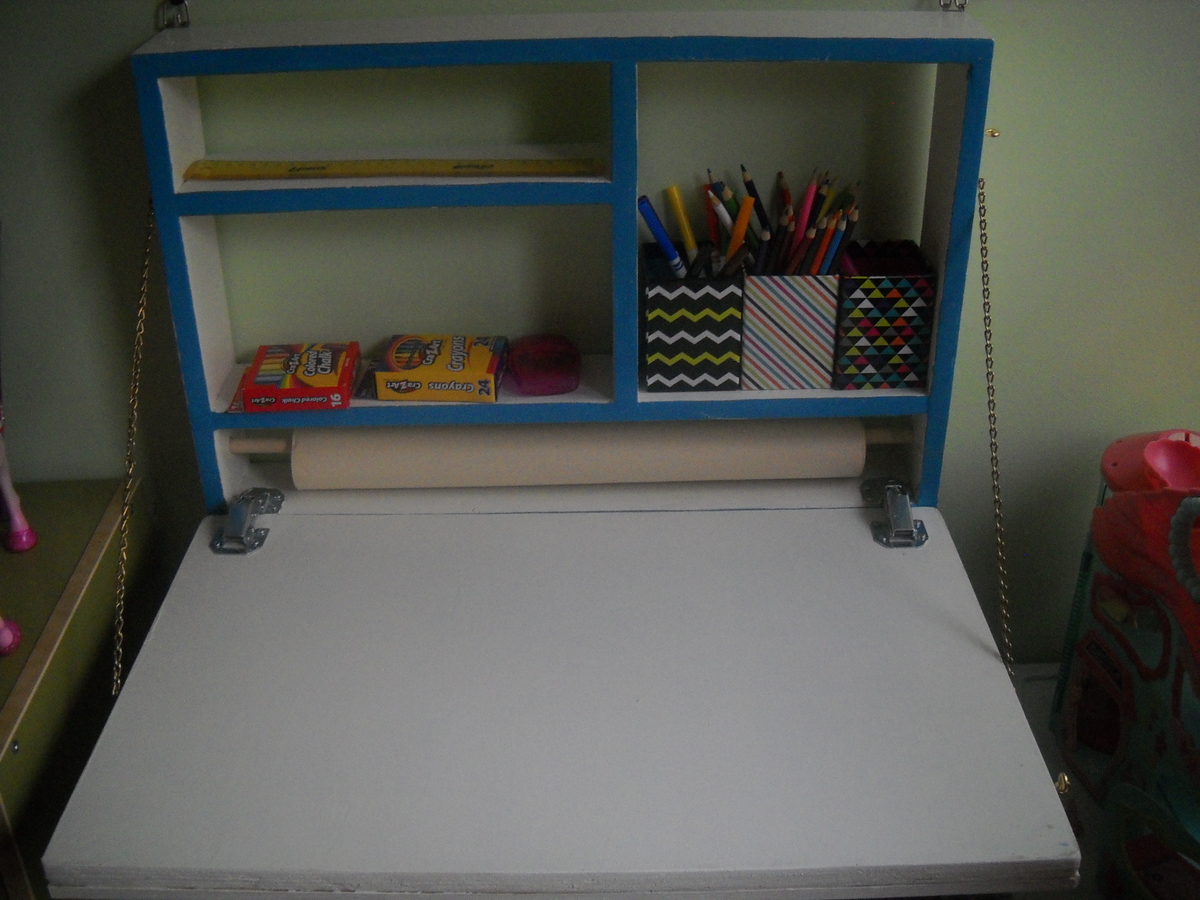
This was a first project for us. We decided to make it for my daughter's birthday, and it took us longer than it should, although the painting took the longest, with drying time and all. It turned out fabulous though!
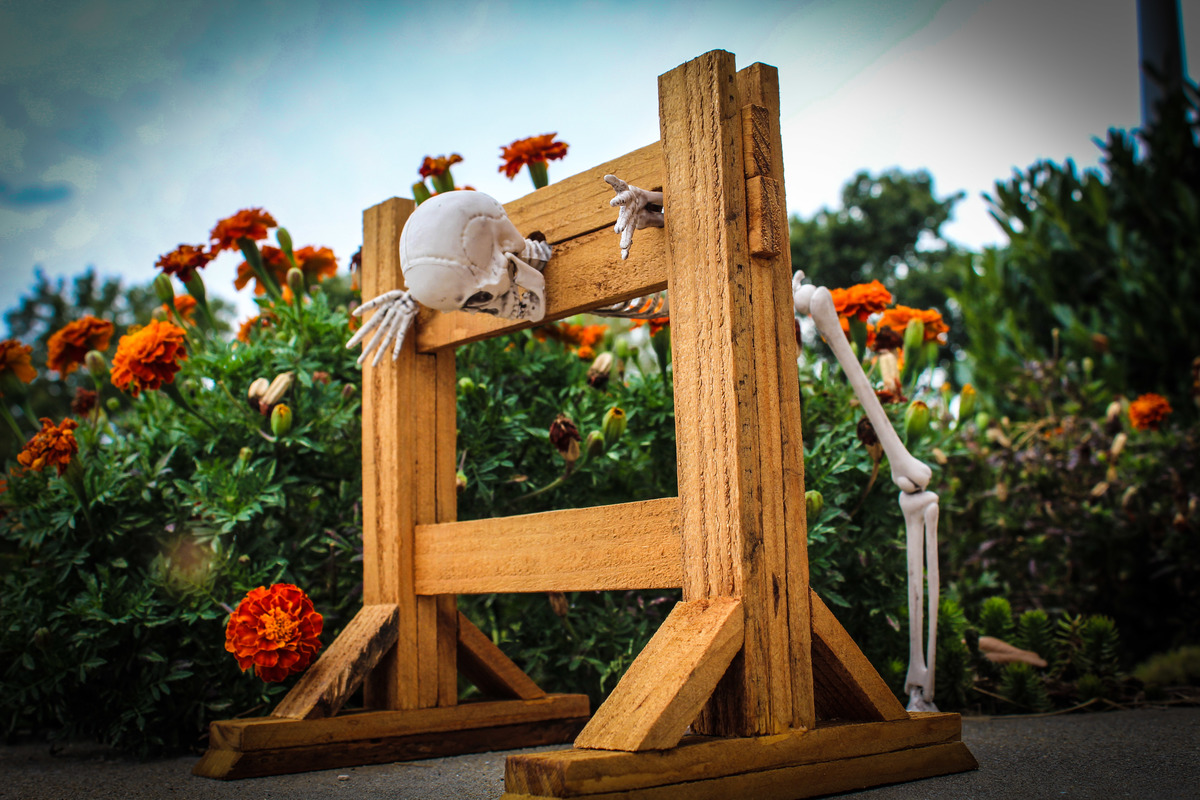
Build Instructions: http://www.instructables.com/id/Mini-Pillory-Stocks/
This wooden Pillory makes a perfect stand for your mini skeleton. If you are not familiar with a Pillory, the device was used for punishment by public humiliation and often further physical abuse. This project was made from pallet wood and was scaled to fit the 18” tall plastic skeleton. Only basic woodworking skills are needed and it should take less than 4 hours to build.
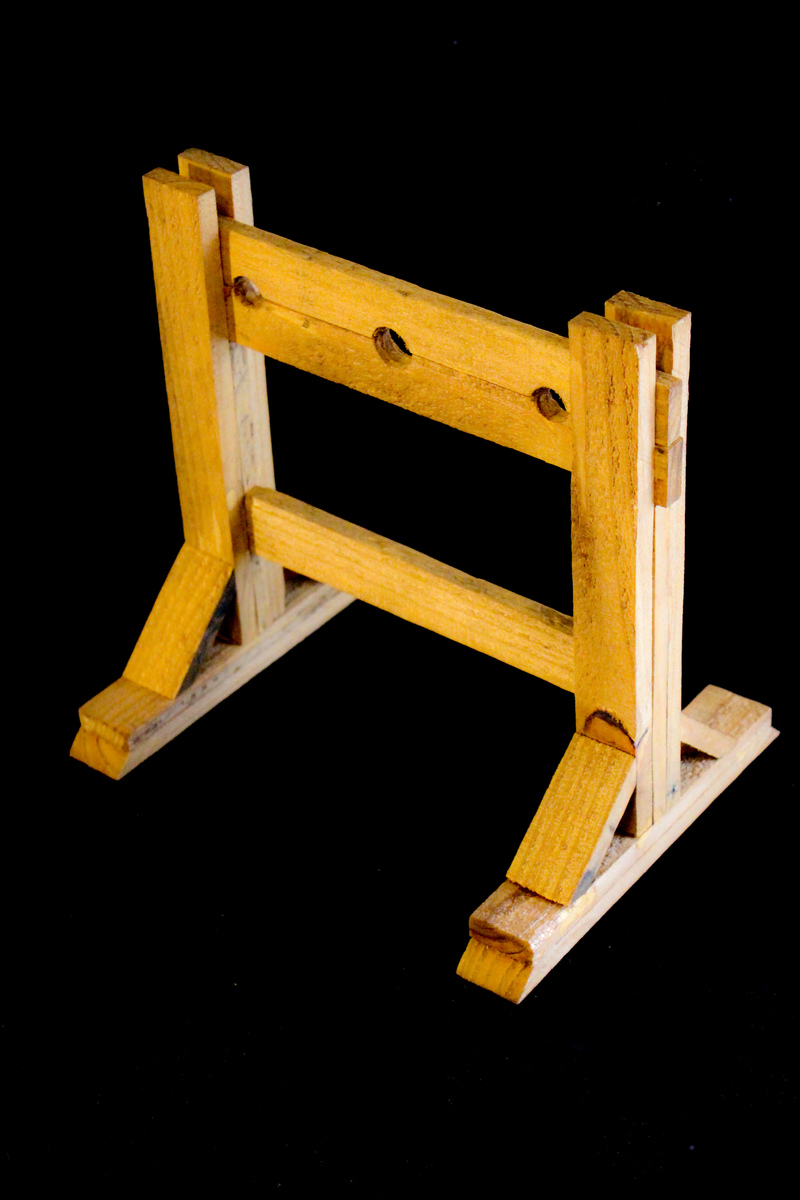
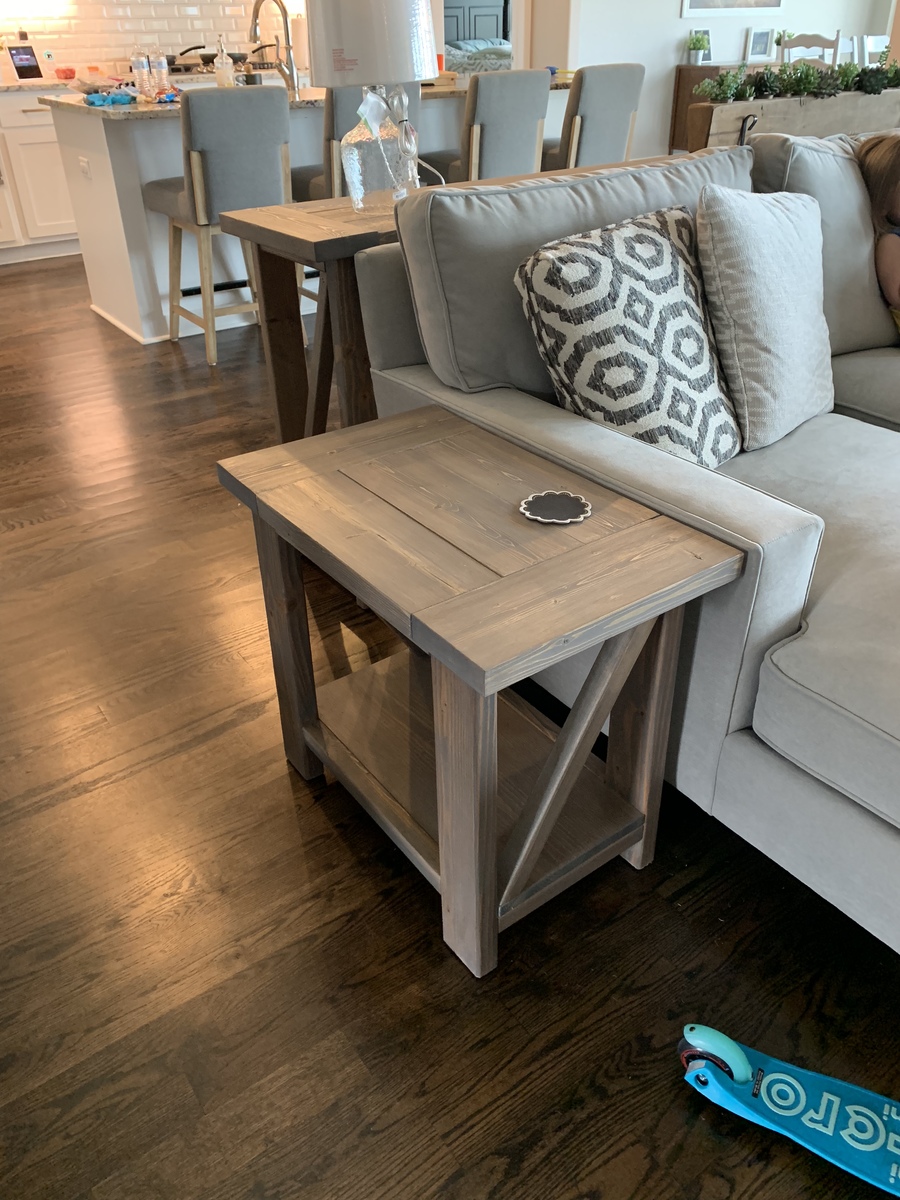
Modified to be slightly more modern by removing had the X and having a solid bottom shelf. Also, narrowed it up to be rectangular shape to save space.
Tue, 10/09/2018 - 09:36
I love your mods! The stain color is just beautiful too.
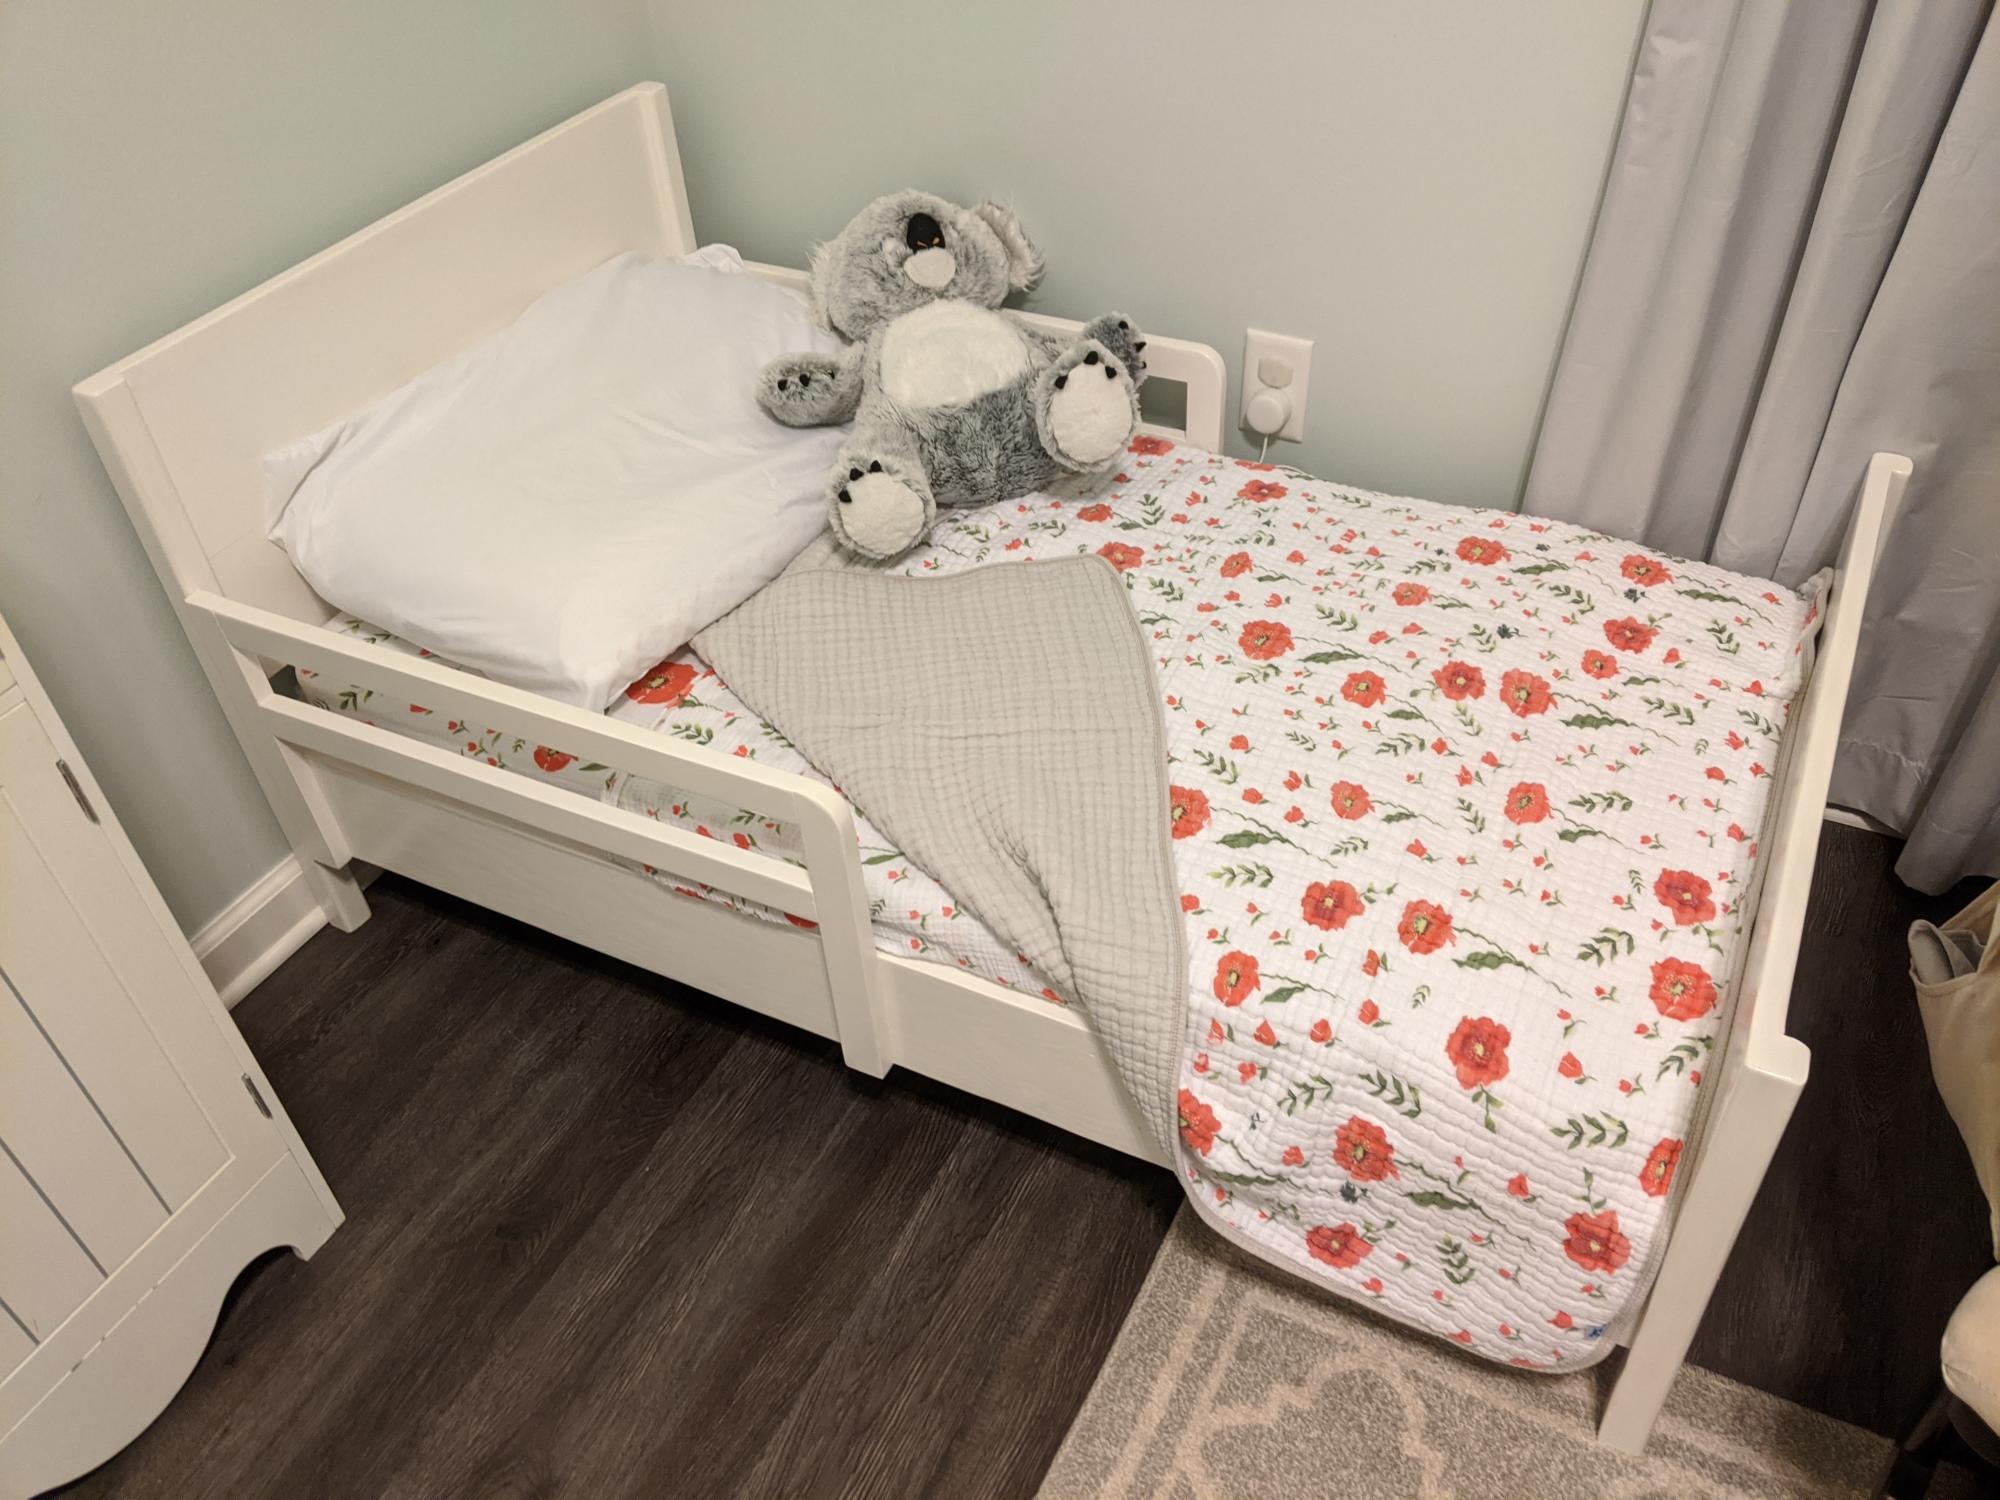
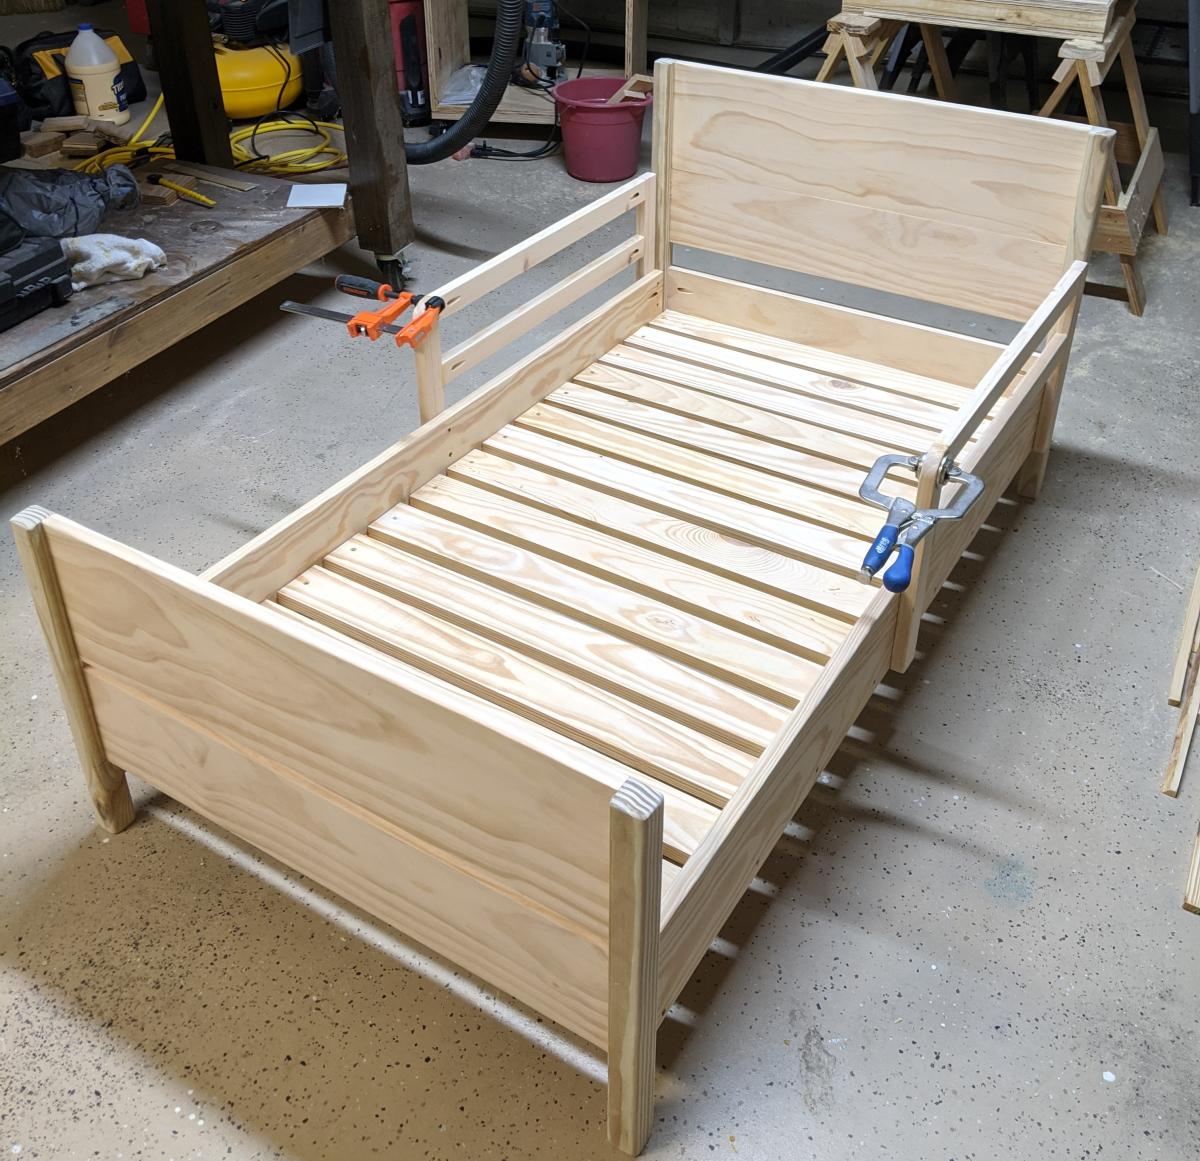
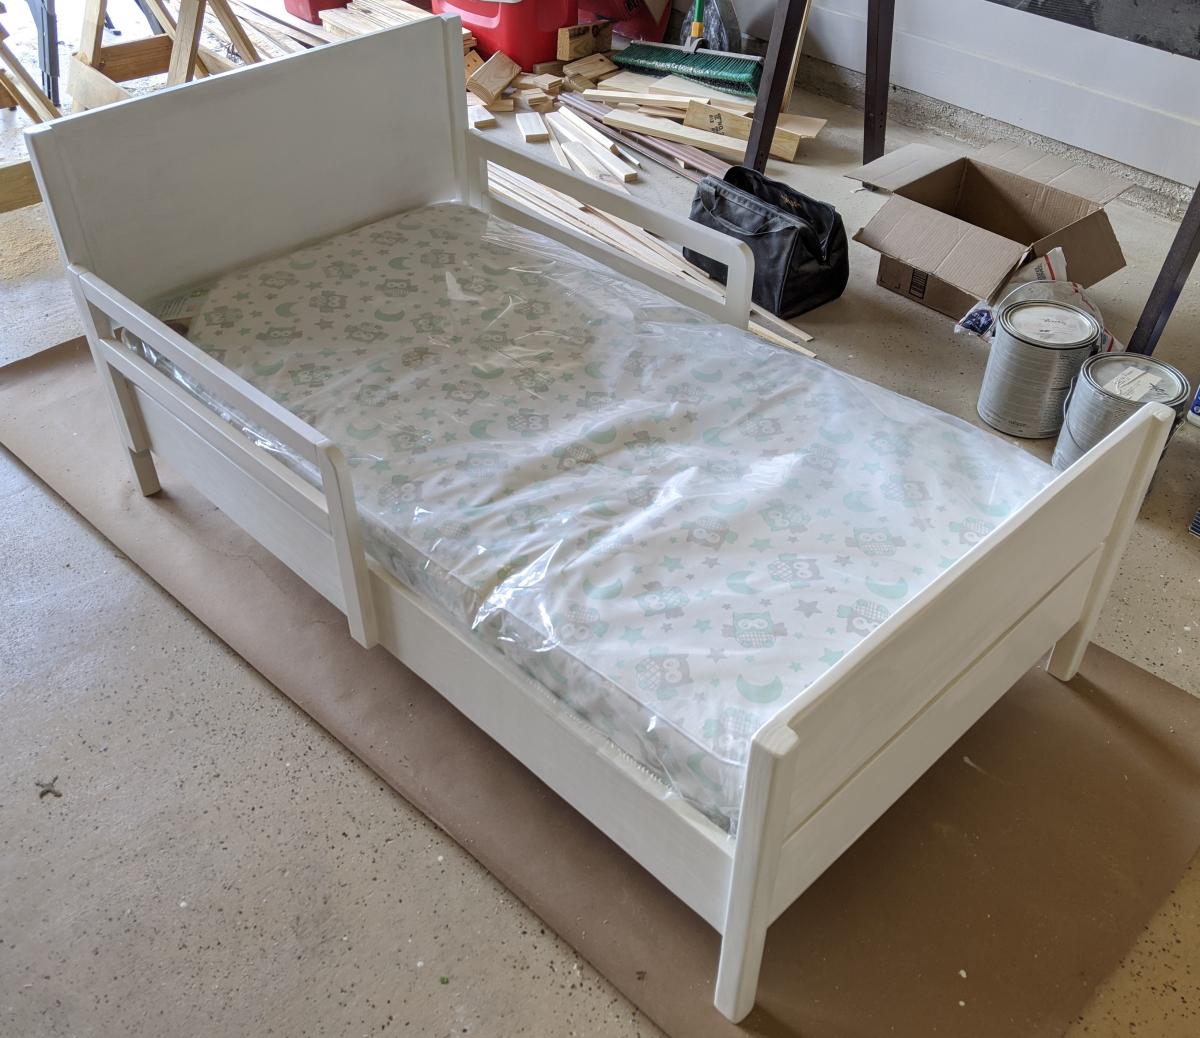
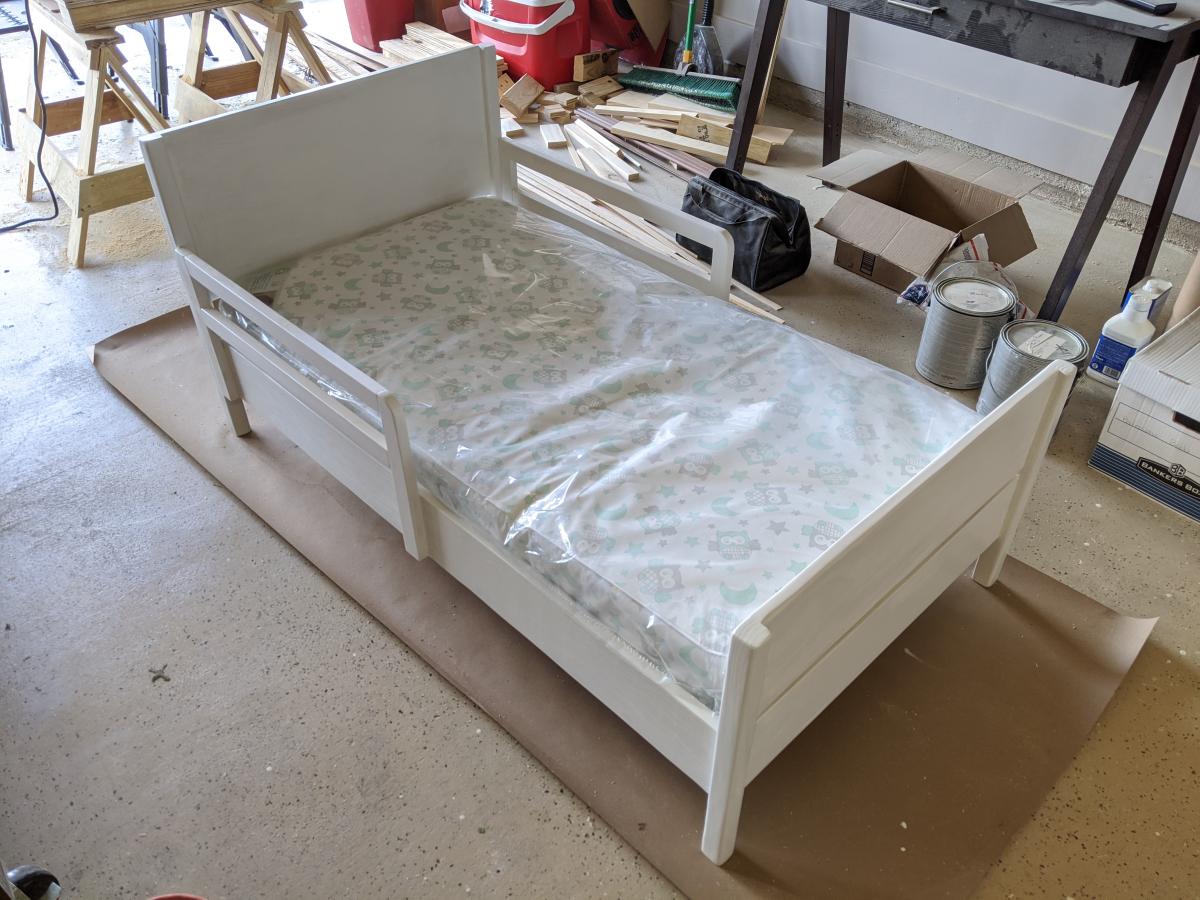
I completed this project back in February of 2020. I'm just realizing that I never posted about it here. The bed had held up phenomenally for the past 2+ years.
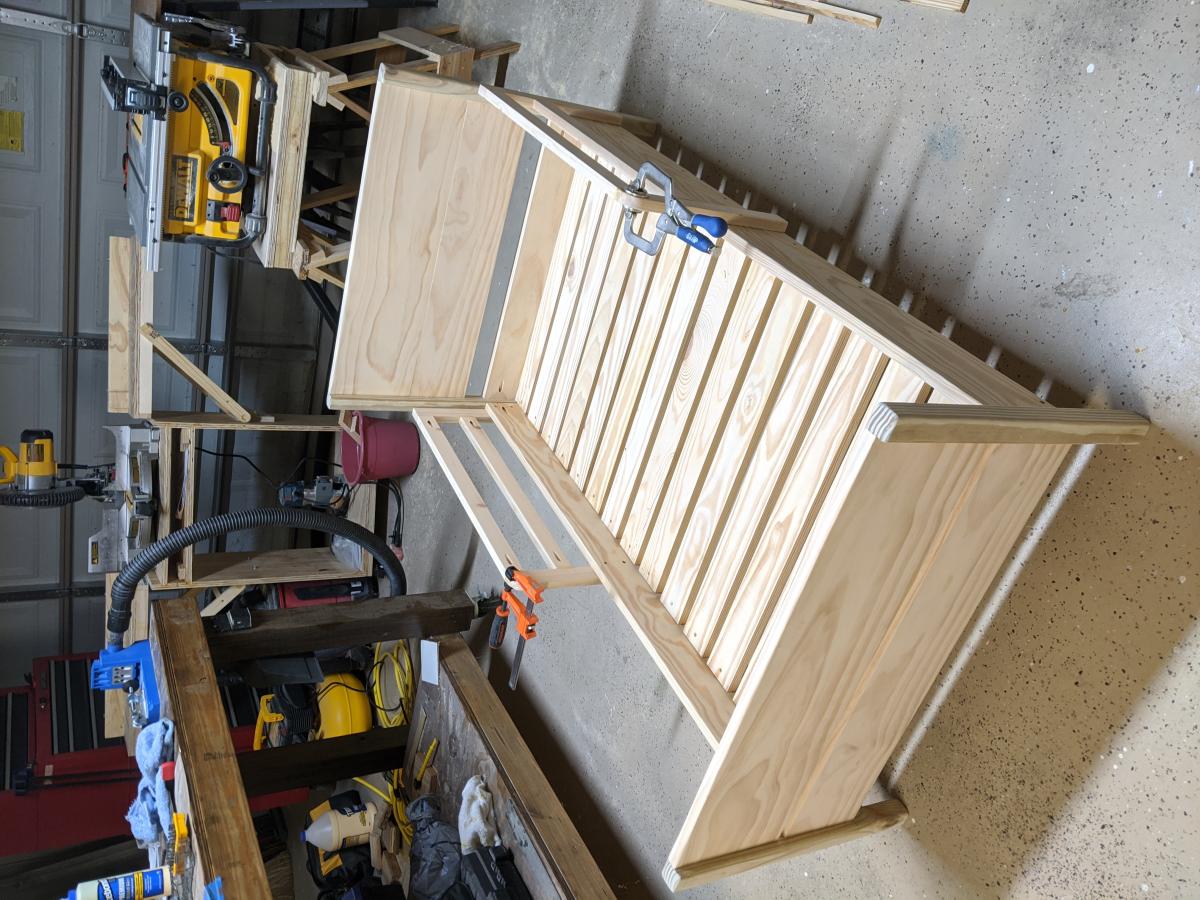
This was an excellent little project. It was just a little challenging and very fun. I changed the headboard and added a footboard to the bed by using extra 1x6 boards and elongating the feet about 6 inches to make it work. The construction part of this project (including cutting and assembly) took just one evening. I stayed up pretty late working on it, but I was able to complete it in one night. Painting took a few more days.
One note about the guardrails: the pocket screws split the vertical rails that were rounded off at the end. I glued and clamped the splits back together (note the clamps in one of the pictures), so no big deal. But I would recommend maybe not rounding them as much as I did. If I were to build it again, I'd probably just use my little disk sander to take the corners off, instead of taking off as much as I did using a jig saw.

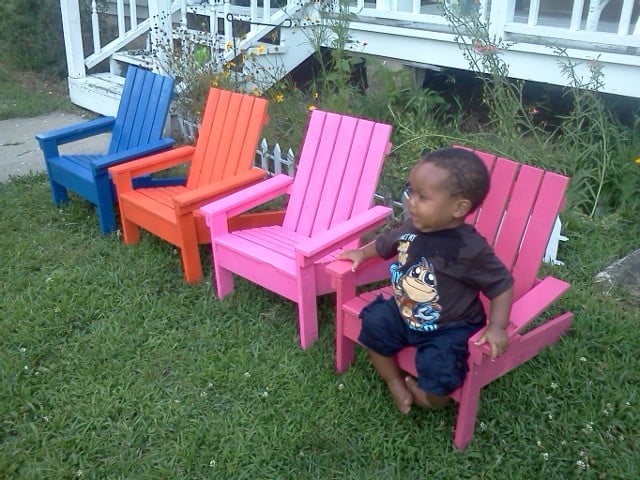
These 4 little chairs did not take very long to put together. But they did take me a while to sand, prime and paint. I hate that part of building-haha-so it always seems like it takes forever to get through with that and on to the fun part. They are very easy to make and inexpensive. My grandkids and others who have driven by and seen them out front have loved them!!
You made this project look so simple that I just had to try it. However, to suit my needs I had to make a few alterations to the plans. I had a set of bi-fold doors that were in need of replacement and I thought inset bookshelf doors would be the perfect way to replace them. This project was easy enough for me to do it myself and I am really new to the DIY game but I did have some help. I really love the way they turned out. You can read all about my my adventure at http://heresalittletmi.blogspot.com/2013/08/bookshelf-doors.html
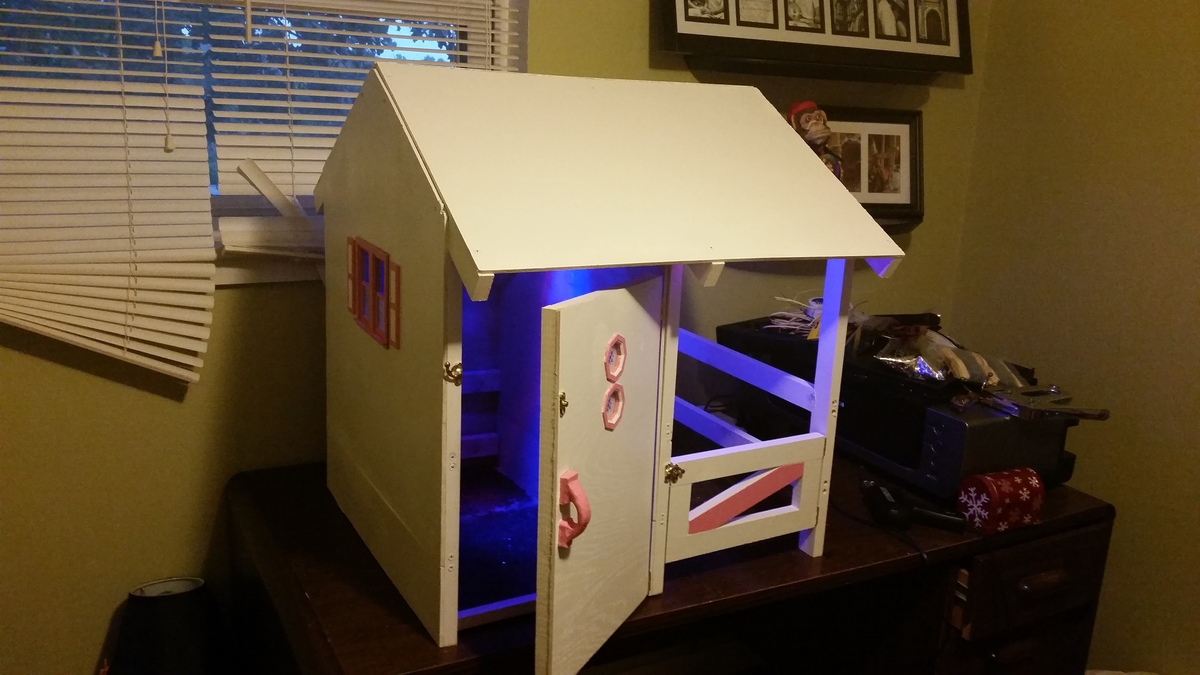
Enjoyed building this. It was taken from ana's plans, and my little girl loves it. She wanted one side of the stable enclosed so she could keep her stuff in it and she wanted it to light up at night for a night light. The lights are 12 red and blue leds running from a 12v power 1.2 amp power supply.
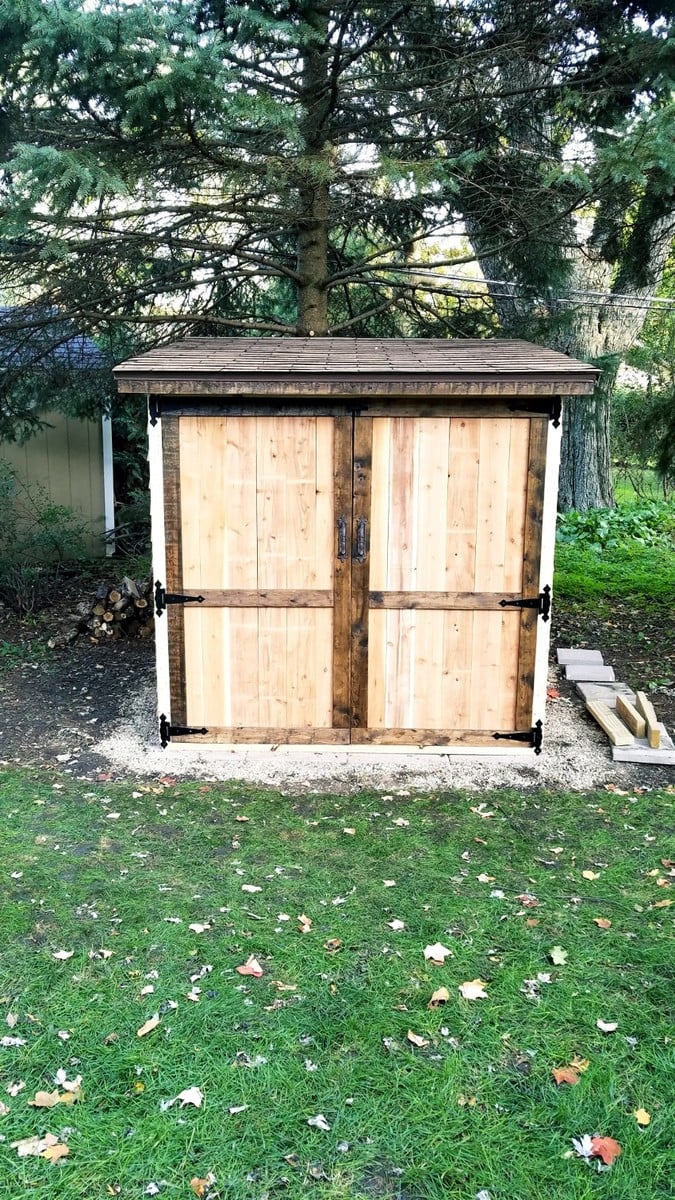
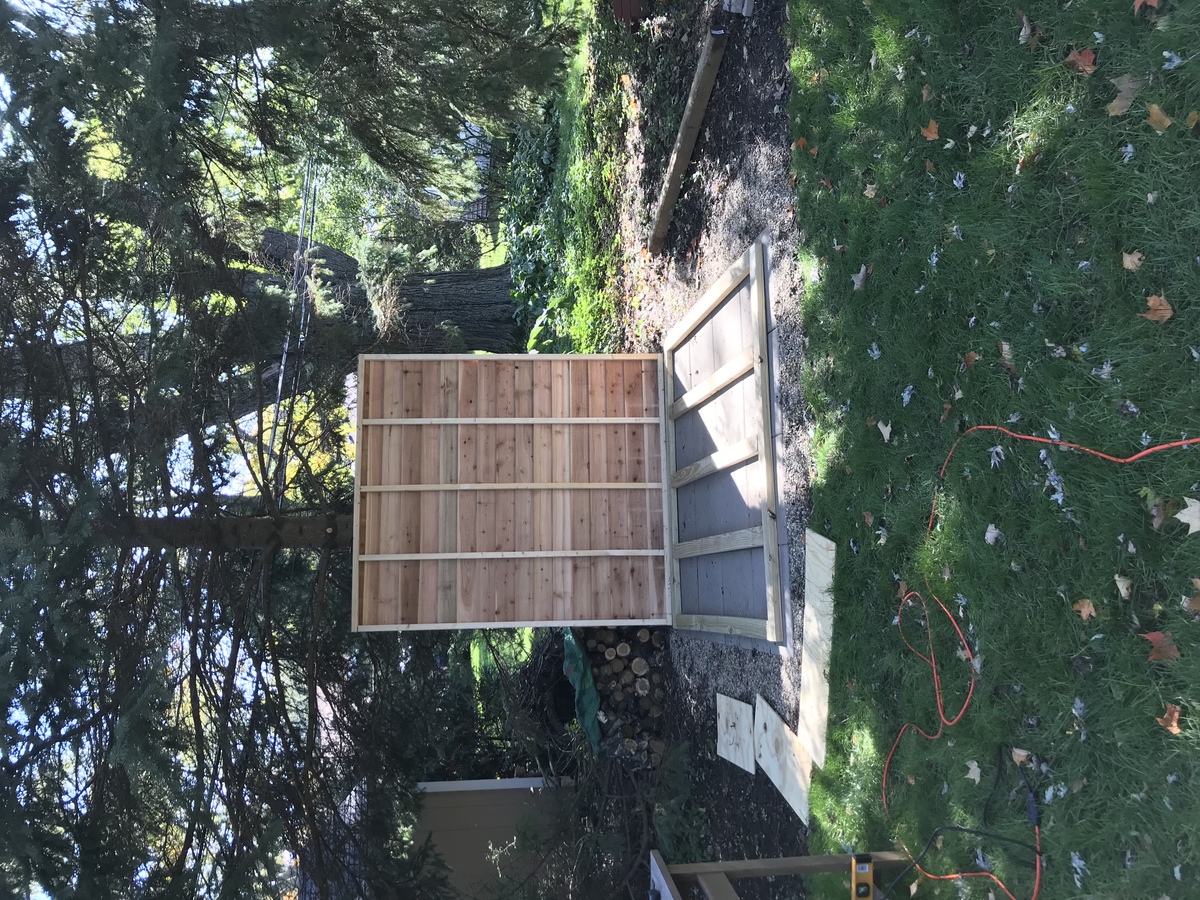
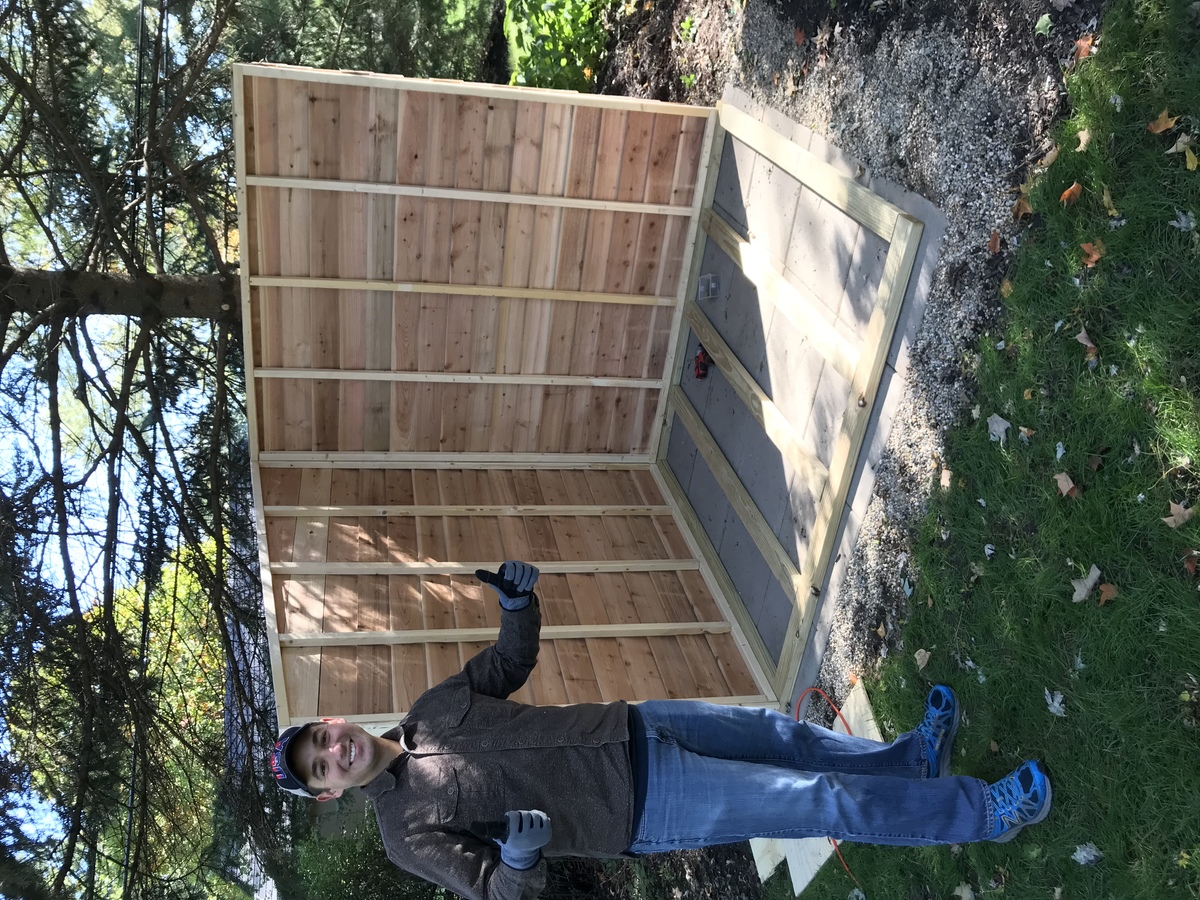
My husband Mike built Ana’s cedar shed over the course of a few weekends. He wanted it to be 3-ft deeper than the original, so he made those modifications, and it turned out great! We added some vintage/historical knobs and brackets to really make it pop! It is ready to be filled with lawn mowers and tools!
I built a ton of these as Christmas gifts and they were a huge hit! I used 2x3's and made them in different heights. Thanks, Ana!
I found the cutest little nesting tables on PB, but I didn't want to spend $400. Instead, I adjusted the sizes a bit and built my own.
Tue, 07/26/2011 - 15:44
Wow you make it look so easy! Your details on your blog are awesome! Makes me want to go out and buy a router! LOL Hope your thumb is healing.
Tue, 07/26/2011 - 17:50
hahaha...I had to laugh at the thumb comment. I did break it, but that didn't stop me from picking up the router to finish the top :) I mean, it is just a thumb, not an entire arm, right?
Thank you for the kind comments. I try to post as much information as possible (and if I don't, please ask). I love seeing great project blogs, but found it frustrating when they would show the supplies or paint they used...then the finished project. But nothing in between. How did they do it?
When I found Ana's site, I was so relieved that there were communities where they thrive on sharing information. Y'all are amazing! A-MAZ-ING!
Just a simple, but solid and stable patio table to replace the IKEA version that was warping and disintegrating. So much happier with this version. Also used bolts and wing nuts for attaching the legs for easy disassembly and storage for the winter. Should get many years out of this table.
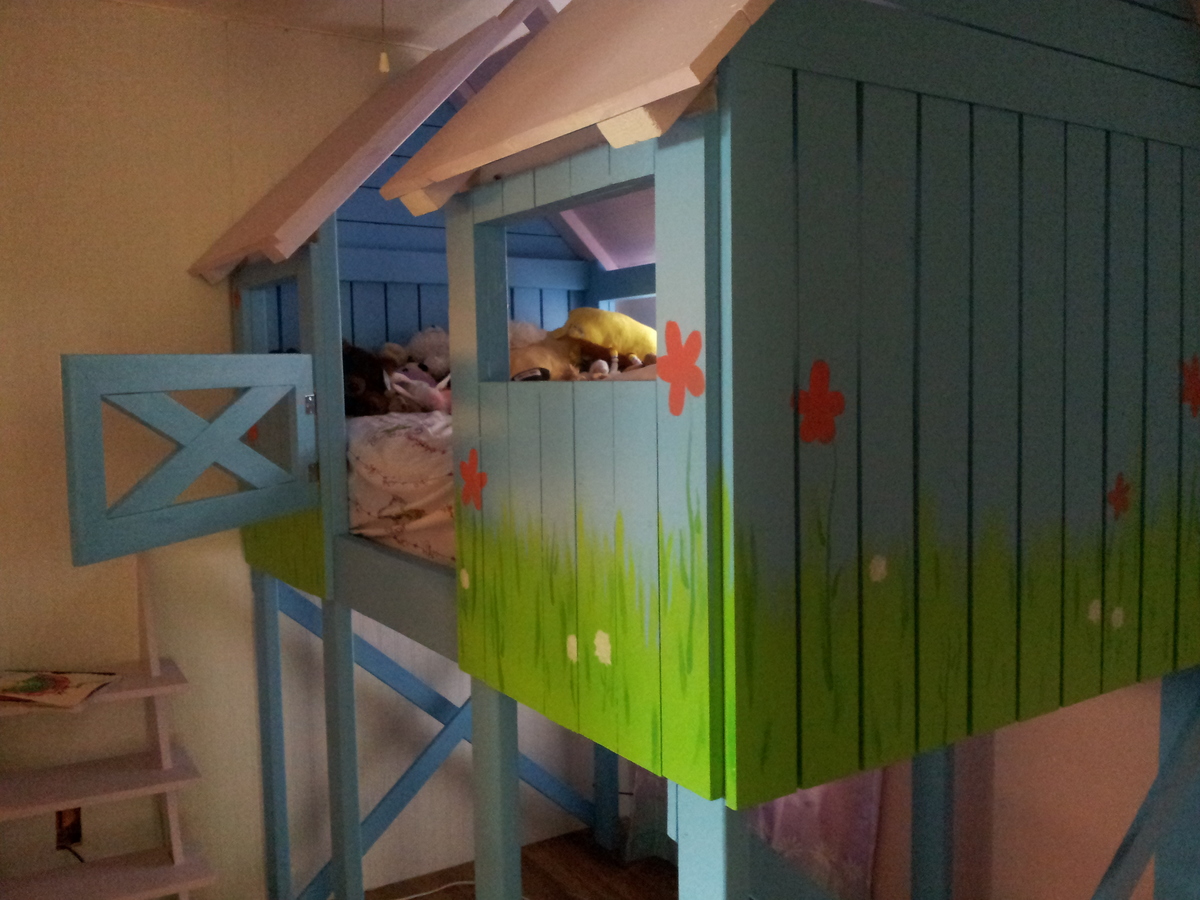
This took a little longer than a weekend and it helps to have some help because it is so big. I would cut the legs about an inch shorter if you have 9 foot ceilings, other wise it will scratch your ceiling when you tilt it up. I put the door on because I was worried about my 3 year old falling out. She loves it and it was fun to build.
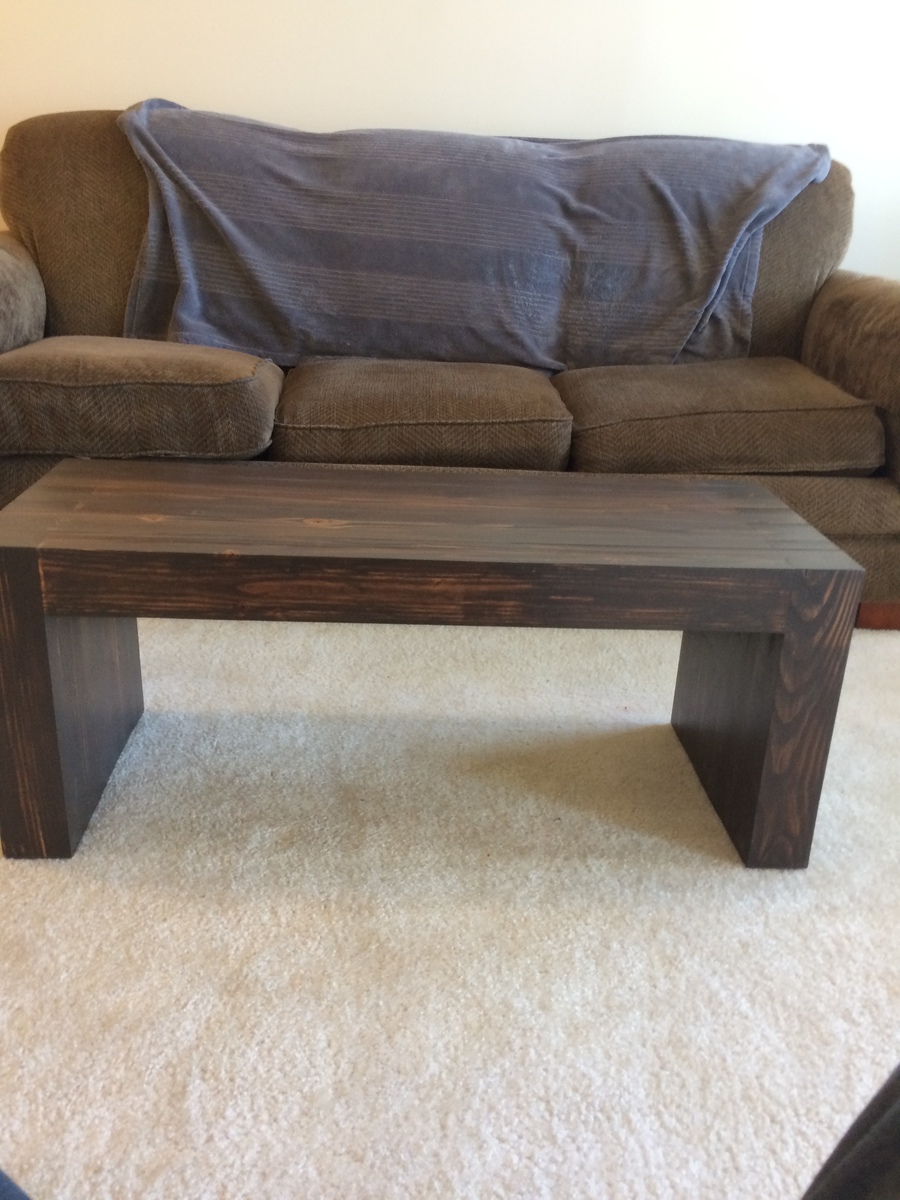
It was taken from a plan that Ana had for a patio bench. I made it longer and high enough to match the seats on the couch
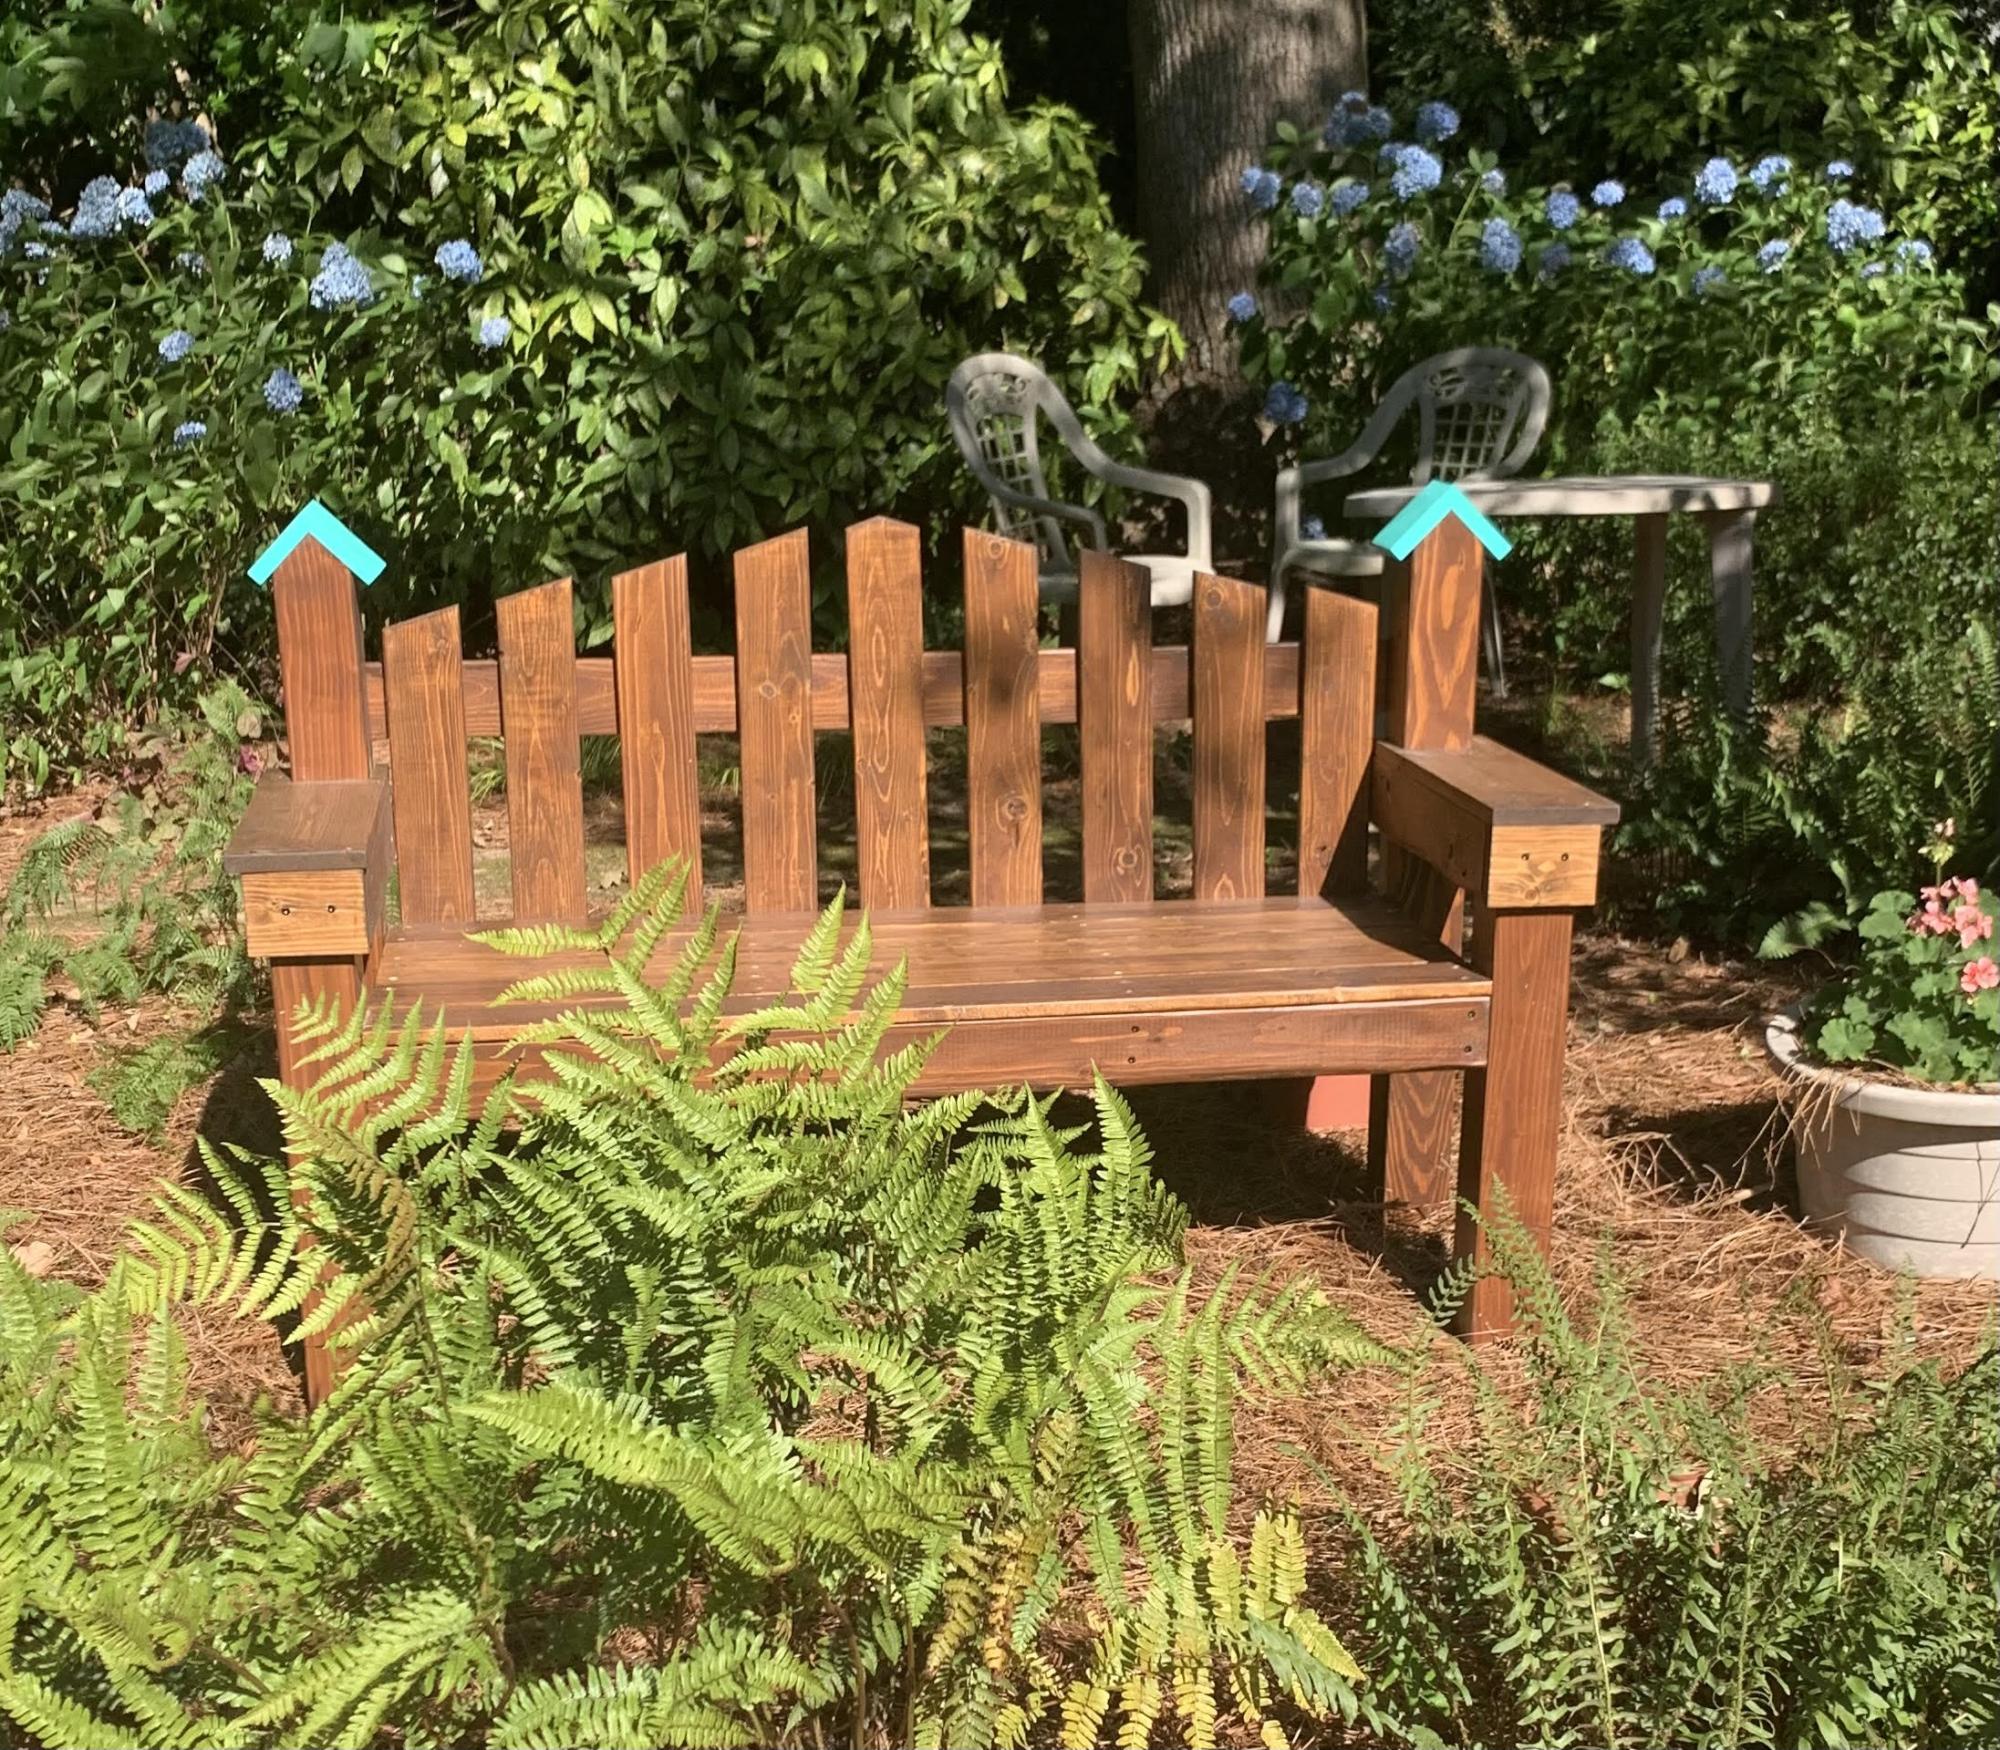
Combined several different plans from several different sites, but my mother in law is a master gardener who loves birds and wanted a new bench for her garden. I used 1x4's on the seat slats (instead of 2x4's- added an extra support in frame), made the seat a bit deeper, and I modified the arms to allow somewhere to rest a glass of her southern sweet tea. :) All made from box store non PT lumber and sealed for outdoors. The ideas for the "pickets" on the back and birdhouse came from "MyOutdoorPlans.com"- want to give credit where credit is due.
After finding the build plans for this while browsing Ana White's site, I knew I had to convince my husband to help me create this. I'd been drooling over certain high-end decor store's version for a while now, but refused to pay the costly price tag. This is now one of my favorite pieces in our home, and I love saying that we built it ourselves :) See the full post at: http://www.fromourhidingplace.com/2011/07/how-to-get-your-husband-to-bu…
Mon, 08/01/2011 - 10:19
Mind sharing where you found your casters? I am having a hard time finding anything I like. Thanks!
This was my first project..took me a week but I loved creating this!! Got plans for more! Love your website

Used the plans for the 2x4 couch added an additional 2x4 across the back for a little more back support. Then made two chairs by modifying the couch plans to fit the cushion width

Wanted a side table to go in dining room for drinks and spare dishes to go on when we have get togethers. It was a pretty simple that was fun and got it done in a weekend during naptimes and the spare moment here and there thanks to my husband having time off. I didn’t want a second shelf because that’s just a ladder for my toddlers! I decided to go with a truss look since it fit my furtinure a bit more and I like it having a bit of a decorative look in the back.
