X Frame nightstand
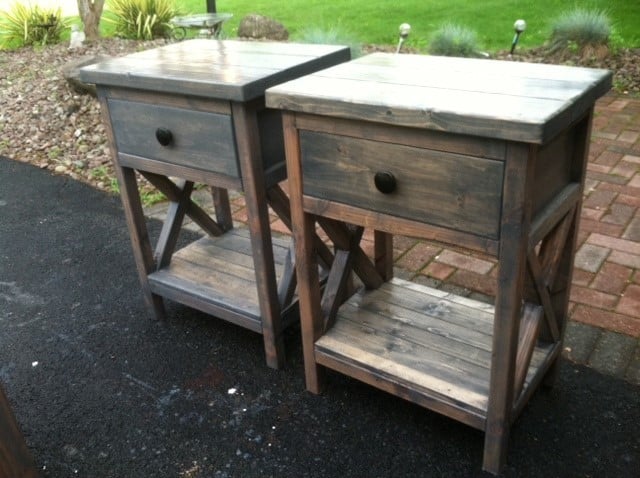
Used the simple nightstand from this site, and modified to add in the "X" on the sides. Finished in a Classic gray minwax to give reclaimed wood look.
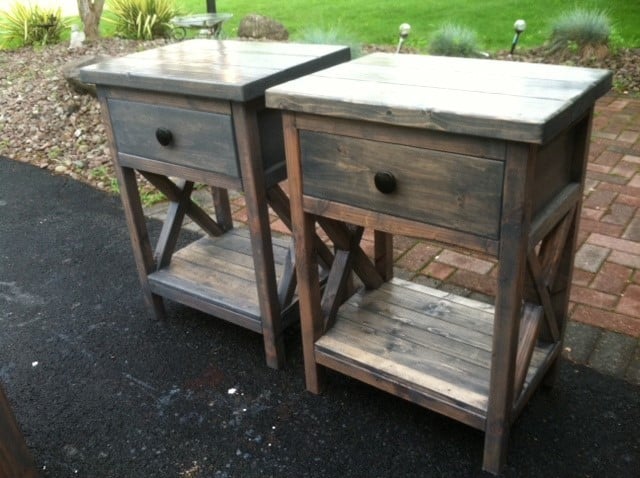
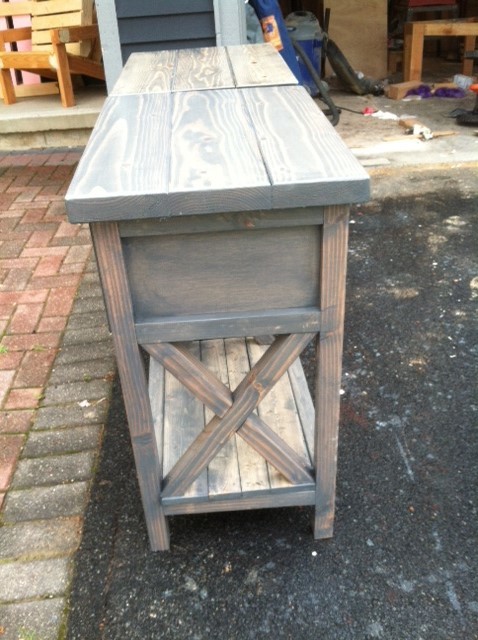
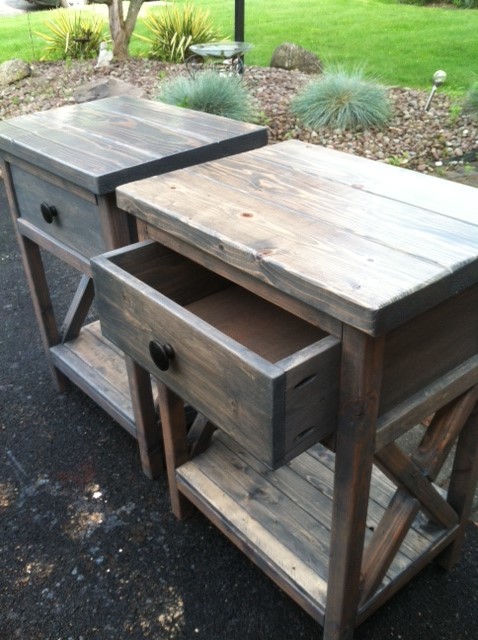

Used the simple nightstand from this site, and modified to add in the "X" on the sides. Finished in a Classic gray minwax to give reclaimed wood look.


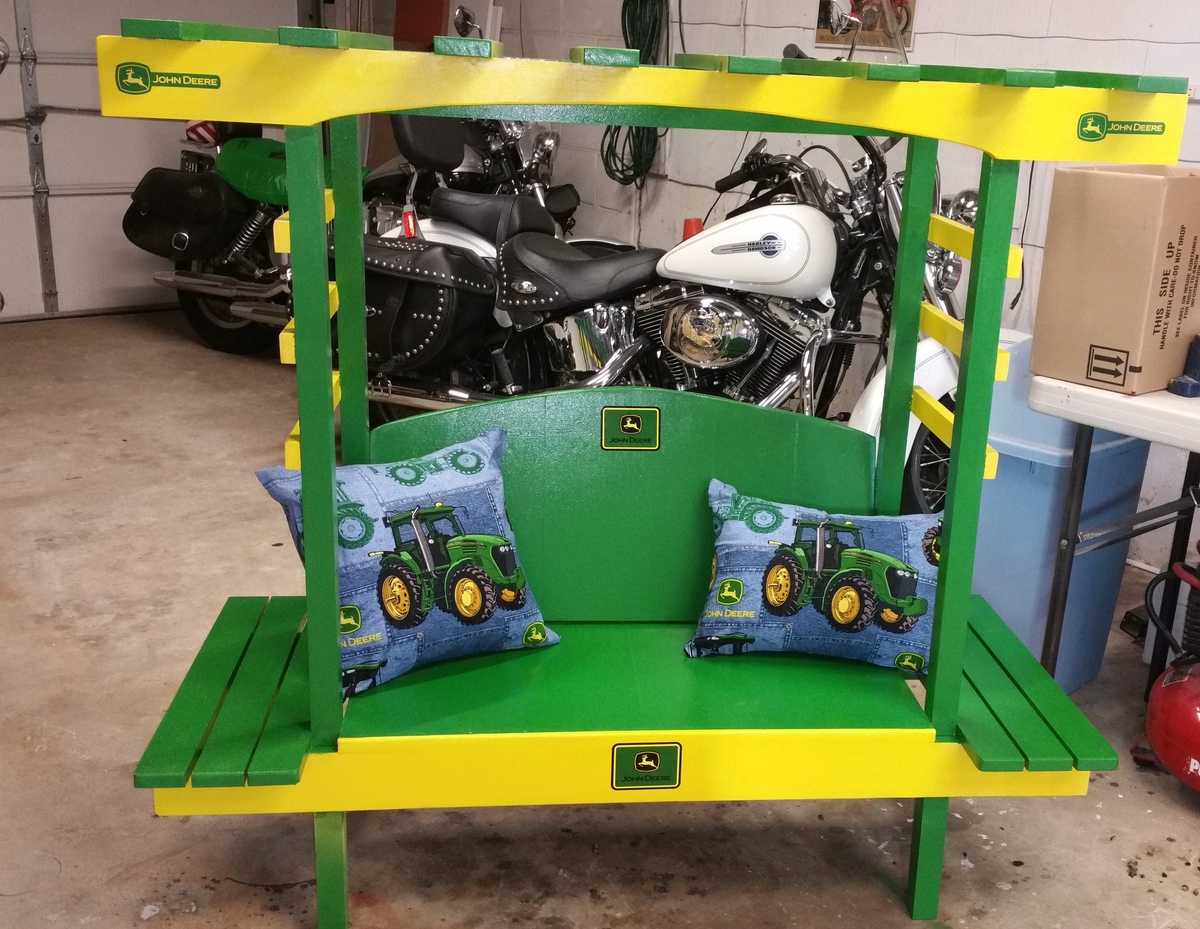
I made this for my grandnephew and it was really easy to build. I put it together first using a power brad nailer and then went back and screwed it all together for extra strength. The cut/build took just a few hours. The painting took several hours since I didn't prepaint and had to tape off where the colors were different (lesson learned for next time).
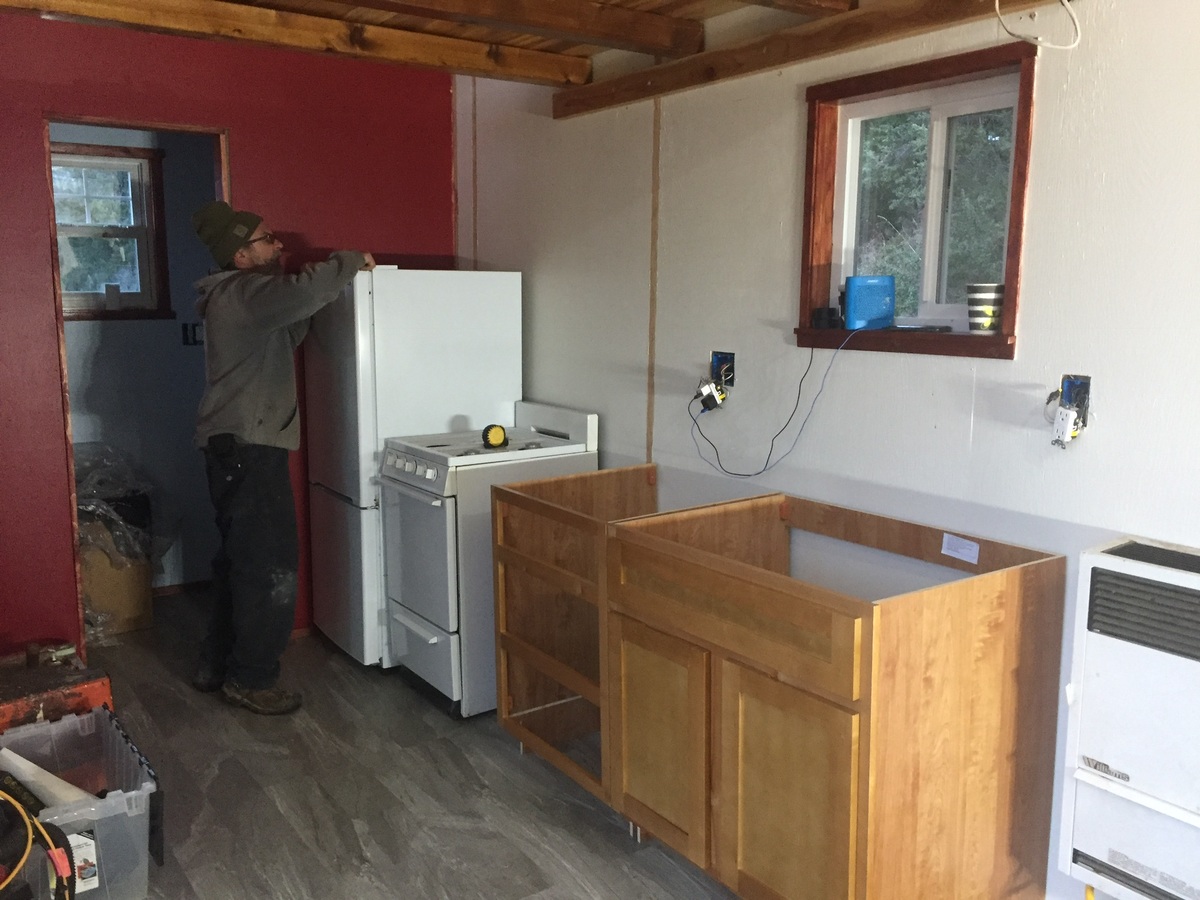
Ever since I saw the "wild rose" I knew it was the one I would build for my mom. I wanted a tiny house she would not have to climb a loft for her bedroom and still fit everything she would need. This is a brilliant layout! Many family, friends, and strangers donated money, time, appliances, and windows to get this house built. My husband and I have been finishing it up ourselves with some professional help in between since September and just put the appliances in today. Tomorrow the sink and counter-it's really happening, pinch me I'm dreaming! Thank you Ana & family, I can't imagine what kind of house my mom would have ended up with without your help. This was a really easy and fun build. Thank you so much!
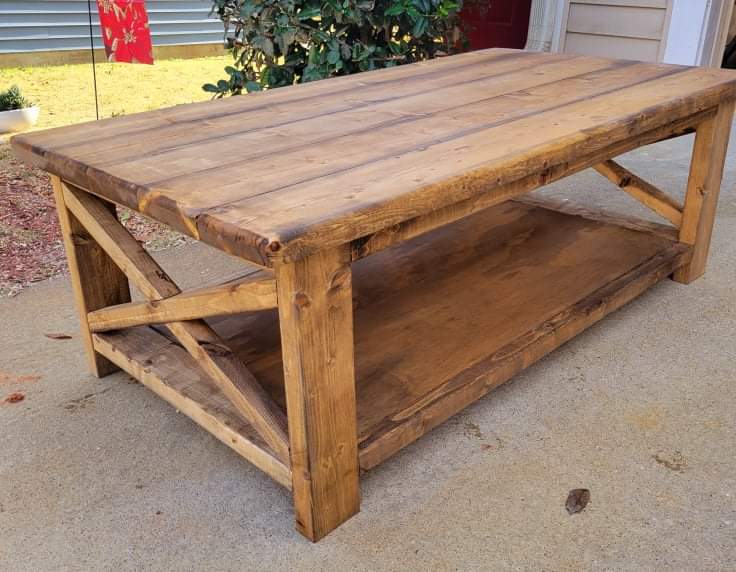
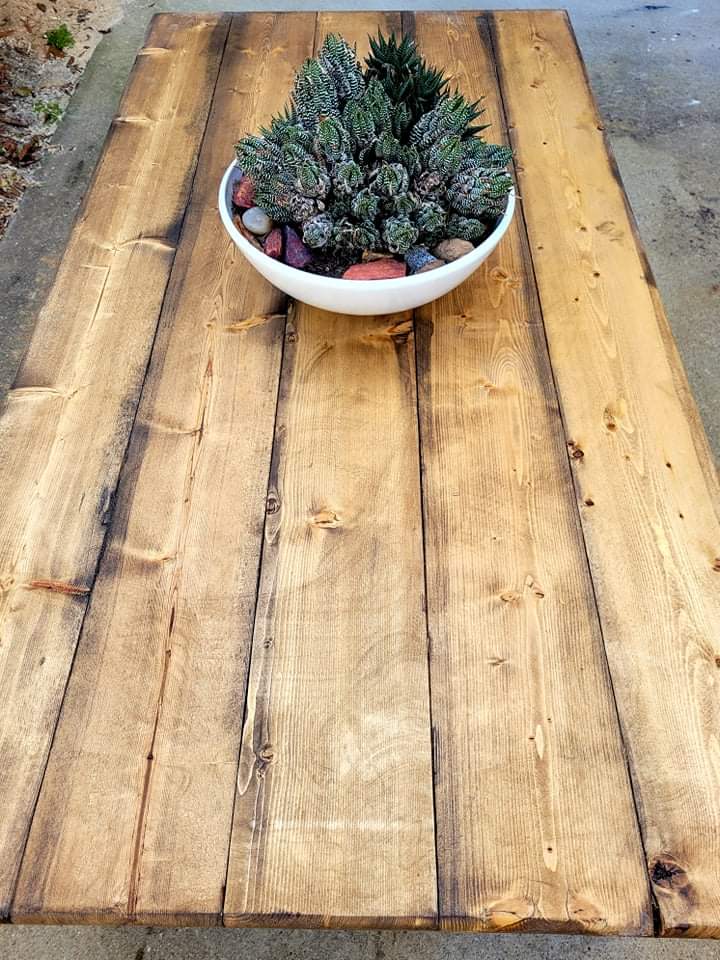
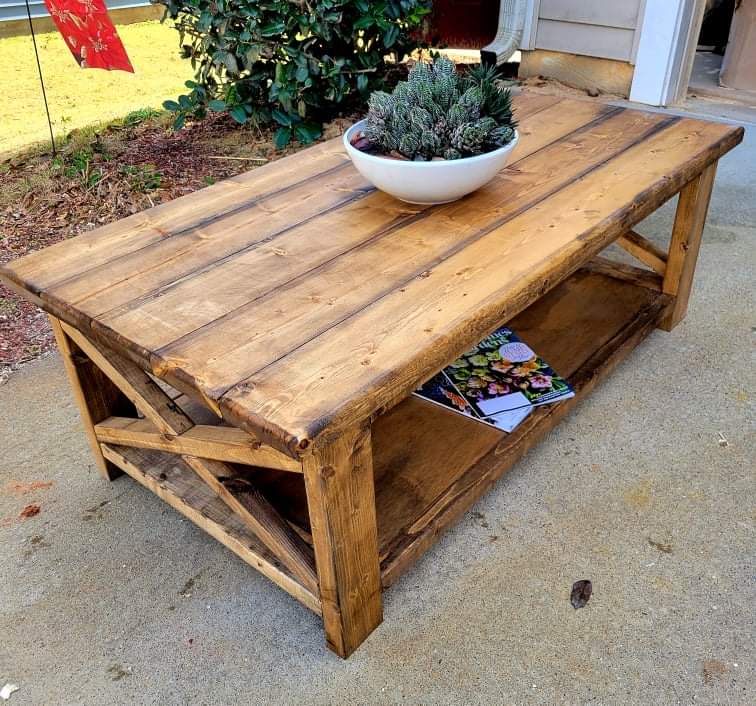
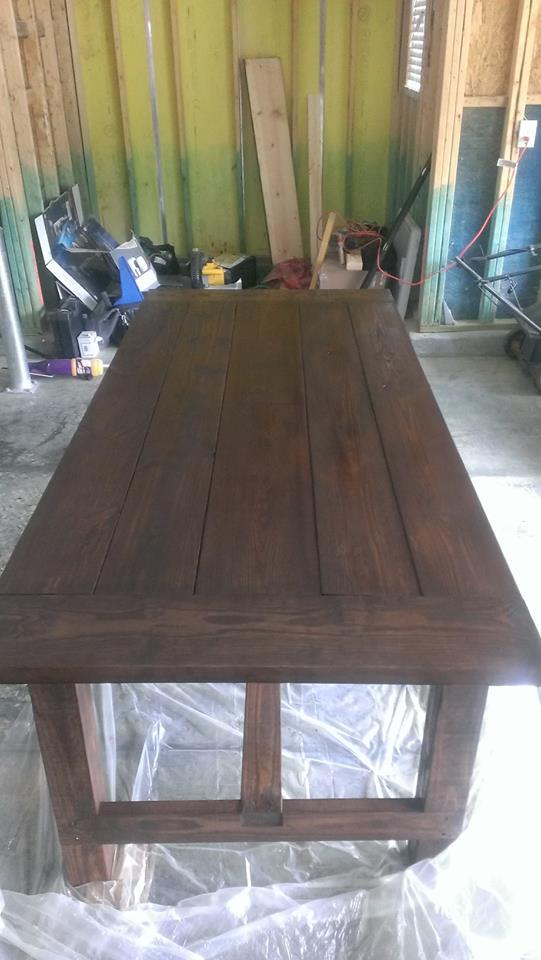
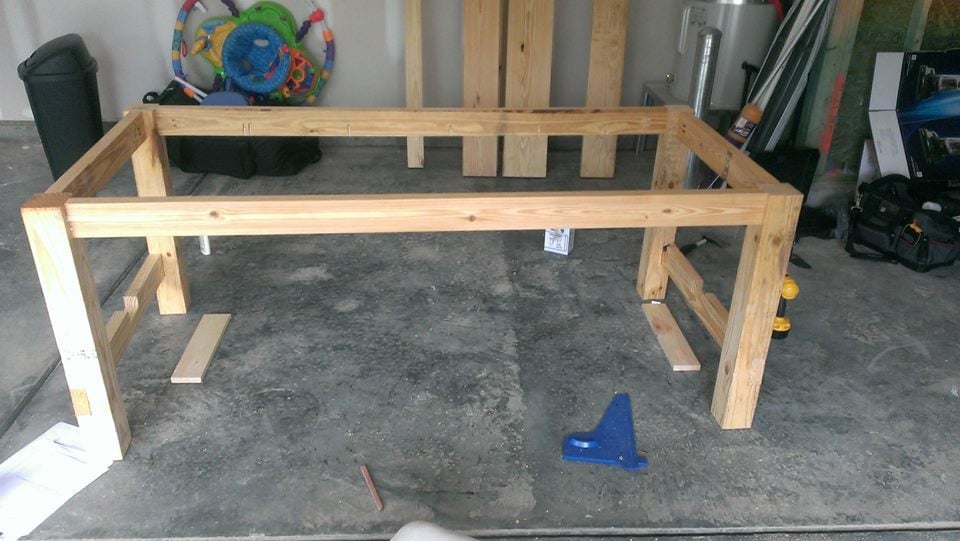
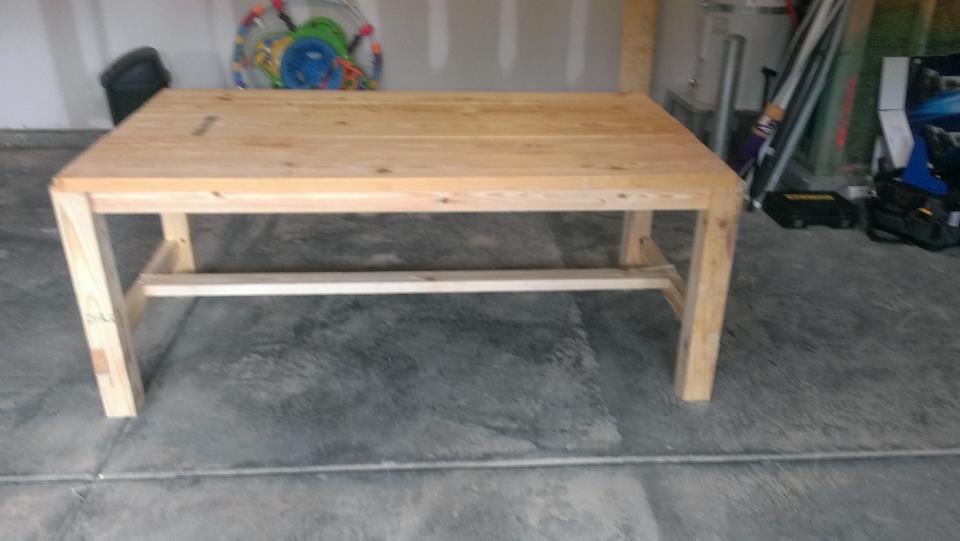
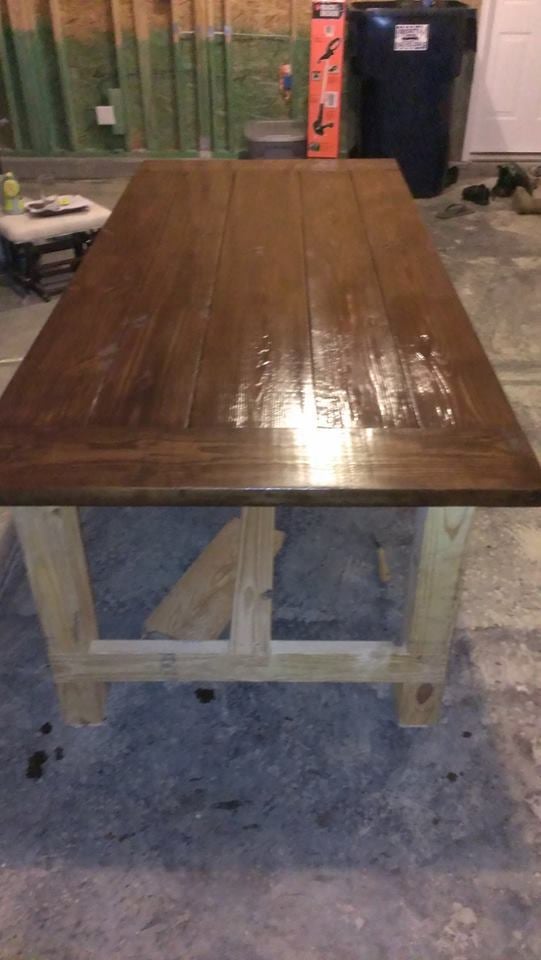
Had fun with this build. Love how large this table is. Gives me a place to put my feet up and there is still room for the kids to play with Legos. Lots of storage space underneath.
Finished with Varathane Golden Oak with Minwax Ebony lowlights.
Wed, 01/19/2022 - 12:29
Great job on the build and finish choice! Thanks for sharing:)

I loved making this! The depth and width of the treads are great. It is sturdy, safe and roomy. My little guy loves it!
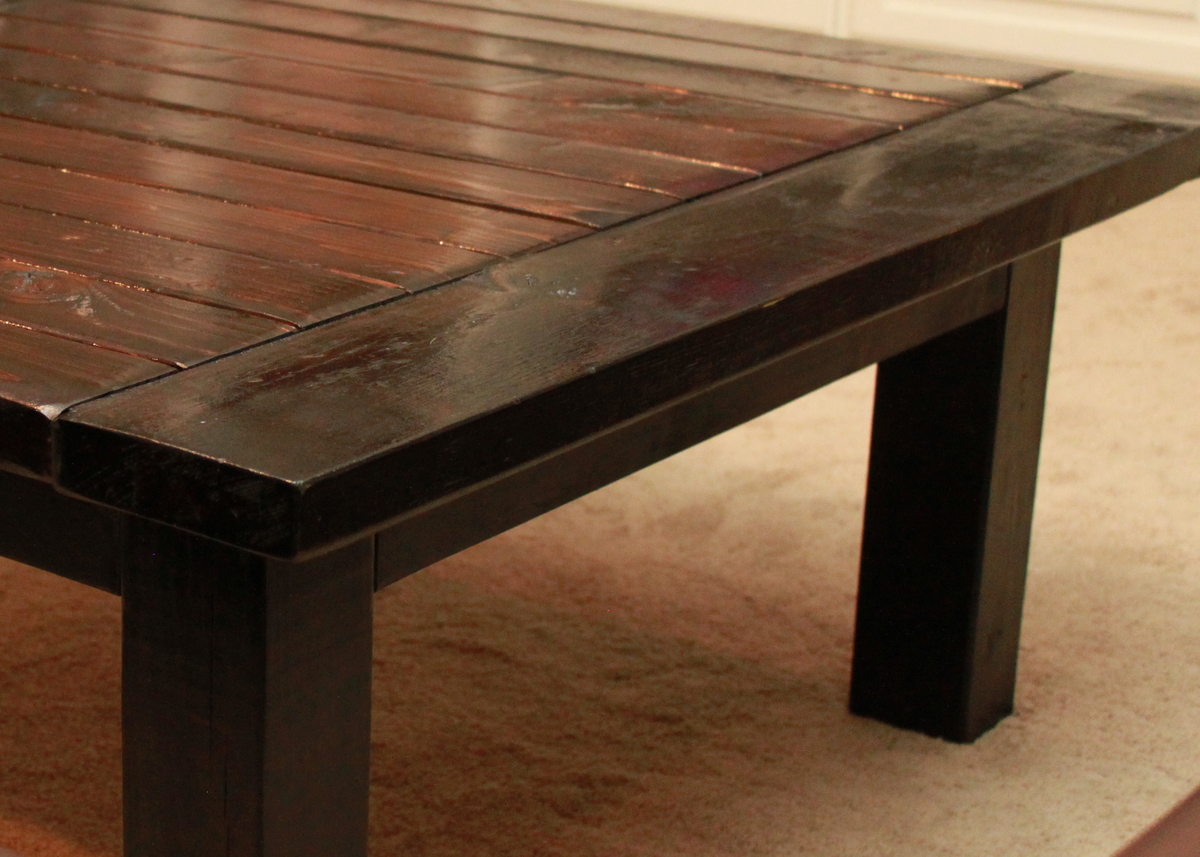
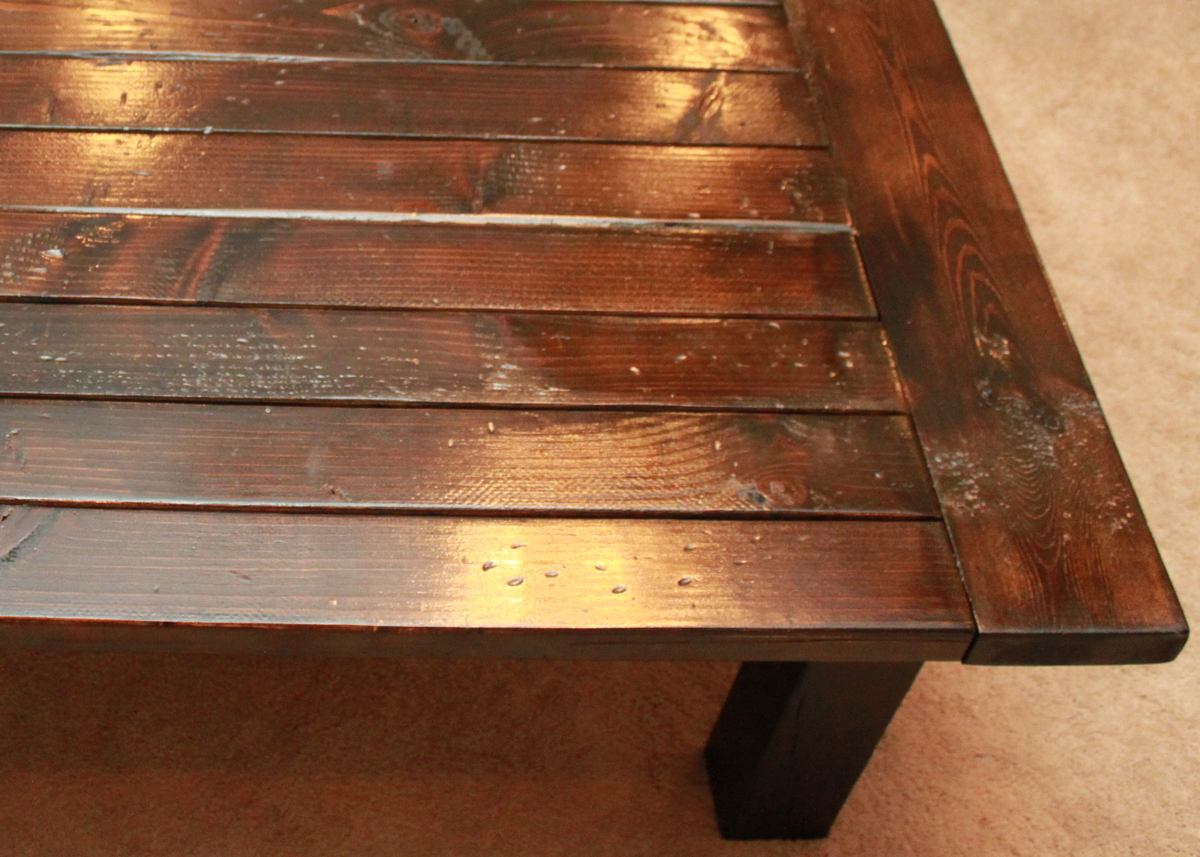
When we bought new couches for our new house, we realized our existing rectangular coffee table would no longer work. We searched for larger, rectangular shaped tables in all the major furniture stores. We became disappointed in the limited selection as well as the high prices. The ones we found that could work were typically in the $800 to $900 range. I suggested to my wife that I could make something better and less expensive, which took her by surprise since I had never made anything before. That's when I stumbled unto Ana-White.com and found the tryde coffee table plans. After searching the brag post, I found where a few had modified the plans to the size and shape we were looking for. The plans and build were very straight forward and much simpler than I expected. The table came out great and fits in well in our new den with our new couches.

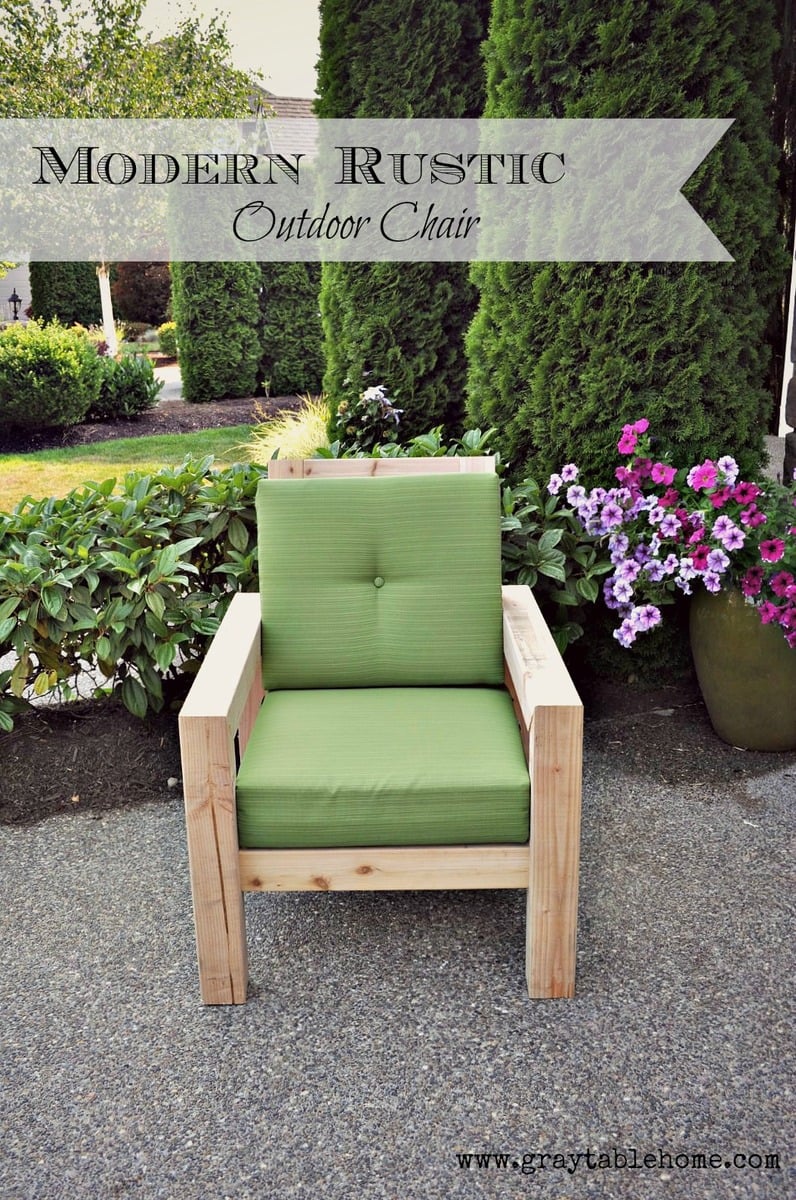
I made this outdoor chair by looking at a variety of plans and designs from Restoration Hardware and other stores. Check out more info on the project on my blog link. Thanks for looking!


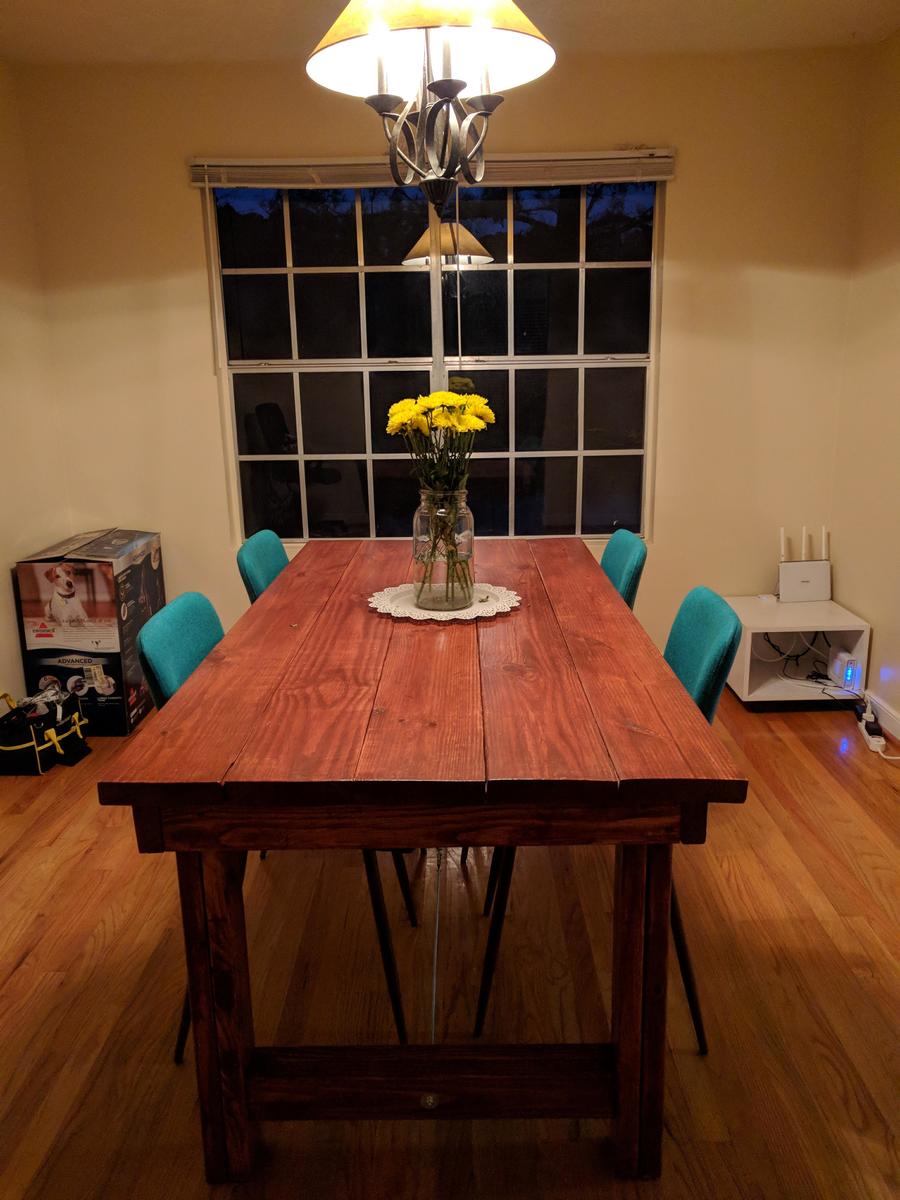
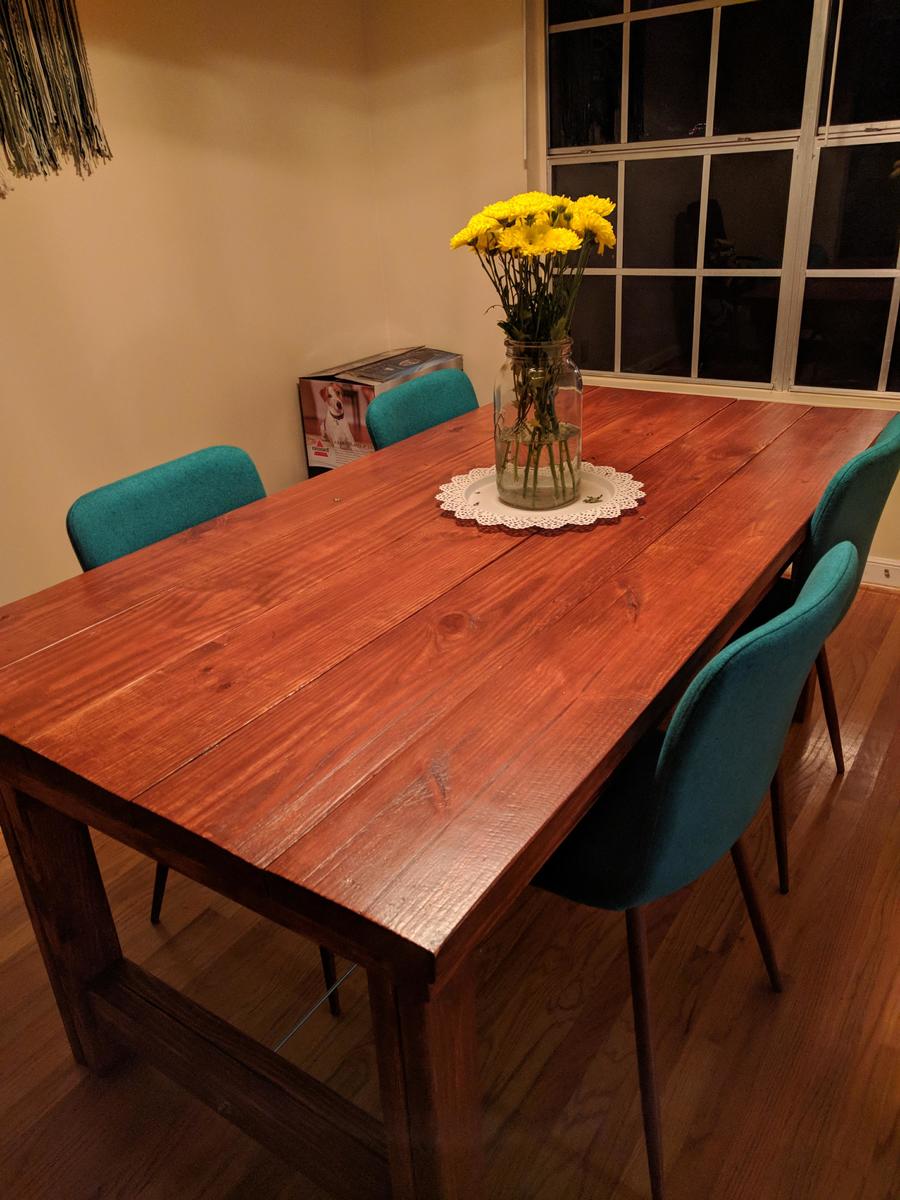
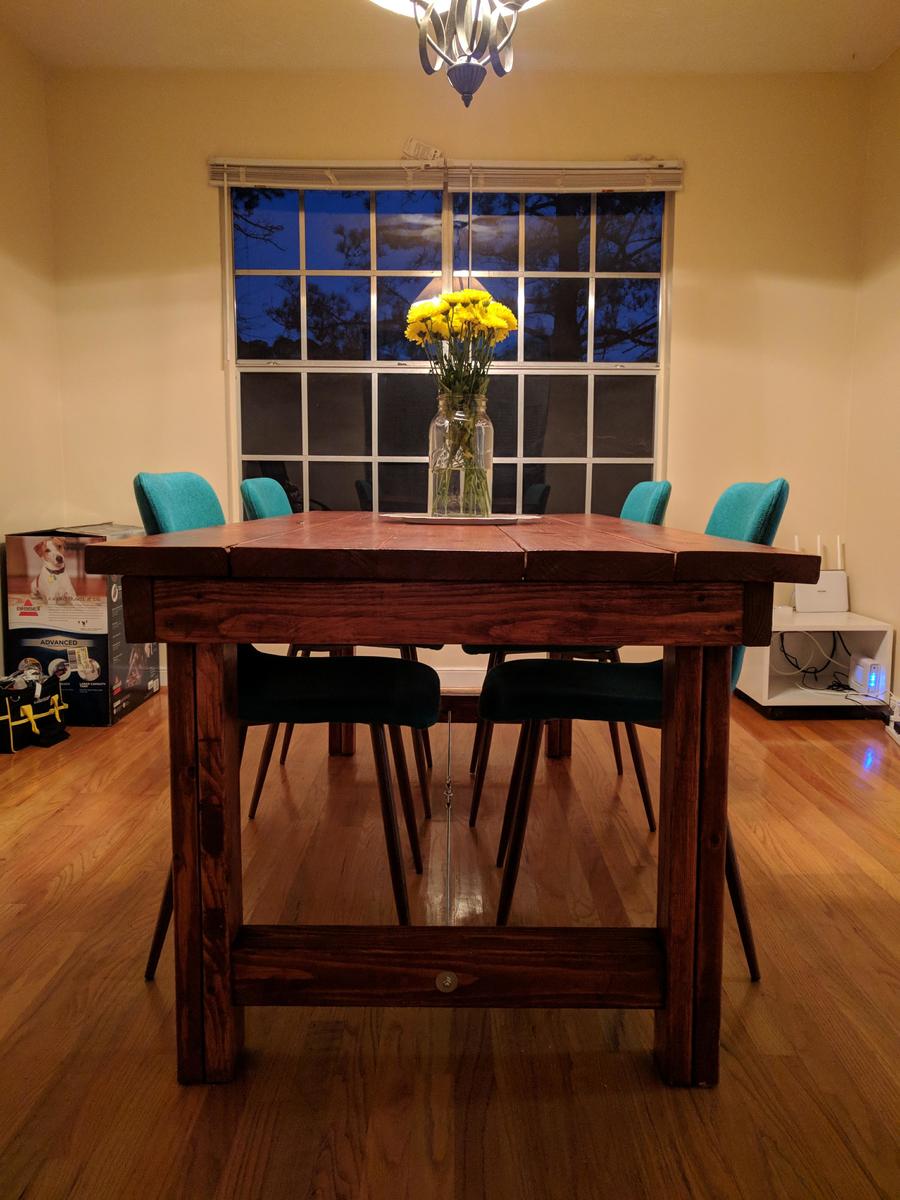
My husband and I just moved from an apartment to a house, the first place we've ever lived with a dining room! I knew I wanted to build a really special table for us and I LOVED this plan. It seemed straightforward enough, and my stepdad had all the tools in his workshop. So my stepdad, mom, and I built the table over the course of a weekend. It was SO fun and it looks perfect in our first little house!
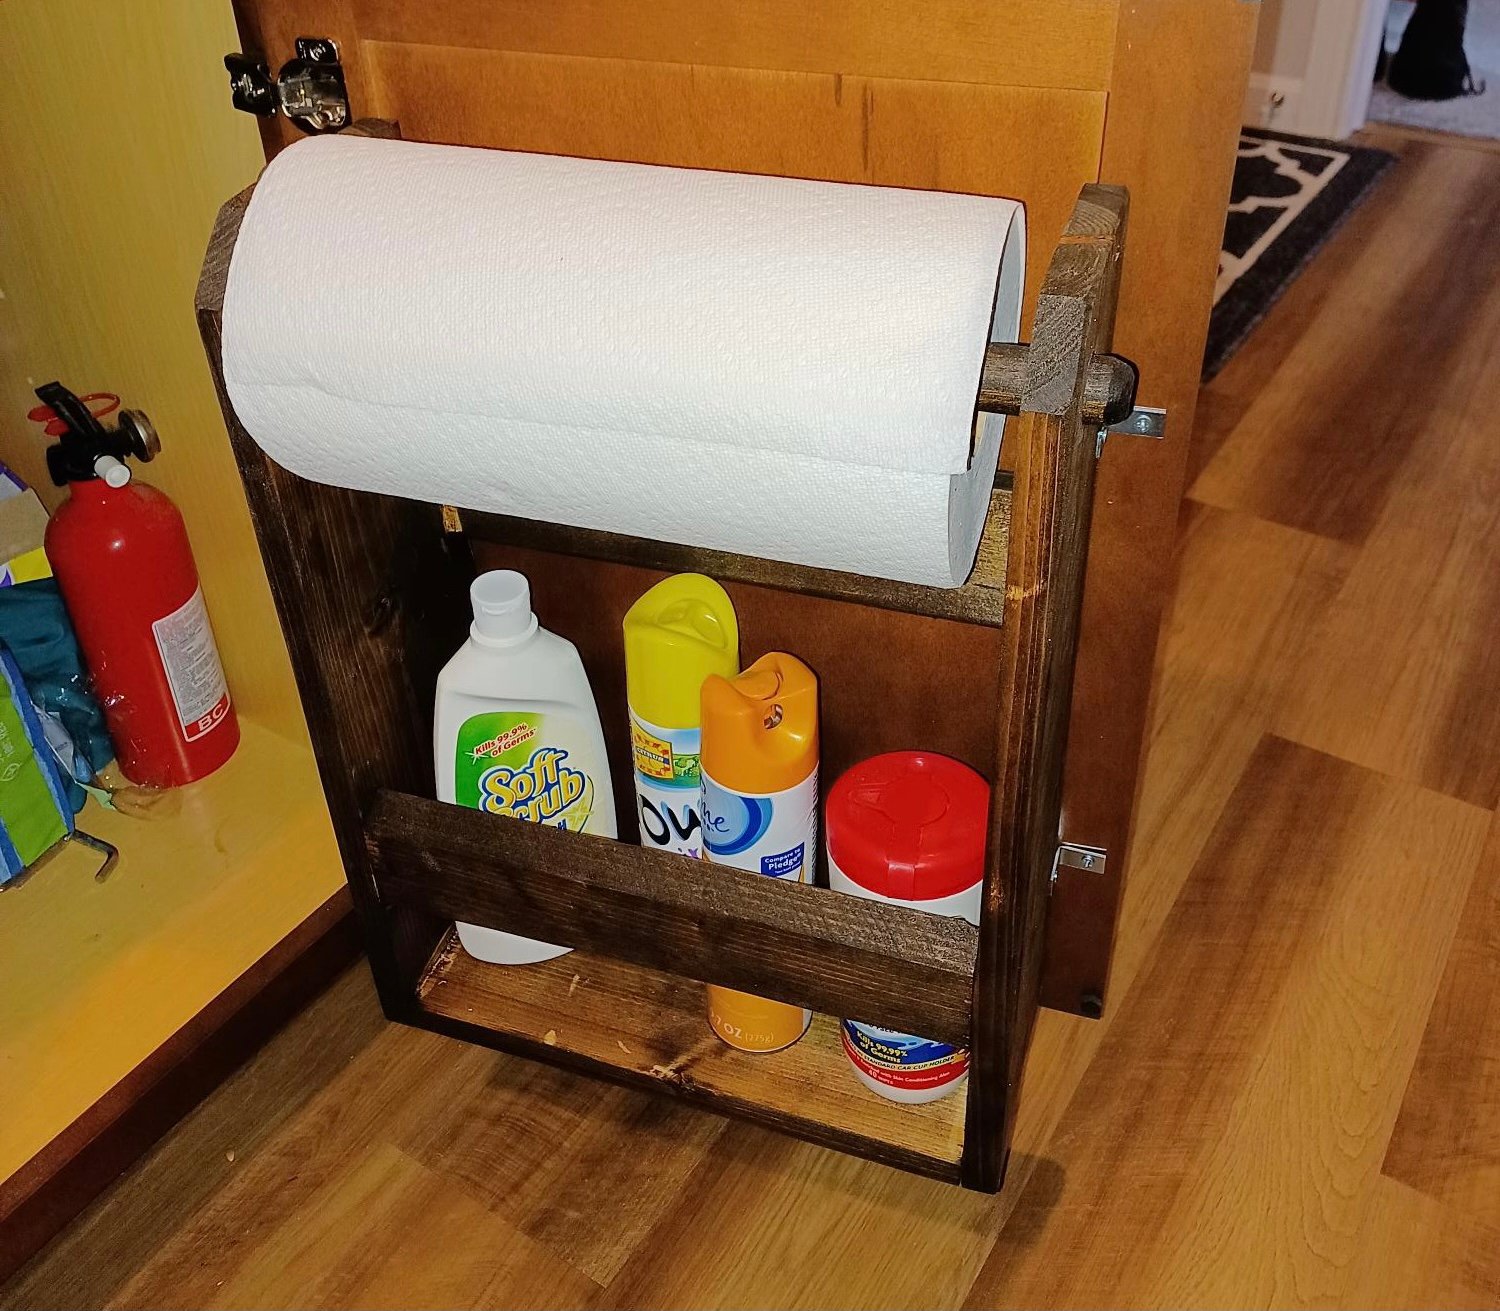
Yea, I know these were posted way back in 2013, but I only recently found them. Was looking at some kitchen organization ideas and I knew I wanted to make a paper towel rack. I liked this idea and went with it. My variance from original was to use a dowel rod for the paper towel holder and I cut 45 degree angles in place of the radius.
Sat, 01/29/2022 - 08:50
So glad you found it and built it! Thanks for sharing:)
Love this sofa! Shown primed and in the process of painting a chocolate brown now. Super easy to make!
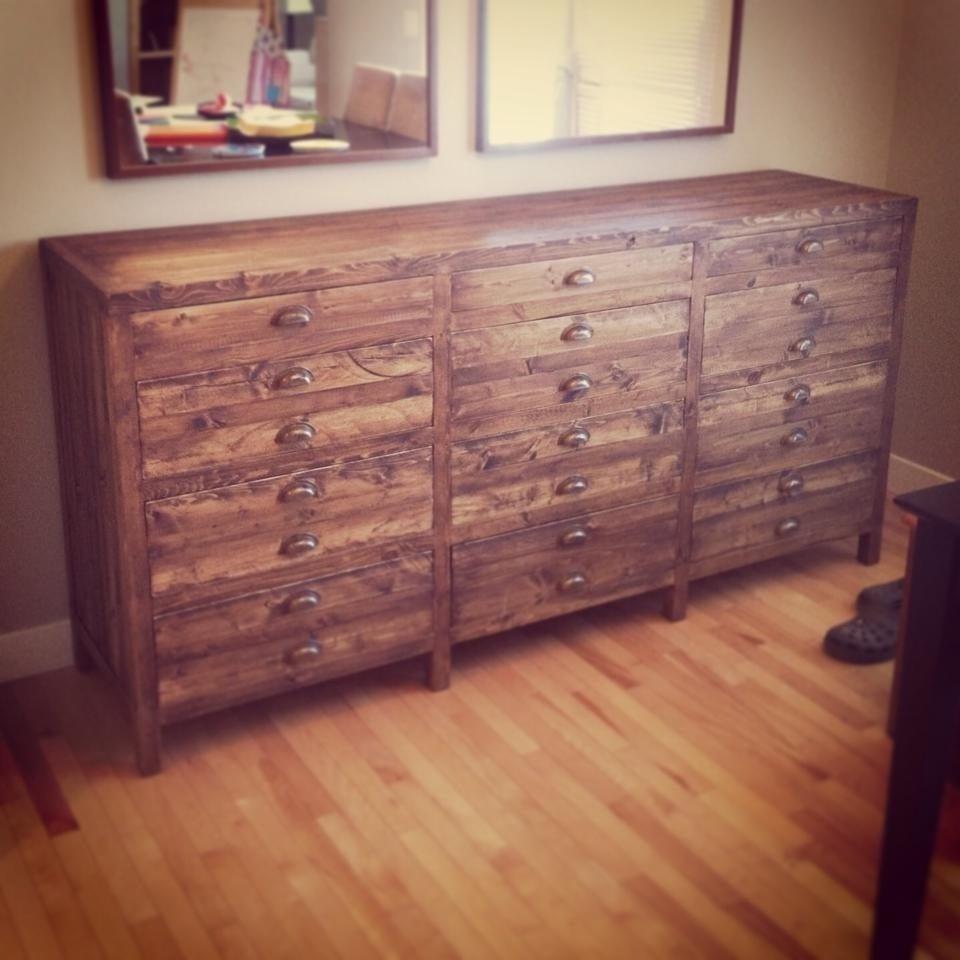
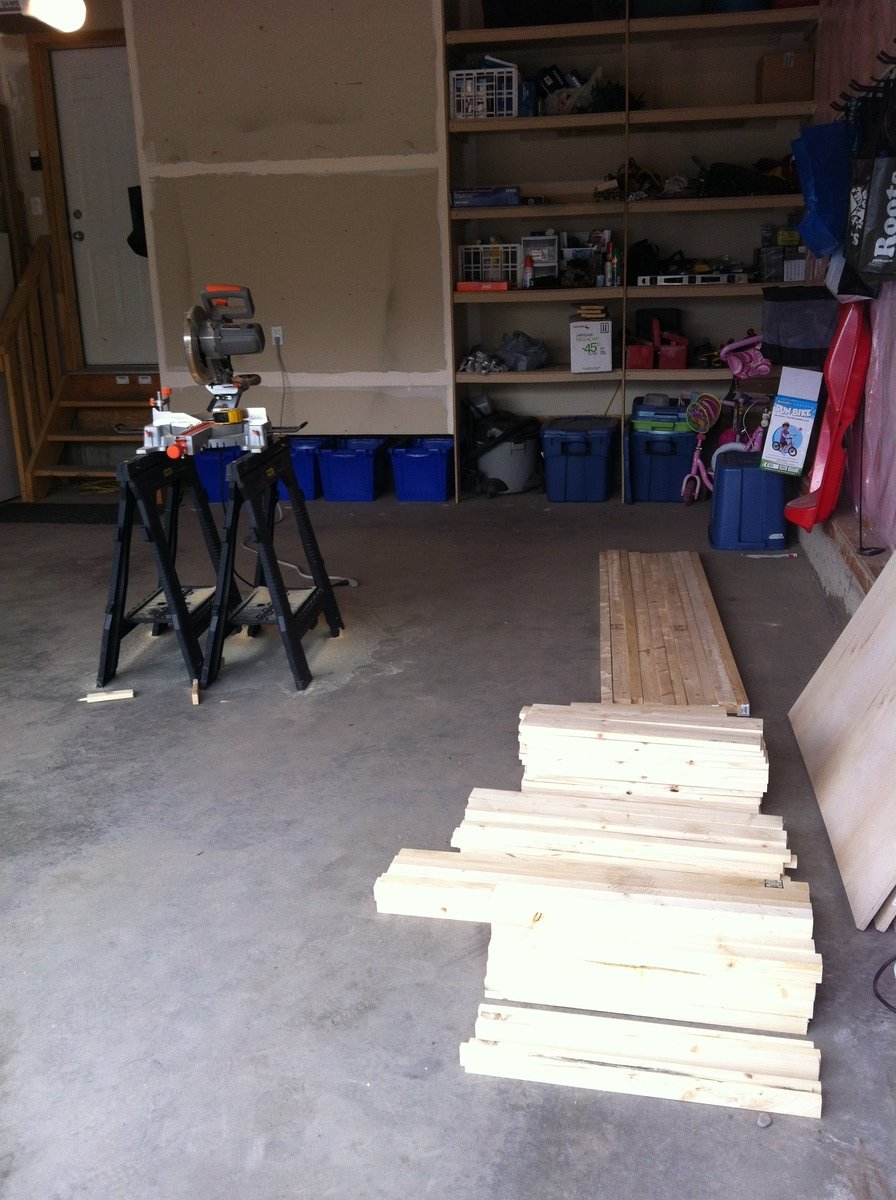
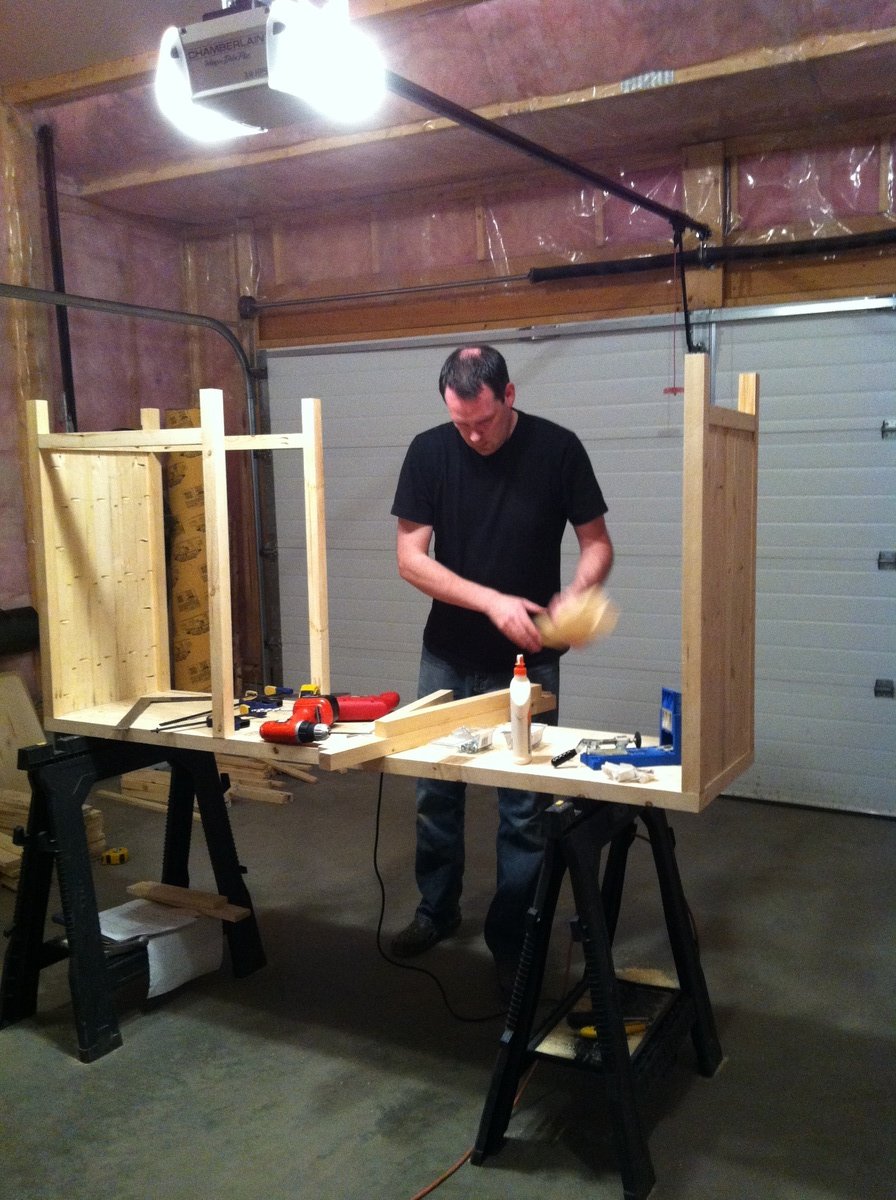
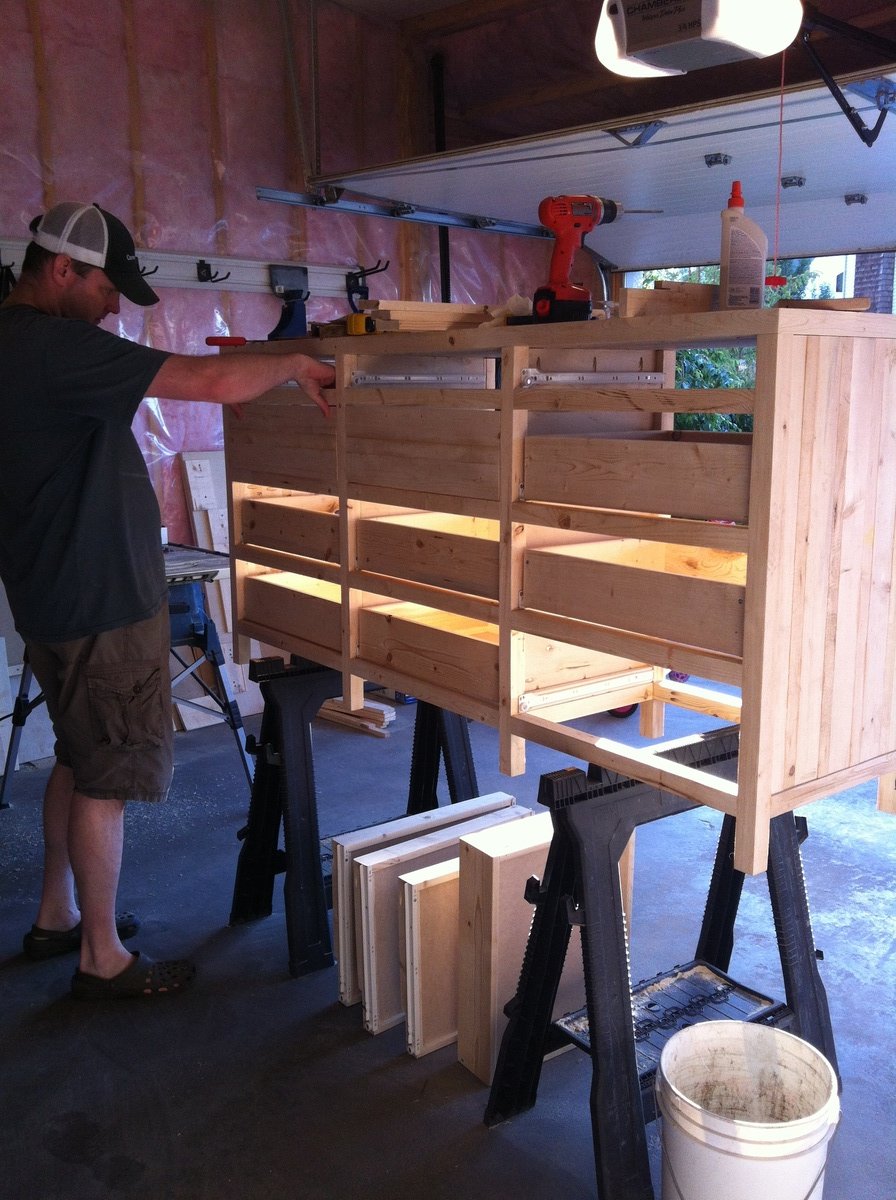
I purchased the Restoration Hardware Printmaker Sideboard but unfortunately we had issues with the delivered product so returned it. We then came across your plans online and my husband decided to build it for me instead. Our sideboard is all simple pine from Lowes, basic drawer slides and antique brass handles from Lee Valley. My husband adjusted Anna's plans and created 12 drawers more like the Restoration Hardware piece as we really like drawers for storage. We built it over about 5 weekends. It was a very ambitious project for our first but my husband was truly the brains and Braun of the process.
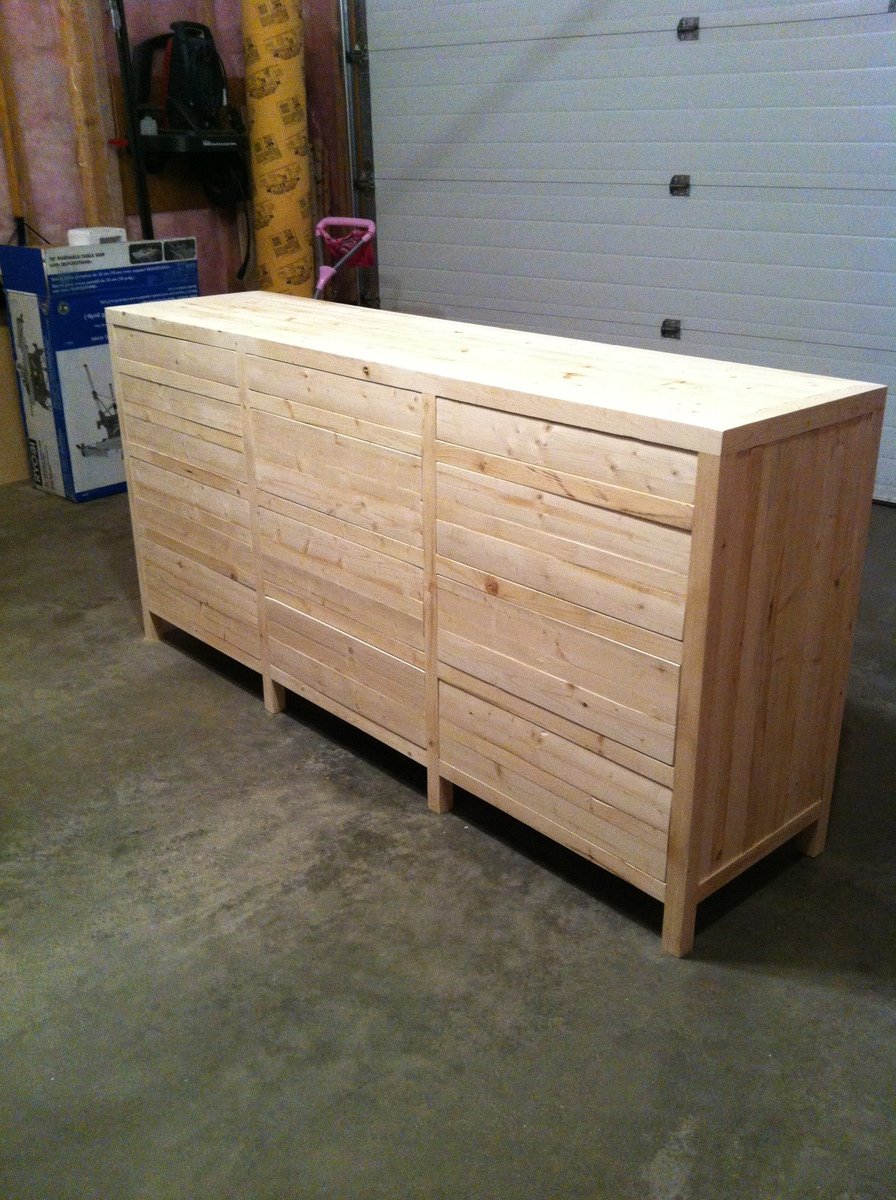
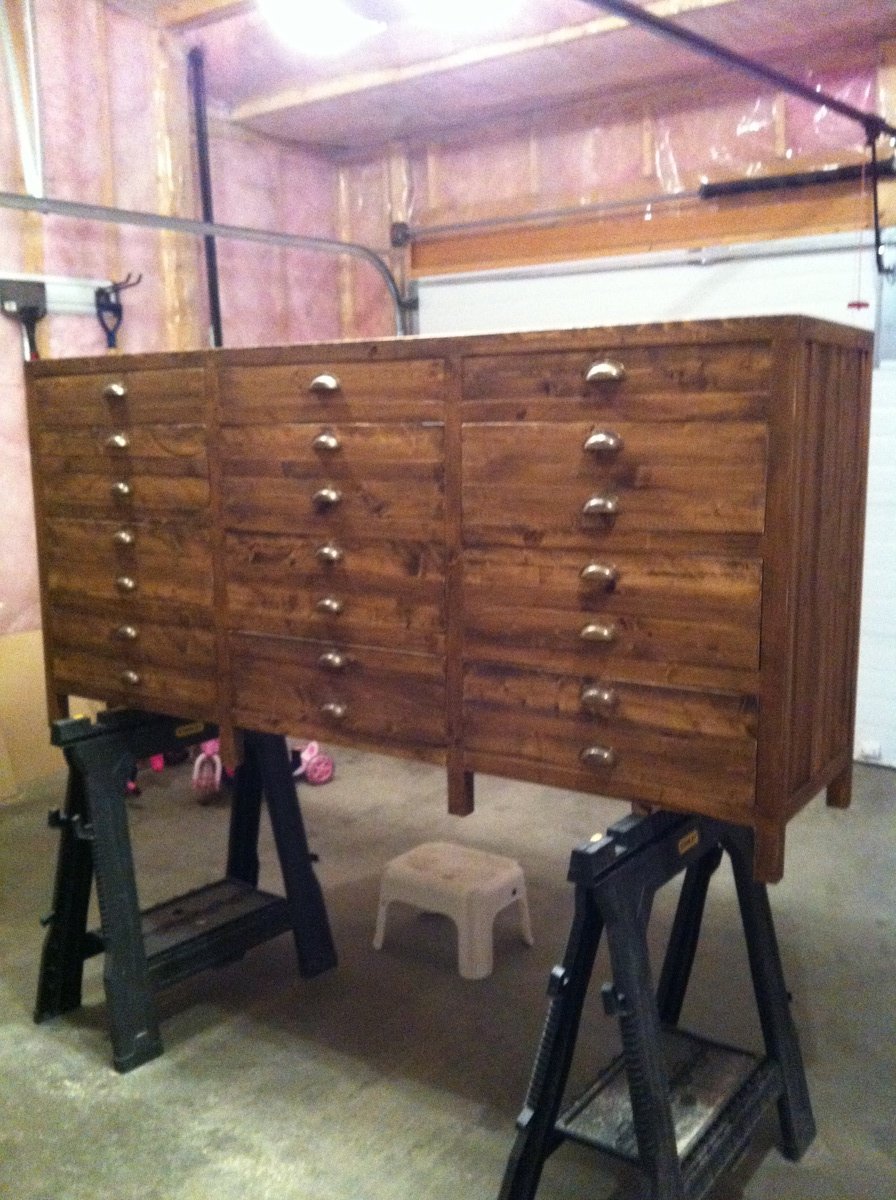
Wed, 10/02/2013 - 14:43
LOVE LOVE LOVE this console! You did an amazing job! I'm going to have my husband help build us something similar. Wondering what size antique brass handles you used? Thanks:)
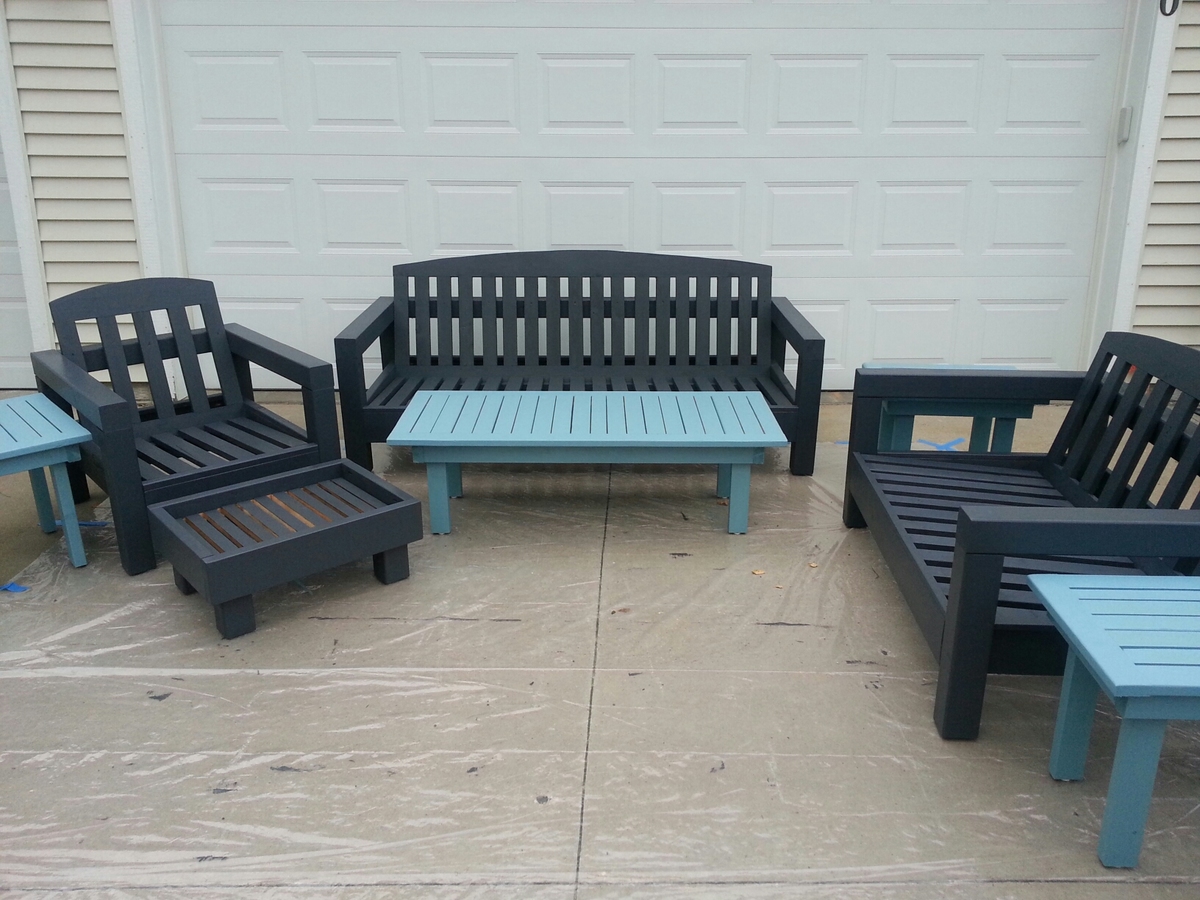
I built this set of furniture and tables over two full days and spent another whole day on the finish. Thanks for your inspiration and plans to get this project from a list to something we can enjoy. Cushions (Sunbrella) were purchased at clearance from Restoration Hardware (not shown) last year. The plans were changed slightly for the cushions and choice of lumber dimensions utilized (4x4 cedar instead of 2x2). That's a heck of a lot of pocket screws--the mounted jig is required for this much work.
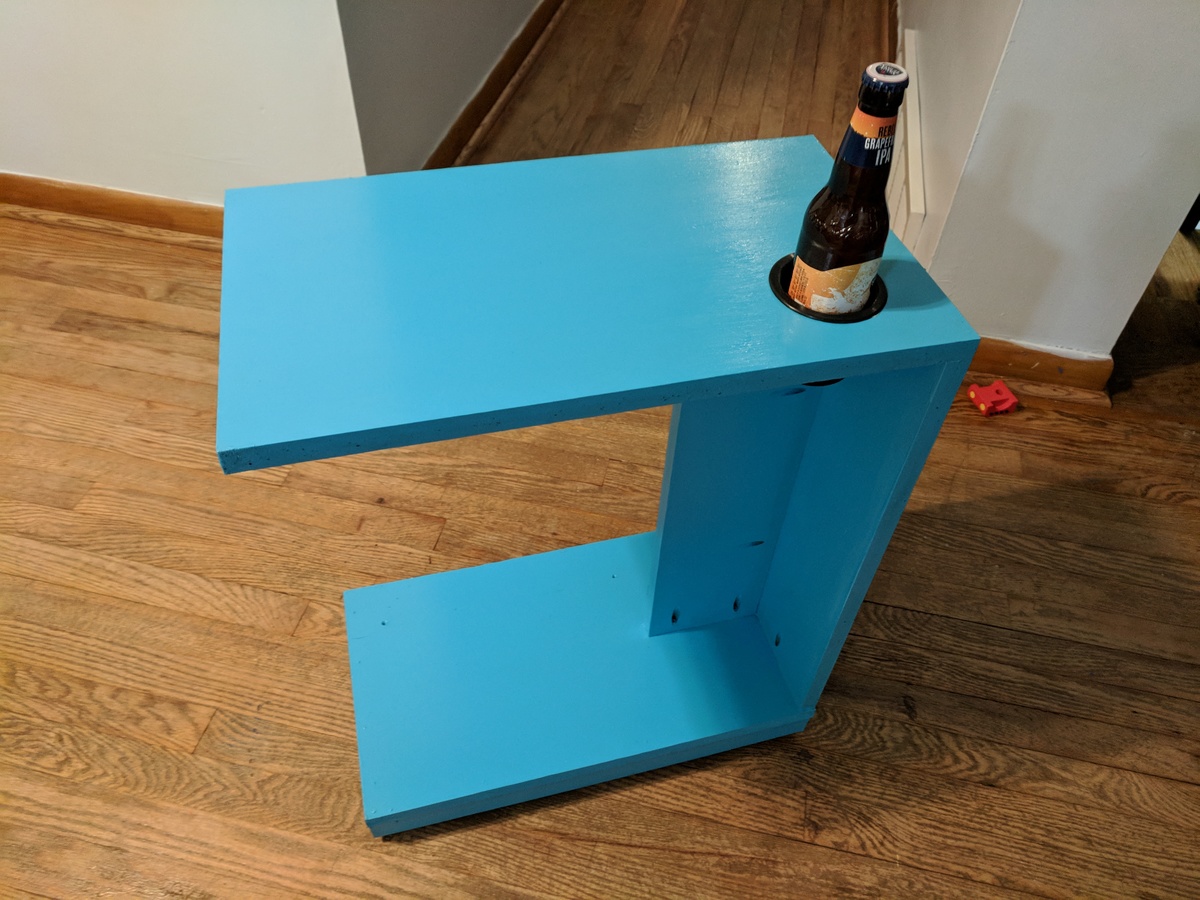
I had a bunch of scrap 3/4" MDF, so I used that instead of wood. The result is still as sturdy but a bit heavier than if I'd have used pine, which has added to the table's stability. I added a cup holder, but otherwise kept to the base instructions with no extra mods. I put an extra thick layer of polycrylic on the top surface, to protect the MDF from absorbing any spills. This was just a test run, so I didn't bother filling any of the visable pocket holes. Given how cheap and easy this was to build, I imagine I'll end up making 2-3 more.

First attempt at Live Edge - I stubbled across this great slab.
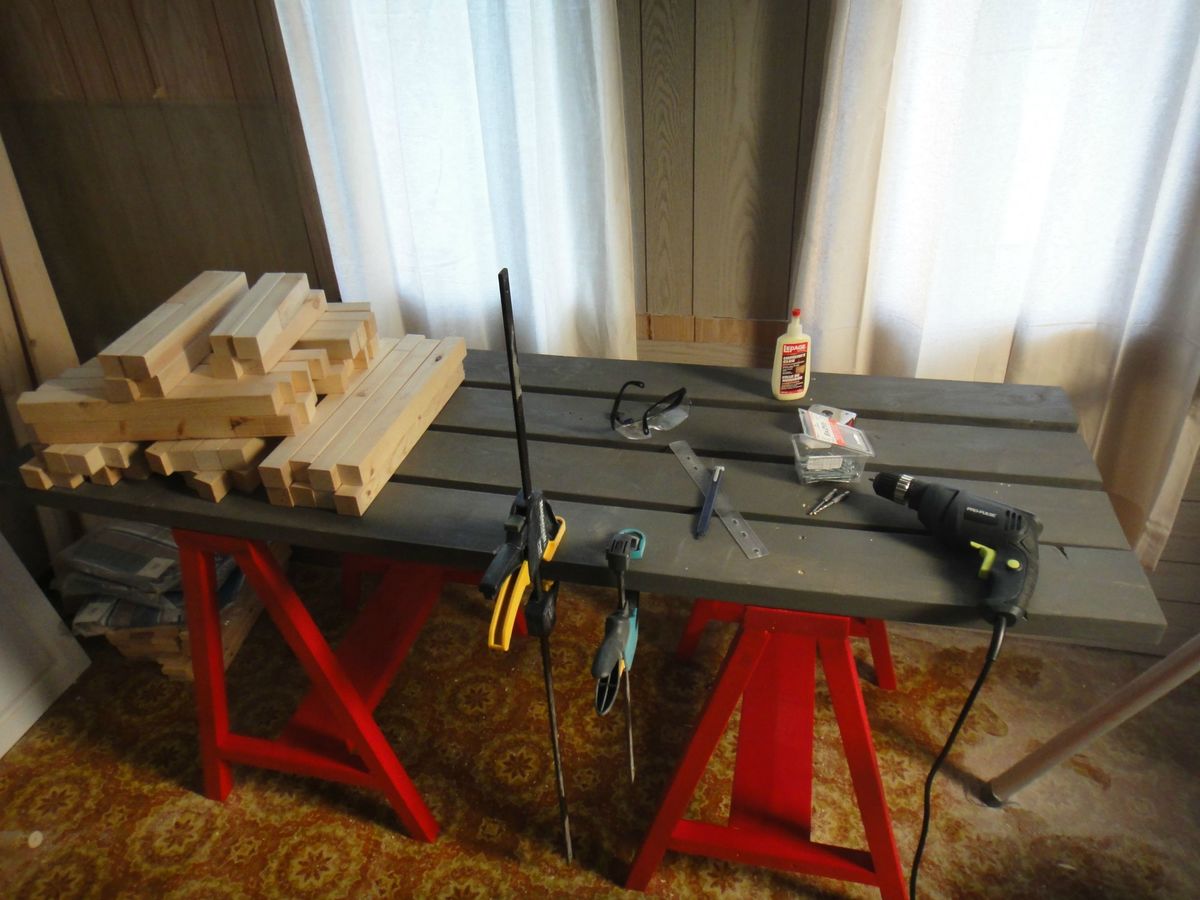
I needed a surface to work on all of the projects I'm building from Ana's wonderful plans!
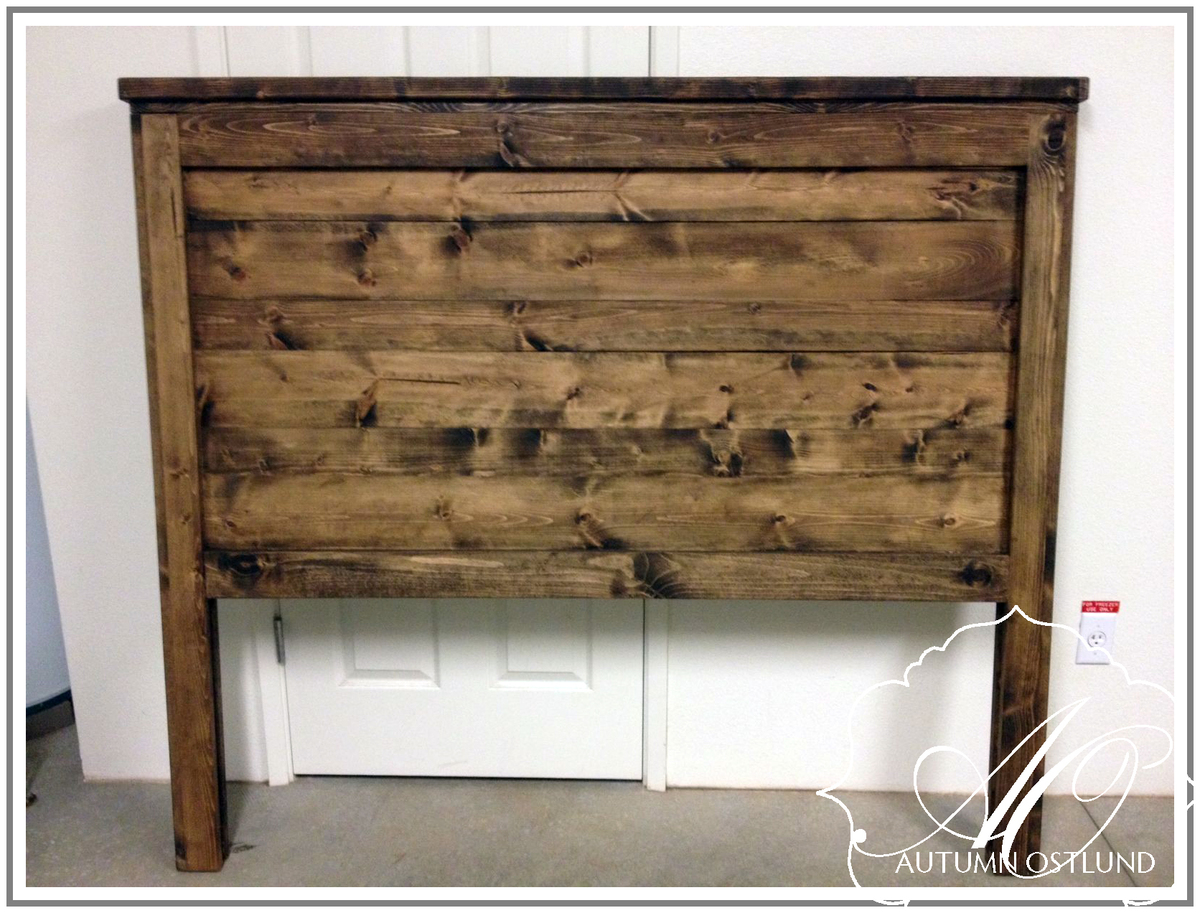
I love how the stain turned out on this one. Super simple project!
Wed, 07/17/2013 - 09:56
I just clicked over to your blog, Autumn. I wanted to comment on your "Never ever" post, as I never thought I'd be building furniture and blogging about it, either. I live in Hawai'i as well, although I was born and raised here. =D I've added you to my bloglovin' list to keep track of your posts. Malama pono!
Wed, 07/17/2013 - 10:48
So glad you commented! I'll also be following your blog. Good luck in your endeavors!
Autumn

The Ash for this table was sitting at a friends house out in a field for years. There were several 8/4 x 8' boards with various widths laying in the dirt. After many hours of planning and sanding I brought the Ash back to life.

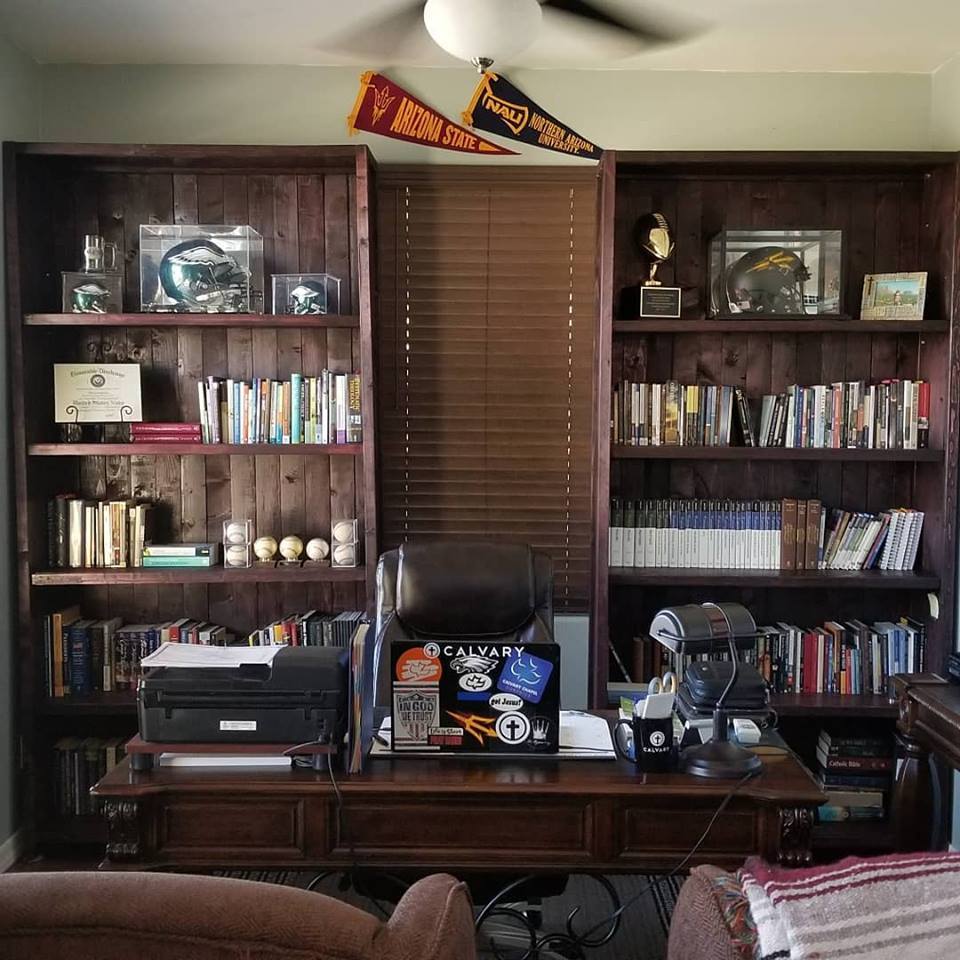
I had a few days a week to work on this project. I needed to modify them by the following:
Size was 92" H x 47" W x 14" D. I had two football helmet cases to place on these shelves and they had big cases above the standards shelf size. The top of the case did not overlap the project. I cut it to size. I used Cherry Stain and did not varnish it. I am not a fan. One thing I would change is the wood. I would have paid double for the premium select wood so that I know it is cut straight.
This was my first project and it didn't turn out bad. I never used the Kreg, but I think I became a pro after this one. I would recommend going out and buying all the size pocket screws and have them on hand. Also, buy the vises that you will need. Trust me, they will come in handy. I hate having to drive back to the store for things I should have had.
Overall, I paid about 240 for the wood. Since I only had the Kreg and no screws, I ended up shelling out a lot of money for the big buckets of screws and vises. Total for the both came out to about 350, from wood stack to finish. I would have paid more for one smaller piece at a store.
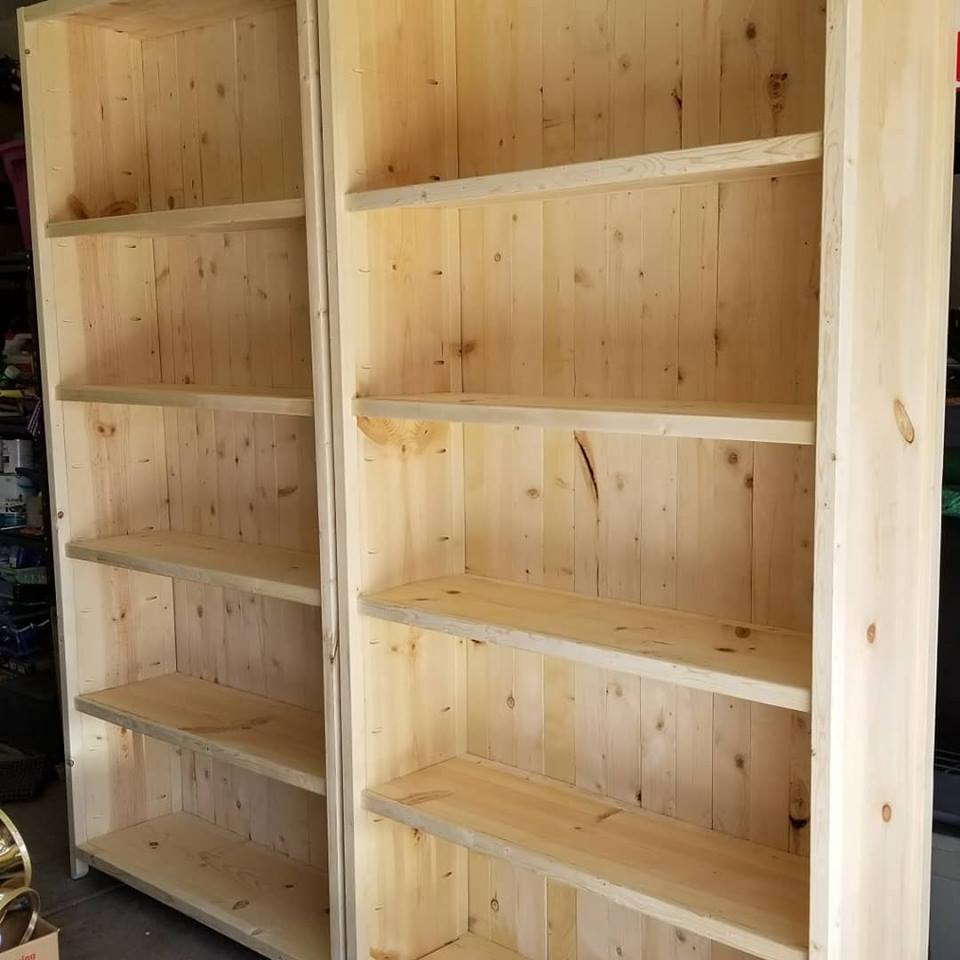
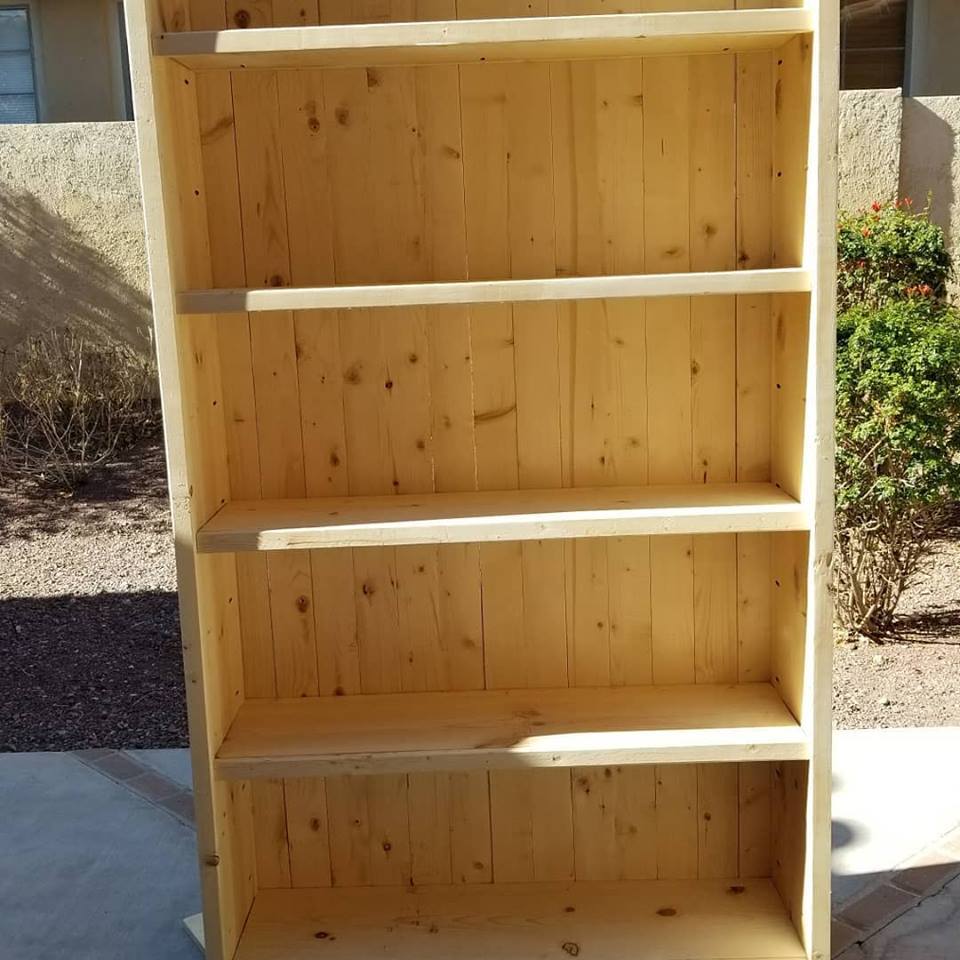
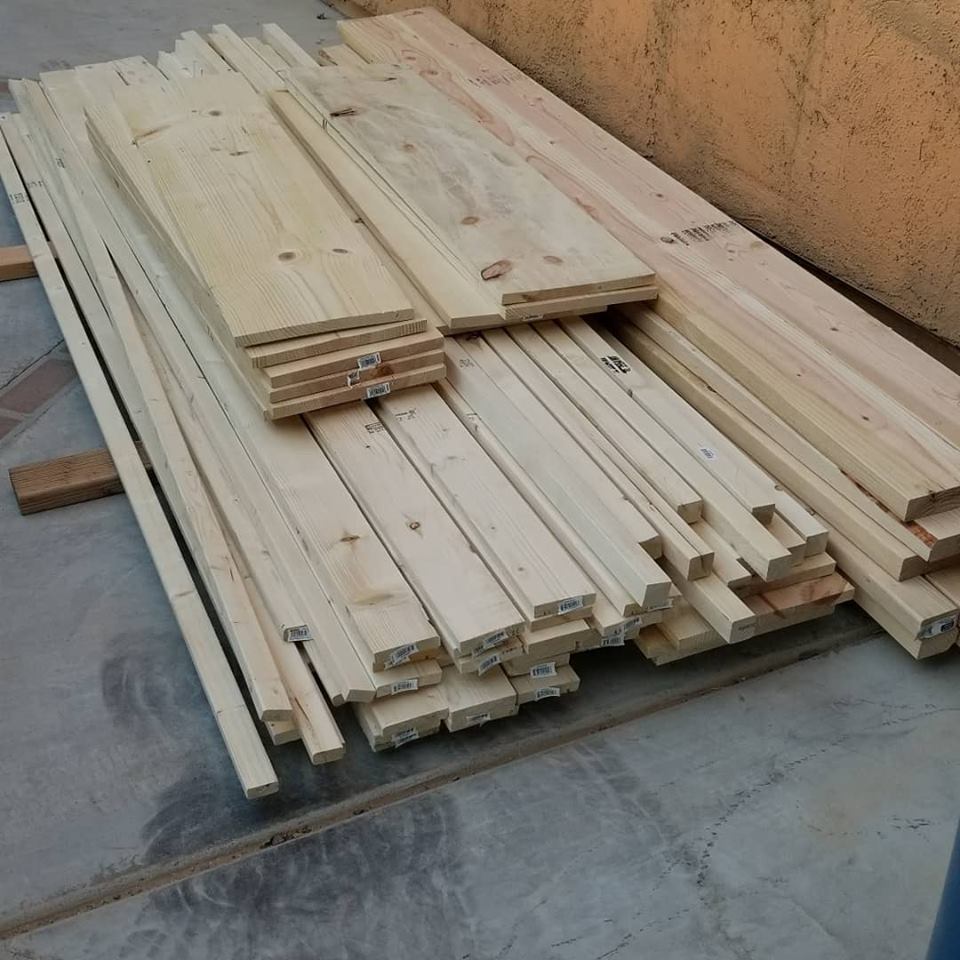
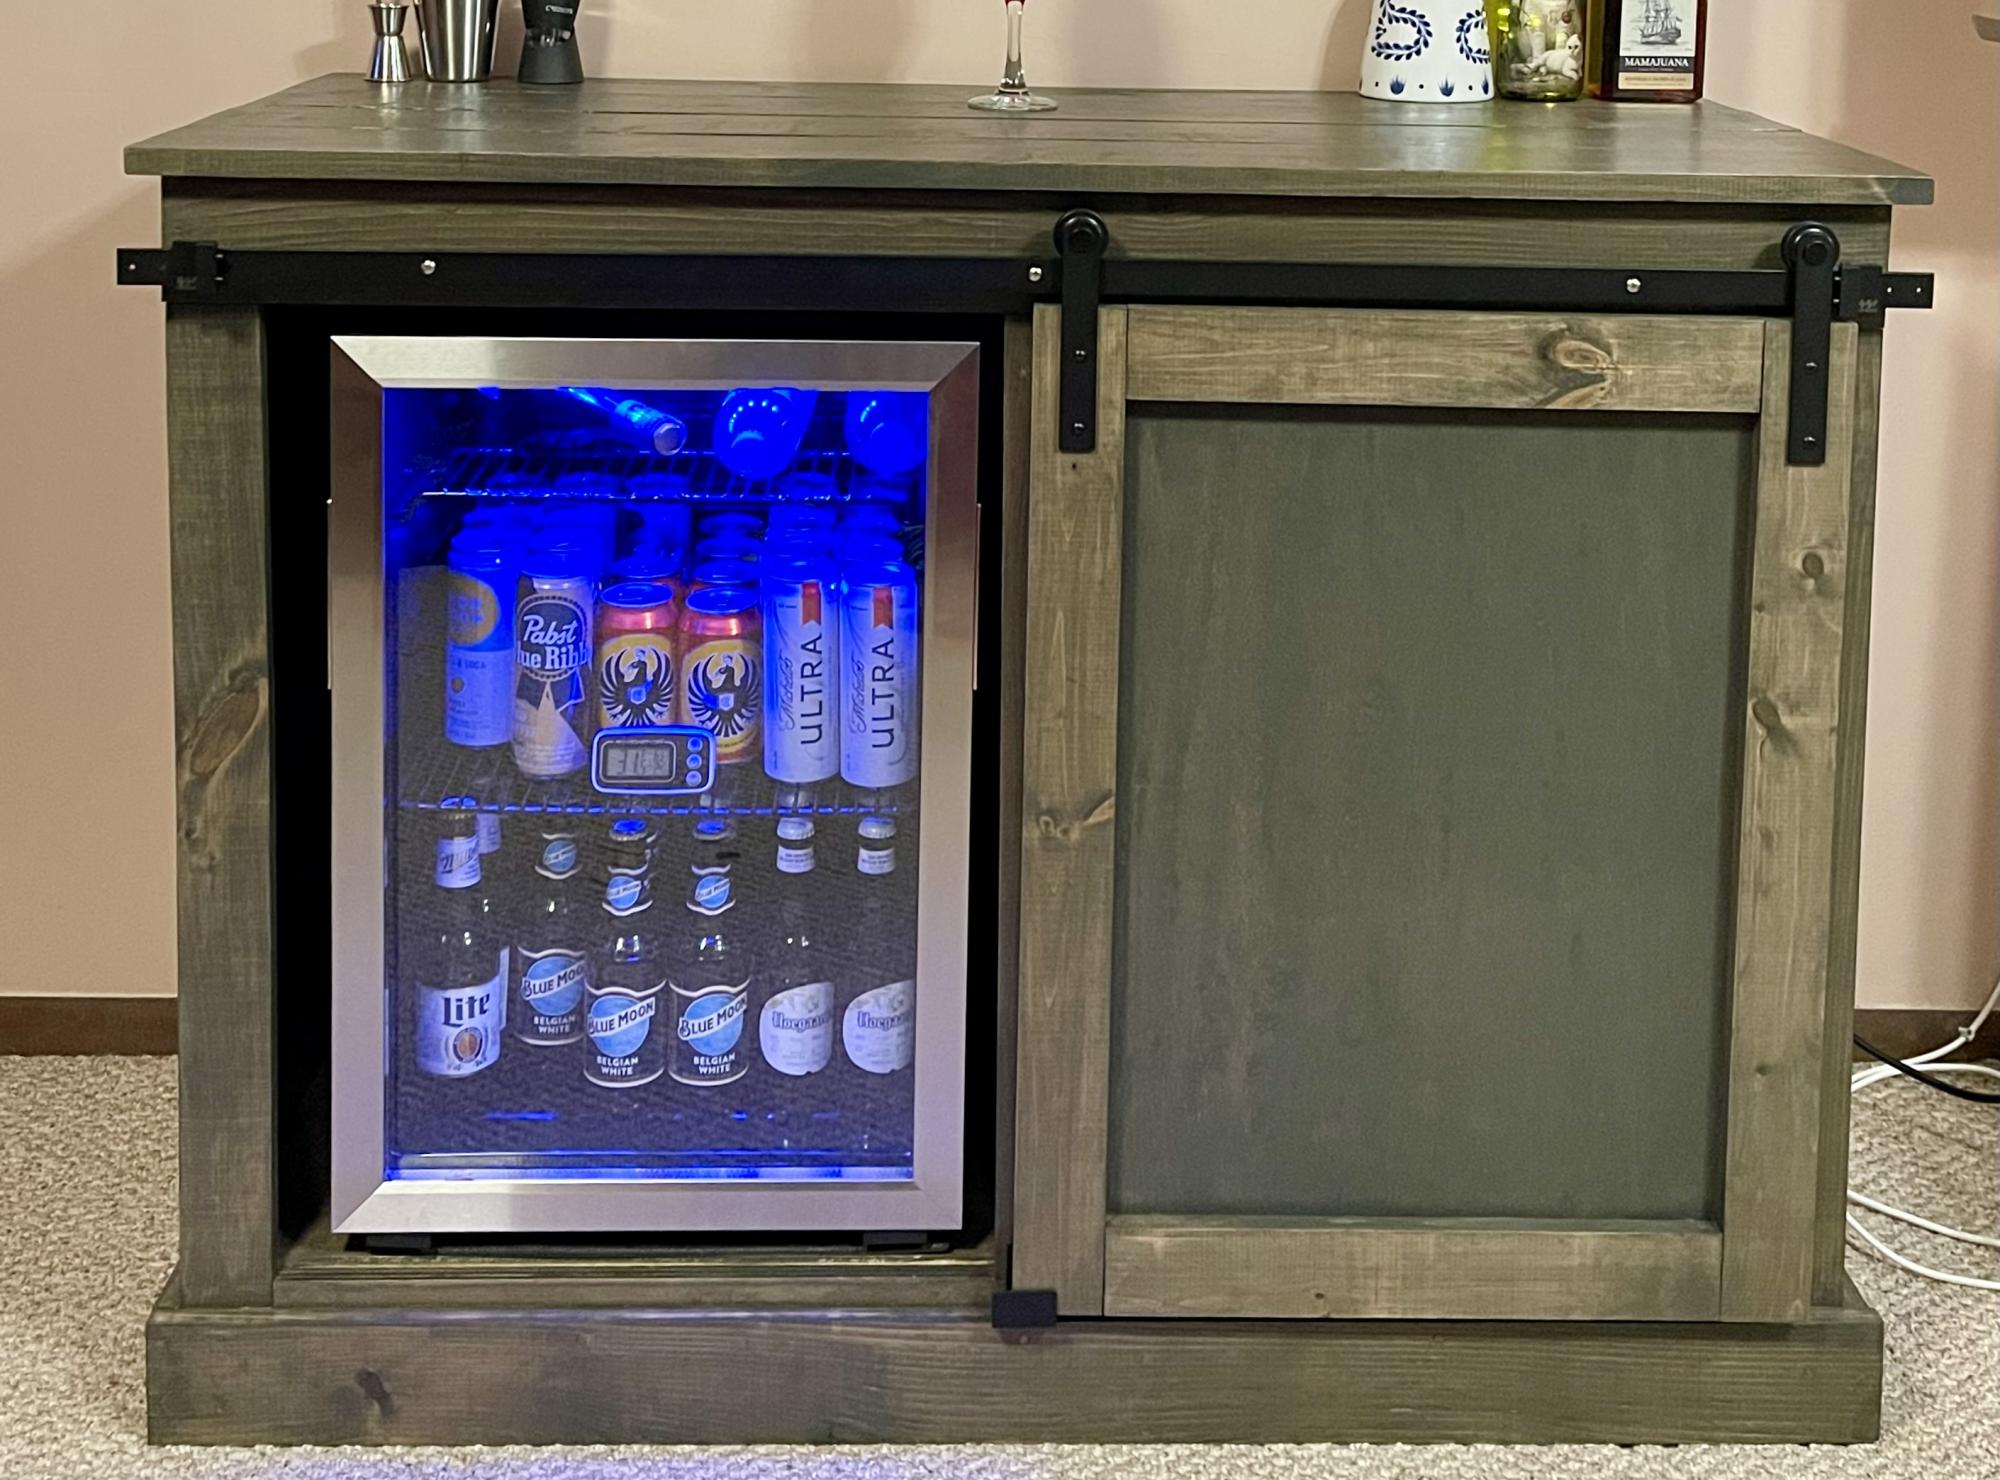
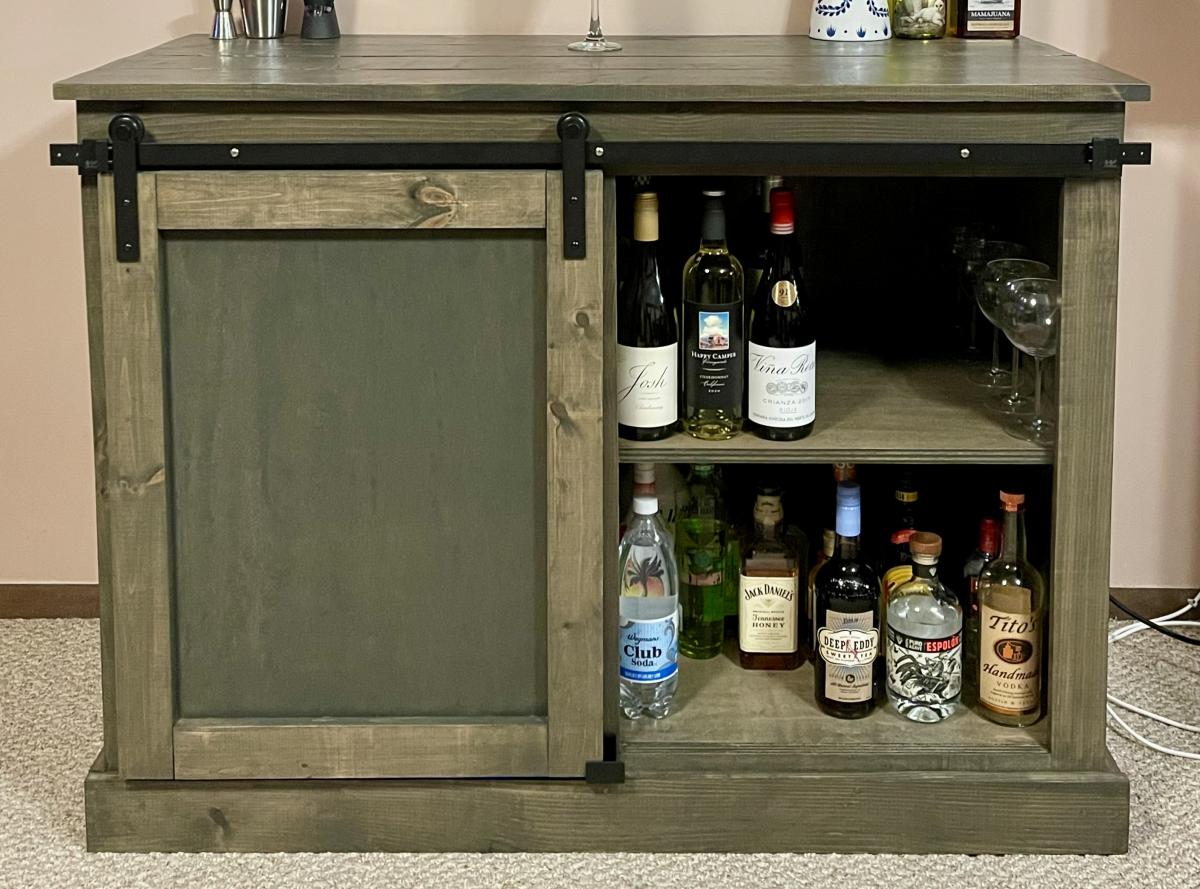
Built this exactly from your plans. Used aged barrel for stain. I love it!!!!
Mon, 03/14/2022 - 14:17
That's awesome, love the finish choice! Thanks for sharing:)
First attempt at a project and I have to say I am pretty proud! It may not be perfect but I think the imperfections give it some character. I used a dark walnut stain and finished with poly two coats.
Really great and easy plans to follow. The only thing I would do different is replace all the 1x3's with 1x4's.
Sun, 07/26/2015 - 10:03
The bed looks great, and so does that nightstand! Thanks for sharing!
Comments
Barbara Thomas
Thu, 07/11/2013 - 19:32
X Fran nightstand
Can you please post how you did this. I'm going to make my first project this weekend and I would like it to be this. I know it's based off the simple nightstand but can you give the details on the alters especially how to make the x? Thank you
thefarmerswife
Sat, 02/04/2017 - 13:39
Did she ever post her plans?
Did she ever post her plans? If so, I can't find them! I prefer this design to Ana White's original, but I don't trust myself enough to try and wing it and make it look like hers. Did you end up making something similar?
MrsTalbott
Fri, 07/12/2013 - 06:19
Awesome!
Love the X detail you added and the finish is beautiful!
thewoodbuilder
Fri, 07/12/2013 - 08:39
thank you
Thanks guy's! :0) The only modification from the original nightstand was adding the x. I do my x's different from the the other rustic x way. I will take some pics of how I do it today.
thewoodbuilder
Fri, 07/12/2013 - 08:39
thank you
Thanks guy's! :0) The only modification from the original nightstand was adding the x. I do my x's different from the the other rustic x way. I will take some pics of how I do it today.
ShannonEmily93
Sun, 07/24/2016 - 12:38
Please post plans
I am very interested in building these nightstandss, could you post the plans, or where would I be able to locate the plans? Thank you!
Oohlaladesigns
Tue, 08/23/2016 - 05:30
Question about design
Your nightstands are beautiful and I am working on creating my own! Did you keep with the original plans and use the 1x2 and 1x3's for the legs? Yours look thinner. Did you use 1x2's for the X sides?
In reply to Question about design by Oohlaladesigns
Lady Goats
Tue, 08/23/2016 - 14:11
I didn't build this, but...
I didn't build this, but I feel pretty confident in telling you that the legs/x's are 2x2s.