Outdoor Wood Chair
New Deck Chair
New Deck Chair
My daughter's school needed a personalized item, (a class gift) to be auctioned off at the annual Spring Gala. The project needed to be personalized by the children in the class. I used the plans from Ana's toy box project plan, changed the footer to bun feet, and added a lid. The lid is also an upholstered top that can be used as a bench. I used two slow close hinges, one on the left one on the right, then two regular hinges to hold the lid on. We sent in blank tiles for each of the children (4 year olds) to paint in class. They turned out pretty abstract but cute. The tiles on the front are supposed to be bee's, the school's mascot. It turned out great! Having a hard time uploading other pics of it, specifically how I did the lid inside and attached it to the box.
Fri, 12/07/2012 - 10:36
I love the addition of the lid! Do you have those plans to share?
Fri, 12/07/2012 - 10:51
love the lid! would you be willing to share your plans for it?
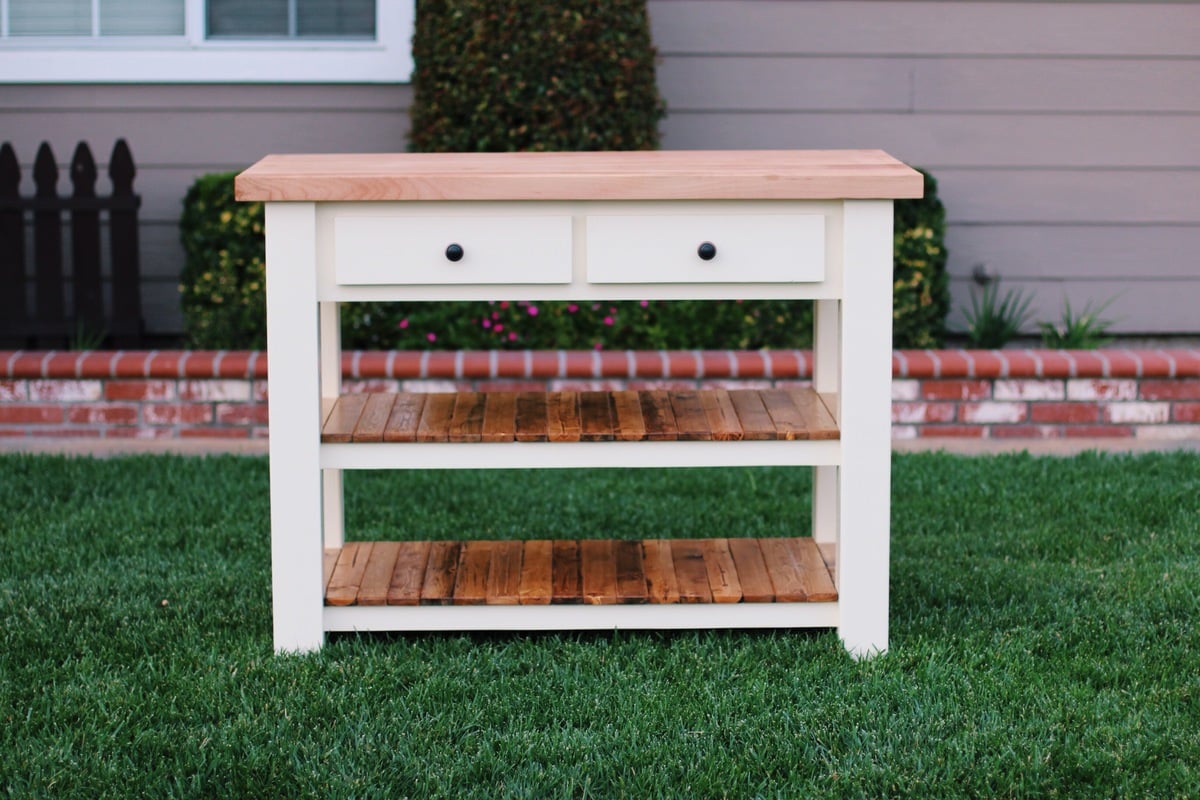
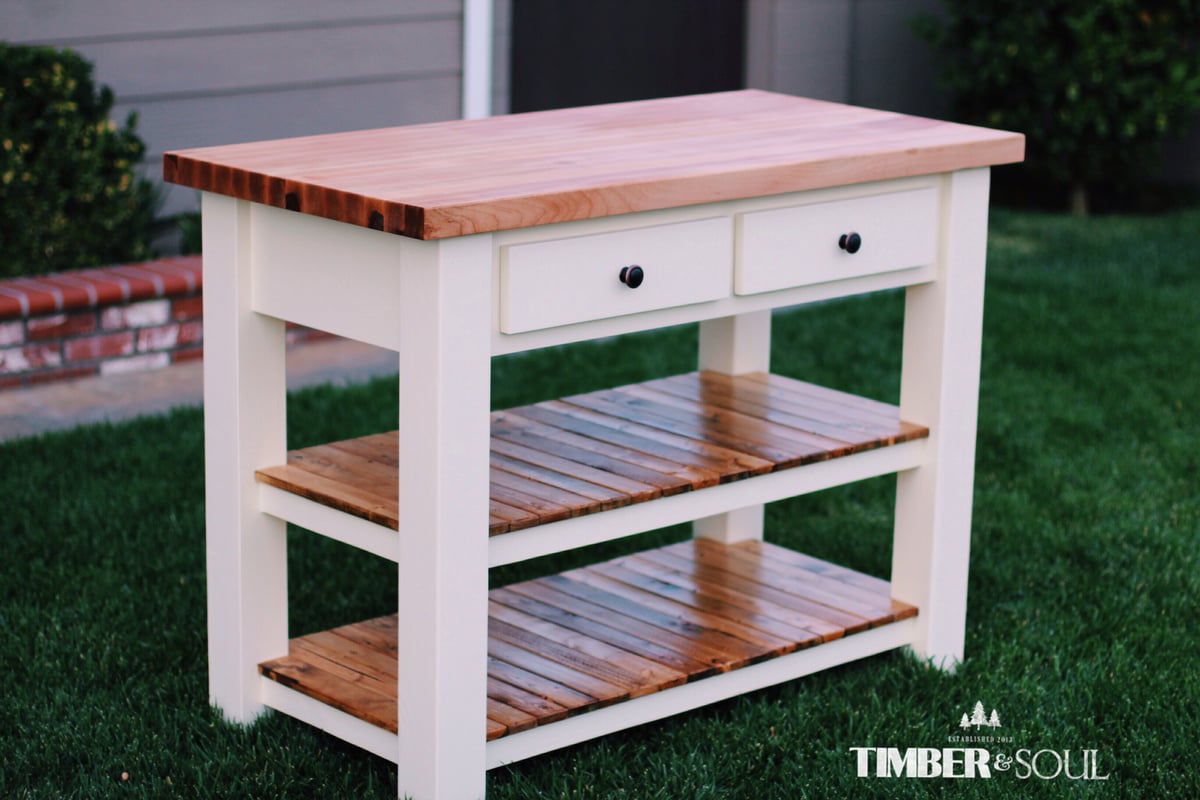
I built this piece from ana white's plans. I modified the shelf design and also the dimensions to meet my needs. Instead of using 2x6 douglas fir for the top, I built the top out of hard maple. The top is built by ripping down several strips of hard maple 1.75 inches wide, turn the strips on there edge and gluing all the strip together. This is what is known as a edge grain cutting board. I finished the top with mineral oil and bees wax. The top is food safe and knife friendly. If you have any questions please don't hesitate to ask. - Brad
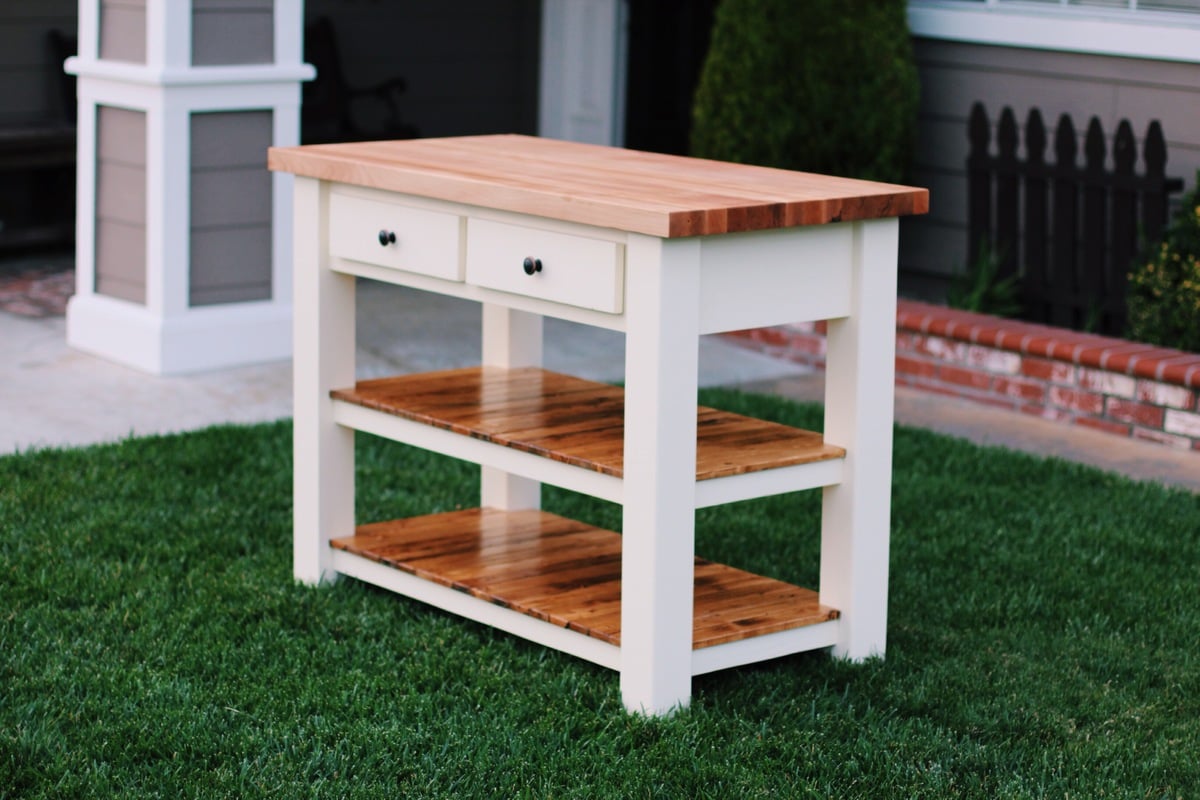
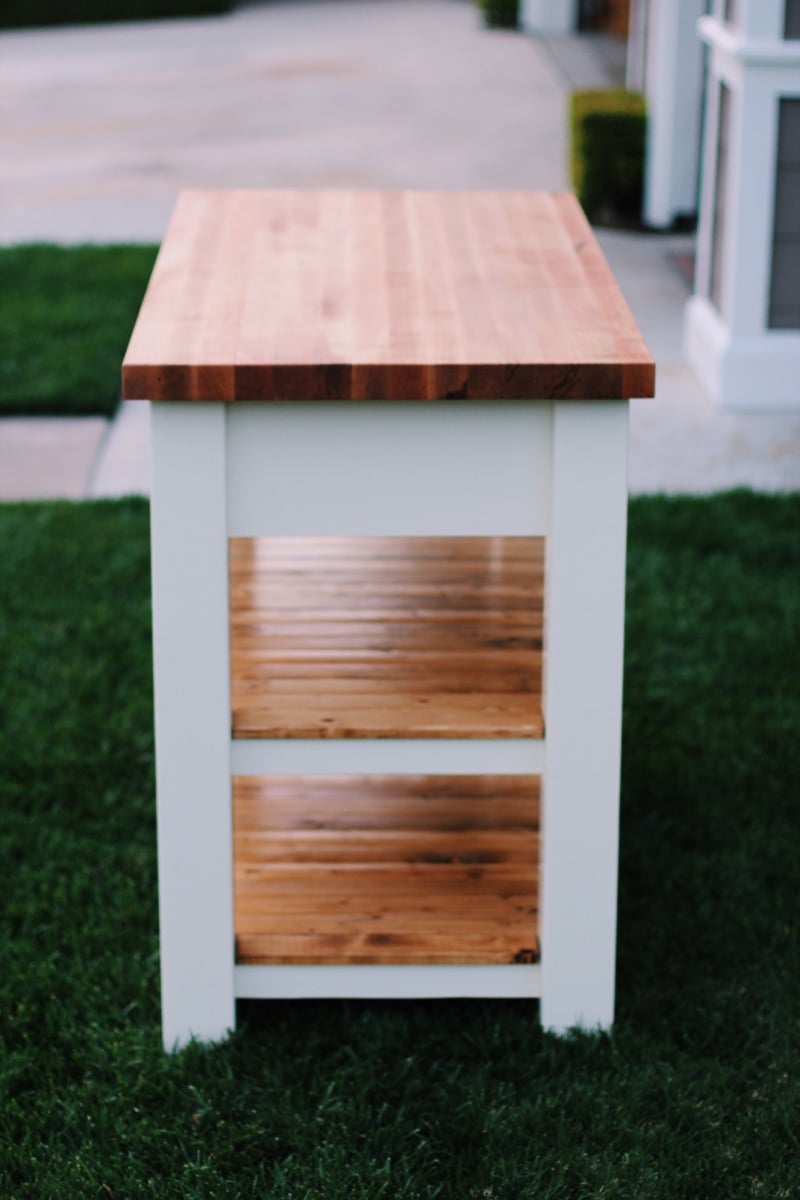
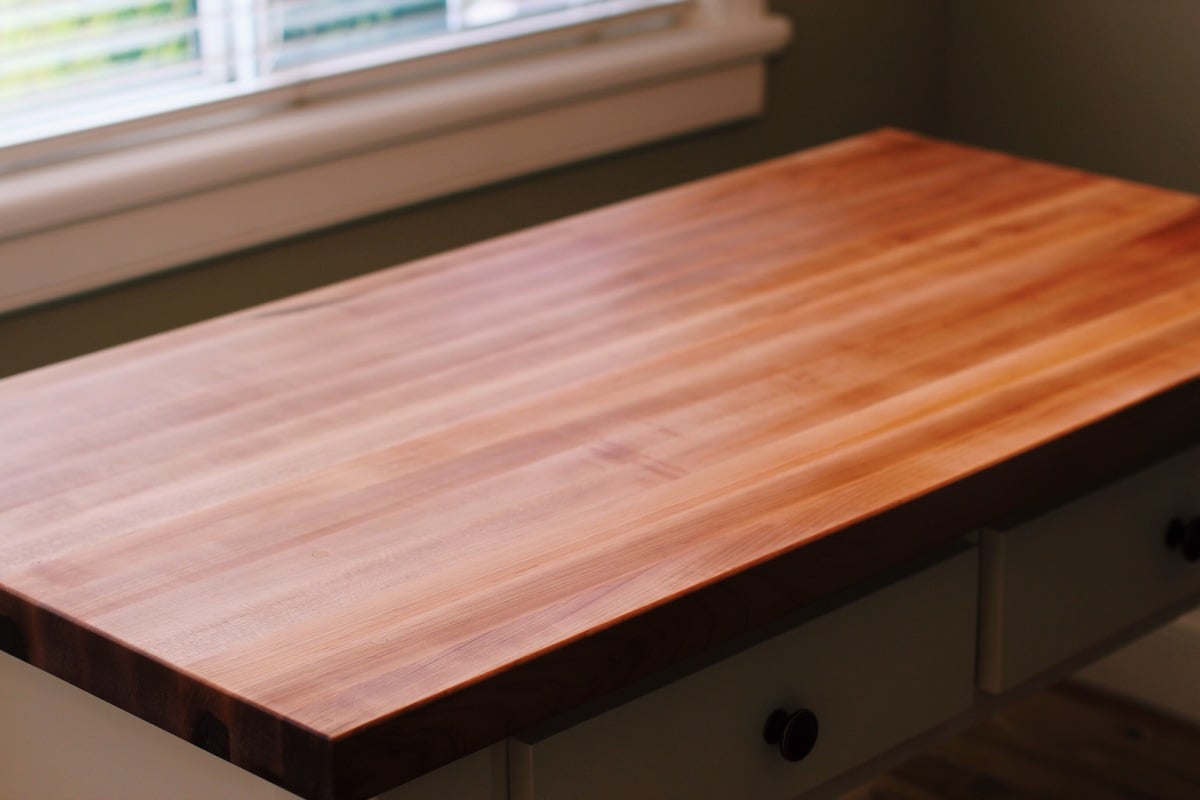
Tue, 01/28/2014 - 18:42
Did you use a planer to level your top and bottom surfaces here, or just lots of sanding? I've been told not to attempt butcher block construction without a planer...but I'm thinking of maybe going for it!
In reply to Butcher block question by romanweel
Fri, 01/31/2014 - 23:01
I did use a planer for this top. But because my planer is only 12 inches wide I had to glue three individual boards together leaving two seams that I could not plane but instead had to sand out. Just sanding those two seams took a long time, I cannot imagine sanding 20 seams. I would not suggest attempting without a planer.
Mon, 04/10/2017 - 18:45
is it possible for you to share your measurements. I need a smaller island. Thank you.
Wed, 02/05/2014 - 17:25
I'm curious how you joined the stretchers to the legs. The construction appears different from the plans. Did you use pocket screws or something more advanced like mortise and tenon?
In reply to stretcher joinery by Biff Loman
Fri, 02/07/2014 - 16:58
I am not sure exactly what you mean by stretchers. If you are referring to the shelf frame, yes it is different than the plans, I modified it. I felt the shelf design on the plans was not enough for the weigh that was going to be place on top. I used simple pocket holes to joint the frame to the legs. Hope this helps, have a great day.
Fri, 08/12/2016 - 10:41
Thank you Brad. This is a really nice piece. I recently picked up an old table from a college. I discarded the base and plan to use the heavy butcher-block-style top to build something similar to this. Do you have plans you could share? Thanks again, Brian
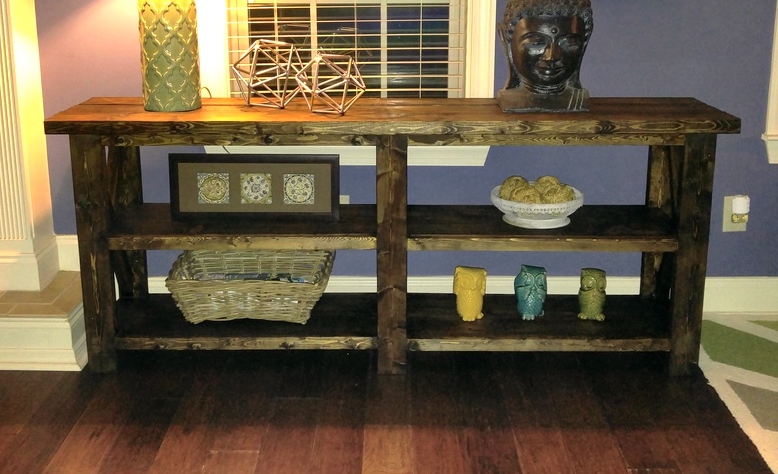
Plan for this table was easy to follow. Loving me new table.
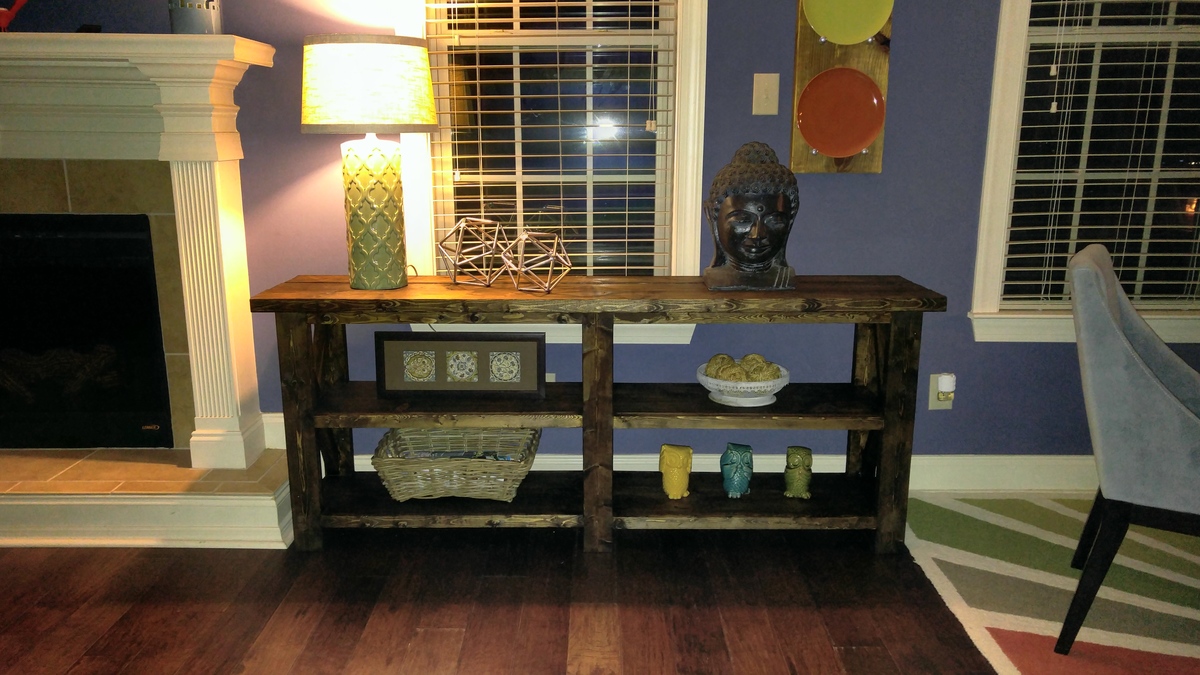
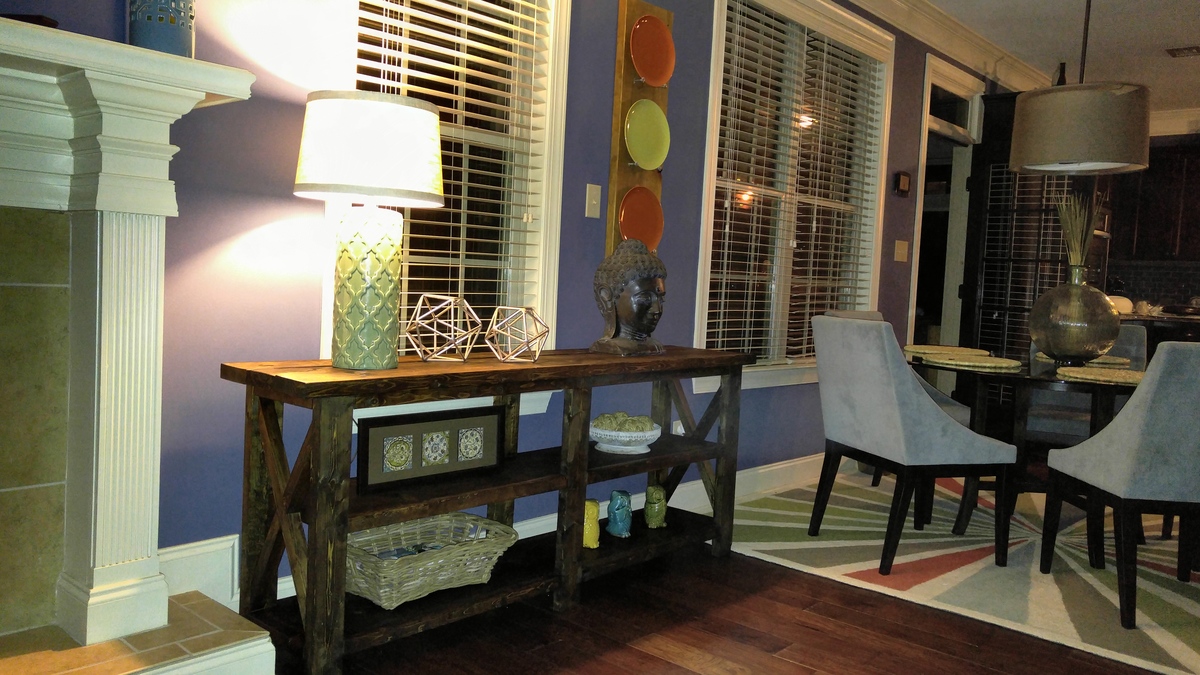
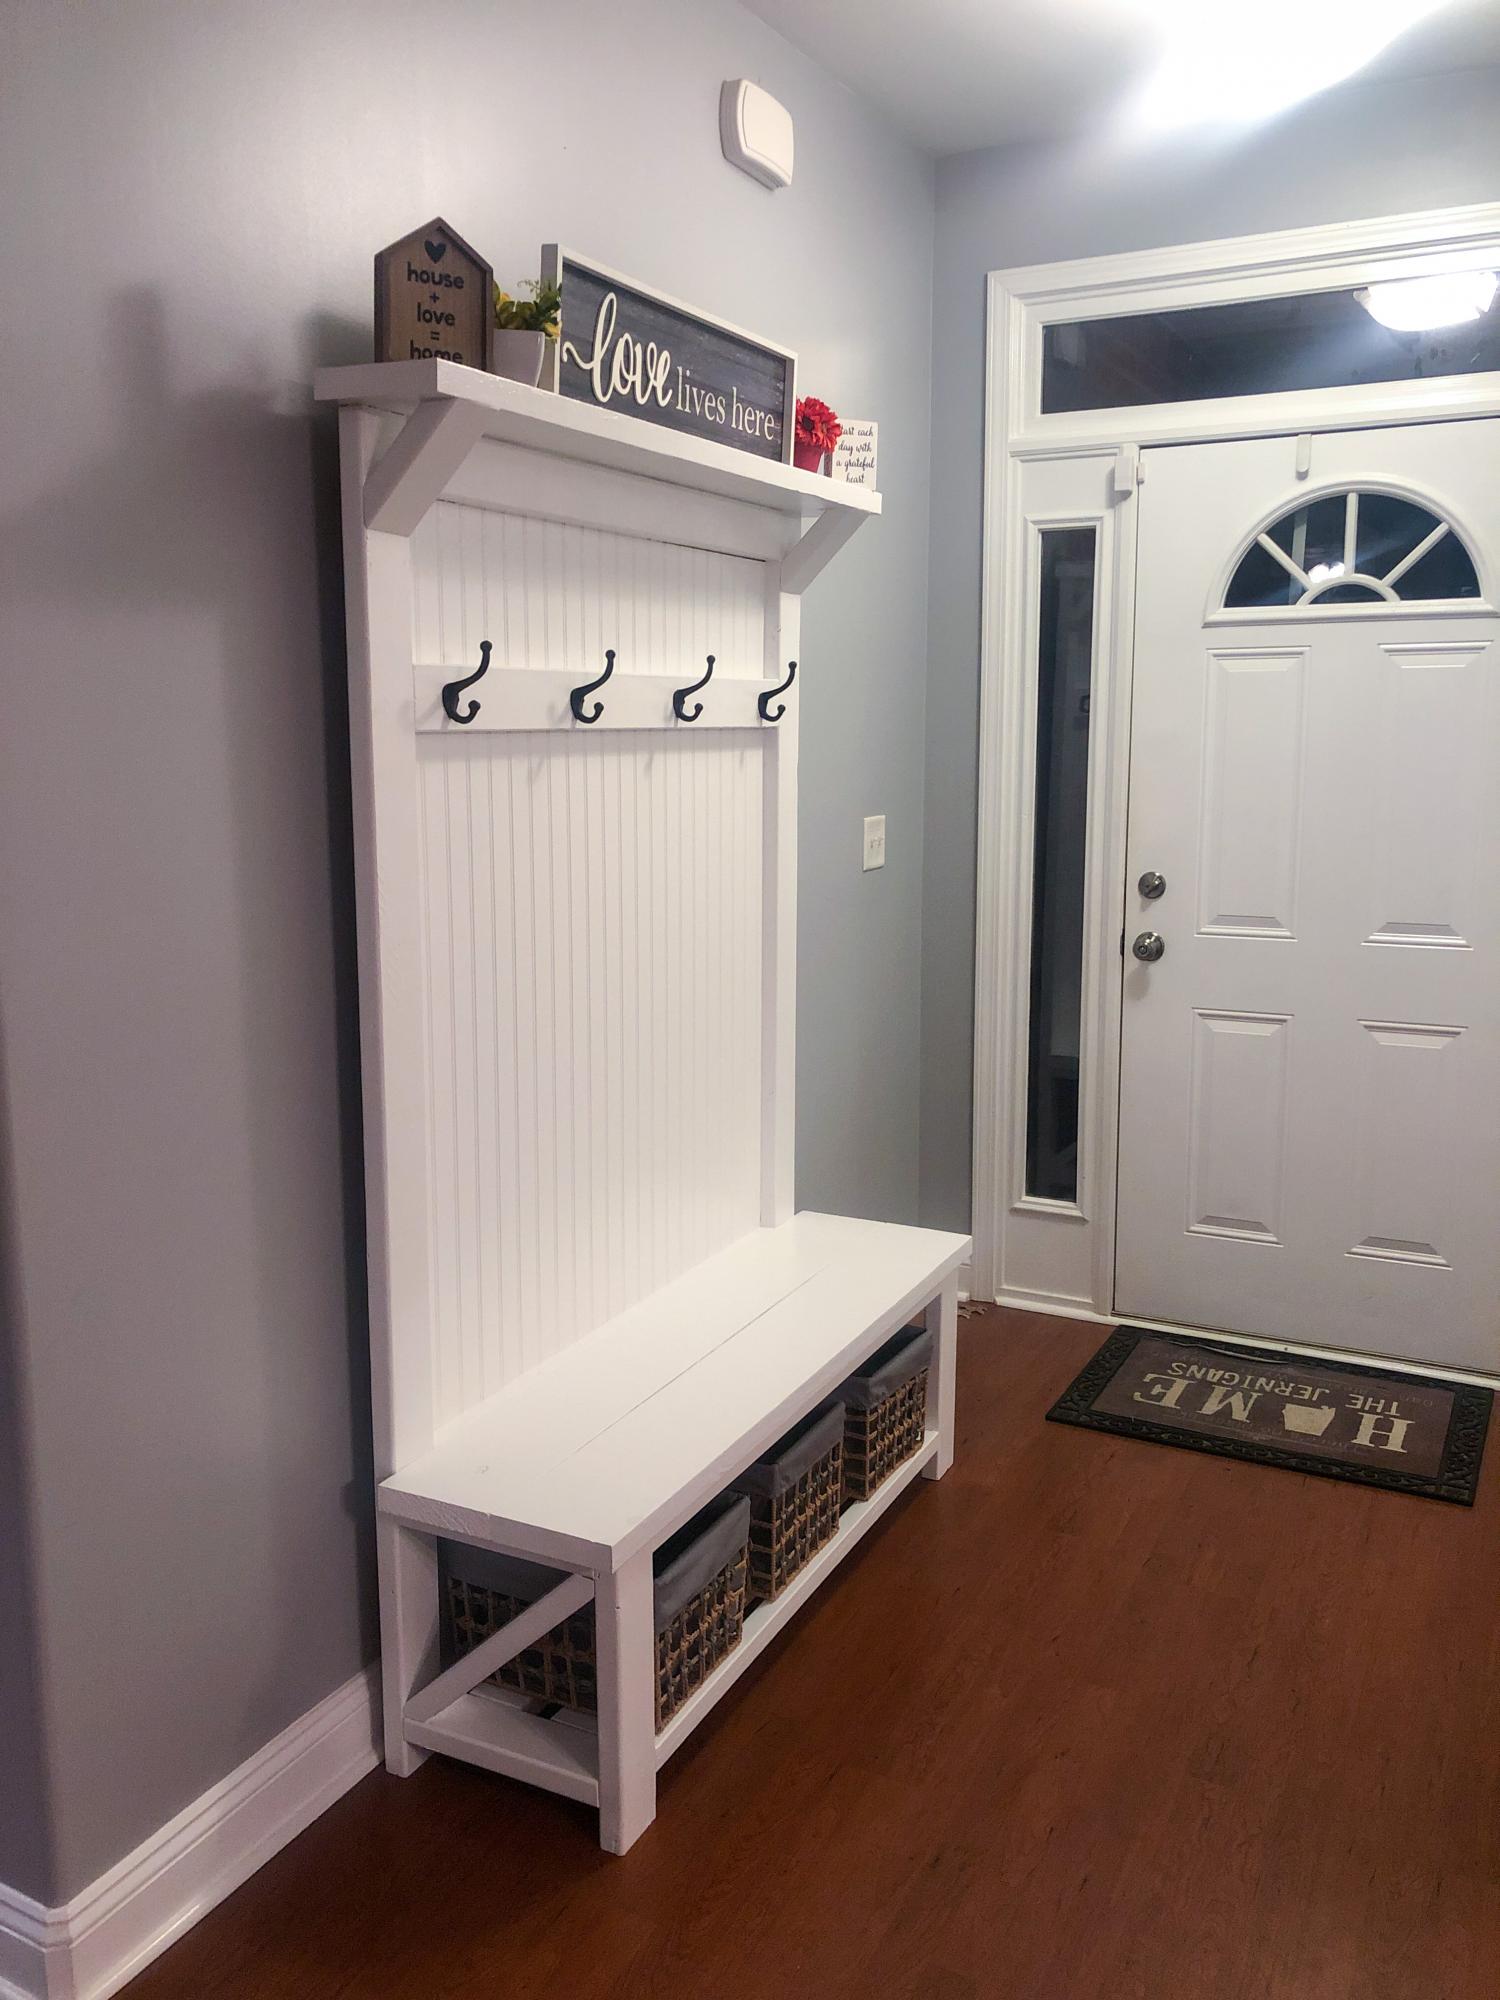
Just finished this tonight. Decided to make it a little wider than the plans. Added bead board on the back. I also made the top shelf a little larger so I can come back later and add some LED lights on it. Because I made the top shelf bigger I wanted to add the angled supports. That’s why I didn’t do an “x” on the bottom so the shelf support would mimick the slanted piece in the bottom.
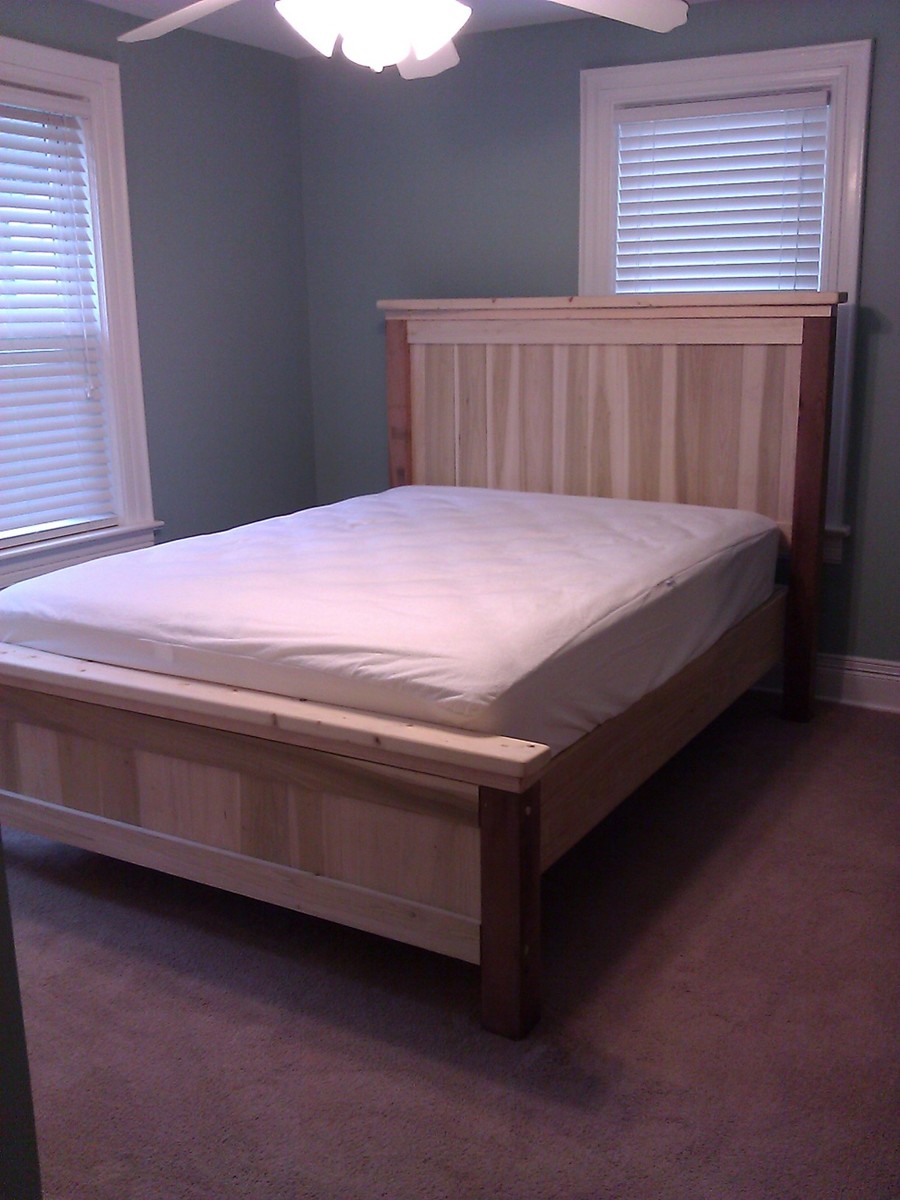
We ended up going with a combination of pine, cedar (posts - from Ace Hardware) and regular ole 2xs. We ordered our hardware from Rockler ( http://www.rockler.com/product.cfm?page=10).The bed can be easily disassembled down to the headboard, footboard, side rails, support beams, and platform. It's a quirky combination of woods, but overall we are happy how it turned out. We thought of painting it, but have really been enjoying it as is.
Tue, 05/01/2012 - 13:40
This is so beautiful! I agree with you, the woods beauty is best as is, without paint hiding it. You could put a coat of poly to seal and preserve the wood without losing any of its natural beauty. Great job!
Thu, 10/25/2012 - 07:25
I clicked the link for the rockler hardware that you used. I noticed that it required mortising. Did you find that difficult to do? Did you use a router to mortise the wood?
Thu, 10/25/2012 - 11:01
They also have surface mount hardware
http://woodworking.rockler.com/search?asug=&w=bed+brackets&Search.x=0&S…
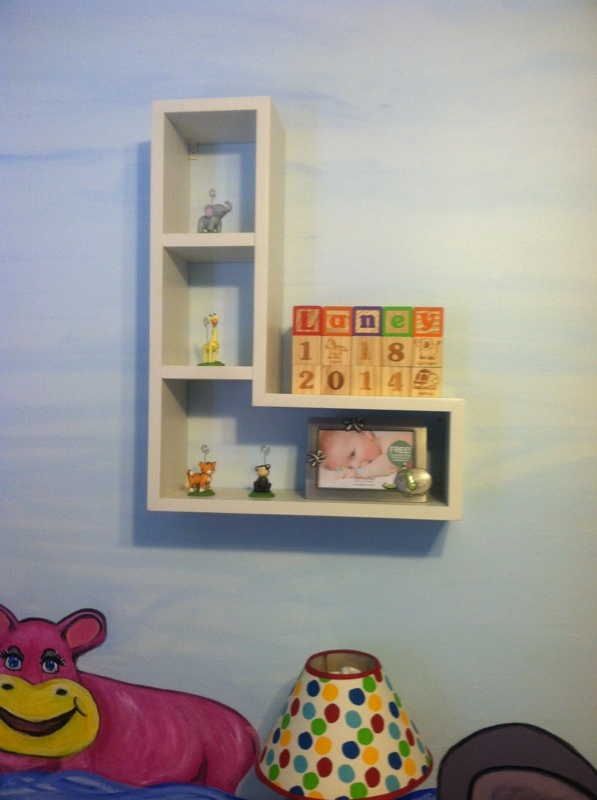
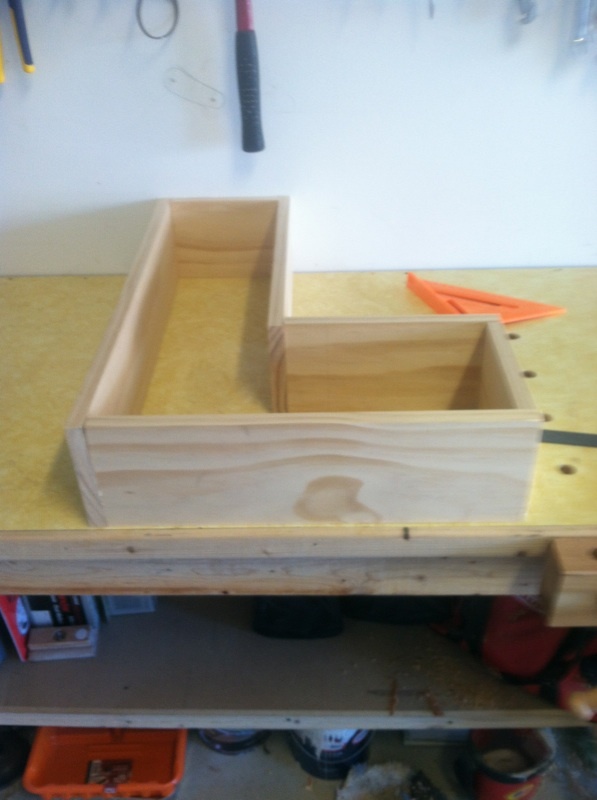
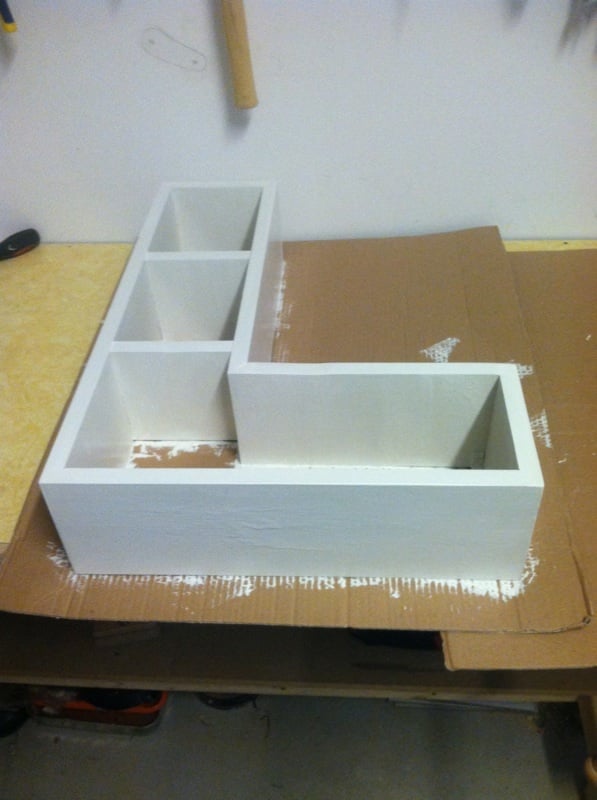
I was inspired by an A shaped shelf I saw on this site. My wife and I were expecting our first child on January 18th of this year and I decided that I would make a shelf for her nursery. We decided on the name Laney so I figured it would be very easy to make. And it was.
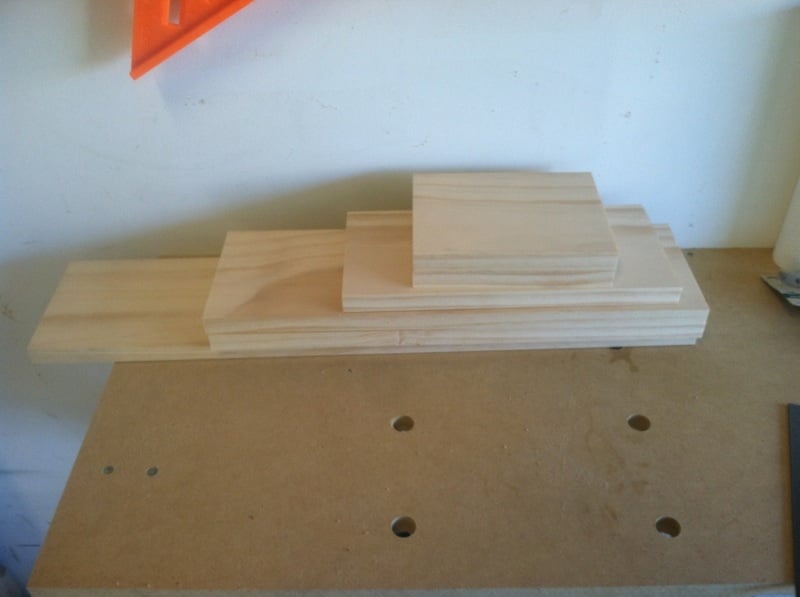
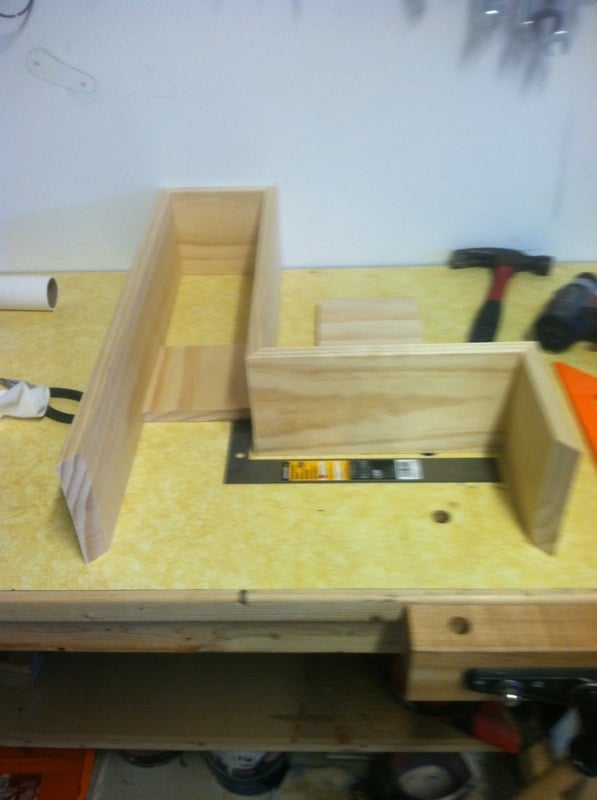
I started out with a couple sheets of 1 x 6 x 8s of pine from Home Depot. Not very expensive. I decided on a size and then cut the pieces to length.
I then set it up to see how it would line up and once I saw it lined up I cut each ends to 45 degrees to match up nicer.
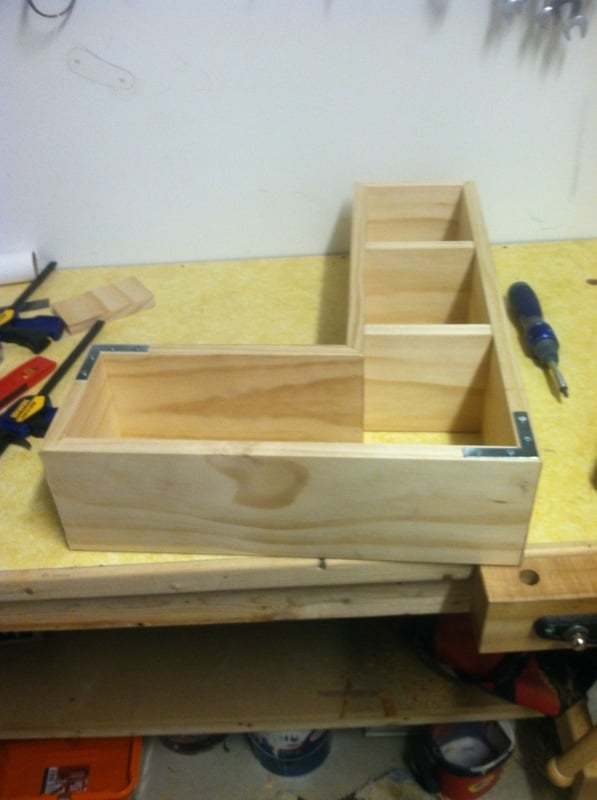
I glued the ends together and then hammered finishing nails into the ends.
Once it was together, I added to shelves, put L brackets on the back side to add stability, and attached some hangers.
Finally, I painted it white to match her nursery.
Laney was born on January 23rd and we are so excited to have her in our lives.
Sun, 08/28/2016 - 19:22
Hey! I just love this shelf! My sons name is Nathan, is there a Chance you have the plans for the letter "N"??
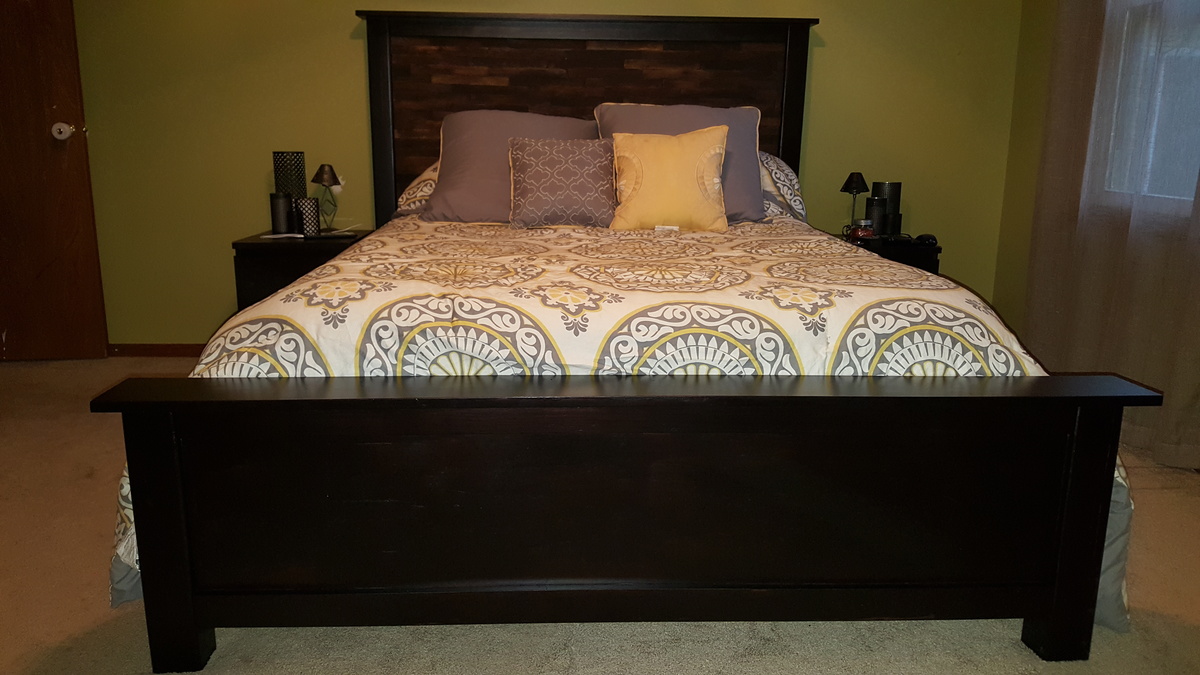
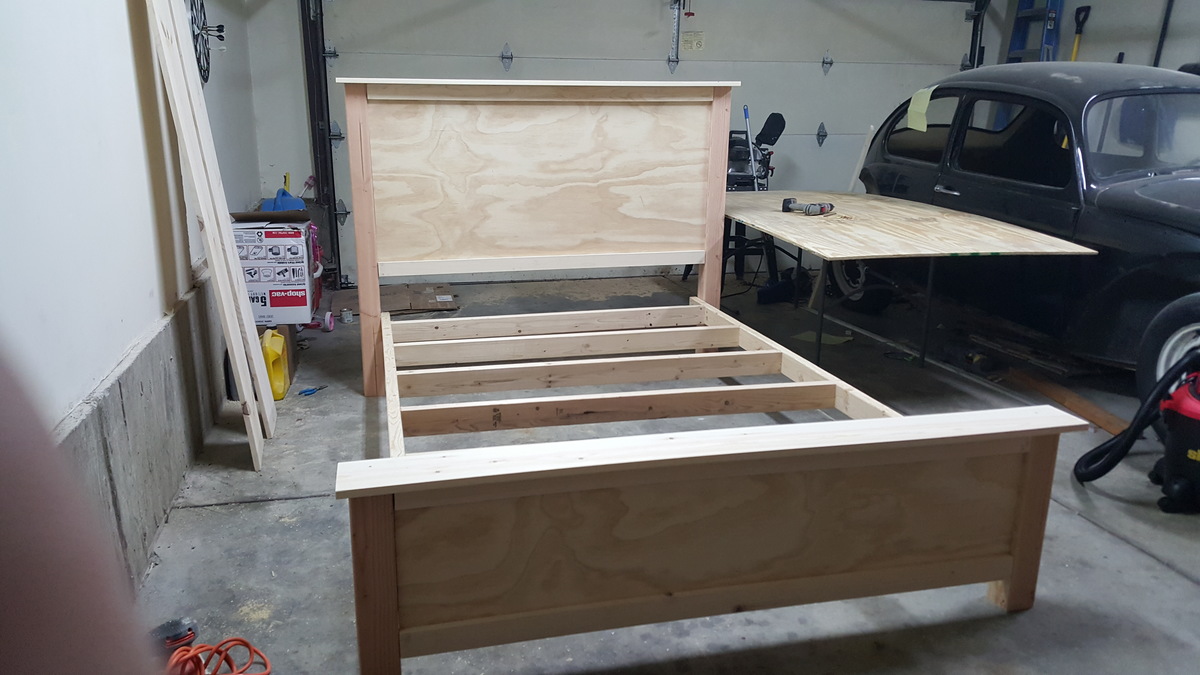
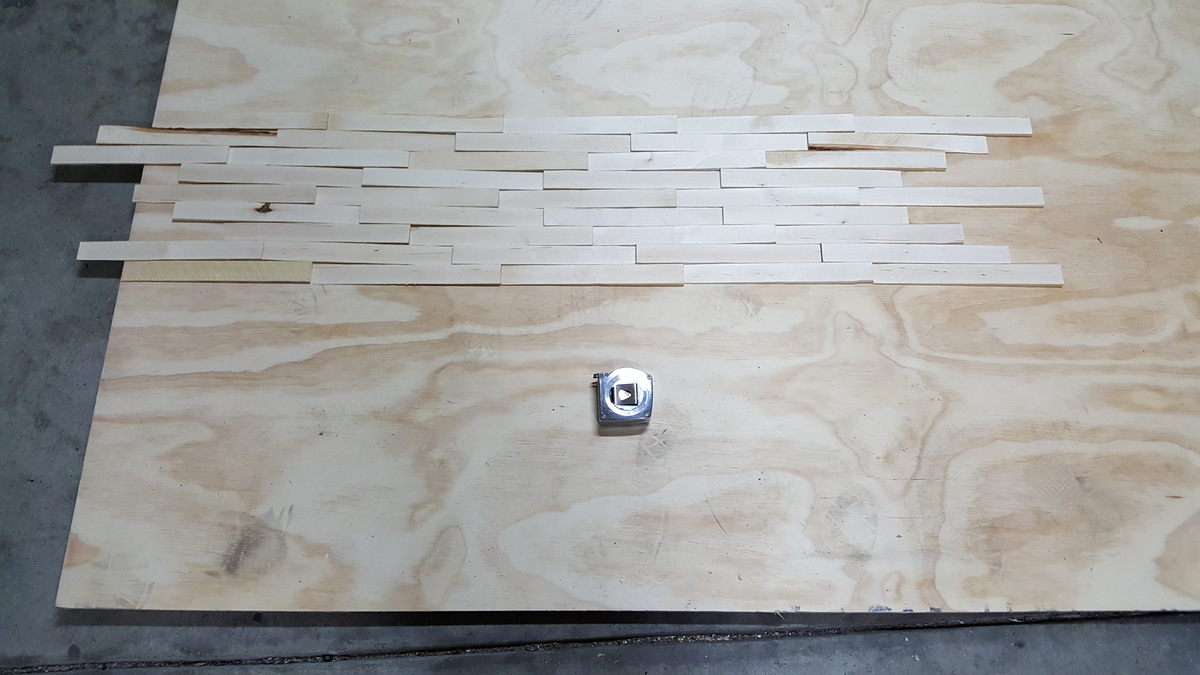
My take on this bed. My wife said she wanted me to build her a bed after I built the toddler helper tower for my daughter, also from this amazing site. And when your wife asks you to build her a bed, you build her a bed. It was a fun project aside from the shim work. It was very tedious but well worth it in the end. I made a few changes but not many and discovered a few tips along the way that might help someone else. In the pictures you can see a more detailed picture of how I layed the shims out. Staining before you attach the shims is a must. And I decided to stain the shims themselves before I attached them as well. I did that because I wanted a more "weathered" look to them and didn't want them all one uniform color. They each have one coat of stain. Just applied a little thicker to some.
As for the rest of the frame it has two coats of Minwax polyshades in Satin espresso. I'm curious to see how it holds up but so far I love the way it looks. So when I bought my 4x4's they had rounded corners. In retrospect I should have not made everything on the head and foot boards flush but instead pushed it back 1/4" or so that way theres not a gap where the rounded part meets the panel trim.
Back to the shims, after testing and debating with myself, I decided that attaching them with hot glue worked best for me. Wood glue curled the edges causing them not to sit flush. Nails would be too much of a pain as every hole would need to be filled. Hot glue seemed to do the trick and they feel solid. OK enough for me. Thanks Ana for the plans.
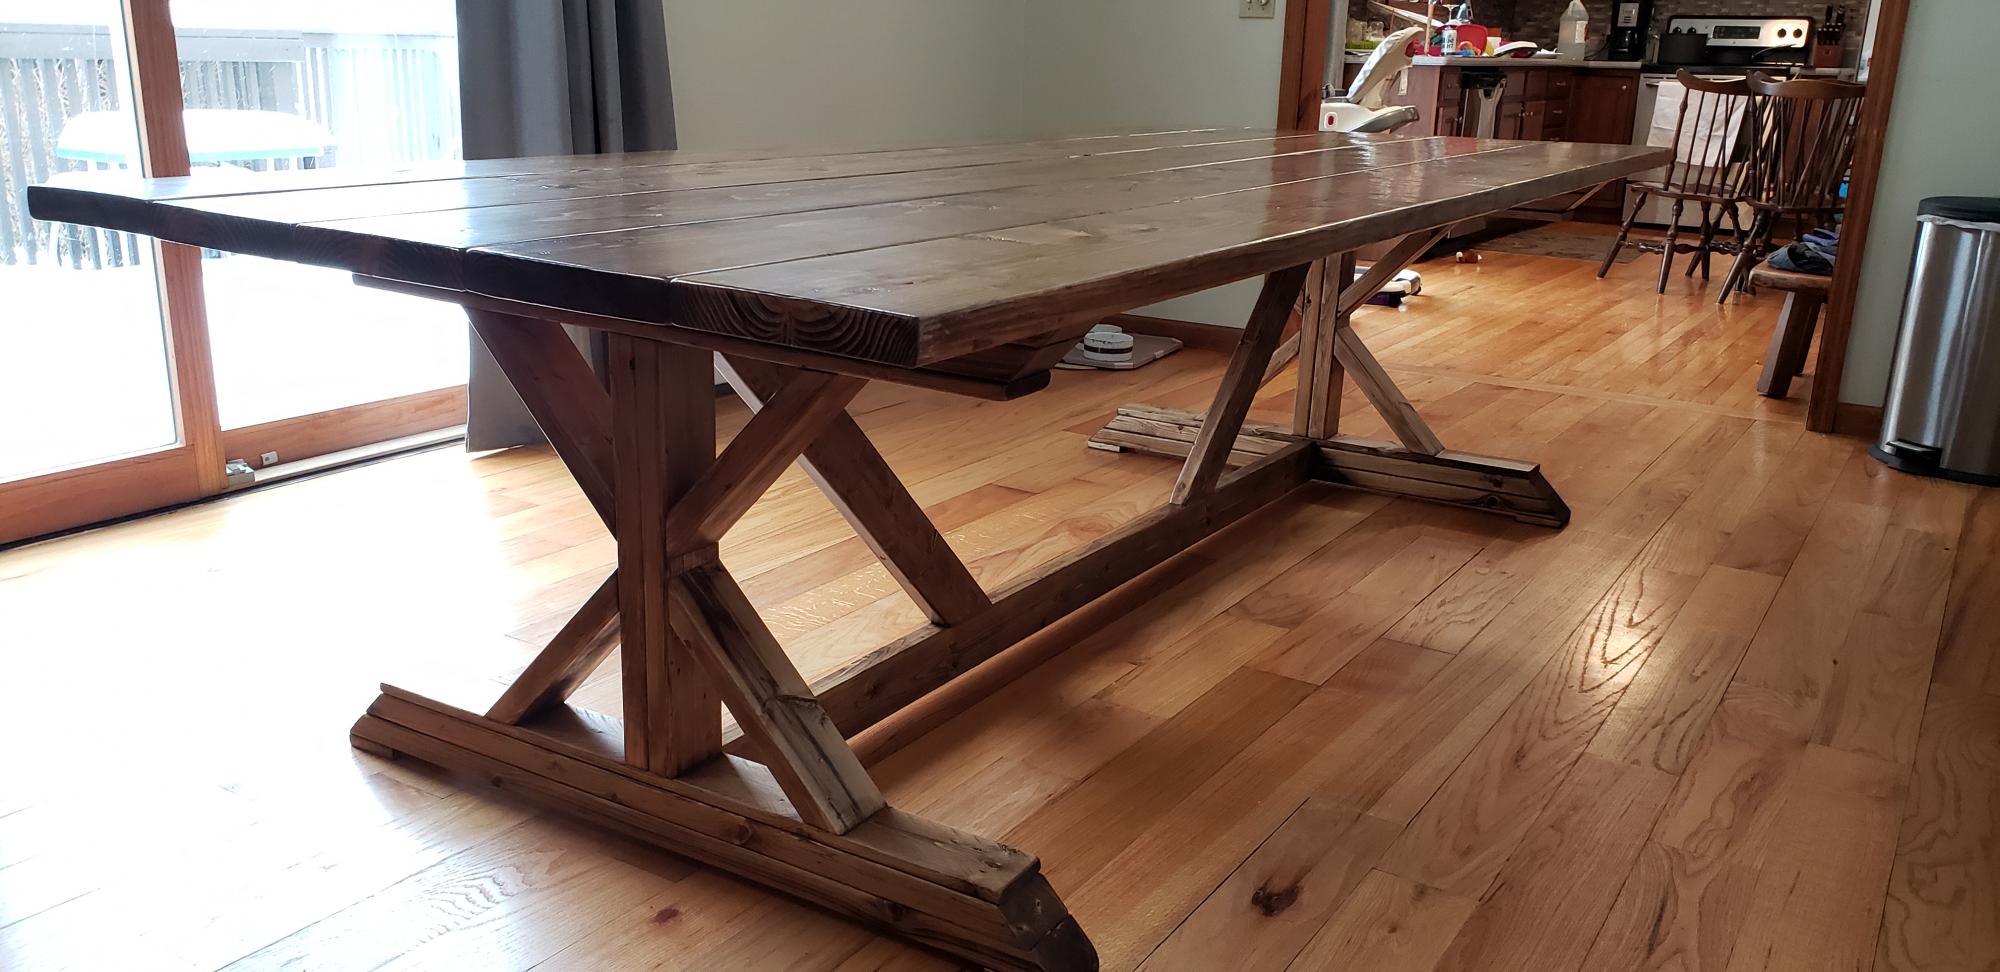
Thank you so much for the plans and pictures!! This table was the first piece of furniture I've built. Your designs made everything straightforward. Couldn't have done it without you. So far the family loves it. I can't wait to share memories around it for years to come.
We have a a fairly large and long dining room, and have a lot of family over for dinners, so I adjusted the plans to make the table 108" long and 46.25" wide. Should fit 10 comfortably and we can squeeze in 12.
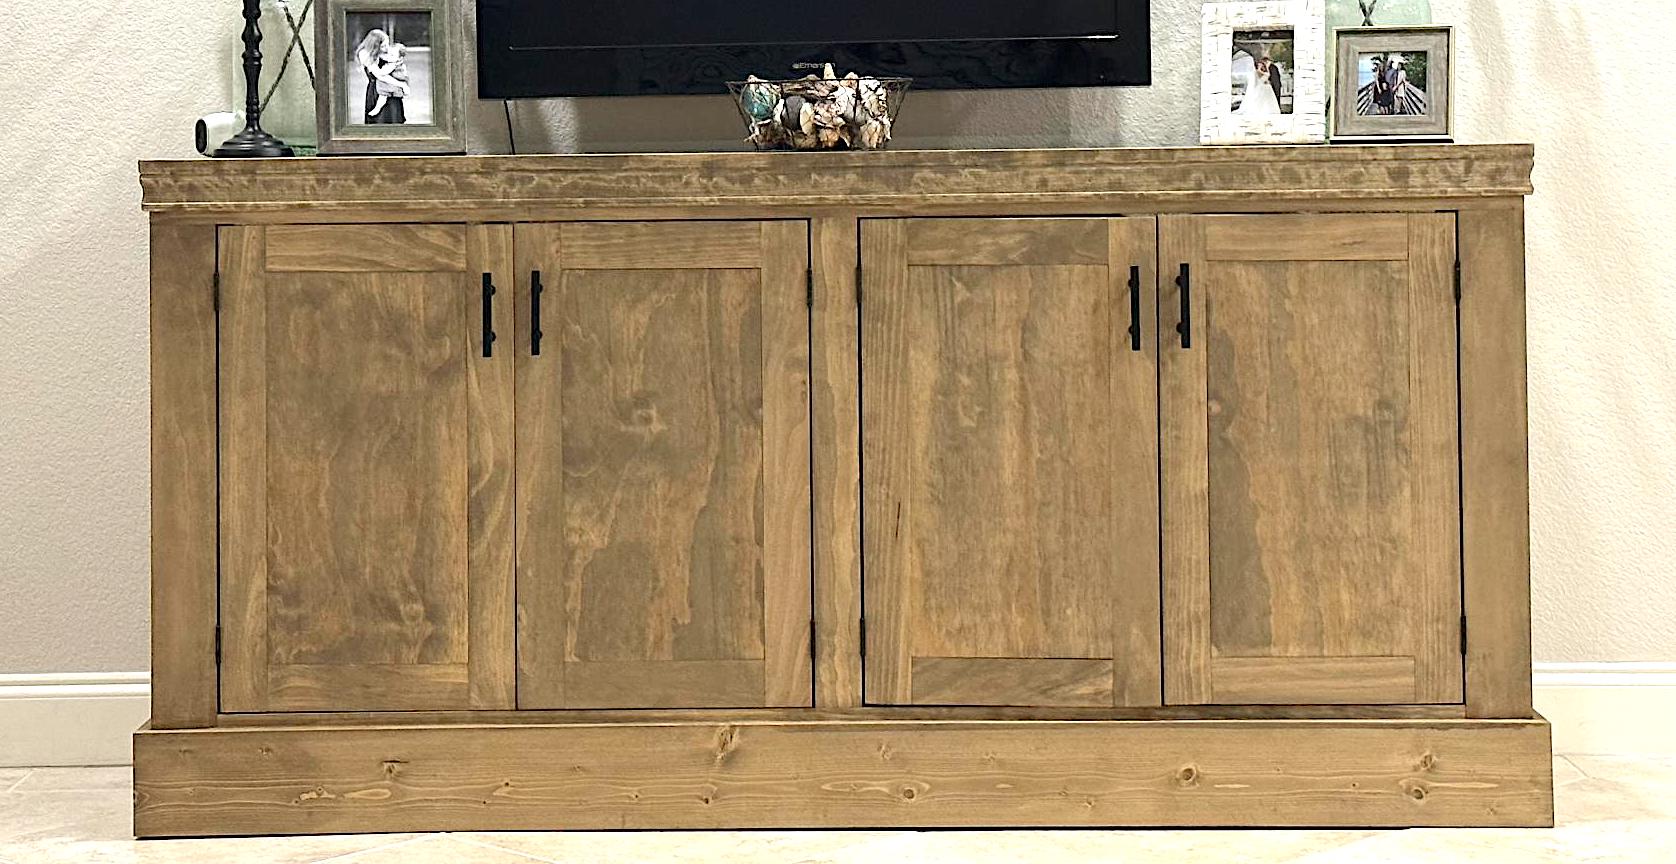
My wife and I are very happy with this piece. It was challenging but not too difficult. The plans were very easy to follow.
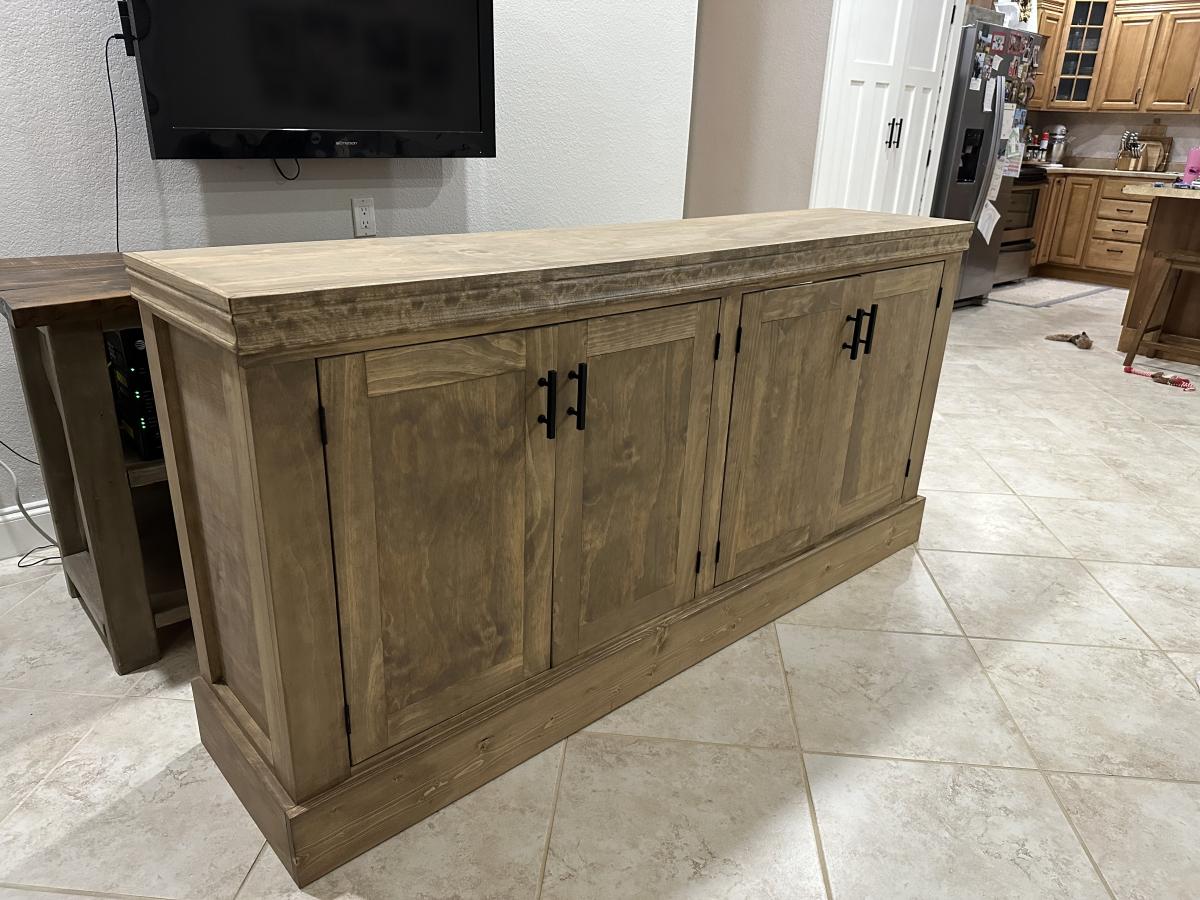
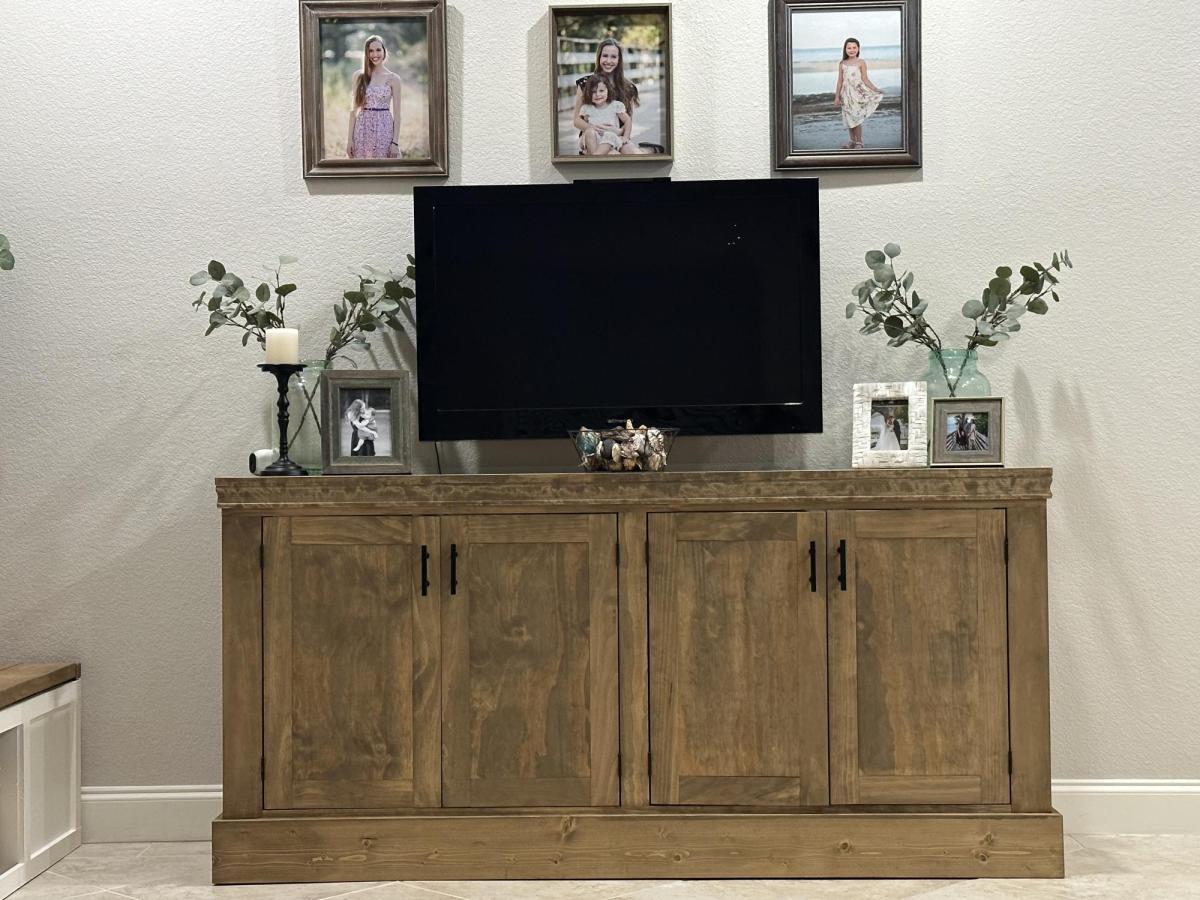
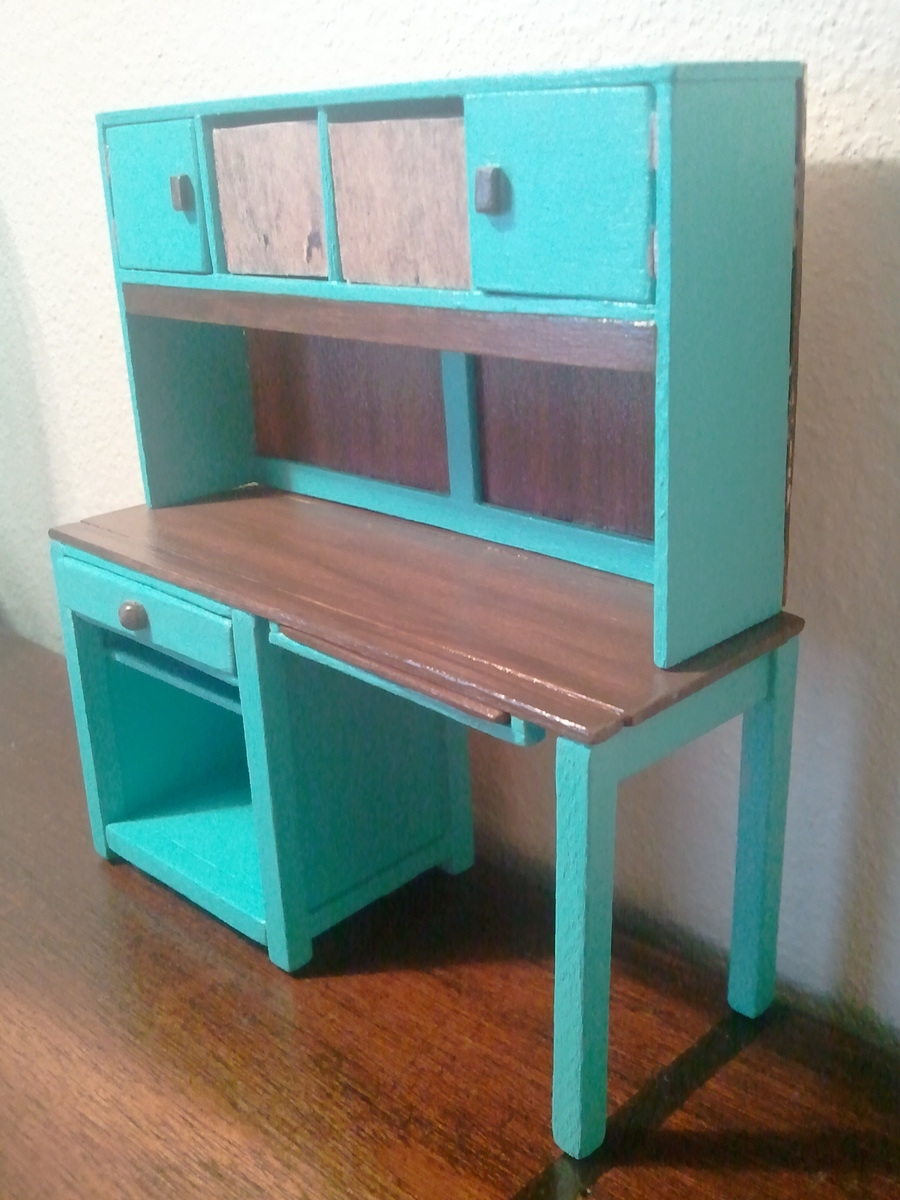
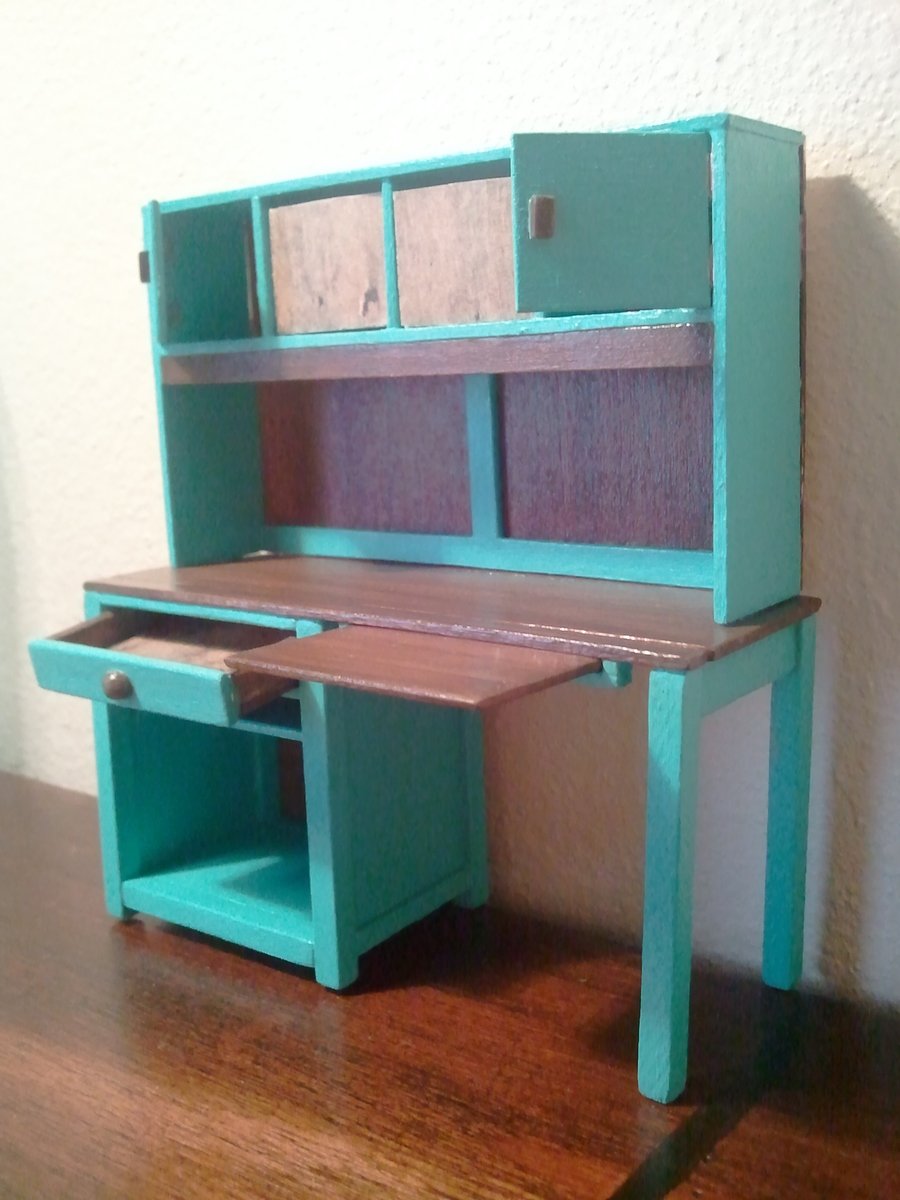
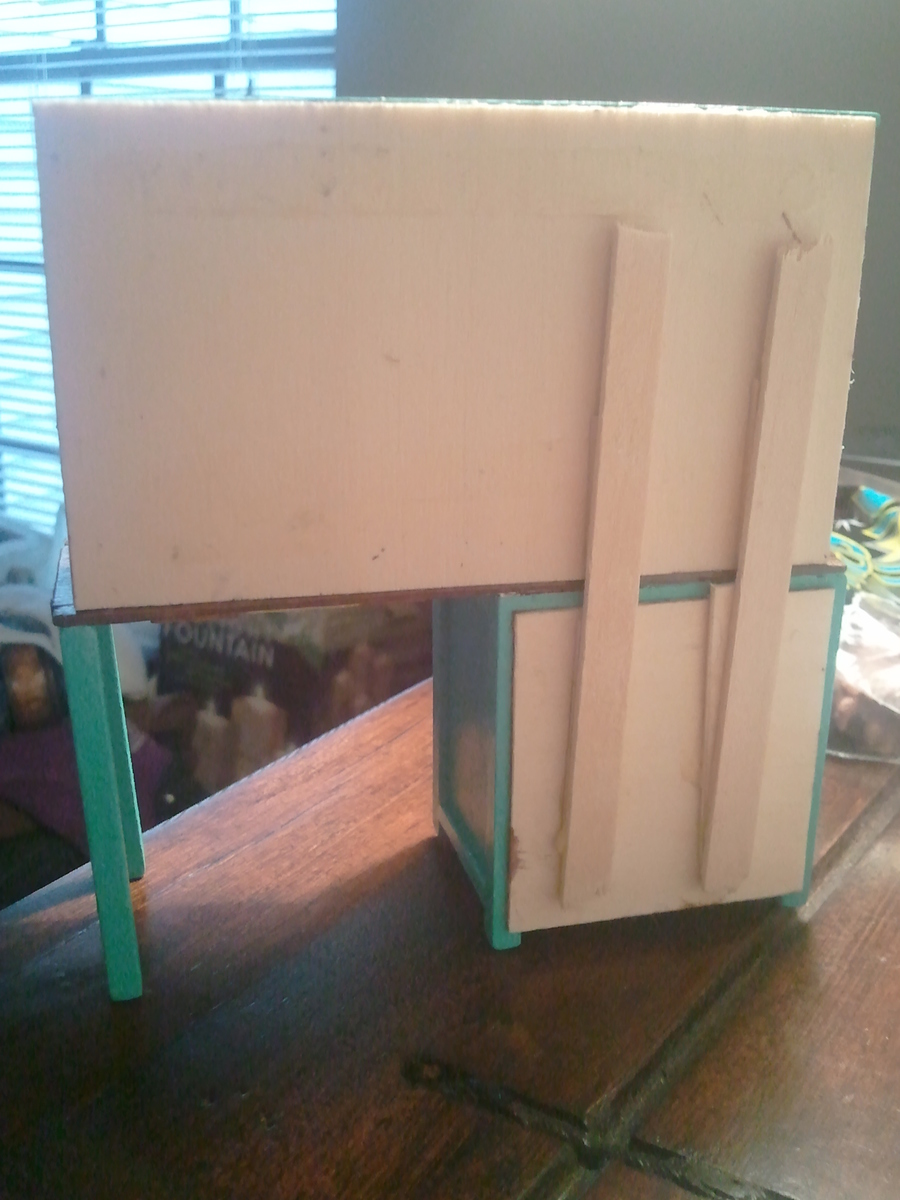
Miniatures are a cute and easy way to see your project before you start the full sized version. And if you know someone who likes minis, you have a nice gift for them later! (or you could start a new hobby)
http://www.the-art-of-dollhouse-miniatures.com/miniatures-scale-calcula…
This is the link I used to find my measurements in mini. Just in case you guys might enjoy trying a smaller scale.
Its a good idea to very lightly sand your pieces, I used a metal nail file.
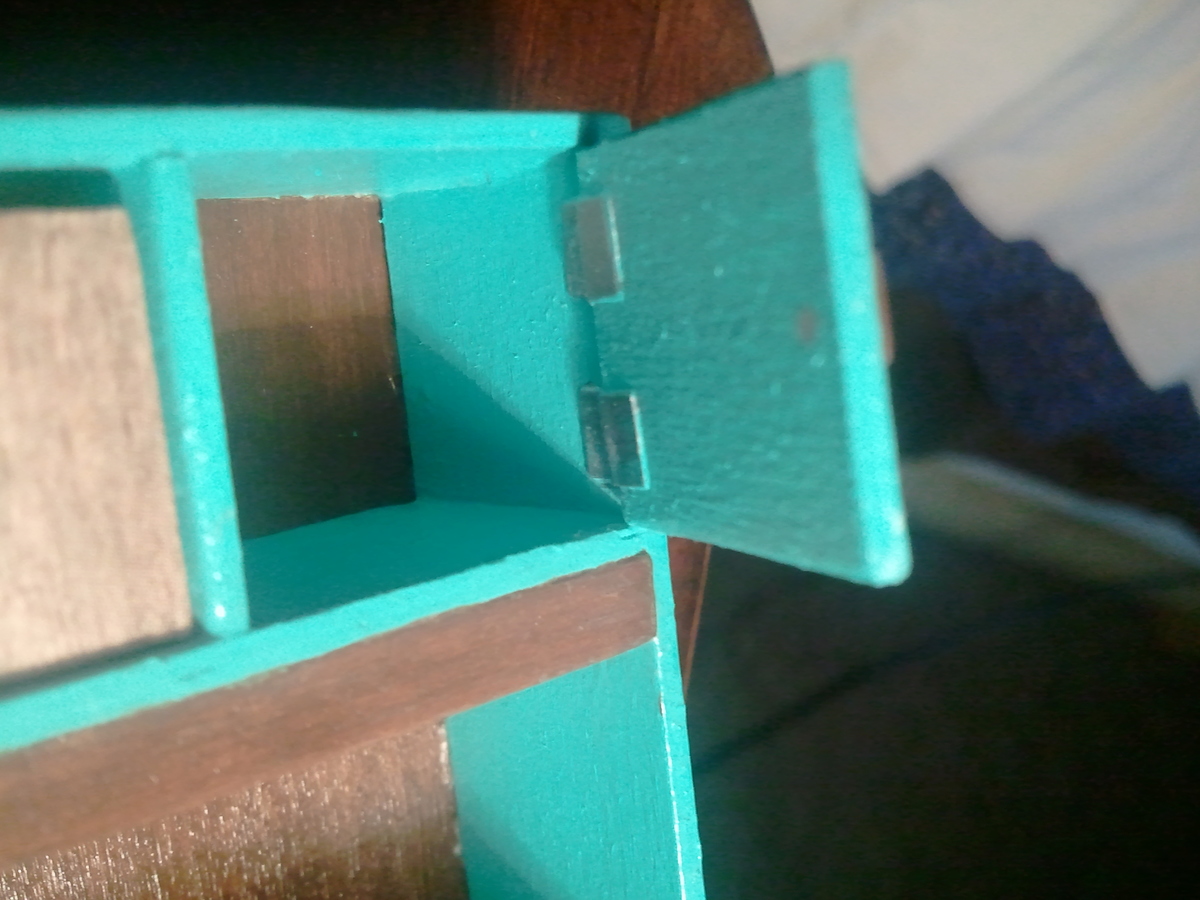
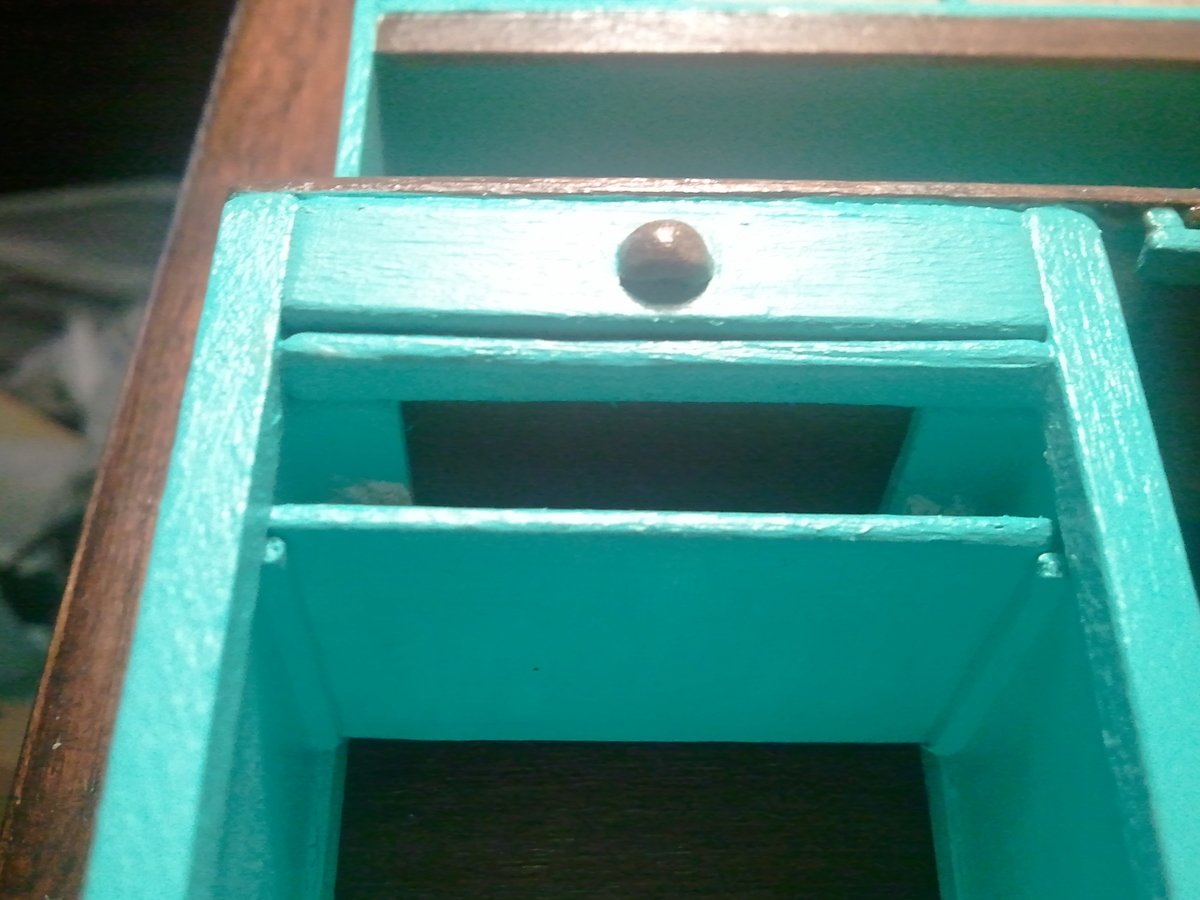
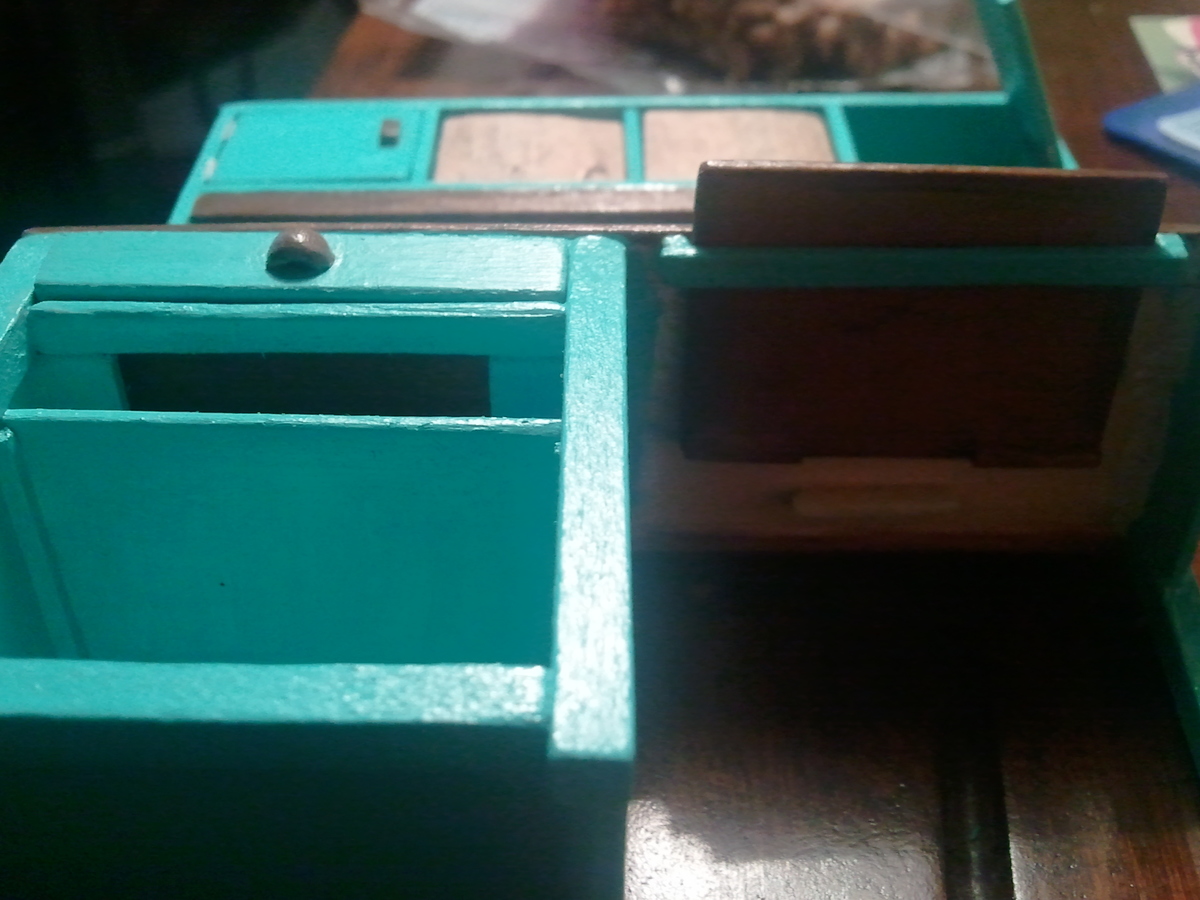
After adjusting your measurements, follow Ana's instructions for the desk. For the drawer to actually work, I used mini 1x's and made old-style slides that are mounted to the underside of the desktop. these support the drawer and guide it also. Similar idea used for the extra desk space via the pull out. For the hutch doors, I made simple paper hinges. Make sure you use cardstock or layers of regular paper.
The full size hutch is screwed to the desktop, but the mini needs more support, so spare parts make good braces. I also used spare bits of wood for the handles on the doors, and half a wooden bead for the drawer handle.
After making this mini version of the Channing Desk, me and my husband were able to adjust add-ins like the pull outs (my full size will go above the drawer) and even thought about making the whole section of drawer/shelves detatched for more manuverablilty in a tight corner space.
I can't Wait to start the full size version!!
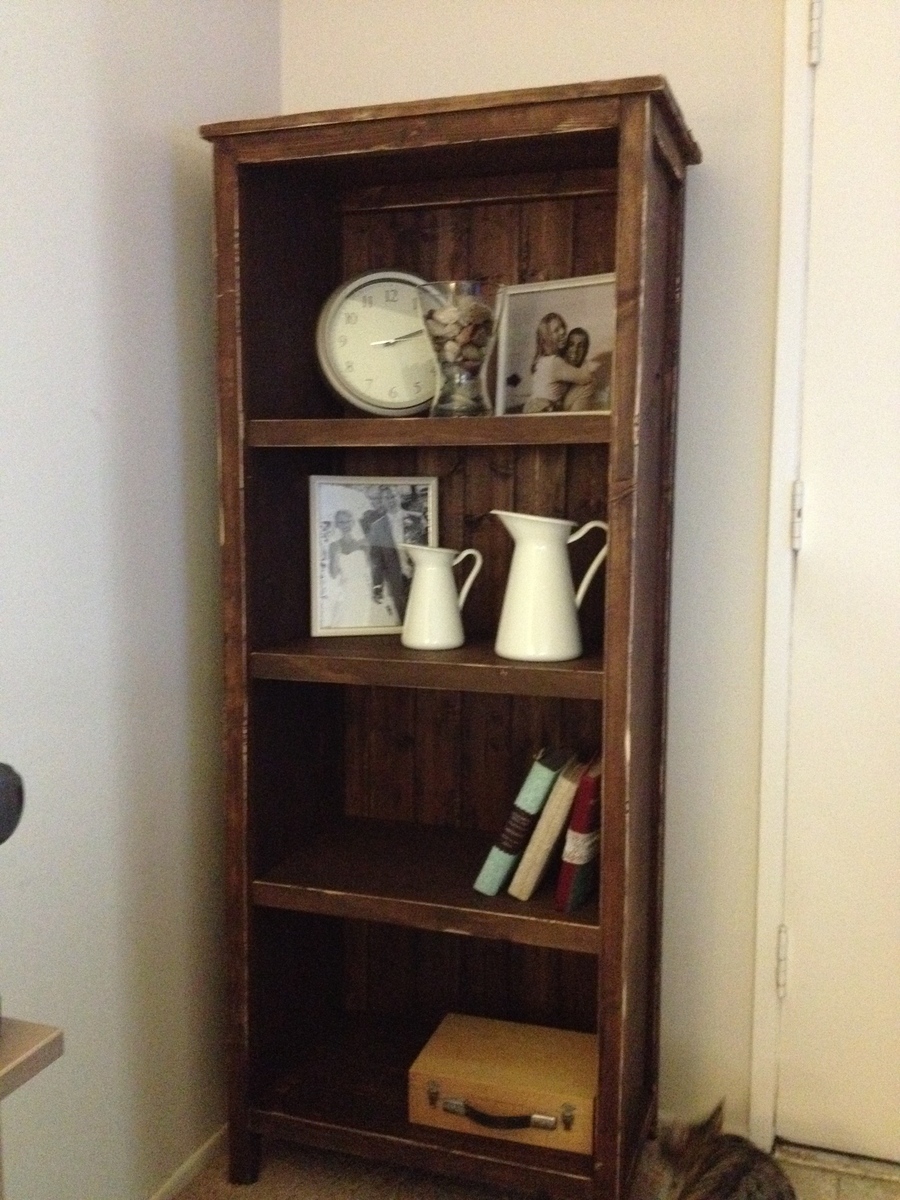
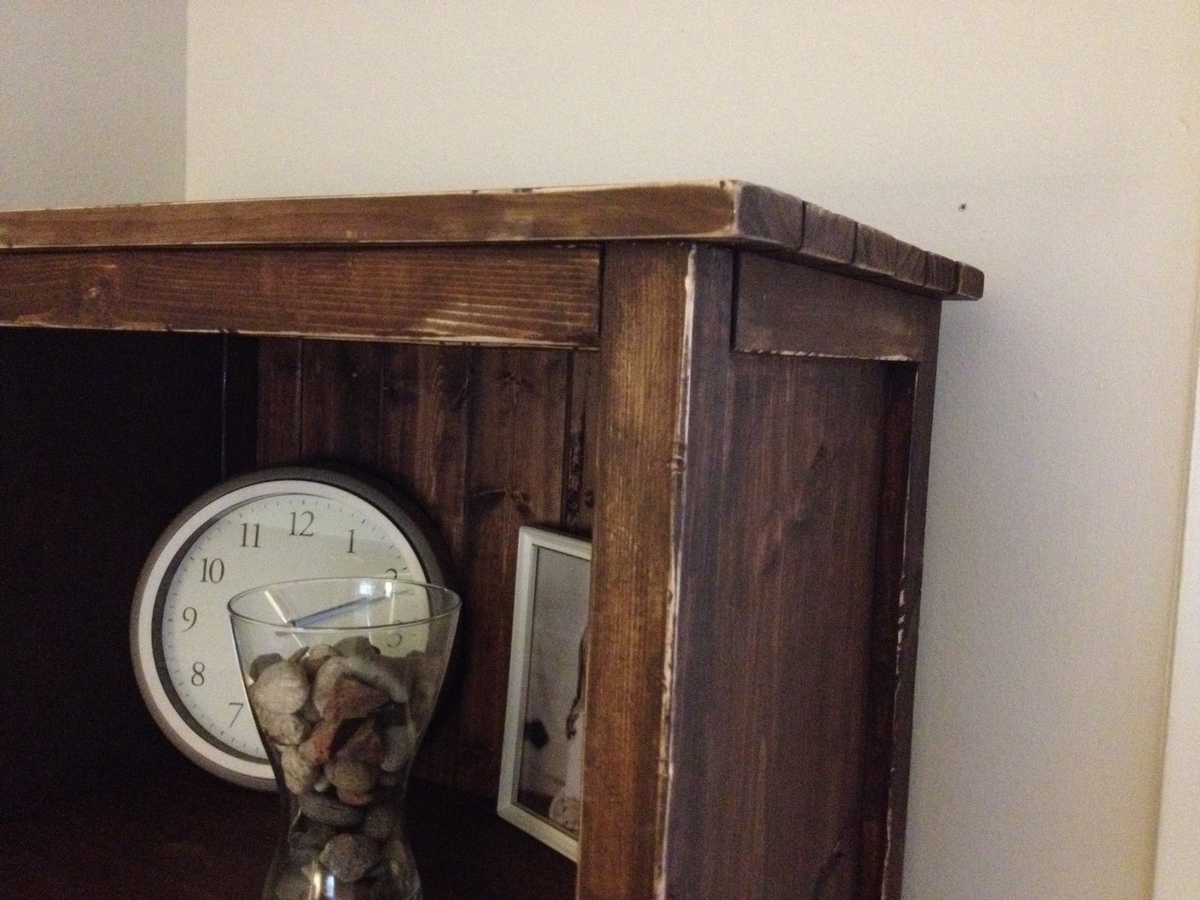
This was the first project my husband and I built from scratch. We experimented with our brand new Kregg Jig for a little while until we felt comfortable with it, and then nervously got started. Surprisingly, the only mishap we had was that we (ok, I) accidentally bought 1X10's instead of the 1X12's. Nothing a quick trip to Home Depot won't fix! We followed Ana's directions exactly, and definitely recommend the Kreg Jig! Our neighbor is a contract worker, and he was pretty impressed at how sturdy the bookcase was. The only part that gave us a little trouble was that our planking on the back (from Lowes), was a little too wide, so we had to trim it down a bit. This was also my first time staining, but thankfully I was going for the rustic look, so I just sanded off the corners and any weird spots.
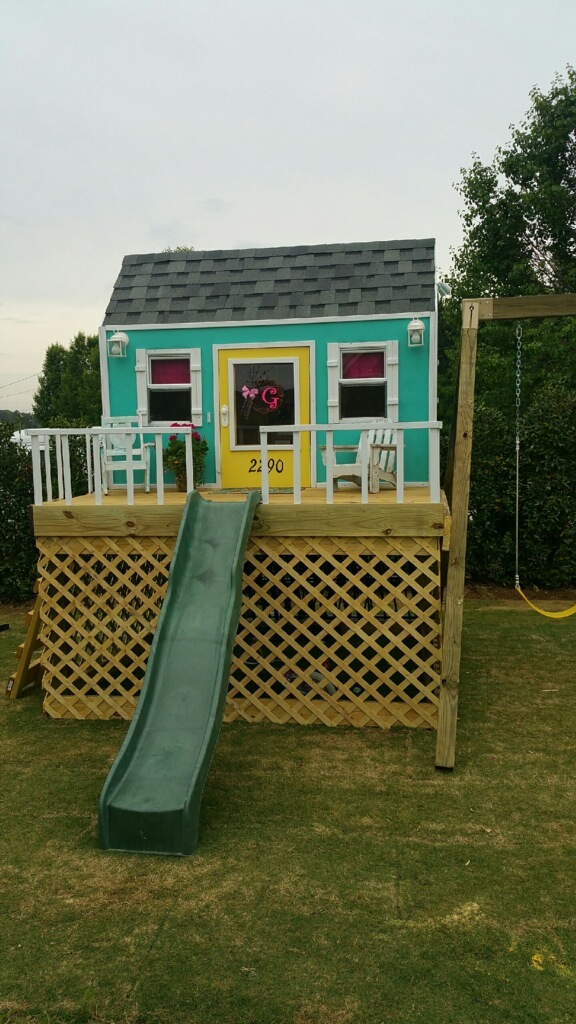
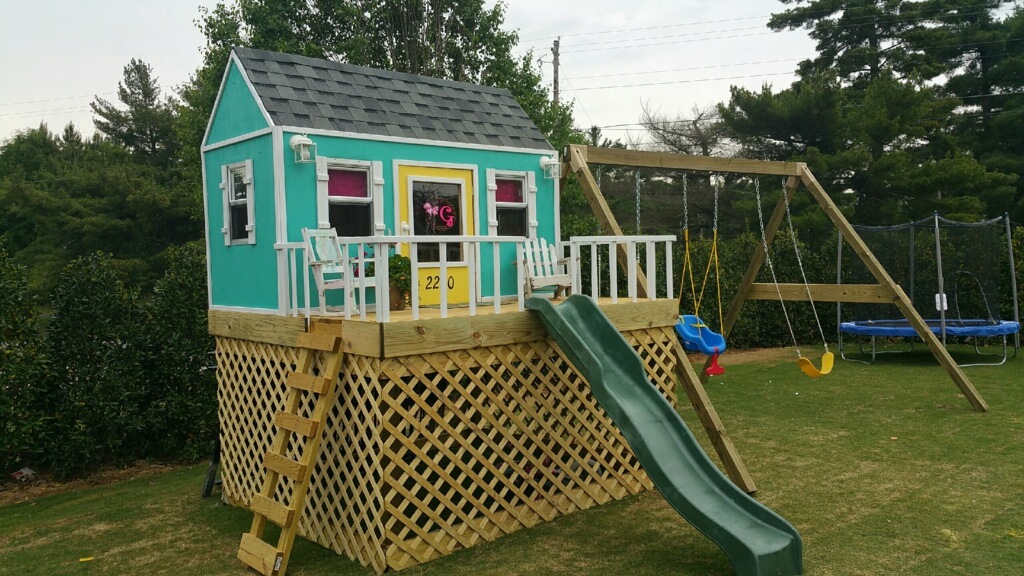
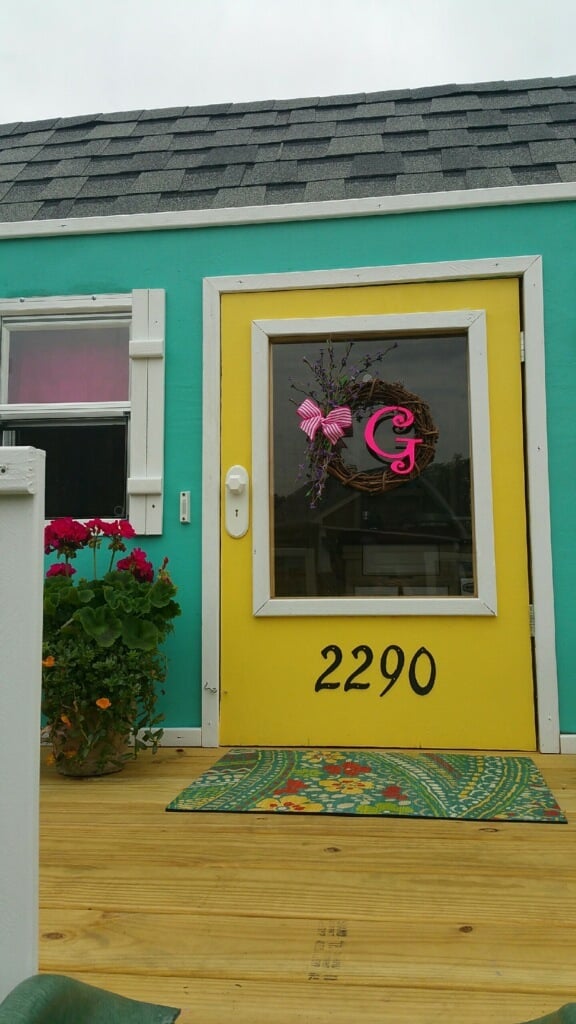
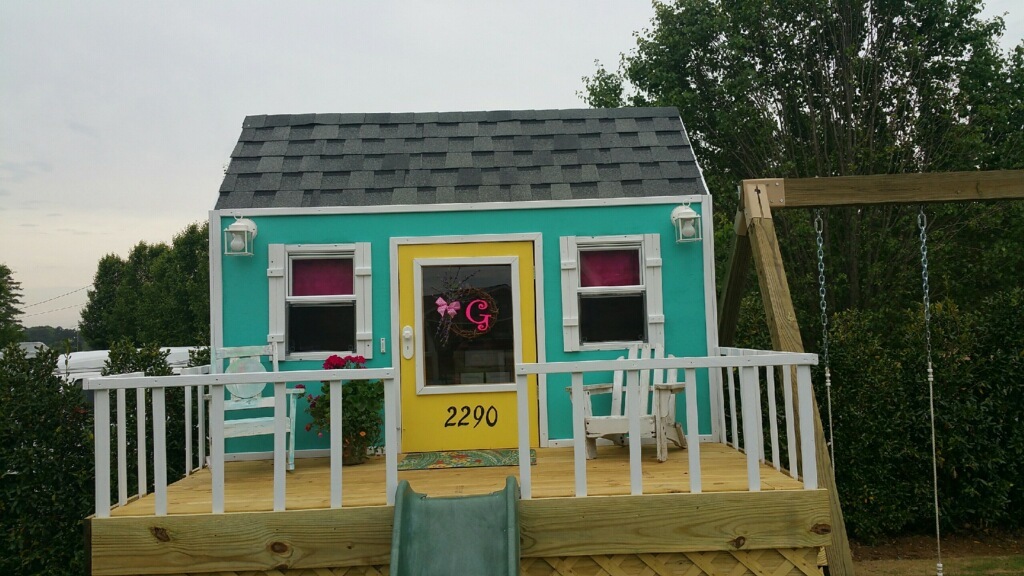
Perfect little playhouse my husband built for our girls. It took about a week to build by himself, but worth every minute. He did a wonderful job. Such a good daddy!

I made two of these side tables for my niece and her new husband as a house warming gift. I dropped the top down 1.25 inch and added a glass top so she could display items. They are going to be a surprise, so I left them bare. She can stain or paint them whatever color she wishes.
Donna Cox

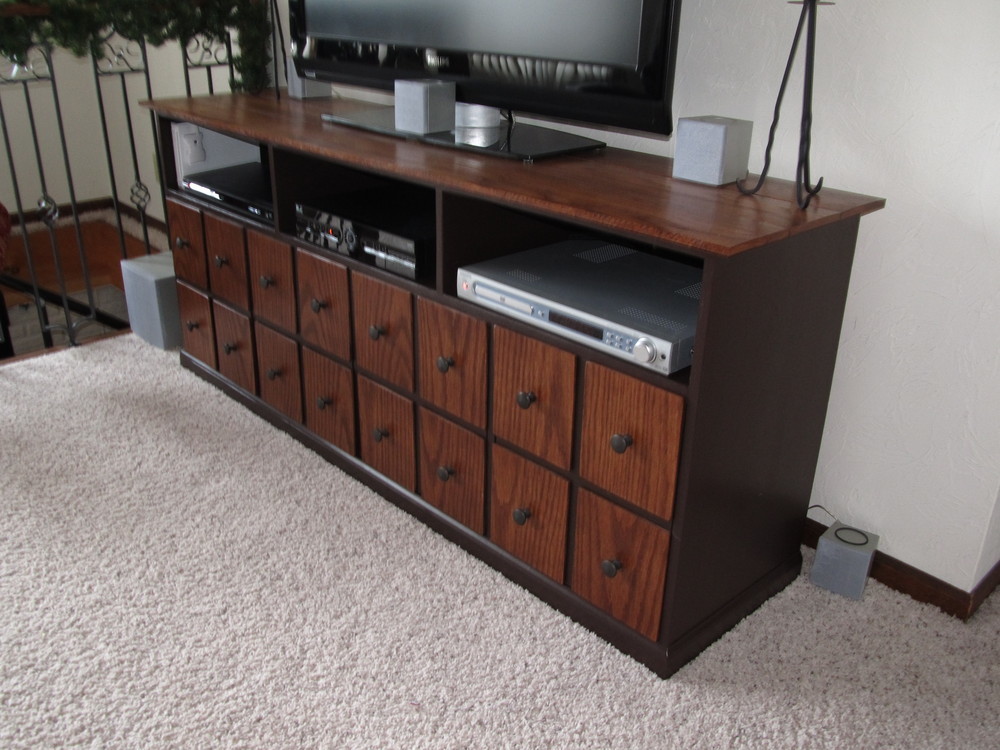
Our version of the Apothecary Media Console features 4 cabinet doors, oak front faux drawers, finished in satin espresso brown and dark mahogany stain with oil rubbed bronze knobs.
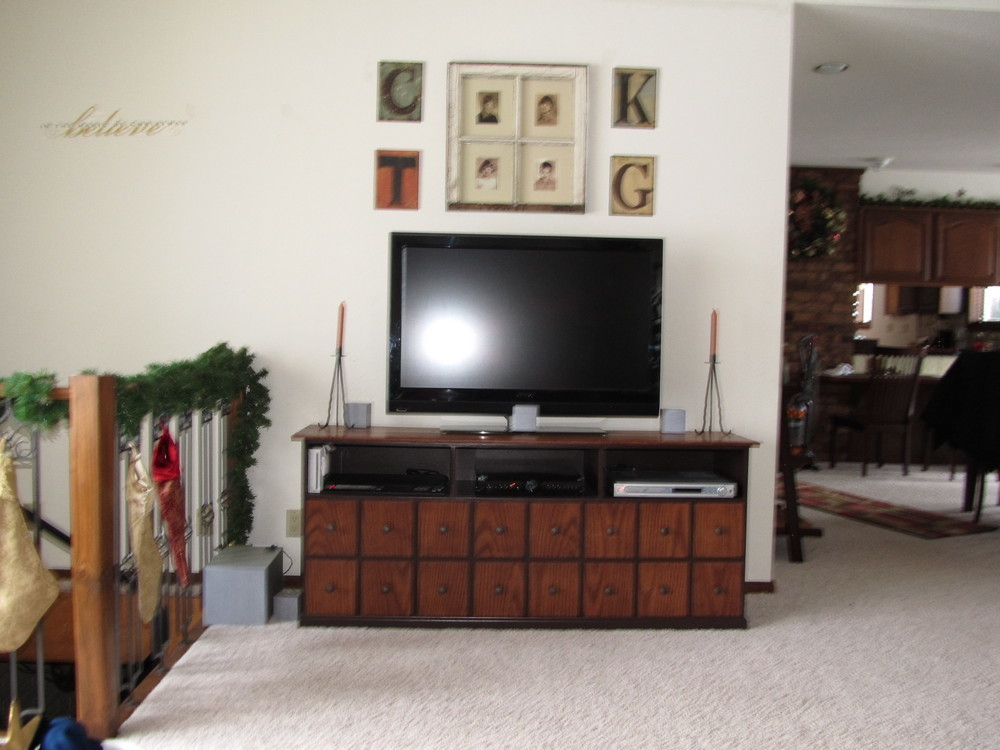
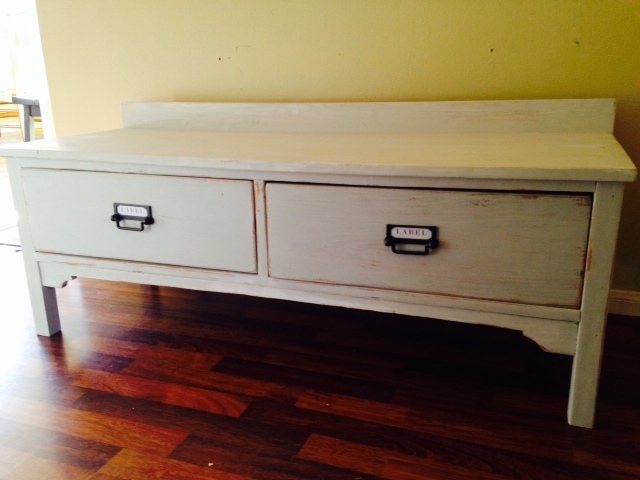
I pretty much followed the plans for the Alexia Bench except I didn't put sides on the top. I made this bench to donate to a silent auction for a fundraiser. I even used the same cute hardware that the ladies at Shanty 2 Chic used (I had to go to a few different Targets to find it).
I was very happy with the finished product & hope to raise some funds for a good cause! http://www.sendbrandon.com/about-brandon.html
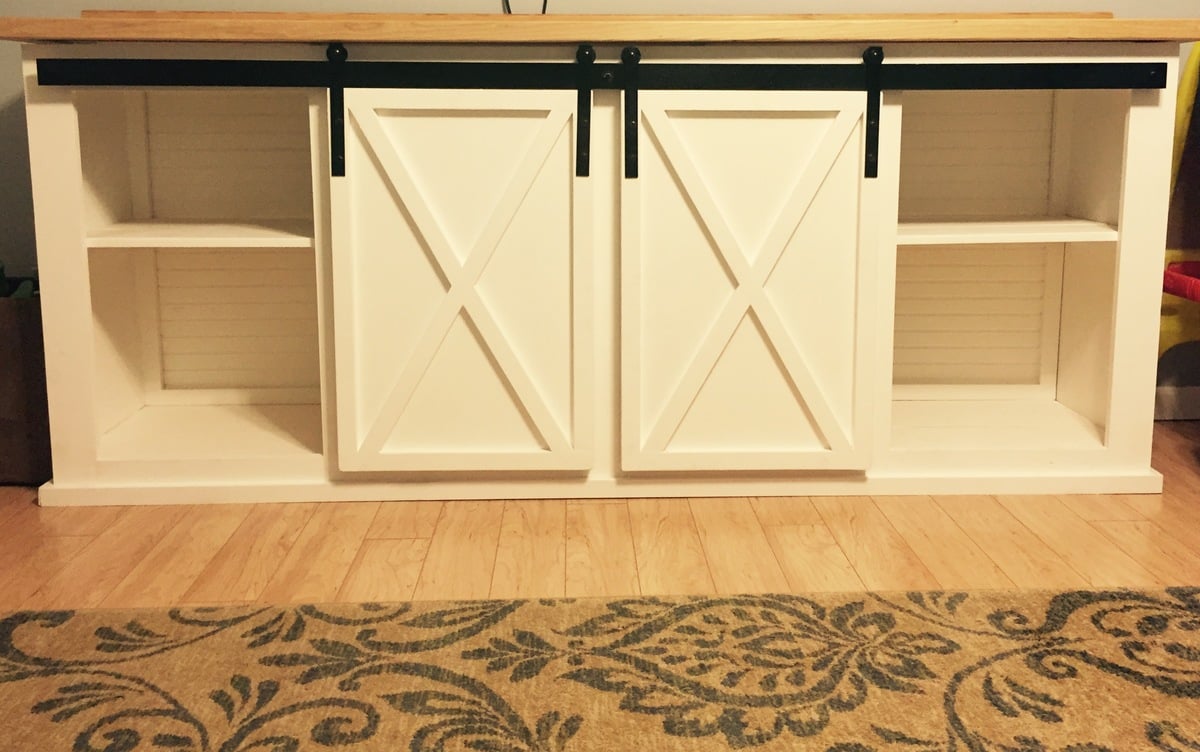
This was my brother-in-law's first build and he killed it. I love this sturdy piece. Best thing in my house right now.
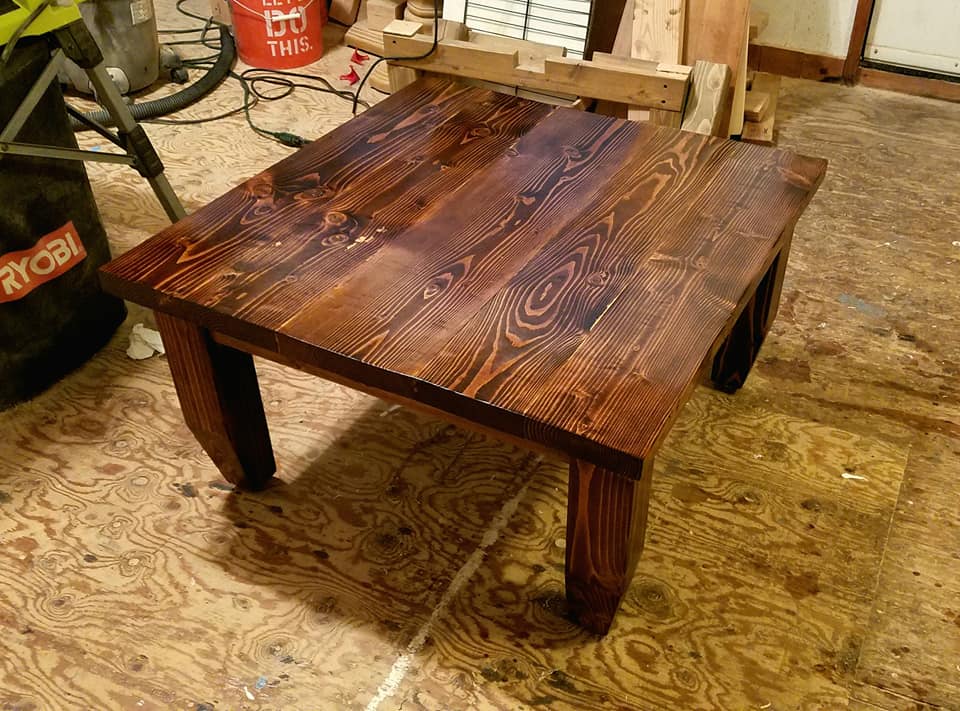
Chamfered the bottoms of some 4x4 douglas fir, and used 2x6 douglas fir for the top. Stained in Minwax Dark Walnut/Special Walnut.