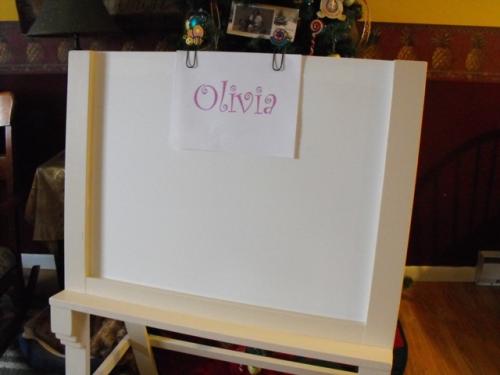
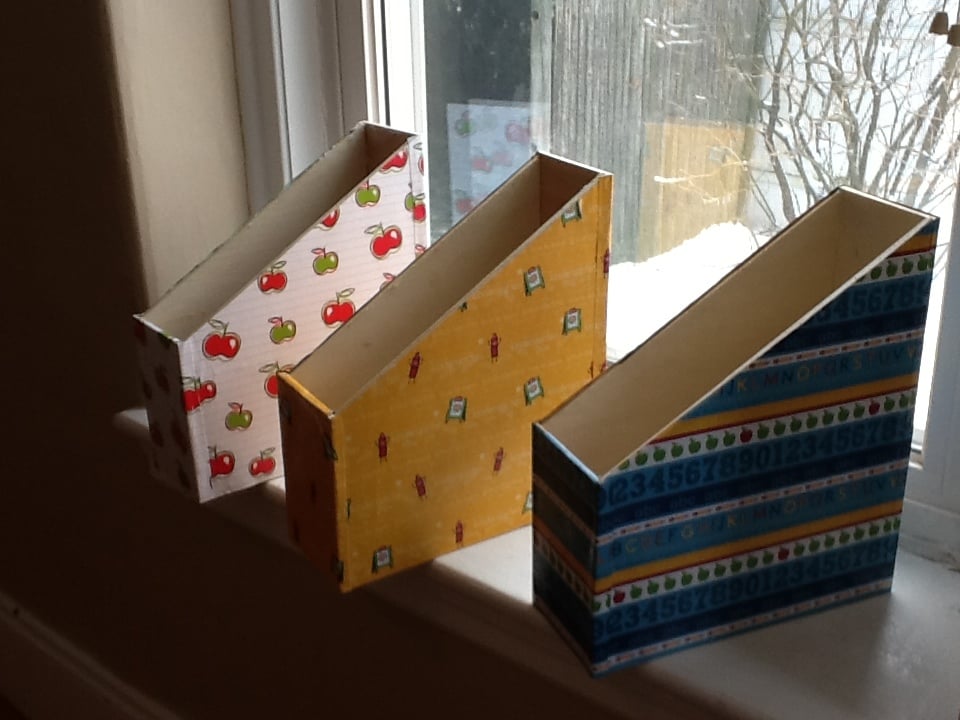
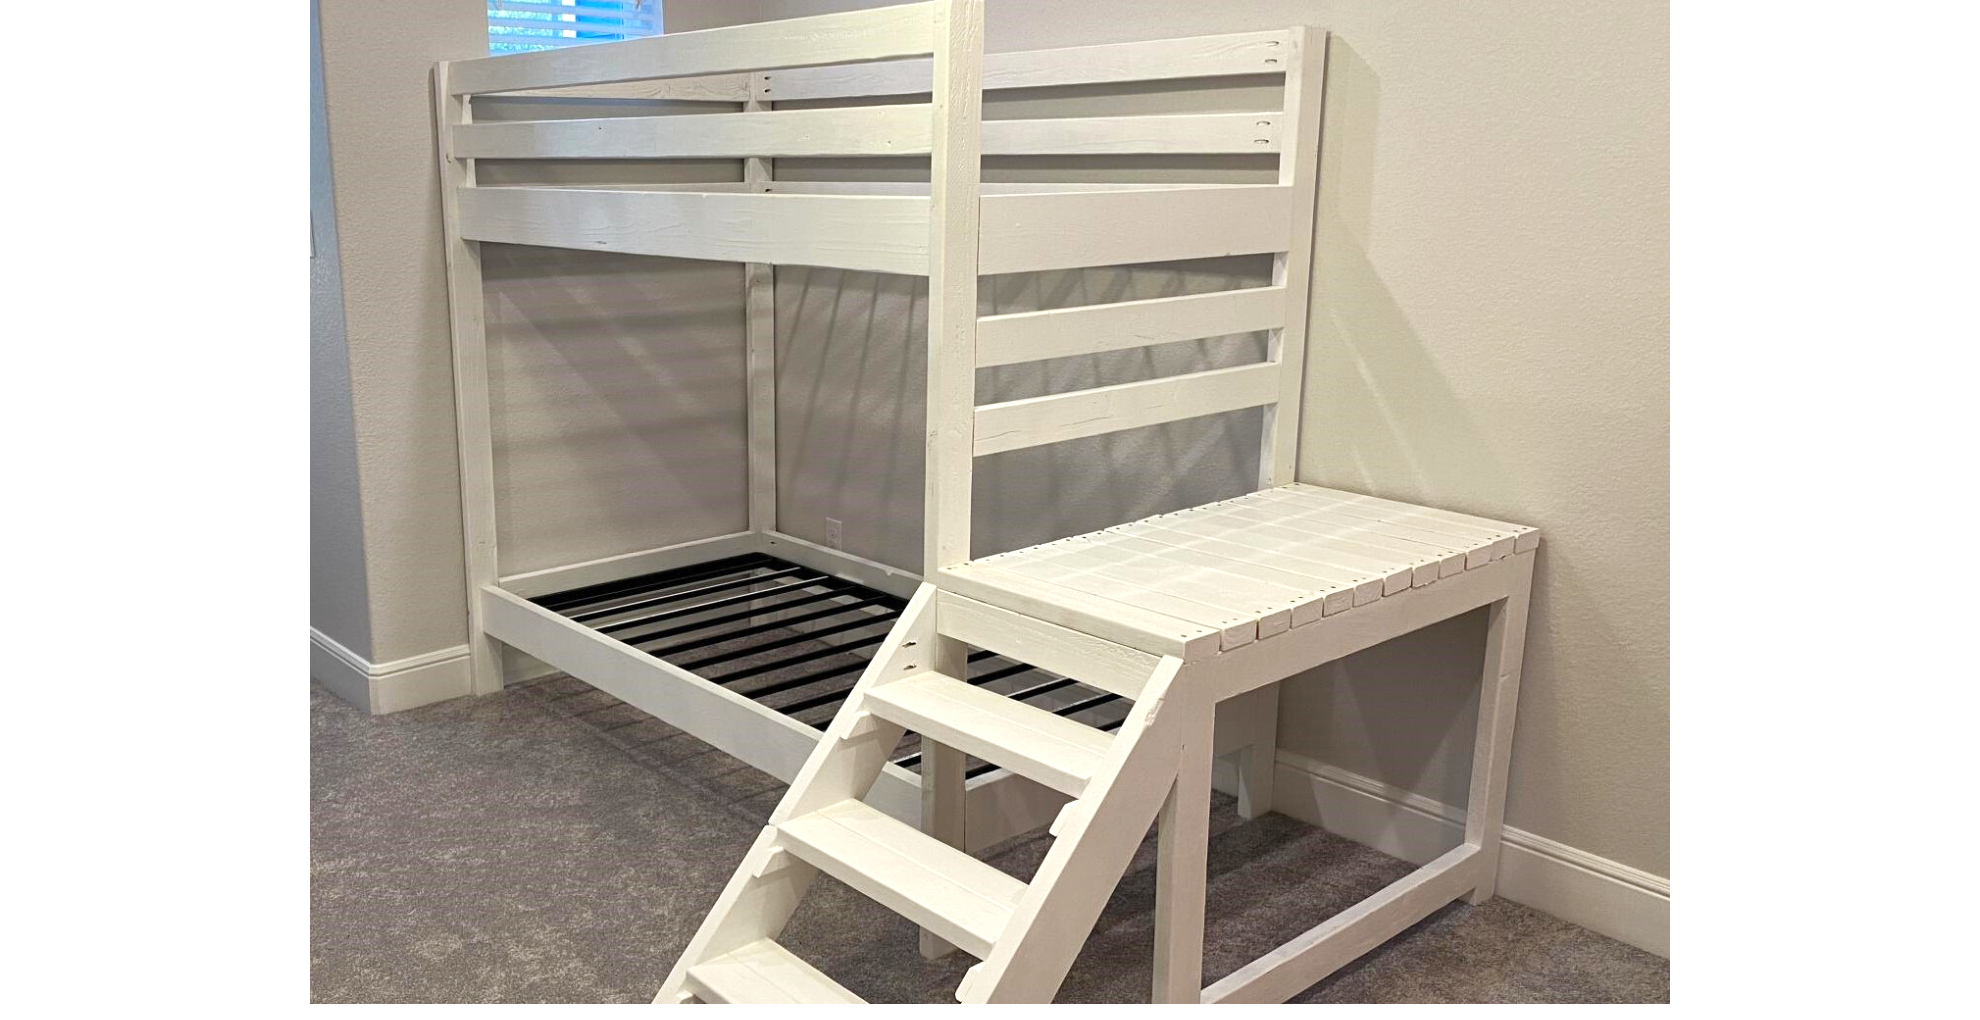
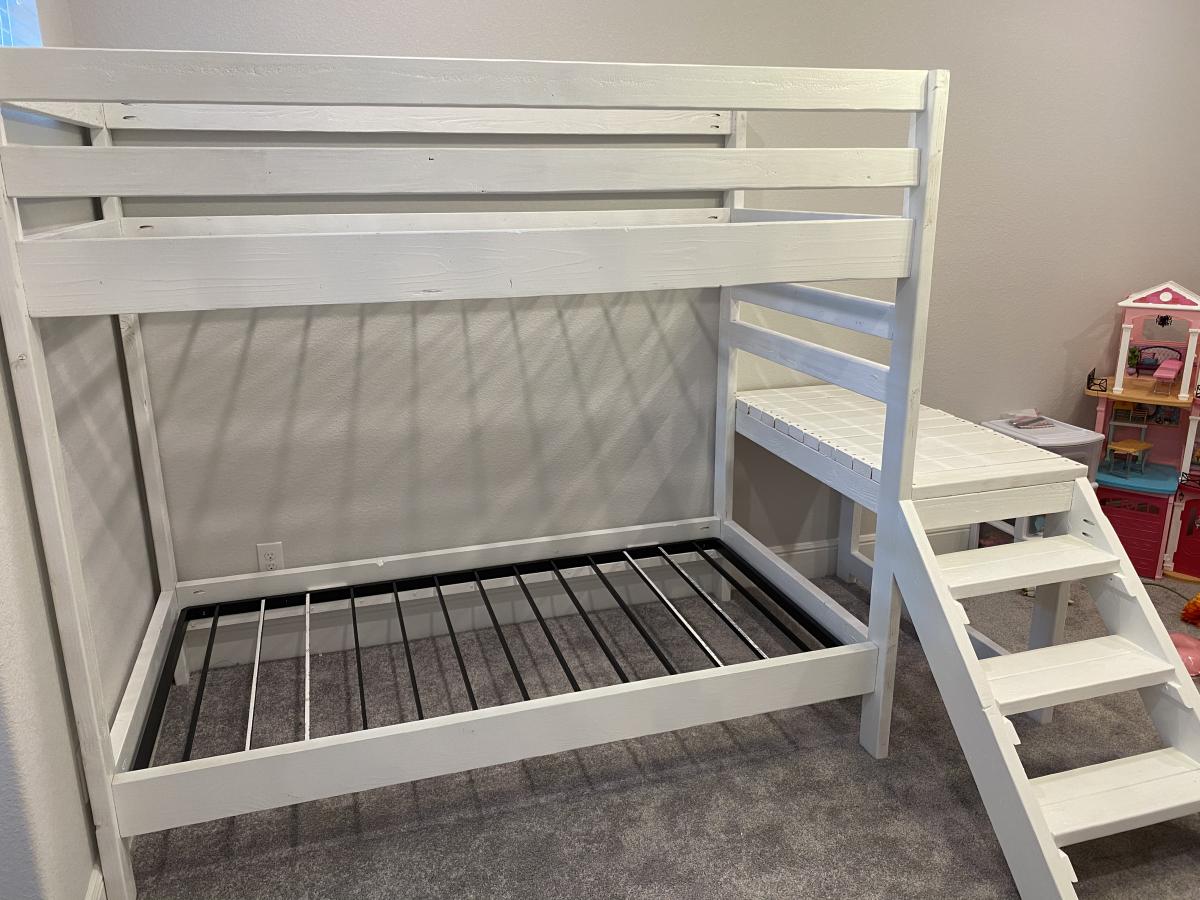
Community Brag Posts

Garage Storage

Submitted by jlrd13 on Sun, 11/16/2014 - 11:00

I improvised on this a bit.  I envisioned being able to put small items on the shelves at some point so I made it with solid shelves instead of all 2x4's.  Except the stuff I bought for the shelves was so flimsy I had to add the support pieces. Ahh, well.  I'm learning.  And with the three support pieces (2x4's cut to size) running widthwise, it turned out to be a solid shelf.  LOVE this site!!  Thank you again, Ana!  Next project is a bathroom vanity.


Estimated Time Investment
Afternoon Project (3-6 Hours)
Recommended Skill Level
Starter Project

Comments

Minnie Mouse Chair

Submitted by Anonymous (not verified) on Mon, 02/20/2017 - 07:44

Made based on a picture i was shown,and used the kids andarondac plans on this site

Estimated Cost
12 dollars
Estimated Time Investment
Day Project (6-9 Hours)
Finish Used
Paint, they painting was difficult for me as I am no artist.. I had a picture of a minnie mouse chair and did the trial and error method
Recommended Skill Level
Beginner

Comments

Modified Grandy Console with inset doors

I wanted to switch things up. I have made and sold many of the Grandy consoles with barn doors but my current new (to us) home was more modern traditional, definitely not very farm house. The Grandy plan makes a solid piece of furniture which is exactly what I need for it to survive amongst the giant teenagers that we are raising BUT I wanted to switch up the doors and add some traditional elements with a pop of modernish hardware. Make sure that your face frame openings are square. Add some non-mortise hinges, latch bolts and L brackets and this plan appears transformed!

Built from Plan(s)
Estimated Time Investment
Weekend Project (10-20 Hours)
Finish Used
Kilz primer, sw Dover white with a poly clear coat for added durability. Sand between all coats (time consuming but it adds a professional edge to your finishes).I use a critter sprayer from Amazon for the exterior and for poly. Foam rollers for the inside. Stain color for X doors was kona and lighter toned doors was a process (see Instagram post) but involved white wax.
Recommended Skill Level
Intermediate

Comments

Faux Vintage Metal Letters

Whenever I see vintage metal letters in antique stores my instinct is to buy them all…that is until I look at the price! I was determined to figure out a way to make them myself for a fraction of the price. Here is what I can up with. I am excited to try other colors and fonts.

For the full process check out the post on my blog.

http://re-storedesign.com/2013/01/14/faux-vintage-metal-letters/#

Estimated Cost
Less than a $1 a letter
Estimated Time Investment
An Hour or Two (0-2 Hours)
Finish Used
Rustoleum Hammered - Silver, Martha Stewart Coffee Black Metallic Glaze
Recommended Skill Level
Starter Project

Husky Farmhouse Table

Submitted by renata on Tue, 11/18/2014 - 12:01

This was such a great project and not too complicated for my first large one.  I loved using the milk paint to create the old world distressed charm.

Built from Plan(s)
Estimated Time Investment
Afternoon Project (3-6 Hours)
Recommended Skill Level
Beginner

Comments

Grandy Sliding Door Console

Submitted by Anonymous (not verified) on Thu, 02/23/2017 - 07:27

I built this 7 months pregnant and couldn't be happier with it. The plans were excellent and easy to follow. I was intimidated by the hard ware at first but that was also very simple. Overall very happy with this project build.  

Built from Plan(s)
Estimated Cost
150
Estimated Time Investment
Week Long Project (20 Hours or More)
Finish Used
Stained top Special Walnut
Recommended Skill Level
Beginner

Rustic X End Table

Submitted by bssutton27 on Thu, 01/24/2013 - 13:42

Rustic X End Table with a dark stain.

Built from Plan(s)
Estimated Cost
25.00
Estimated Time Investment
Afternoon Project (3-6 Hours)
Recommended Skill Level
Beginner

Comments

jamesstuckey13

Wed, 05/01/2013 - 03:07

This is a very useful website and I have found good information here and I really appreciate the efforts of the writer of this essay for sharing nice ideas. Thanks!

Birthday Bed Surprise!

heartyesMy FIRST carpentry project! Good thing my husband was willing to help as it was a little heavy and I was googling terms like "counter-sink."  It would have been so much easier if we hadn't made it a birthday surprise for my daughter. She LOVES it! 

I purchased choice 2x4s and was so sad to see how much sanding the planks still required, even with an electric rotary sander. That added a few hours-perhaps because I am such a beginner! 

We used a white nylon rope which matched her room better, but again, increased the cost a bit.

I am really proud of the results! 


Built from Plan(s)
Estimated Cost
$130
Estimated Time Investment
Weekend Project (10-20 Hours)
Finish Used
Ben Moore Cherry Tomato paint
Recommended Skill Level
Starter Project

Comments

JoanneS

Thu, 11/20/2014 - 17:44

You should be VERY proud of the great job you did on your first building project, it looks awesome!  Love the color, and that smiling face says it all!  Well done!!

Handmade by MARS

Submitted by Anonymous (not verified) on Sat, 02/25/2017 - 11:13

Followed the plan until we decided on a bottom shelf.  Where there's a will there's a way. Made it a little bit harder but well worth it 

Built from Plan(s)
Estimated Cost
Under $100.00
Finish Used
Oil based stain fir top and water based stain fir button for deeper color. Used a wipe on poly on everything and waxed and buffed the top
Recommended Skill Level
Intermediate

4x4 Truss Table

Submitted by Eddie A on Fri, 12/11/2020 - 16:15

This was my first table build and I’m happy with the way it turned out! I adjusted the plans to account for wood movement of the table top using mortise and tenon joinery and draw board pins on the bread board ends. Also edge glued the table top boards and used z-clips to attach the table top.

Finish Used
General Finishes Nutmeg Gel Stain and Arm R Seal

Folding Plant Stand

Submitted by abronson on Sat, 01/26/2013 - 13:25

Easy to build and inexpensive about $20.00. I decided to build the stand and then disassemble all bolted items before painting. It made getting an even coat on all the individual boards a lot easier. In the directions please note that you need 24 washers for the connections. I found that re-tightening all the bolts prevented the shelves from moving even when a heavy pot is placed on top. Love that it can be folded up and tucked in the garage. Thanks Ana for the great plan.

Built from Plan(s)
Estimated Time Investment
Day Project (6-9 Hours)
Finish Used
Valspar Satin Leafy Rise
Recommended Skill Level
Starter Project
Seasonal And Holiday

Washer Dryer pedestal

Submitted by glap on Mon, 11/24/2014 - 05:59

Thank you so much to Sausha and this site for the instructions, shopping list and measurements! I finally have my pedestal! No more back aches! I modified the height to 15" by making the posts to 6" and added center posts using 2x4.


Estimated Cost
$175
Estimated Time Investment
Day Project (6-9 Hours)
Finish Used
Behr paint (1 coat) and white paint for the design
Recommended Skill Level
Intermediate

Rustic X Kids table

Submitted by Anonymous (not verified) on Mon, 02/27/2017 - 14:59

This is a twist on the Rustic X console.  I made it wider, shorter and only did one shelf which is indented so the benches can both slide under for easy storage. 

Estimated Time Investment
Weekend Project (10-20 Hours)
Finish Used
The stain is a combination of Dark Walnut and Weathered Grey.
Recommended Skill Level
Intermediate

Farmhouse table

I modified the length of the table to 60.5 inches. I really like the weathered oak stain with satin.

My next project will be farmhouse chairs

Estimated Cost
$125
Estimated Time Investment
Weekend Project (10-20 Hours)
Recommended Skill Level
Beginner

Farmhouse Kitch Table

Submitted by CParke on Mon, 01/28/2013 - 06:31

My wife has been looking for a new kitchen table for the house. Me being thrifty and not wanting to drop a grand plus on a kitchen table at PB, I decieded I would make one.

I modified a few of the plans I found on this site to make it work for us and our space.

After about a weekends worth of work and $140 in stain and wood, I got a table that's 100 times better than what PB has for sale.

I even got a little crafty and figured out an Ikea hack for the light.

I used builder grade top choice 2x8s, 2x10s, and 2x12s for the table and bench, a blow torch to distress the wood a bit, and three coates of misson oak stain.

If anyone wants my plans, I have them done up in CAD as well.

C

Estimated Time Investment
Weekend Project (10-20 Hours)
Finish Used
I blow torched all the edges and knots. Oncce assembled, I used 120 grit paper over everything, and then applied three coats of misson oak stain with a good steel whool rubbing between coates. Finished off with some Murfy's oil soap
Recommended Skill Level
Intermediate

Comments

Hillary's Locker Cabinet With Charging Cubbies First Project Thanks

Submitted by pondrider on Wed, 11/26/2014 - 11:06

This is my Thank You Project.  I made this as was presented with the plans from my daughter and asked to make it.  Thanks to Ana White for posting great plans to follow.   This unit has been through five moves with teenagers doing the lifting.  There are no issues except I did repaint it.  http://ana-white.com/2011/12/plans/hillary039s-locker-cabinet-charging-cubbies This is my first project so I followed the plans exactly. 

Estimated Cost
A little over a $100 with some beginner mistakes and redos.
Estimated Time Investment
Weekend Project (10-20 Hours)
Finish Used
Sand and Paint as requested.
Recommended Skill Level
Starter Project

Comments

Guitar Stand

Submitted by Eddie K on Thu, 03/02/2017 - 13:49

Built this guitar stand basically by using on-hand materials left over from another project.  Used 1x12's; 18" tall fir for sides and back braces (cut at 5 degrees on each side).  Added felt strips to protect the instrument.

Estimated Cost
Probably around $20-25. Need about 4' of 1x12 fir and Minwax Polyshades in Classic Oak. All materials were on hand except the roll felt, so hard to pinpoint.
Estimated Time Investment
Afternoon Project (3-6 Hours)
Finish Used
Minwax Polyshades in Classic Oak.
Recommended Skill Level
Beginner

Comments

Rustic X console table

Submitted by Anonymous (not verified) on Sun, 12/20/2020 - 18:24

Absolutely love how this table turned out! So much fun building it with my daughter and teaching her how much fun it is to hold things!

Built from Plan(s)
Estimated Cost
100.00
Estimated Time Investment
Weekend Project (10-20 Hours)
Finish Used
Minwax special walnut and polycrylic
Recommended Skill Level
Intermediate

Bathroom Barn Beam Shelves

I used cedar left over from a bar my husband made in our kitchen. I didn't have to purchase any materials as I used his left over pieces.

I didn't like my ledges with the back board, and I wasn't too keen on making the key holes. Instead of 24 inches I made my shleves 1 ft. long. I also laid the spacers so that the distance between the top and bottom of the ledge was less than the plan called for. This allowed me to attach a wooden strip (7.5 x 1.5 cut from the cedar 1x4 that I ripped on the table saw) to the wall that the barn beam shelf slips onto and anchors the ledges instead of using the key hole hanger.

Built from Plan(s)
Estimated Cost
Free
Estimated Time Investment
An Hour or Two (0-2 Hours)
Finish Used
None at this time
Recommended Skill Level
Starter Project

Farmhouse coffee table

Submitted by hgmcghee on Sun, 11/30/2014 - 05:31

This coffee table was my first build. Its a blend of mulitple coffee table designs by Ana White.

Built from Plan(s)
Estimated Cost
$200
Estimated Time Investment
Week Long Project (20 Hours or More)
Finish Used
Minwax Red Oak stain and sealed with a satin polyurethane.
Recommended Skill Level
Intermediate

Comments