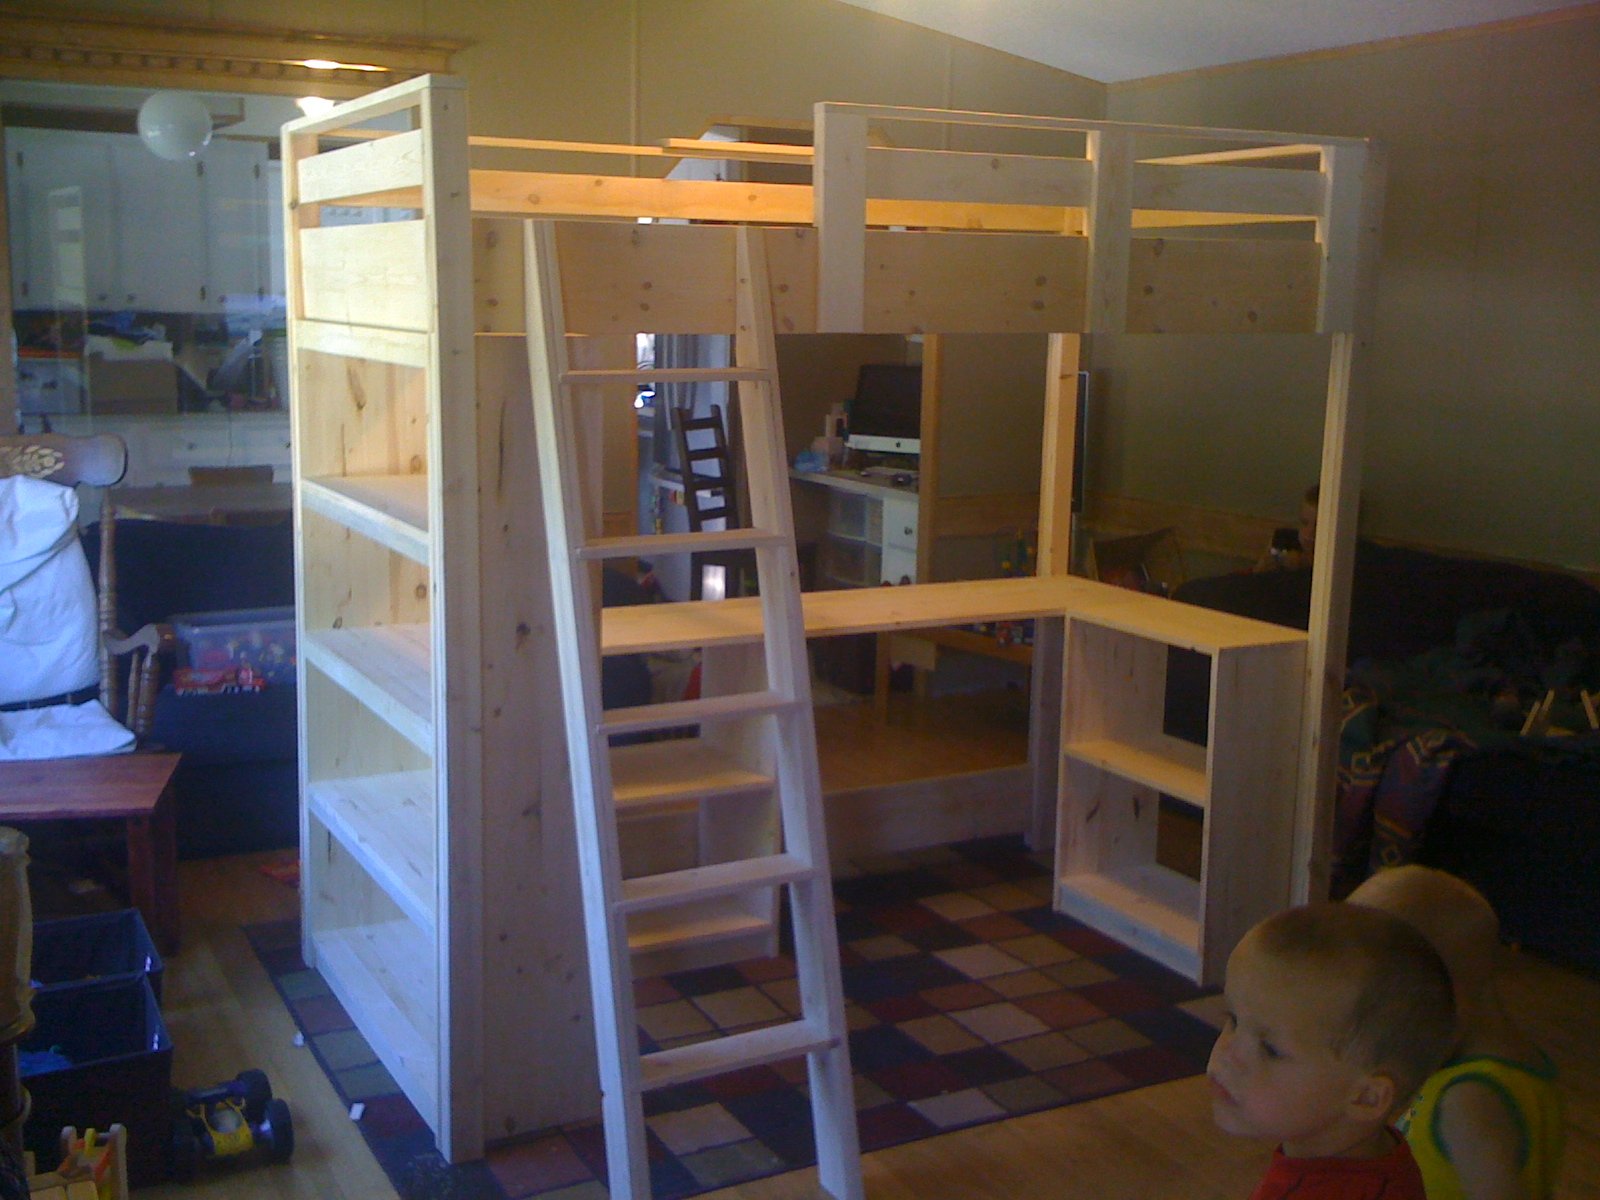
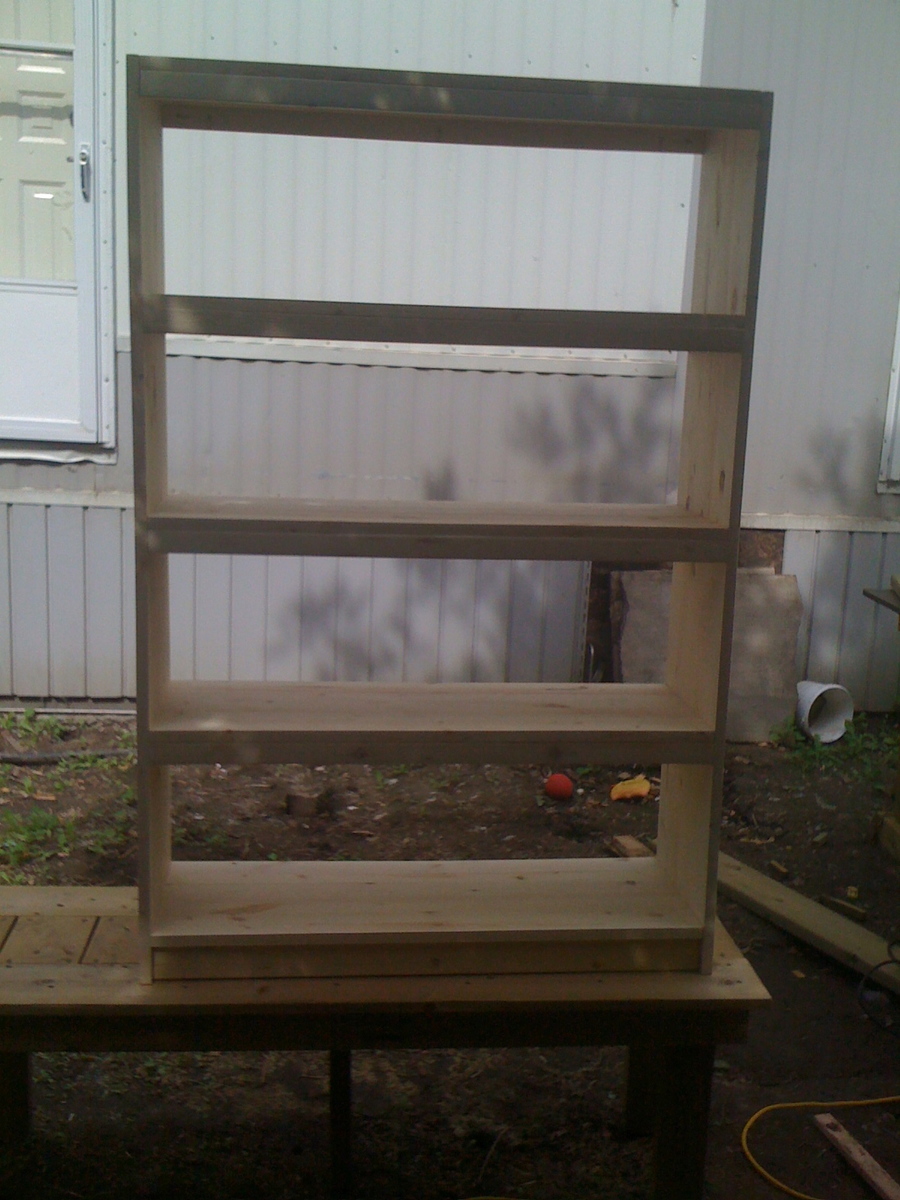
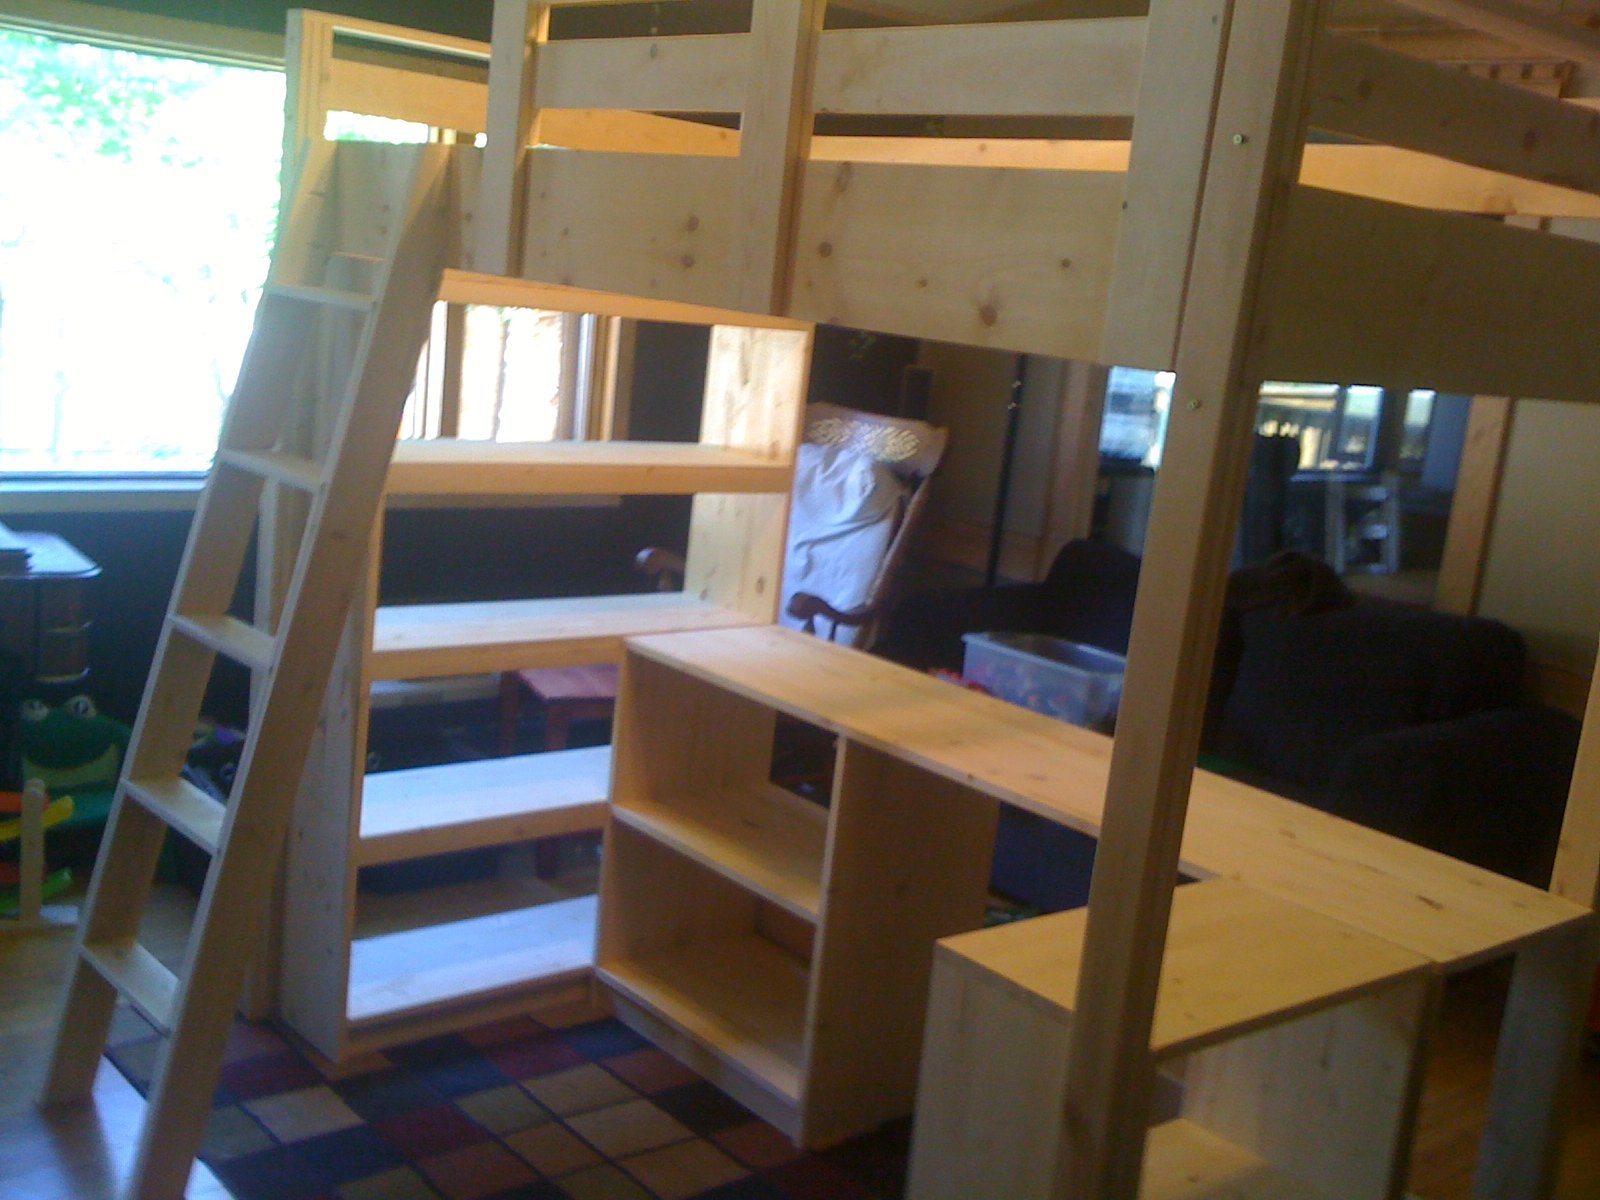
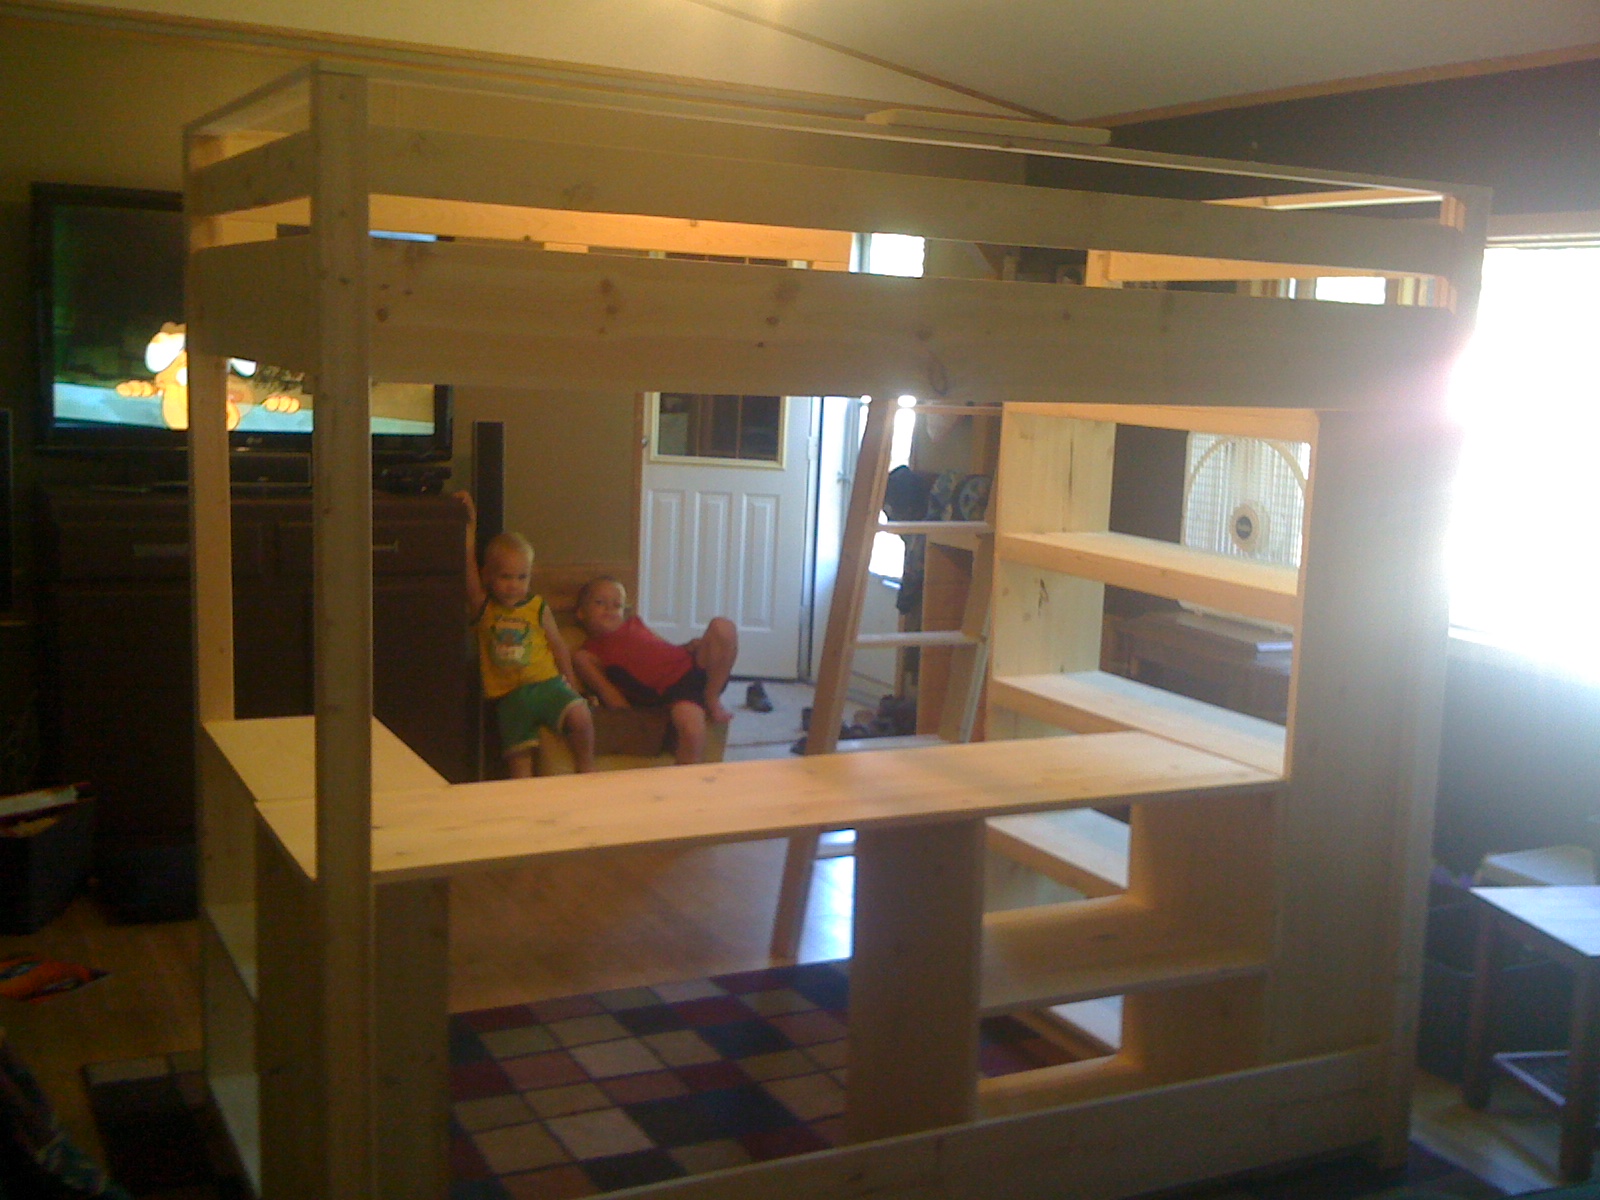
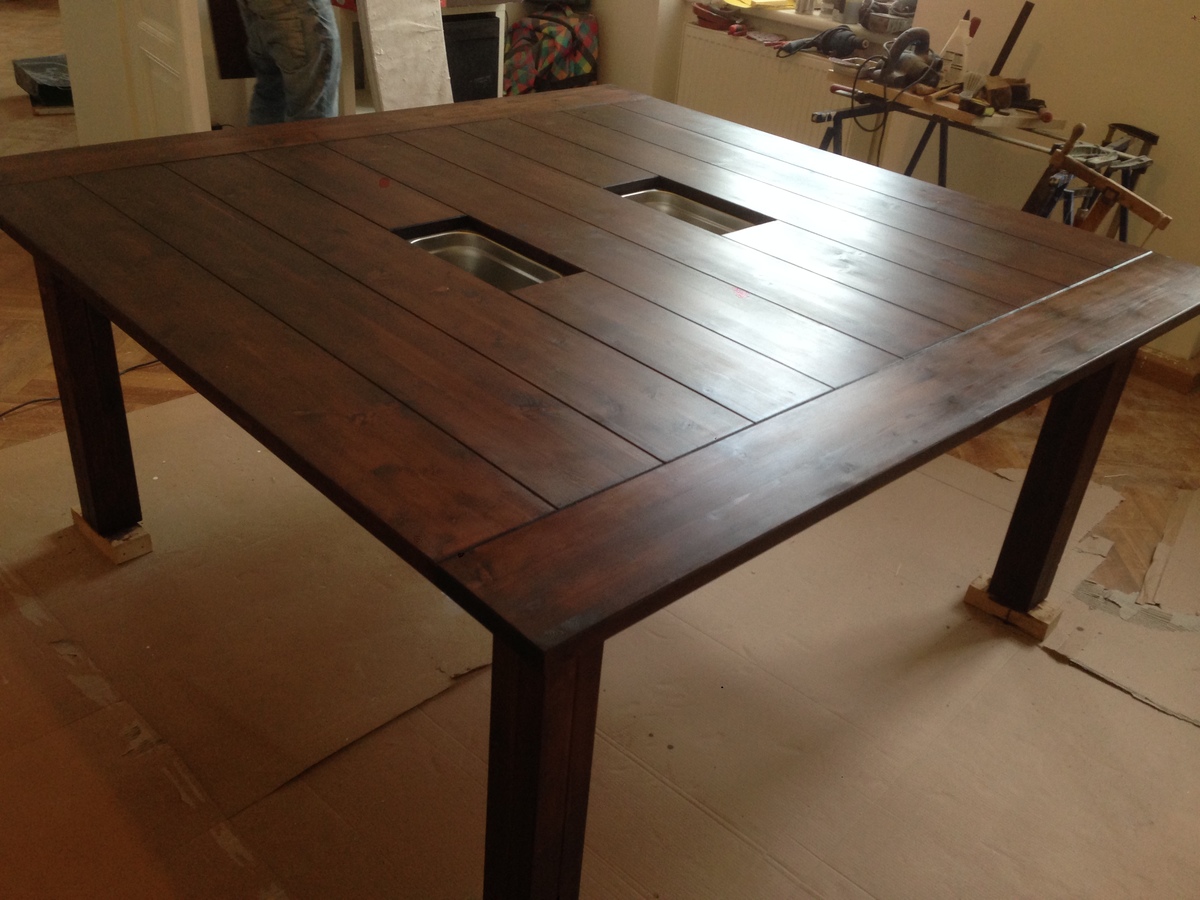
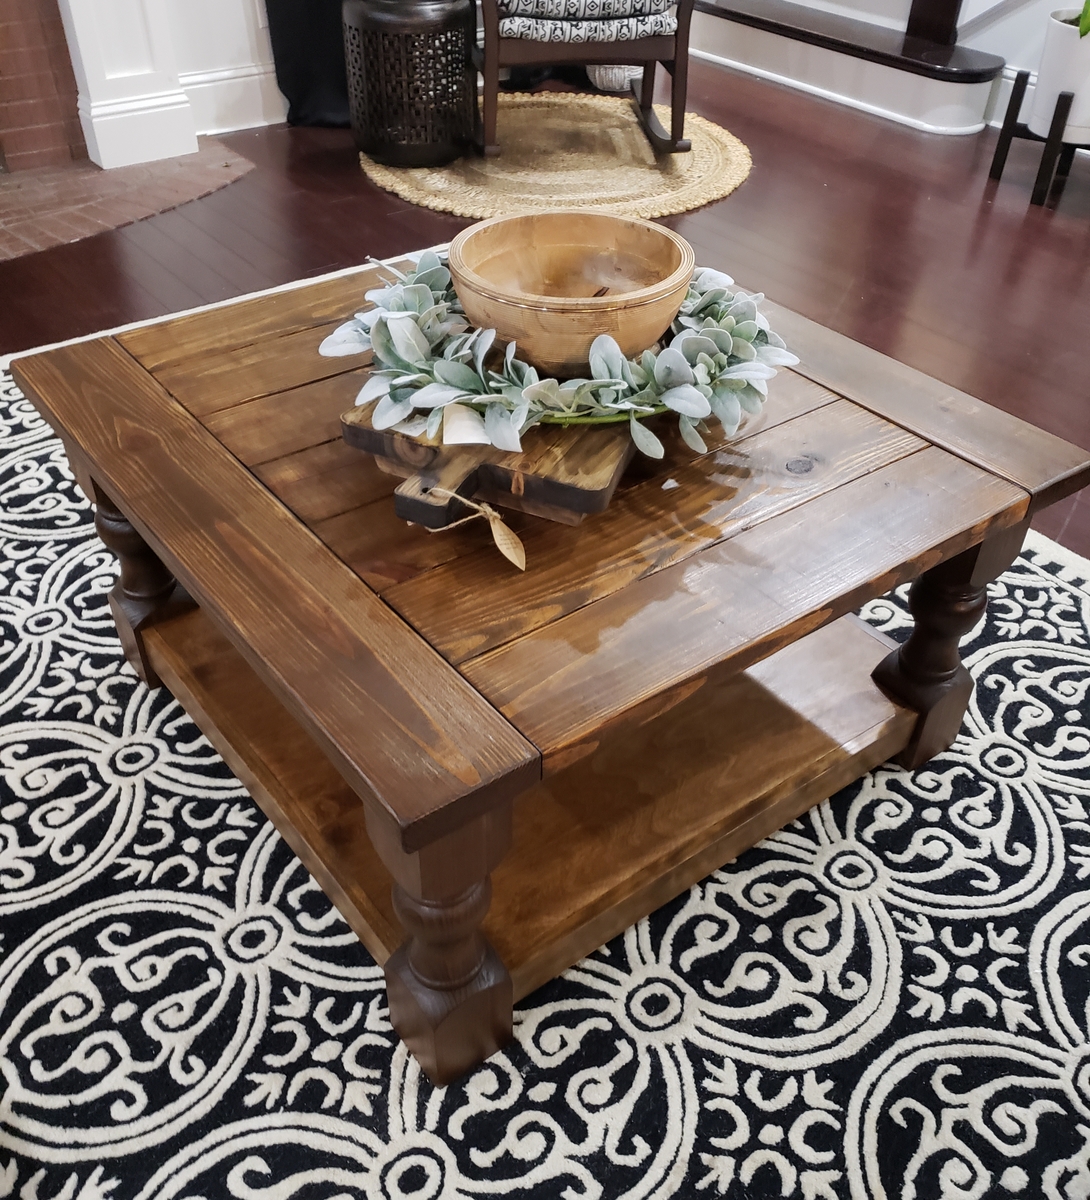
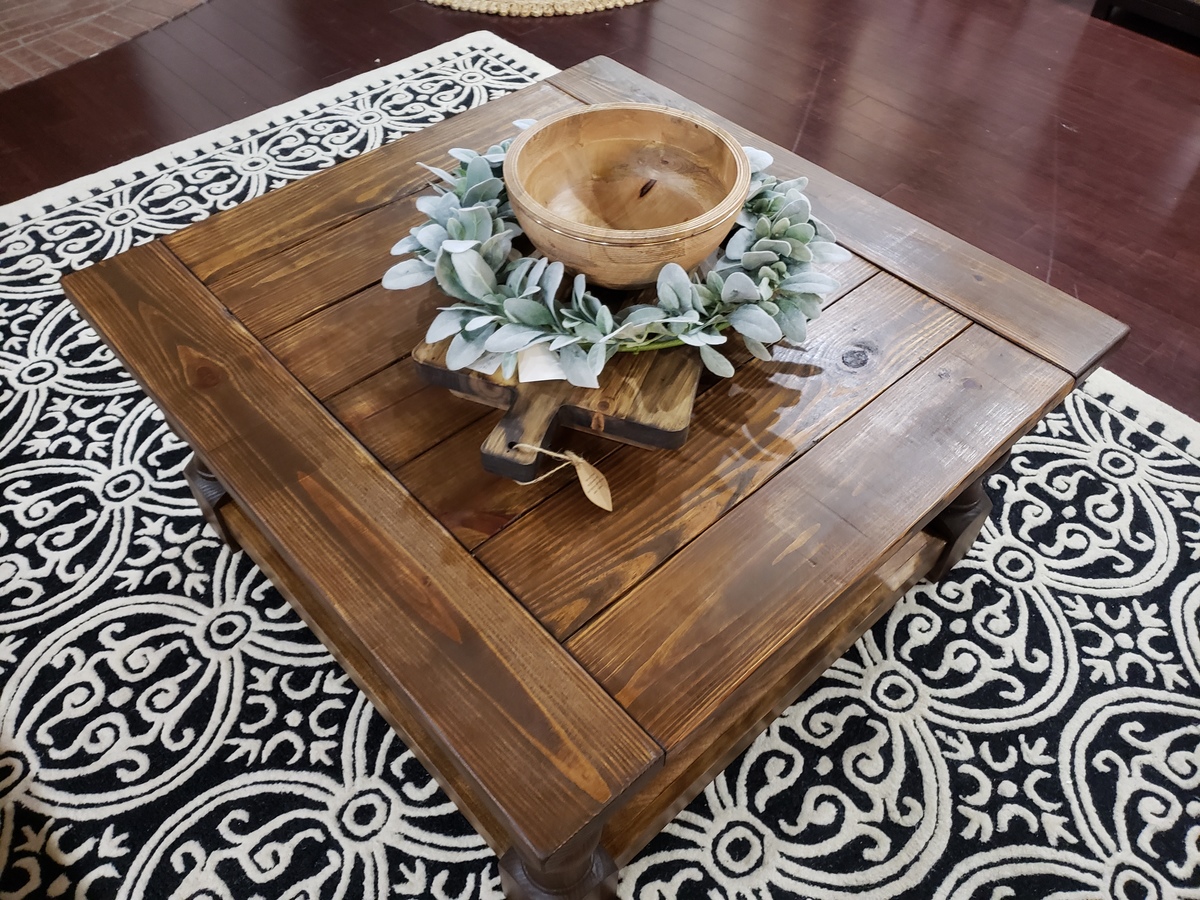
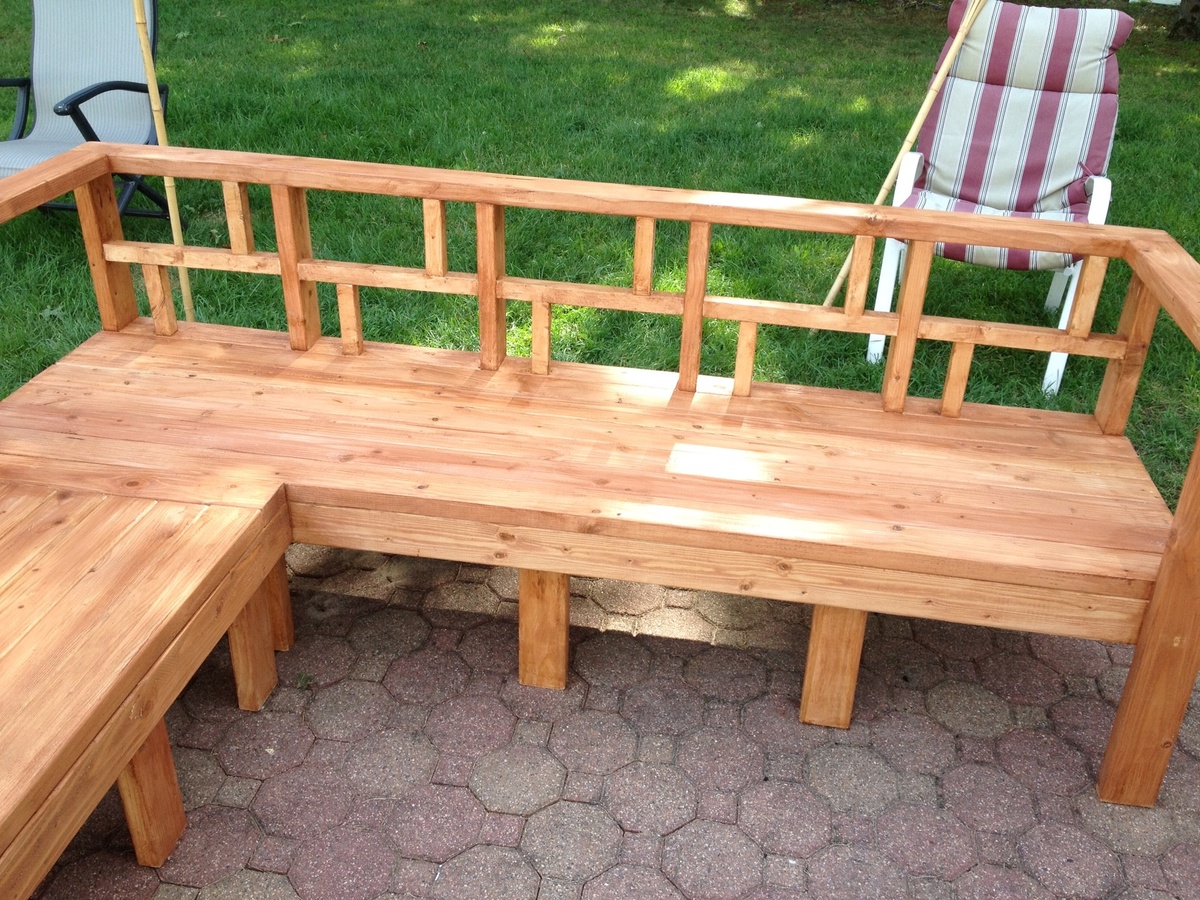
Saw Horse table for sewing!
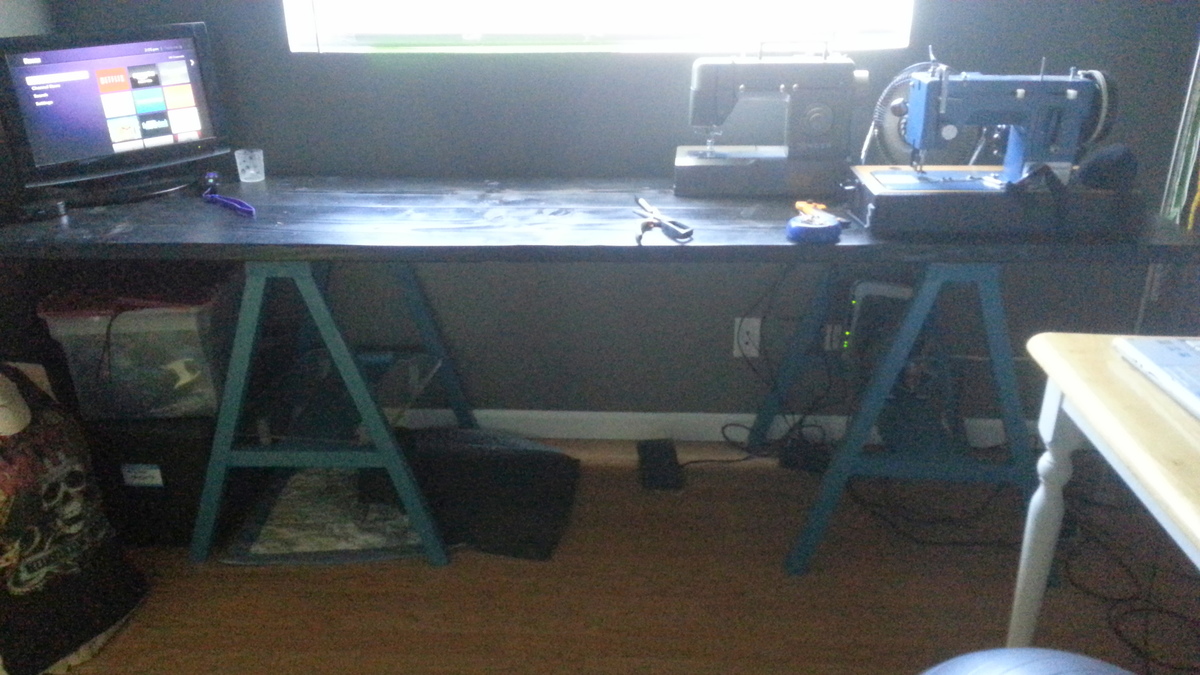
My first Ana white project!
It was easy and I really tried to take my time to make it look nice. Great new BIG table for my sewing room! LOVE IT!!
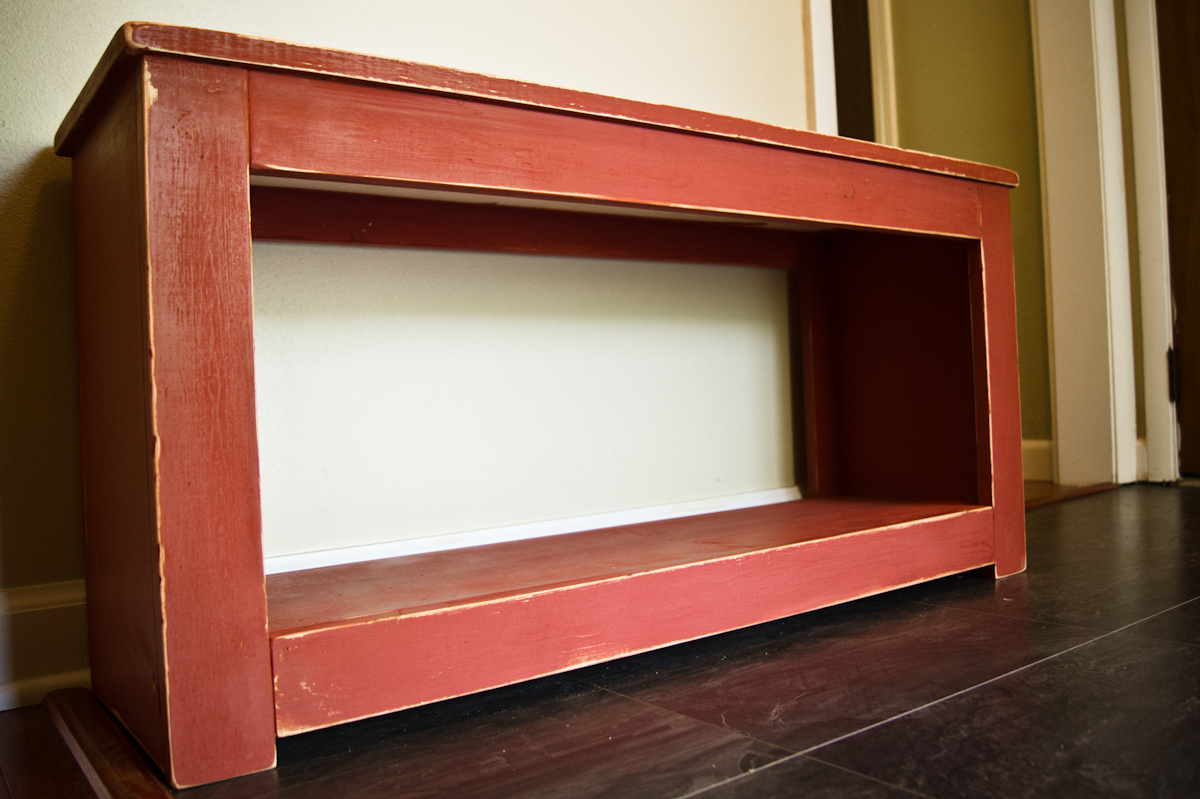
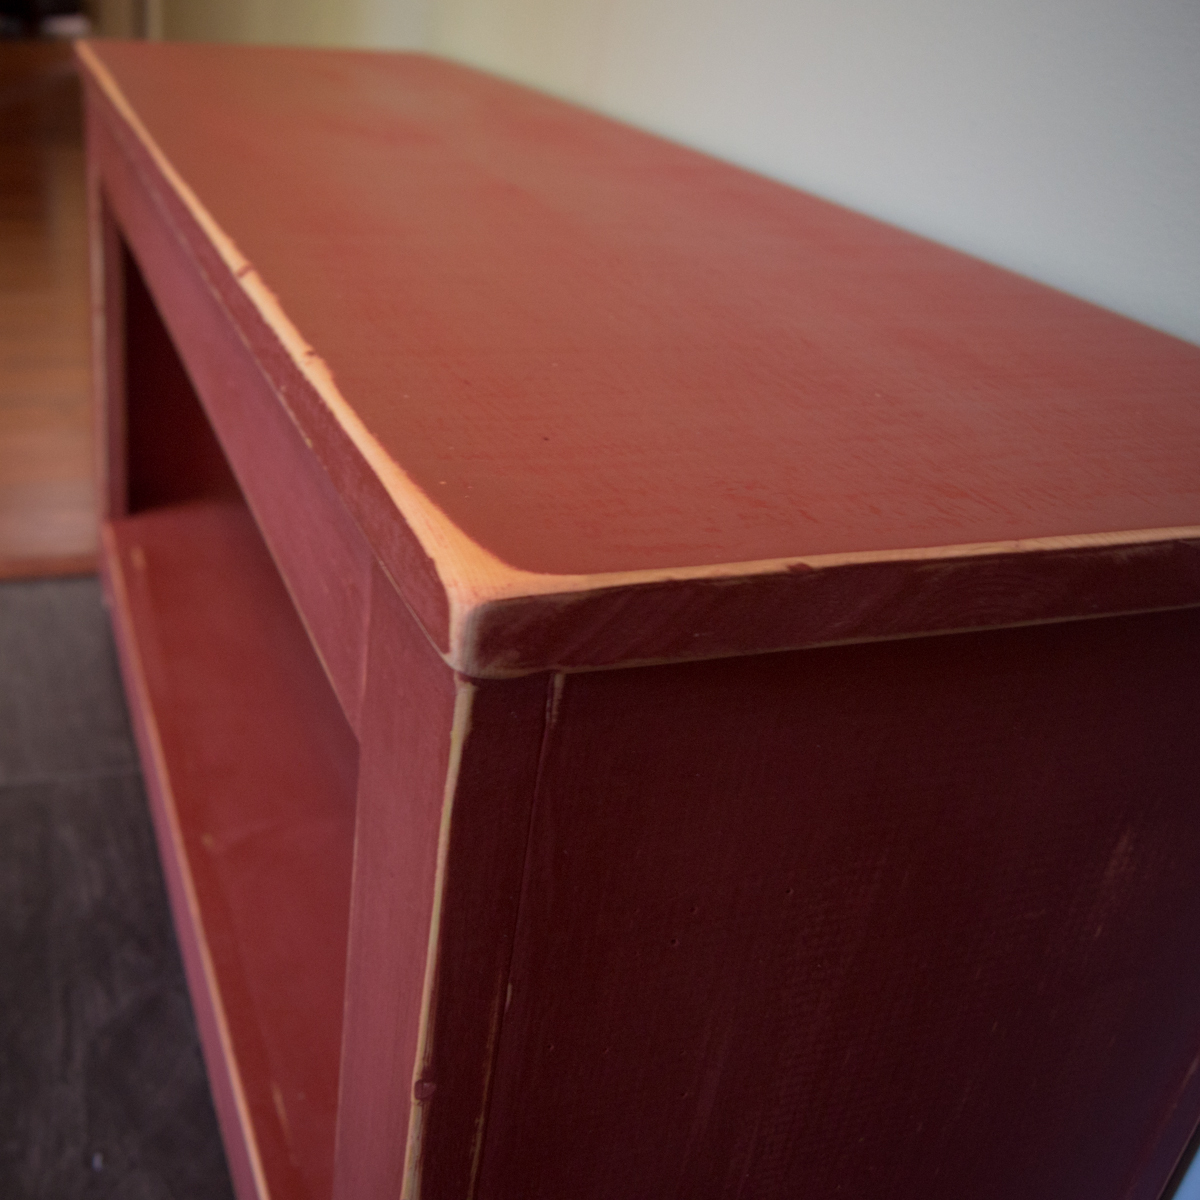
Stained the top 2x12's black and the legs are oops paint that are a teal color.
Built from Plan(s)
Estimated Time Investment
Afternoon Project (3-6 Hours)
Finish Used
I used a wood conditioner then black stain
Recommended Skill Level
Starter Project


