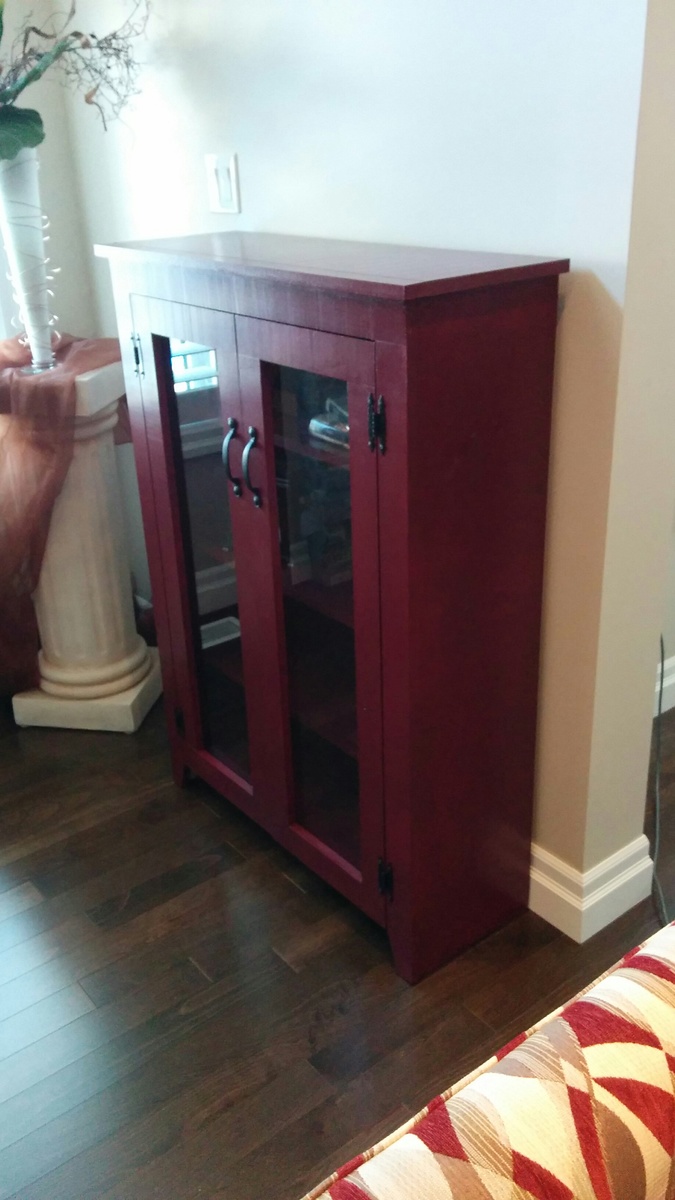
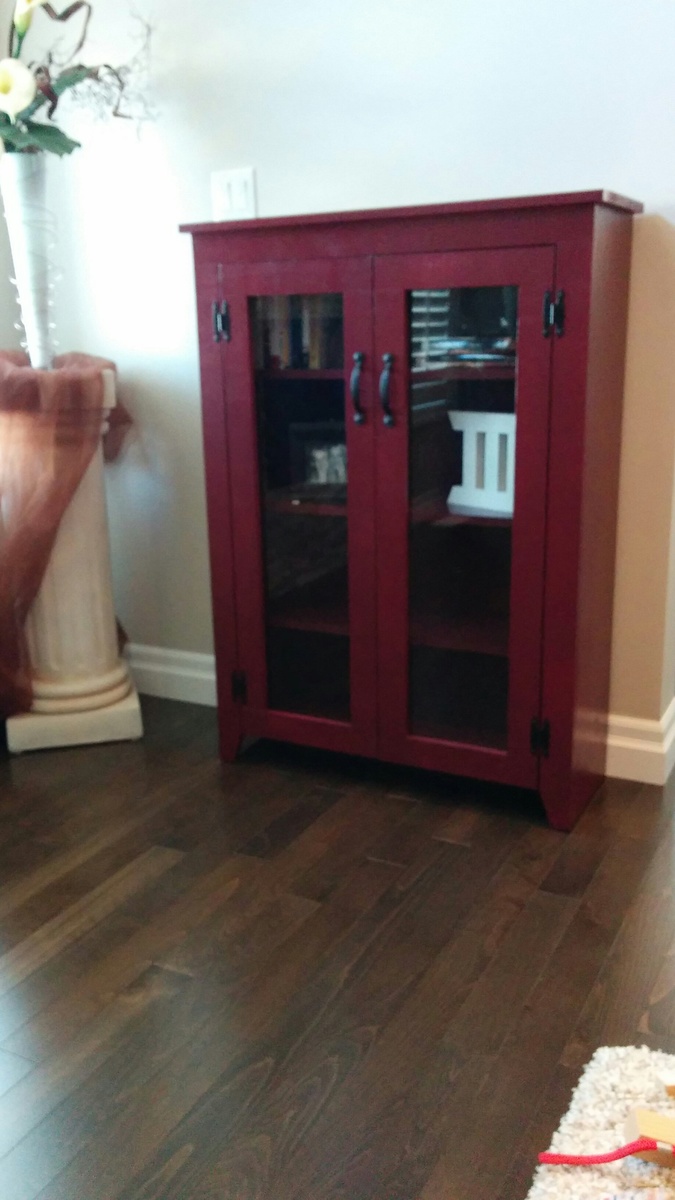
Bathroom Vanity
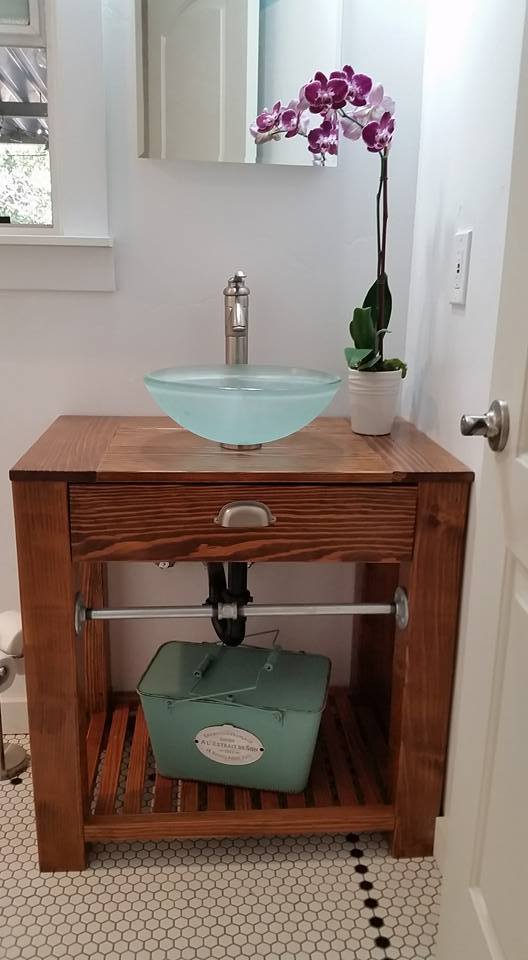
I have only one small bathroom in my house built in 1946. I couldn't find a vanity on the market that was big enough or small enough to fit, so I built my own based on a design from the Decor and the Dog blog page.
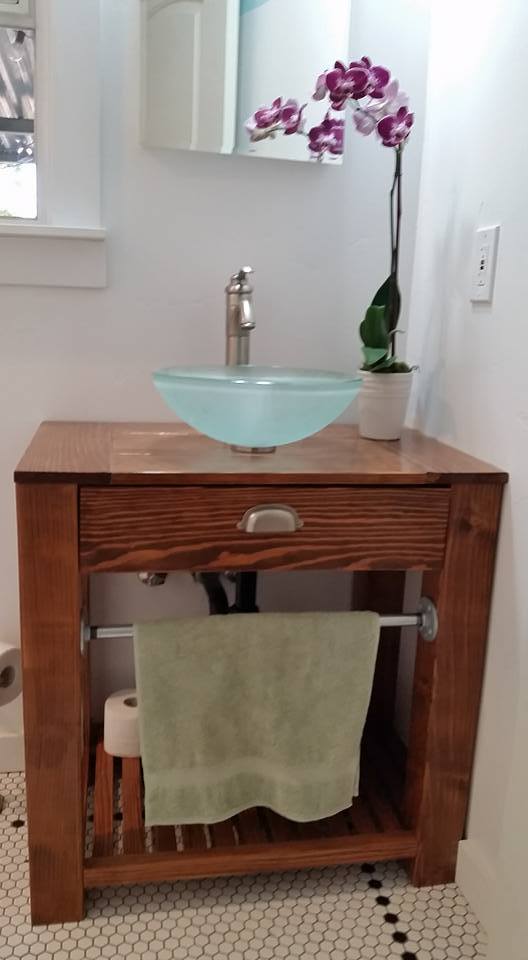
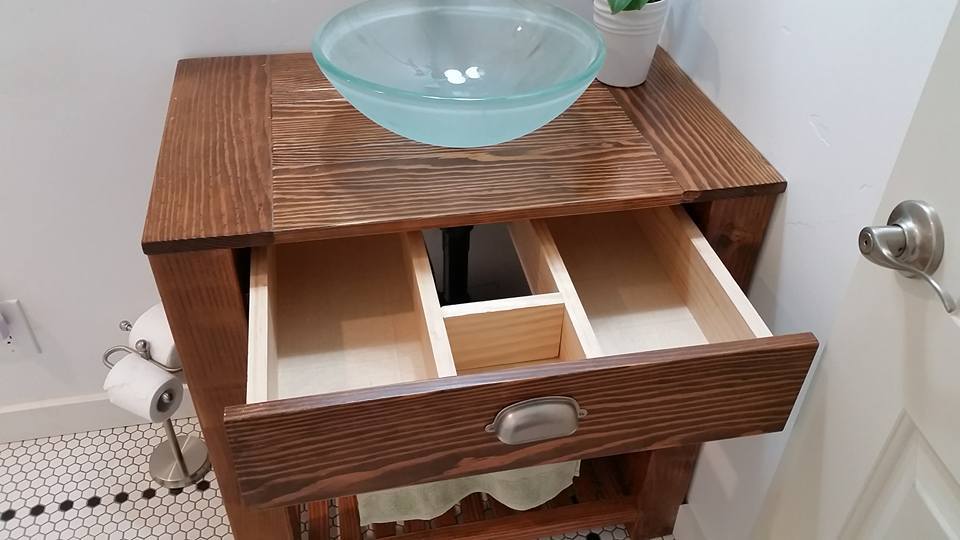

I have only one small bathroom in my house built in 1946. I couldn't find a vanity on the market that was big enough or small enough to fit, so I built my own based on a design from the Decor and the Dog blog page.


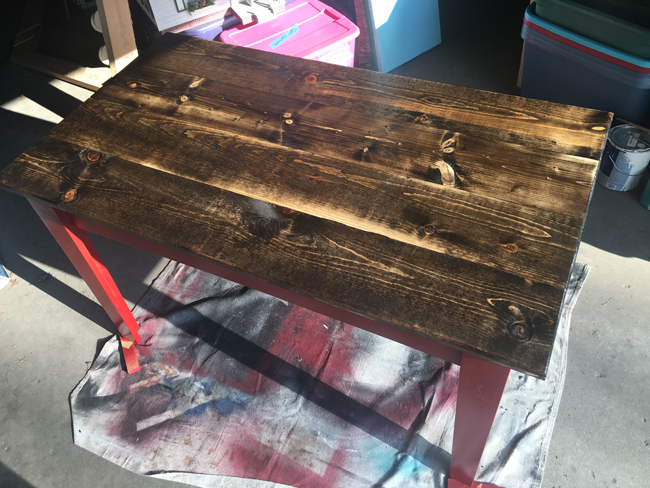
This is my take on the Narrow Farm House Table. Only Fifty-two inches by thirty-two Finished with a flat red base and Jacobean stained top with an over coat of oil based polyurethane. If I were to do this project again I would consider cutting in an arc on the long side stretcher. I did taper the legs in both directions so it dosen’t appear to be too chunky. Corner braces were installed and I didn’t add a stretcher since the overall length was shortened.
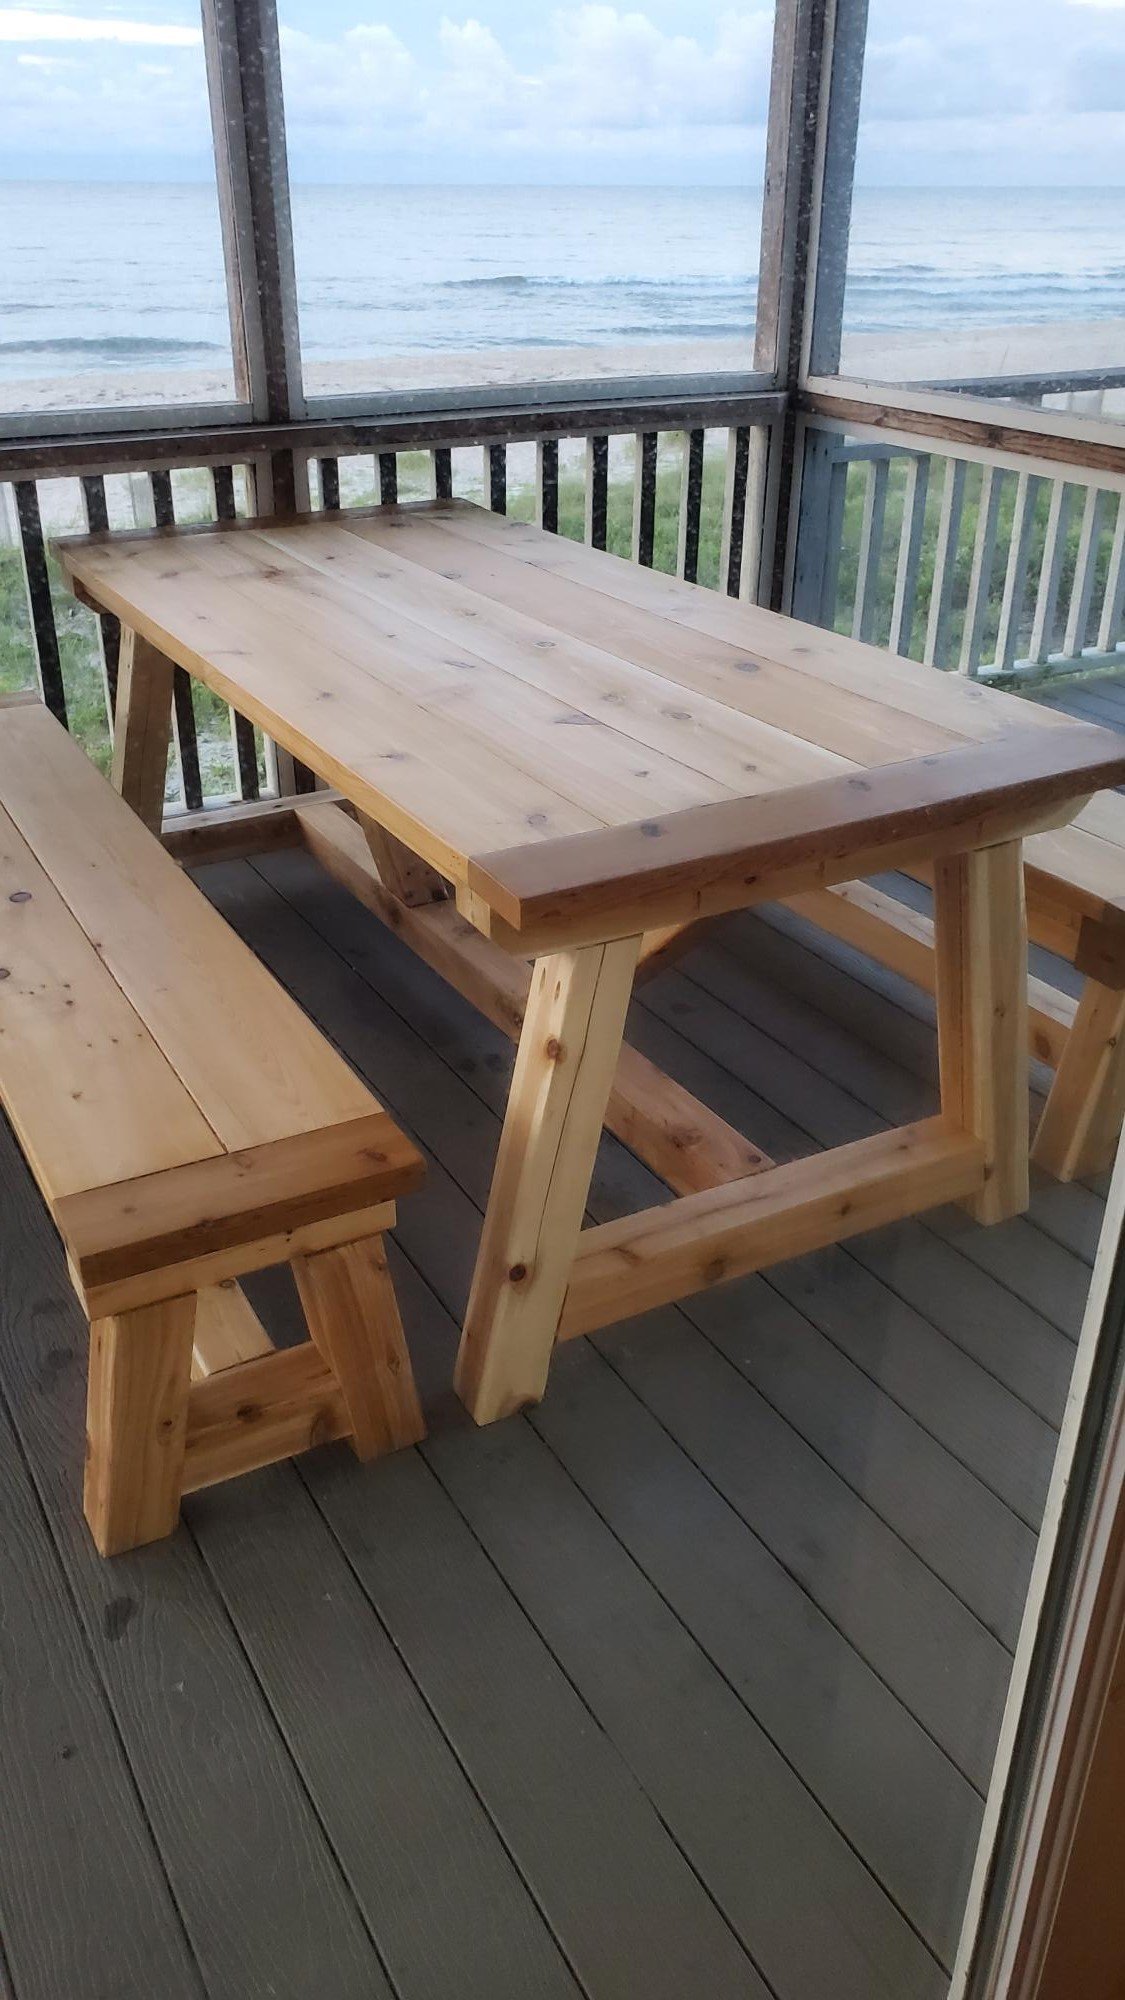
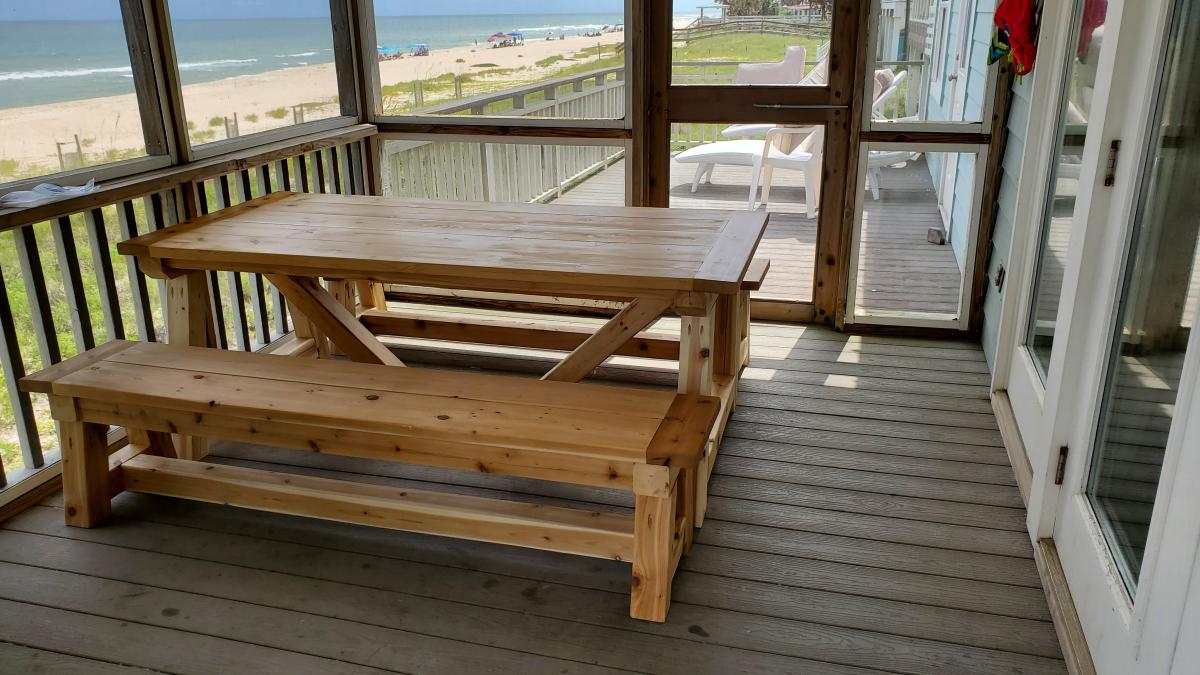
I used the trestle table and benches plans to make a cedar picnic table...
by Joe
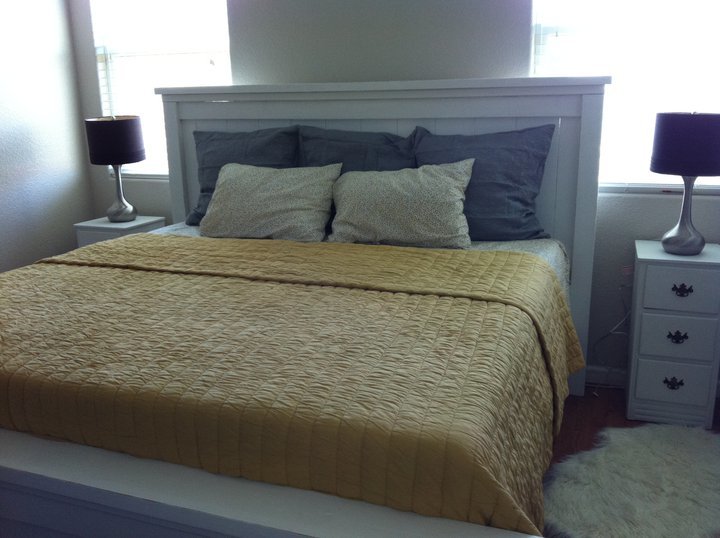
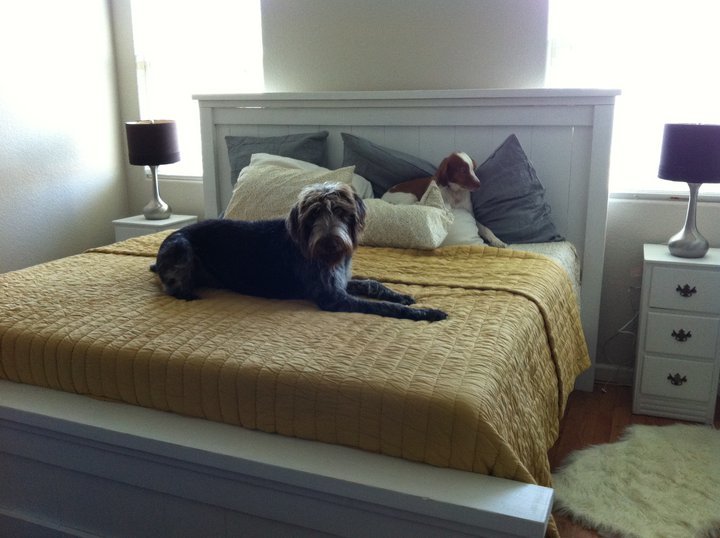
I fell in love with the Farmhouse bed after seeing Ana's bed on this site and just knew I had to make it. I'll preface this by noting that neither my husband or myself are builders or even owned any tools with the exception of an 18 volt drill. After building this bed, we went out and bought everything we need to build more pieces from Ana's collection of plans :) This project was very fun, forgiving, and the finished bed is absolutely beautiful.
I do have a few notes that would hopefully help people build this in the future. Hopefully you are reading this.
1) As Ana suggested, read ALL of the Farmhouse plans thoroughly, including the comments! Each of the plans are slightly different and might have a modification that would better suit you (I wish I had built the frame using the Fancy Farmhouse Bed. The way you assemble it makes it 7 inches narrower which would have been nice in our small room). There are also very valuable tips in the reader comments, so read those!
2) Read as many brag posts as you can. I saw that one lady used joist hangers for her support beams and side rail brackets so that the bed could be disassembled some day. That's what I did and I'm so, so glad that I did. You can find her post by googling "joist hanger + Ana White."
3) 4.5" screws are hard to find. I wont say impossible since some people did find them. If you use the new method for the posts of using 2x4s, you wont need the 4.5" screws. If you are using 4x4s, like I did, use lag bolts. I think the lag bolts will be more sturdy in the end anyway.
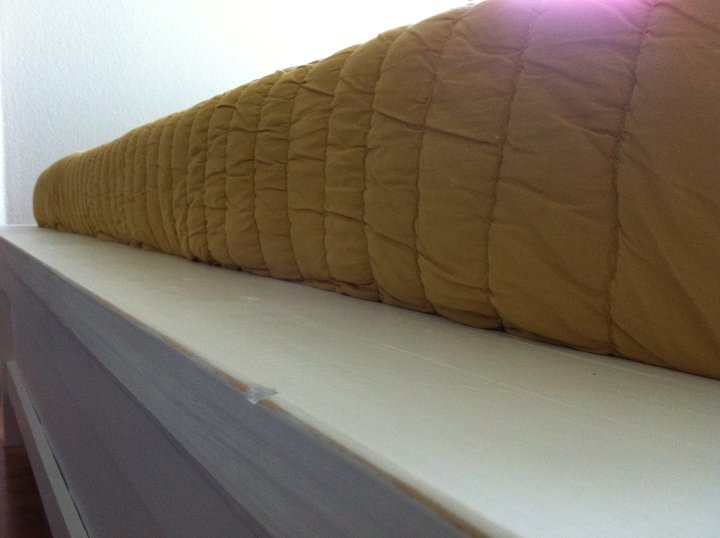
4) I should have made this item #1. In regards to the King size headboard plans, Ana has her mattress turned sideways and posted plans for a bed 80" wide. Since I did not thoroughly read Ana's notes, I missed that bit of important information and made my headboard 80" wide. Oops. Well, like I said earlier, this is a VERY forgiving plan. We just put the side rails on the inside of the 4x4 posts and added a .5 plywood scab to the inside of the side rails before we installed the joist hangers and that solved the problem. 80"-1.5"-1.5"-.5"-.5"= 76"! Since our bed is a platform bed, it worked out perfectly... just a little wider than it needed to be, but no one can tell the difference.
5) You actually need (5) 1x8 boards. I believe someone also posted that in the comments under the king farmhouse headboard plans. You also need (24) 4.5" screws or lag bolts, the plans only call for 20. (Ana calls for 6 per leg @ 4 legs = 24.
6) Really be sure of how high you want your bed before putting it together. Ours came out a little high, and if we wanted to, we could have cut the posts on the headboard a little shorter and mounted the side rails lower, but we just wanted to get the bed done. There is a lot of room to customize things in this plan so be sure to think everything out.
I think that’s it for now. If you have any questions, please let me know. I’d be happy to offer up any information I have learned while making this bed.
Sat, 01/26/2013 - 17:49
I really appreciate reading what you learned and would have done differently. Thanks for posting this!
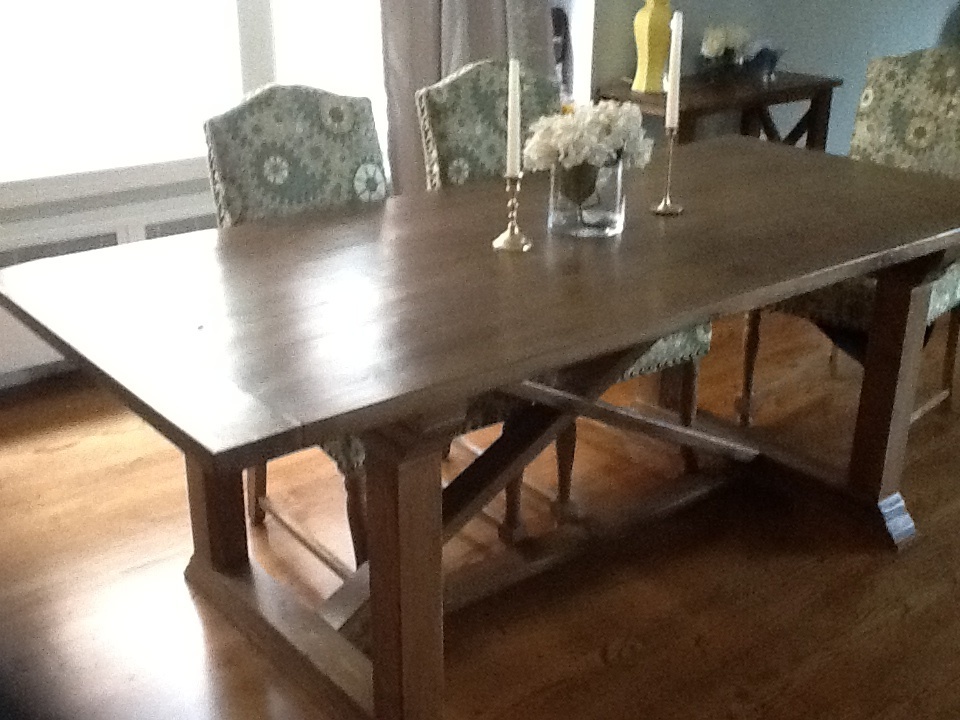
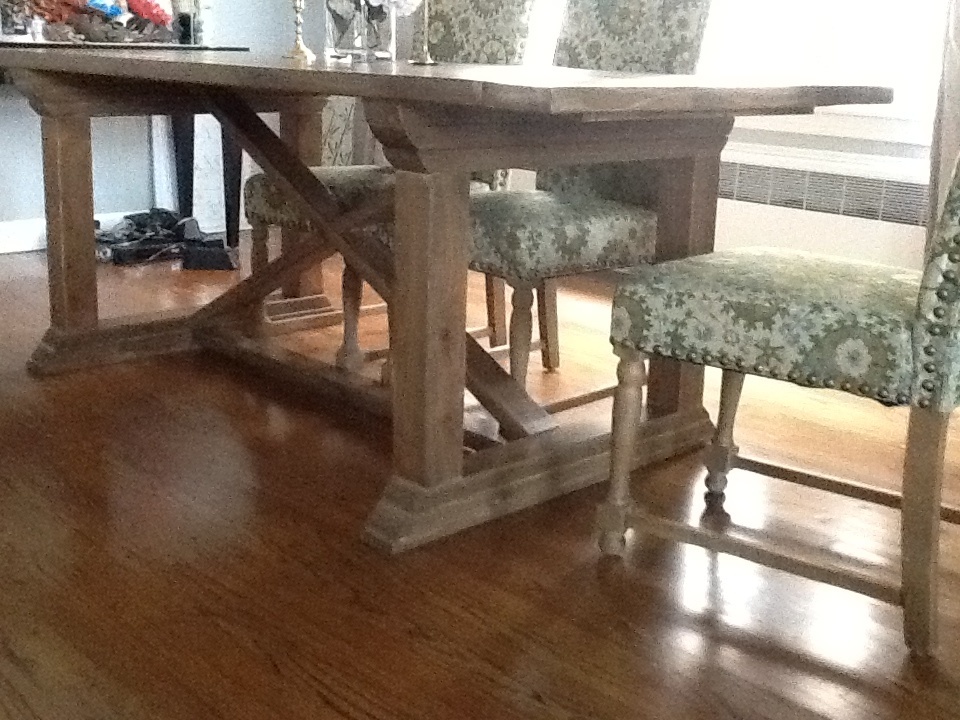
I modified the size for my table a bit to make it smaller
Tue, 09/24/2013 - 15:35
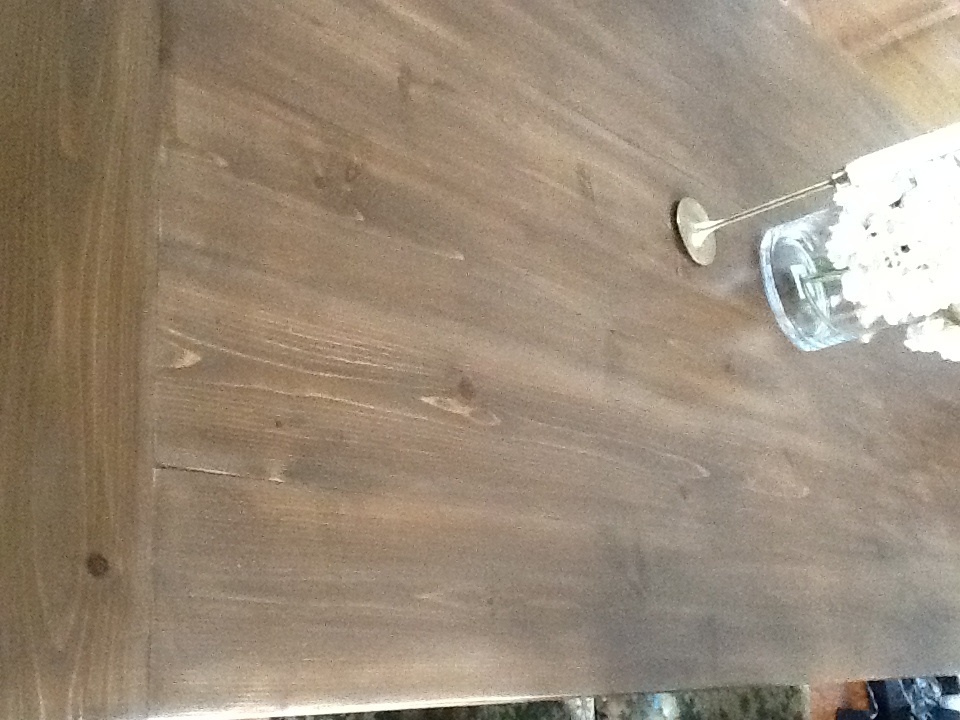
Fancynancy, that tabletop is fantastic! That's something so nice that if I had the money, I would buy it! I was hoping you would share the process you used to get it so smooth. I've done a planked top before and it wasn't nearly as pretty as yours. Thanks for sharing your gorgeous table.
Thu, 09/24/2015 - 20:23
hi fancynancy. i want to know what your modified measurements were on the rekourt table? i can only go to 6' long. width. i am not sure. thx
Sun, 01/22/2017 - 08:38
Hello, I am also curious about the modified rekourt plans. Would love your help/input. Thanks.
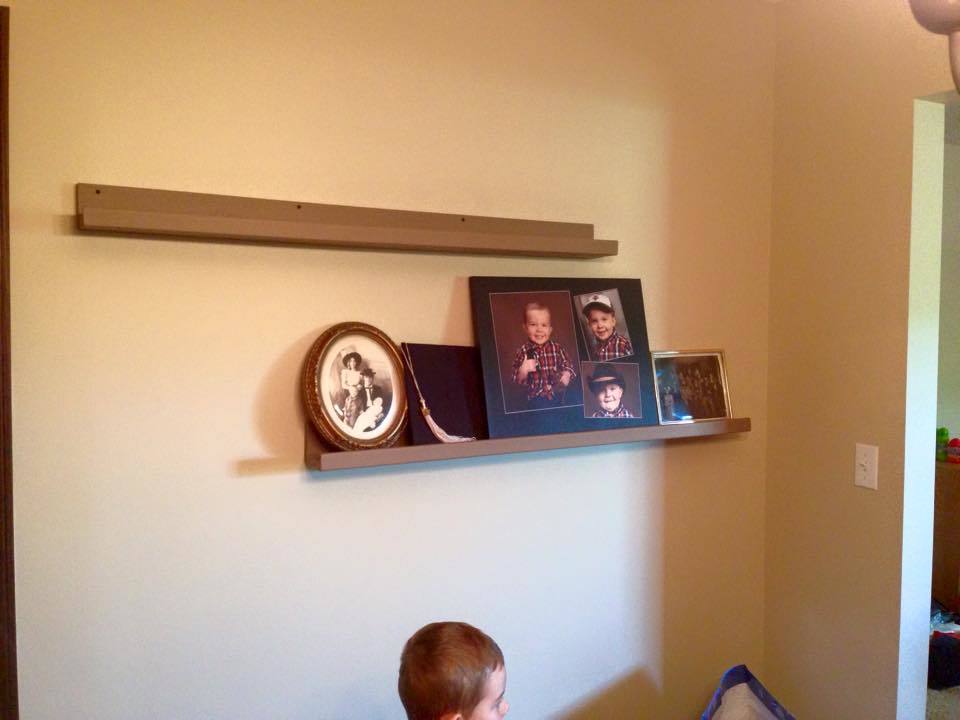
Easy-peasy! Painted in a constrating color for a great look on the wall...
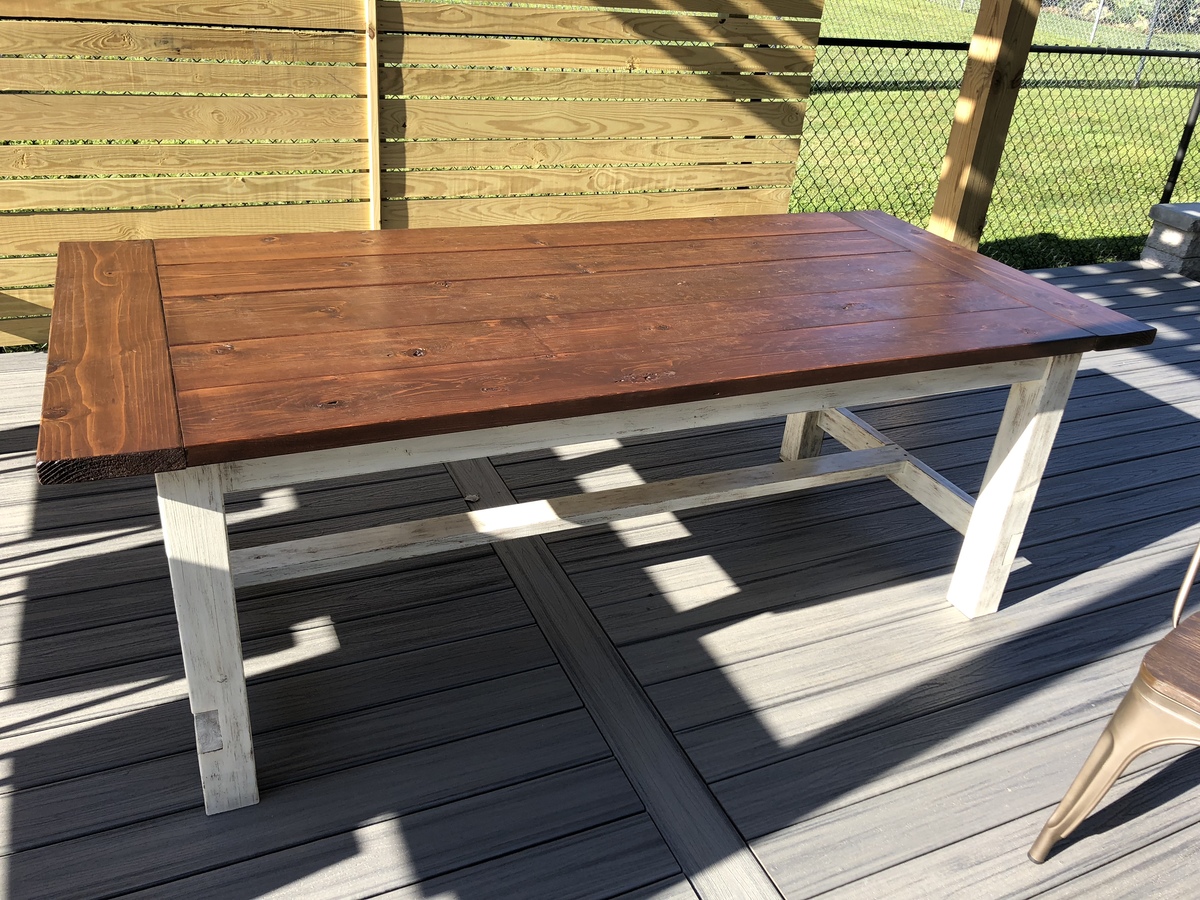
My husband and I built this table from the farmhouse table plans (Kreg-jig). I wanted a farmhouse table for our new patio and couldn’t quit find one to buy-so we made it! We used red cedar because it is an outdoor table and we wanted it weather resistant.
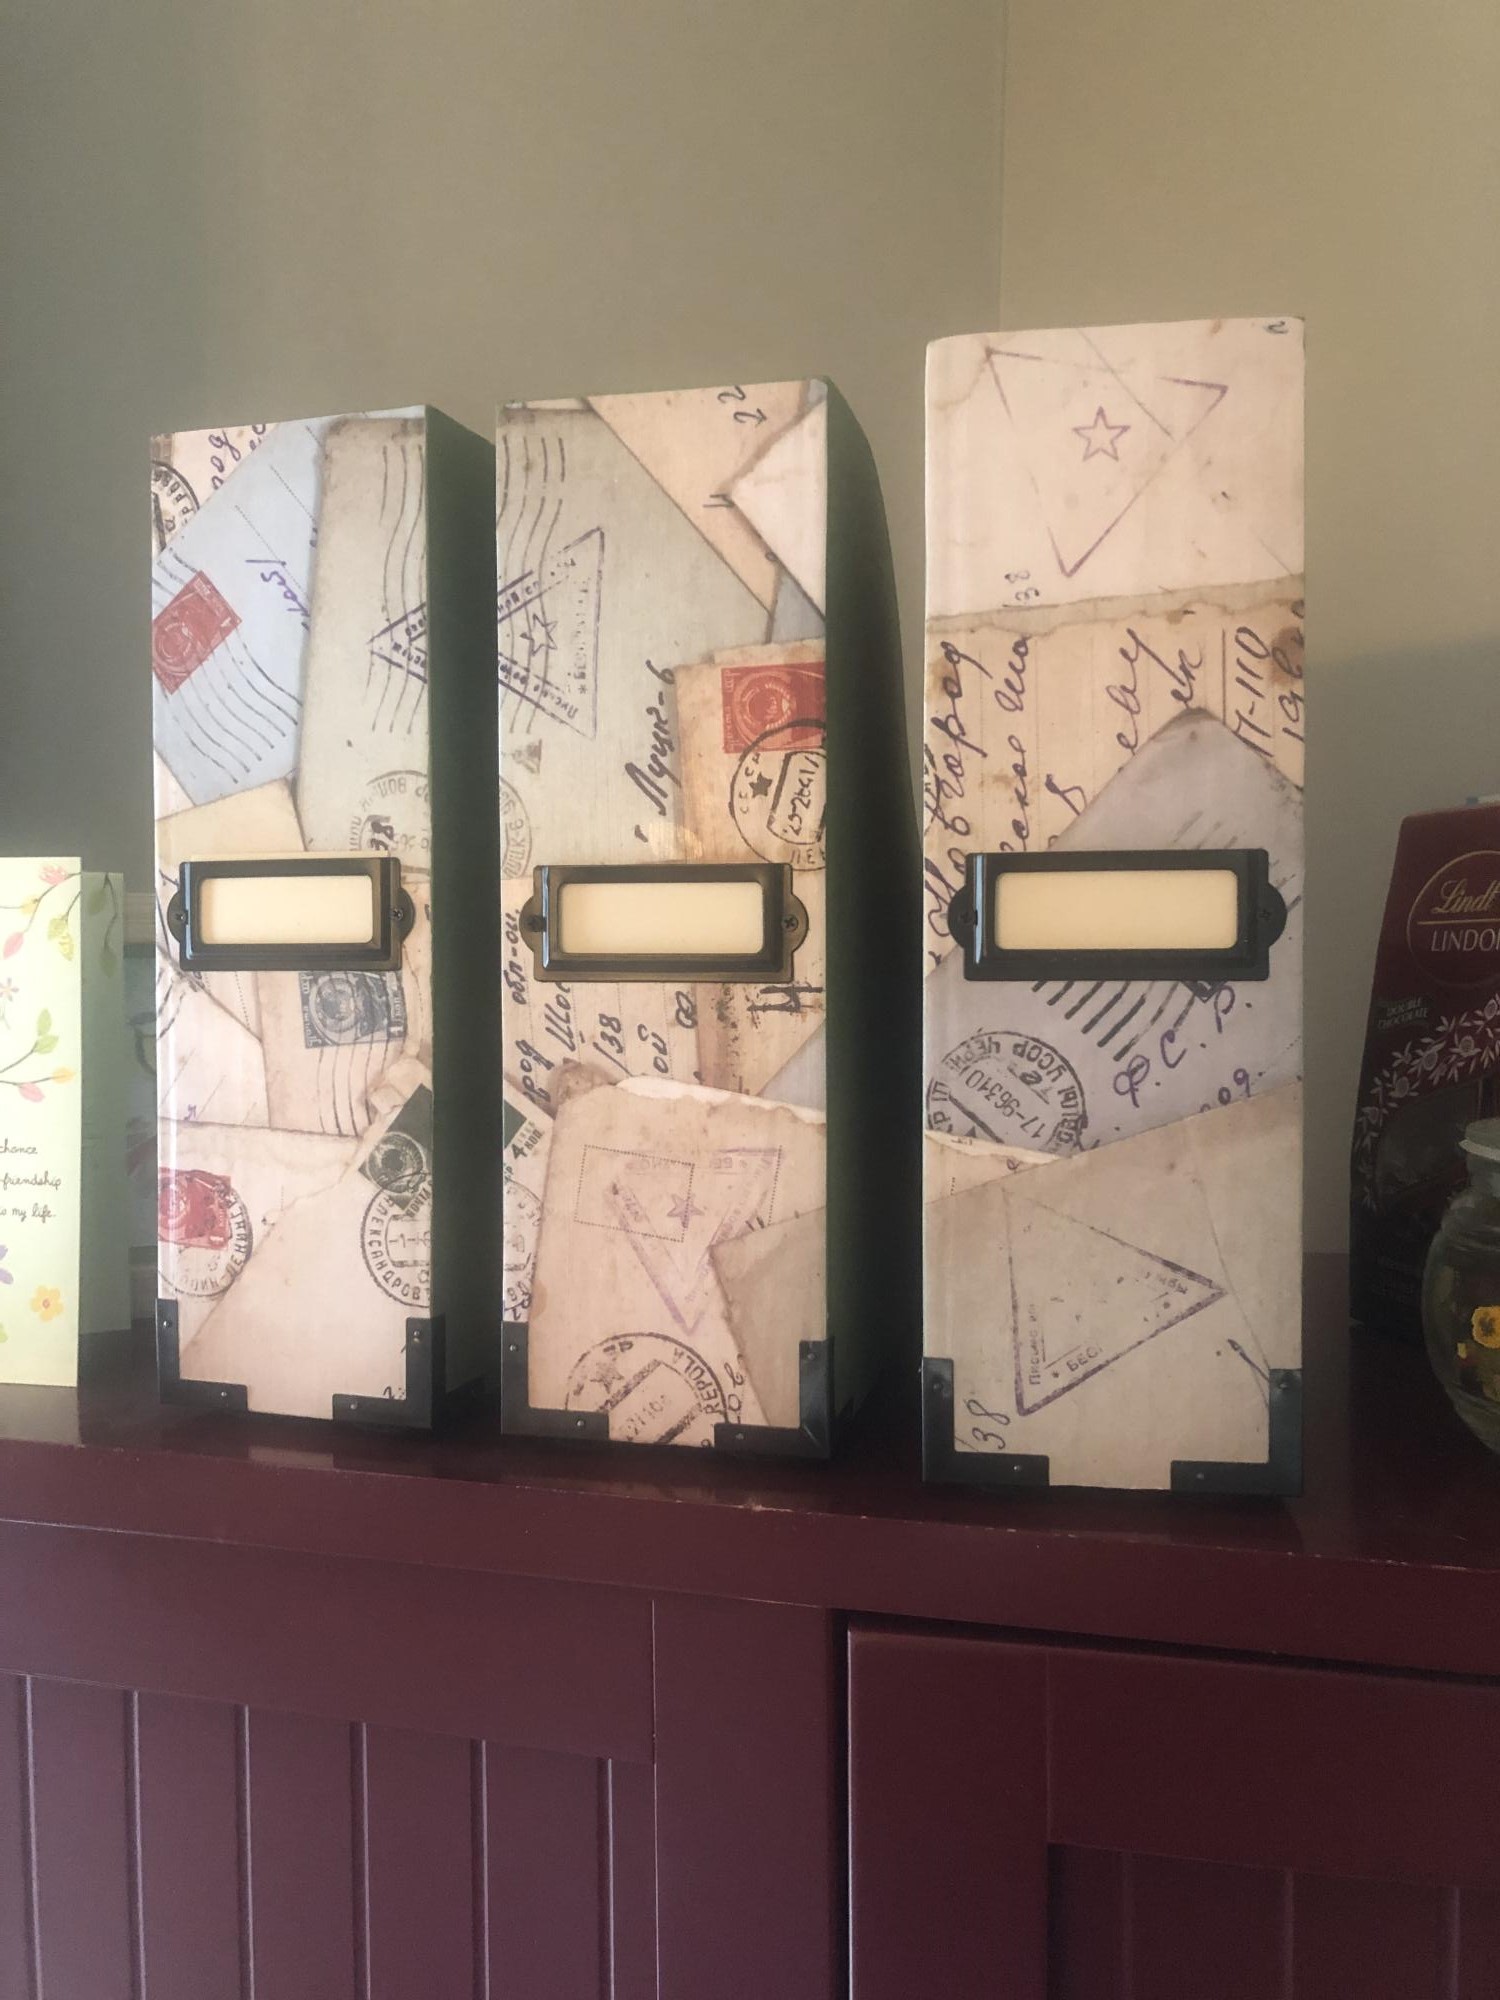
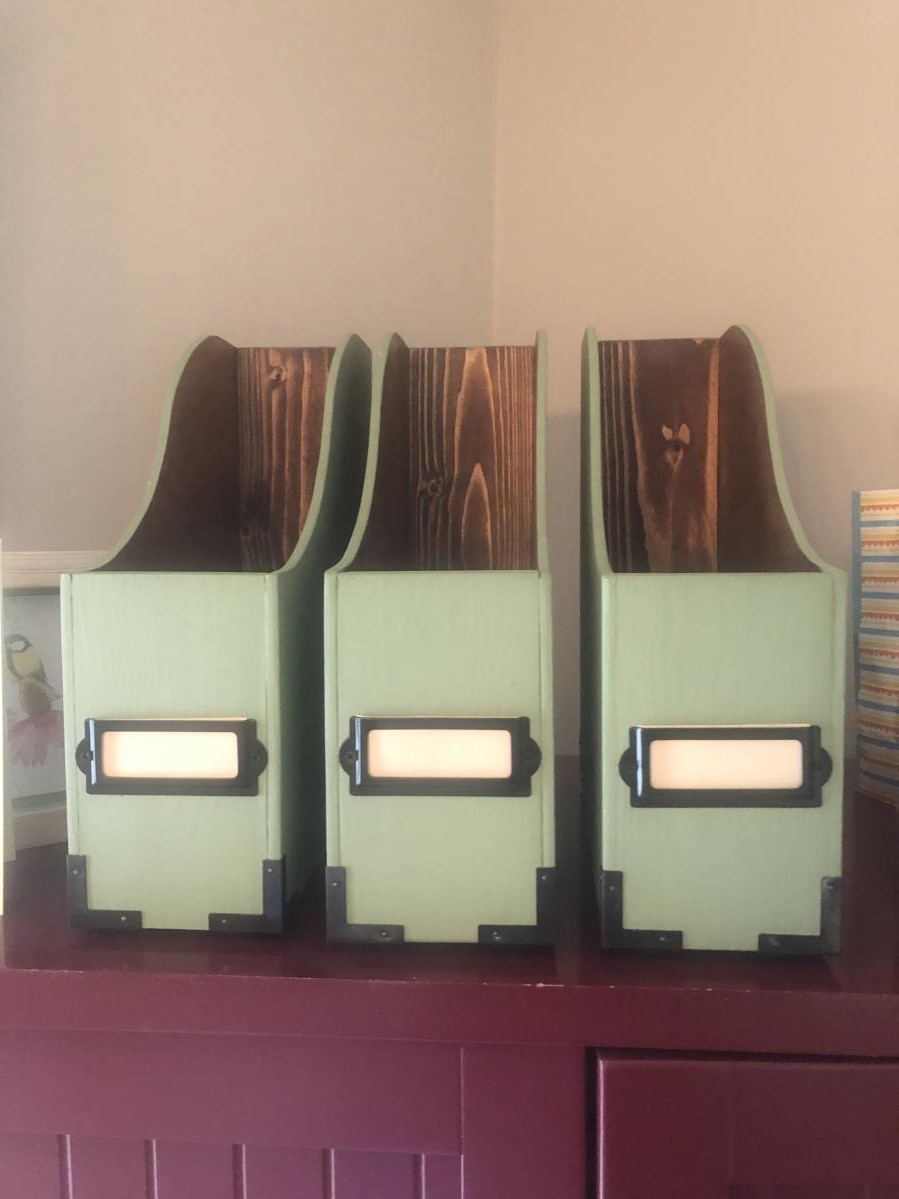
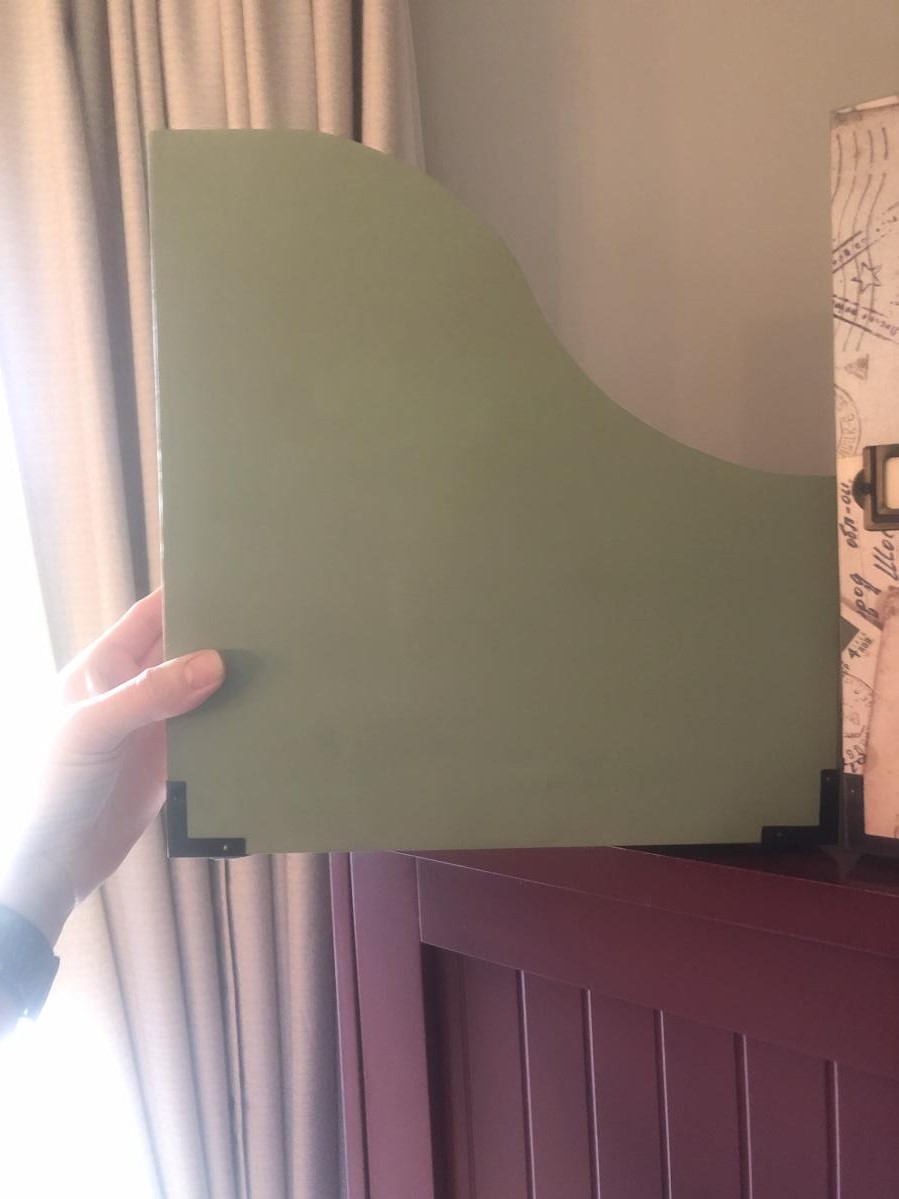
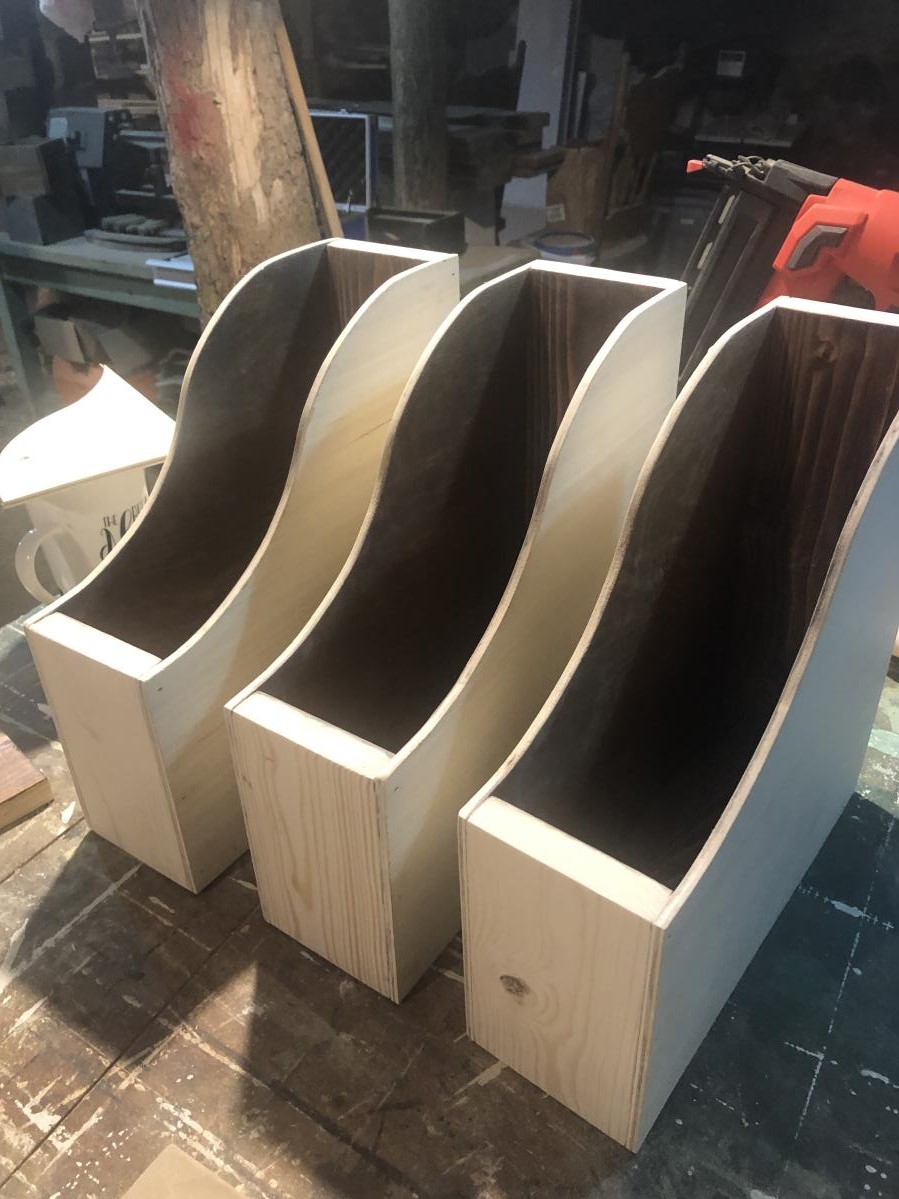
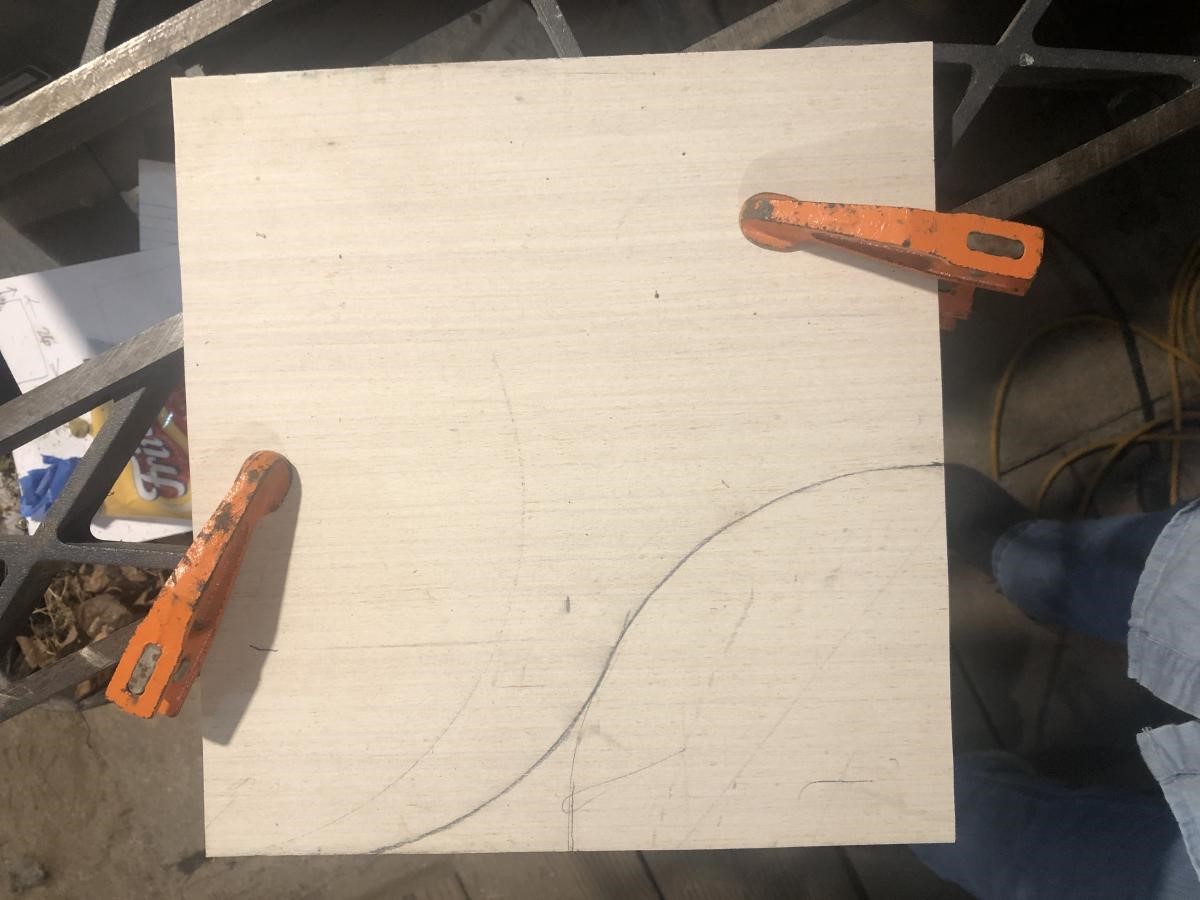
My BFF was looking for magazine holders but refused to pay $10-15 for one made out of cardboard. I told her I could make her some from wood and paint them to match her decor. I found the “letter” paper on Amazon but came in a pack titled Vintage Treasures. I decided to do an S curve on the sides to make it a little more fancy. I can’t wait to give these to her! Thanks for the inspiration, Ana!
Wed, 05/04/2022 - 12:22
Great job, your friend is going to love them! Thanks for sharing.
We built these before we saw these plans, but they are pretty much the same... We added the chicken wire to keep the rabbits (and our dog) out of the garden. We added the owl to keep the birds out. We've gotten a ton of tomatoes, onions, and bell peppers so far. Next year, we'll add a few more beds. We also added the verticle garden to take up less space, but its not deep enough. We'll make the next one deeper.
Sun, 07/10/2011 - 14:19
Love the vertical garden! What a wonderful idea! Did you line the boxes with plastic??
Thu, 11/17/2011 - 07:59
We ended up getting a ton of tomoatoes and green peppers from the garden boxes. We've actually built a couple more. We'll probably double again before next spring. We're looking at adding more veggies.
We now have ton of stuff planted for the fall...
Tue, 04/03/2012 - 06:19
i love the vertical boxes. I am just trying my hand at the world with a green thumb and could use as much advice as possible about how to make as well as to line the boxes or not to line them. All advice appreciated!
Fri, 11/23/2012 - 21:53
Hi, my name is berman. I found you pin from my pinterest and your box garden is so great. I am a newbie in this field and so interested to build garden in my house. If i can ask you some question, could you please to answer that?
cheers,
berman
Tue, 03/10/2015 - 21:19
Hello! Do you mind sharing the Vertical Box Instructions? I absolutely love this idea!
Sun, 05/31/2015 - 21:00
Came across this beautiful design while searching for my next diy garden idea. Wondering if there are blueprints available
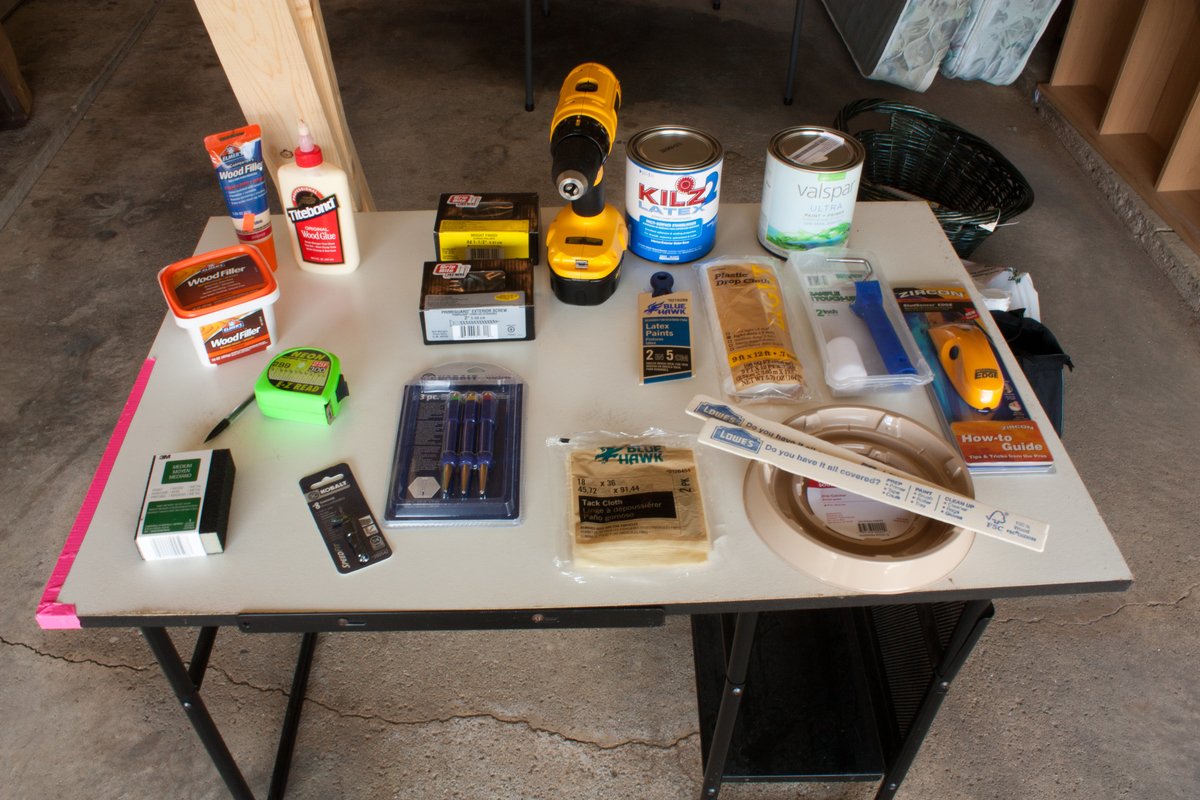
I had tons of help from this website and from the employees at Lowe's in deciding what to purchase and what steps to take. I ended up spending around $130 on all the items needed - but if I ever need to make more it will be just the cost of the lumber!
I am the poster girl for making mistakes while learning, no joke. Generally, I make the uh-oh on a step that I’ve done a zillion times, because I am so busy making sure that the parts that are brand new to me go well. Years ago I was trying to impress a roommate and I worked super hard on a lemon spaghetti dish. I learned to zest and juice a lemon but completely forgot about draining my noodles. Hello disgusting! Putting together my Ana-White project was no different. I gently sanded the wood with my sanding sponge and wiped them off with a rag. I then placed two of the 1x4’s together and made sure that they were even. I discovered that it would be next to impossible to have perfect shelves, so I was going to let it go and just have fun. I pre-drilled a hole, then used a countersink bit to match the head of my wood screw, and held the boards together with all my might while I drilled in the first screw. Of course, since that worked out so well… I decided to try something different! Cap had told me that these particular screws practically countersunk themselves. Sweet! Therefore, on the second screw I predrilled and then tried to see what would happen if I skipped the countersink bit step and just put the screw in. Fail! The wood made this groan sound and the screw didn’t go into a nice neat hole, but instead just kind of escaped in like a finger in pudding. No good! I realized that I had forgotten to use wood glue, so I took both screws back out, put the wood glue in, and back in the screws. I returned to the first method of predrill, countersink bit, wood glue, then screw and finished it off. I held the 1x2 into place and used finishing nails to attach it to the 1x4s. Using a nail punch, I made sure there was a little hole atop each nail. I filled all the holes and a few of my mistakes with wood filler. While the filler was drying I repeated all the steps, sans many of the mistakes adding in a few others, and was done with the first step of building shelves! Next I used a two inch angle brush and applied the primer. After it was dried I applied the paint using a two inch roller. When it was all dried I marked my studs and my board, predrilled, and screwed them into the wall! That was it! It was so much fun and completely empowering. I can't wait to do the next one.
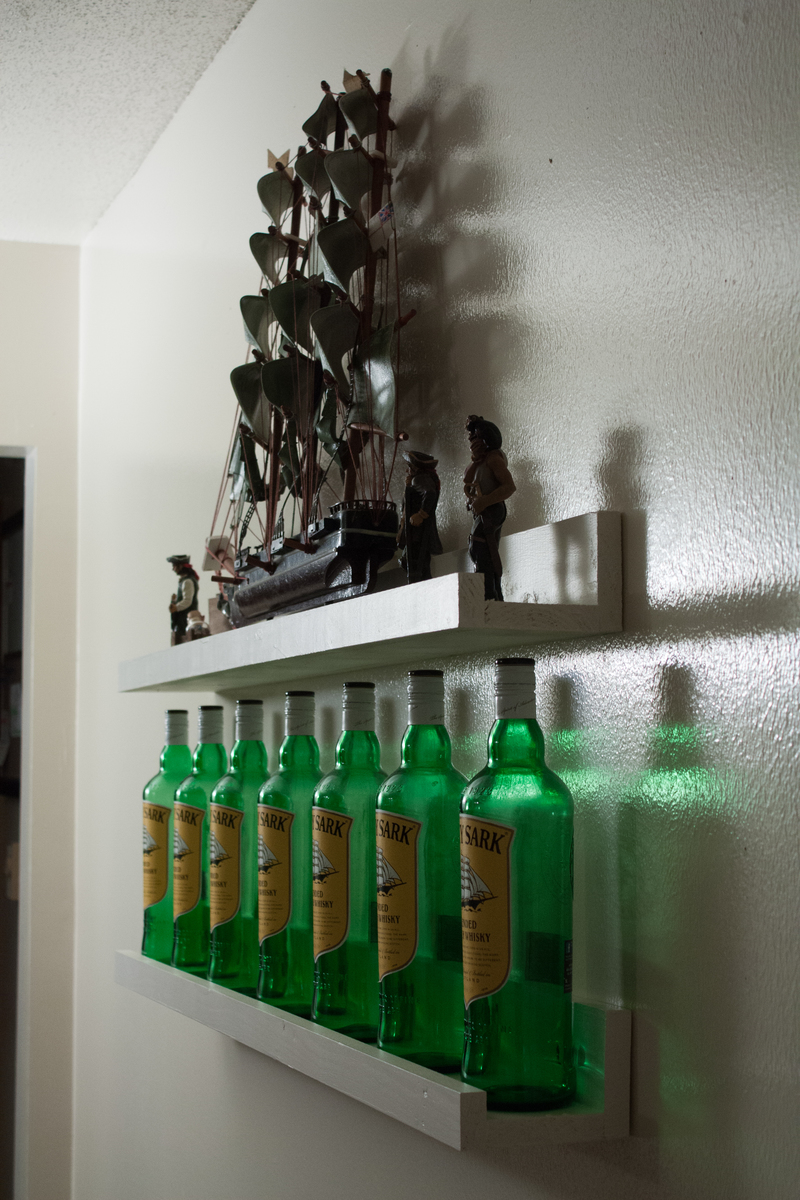

I built these 2 shelves for my 2 older children to use when hanging up thier backpacks and for a place to put library books so they don't get lost in the pile of other books laying around the house. I didn't have a convinient stud to attach them to, so my husband used 4 drywall anchors. They seem pretty sturdy. It only took me about an hour to cut and assemble both shelves and cost around $20 to make 2. I did find that the screws that came with the hooks were too long and poked through the back of the front board, but I just used a file to smooth out the tip of the screw so it didn't catch anything. Building this really made me wish I had the Ryobi cordless nail gun. I may or may not have hammered my thumb pretty good during assembly.
Tue, 09/08/2015 - 21:41
Love these, thanks for sharing!
P.S. Hope your thumb feels better!
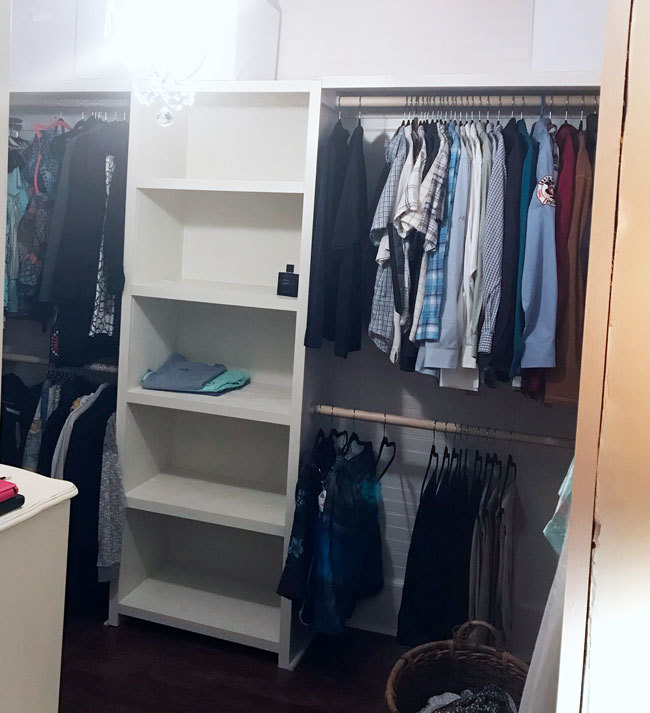
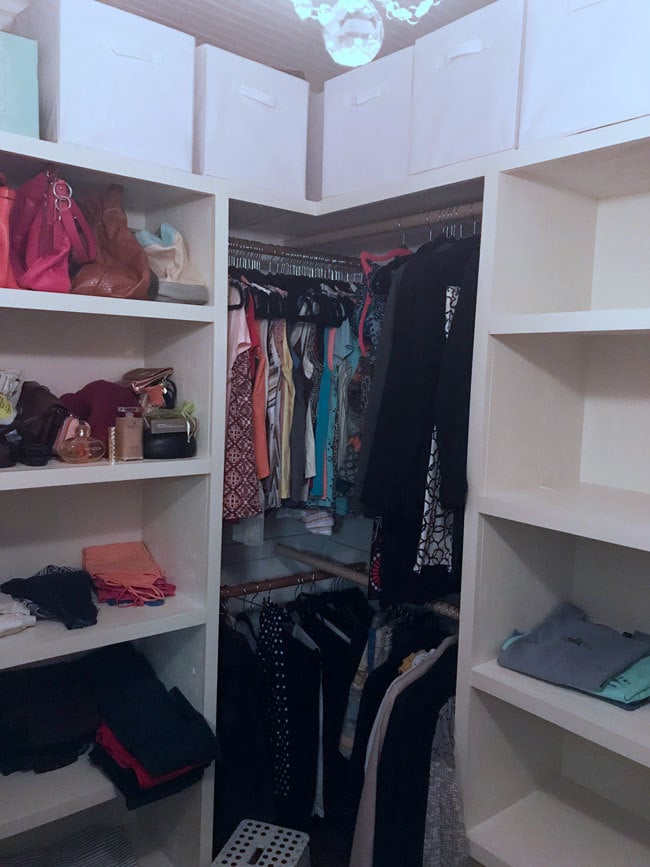
So thankful for the plans to build the closet shelves. They were key to our building out our new walk-in closet. Love it and this site! Onward to the next project!
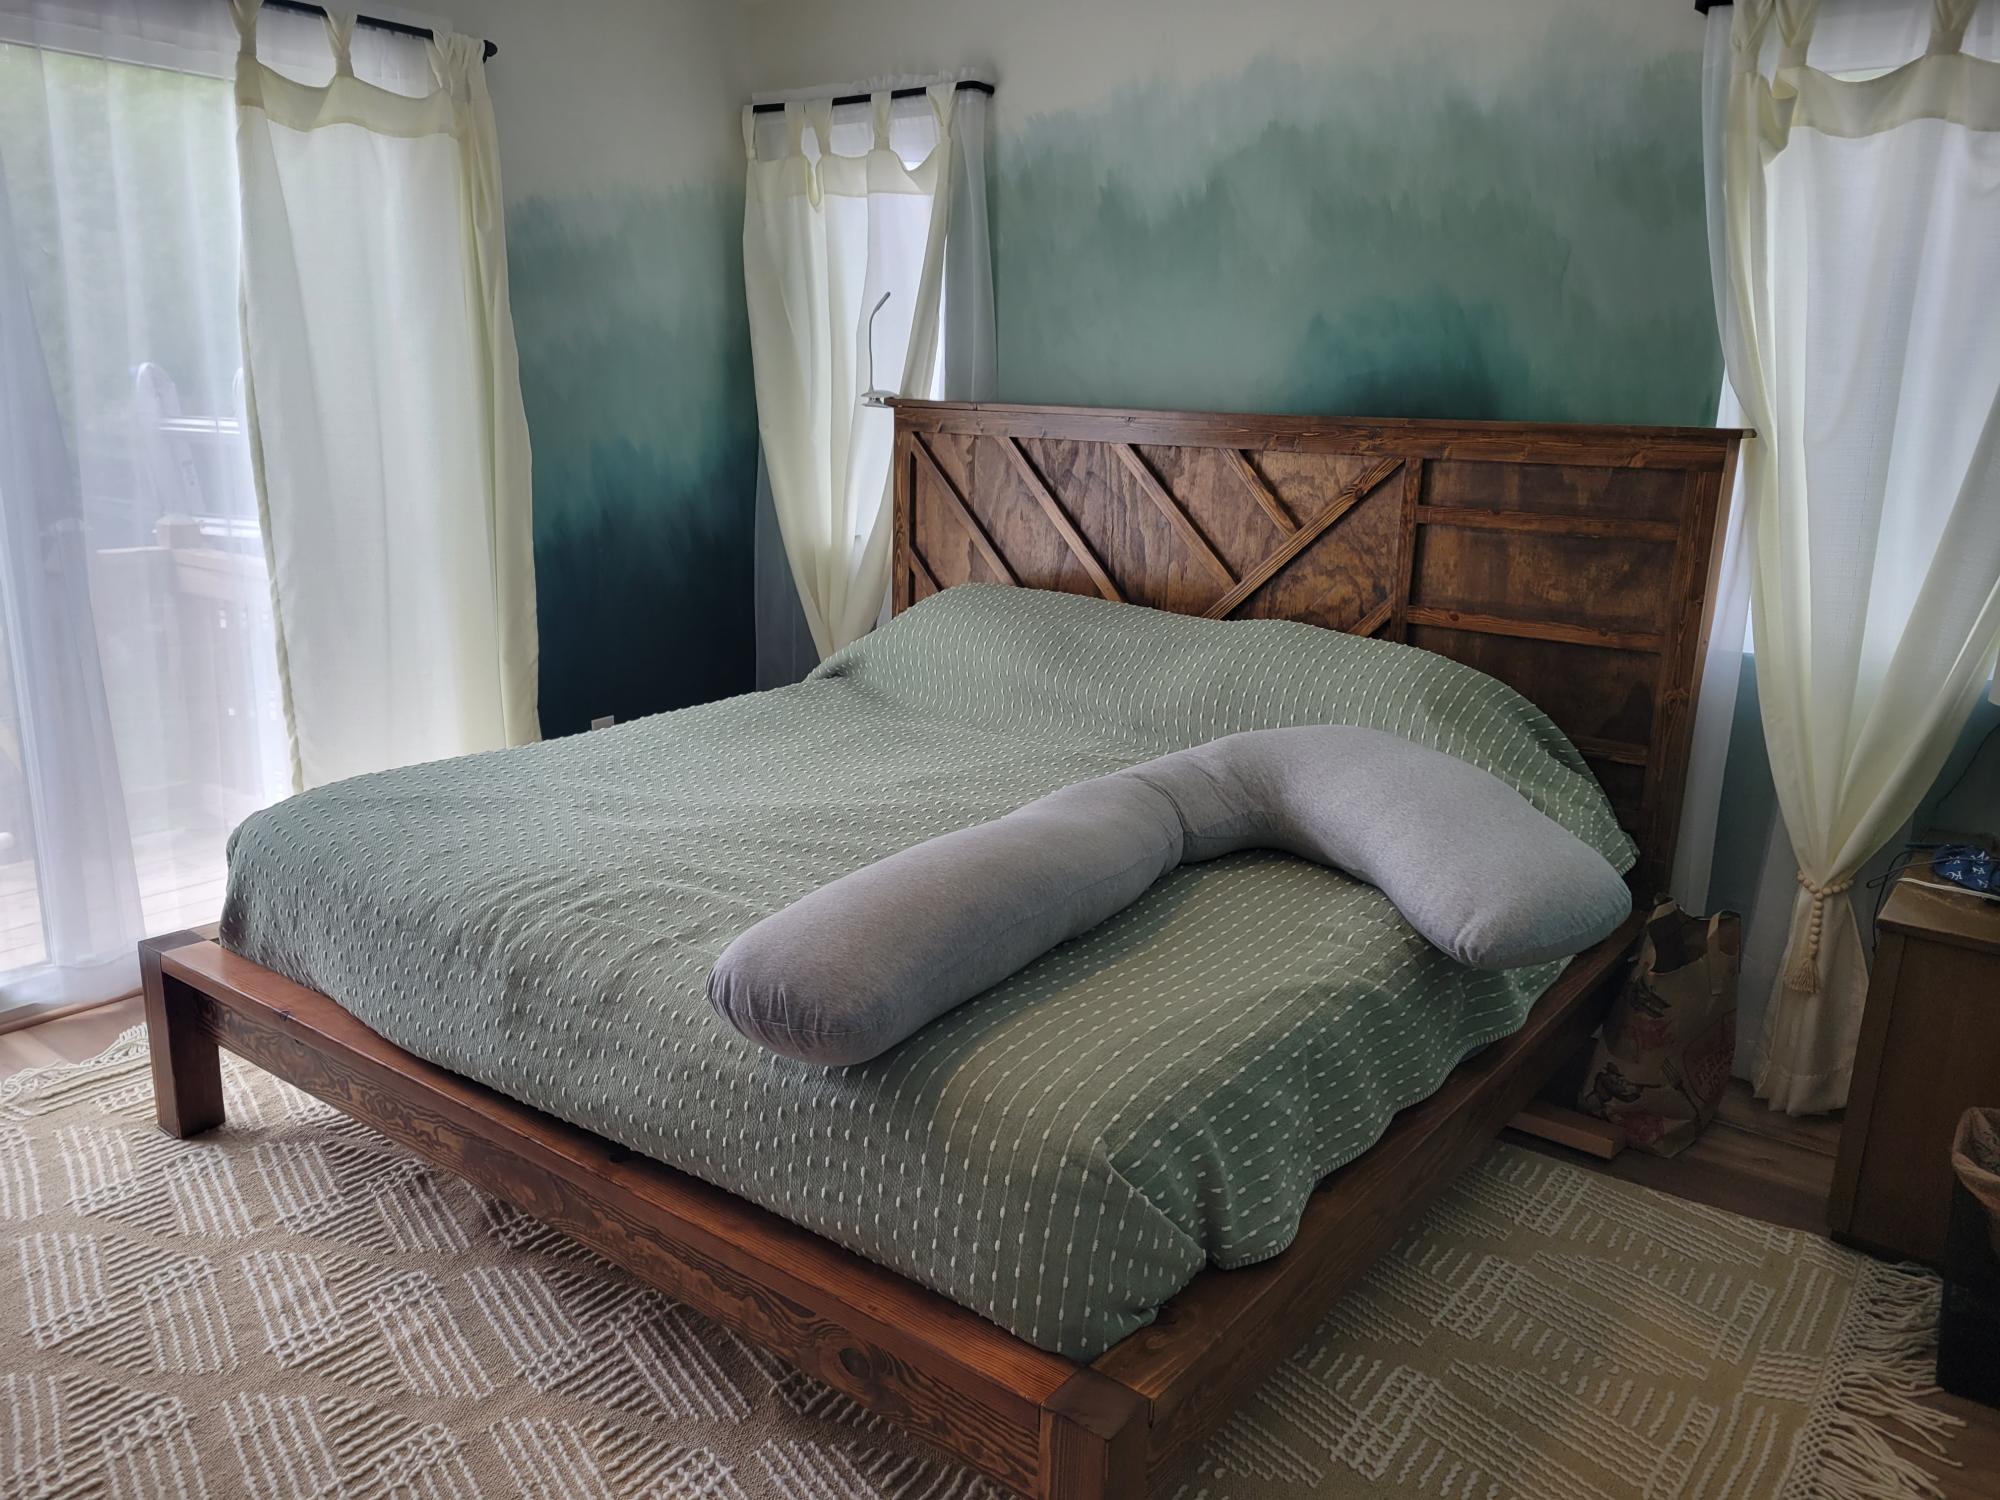
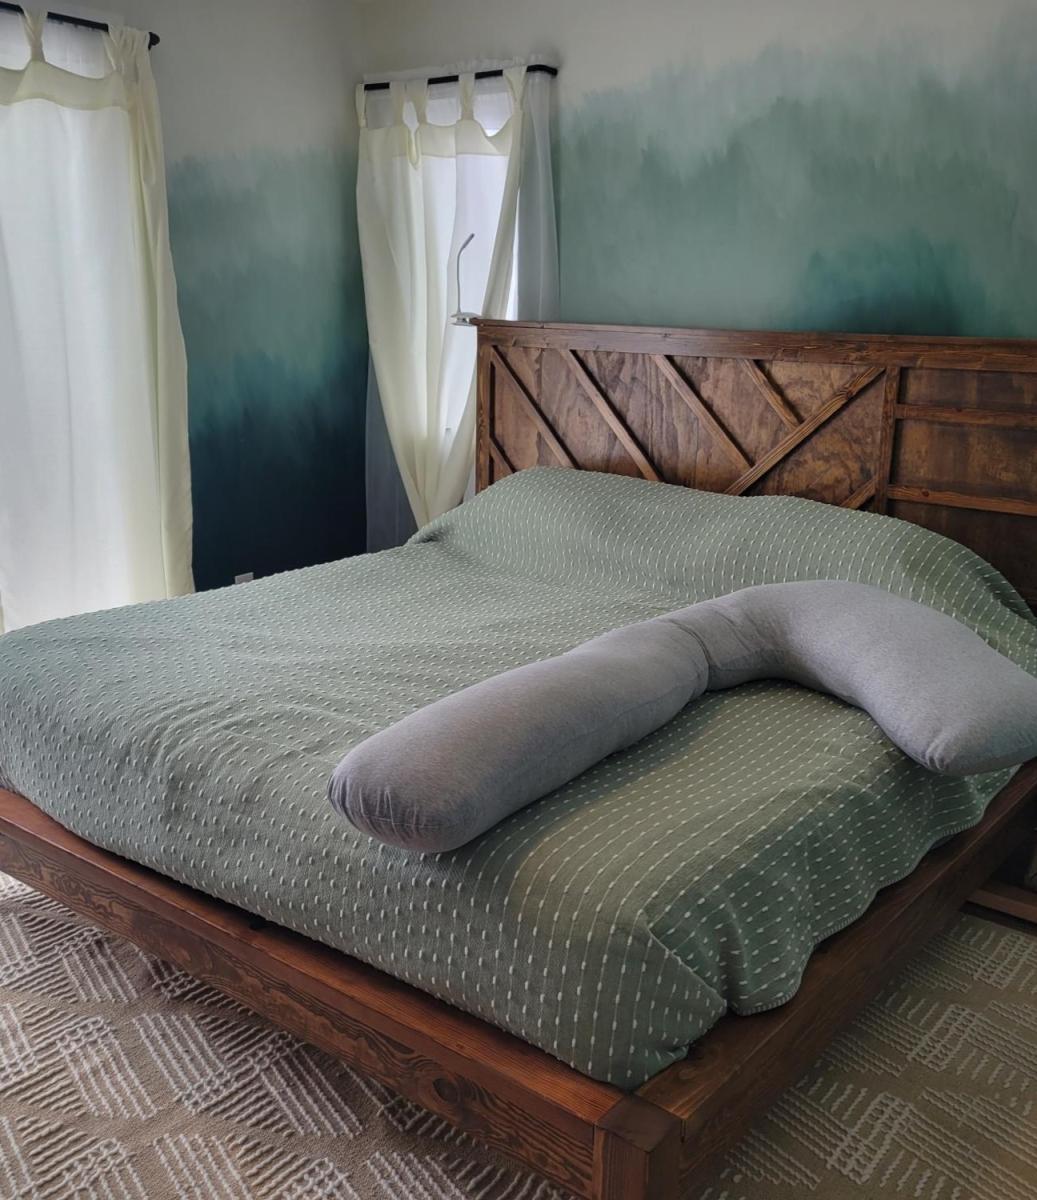
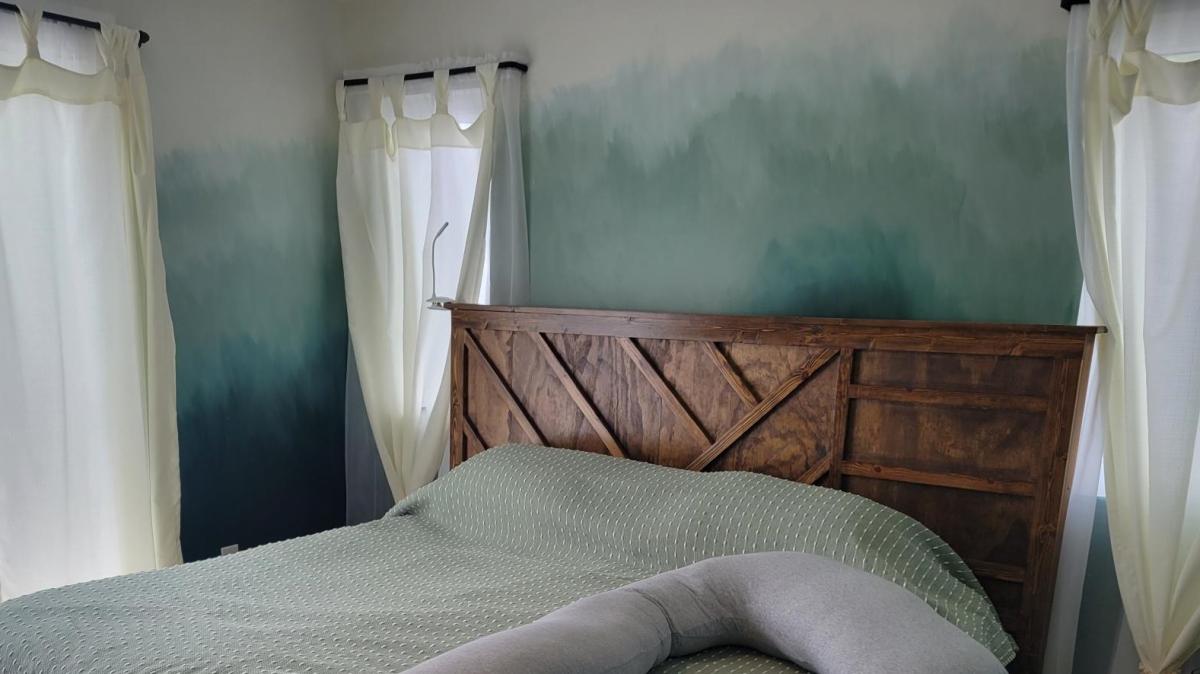
Took the Farmhouse bed model and incorporated a geometric headboard. This thing is heavy!
Thu, 05/12/2022 - 19:28
WOW, this is so pretty, way to go! Thank you so much for sharing!

I had a great time building this desk. The finish turned out amazing and the desk is leveled prefectly. I added a 2x3 between the 2x12s and I also added a 1x4 as a trim piece to the front of the desk.


Tue, 07/12/2011 - 08:01
Nice finishing job. It has a nice rustic feel to it. The 1x4 you added gives it a complete look.
In reply to Nice finishing job. It has a by kmatt55
Tue, 07/12/2011 - 19:35
THank you.... I also added a 2x3 in the middle of the top 2x12s so I wouldnt have the gap. I saw your projects. THe chairs look great.
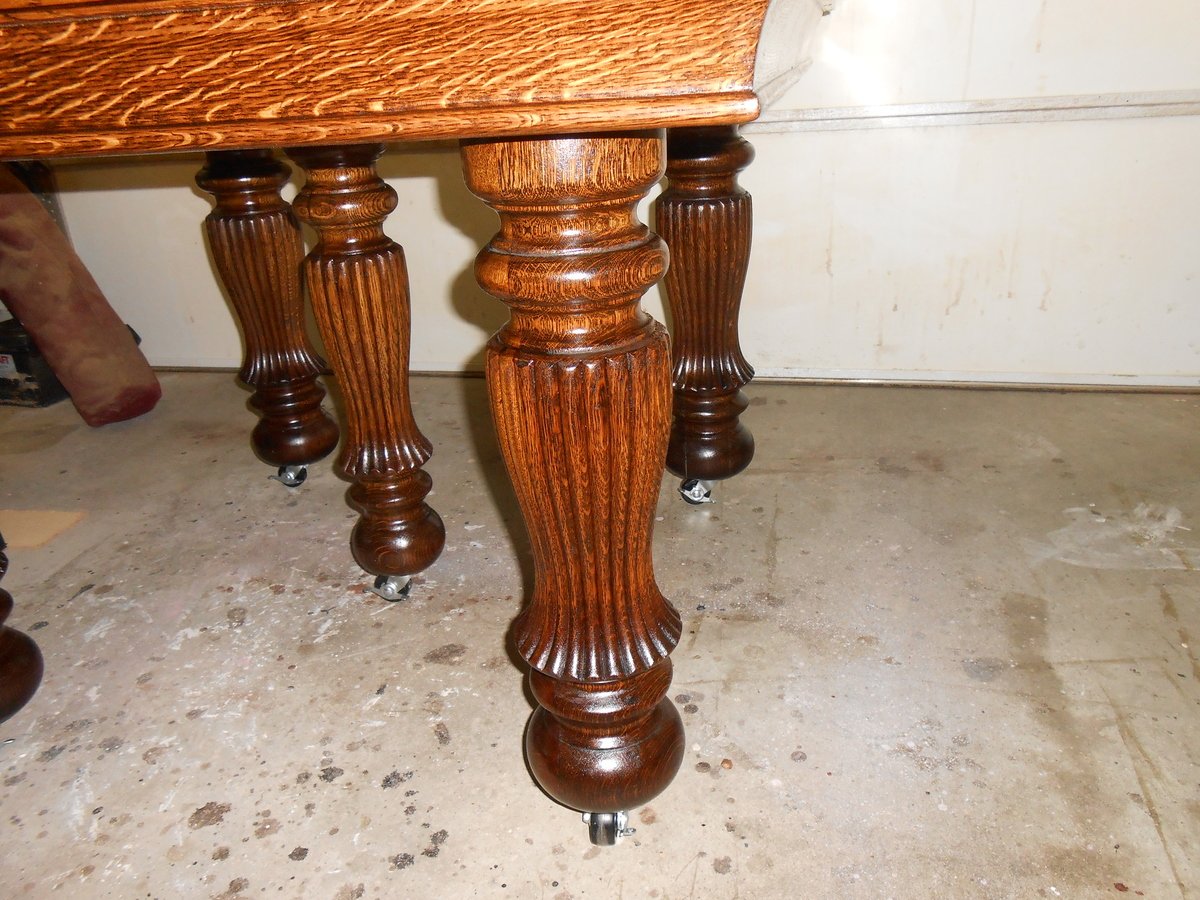
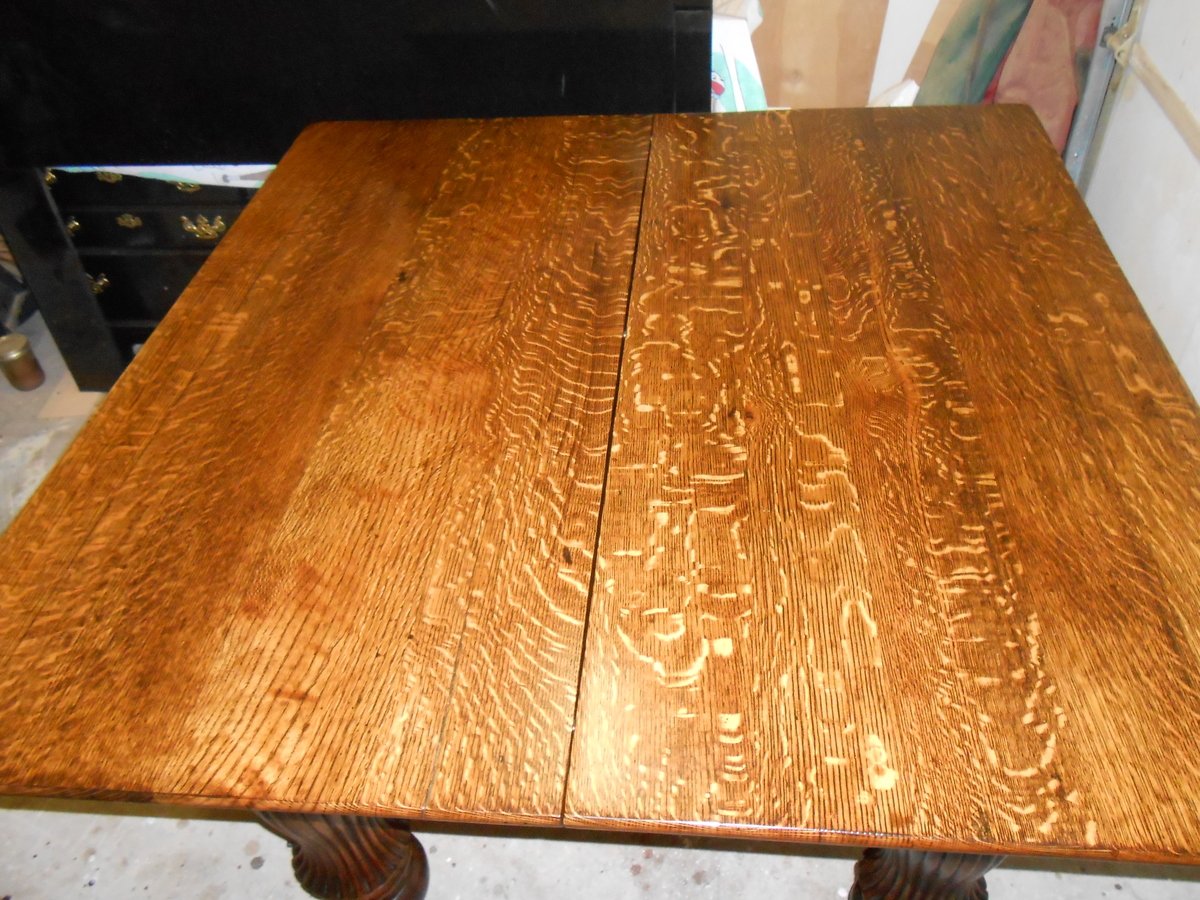
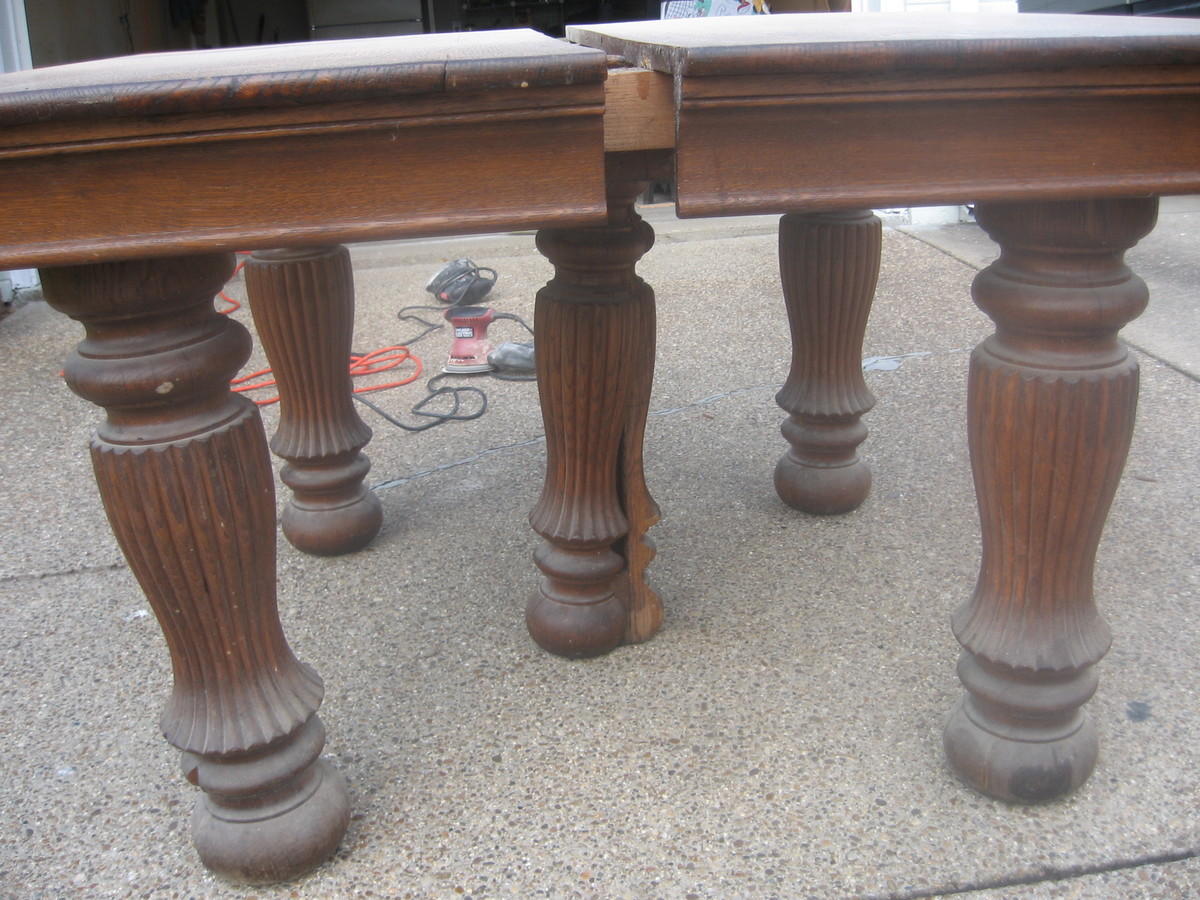
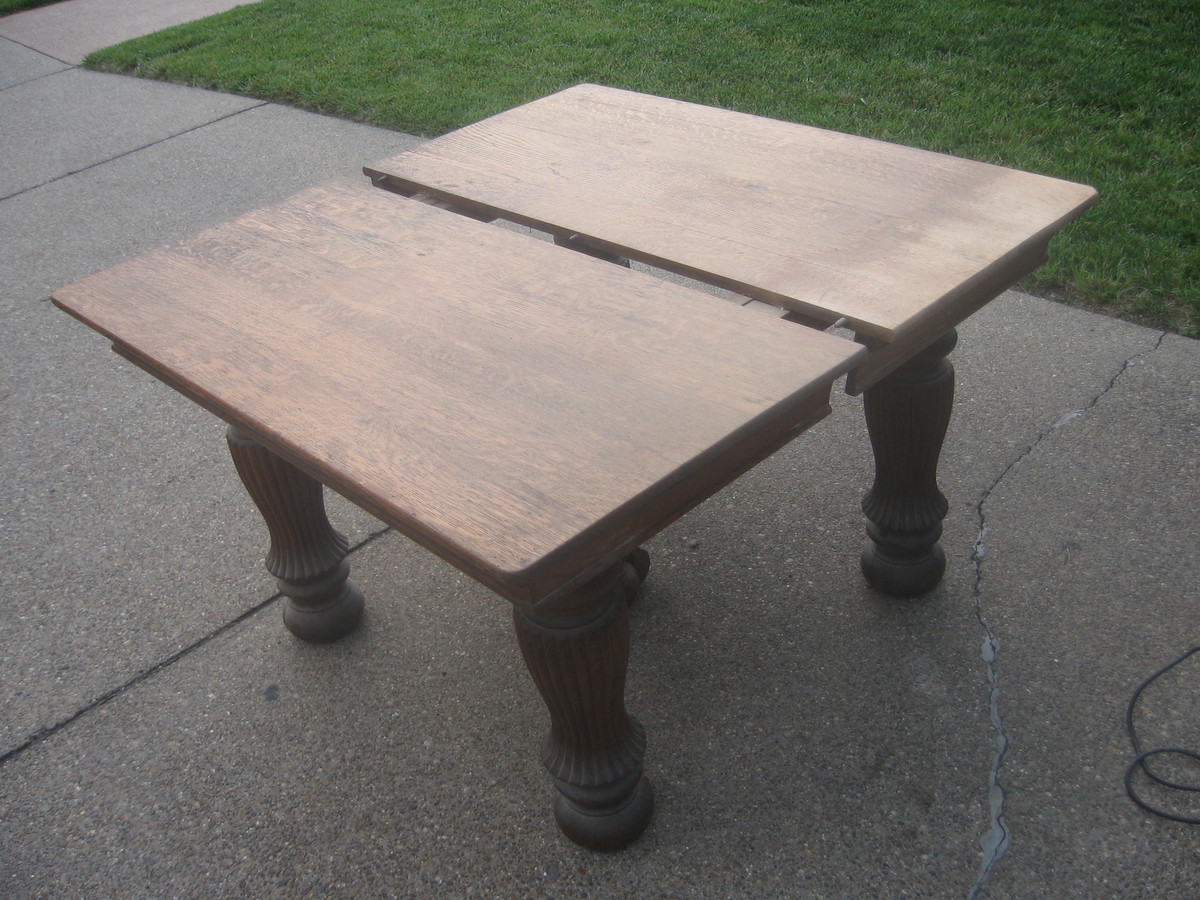
This is a solid, quartersawn white oak 5-legged dining table. It was originally built in the late 19th or early 20th century. The table was in need of a refinish. The massive turned and fluted legs were full of cracks, chips, and splits.
I took the table completely apart and began stripping and sanding. The legs were re-glued where needed and clamped. I filled the cracks, splits, and and chips with wood filler, sanded, and repeated until I was happy with the results. I replaced some bracing and replaced the screws where needed. Heavy duty casters were added. They have brakes/stops that can be locked to keep the table from rolling on a hardwood or tile floor.
Once the final sanding was completed, I applied 2 coats of Minwax Dark Walnut stain with a foam brush. I wiped down after each coat after waiting 10-15 minutes or so. After drying I began applying Minwax Fast Drying (oil based) polyurethane. The table received 3 coats and the top received 6 coats. I hand sanded with 220 grit sandpaper between coats.
After applying the final coat of poly to the top, I allowed it to cure 48 hours. I then hand sanded the top very lightly using 400 grit paper. I did the same using 0000 steel wool. I then added a few drops of dish soap to a cup of water and wet sanded with the 0000 steel wool. I used a circular motion to remove any scratches. I then wiped down the table and buffed out two coats of Johnson Past Wax with an orbital buffer. It resulted in a super smooth finish.
I am very happy with the results. By the way the table if for sale ($600) and is located in Evansville, Indiana.

Made this pipe coffee table by laminating 3 2x10 boards. The size of the table is 60in by 27in. I ripped the sides of the boards down to 9 inches each to square off the sides for a jointed glued table. The pipes were spendy but easy to get and assemble. Used Minwax special walnut stain.

Been a while since I had time to actually build anything worth posting about! My wife wanted some items for her Kindergarten classroom this year, so built several items, most inspired by the Farmhouse family.
Sat, 06/29/2019 - 05:47
I love this! Can you give me the plans and list of materials for constructing it?
Sun, 06/30/2019 - 12:33
I am also a teacher and would love to build this desk for my reading class. Do you have plans?
Mon, 07/01/2019 - 18:05
I love this table for my classroom. Can you share the plans or the dimensions?
-Stephanie
Sun, 07/07/2019 - 09:46
I would love plans/dimensions for this! I was thinking I could also paint the top with wipe off board paint.
Sun, 07/07/2019 - 14:59
I would love to make one for my classroom. Can you share the plans and materials list for this table?? Thanks!!
Mon, 07/08/2019 - 19:11
I am looking to make this for my fourth grade classroom - can you provide the dimensions you used? Thank you so much.
Wed, 07/10/2019 - 11:59
Love this!
I would love this for my classroom! Can you share the plans and materials.
Thank You!
Mon, 07/22/2019 - 18:25
Anyone have any luck with figuring out the dimensions??
Thu, 07/25/2019 - 17:20
Has anyone gotten the plans for this table? I have contacted Ana White and tried other ways also. I would love for someone to share.
Thank you
Teri
Mon, 08/19/2019 - 12:09
I am guessing the corner posts are 2 x 4s, the top is 2 x 10s. It looks like the width is 6’ (looking at the floor carpet tiles being 24” square). So 2 - 2 x 10s side by side for the main part of the desk top and 2 - 2 x10s perpendicular on each side of the chair. I guess the height is subject to choice and the length of each side would also be subject to choice or to the length of the 2 x 10s to be economical.
an educated guess would be 4 - 8’ 2x10s for the top and 6 - 6’ 2 x 4s for the legs?
Anyone else have any input here? Open to suggestions.....
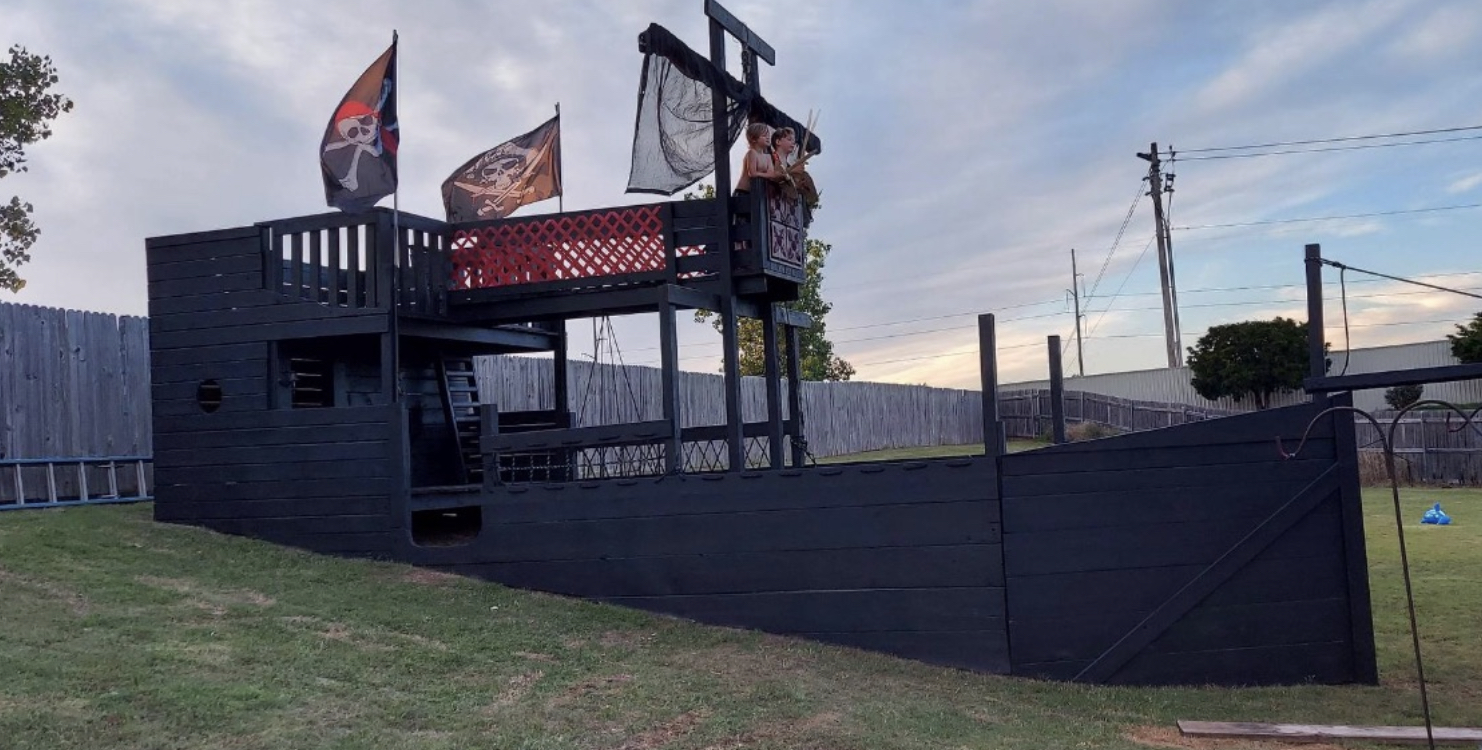
I started building this pirate ship in the spring of 2020. It kept getting bigger as a friend donated old lumber from his masonry company. He was going out of business and wanted to get rid of some of what you see here.
The ship is 24ft by 10ft.
I won’t papa of the year three years straight.
Thu, 05/26/2022 - 16:41
This is so awesome, thank you so much for sharing your creation!
I built this simple but super cute locker for my daughters room! She loves it and so do all of her friends! This was a super simple build just follow Ana's awesome plans!

This build is the prototype for the 1-Board Cedar Desk Accessory Set plan. From 1 cedar fence picket, I was able to build this set in 1 afternoon. It was a fun project that I'm hoping will make a great gift. No angles, rips or special cuts were required. The only tools needed were the miter saw, nailgun and palm sander. Of course you could do this all with hand tools, but I love my power tools! :) The inspiration for this plan was some desk sets which I had built entirely from scrap wood. I thought it would be fun to make a plan to build them from just 1 kind of board, just 1 board, and cedar pickets came to mind. You could also do this plan with craft boards - you would need 2 pieces, 1/2" x 5 1/2" x 2'.
The build was really very easy. A lot of sanding to get the picket nice and smooth, but not difficult. The plans show where to cut as you go, to get the best fit and account for variations in the sizes of the wood.
I finished this one after assembly, but on the next one I'm going to try it by finishing all the little pieces first.

Sun, 08/18/2013 - 17:18
Fantastic! I need to find those cedar fence pickets and get started on some desk accessories! =D
Mon, 08/19/2013 - 02:31
Thank you so much for your nice comments! I hope you find your cedar pickets, I'm sure you'll be able to whip up some "desk bling" in no time! :)
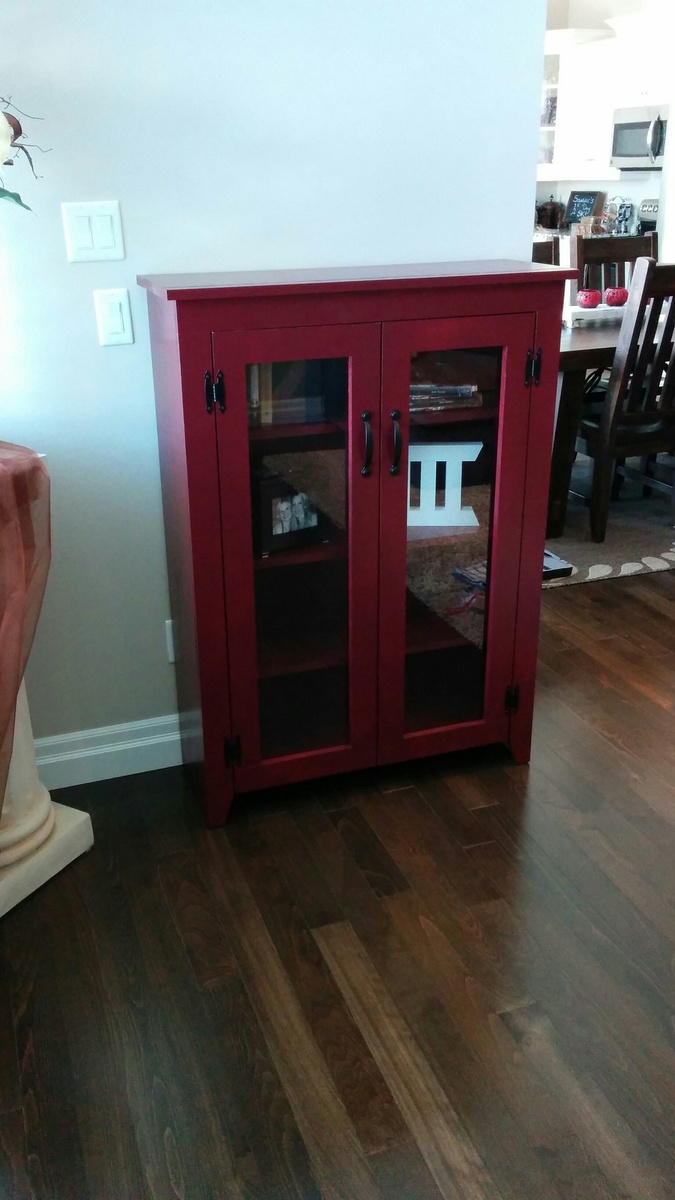
I have a small wall by my fireplace in my living room that's been difficult to fill. I've had my eye on this jelly cabinet for months but knew it wouldn't fit in the location I had in mind. I decided to put it by the fireplace, scrap the metal mesh doors, and go for a slightly more elegant look by using glass. This suits the room much better and I'm really happy with the final result.
