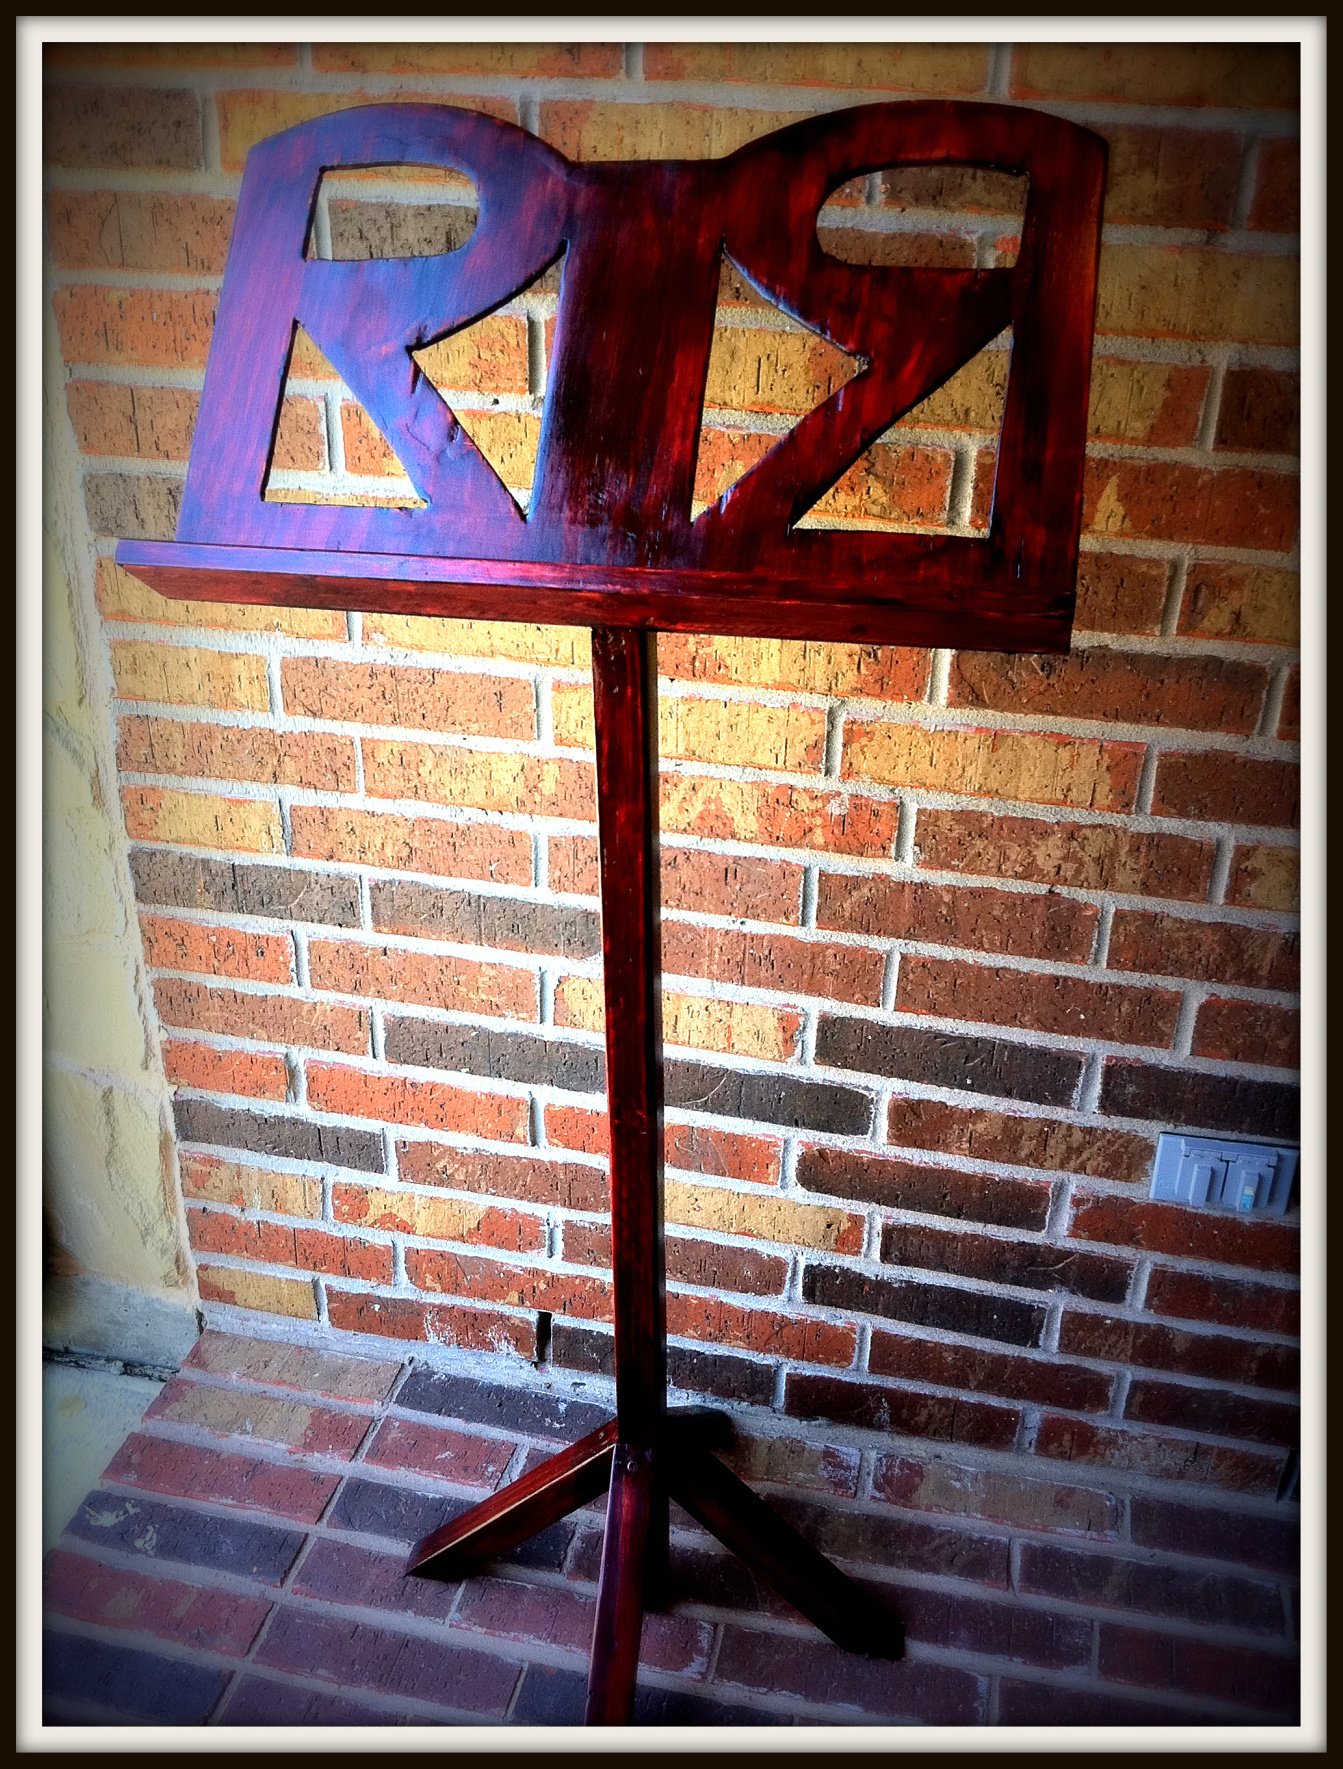
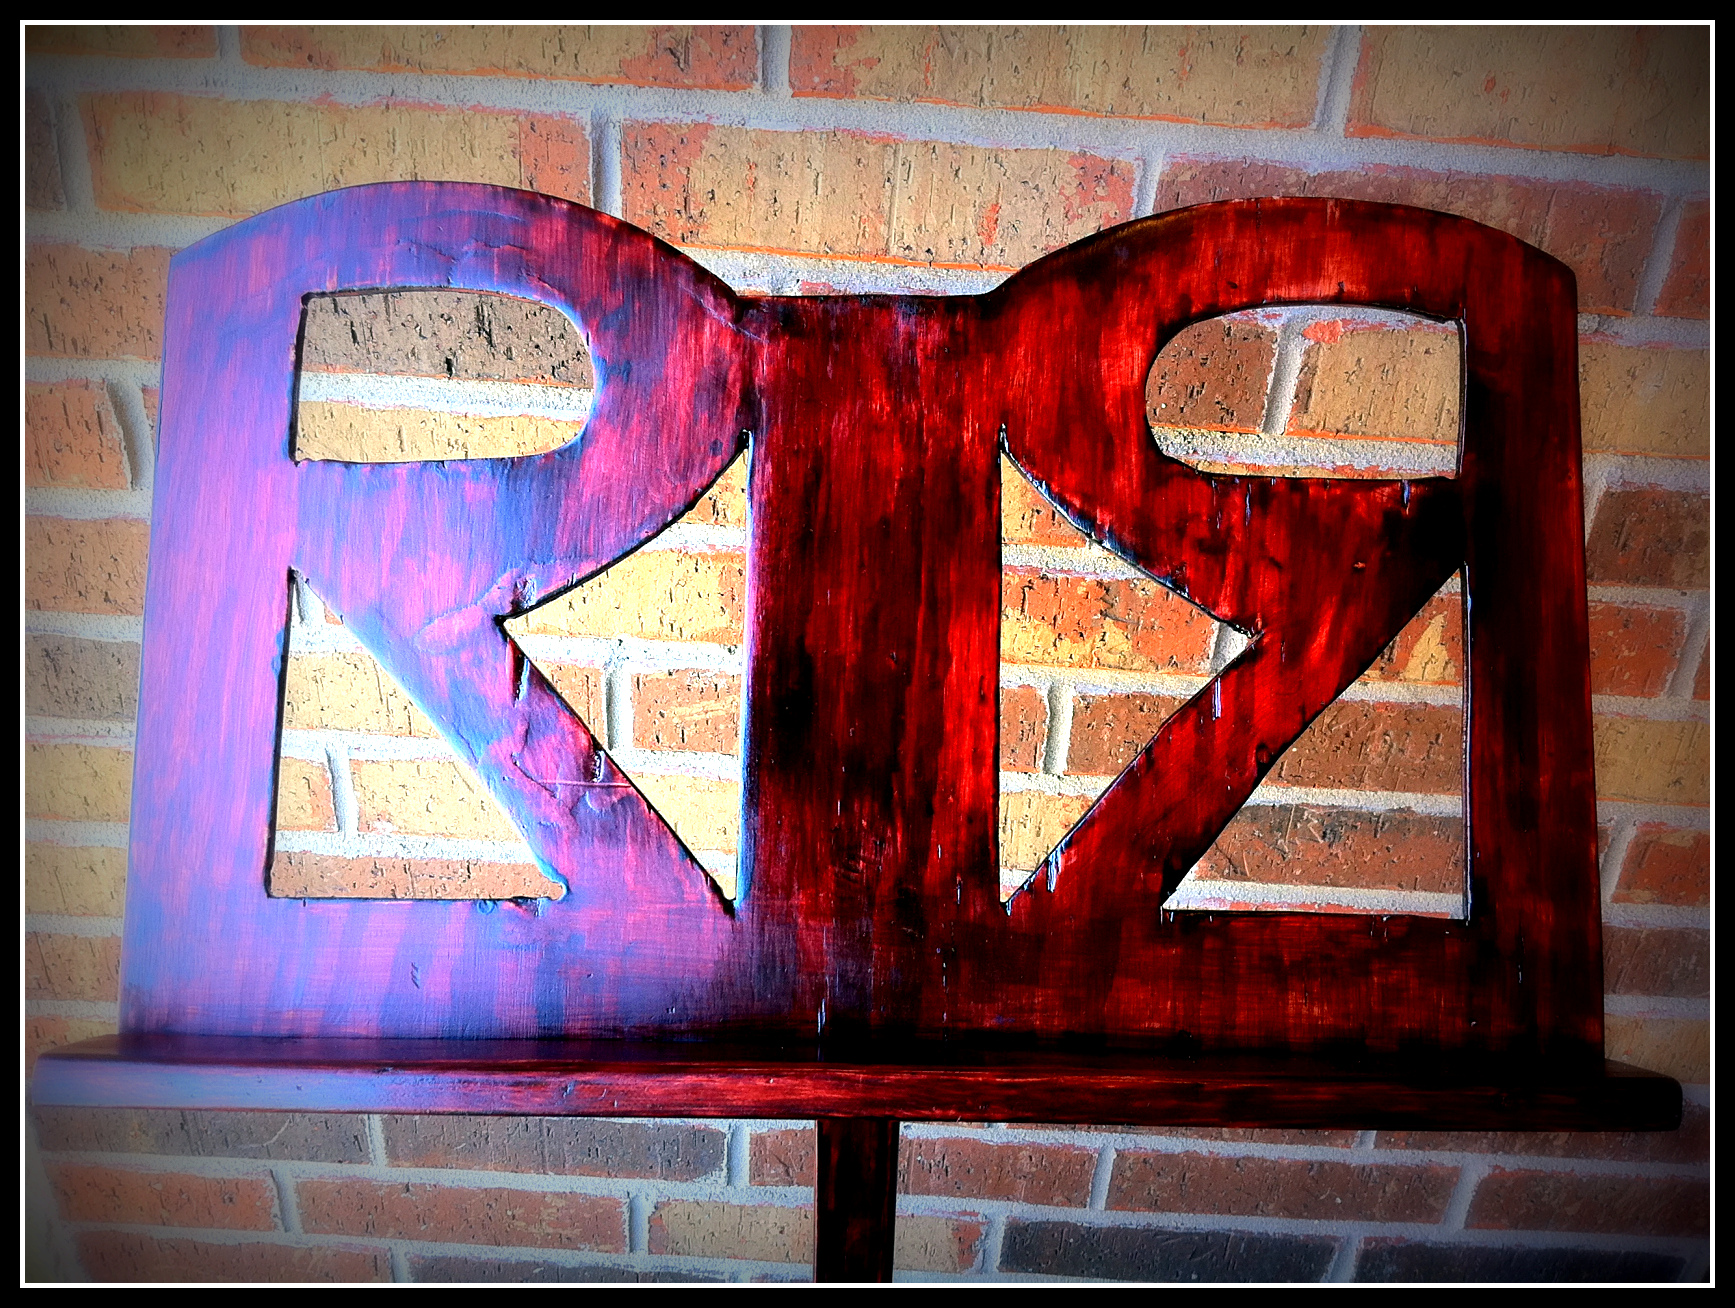
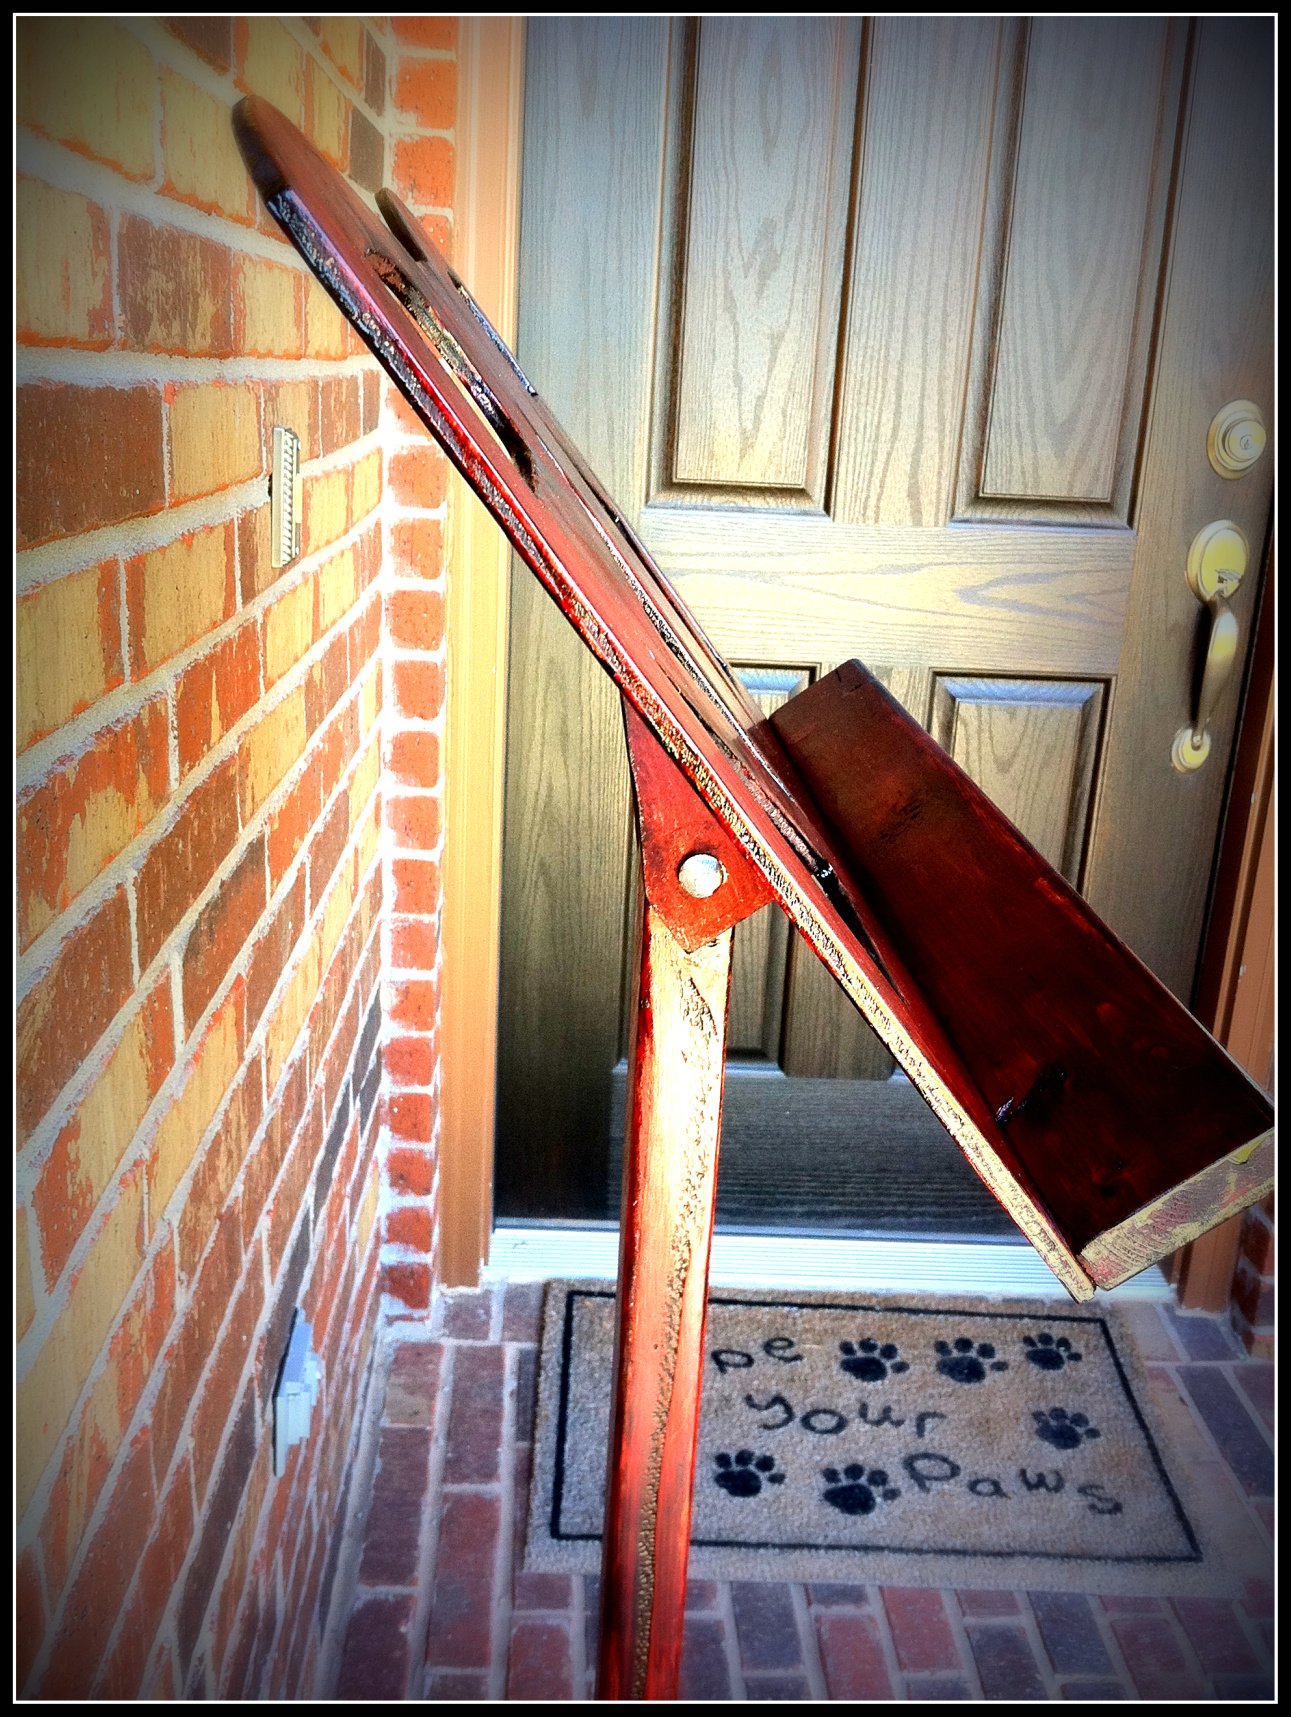
My husband's a music teacher and I had to build him this for our fifth wedding anniversary! I was looking and thinking about what to get him for a long time...then, I looked up what the "traditional" gift is for the 5 year mark. Wahoo, wood! Since I started dabbling into making things after discovering Ana's site last Fall, I thought, well no problem! Ha! Well, I had 2 evenings to build this thing with 2 toddlers helping me :-). I used the base of the stand from the plan for the Coat Tree. Then, I designed the top using the letters "R" & "R" for RoRo (what I call my Hubby). The top was cut using a jigsaw. Everything else, either a mitre or circular saw. The hardest part was affixing the top to the stand. Argh! Angles, drilling, messing up, argh! Somehow, it's put together and holding up, lol! Might I mention that when I first started building things, my hubby's first request was for a music stand. Well, there you go RoRo! Happy Anniversary!


Comments
Ana White Admin
Sun, 04/03/2022 - 19:03
Very cute!
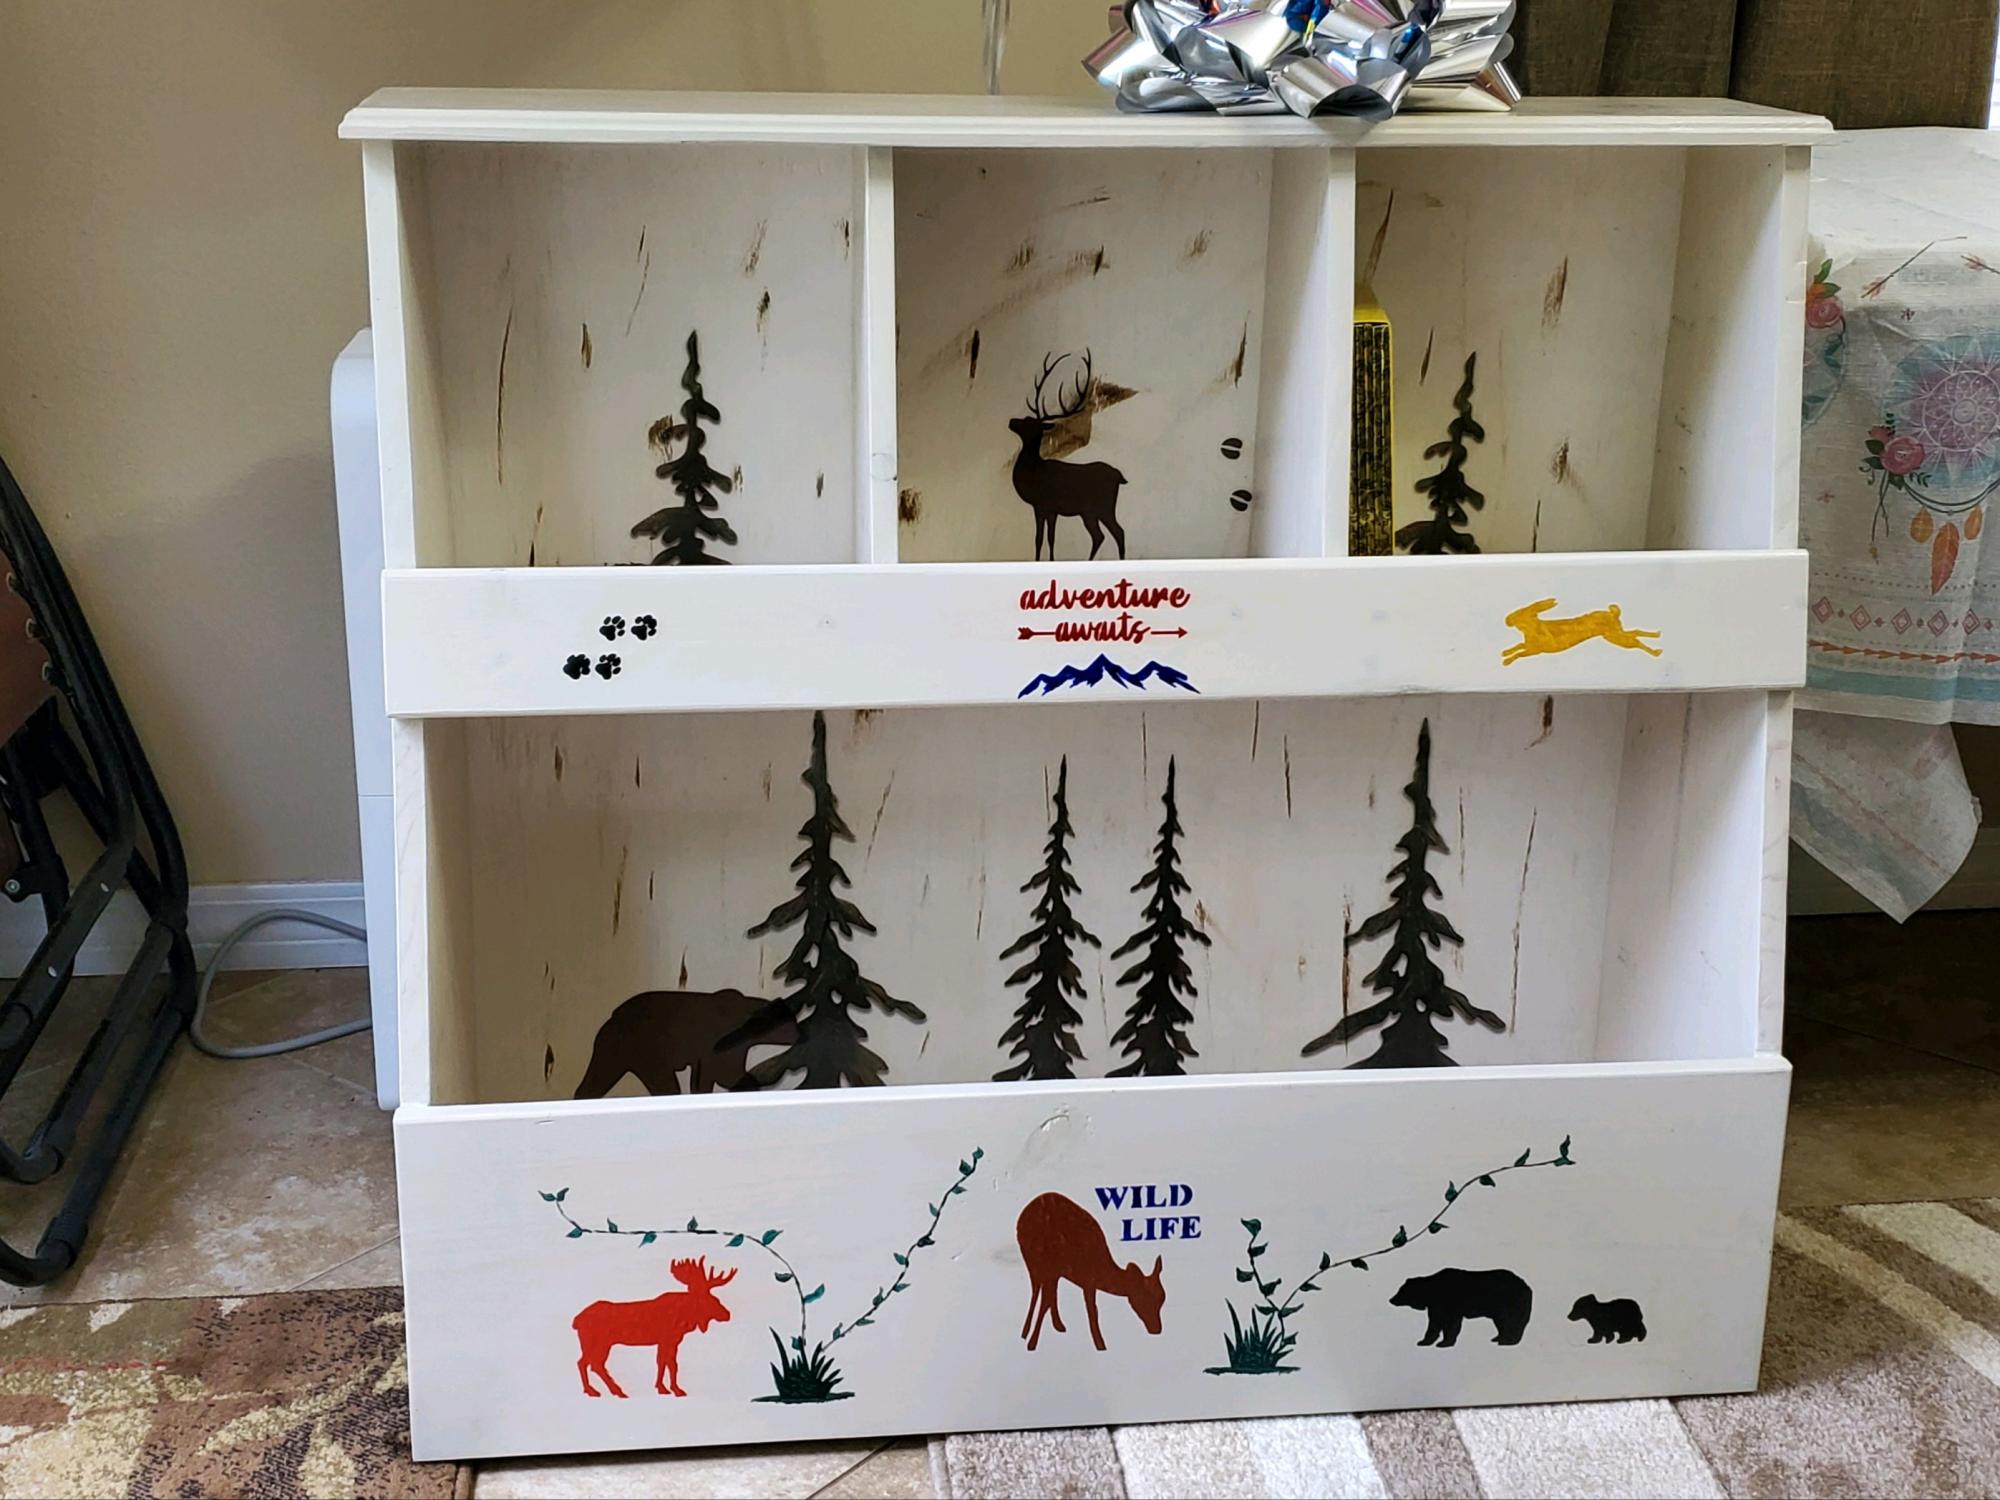
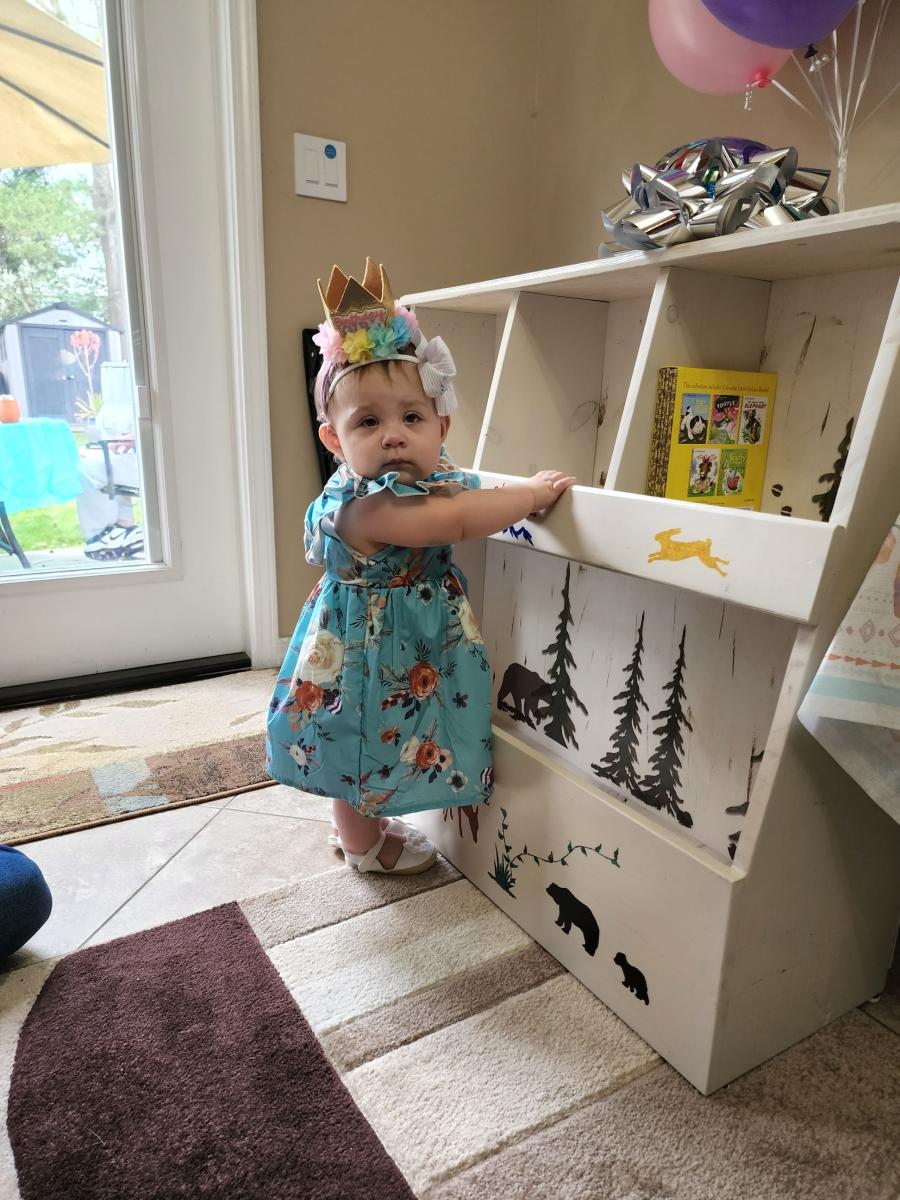
Thank you for sharing your awesome project, love the wildlife theme!