Farmhouse Table - Blue/Espresso
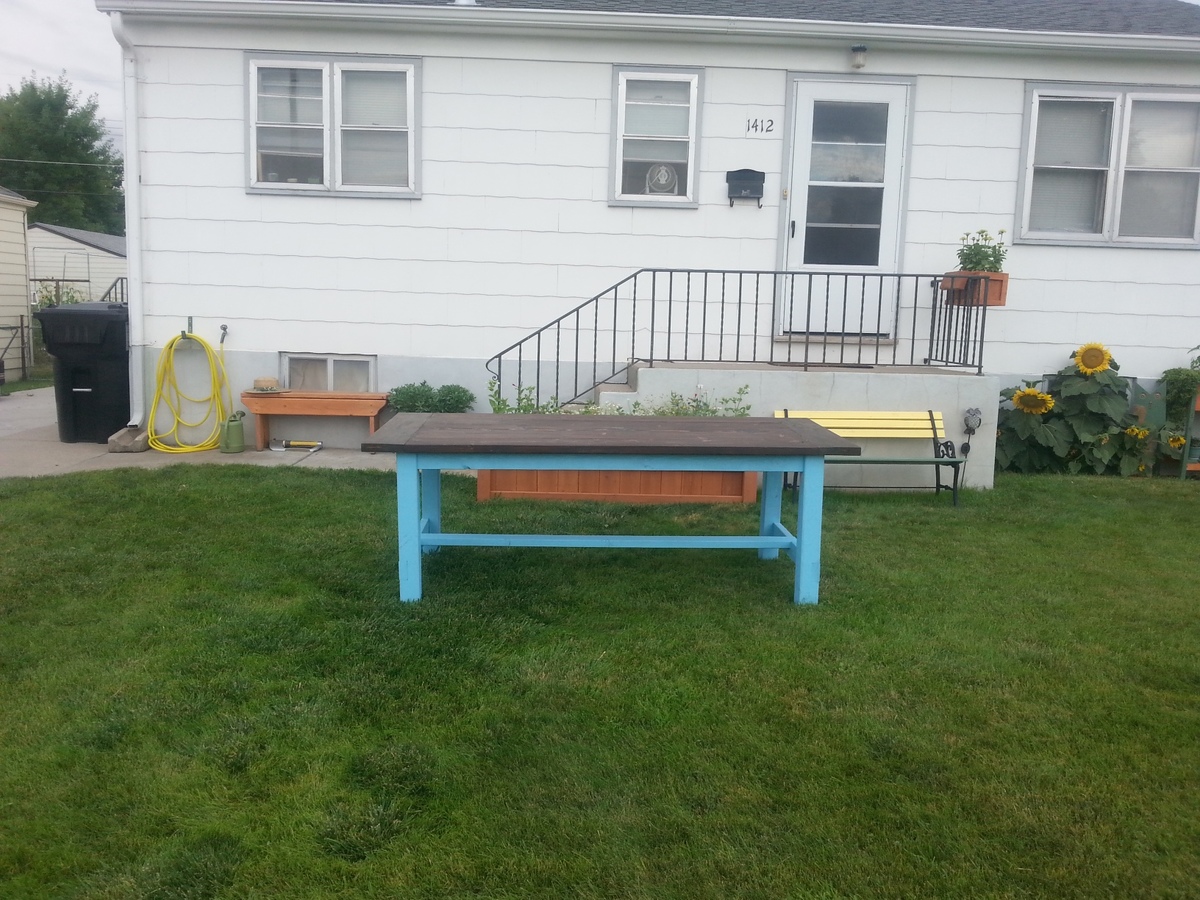
This was easier than I expected, and worth every minute I spent on it. I followed the plans to a "t".
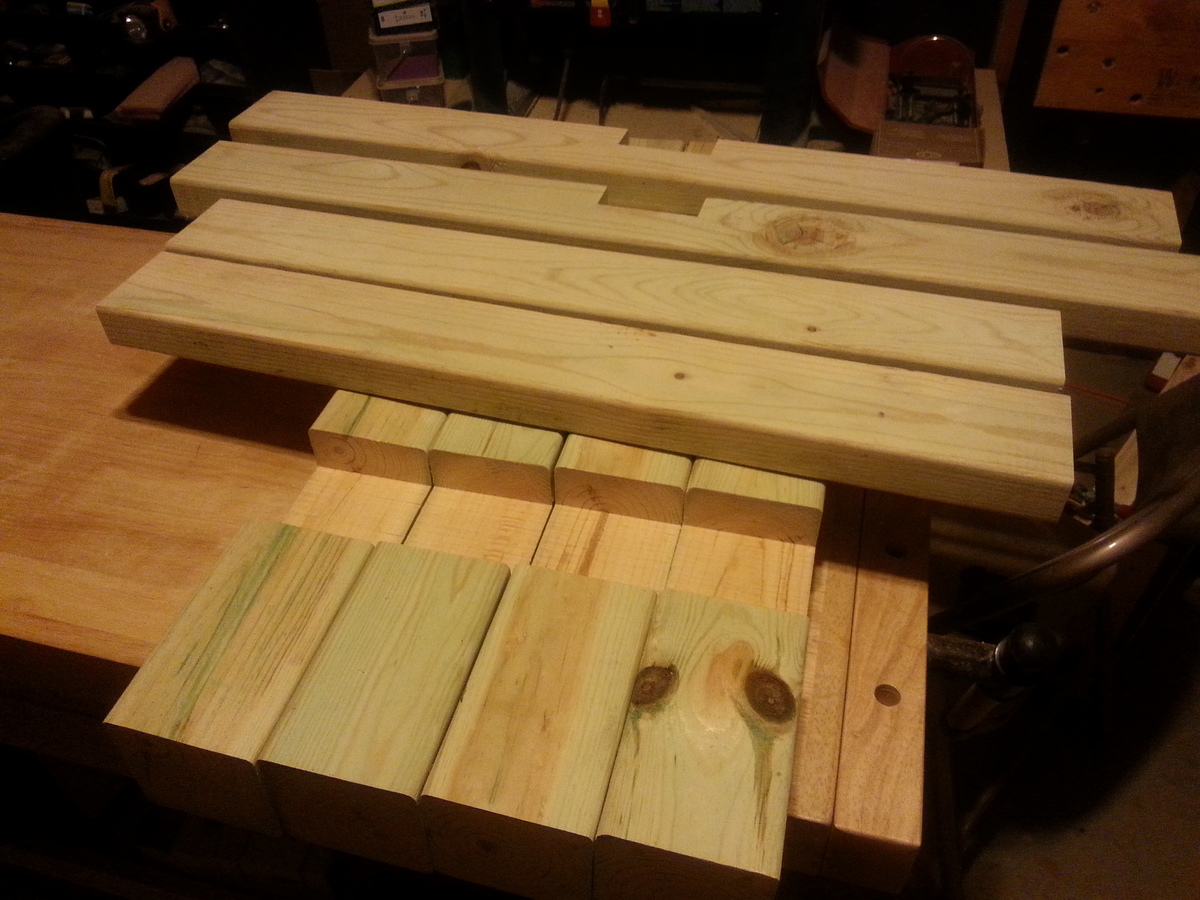
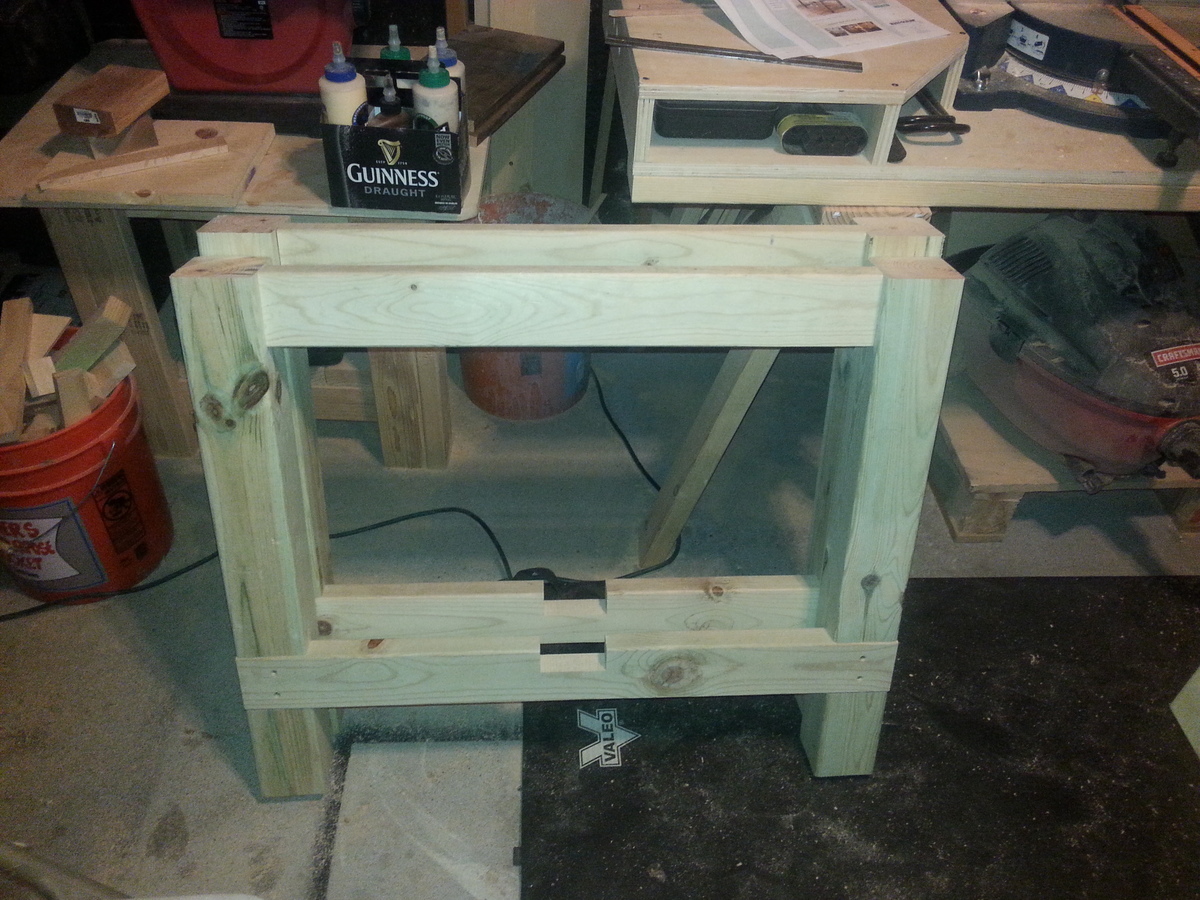
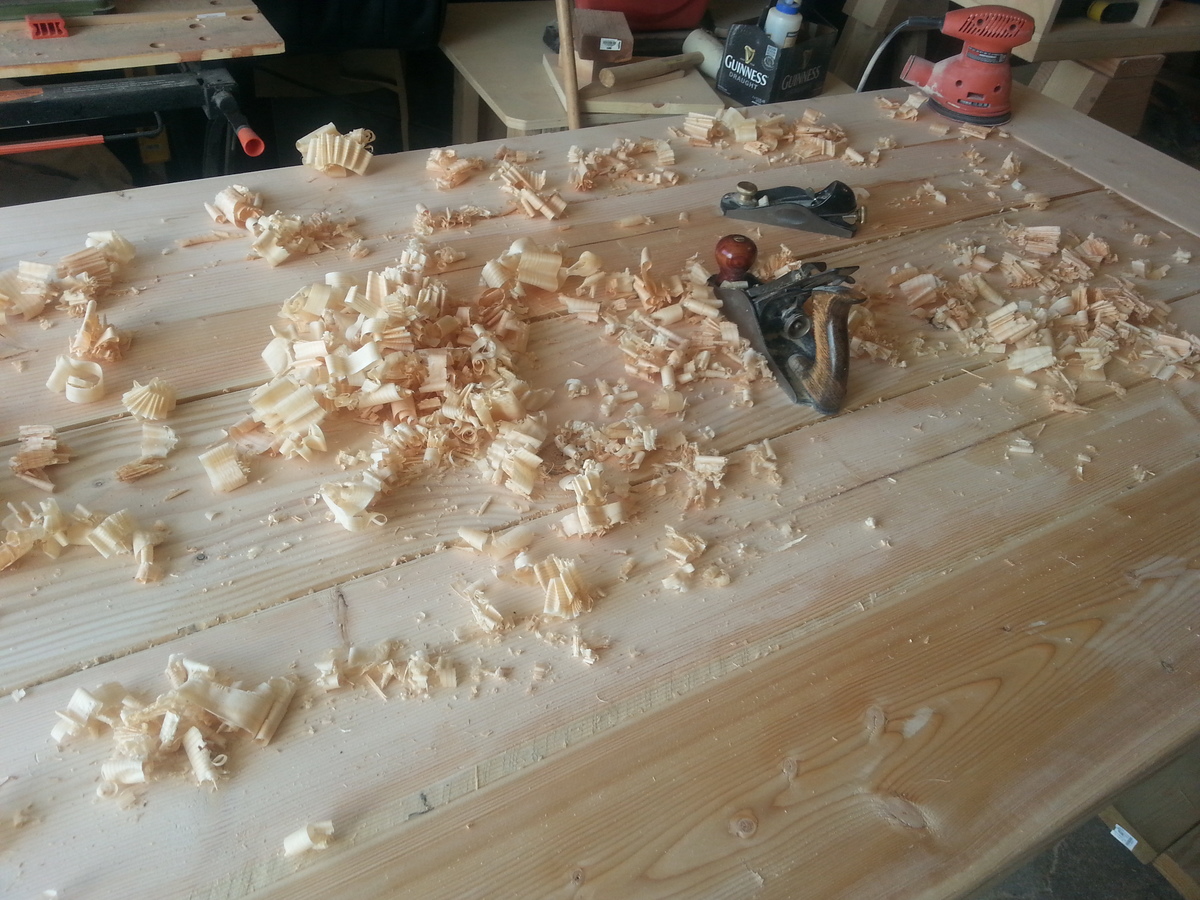
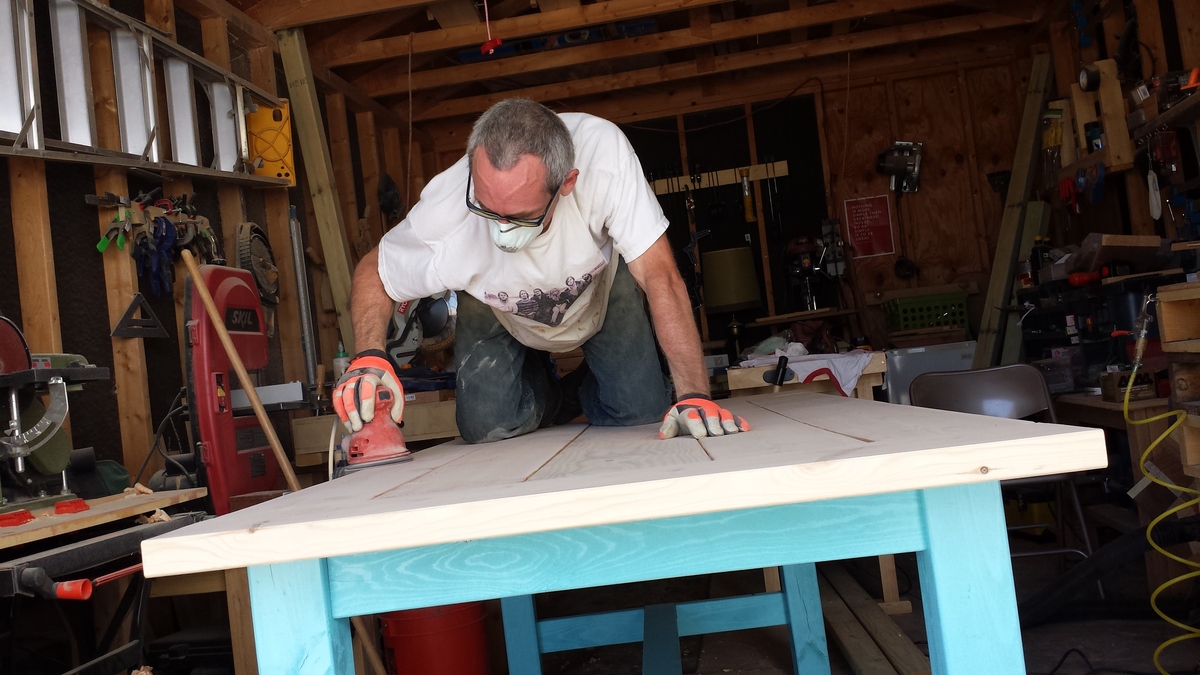

This was easier than I expected, and worth every minute I spent on it. I followed the plans to a "t".


Dear Ana,
Thank you for inspiring my friend Erik to build your farmhouse style table. I was inspired by him, so I decided to build your farmhouse style kitchen island. It was not an easy DIY project for a first time DIY. However, I'm thankful that your plans are easy to follow and that there are plenty of Kregjig tutorials on YouTube! This project took 15 hours, but in the end- the time spent didn't matter. I love the finished product, finally a space to prep and cook. Thank you for inspiring all of us. Not perfect, but beautiful. Used Minwax Golden Pecan Wood Finish and 2 coats semi gloss. Thanks again! -Leo C. @1LeoChen Instagram & Twitter
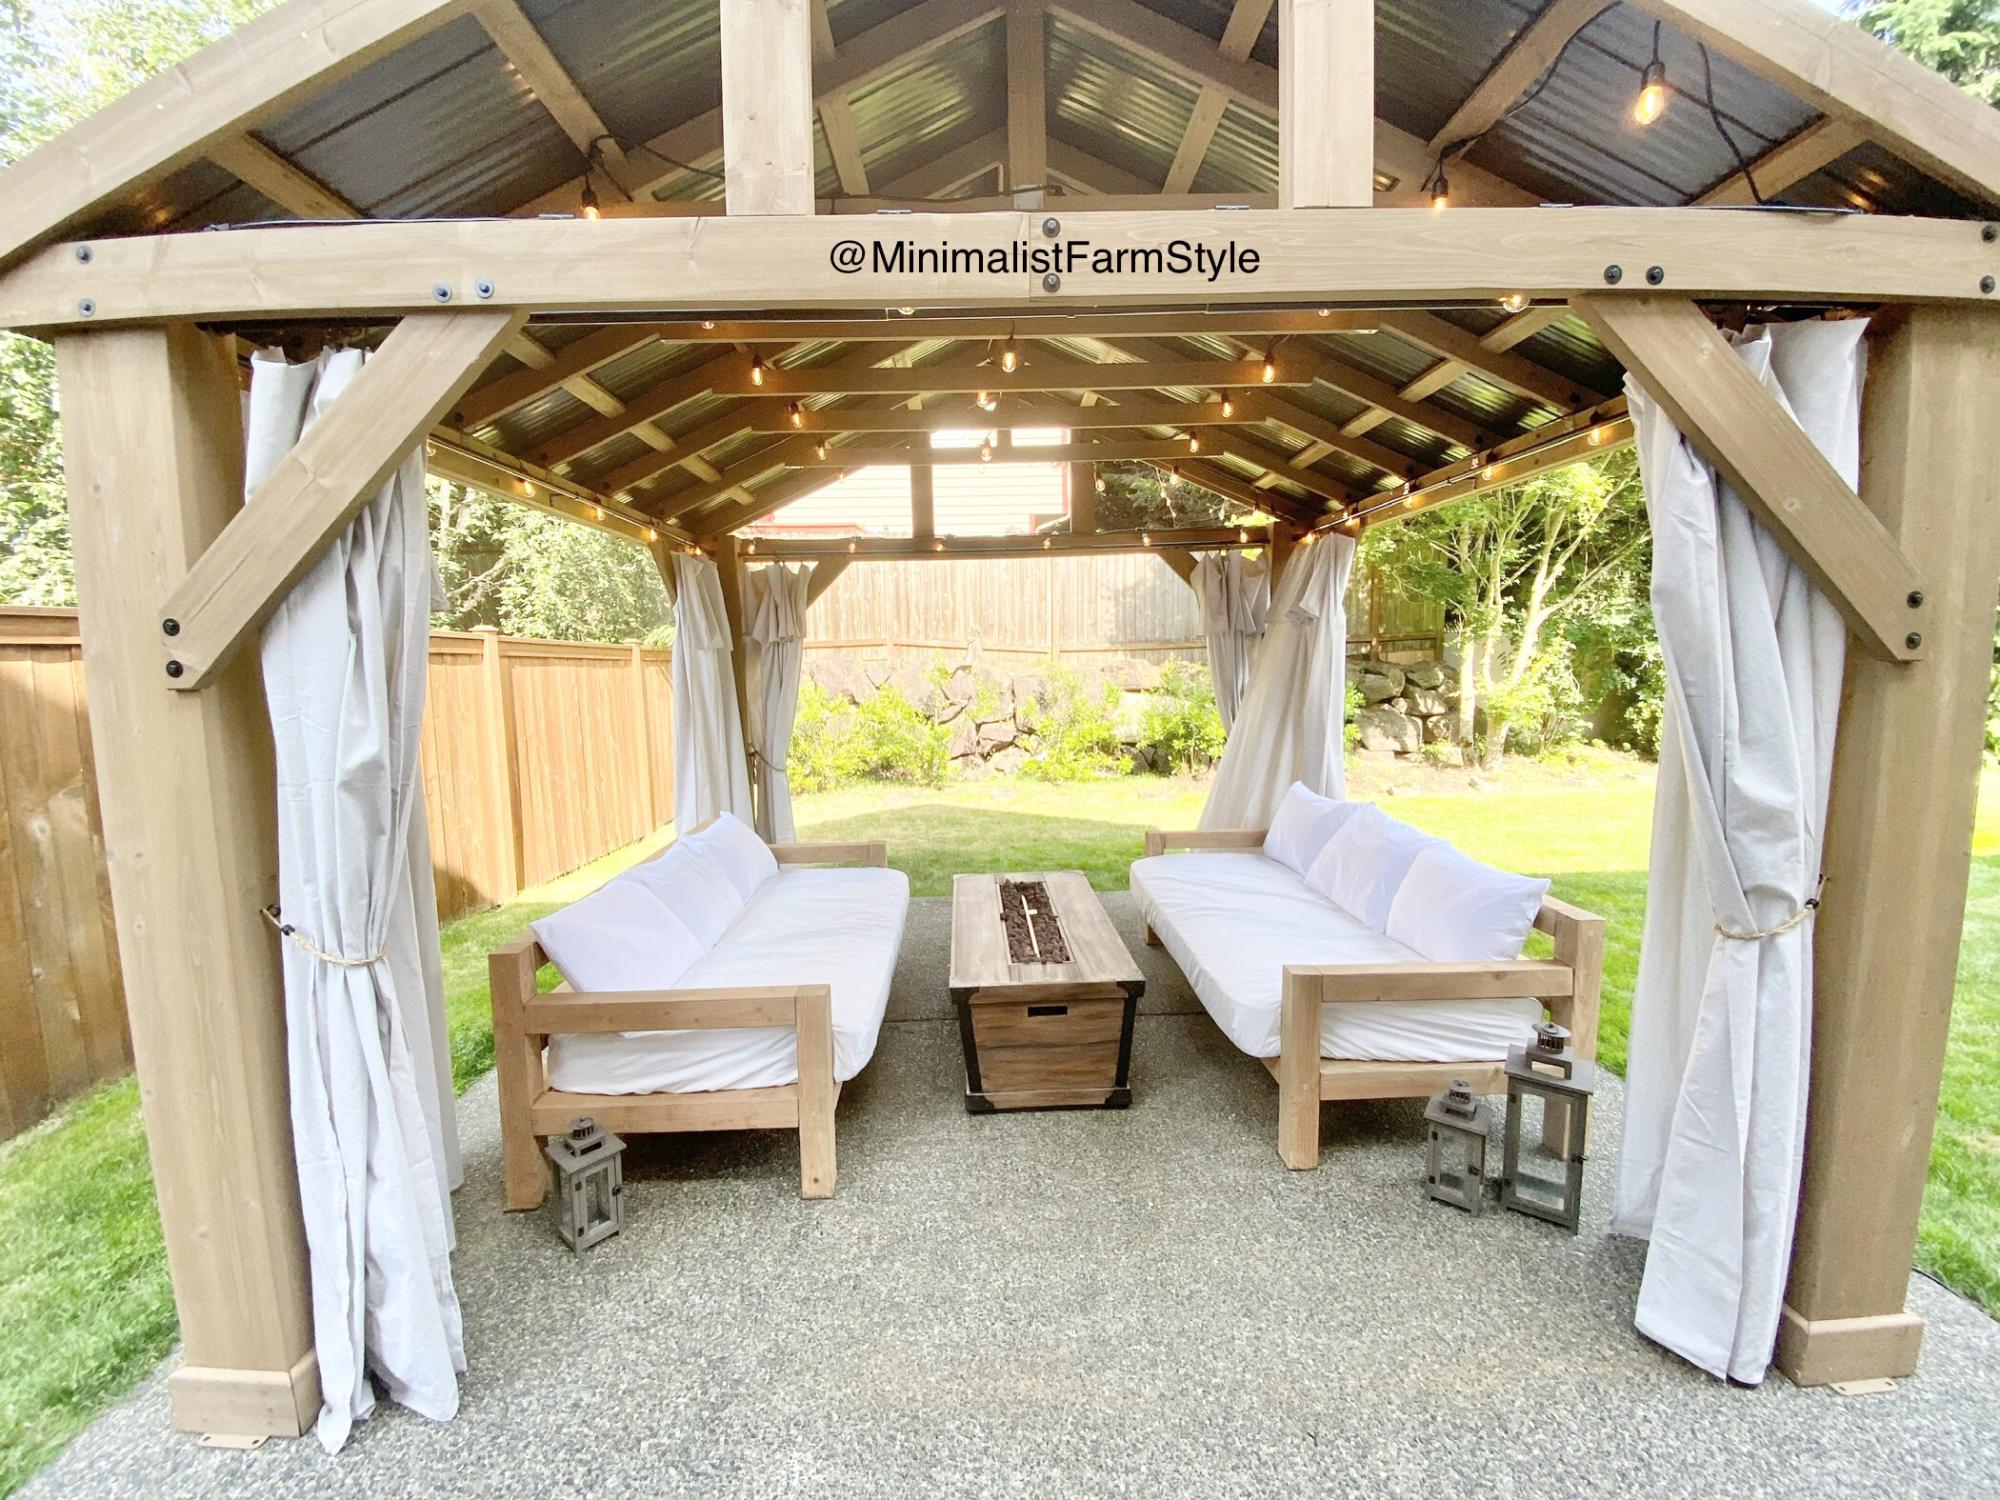
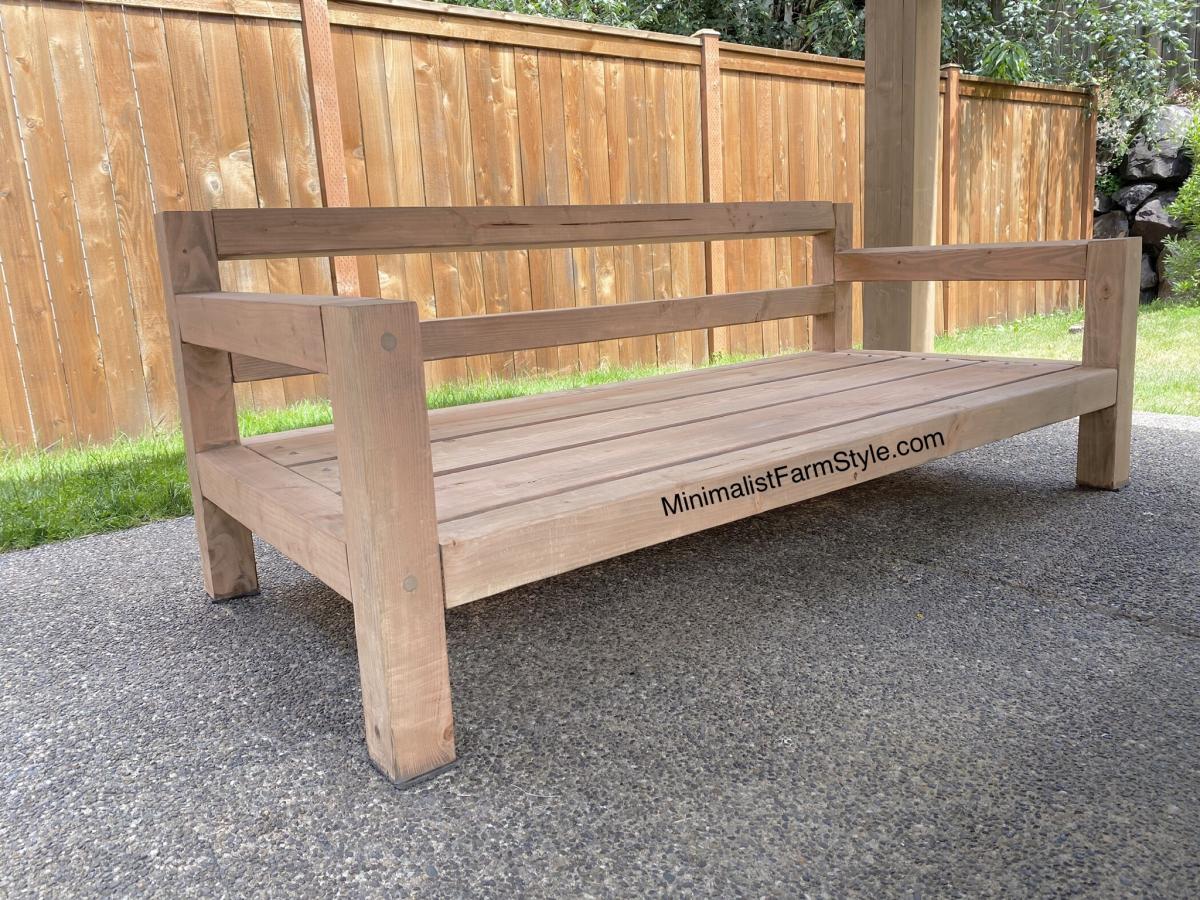
This was my first time DIYing furniture, so I definitely came up with a very easy design!
The dimensions for this sofa are modern as it sits low to the ground and has a squarish appearance.
Free detailed plan on Blog: www.MinimalistFarmStyle.com
My husband and I are doing a bit of remodeling in our 150+ year old farmhouse - over time we have amassed a not so small pile of old lumber. We hated to see it go to waste so it has been our hobby to try to find ways to reuse. Small projects. Finding this website was a dream. My husband and I are NOT natural carpenters but the plans we found here were perfect for us. Clear, simple, un-intimidating. I've been meaning to make the Library Console Table for a while and before the weather got too yucky to work outside I knew I had to get to it. It cost us zero to make, however, since it is all old barnwood - no two pieces were alike, the wood was a bit warped, dinged and splintery. But with enough sanding and the right paint I think this will be adorable. Husband does not want me to paint it and I might not have but we were forced to use some plywood (we also had a small sheet on hand) and I hate plywood too much to leave it exposed. We'll see.

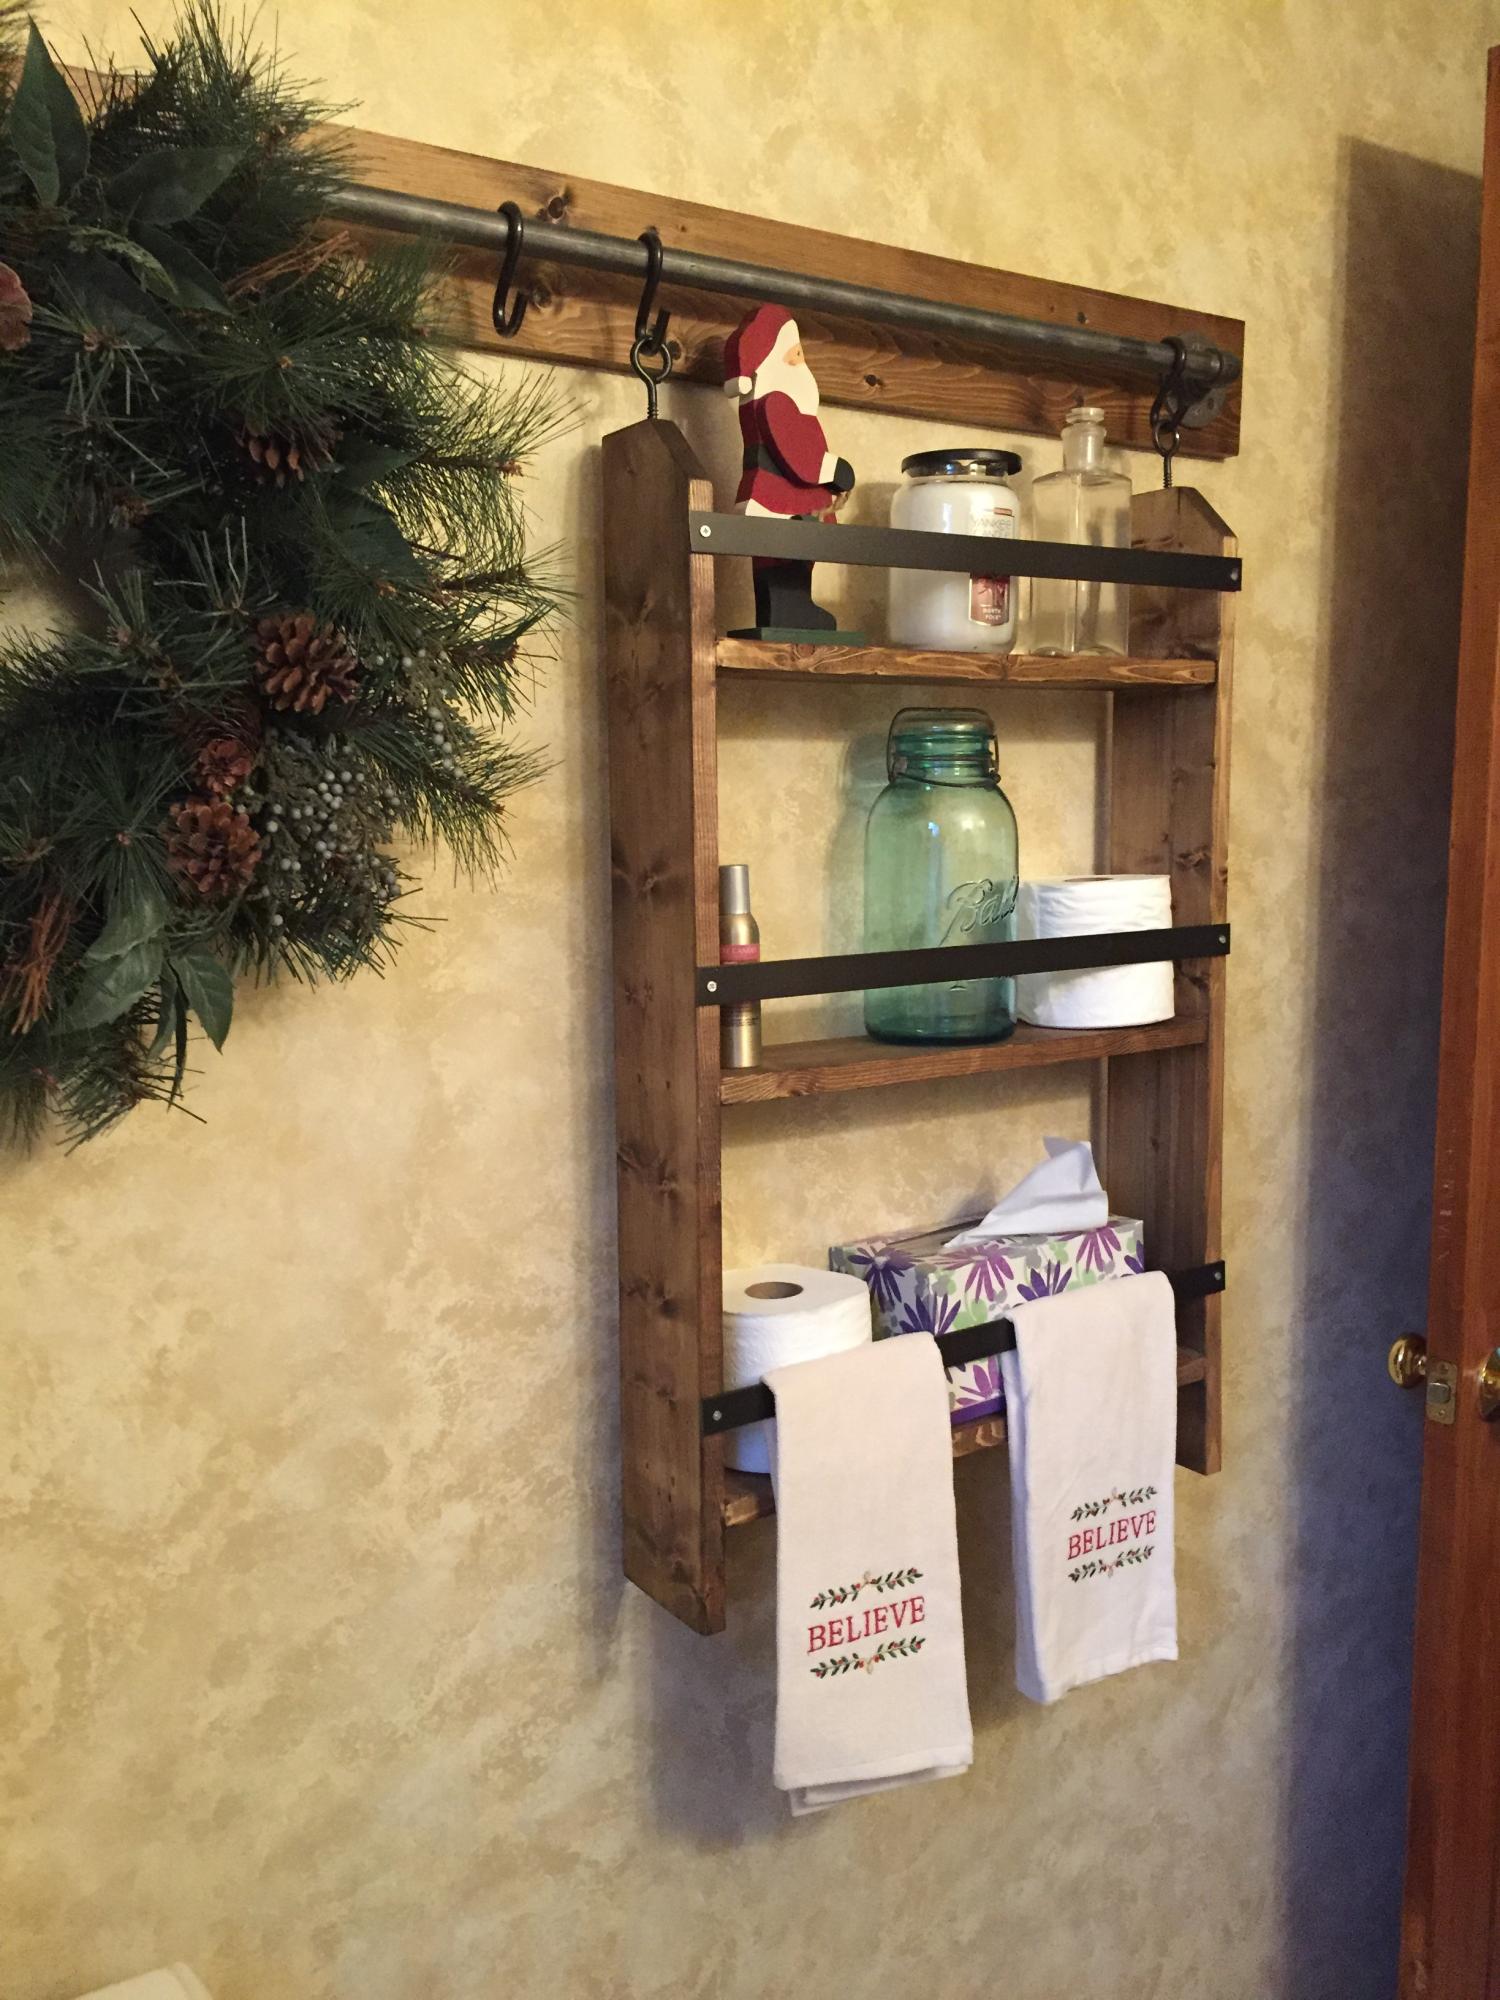
I saw Ana Whites video for this project on YouTube and thought it would be perfect for this space in my half bath.
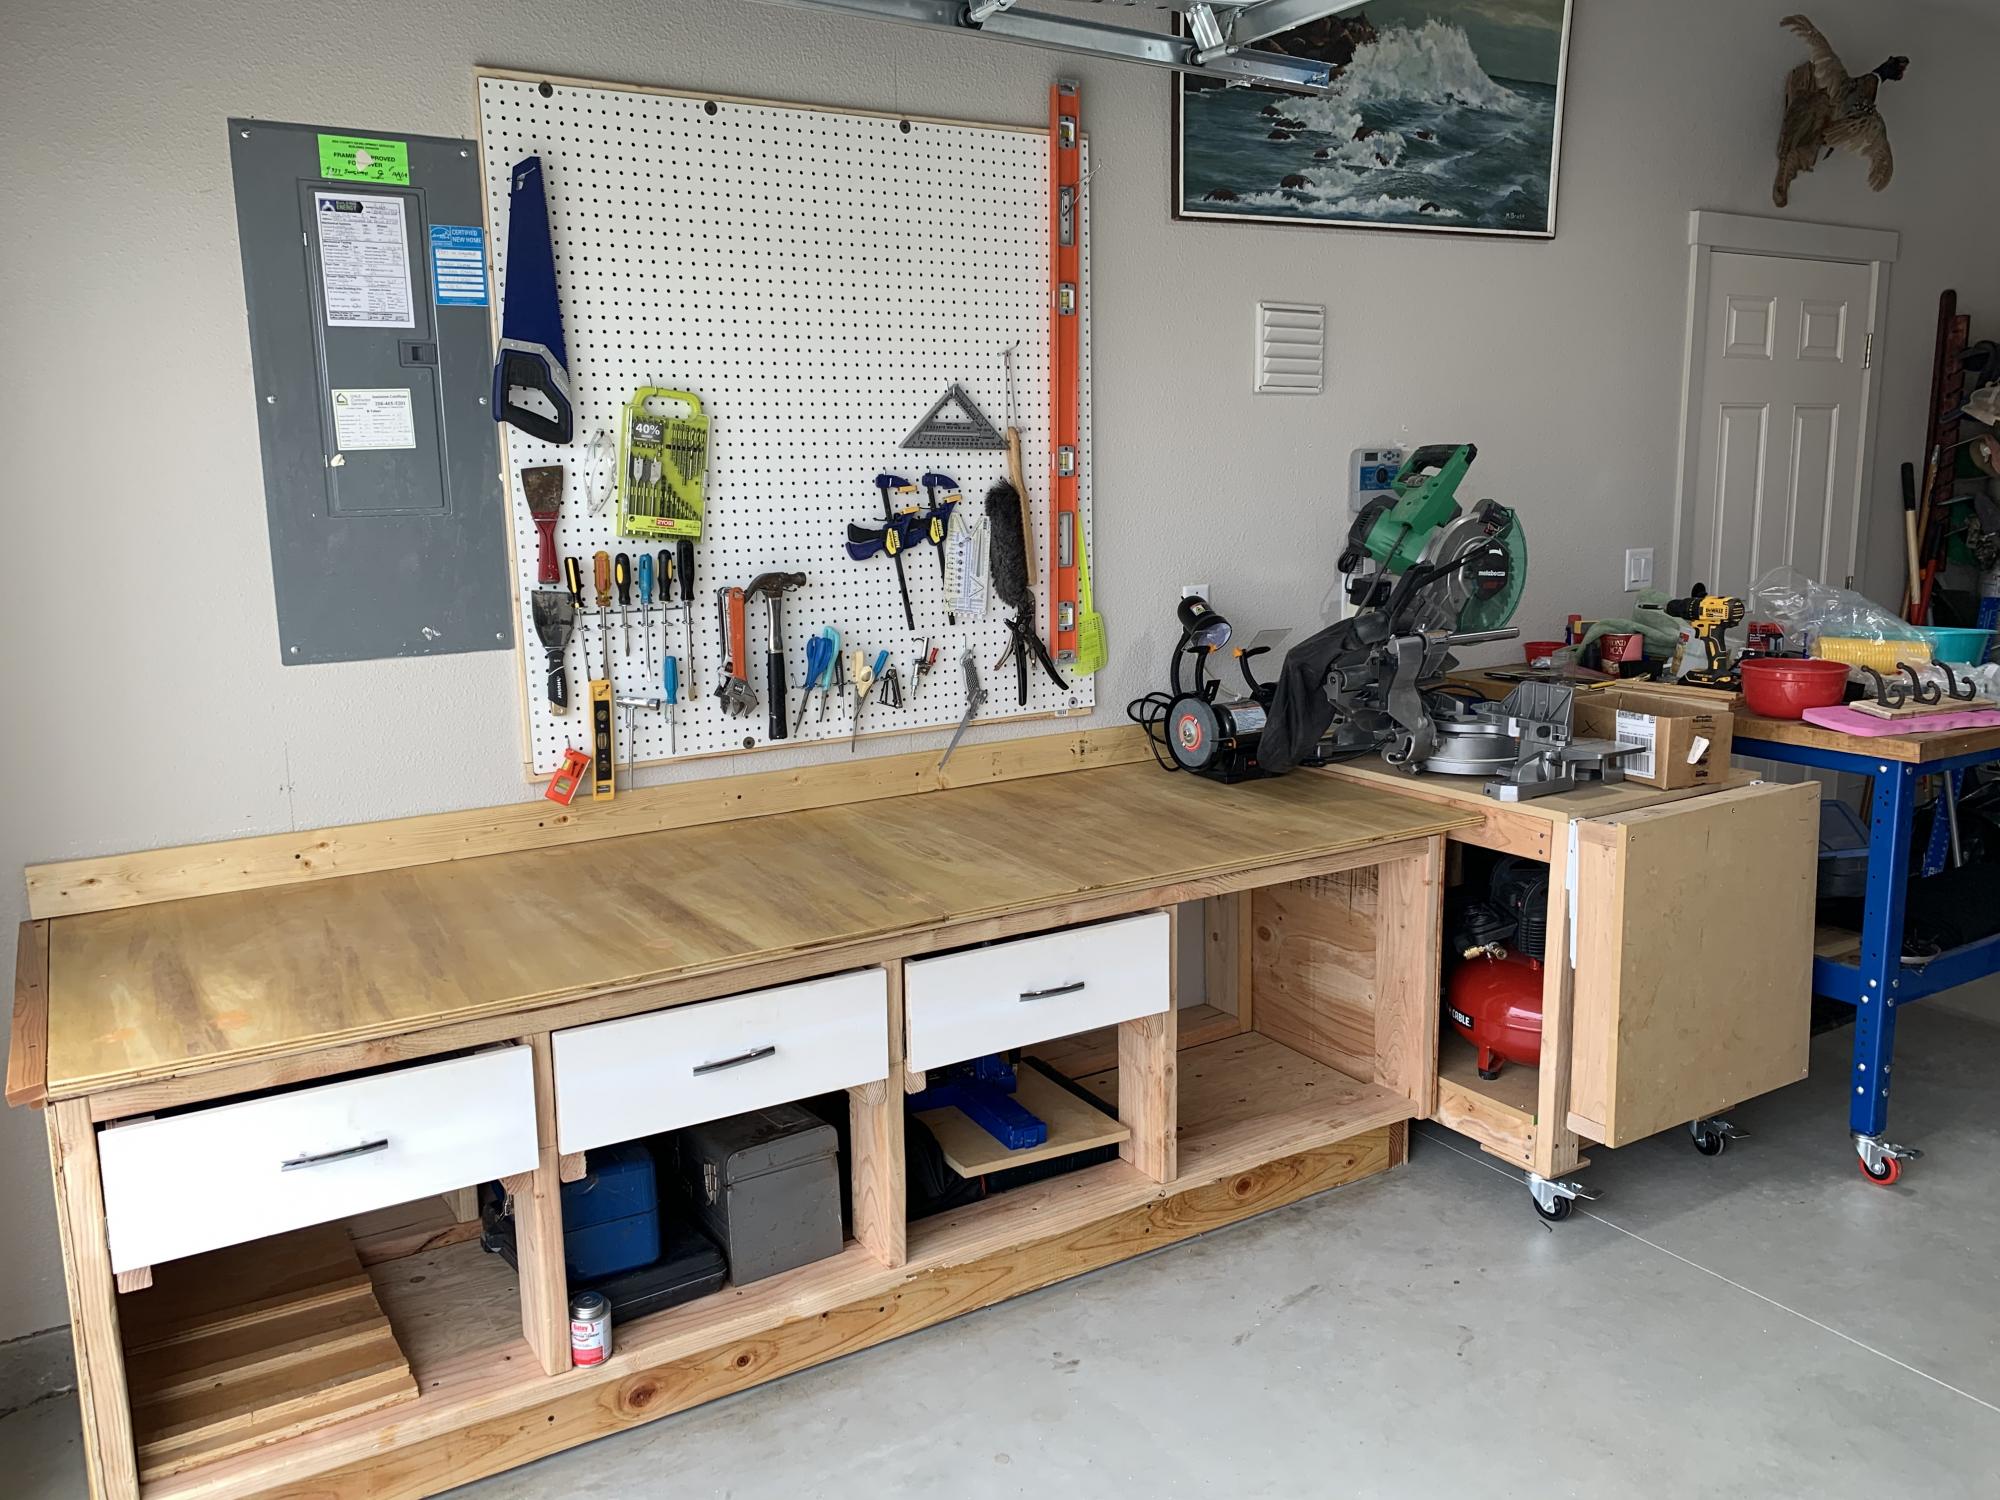
Love your site. The 8’ pony wall I recently made was a great plan. I’m also going to build the outdoor storage plan you have. Thanks for your creativity!
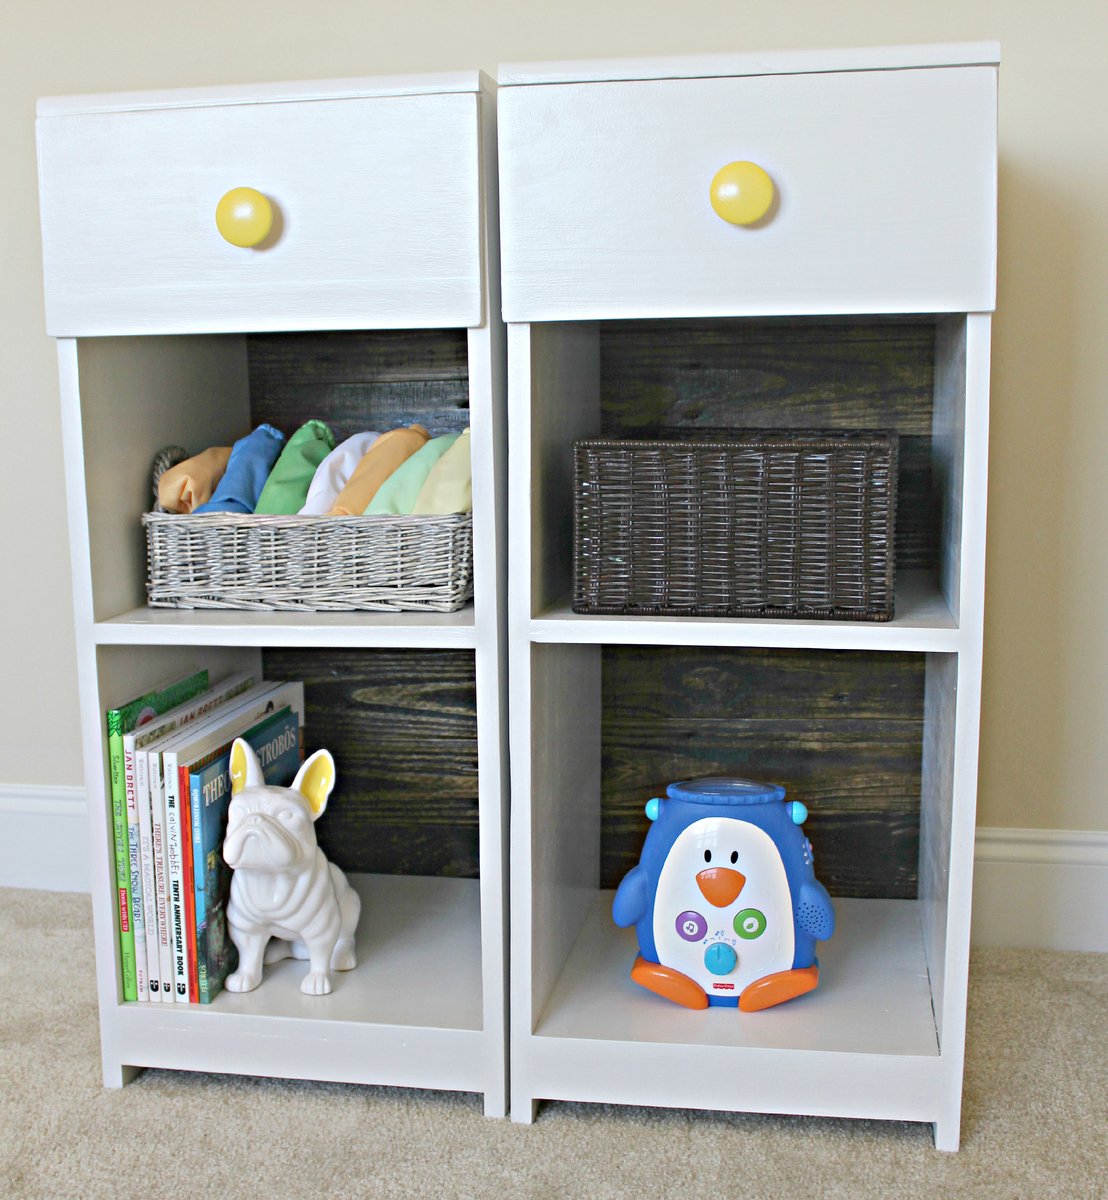
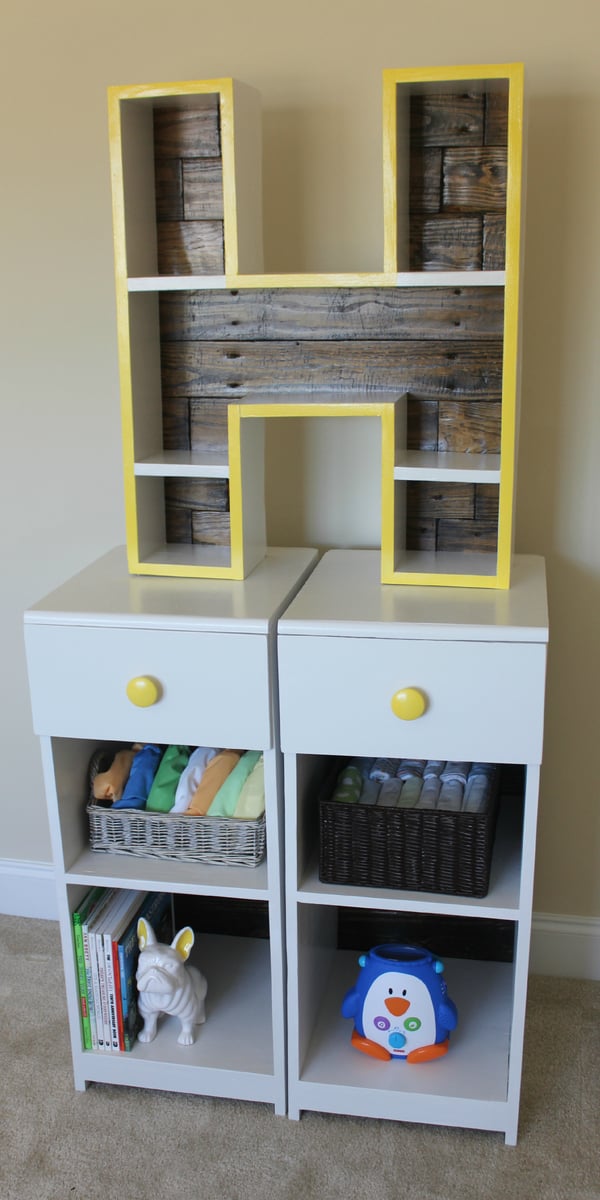
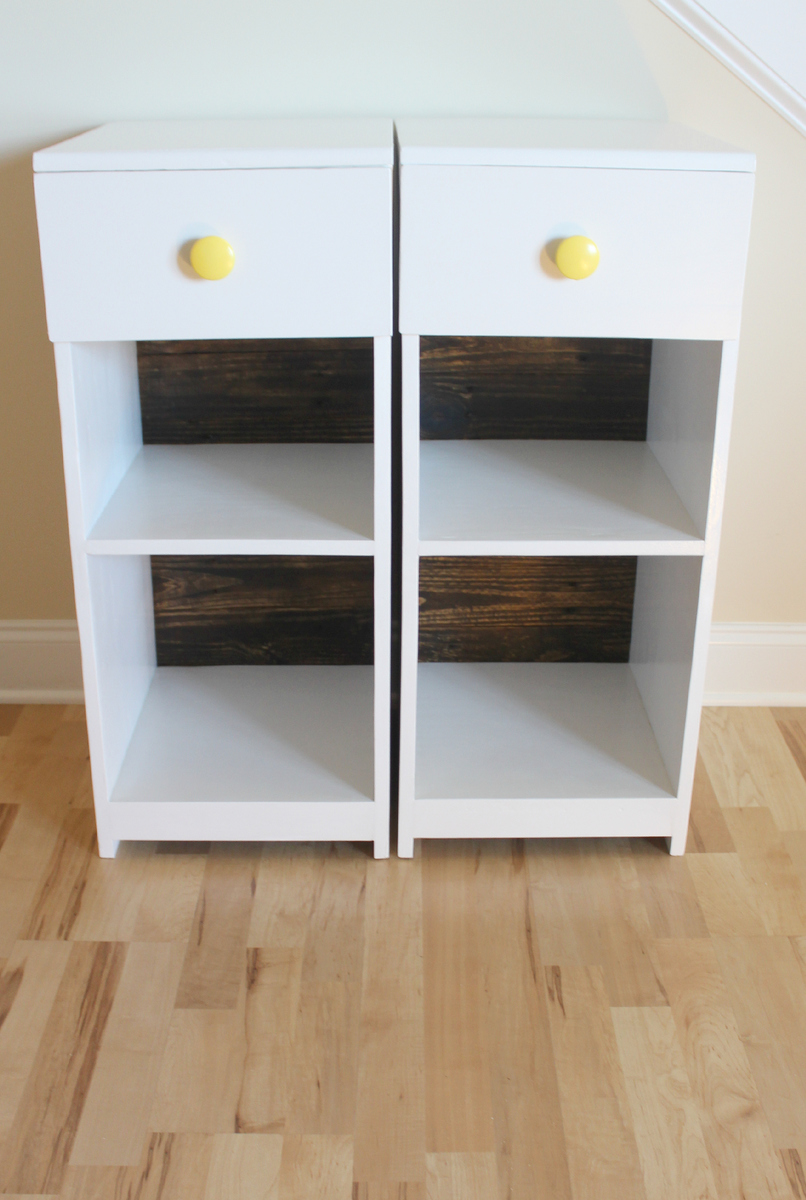
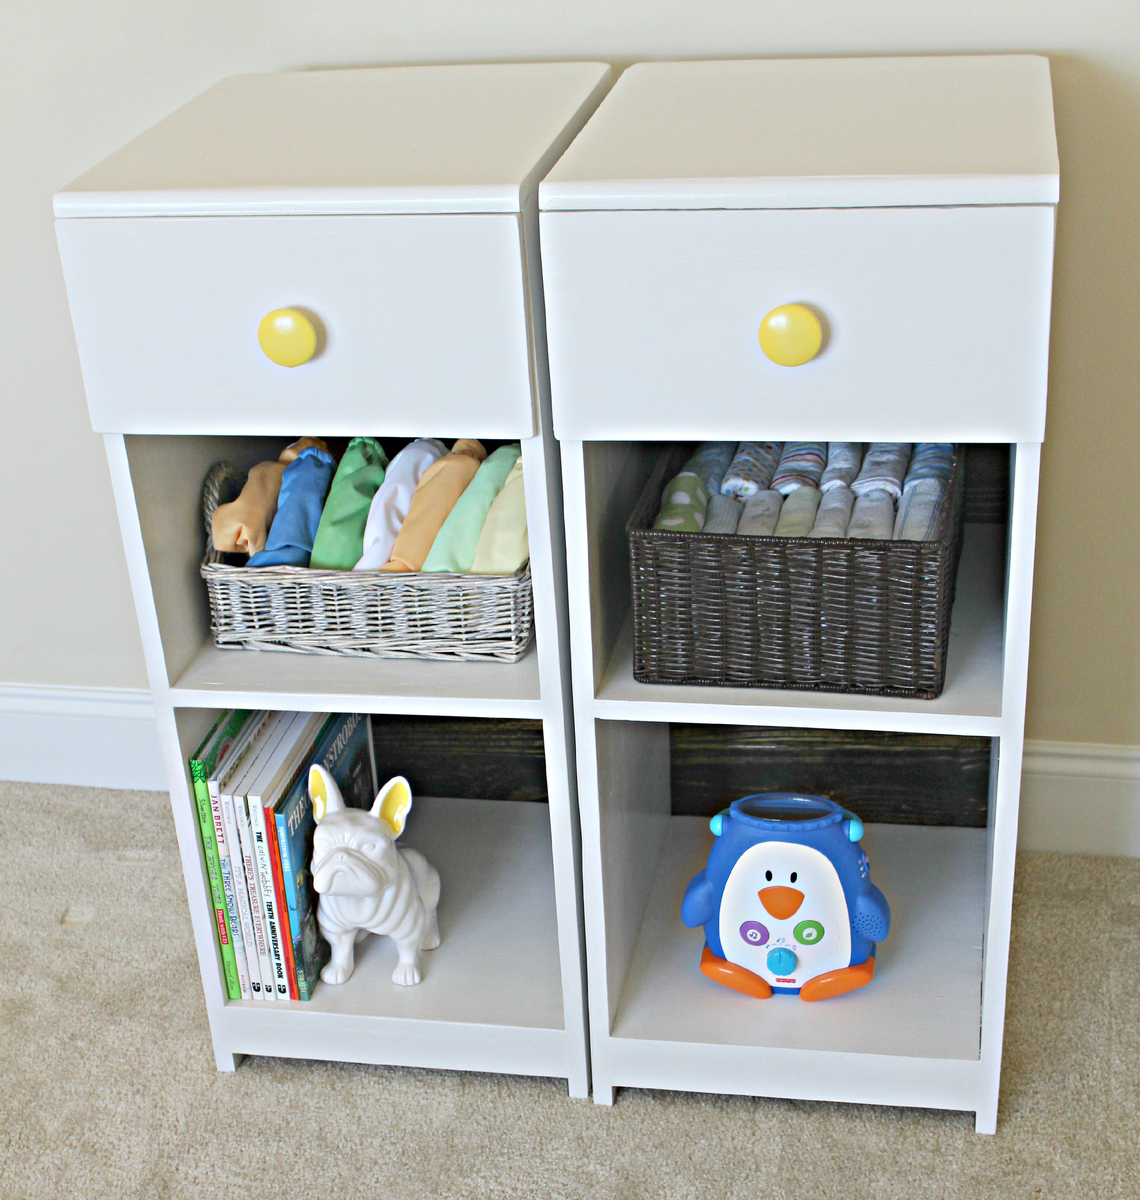
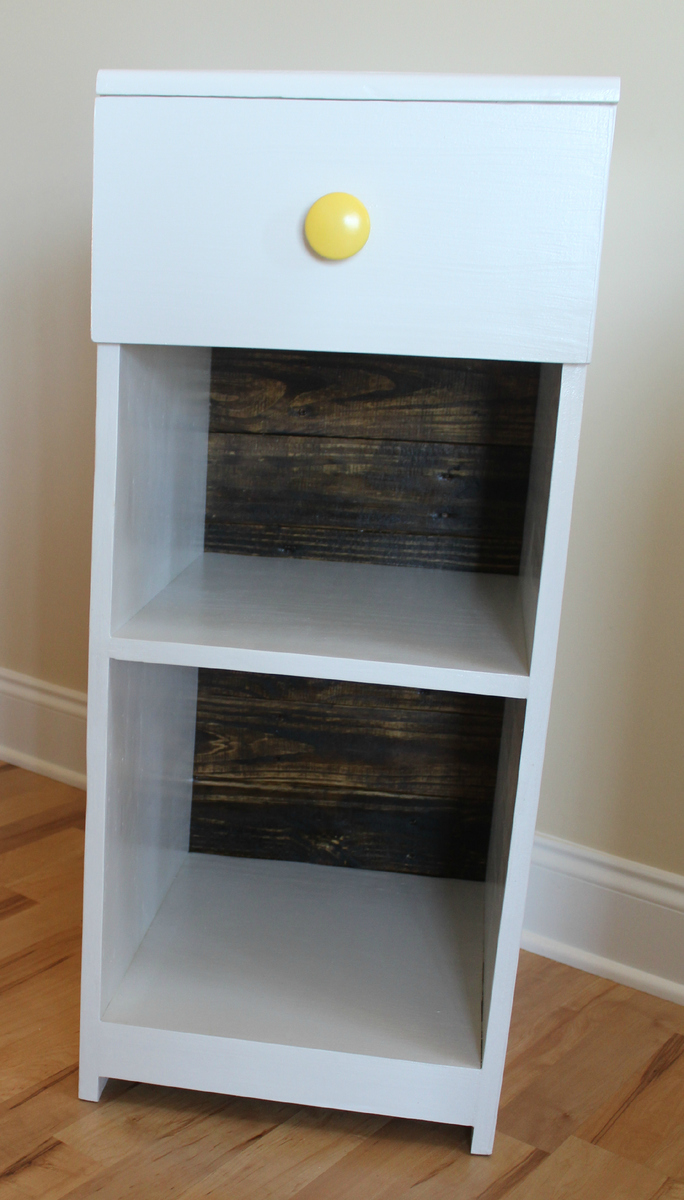
Still working on part 2 and part 3 of this project. We've been eyeballing this project for awhile and are so excited with the results! We love that we can potentially use these as bedside tables in the future.
We wrote out how we did everything on the blog: http://thehuth.blogspot.com/2012/10/madison-changing-table-part-1-side-…
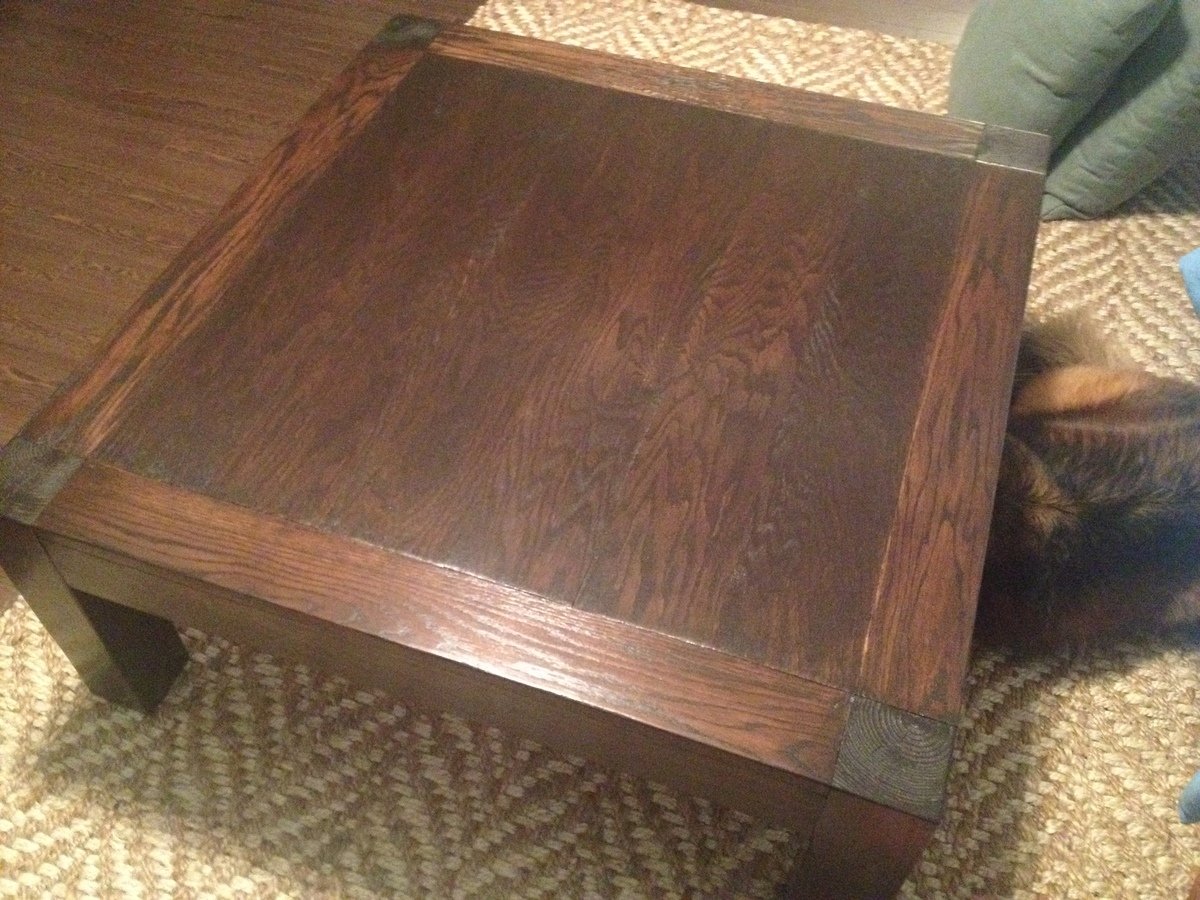
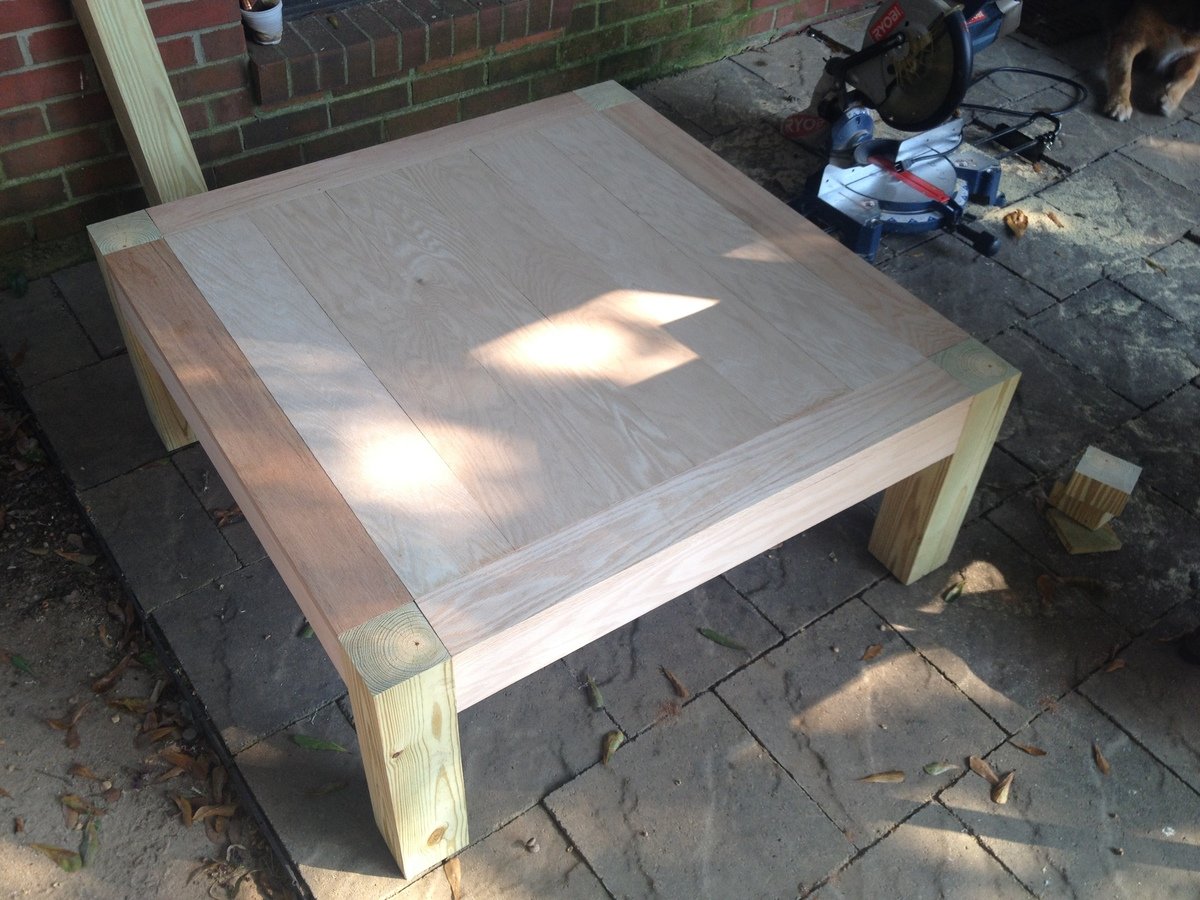
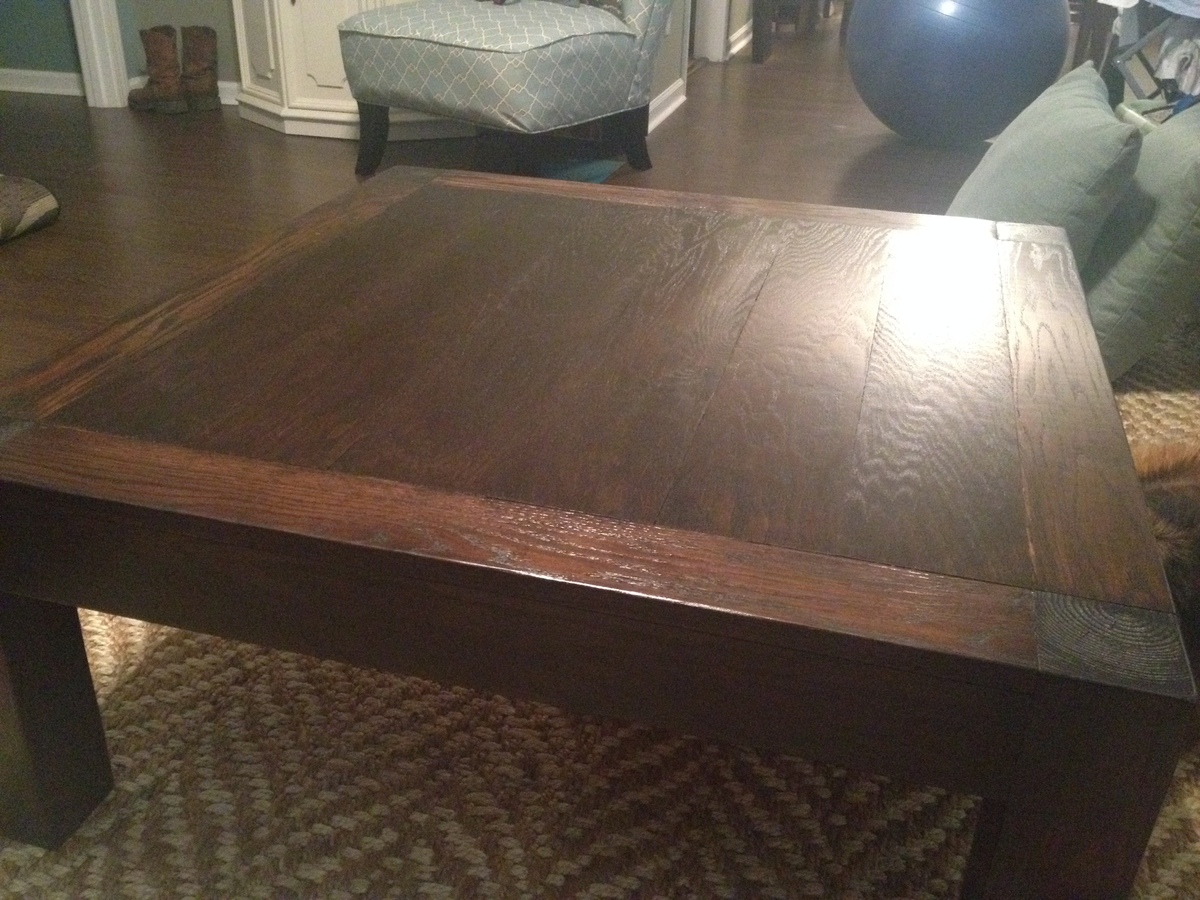
With all my left-over oak plywood laying around from a previous project and the need for a new coffee table, I decided I could easily utilize what I had on-hand to build the iTable (we've begun referring to our breakfast nook as the "indoor lumber yard", as it's full of scraps that I KNEW would be useful :) ). I rip cut the plywood to 5 1/2"-wide boards and cut to size for the center of the table. All I had to buy were the oak boards for the four trim pieces on top and the 6' 4x4's for the legs (I also used the rip-cut oak plywood for the skirts since the edges are not visible).
I sanded the project down with 80-grit and then 120-grit sandpaper. I used Rustoleum Kona stain (this was my first time using a non-Minwax product, and I have to say that Kona from Rustoleum is my new favorite color). I sealed the project with two coats of Minwax Polycrylic Semi-Gloss on everthing but the top of the table, where I applied three coats.
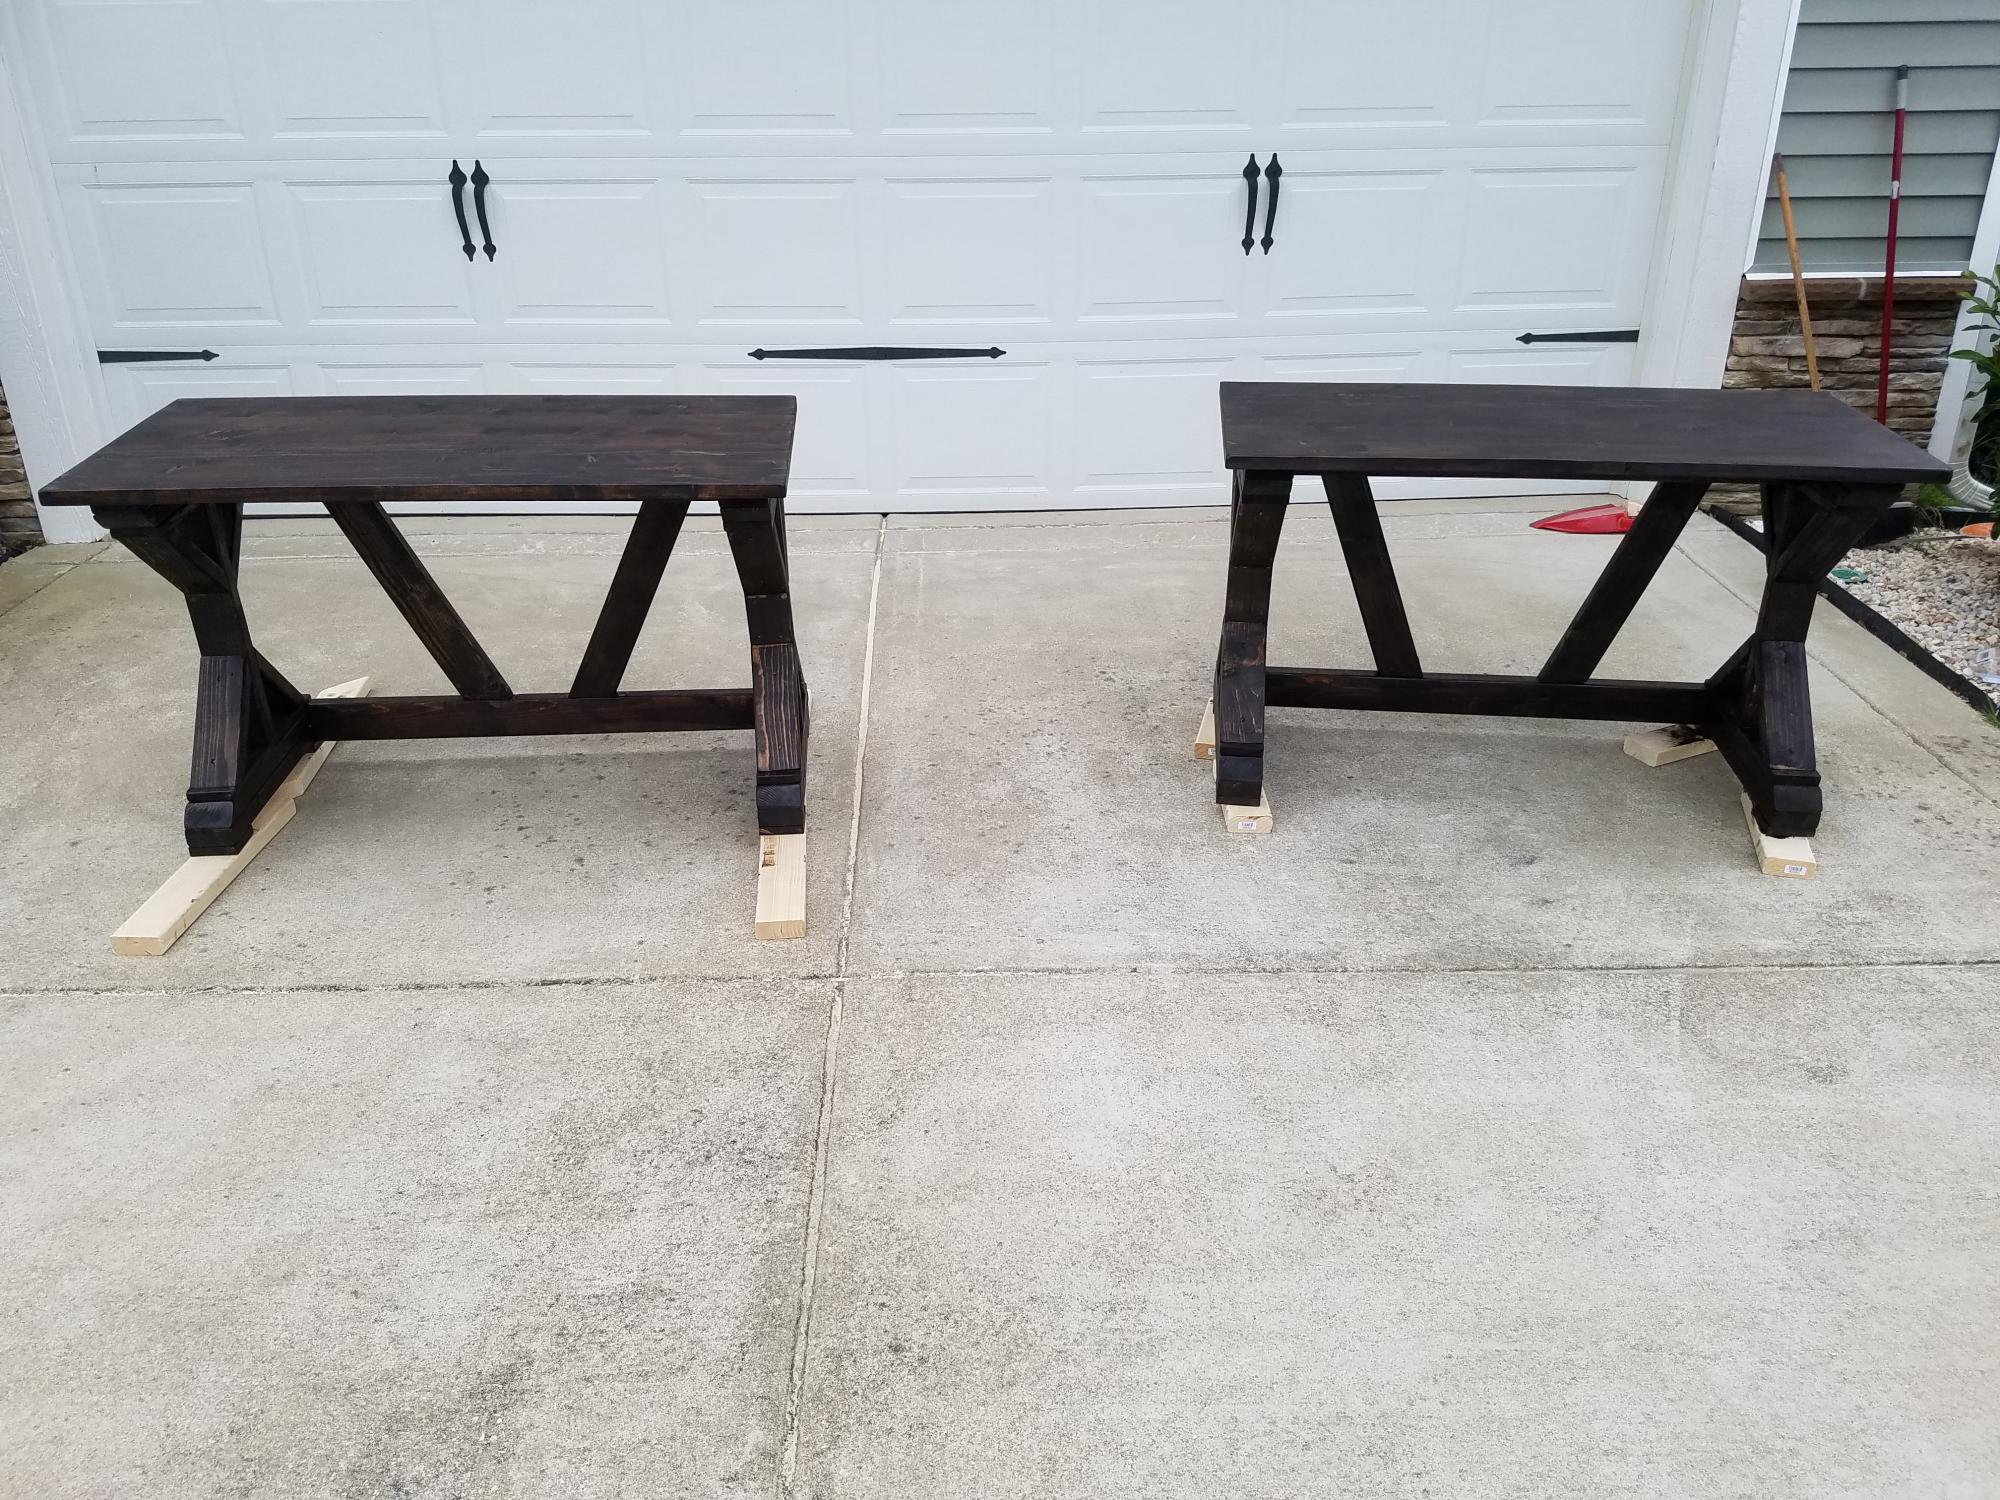
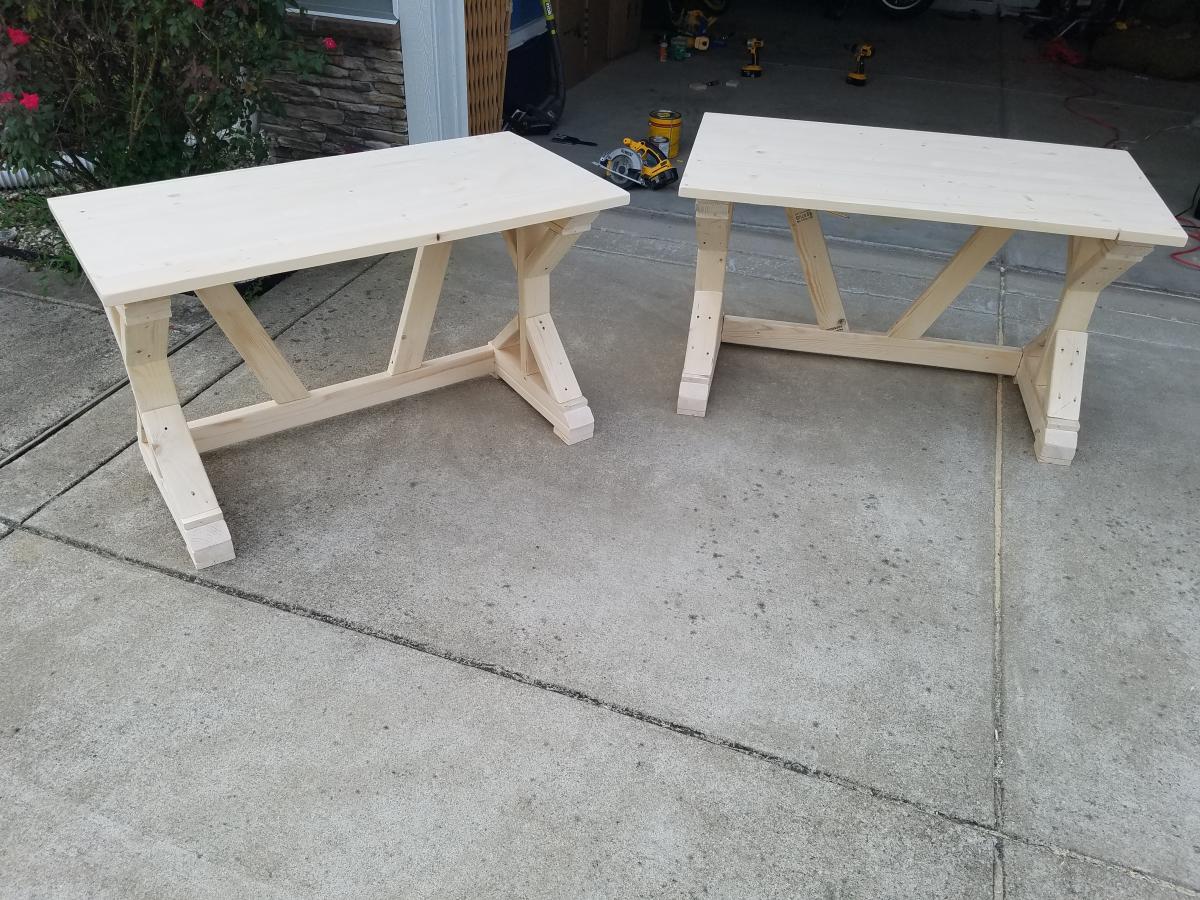
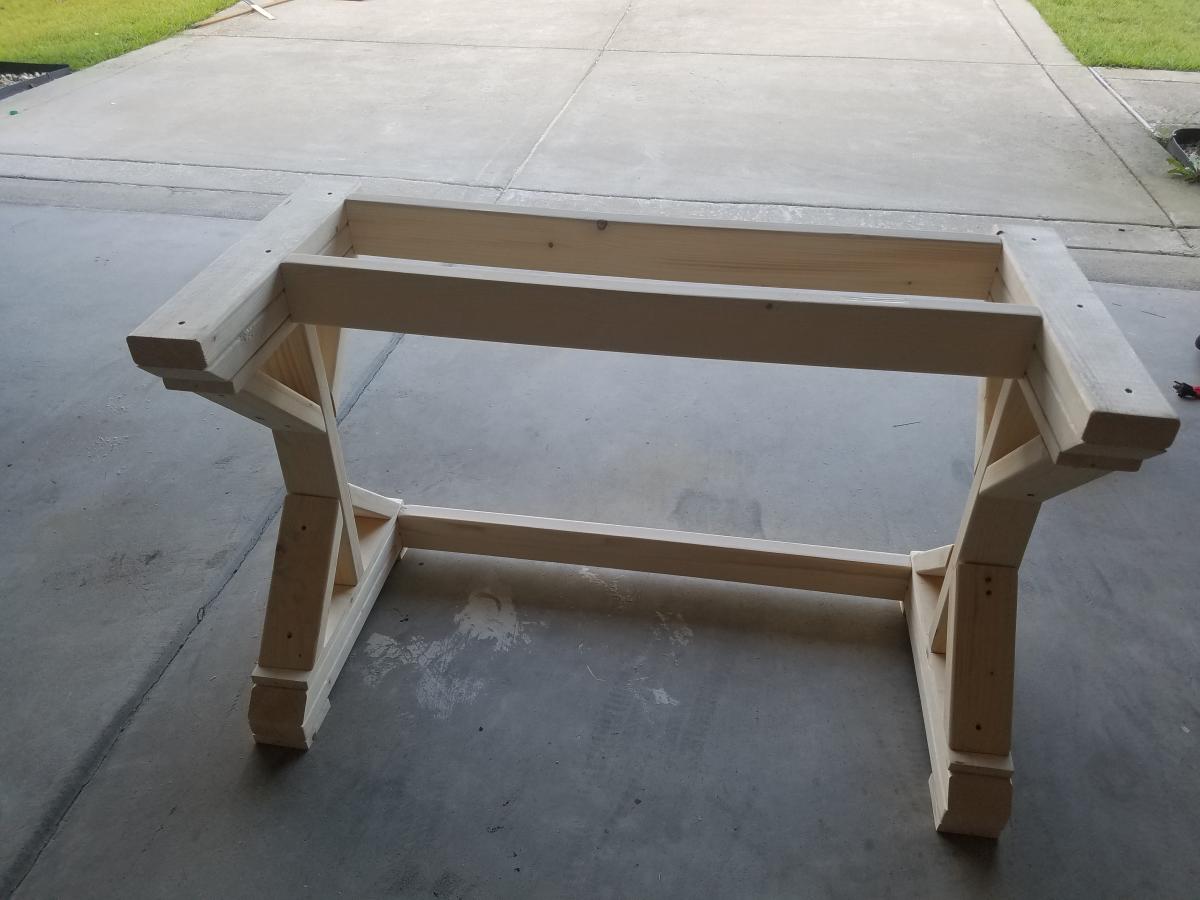
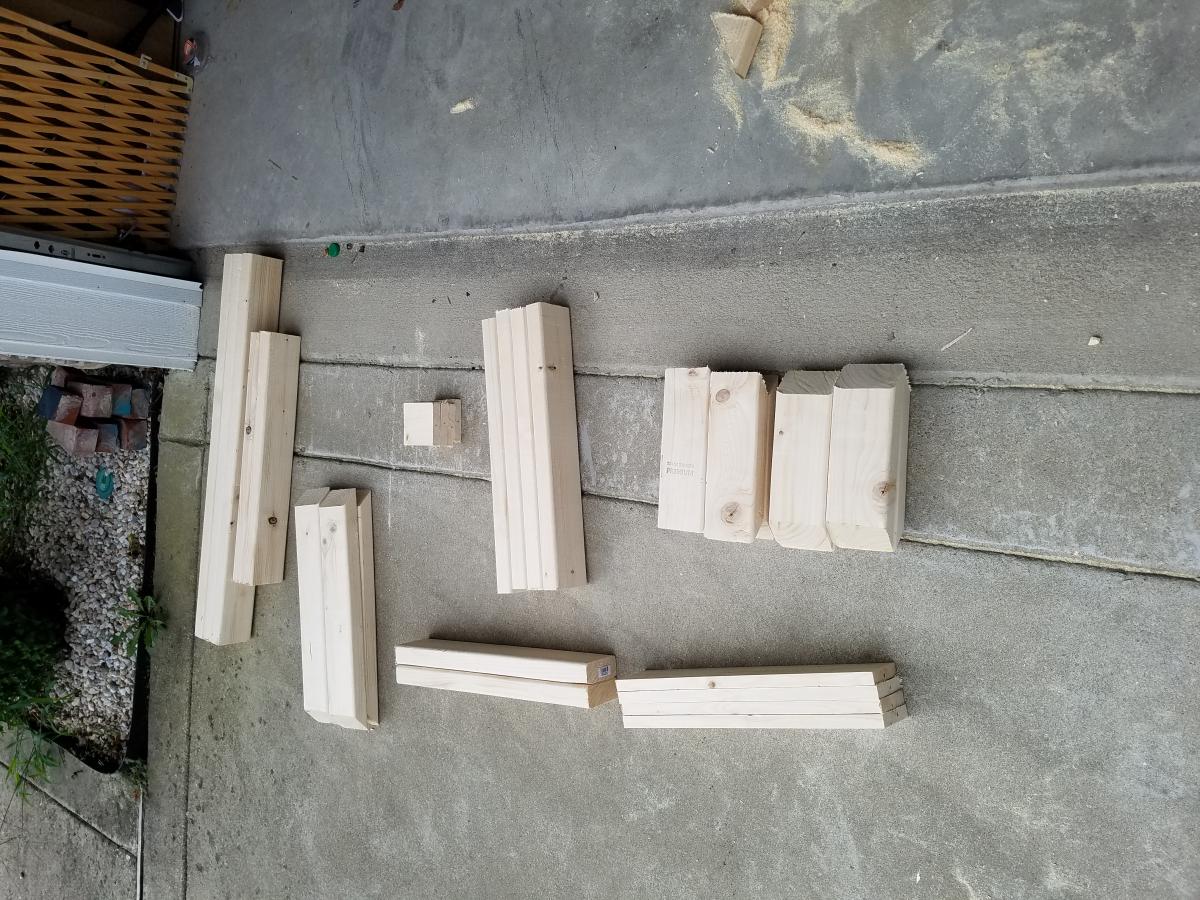
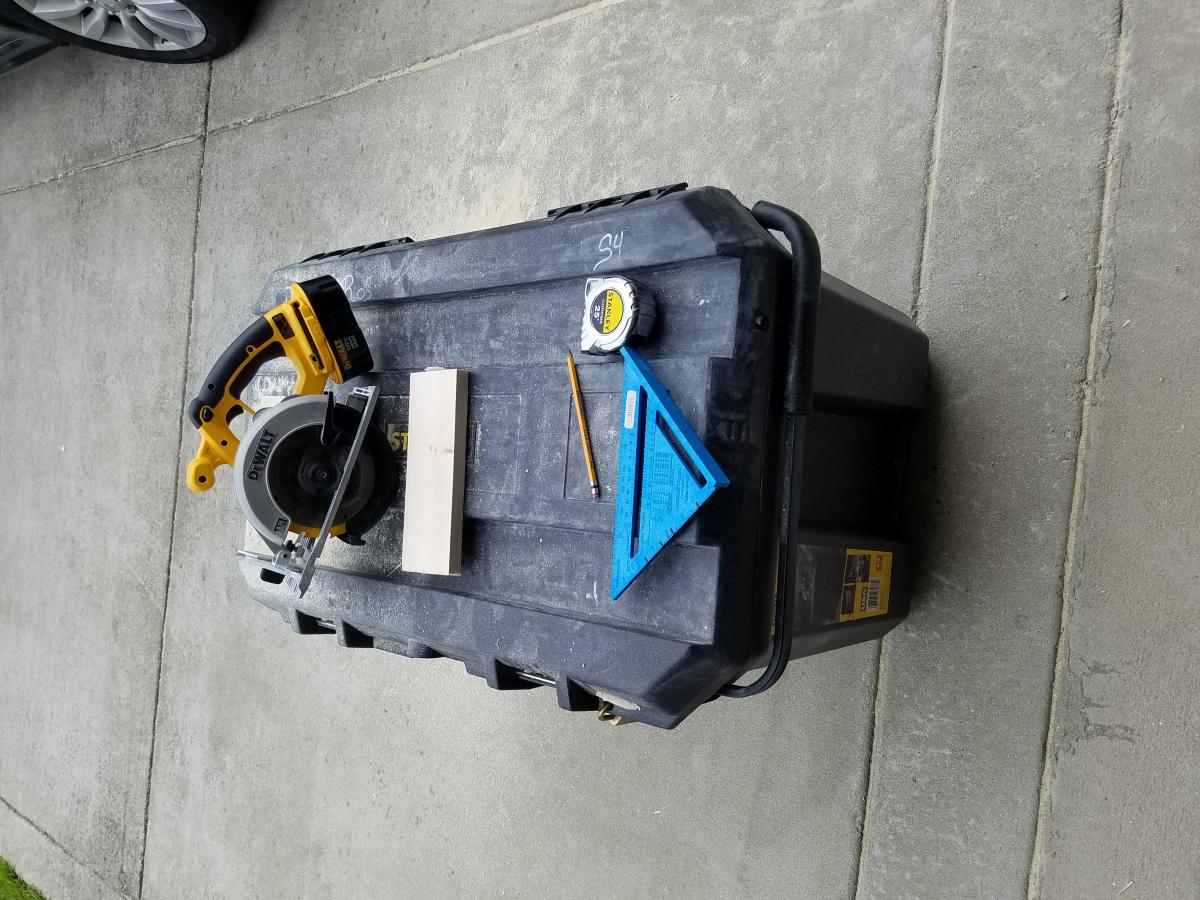
I had fun doing this project. I dont have a miter saw but made happen with my circular saw. Desks are 48 in long and 24 in wide,I used a bookcase shelving panel for the top of the desk. I made this for my 8 and 4 yrs old kids.
Sun, 08/16/2020 - 15:48
These are beautiful! Impressive that you were able to do such a great job without a miter saw!
This was my first build and I learned a lot, like it’s better to just invest in some decent clamps at the beginning of the project rather than waiting until near completion. Anyone with any experience at all and with more than 2 clamps could have finished this project in a fraction of the time. However, I enjoyed every minute of it. This project took a week to complete only because of the wait time between finishes. The bookcase itself went together surprisingly fast, especially once I got more clamps. The hardest part was making it square. This plan was the perfect solution for my thermostat placement problem. I had been searching high and low for DVD storage to fit within the confines of my space. It had to be low profile to leave the doorway clear and it had to allow the thermostat on the wall to be accessible, yet big enough and wide enough to fit all our DVDs. This puzzle design couldn’t have been any more perfect. I was so excited to find it. I just made a smaller version. It expands to exactly the space I need. Many thanks to Ana and this wonderful website! I have spent countless hours studying and reading on this website. I am now thinking about building in every spare minute I have!


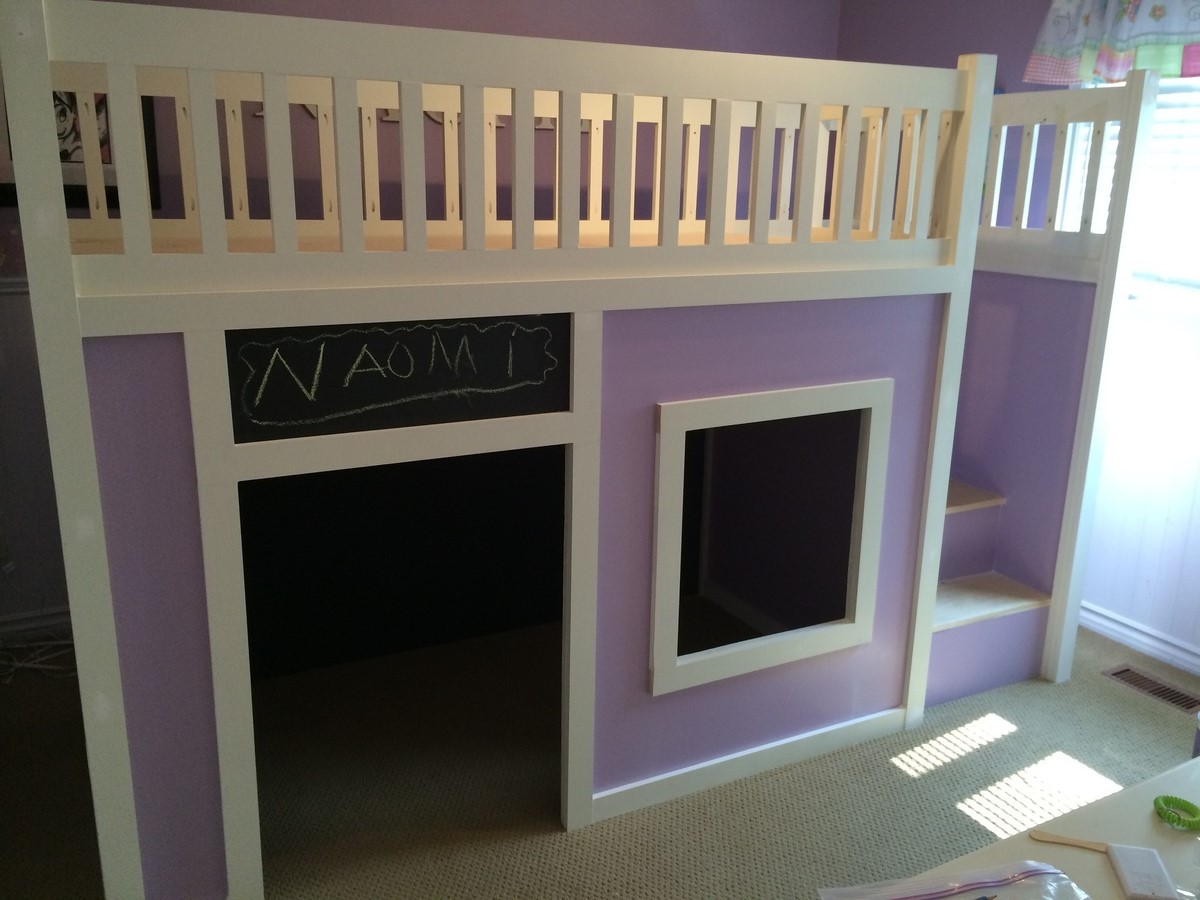
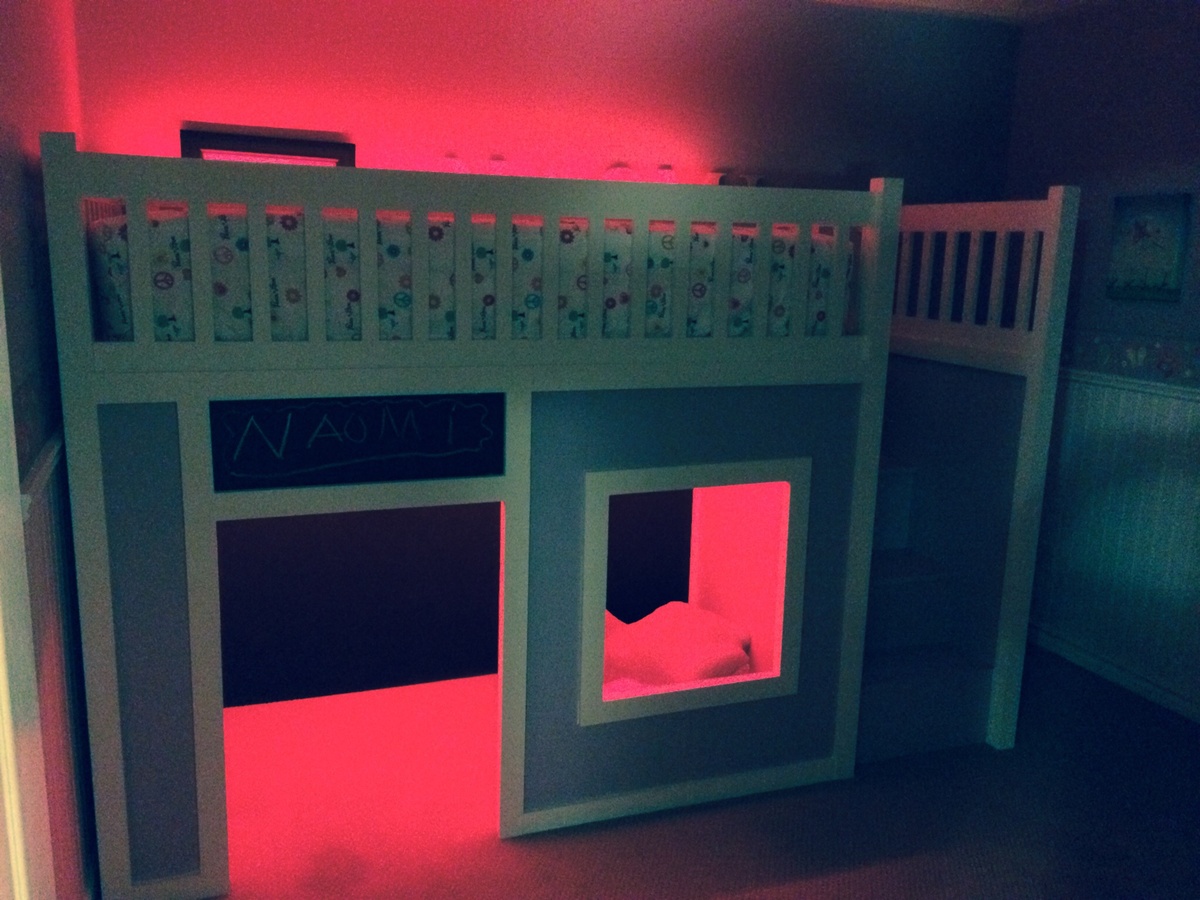
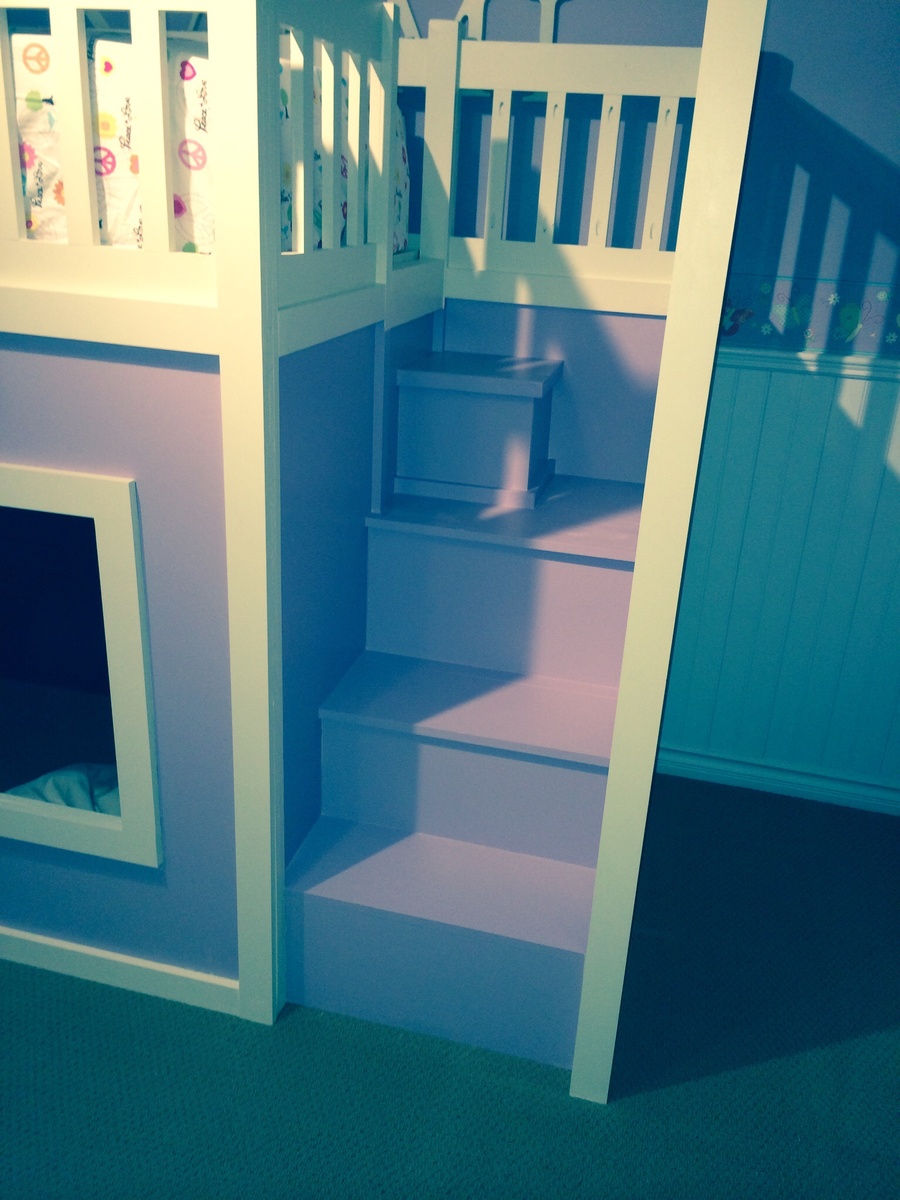
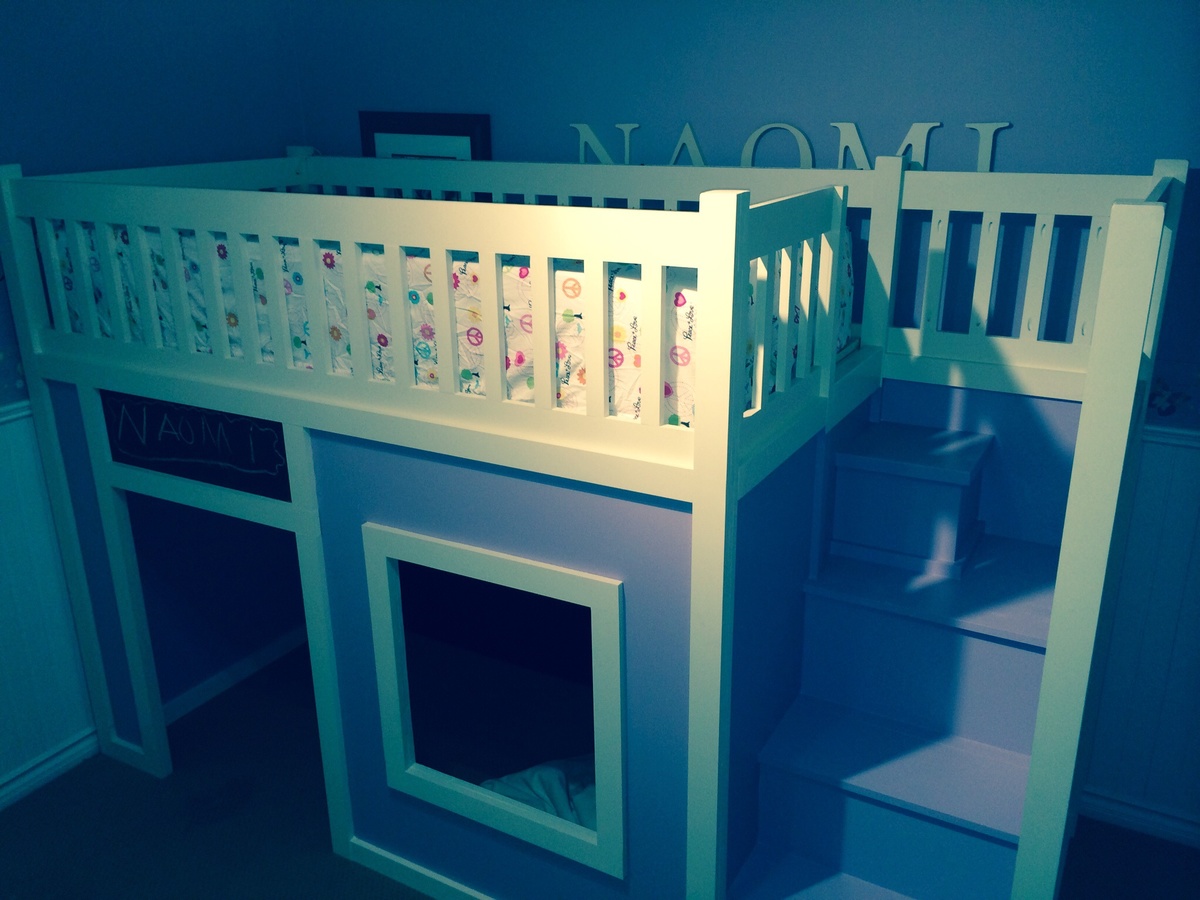
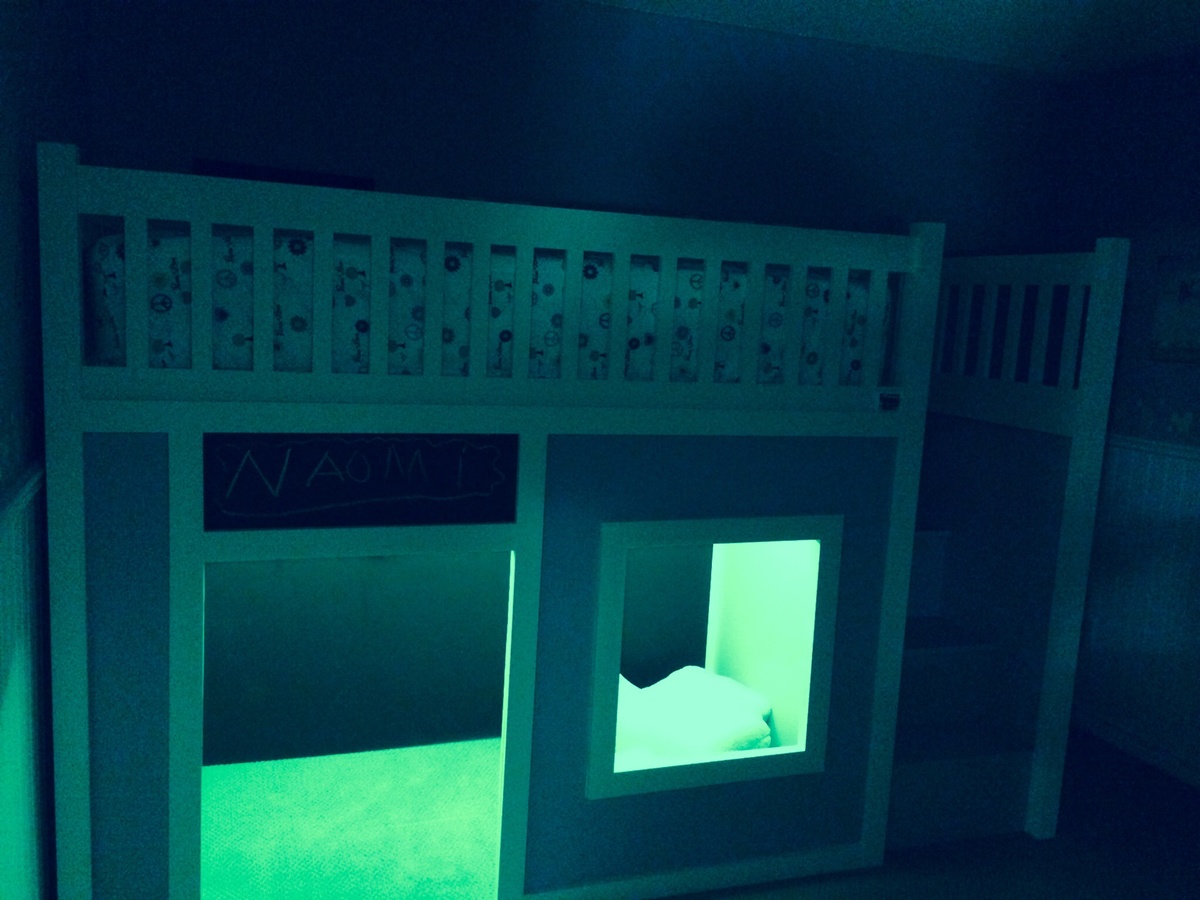
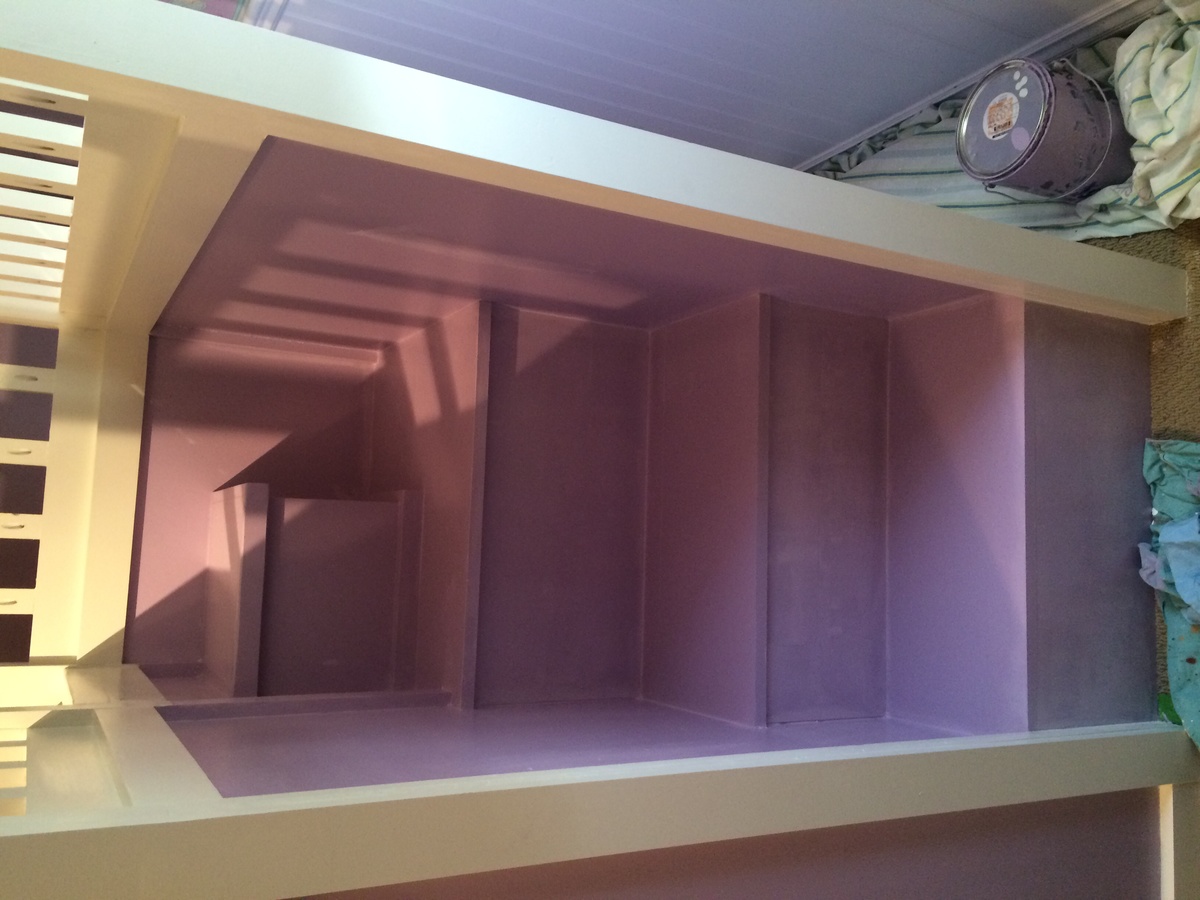
This was a great plan to follow. I made a few modifications such as adding a back wall that I painted with chalk paint so my daughter can draw to her hearts content. I also added a bit above the door so we can post messages such as her name or "girls only". I decided to skip the stairs being storage thinking it would simply be a junk collector and added a small step at the top as she found it a bit too high to get into her bed. Finally the painting took sometime as I used cabinet quality paint for durability but it's a bit tricky to work with. As a final touch I installed LEDs from Costco on the interior ceiling and back top rail all controlled by a remote with over 20 colors to choose from and adjusting brightness. Can't wait for my next project.
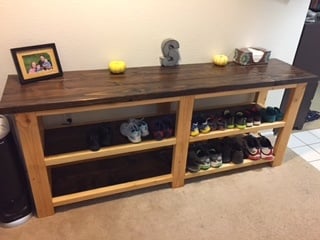
I started with the intentions of making the exact rustic X console shelf, but when I was looking at all the brag posts, I found one that had the two tone color. The individual used doug fir and only stained the shelves. Once I saw that, I knew what I wanted to do.
I purchased all doug fir 2x6s and 2x4s and ripped down the 2x4s. Built the same way, except when I was done I like the way it looked without the Xs, so I decided to keep it that way. Once thing I'm very glad I did was stain the shelves prior to building the shelf. I did all of my cuts, drilled all my PHs, sanded my shelf pieces, assembled my top, and stained the top and shelves. Once that was done I sanded all of the other pieces and started buliding the frames. When it came time to install the shelves, they were dry and it worked perfect.
After it was all built, I used a varathane satin clear coat over everything. The stain used was Minwax Espresso, 1 coat, let sit for no more than 3 minutes (just the time it took to brush it on).
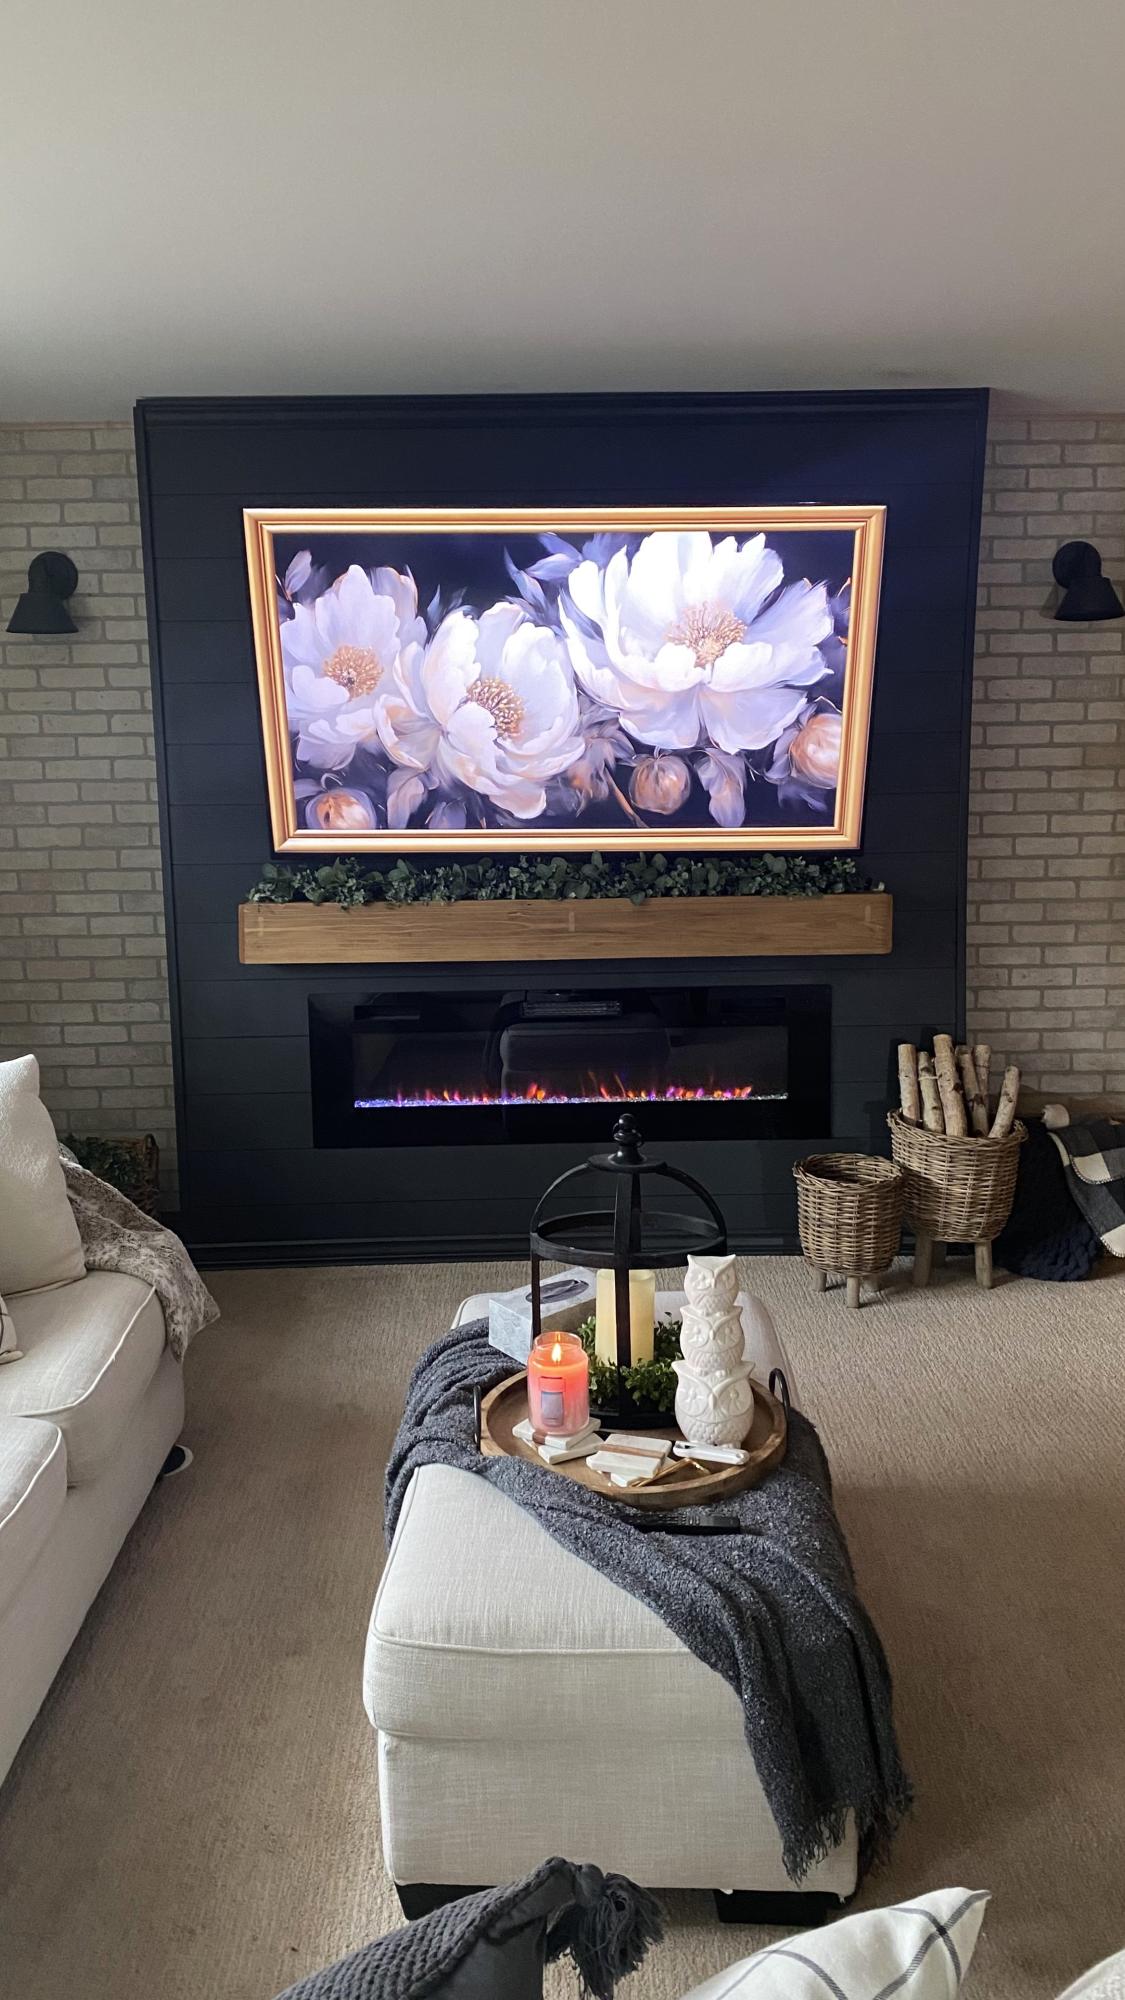
Forever home in 2022 didn’t have a fireplace build my own love it🖤🙌🏽
Gina Gliwa
My mother lives with me and we loved the Pallet Shelf Project and made a back door shelf/coat rack. Then, task maker that she is, she decided we need a spice rack in the kitchen, and viola. Still needs another coat of minwax, but should be ready to hang tomorrow! Thanks Ana!
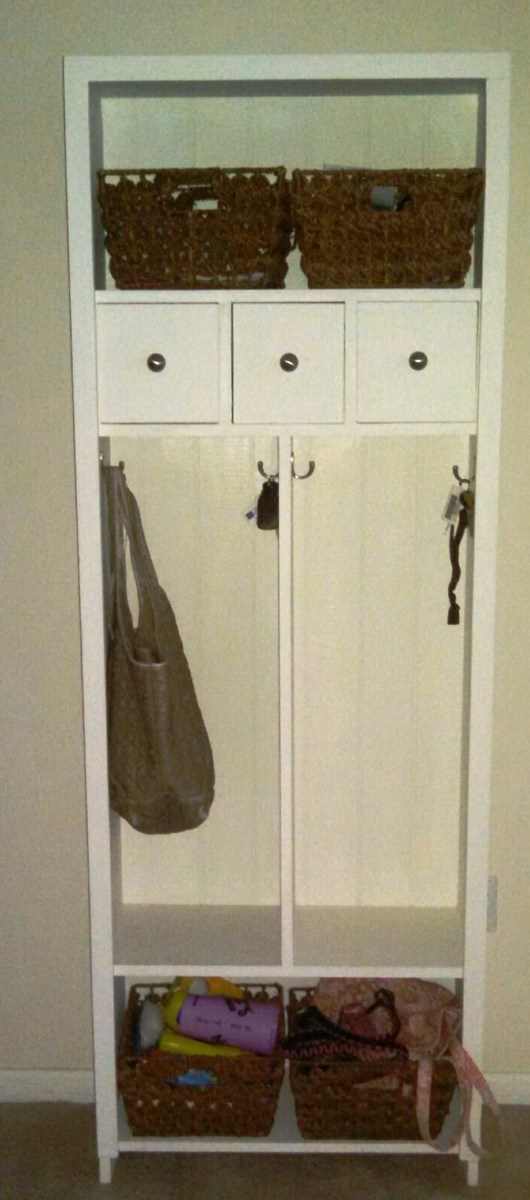
This was my first project which was at our daughter’s prompting with a gift of a Kreg Jig. With her marriage and husband joining the military it has been moved several times. The great thing is that it structurally it is as solid today as when built. Even though I don’t like painting I could not turn the request to sand and repaint. Now I have added a miter saw and installing a dust containment system to our garage along with a side yard full of pallets. I used http://ana-white.com/2011/12/plans/hillary039s-locker-cabinet-charging-… to make the project.
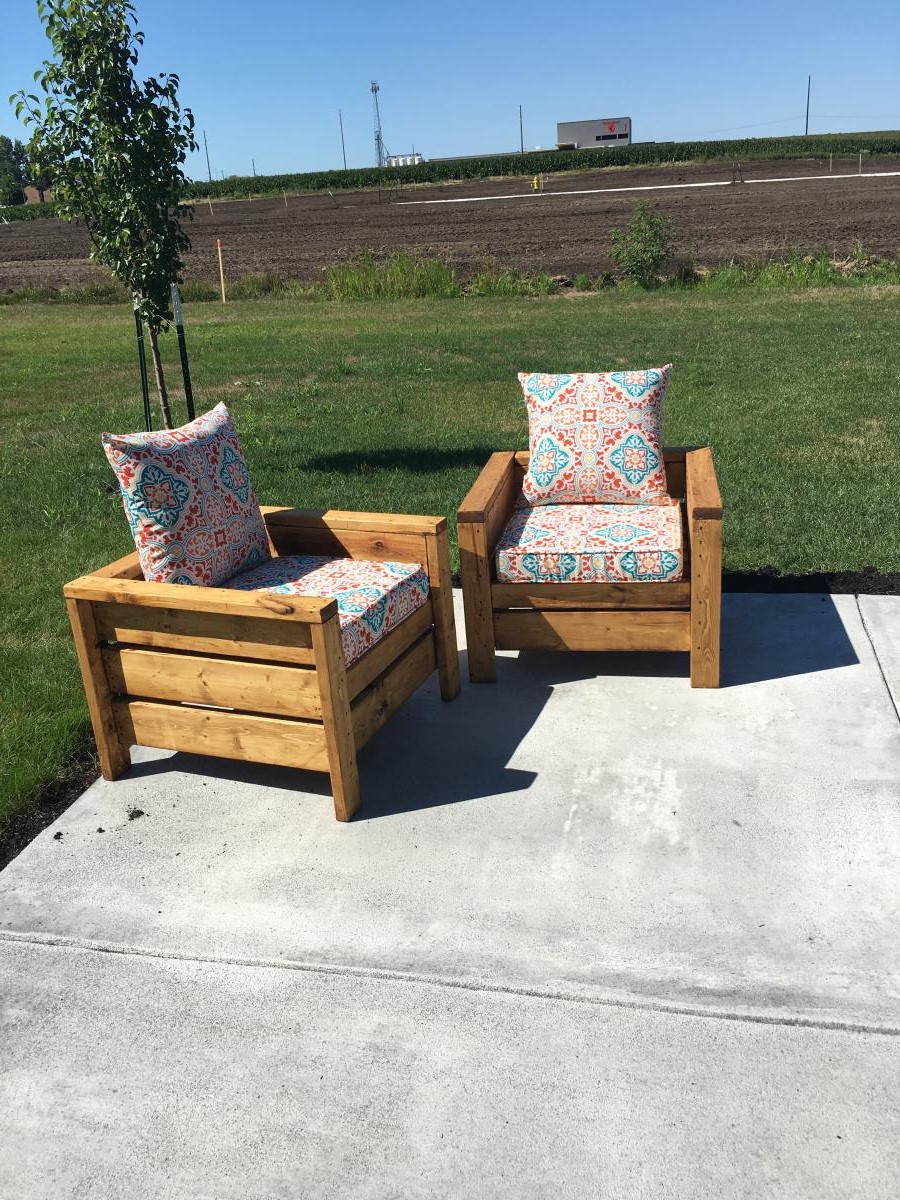
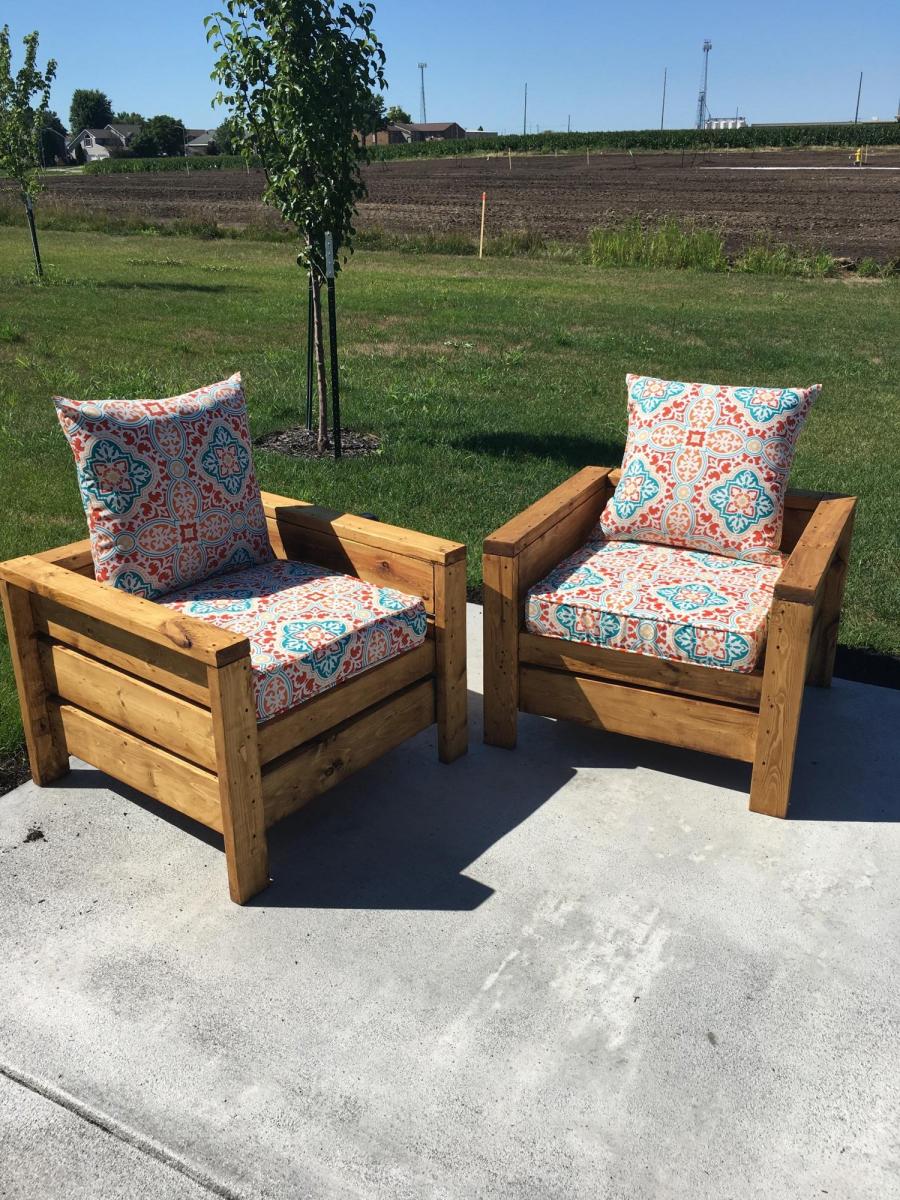
This was my first woodworking project and they turned out great! My wife and I will use these around our fire pit for the summer. I spent one day cutting the wood and putting the project together, and then a couple weeknights sanding and staining the chairs. I thought the directions were spot on! I look forward to my next project!
