Community Brag Posts

Loft bed with stair

Submitted by tajordan on Tue, 10/02/2012 - 11:59

When my wife told me that our son needed a new bed, I saw that as an opportunity to buy some new tools. After selecting which bed to build from your site, I spent a few hours over the weekend making the loft bed with stairs. Our son loves it! The only thing left to do is decide on a paint color.

Estimated Cost
110
Estimated Time Investment
Day Project (6-9 Hours)
Finish Used
N/A
Recommended Skill Level
Starter Project

Octagonal Picnic Table

Submitted by Tbear on Fri, 07/25/2014 - 11:54

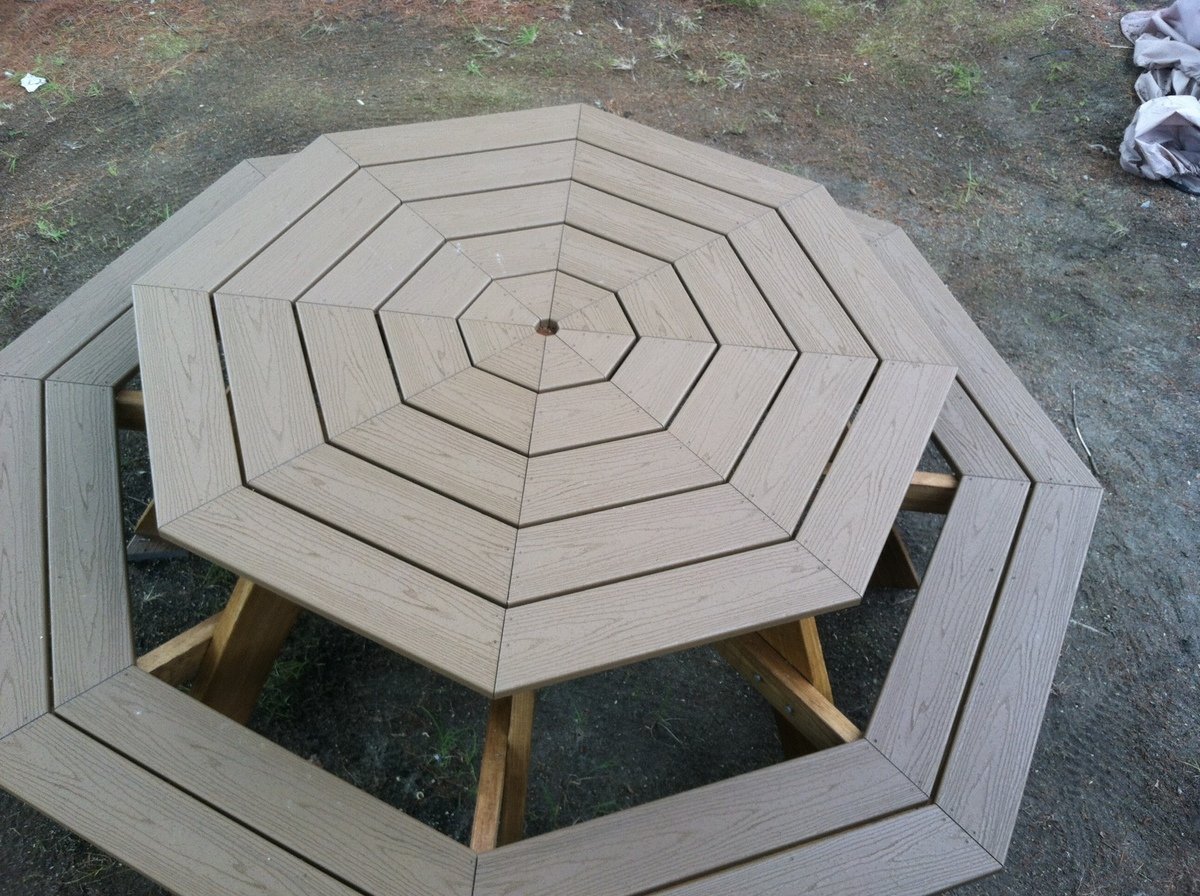
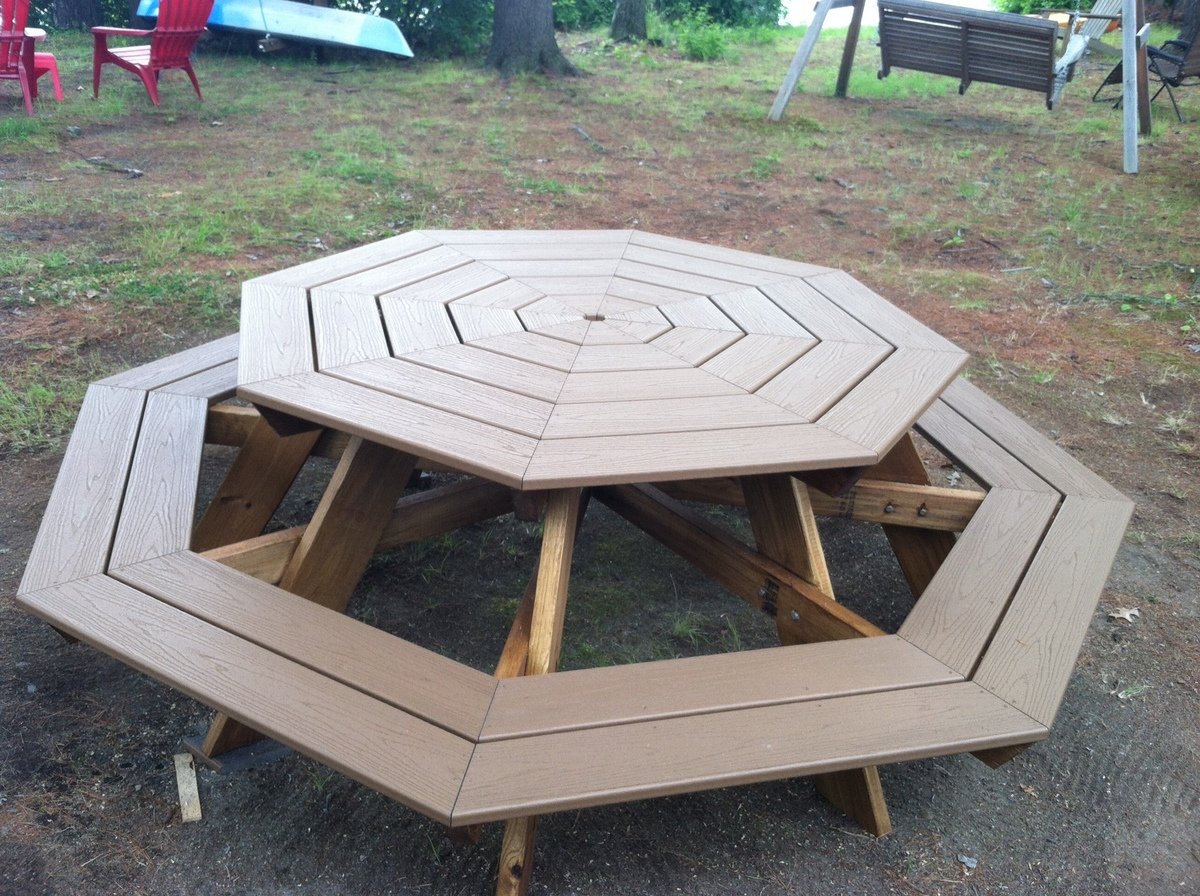
Living in a cottage on a lake during the summers, I needed a picnic table that would take care of a big family so I built the Octagonal picnic table on Ana's site, however with a twist.

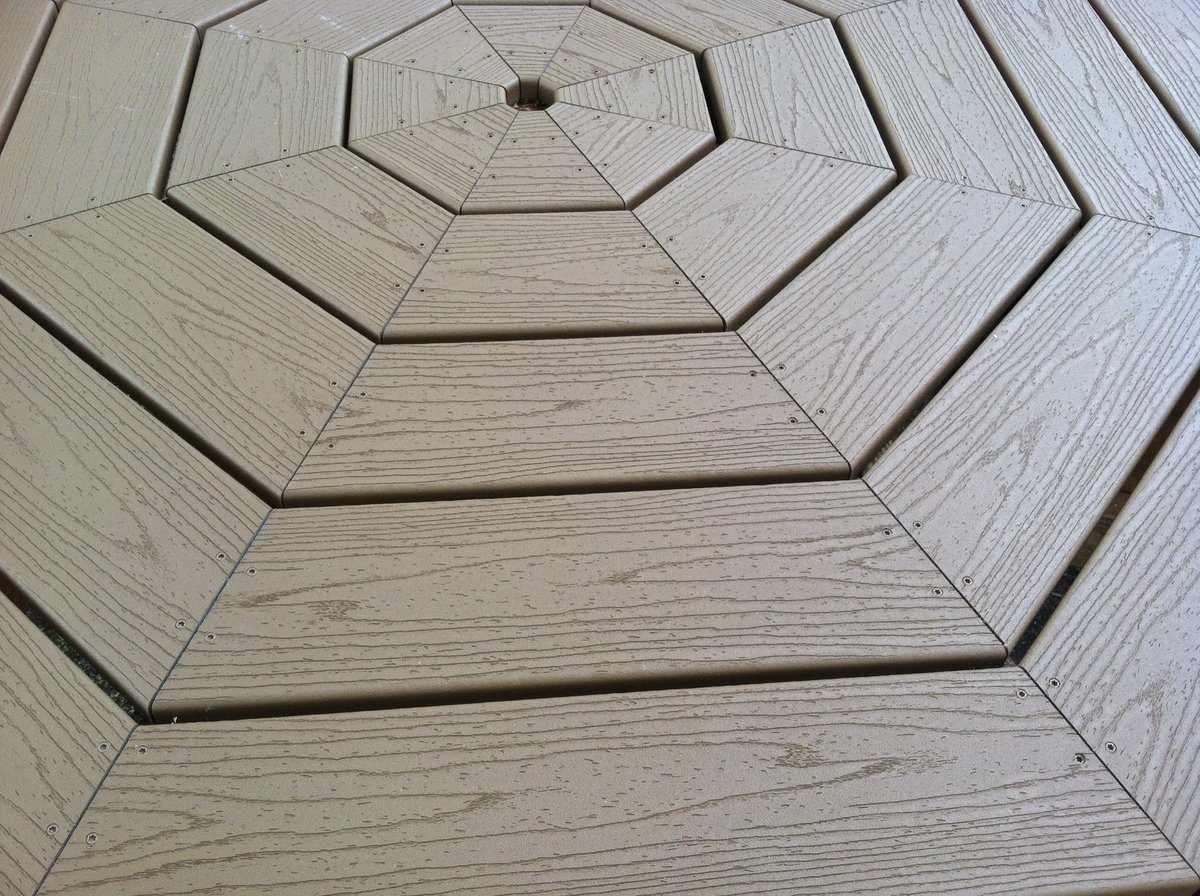
Since we are under a bunch of trees, I wanted to be able to scrub the table easily and not have to do any maintenance on it over the long term. So I built the top and the benches using Trex. Yes, it was more expensive but the result (if I do say so myself) was incredible.

Since Trex isn't as structural as 2 x 6's, I reinforced the seats using 2x4s laid horizontally underneath the seam of each of the two bench pieces. I also drove a few extra screws through the Trex benches along the 2 x 4's to further strengthen seating area.

Aesthetically, I didn't care for the 1/2 inch spacing for the table top and benches so I reduced it to 1/4 inch and cut the length of the Trex accordingly. I used decking screws that exactly matched the color of the Trex.

I did take the advice of one of the former builder's of this table and staggered the legs to make it easier to get in and out. That was a worth while suggestion.

The only 'warning' I was given about using Trex was that it could get 'hot' if in the sun for long periods during the day during the summer. This table is in the shade almost all the time, but having said that I have read that the Trex as decking gets no hotter than treated lumber stained the same color.

This is a great design at it was lots of fun to build.

Built from Plan(s)
Estimated Cost
$500
Estimated Time Investment
Weekend Project (10-20 Hours)
Finish Used
Olympic Maximum Stain and Sealer
Recommended Skill Level
Intermediate

DIY Printer's Cabinet

Submitted by Anonymous (not verified) on Sun, 11/06/2016 - 13:54

Really enjoyed making this.  It turned out to be a perfect Entertainment Center.  Will be using the same idea to make a bar piece that will accompany this in our recreational room.  

Built from Plan(s)
Estimated Time Investment
Week Long Project (20 Hours or More)
Finish Used
Homemade Stain
Recommended Skill Level
Intermediate

Comments

Ana White Farmhouse Potters Bench

Submitted by Anonymous (not verified) on Mon, 07/27/2020 - 09:51

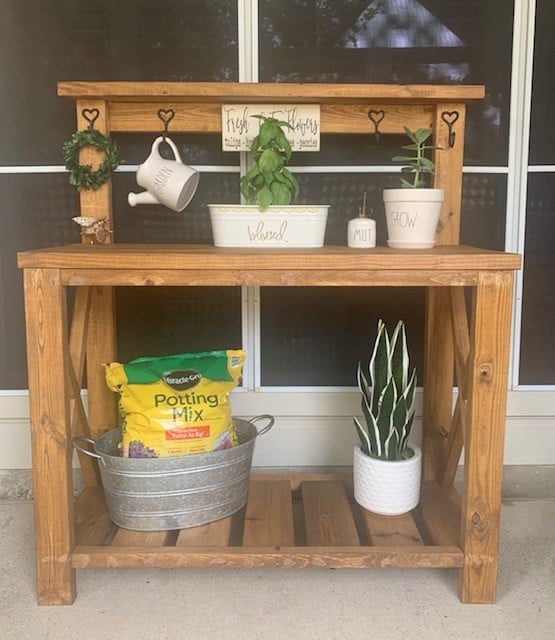
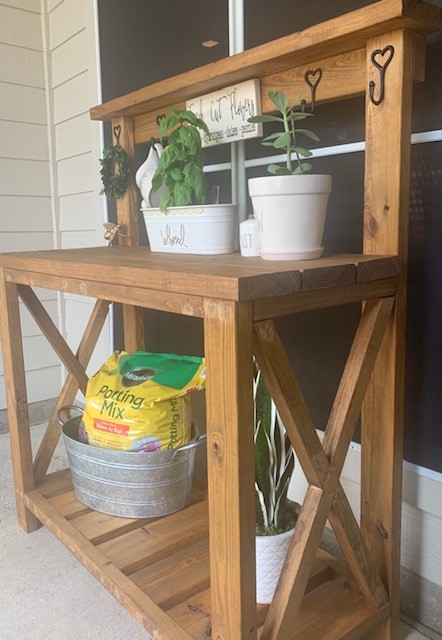
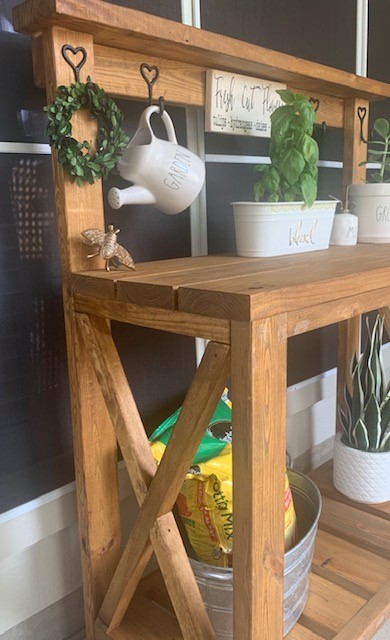
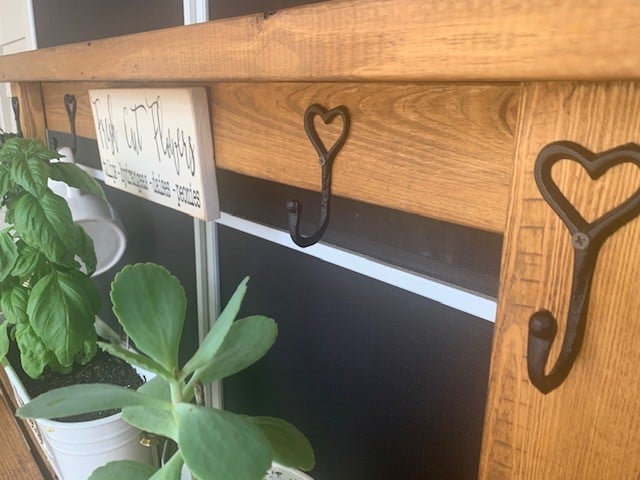
My hubby made it for me after seeing yours!! I LOVE IT THANK YOU SO MUCH!
The buy list is correct the cut list is wrong the bottom 2*4's listed should both be 2*6's

Built from Plan(s)
Estimated Cost
$56
Estimated Time Investment
Day Project (6-9 Hours)
Finish Used
Golden Oak
Recommended Skill Level
Beginner

Rustic Mountain Style Bed Frame

Submitted by Anonymous (not verified) on Mon, 07/01/2024 - 09:40

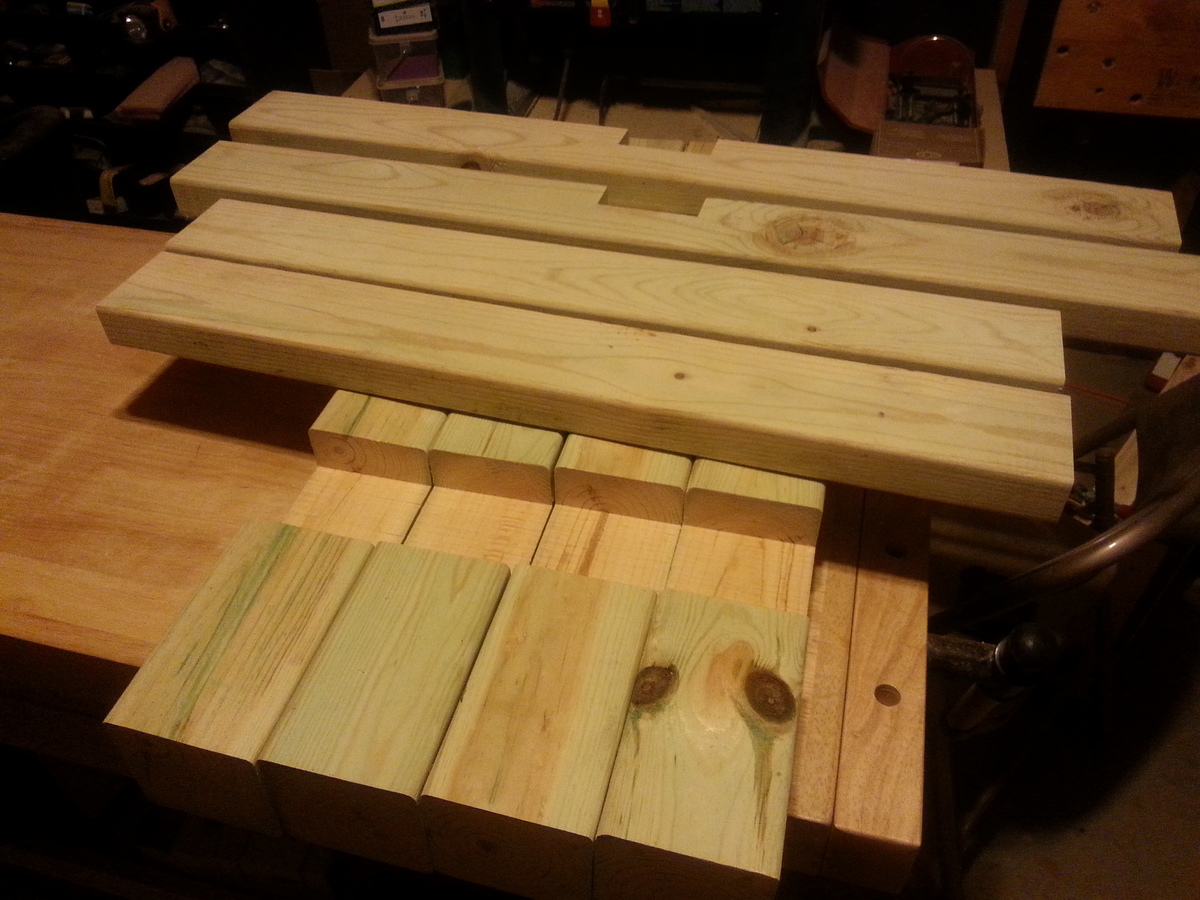
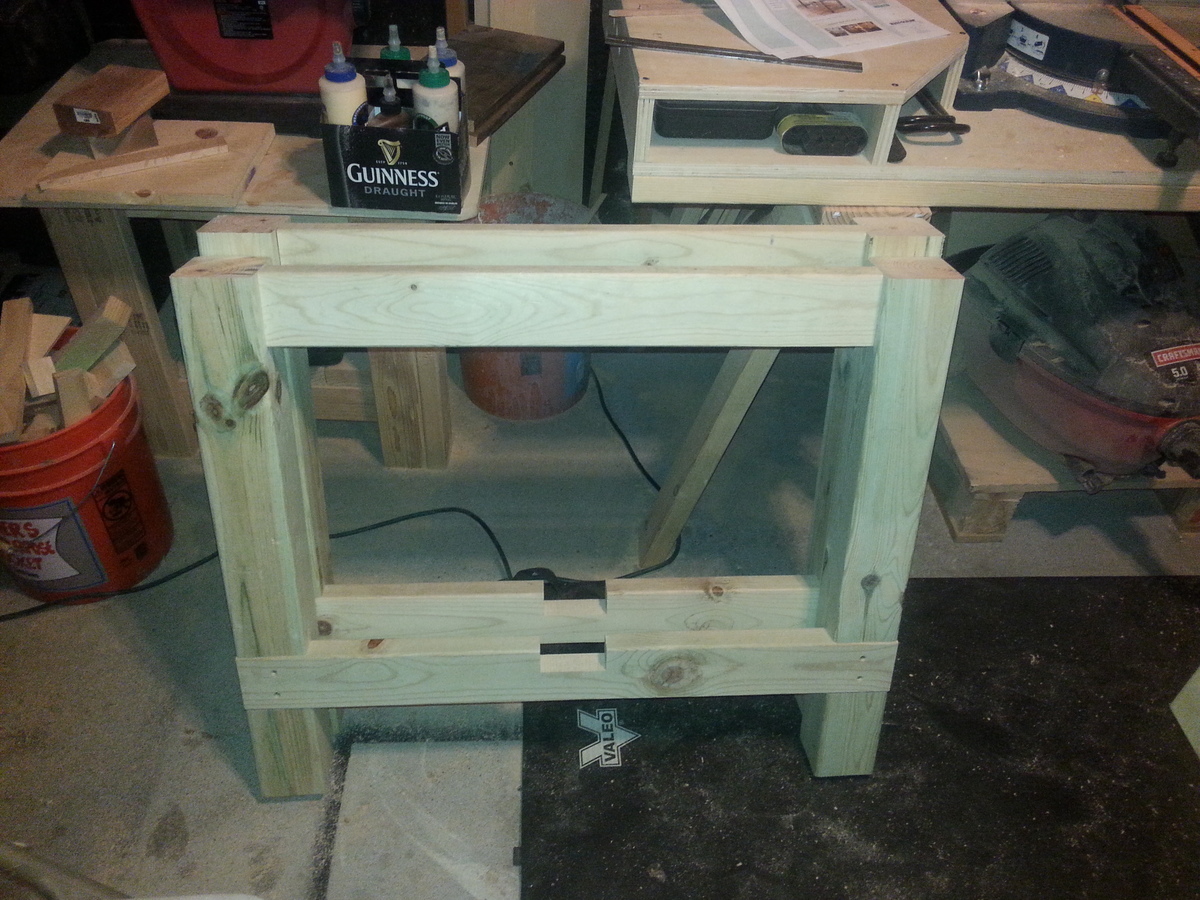
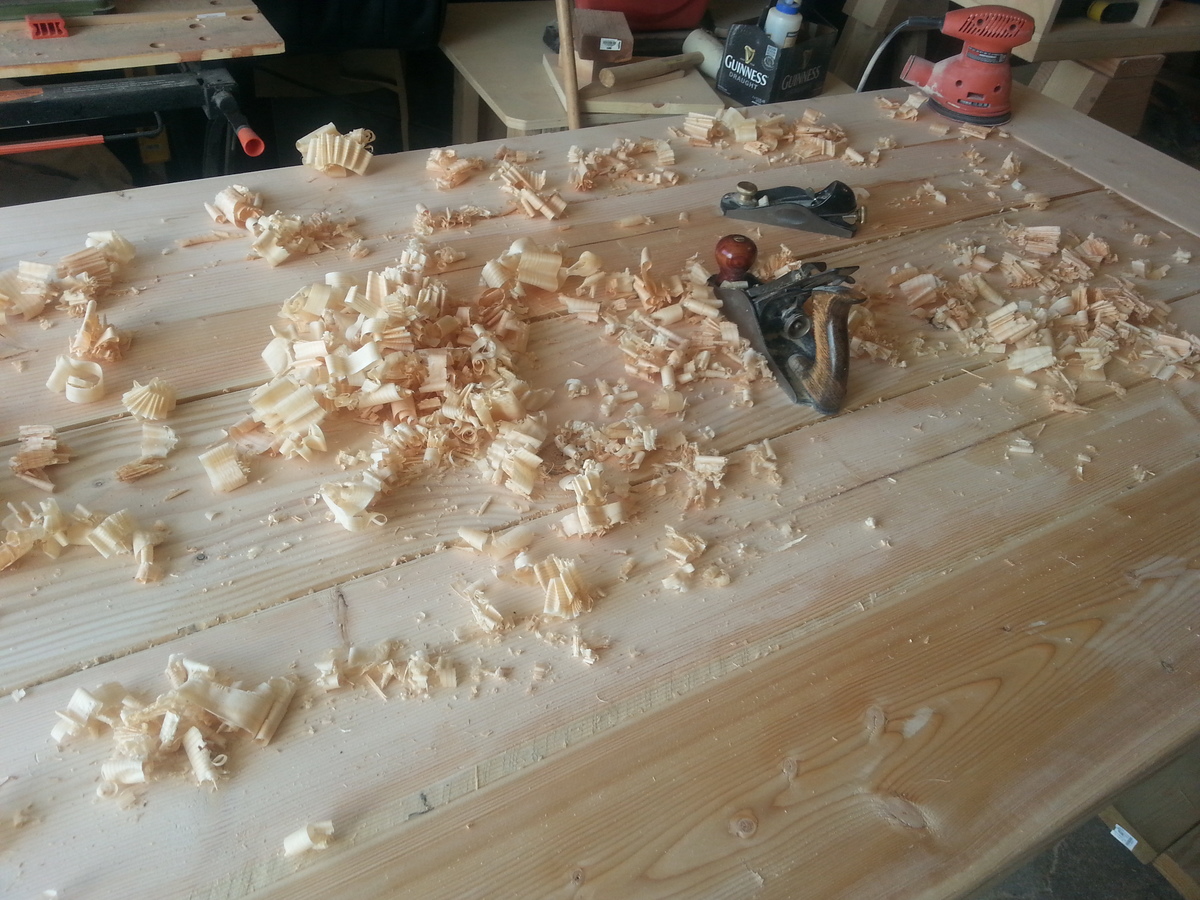
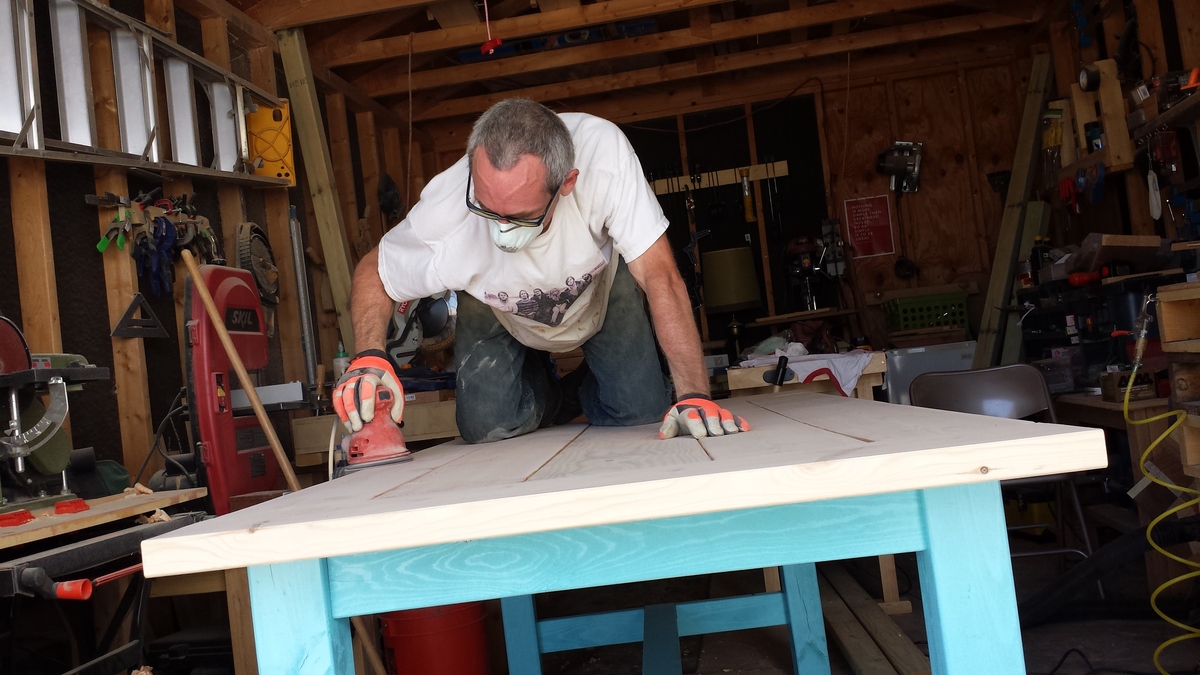
Here is a bed I recently made. My inspiration was a bed we saw at a local high end furniture store in the mountains that has price of $4,800. I bought my wood at a local saw mill for $125. I used a wood planer, table saw and miter saw to build the bed. It turned out great.

G Russell

Rustic X coffee table

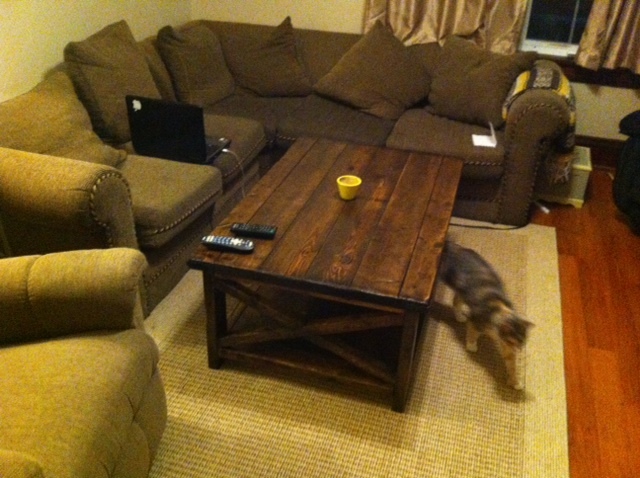
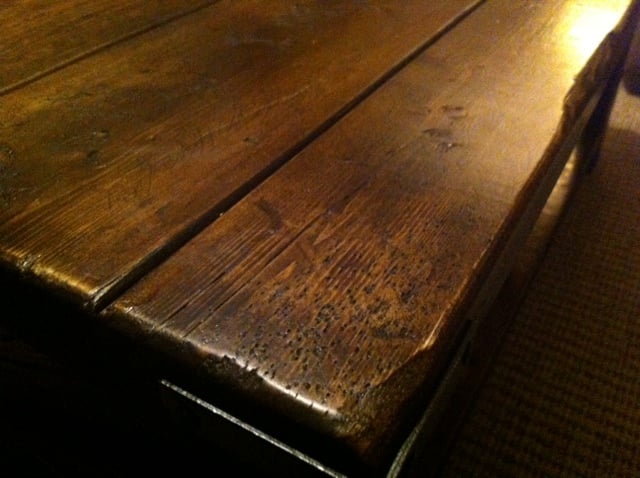
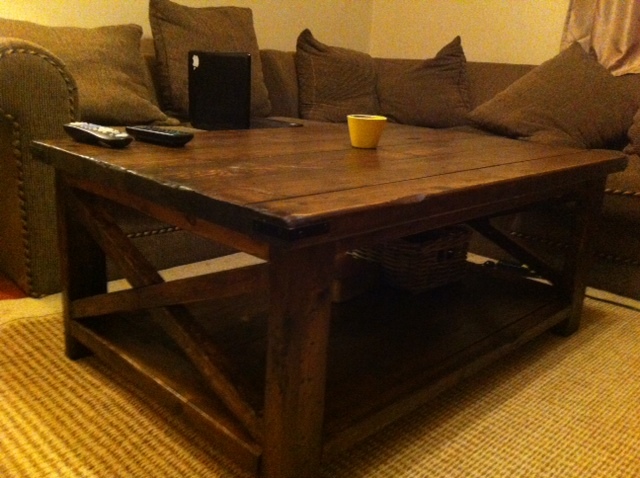
I love how this table turned out. The plans were simple and easy to follow. I chose to distress the table to give it some character i found a great video on youtube for different distressing techniques here http://www.youtube.com/watch?v=4Iotye7dvAQ For the finish i used the tea and vingegar method then to make it darker i rubbed on a little oil based stain and finished it with polyurethane.

Built from Plan(s)
Estimated Cost
roughly $45
Estimated Time Investment
Weekend Project (10-20 Hours)
Recommended Skill Level
Beginner

Comments

Daniel (not verified)

Sat, 10/06/2012 - 19:55

what type of wood did you use?
thanks

Daniel (not verified)

Sun, 12/02/2012 - 17:37

Do u think you gave to do both tea and vinegar or would tea alone suffice?

Daniel (not verified)

Sun, 12/02/2012 - 17:38

Do u think you gave to do both tea and vinegar or would tea alone suffice?

Daniel (not verified)

Sun, 12/02/2012 - 17:39

Do u think you gave to do both tea and vinegar or would tea alone suffice?

Daniel (not verified)

Sun, 12/02/2012 - 17:40

Do u think you gave to do both tea and vinegar or would tea alone suffice?

Daniel (not verified)

Sun, 12/02/2012 - 17:42

Do u think you gave to do both tea and vinegar or would tea alone suffice?

corey_smiley

Sun, 12/02/2012 - 19:05

It is probobly best to use both the tea and the vinegar because when they are both used together on the wood they create some kind of reaction giving you the color that you want. It is also a good idea to experiment on some scrap wood first to get the color right. Im not sure if you have read this article or not but it gives the full step by step on this kind of finish I hope this helps. http://thefriendlyhome.blogspot.ca/2012/07/how-to-oxidize-wood.html

vadepew

Fri, 03/22/2013 - 09:56

I plan on making this table within the next couple of weeks and I hope mine turns out half as good as yours! You did an absolutely brilliant job!

Paint3040

Sun, 10/27/2013 - 05:20

Love this table!! What oil based stain did you use on the spruce after the tea and vinegar method?

nickeydee

Sat, 09/20/2014 - 18:49

Hello! I am hoping someone can help. I cannot figure out the x's. I have a miter saw, miter box, square, any tool you would think to use and I have also tried tracing. I cannot do the x's can some one plllleaase tell me or show me how they figured this out?

distressed mini mod bar

Submitted by emillia on Mon, 07/28/2014 - 20:43

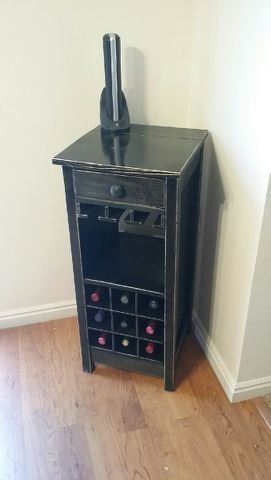
First project I have done and loved it! Building it I got it done pretty fast it was the polyurethane layers that took the longest.

Built from Plan(s)
Estimated Cost
50
Estimated Time Investment
Weekend Project (10-20 Hours)
Finish Used
Ebony stain, and topped with polyurethane.
Recommended Skill Level
Beginner

Modified Grandy

Submitted by Anonymous (not verified) on Tue, 11/08/2016 - 08:02

Modified the Grandy Sliding Door to be three doors only. Stained top and doors, added polyurthane, and painted the rest with chalk paint. We couldn't find the hardware ourselves so we made it based on the website recommended in Ana's plans.

Built from Plan(s)
Estimated Cost
$150-200
Estimated Time Investment
Weekend Project (10-20 Hours)
Recommended Skill Level
Intermediate

modern farmhouse bed frame with matching end tables

Submitted by Anonymous (not verified) on Thu, 07/30/2020 - 10:13

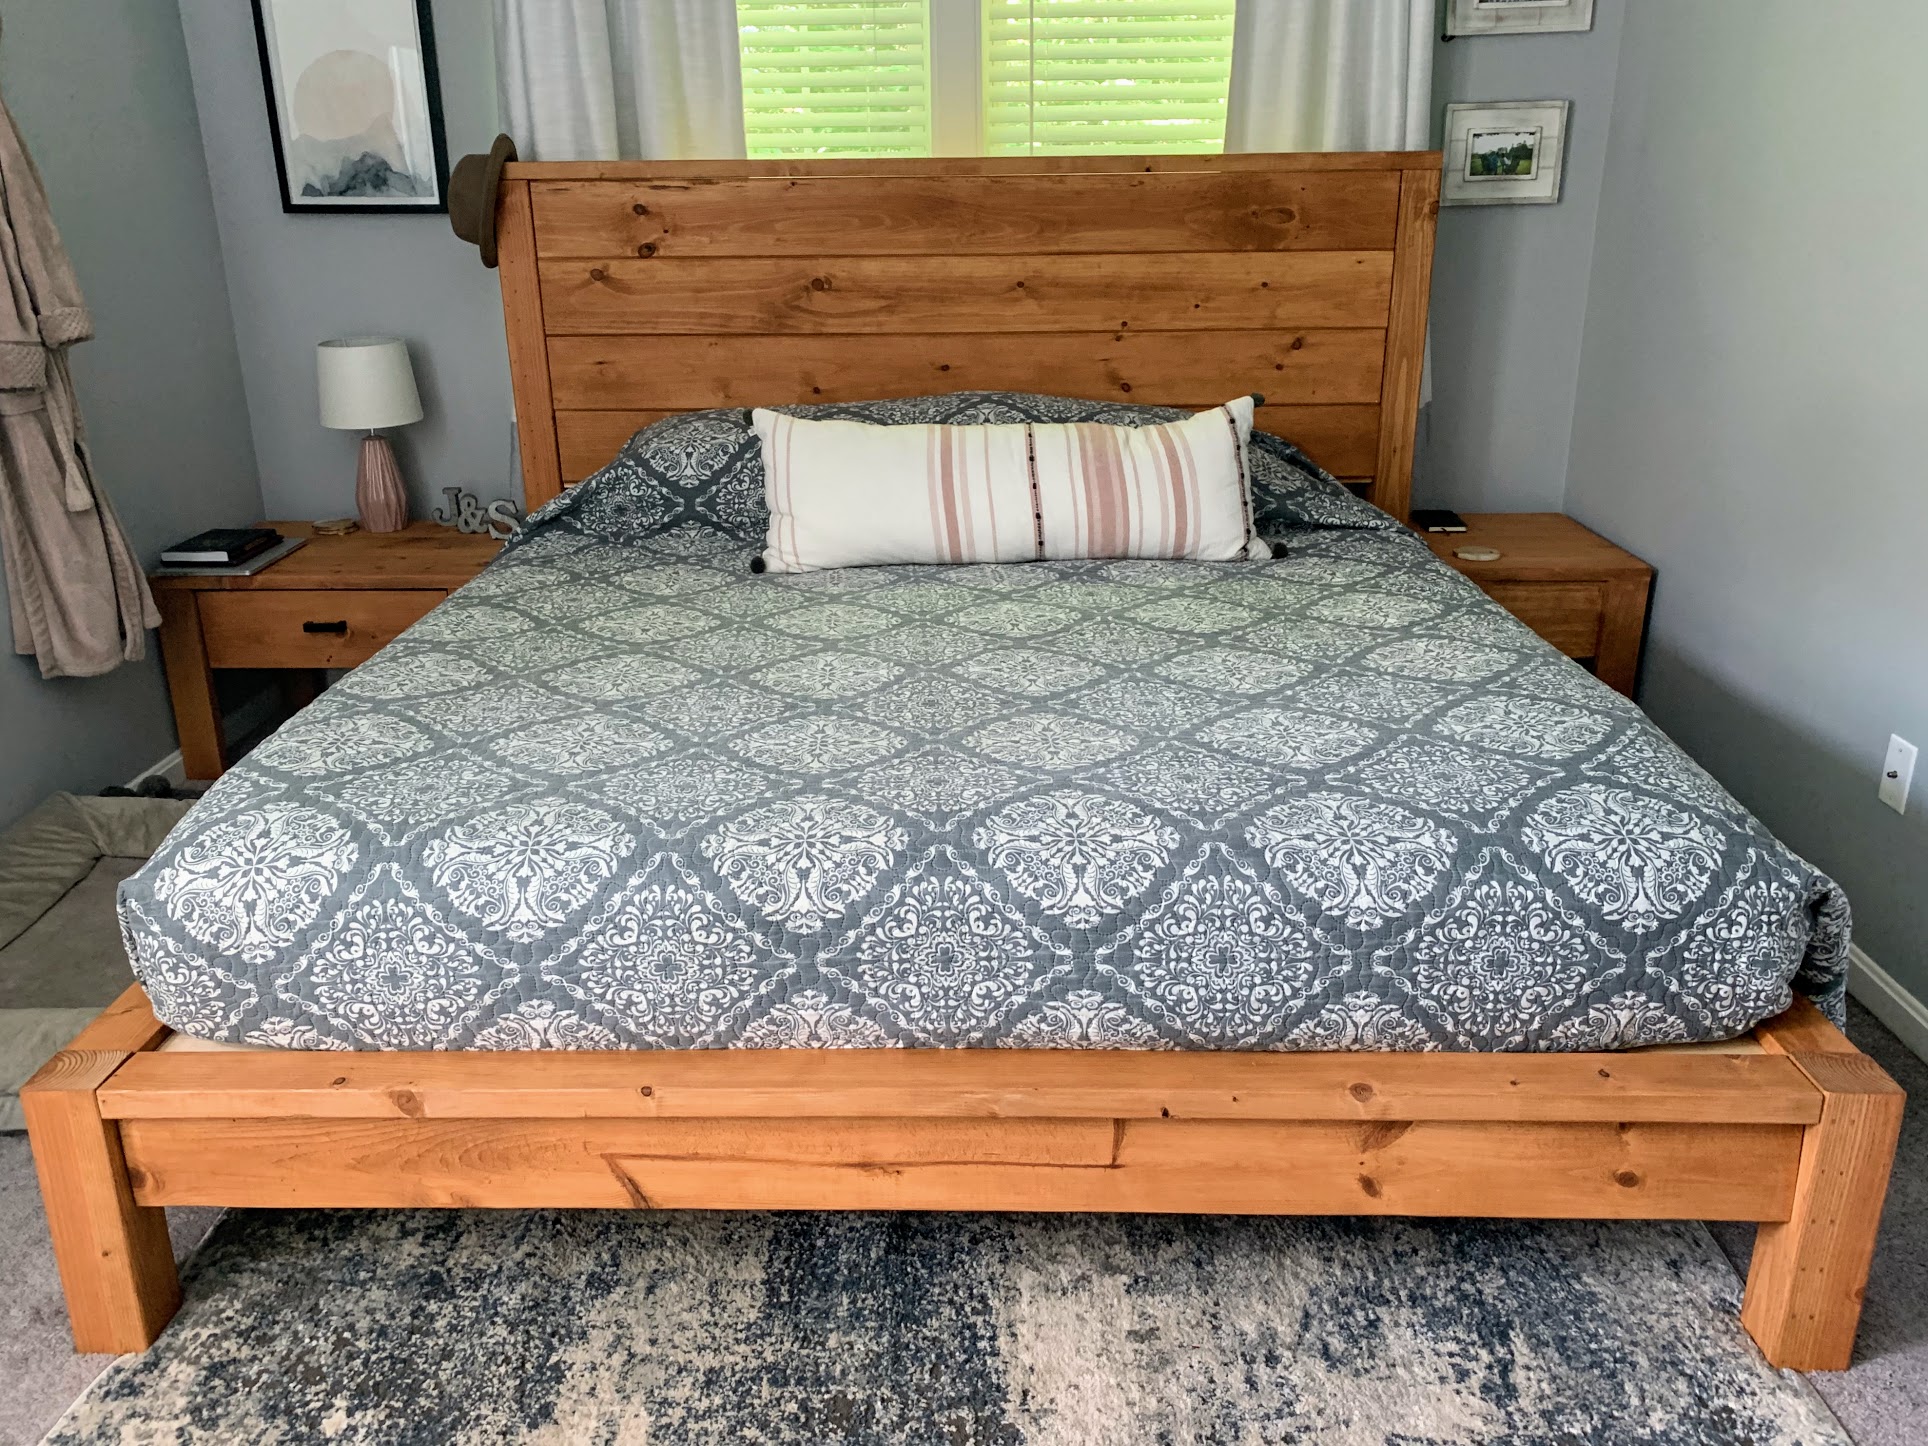
Bed frame - Husband and I built and assembled over a weekend. We love it!
Only variation from the plans were that we used 1x8 shiplap boards for the headboard (because the options were nicer at Home Depot).

Nightstand 1 - This I built myself, it took about 5 hours.
Followed the directions and the drawer worked the first time!

Nightstand 2 - This I also built myself, took about 4 hours.
This one I had about 17" to work with. The only measurement that changed was the front and back cut to 10".

Estimated Cost
Not sure about the bed frame. We purchased some tools for this project.
about $70 per nightstand
Estimated Time Investment
Weekend Project (10-20 Hours)
Finish Used
Minwax Wood Finish
Semi-transparent
Ipswich Pine - 221
Recommended Skill Level
Beginner

Comments

okstout4

Mon, 10/19/2020 - 19:42

Very nice! I'll have to look into this color as Im loving it!

Big Kids Picnic Table

Submitted by tictoc on Mon, 10/08/2012 - 12:20

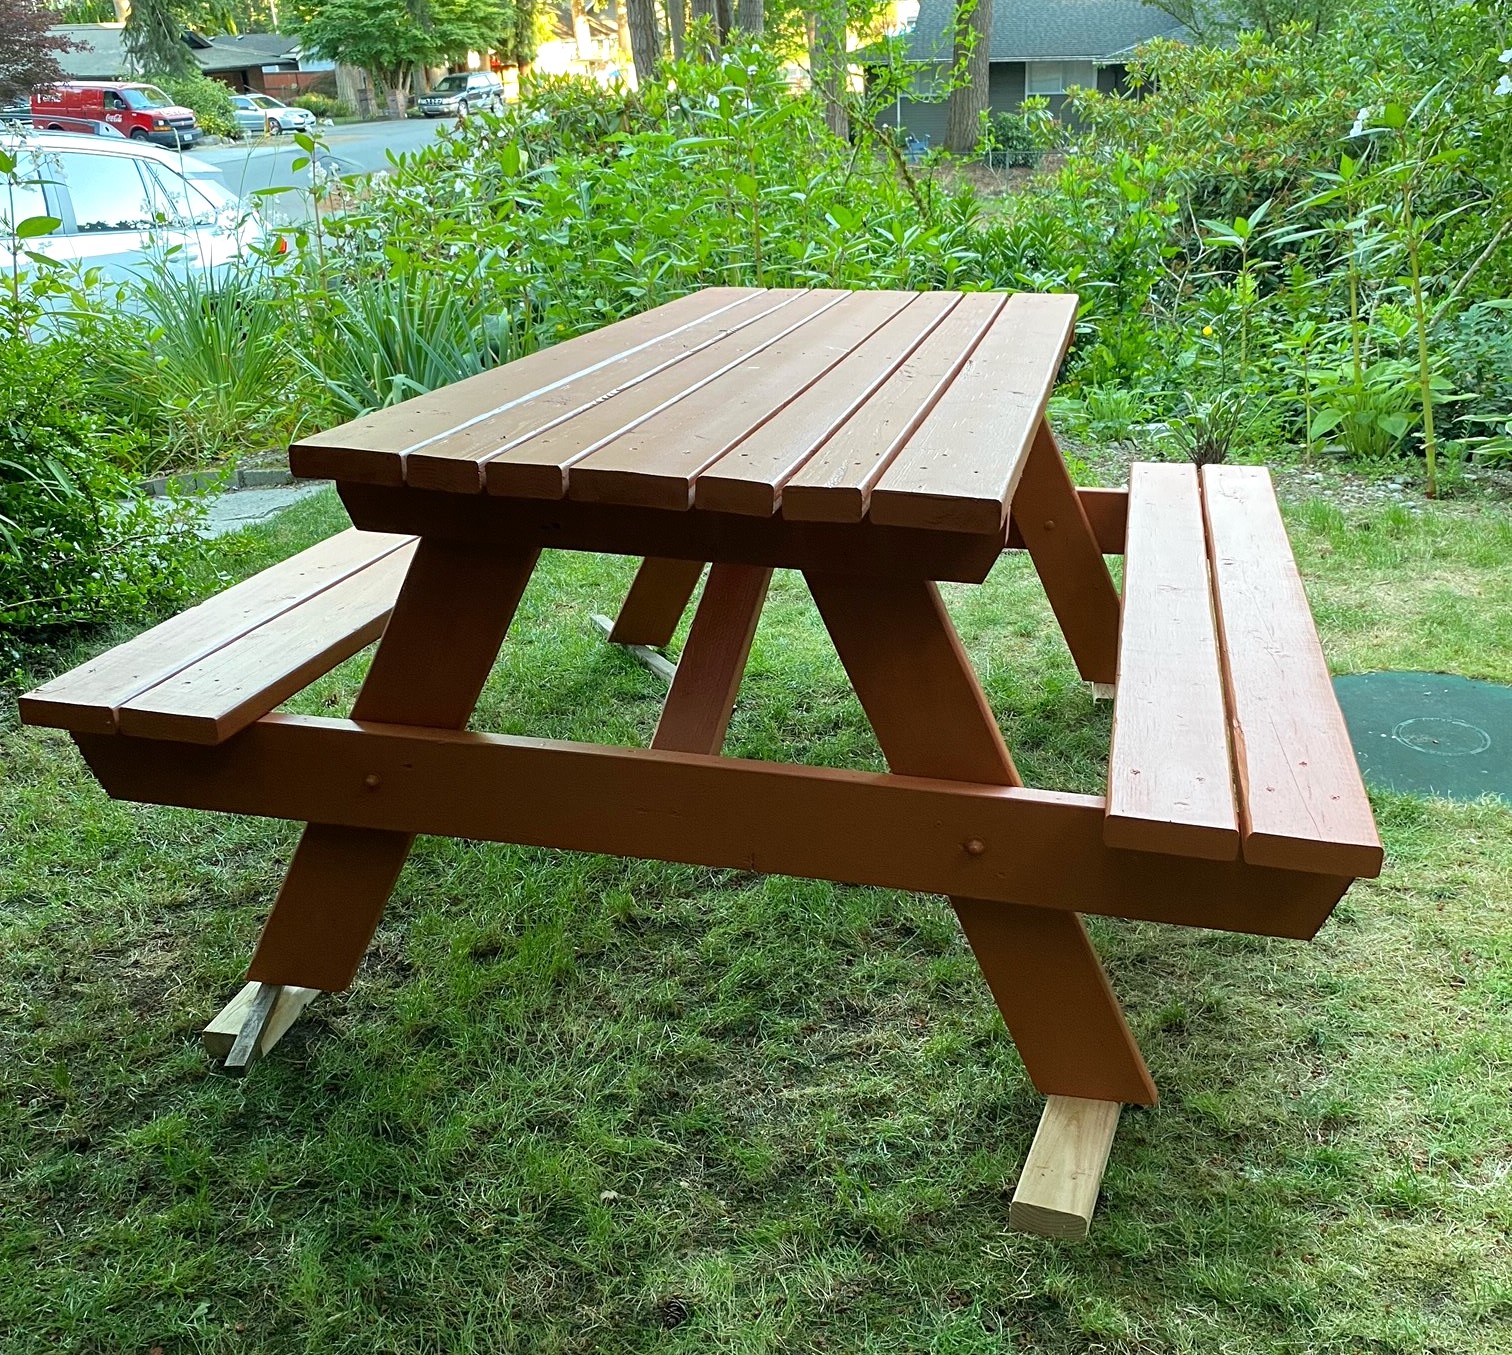
Build straight from Ana's plans. Very easy and quick to build. I spent a little longer sanding it a lot. I then just stained it and put two coats of urethane on it.

Built from Plan(s)
Estimated Cost
$20-$30
Estimated Time Investment
Day Project (6-9 Hours)
Finish Used
Light Oak stain and urethane (for indoor/outdoor use)
Sand really well so the cheap wood looks good.
Recommended Skill Level
Beginner

Roxie's Crate/End Table

Submitted by laurenkmed on Thu, 07/31/2014 - 18:13

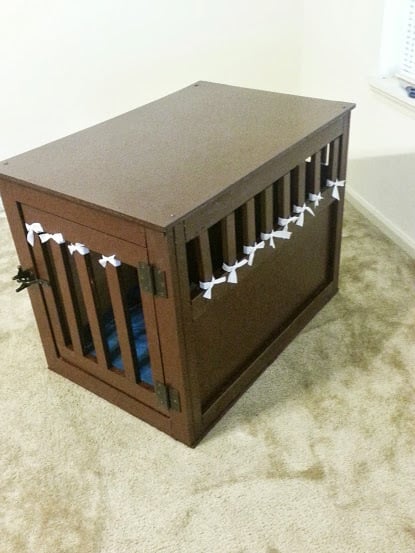
This was my first project ever. I did it around April 2013. I worked with my boyfriend on it, and I think it turned out really well. I plan on making more for friends and family. I didn't use finishing nails the first go round, so I am going to make sure to do that this time. Also, I bought the cheap pine from Home Depot, but it split terribly, and the bowing made for inconsistent cuts. I ended up going back and getting red oak to finish it up, so about 75% of the box is pine and the rest is red oak(not including the MDF board, or plywood, etc). I did an MDF board on top and plywood on the bottom.

We ended up painting the crate instead of staining, and we did a polyurethane coat on the top to help protect from the eventual spills that will occur. I didn't paint the inside of the crate, mostly because you don't notice it is unfinished and I was a bit lazy. Originally I did line the bottom of the crate with cushioning and fabric and stapled it to the bottom (pictured) as a bed for Roxie; but, with the "Snowmageddon" this past winter here in Birmingham, I was stuck out on the road all night and while my apartment manager came and fed her and took her out, she did decide she was going to pitch a fit by eating the handmade bedding. Not a big deal though, now she has a bed from TJ Maxx that works perfectly.

Roxie is a border-collie/lab mix, and she tends to be more border collie in size (50 lbs, about knee height). I went directly from the specifications here on the site and Roxie fits in this well with plenty of room to stretch out. I work and go to school, so she is in the crate for about 8 hours a day, give or take, and she has been doing just fine with it.

I should note that my dog did not really like her original wire crate. We trained her with it, and she would go on command, but she never liked it. After this was built and the first time we let her check it out, I was amazed. She went straight in and laid down. Now it's her favorite spot in the house (other than on my bed of course).

I have received more compliments on it than I can count, and I have people begging me to make one for them. This was definitely worth it! Great plans!
Estimated Time Investment
Weekend Project (10-20 Hours)
Finish Used
Espresso colored paint.
Recommended Skill Level
Starter Project

Console table

Submitted by Anonymous (not verified) on Sun, 11/13/2016 - 20:07

We enjoyed building it and it looks amazing

Estimated Cost
$90
Estimated Time Investment
Weekend Project (10-20 Hours)
Finish Used
Grey and walnut minwax stain, plus a white wash and poly wipe on
Recommended Skill Level
Beginner

Thanks Ana

Submitted by Anonymous (not verified) on Sun, 08/02/2020 - 15:41

This was a great build, awesome project for my girlfriend. Very fun and super satisfying especially at paint and stain stage! Everyone loves it. Grateful for the plans.
Took me about a week. Edge banded my face and spackled the sides. My drawers were installed with a dado. Everything else was pocket screwed and glued.
Definitely recommend.
Follow my journey @alexthenailbanger

Built from Plan(s)
Estimated Cost
400
Estimated Time Investment
Week Long Project (20 Hours or More)
Recommended Skill Level
Intermediate

Simple Closet Organizer

Submitted by bcy419 on Thu, 10/11/2012 - 13:46

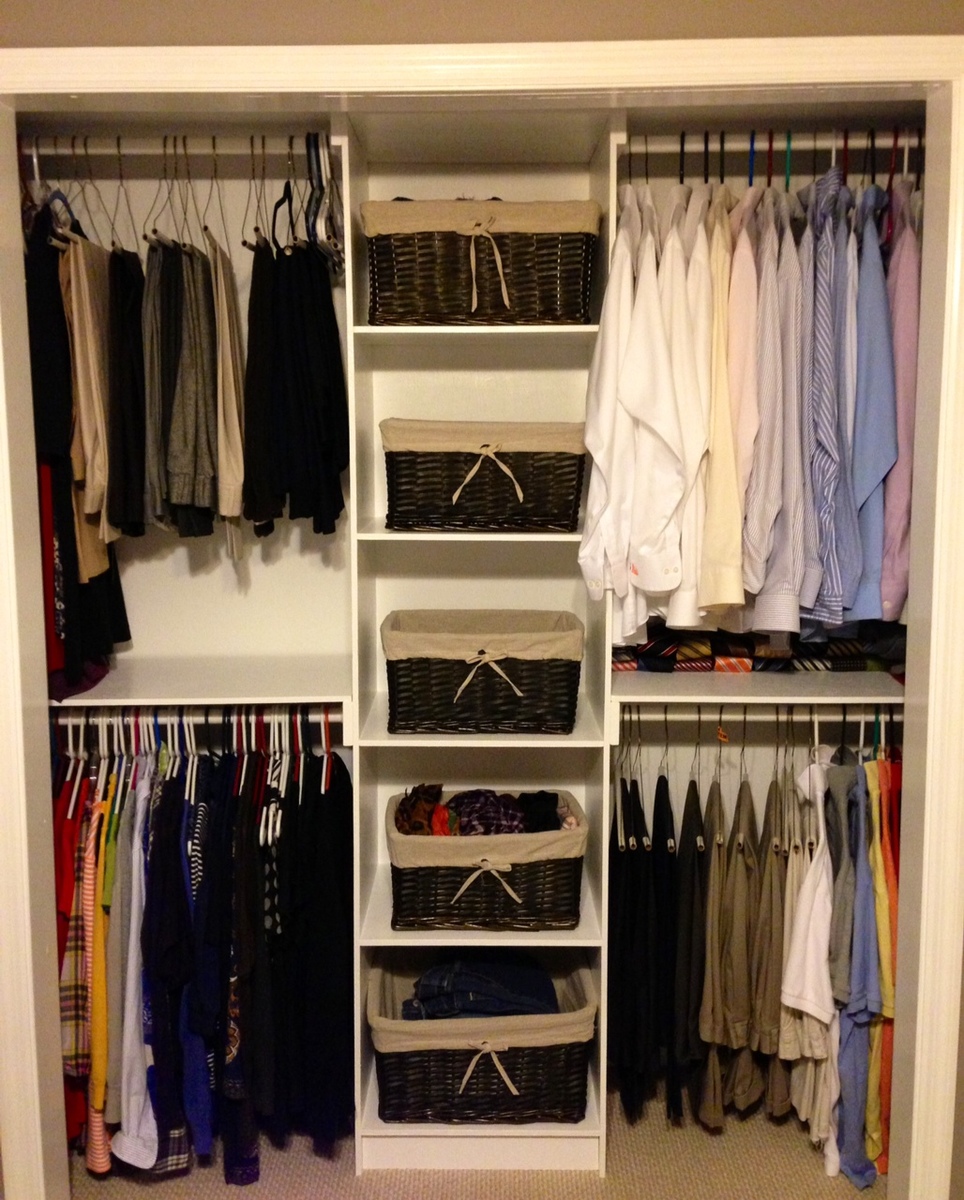
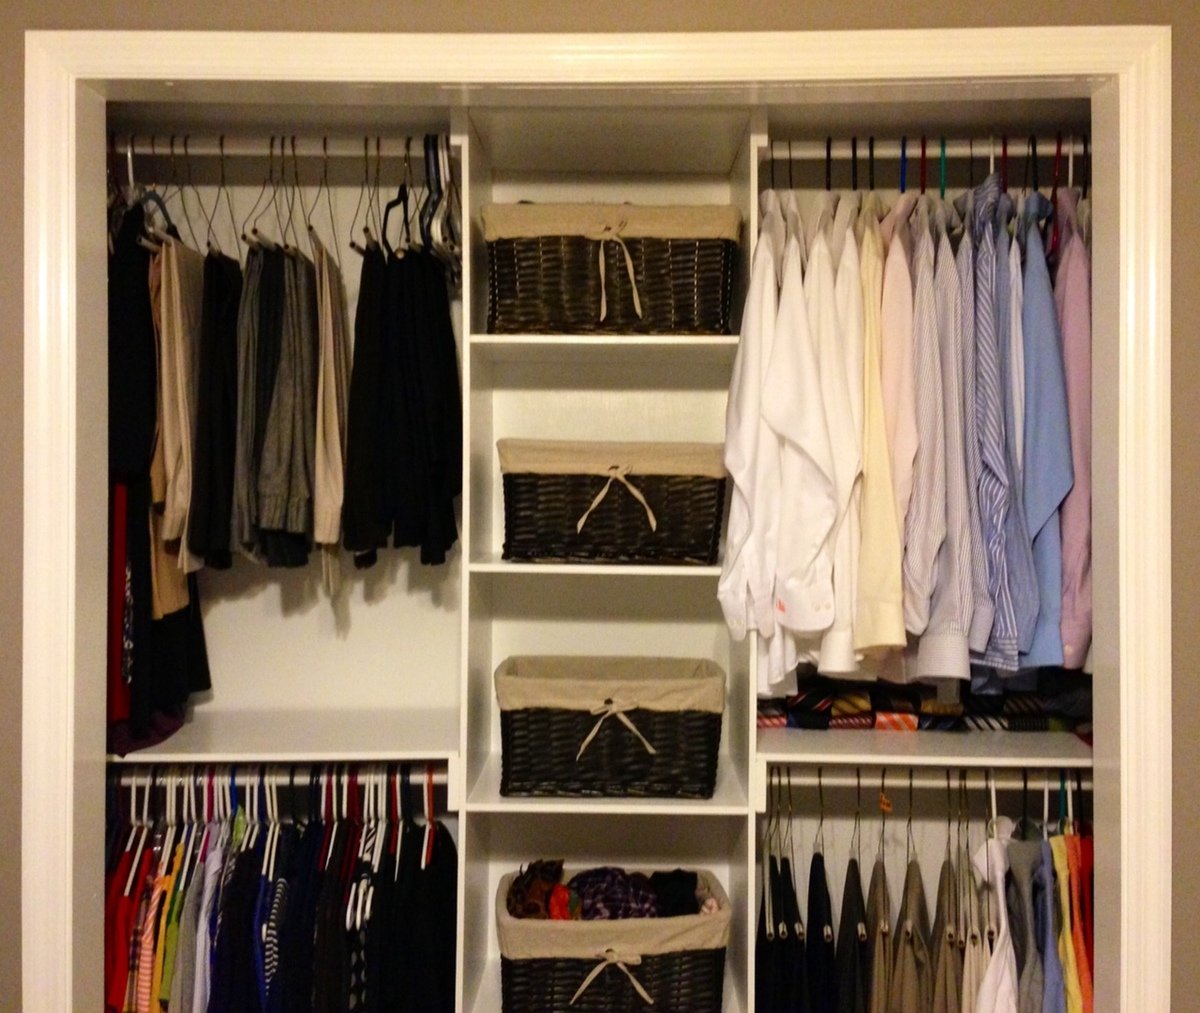
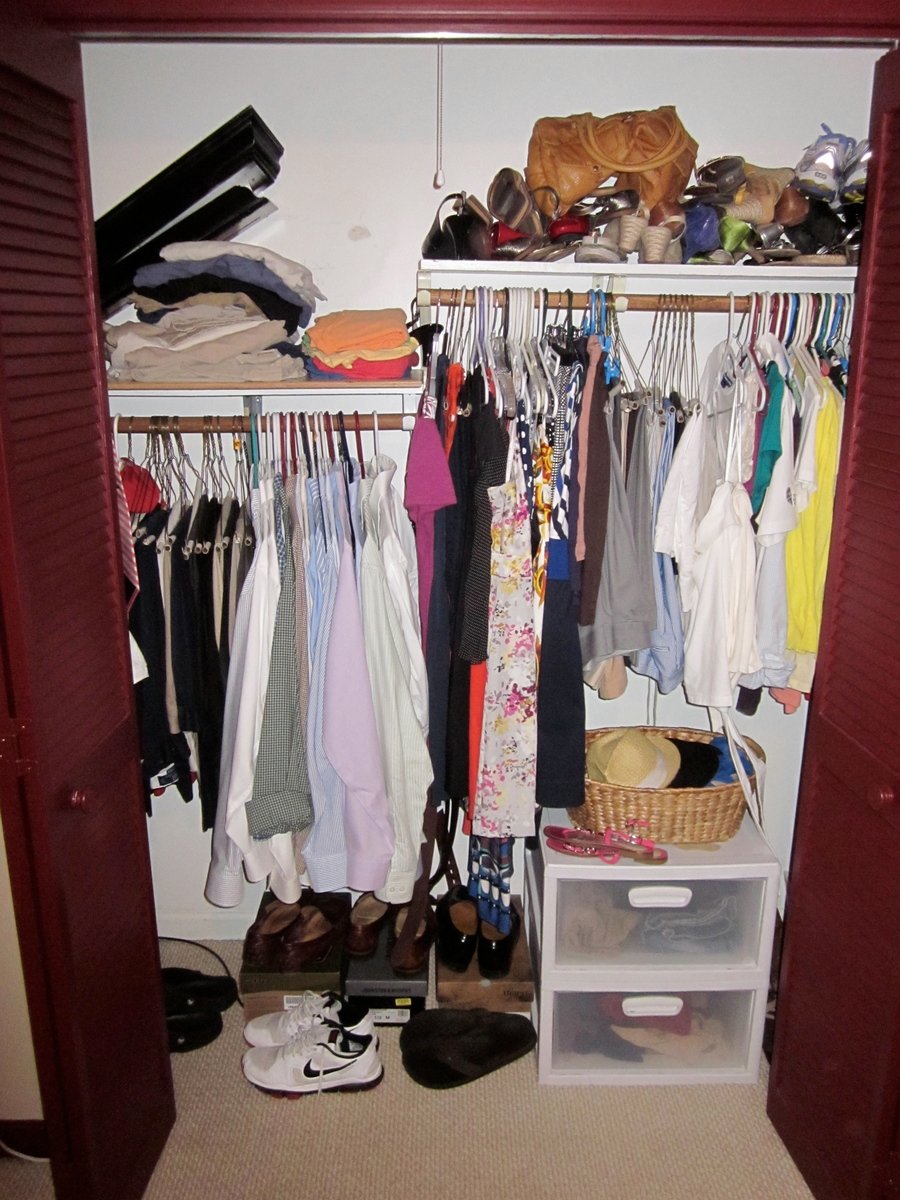
This was mine and my wife's very first woodworking project. Overall, it wasn't bad at all. I thoroughly enjoyed the actual process of cutting the wood and putting everything together. As far as the painting goes, I'd much rather just go on to another woodworking project, but I have to say that all the hard work paid off. Anna's plans helped tremendously. I tweaked slightly just because we wanted our center piece to be a little taller and slightly more narrow. We also added two shelves on each side, for a total of four. For our small reach-in closet, this was by far the best way to go about everything. We definitely have much more room and overall it is a much better use of the space.

I threw in a "before" picture just for fun.

We also just finished the Farmhouse Queen Bed that Anna has plans for, and we will be putting up a brag post on it very shortly.

Built from Plan(s)
Estimated Cost
$40-$50
Estimated Time Investment
Weekend Project (10-20 Hours)
Finish Used
We just went with a simple white. My wife and I sanded everything down, then used some leftover Behr Premium Plus, Self-Priming, Interior Semi-Gloss that we previously used on our bedroom trim. We sanded between coats and applied a total of three coats for the finished product.
Recommended Skill Level
Beginner

Unique Bookshelf

Submitted by Lalauren42 on Mon, 08/04/2014 - 08:48

I was in need of a new bookshelf so I searched online and all I could find were cheap, plain bookshelves at a pricey cost. So I decided to make my own. This was my first piece of furniture I have ever made. I love it! Super easy and the Kreg Jig will quickly become your new BFF!!

I did shorten the bookshelf so that top was accessible.

Estimated Cost
$150
Estimated Time Investment
Day Project (6-9 Hours)
Recommended Skill Level
Beginner

Emme Twin Bed

Tips:

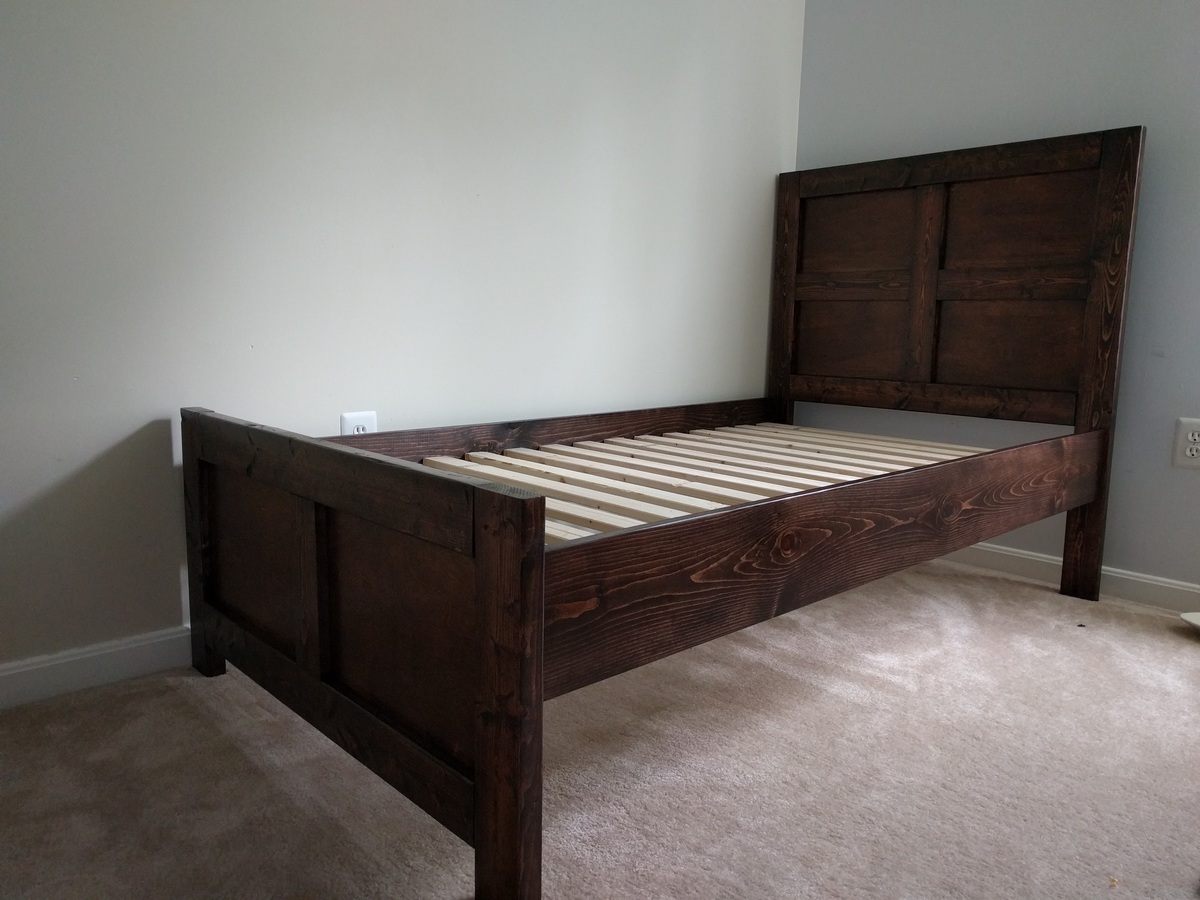
  1. Bed Frame: runners attached with bed connectors from Rockler to make it easy to breakdown and move.
  2. Slats: made removable slats again for ease of move. Made with nylon rope stapled to 1x3. Pin the first and last slat by putting a screw on the inside of the first and last slat to keep it in place.
Estimated Cost
less than $100
Estimated Time Investment
Day Project (6-9 Hours)
Finish Used
General Finishes Gel Stain Java
Recommended Skill Level
Beginner

Foot stool.

Submitted by CKam0011 on Tue, 08/04/2020 - 20:15

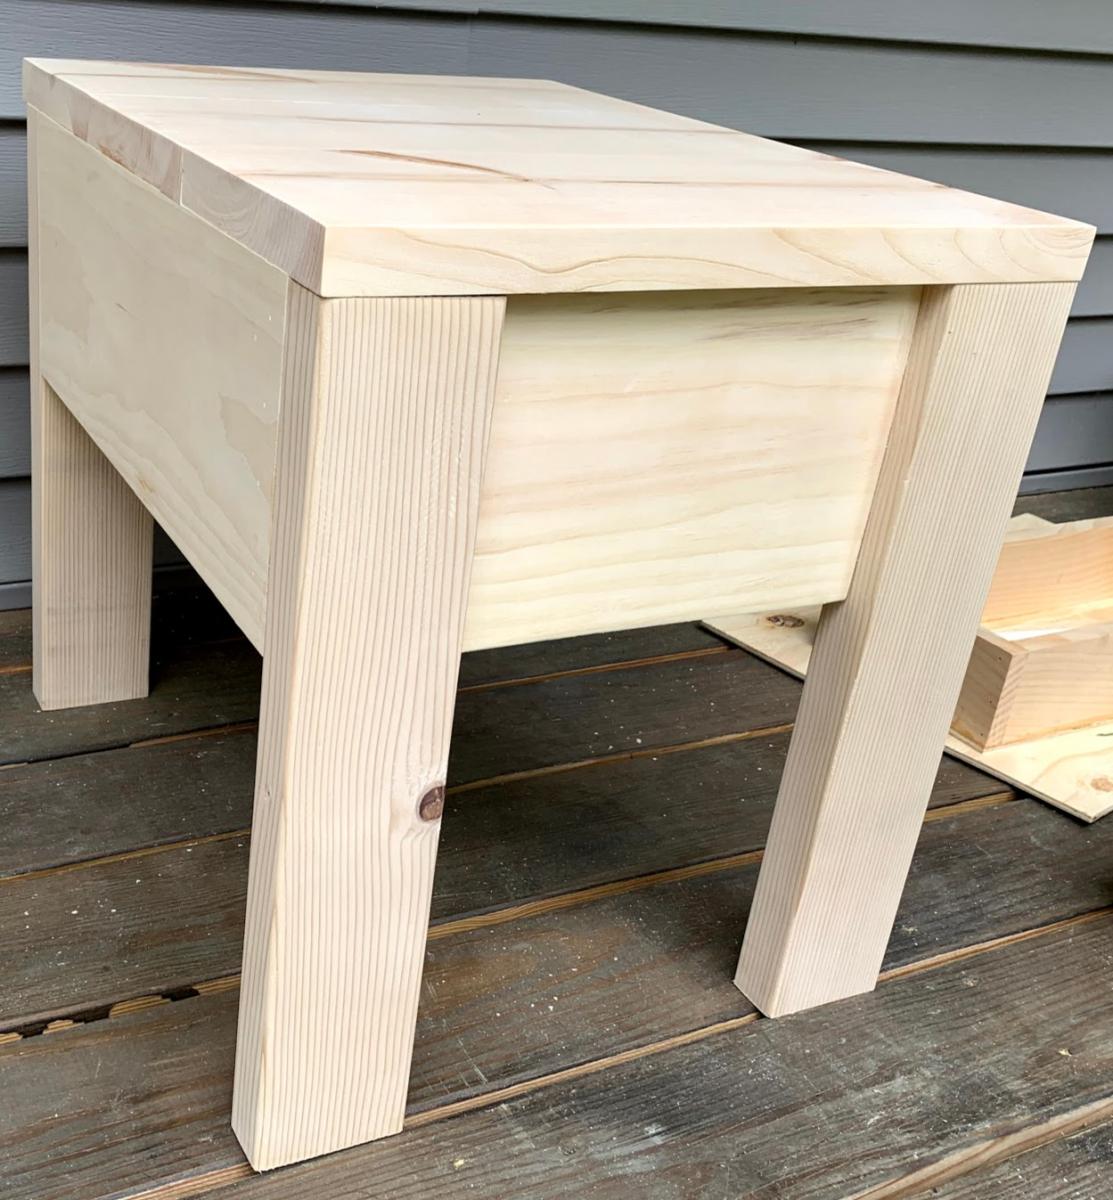
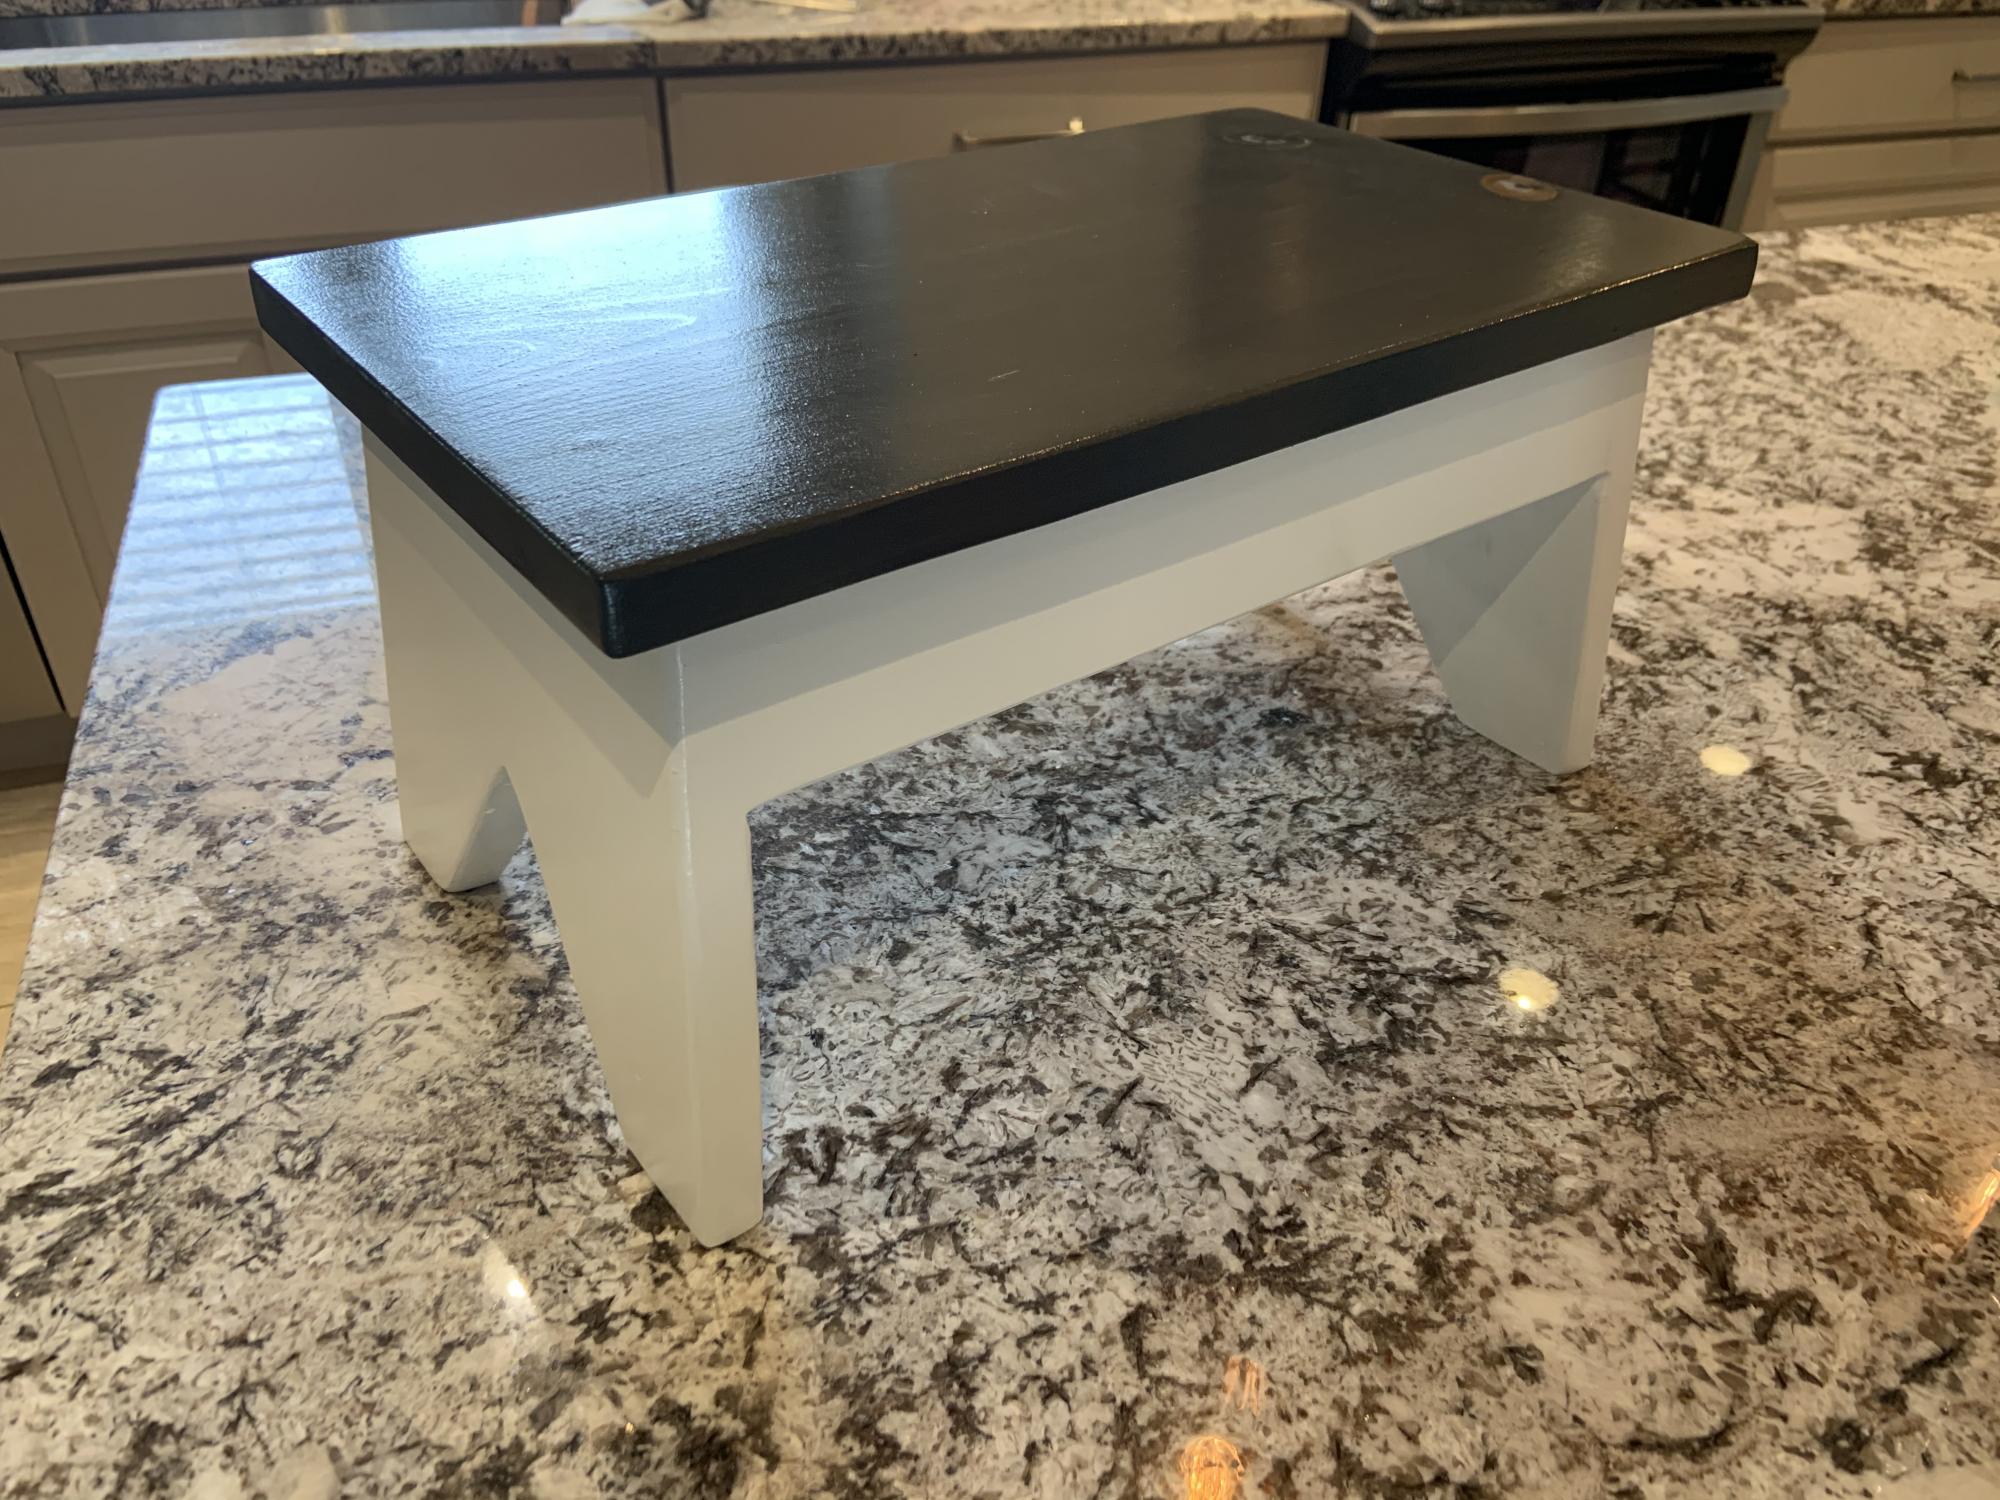
Just got into woodworking as a hobby. This is my first project, pretty happy with how it turned out.

Finish Used
Urethane, trim paint.
Recommended Skill Level
Beginner

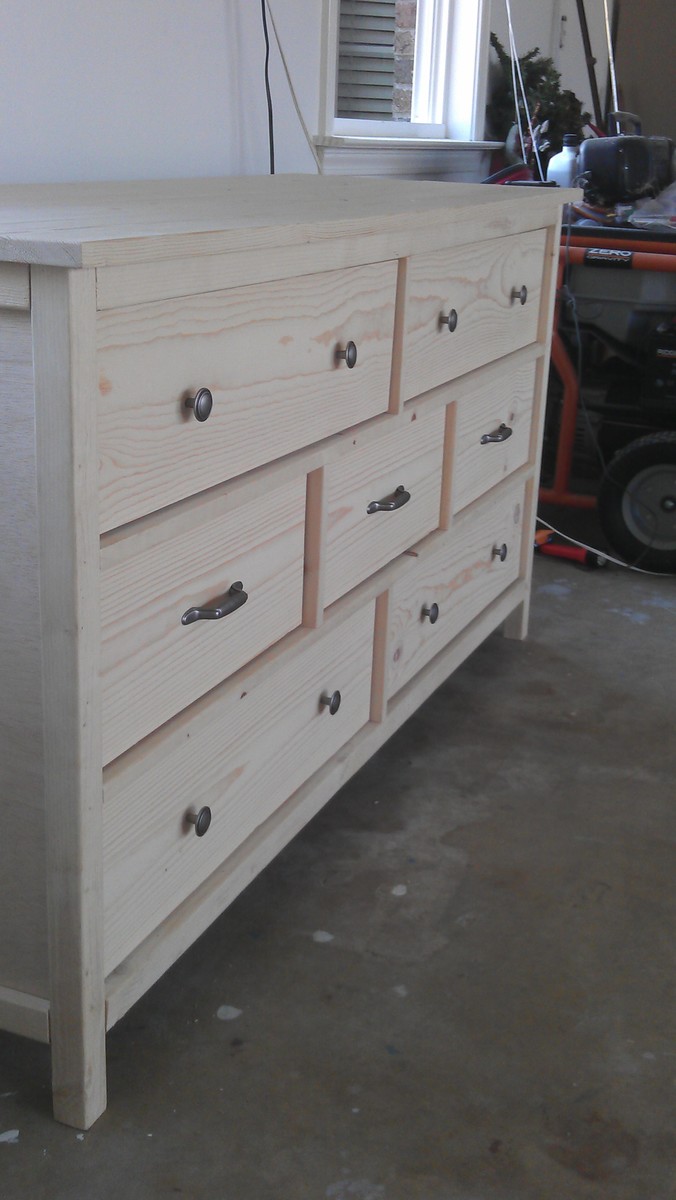
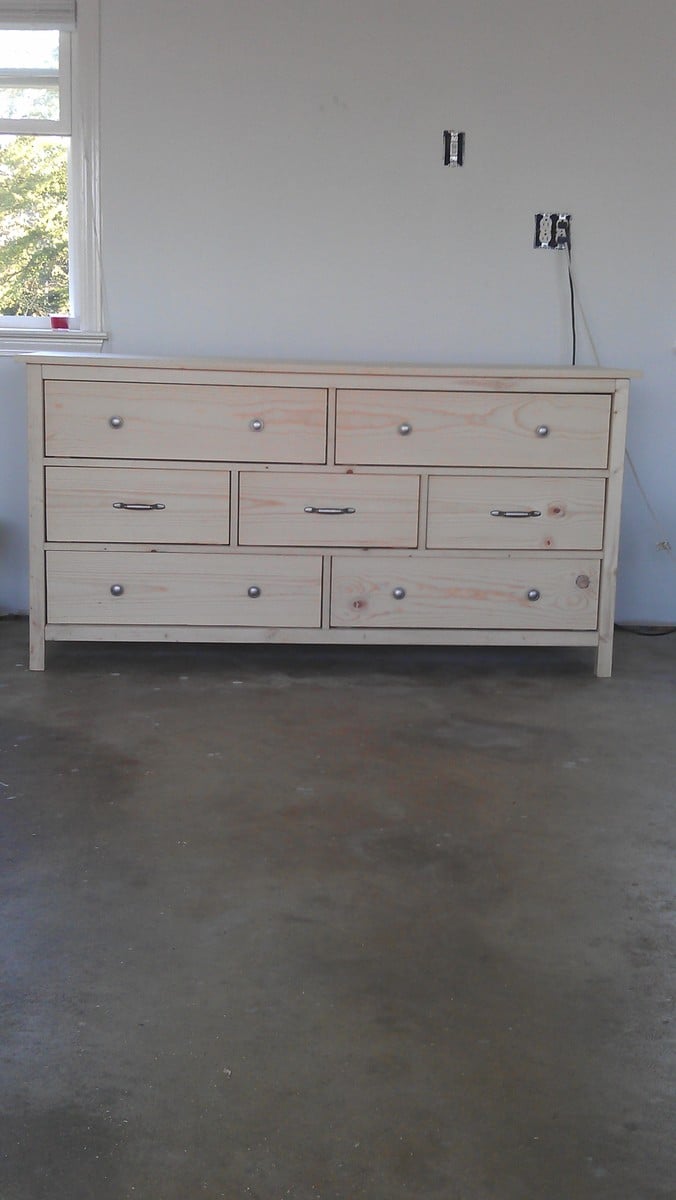
Wide Cabin Dresser

Submitted by jmsmith12 on Thu, 10/18/2012 - 13:37

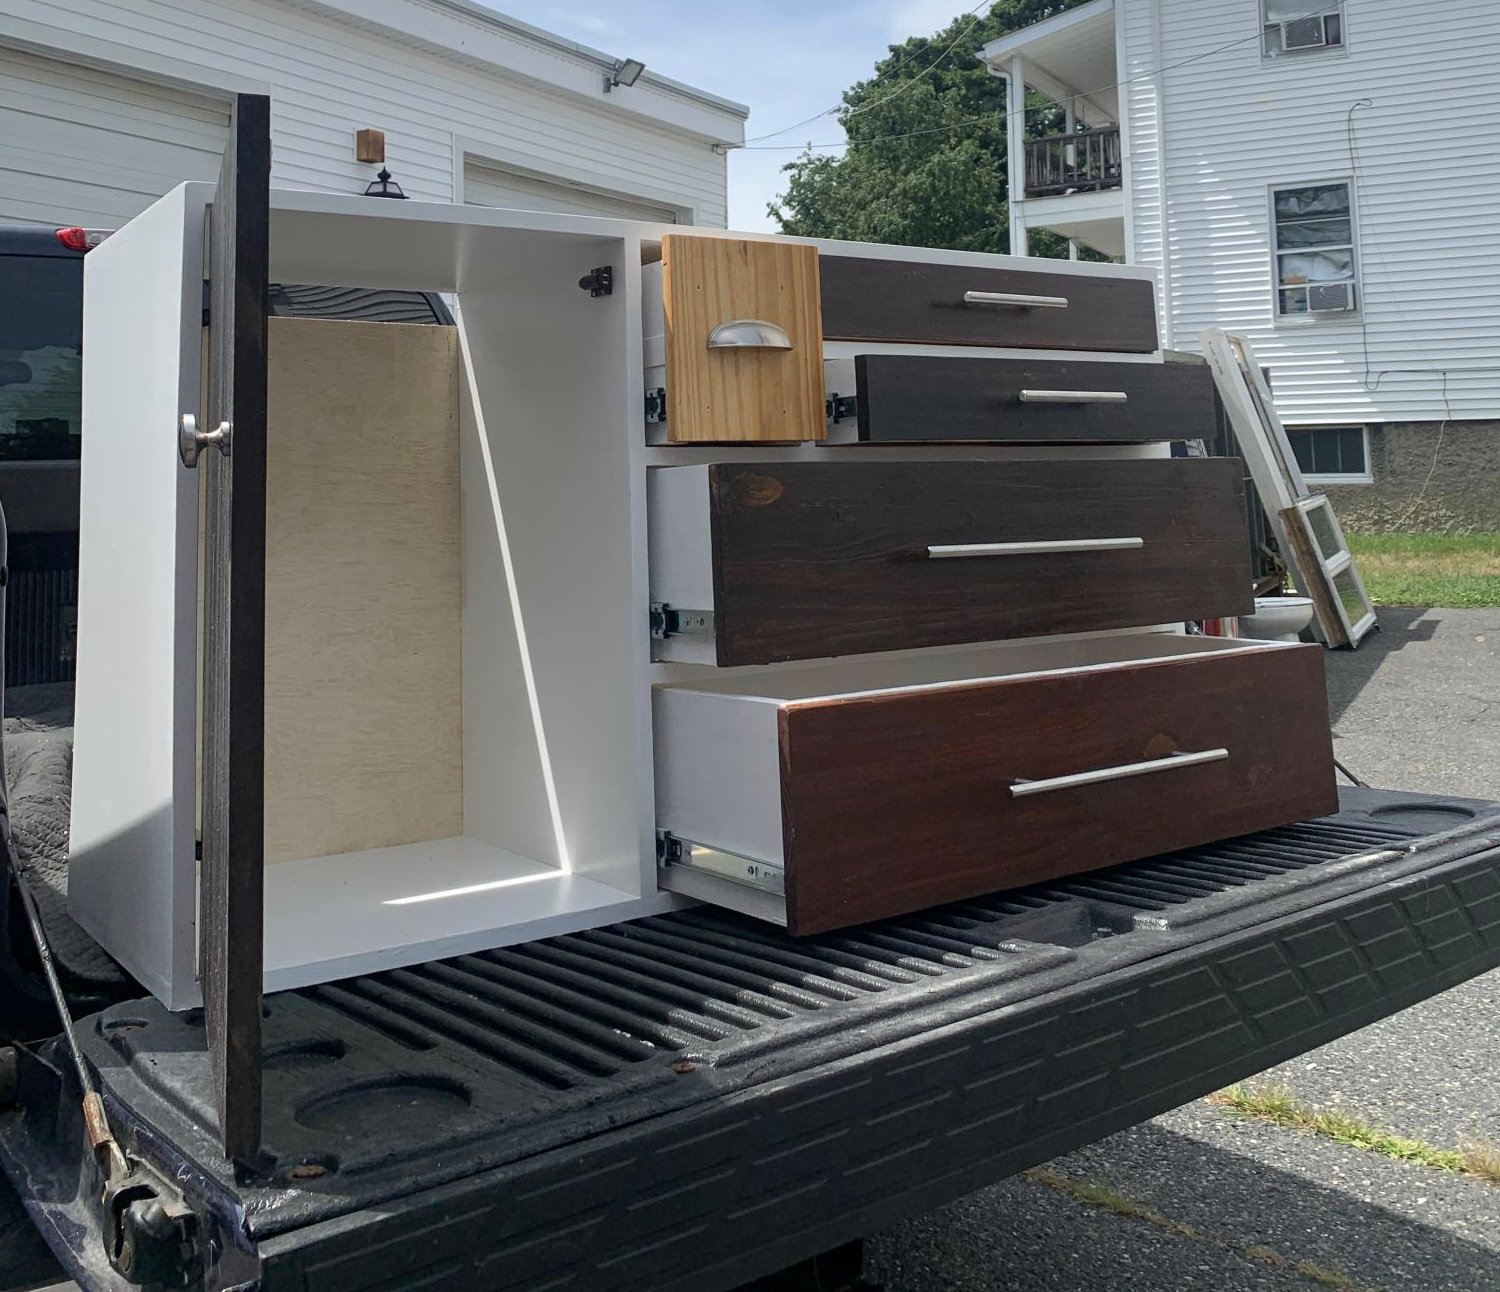
Modified wide cabin dresser with metal full extension drawer slides on the bottom of the drawers. The extra set of drawers on the bottom were added to give more space for storage.

Estimated Cost
200-250
Estimated Time Investment
Week Long Project (20 Hours or More)
Finish Used
Any advice for a finish with a linen covered bed?
Recommended Skill Level
Intermediate

Comments

mebohn

Thu, 01/31/2013 - 14:04

Beautiful! I was wondering if it would look pretty with the extra drawers on the bottom. I'm building this plan for my son right now, but I might build another with extra drawers for myself!

dbwalk

Sun, 11/23/2014 - 05:29

Your build looks awesome!  I'm going to be doing this for my twin daughters room very soon.  I was just wondering how you modified the dimensions on the left and right sides.  What were the measurements and dimensions of all the pieces since it had to cover all the way to the bottom?


Papu5477

Thu, 01/25/2018 - 18:29

Are plans available for this build? I love the extra drawers. 

Back