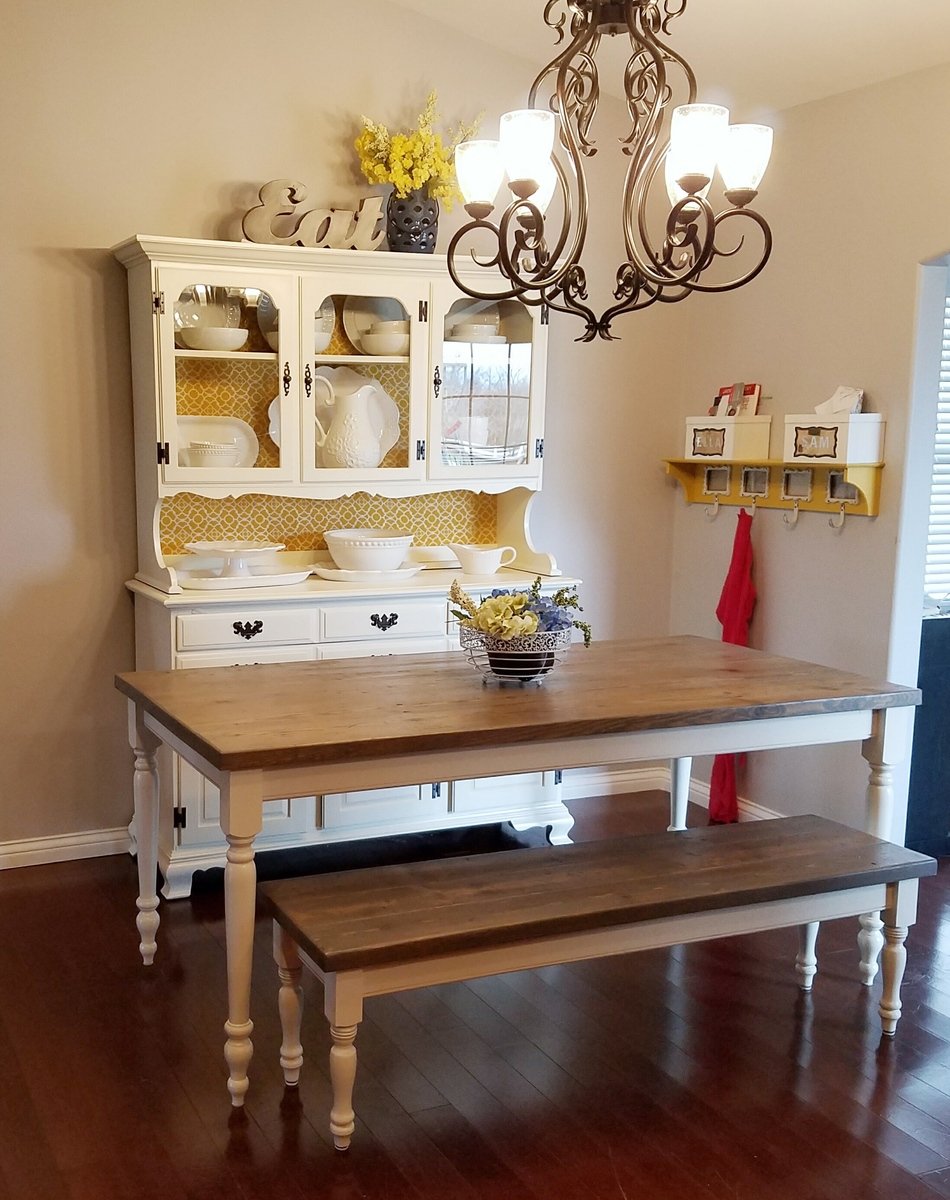
Farmhouse dining room
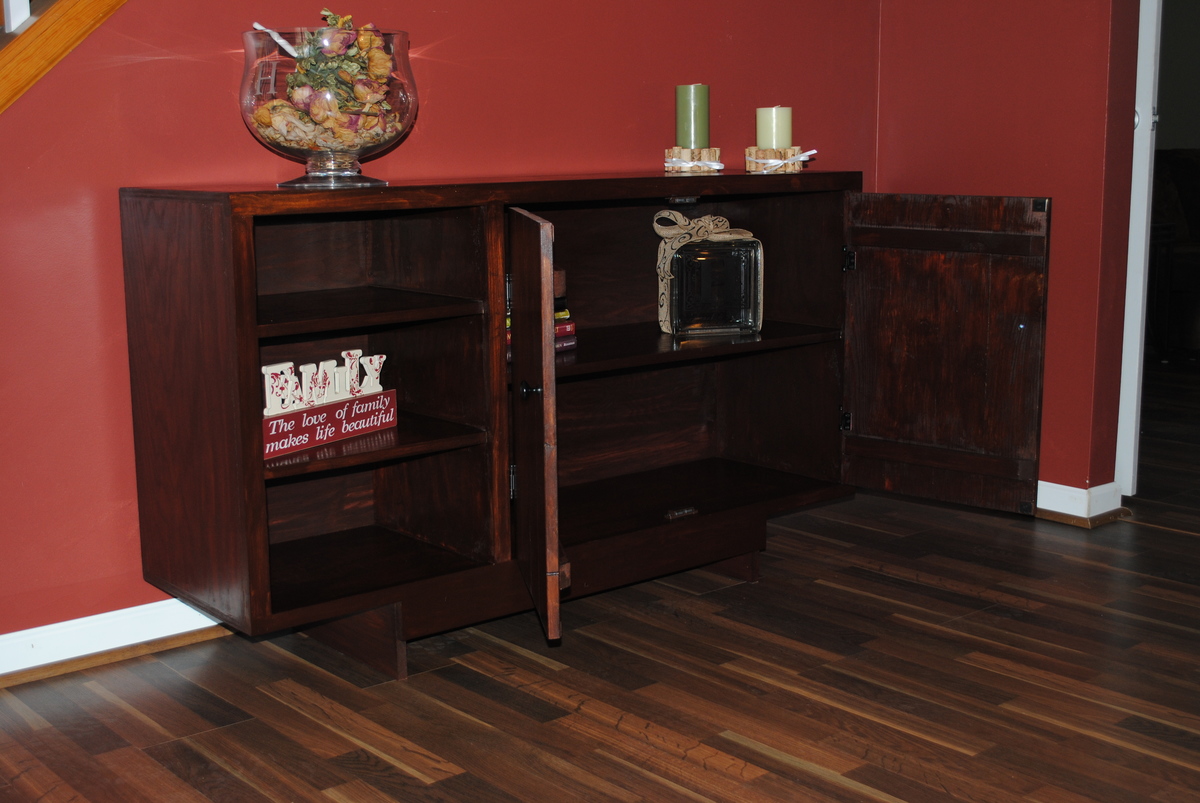
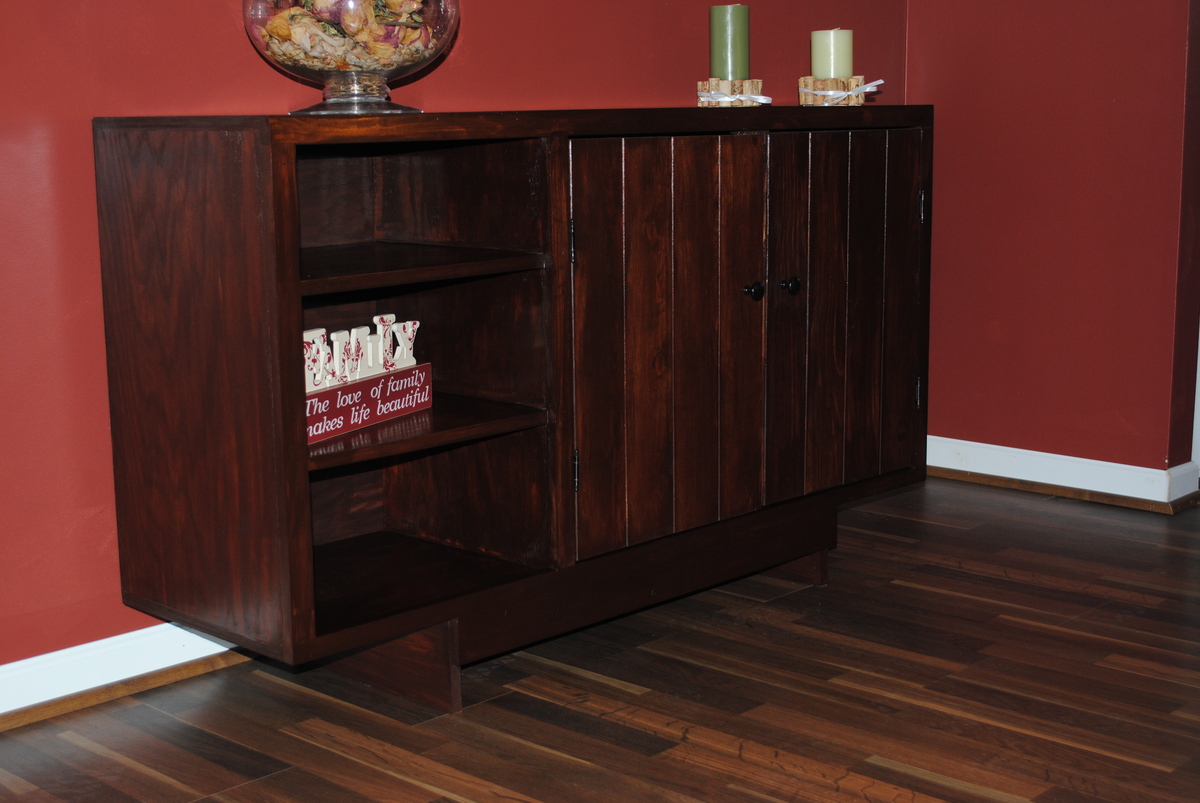
Super easy base plans. Made a few modifications, and it came out beautifully.

Super easy base plans. Made a few modifications, and it came out beautifully.
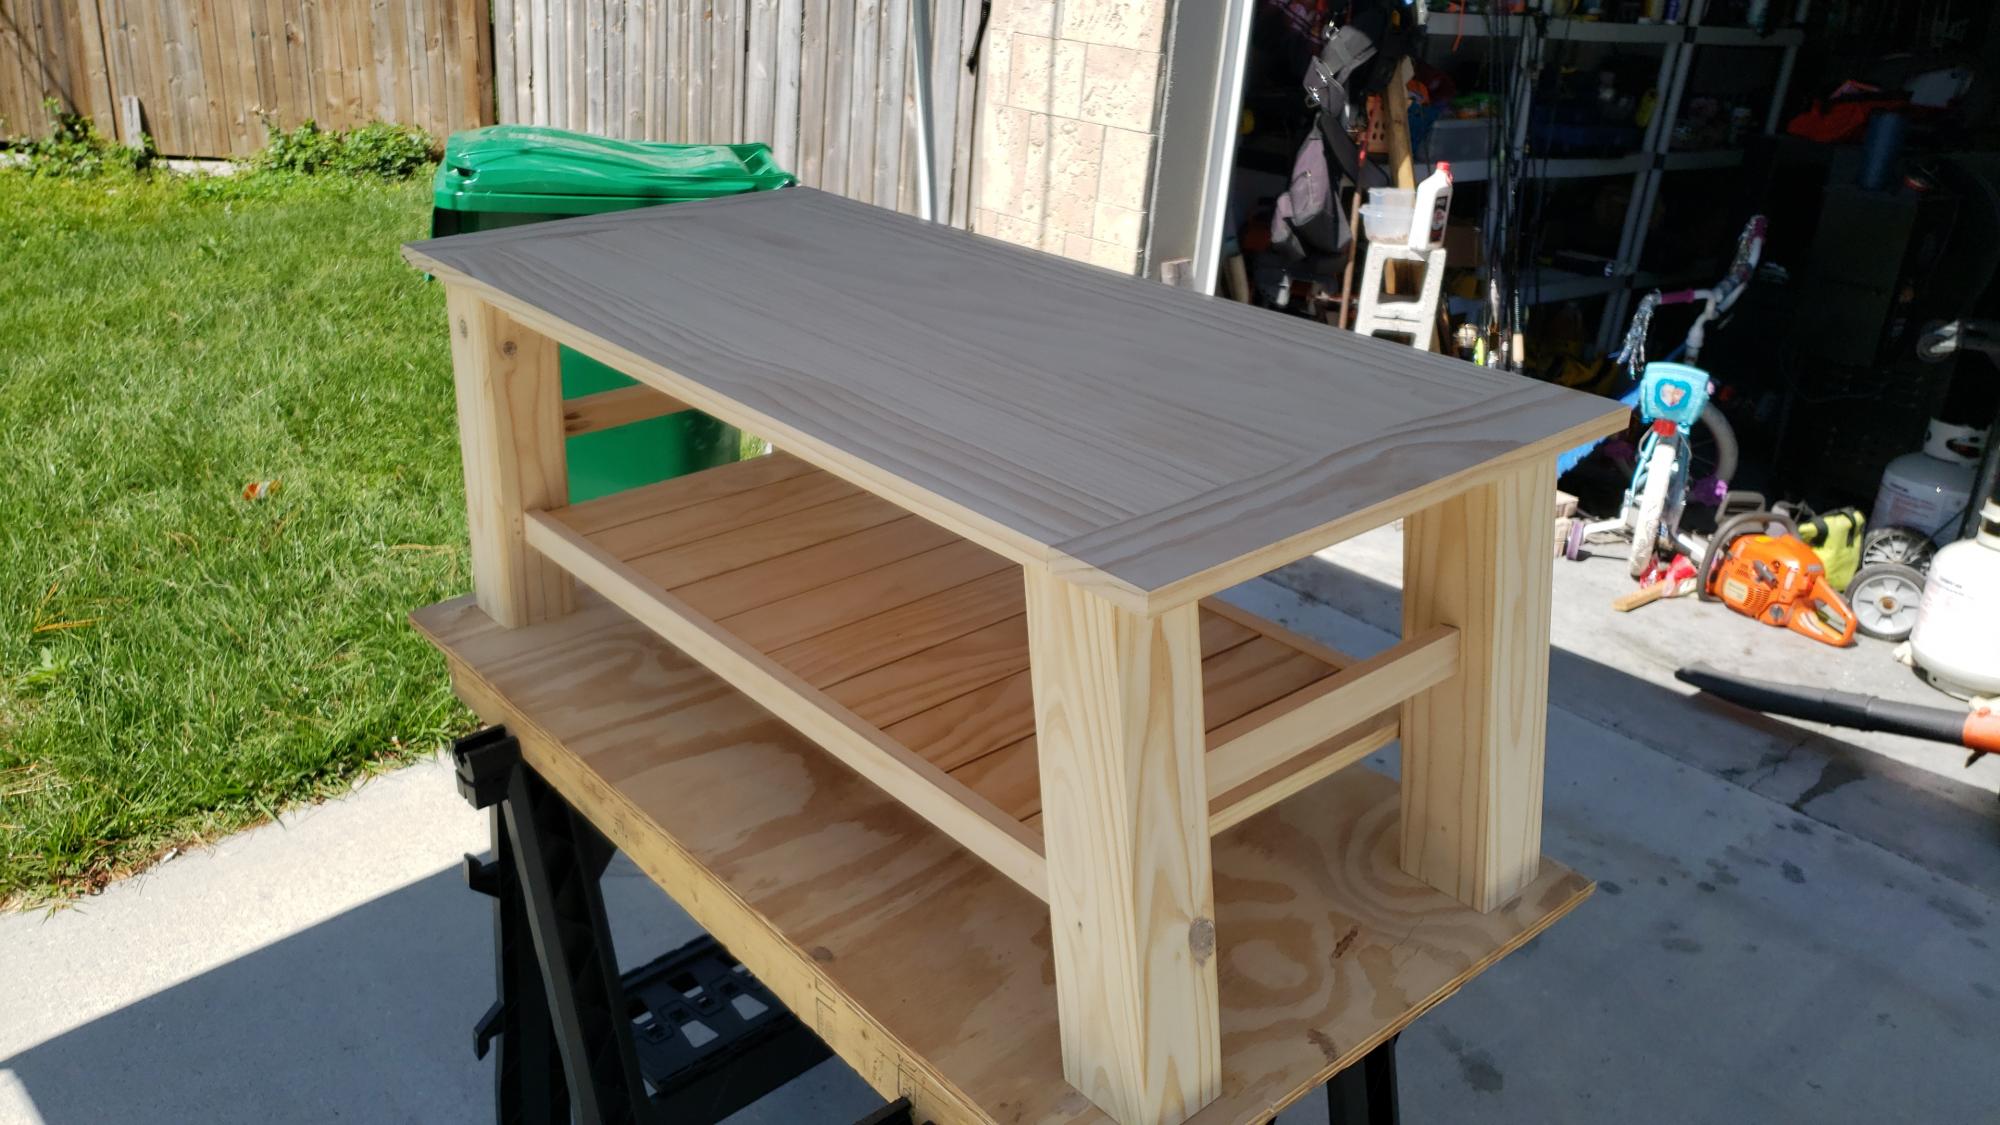
All in all, I'm pleased with the way it came out. The person that I built it for wanted a weathered gray stain. It wouldnt have been my choice, but ince applied, I really liked how it turned out
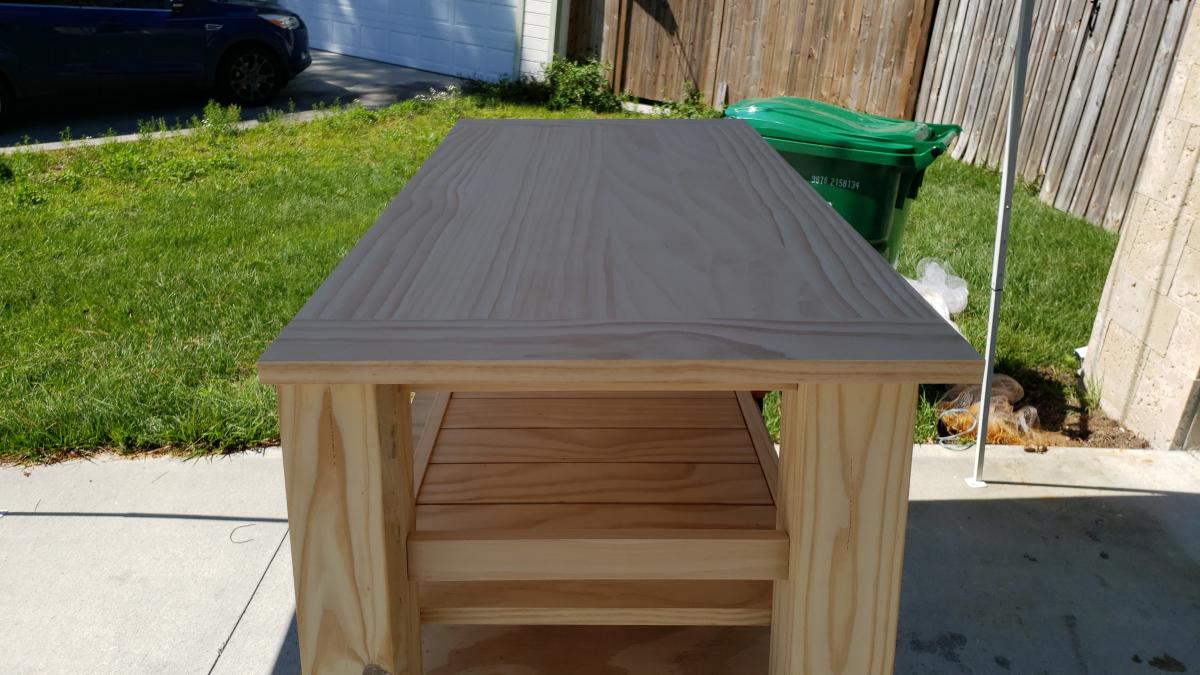
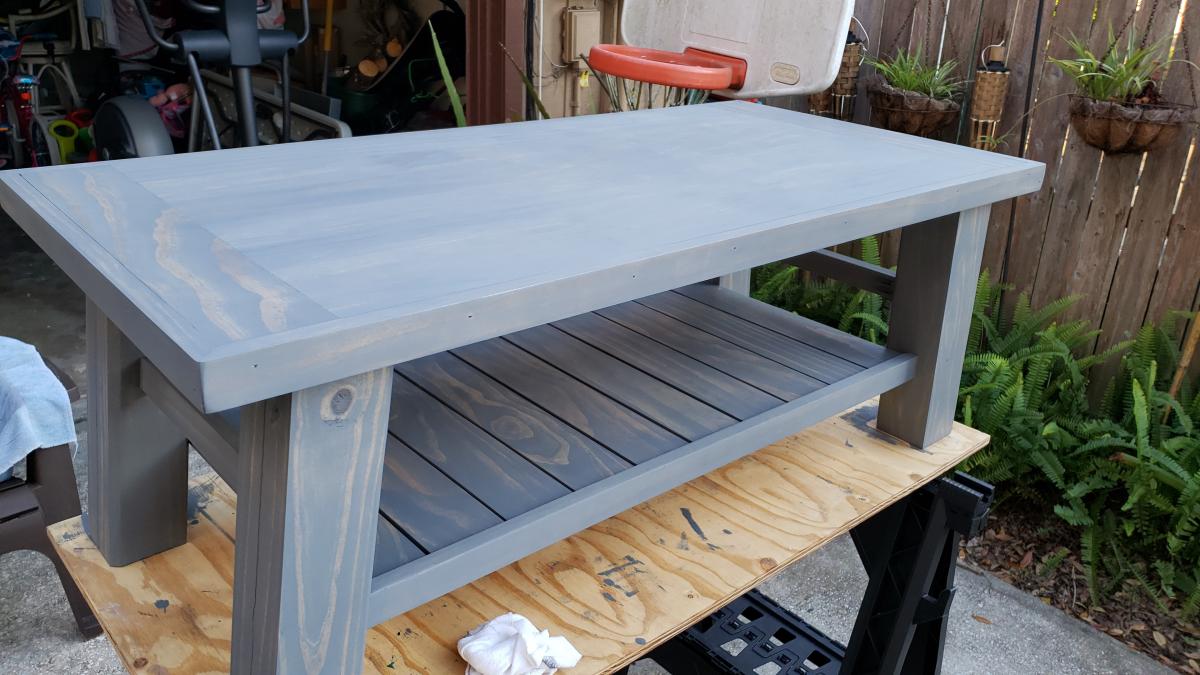

This was one of my first bigger builds. I am so happy with the way it turned out!
Thu, 05/10/2012 - 10:32
So stunning! It's gorgeous! I just love the wood!
Thu, 05/19/2016 - 19:05
This bookcase wouldn't be out of place amongst the Pottery Barn's bookcases. In fact, it inspired me to go out this afternoon and buy some cedar boards so I can start building my own version first thing tomorrow. Thank you, Becky.
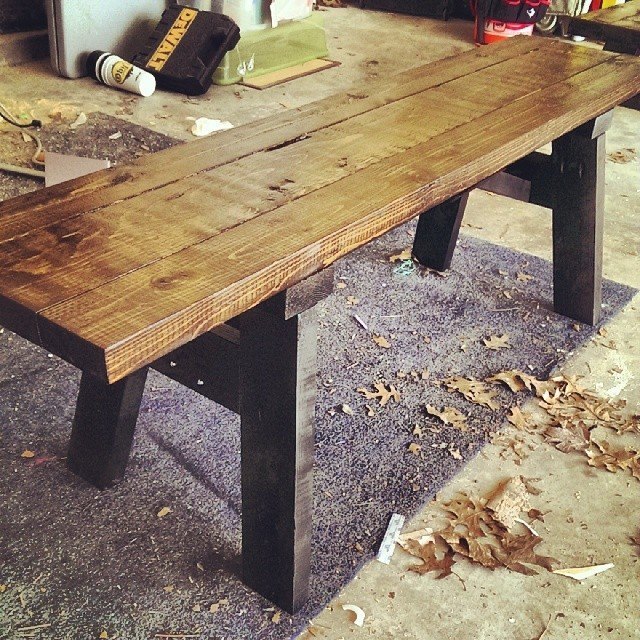
So this was a bit harder than I imagined it would have been given it was my first time to try a plan from the site! The hardest thing was getting the middle beams cut correctly.
I shortened the length of the bench to 56" to fit our space and so that changed all of the angles (well, the angles on the center beam). The Kreg Jig is a must here and really helped.
3 tiered flower/garden bed, untreated in pic, need to find a food safe wood sealer this weekend and then we can fill with dirt and plant. We are using it as a garden. 21ftx6ft, 35 inches high.
Simple to build rustic end tables/side tables. These were stained in a red mahogany stain and satin finish polyurethane top coat.

My daughter asked me to make a bench for her daughter’s school bus stop. After looking at many different plans I chose your plans for a 2x4 bench with modifications. I made it 7’ wide with an additional support piece in the center. I used pressure treated wood for the base and cedar for the seat and back. I finished it with a gloss “school bus yellow” and gloss black. It was very well received by the children and parents.
Ken Shallcross

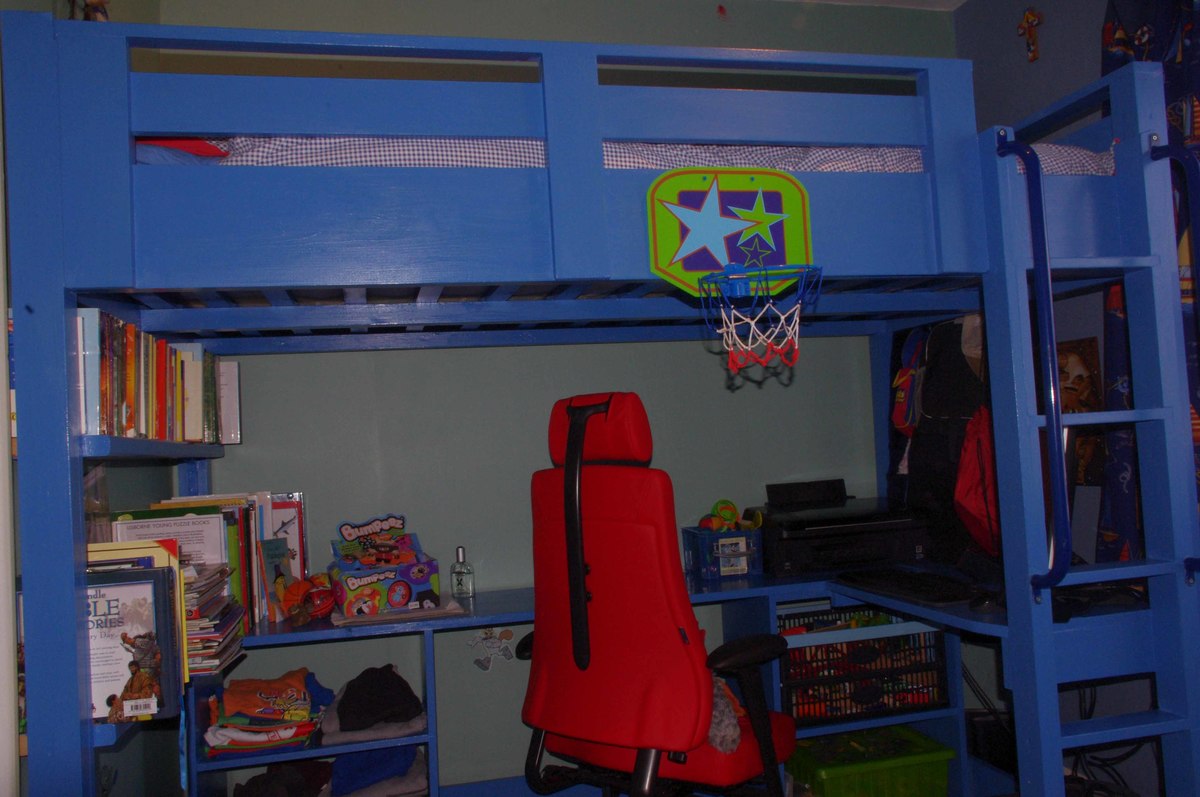
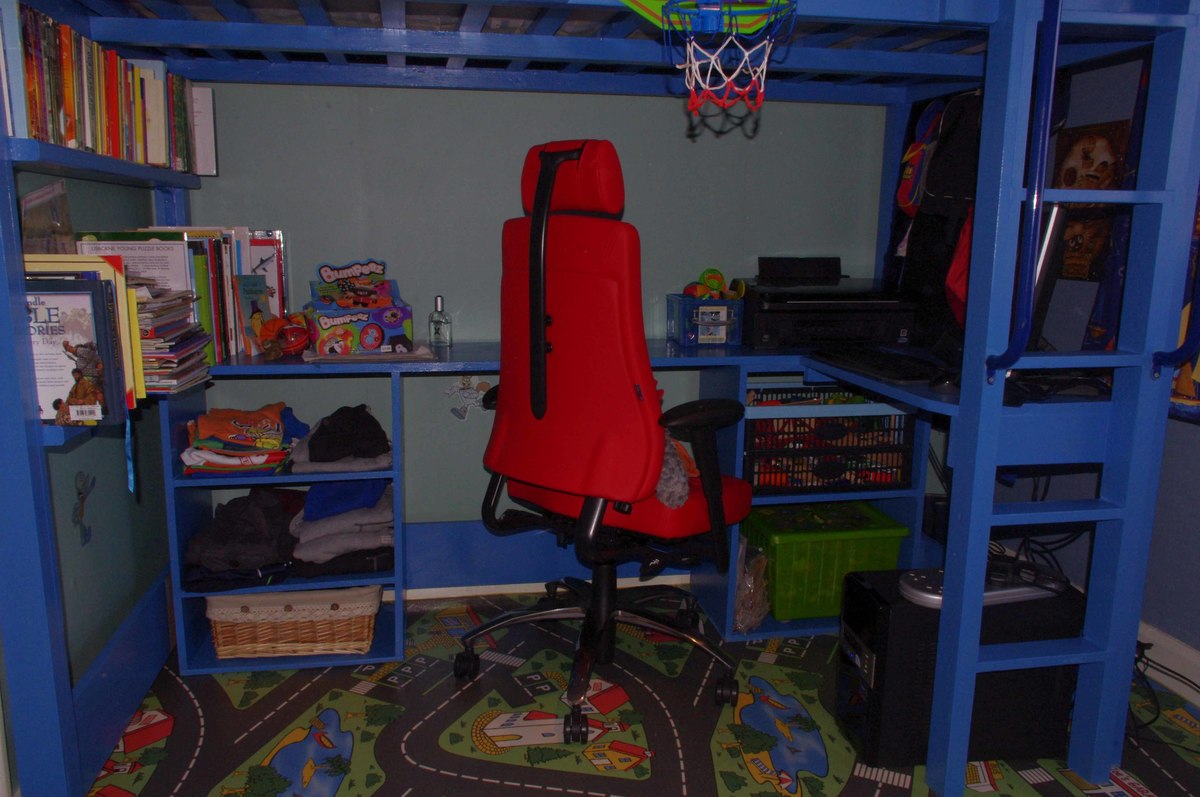
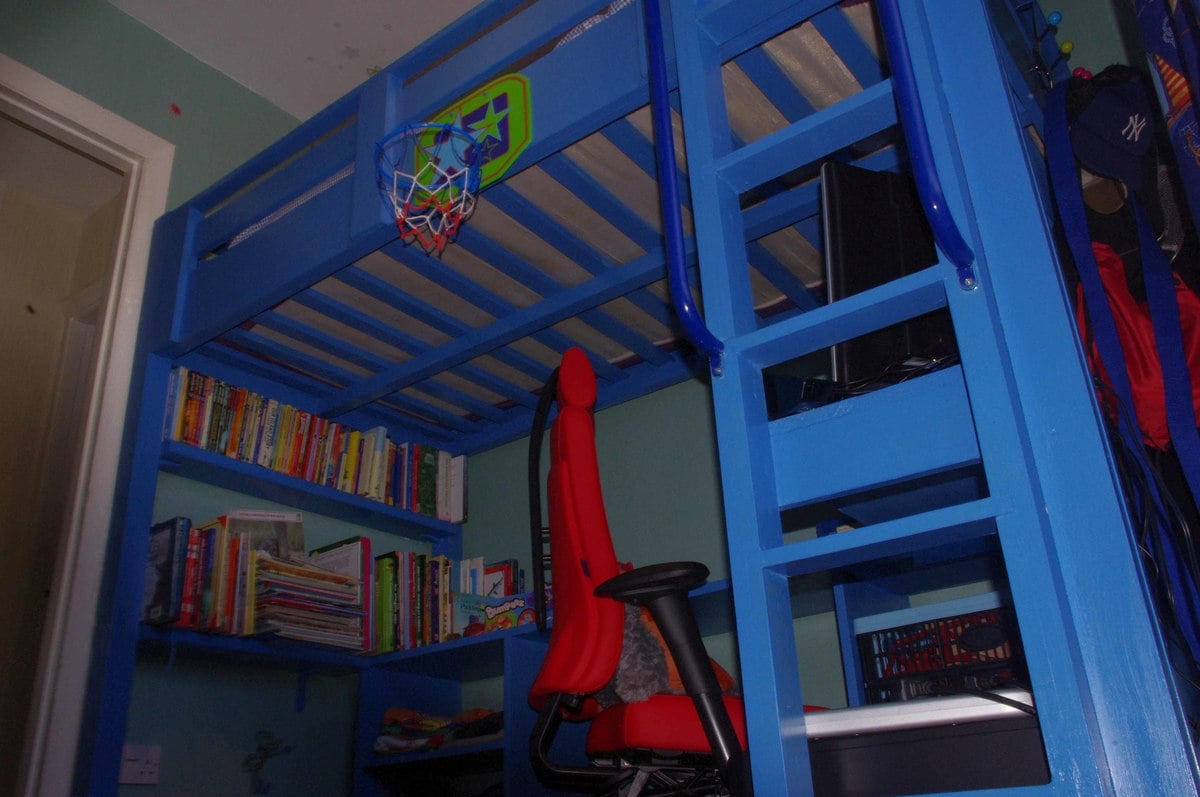
we have finished my sons room, it has taken us nearly a year but this bed looks fantastic and is much sturdier than the ones you can buy!!!
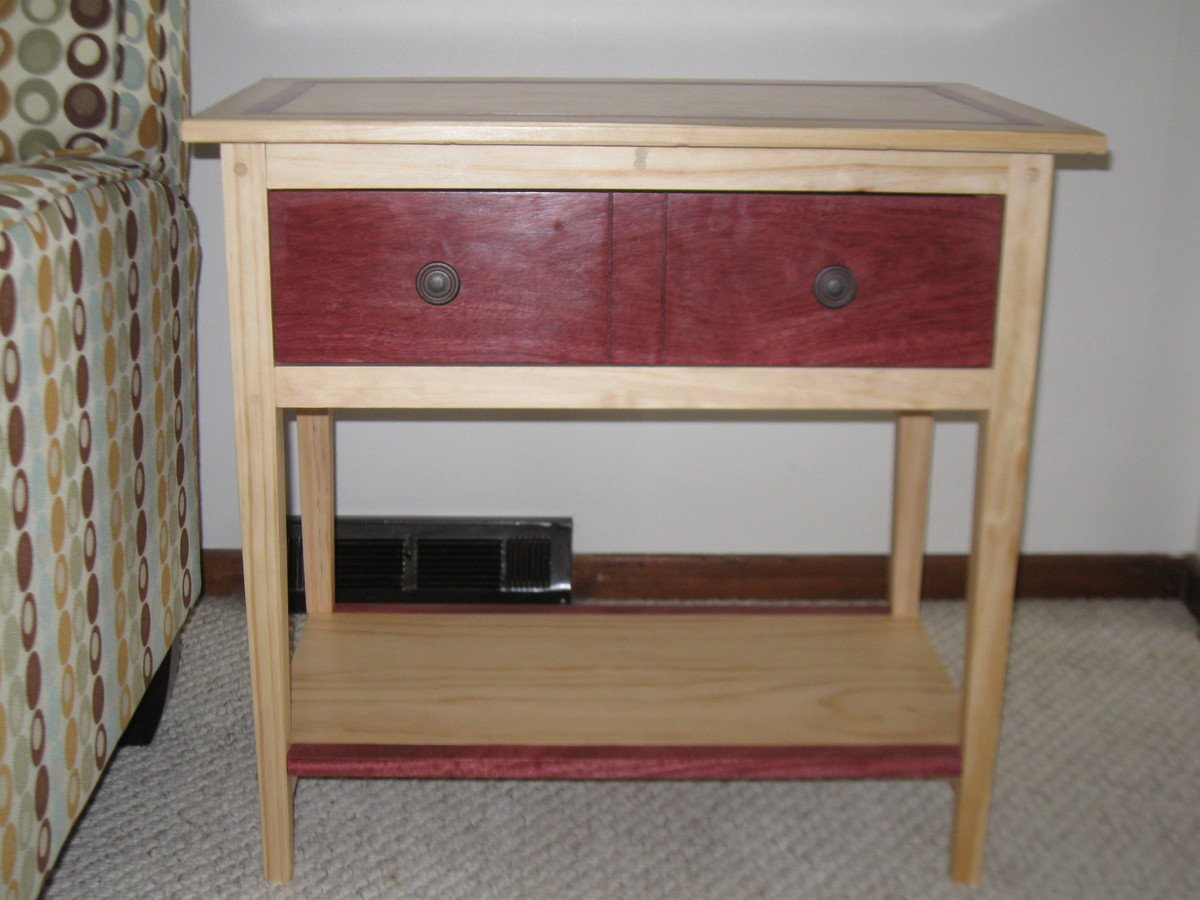
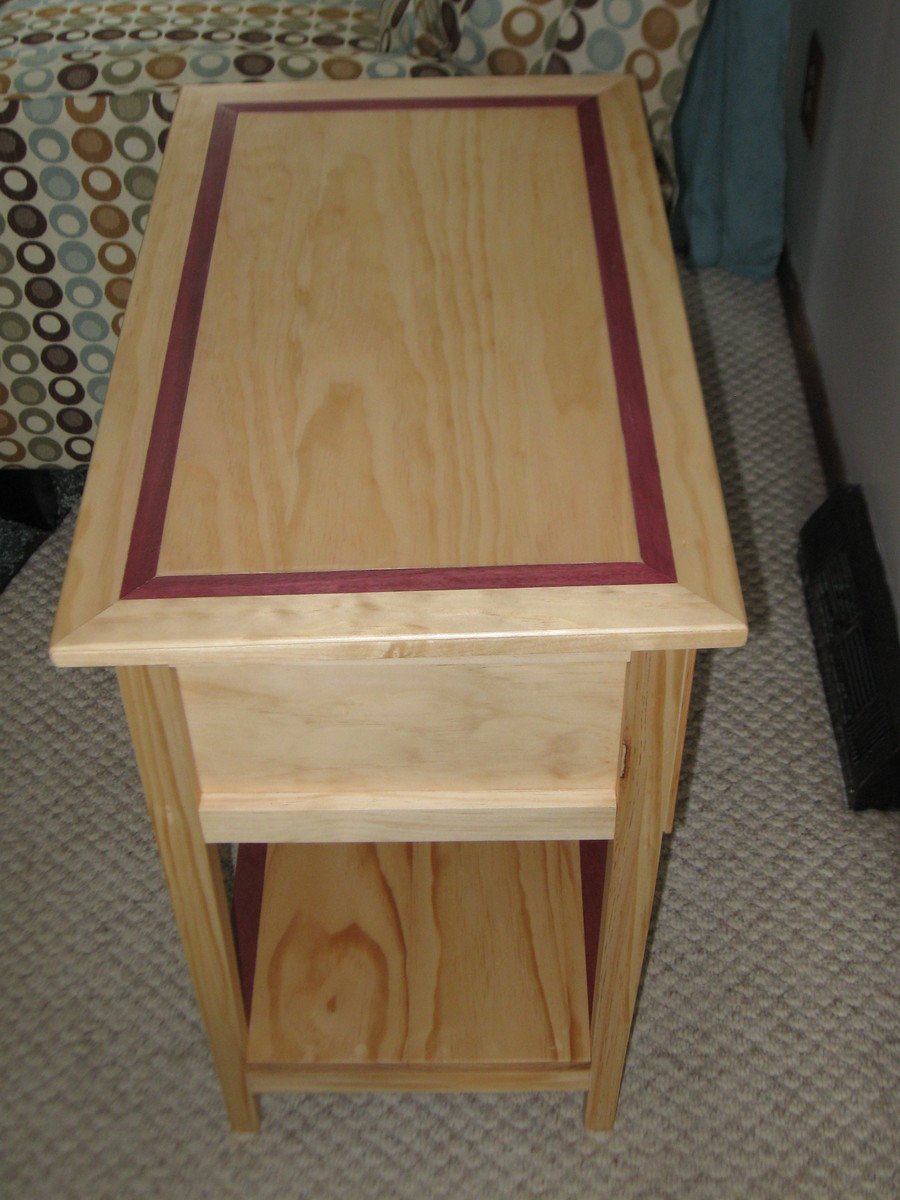
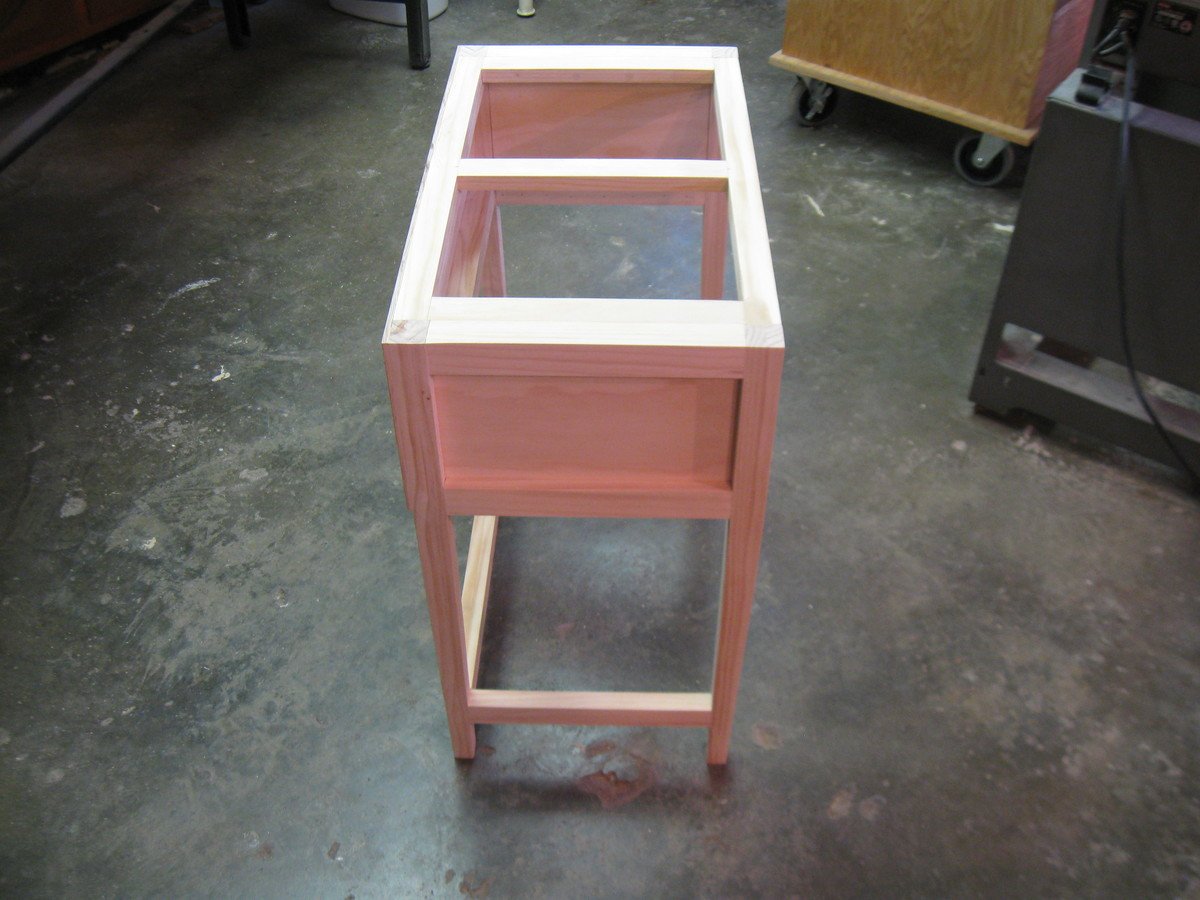
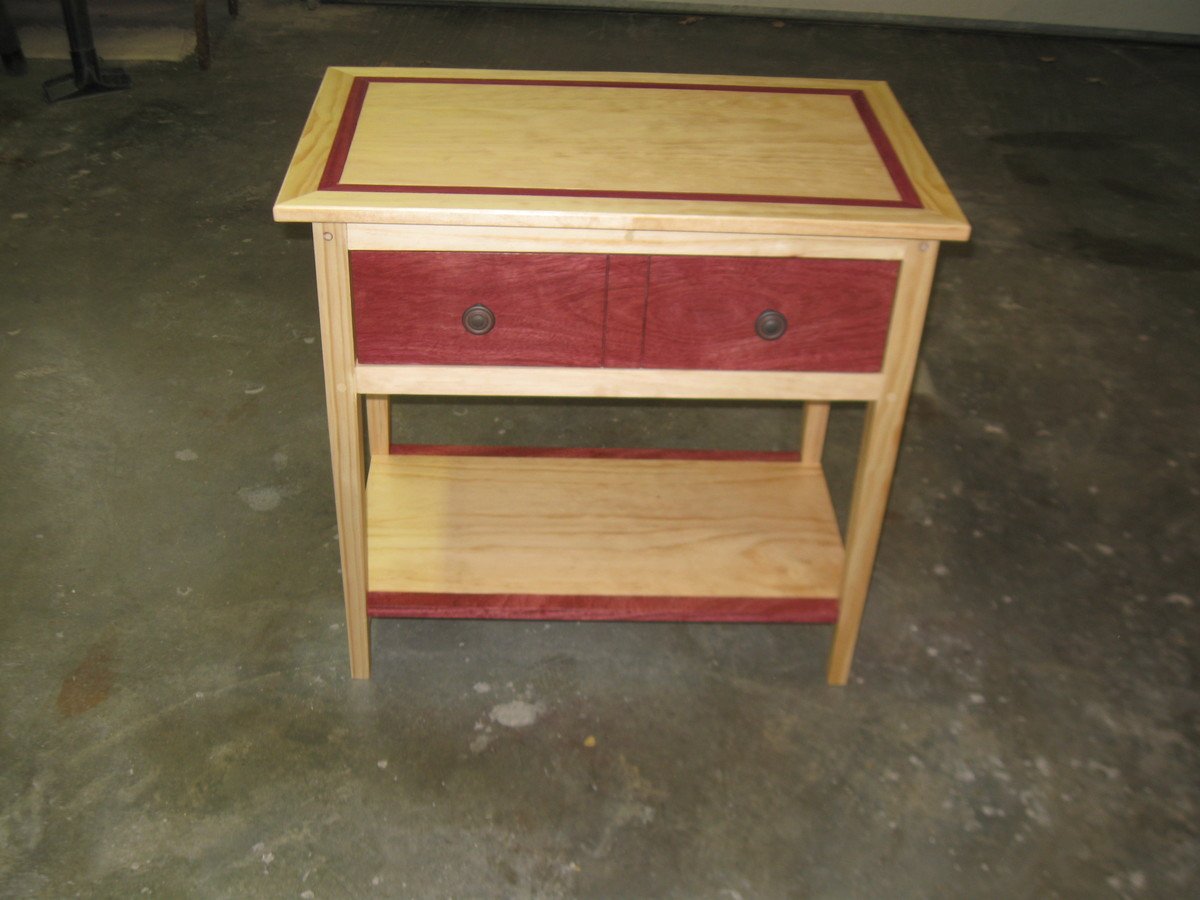
Slightly changed the plans by adding the exotic wood 'Purpleheart' to the top and drawer fronts.
The tapered legs added some elegance but were very difficult to make, as it was my first time trying it.
I used furniture grade Select Black Label Pine which was costly, but I wanted a good contrast between the white pine and purpleheart.
No stain, just clear lacquer to maximize the color.
The pieces of Purpleheart cost was about $60.00, added to the select pine cost.
This is a great plan that you can modify slightly if you want. We now plan on making a much simpler and smaller one for our bathroom.
This one will probably end up in our living room instead of the bedroom!
Thank You Ana for a great plan!
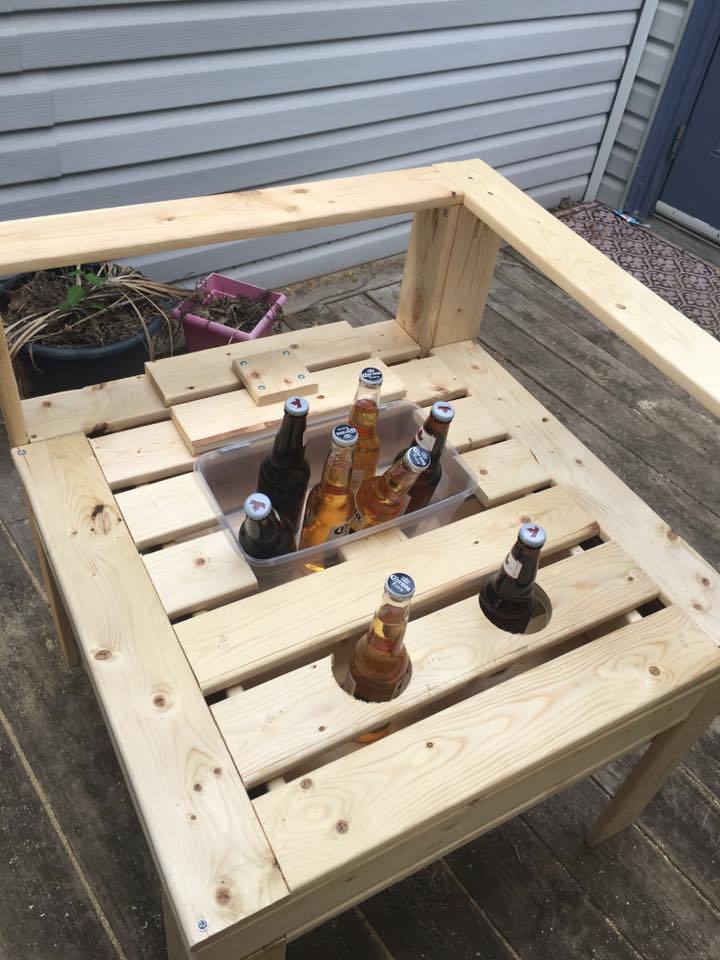
I had so much fun building this! I got a little creative with the corner section and decided to make it a table. I built a small hatch so that I could put in a container for ice and cold beer. When the hatch is not in use, the container can be removed and the hatch can be closed to provide more table space. I also added drink holders!


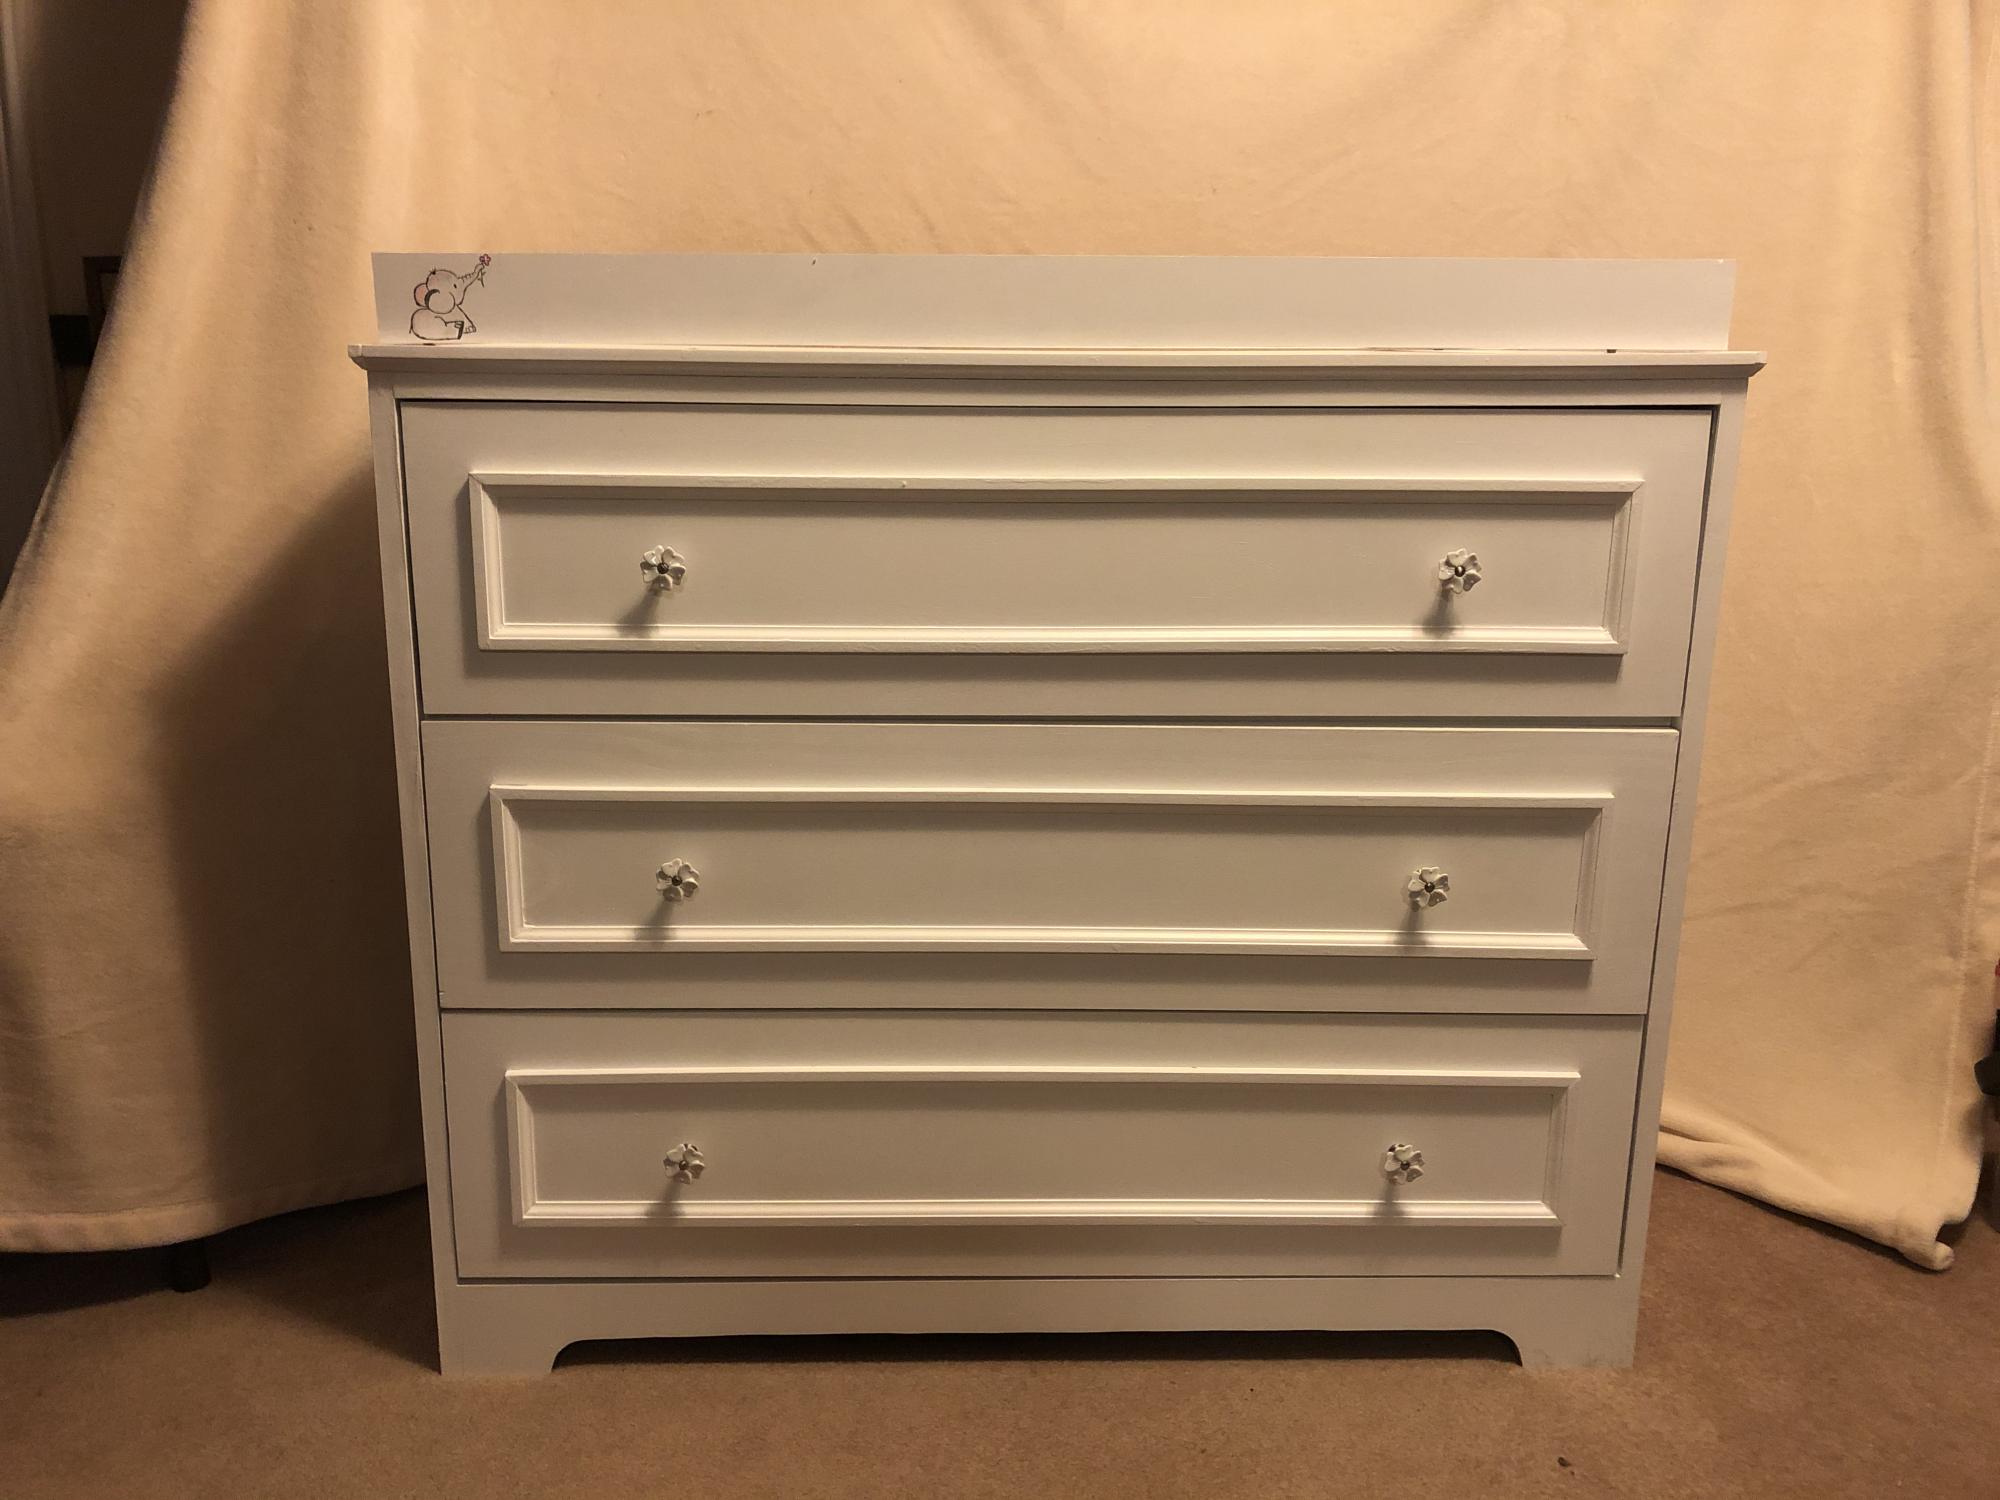
The changing table/dresser came out so much better than I ever thought I was capable of! Thank you for the plans and courage to try!
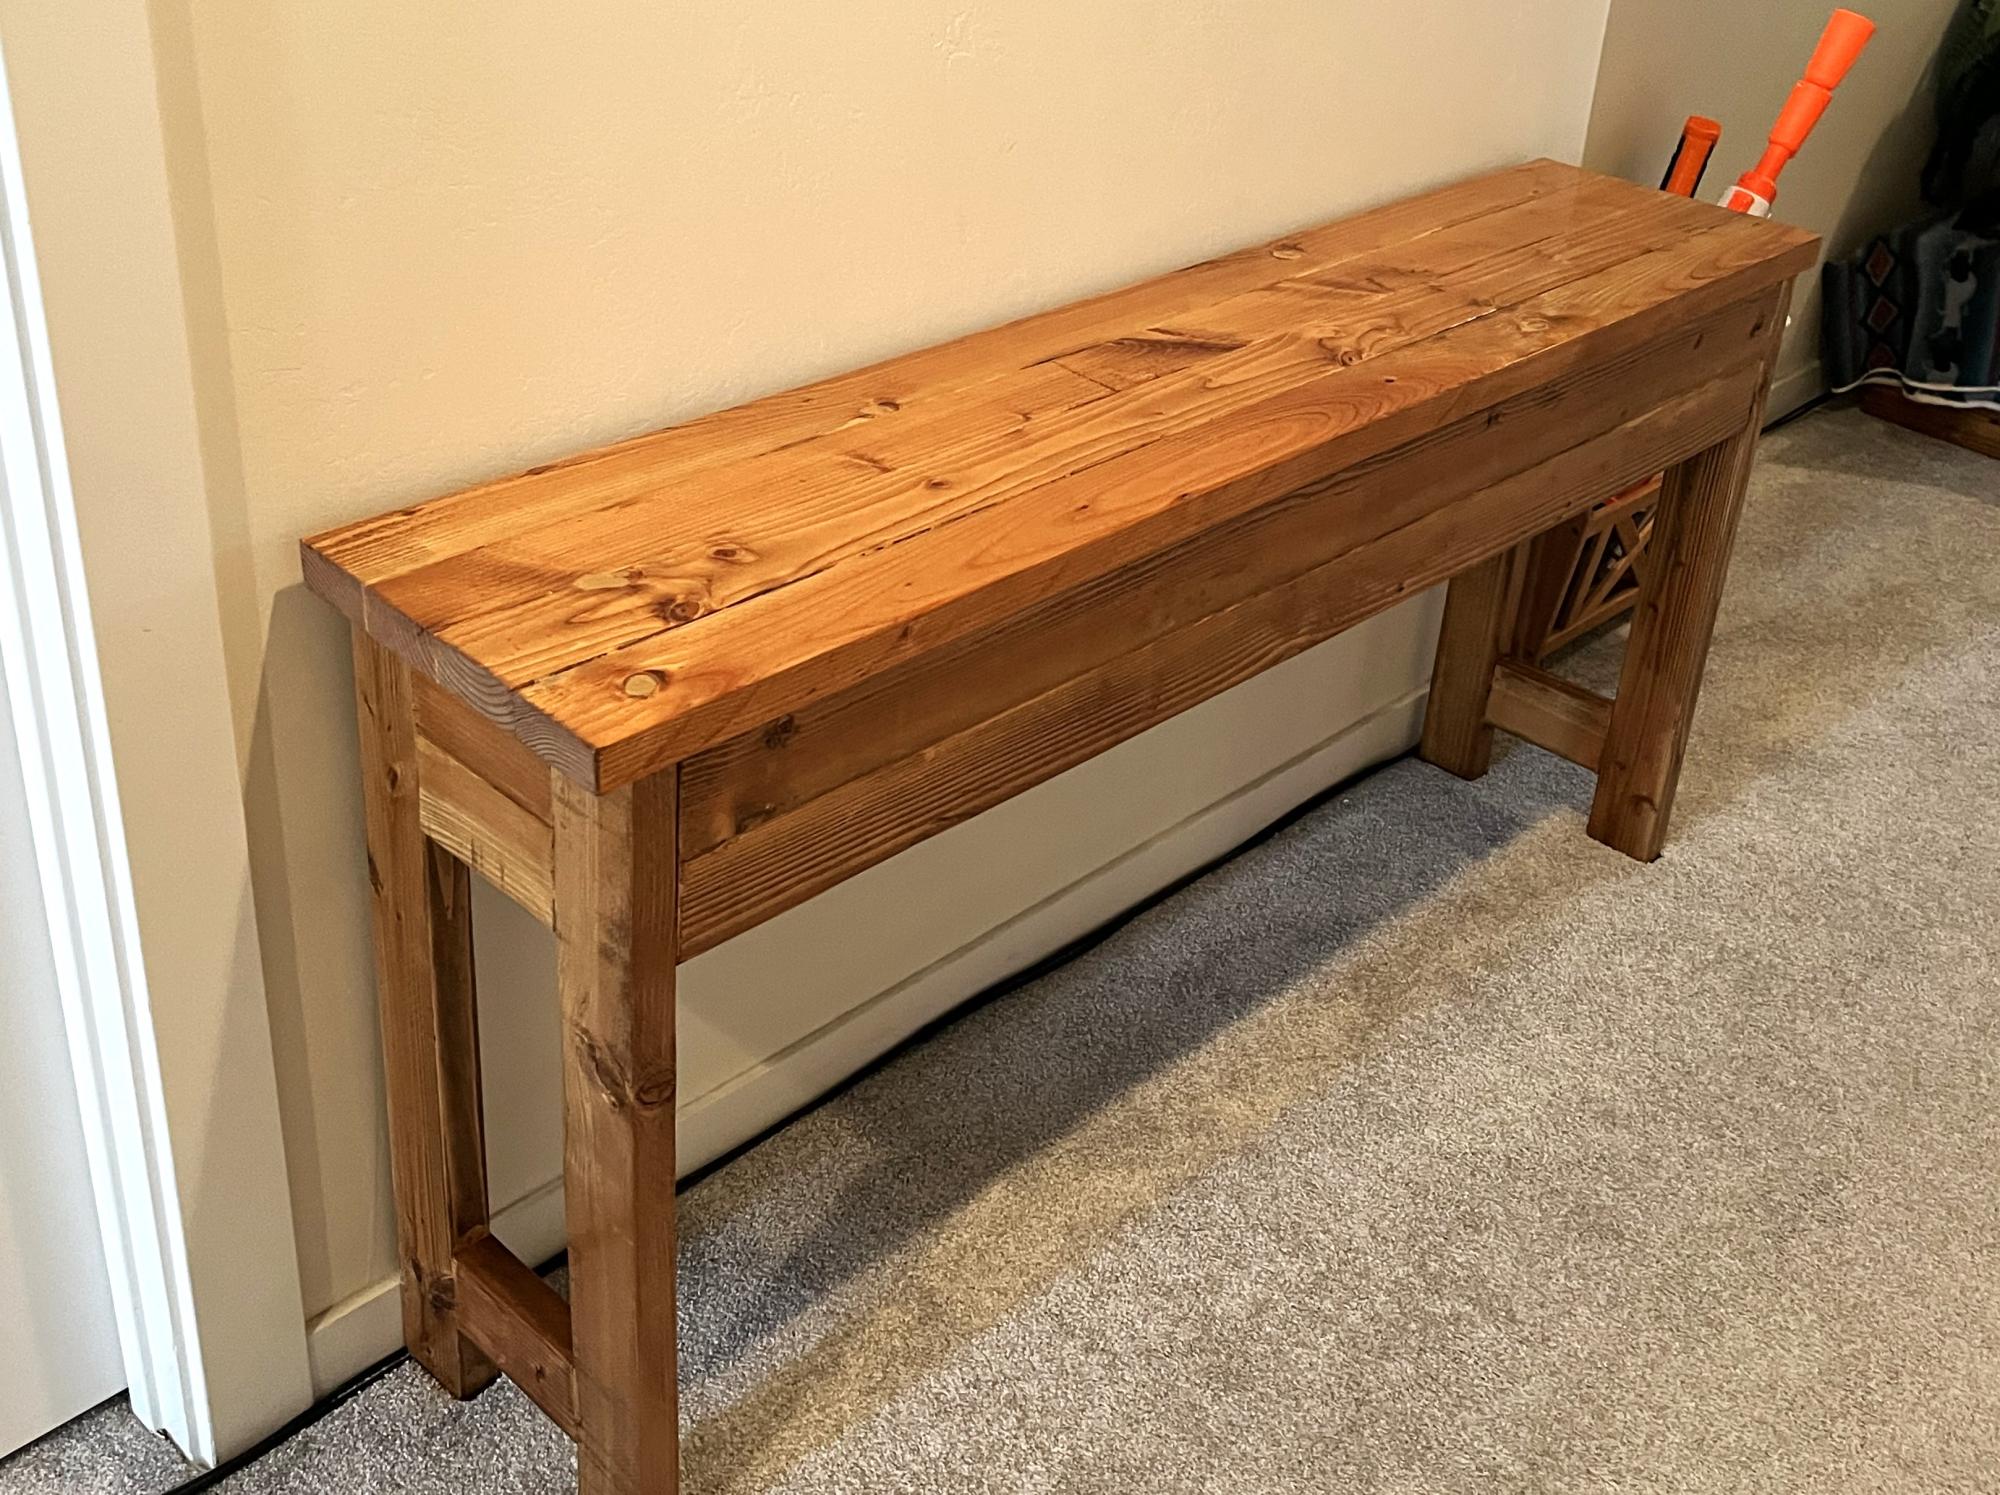
Used your idea with a few modifications
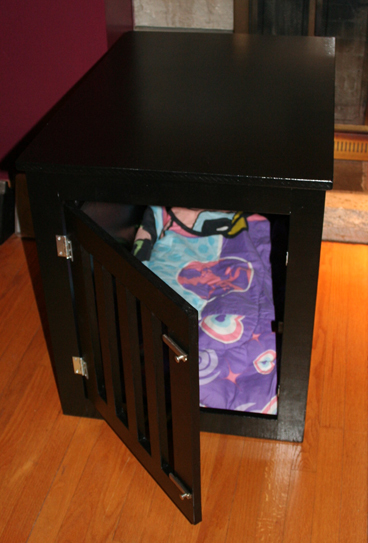
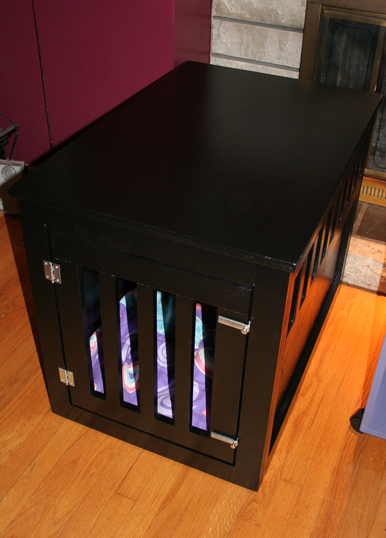
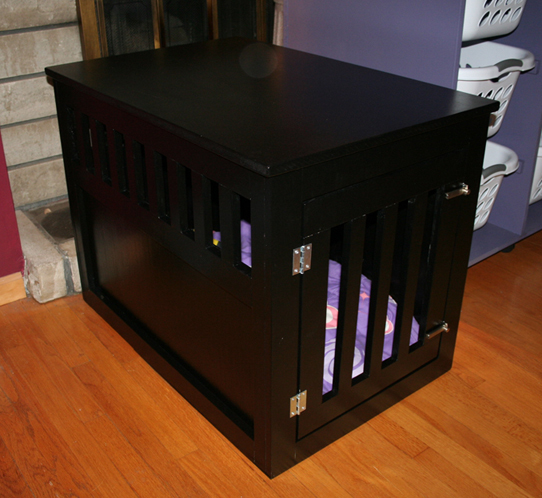
I'm fostering two mastiff puppies and they quickly outgrew the old plastic kennel they were sharing. So, I built them a new and improved kennel! It's so much nicer than that old one and looks great in my living room. The puppies appreciate the additional room, too! Now hopefully a family comes along soon to adopt them before they outgrow this kennel, too! :)
Building this kennel was the first time I used a Kreg Jig. I LOVE it! I will be using it a lot more on future projects.
I put a stop plate on the inside of the door frame so that the door stops right where it should to latch it and not swing inwards.
Fri, 09/13/2013 - 20:41
Just wanted to say that I just started fostering and have a German Shepherd/Border Collie mix that came with a large wire crate. If I keep up with this fostering, I think I'll need a small, medium, and large one! Love it, thanks for posting....I'll be buying more lumber again.
I installed the shelves and the center dividers with dados. I suggest planning ahead for your hinges, I had a rough time finding the perfect hinges for some reason.
A big, big, BIG suggestion though, is to stain BEFORE assembly!! I nearly destroyed the piece with the difficult staining in the inside corners. It is very difficult to keep stain even in them. I used General Finishes "Black Cherry" water based stain, the first time using a water based stain. I found it very unforgiving and it left bad blotches, brush and rag marks. I topped it with General Finishes Arm R Seal.
In the end, this came together well enough that I felt a little guilty for not using better lumber than pine. It's nice enough, I think, to warrant spending a little more on quality hardwood.
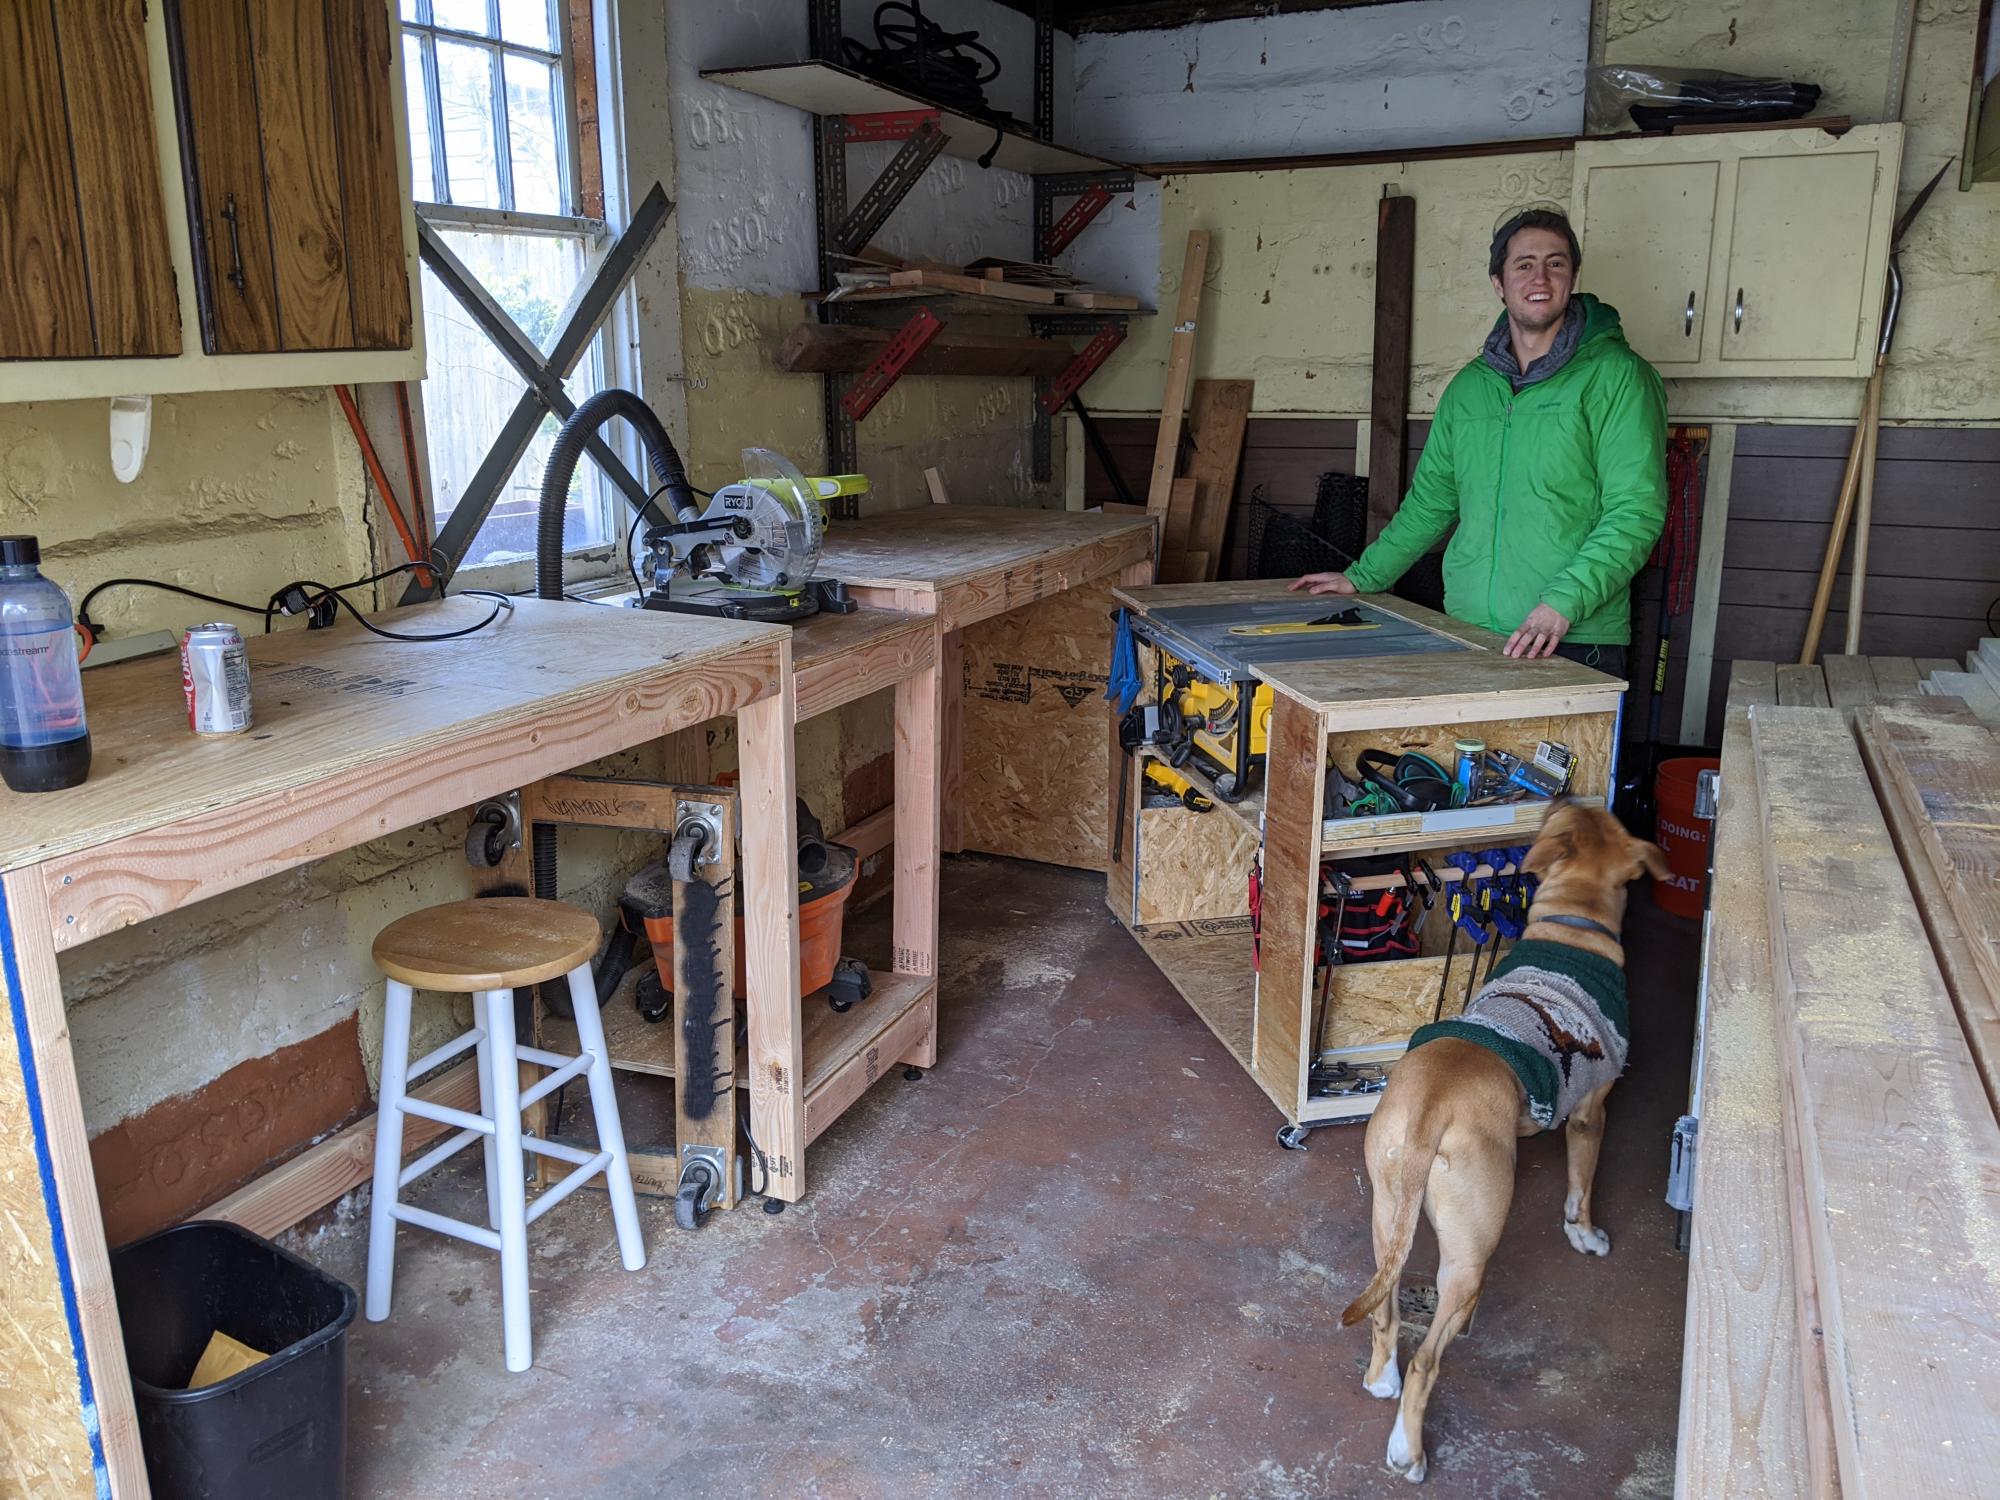
My wife and I just bought our first house and I've been planning out my workbench since we made the offer. I got to finish the table saw rolling cart today. Thank you so much for these plans, I could not be happier! Next up is outdoor furniture!
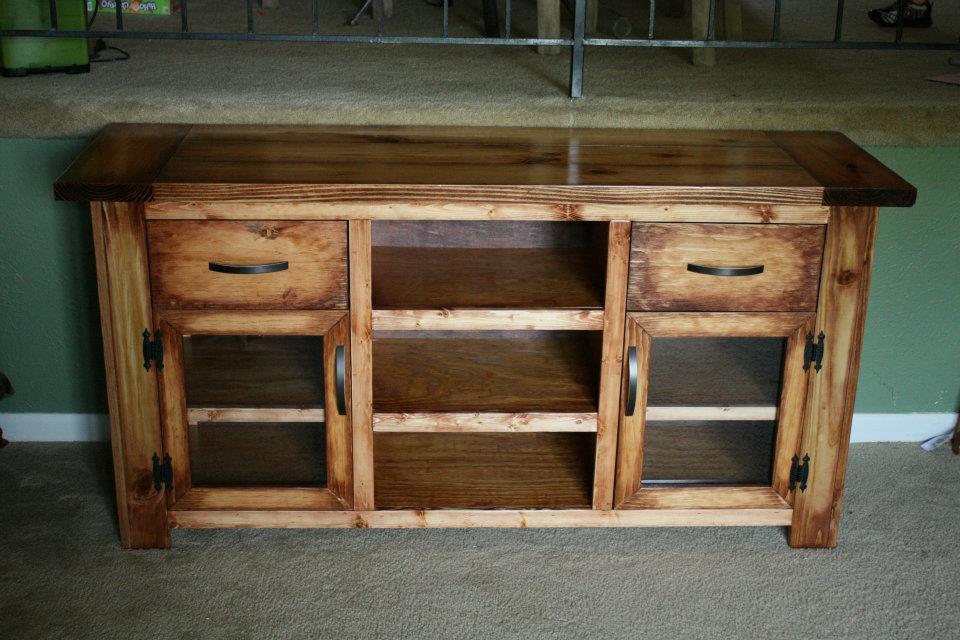
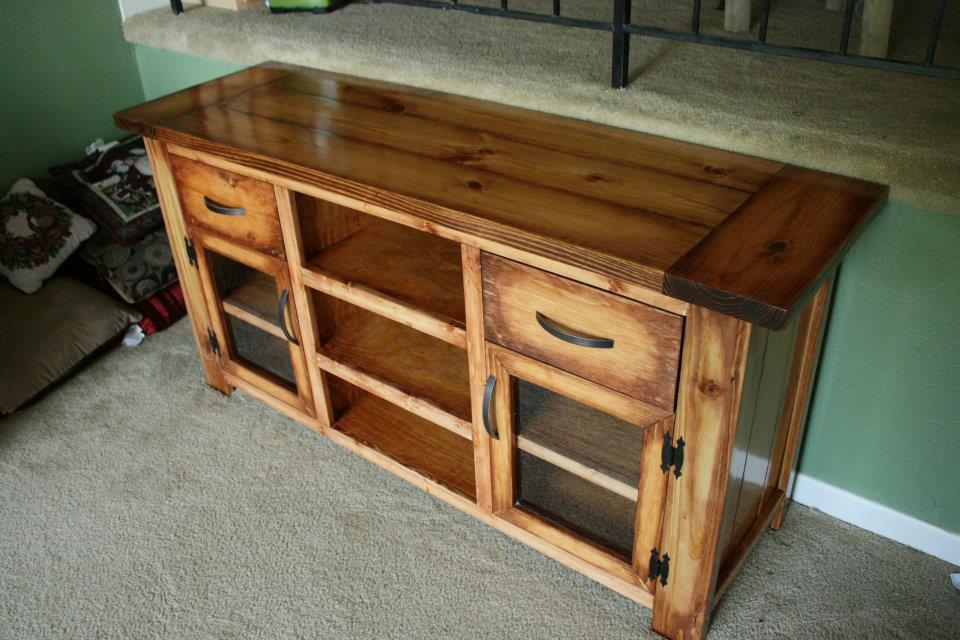
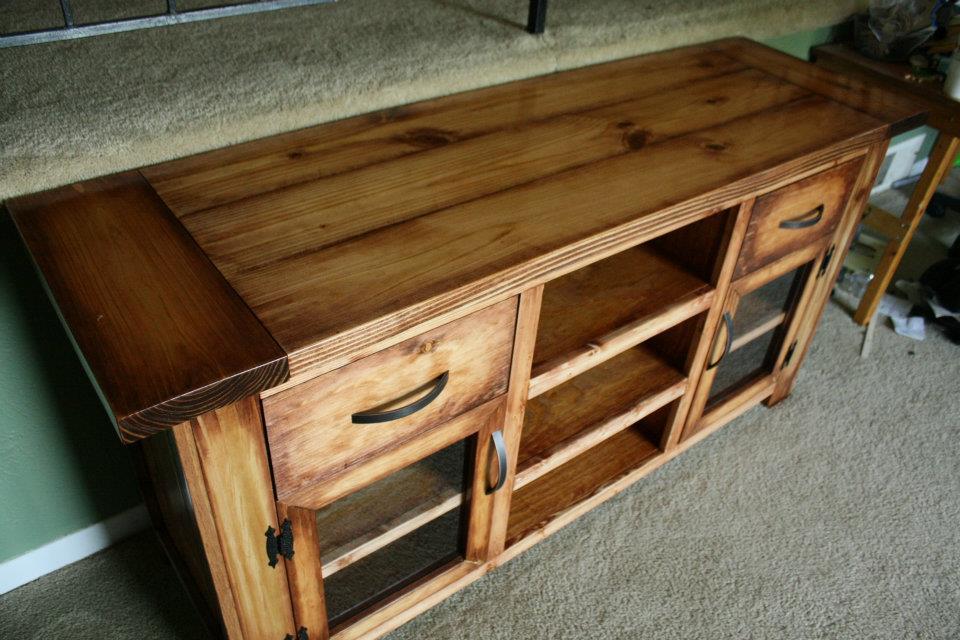
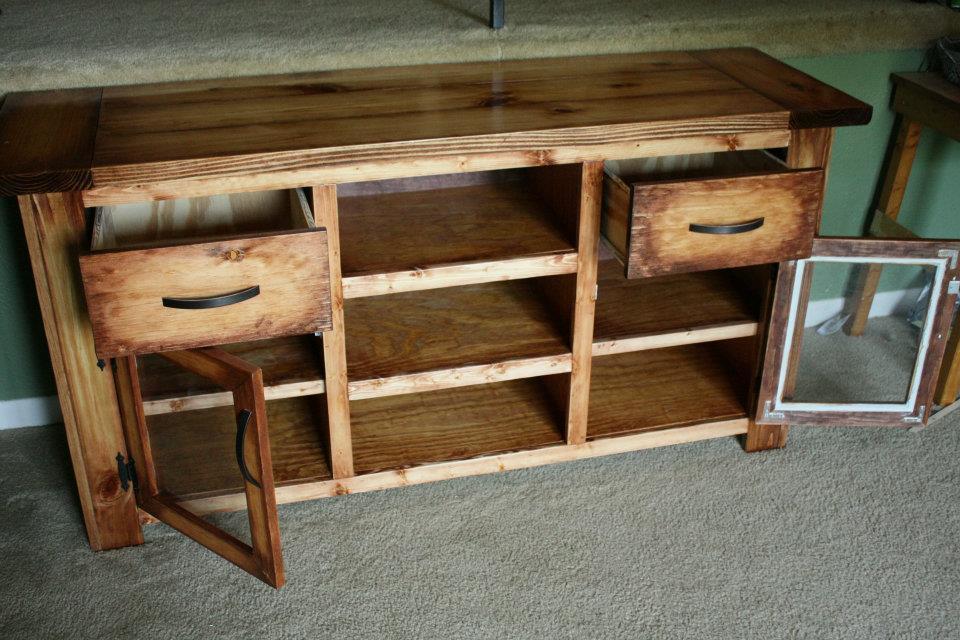
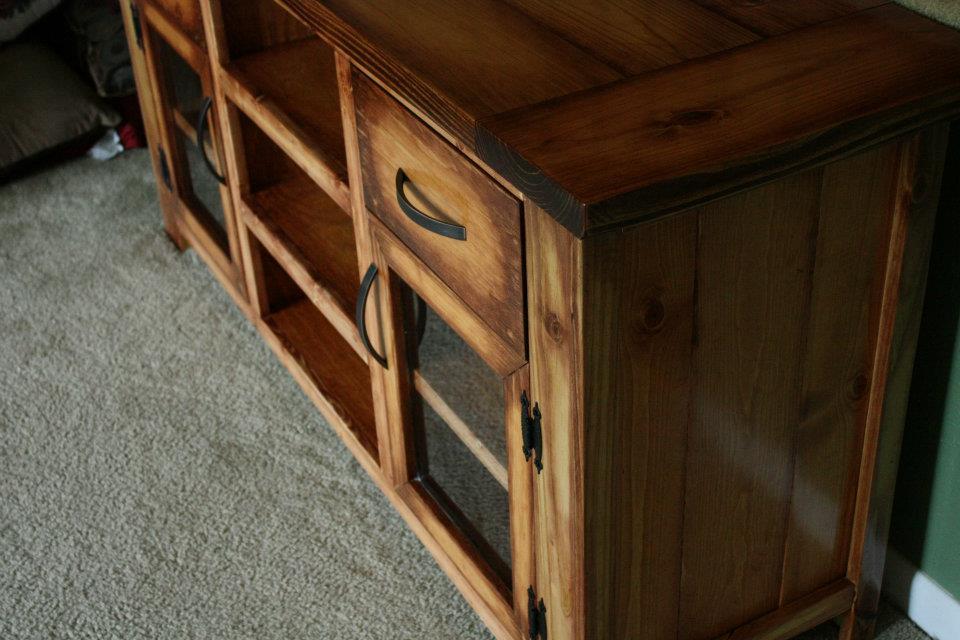
I made this TV Stand for the family that bought the coffee table that I made before. I loosely based the design from a medley of things on the site, but ended up drawing up plans myself in Sketchup.
This took a while because I had to think through alot of the design things - like how to best do the glass panel doors and how to compensate in the plans for some bowing in the plywood.
It is basically a plywood box, trimmed out like most of the things we DIYers do.
My biggest challenge in this project was cost... I severely underestimated how much it would cost me to build it, so I ended up with only $50 profit on the job... Does anyone have suggestion.. if you are building things to sell them how do you price your products? Just curious.
Mon, 05/21/2012 - 09:42
Love this, really great job! As for pricing, I wish I could give you great advice, but I know there can be a lot of variables, such as cost, hours spent, overhead, etc. I know you should at least price the cost of materials and double it at the very least. If you want to consider your time spent, etc, it would go from there. There are some good articles available on-line.
Mon, 05/21/2012 - 18:35
I will do some research online. For quotes I've been giving since I realized that I was not going to profit on this work was exactly that... take a complete materials cost breakdown and just double it. I'm finding though that I have much more work available to be done than I'm ever going to have time to do....so I think that I will start going a little higher once I start needing more work. Really what I need is more time to do the work. I think I could do well if my son were in school but he isn't yet, so the only time I can work on these projects is during the weekends when he is gone. That means I need to get about $200 profit from one weekends worth of work to pay my bills. :)
Mon, 05/21/2012 - 08:34
Amazing work. I agree, cost is a tough one. I always figure out my materials and charge for full sheets and lengths, then add 20% to cover screws, glue and anything I missed (kind of a OH cover). I figure out my hours, and charge those back at whatever "rate" I would be charging for the piece....try your best to pad these a bit too. I worked in estimating for several years; so you kind of get a feel for it after awhile. Good Luck!
I LOVE the finish on this and your coffee table; mind sharing your technique??
Mon, 05/21/2012 - 18:45
There are more factors than just materials... also have to consider how much money I need to make within the month to pay rent. :)
For the finish, I sand everything down completely working my way up to 220 grit. I used Minwax Golden Pecan with a thin layer using a foam brush. I let that dry completely, without removing the excess. Then I use a cloth and my finger tip with Minwax Red Oak and dip the cloth in my stain, then rub it slowly onto the edges, rounding them out a bit. I go slowly so I can blend it in because I don't want any sharp lines. I also use the darker color to accent some of the knots. My basic idea is that each board has darker ends/edges and is lighter in the middle. This part of the job is the "artistry" - the rest is all pretty straightforward. The poly is the hardest part for me.
By the way, I advertise my work with that coffee table, and I have had a tremendous response to it - in large part due to the finish. Everyone loves the finish.
I got the idea from the 20 second tidy up table here on this site.
What I love about it is that it ties together all the other different wood colors in my living room. You know when you go get a rug with multiple colors or a pattern to tie everything together that would otherwise seem mismatched? THAT is what this finish does for a room. :)
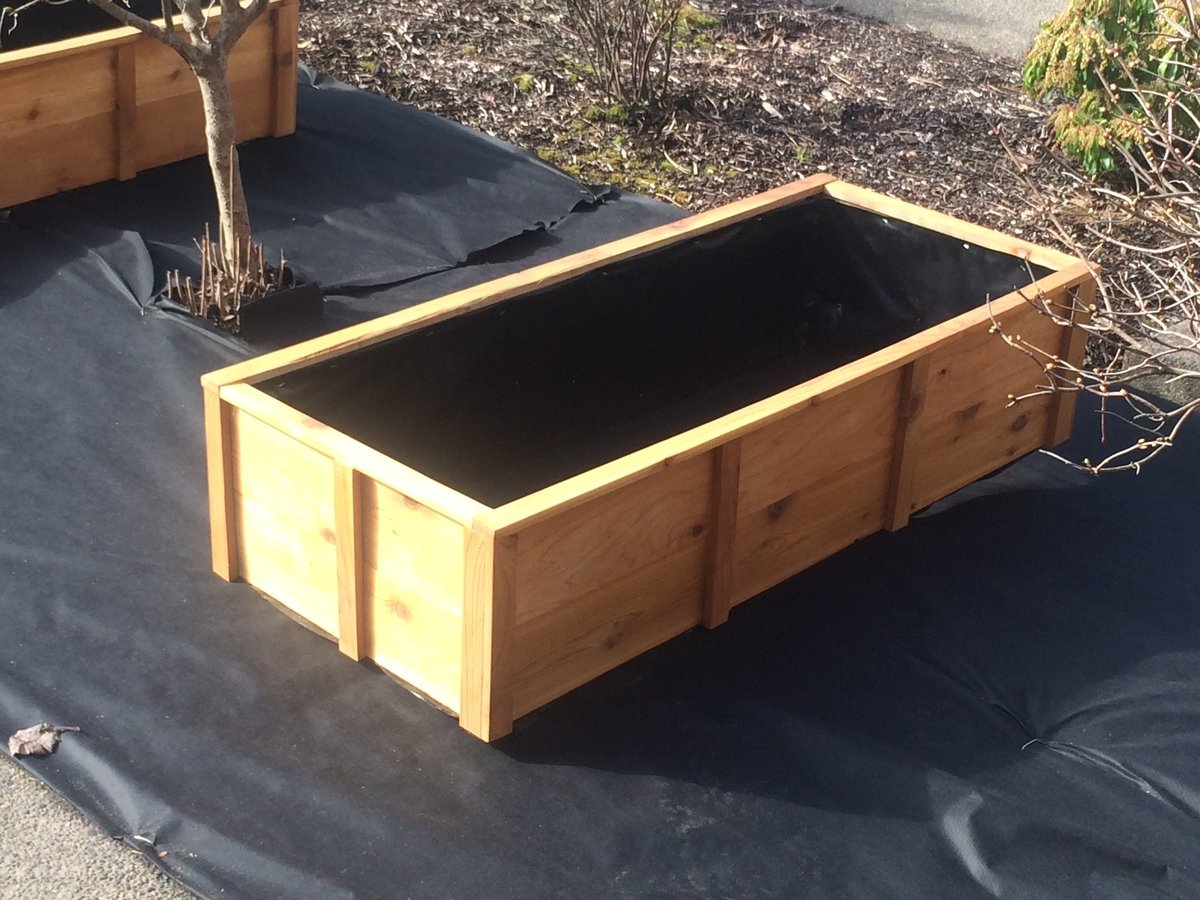
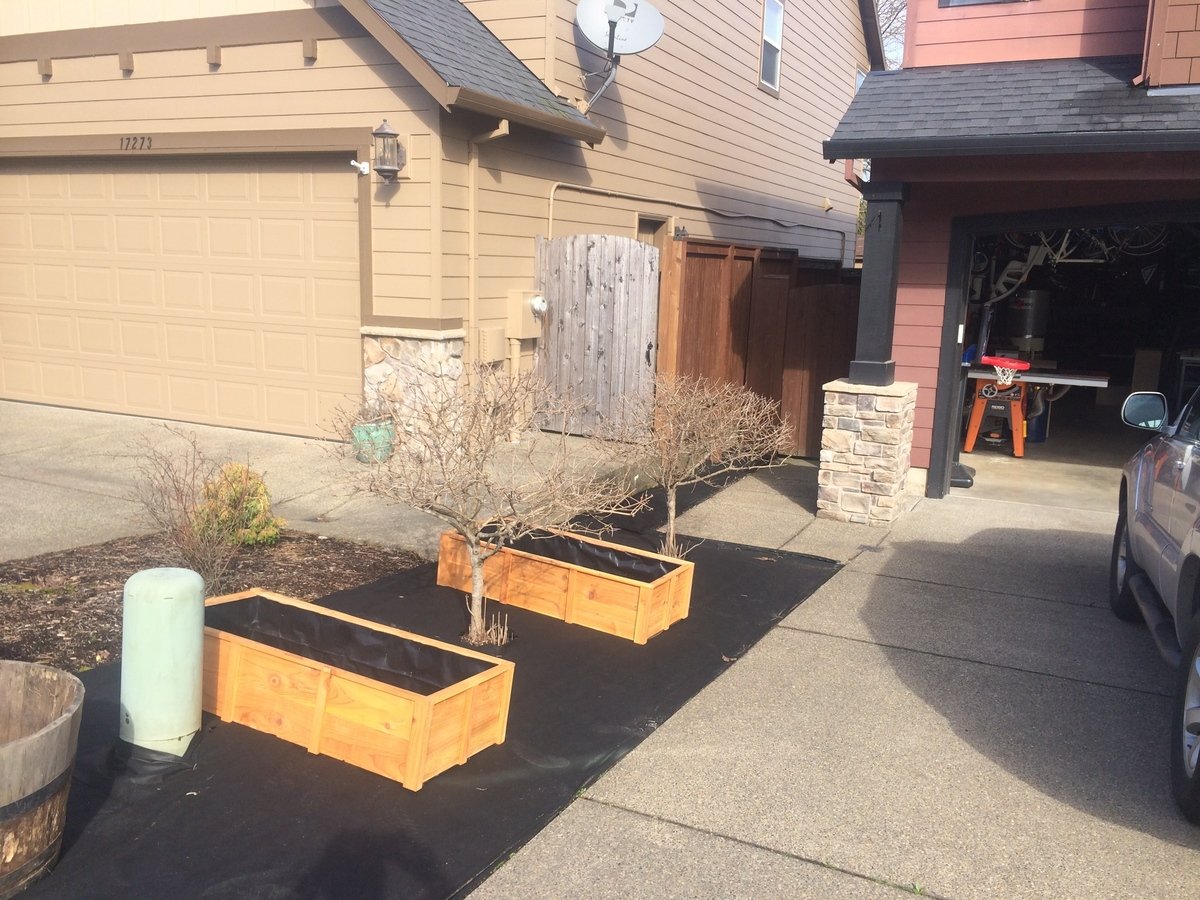
With Spring near I decided it's time to finally make some vegetable boxes. These plans were super easy, and easy to add a few little features.
I live in Oregon and even though cedar is tough, with all the rain we get, the color fades fast!! I was also worried about the inside rotting away from the solid like you see at the bottom of a fence!
I was surprised there weren't a million different stains that were "Organic" with that be so popular. I new my kiddos would eat most of the stuff before it made it into our house, so I decided to leave the inside natural and line it with heavy duty visqueen.
I stained the outside to protect the wood, using some Australian Timber oil I had left over from another project!!
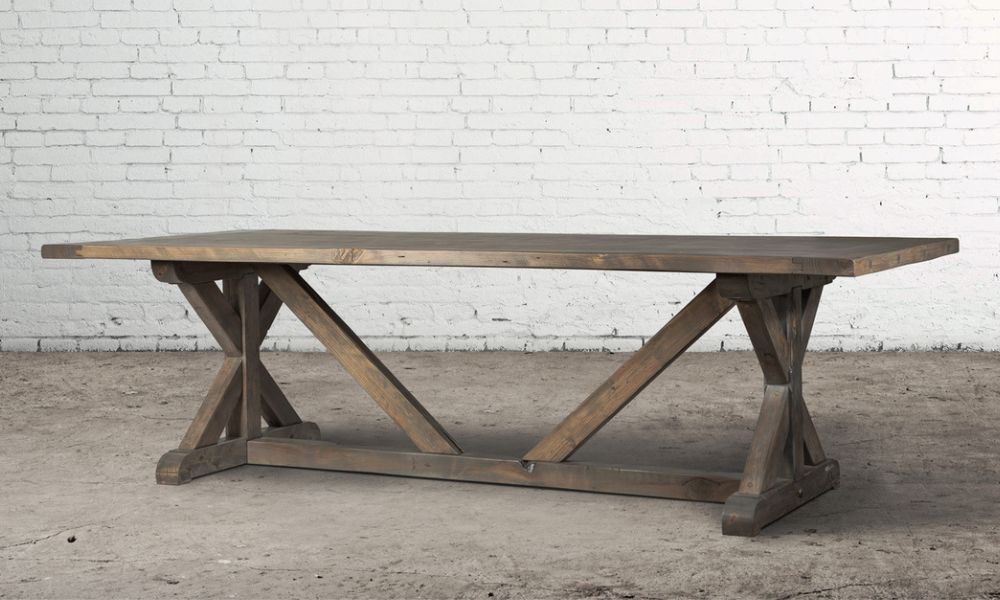
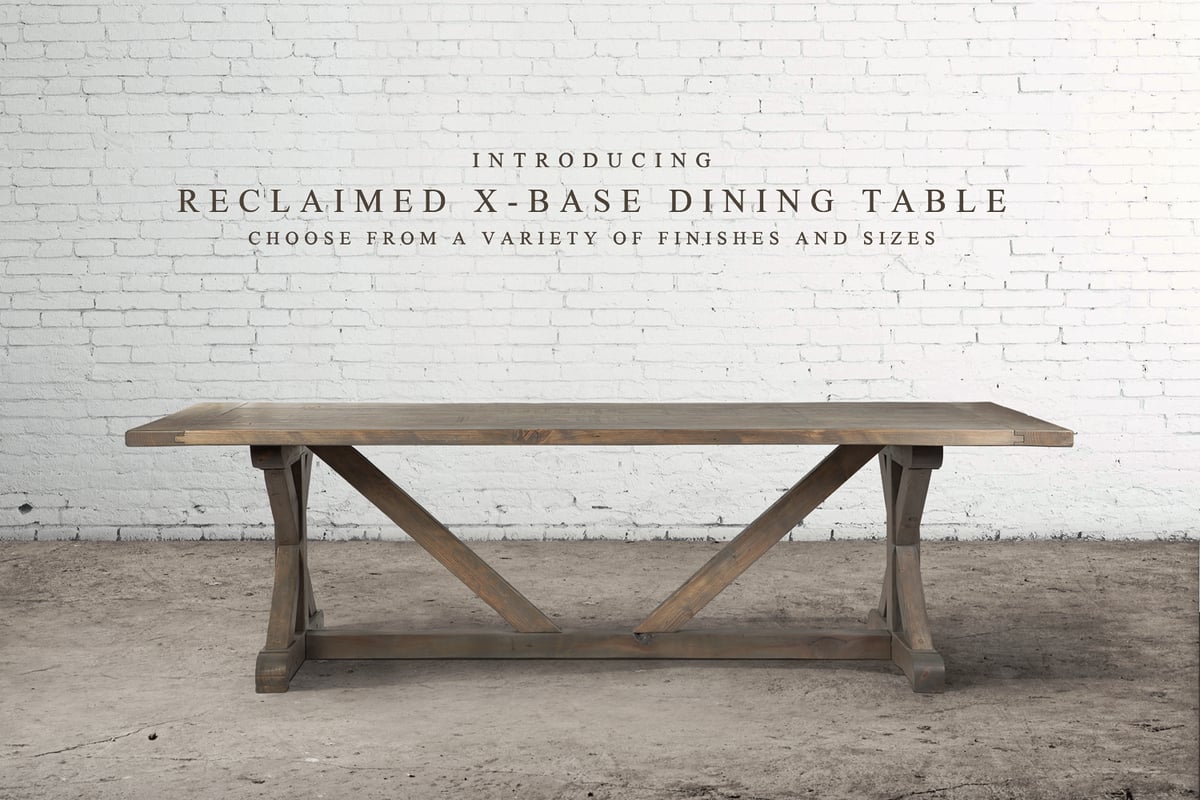
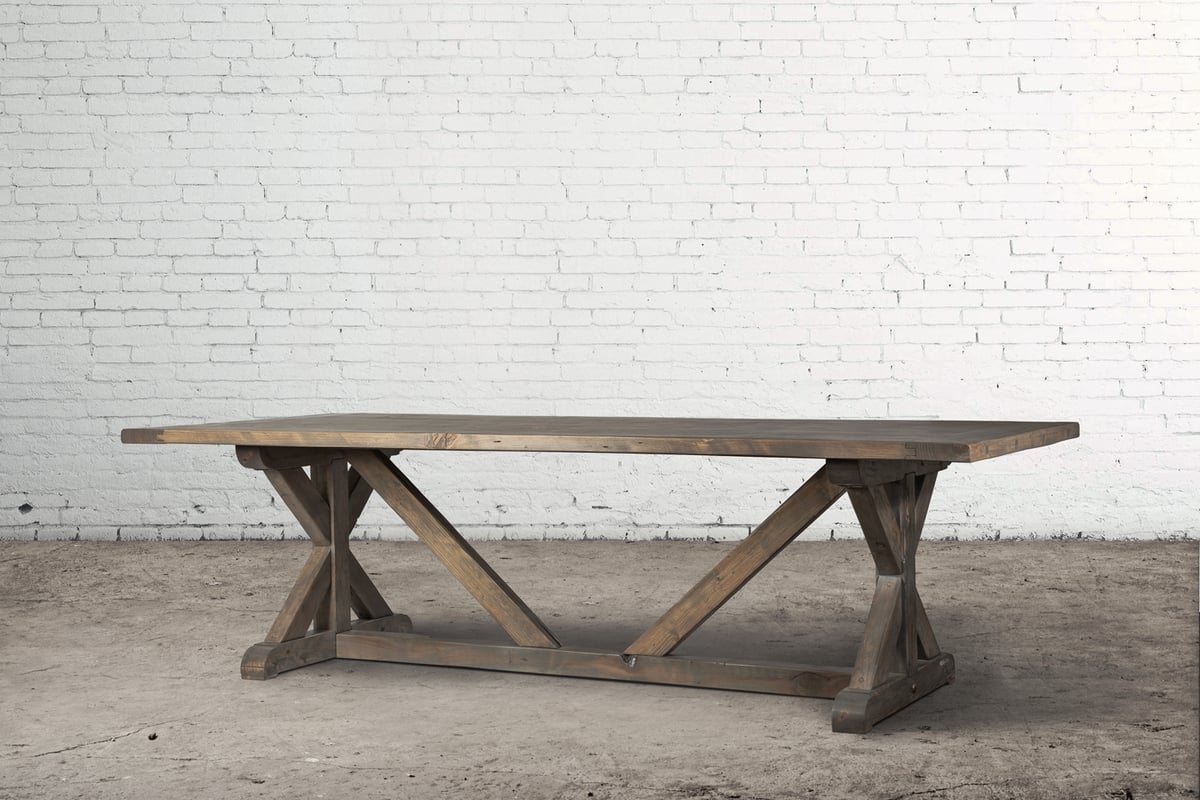
Our reclaimed beam wood tables are built of beautifully finished, solid reclaimed fir timbers from 50+ year old barns in the Fraser Valley.
