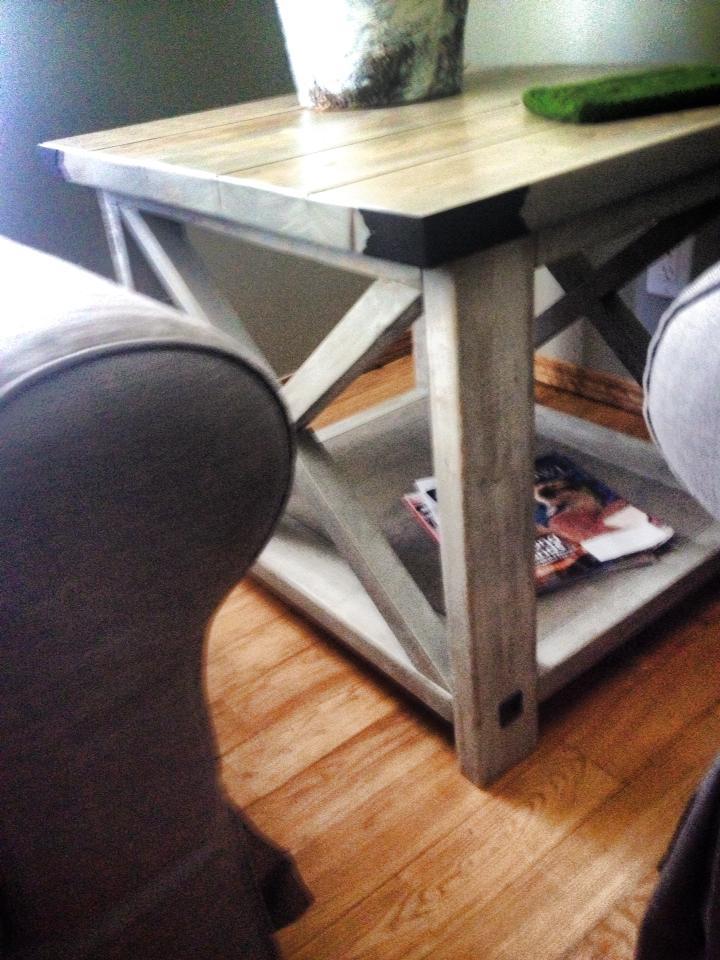
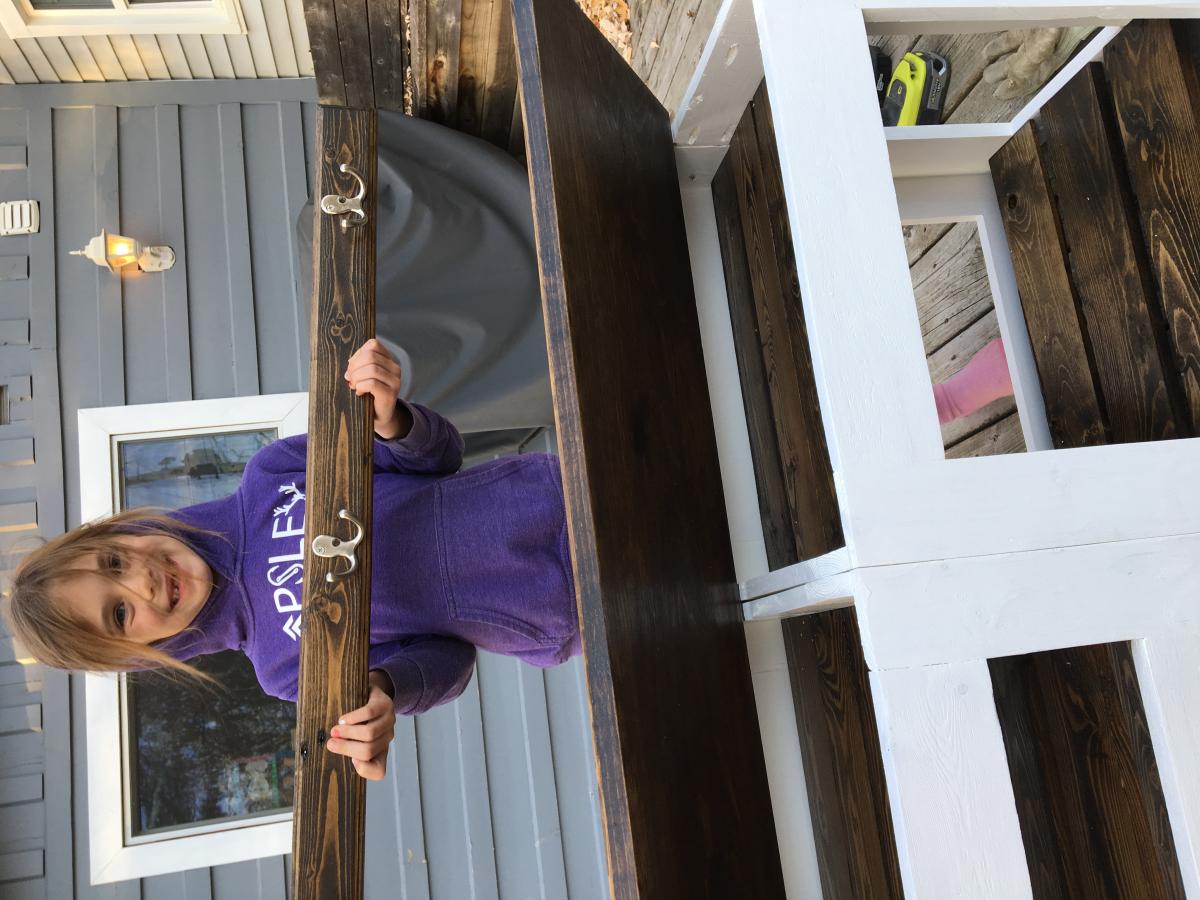
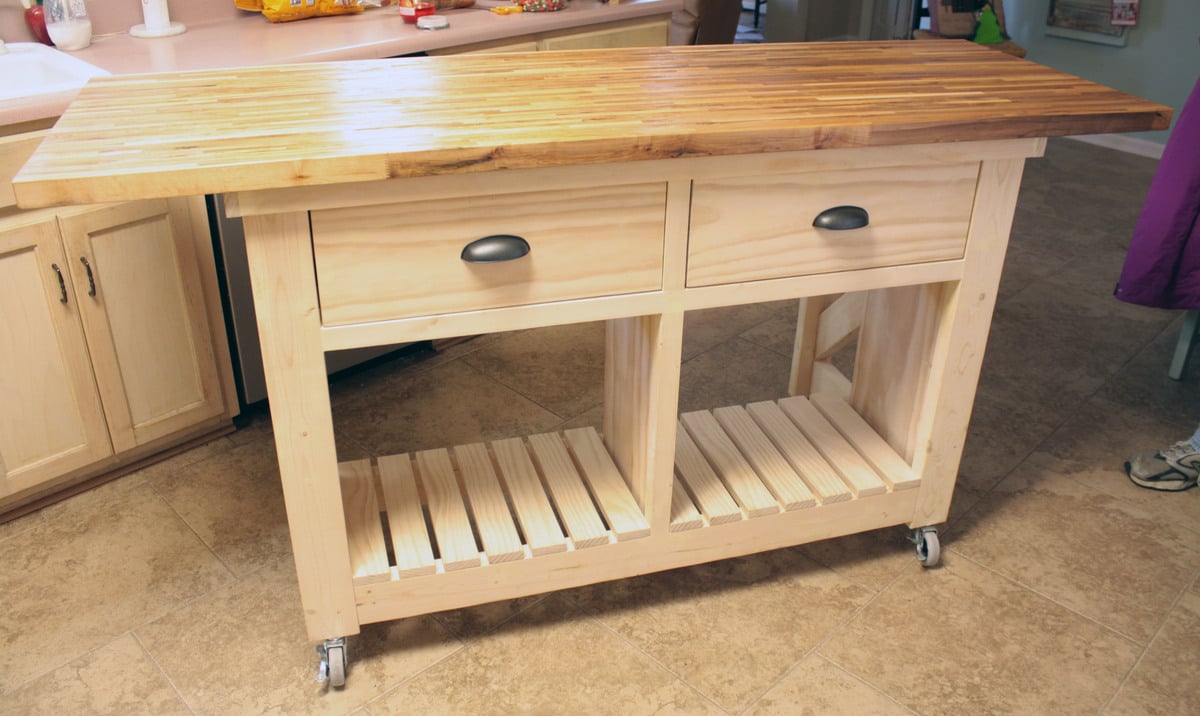
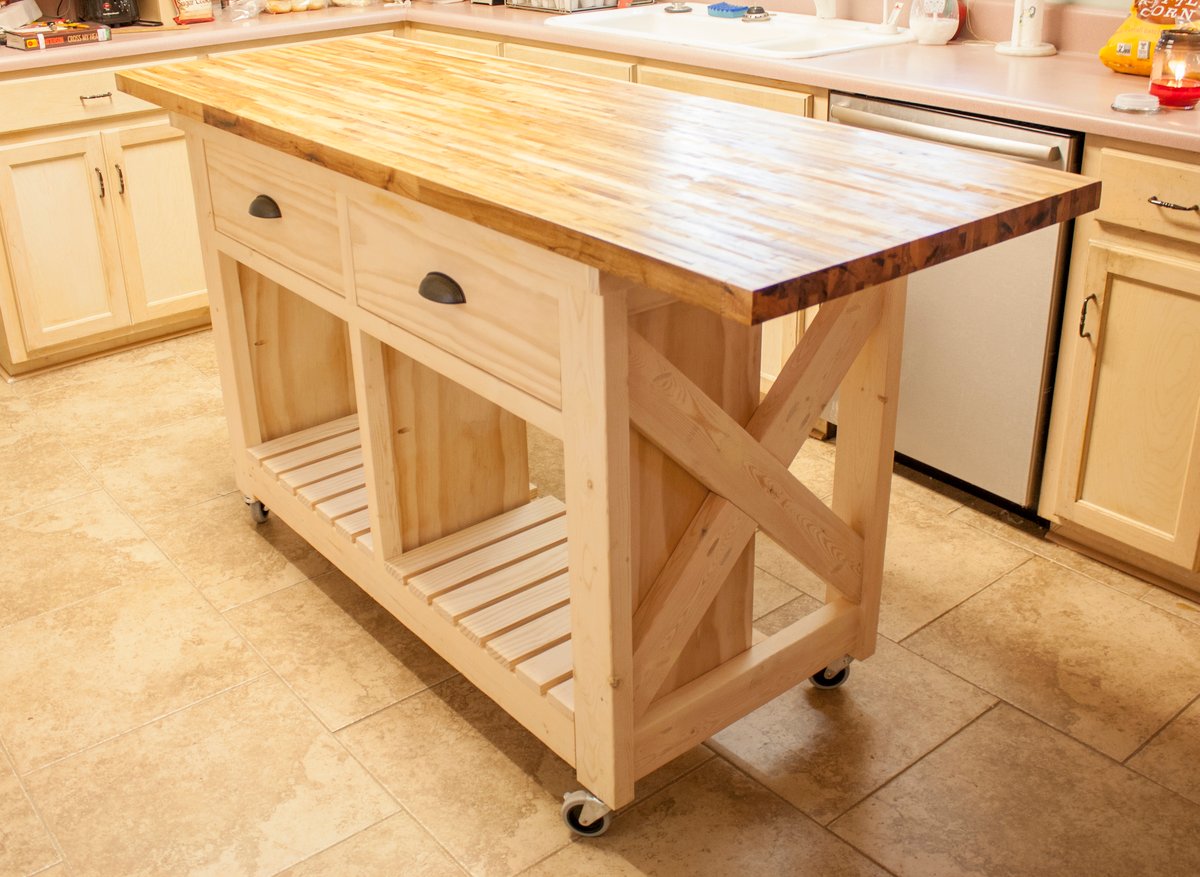
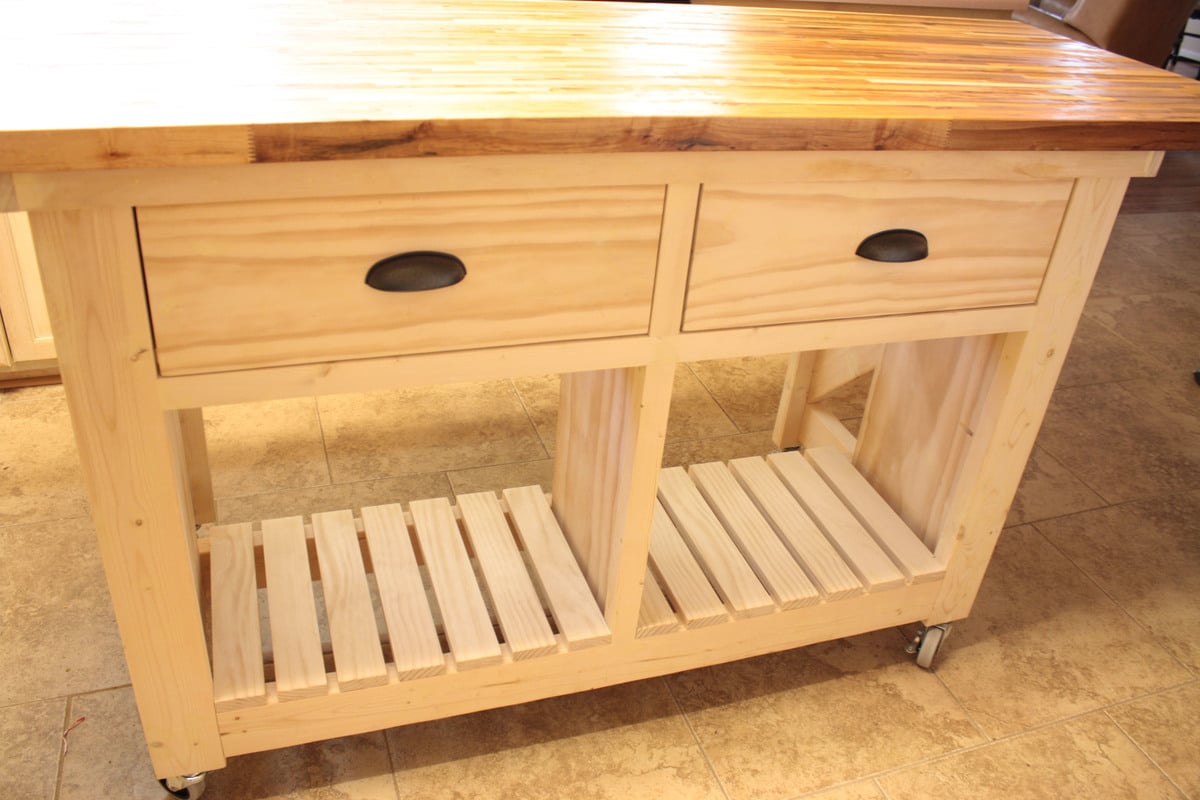
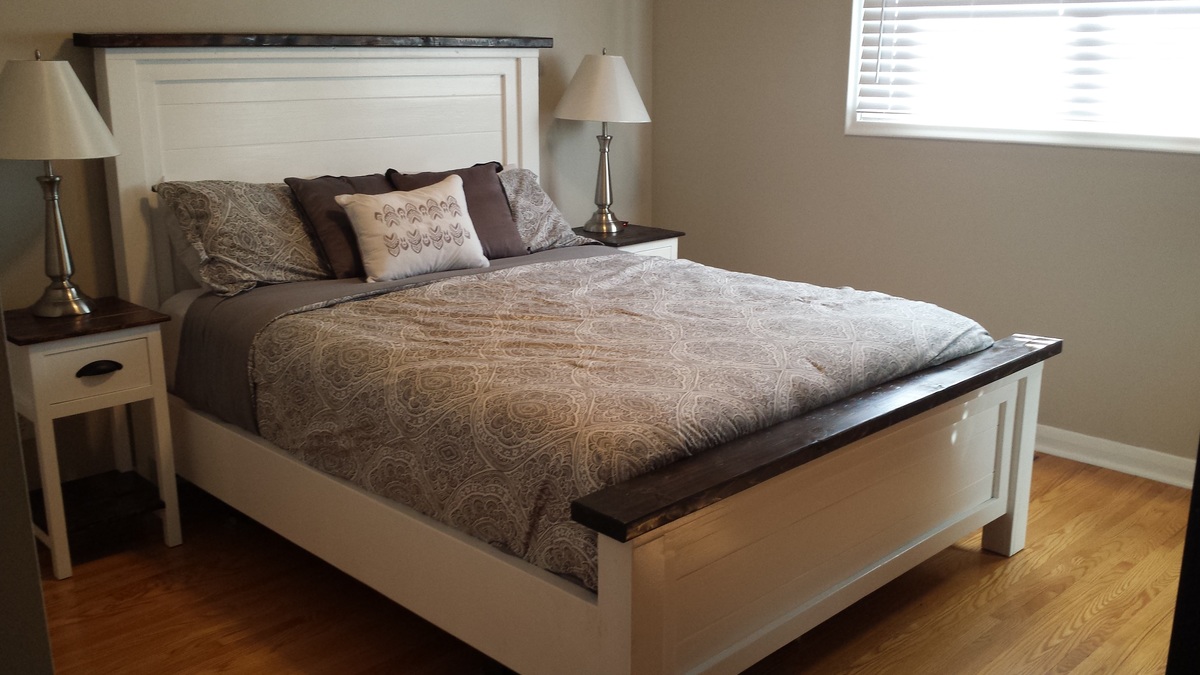
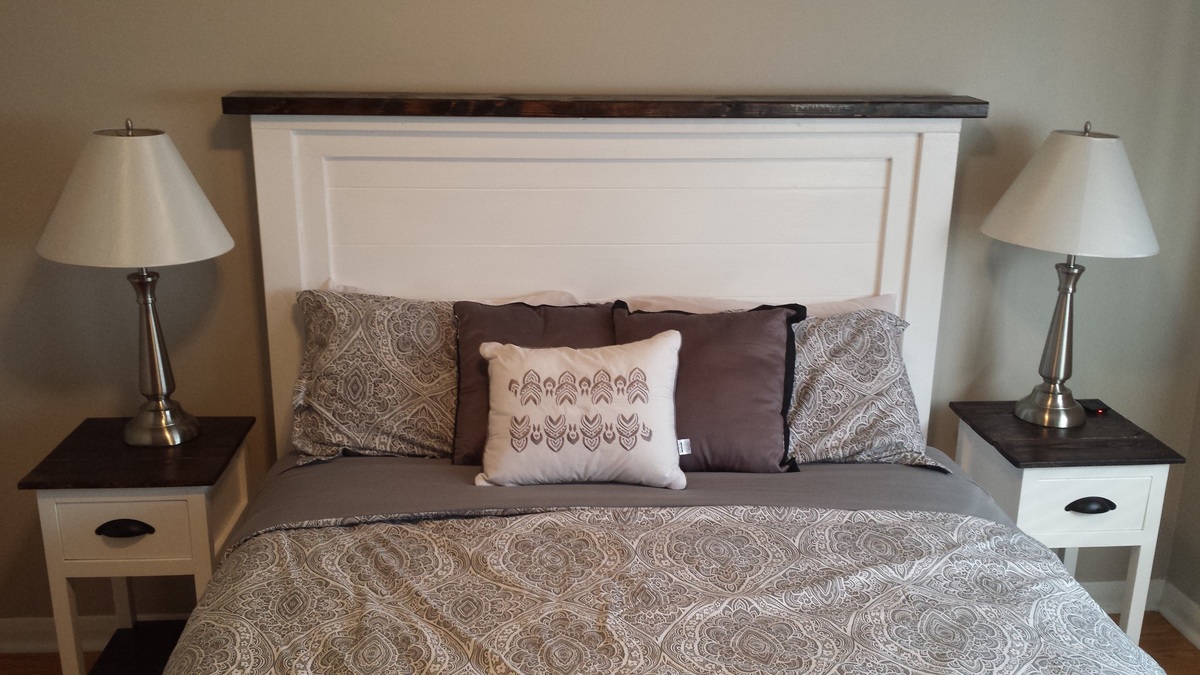
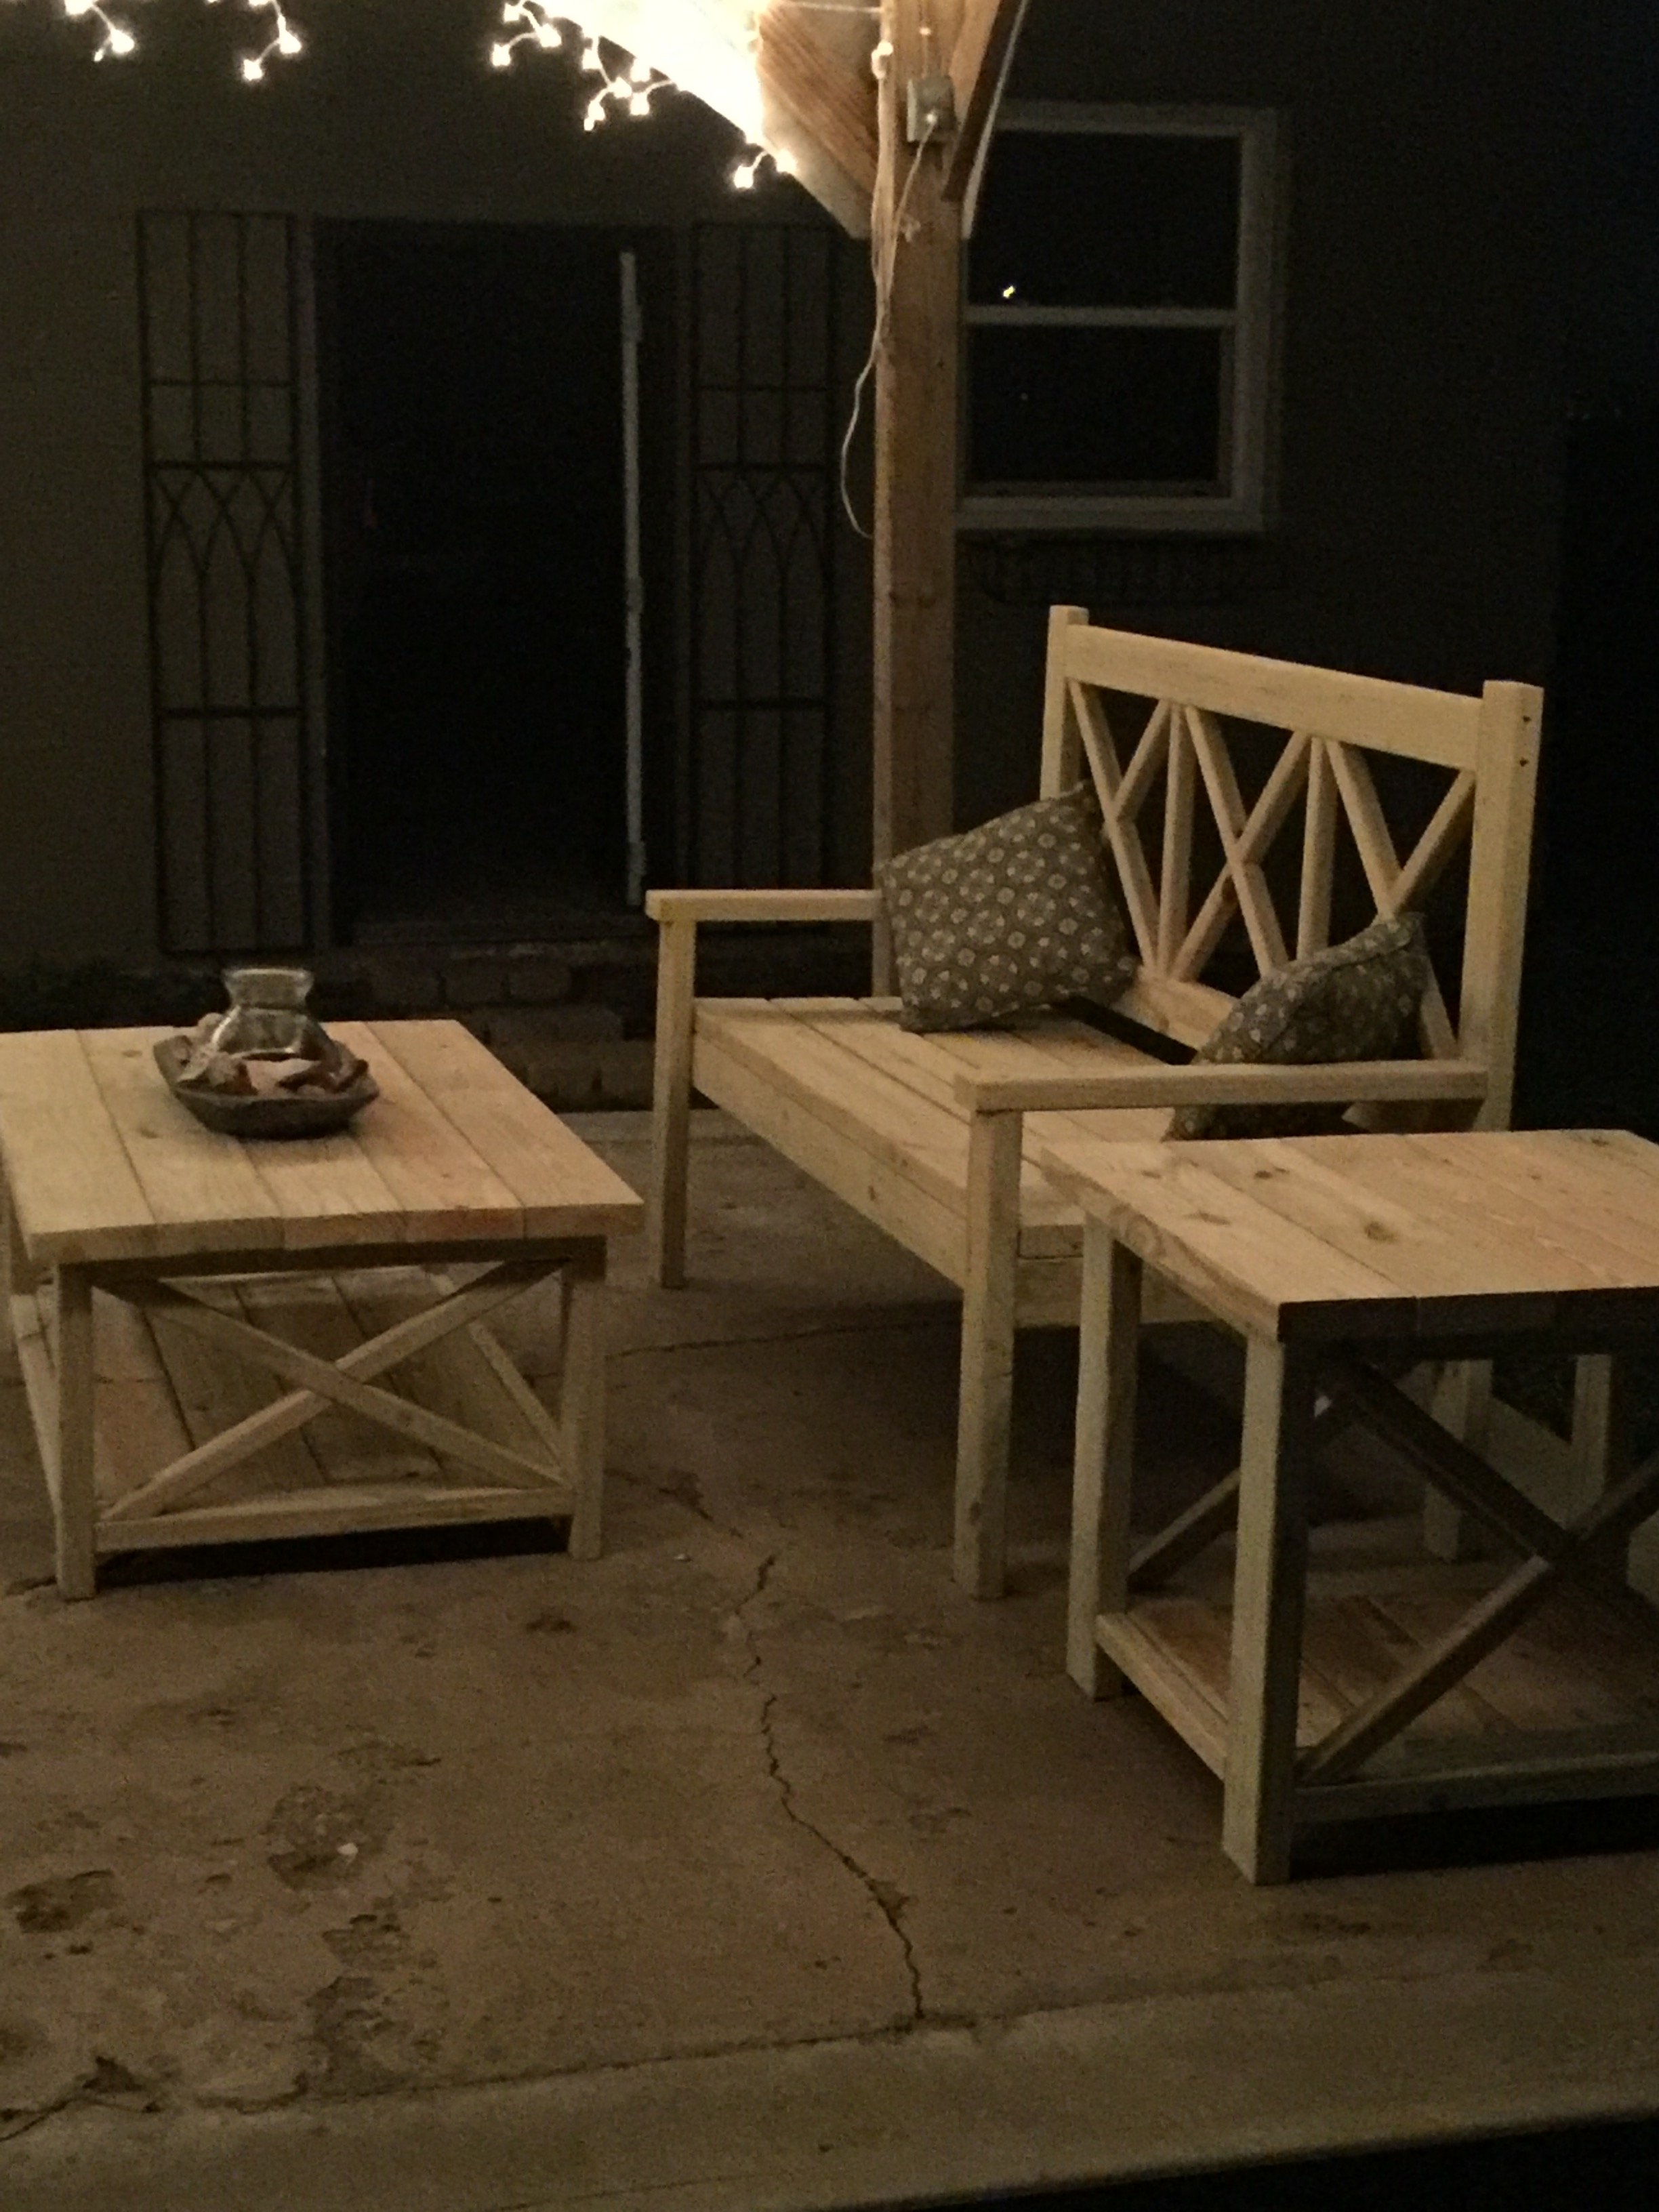
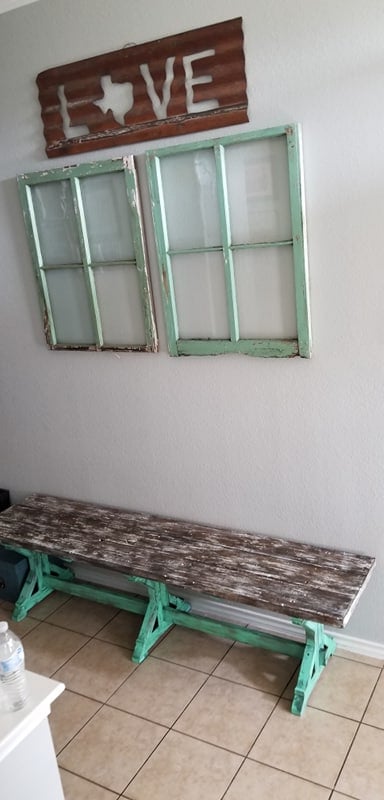
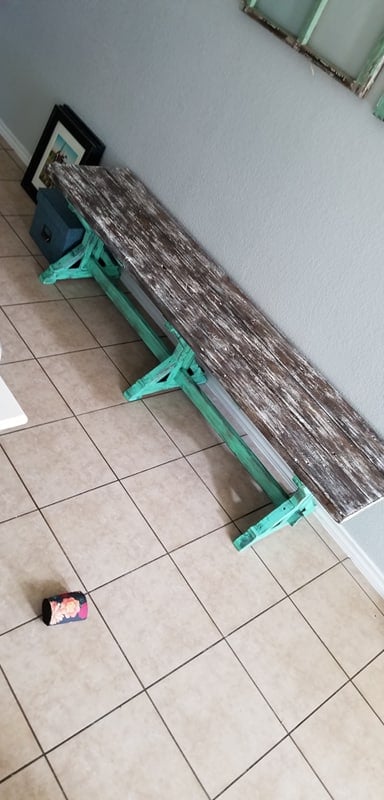
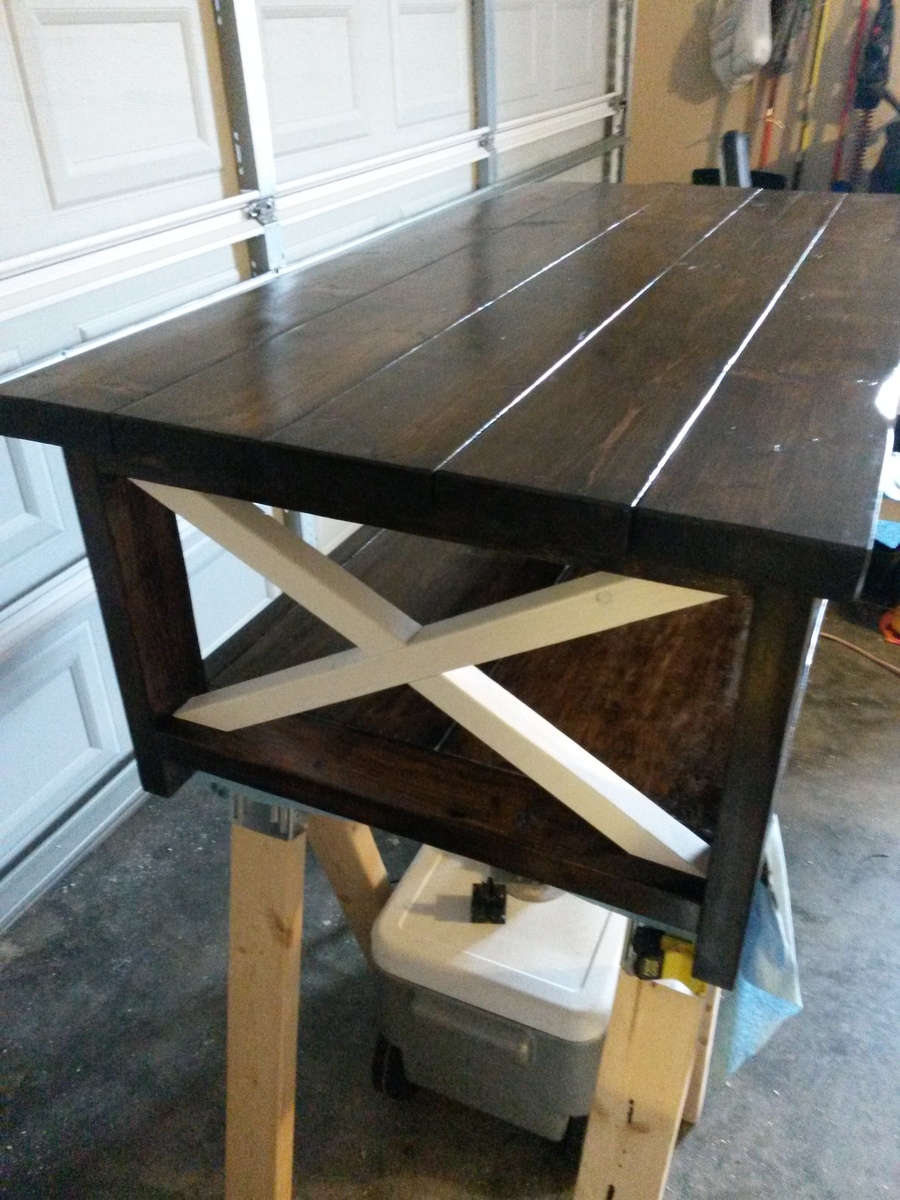
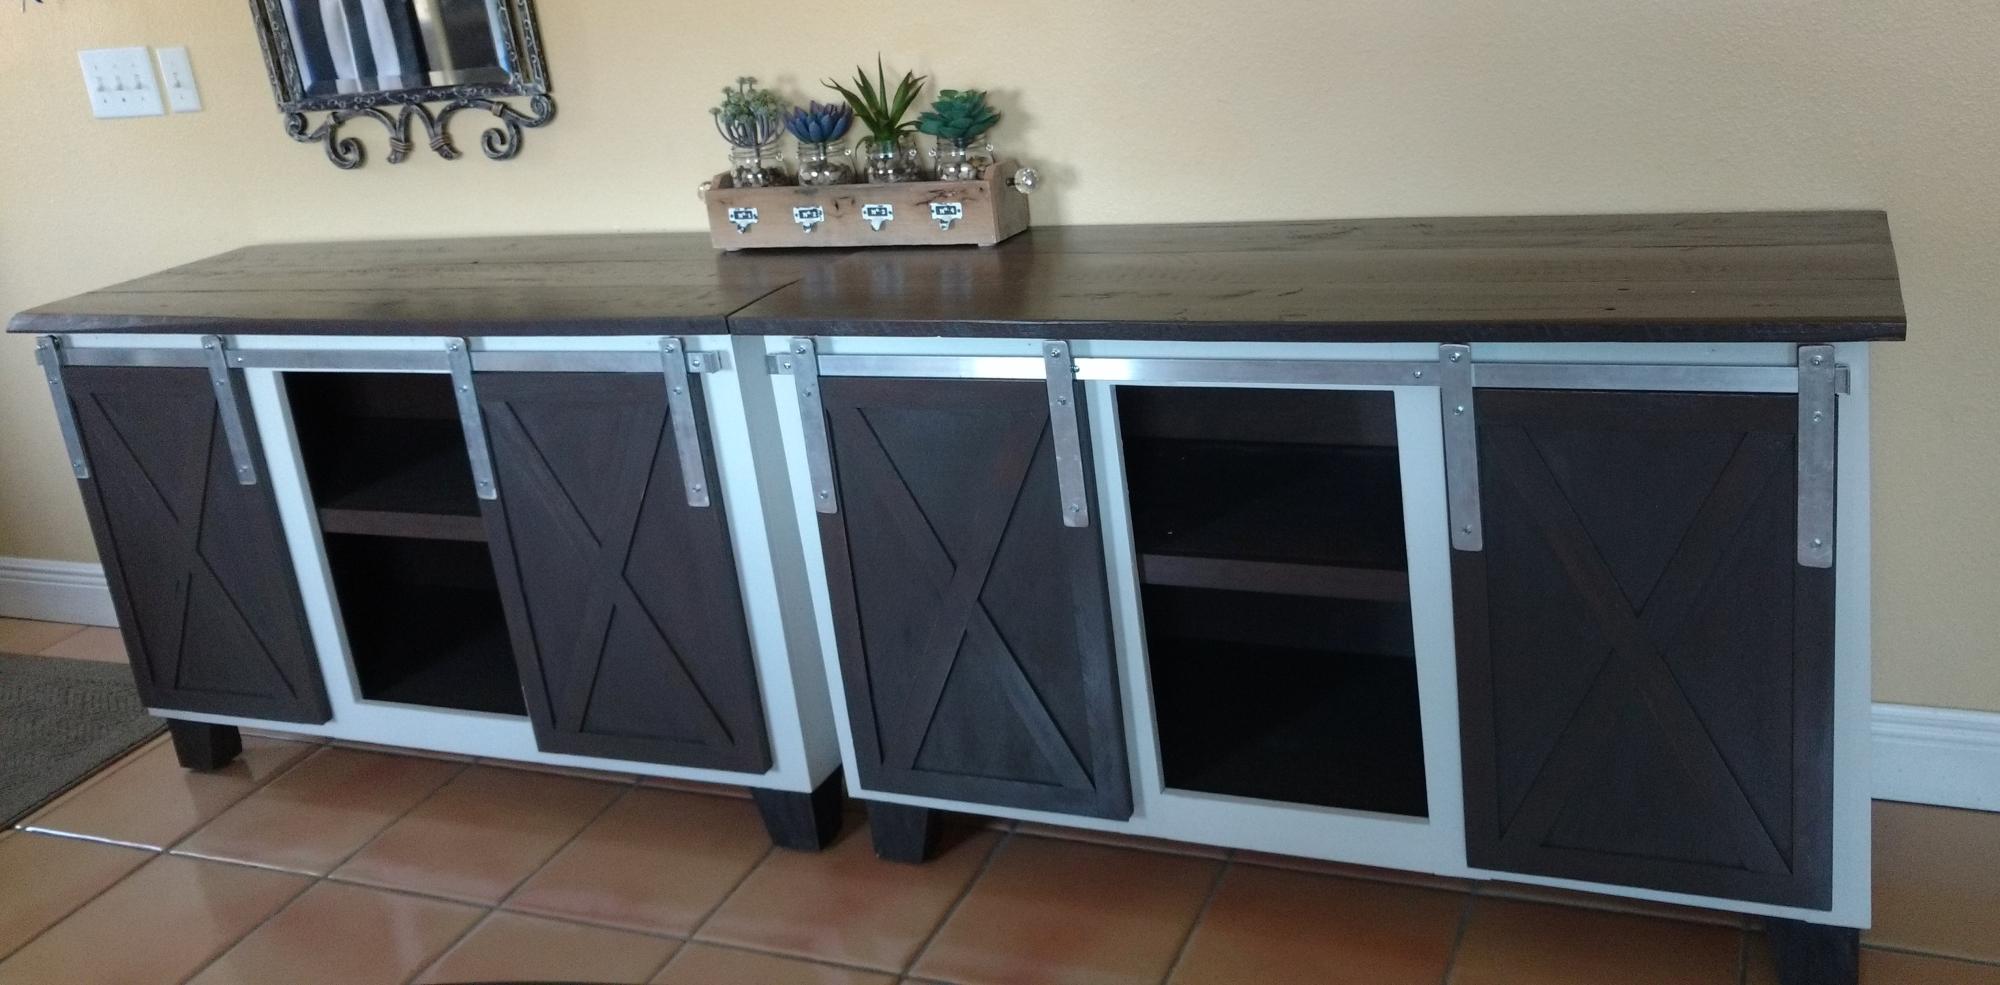
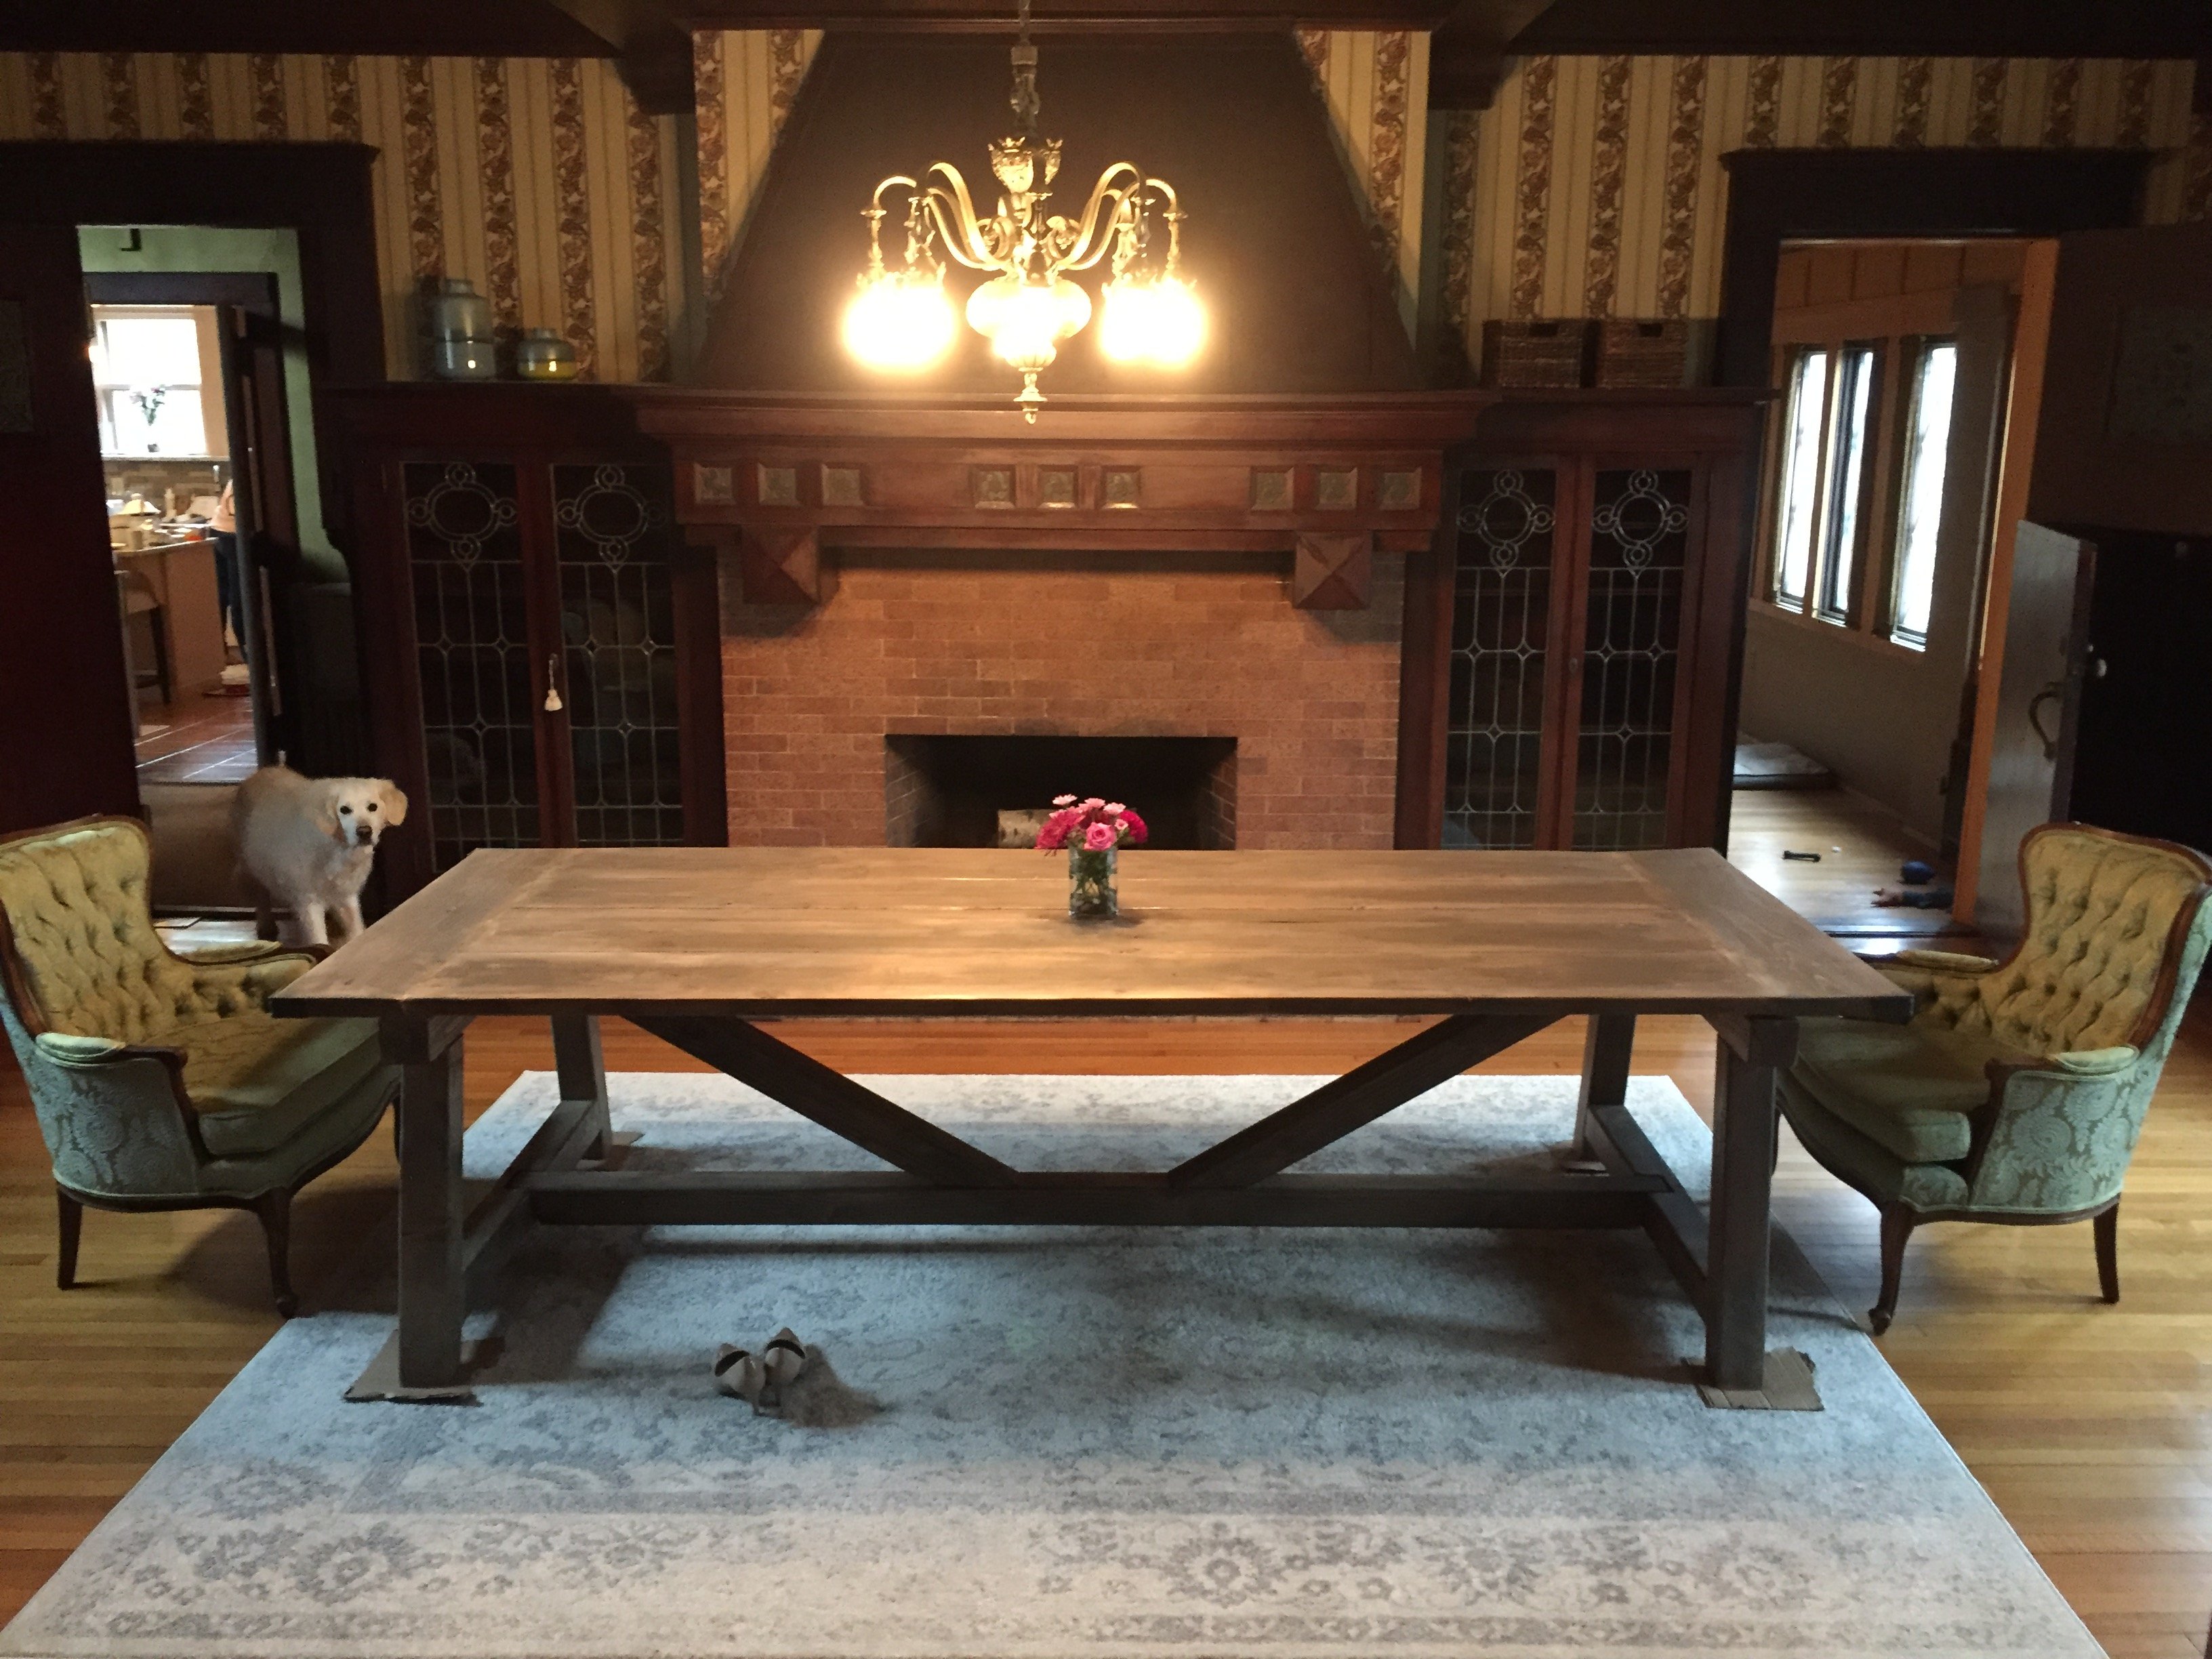
Rustic X Coffee and End Tables
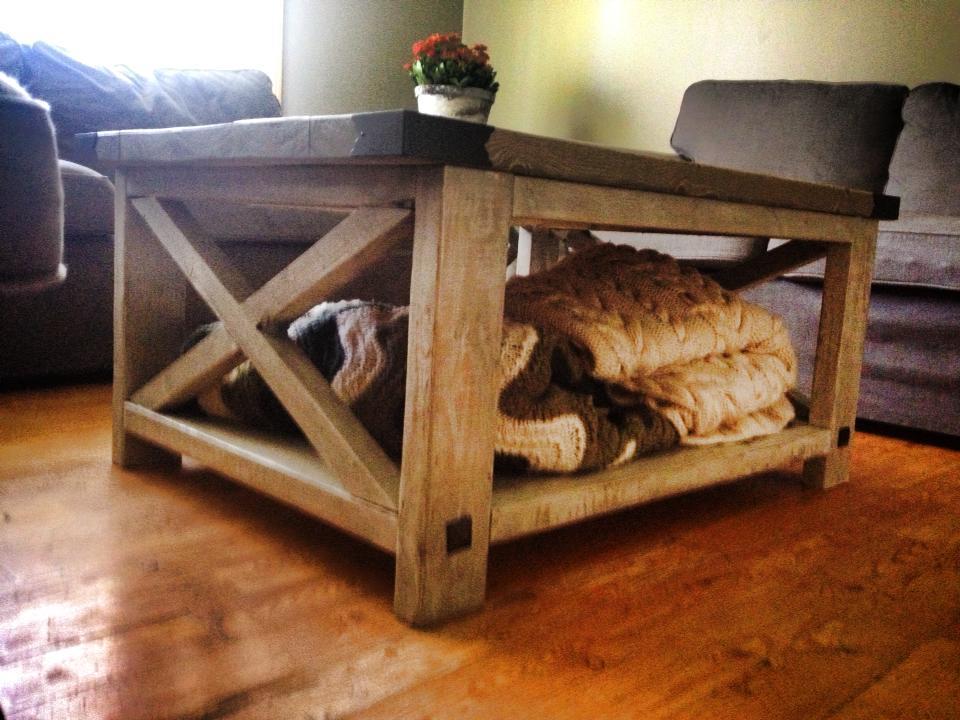
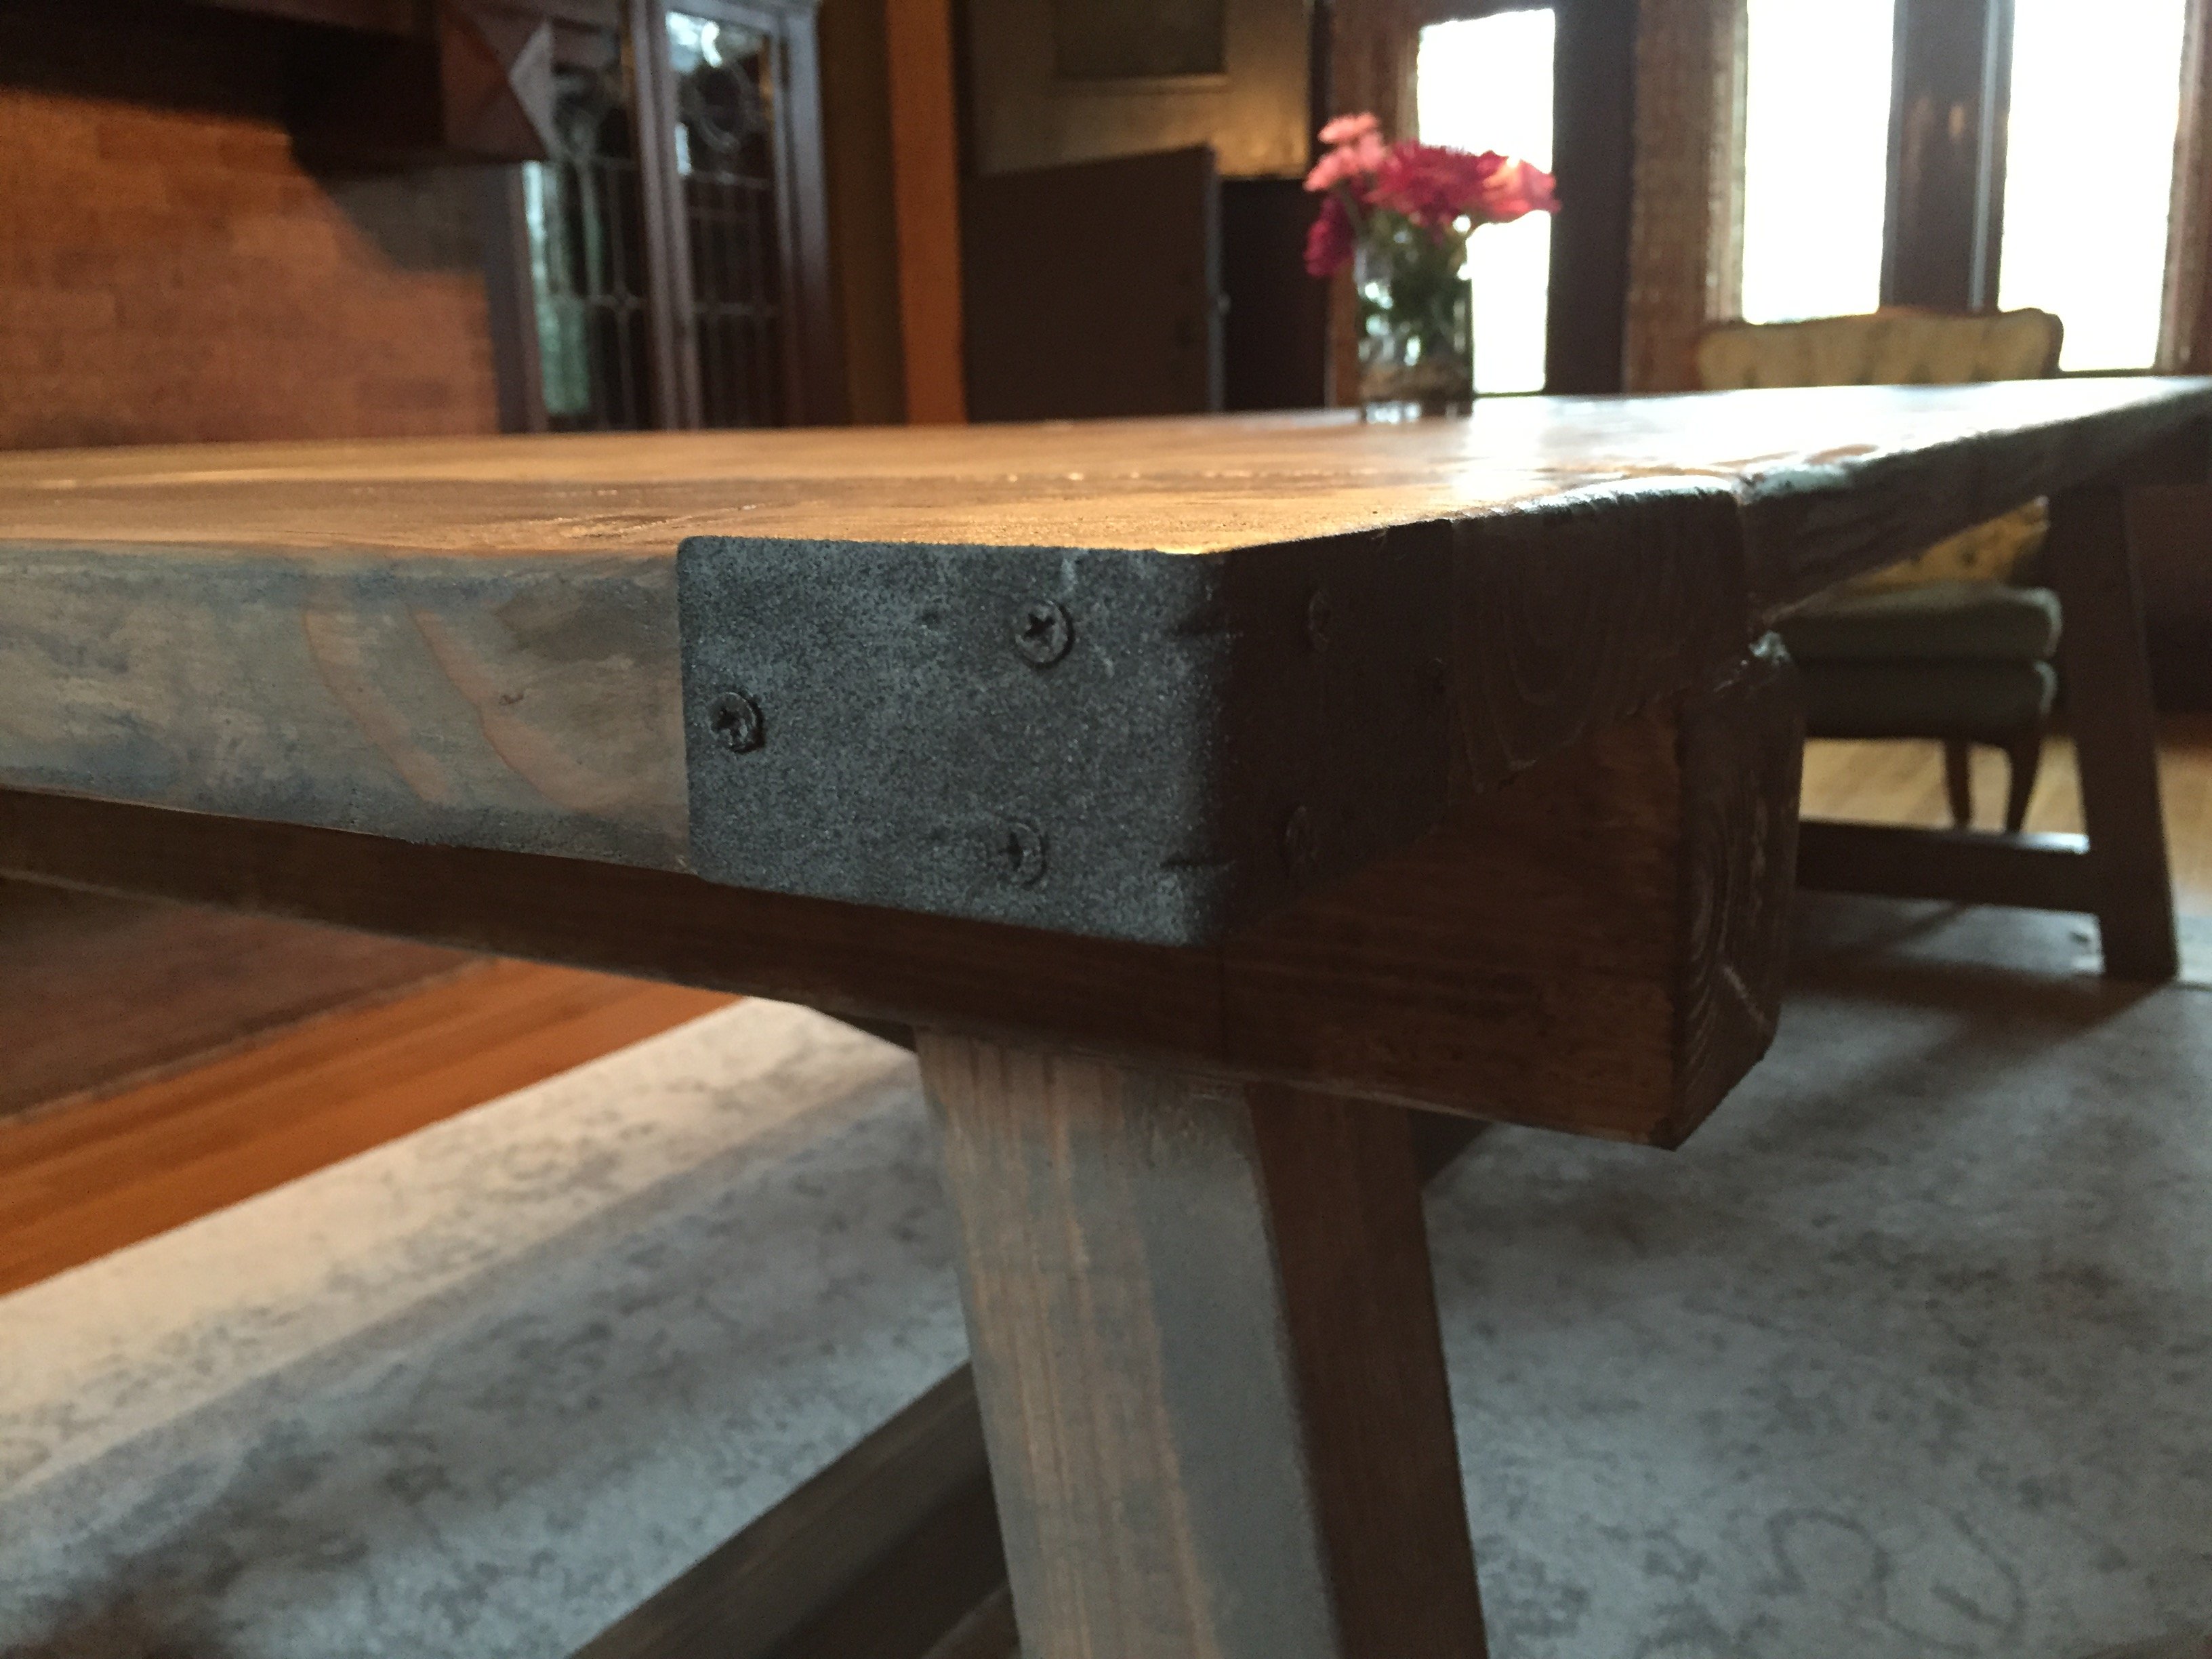
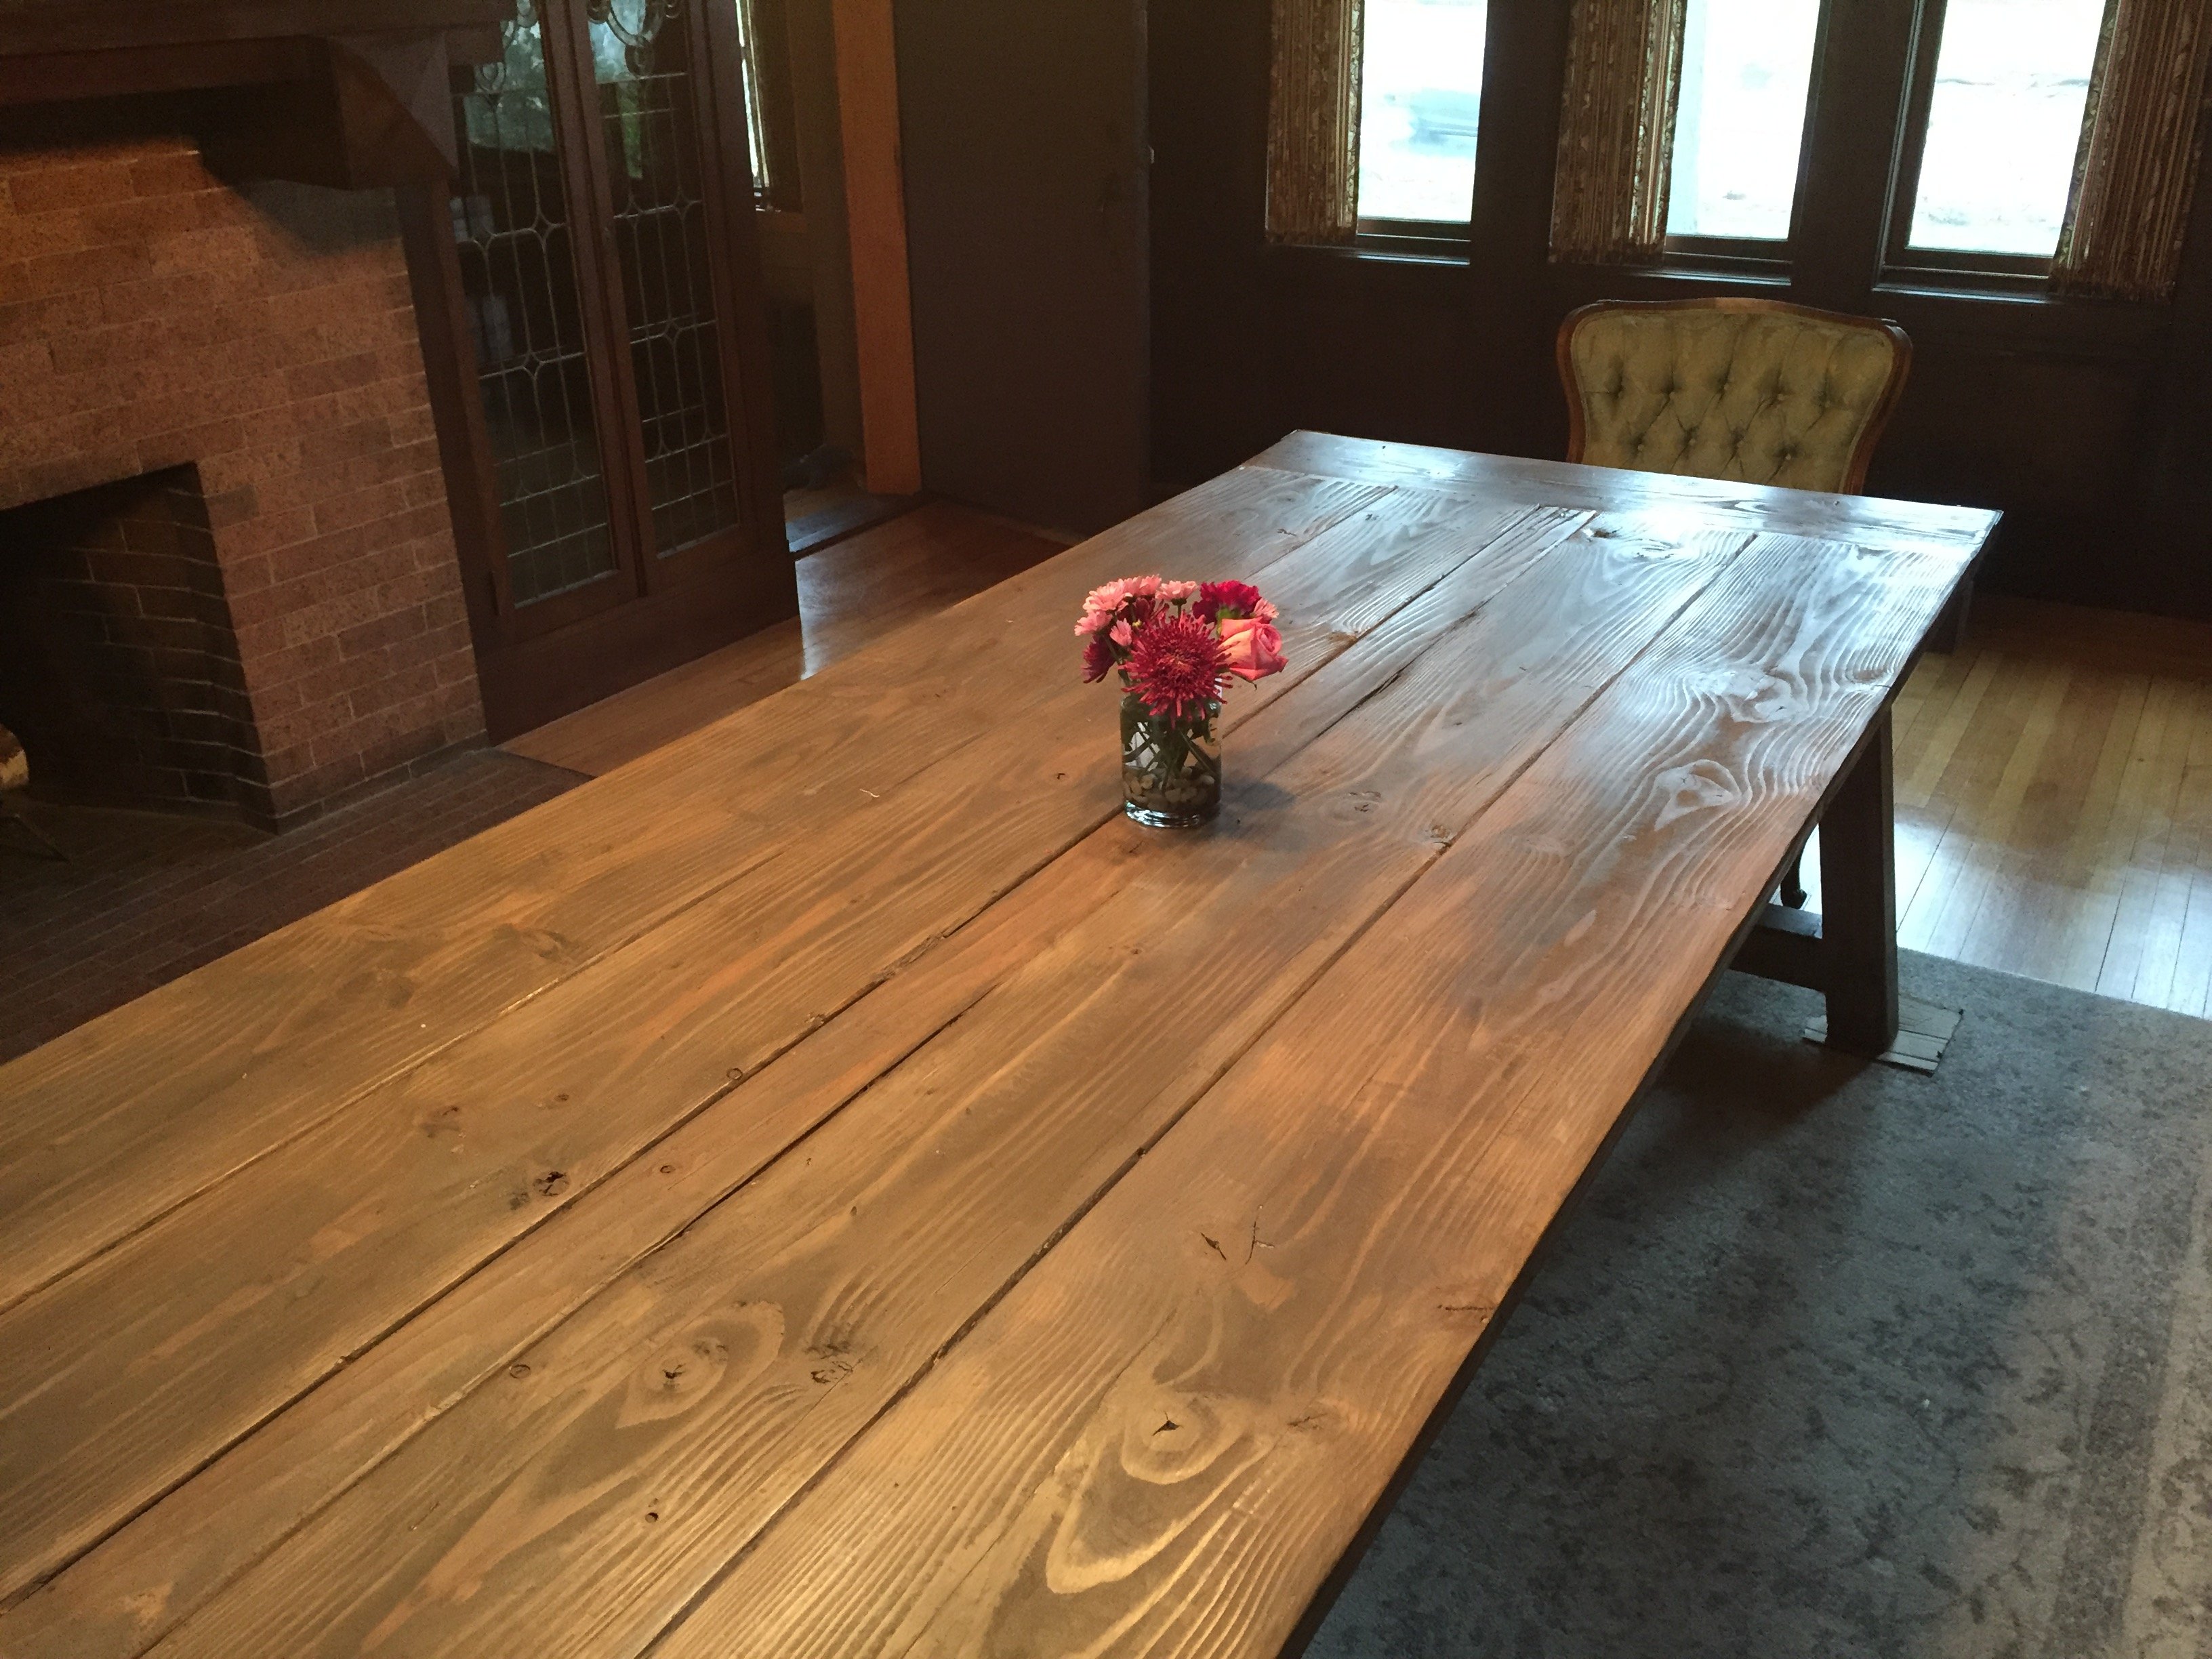
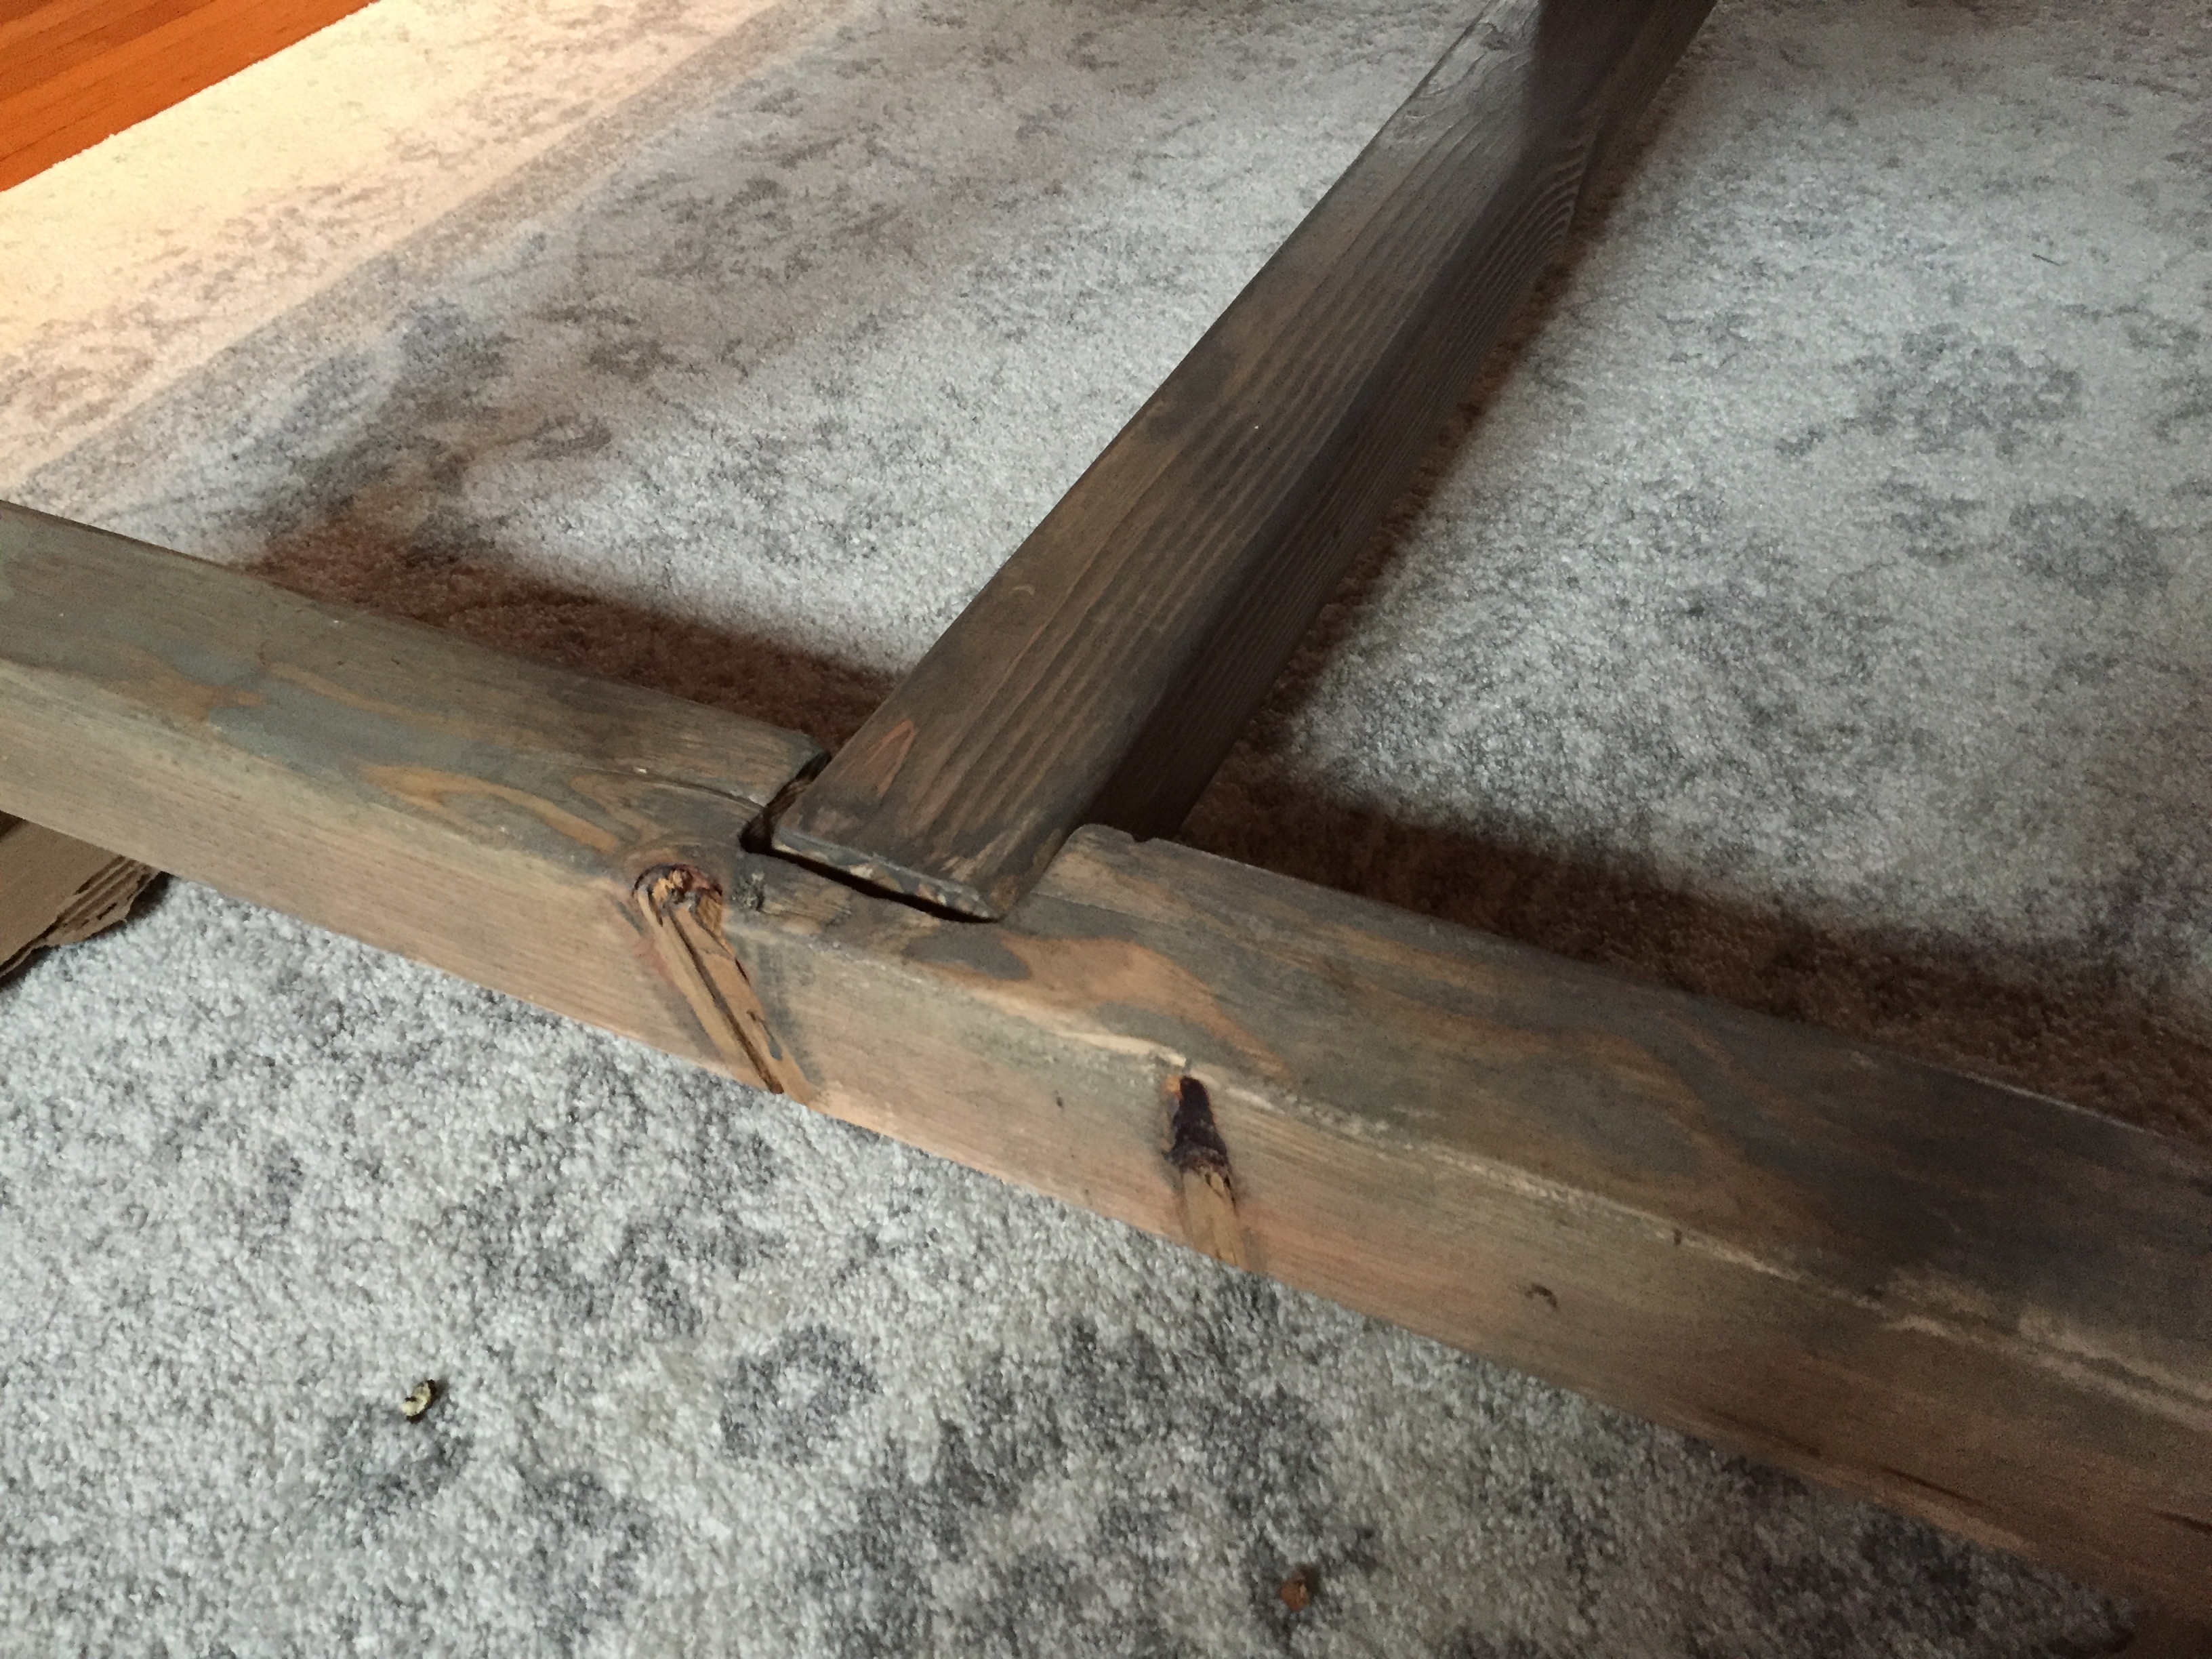
I used some flashings from Lee Valley to make these rustic tables really pop. The corners and the big brad nails really make them pop! These are also STURDY pieces of furniture as the Monster Husband has stood on them both without a wobble.

Built from Plan(s)
Estimated Cost
200
Estimated Time Investment
Weekend Project (10-20 Hours)
Finish Used
I mixed Minwax Ebony, Dark Walnut and a lot of a white stain together and did 2 coats of that. The legs also got two coats of white milk paint which I sanded down between coats. I put 2 coats of polyacrylic on both pieces to finish.
Recommended Skill Level
Intermediate


Comments
cristywisty
Wed, 09/23/2015 - 09:07
White Stain?
I know this post was awhile ago, but I am looking to create somthing similar. Where were you able to find a white oil based stain? I have called all of my local hardware stores and they all carry just water base? Did you put the dark mix stains on then, go over with white water base stain? Any clarification or assistance would be great! Thanks.