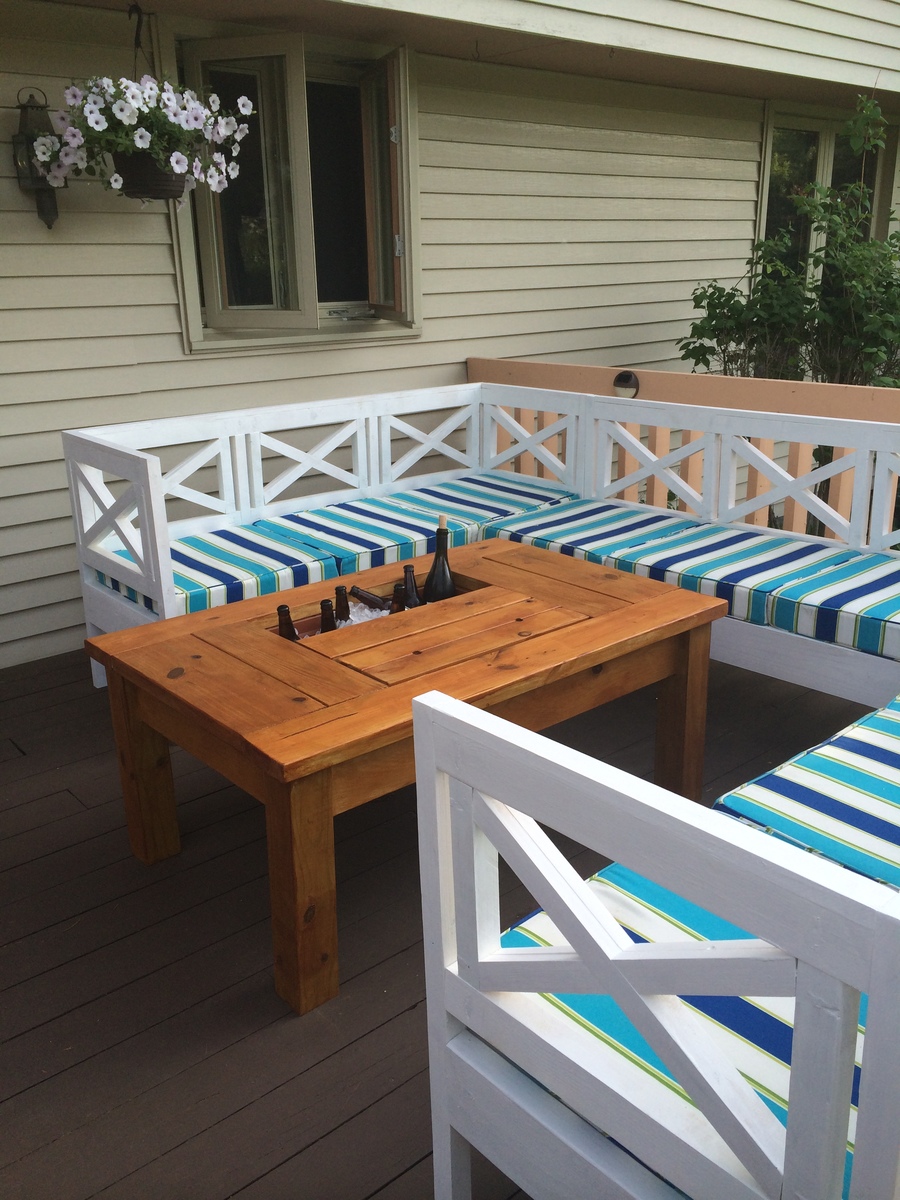
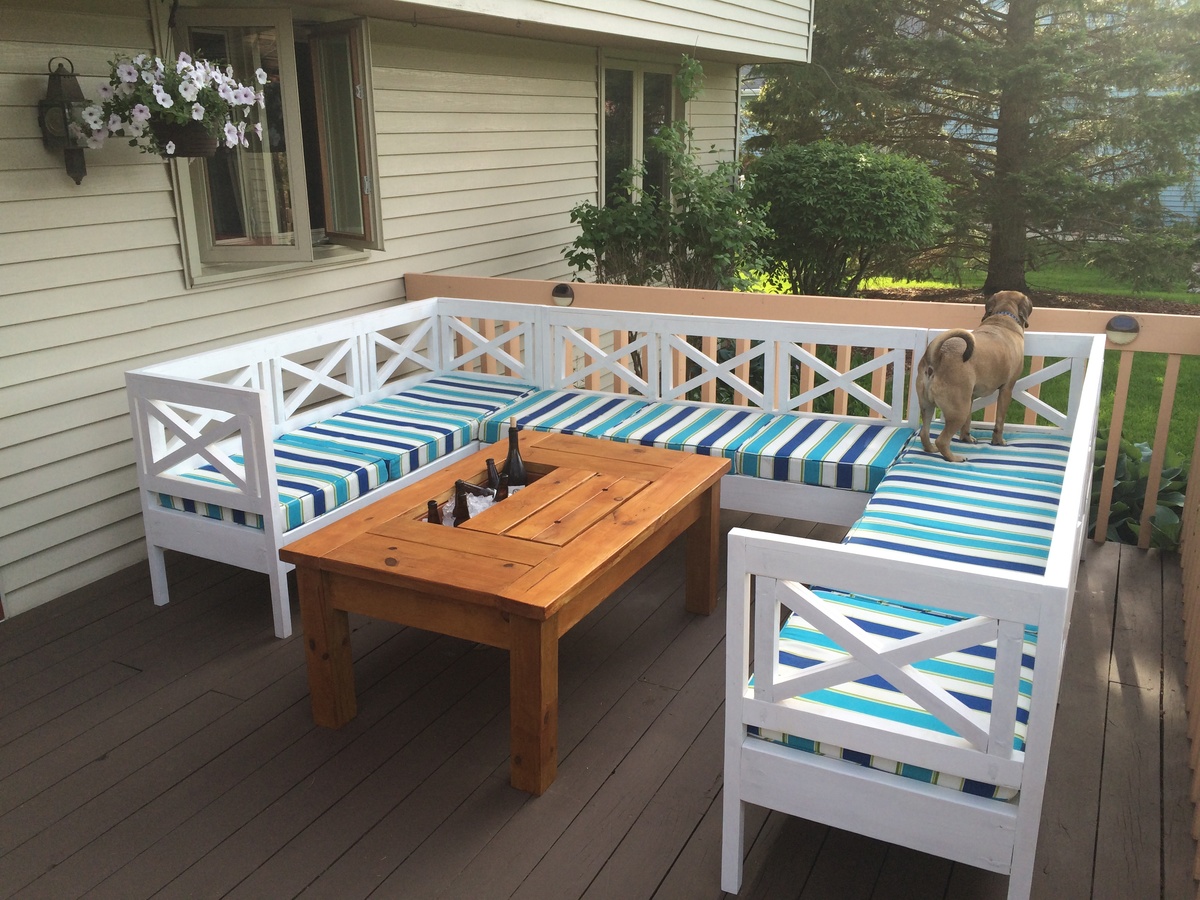
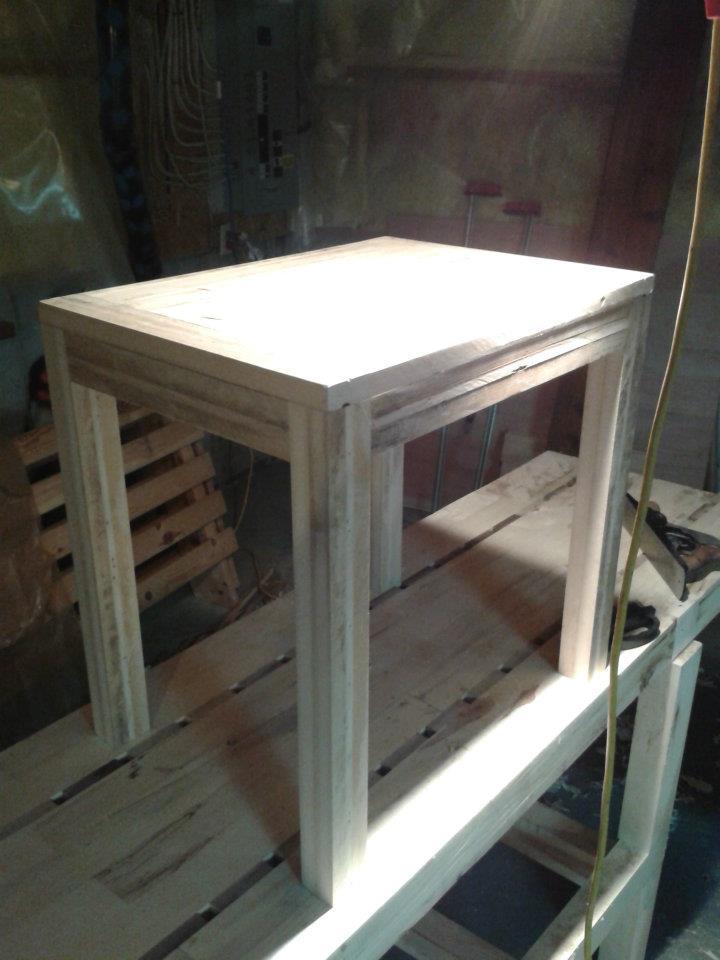
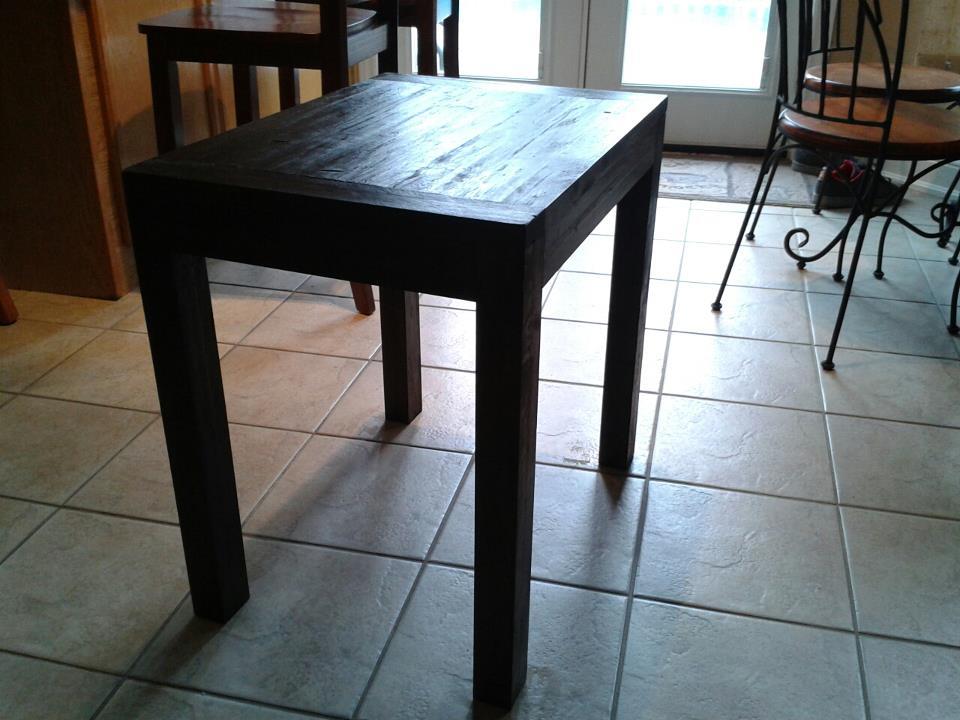
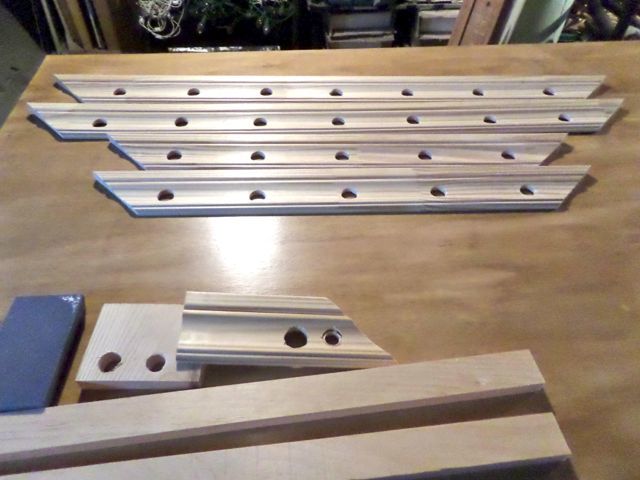
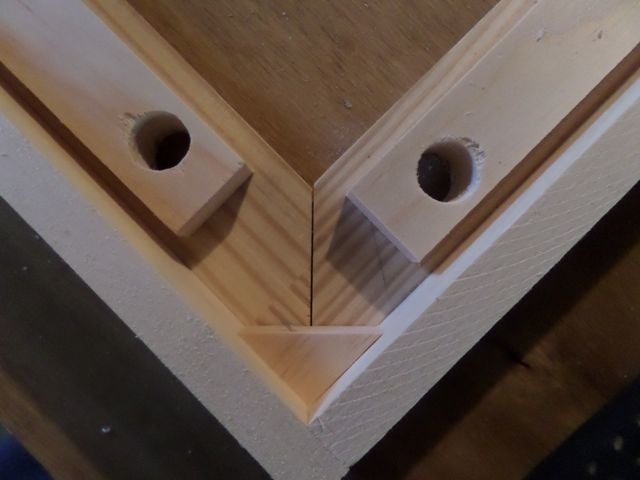
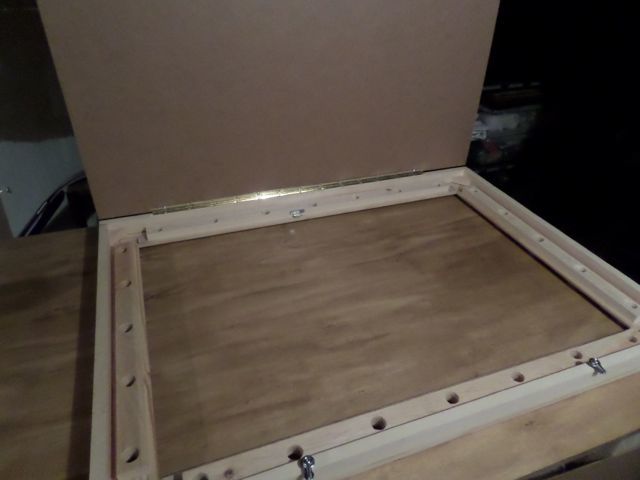
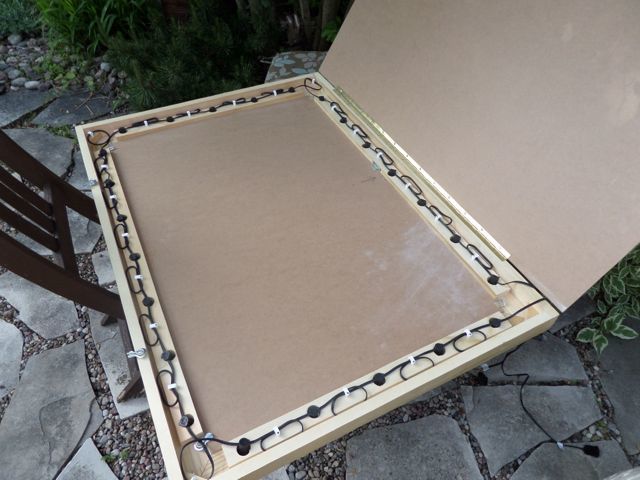
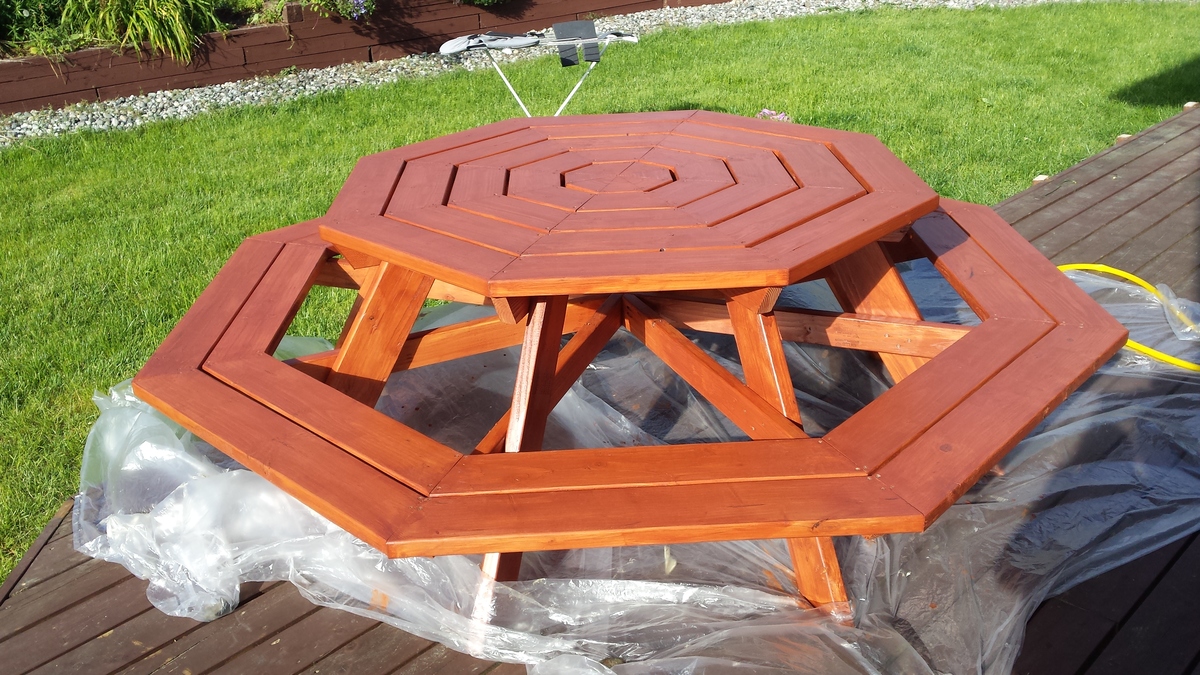
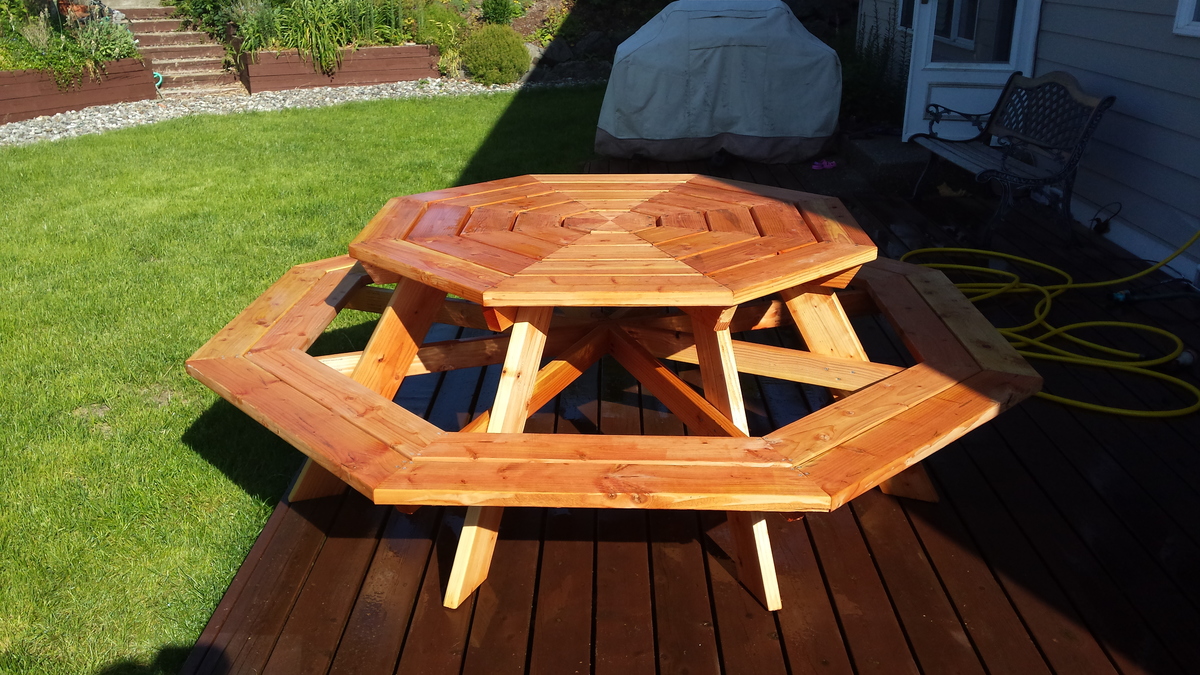
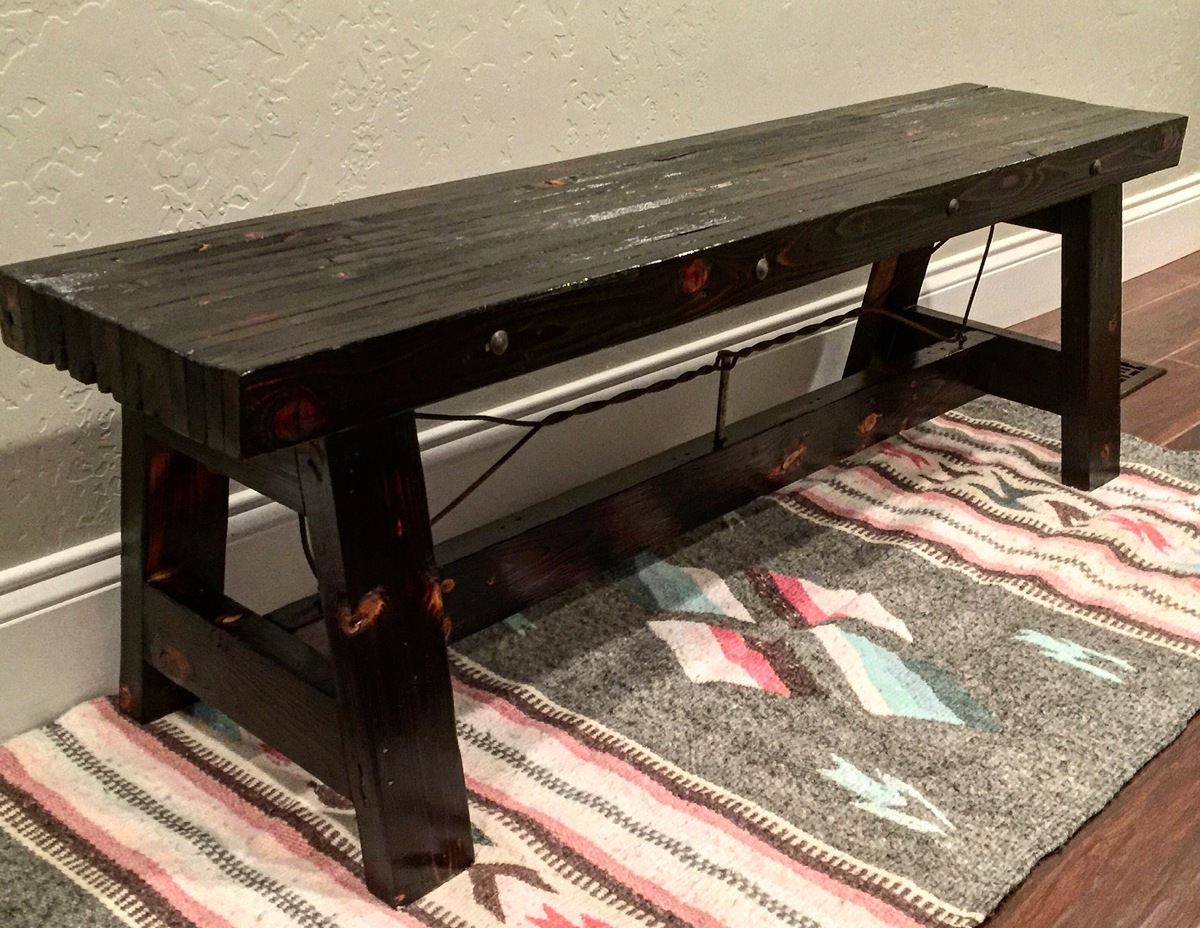
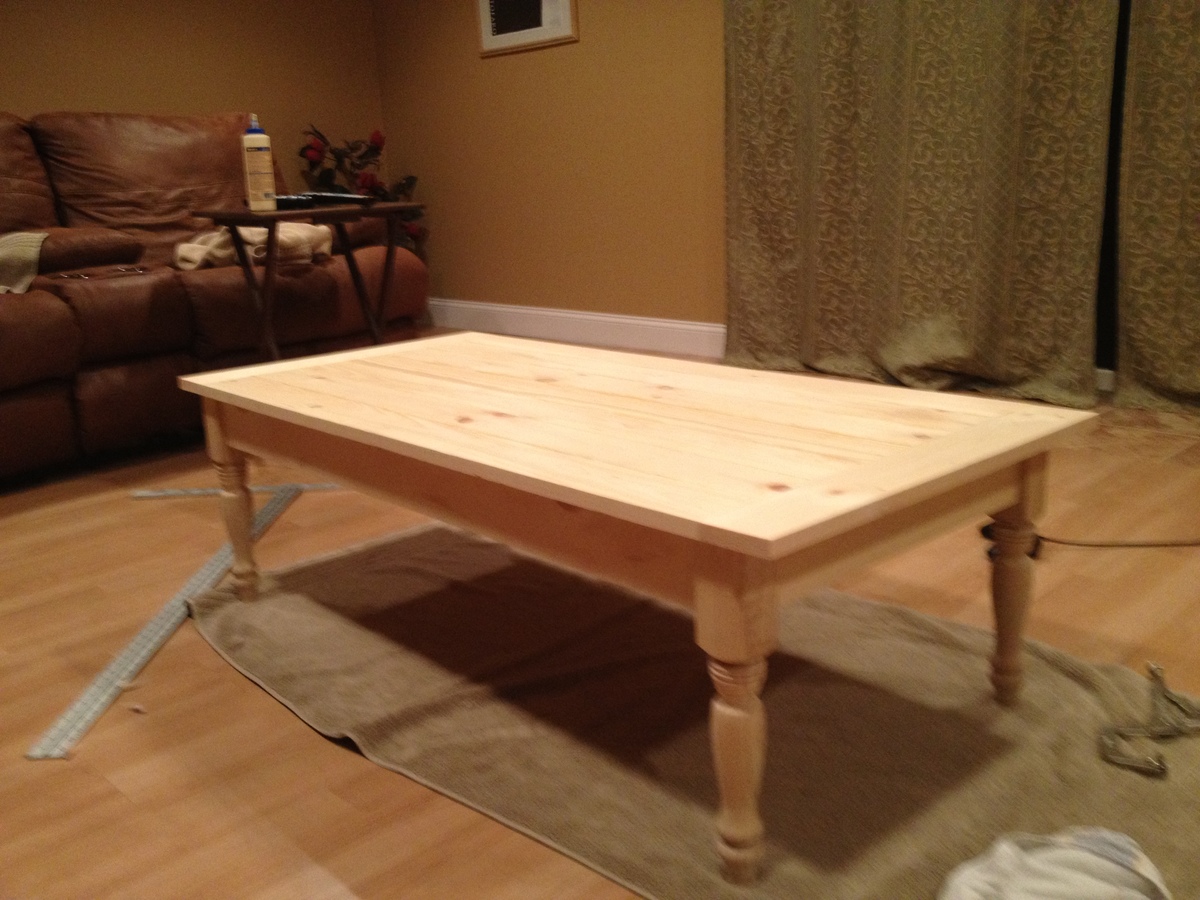
Patio Table with Built-In Beer/Wine Coolers

I modified the plans for the cooler table to accompany and serve as a coffee table for the weatherly couch/sofa sectional that I built. With a two-year old and another on the way, we probably are not going to have too many opportunities to fill the coolers with beer and wine this summer. However, if a group of friends somehow all gets babysitters and shows up at our house, we are prepared.

Built from Plan(s)
Estimated Cost
$50
Estimated Time Investment
Day Project (6-9 Hours)
Finish Used
Behr Transparent Weather Proofing All-In-One Wood Finish in Cedar Naturaltone
Recommended Skill Level
Intermediate


Comments
kaf839
Sat, 05/23/2015 - 05:43
I love how you scaled this
I love how you scaled this down into a coffee table!!
pde00311
Tue, 06/09/2015 - 14:07
Thanks!
It is perfect sized for summer barbecues.
PSUlion01
Wed, 06/10/2015 - 10:33
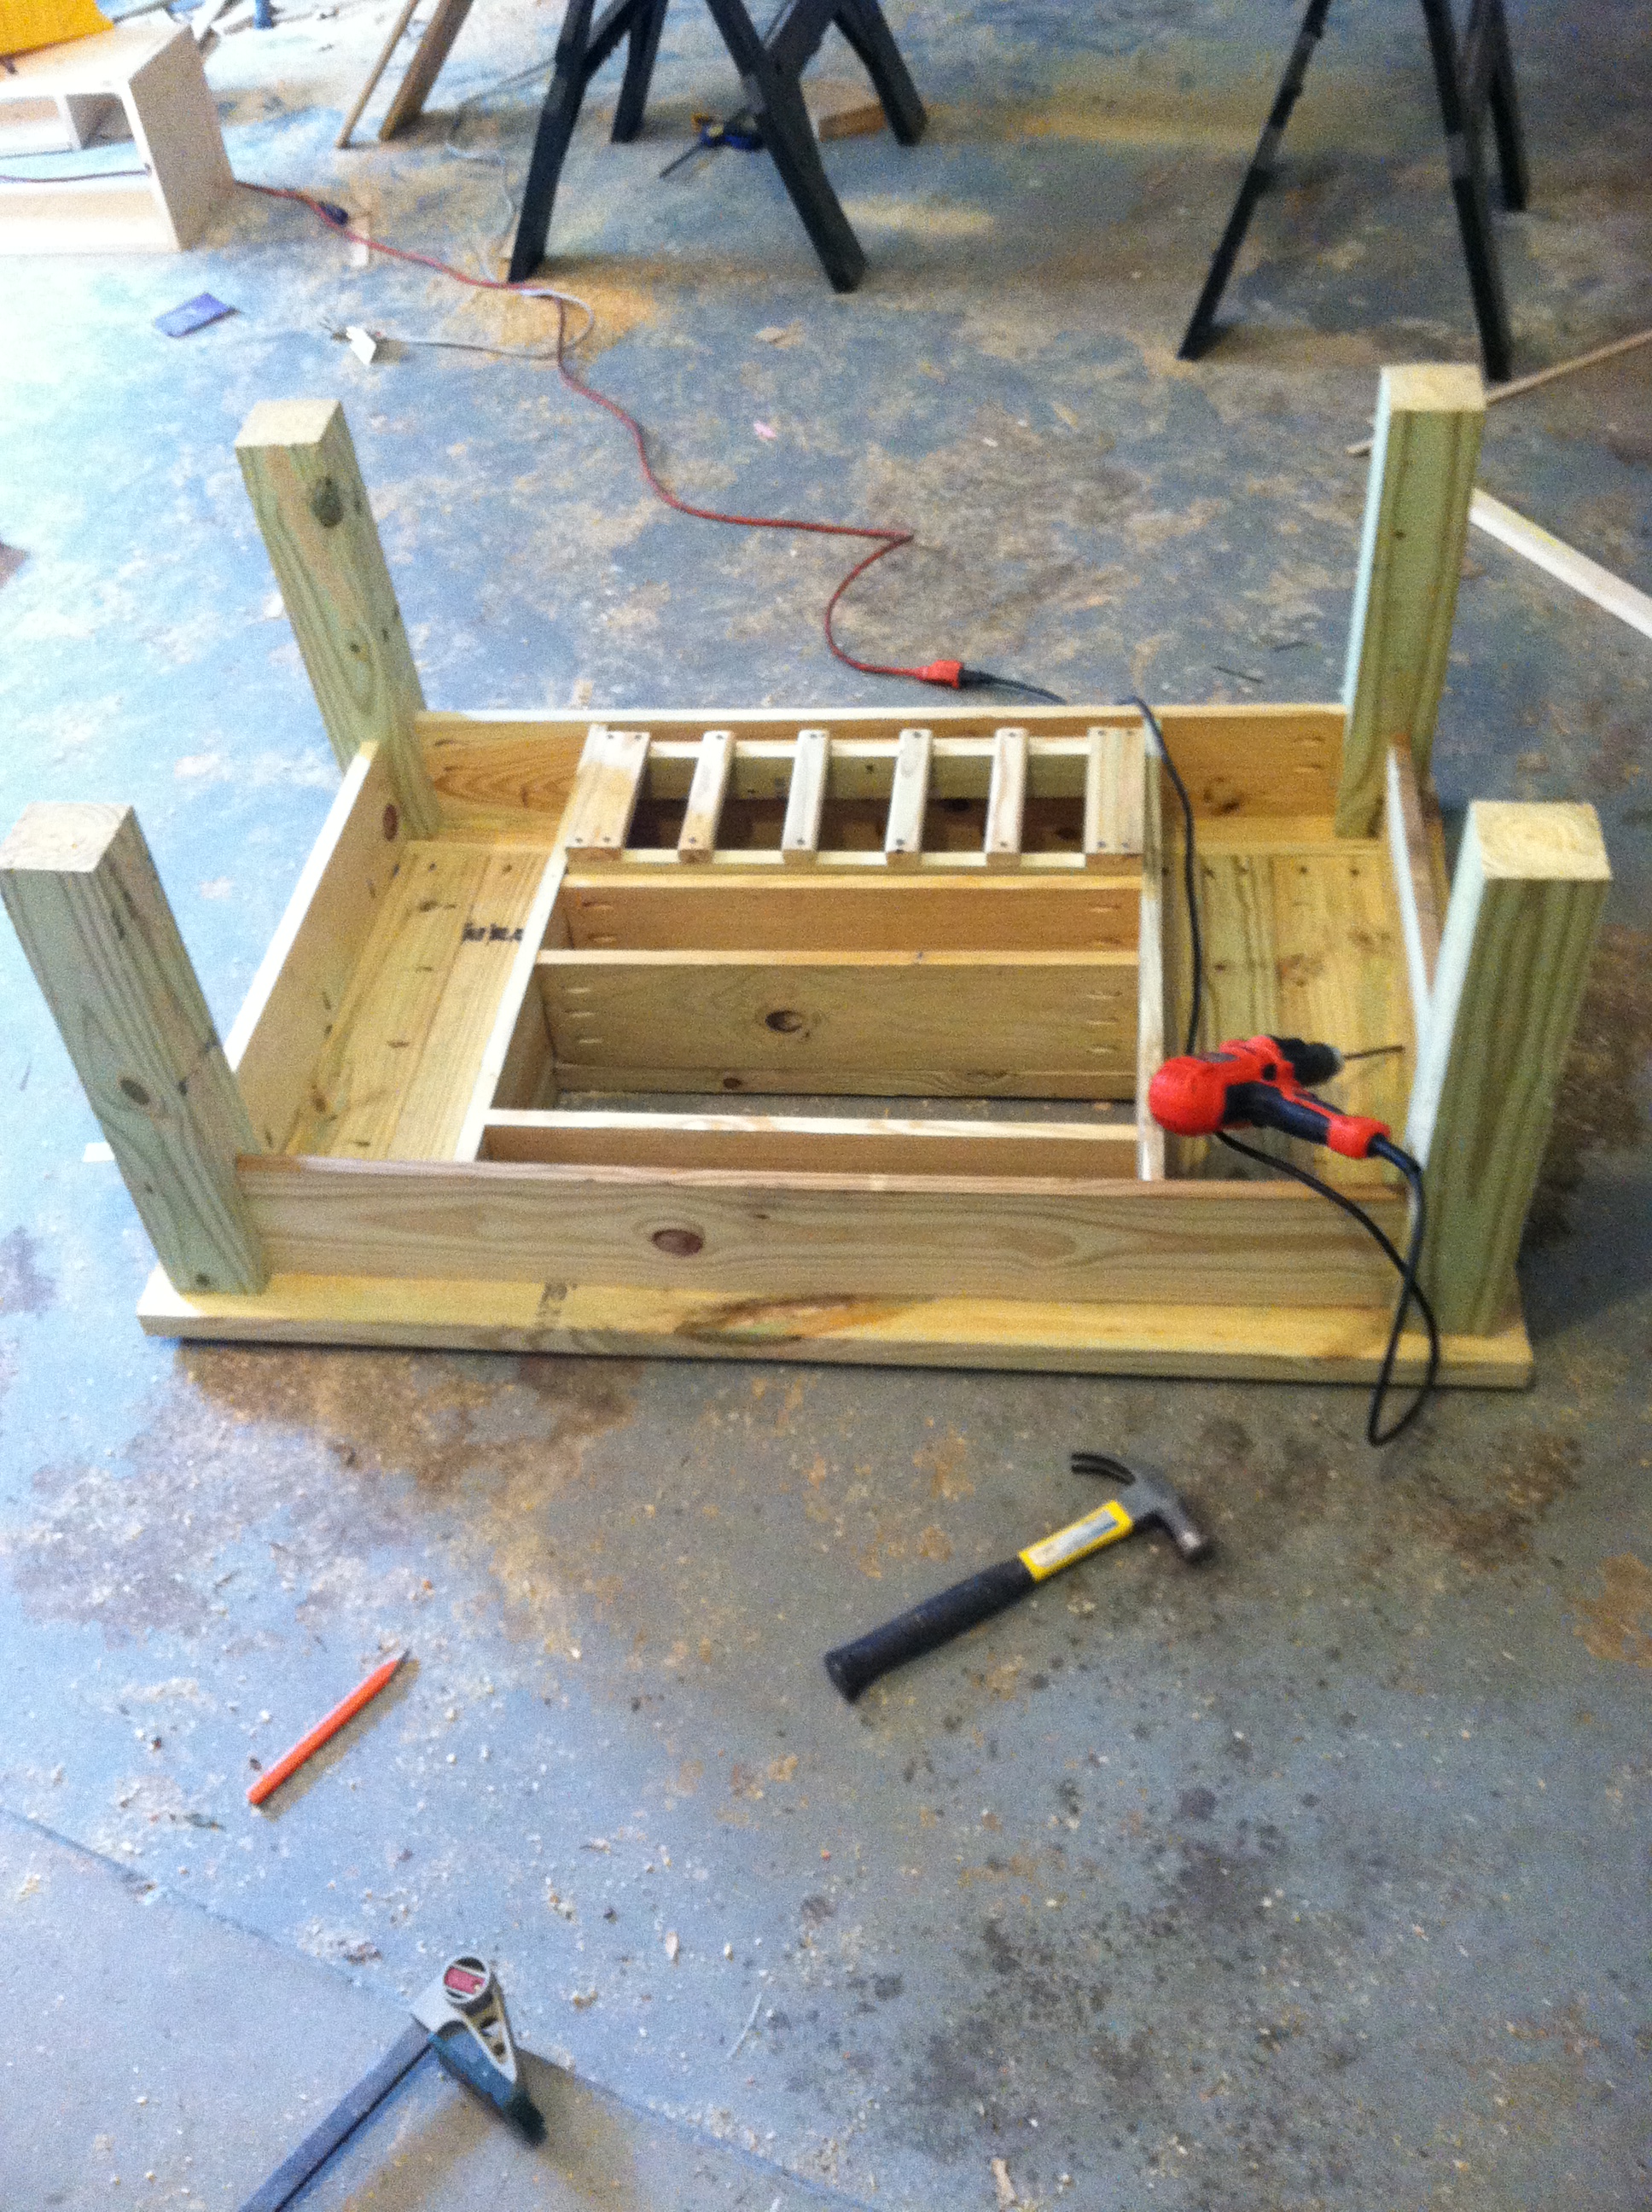
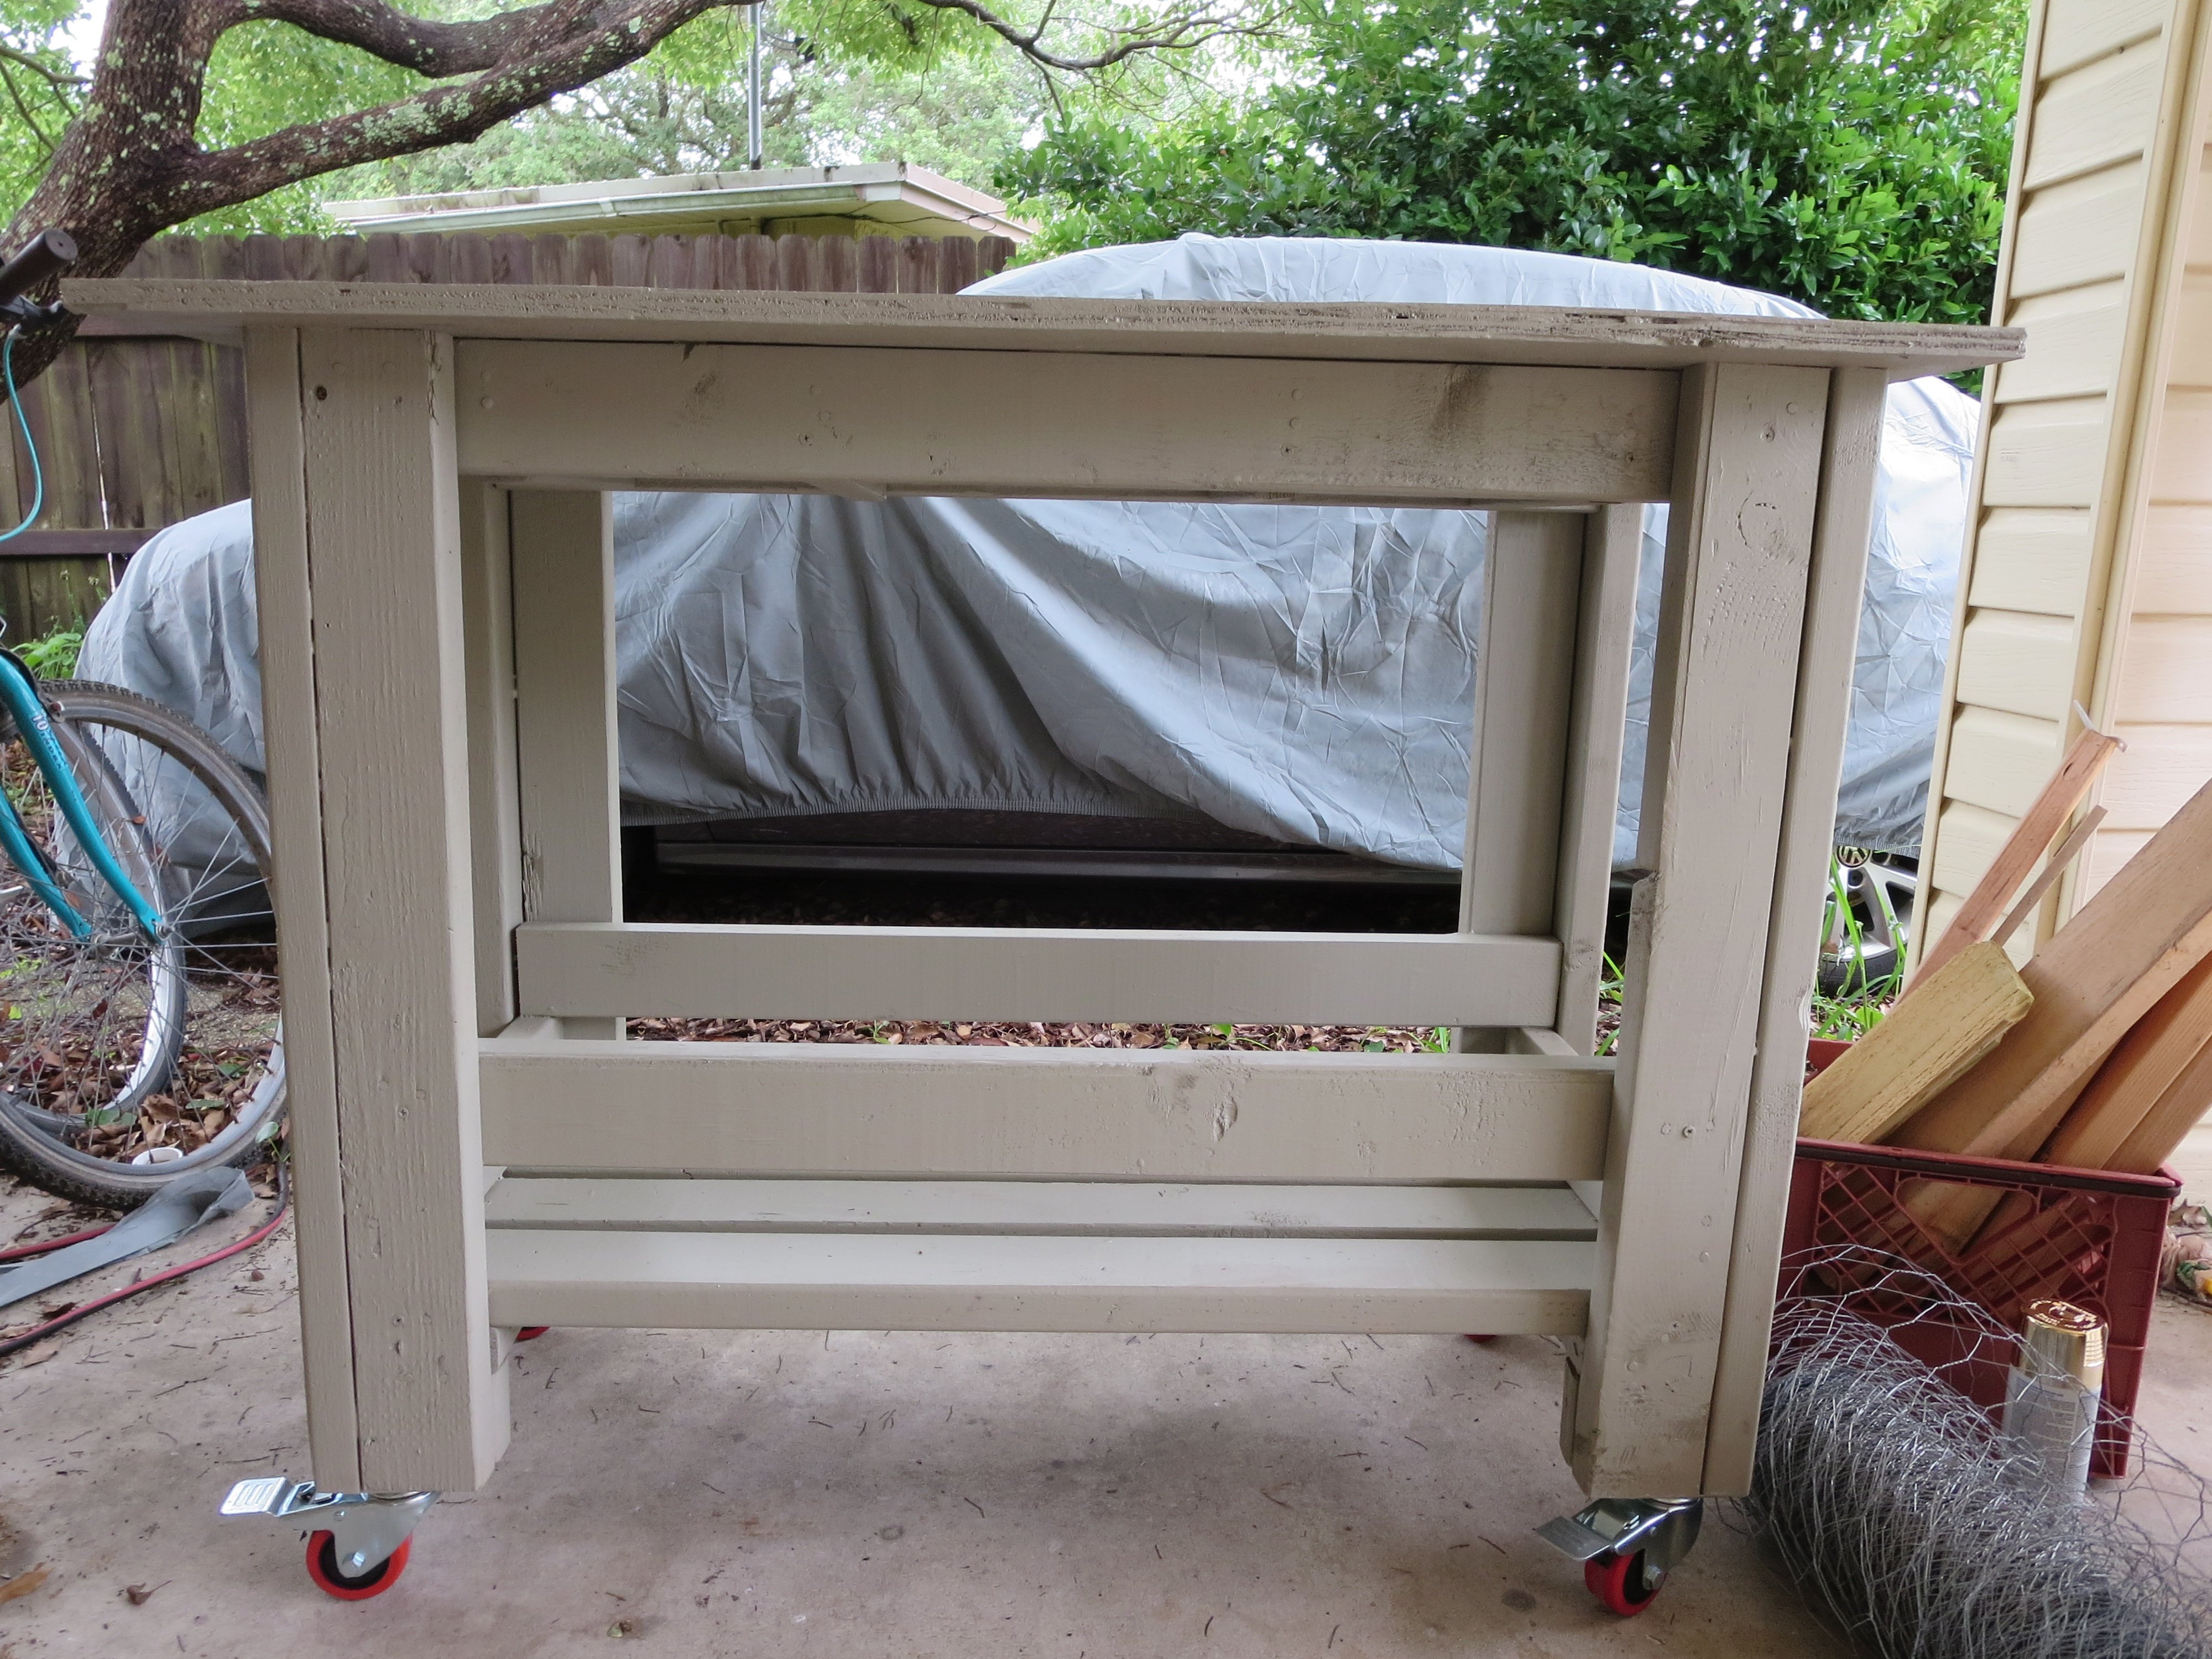
Pics of underside & leg attachment?
I really like the 4x4 vs 2x4s for the legs. Can you elaborate on how you attached them to the top and skirt? If you have pictures or any other pointers that would also be great! Our existing patio table is falling apart ($1000 buys you junk these days) and I'm thinking of building something similar to this as a replacement.
Thanks!