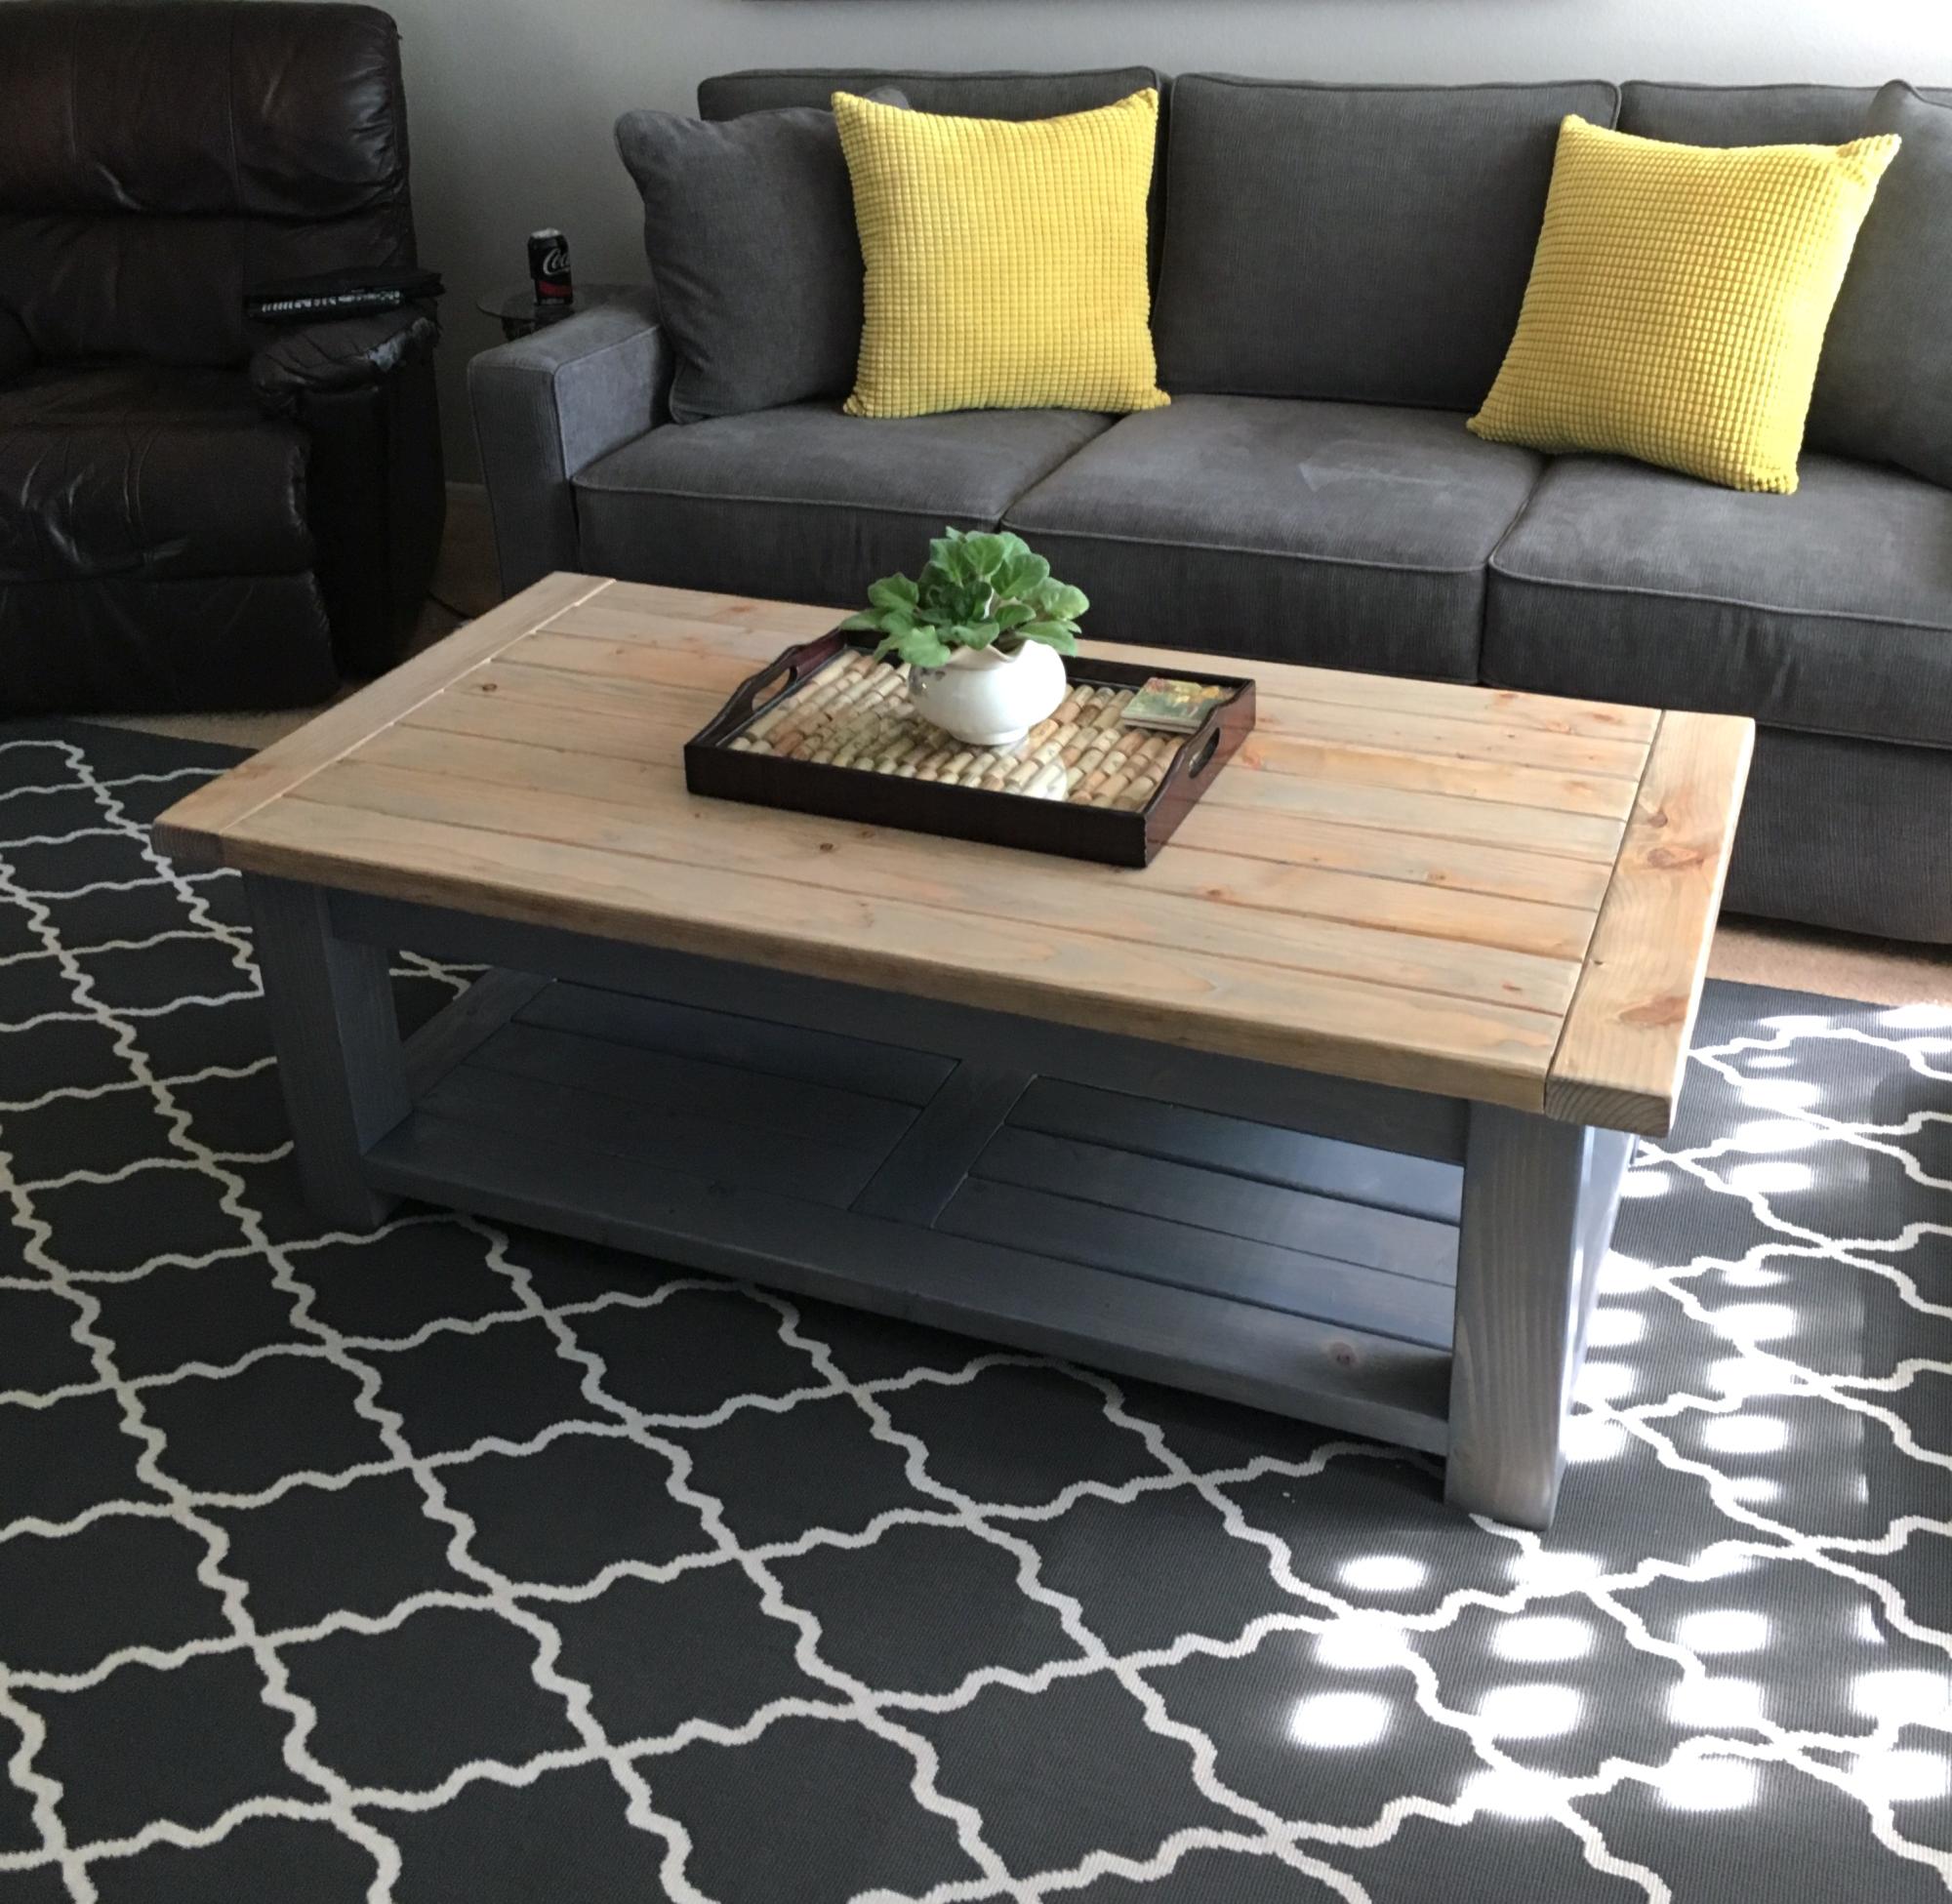
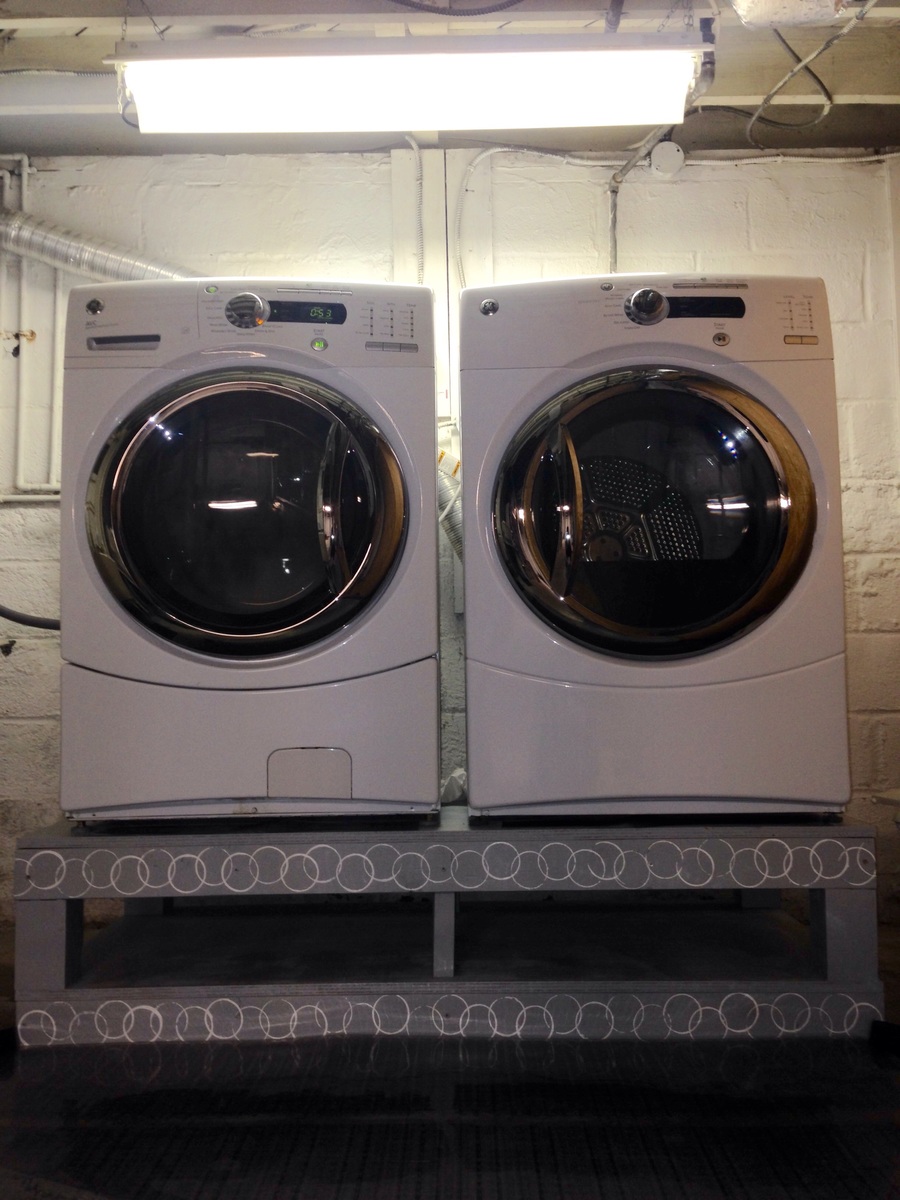
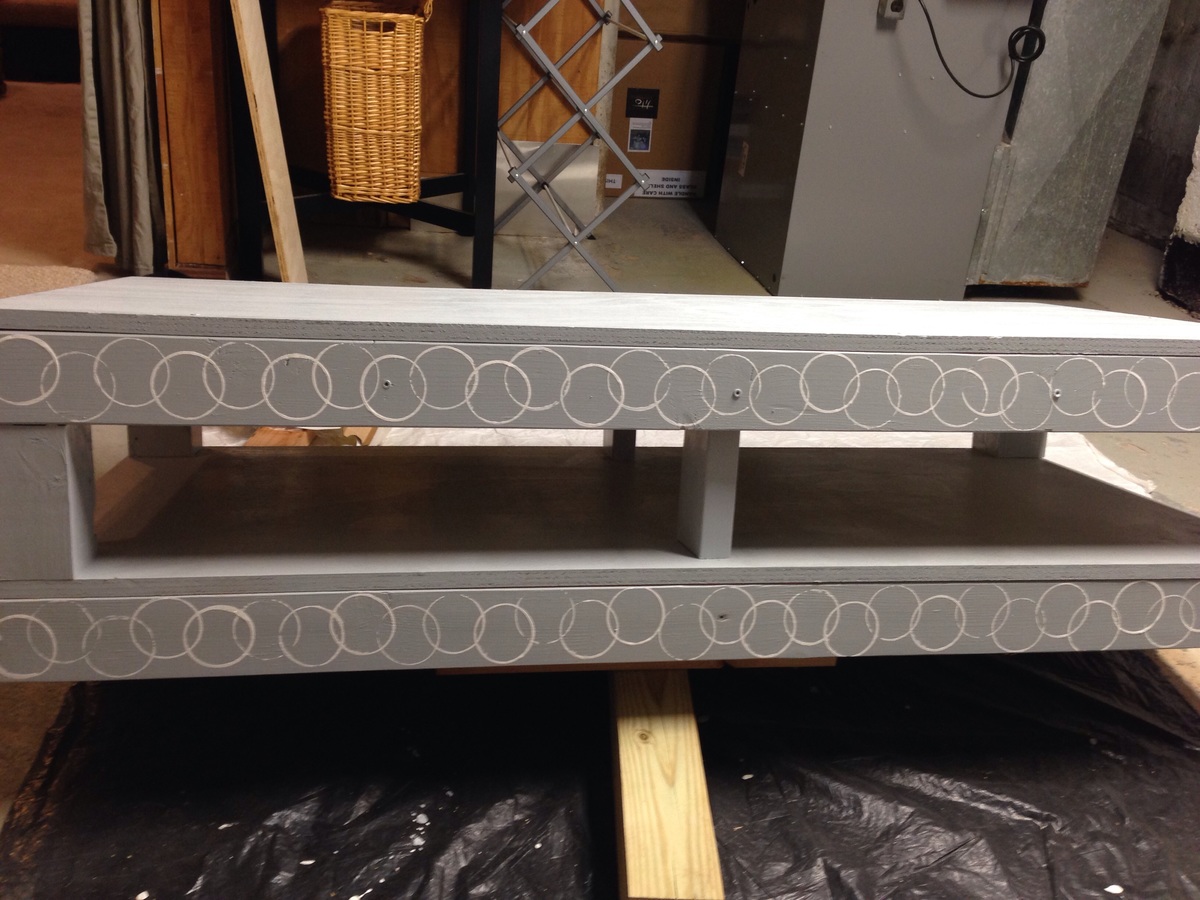
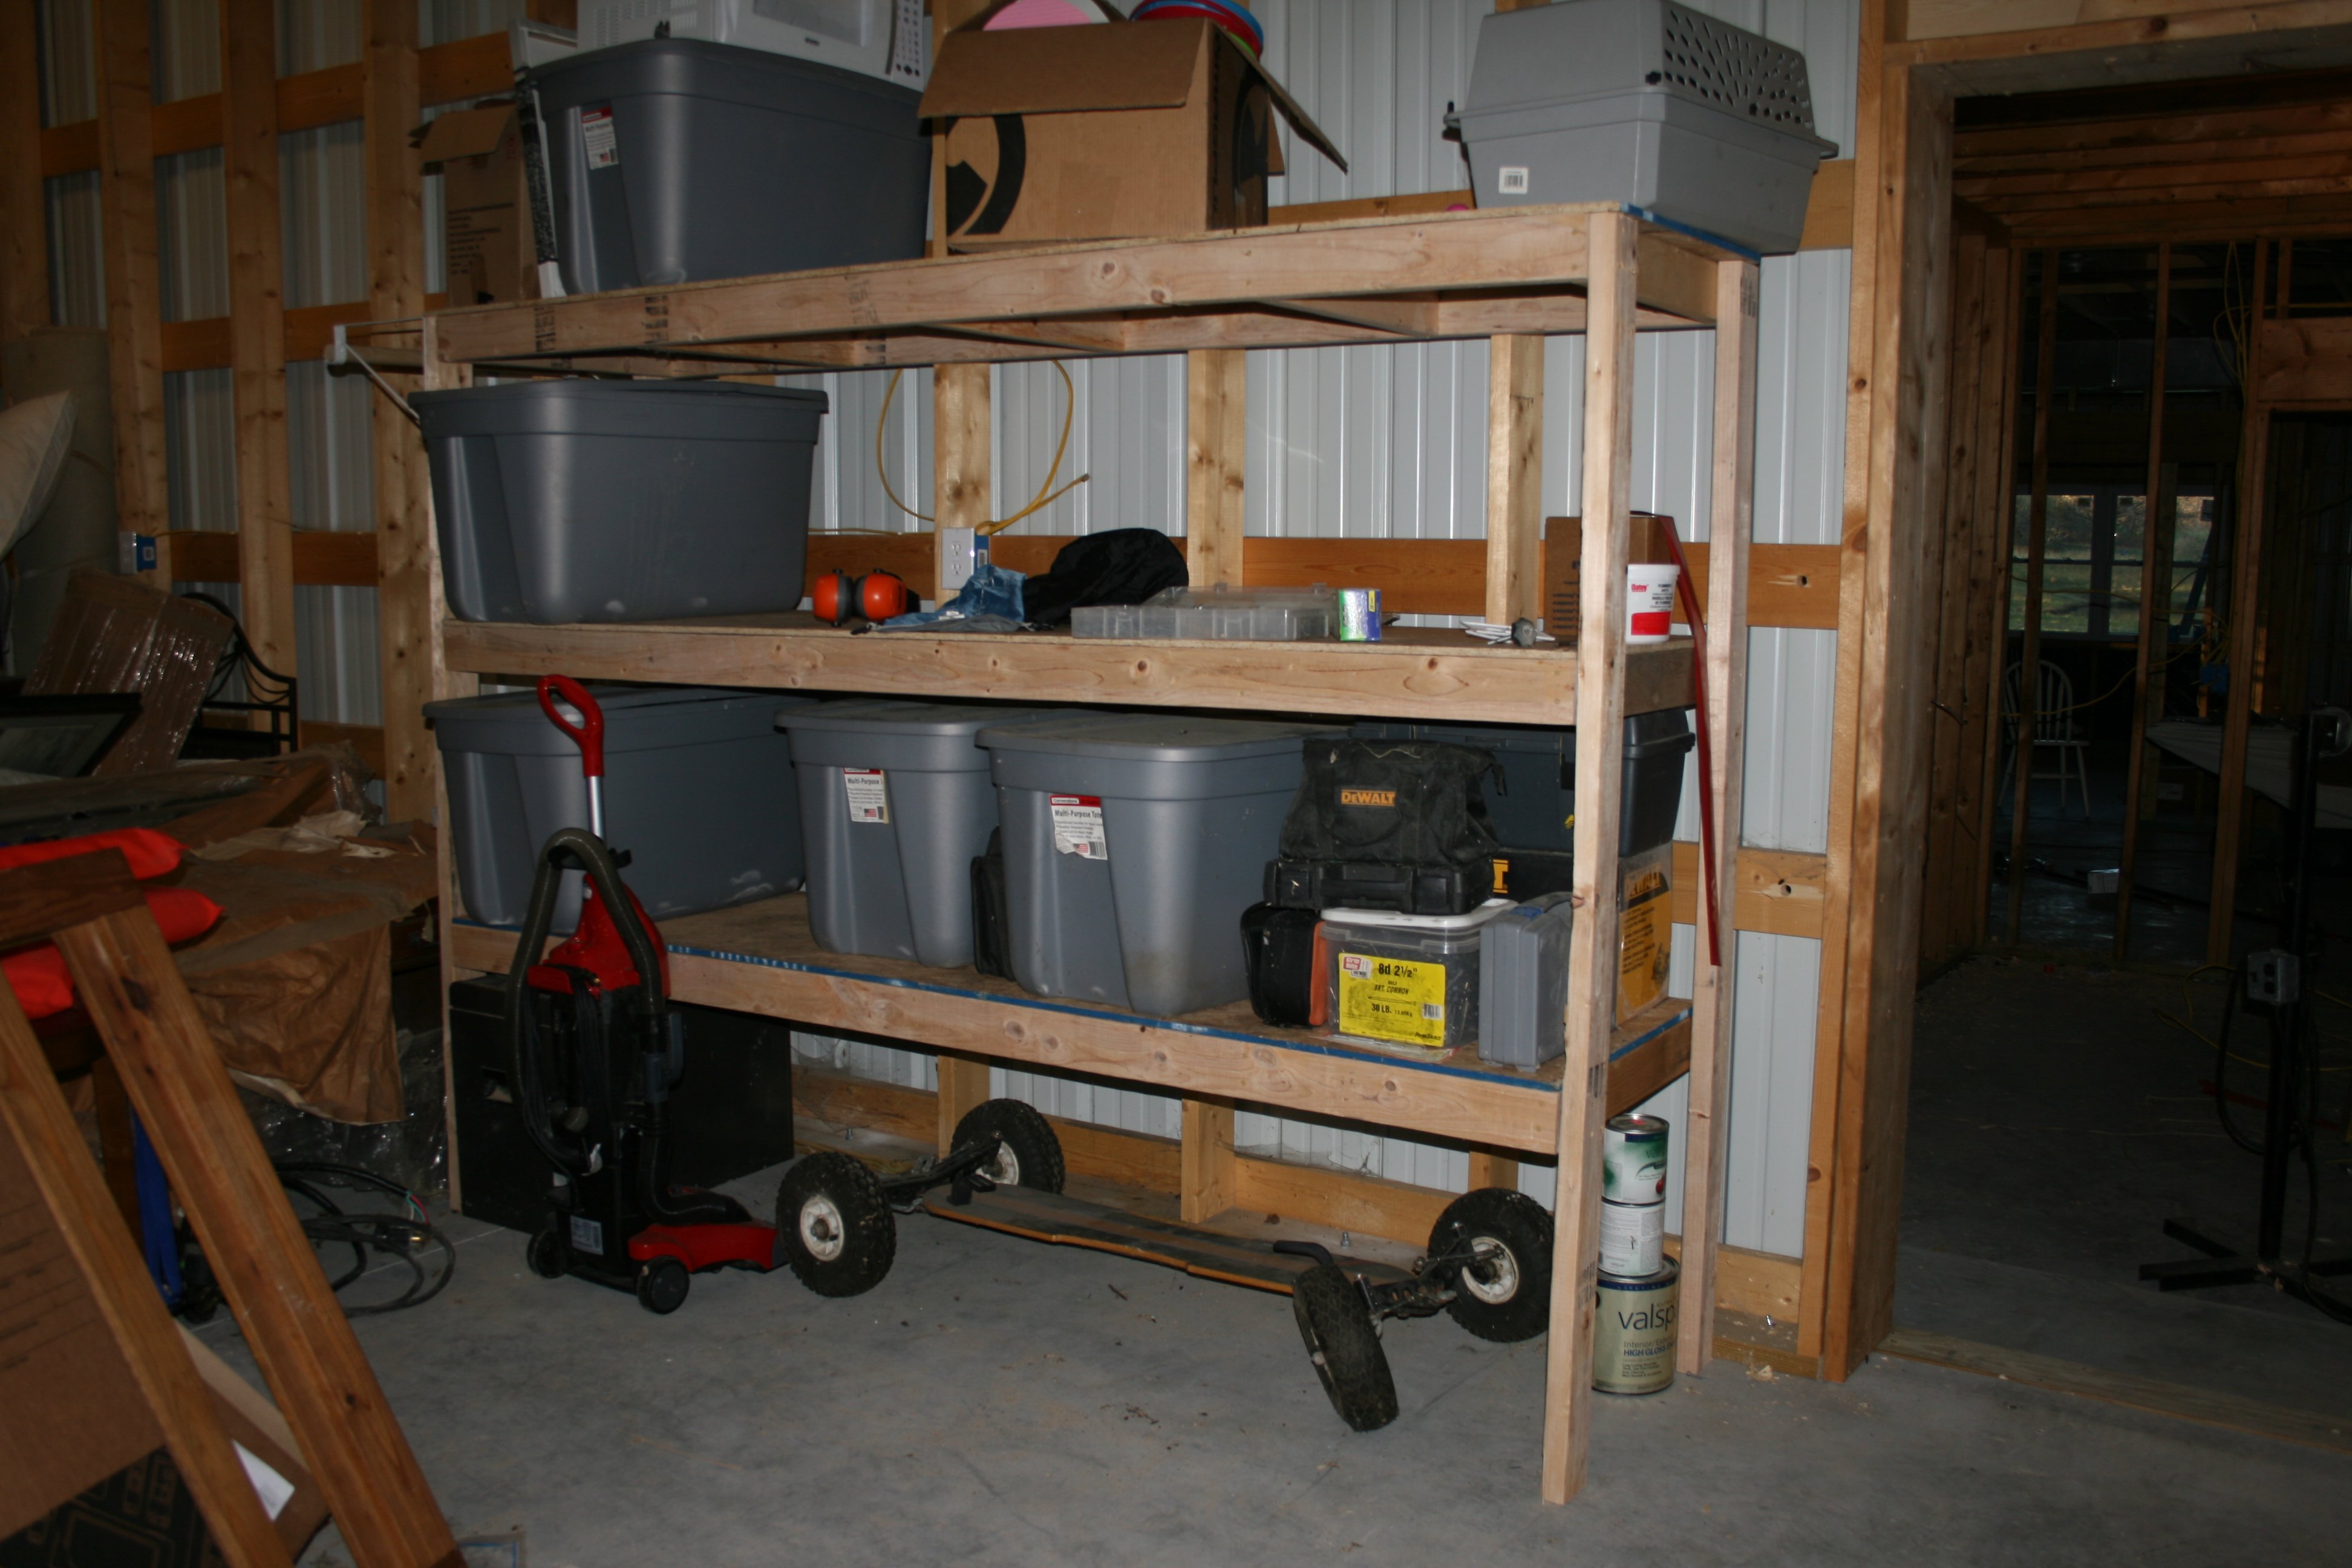
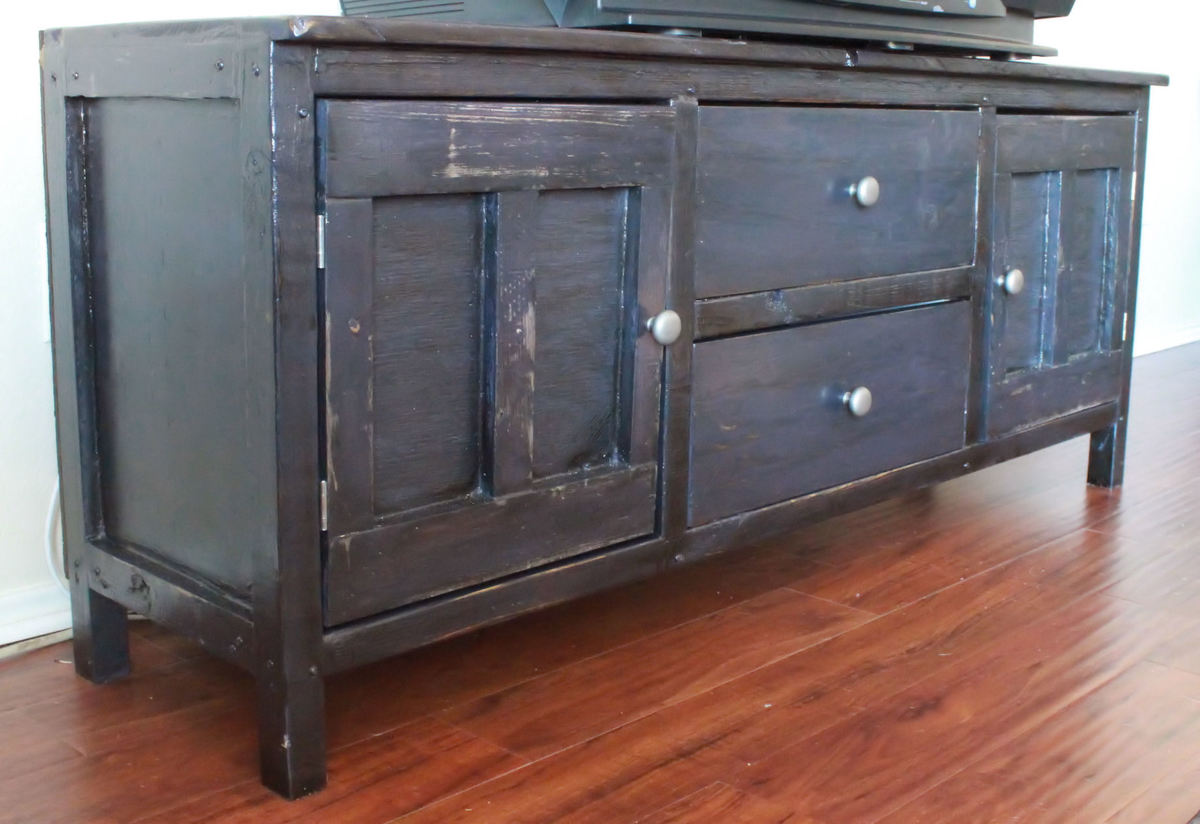
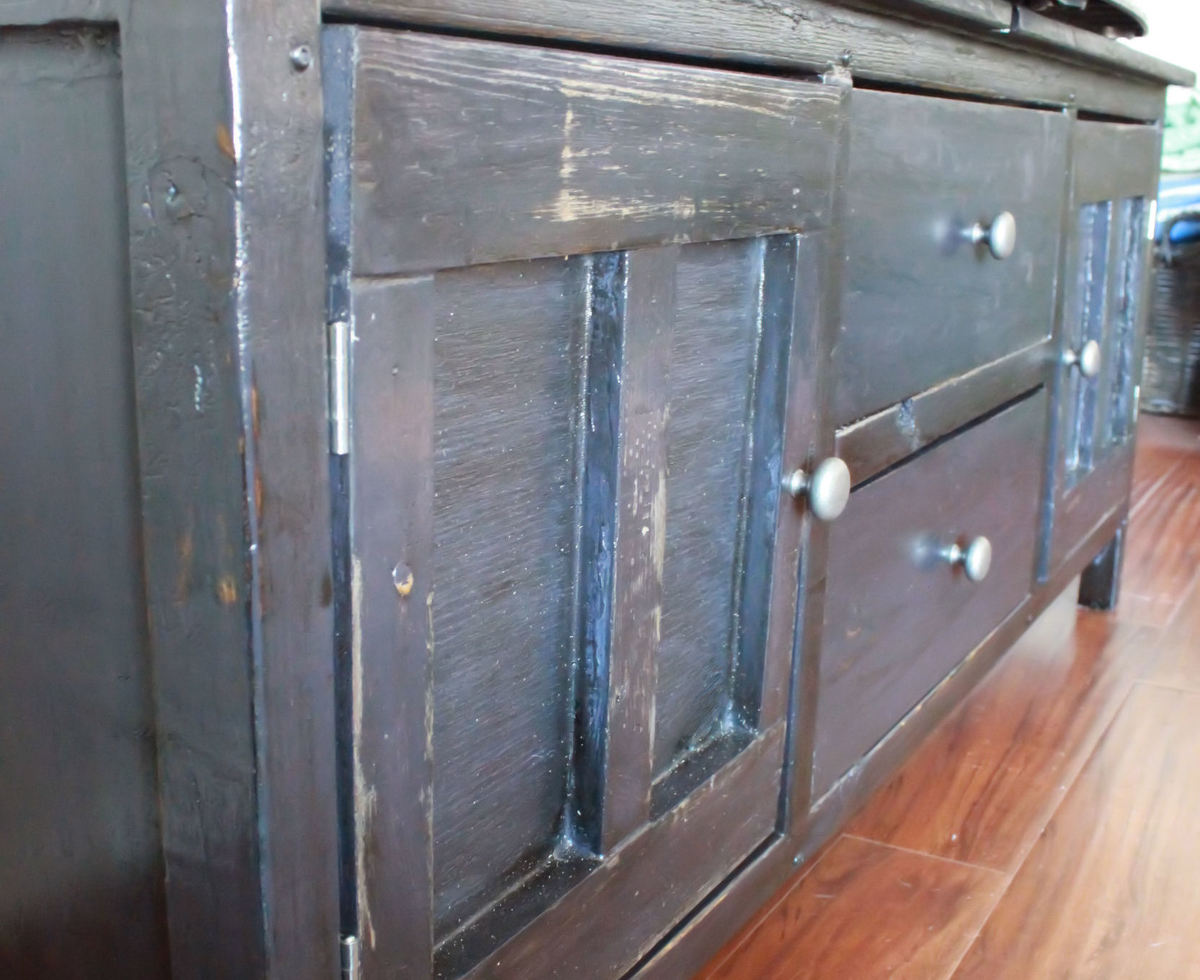
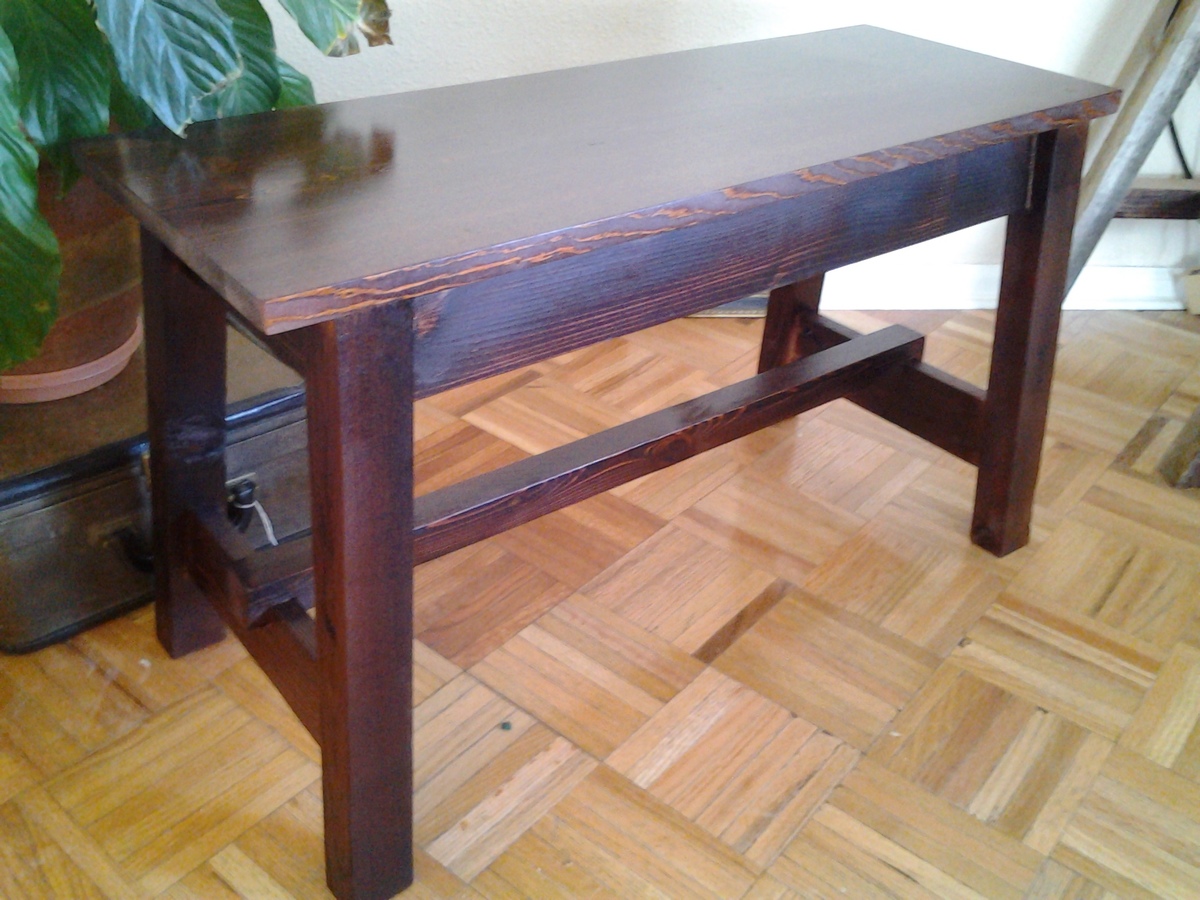
Coffee table
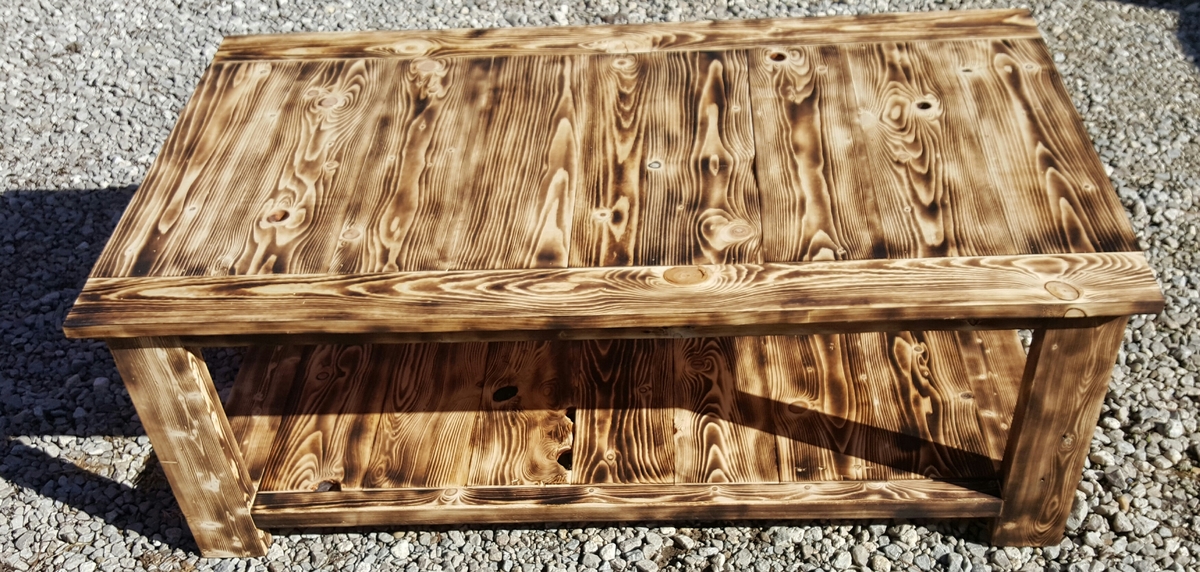
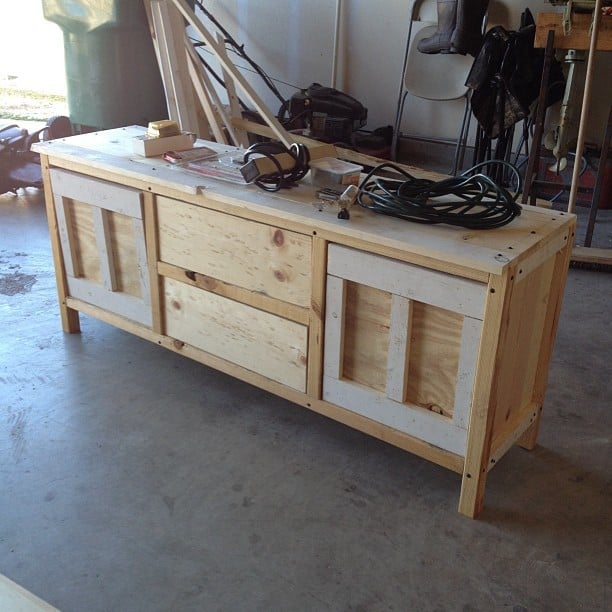
I changed the plans some. I started with a large pallet crate used to transport train windows. So with the used palletwood i had to put the boards in sideways and pockethole screwed them together. With going on the cheap iwent with a 1x4 and 1x6 top so i could use the pallet wood. I ended up torching it with a torch to bring out the grain and it looked good with the rustic look of table.i plain to eventually clear it when ohio weather permits. I only had to buy i 8 foot 1x4 and 1 8 foot 2x2. Have less then 15 dollars
Built from Plan(s)
Estimated Cost
Less then 15
Estimated Time Investment
Weekend Project (10-20 Hours)
Finish Used
Burned with torch eventually clear coat
Recommended Skill Level
Beginner

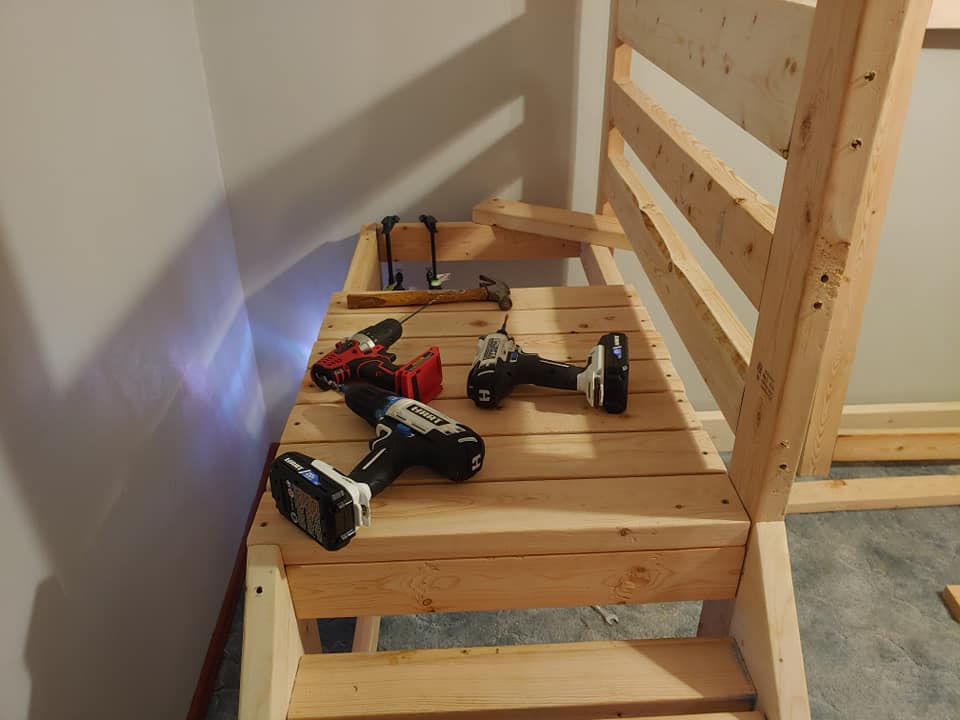
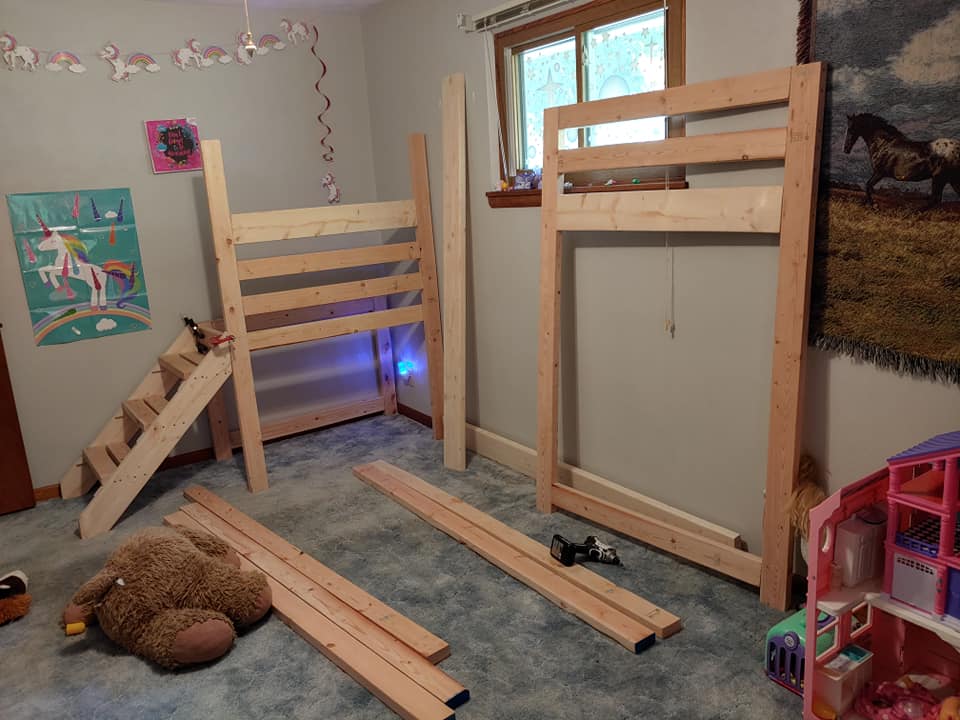


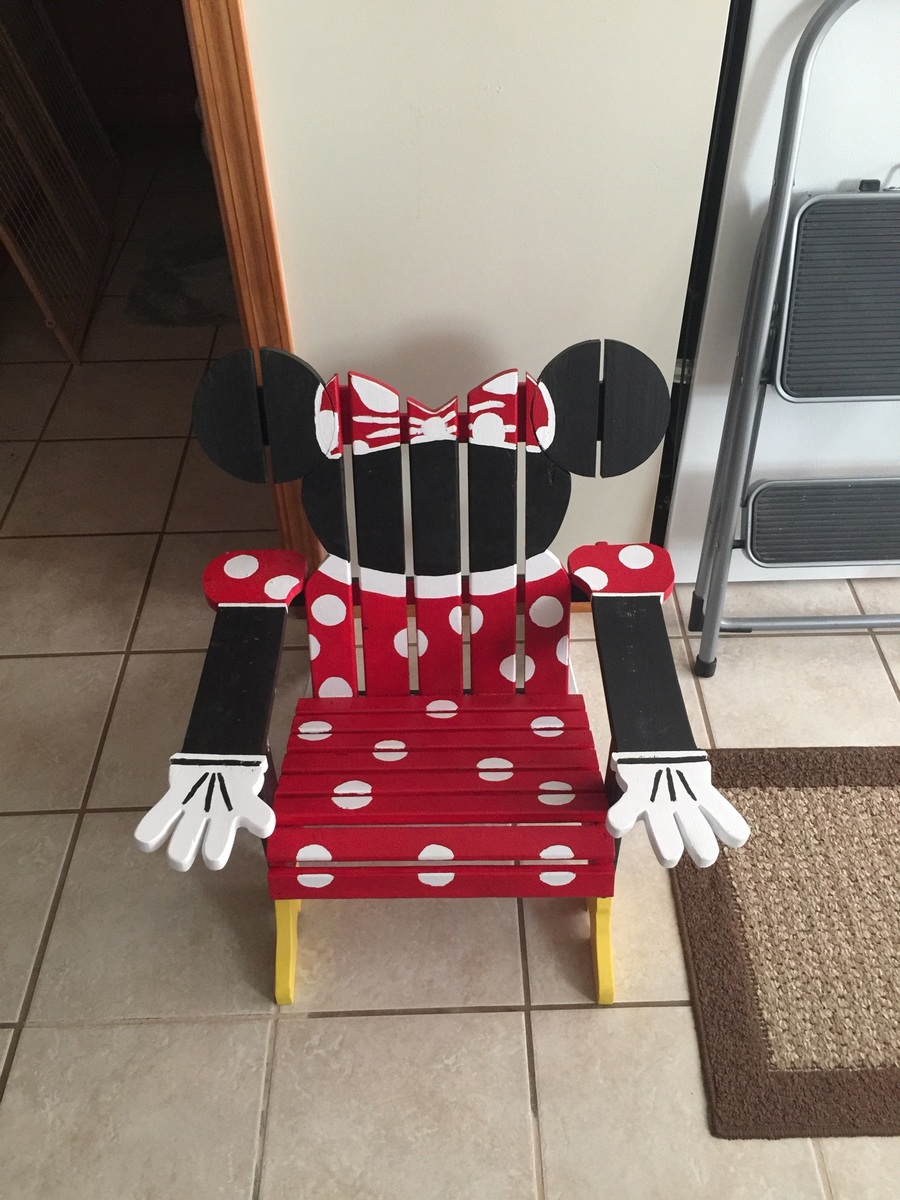

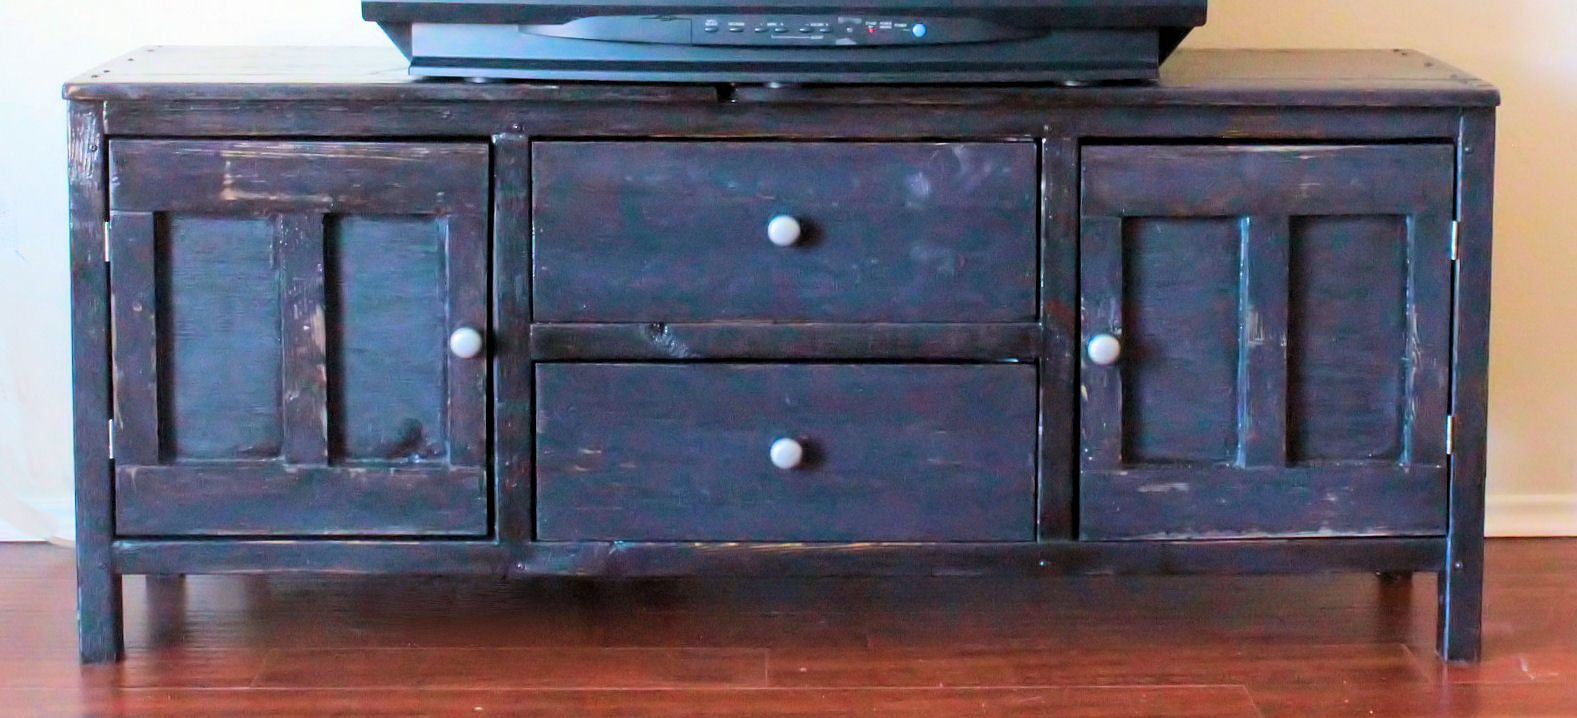

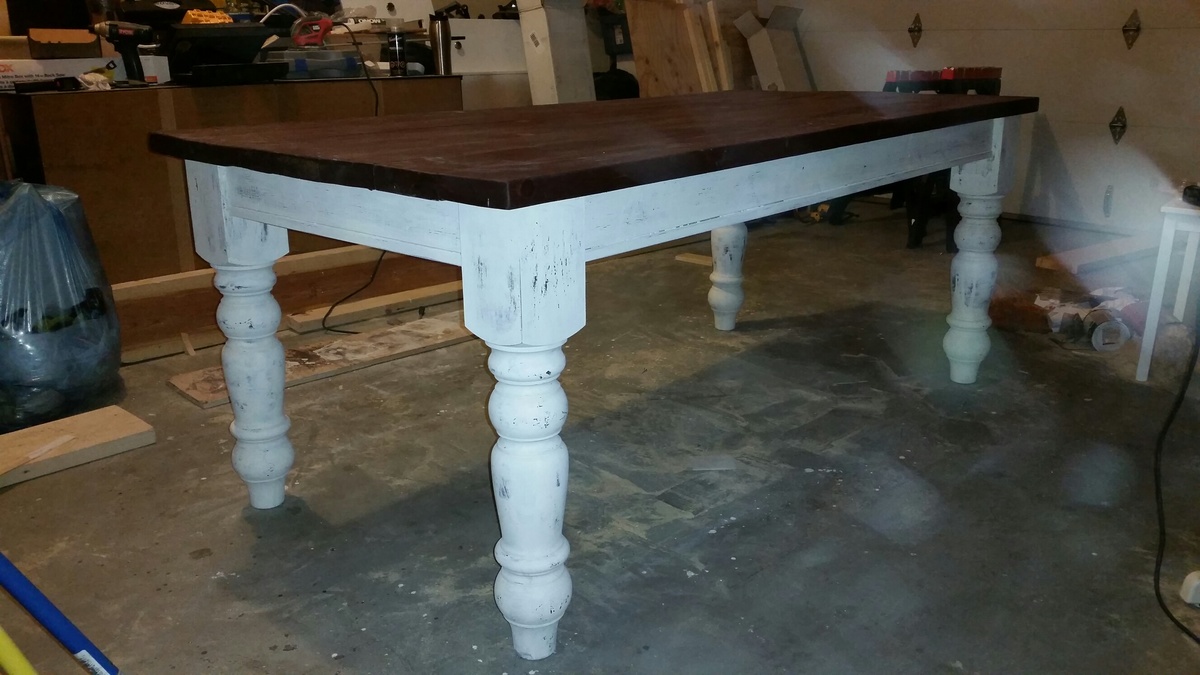
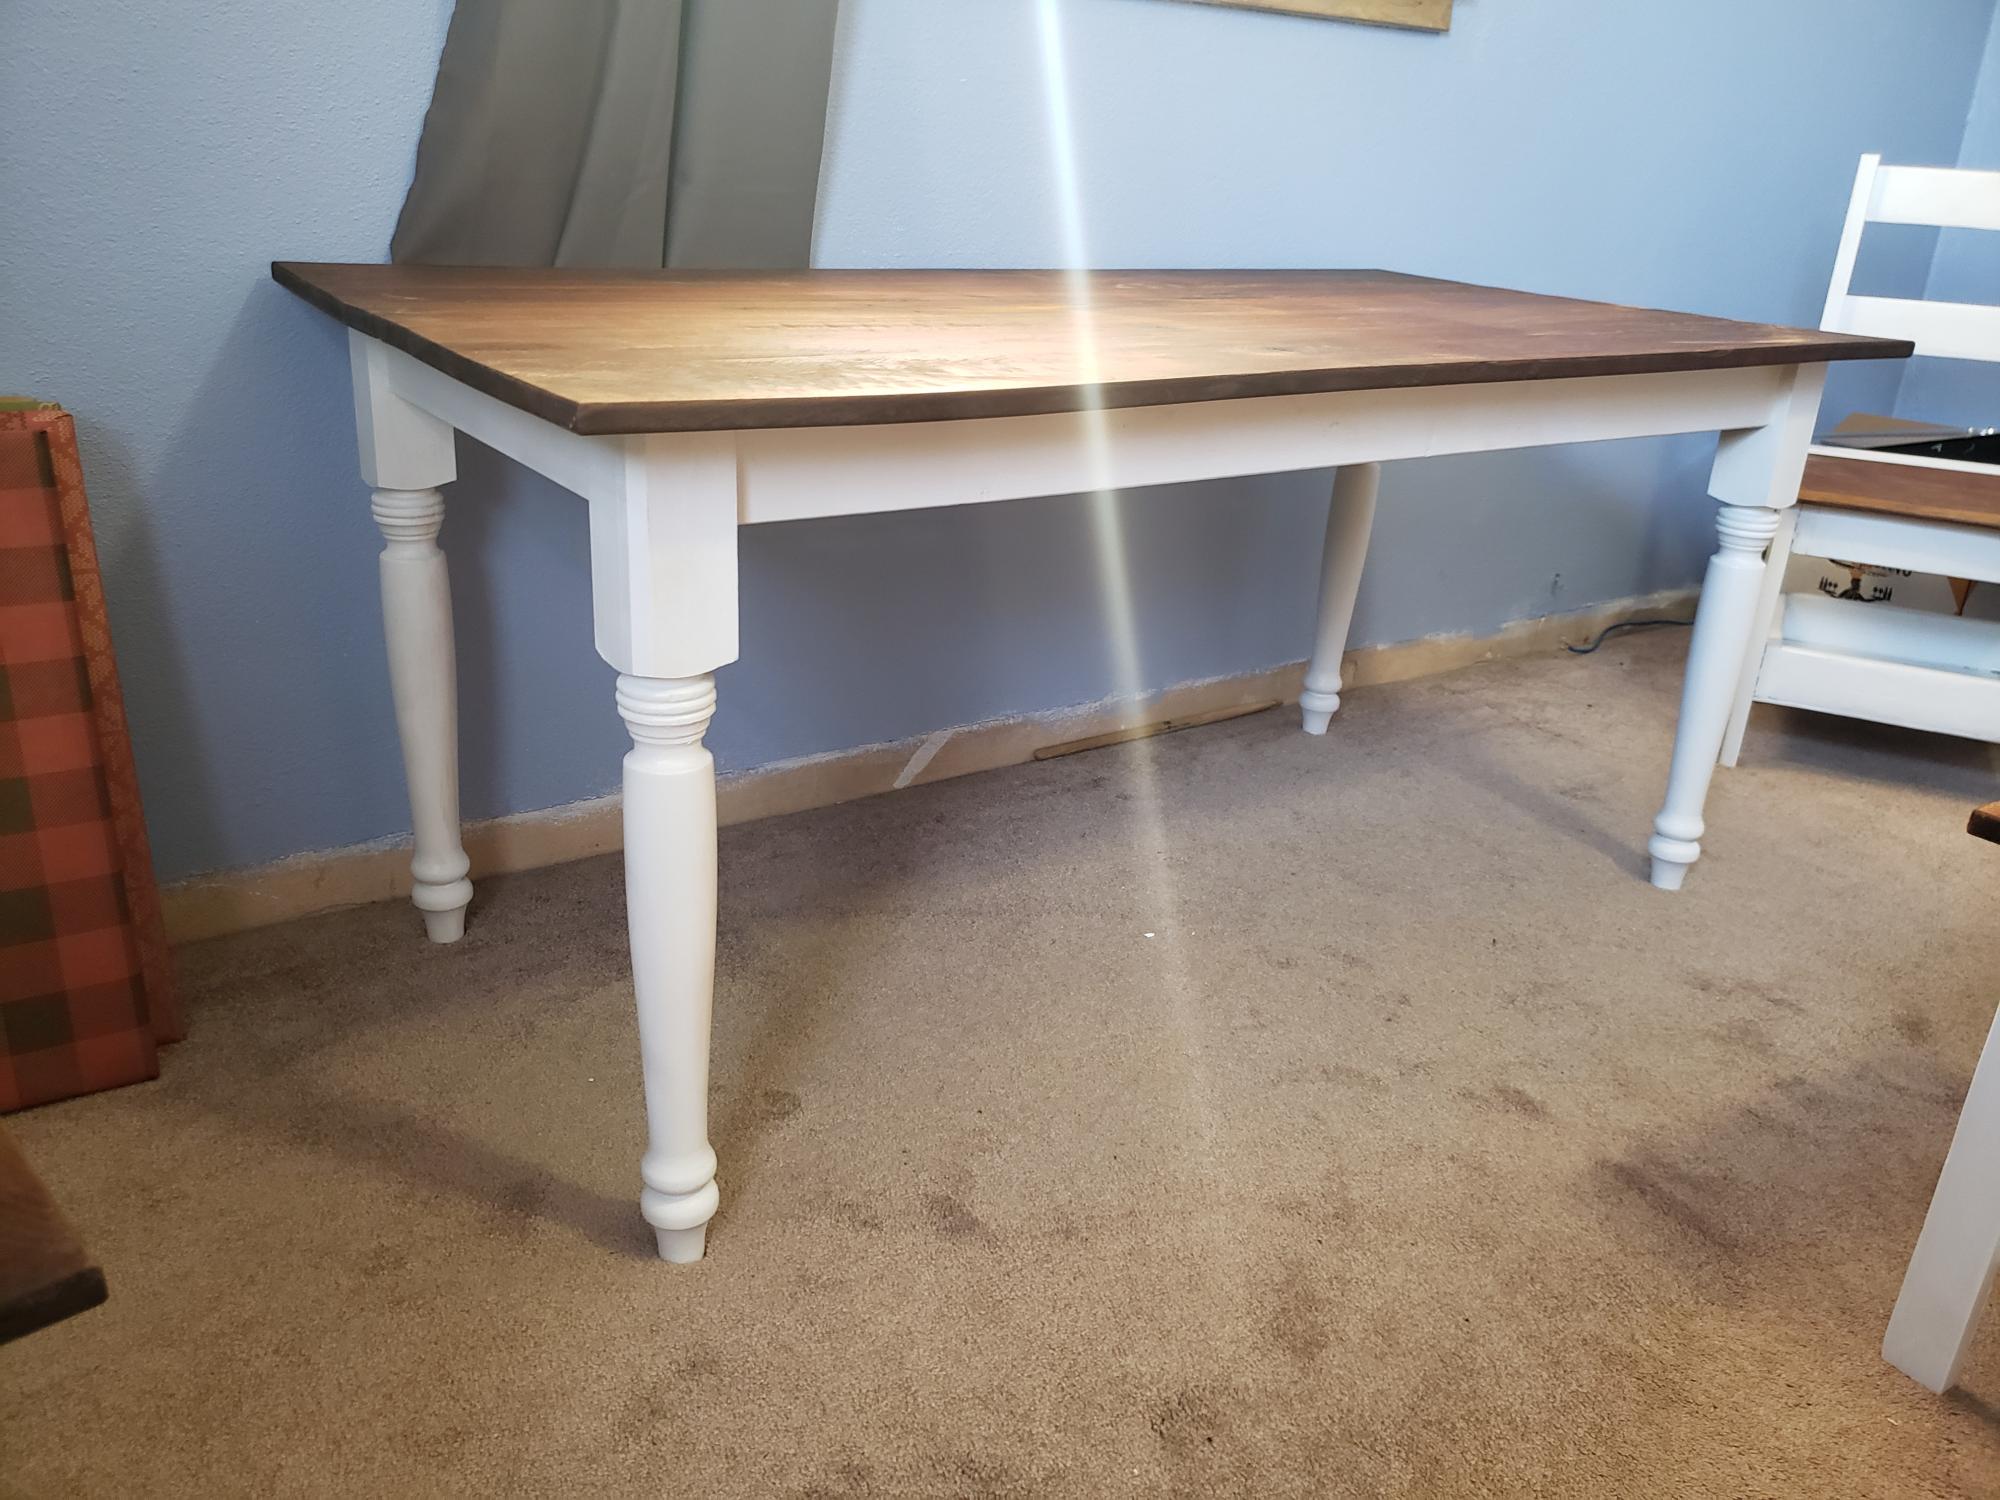


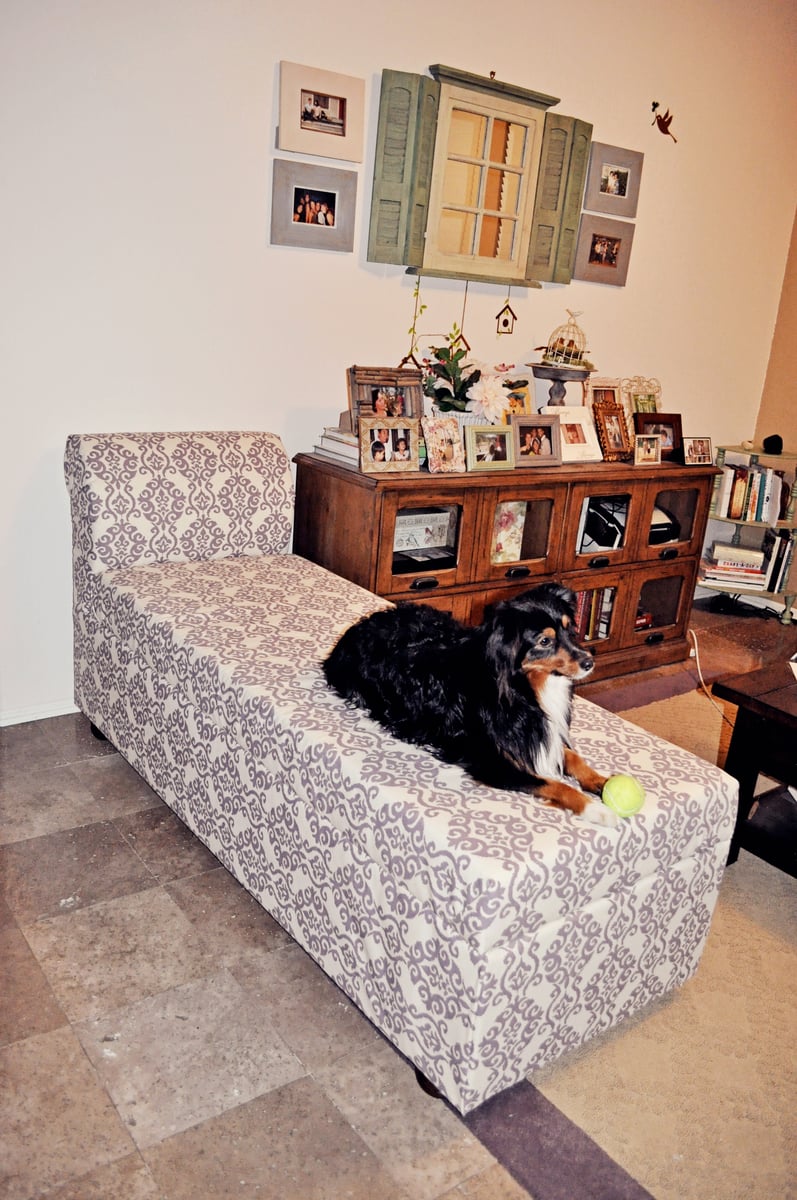
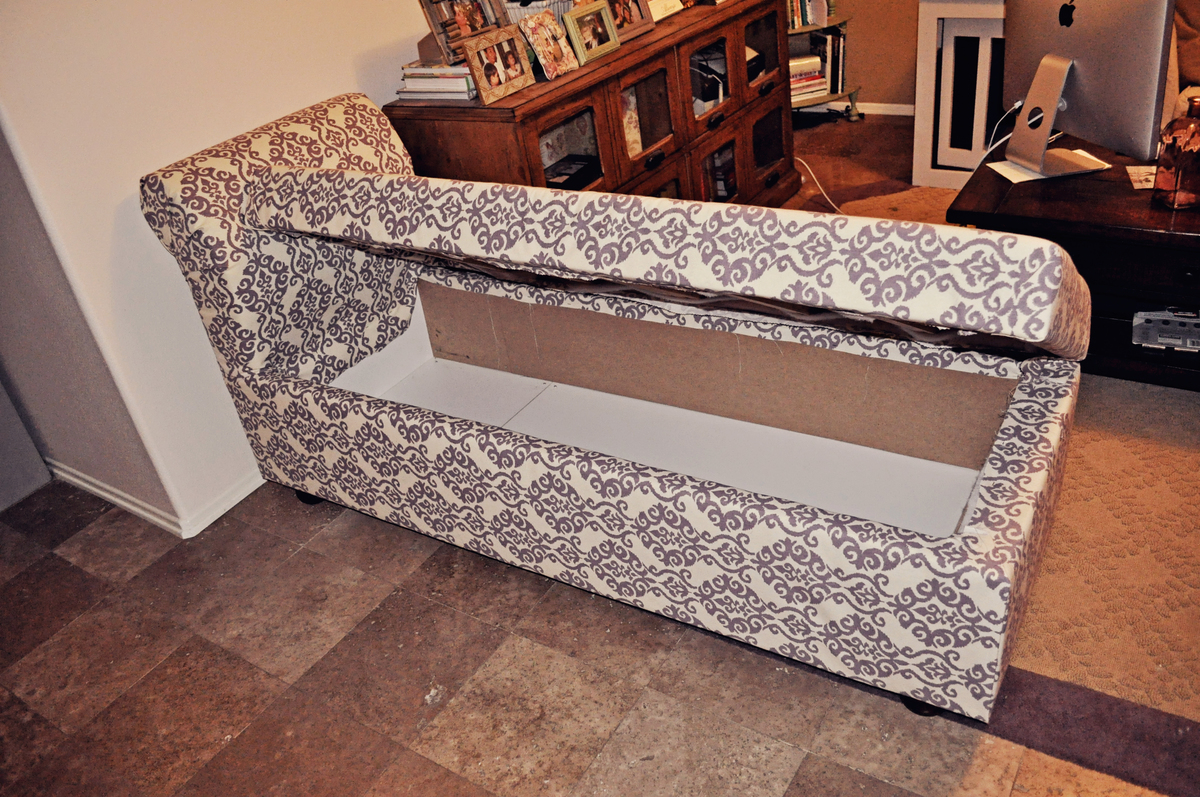
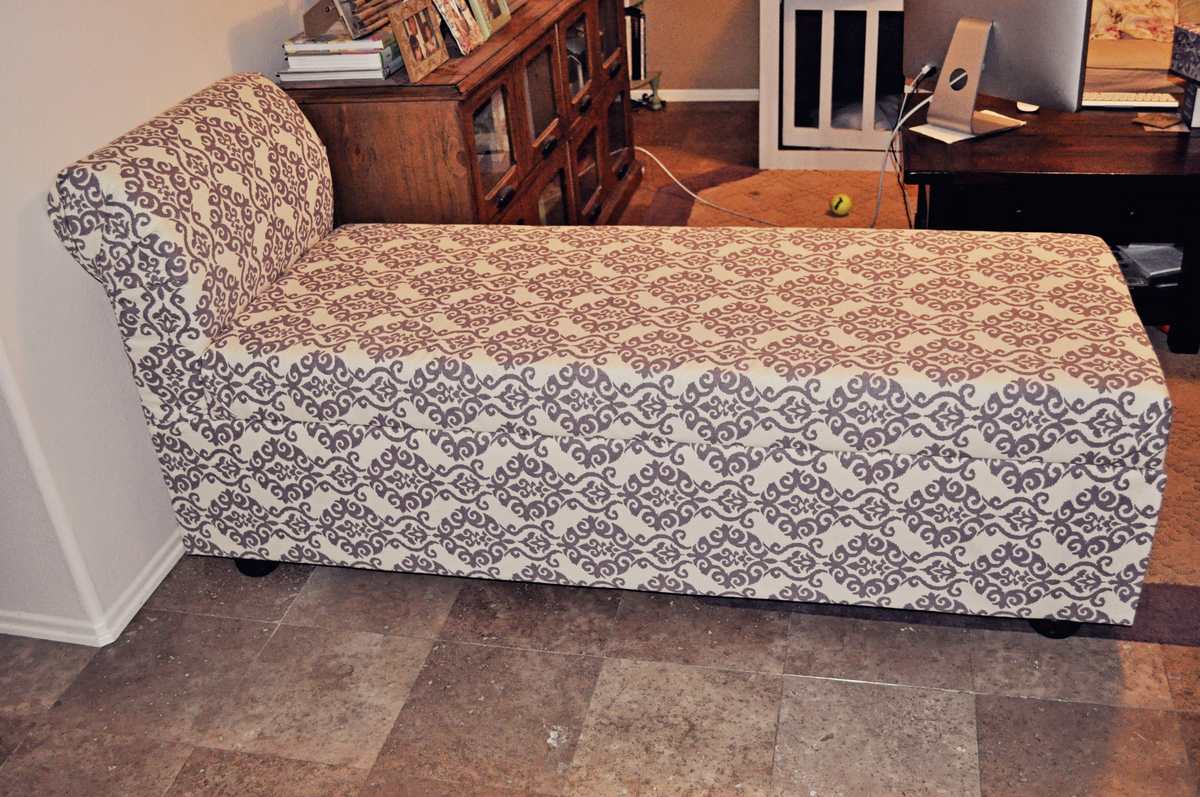
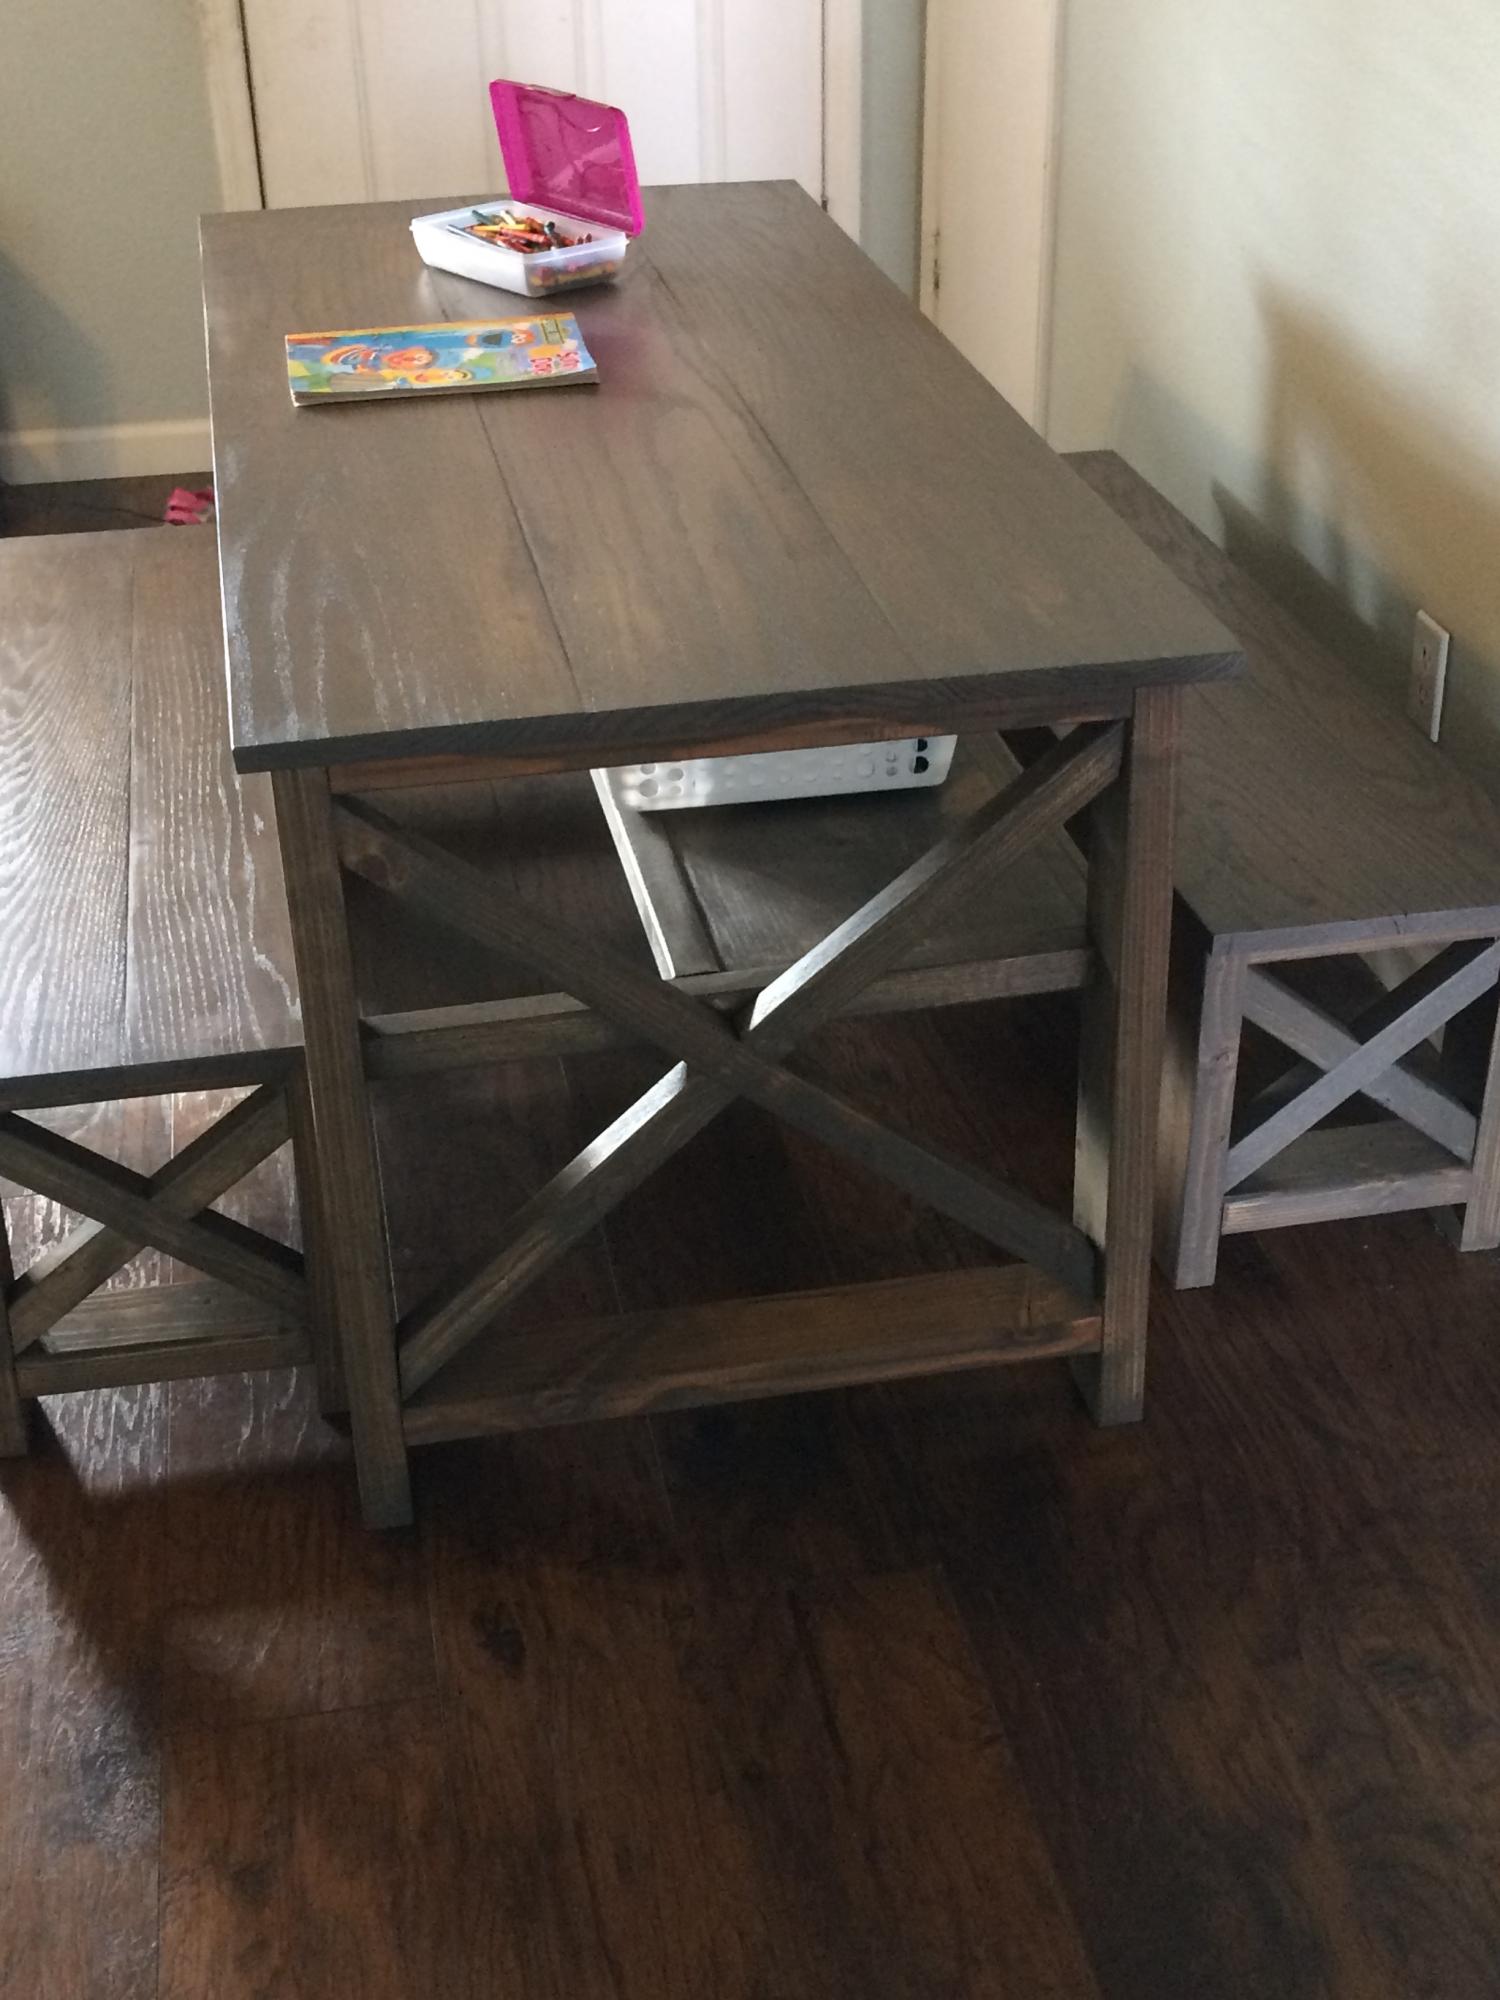
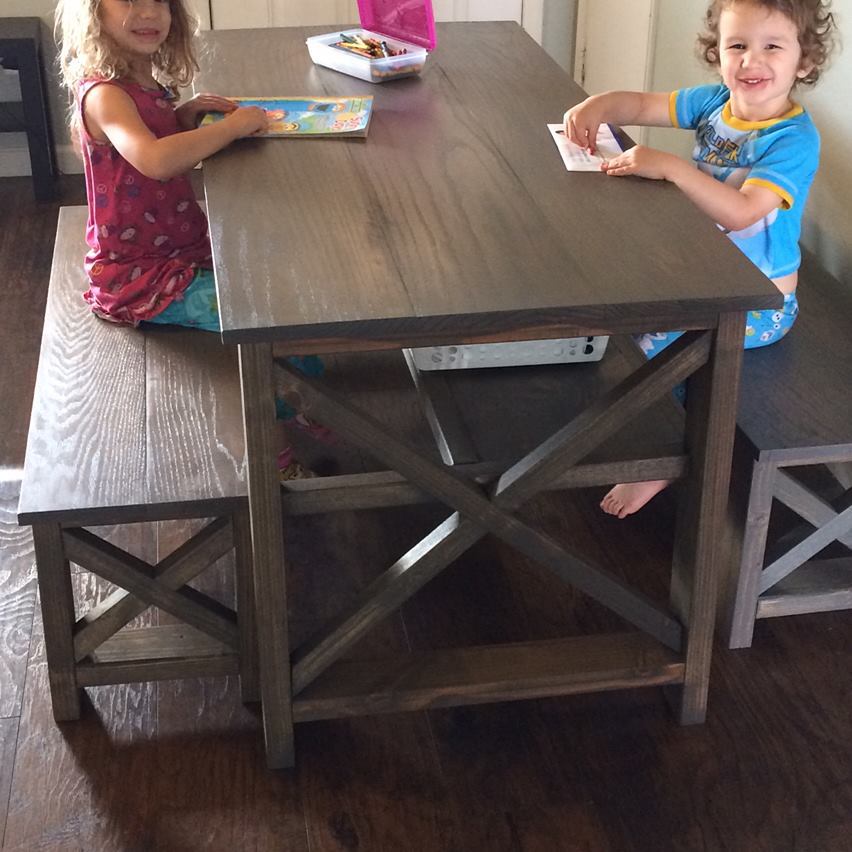
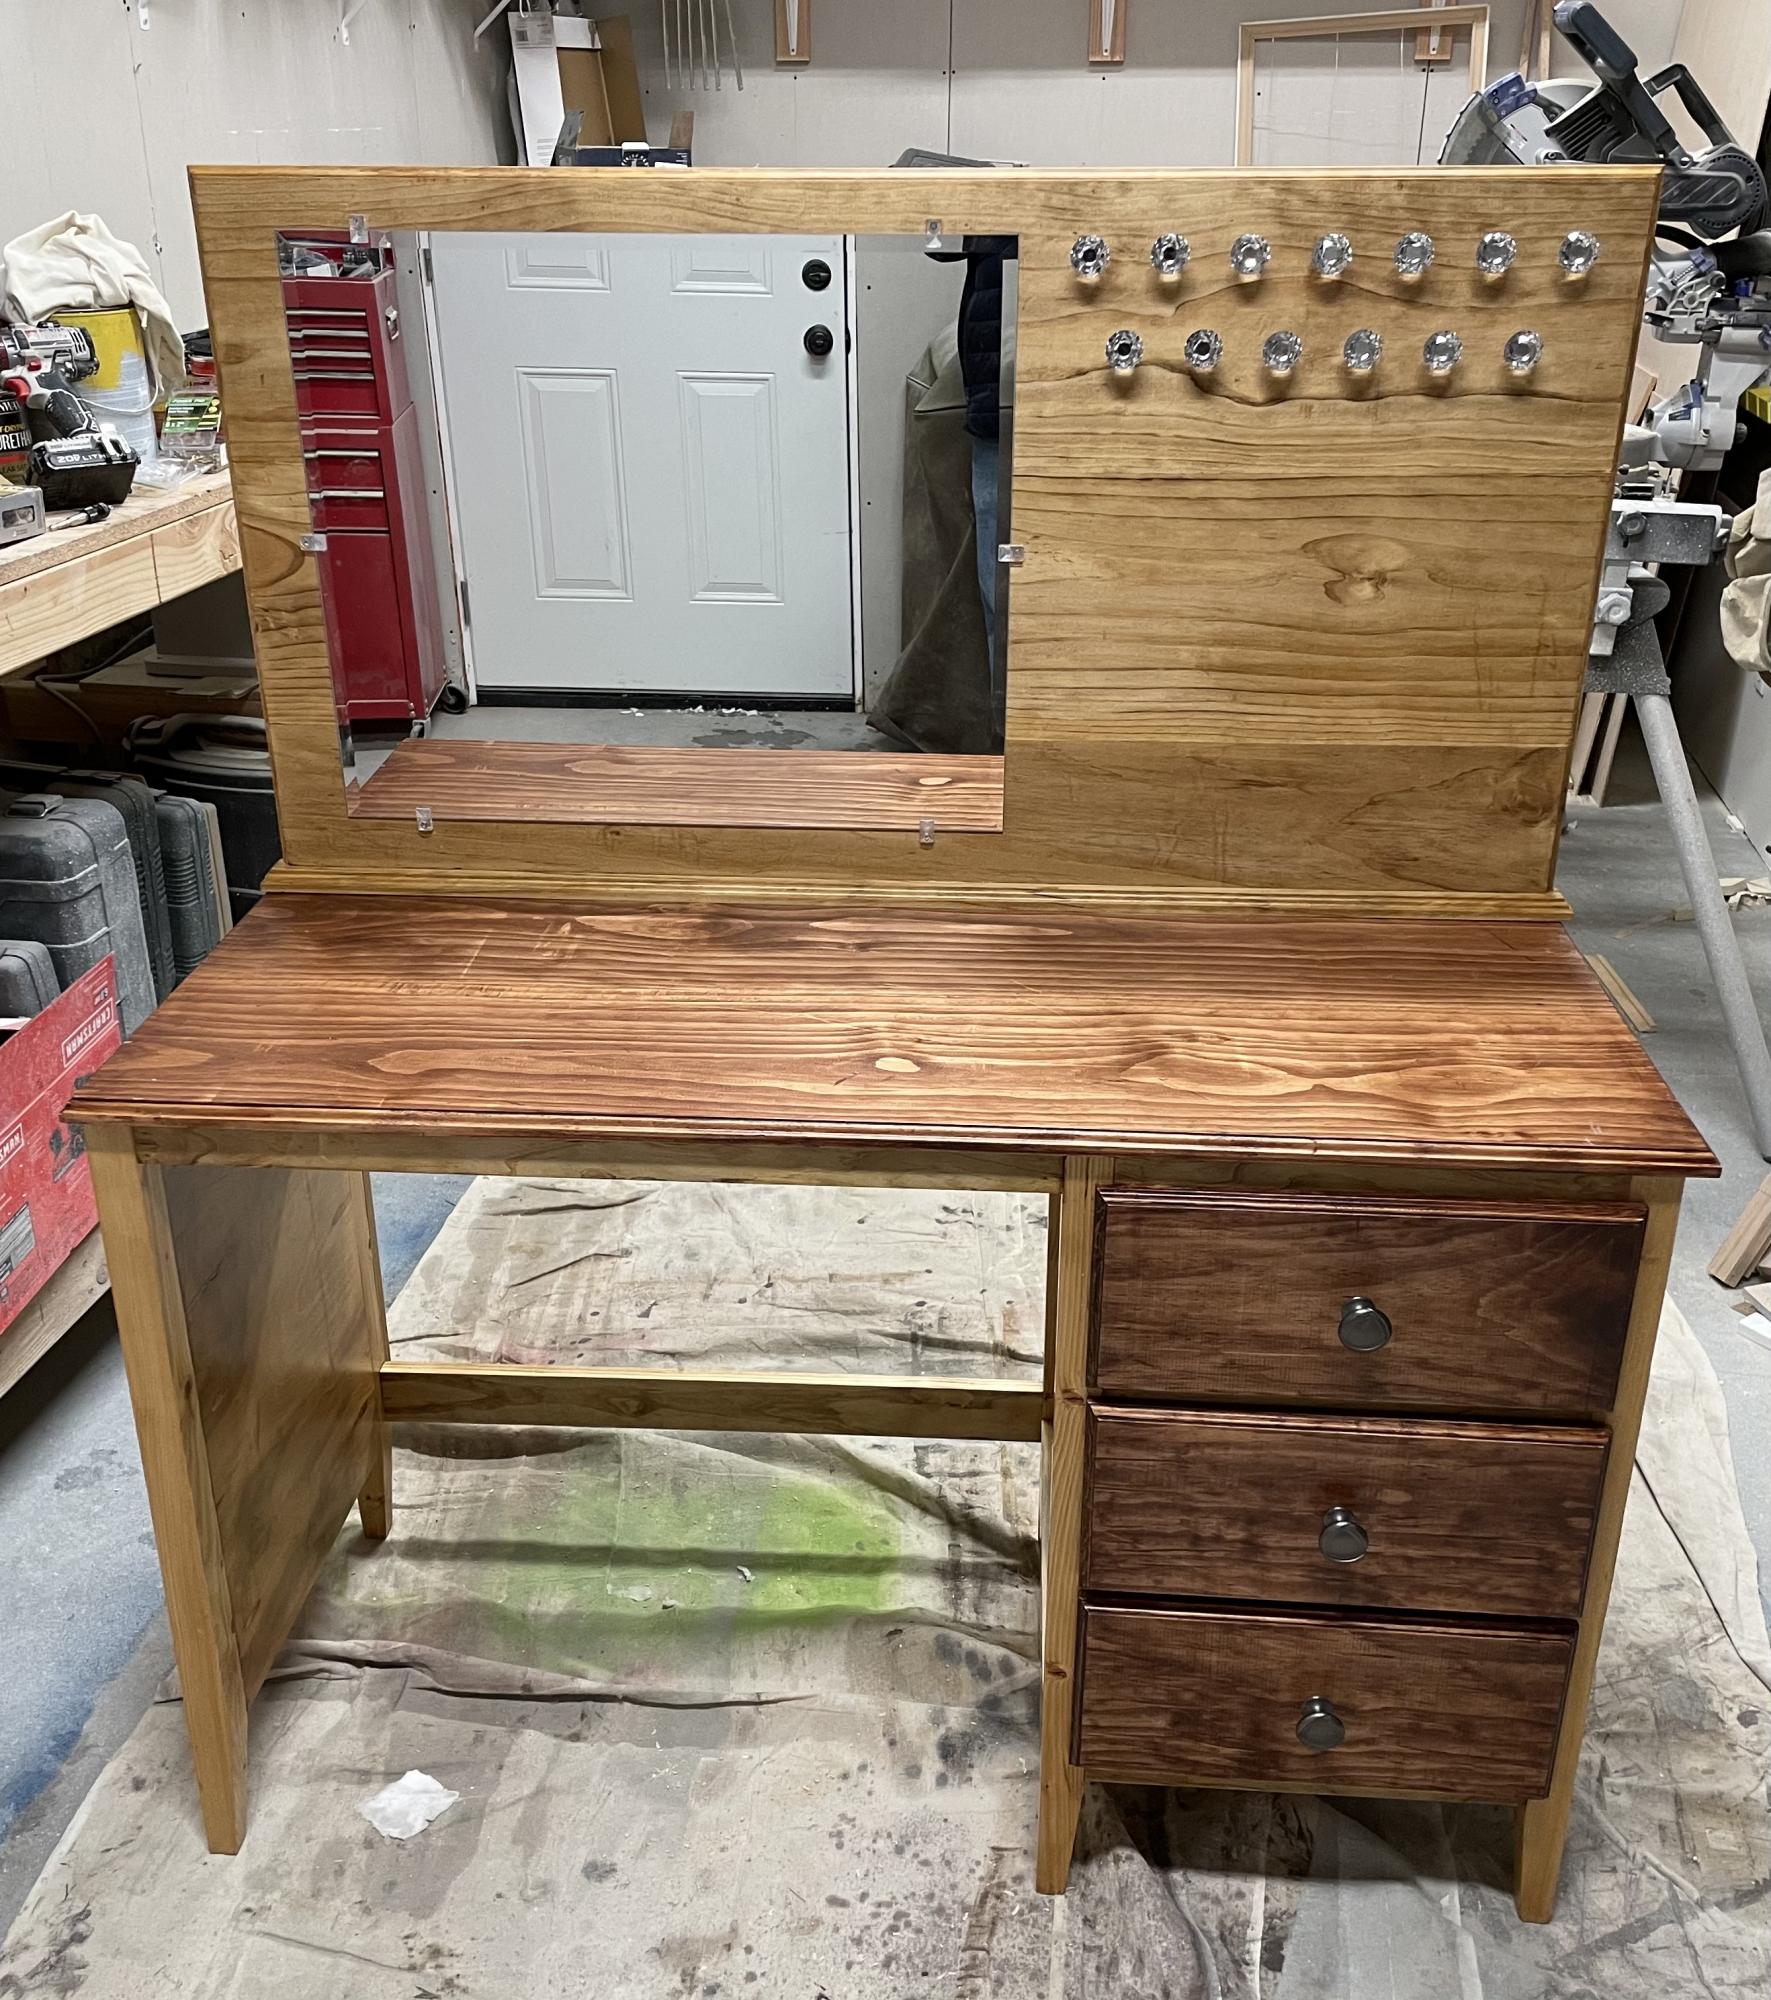
 My FIRST carpentry project! Good thing my husband was willing to help as it was a little heavy and I was googling terms like "counter-sink." It would have been so much easier if we hadn't made it a birthday surprise for my daughter. She LOVES it!