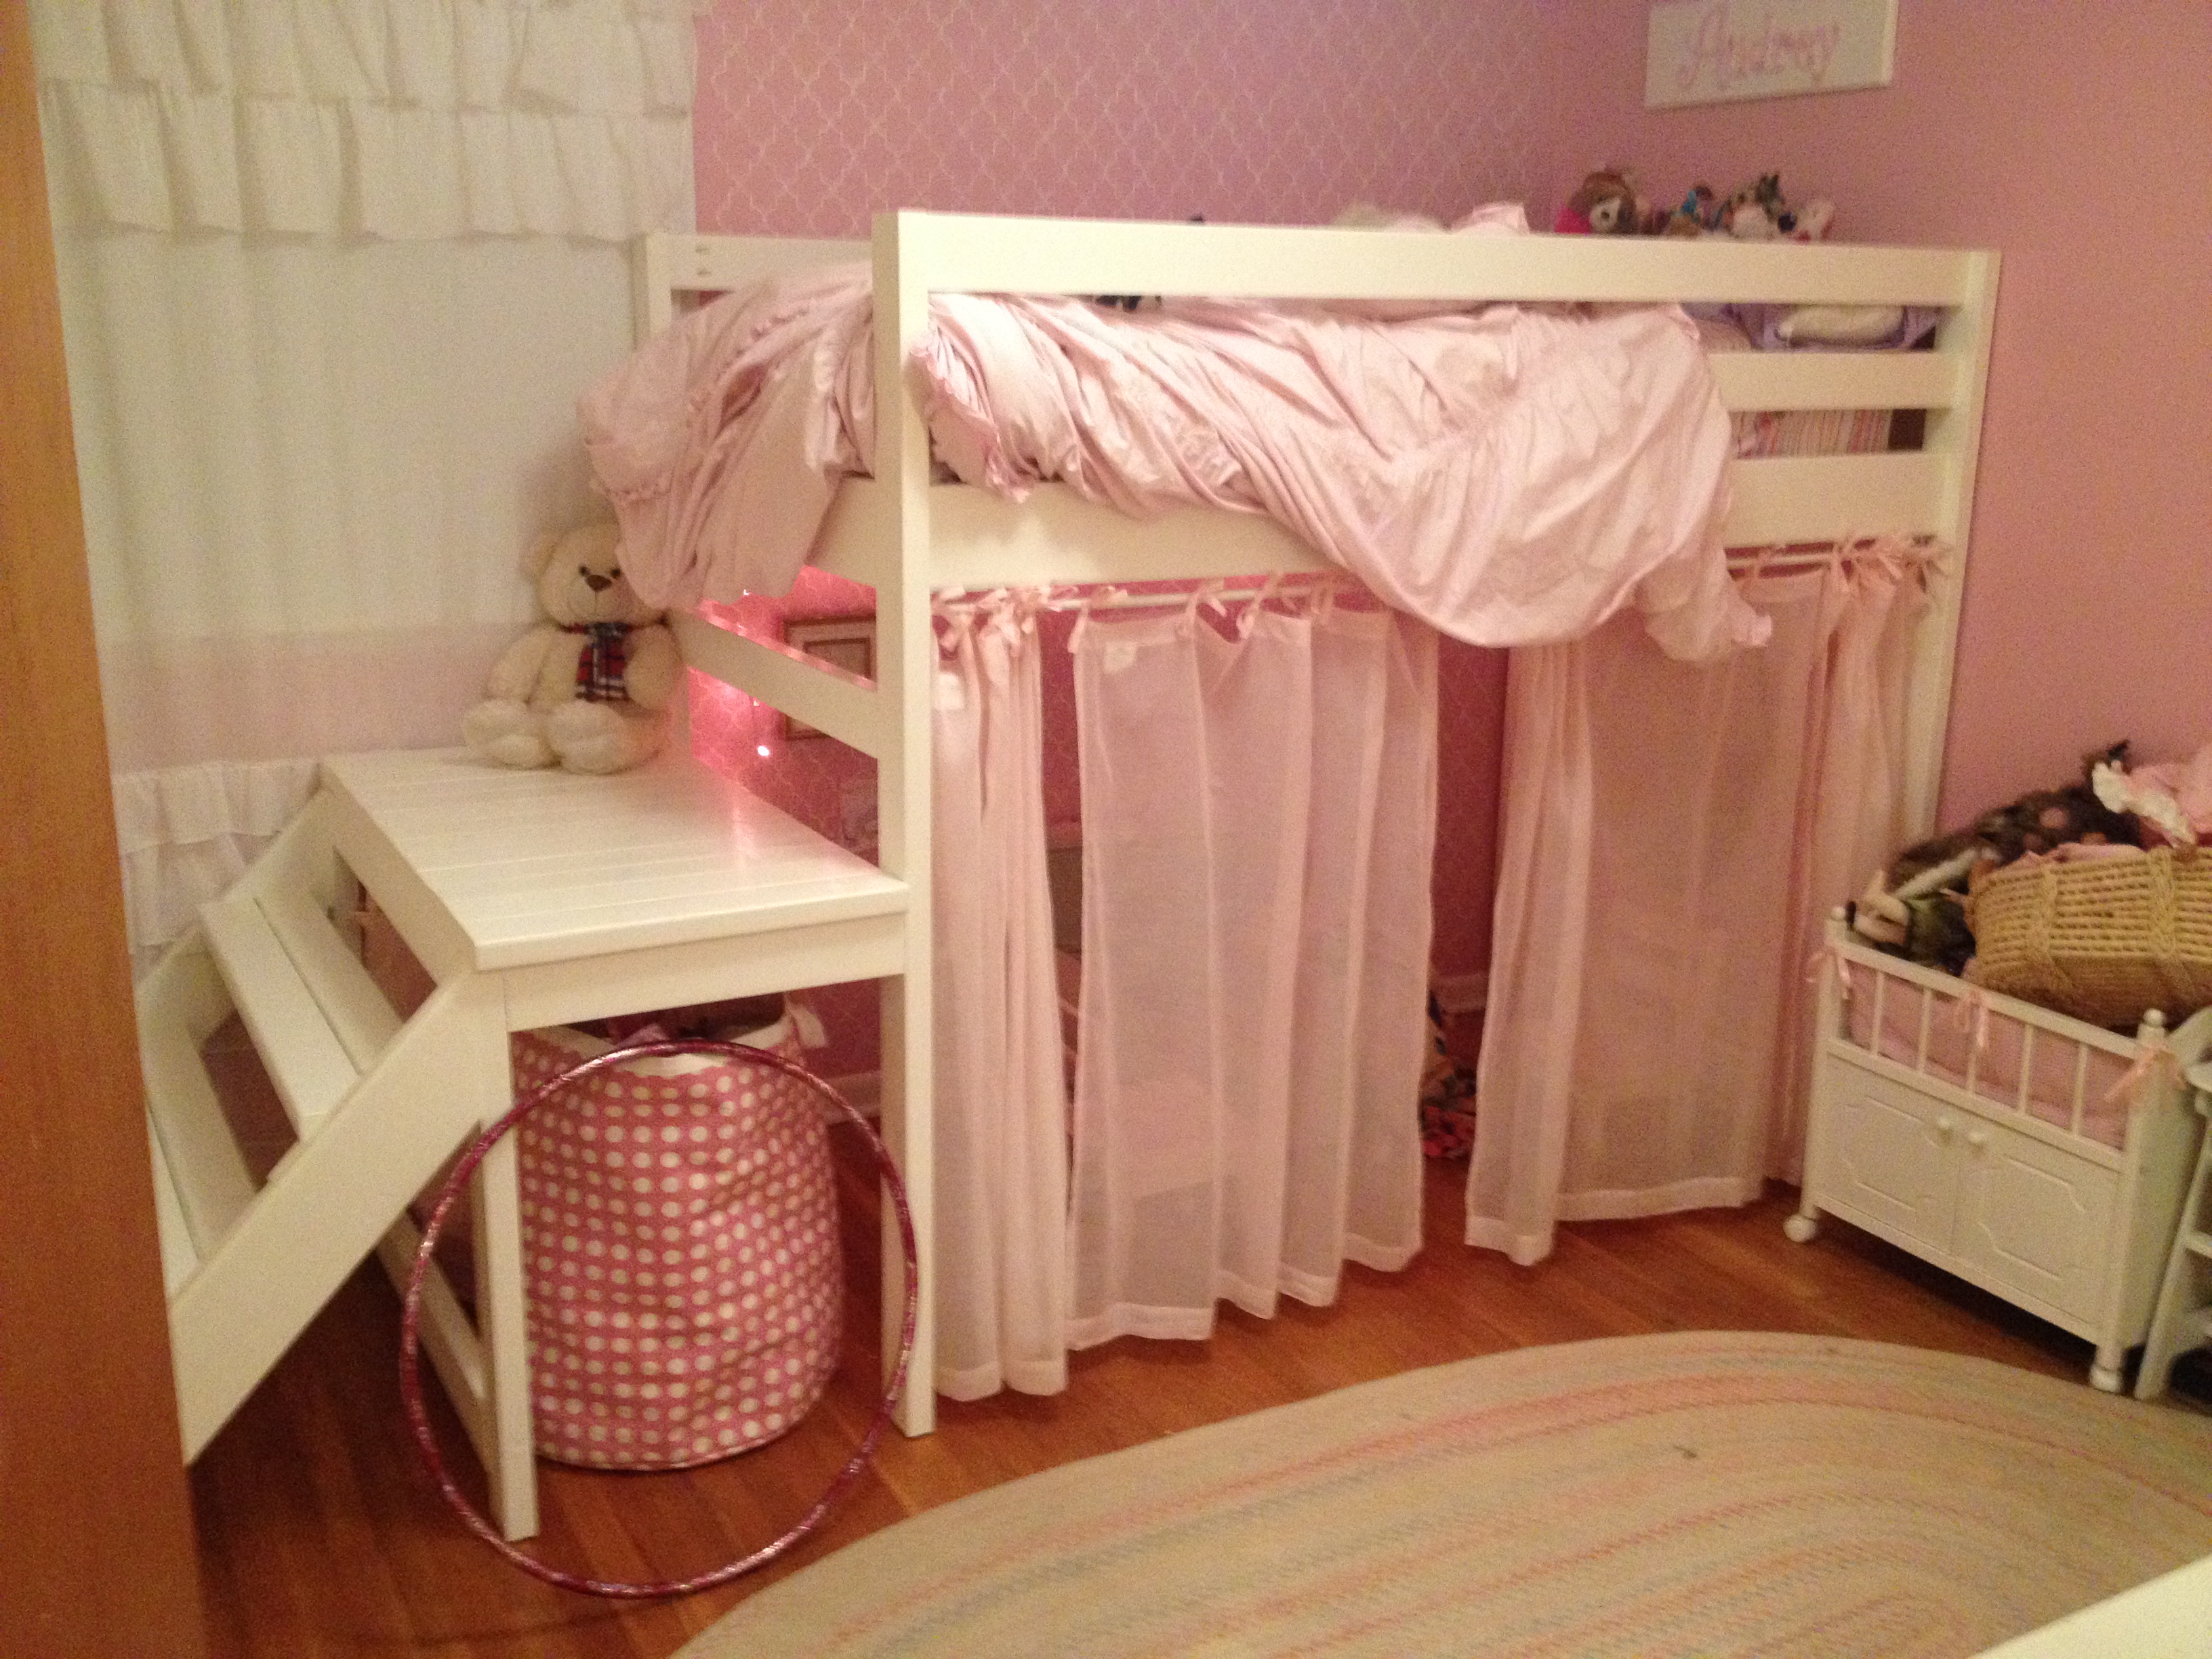
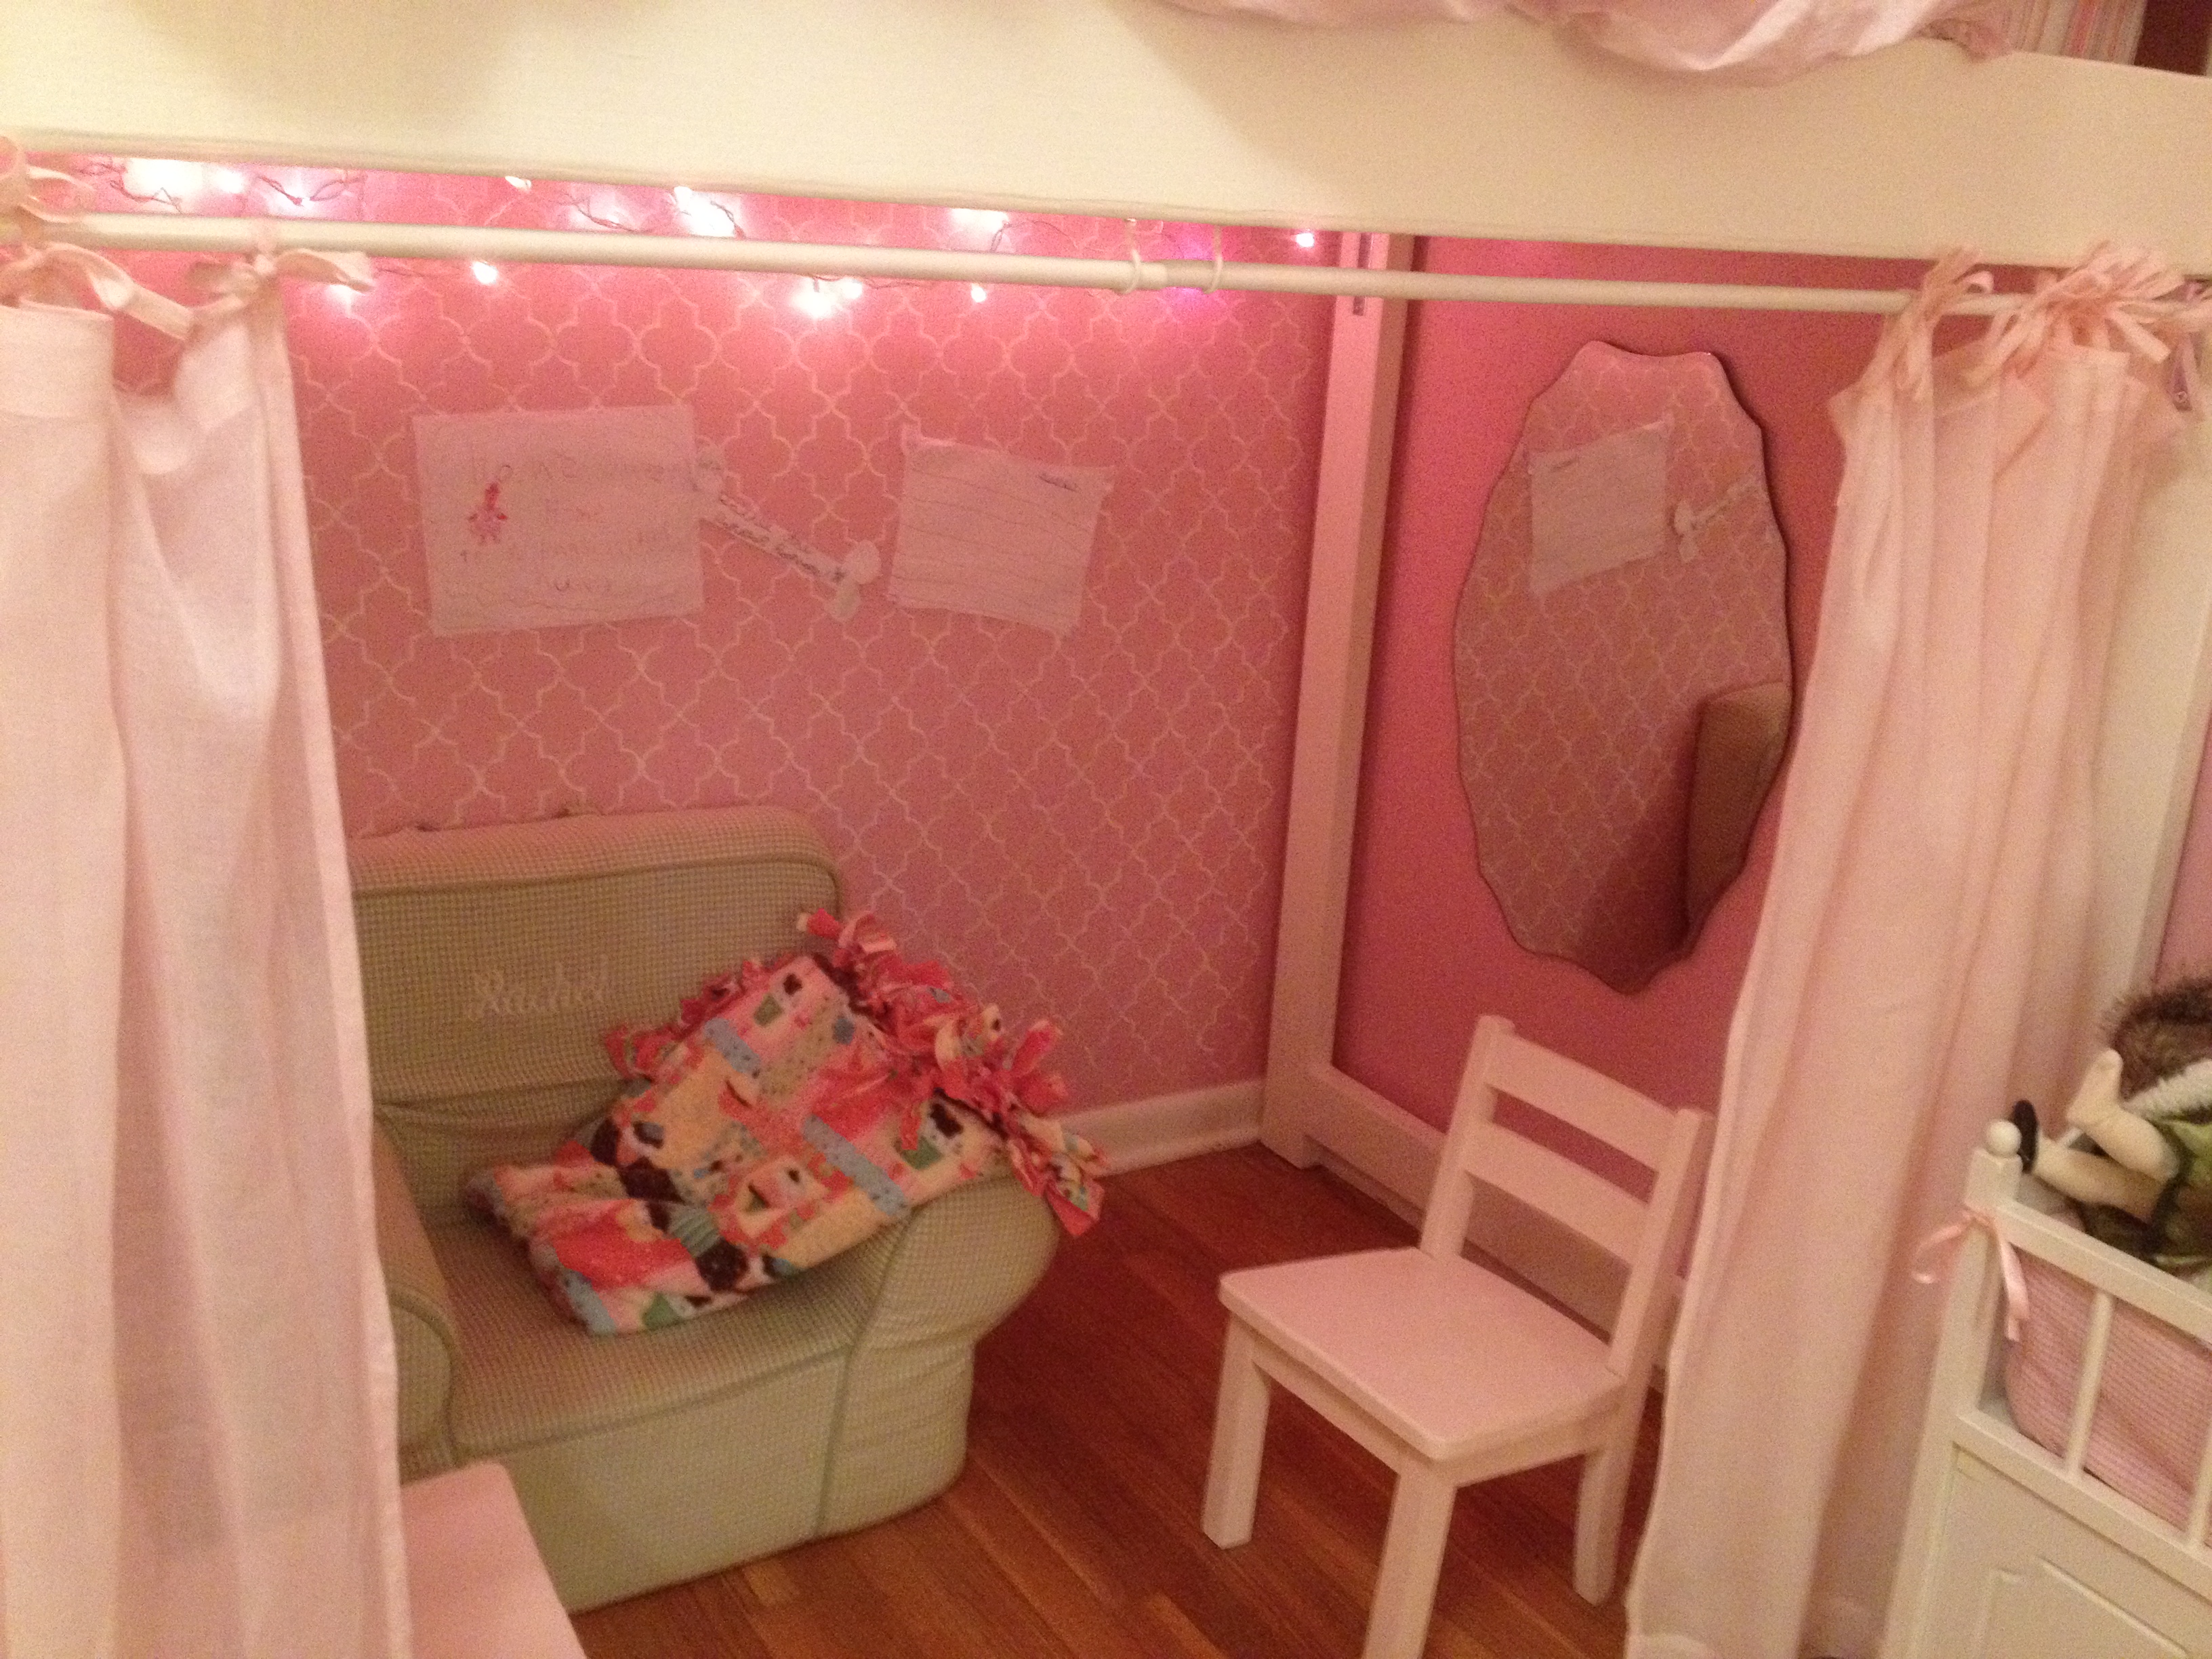
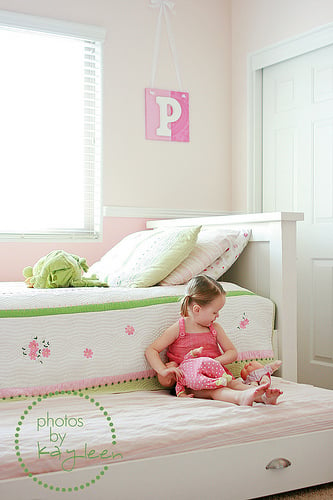
Little girls Jr. Loft Bed
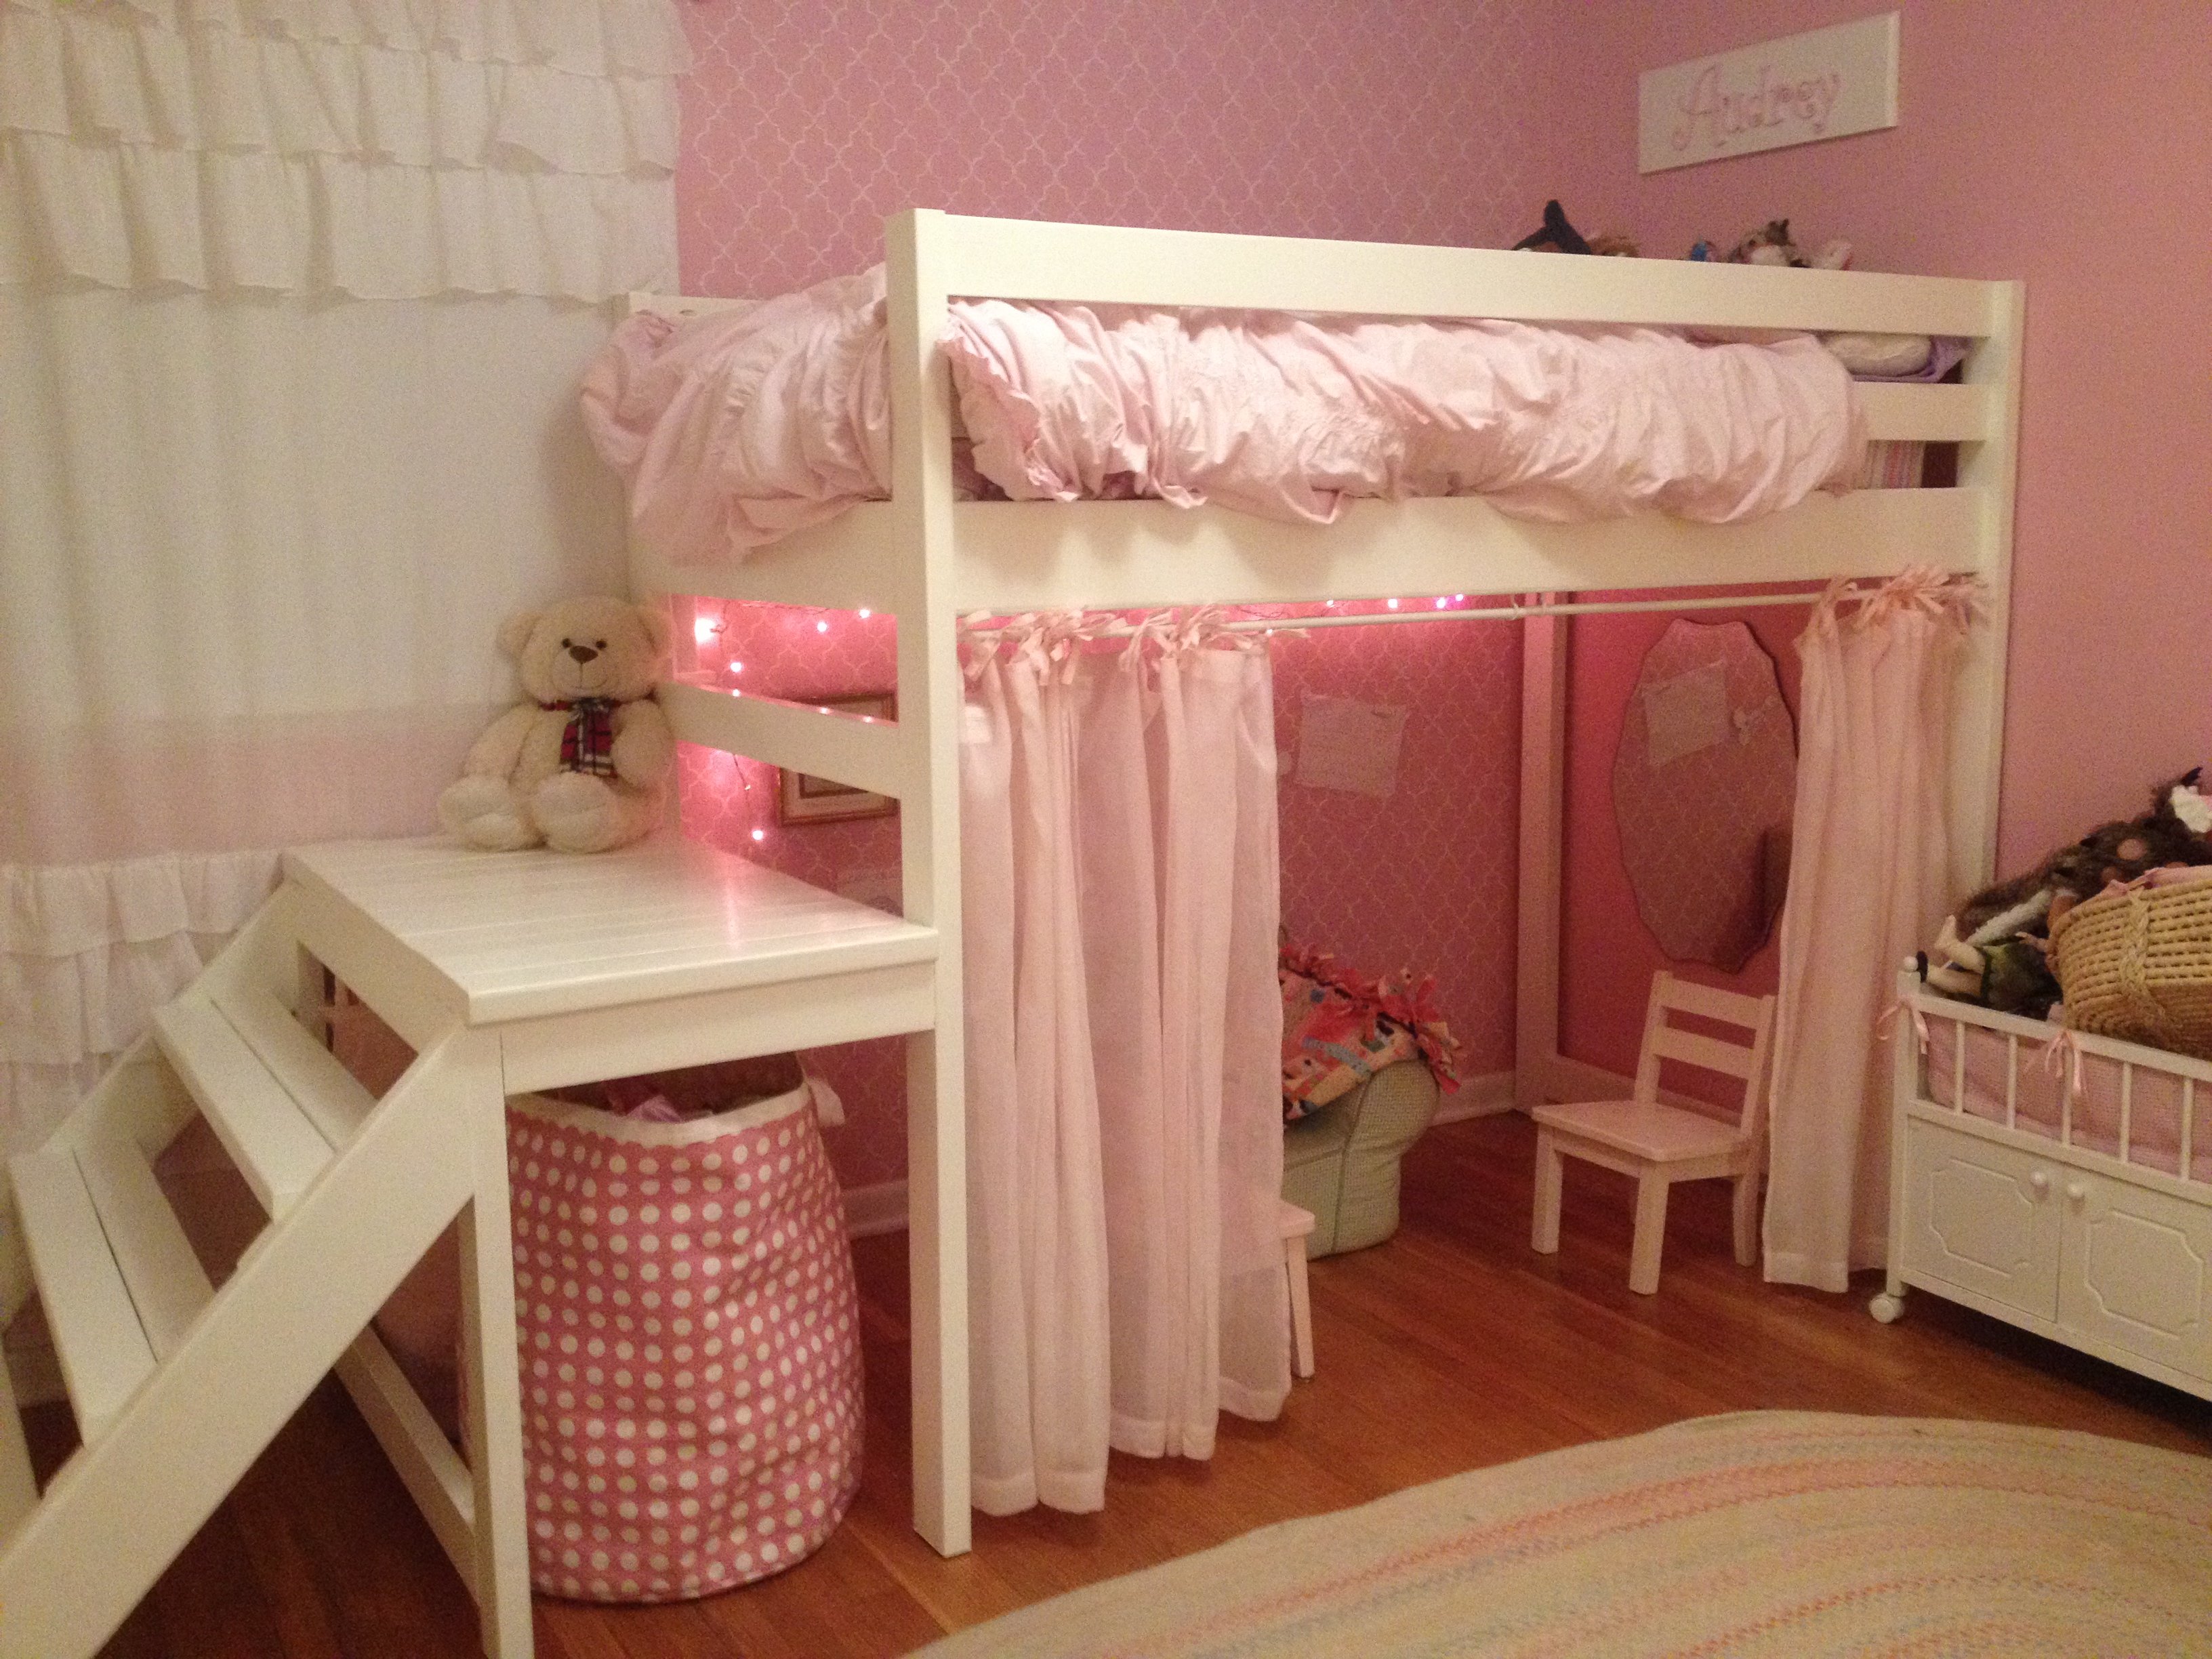
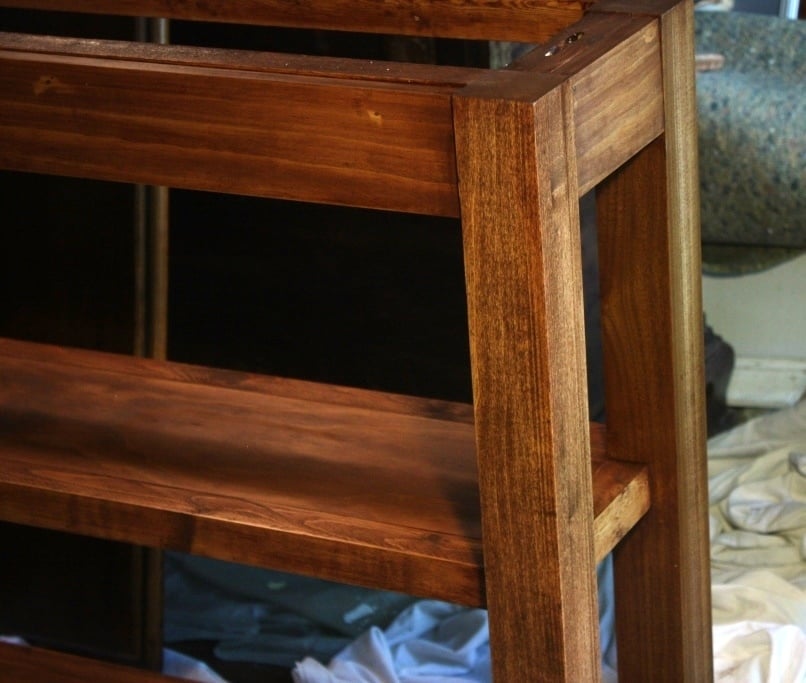
I built this for my little girl's room and she loves it! She loves the play area underneath especially. The build did not take that long, but the finishing (sanding and painting) took many hours. It is very sturdy. My girls sleep up there together all the time, and we have even had adults sleep up there. We didn't have a corner to put it in, so I built wider steps along the same wall as the bed.
Built from Plan(s)
Estimated Cost
$200
Estimated Time Investment
Week Long Project (20 Hours or More)
Finish Used
Antique white with a satin finish.
Recommended Skill Level
Beginner


Comments
missybean13
Fri, 04/01/2016 - 11:26
This is amazing! Is that a
This is amazing! Is that a twin or full bed?
TamiJ
Fri, 11/04/2016 - 00:39
Thank you! Sorry so late to
Thank you! Sorry so late to reply, I am just now seeing this. It is a twin mattress.
Janeece
Wed, 09/16/2020 - 19:25
modifications help requested
I am interested in this design, but would like to have it with a full size mattress. How would I alter the plans? I would also like to have the stairs be storage drawers/stairs. Can you help me with this?
Thank you!