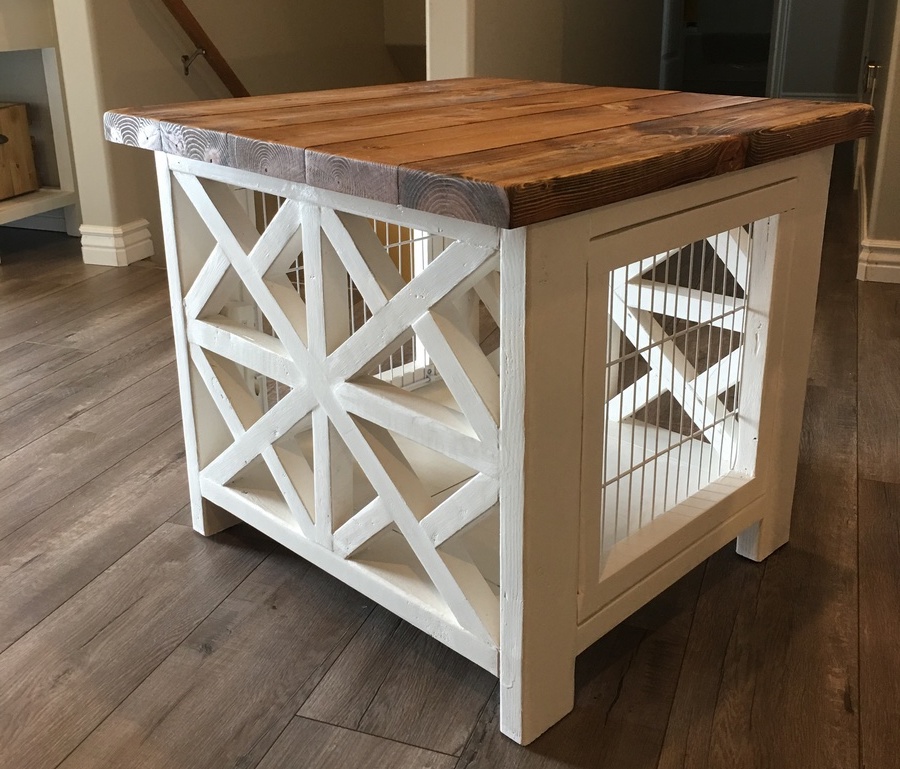
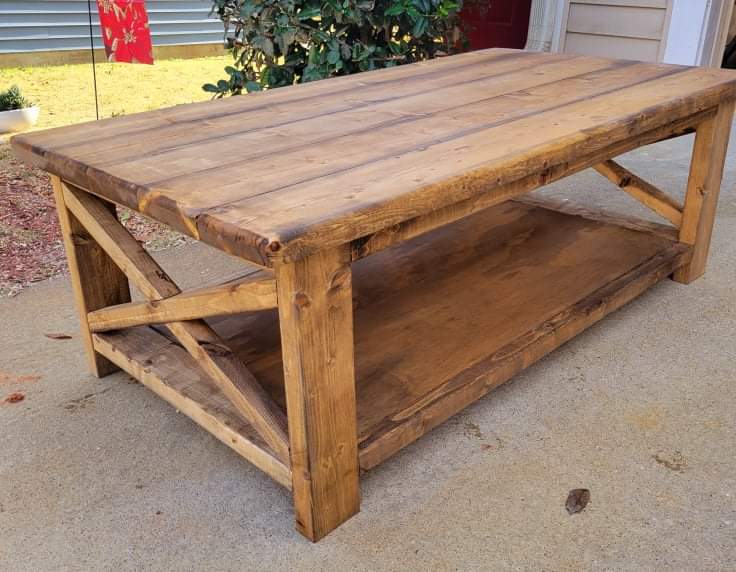
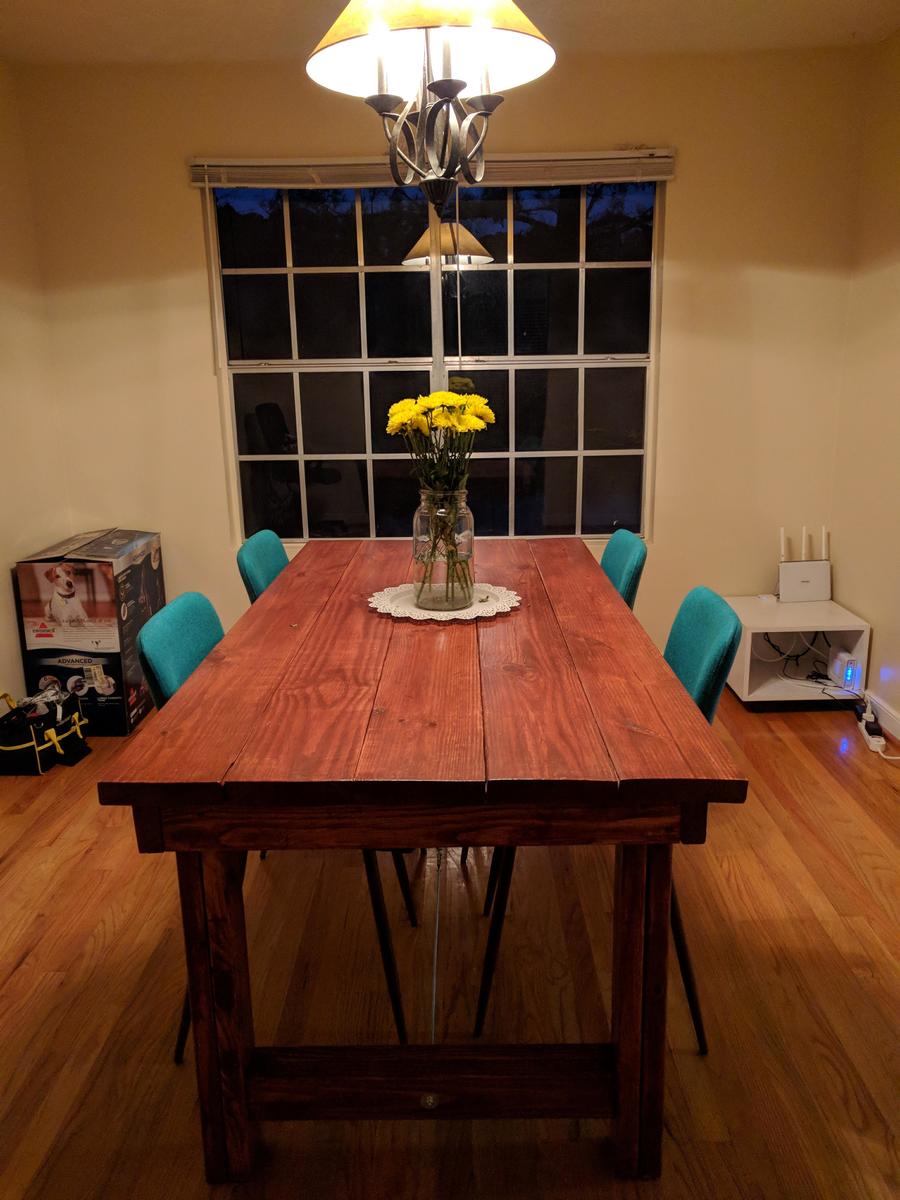
Island for our Modular Bar
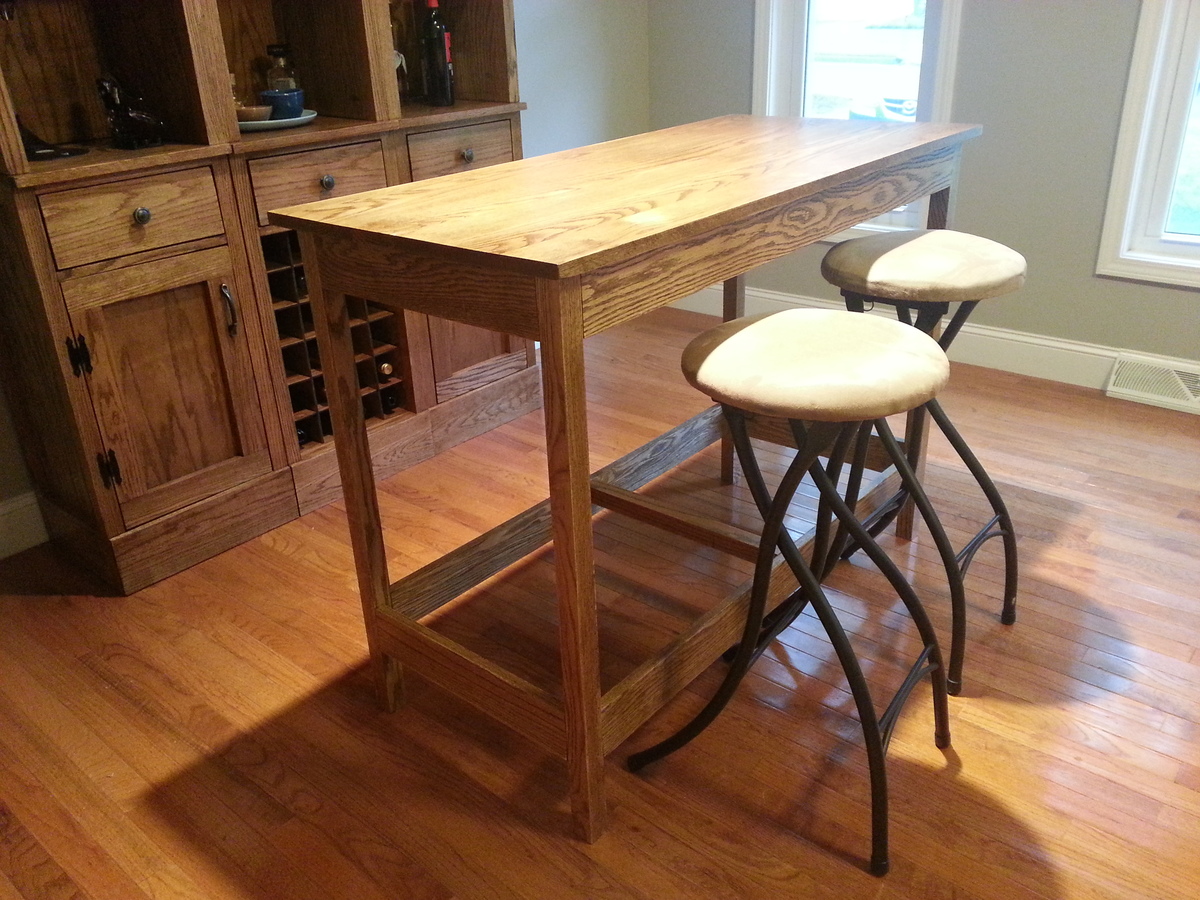
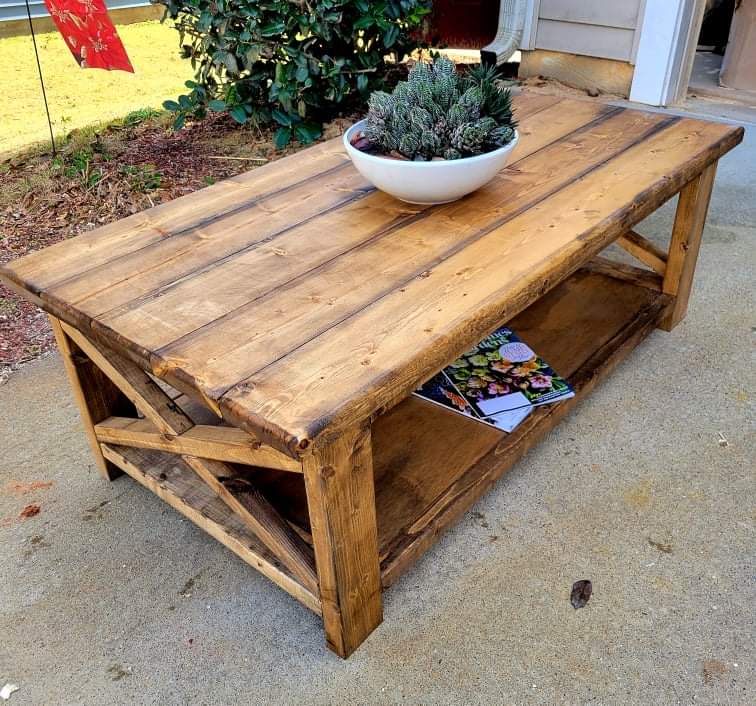
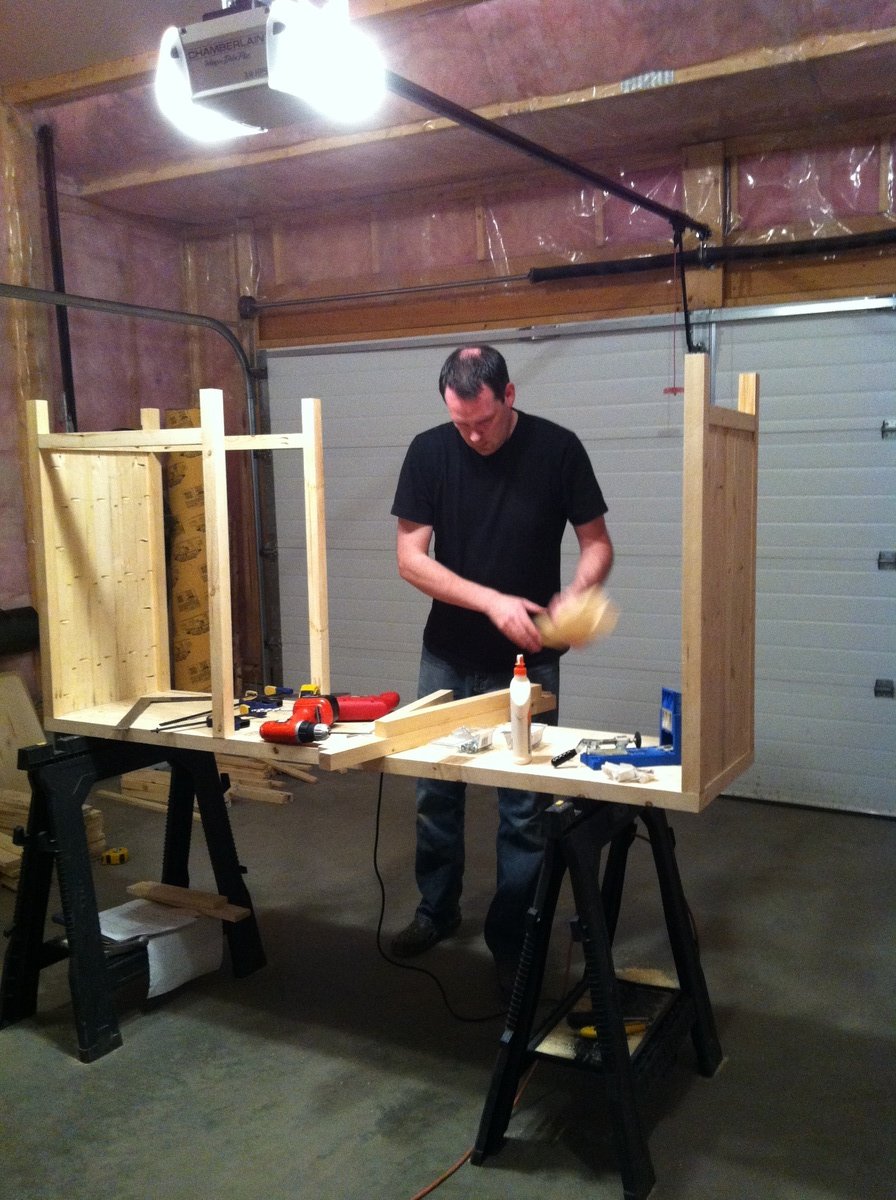
Second Project! Although the storage capacity of the Modular Bar is awesome, we needed a good workspace for pouring the drinks :)
I modified the "Simple Kitchen Island" plan a little:
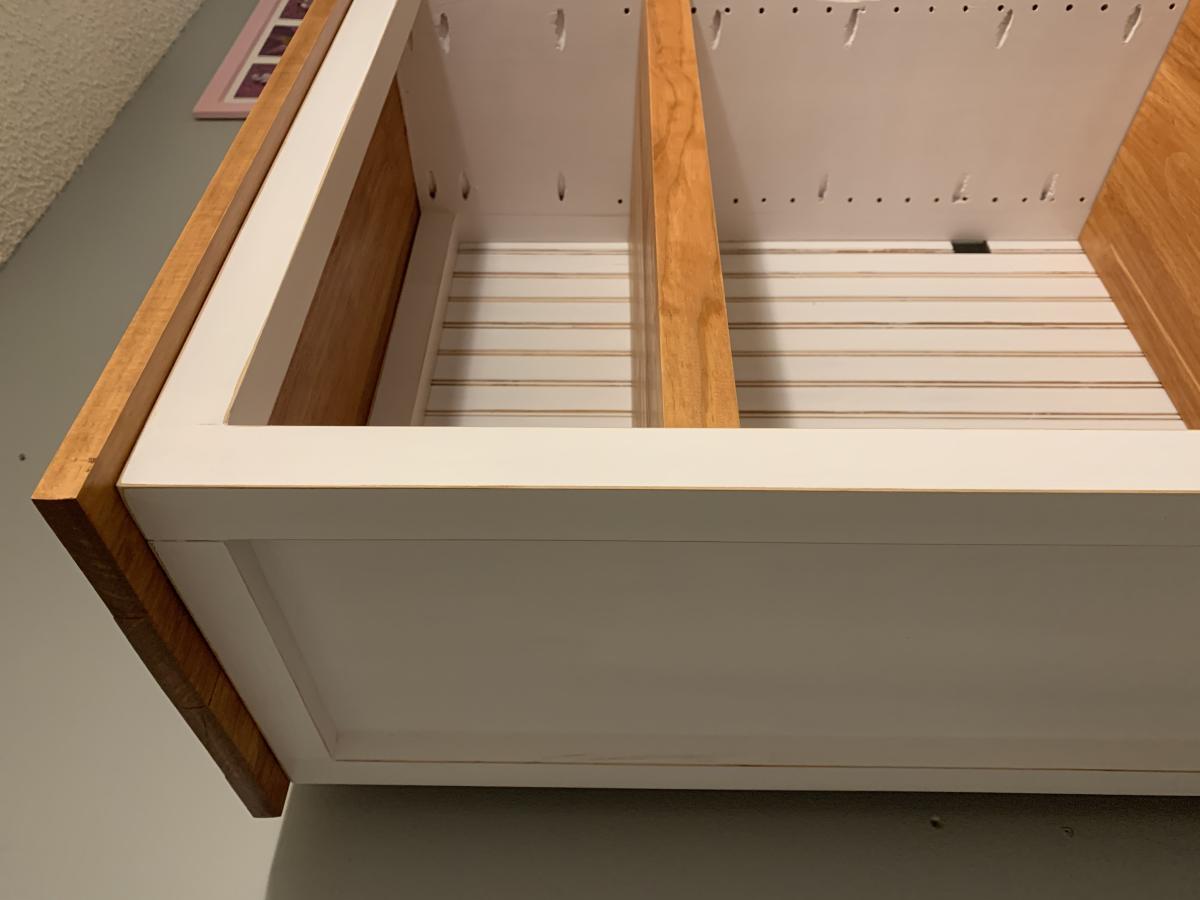
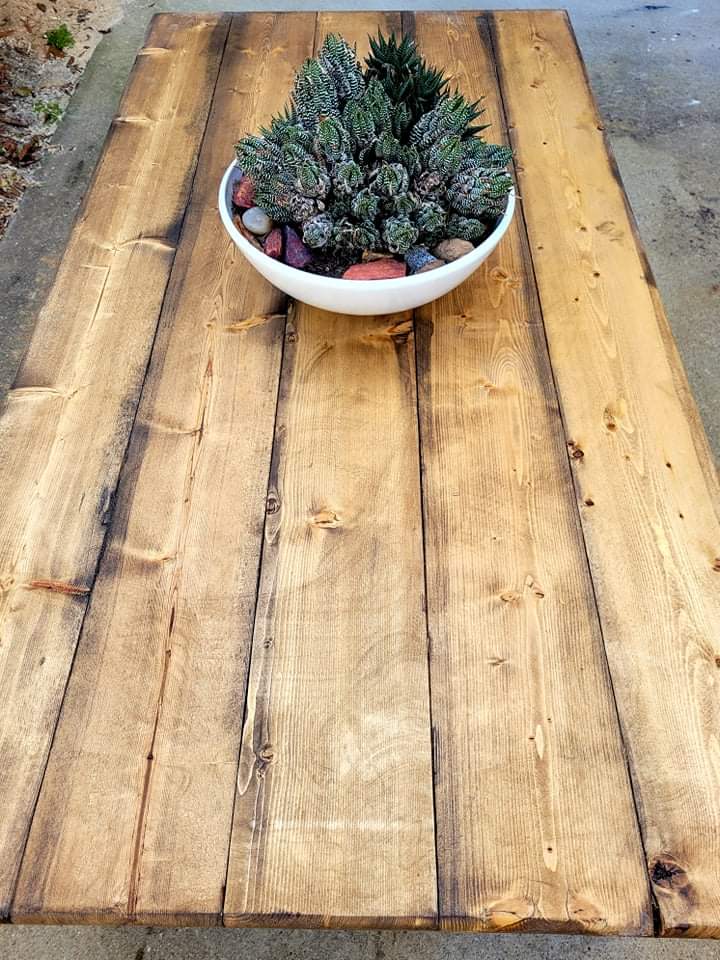
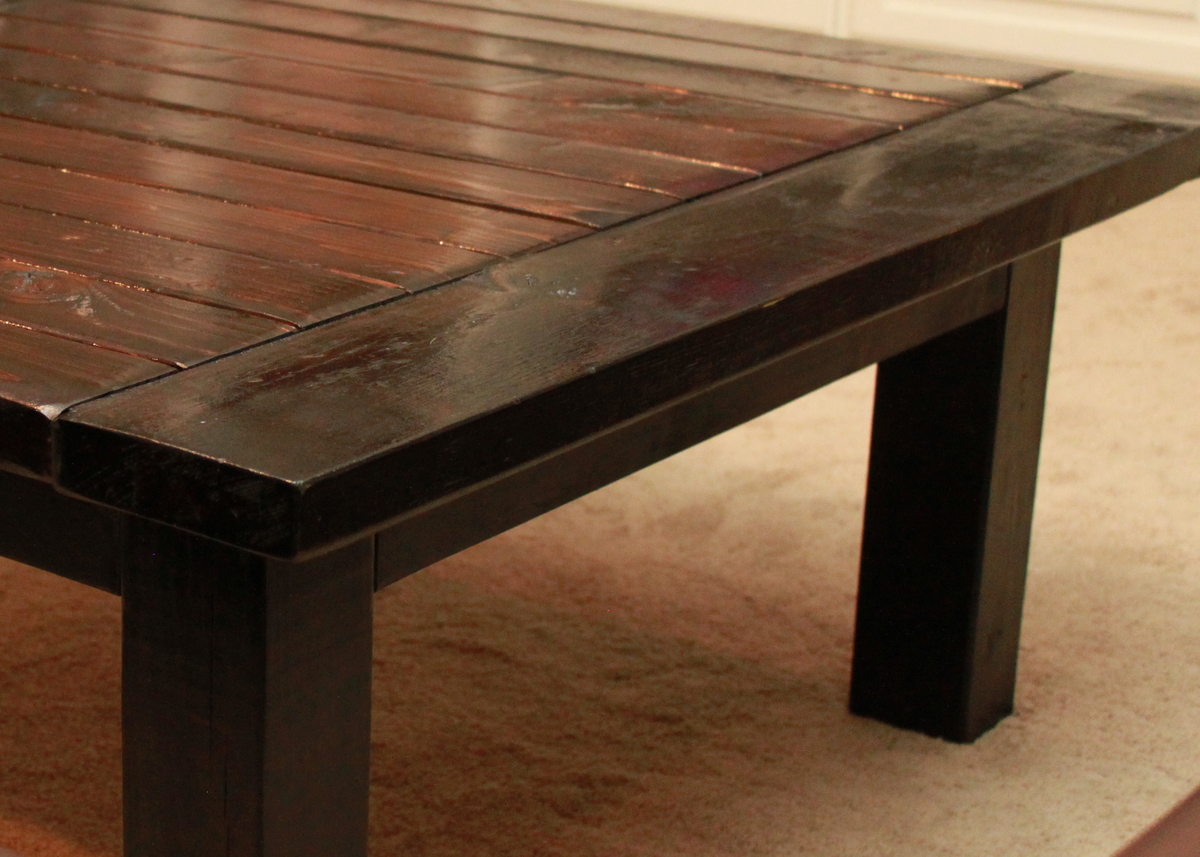
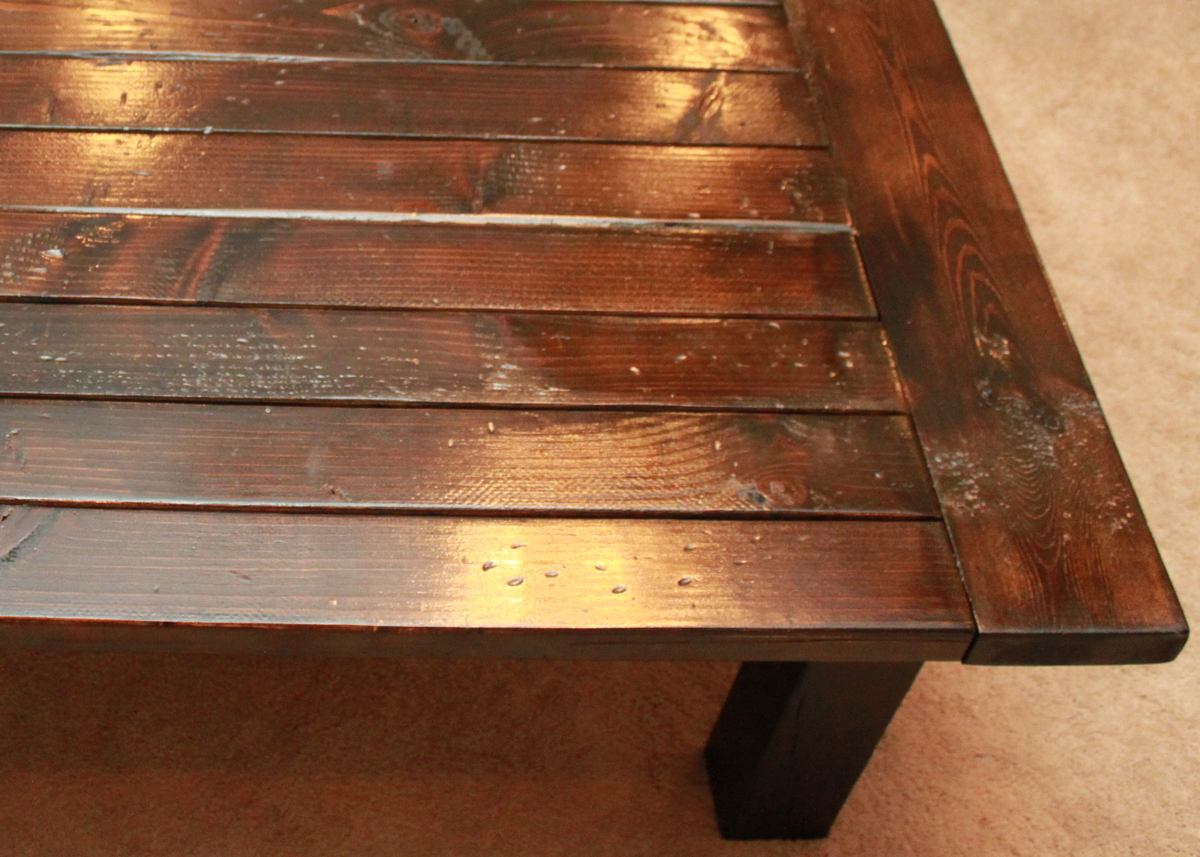
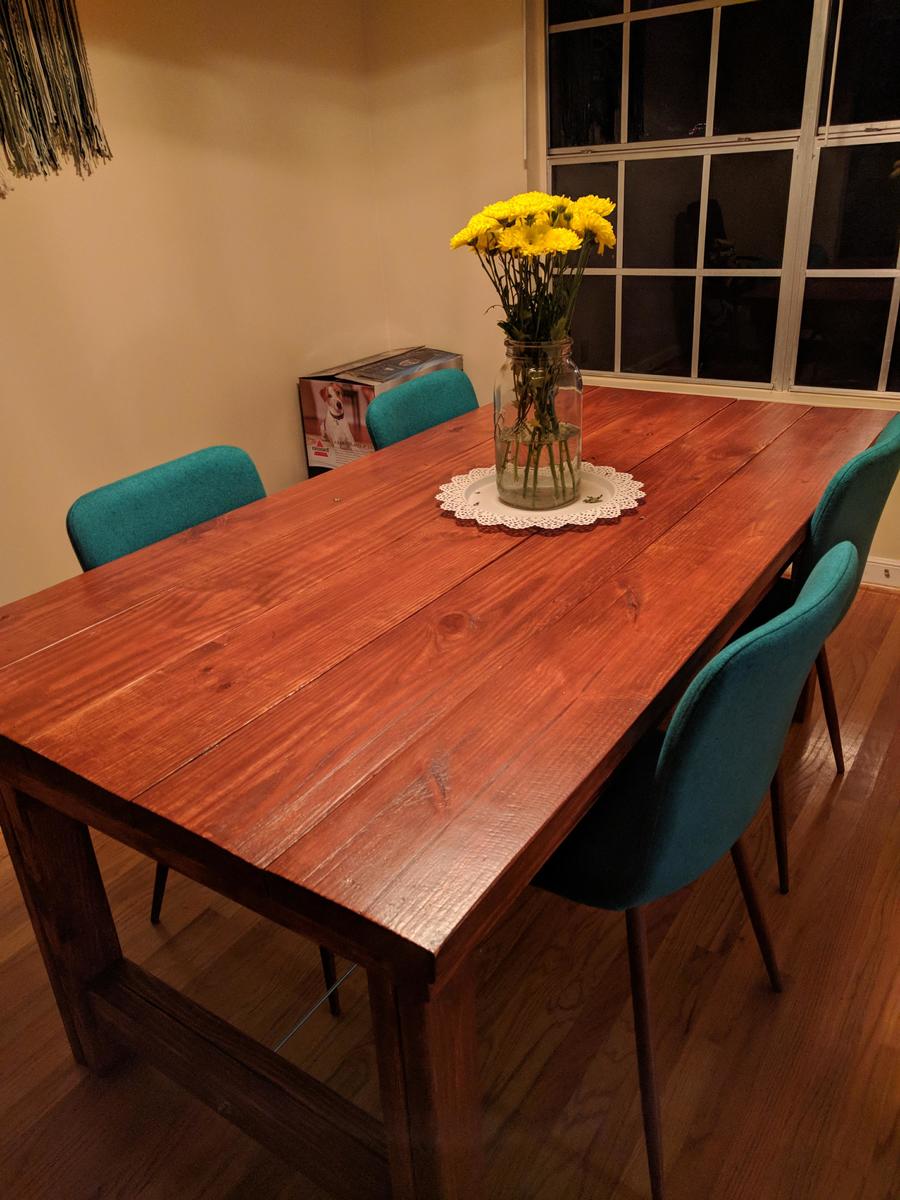
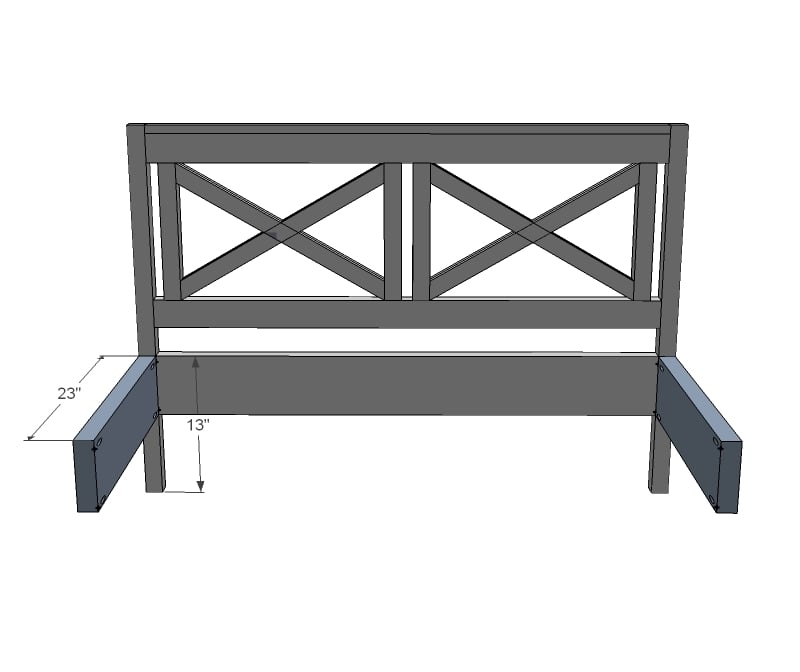
1) Instead of using a 2'x4' project panel for the tabletop, I used the jig to put together two 1x12s, this made it a little bit narrower, but since I was staining I prefered the look of the edges of solid oak.
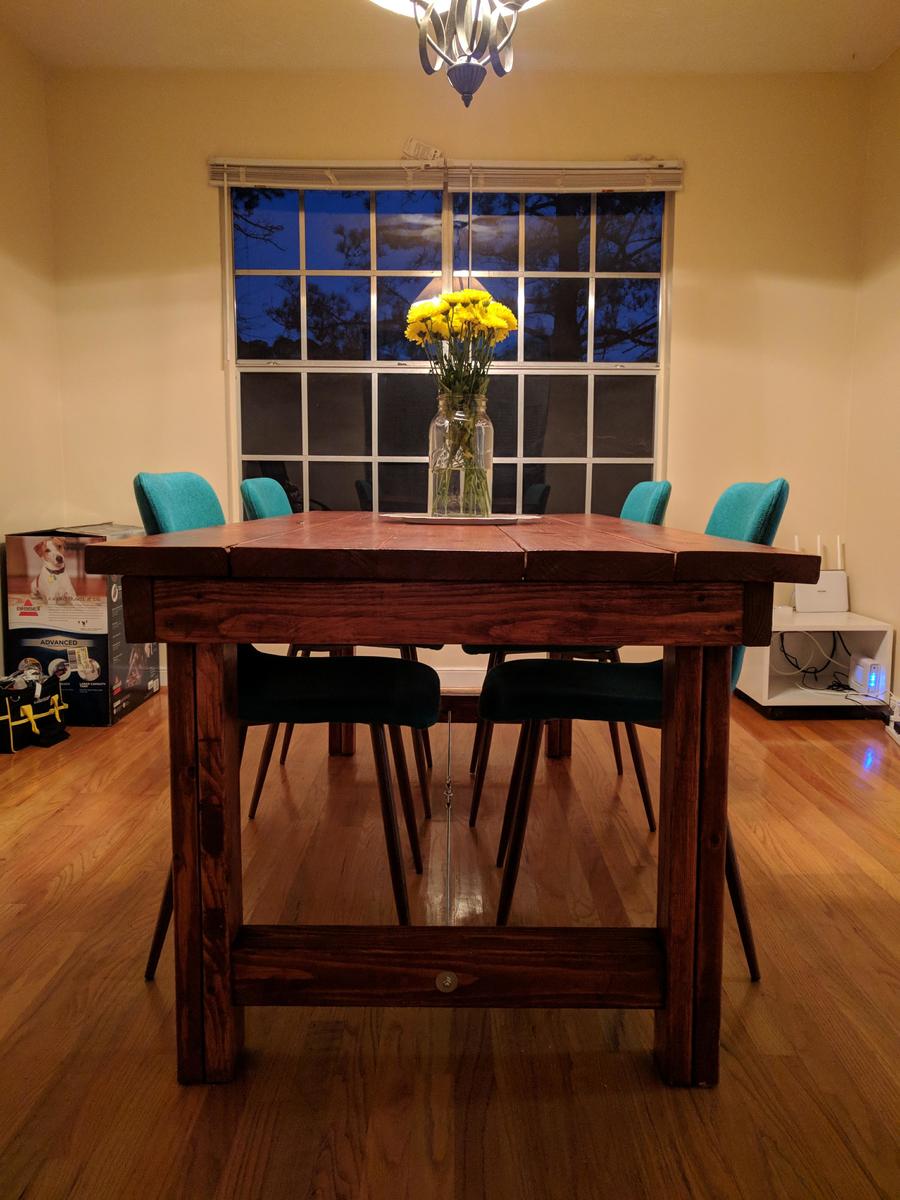
2) I didn't need the storage of the bottom shelf (and the dogs would get in anything I put there), however I knew people may put their feet on the bottom rails so I beefed them up to 1x4s instead of 1x2s and added a middle beam to stabilize them some.
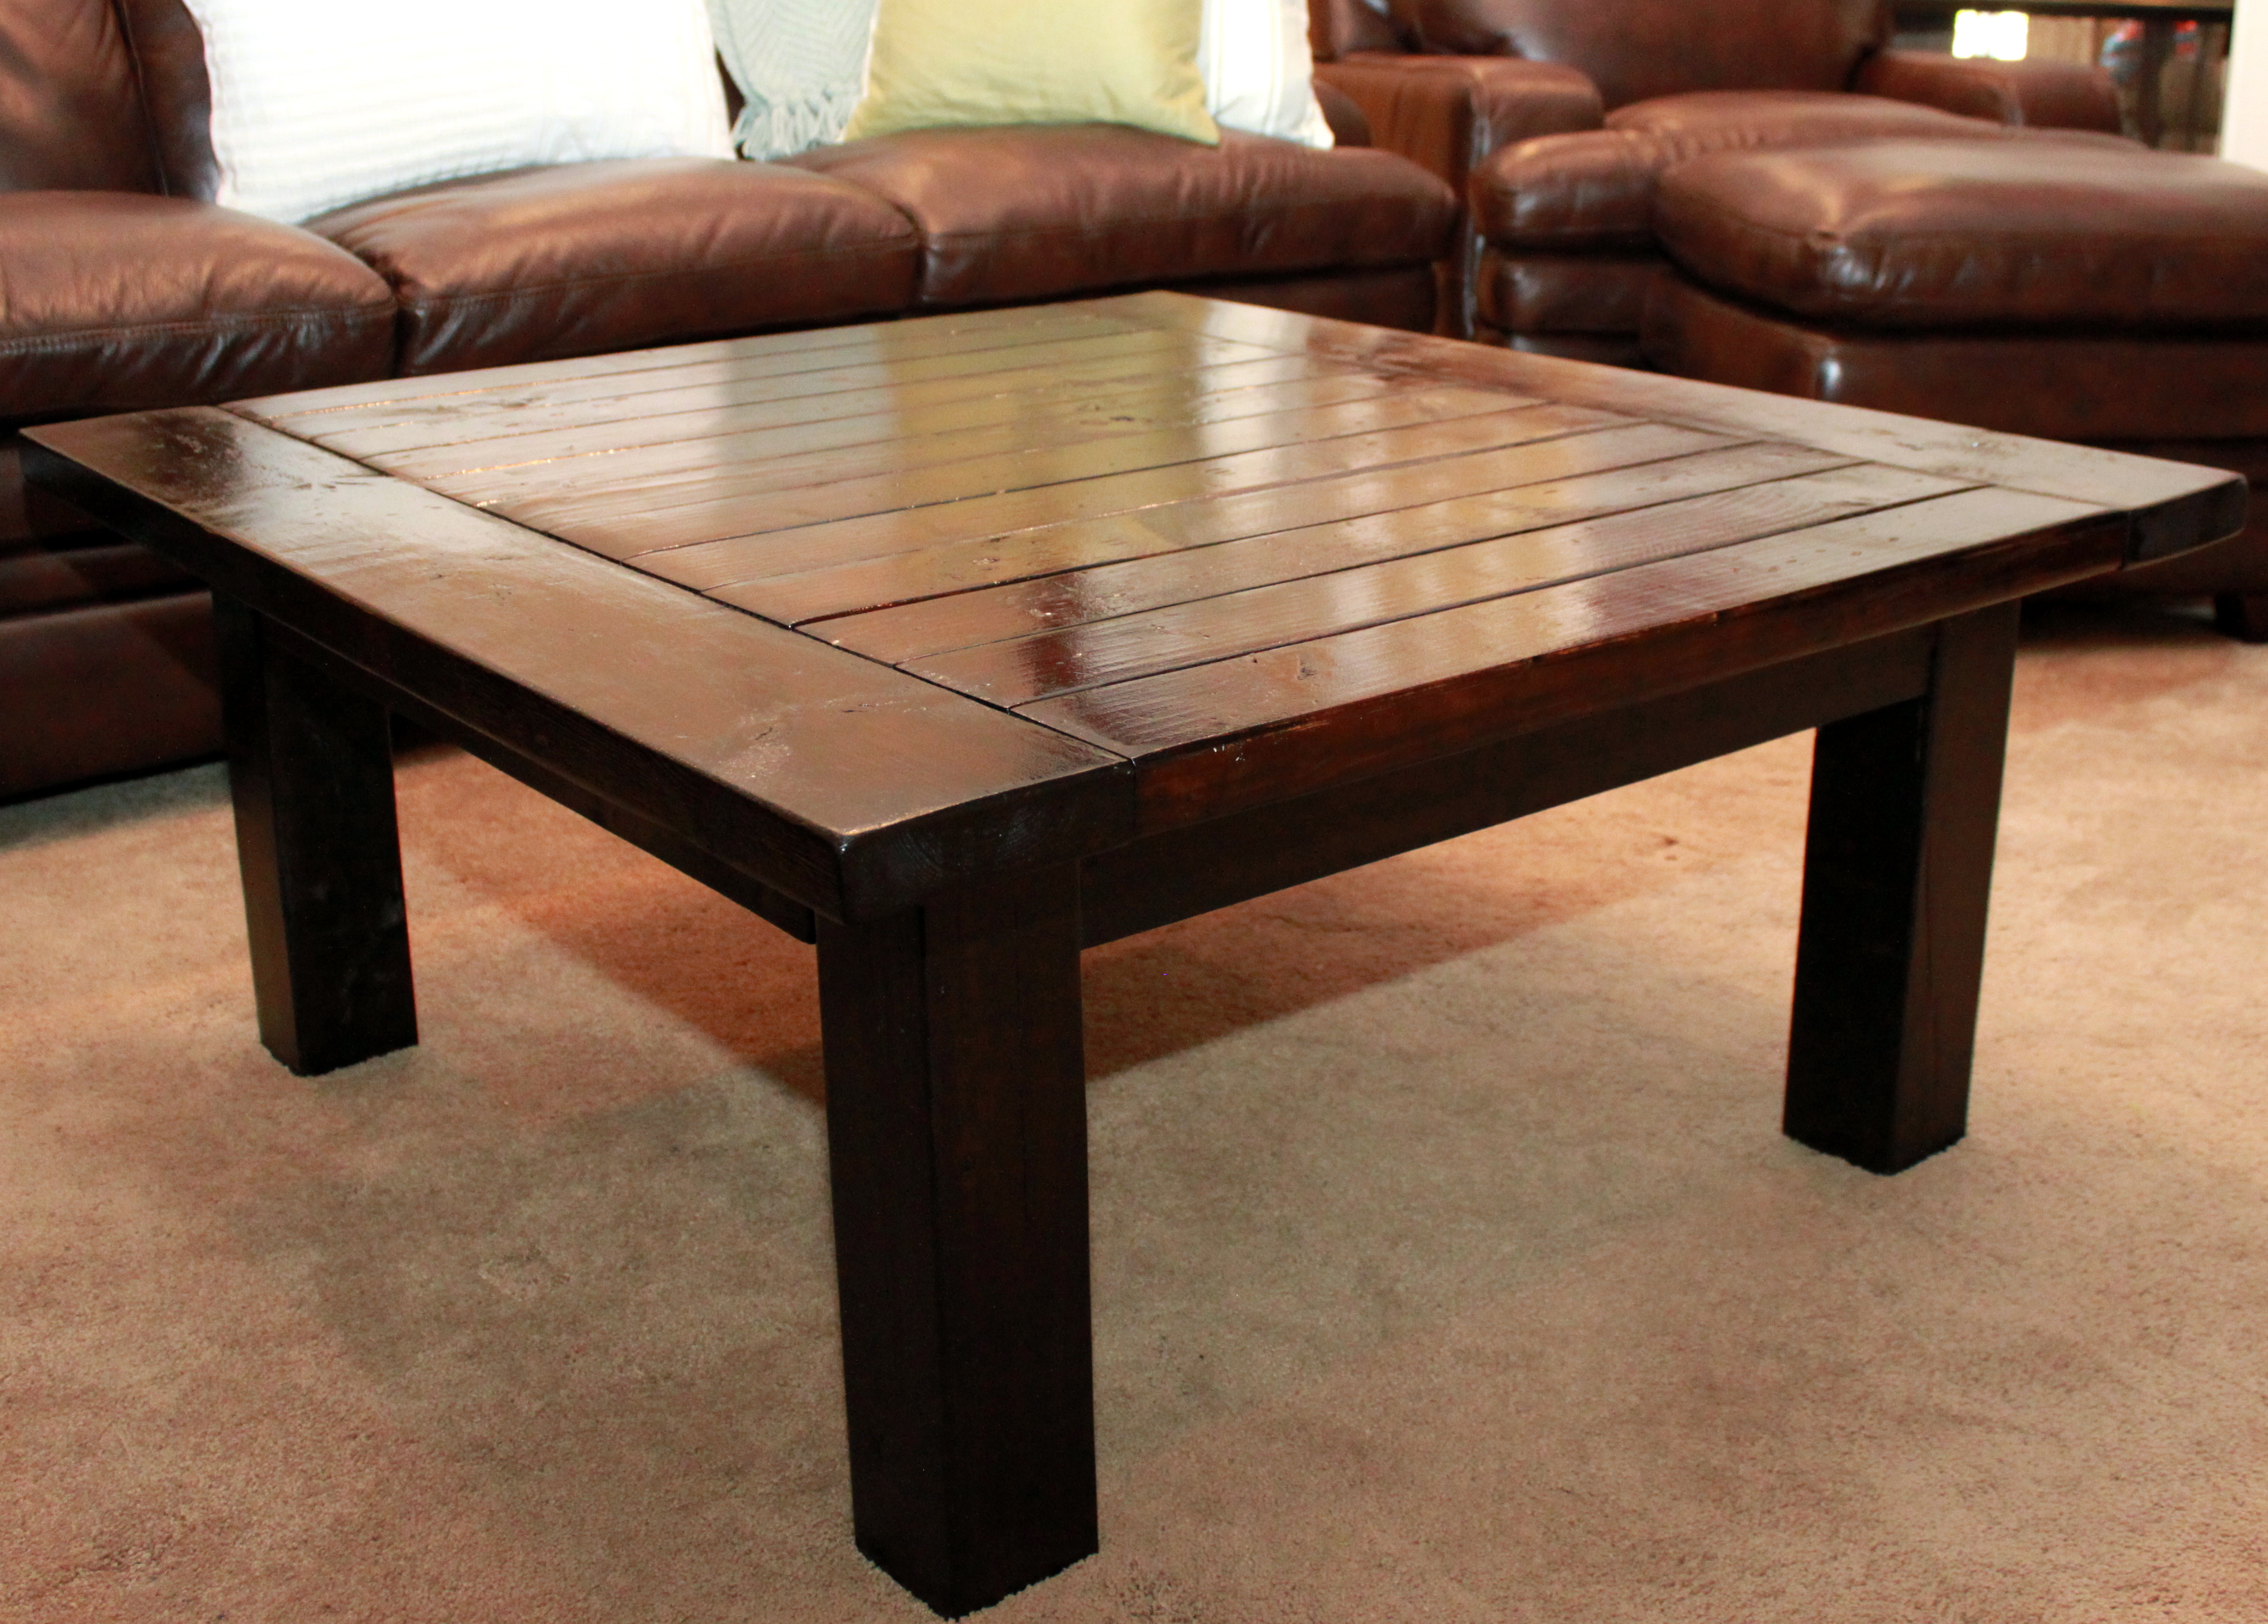
3) I increased the total height some so we can pull the island up to our current 36" high dining room table to accomodated two extra people.


Comments
Jenna Boone
Tue, 11/12/2013 - 16:41
I love it
It looks like it came out really nice. I have been looking for a bar plan and I think this is what I needed to see. You did a great job.