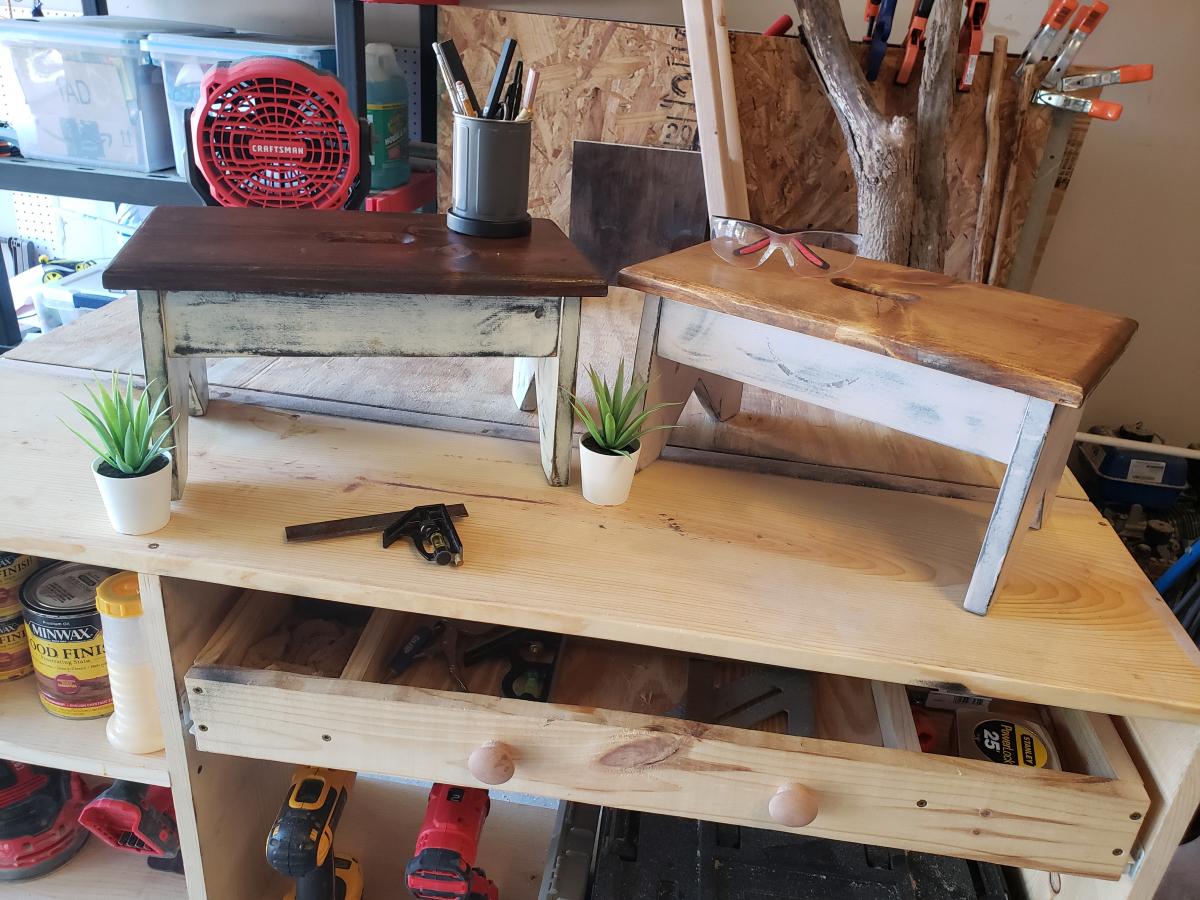
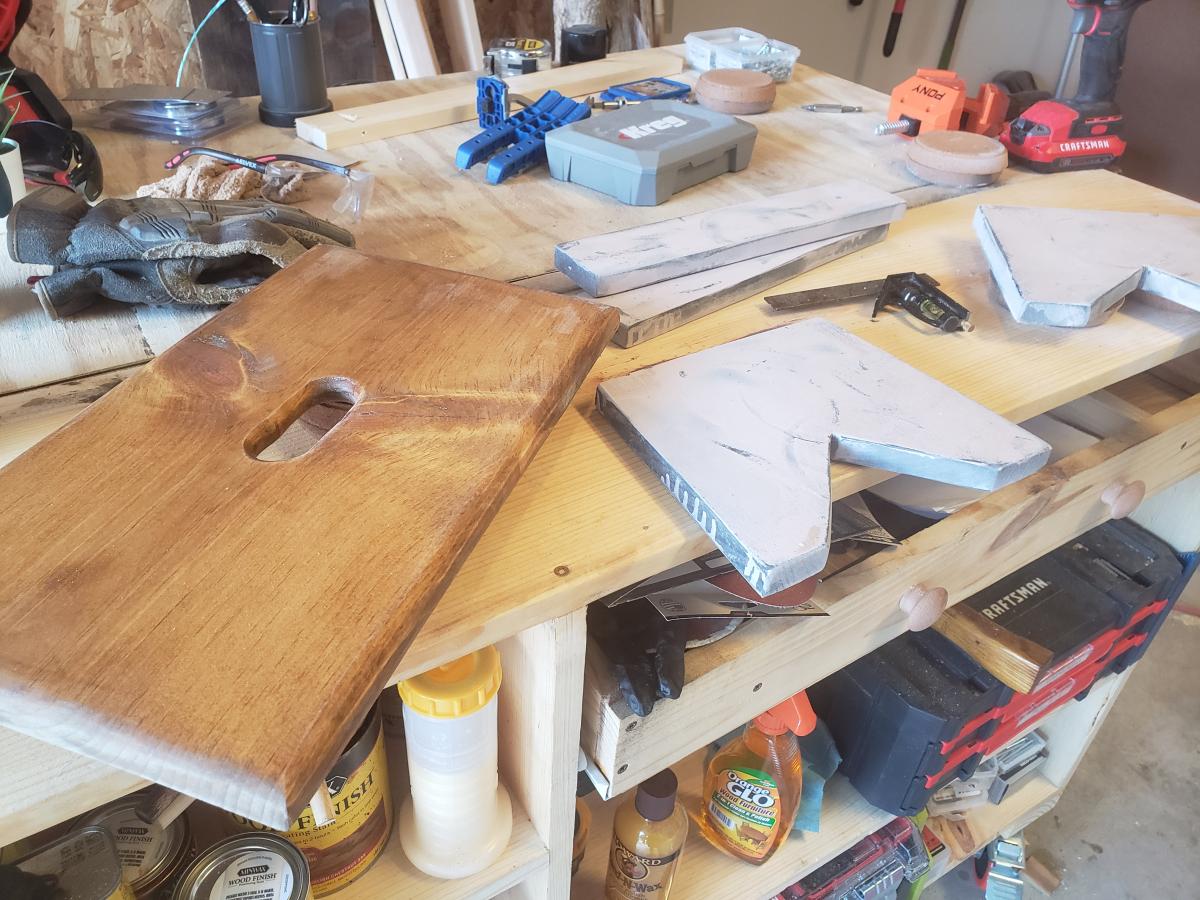
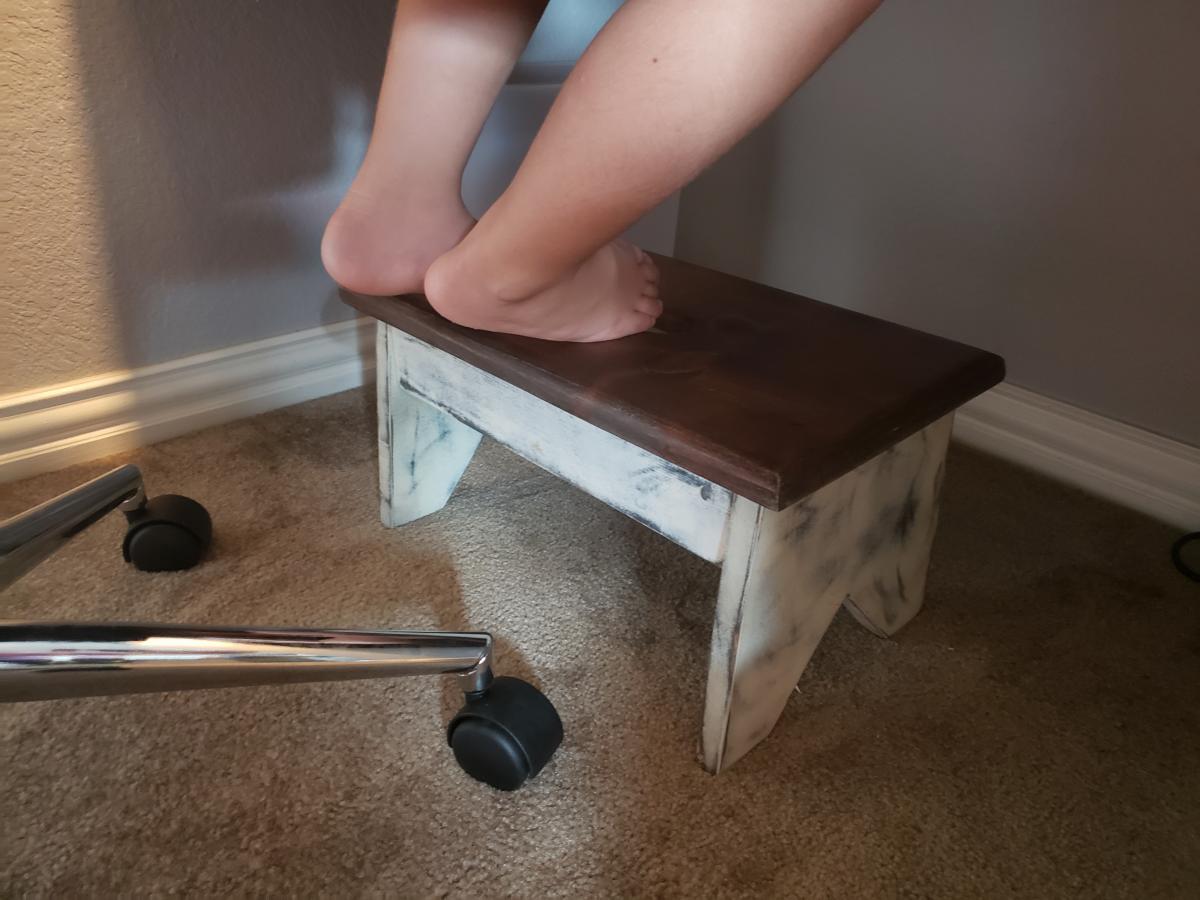
Kiddos step stool
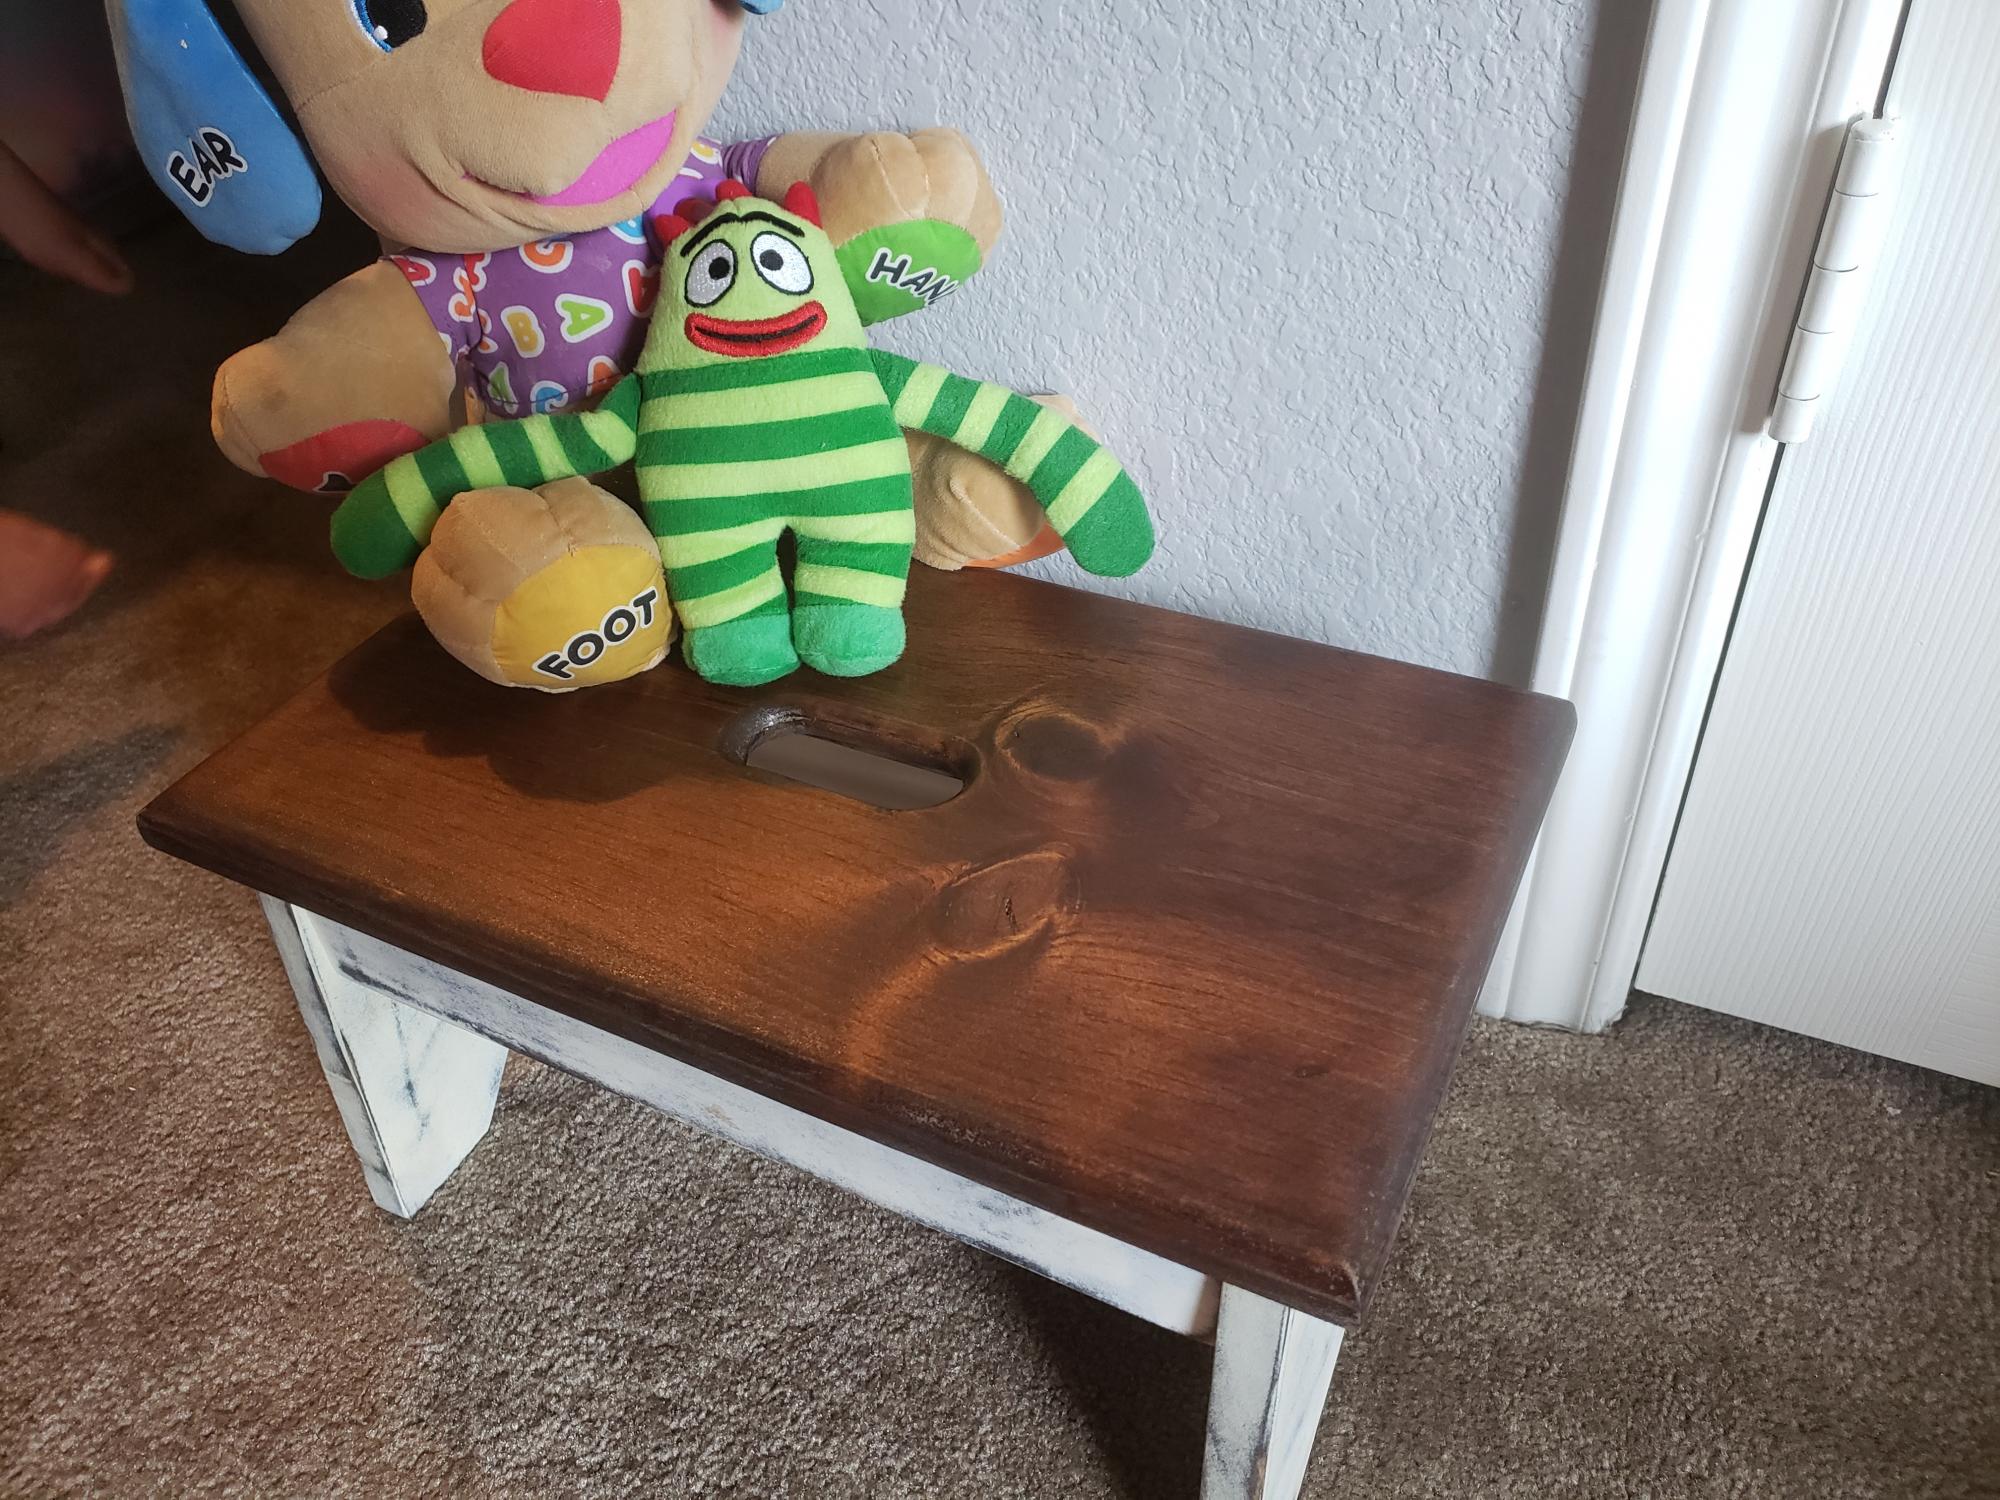
Followed instructions from child's step stool. Did a few modifications.
Built from Plan(s)
Recommended Skill Level
Beginner
Followed instructions from child's step stool. Did a few modifications.
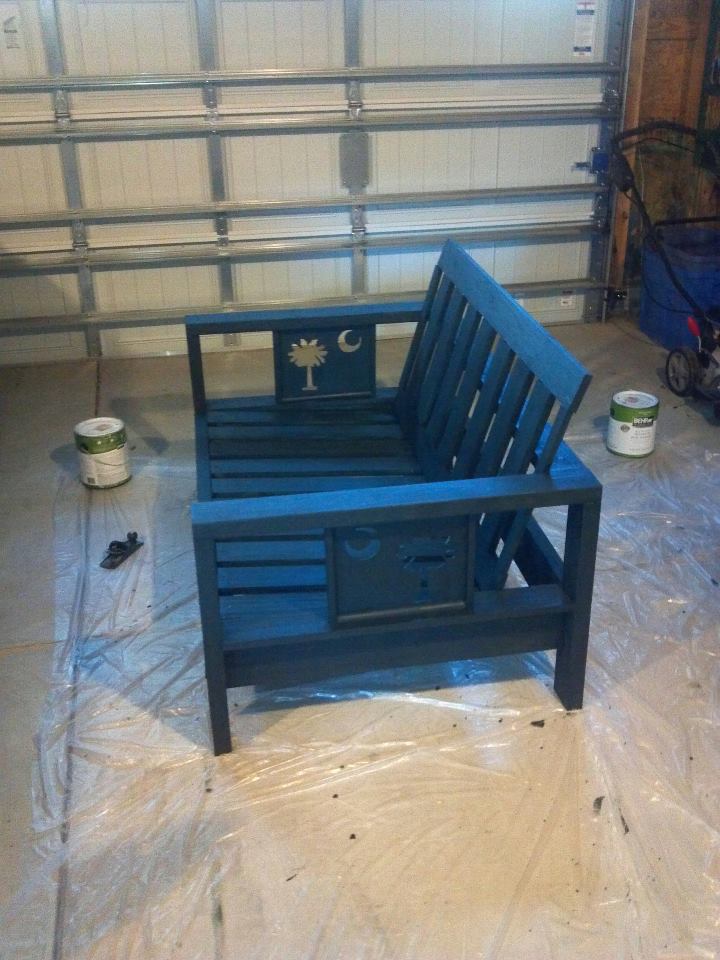
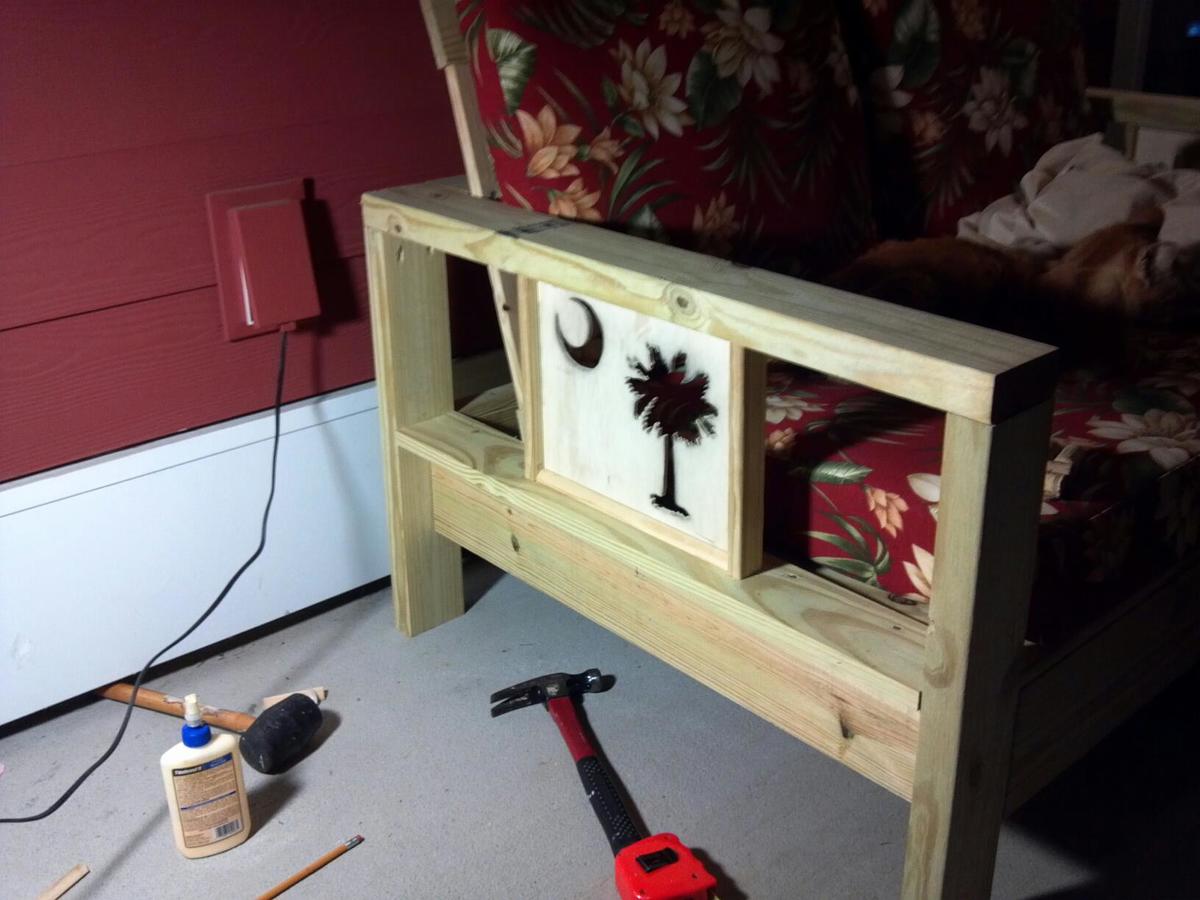
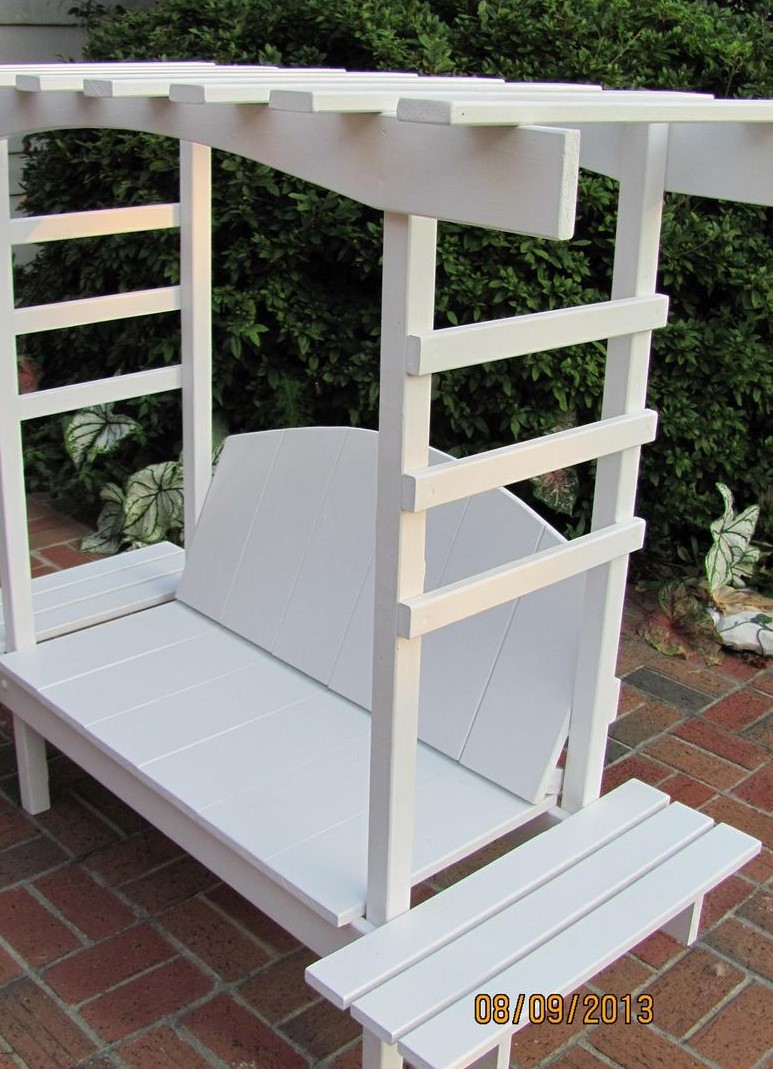
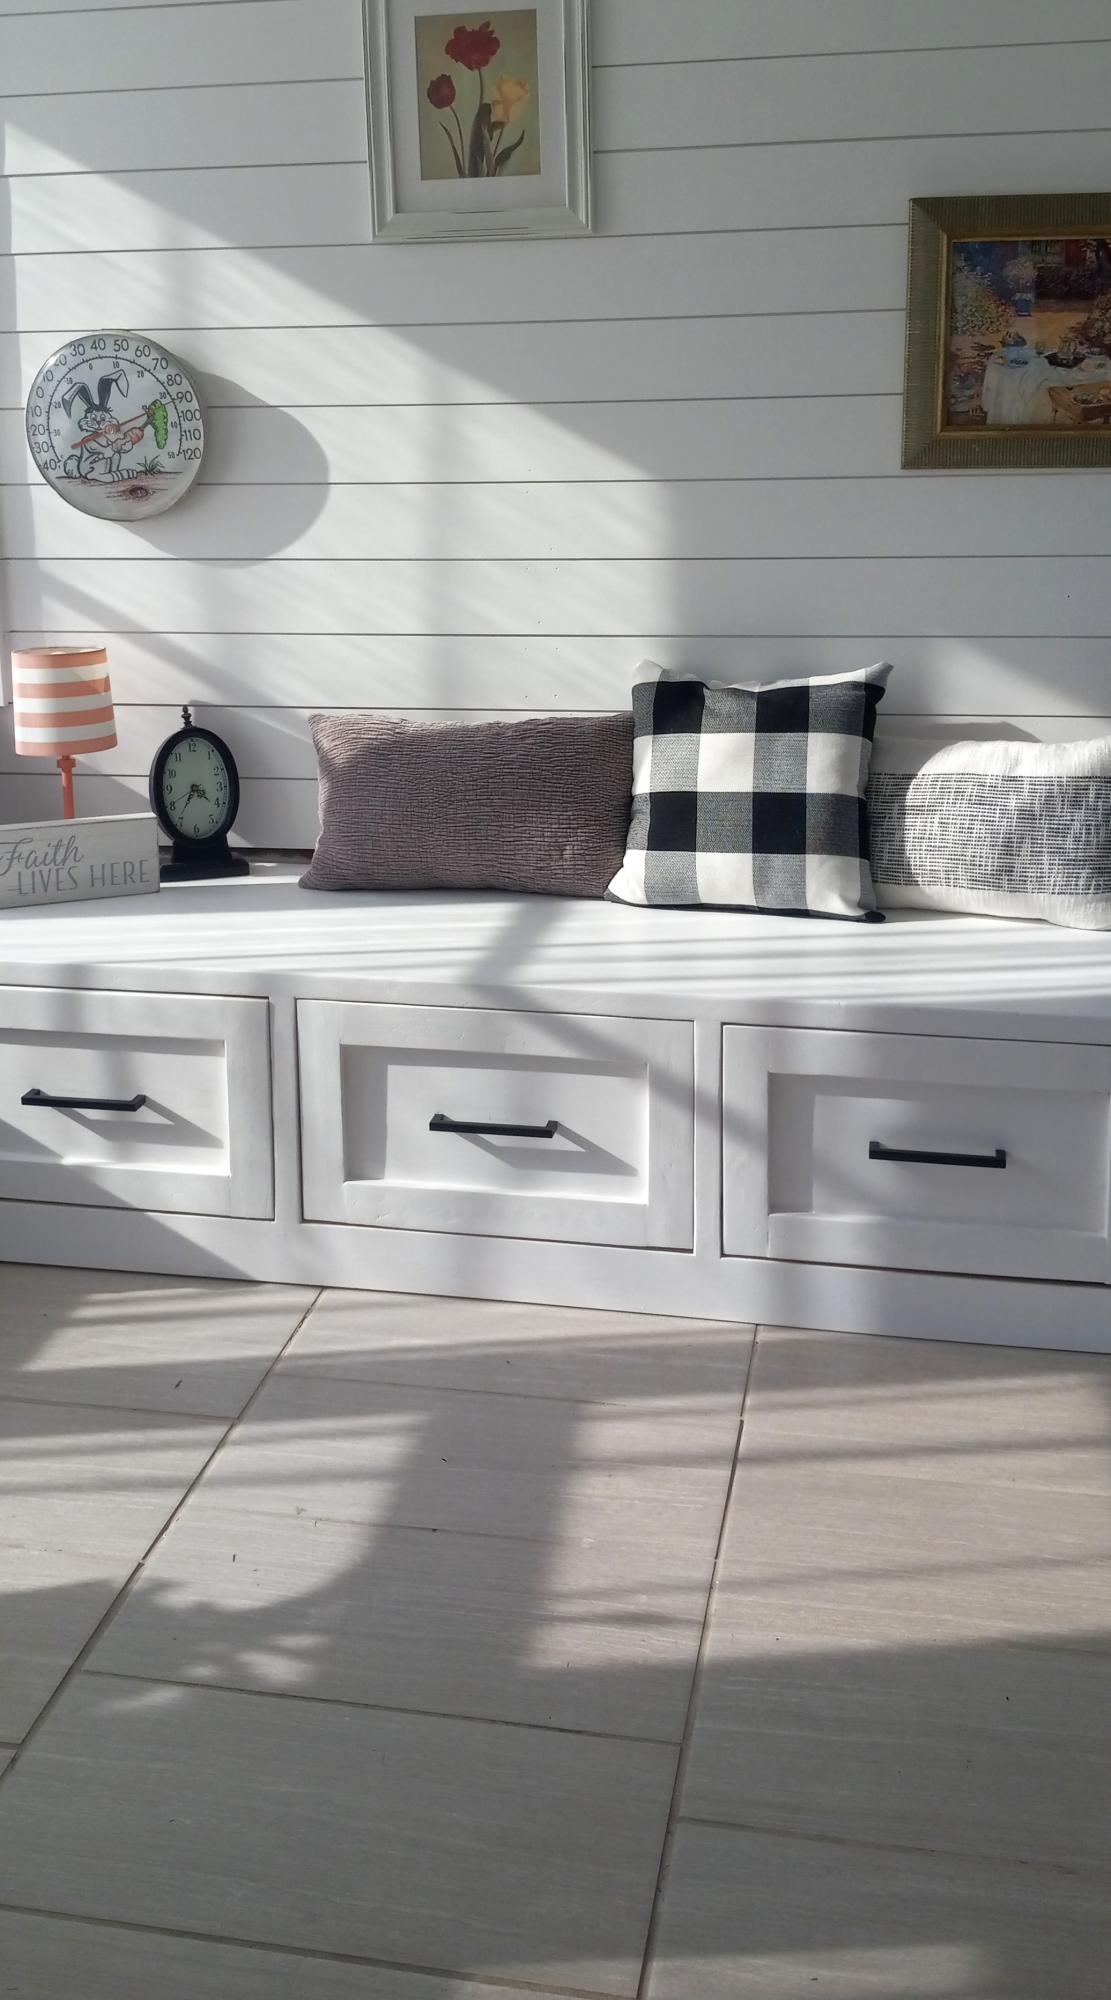
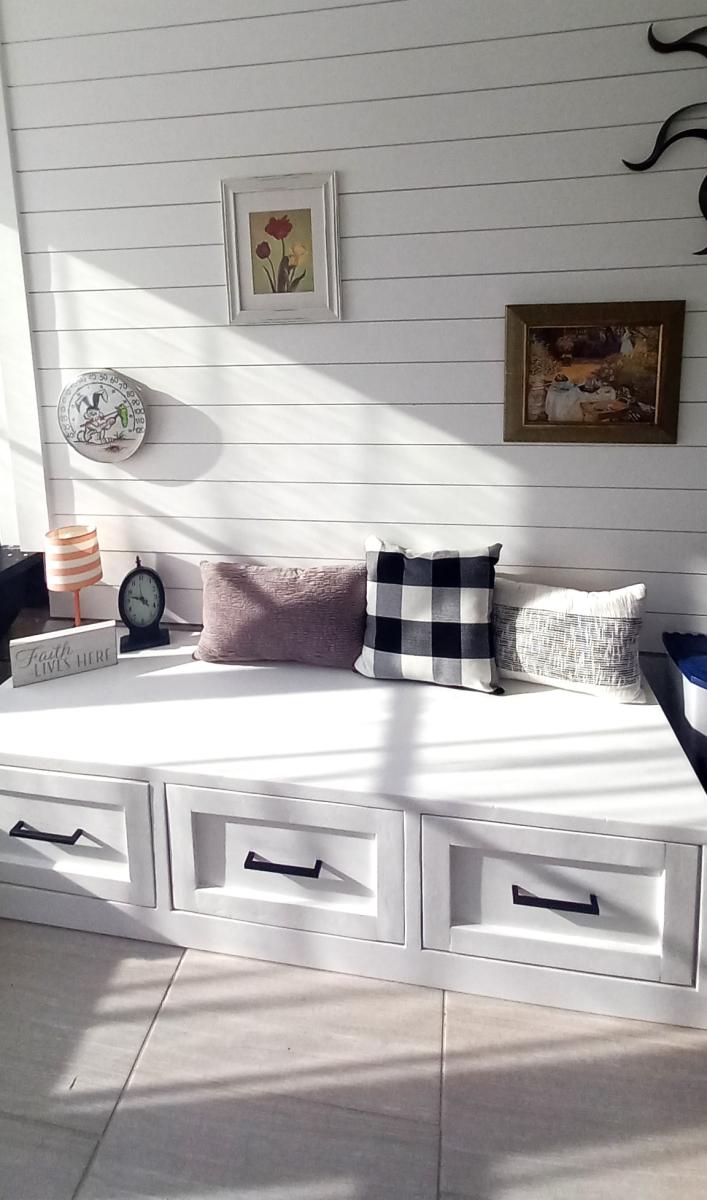
We wanted a simple loveseat that used standard-sized cushions (that I found at target.com) that we could put on our narrow screened-in porch. The cushions were about twice the cost of the lumber! I modified the plan by changing the outsides from 2x3's to 2x4's and I made decorative panels of our State's flag using a stencil I created from an image on the Internet. I then cut the stencil out, marked it and cut it out using a scroll saw. The pattern is on 1/4' plywood framed in with 1 x 2's on the sides and 1/2" quarter round on the tops and bottoms of the patterns on both sides. This was fun and quick to build and it met our needs perfectly! I'm even designing some matching end tables for it! Since we're in Charleston, SC we used a color called "Charleston Green", it's nearly black but in bright sun you can see a little green. We barely get to use it though as the cat has taken it over! Thanks for a great plan!

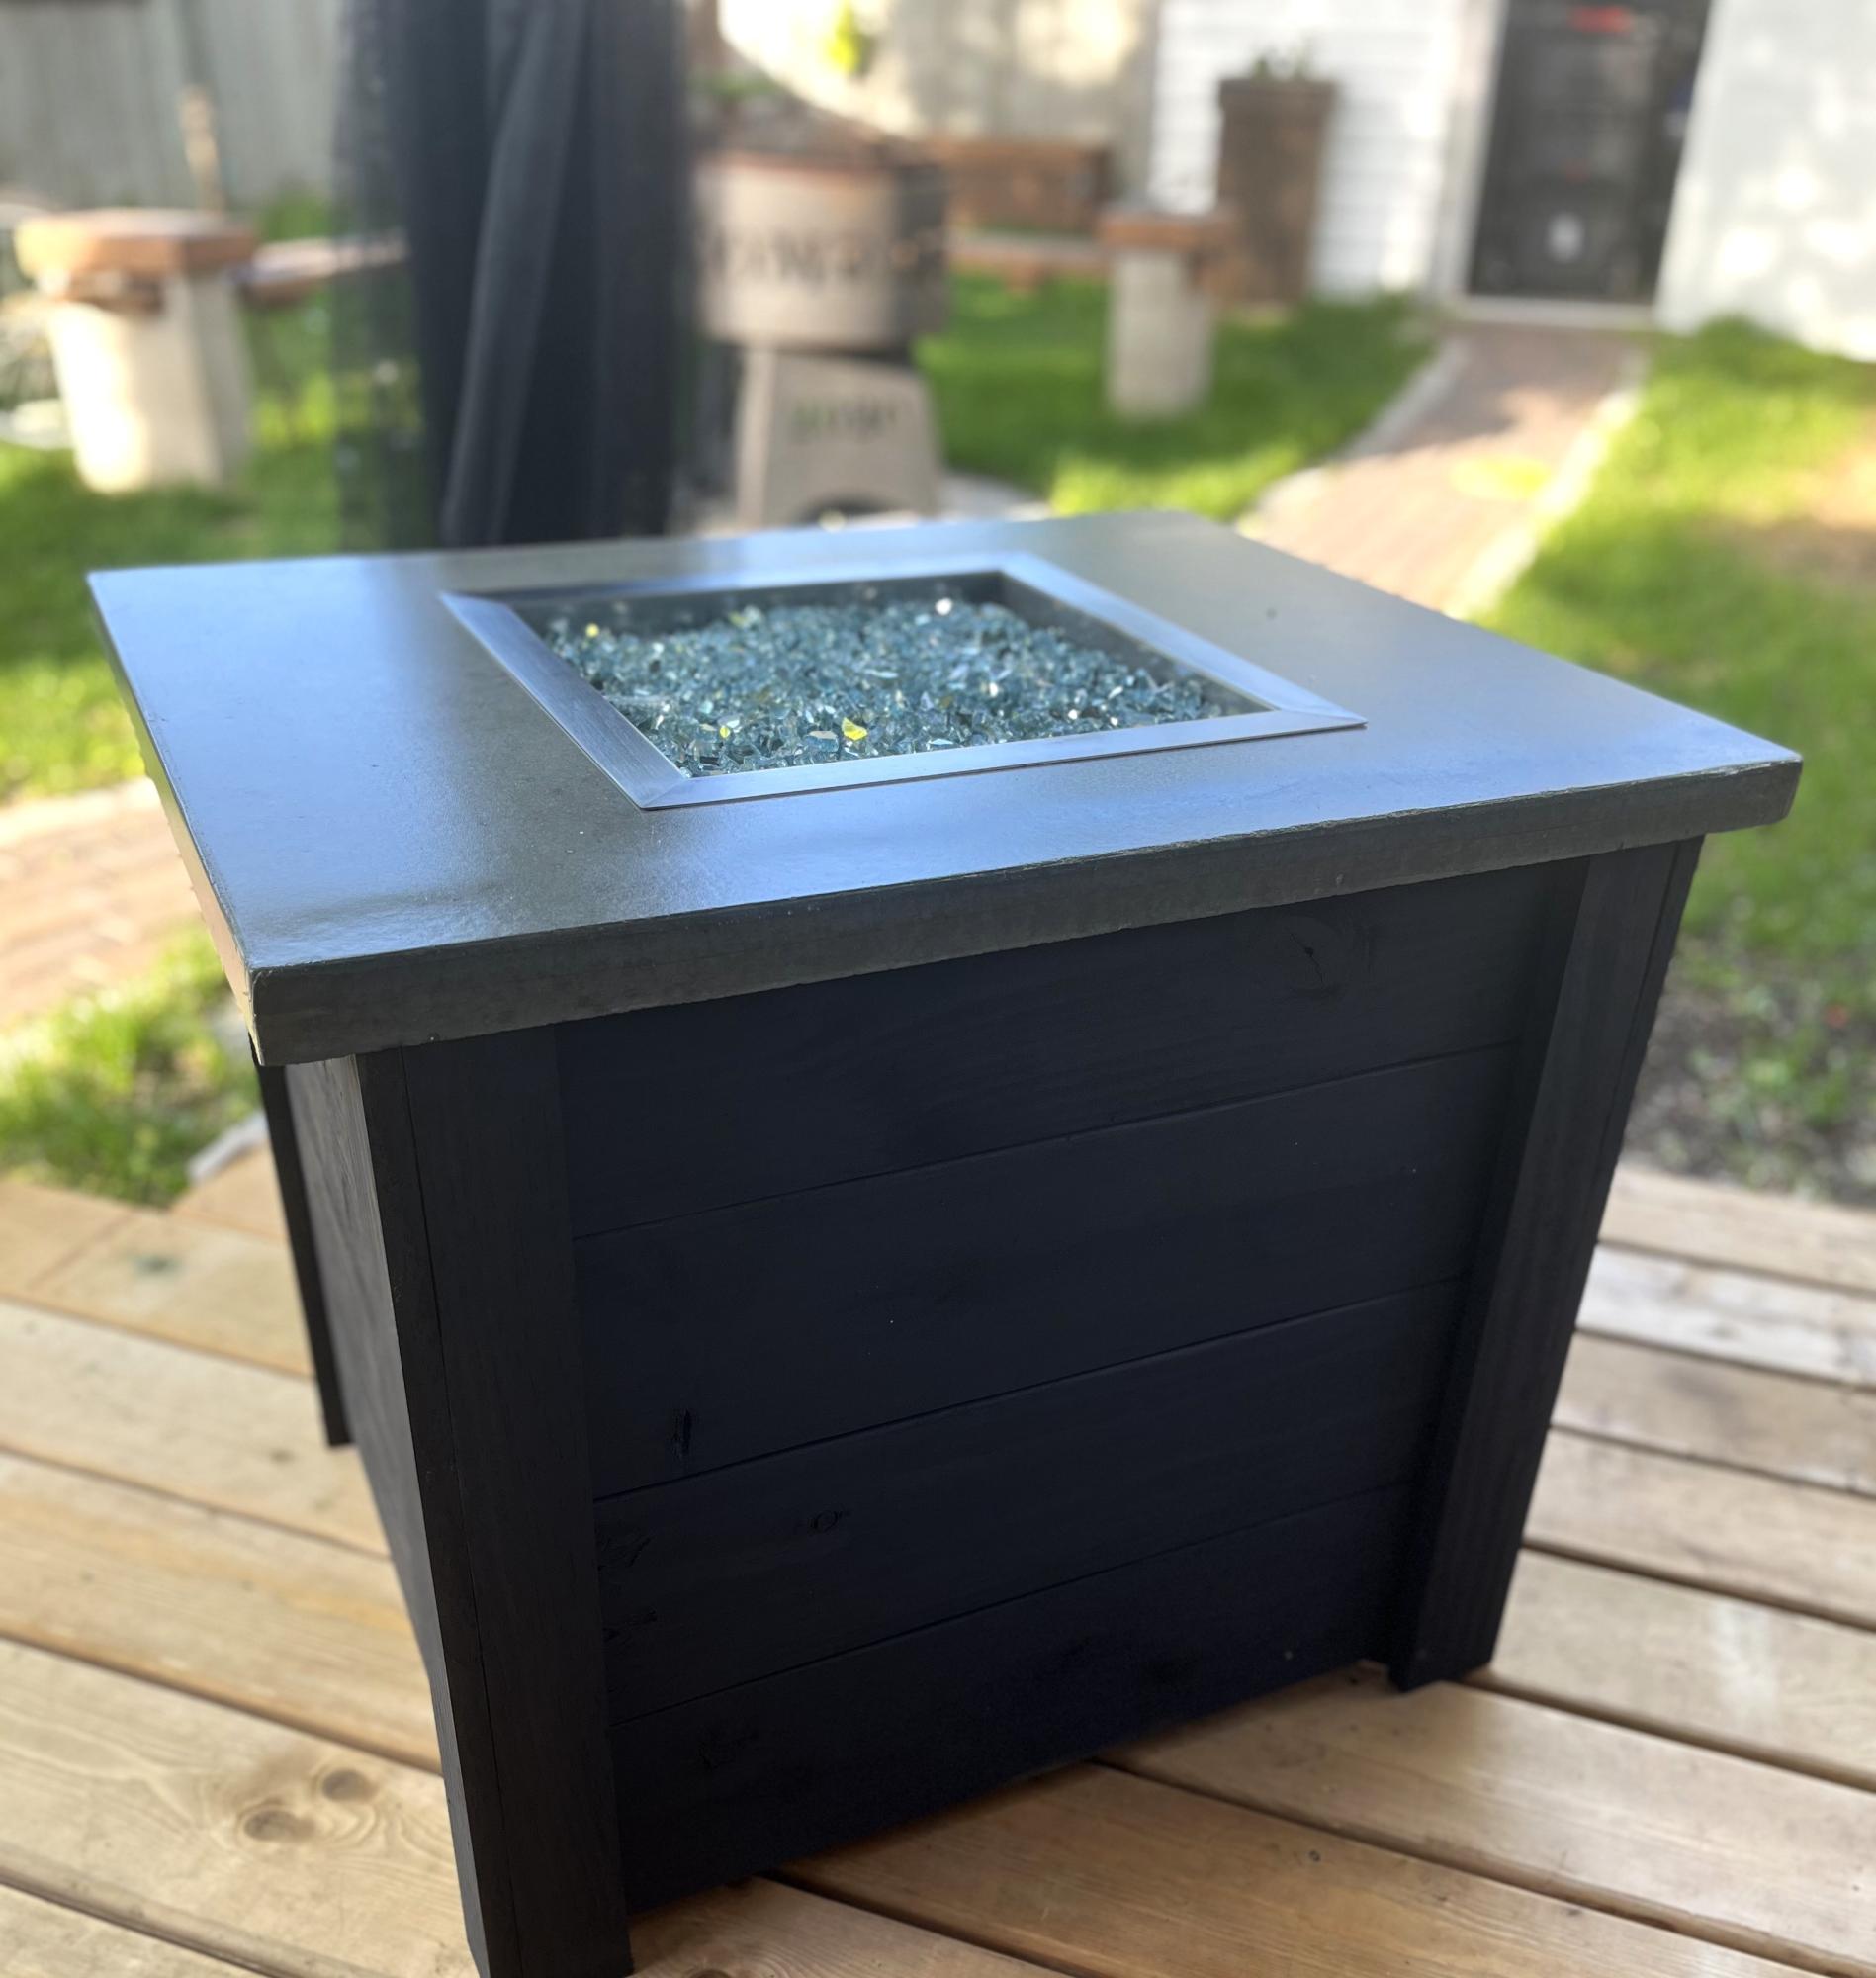
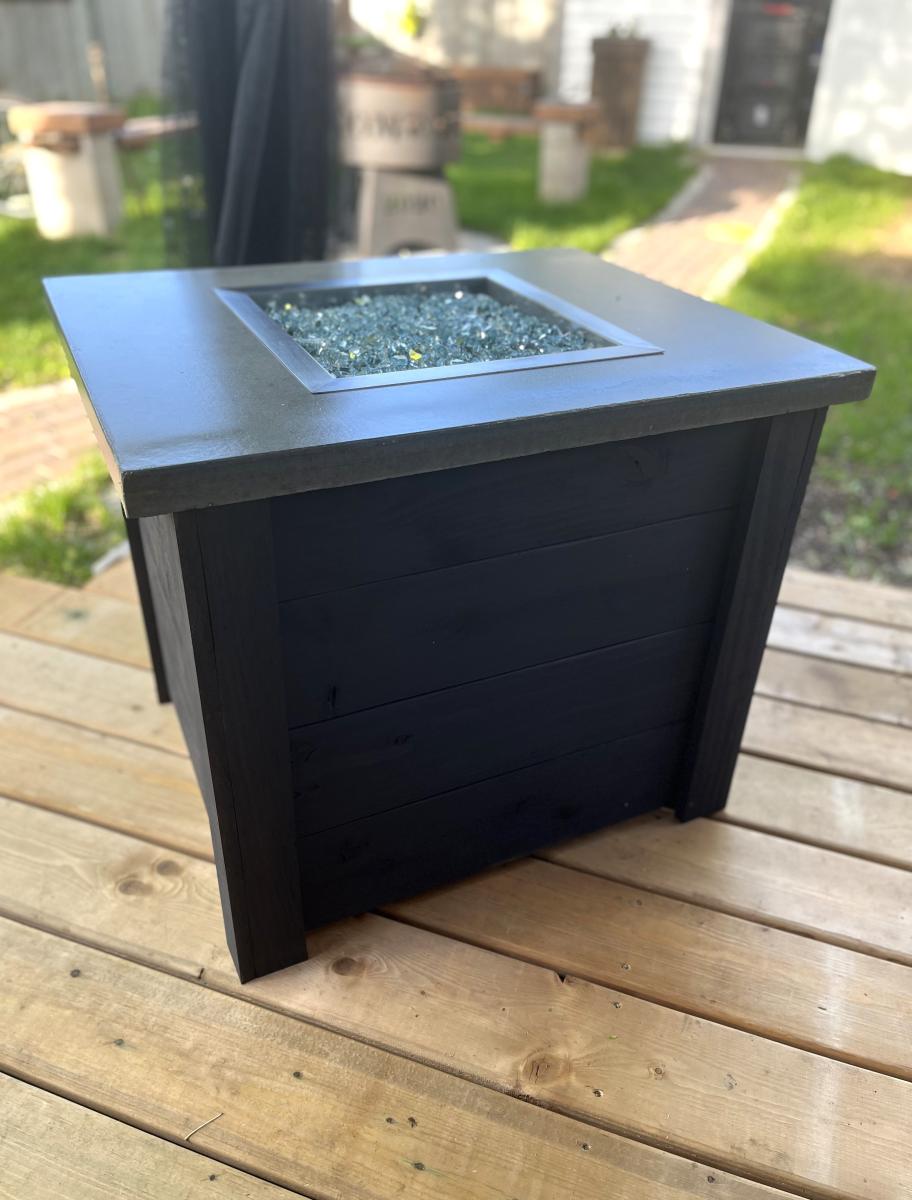
This was a weekend build made from plans right here on Ana-White's site. There were a few changes made to make it sturdier since several (older) rambunctious toddlers were going to be using it. If anyone is interested in how much weight it can hold, two adults sat on this and it held up great. We have had this in the back yard for over a year now and it looks just as it did when it was first built.

This project took a few days longer than anticipated. I was having an issue with my screws and stripping the heads. After EIGHT trips to Lowes I found out that I needed a drill with torque and mine didn't. Total costs: pipes & screws= $150.00. Wood and stain = $170.00. 2017 pricing! Amazing closet! And for the record...I am a complete novice!

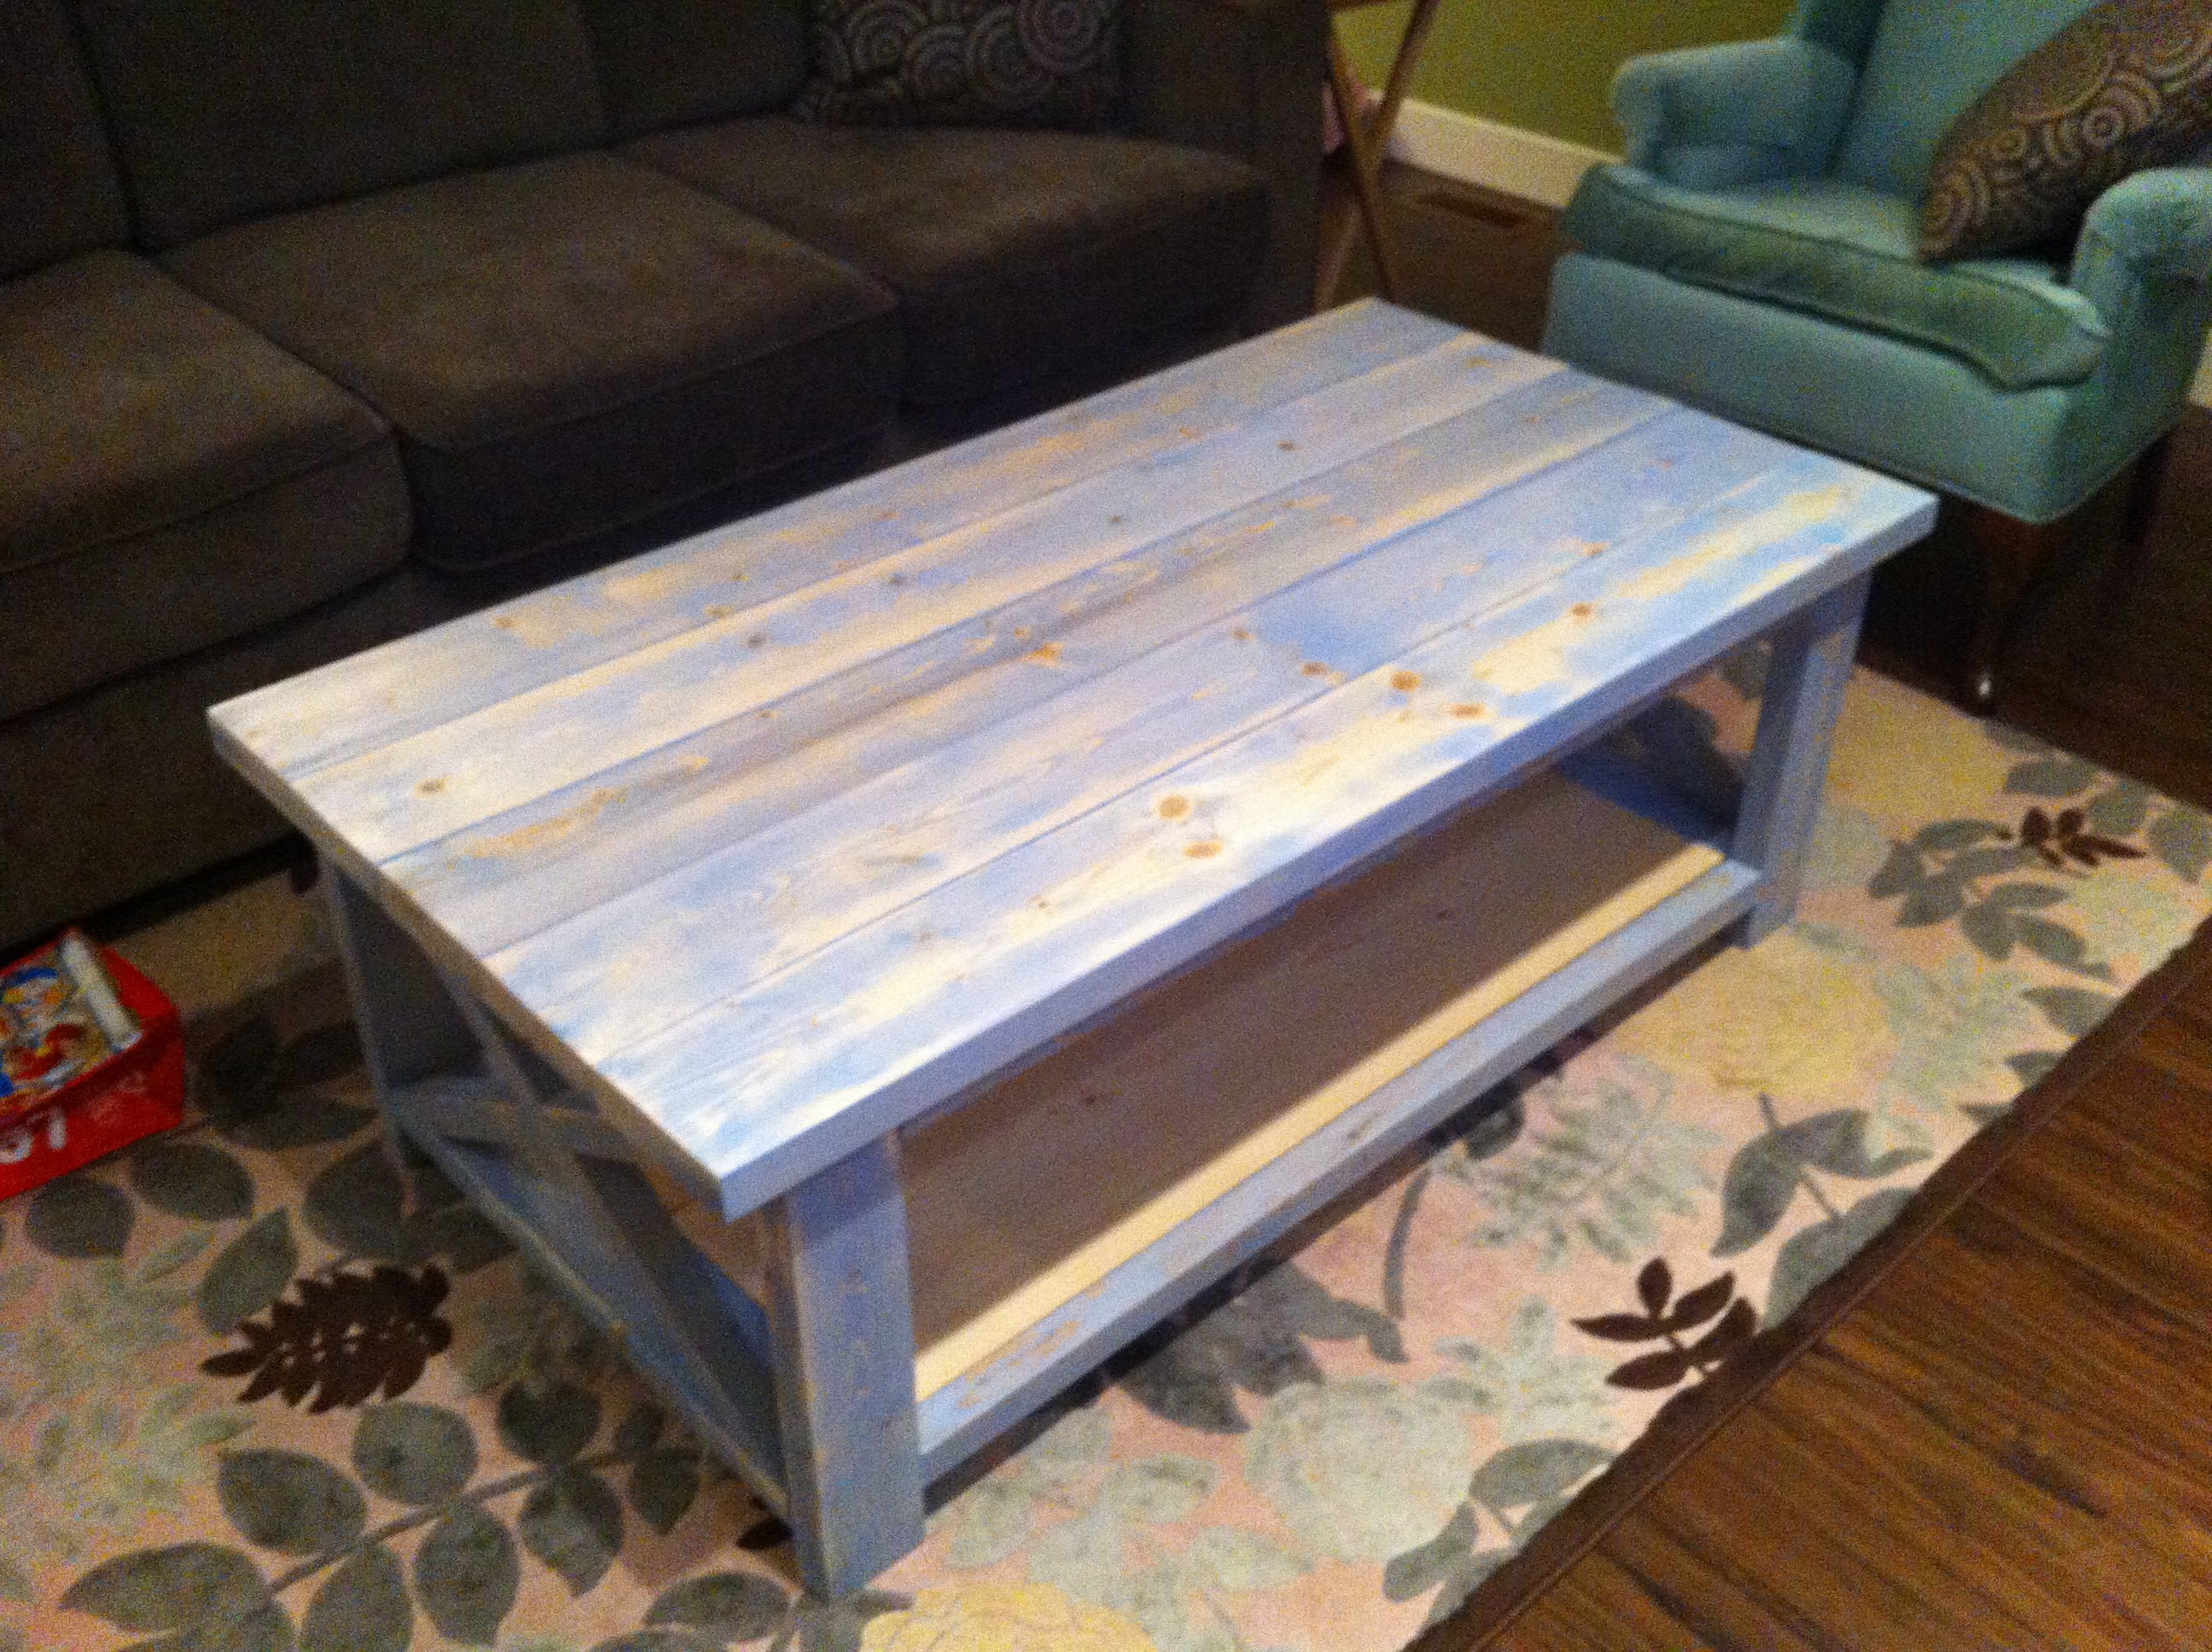
This project took several months of off and on work but I am very happy with the results. Followed the plans on this website to the T and they were great. Got the wood from the local lowes and the hardware from Ace Hardware. Used the Kreg Jig pocket hole system to hide the fasteners which makes a big difference. I also used flat black spray paint for the hardware.
I loved the rustic look that this project was finished with so I did the same. The stain was great, really easy to make and stains really well. I covered the stain with the recommended wax which gives it a really nice shine and is very smooth.
Huge thanks to this website!

We found these plans and figured we would try it out! Worked great. We bought the Jig and the wood and took our time building it. We really love how it turned out. We made sure to take our time with sanding and filling holes. Our 6 year-old daughter chose the color.
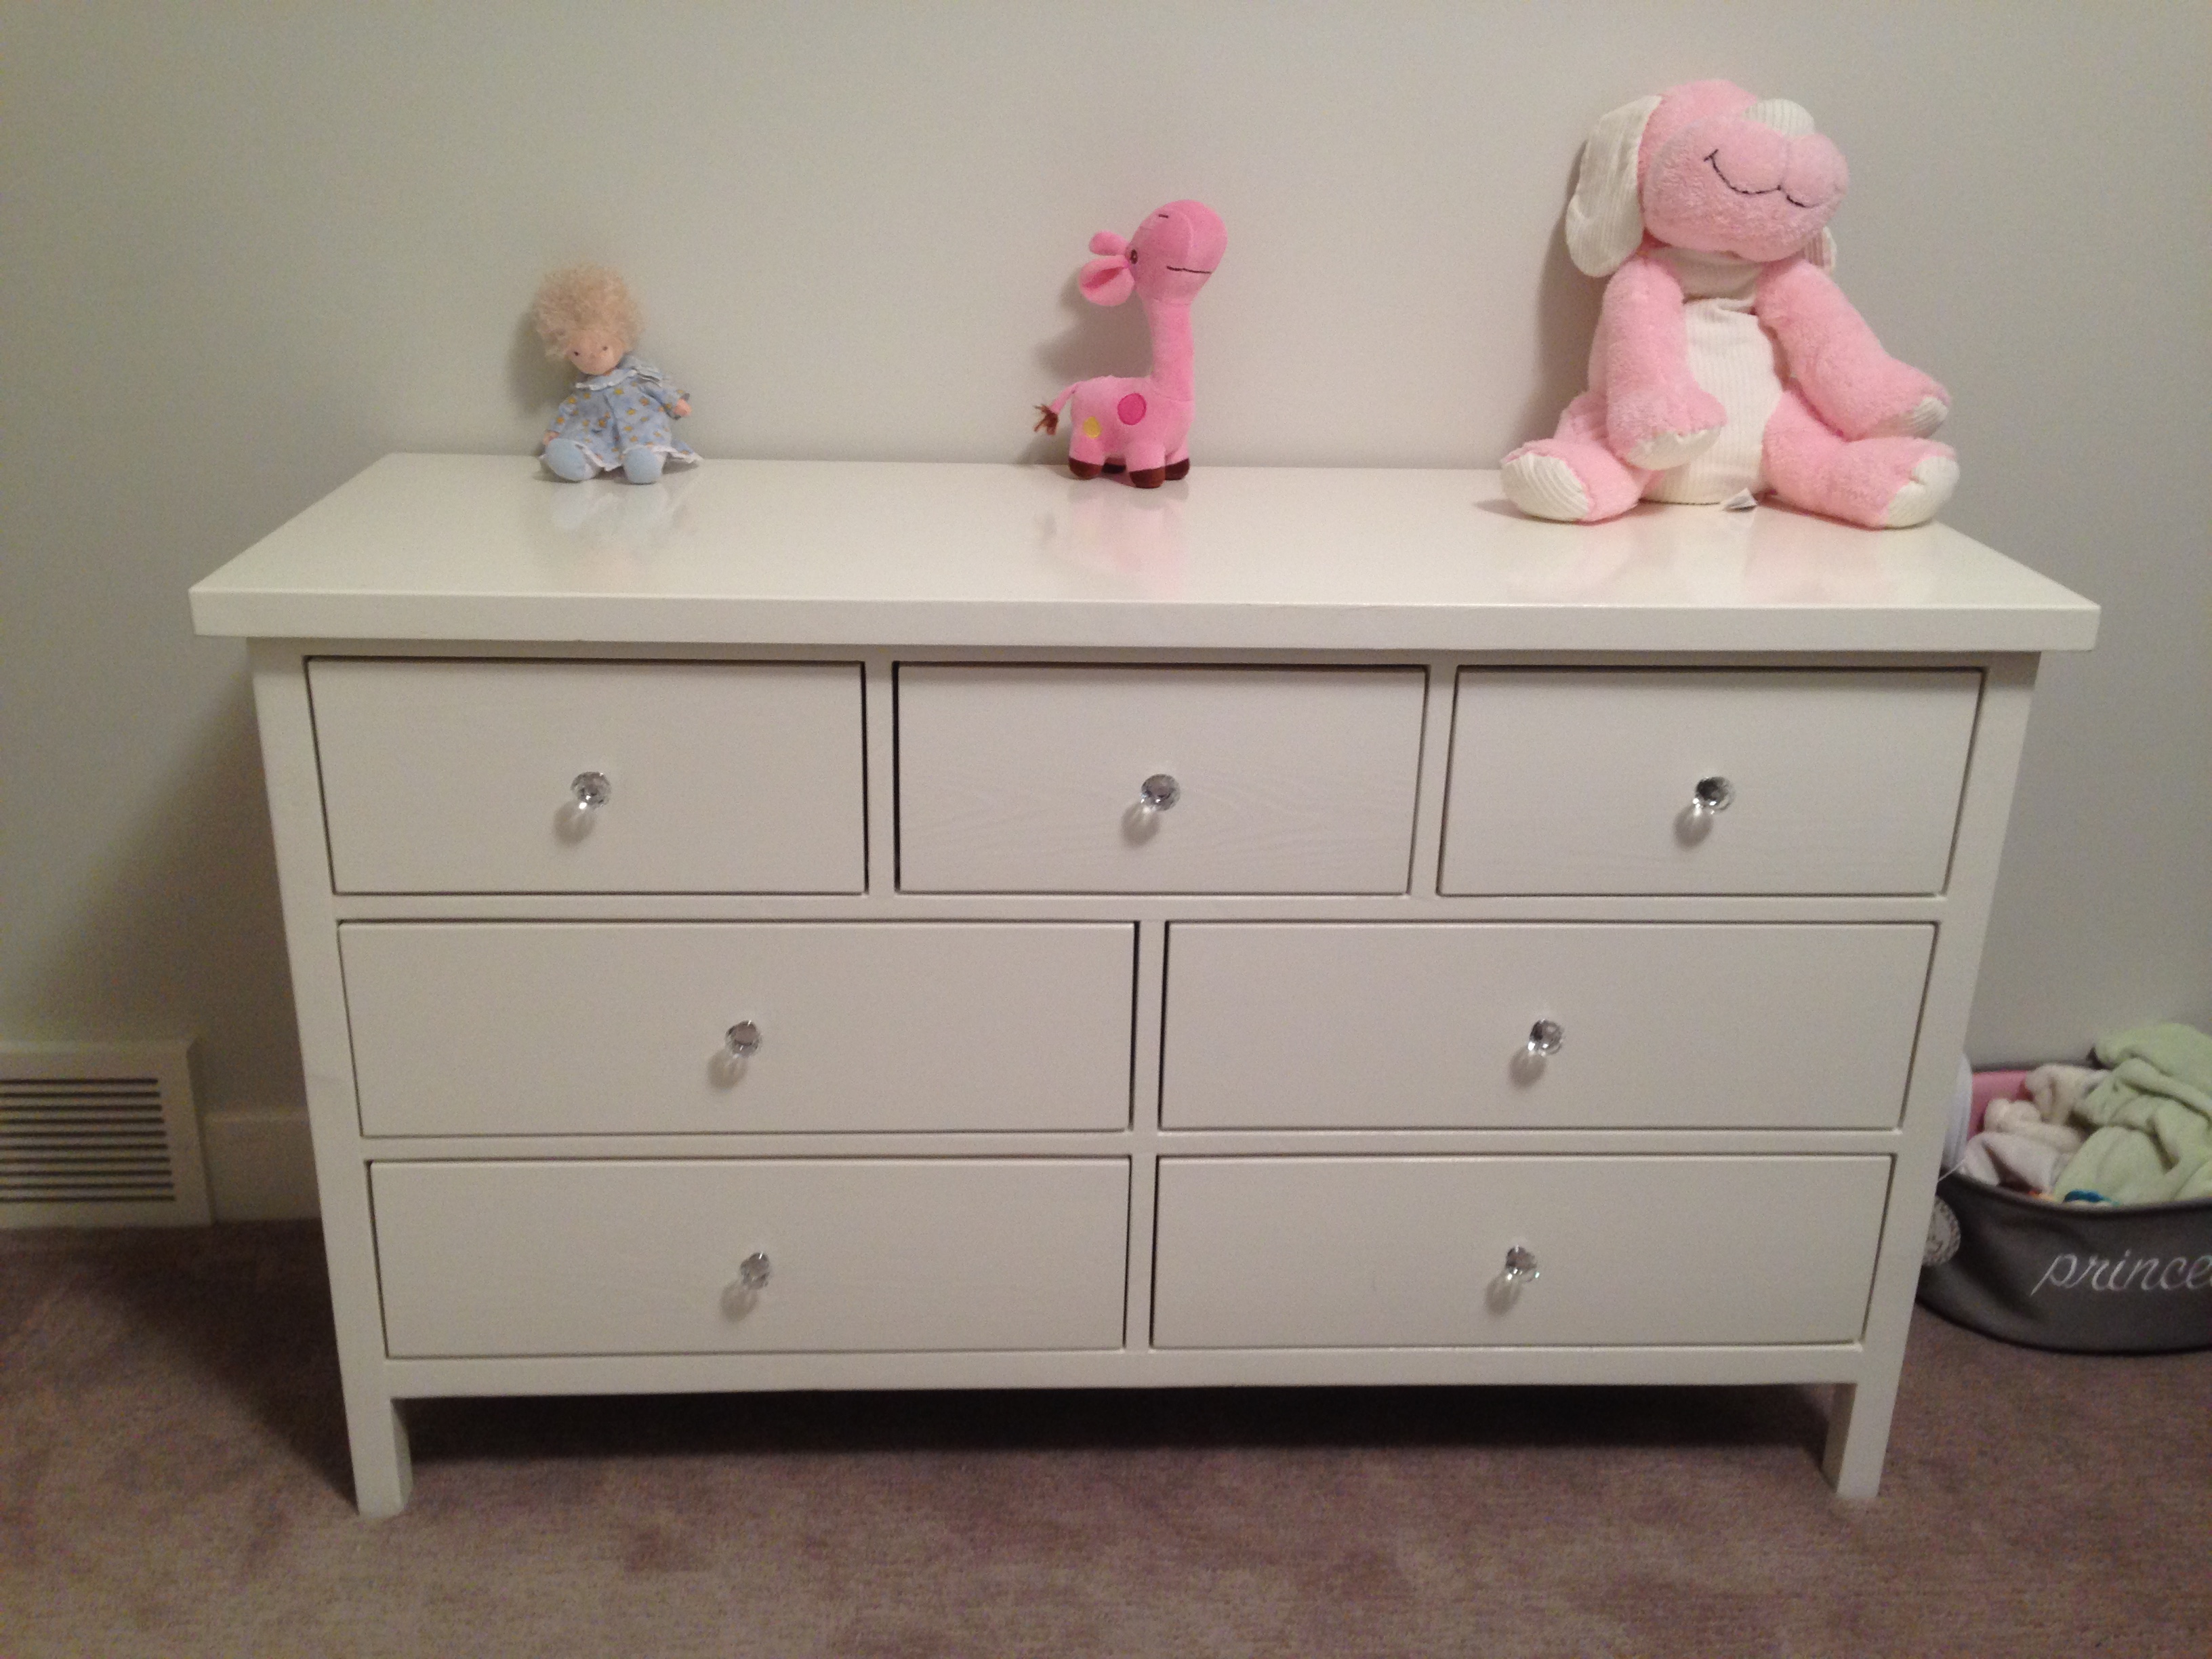
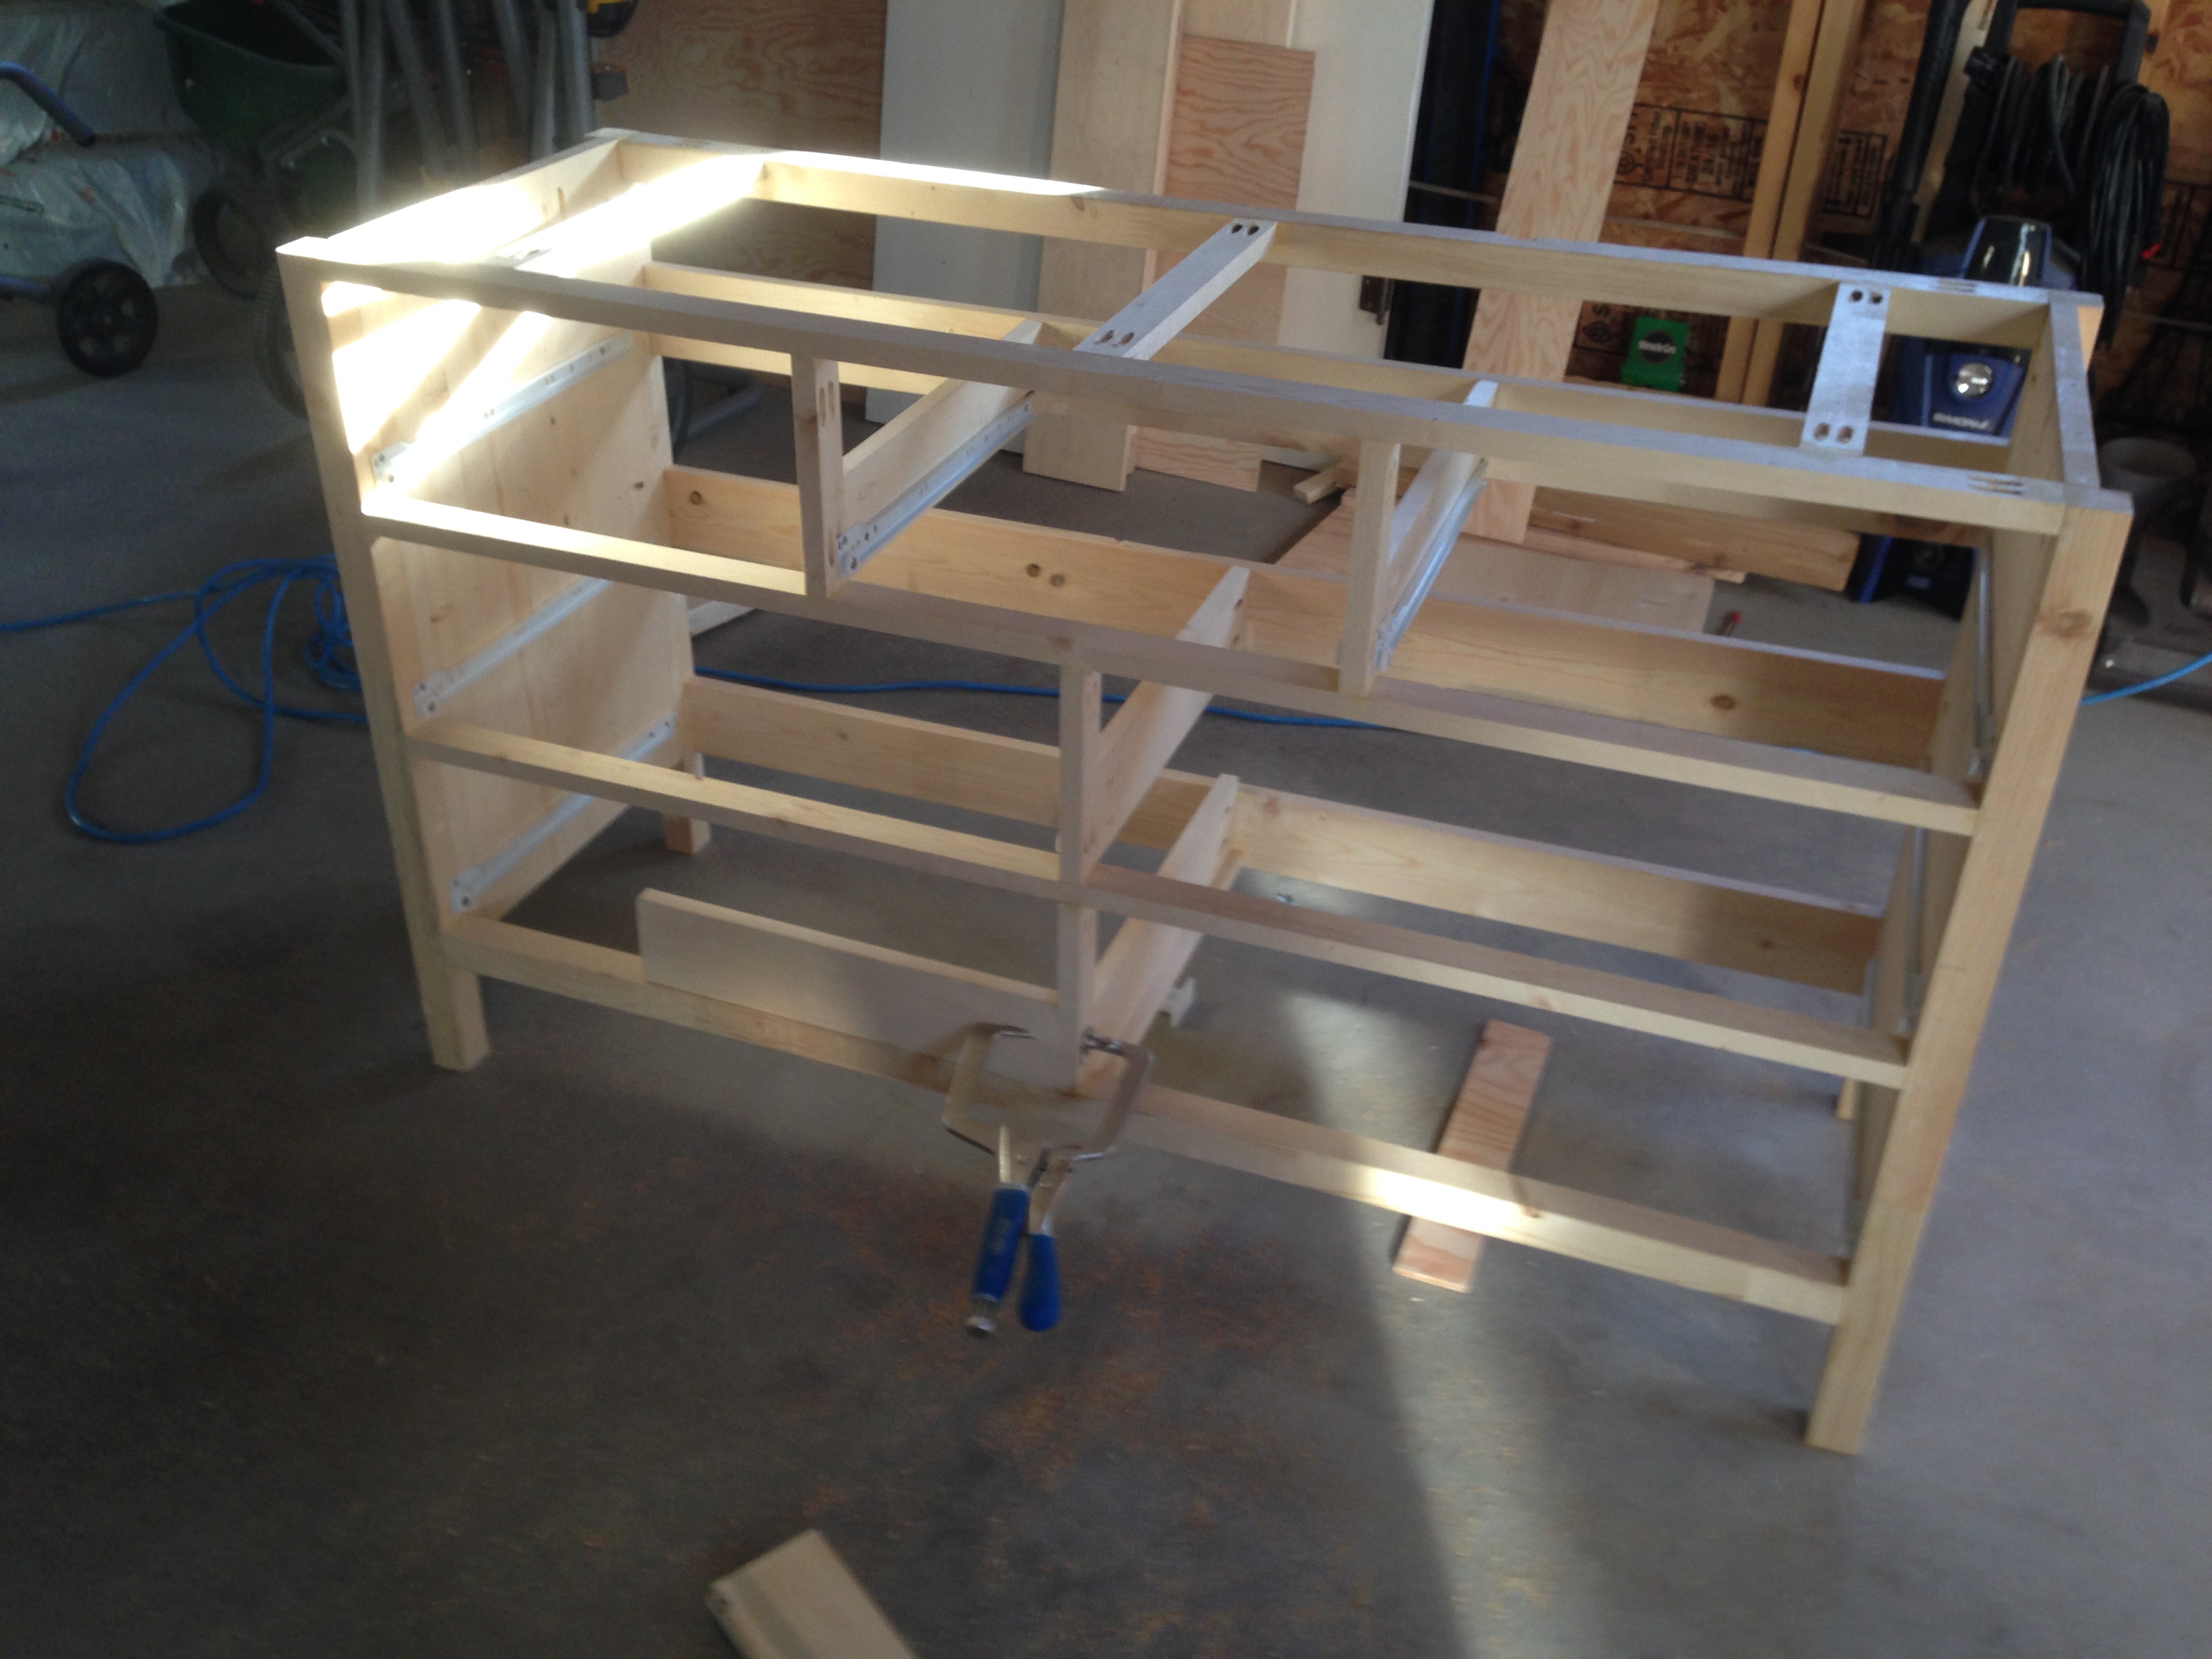
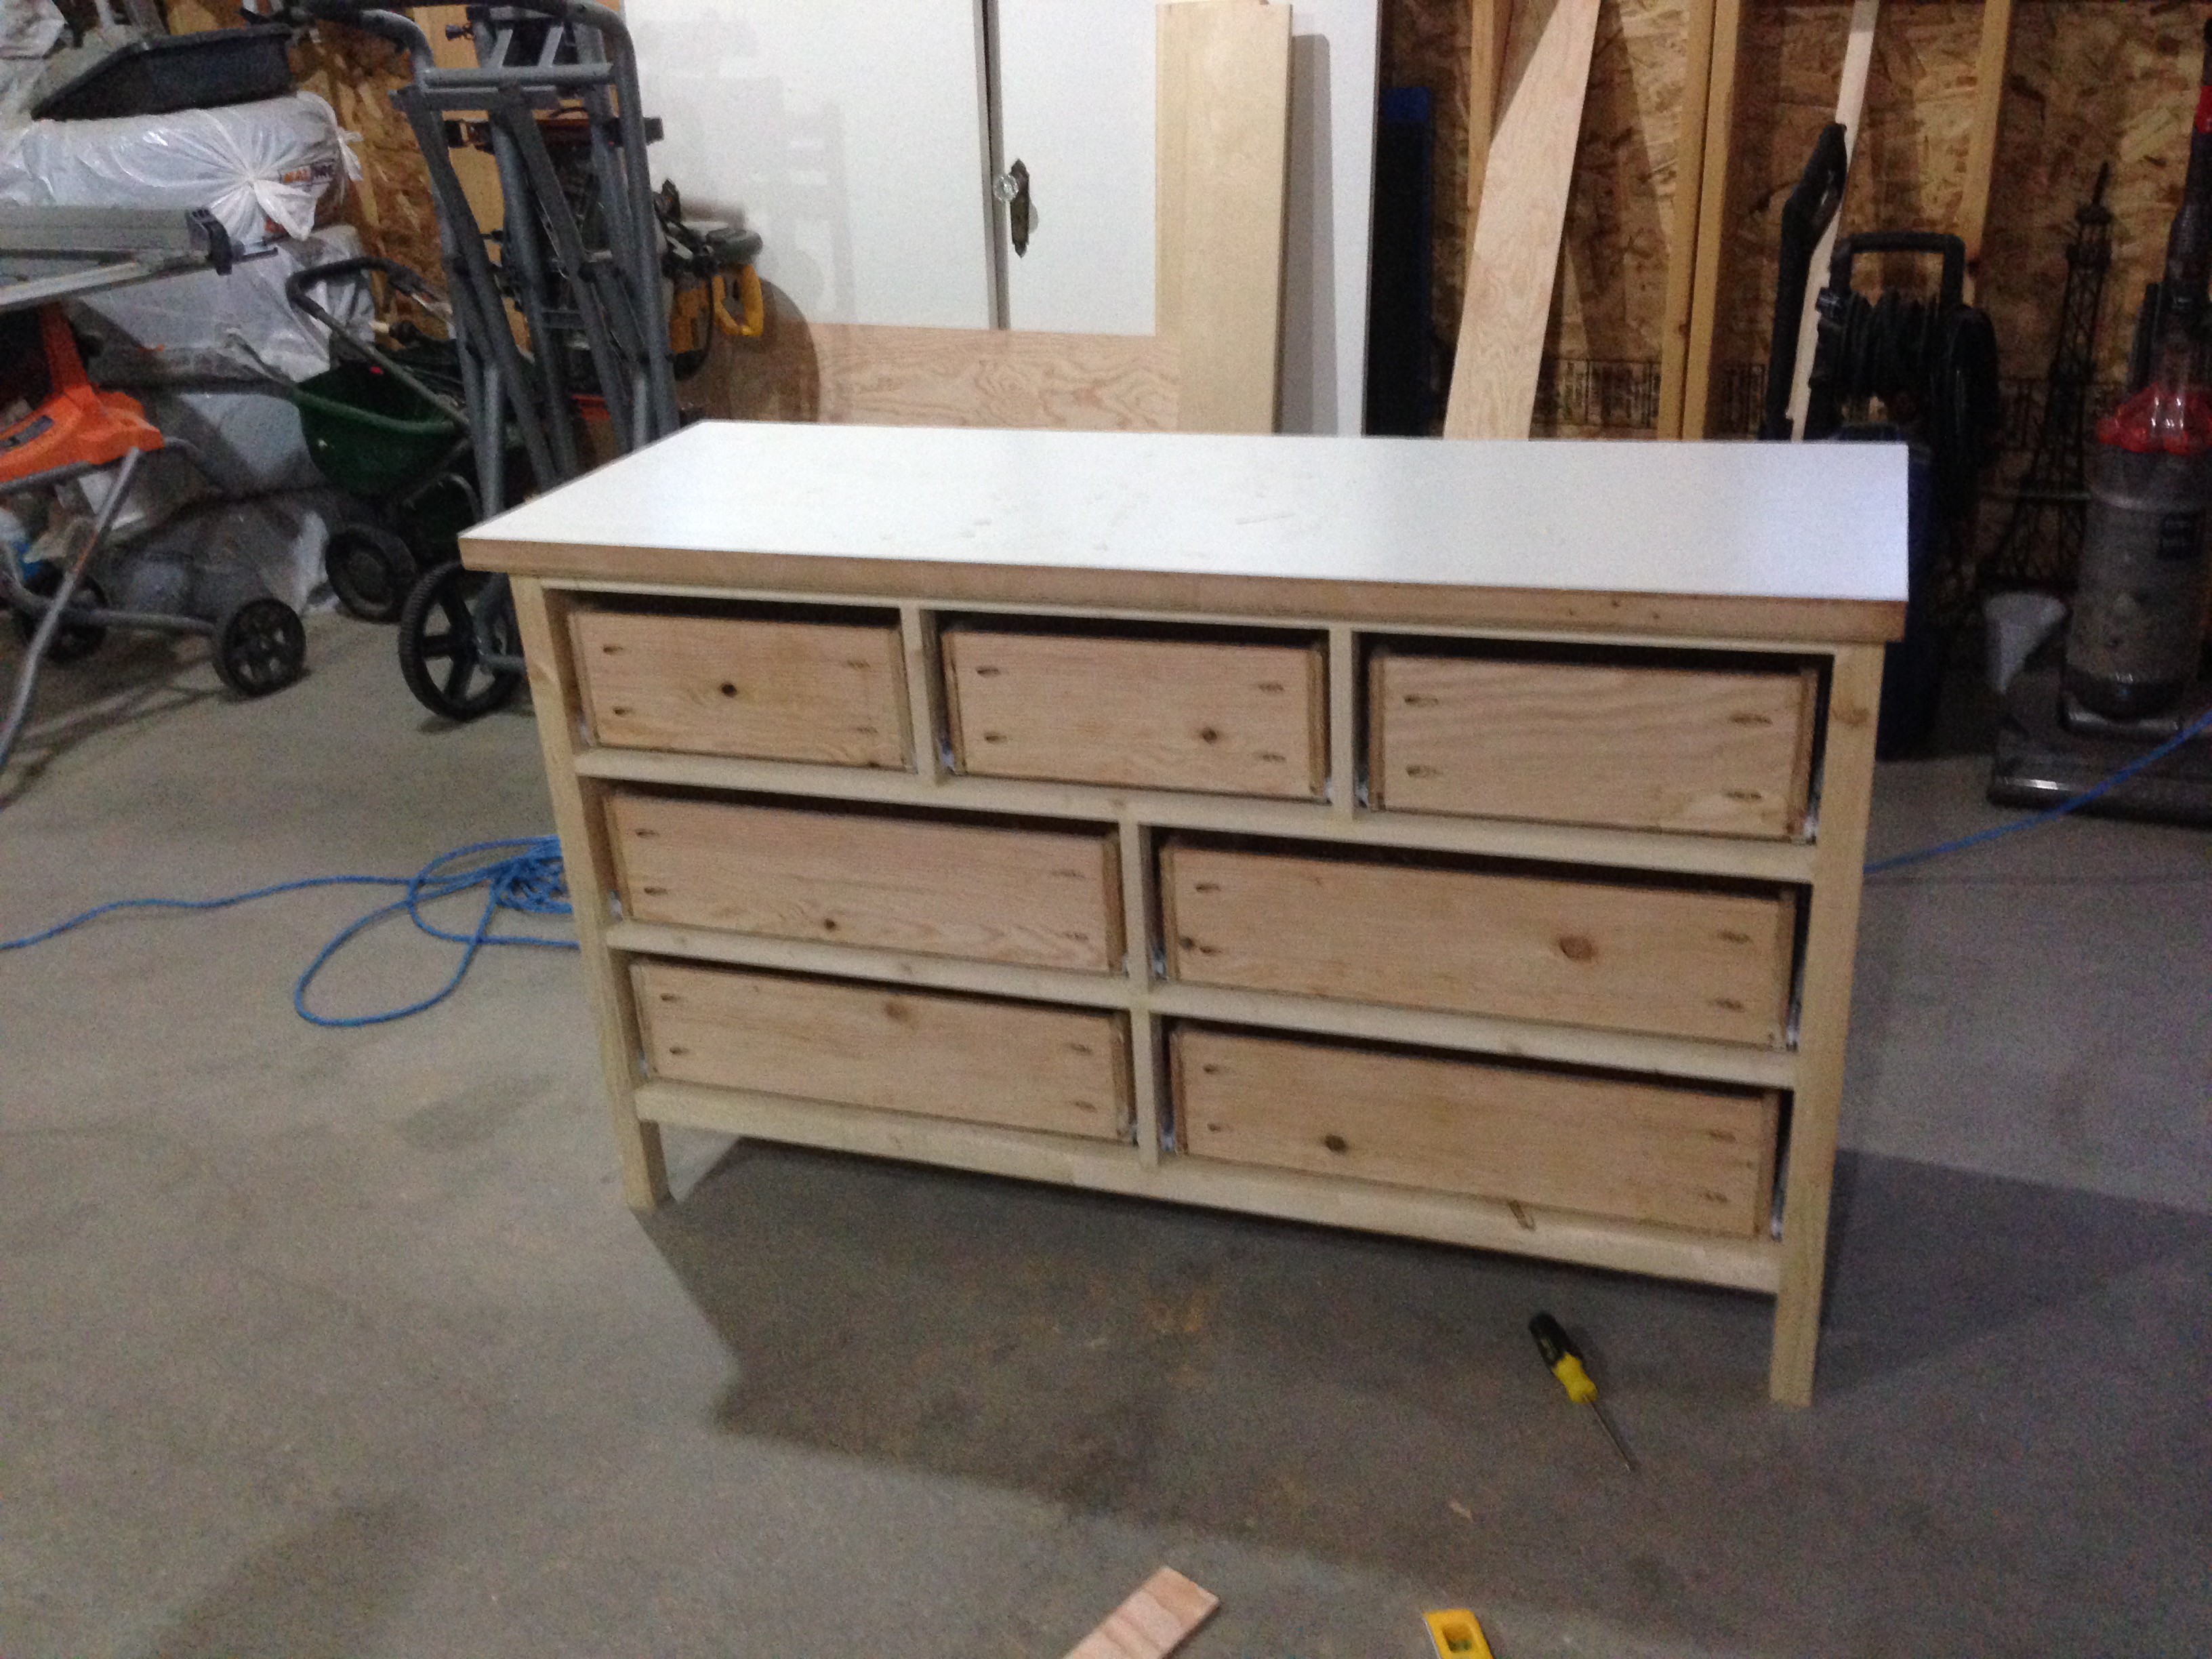
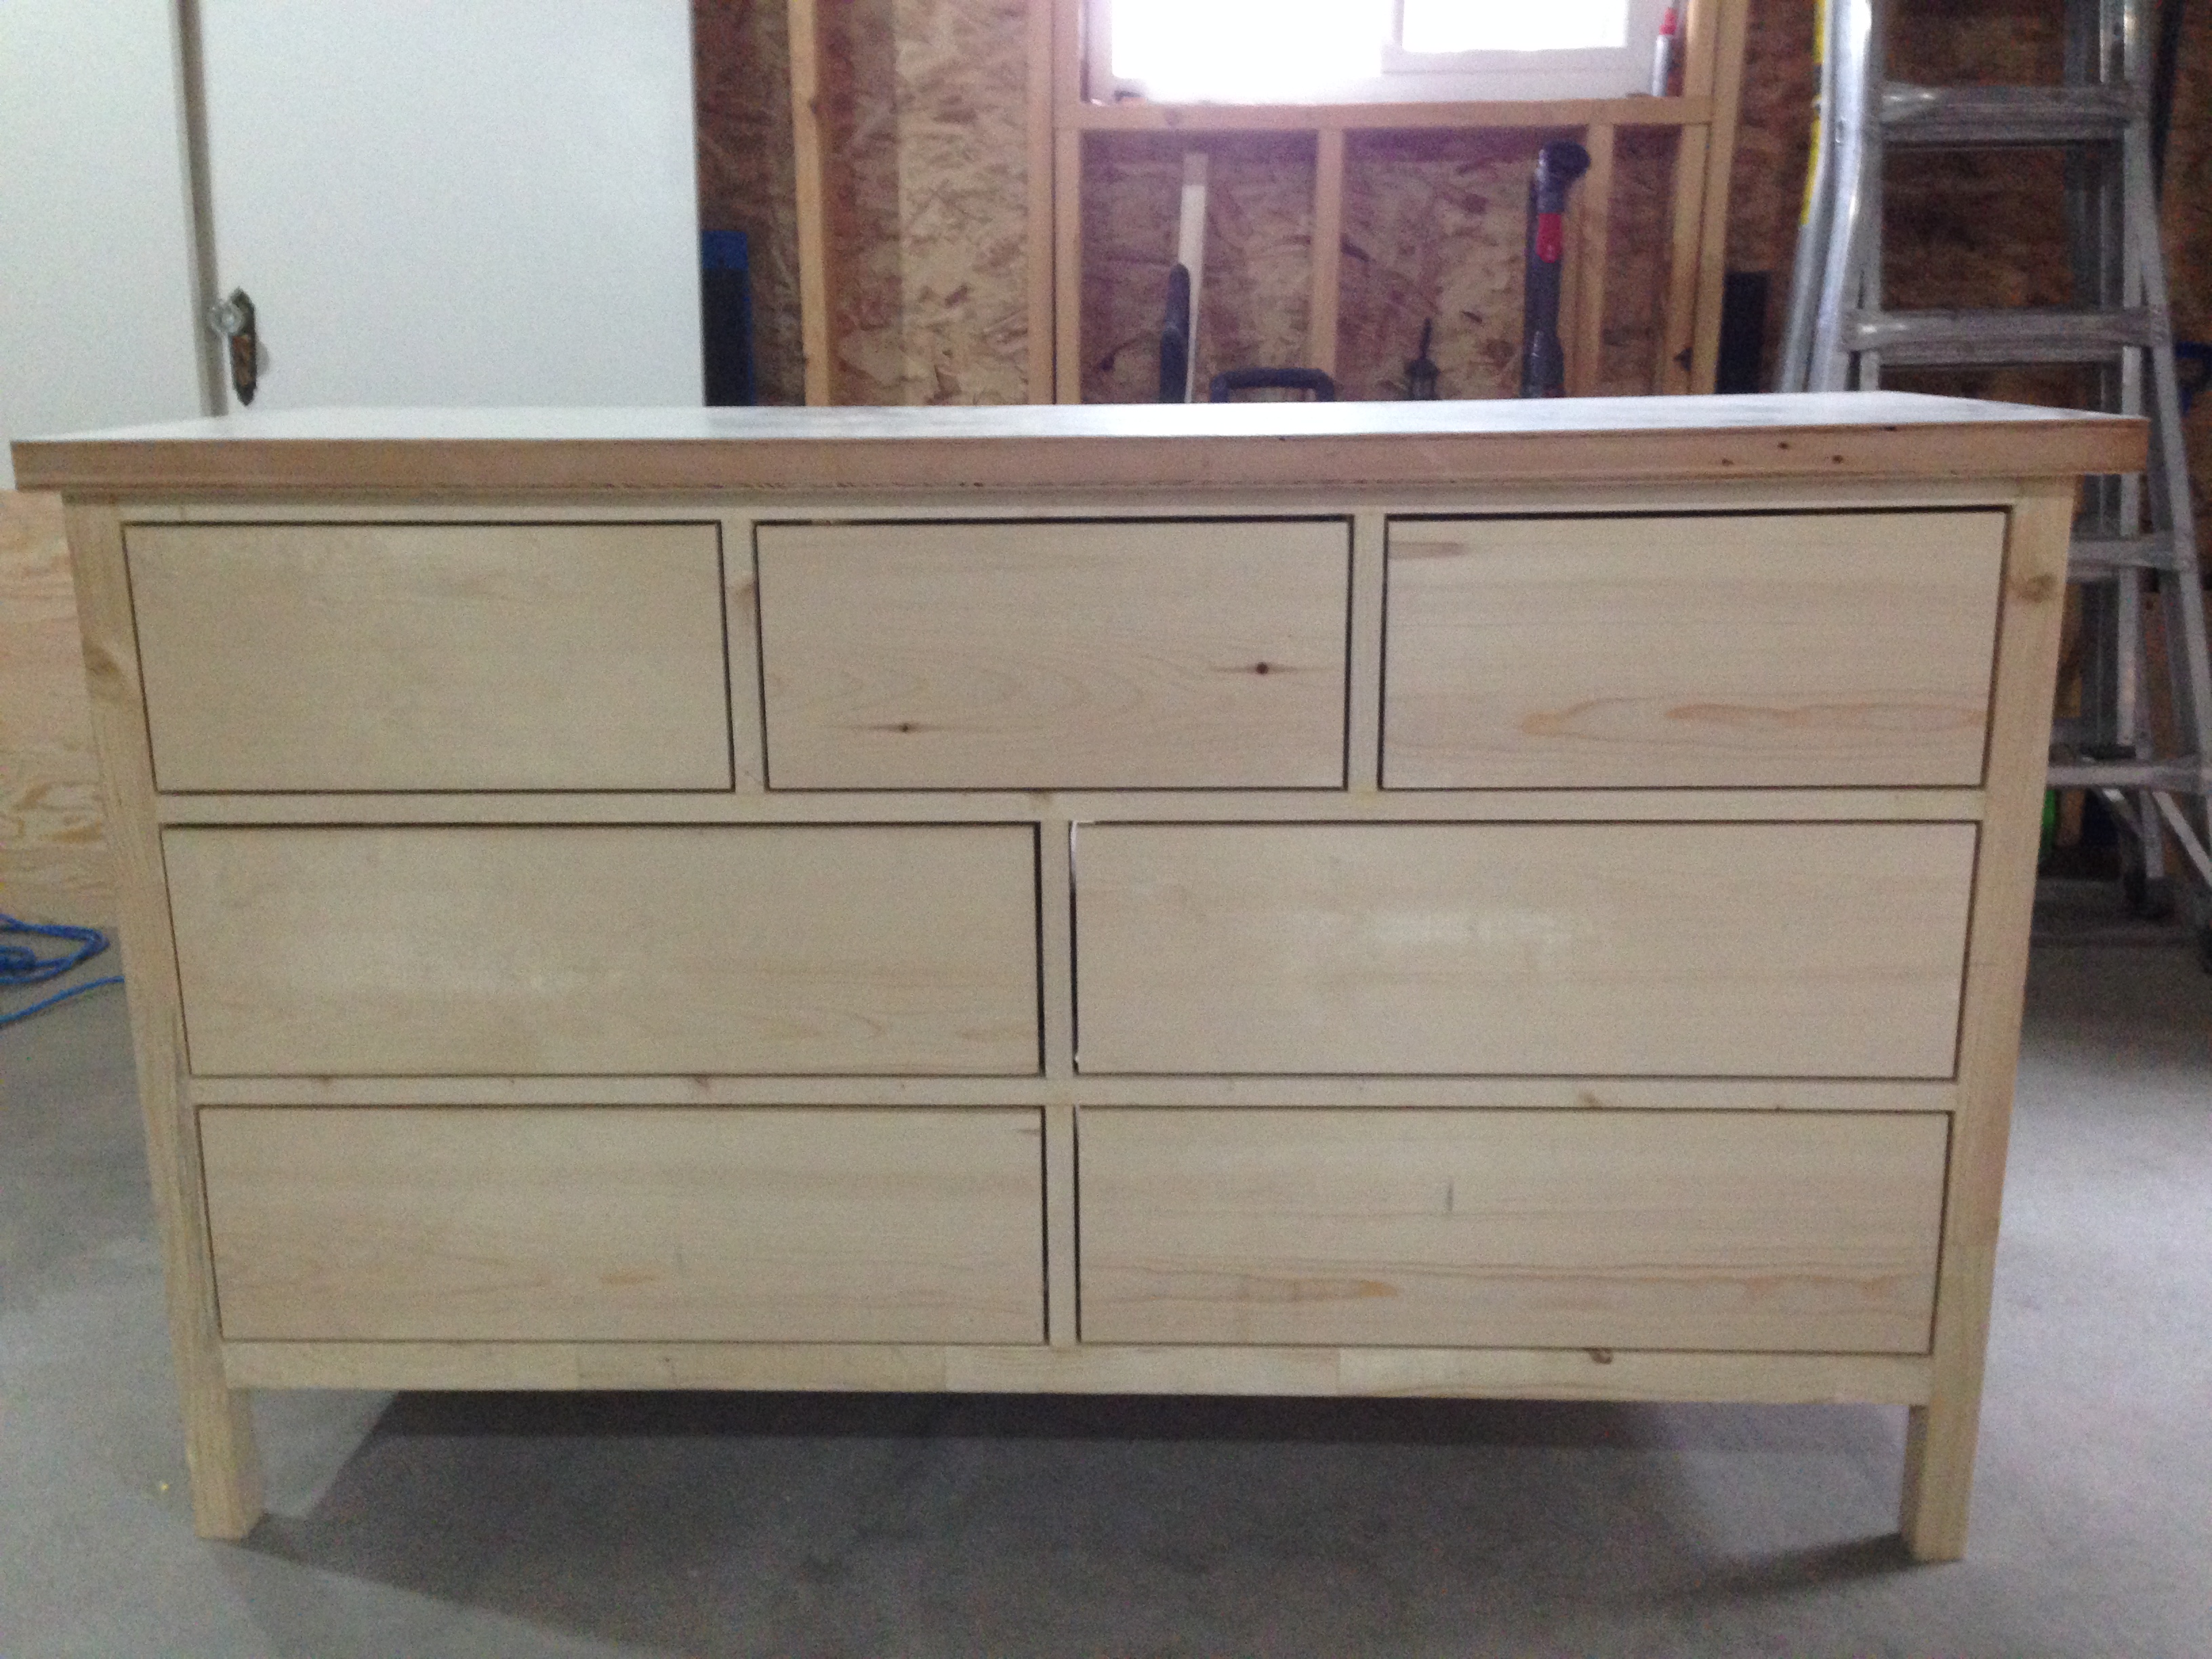
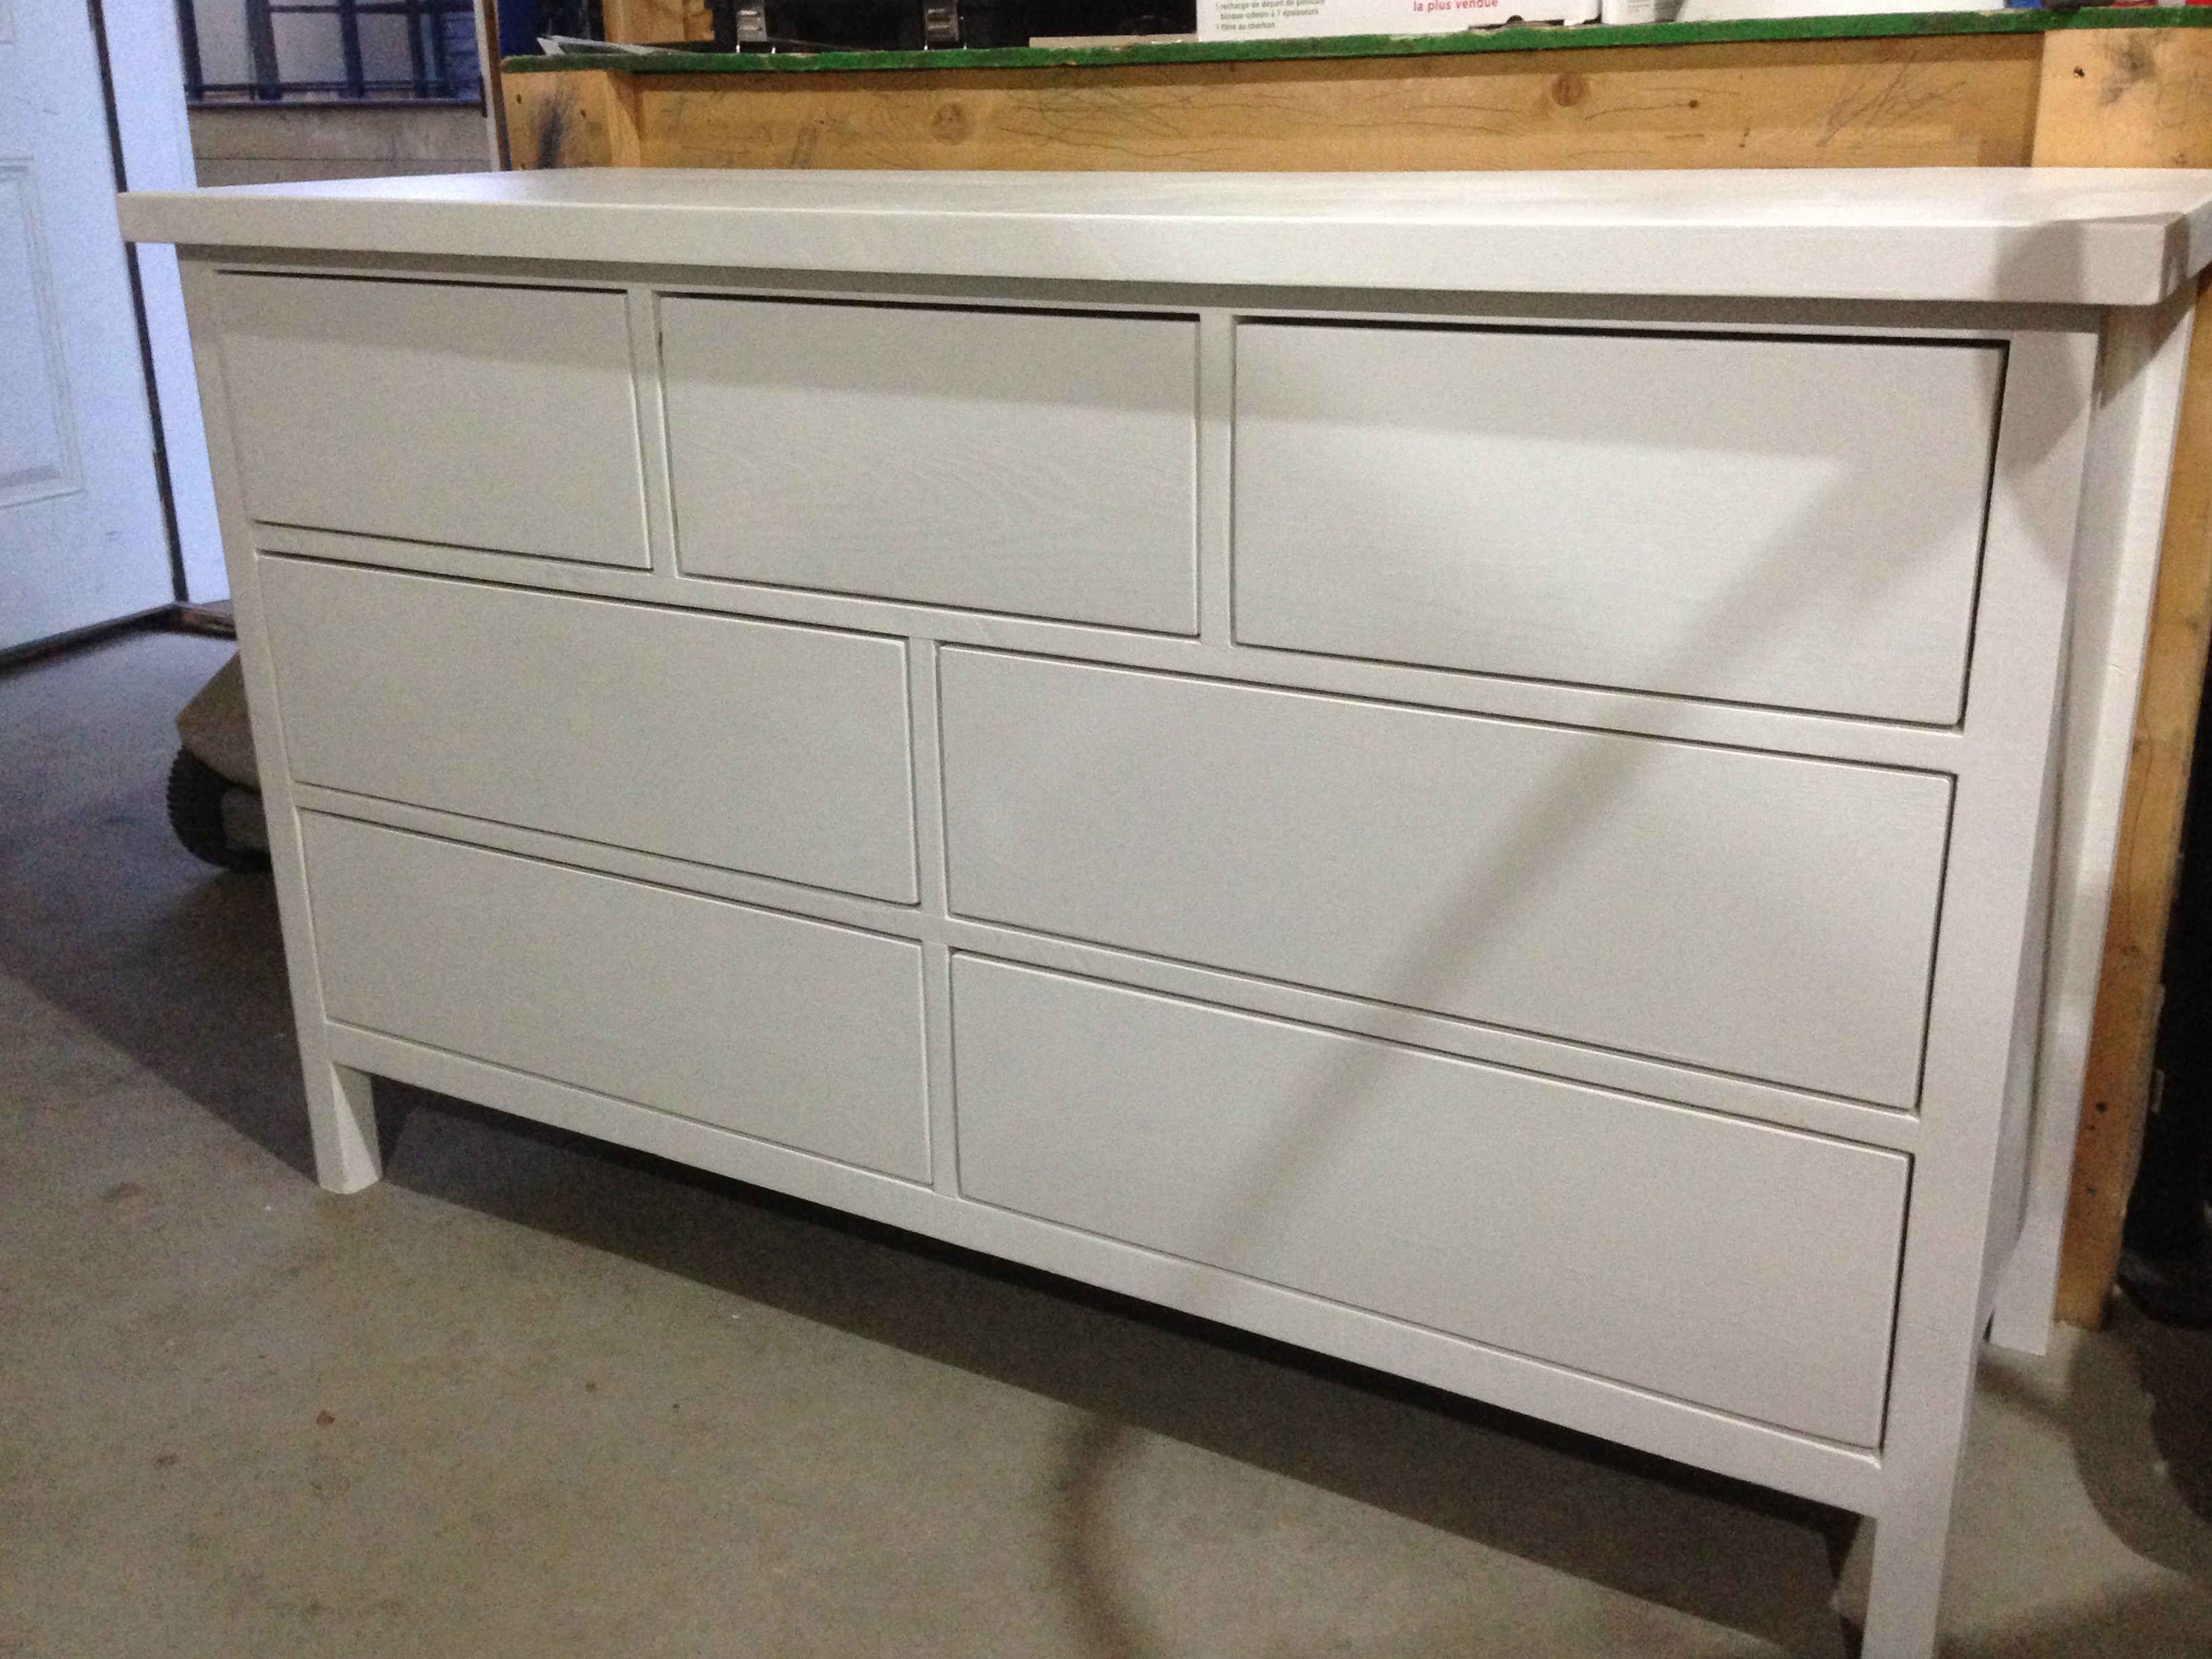
Built for my new baby girl! Followed the plans with a few modifications. Used dadoes for the drawer bottoms. Added bracing for attaching the drawer slides. Used an old door for the top!
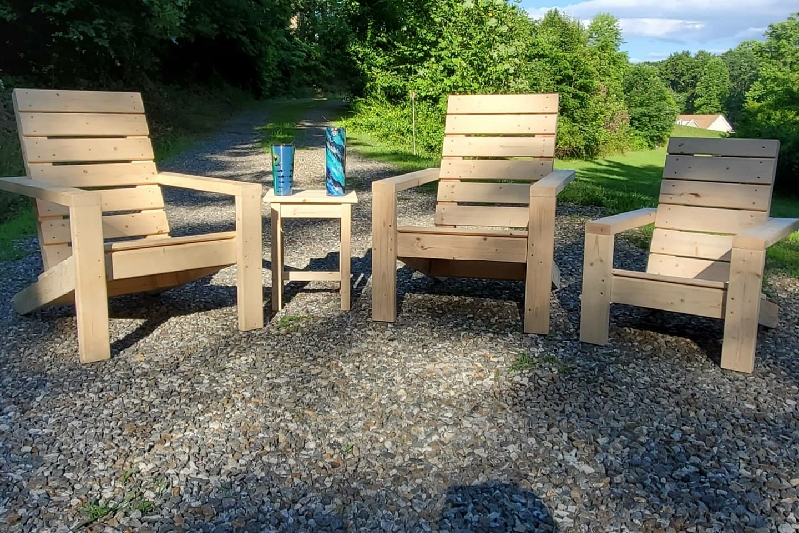
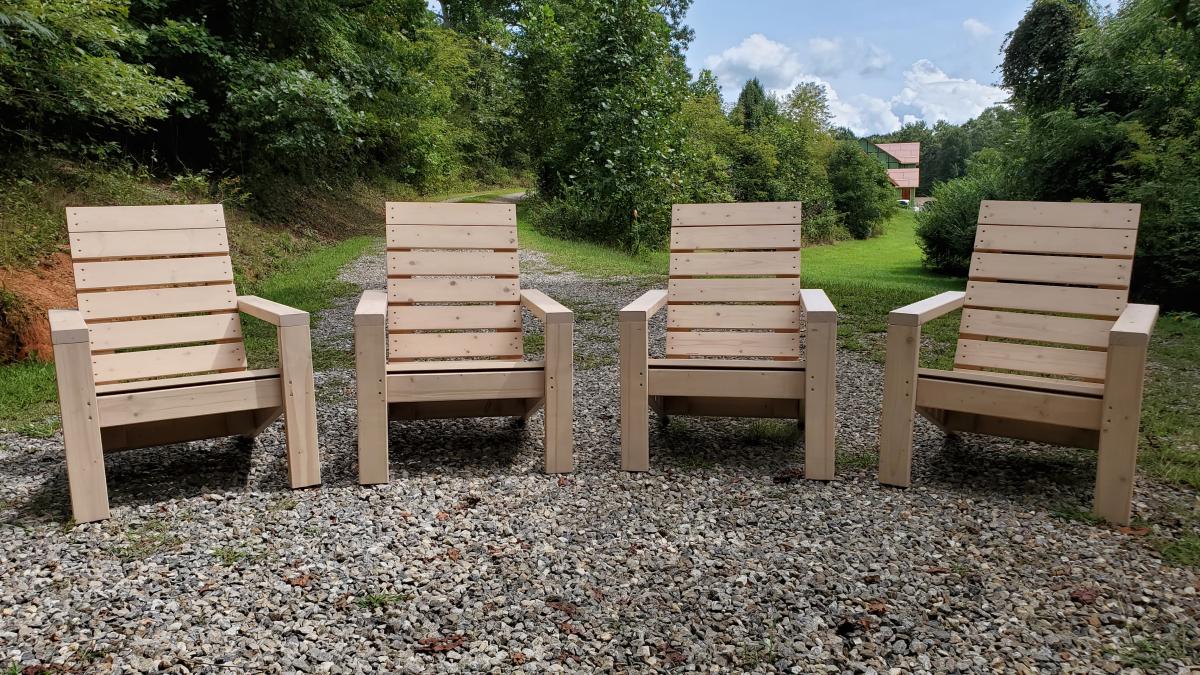
In March of this year, I was furloughed due to COVID-19. Like most people, I looked for something to do while hoping my employer would bring me back to work. I found your site and it has been a lifesaver. What started out as completing projects for our home, turned into extra income to pull through these tough times. I've really come to enjoy wood working and have built things I never thought I could have before. I modified this plan to use 1x4s for the seat and back because I couldn't find any decent 1x10s at the time. I then scaled everything down for the kid's chair.
Wed, 09/16/2020 - 09:47
I like the look of these with the 1x4's on the back, thanks for sharing!
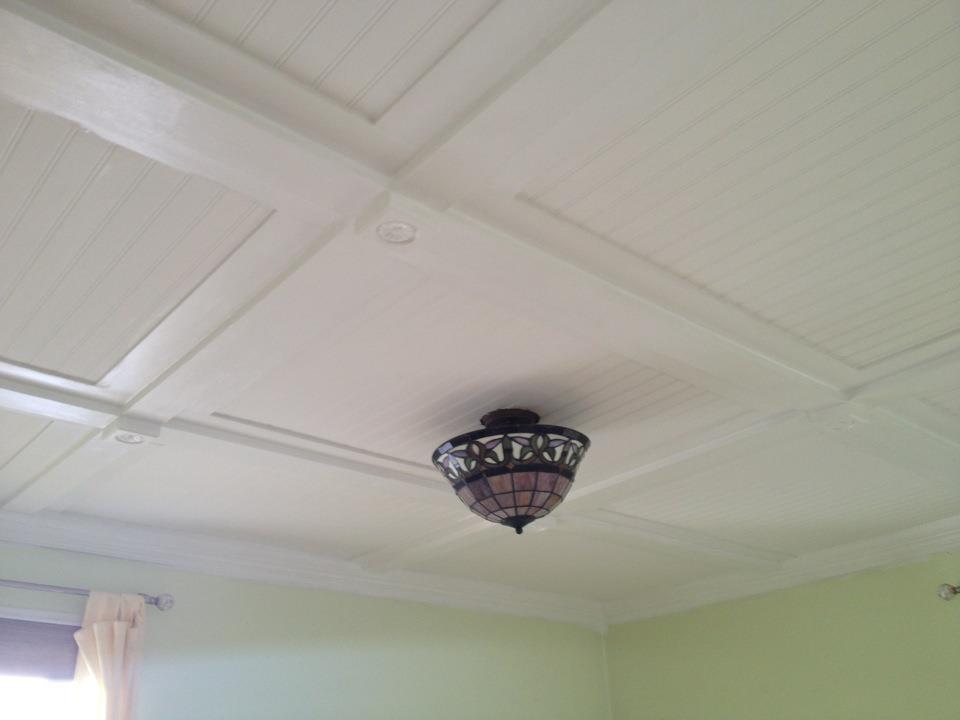
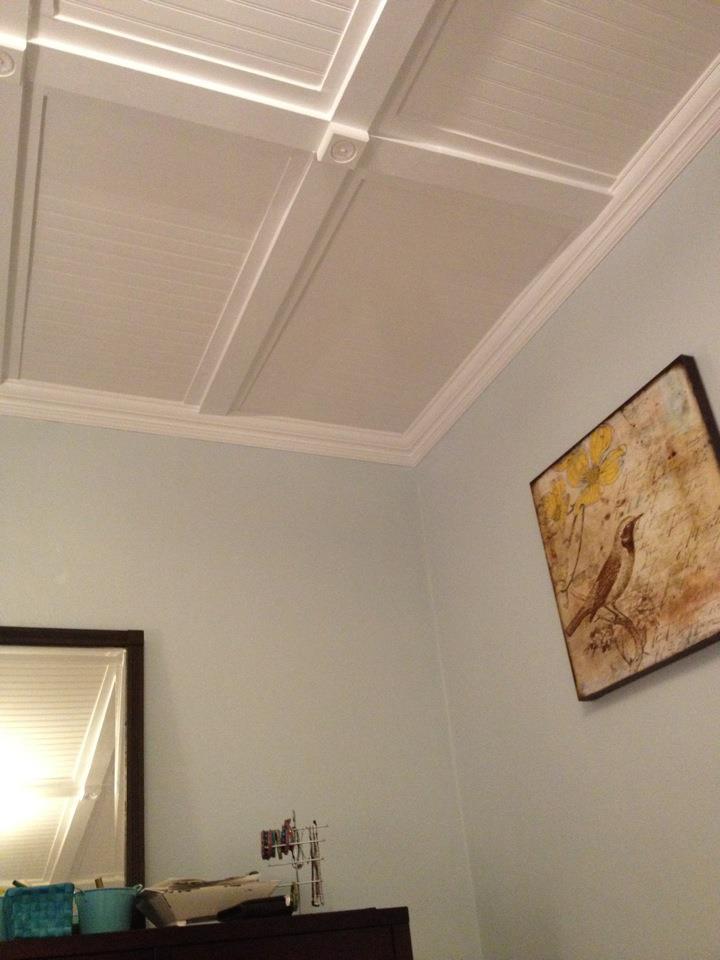
I am all about charm and character, but when it comes to my 1940s brick bungalow, the plaster ceiling cracks got on my nerves. Every changing season brought the inevitable expansion and contraction that would leave new mapped territory on the ceilings in the bedrooms. I usually just mudded over them and smoothed them out with a bit of paint, but that was getting old. So, I decided, after much brainstorming, to come up with a permanent solution. I created a ceiling treatment using beadboard and lightweight trim board to make a faux beamed ceiling. The rooms look great and I finished the look with crown moulding. I chronicled the project with detailed step-by-step directions and photos on my blog: www.momthebuilder.net. Check it out and let me know what you think!
-Angie


Fri, 12/07/2012 - 18:06
I saw a similar project on the Lowe's website using v-groove paneling. We will be trading rooms with our girls (our 3rd daughter is due in a few weeks so they will get the big room) this summer and I want to do this to the ugly paneled ceiling in their current room. Trying to create a "master bedroom" in a house that doesn't really have one. I love how it looks!
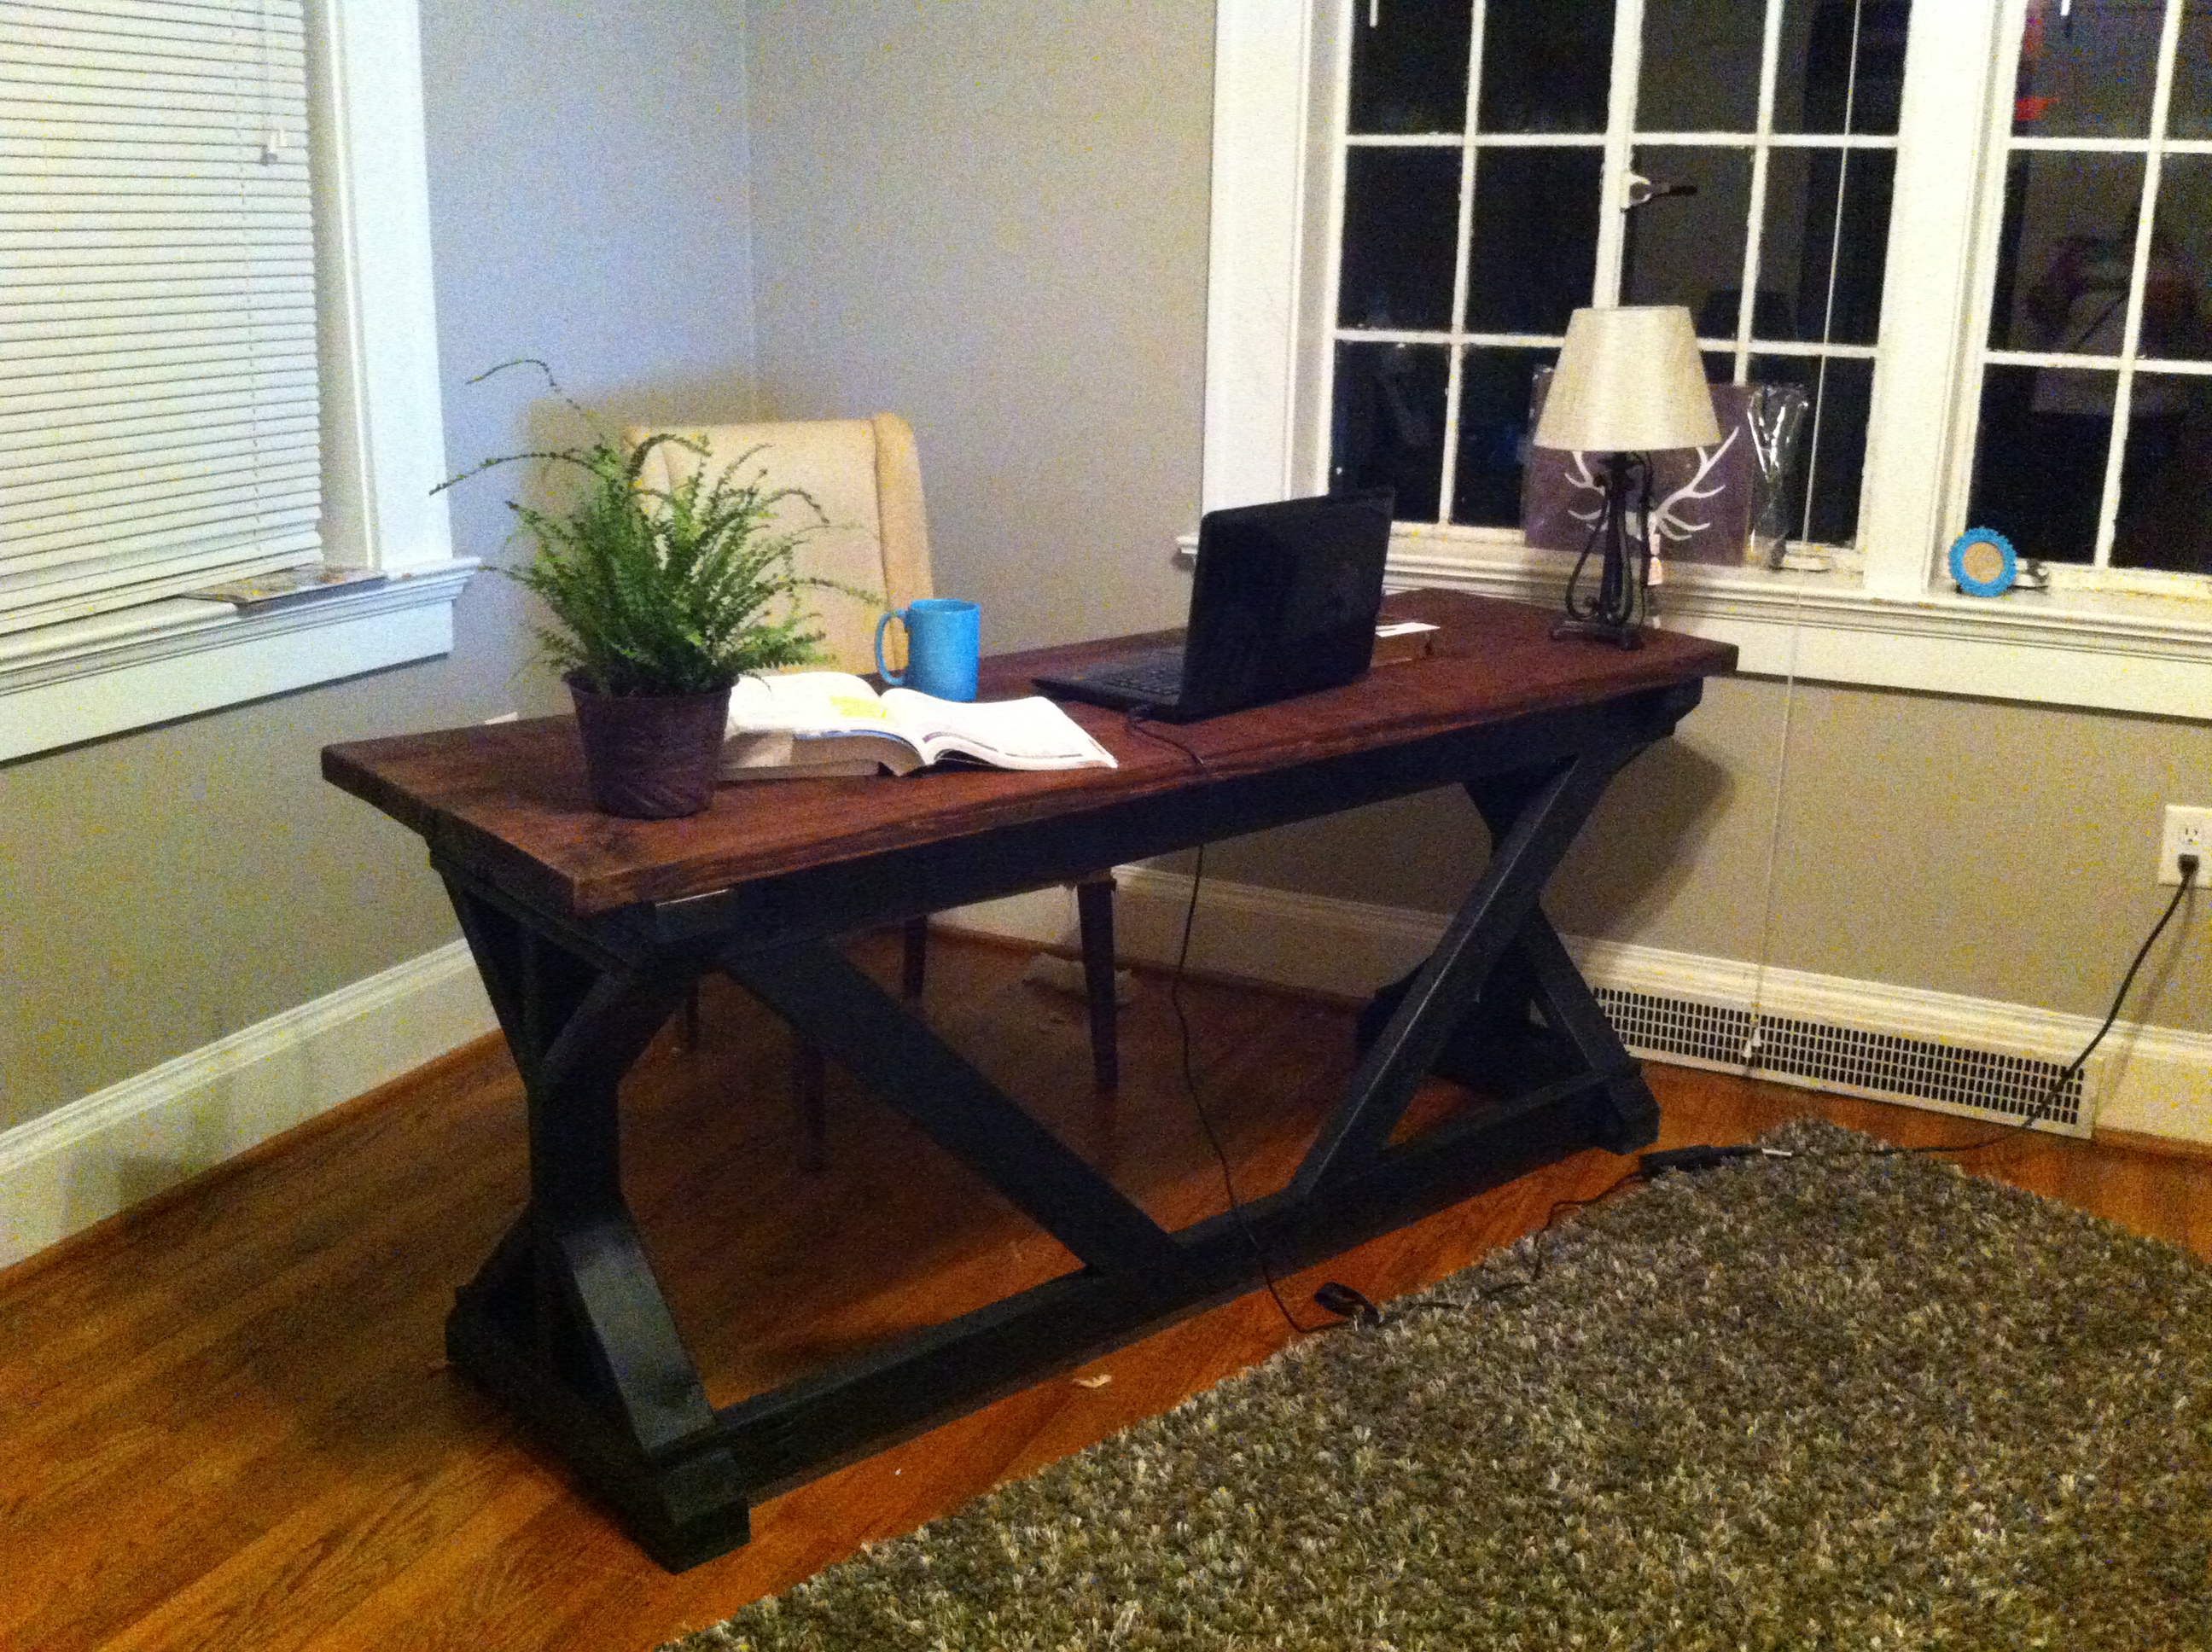
I originally saw this desk on Pinterest, which led me to this website. My hubby made it for me. LOVE IT!!
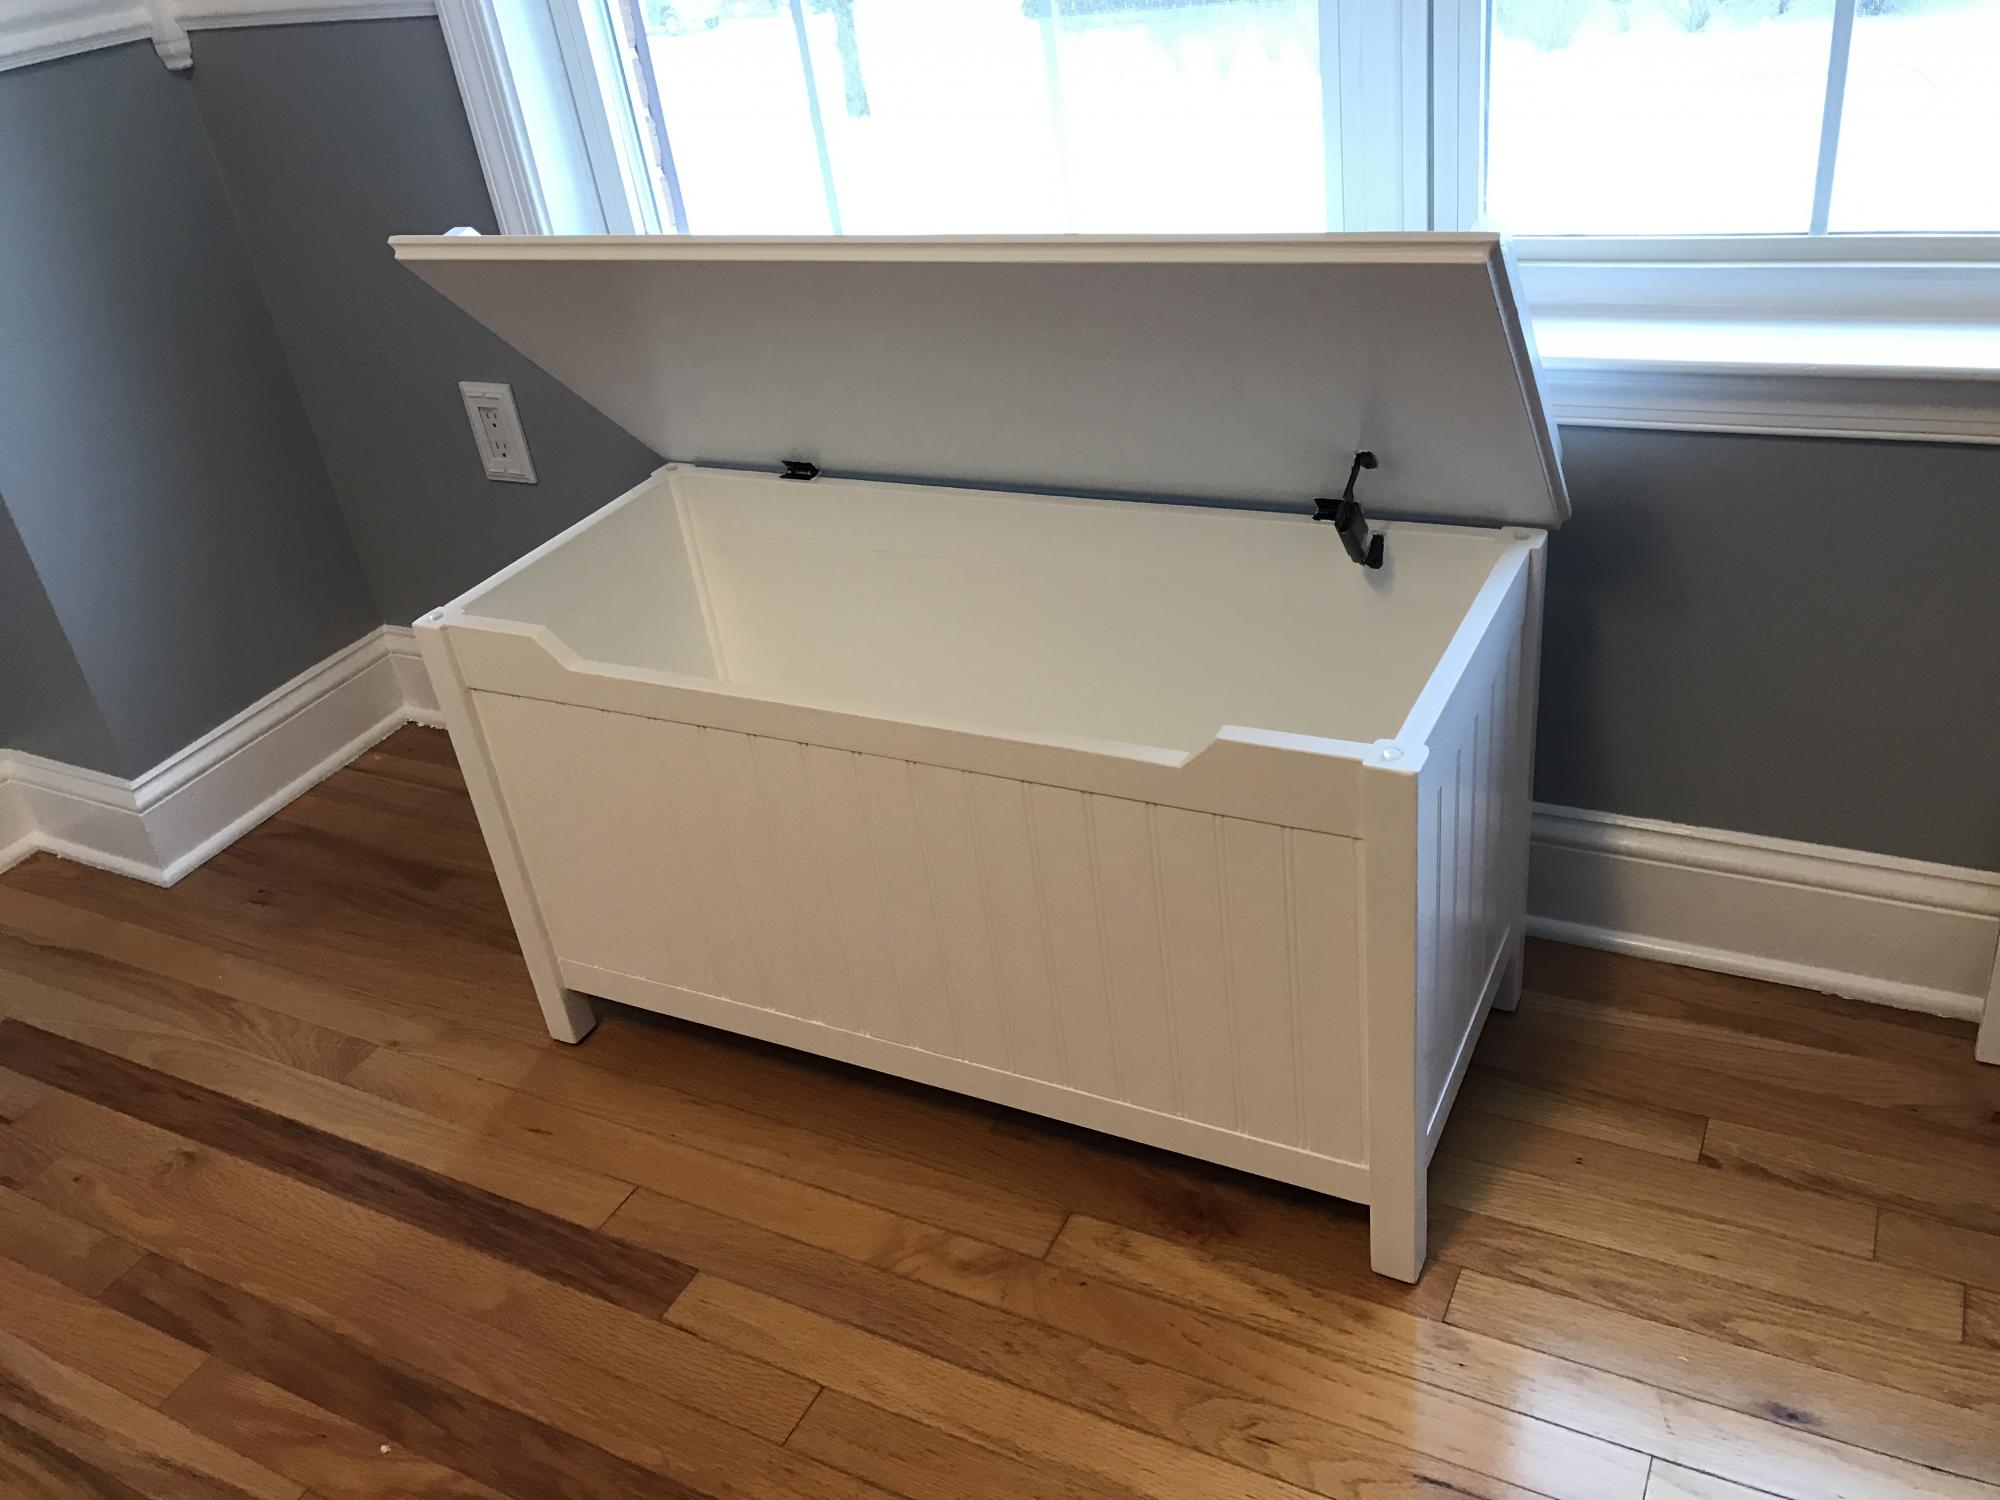
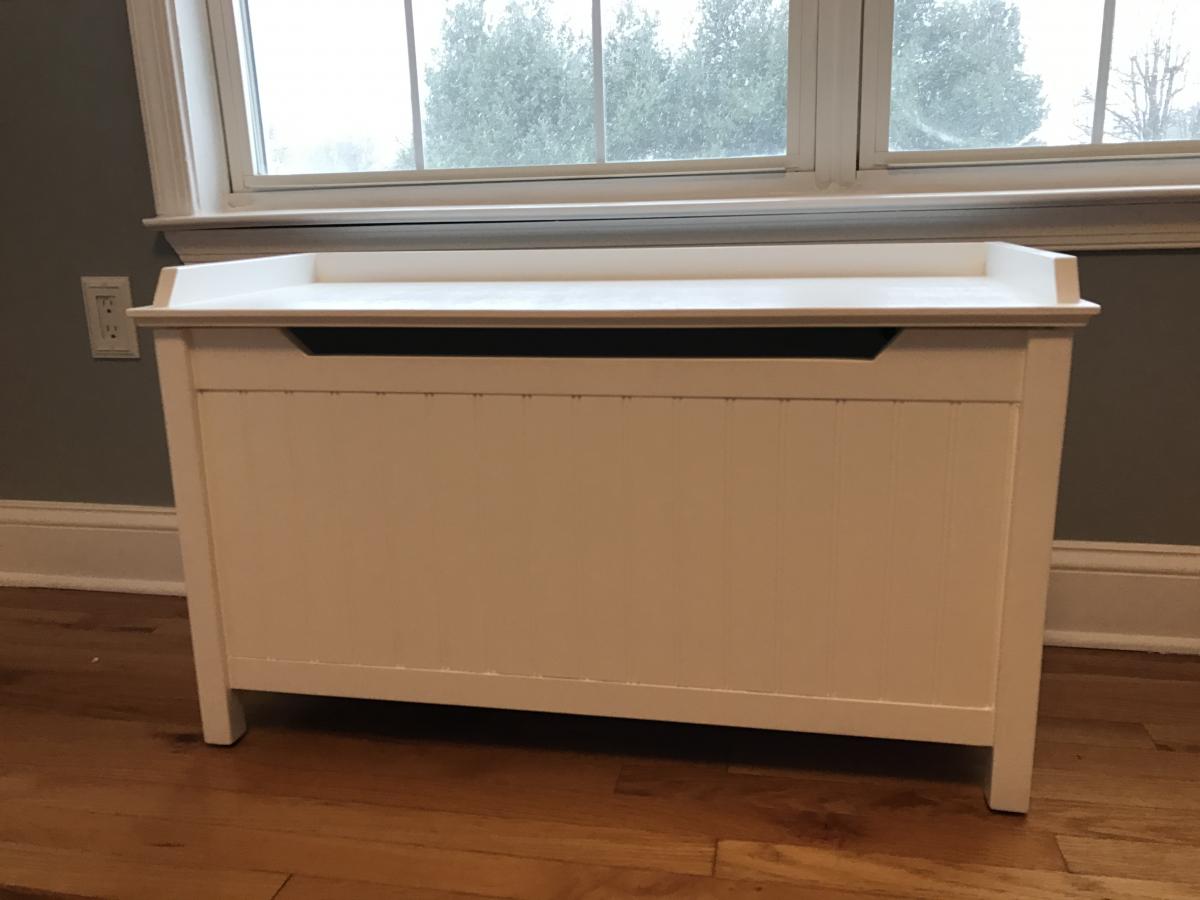
Toy box for our soon to be son.
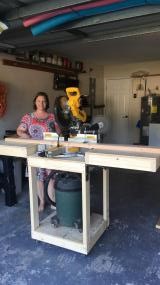
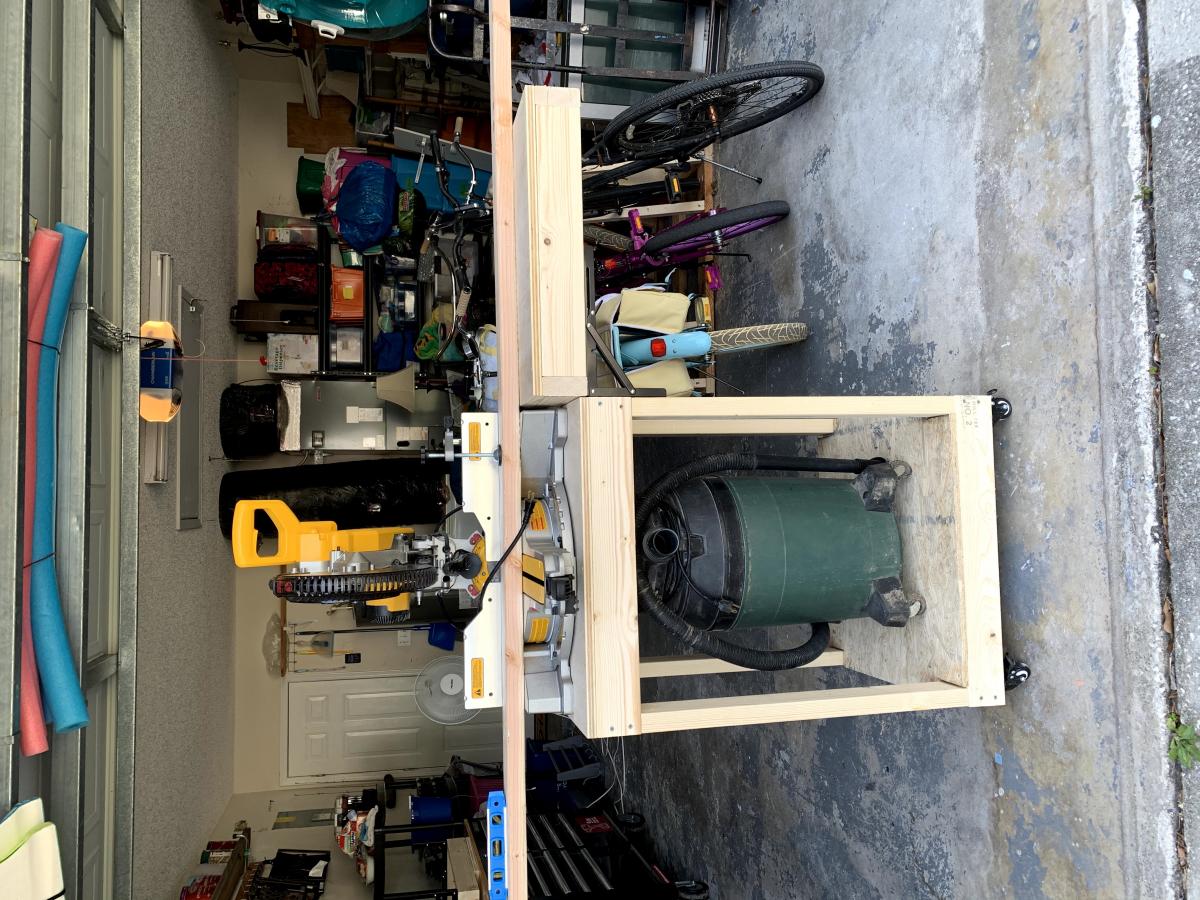
I love this Miter Saw Cart. The plans were easy to follow and tweak to work with what I had on hand. I love all of Ana White's plans, passion, and inspiration. Happy Building!
Sat, 09/19/2020 - 20:55
I can imagine a lot of projects being built there! Thanks for sharing:)
My 1st build ...I'm quite happy with it and hooked on building! I made this for storage in my puzzle room. - Elva Boots

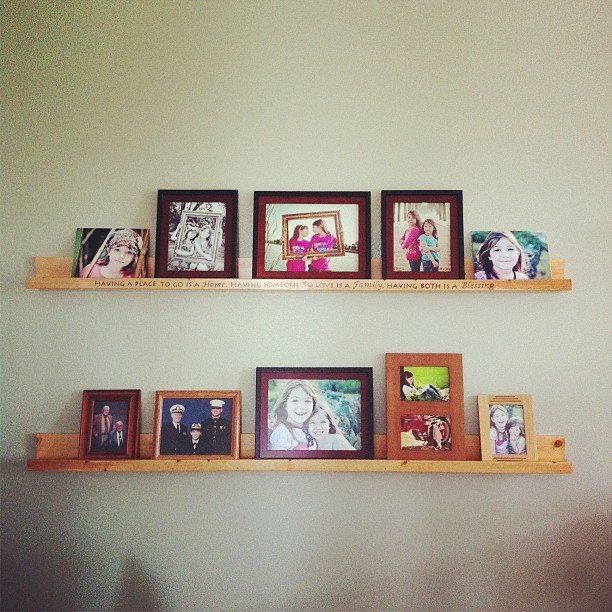
I wanted to add a little homey touch to my ledges so I burned a saying into one of the two ledges in each pair. My husband and I used the plan for the Ten Dollar Ledges and instead of painting, we finished them with Stain/Finish in one.
Tue, 12/11/2012 - 16:11
I love how this looks!! I must know! How did you burn it? And are they individual letters? Anyways, this is so lovely! Almost as much as the pictures on the shelves!! :)
Tue, 12/11/2012 - 16:35
Yes, please do tell! How did you burn the letters? I love how it looks and I love the saying. Very nice job.

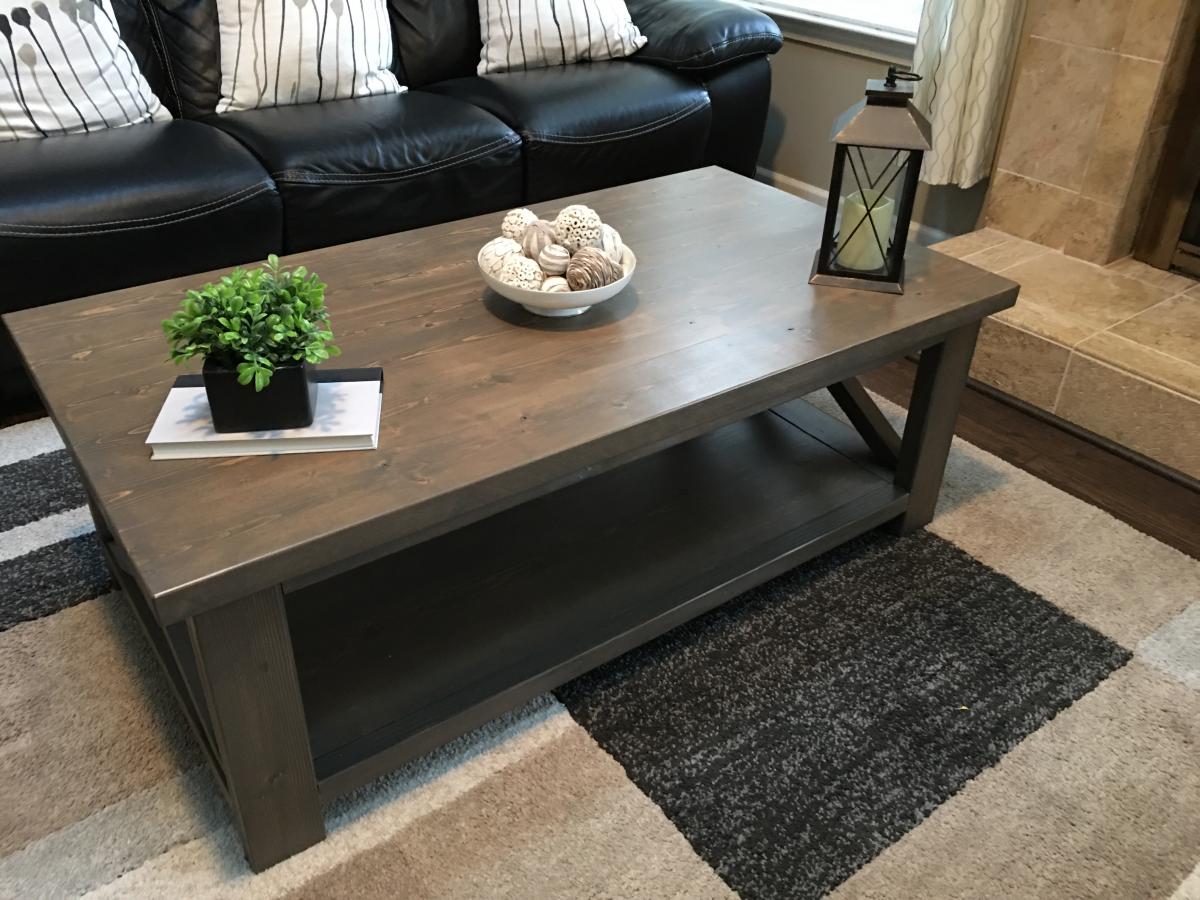
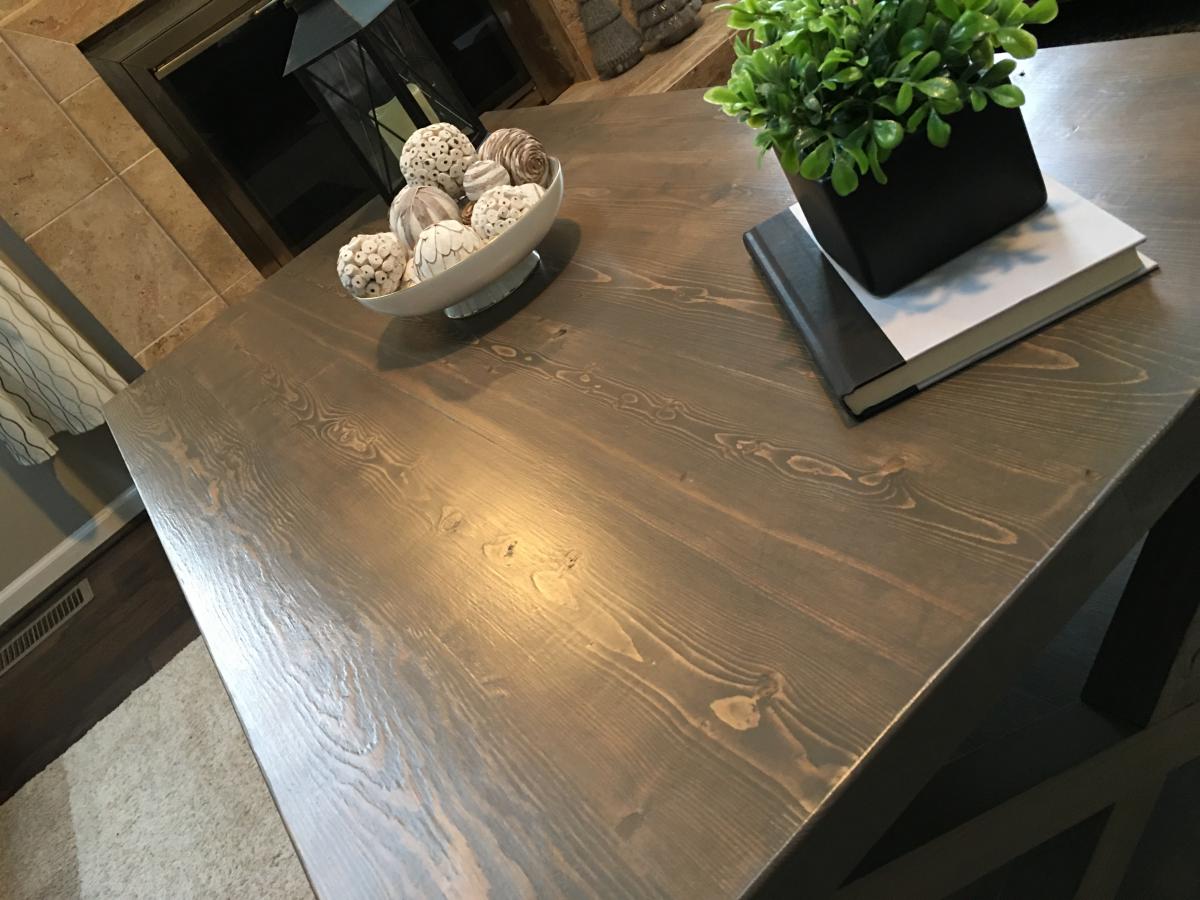
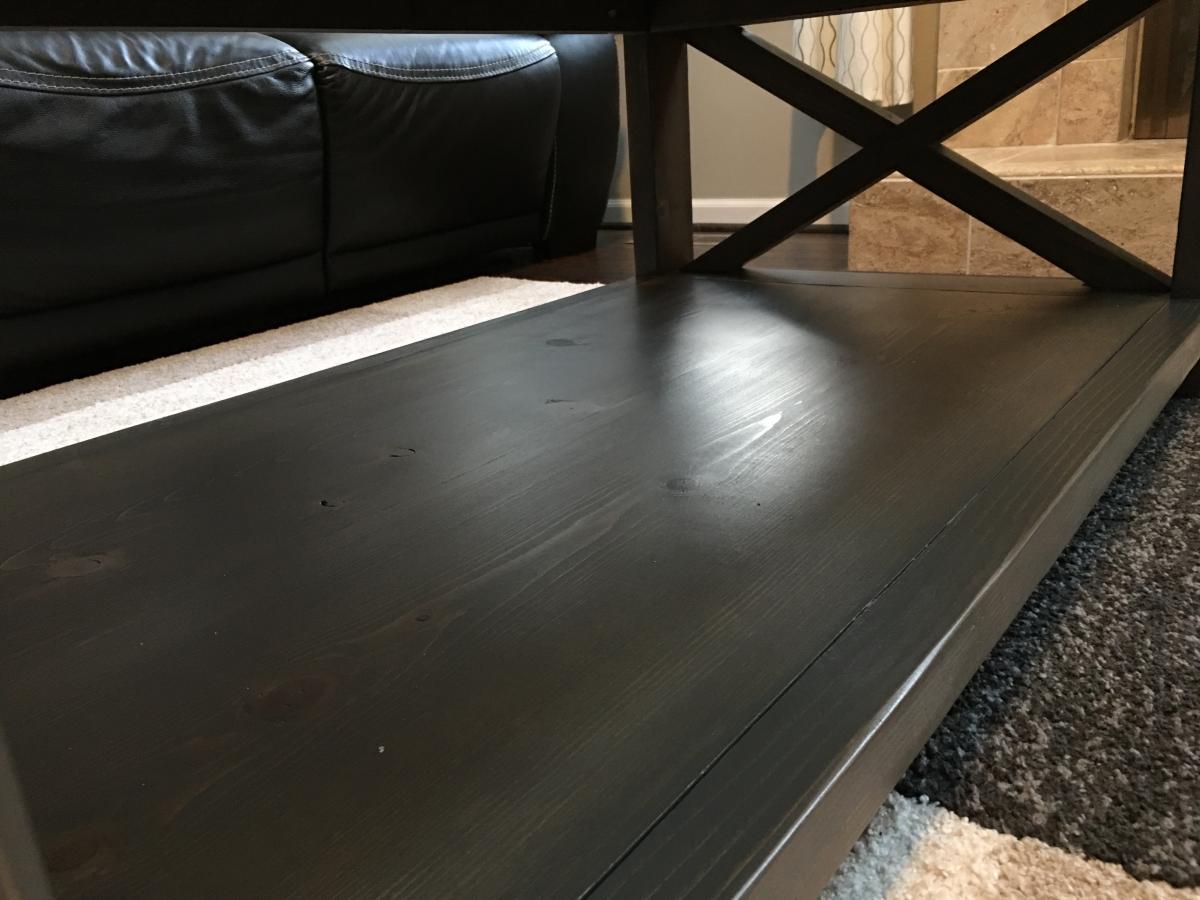
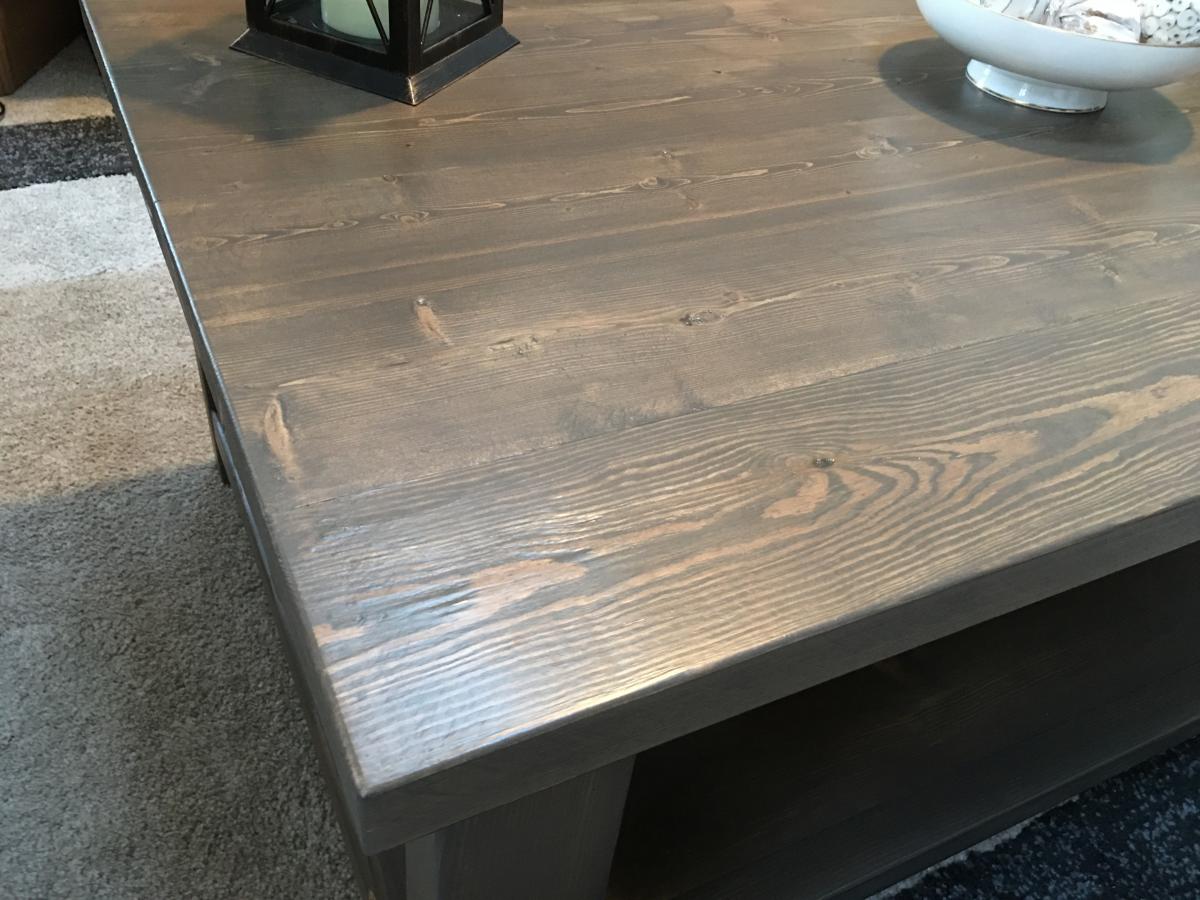
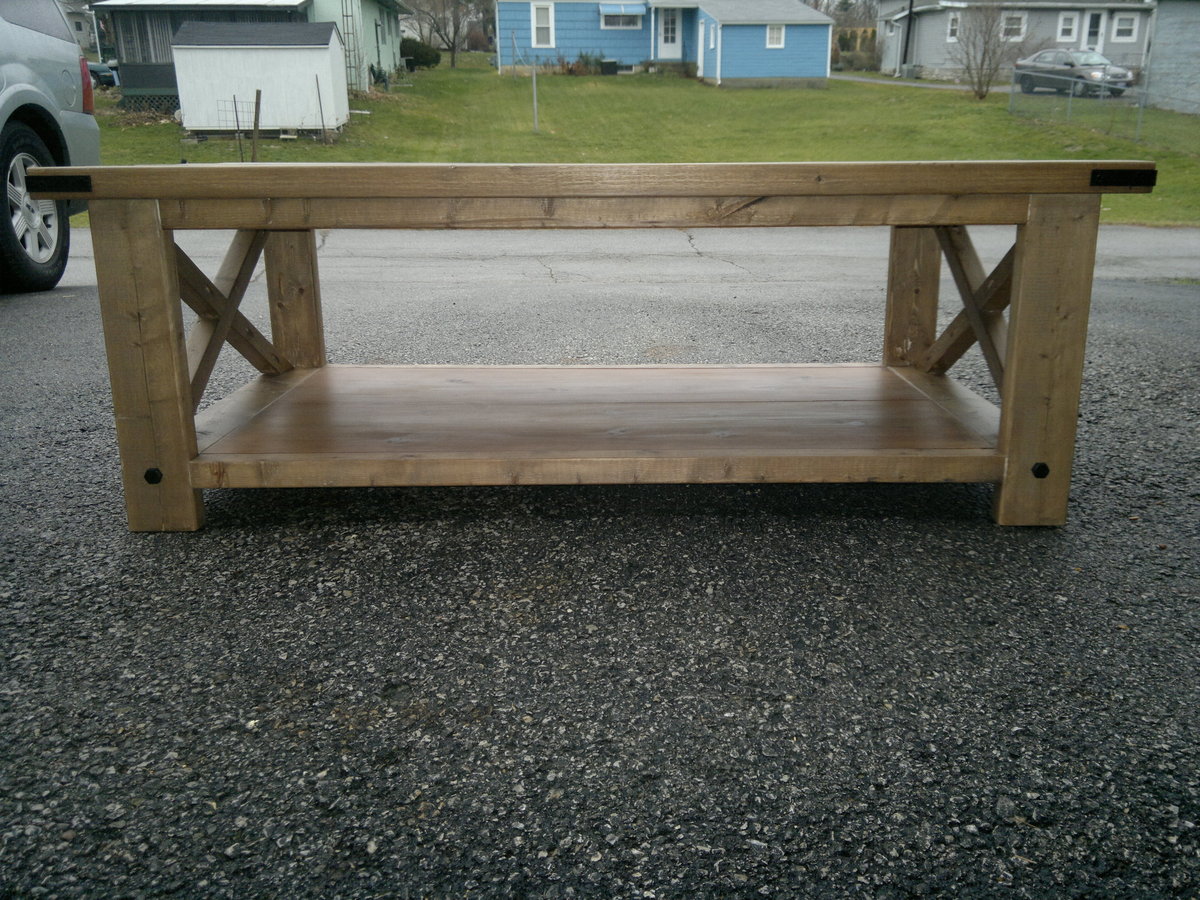
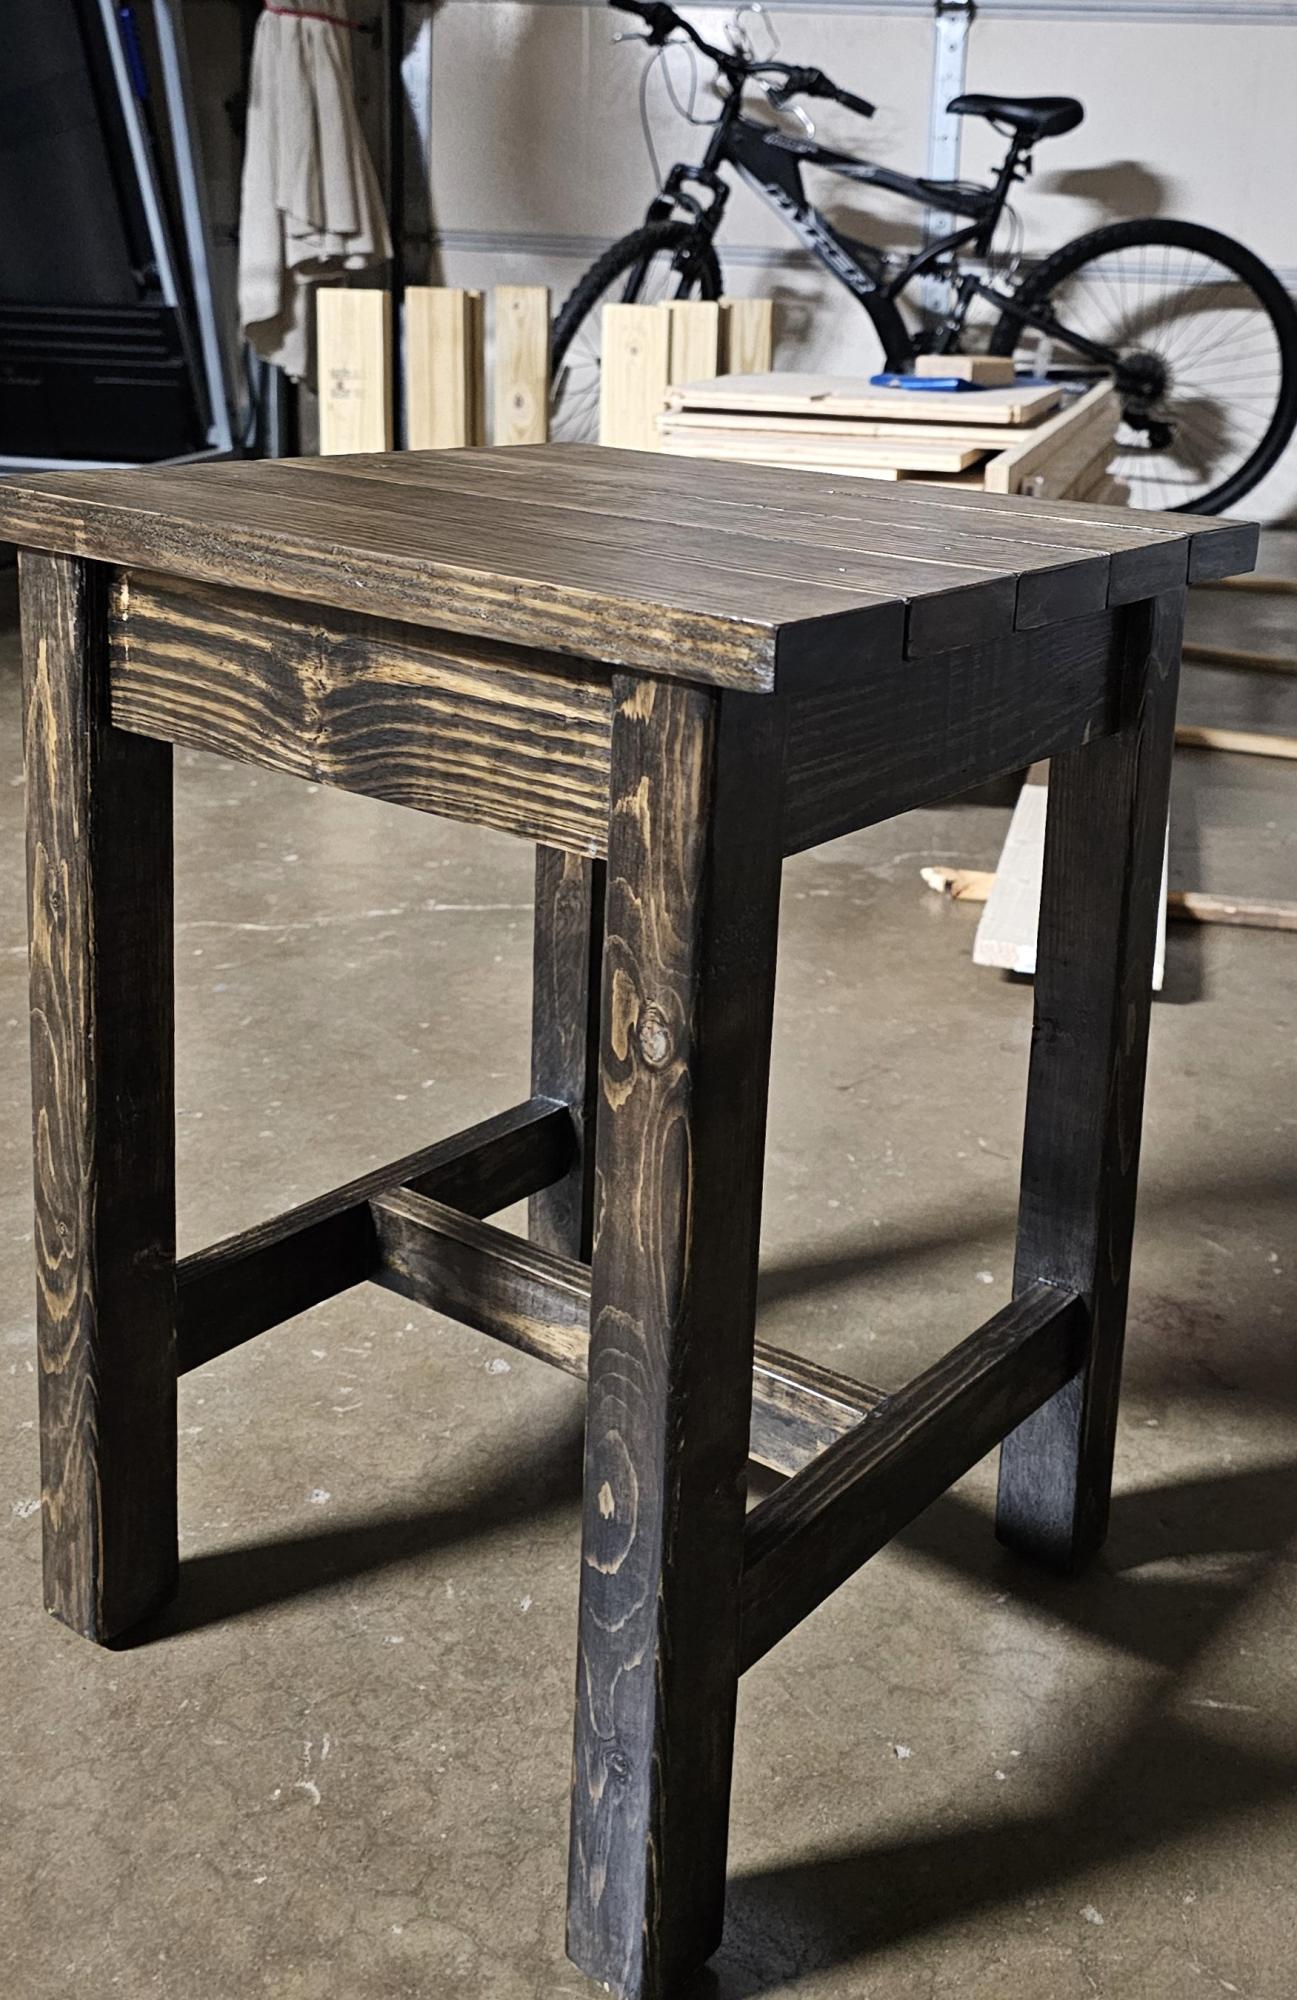
This is my first "finished" project. It is made of 3/4 inch maple, which I purchased from a big box store. I cut the top boards to 38 1/2 inches long and used seven boards (1x6's) for the top. Using the kreg pocket hole tool, some glue and 2 clamps - I was able to easily join the top. This process took several days because I only had 2 clamps and took my time joining 2 boards at one time. The outer edge of the table is mitred 1x2's so the top looks like it is 2 inches thick, but it is only 3/4 of an inch.
The legs are made of four of the 1x4's glued together and cut to 18 inches in length. The base (apron) is made of 1x4's cut to 30 1/2 inches long and attached to the legs using pocket holes / screws and glue - leaving a reveal edge. I also added two 1x2's in the middle of the base for added strength for the top. The top was pocket hole / screwed to the base.
The finish is Generals gel stain in Java colour - two coats. Then I added three coats of gel polyurethane.


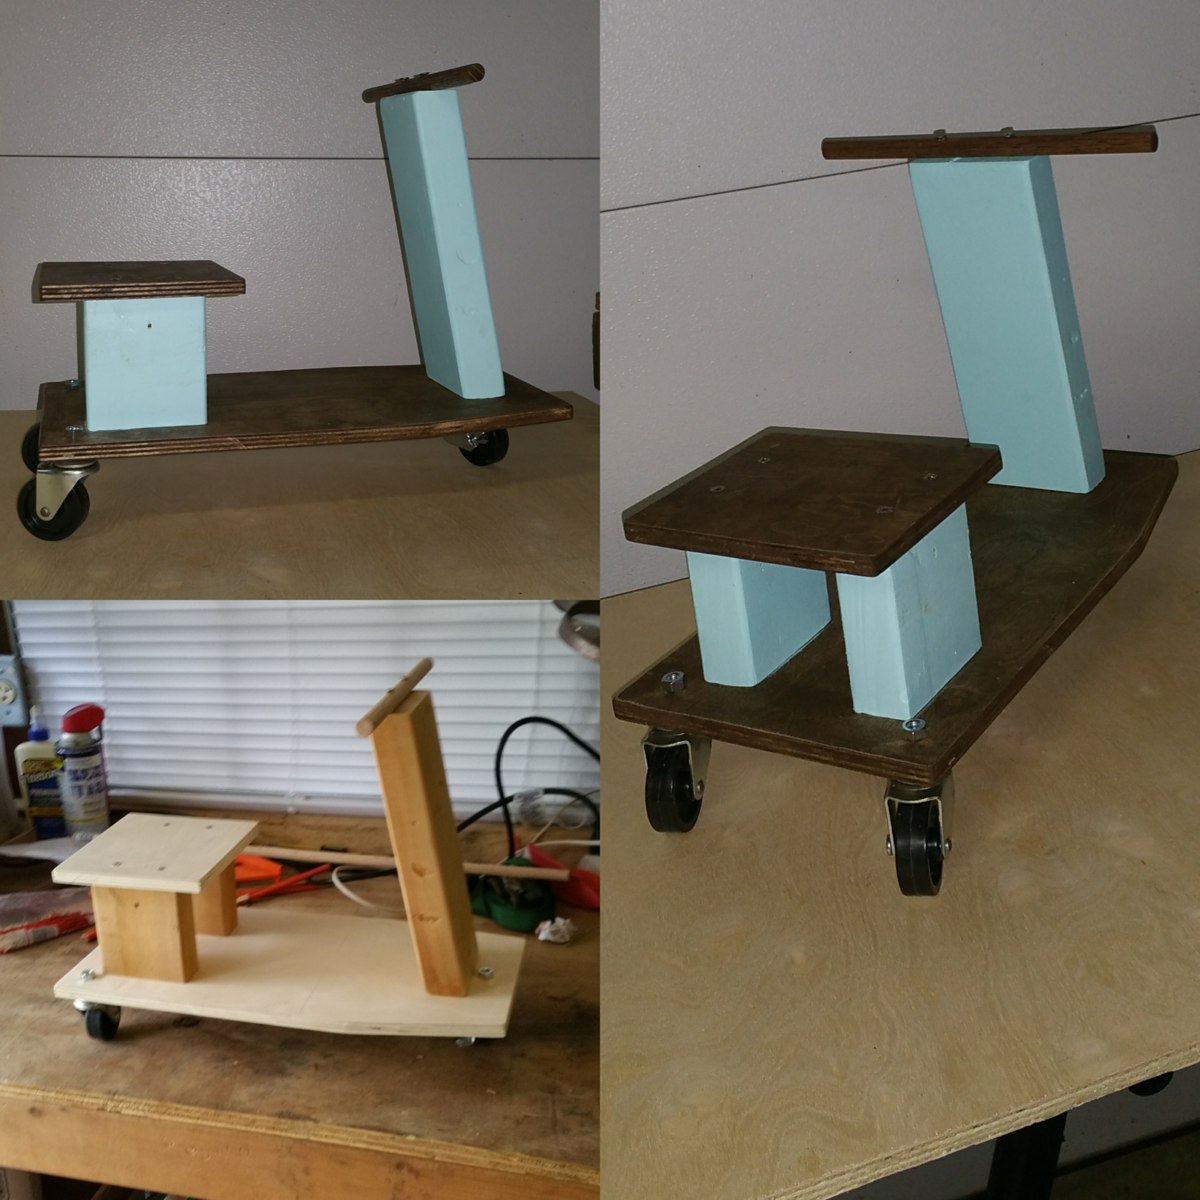
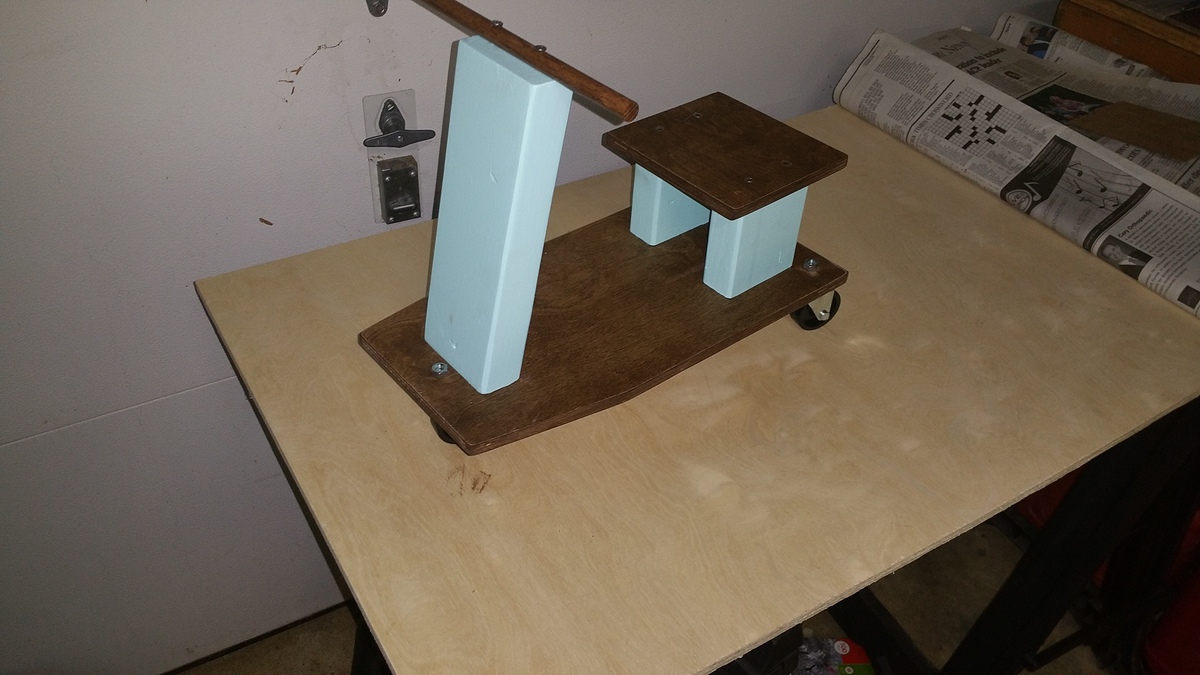
I use the plans as inspiration to build a scooter from scraps I had lying around. I spent about $5 on the can of stain.

Love how these end tables turned out. The wood came from a maple tree and cut from my father’s sawmill, made for my daughter. They are stained gray.
This was an awesome build. Thank you for the plans!

Built for our new puppy, Bullet. He is a brindle boxer, and our new pride and joy! Dimensions of this crate will work for him for approximately a year or so. I assume at some point i'll need to build another, slightly larger version of this one. But all-in-all it came out excellent. One issue in the cut list as mentioned before, but you figure it out when you get to it. Not a big deal. Time frame for cutting and assembly is would probably have been just a few hours(3-4) had I not spent 2 days sanding, staining, lacquering, waiting for lacquer to dry, sanding, waxing and polishing.