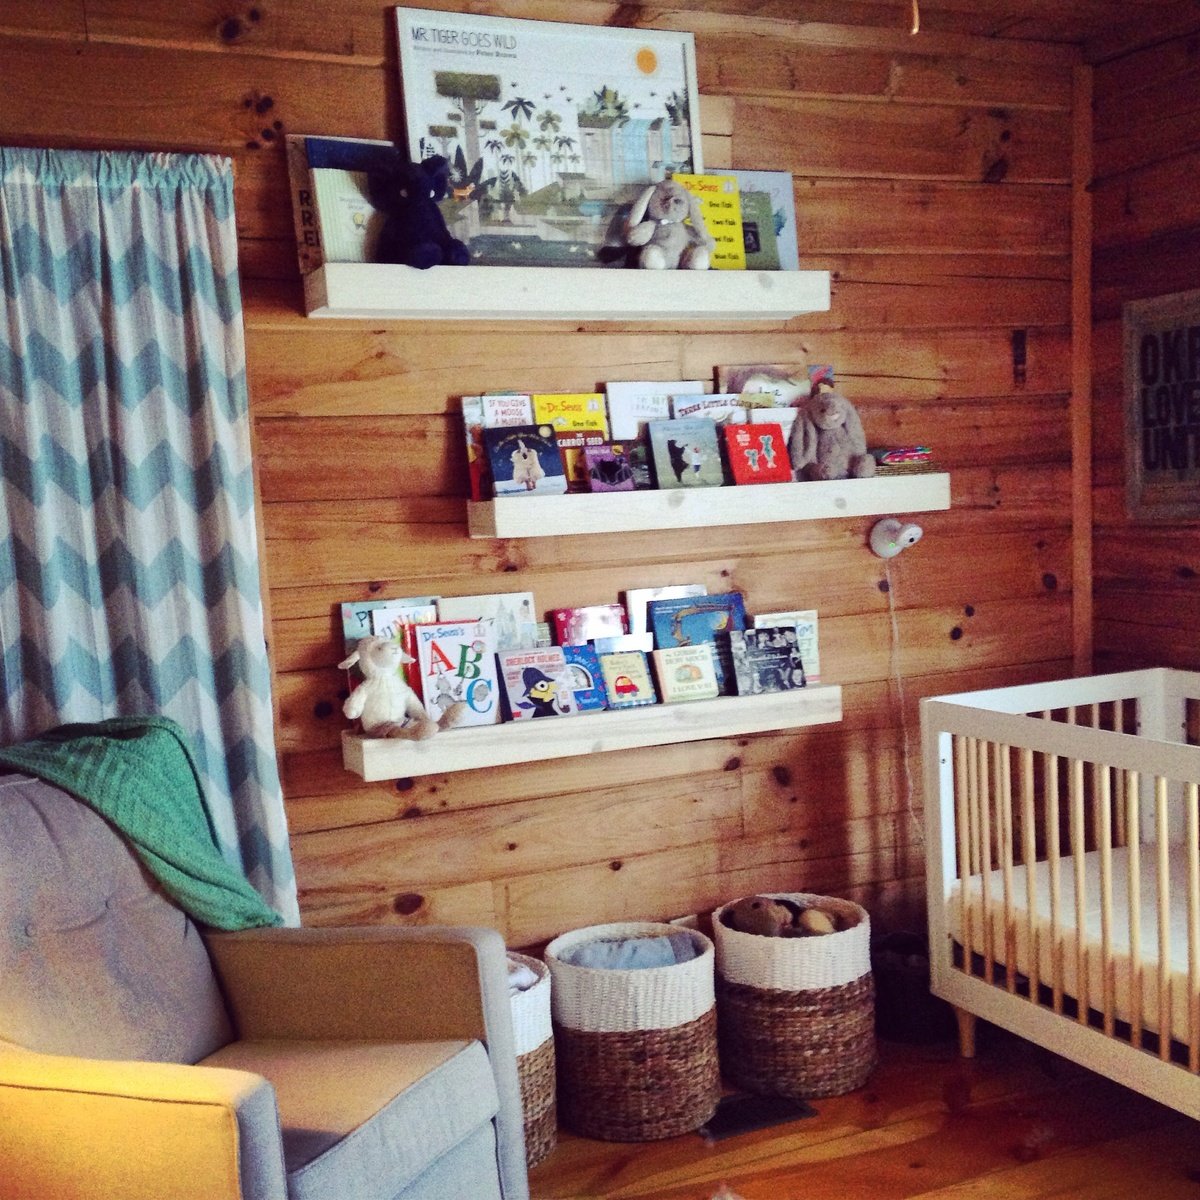
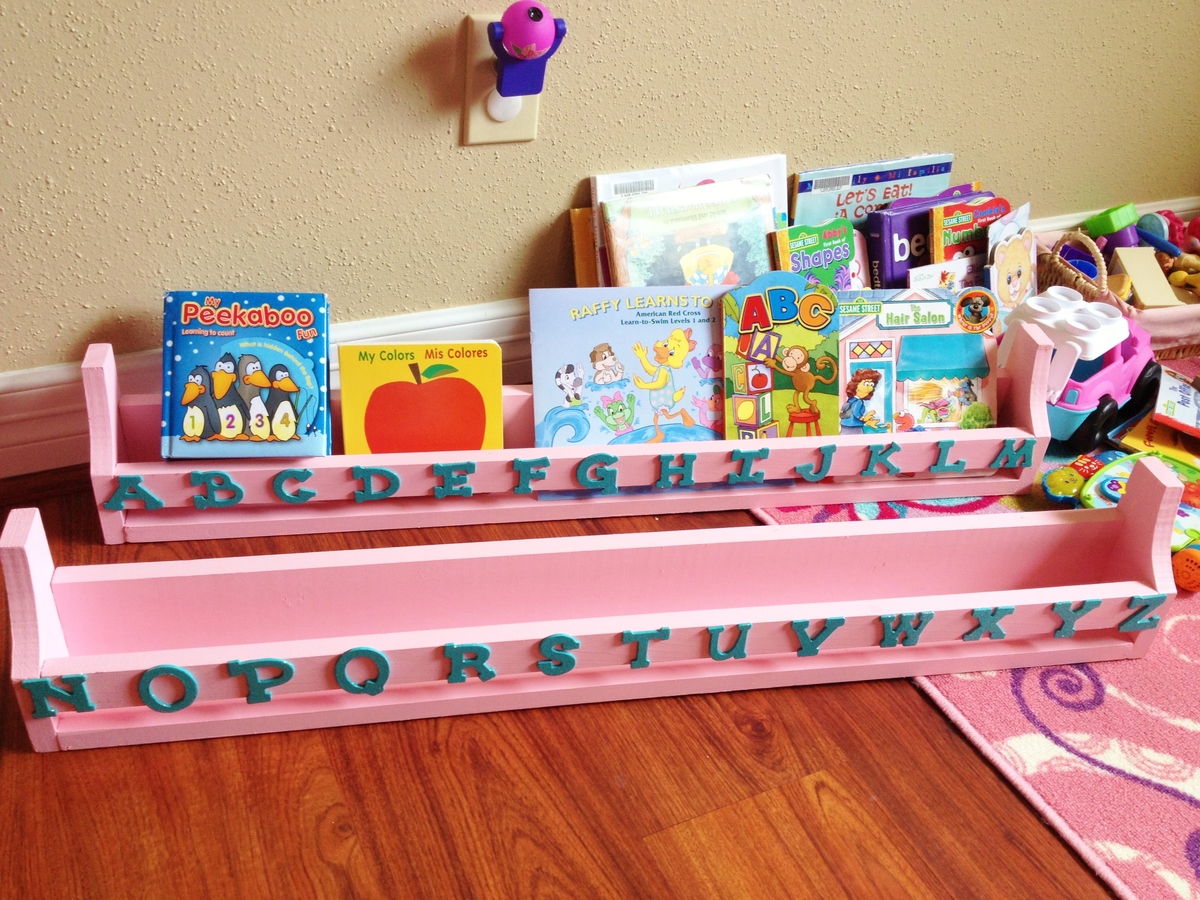
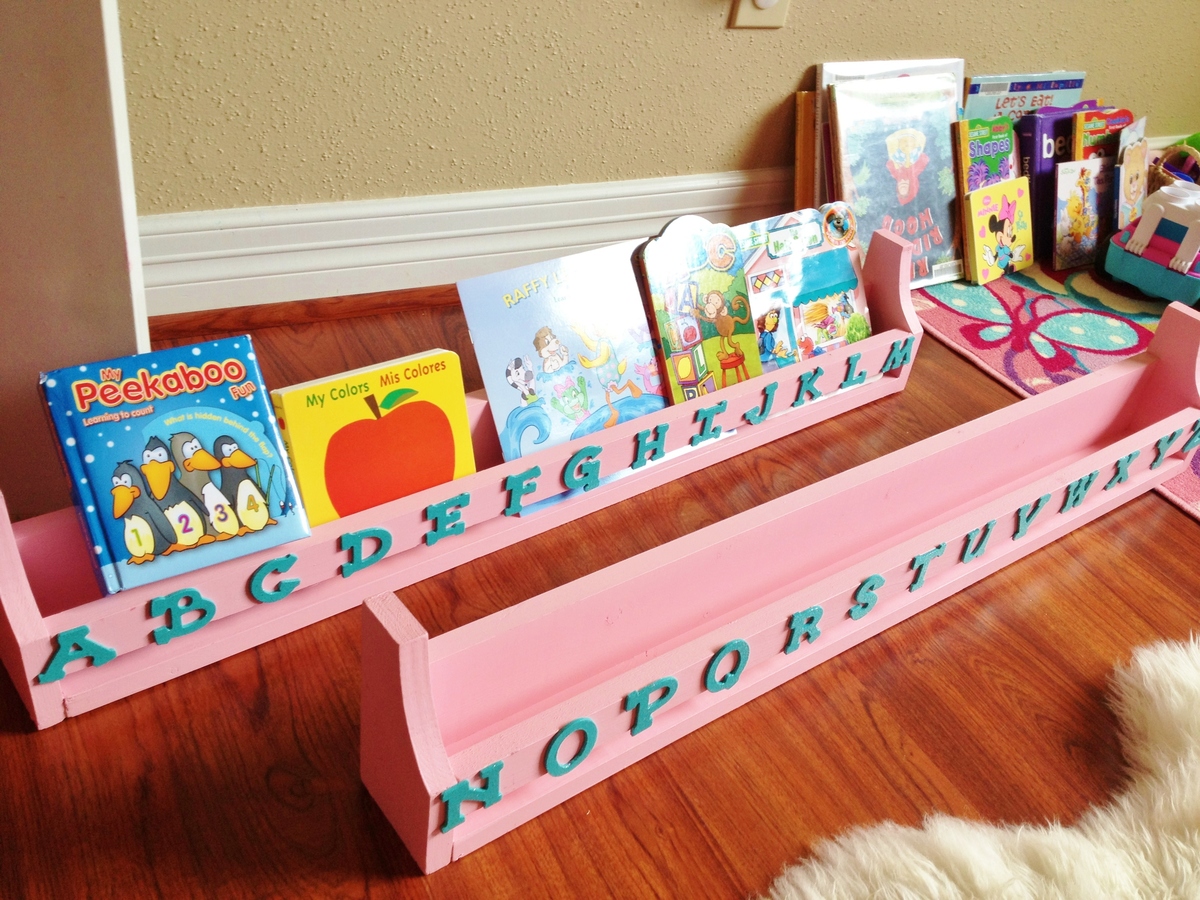
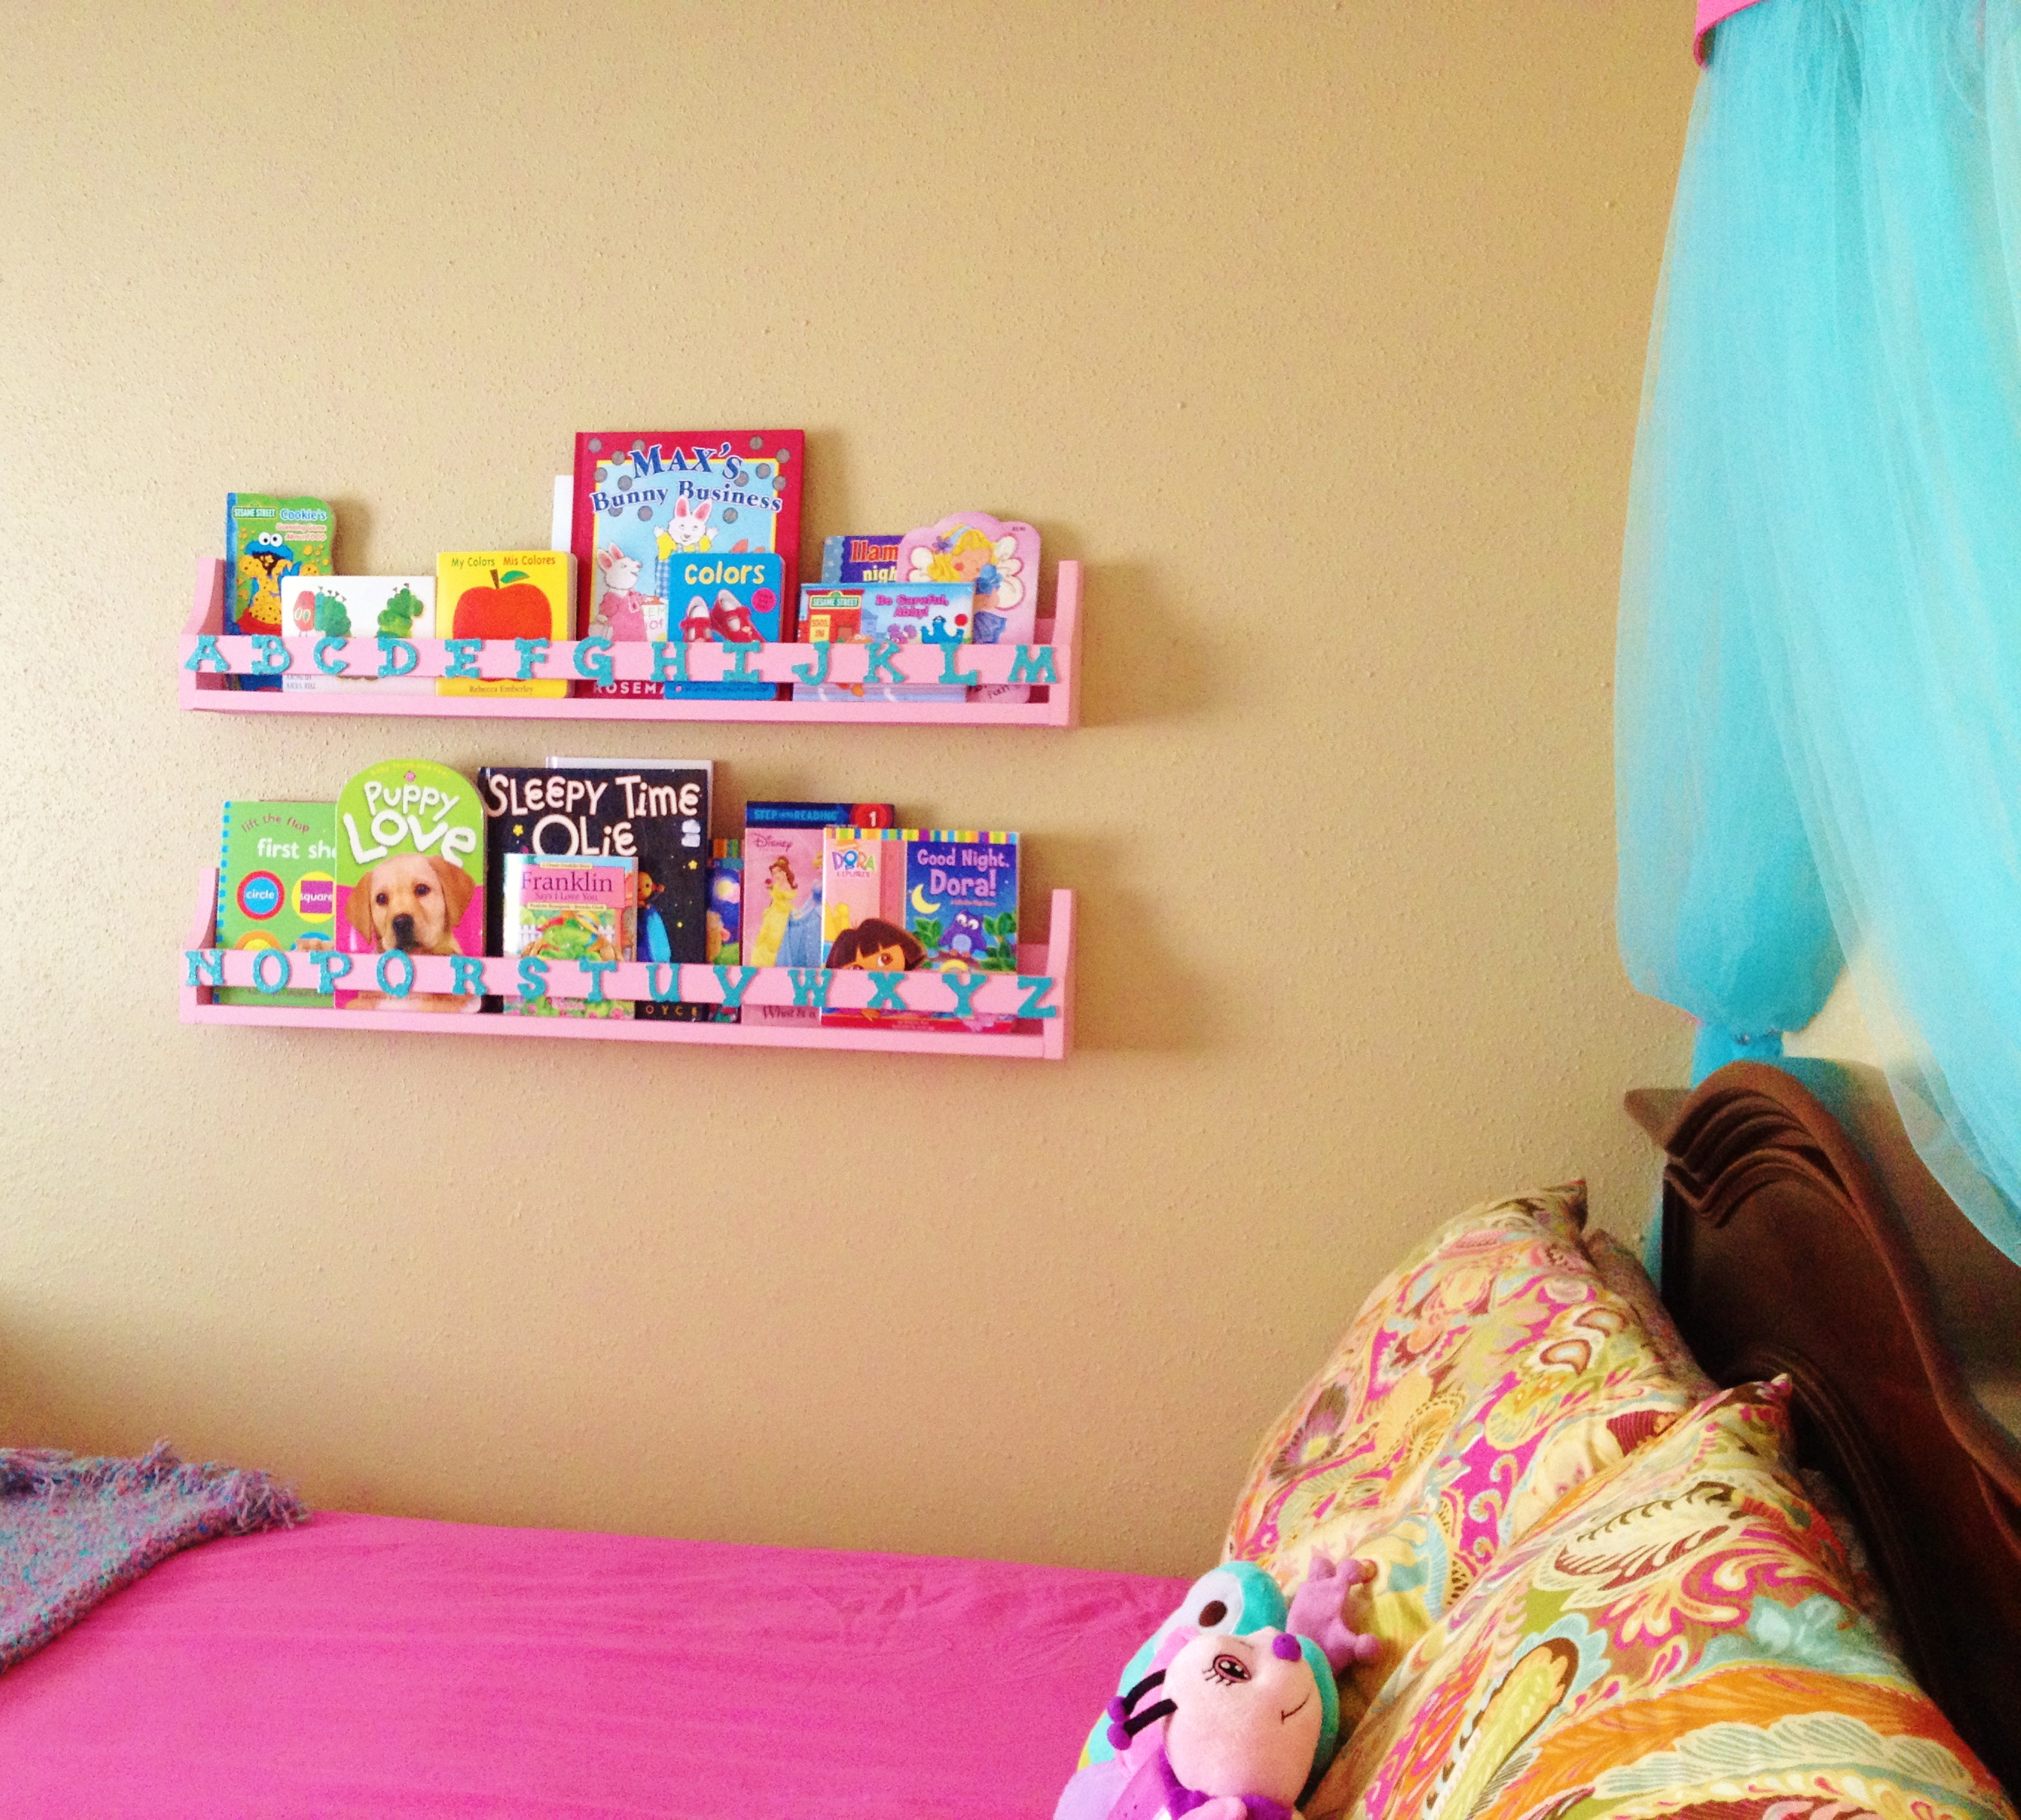
Queen Size Headboard
This was pretty easy to follow based on the instructions. It took me a little longer than expected becuase of the weather, I had to run back and forth to cut the wood from where I was building it.
We made this tiered planter for a Mother's Day gift for my wife. It was a simple build and the plans are very easy to follow. I couldn't get any cedar fence pickets so I used standard 1x6x8 cedar boards that were available at the local big box store; that's why the cost is a little high. The planters were made 24" wide for more room instead of 16'" wide as per the plans. We personalized it by adding the quotes to the boards and burning them into the wood with a pyrography pen.
This was my first project from this site, and I couldn't be happier with it! It was easy and fun. I didn't have ANY supplies outside of a hammer, so my cost was a little higher since I had to purchase everything - nails, wood conditioner, stain, polyurethane, sand paper, etc.
Overall, very happy with how it turned out!
This was a great plan. My wife loved the finished product. Made a few variations to accomodate for the size of scrap wood that I had.
It was a Mother's day gift for my mom. My sister and I built it from the plan except we doubled the length and made the walls 38 inch total height no we didn't have to cut metal down and we made the door a 36 inch door.
I was looking for a plant table and fell in love with the vintage x plan. And it was perfect to get rid of some of my waste wood from other projects.
I love to work with Ana's plans :-)
Fri, 05/14/2021 - 11:16
Thank you for sharing your build, it looks awesome!
After seeing one in the brag posts and reading pretty much every one of the farmhouse bed plans,I too modified the original farmhouse king plans to create a four poster bed. The 4x4s are untreated Douglas fir. I cut each 4x4 only once. The top posts are 35in. and the bottom are 61in. I personally think the bottom posts are too tall but my husband really likes them the way they are.Since this bed was his birthday present, he wins :) The post caps are 1x6s cut to 4.5 and 5.5 squares then stacked on each other.
I used 1x4 furring strips to make the headboard and footboard panels instead of 1x8s. I made the wide center panel from a 1x8 I had on hand. This made the total width of the headboard and footboard 76 in. (between the 4x4 posts) As I did not wish to use a box spring, I used 2x6s for the side rails with 2x4s spanning the width of the bed. I then ran a a 2x4 down the center and mounted a 5th leg, made from a 4x4, under the center of the bed. The 2x6 side rails are covered by a painted and distressed 1x10.
Wed, 04/03/2013 - 22:55
Thanks :) We're very happy with it. I finished it a couple weeks ago.
I also built the nightstand on the right side of the bed (left in the picture) from the mini farmhouse table plans. I modified it so I could use scrap wood I already had and to fit the odd angled wall of our bedroom.I also did not want to make another trip to the store since its a 50 mile round trip for me.
I absolutely love Ana and the plans on this site!! My to-do list is a mile long ...
This was one of my first DIY projects - while the "perfectionist" in my is not overjoyed by the final product, I think it's pretty good for a newbie. It's a gift, so I'm sure my brother-in-law will like it. Plus, I learned a lot about what do do in the future!
One main change I made was with the drain. I had a hard time getting a good seal with the plans provided. So instead, I got a smaller hose (1/2-inch OUTER DIAMETER) and put it through the cooler drain instead of on the outside. This still caused a seal issue, but I used rubber/putty cement around the inside of the cooler drain & hose, as well as where the hose entered the wood cooler on the inside. This only allowed the water to exit the drain or stay in the cooler until it passed through the drain.
I skipped the side shelf, but added the little steel bucket to catch bottle caps. And while I live in Texas, I had to give a shoutout to my Wisconsin roots (notice the bottle opener says "Drink Wisconsinbly".
All in all, I think it was a fairly good project for a DIY newcomer. Looking forward to figuring out what my next project will be!
Mon, 02/16/2015 - 13:17
I bet your brother-in-law loves it! That's super fun!
Just finished this for our front hallway.
All made from one ripped down 8ft 2x10 board of fir. (table saw to cut 2 strips at 2.5 inch wide (top rails), and 2 at 1.5inch wide (legs), and one at 3/4 inch (stretcher).
Leg braces are angled 20deg / 70 deg to make them more upright and give a sleek profile.
Stretcher goes through the legs and is held in place by wedged shims.
Stainless tension wires and turnbuckles underneath to keep it all tight - and give an industrial look. Need a lot of strength to crush teh ferrules onto the wire.
Top surface is 2 of 12" x 24" bathroom slate tile inlaid into a recess that was cut into the top rails.
finish is 3 coats of minwax glassic grey, and 2 coats polyurethane, sanded deeply in some parts to weather it.
Took me about 8 hours.
I can provide more instructions if anyone is interested.
Austin
Used the plans here to make the table. Modified the dimensions slightly to fit my space by re-drawing the plans in AutoCAD 3D. Added stainless steel adjustable feet to the legs for leveling. Wanted to keep the wood up off the ground since this table sits on my back patio. Amazon link for feet: https://www.amazon.com/gp/product/B08VRPCDNL/ref=ppx_yo_dt_b_asin_title…
I used your chunky bed plans with Big Box Detox's plans for upholstery. It wasn't hard, we just spent a lot of time thinking and not doing. Ha. I wrote a little blog about our adveture. http://thepreppyparent.blogspot.com/2013/04/making-bed.html
First ever building project!!! I am beginner, you can do it too! Got the Kreg Jig R3 for my birthday and conquered my first build! I wasn't about to try the drawers maybe next time! Adjusted the measurements for the length I needed and only have one shelf trying to decide if I'll add the top shelf. I have been reading ana-white for years and finally did it!
Love this planter. Used quality pine. Perfect size for the balcony! I use it for fresh herbs... i have have other people wanting one too!
We have a frosty faced blind girl and an aging tri-pawed that we wanted to be able to continue snuggling with us so we adapted the Farmhouse Bed with Storage to make it a king size. We made the drawer boxes deeper which allowed us to get rid of our dresser to create more space in our room. And we added a flight of stairs for the pups.
Fri, 12/30/2022 - 07:53
This is exactly what I’m looking for! Perfect for our dogs. Although, I wonder if a ramp would work or if it would be too steep? Hmmm
I modified the measurements and used 2" x 4" boards instead of 1 " x 4"
I also modified this to fit 22" cushions from Target ($29.99 each). I bought the pillows from Ross for $16.99 each. I used deck stain in Ebony from Lowes (Olympic Brand).
I built the coffee table myself, no plans for this one.
I was very happy that what I thought would be more of a rustic look turned into a more modern look (which fits my style better).
Not too shabby for my first build! Can't wait to build a matching chair.
Great plans! Thank you Ana!
Built 3 shelves in pine with the same specs as the original plan. They're finished with a diluted Snow White milk paint stain.
I have a good size bedroom, but things kept cluttering. I needed somthing small where i could store a few thing's like, movies, x-box, and cable box. So decided on the bookshelf. It's the perfect addition to my bedroom set. Thanks Anna for your awesome projects.
Hey Ana! I just want to start by saying thank you for the great plans!! We are by no means builders but your EASY step-by-step instructions and photos enable us to fake it really well. I needed a laundry dresser for my very small laundry area and bigger bins (teenage twin boys). The round tubs on the floor were NOT working and were becoming a hazard. I have no access to pallets so we used 1x4's and furring strips. I also painted it the same color as my walls so it would blend a little better. SO very happy with it!! Thank you, thank you!!
I started with the plans for General Store Cubbies - and built them as record shelves . I love them and think they turned out great . They were my first Kreg Jig project and i learned a lot and cant wait for the next project. These are all pine - if i were to do it again i would use plywood.
This was not my first woodworking project, but first where I had to figure out angles and bevels. So I'm pretty excited that all the pieces turned into stable stools.
Cutting wood and putting stools together took about an hour or two each .... filling kreg jigs holes and staining took a few weekends though.
My husband and I love this bed design. The instructions were incredibly simple to follow and quite fun. Finished the whole bed in two days. Thank you for the tutorial!!!