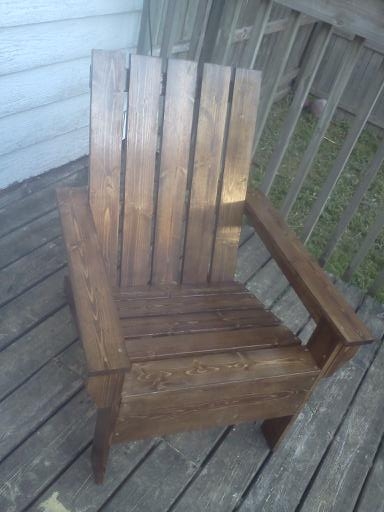
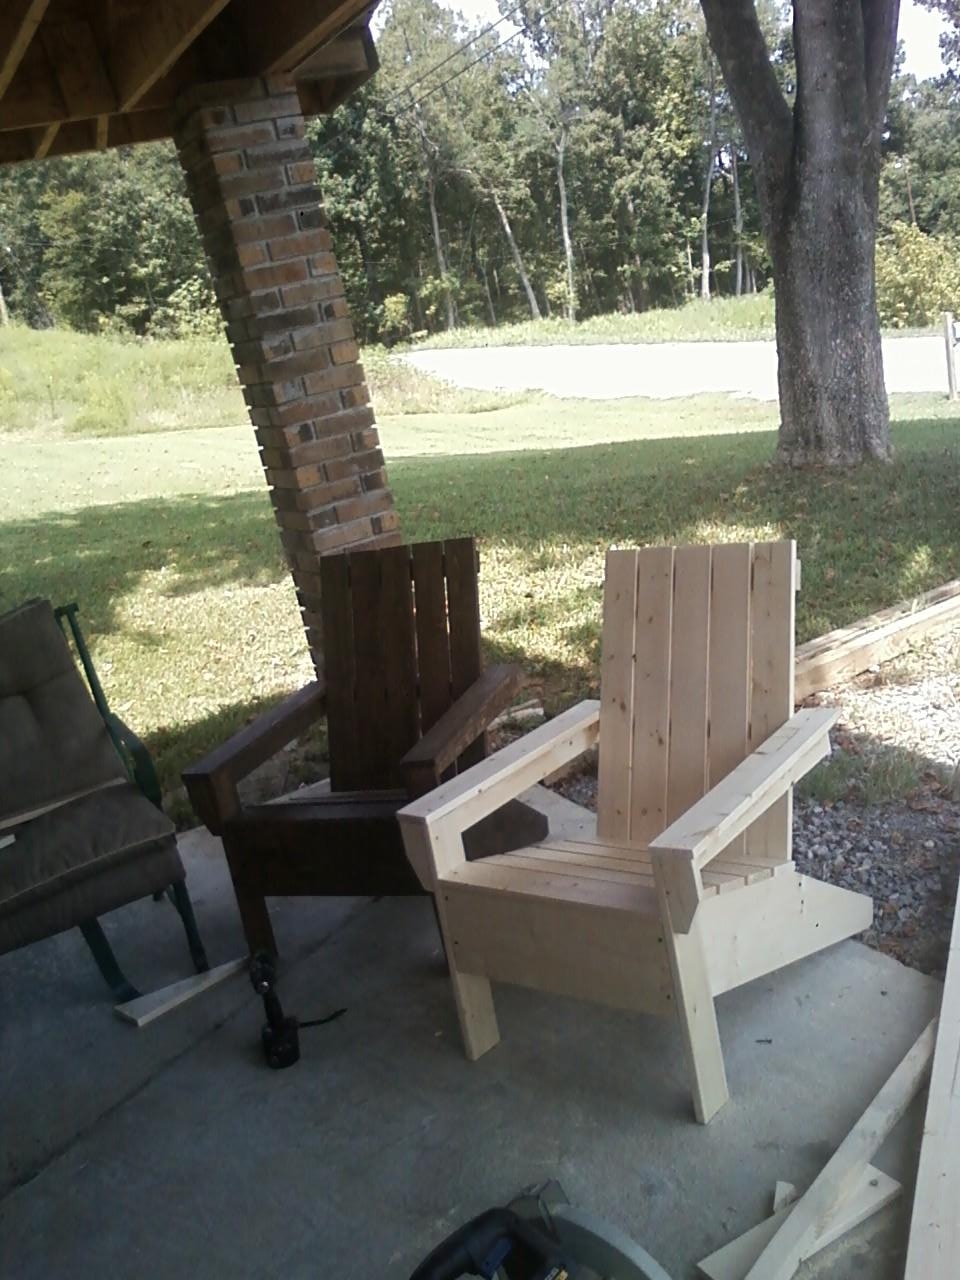
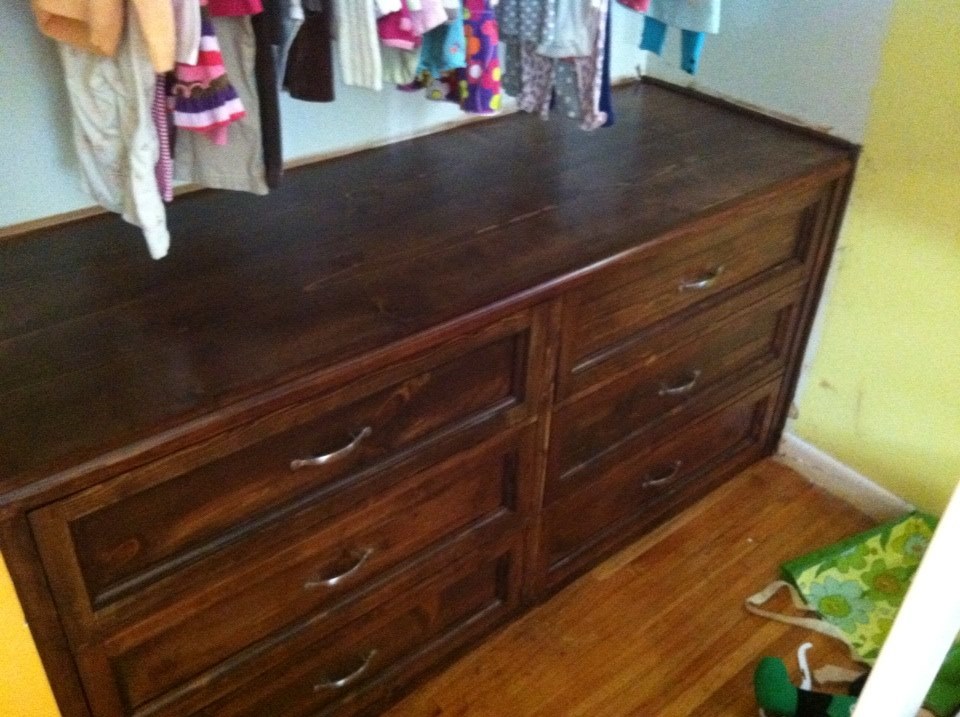
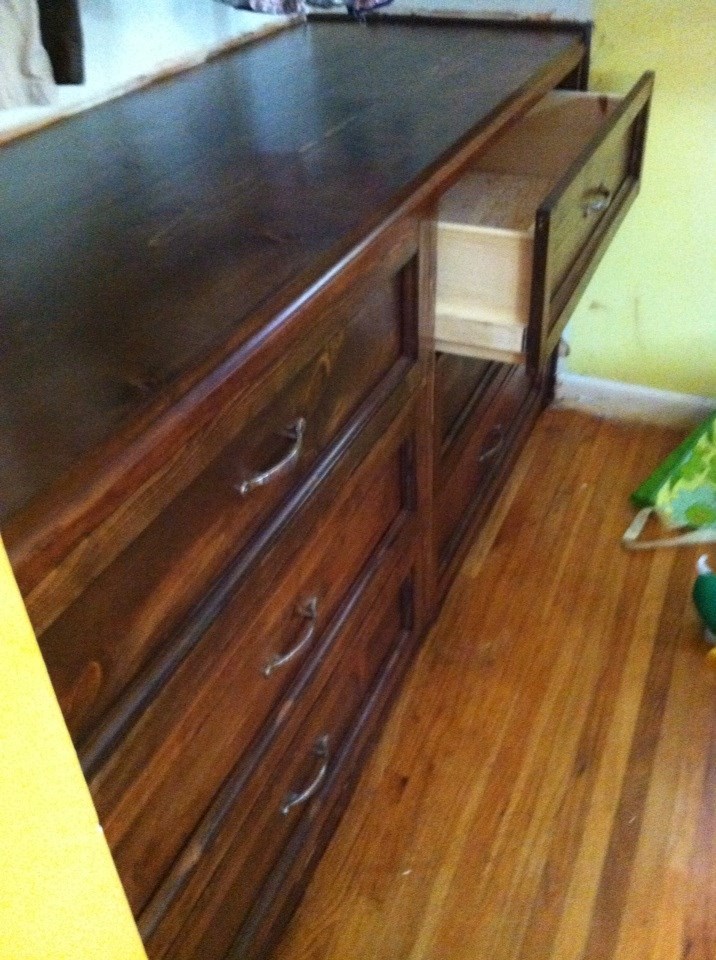
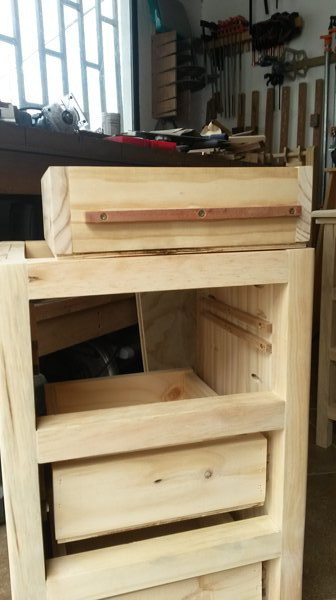
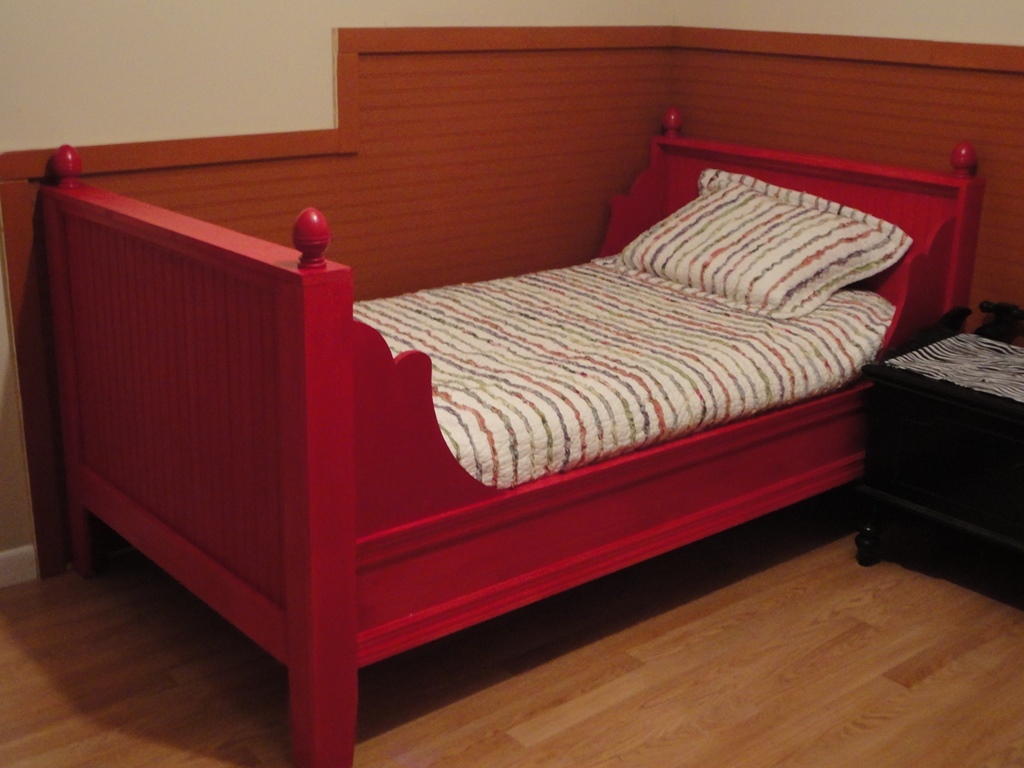
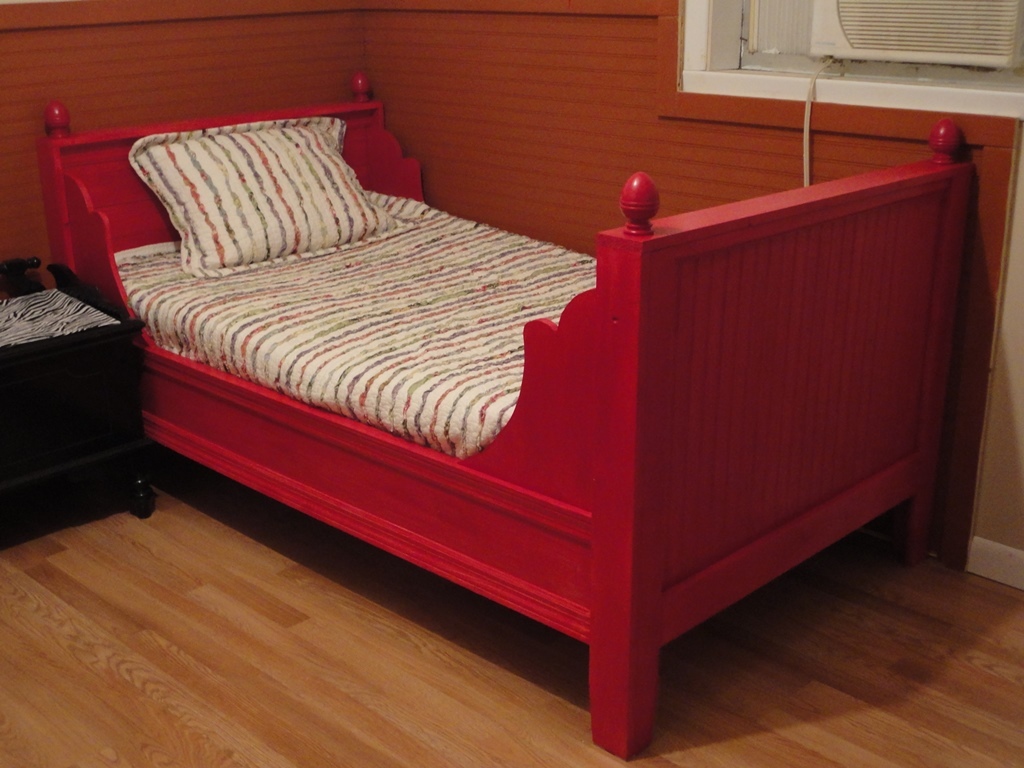
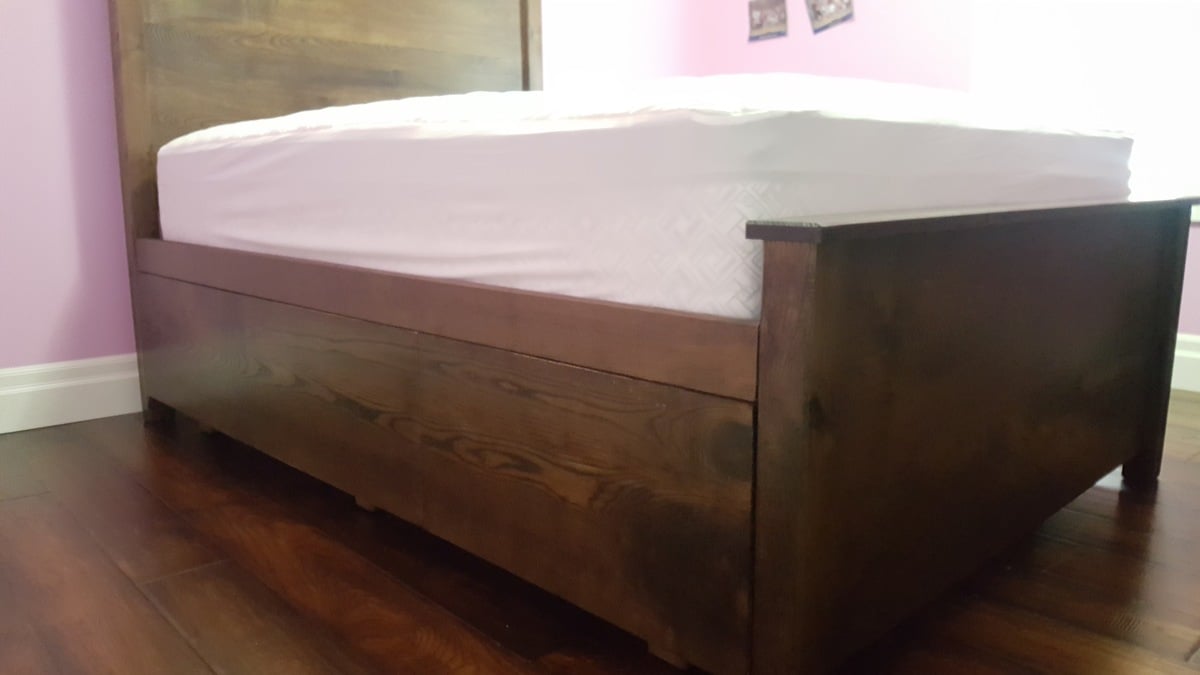
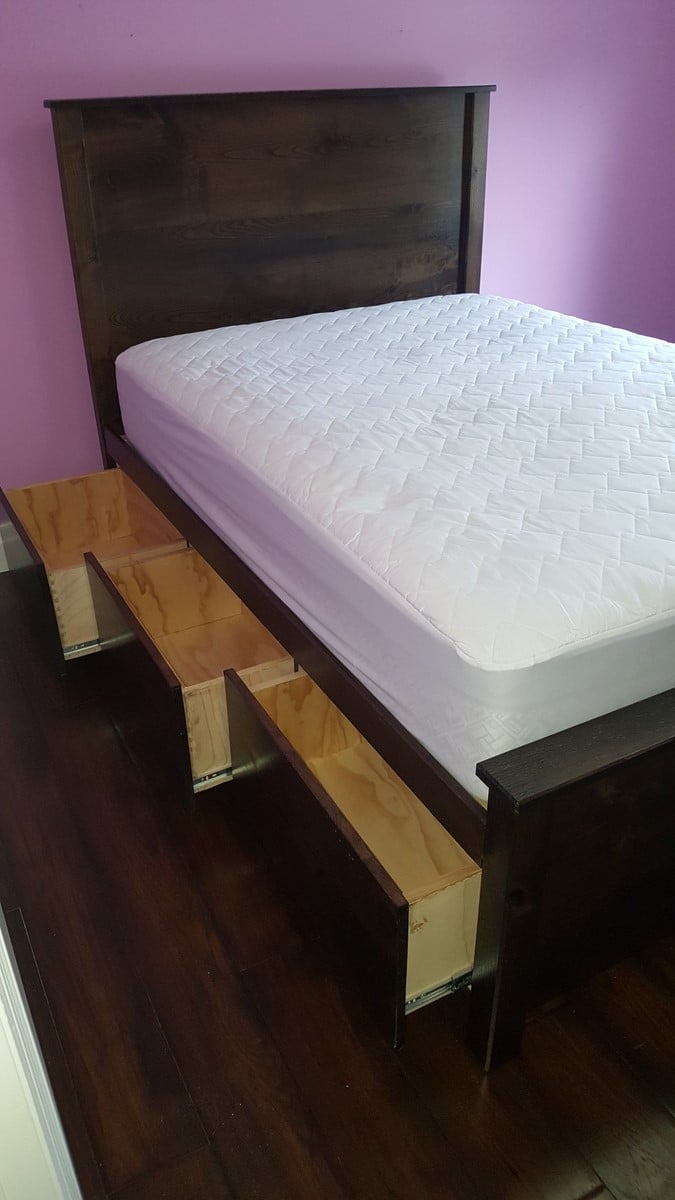
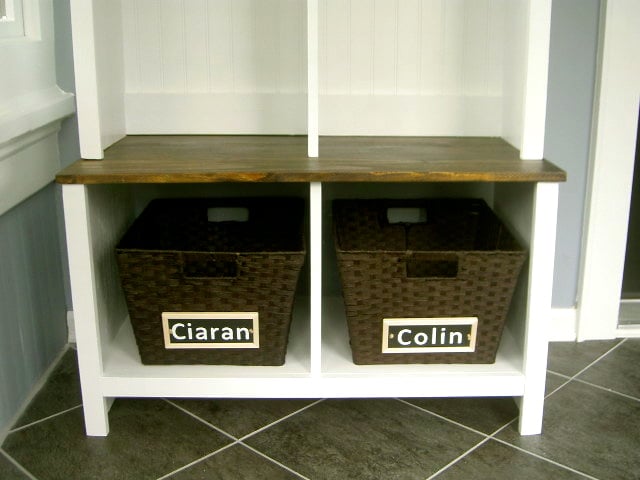
This is my favorite build so far! My two younger daughters share a room with an inevitable shortage of floor space. What they do have is a fairly large closet for 1 and 3 year old. I removed the crumby sliding doors and filled the bottom third of the space with the dresser, leaving plenty of room for kids clothes to hang above. I combined two separate plans and adjusted the measurements to fit the space. What I ended up with is a monstrous 6 drawer dresser that I would never have room for in the bedroom otherwise. The drawers are enormous (a must for a house with three little girls. They have more clothes than their mother and father combined).
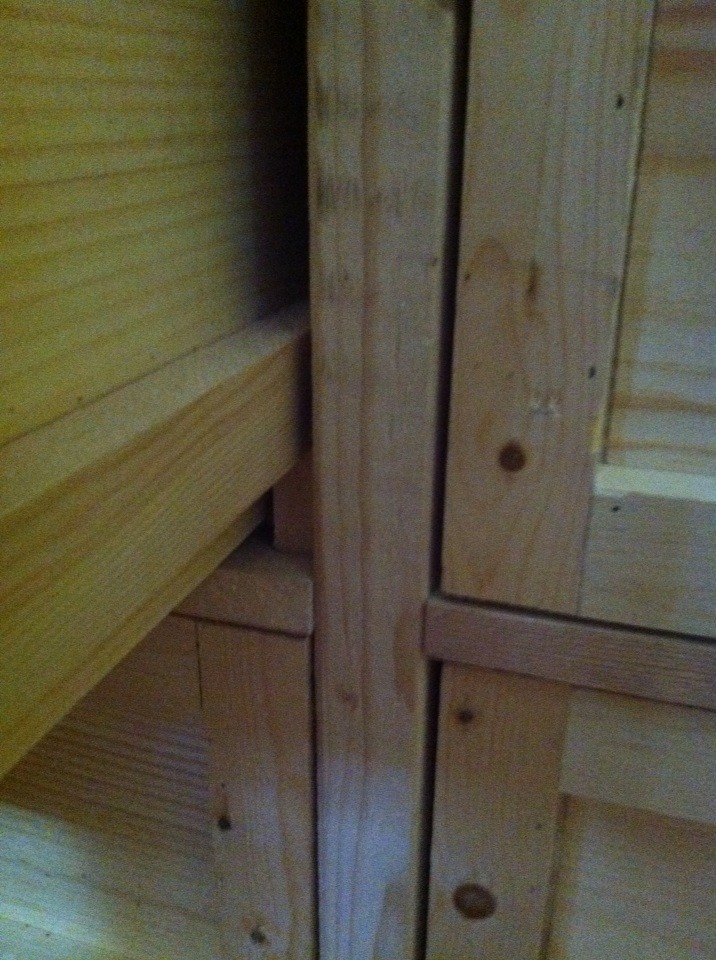
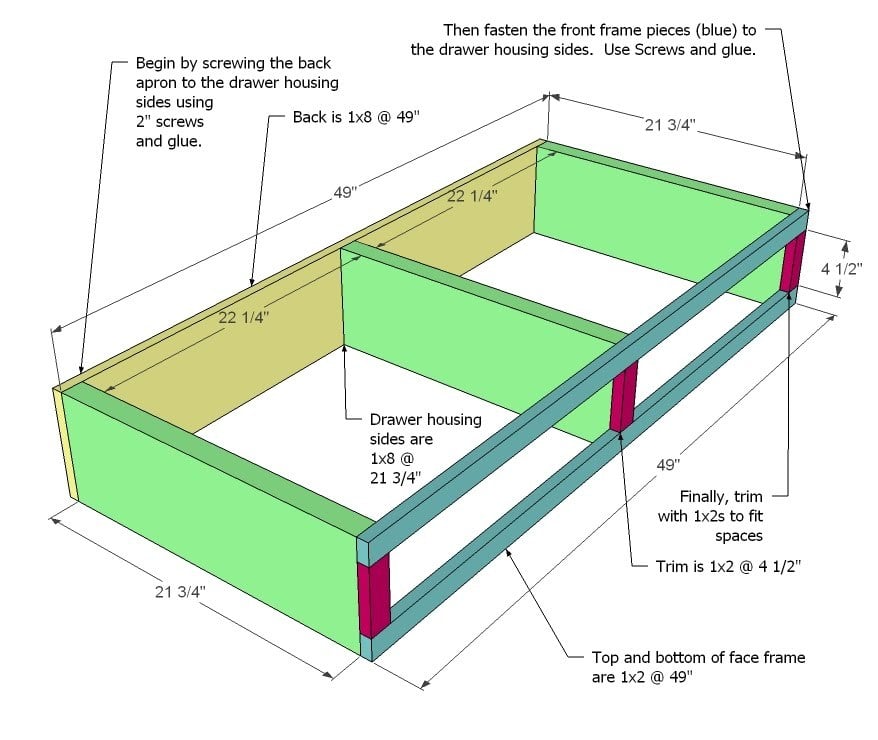
I took the frame concept from the Shanty2Chic rustic rolling dresser and the drawer concept from the Madison dresser from Old Paint Design. (Thanks Ladies!) It took me some significant math adjustments (I'm not a math guy) in order to alter the drawers for wood slides, alter the frame to fit that, and alter both to fit the 70 3/4" x 24" space.
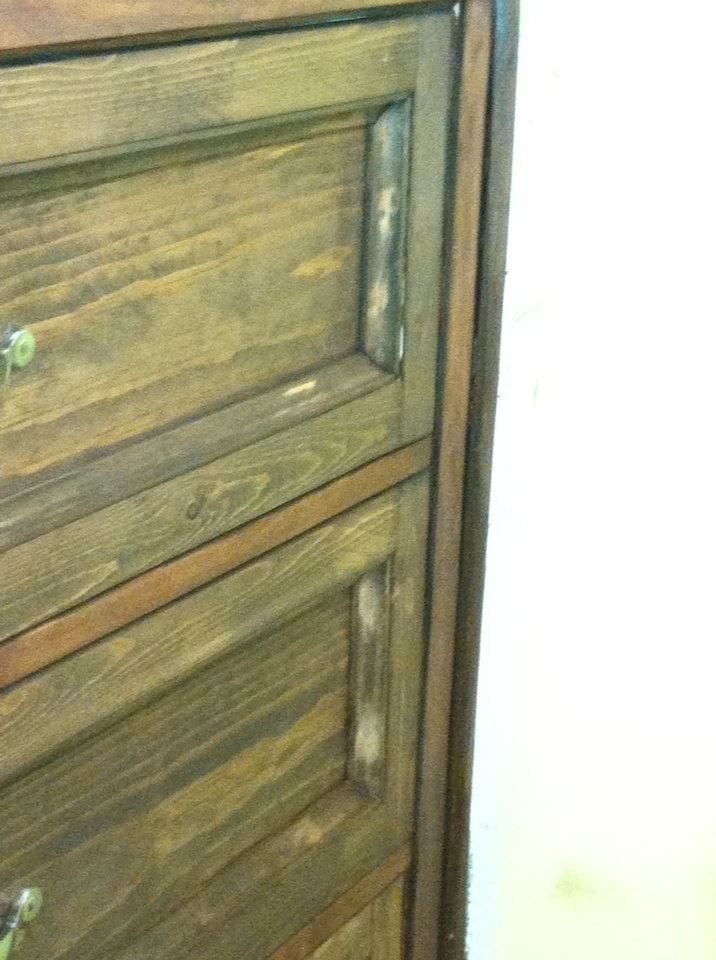
The finish took the most time with a bizarre mixing of Rustoleum Dark Walnut and Rustoleum Classic Cherry. I love the color now. Clearly I have not fixed the wall paint yet :)
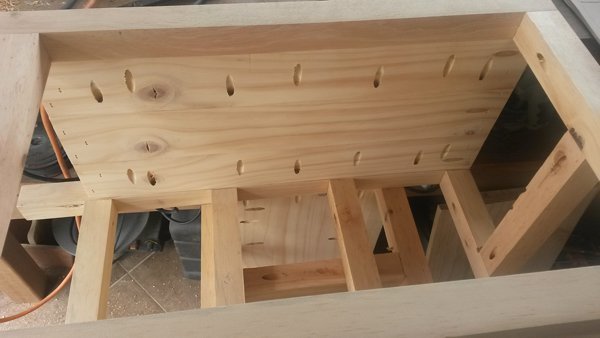
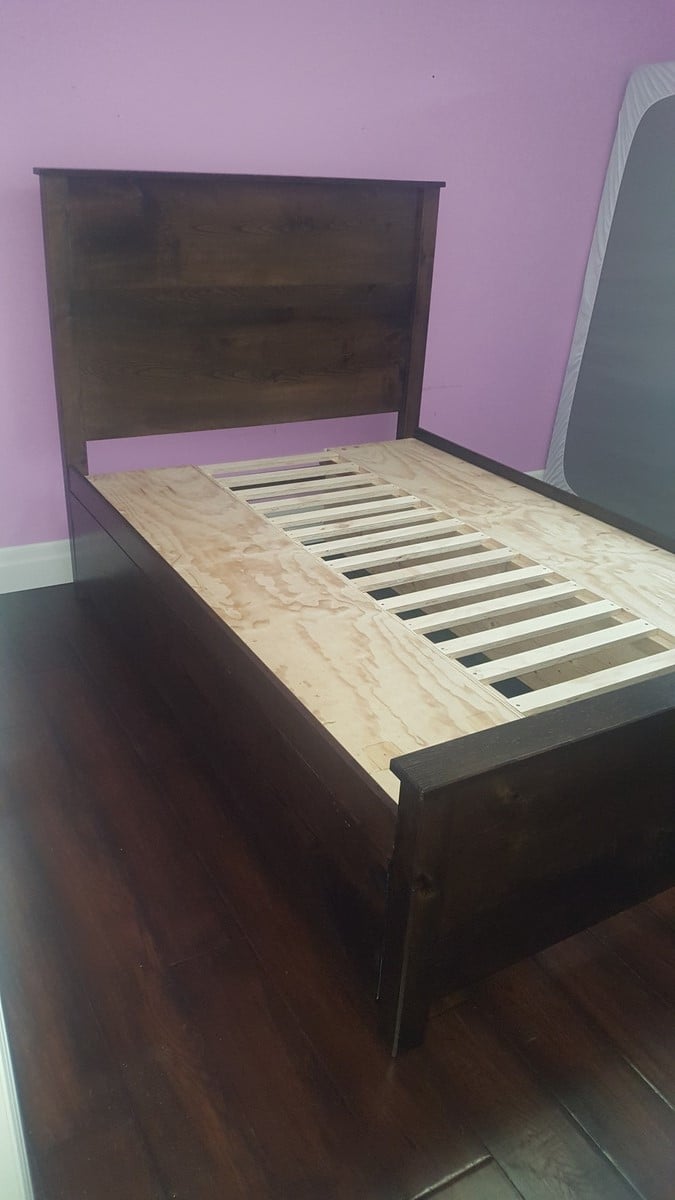
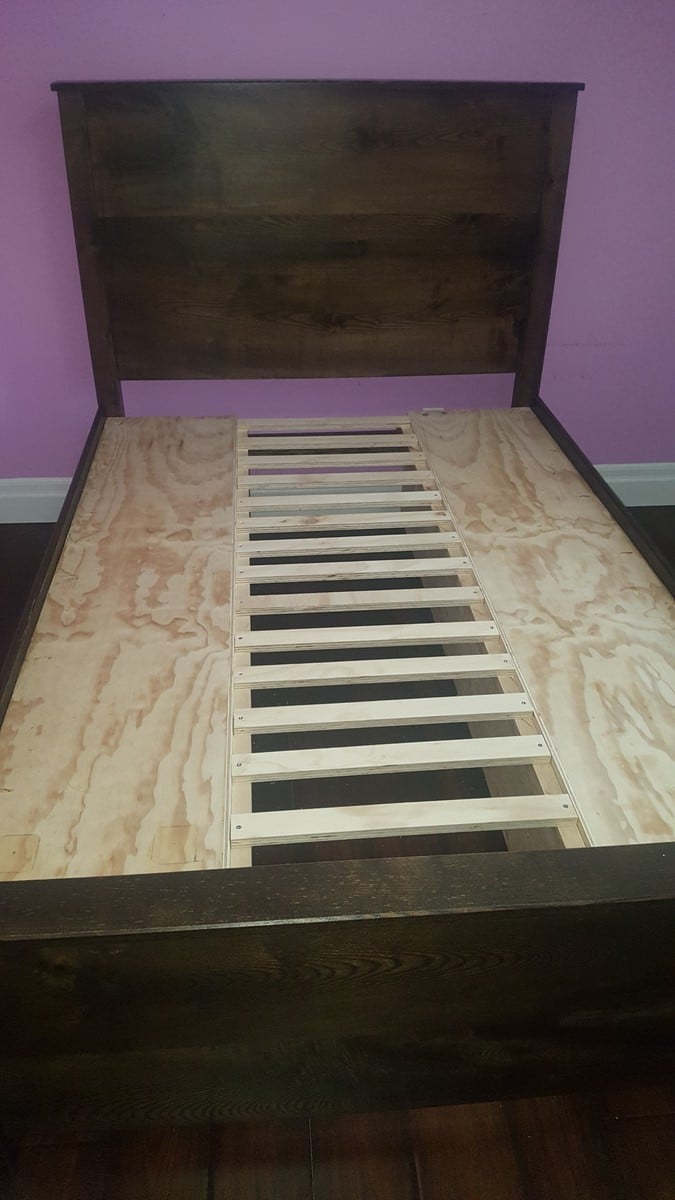
The wood is big box pine as I am still working up the confidence to work with more expensive wood. The top is 1x12's and 1x2's. The sides (hidden) are 3/4" plywood. The hardware is from Lowes.
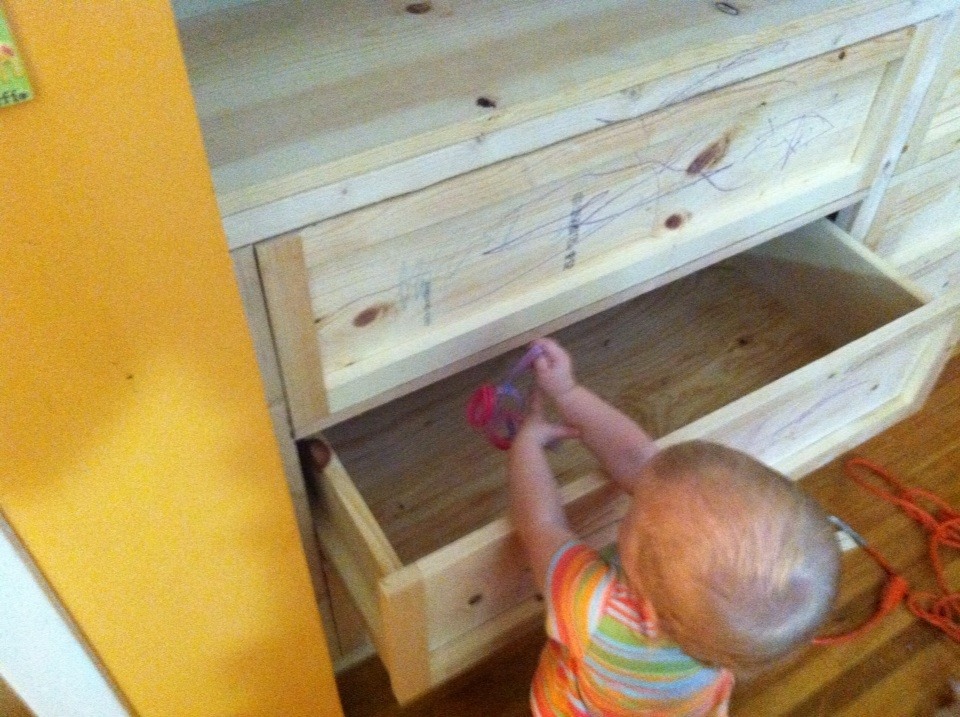
My daughters were nice enough to decorate the dresser during the build with crayon requiring a 40 grit sanding Grrrr.