DIY Wood Stool

For my son's wedding!
Built from Plan(s)
For my son's wedding!
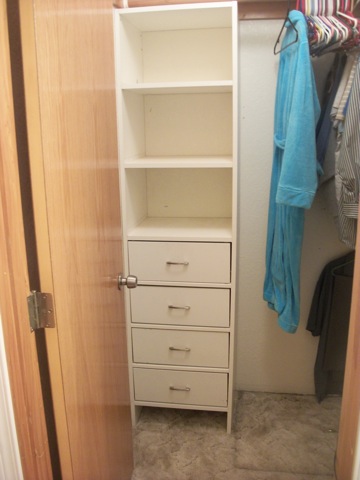
I didn't even know that I had made a closet storage system like Ana's but while perusing the projects, I came back across this plan and figured I could submit a brag post for it! Thanks Ana!!
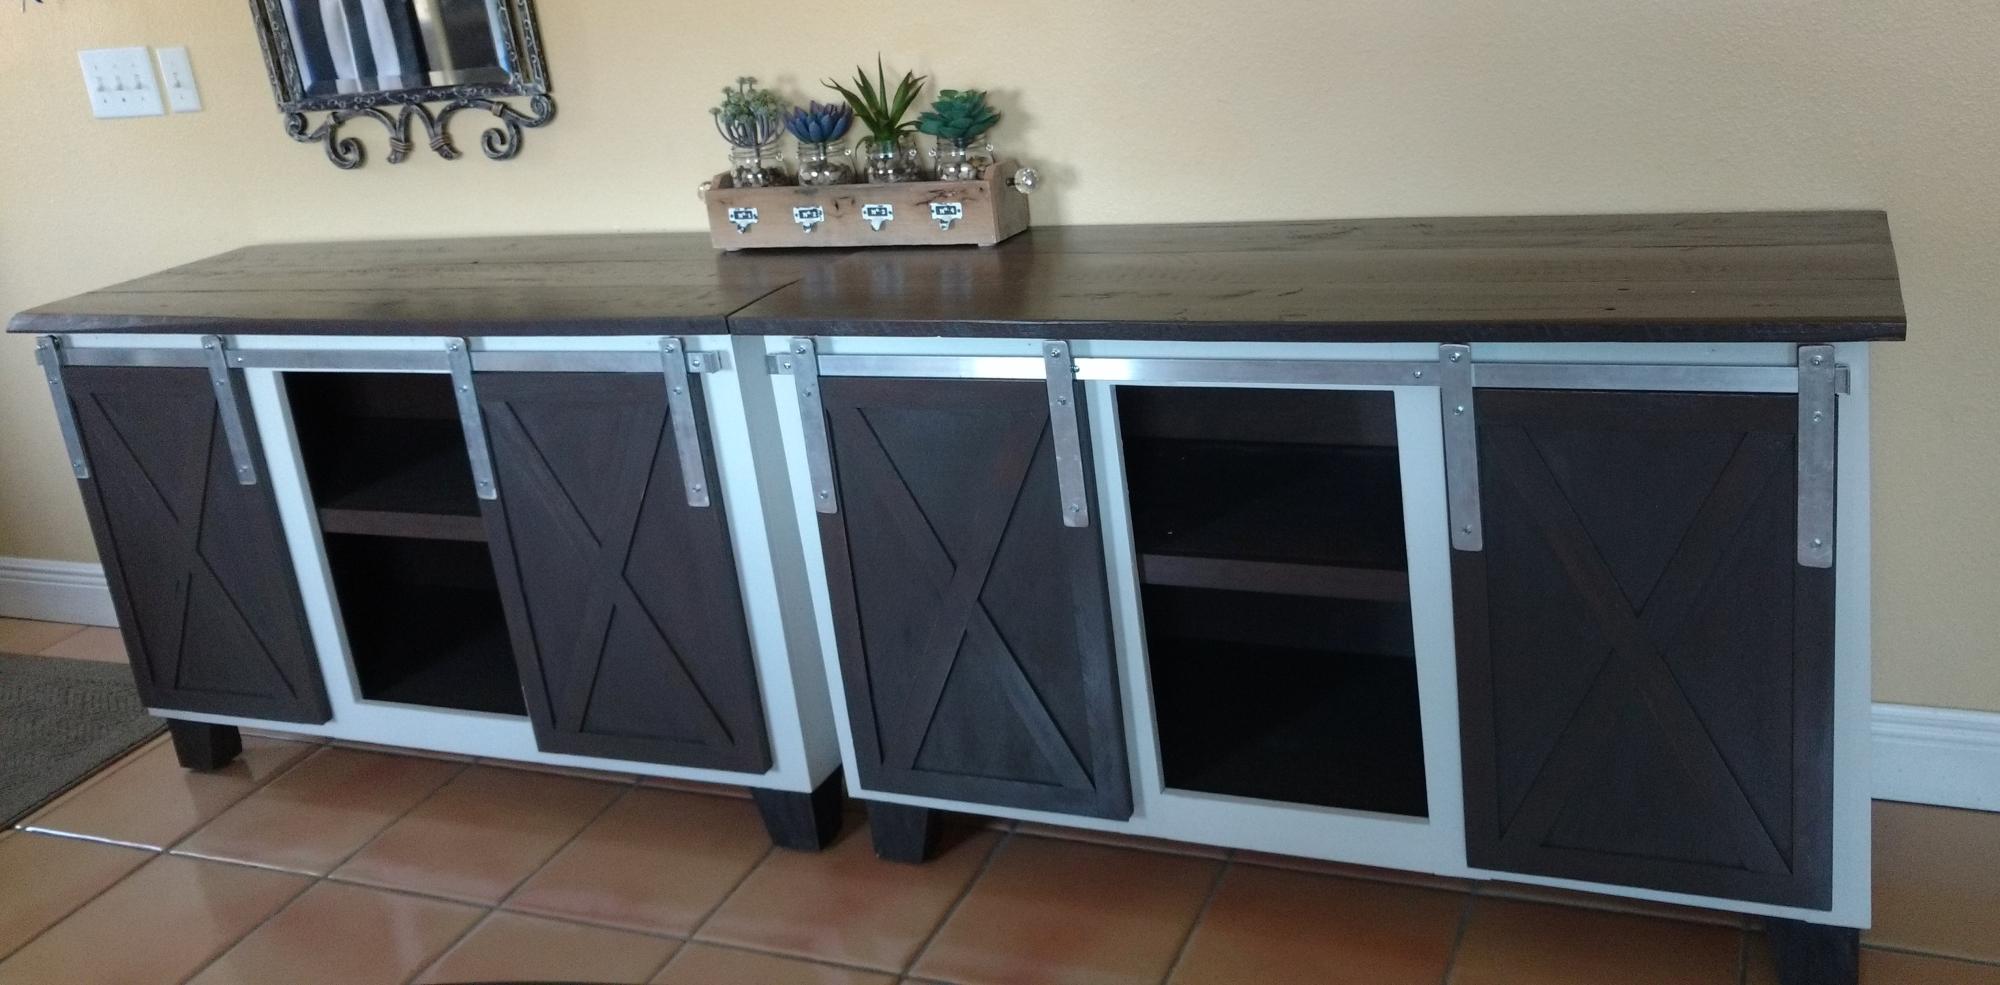
We used melamine shelving and MDF trim. No paint needed if you get the MDF boards primed (although you really should!)
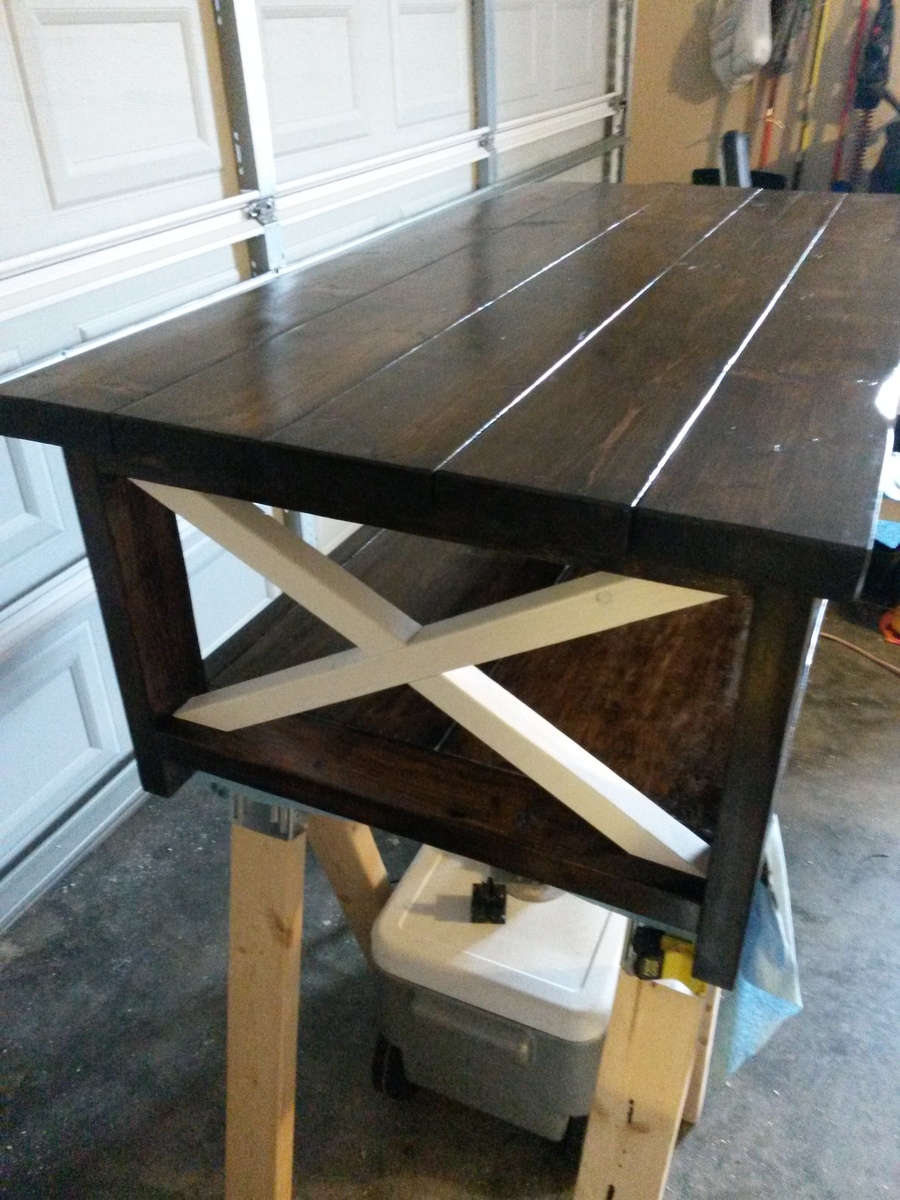
We loved the dark finish from the Min-wax Espresso stain/sealant, but decided to use white in the X's so we can see the table in low light easier to save our shins. Came out great and we will do matching end tables, dining table, and a bench outside to draw the five pieces together.
This took me considerably longer than the plans called for, but I have never built any furniture before so I underestimated the sanding required.
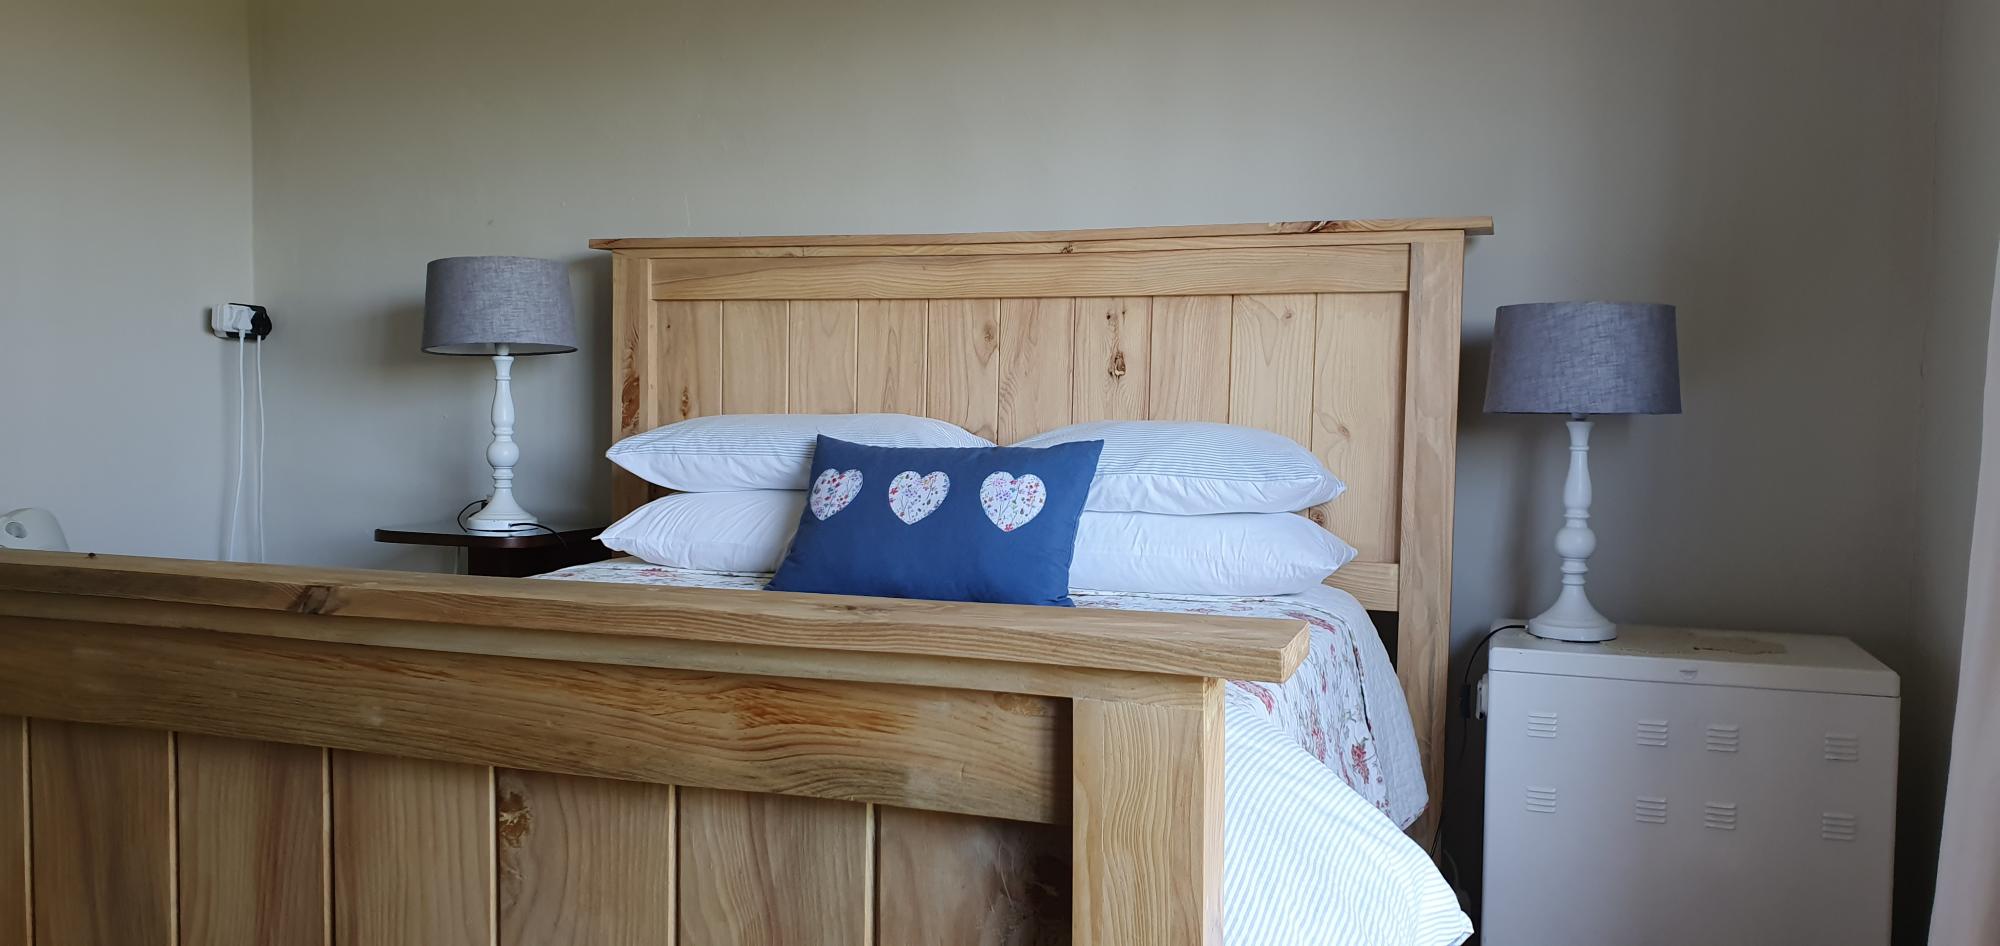
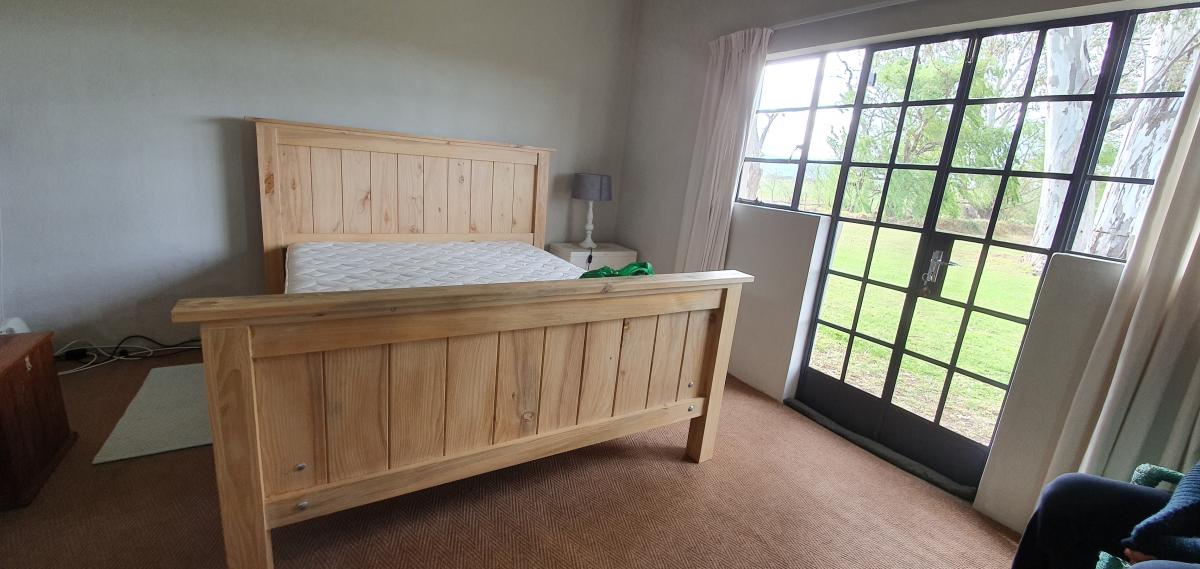
This rough milled lumber had to be planed quite a bit. and the sizes also differed. We ended up with thicker sections than on the original plan. Also used bolts to bolt the heavier headset and footrest to the base.
Screws were used instead of nails. This inland Karoo area pine is very hard and crack very easily. warps too. Well seasoned wood were used. Finish is normal sanding sealer for a mat look.
thanks for the lovely plans Ana.
this is a proven classic.
My daughter needed decorative storage in a long entryway, Ana's plan was perfect. Thank you
Cathy B

My husband and I got sick of buying particle board furniture and having it fall apart. I was so excited to see these desk plans and decided to build each child one of their own.
I tweaked the plans a lot. I learned a little SketchUp in the process. Each of these desk tops sits on 4 16x16" bases. Each desk has one drawer base, one fixed-shelf base, and two adjustable shelf bases. The bases can be rearranged as desired and can later be used as shelves when we don't need the desktops anymore.
All 3 desks took me just over 4 months to complete. Of course, Christmas happened during that time.
I used Fir based on some misguidance at the lumber yard. I'm still a little upset by that. I used pine edgebanding and am pleased with the finished look though. I just hope the wood is hard enough to not suffer too much damage.
I really enjoyed this project and my kids are loving the results. Their desks don't wobble and they have a lot of space.
Thanks for the jumping off point and all the instructions here. My next project is a built-in entertainment center. Should be fun!


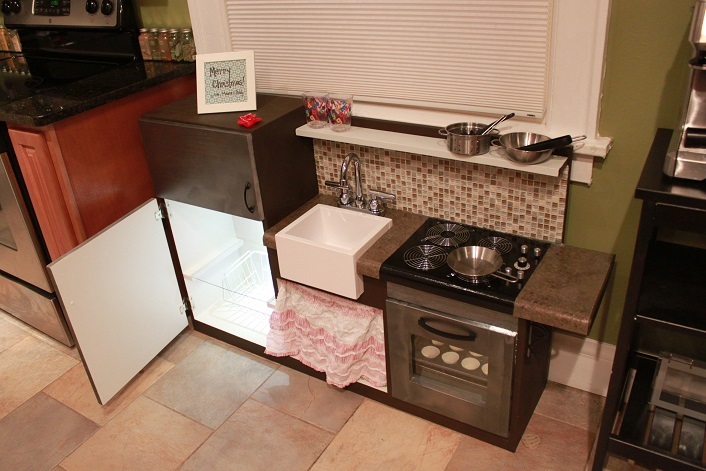
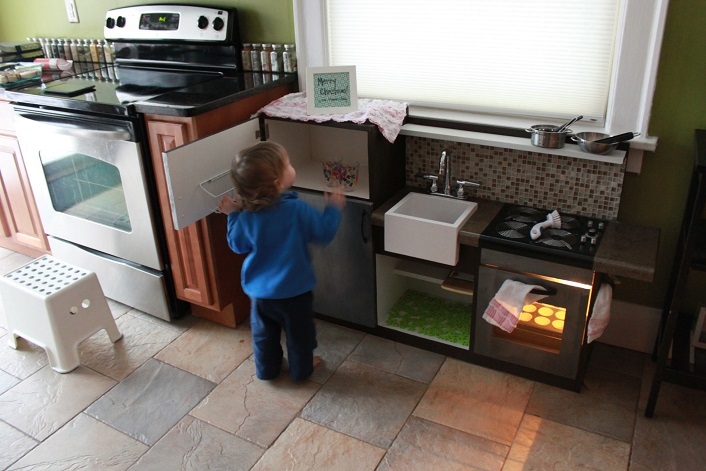
This was my first project and I learned a lot about drilling and sawing. I love the cute kitchens people have built with this plan, but we went for realistic with neutral colors since it is going to be in our own kitchen and not in a playroom. The biggest challenge was was that I was continually finding components I wanted to add, but then I would have to redo things I'd already done to fit them in.
For someone doing this plan, my only suggestion is to put the pocket holes inside the oven area instead of inside the sink area, as the countertop is easier to screw in that way.
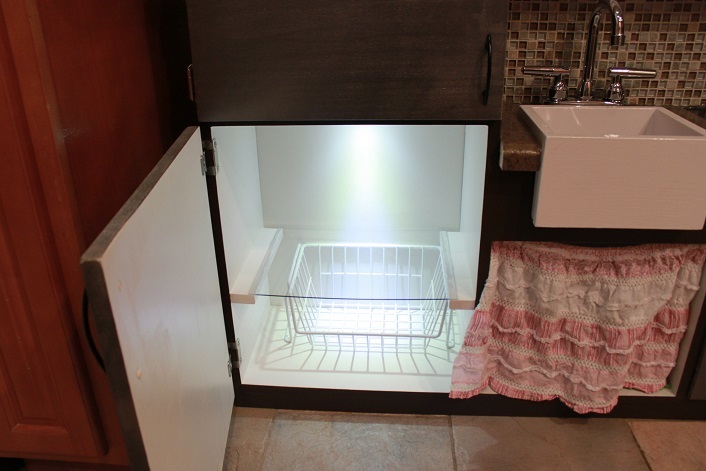
For the fridge, I used 11x14 clear acrylic for the shelf and glued in a motion sensing light. For the farm sink, I used glidden super glossy white paint, which is supposed to not show brush strokes but it did for me. I also made the shelf under the sink a half shelf. For the oven, I used cookie racks from the dollar store and a push-on light inside. The counter top is a realistic looking laminate I found in the shelving dept of Menards for $2. I found the wire disks for the stove top at a surplus supply shop for 75c each. My husband tiled the backsplash and we added that board after the grout had dried so the rest of the kitchen wouldn't get grout on it.

Mon, 01/06/2014 - 17:59
Great job on this play kitchen! It looks awesome, love all the details you used. That counter top looks very real, and I love how you put the white inside the fridge with the light! Clever and super creative! Fantastic job on your first project!
Tue, 01/07/2014 - 10:05
This is one of the most realistic-looking play kitchens I've seen. I love the look of the farmhouse sink, the white interior of the fridge, and the tile backsplash. This will be wonderful to pass down to a future generation!
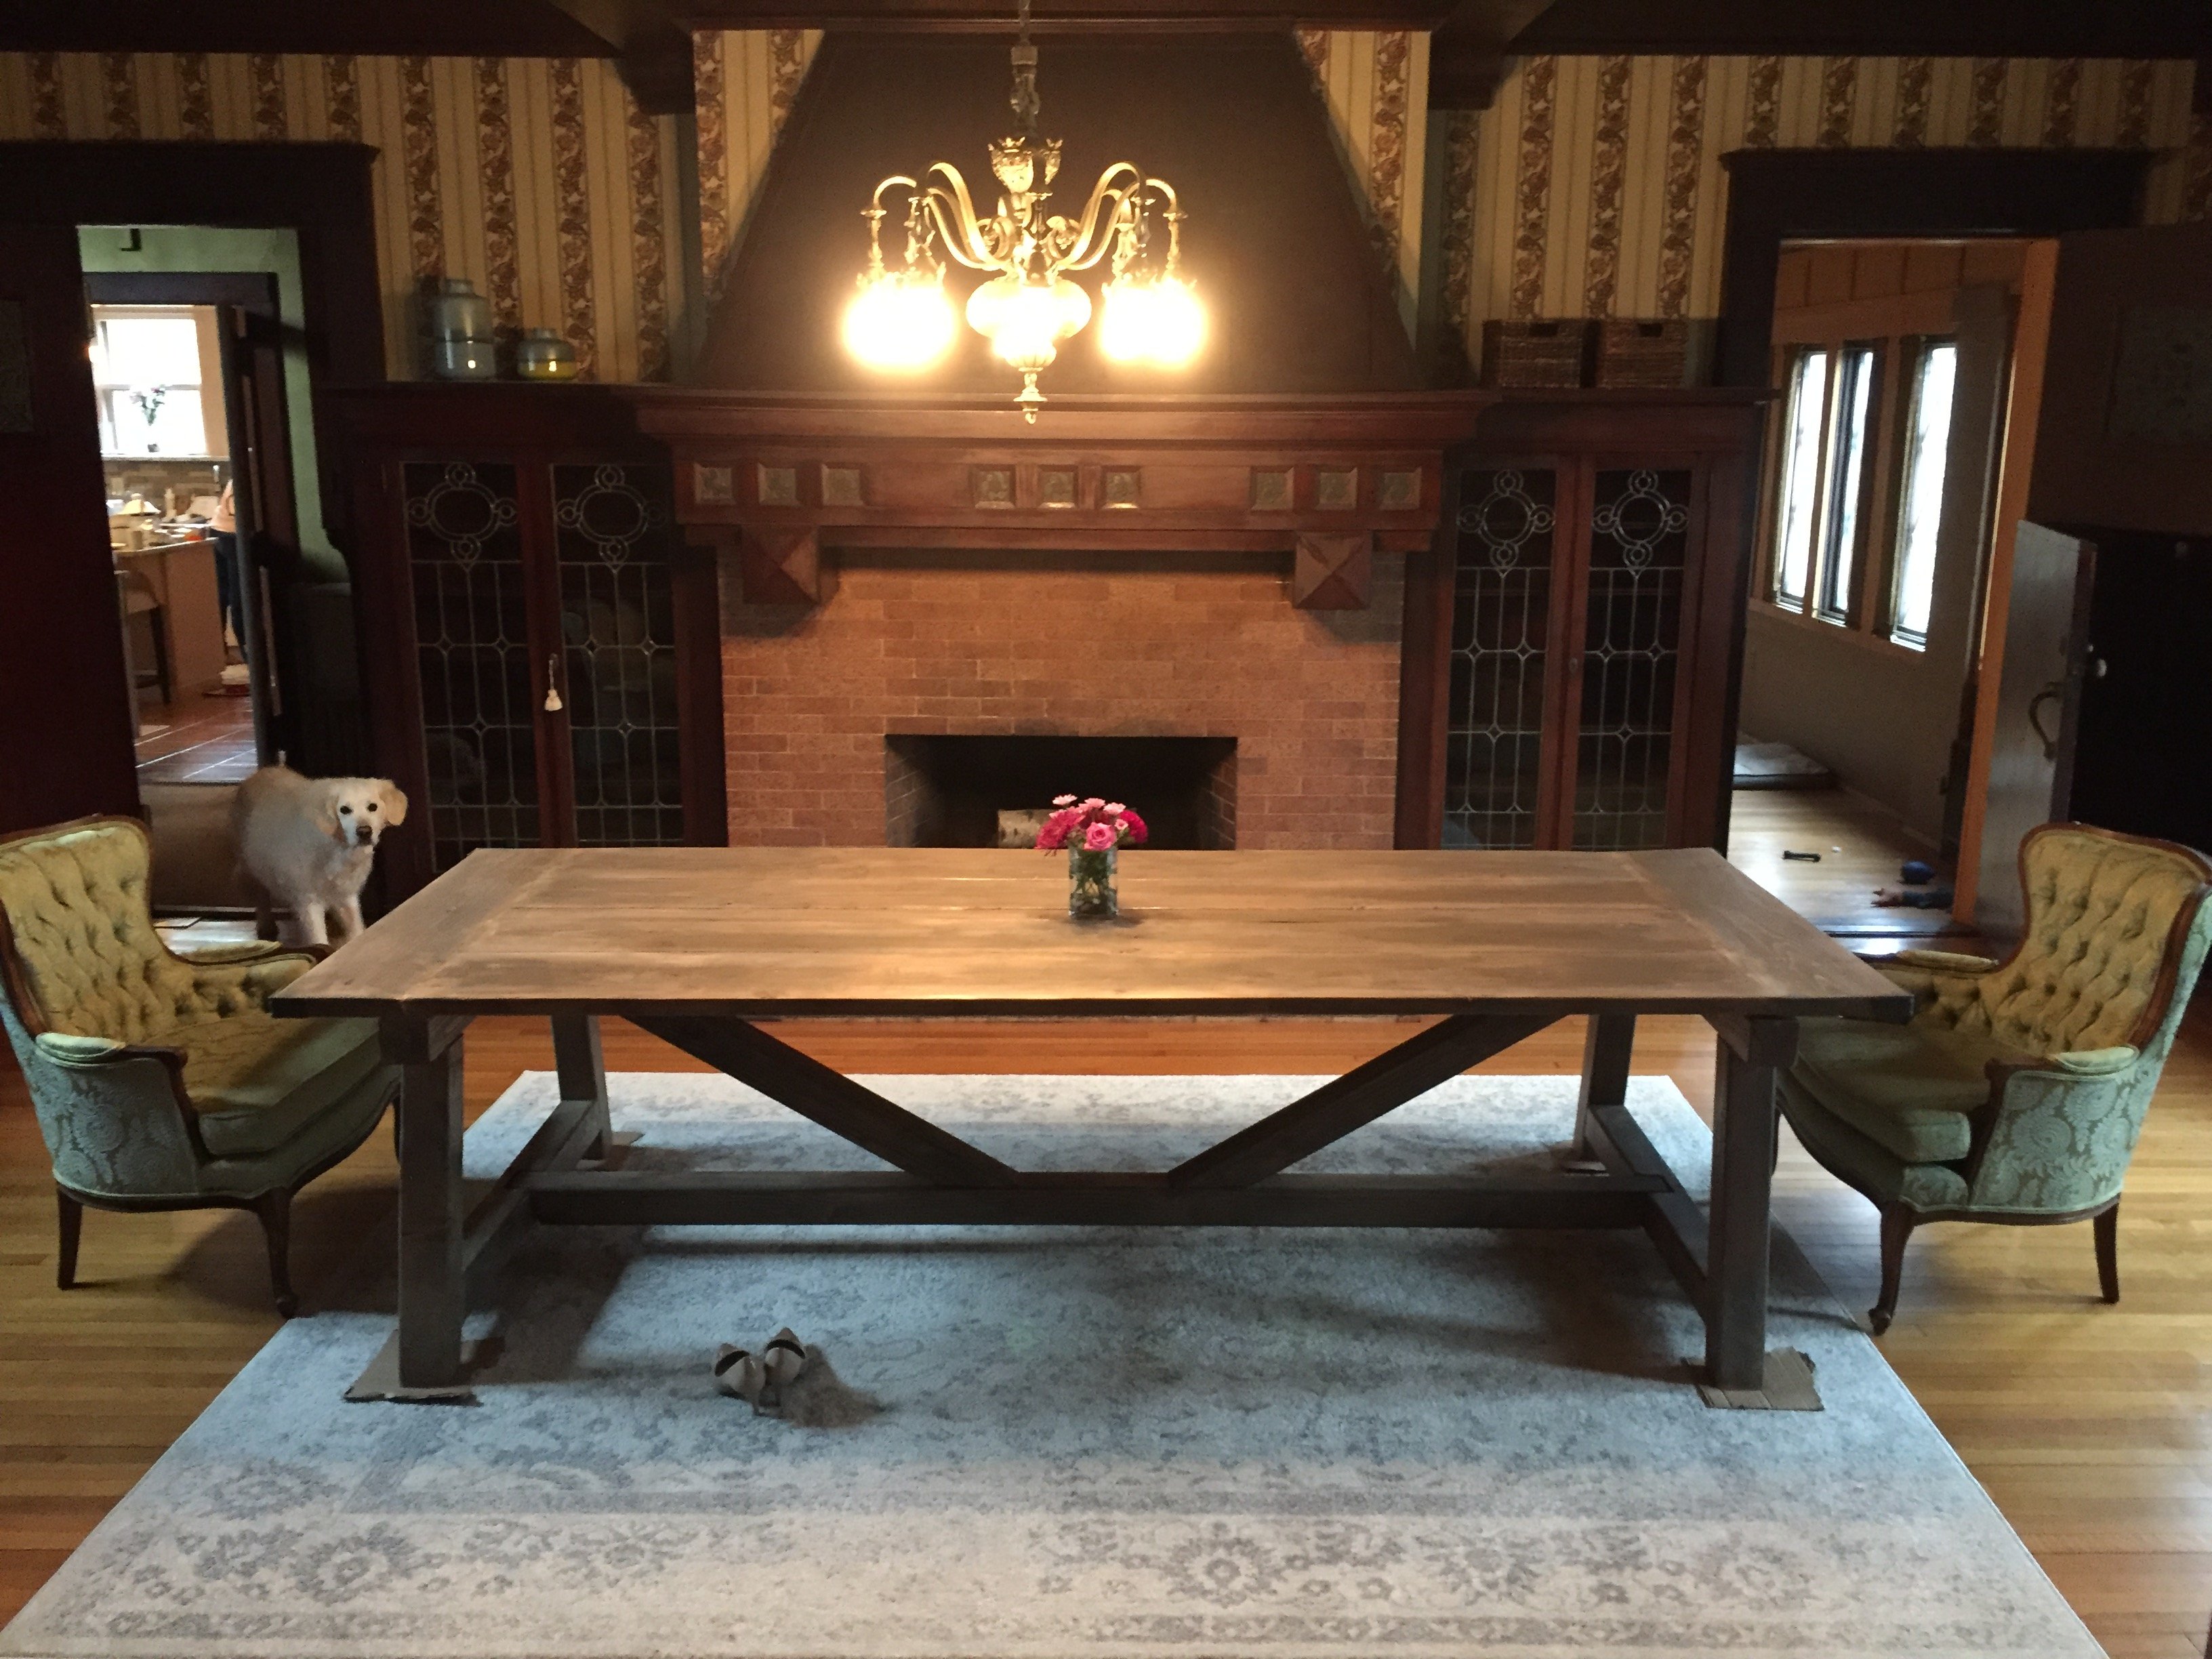
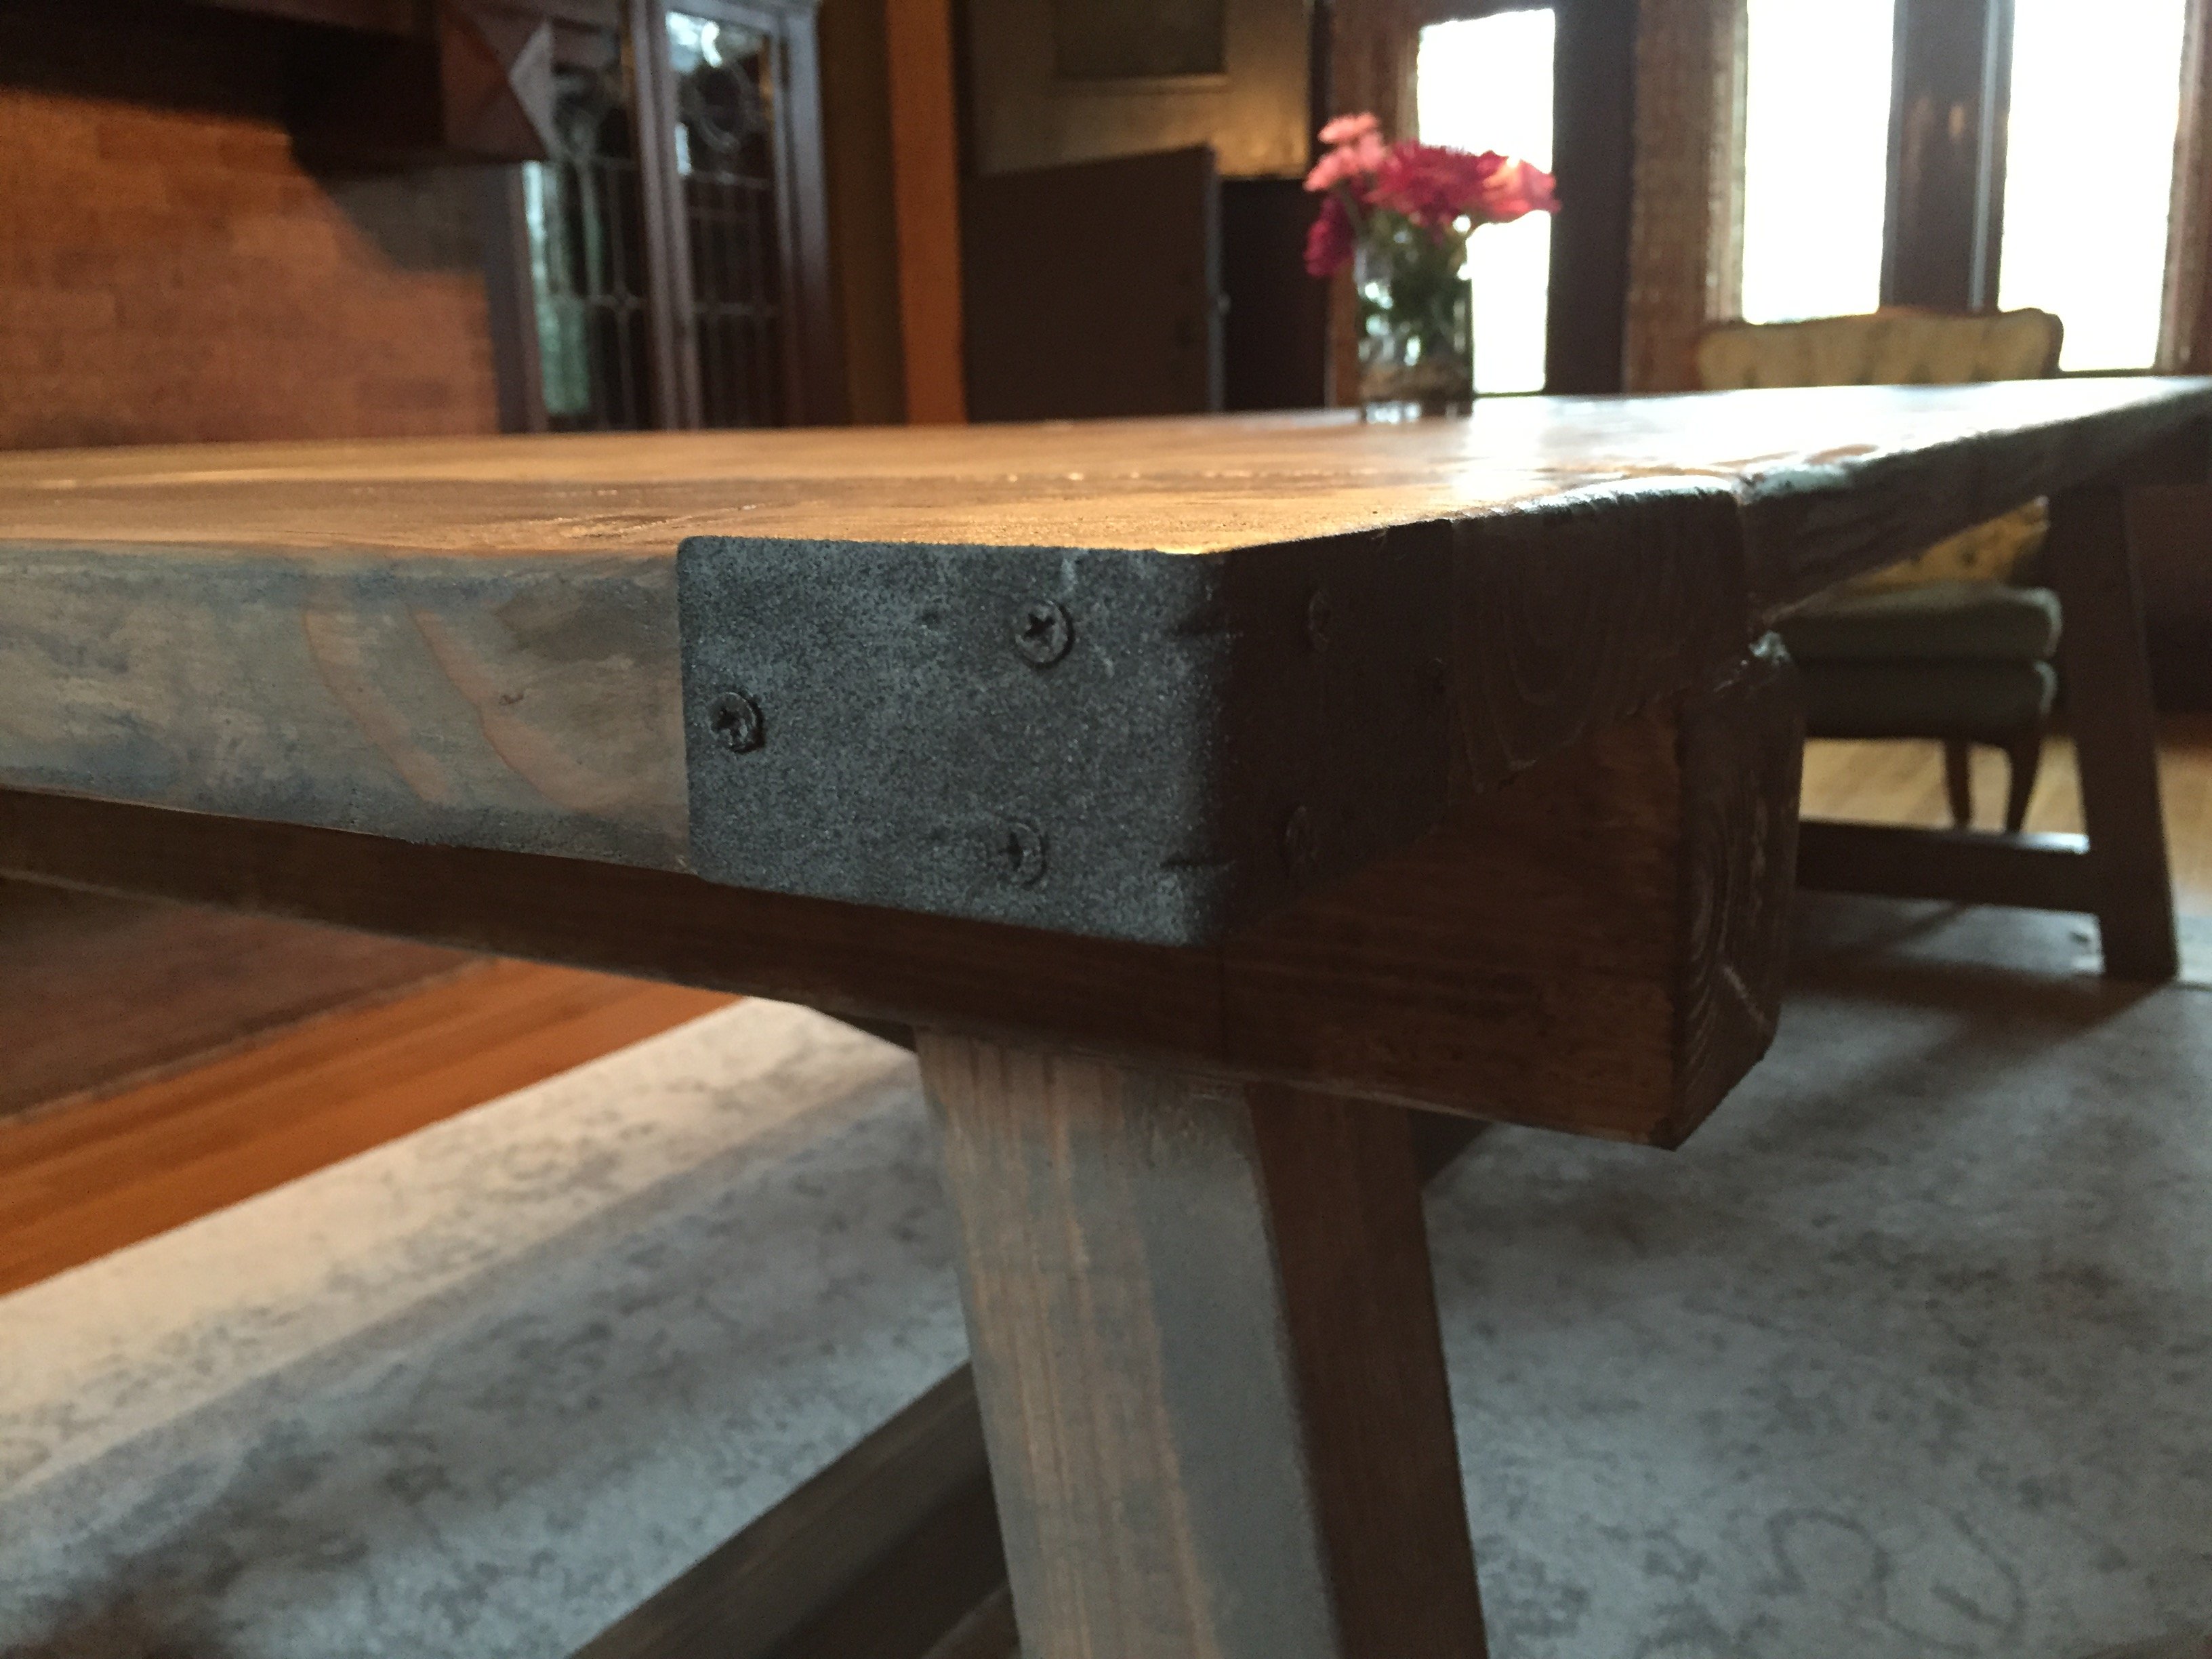
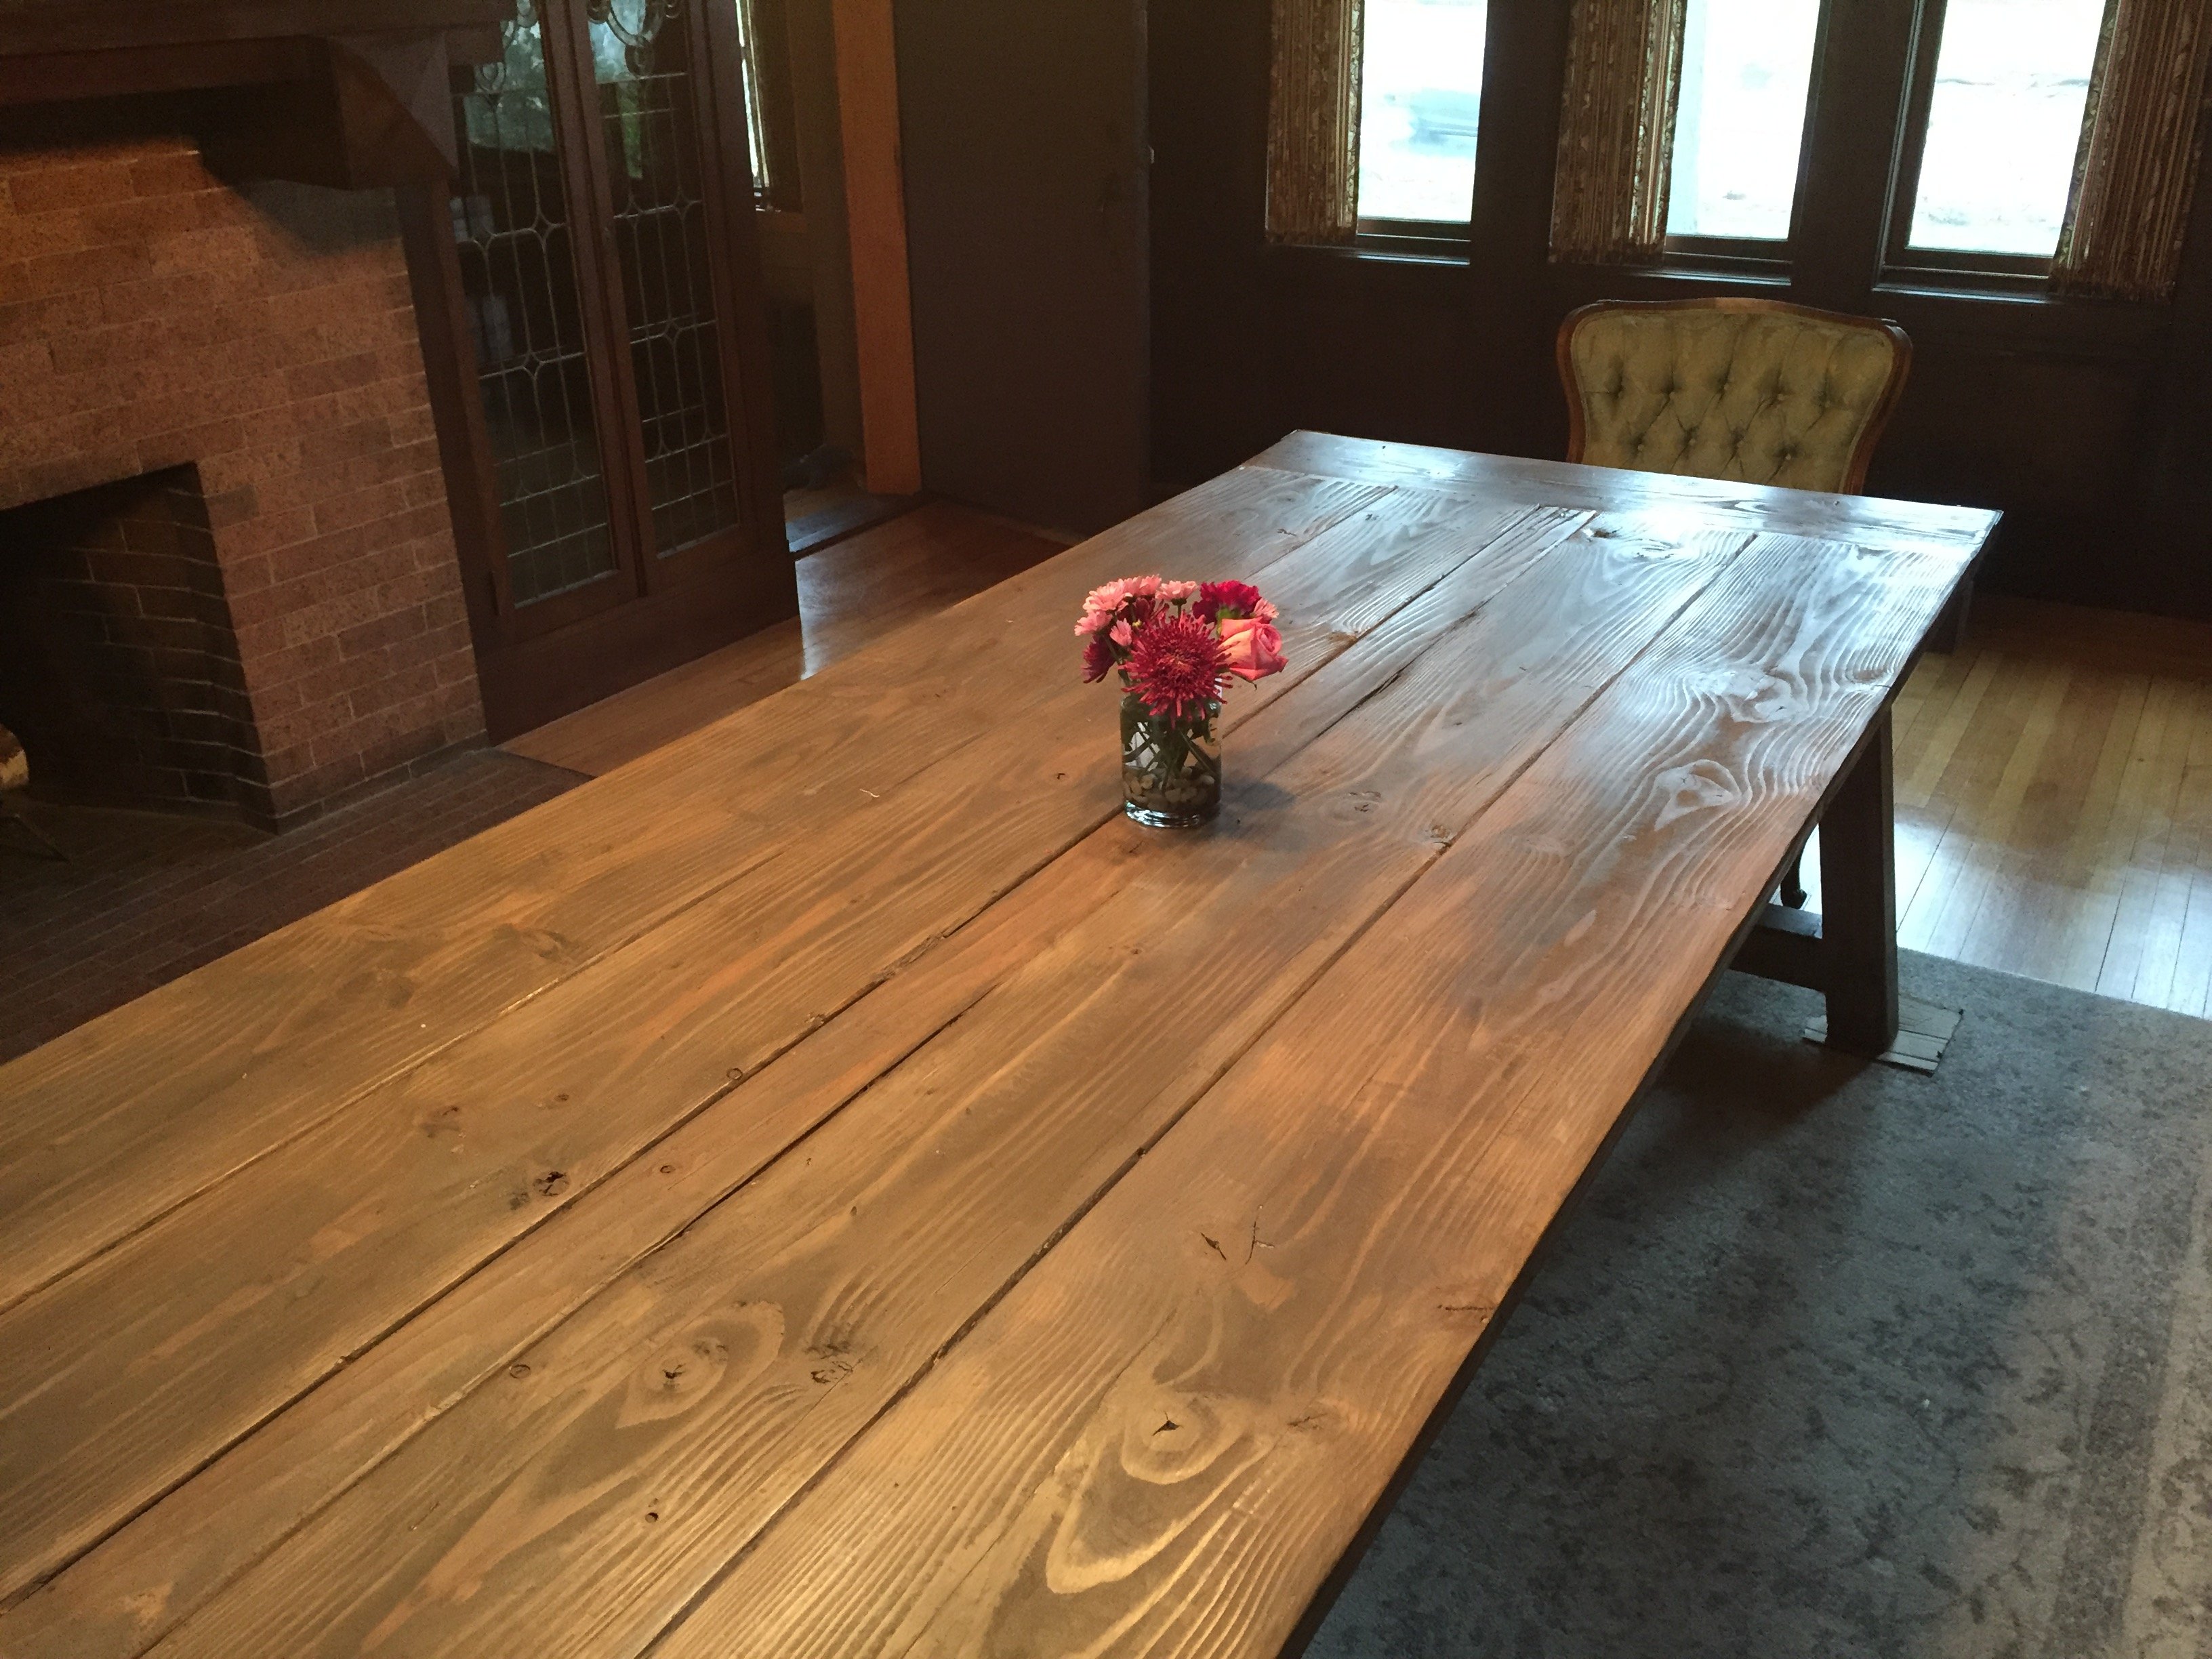
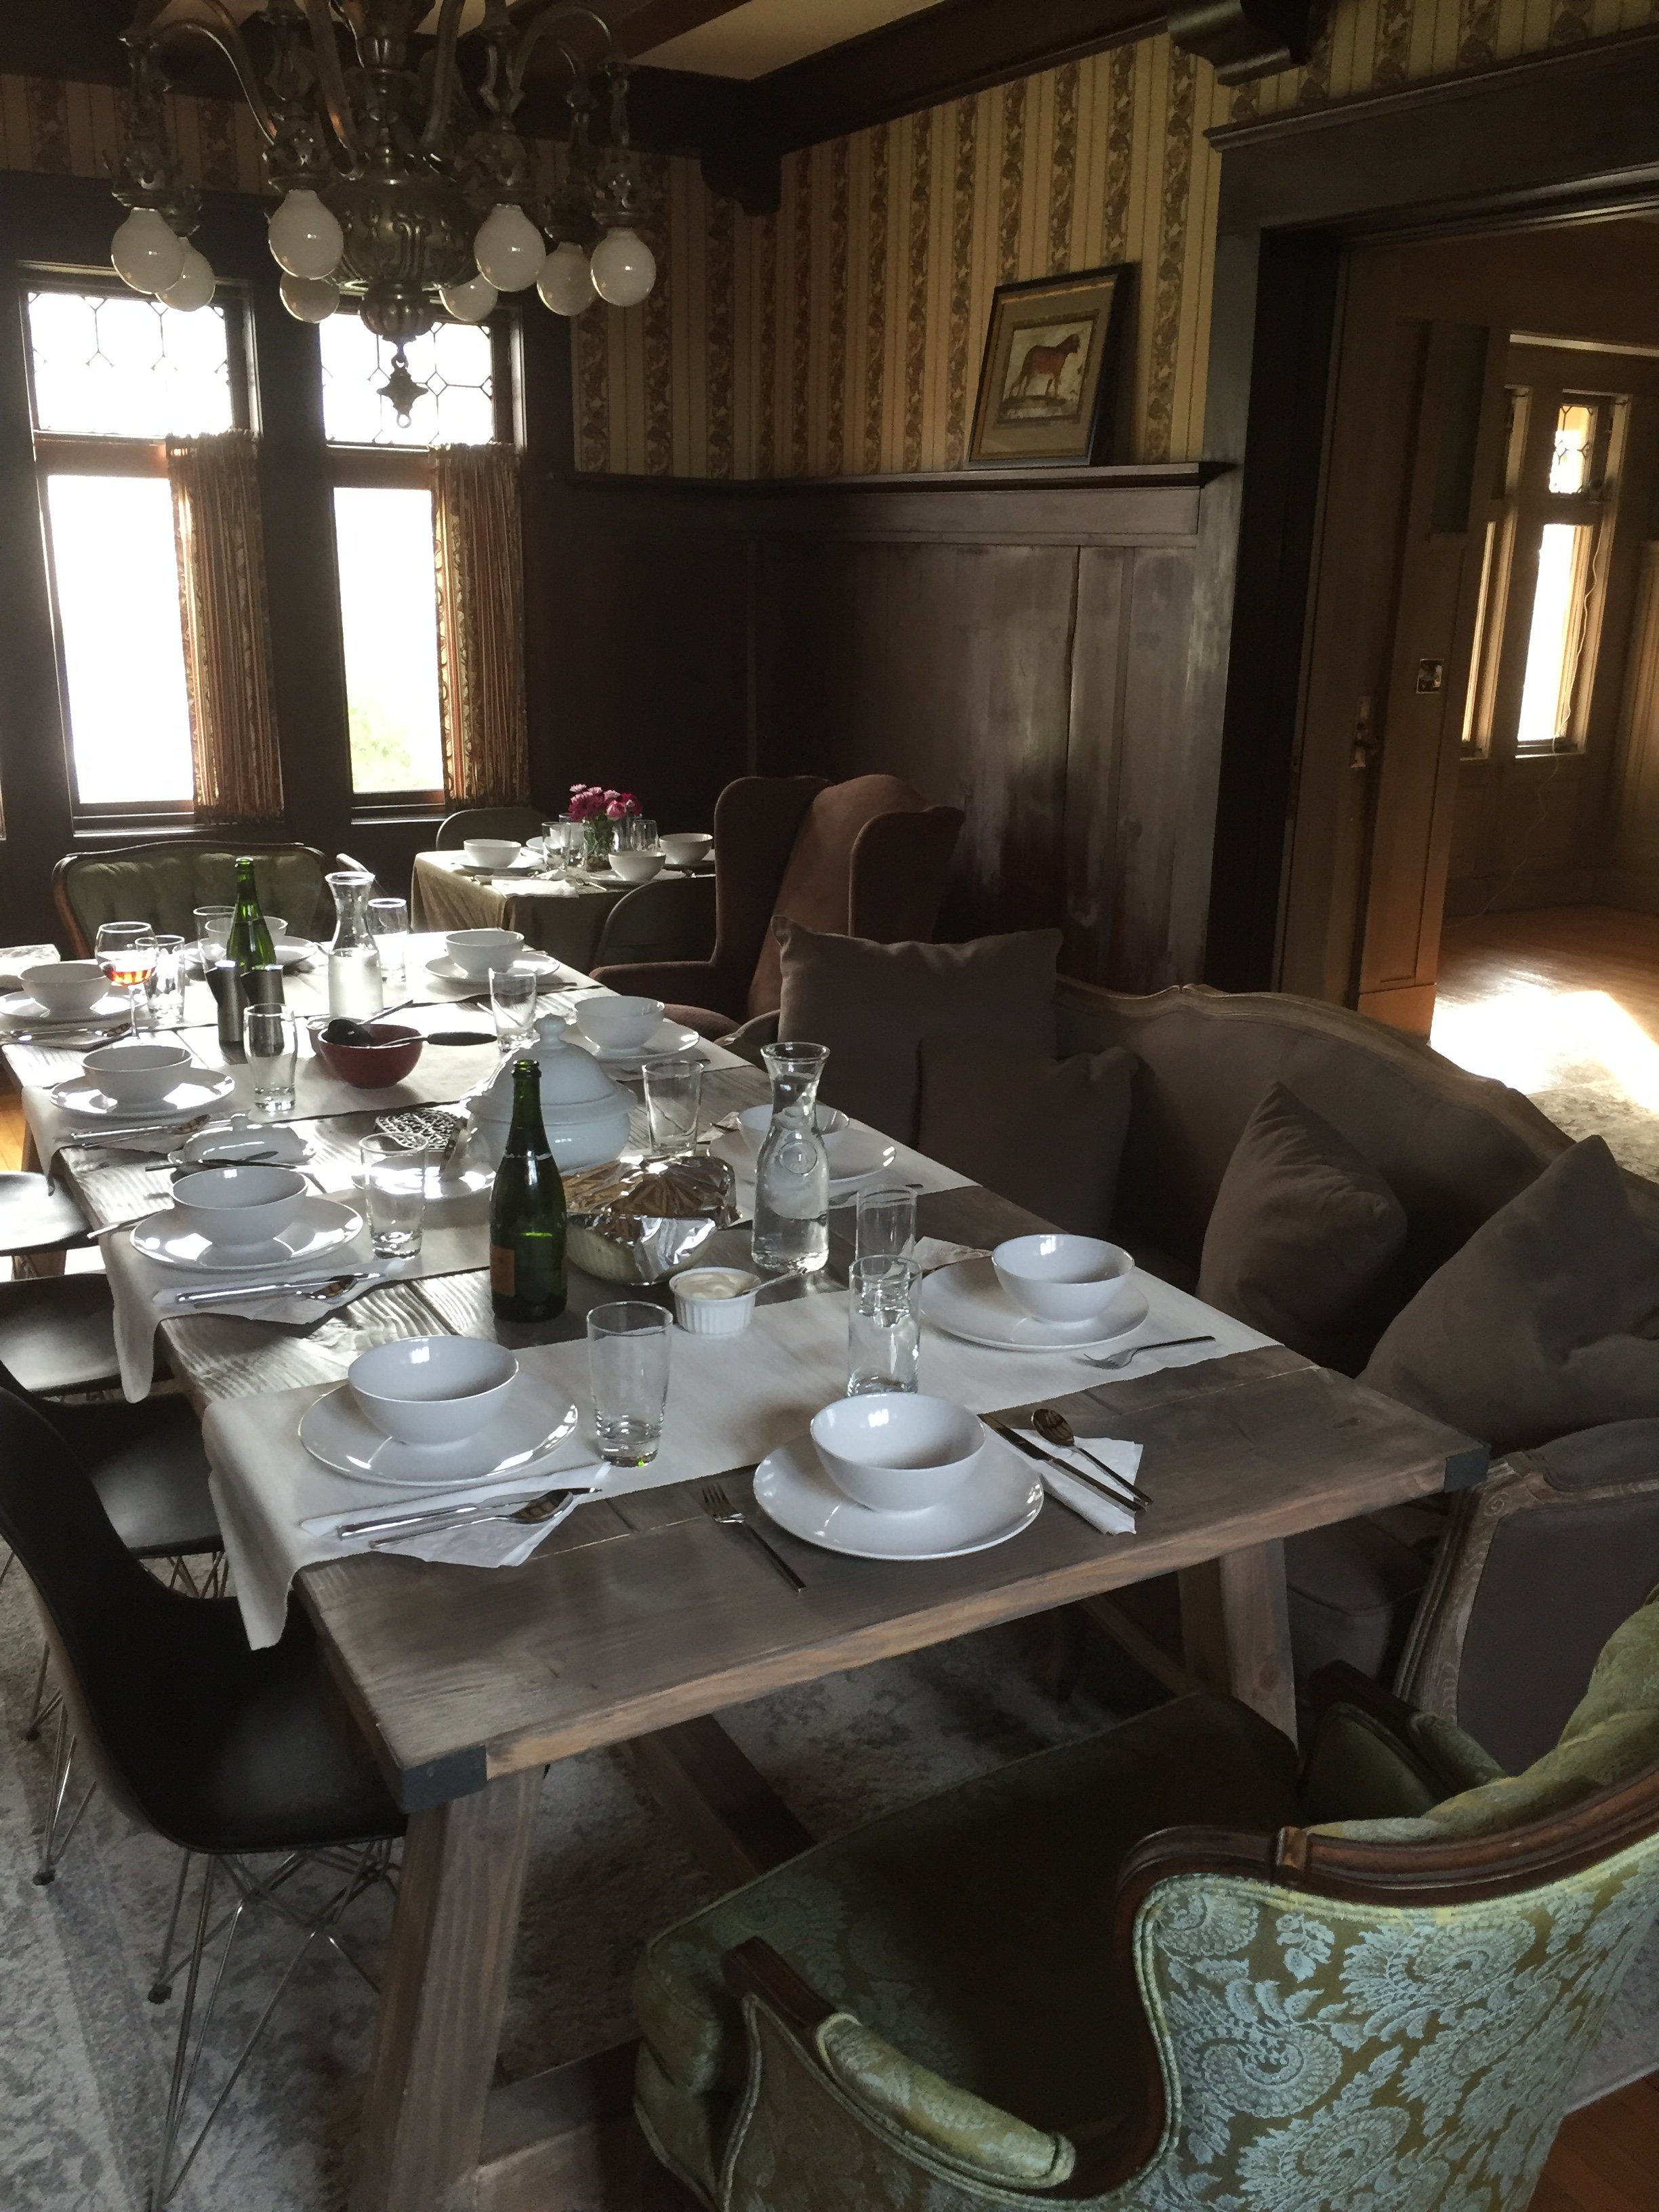
For our first Easter, my wife wanted to bring both our families together to celebrate in our new home. I've never done any woodworking before but the plans from Ana and Shanty2Chic allowed me to stretch my creativity. I got some awesome power tools from my father and started cutting away. 2 weeks later we were eating, drinking, and laughing over a 106" farmhouse style dining table. The materials were from the local home store and it was untreated lumber. Because of my inexperience I bought Prime Douglas Fir. The table took 4 of us to move from the detached garage to the living room. Who knew that wood was so heavy!!! Thanks to Ana and the girls at Shanty2Chic for some great tips. I relied on the pocket holes to attach the top boards but added a 4x4 in the middle for a feature piece to the table. The table top support beams are through tenon and mortise (I researched this on YouTube) but shimmed a bit since I didn't make them 100% perfect. The bottom 4x4 support is laid into the 4x4 on the leg support. Such fun, and am definitely looking to start more (perhaps with a lighter wood) projects soon. I'll continue to post any/all future projects.
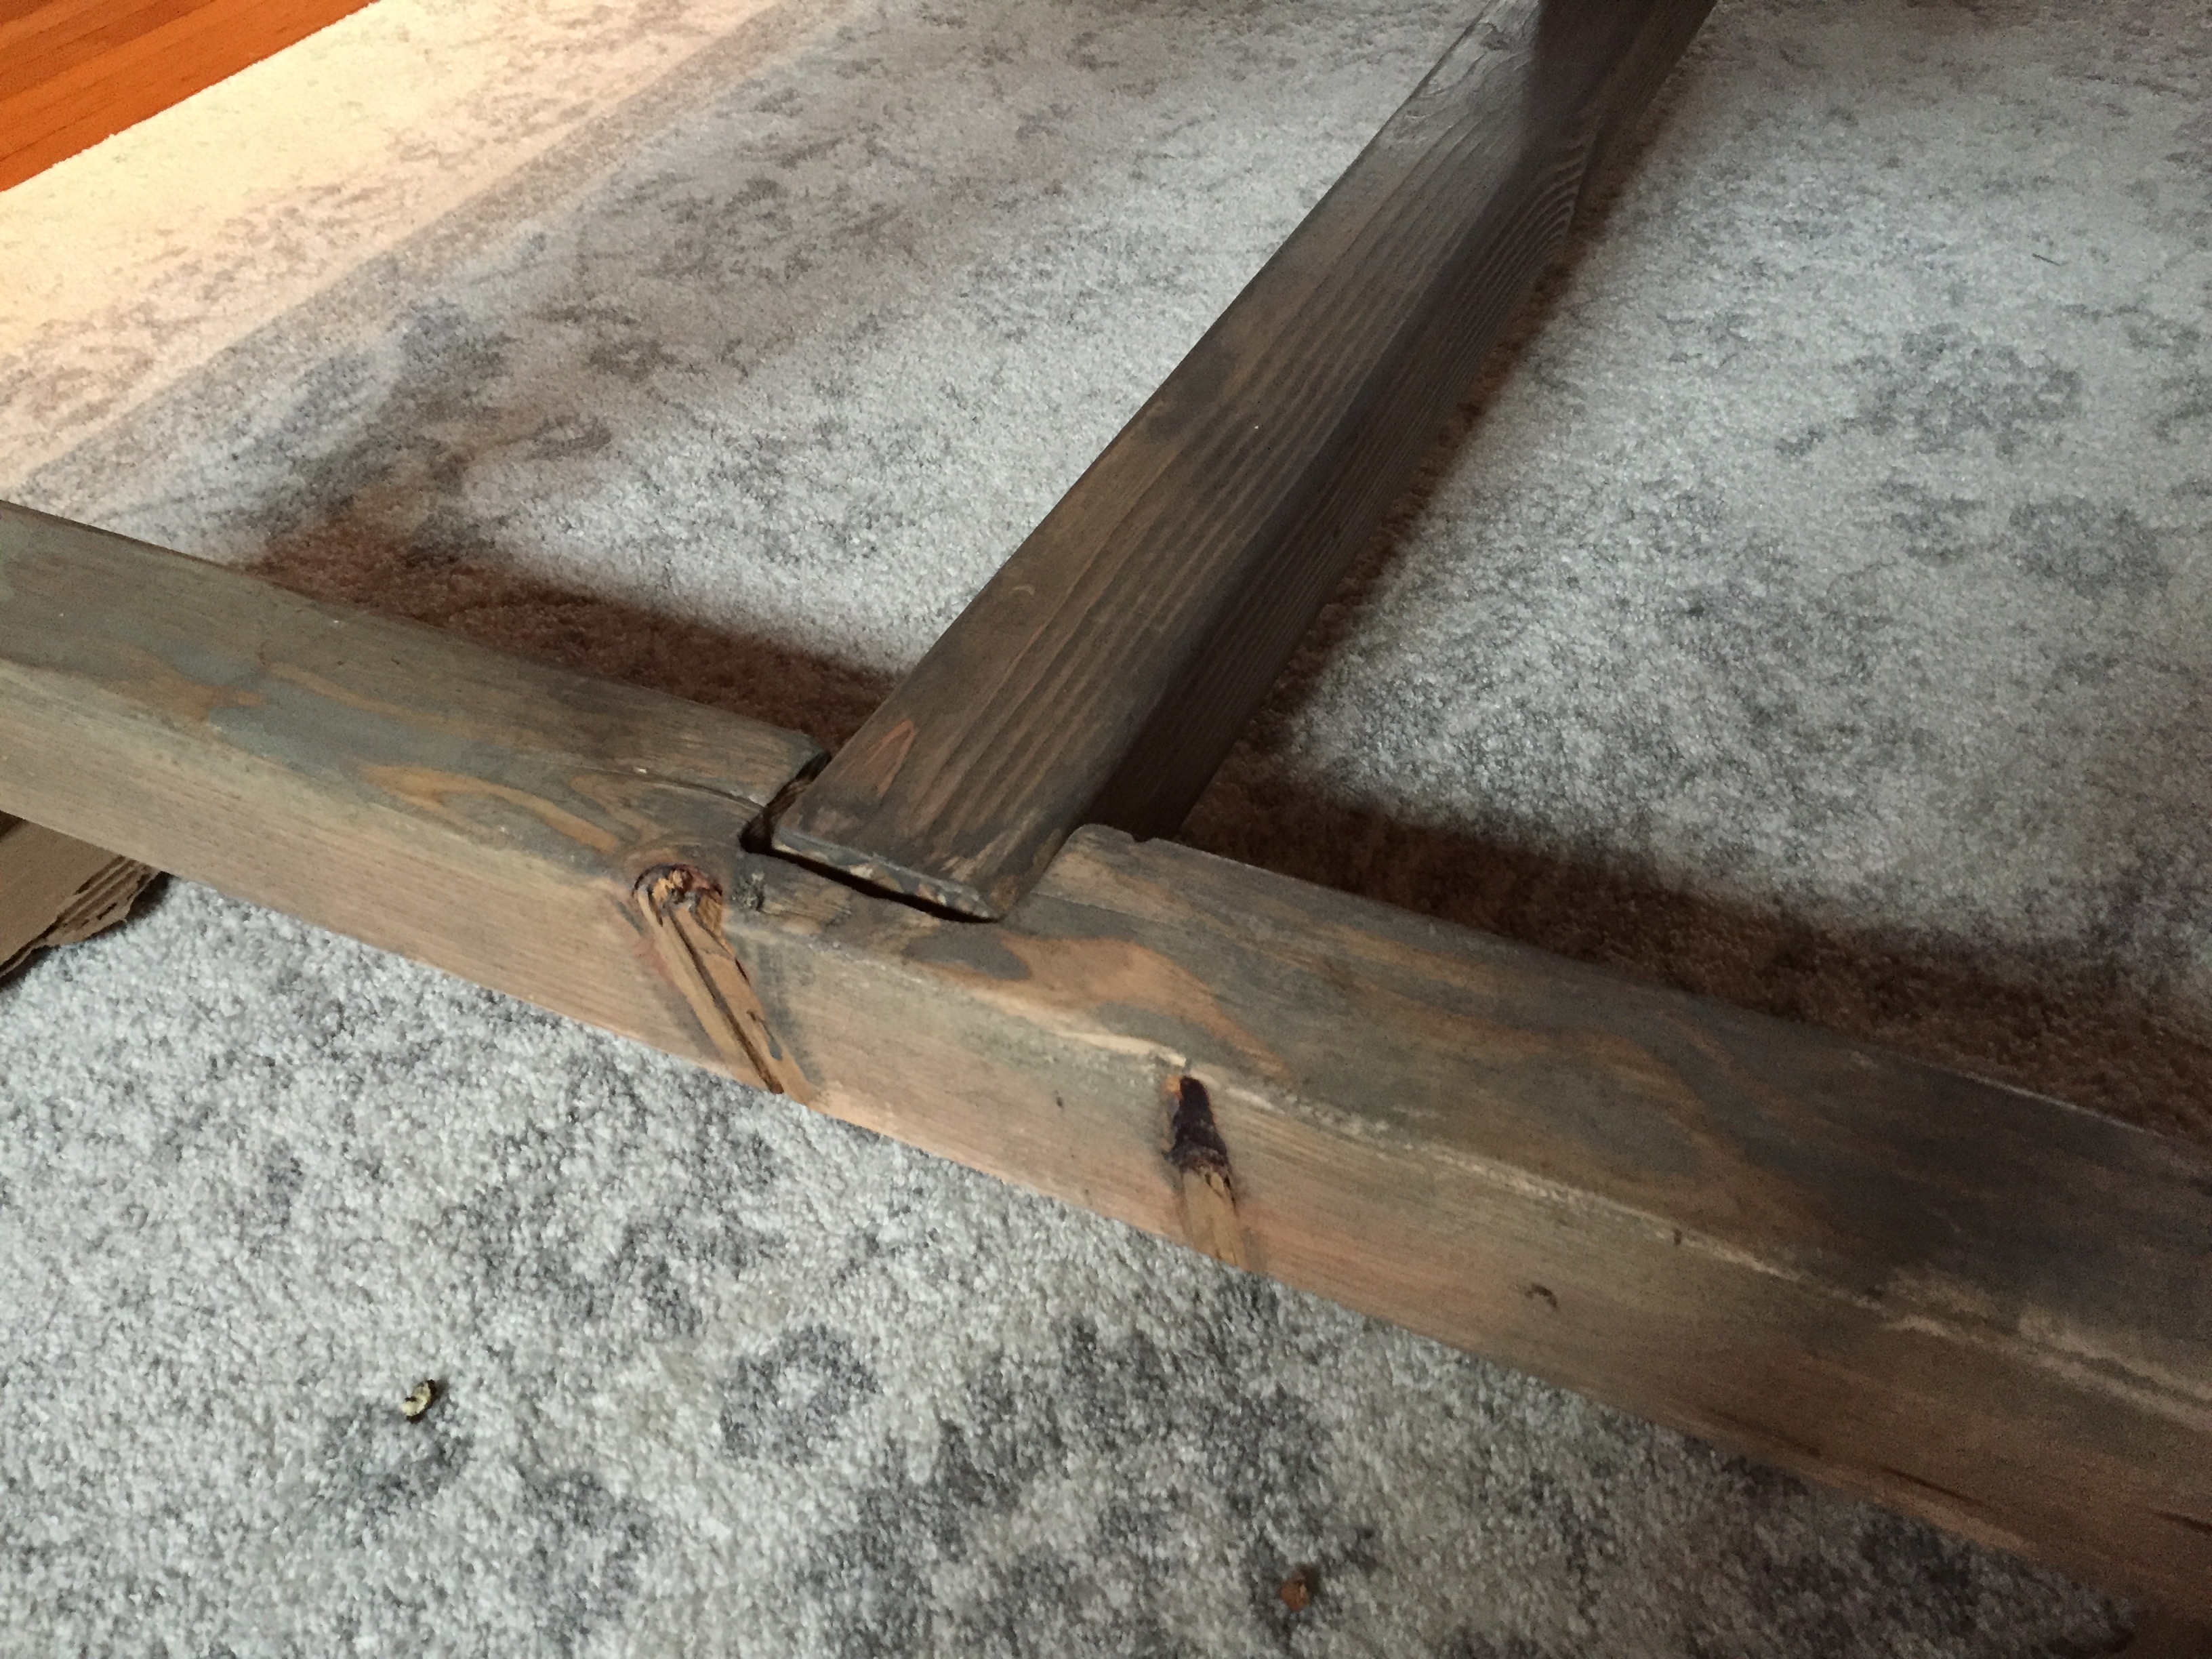
Sat, 04/02/2016 - 16:18
...because these "first build" posts are amazing!! Great job!! Goes beautifully with your gorgeous home!
Fun project. Quite easy, but extremely sturdy. Gonna work great for kids.
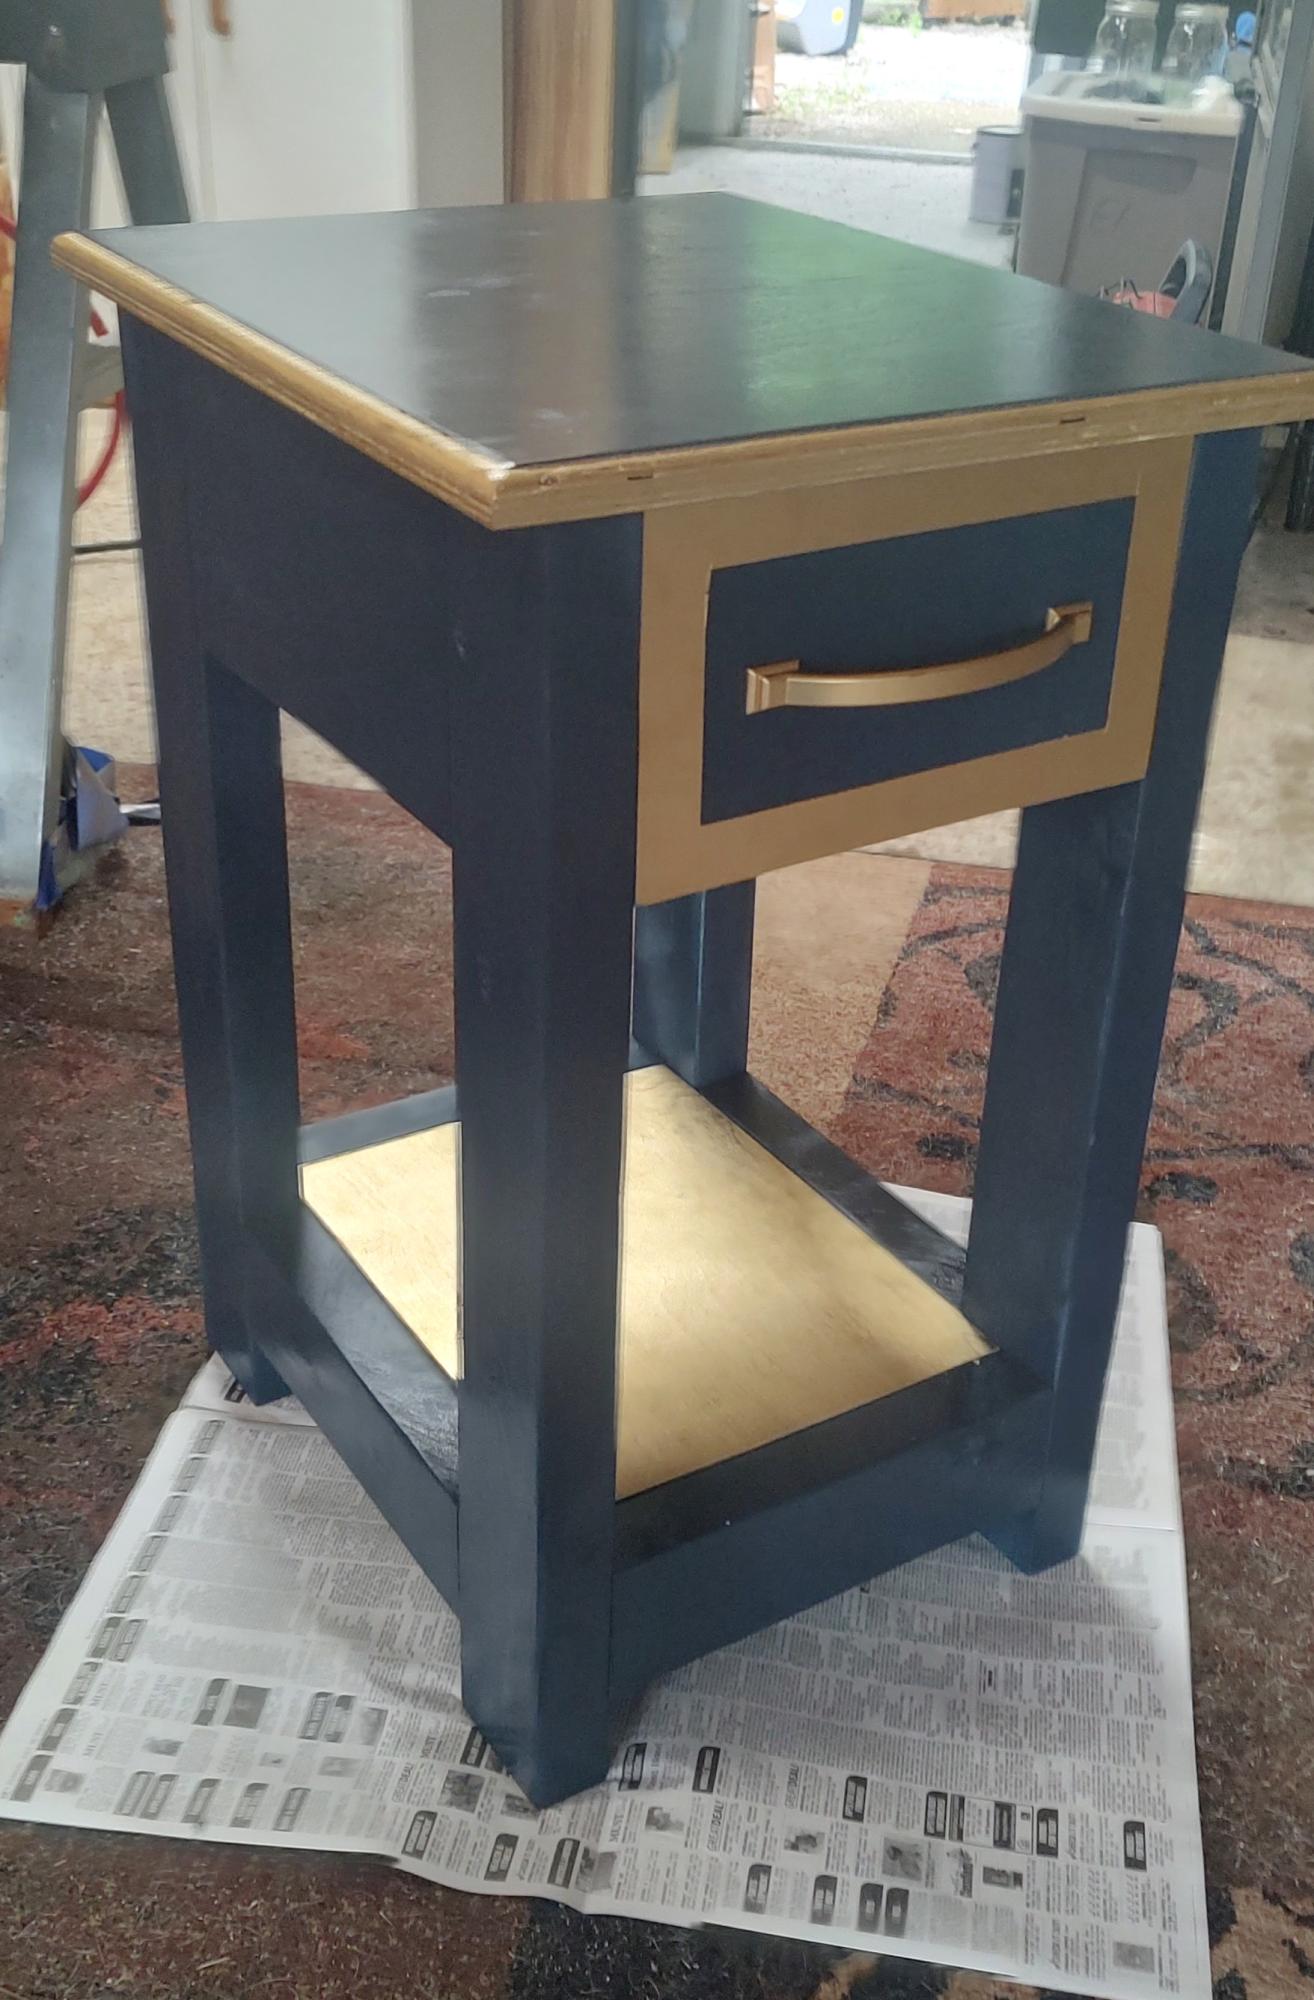
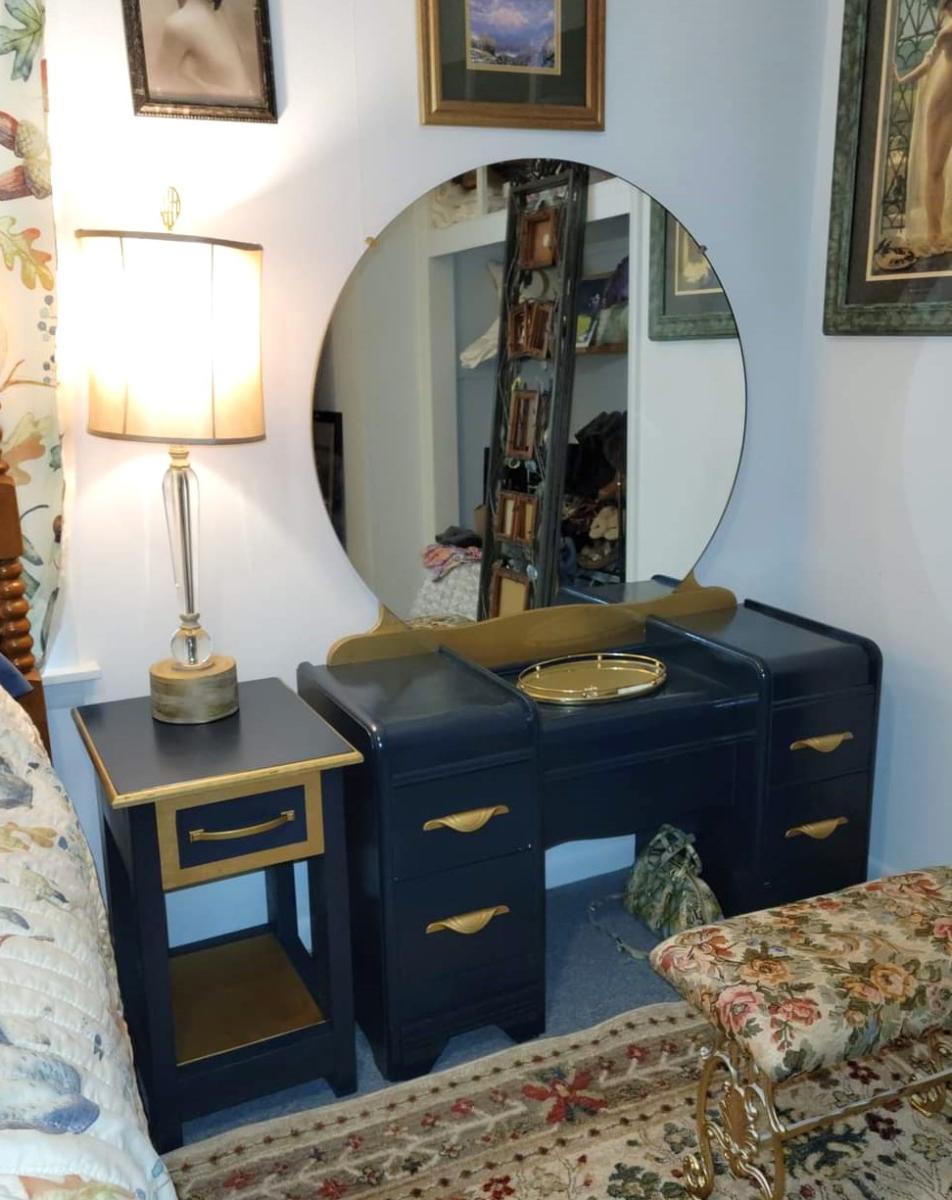
My wife bought the vanity on market place and I refiinished it with Amy Howard's Belgium Blue. So I built a night stand to match it , she's happy.
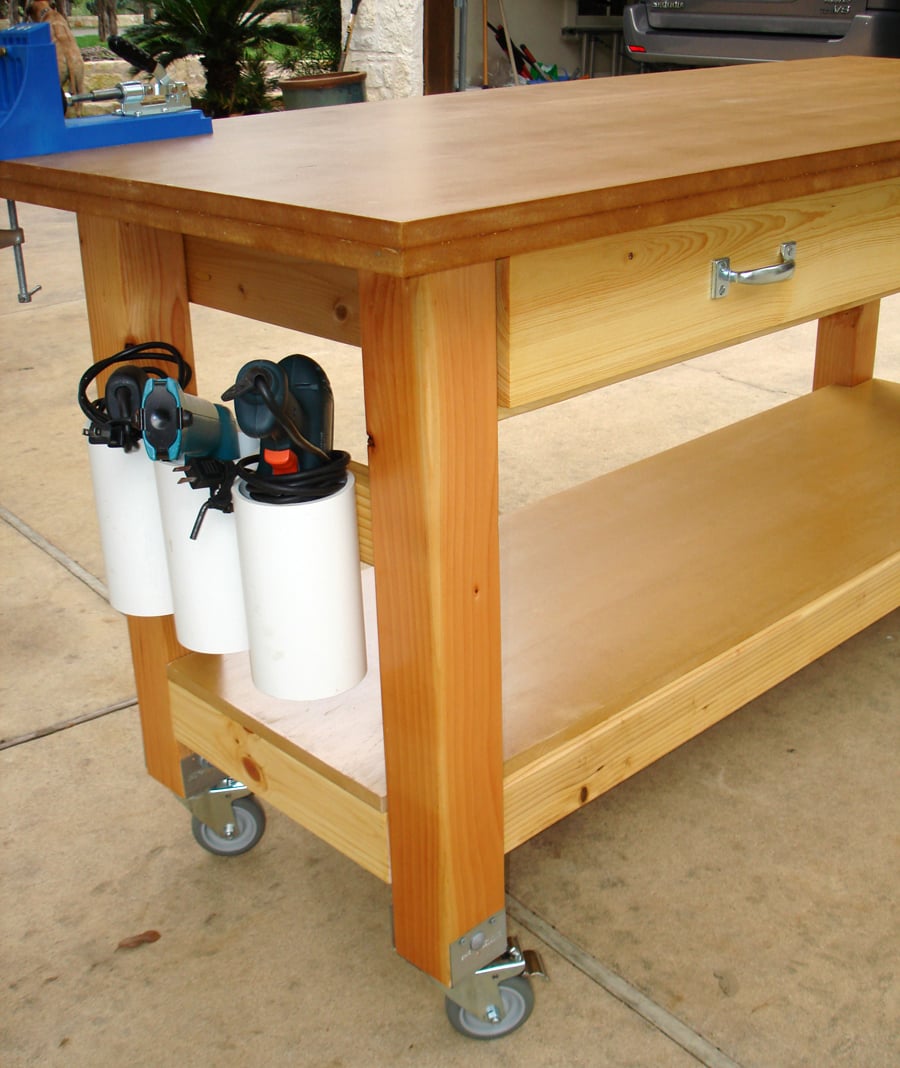
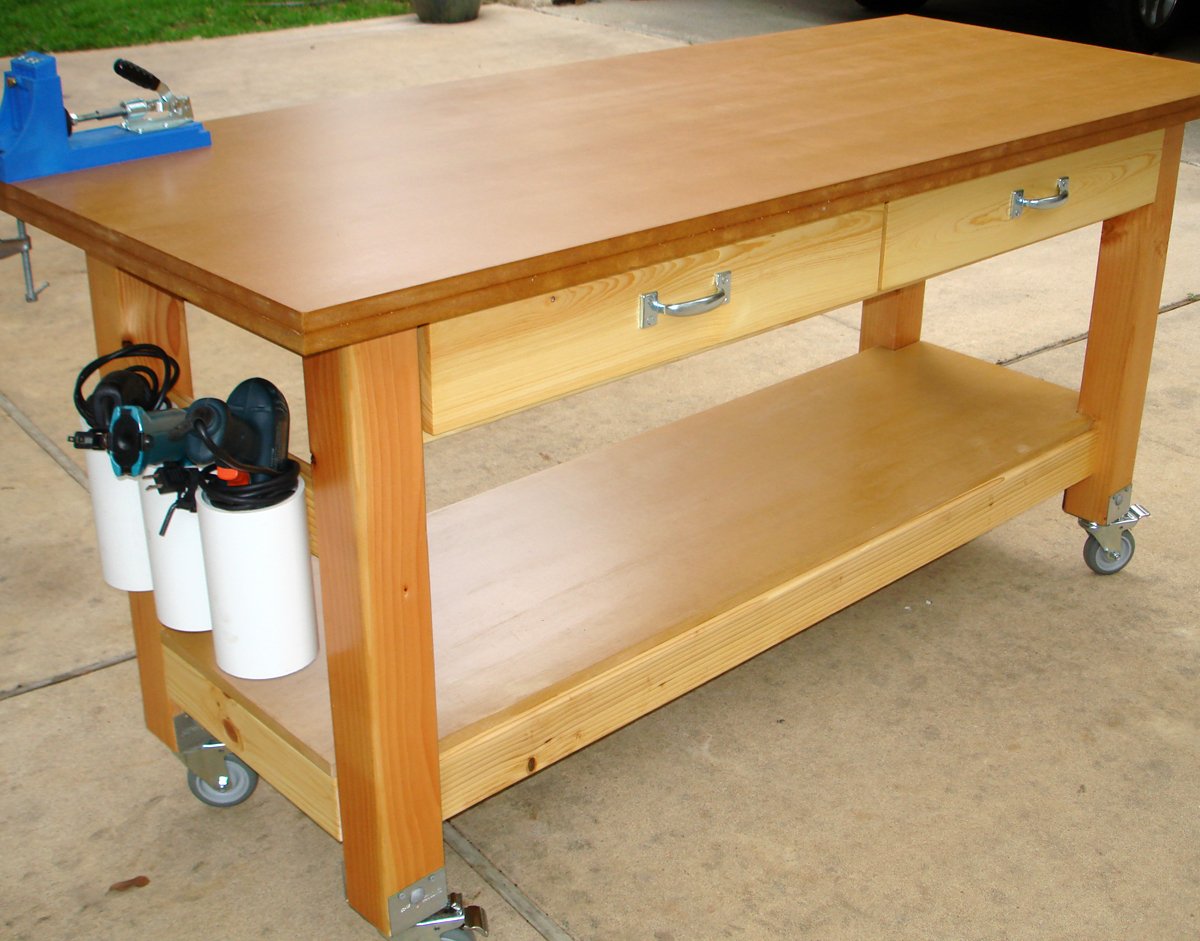
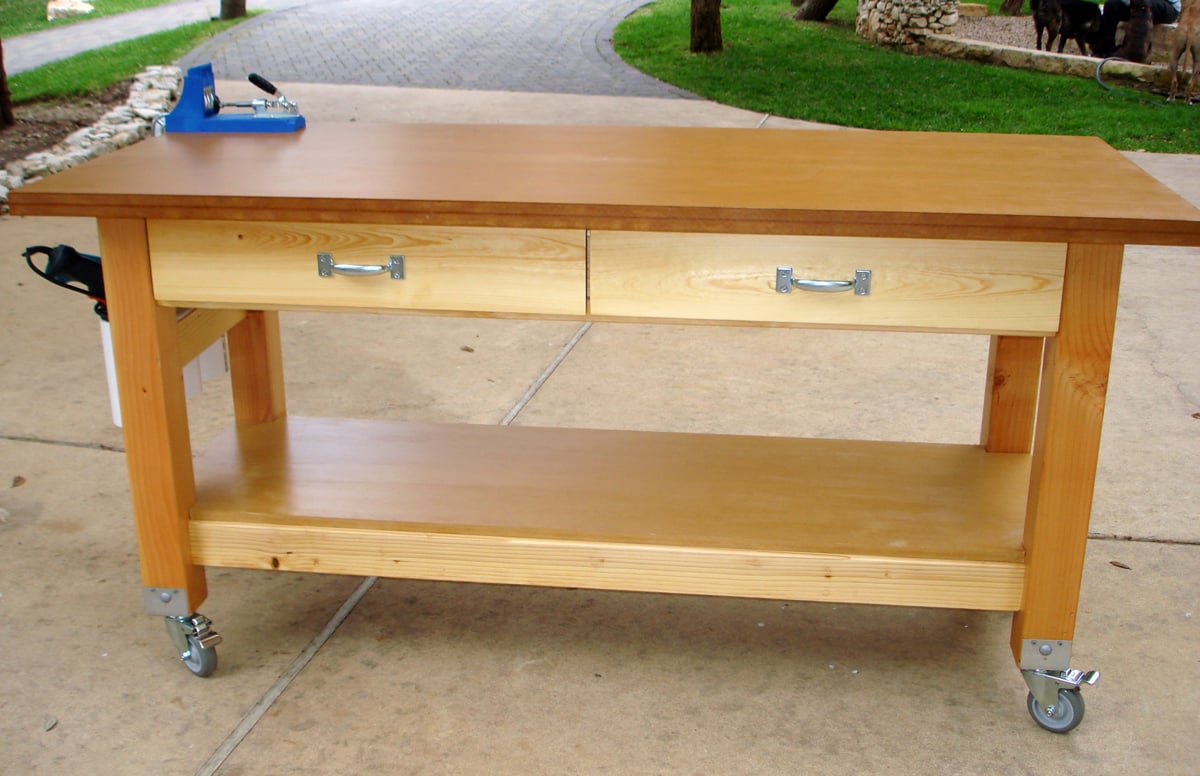
Given that I work out of my garage, I desperately needed a rolling workbench in order to roll out, make the sawdust mess, and roll back in. I had already made Michaela's island for another purpose inside my house, and I loved the sturdiness of the 4x4 posts as legs. I had industrial-type locking castors, but they only screwed in with a threaded post. Thanks to my engineer dad, he determined the best way to attach a screw-in castor to the bottom of the 4x4 (and did all that work for me!).
The size is modified from Michaela's original plan to include a 3 1/2" overhang all the way around for easy clamping (and top is 6' x 2.5'). I also cut a 2' piece of PVC pipe into 3 sections and attached for my drill storage. I put full-extension glides on the drawers and made some dividers from scrap wood.


Sun, 03/18/2012 - 18:21
This workbench is just outstanding!!! I want! Great job!
Mon, 03/19/2012 - 11:51
This would be the perfect workbench for my small shop/garage. Would love a full write up on how to create it. Great work.

I wanted to add a breakfast bar to our kitchen but had nowhere to place the garbage can. An Internet search eventually led me to Ana's site and the perfect solution. I used the trash receptacle idea and integrated it into my breakfast bar. I added a cookbook shelf and incorporated shelves on the other side to use wasted space where leg room was not impeded. I also built a hidden shelf for cell phones, keys and wallets. The top is from Ikea and I cut to fit. The structure and base was all cut from a sheet of MDF and I added bead board for a bit of design. This site is fantastic! I've built modified versions of plans from this site including the shed, tv stand with side DVD shelves, mud room lockers, and have plans for more projects. I will post these projects soon. Thanks Ana!


Wed, 01/08/2014 - 20:10
I love your design and the incorporation of the trash can. Very practical.
Wed, 01/08/2014 - 20:27
The trash can space was originally going to be an area to store wine...thanks to my wife's suggestion I had to think of a way to store the trash can. That led me to this site and I've now been inspired to do several other projects based on plans found here. This site is terrific and inspirational!!

My first project! I was surprised how much fun and how easy it is to build something that’s beautiful & functional. I’m hooked! I can’t wait to build more!

I loved the look of the original but went with more of an antique icebox feel. Made from cherry and aged with lye and a danish oil top coat.
reader build


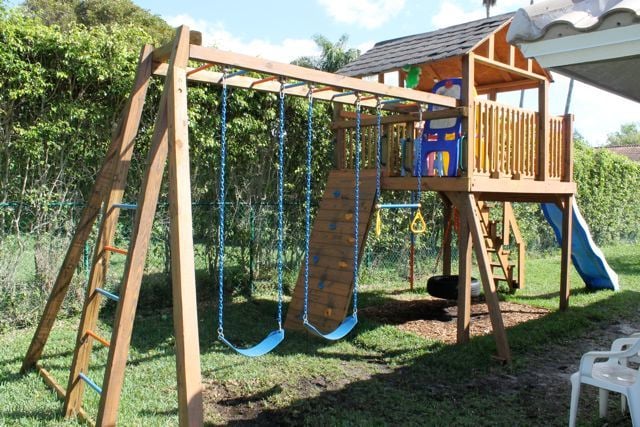
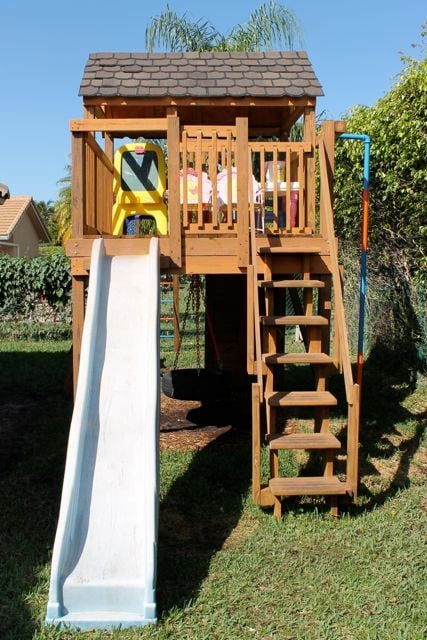
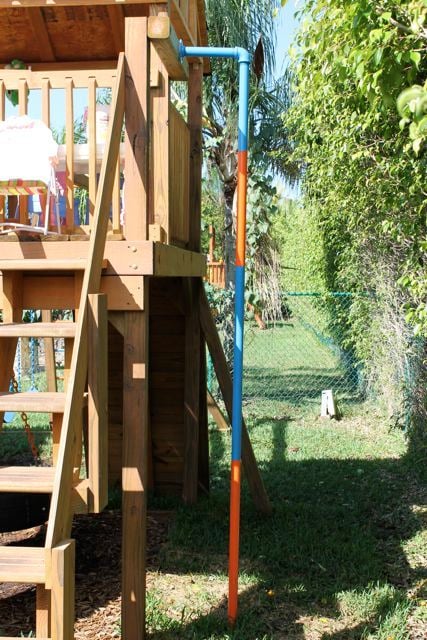
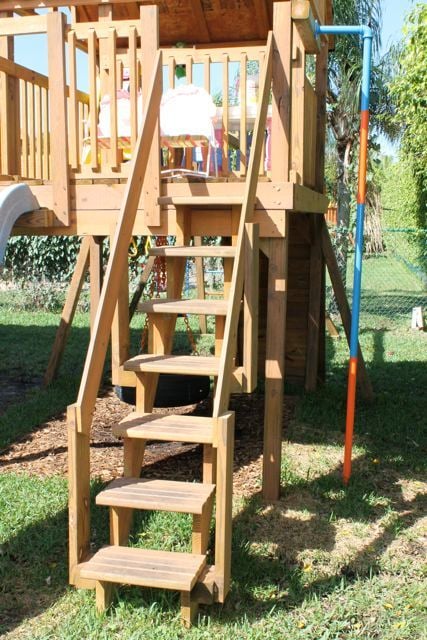
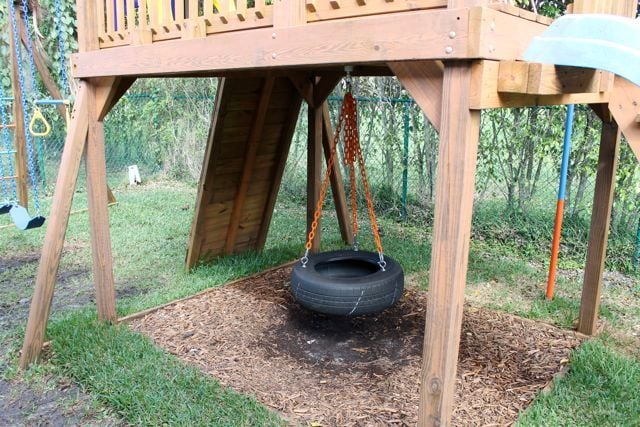
My husband Jon recently built this playhouse with/for a friend of his from work. It took them two months to complete and it's awesome! Jon's friend is also a die hard Gators fan so they made sure to add blue and orange as much as they could. Thanks Ana for giving them the courage to take on such a feat!


Wed, 03/21/2012 - 01:51
Great Job! All this says is "GO BRONCOS!" I'm an Idaho girl and I love the BOise State colors, lol! "Playhouse" is an understatement. This is a jungle. This is a huge play structure! and it is awesome.

In reply to Great Job! All this says is by birdsandsoap
Sat, 04/14/2012 - 07:08
Haha! Thanks birdsandsoap! I think it's awesome that you saw something special in a totally different way. Glad you liked our color scheme and project! ;)
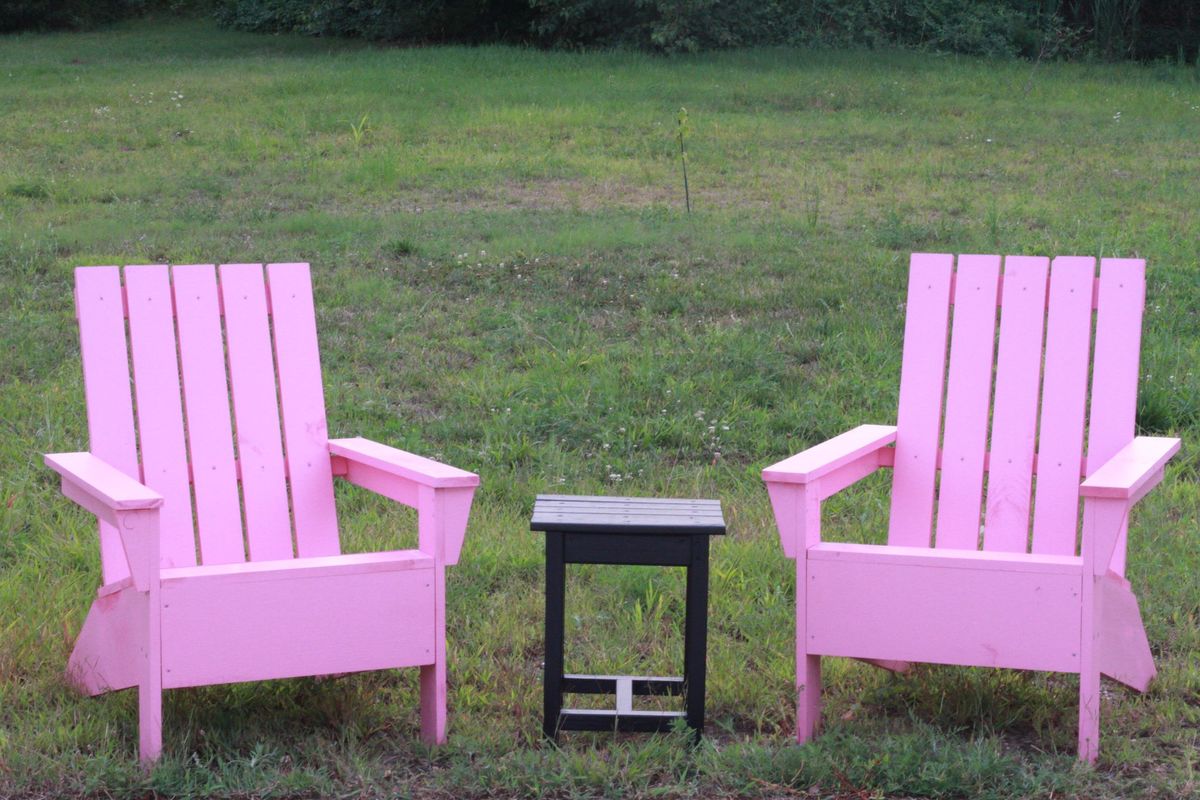
Two Pink Adirondack Chairs
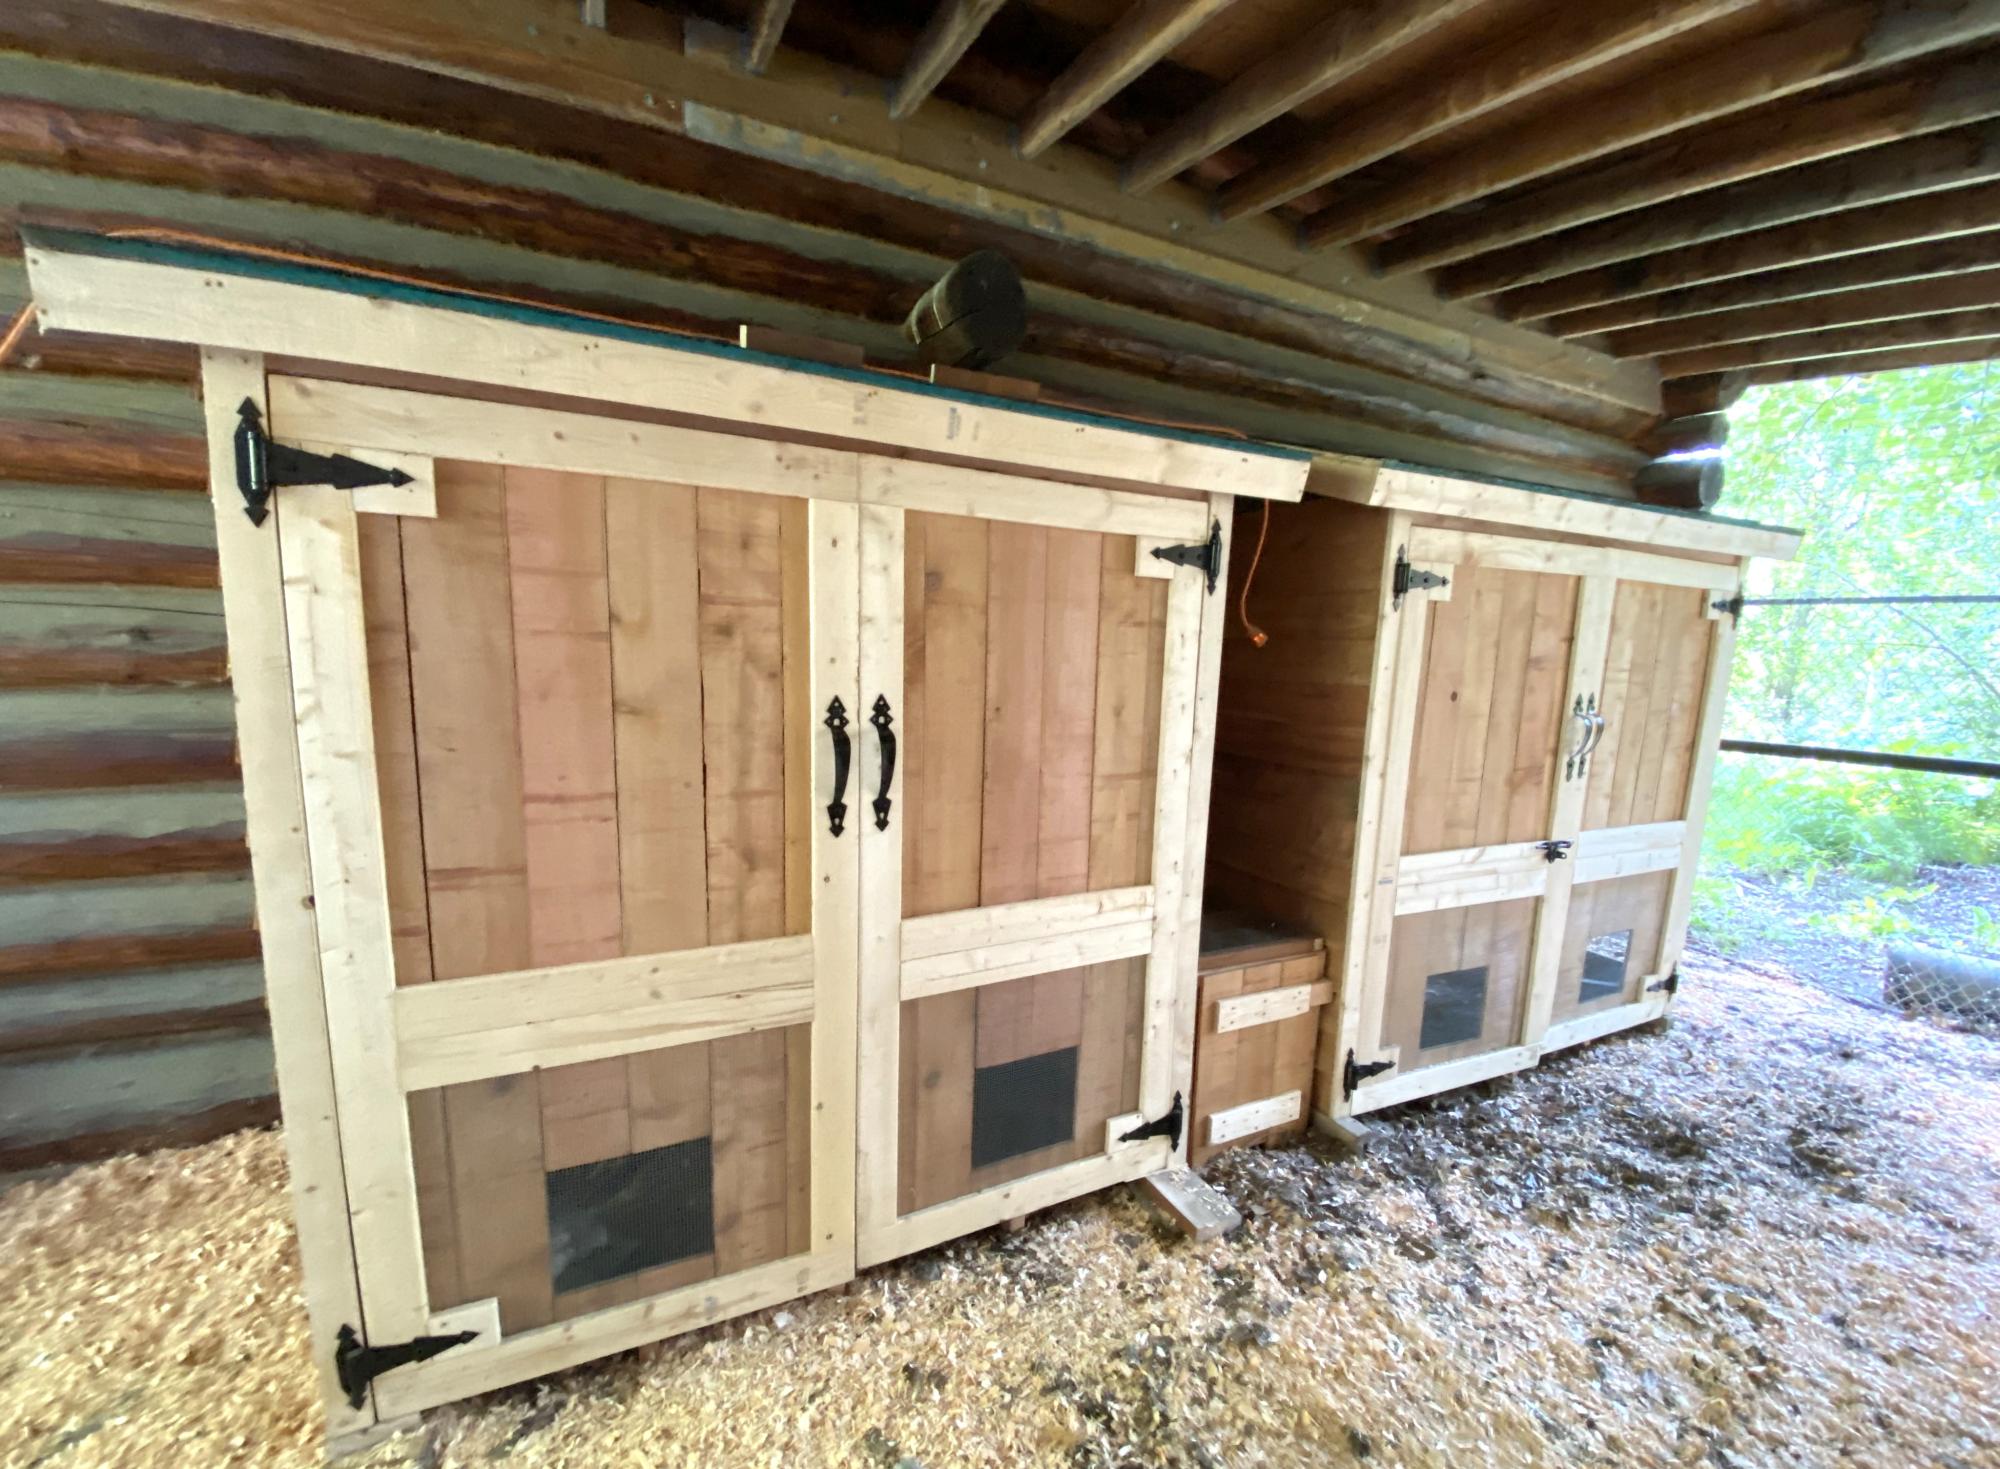
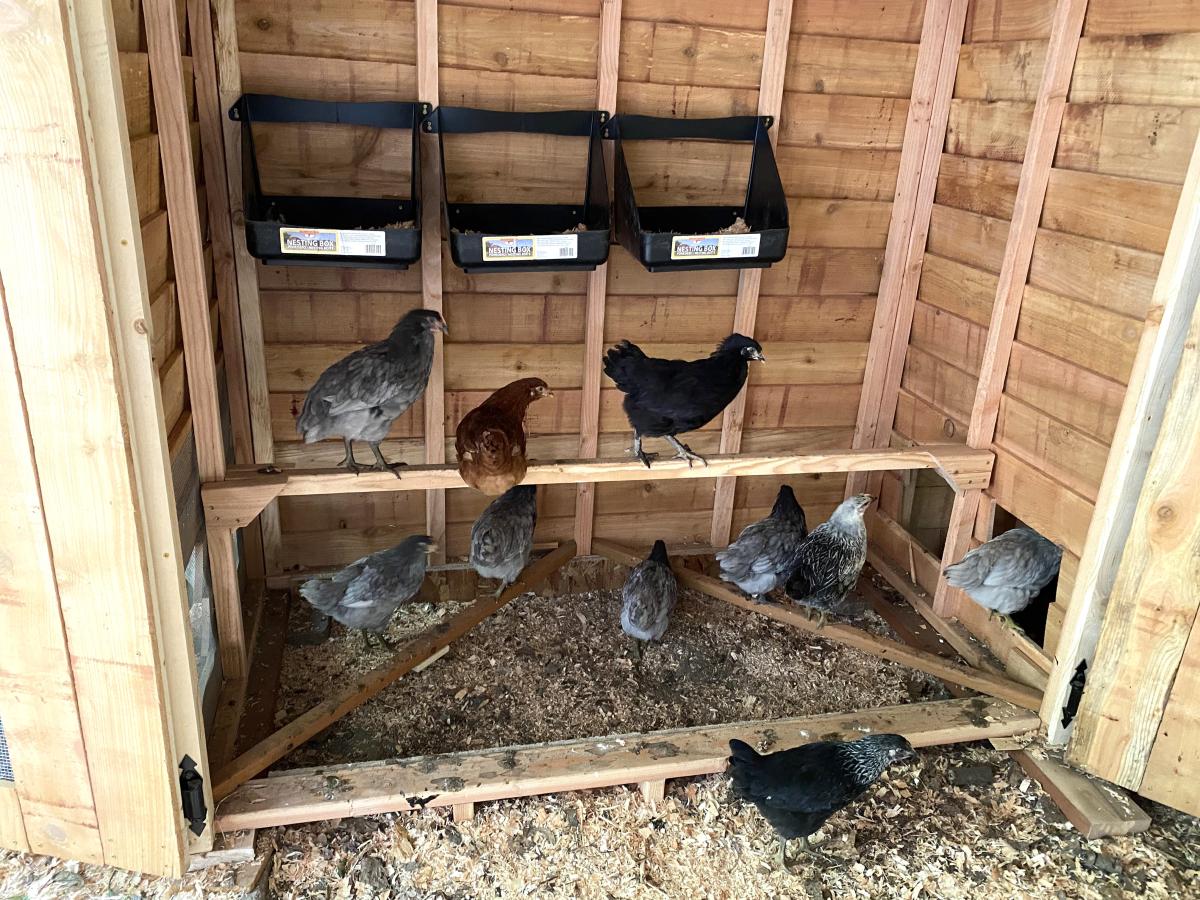
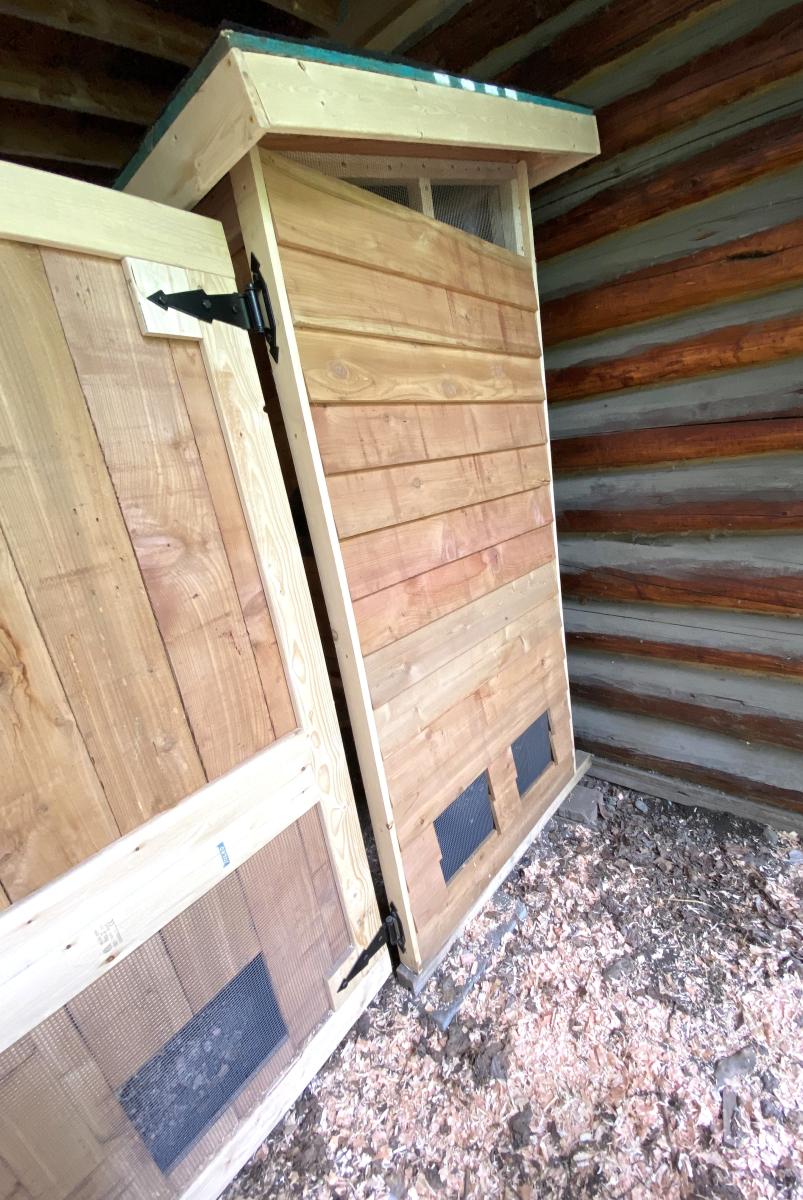
Our family decided to raise chickens but needed a place to keep them safe at night. We used your shed plan and adapted it to create necessary venting for the chicks.
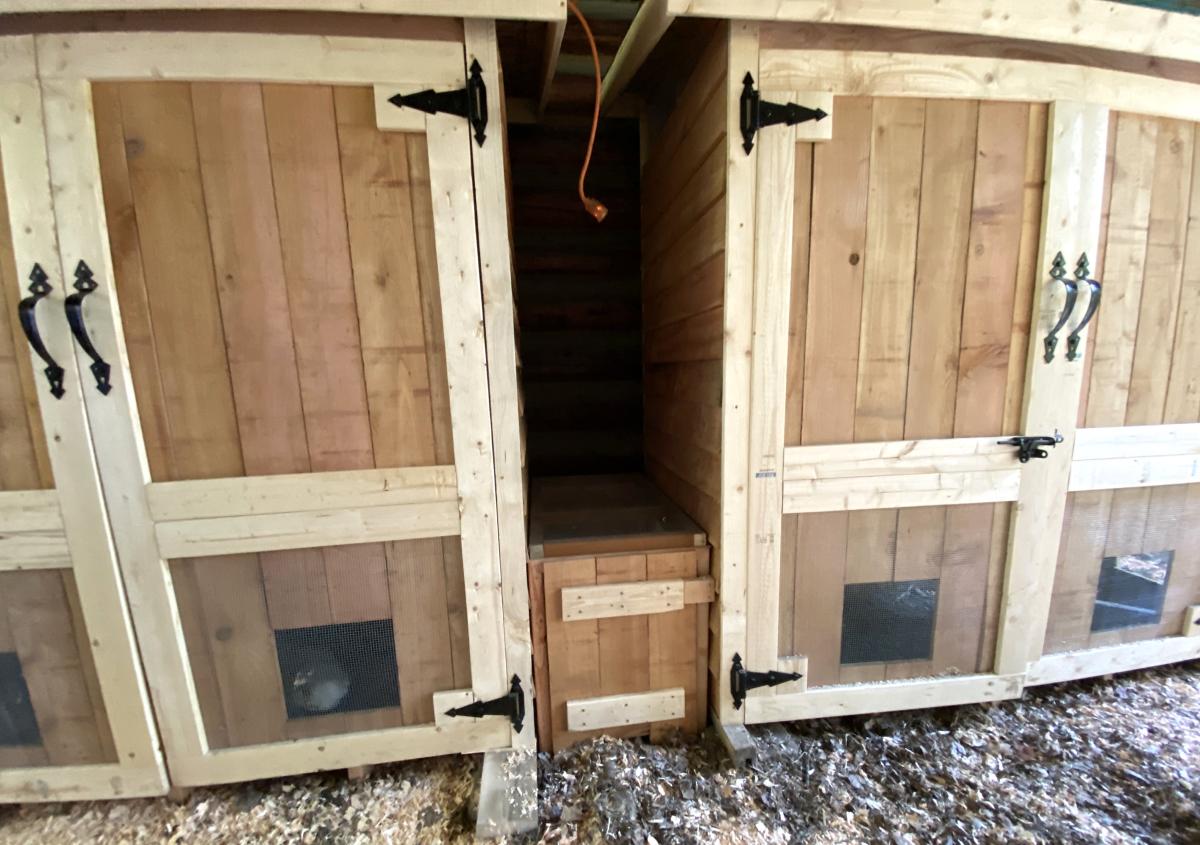
Since we had 16 chickens we knew one coop would not be enough space so we built two. We created a vented tunnel between the two coops so the hens could go back and forth between them as they wished while still being protected. The girls are very happy in their new space!
Thank you for your great plans.
Holly

This the first project my husband attempted. I hope I can be more involved in the next project. I'm very proud of his first table! We plan on putting it on the screened in porch of our new house we are getting ready to build.


Mon, 04/09/2012 - 08:33
I have a question. When you stained the top, how did you ensure that your paint was not affected by the stain? I am working on m y first project. I have it all together, painted the bottom, but am stumped by how to stain the top with out ruining all my hard work. Any advice would help.
Sun, 05/13/2012 - 12:29
So sorry I just saw your comment! We used a scrap piece of cardboard to put up against the table when "edging" the stain or paint. We could get in the corner alone the bottom where the stain and paint meet without having to have super steady hand or be completely stressed. Hope this helps!

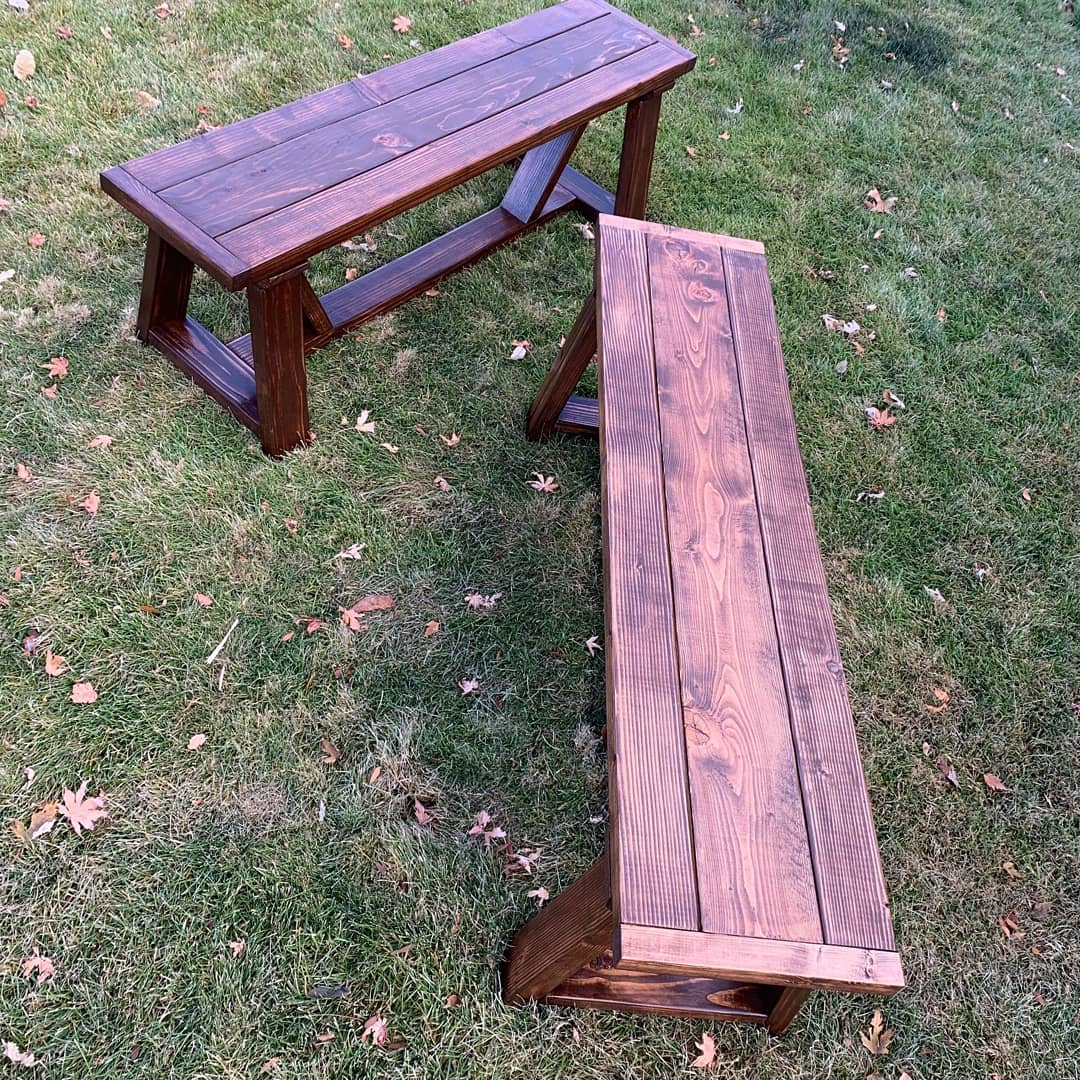
Took a day to build a bench to match my table! I am in love with this bench.
Take a little extra time on your angles to make sure you get them right or you will end up with a gap!
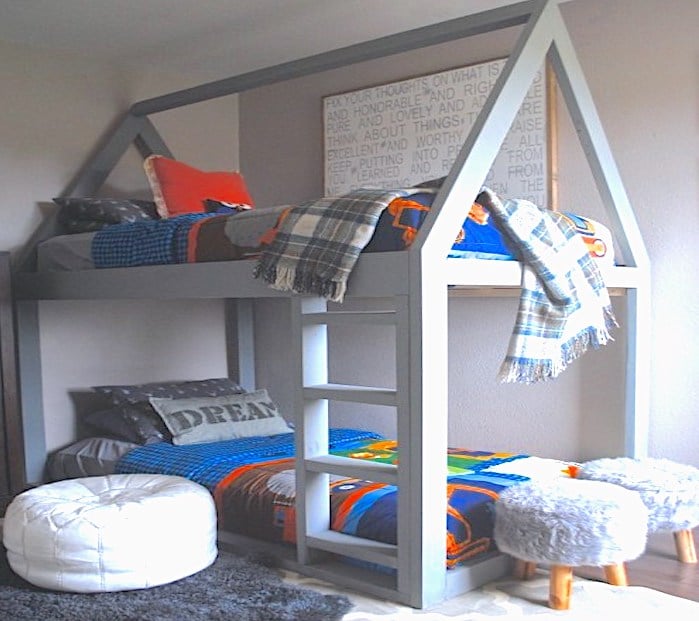
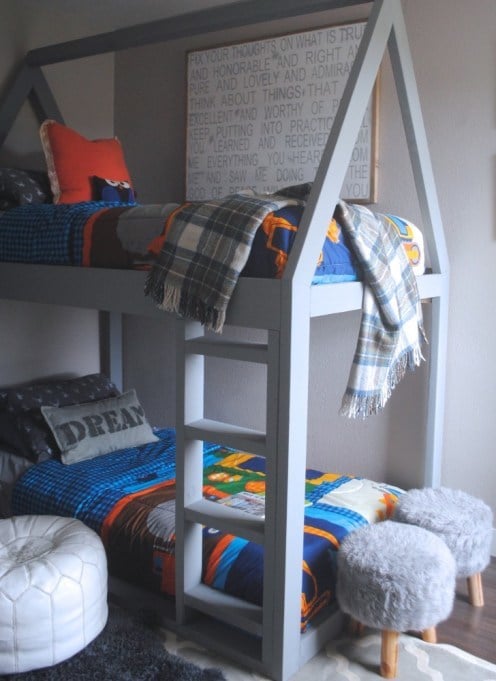
House Beds are a huge trend right now. I saw my first house bed over a year ago and I fell in love and I swore that as soon as we built our daughter a toddler bed someday, I would make a super cute pink house bed, decorated in cute pom pom buntings and it would be perfect. Well, fast forward a year, and she’s only 16 months, still a ways away from being in a toddler bed. Then I had a idea! We are in the process of decorating our boys bedroom. and we needed to build them a new bunk bed set as their old set was massive and took up half their room. Click link below to view the full tutorial!