Community Brag Posts

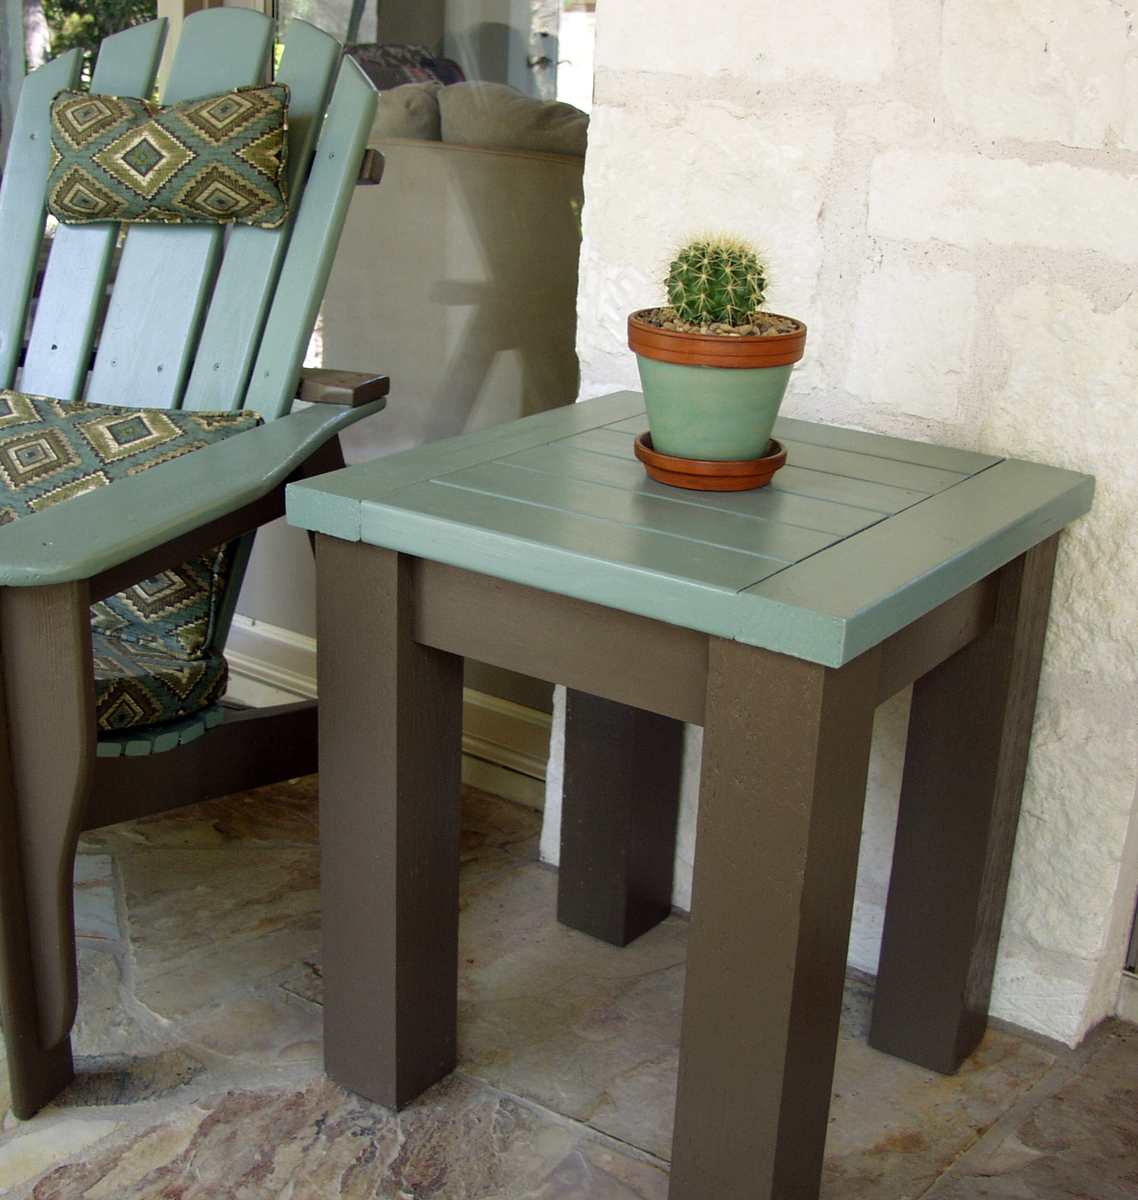
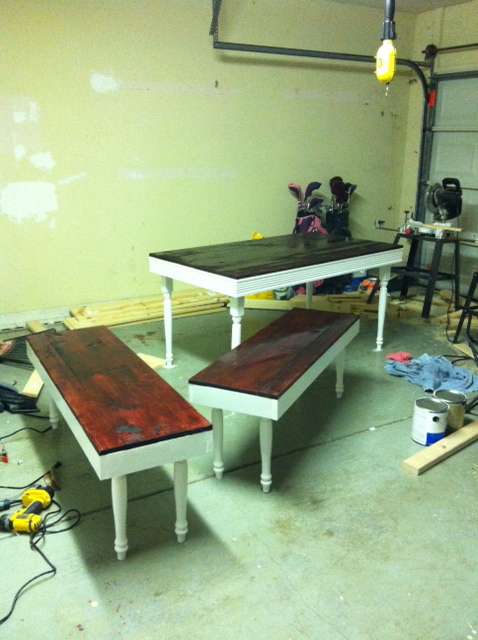
Modern Bench - School Colors

Submitted by Anonymous (not verified) on Wed, 06/15/2016 - 09:29

Great design and project!  I am working on the second one in my wife's school colors.  Thanks!

Estimated Time Investment
Afternoon Project (3-6 Hours)
Finish Used
Outdoor paint
Recommended Skill Level
Beginner

X Console

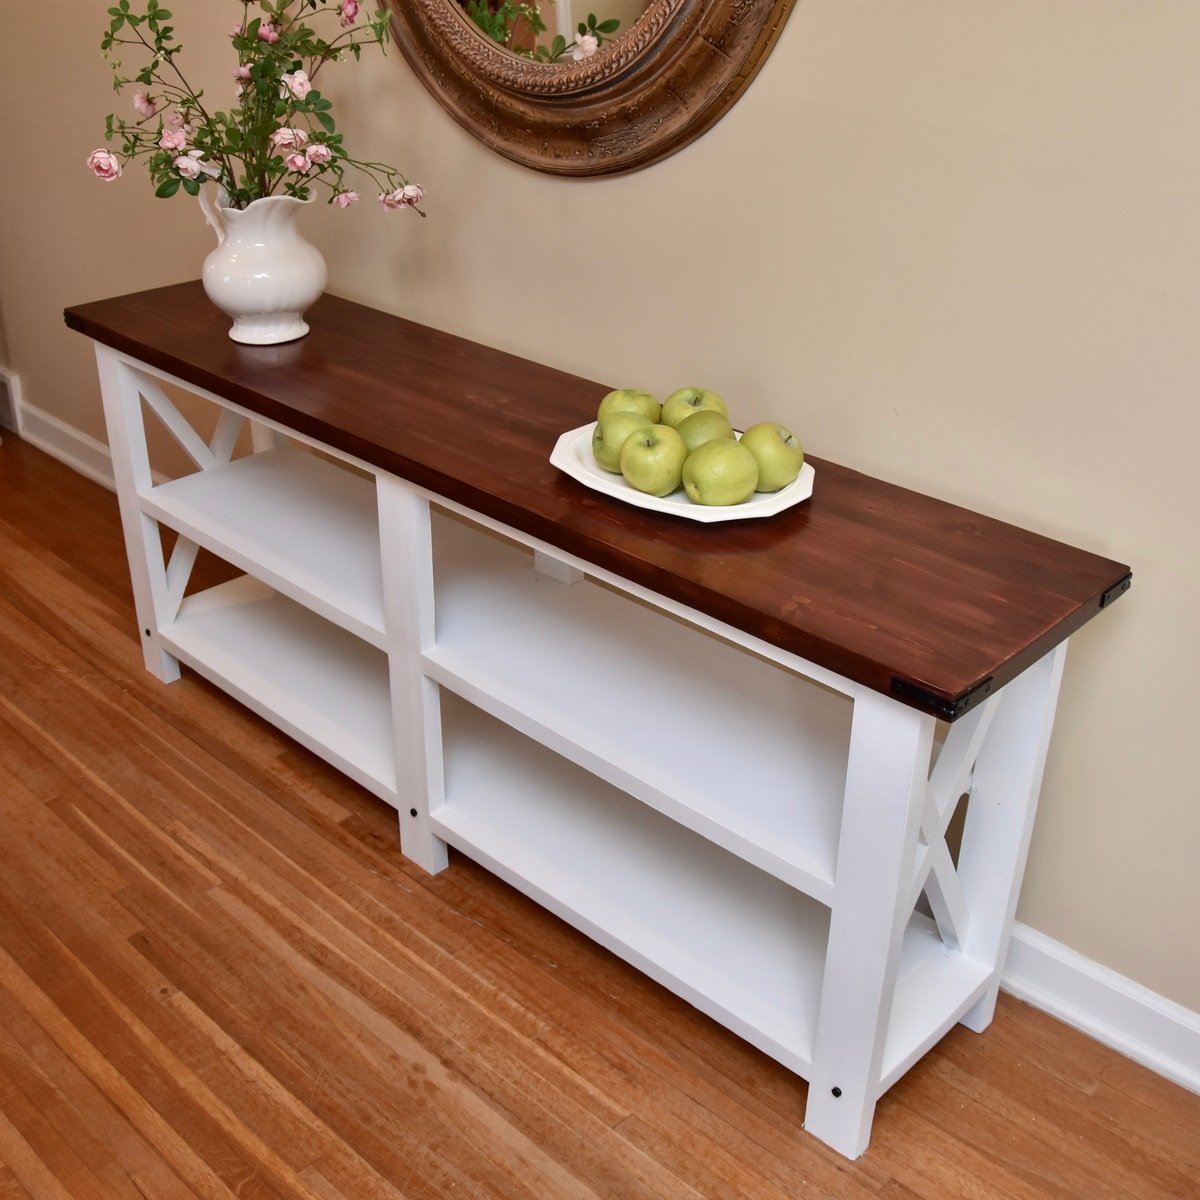
I built this X console for my kitchen, to replace an ugly cheap wardrobe that previously held my kitchen appliances. This made space for a kitchen organization space too- with calendars above, and bins for the kids' schoolwork etc.
The plan was easy to customize, and a great afternoon build.

Built from Plan(s)
Estimated Cost
$25
Estimated Time Investment
Afternoon Project (3-6 Hours)
Finish Used
Minwax gel stains in Rosewood and Black
Minwax Polyacrylic
Recommended Skill Level
Beginner

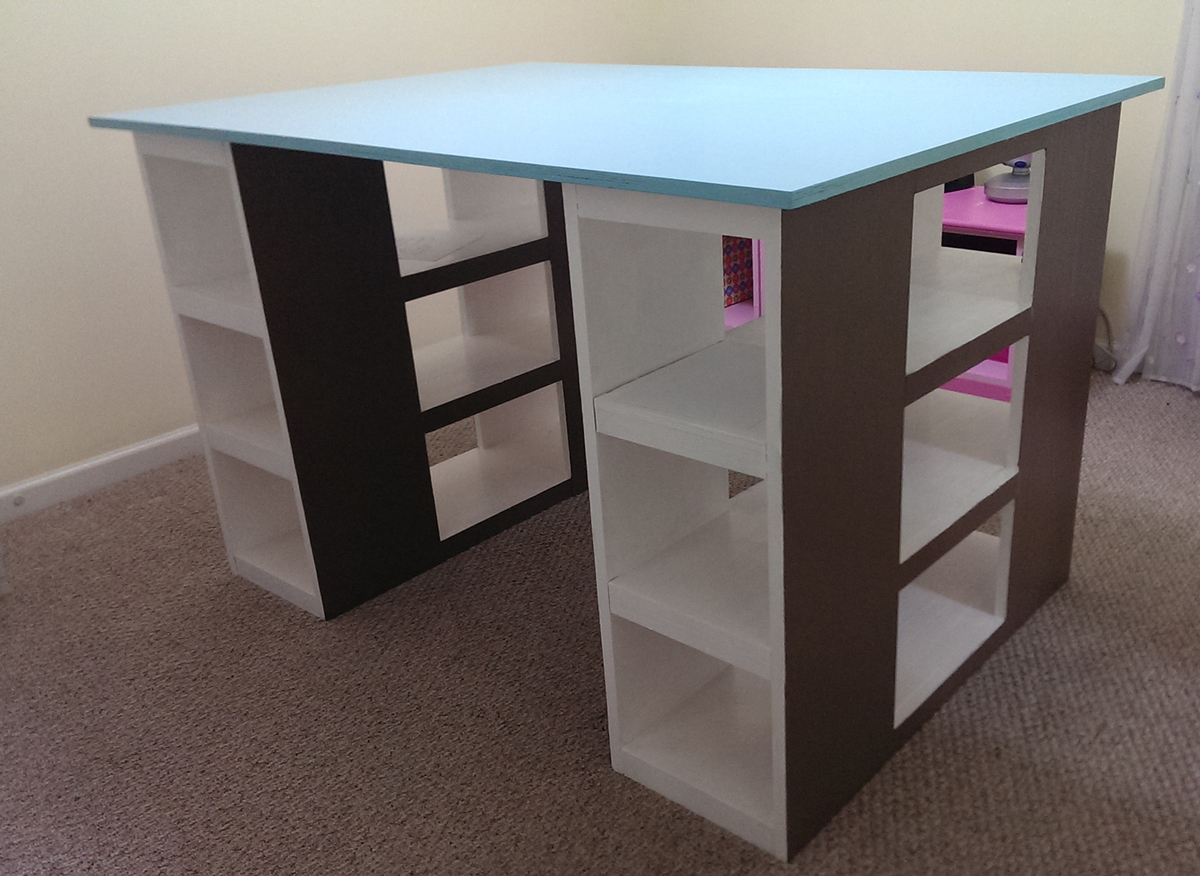
Kitchen Island or Peninsula

Submitted by ktjoy86 on Thu, 05/31/2012 - 09:09

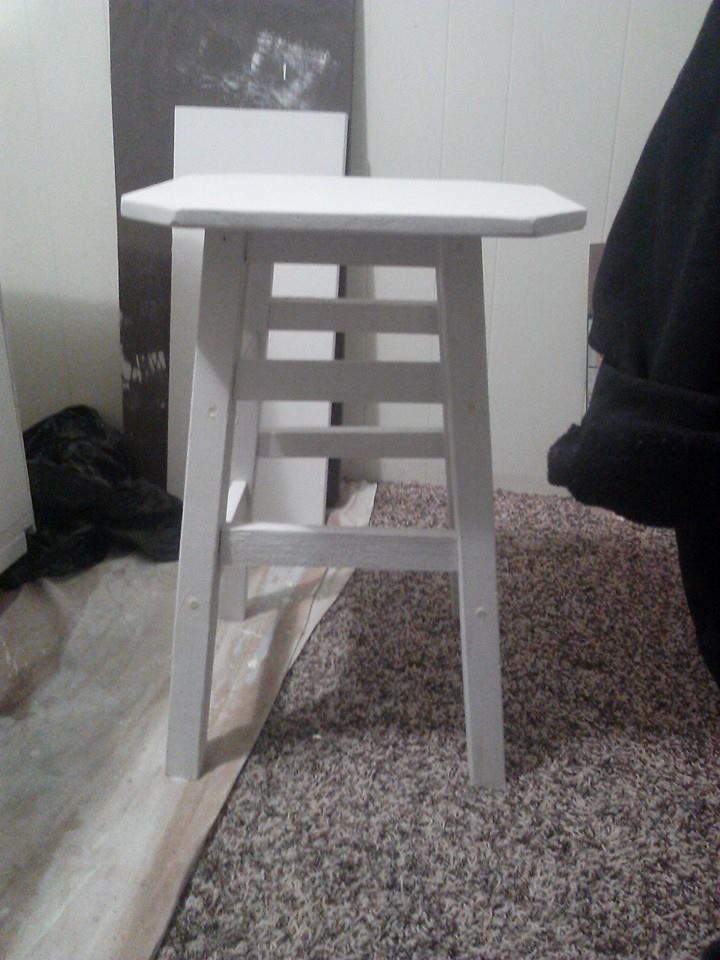
We needed more counter and storage space in our rental house kitchen. We used this kitchen island plan to build a "kitchen peninsula." When it came time to stain the shelves it would have been a lot easier to stain the pieces before we put it together. The tiny space between the slats was difficult to get a paint brush in.

Built from Plan(s)
Estimated Cost
$100
Estimated Time Investment
Week Long Project (20 Hours or More)
Finish Used
White semi-gloss on the legs and trim. 4 coats of stain on the countertop and shelves.
Recommended Skill Level
Beginner

Farmhouse Bedside Table

Submitted by jager456 on Mon, 03/17/2014 - 16:40

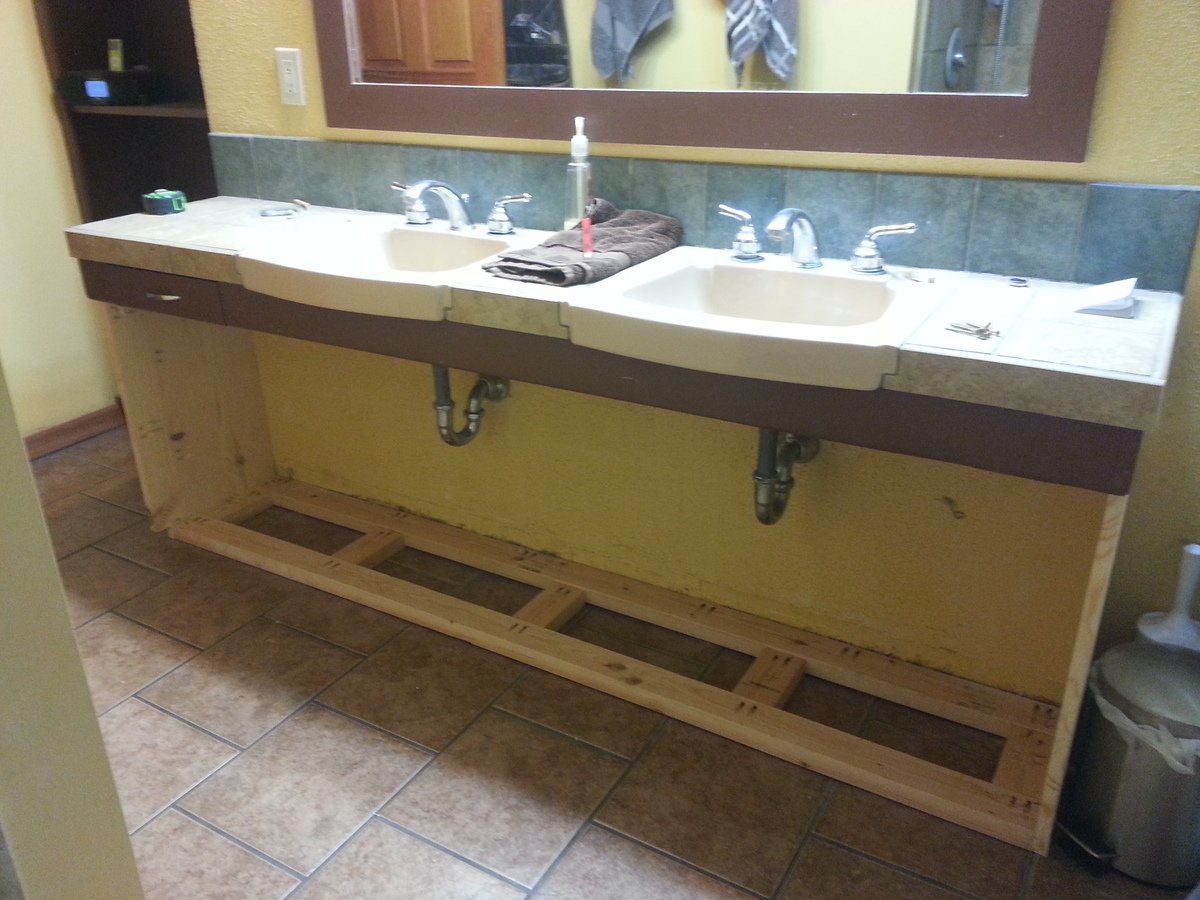
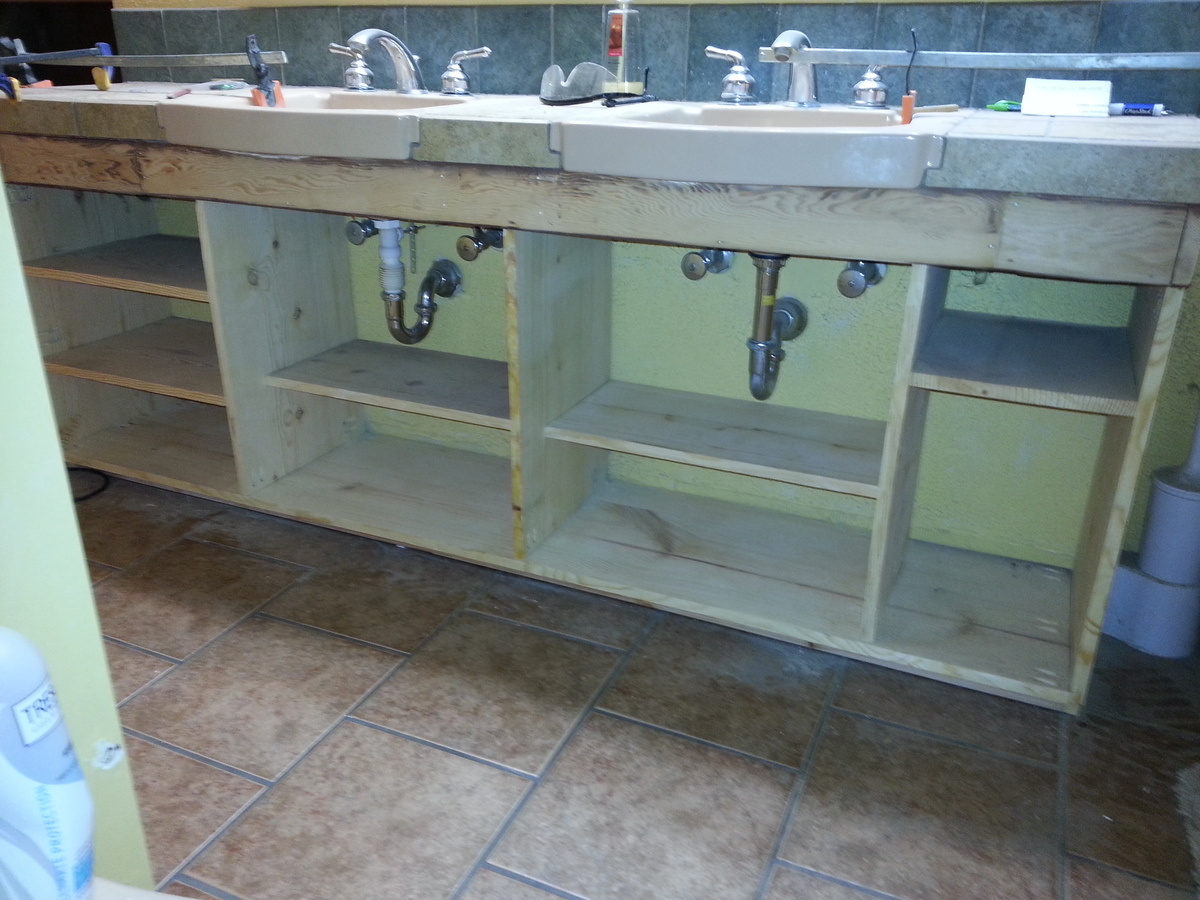
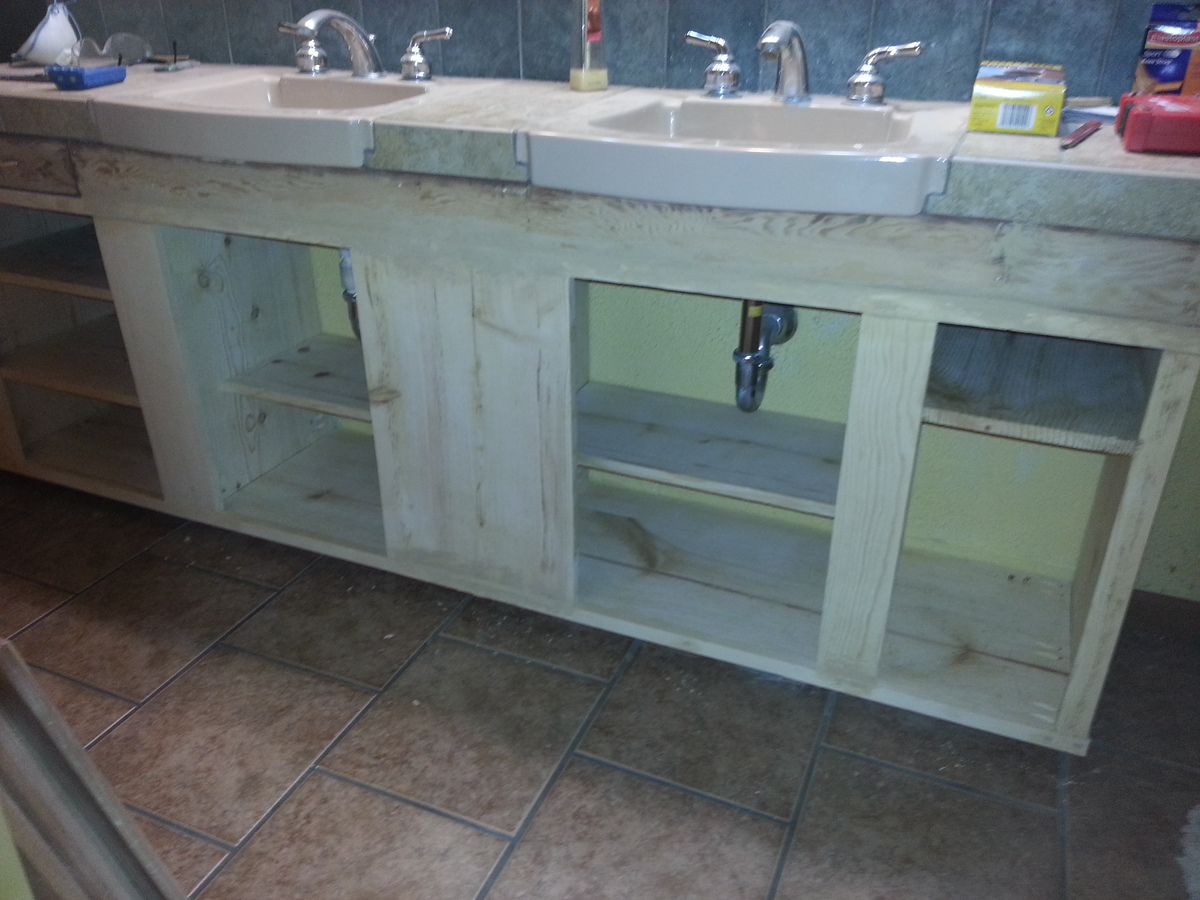
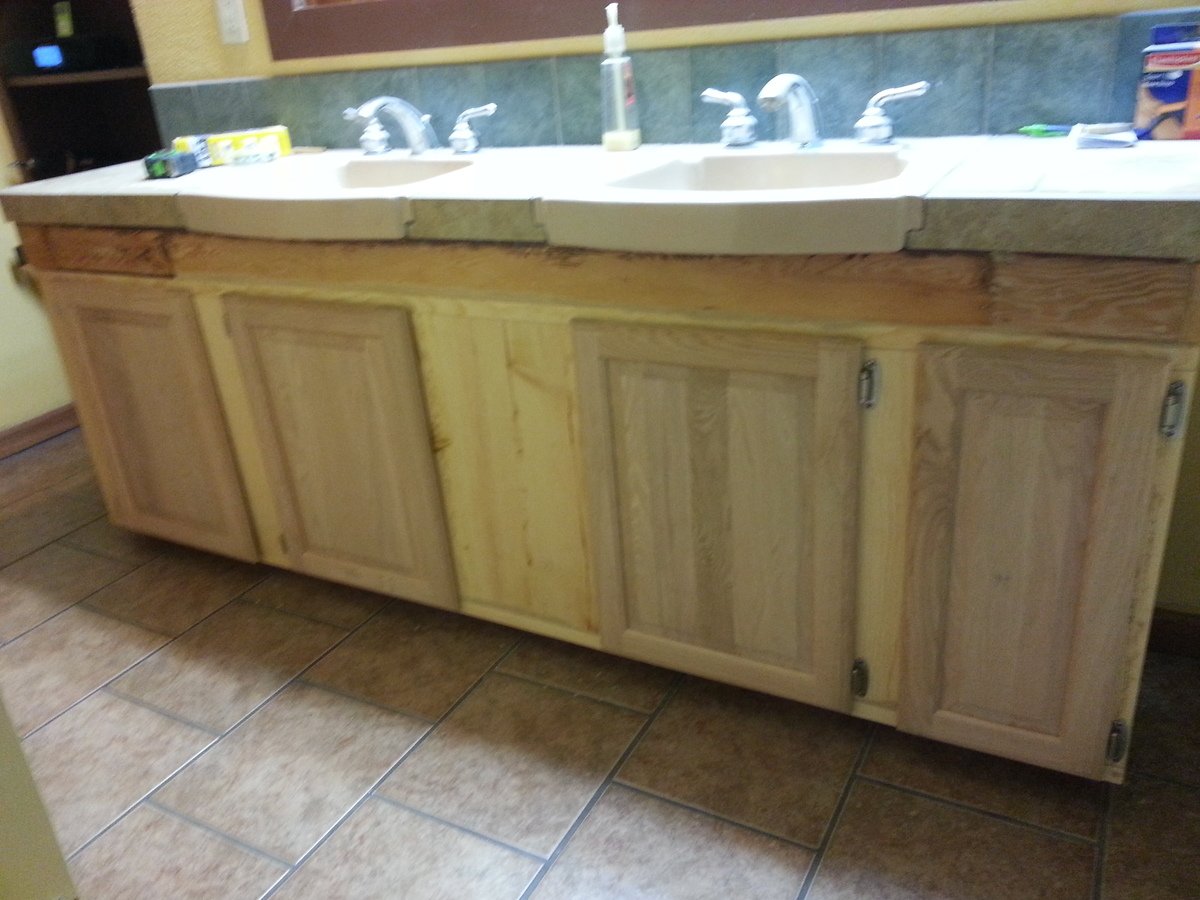
I built a narrow version to fit in our bathroom. We also decided not to add the drawer to this one. We really like this open style for this purpose.
I had all of the wood leftover from other projects so my cost was only for the stain I used.
This is the second time I have used the tapered legs on a project, and I am getting better at making them.

Built from Plan(s)
Estimated Time Investment
Weekend Project (10-20 Hours)
Finish Used
MinWax Dark Walnut Stain, @ 2coats. Then Watco Spray on Lacquer Satin, @ several coats.
Recommended Skill Level
Intermediate

Fillman Platform Twin with Barn Wood Headboard

Submitted by Anonymous (not verified) on Tue, 06/21/2016 - 07:15

I started with the Fillman Platform Twin Bed plan and made a few modifications.  

  • I adjusted the size of the bed slightly to fit the mattress we purchased for the bed.
  • I wanted the bed to be a little taller, so I simply added a few inches to the legs.  
  • I made the headboard from old barnwood and added pieces around the side and end rails of the bed to tie it all together.  
  • Used a bunky board instead of slats to hold the mattress.
  • Decided to stain the legs and paint the top cap cream to match some other furniture in the room. Still not sure if I love it, but I thought it might be too much dark wood if I stained it like the legs.  

With a mitre saw, Kreg jig and nail gun, this project is pretty simple to put together.  Obviously painting or staining takes some time, but the bed itself can be put together in 1-2 hours.  

Estimated Cost
$100
Estimated Time Investment
Day Project (6-9 Hours)
Finish Used
Espresso stained legs with polyurethane finish, Semi-gloss cream paint on top cap with polycrylic finish
Recommended Skill Level
Beginner

Rustic X Coffee Table

Submitted by charzilla on Sun, 04/19/2020 - 10:01

The current Covid-19 Pandemic has allowed me to re-explore hobbies that I have not had the time or resources to enjoy in the past several years. This coffee table is the first woodworking project I have made in nearly 15 years and it felt great to be back! Frame is painted white and finished with polycrilic. The top and shelf are finished with antique walnut and a polyurethane top coat for extra durability. Can't wait for the next challenge!

Built from Plan(s)
Estimated Cost
85 CAD
Finish Used
White paint and Antique Walnut Polyshades
Recommended Skill Level
Intermediate

DIY Charcuterie wth Watco Food Safe Finish

Submitted by Anonymous (not verified) on Sun, 11/26/2023 - 11:39

I made this charcuterie board for my niece and her family as a thank you for giving me an old miter saw they were not using… I have made a few now as gifts, and realize ….
Something “ made” means so much more to the recipient,
Because in the making we give our heartfelt generosity…
The stain is Watco food safe finish in hazelnut.

Ltr08

Seasonal And Holiday

Truss End Table

Submitted by Jen Marzen on Mon, 06/04/2012 - 09:19

I have been searching for plans for a great end table that would look good in my living rroom when I canme across this plan! So i got cutting and building and this was the result . I am very happy with it and although its not perfect I learned a lot while building it and cant wait to start my next project! I thought with the angles and bevels in this project it would be a great precurssor to makign the benchwright dining table which is on my to-do list . Im glad I made this table first because now i will prevent some mistakes when making the dining table. The table wet together pretty quickly but the finishing took quite a while as I had to wait 2 hours inbetween each coat of lacquer.

Built from Plan(s)
Estimated Cost
20
Estimated Time Investment
Day Project (6-9 Hours)
Finish Used
2 coats of Minwax Dark Walnut stain and 3 coats of Minwax clear finishing lacquer
Recommended Skill Level
Beginner

Changing Station

Submitted by pcarroll on Tue, 04/01/2014 - 05:22

Increased the 15.5" sides to 16.25" to fit the 32x16 pad I bought for a shower gift and it worked perfectly. Finish (all minwax) started with ebony stain, wiped of immediately, followed by layers of stain/poly mix in satin (each one thinner than the last) of Bombay Mahogany, Tutor, and then Espreso. Great plan, Ana.

Estimated Time Investment
Weekend Project (10-20 Hours)
Recommended Skill Level
Beginner

Comments

Toddler bed variation

Submitted by montero65 on Thu, 06/23/2016 - 09:54

I really liked the design of the Rustic platform bed, and wanted to make a small version for my toddler.  So I tweaked everything down to fit a toddler mattress, and then reduced the wood sizes for weight (2x6 became 1x6, 2x4 became 1x4).  First built with the slats design but was way too heavy, so went with a sheet of plywood.  Headboard is still 2x4 and 2x6.  I also got rid of the platforms so the bed could go up against the wall.  Finally, added the side rail guard so no rolling out onto the floor.  That required a new tool (yay!) and I bought a biscuit joiner to make it.  It took some effort to get it mounted to the bed rail, but it works.  In the end, my toddler loves it, and was so excited when I brought it in.  She loves having her own sized little bed that she can hop into (and out of) as she pleases.  Best of all, it's strong enough if she needs us to snuggle her, we can lay next to her.

Estimated Time Investment
Week Long Project (20 Hours or More)
Finish Used
Sanded, then sealed with Kilz primer, and painted with semi-gloss white.
Recommended Skill Level
Intermediate

Doggie Daybed

Submitted by MurdaRae on Wed, 06/06/2012 - 10:16

I've thought for a while about building a bed for our dogs, but wasn't sure where to start. We had an extra crib mattress so I set out to find a toddler bed that would work. I decided the Lydia Toddler Bed plan would work best. It doesn't look anything like it, but it was a great starting point.

First, I got rid of the canopy and the decorative side pannels. I also raised the bed 12 inches. (The hope is to add a rug on the floor underneath as sort of a "bottom bunk") The lumber store didn't have 2x2s so I used 2x3s for the legs. I also only used two 1x6s at the head and foot of the bed. They are seperated by 1" because when I got home, I realized they were actually 1x5 (RUDE).

All in all, it turned out exactly as I had hoped and the dogs love it! GOODBYE stinky dogbeds!

**Photo 1: Just finished building--the slats weren't screwed down yet.
**Photo 2: Deacon is testing out his new digs! See the stinky dogbed underneath?YUK!
**Photo 3: Dog Bed Completed! Mac & Deacon love it!

Built from Plan(s)
Estimated Cost
$38
Estimated Time Investment
Day Project (6-9 Hours)
Recommended Skill Level
Beginner

Comments

Faux Mantle

Submitted by Lady Goats on Wed, 04/02/2014 - 12:26

Built a fireplace using Mimi's Faux Mantle plans - I think it turned out great!

Built from Purebond plywood because I can't find straight boards in bigger sizes in my area (EVER!) and used fir 1x's for everything else.

Finished with three coats of Behr paint/primer in ultra white. I will not buy Behr again. Personal preference.

Estimated Cost
$90
Estimated Time Investment
Afternoon Project (3-6 Hours)
Finish Used
Behr Paint/Primer in one - ultra white
Recommended Skill Level
Intermediate

Built in Japan

Submitted by Anonymous (not verified) on Mon, 06/27/2016 - 04:59

I ended up using Japanese cedar for the top. I was happy with the way this came out.

Built from Plan(s)
Estimated Cost
under 10,000 Yen.
Estimated Time Investment
Day Project (6-9 Hours)
Finish Used
Paint, stain and poly for the top.
Recommended Skill Level
Intermediate

Barn Door Bookcase/ Side Pantry

Submitted by BmoreITguy on Wed, 04/22/2020 - 05:57

This took a lot of time and money but I like the way it looks. We have 4 kitchen cabinets and one drawer and no room for more so storage is tight.

Built from Plan(s)
Estimated Cost
400
Estimated Time Investment
Week Long Project (20 Hours or More)
Finish Used
Same as Ana’s
Recommended Skill Level
Advanced

Comments

BmoreITguy

Wed, 04/22/2020 - 06:00

Why is my picture sideways? Ana, one of the most frustrating things with this build was the mobile version of your site. Very laggy, typing lags, pages crash in the middle of typing or viewing and persistent ads are a nightmare

Navy Trainer

Submitted by Jake on Sun, 06/10/2012 - 13:01

A lady I work with at Driscoll Children's Hospital is giving birth this week to a boy. Instead of the traditional gifts I thought he should have an airplane and the Plane Old Shelf caught my fancy.

I made a couple of minor additions to the design with the addition of the traditional red and green navigation or running lights on the wing tips and a bright yellow axle. The wheels, cowling, and buttons are from Hobby Lobby. I took a small piece of bass wood, soaked and bent it and then let it dry overnight to form the propeller.

In South Texas the color scheme means something. The wing tips,tail, and cowling of the single engine trainers the want-a-be Navy pilots fly carry this color. They are everywhere.

Built from Plan(s)
Estimated Cost
$20
Estimated Time Investment
Weekend Project (10-20 Hours)
Finish Used
One coat of primer and then two coats of Rust-O-Leum white.black or orange spray glossy enamel.
Recommended Skill Level
Beginner

Factory Cart Coffee Table

Submitted by dhynd on Fri, 04/04/2014 - 21:44

Made two tables with my sister in less than six hours! During this time we also went to the store, took many breaks and even ate lunch! A fun project that develops tons of confidence :) Made out of pine, used 3" steel casters, stained in espresso, and didn't use wood glue. Ate sushi on them tonight! Also.....a perfect table for sitting on the floor and coloring, using a lap-top, or toss some pillows on it for a sleepy pup. Super neat!

Built from Plan(s)
Estimated Cost
$95 for TWO tables
Estimated Time Investment
Afternoon Project (3-6 Hours)
Finish Used
Espresso Stain with Poly
Recommended Skill Level
Beginner

Outdoor Sofa Mash-up

Submitted by Anonymous (not verified) on Thu, 06/30/2016 - 19:51

My wife loves the X pattern of the Weatherly Sofa, but wanted the tilted back from the Simple White Outdoor Sofa. This was our best of both worlds effort!

Estimated Cost
$85 for lumber and materials without cushions.
Estimated Time Investment
Afternoon Project (3-6 Hours)
Finish Used
Primer and outdoor paint.
Recommended Skill Level
Beginner

Comments

Katie.Belmont88

Wed, 07/06/2016 - 19:18

I love this! I was so excited until I realized that this was a brag and didn't have plans. I don't know if I'm as talented at modifying as you are. :)

Seasonal And Holiday