Community Brag Posts
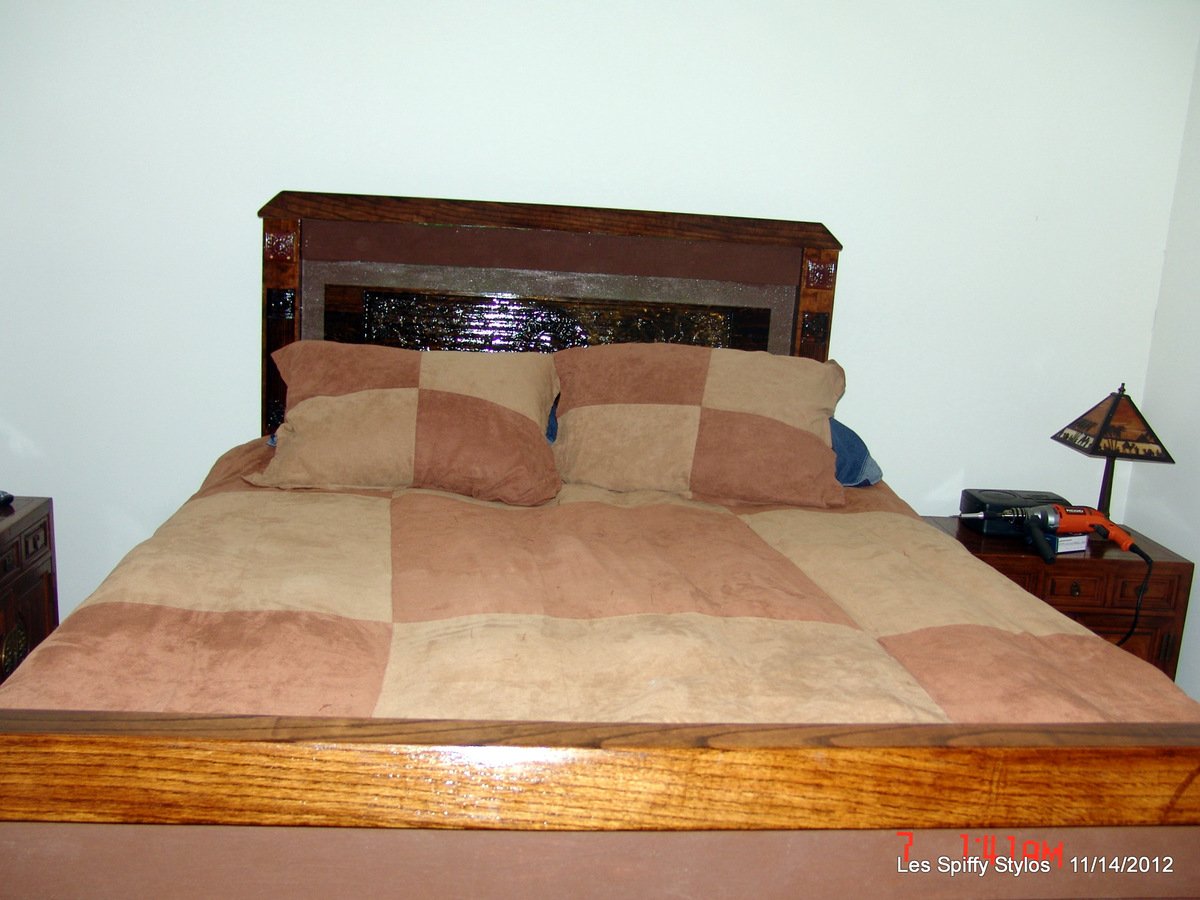
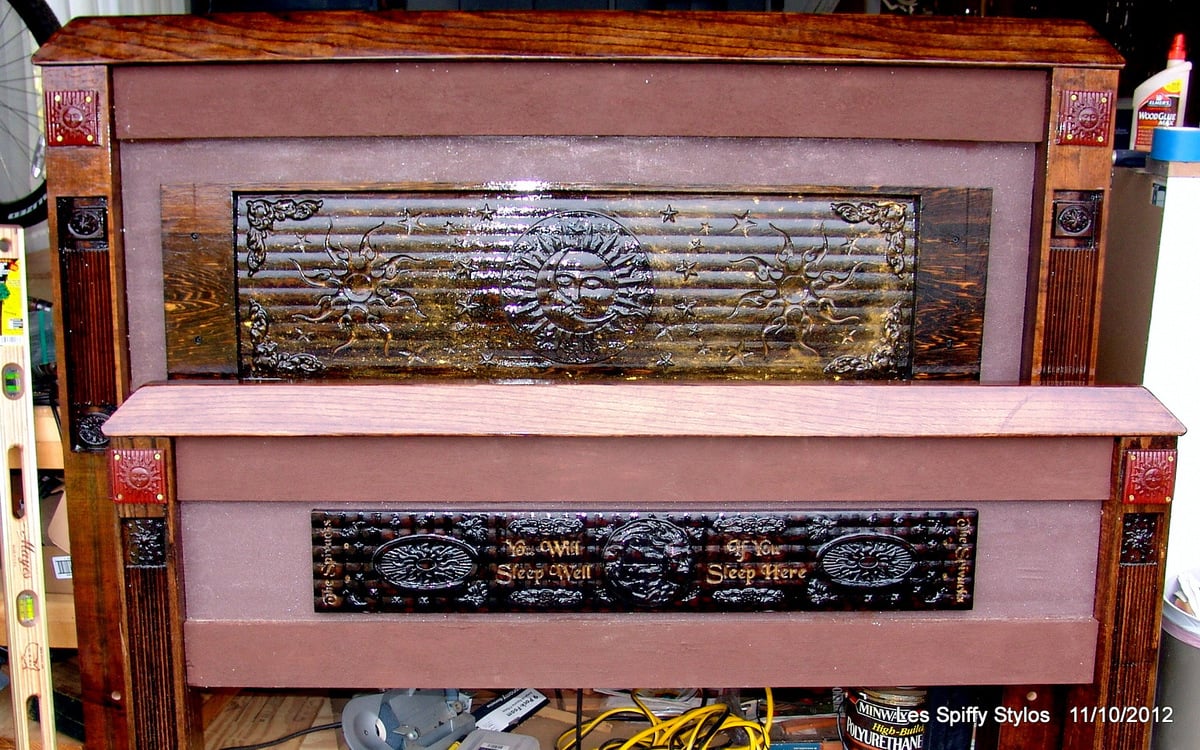
Farmhouse bed with storage! Carved, bowed and beautiful!
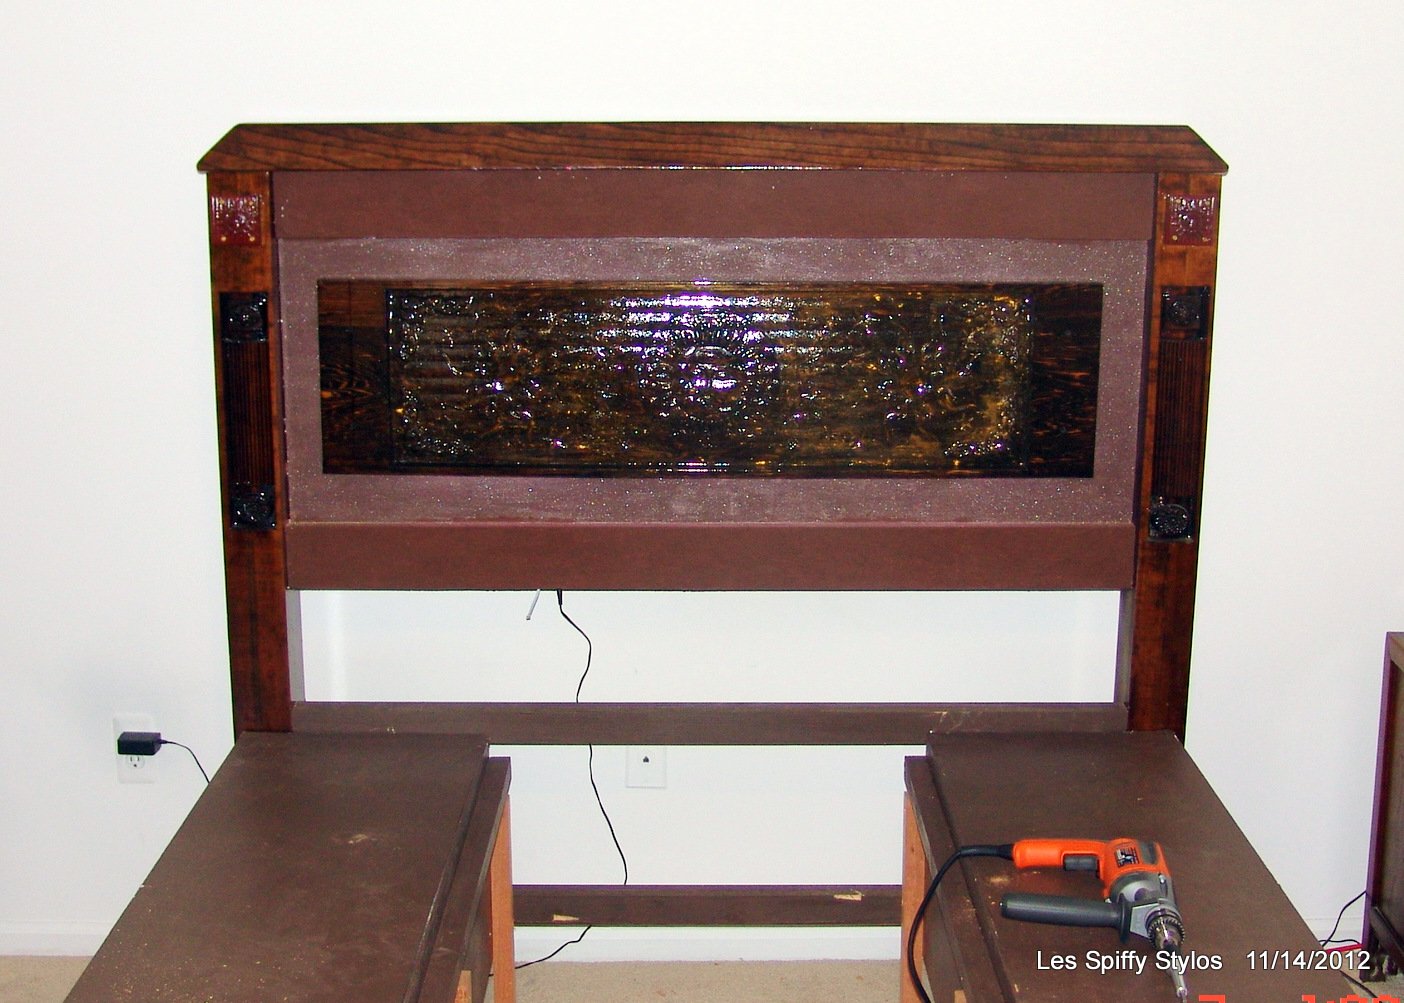
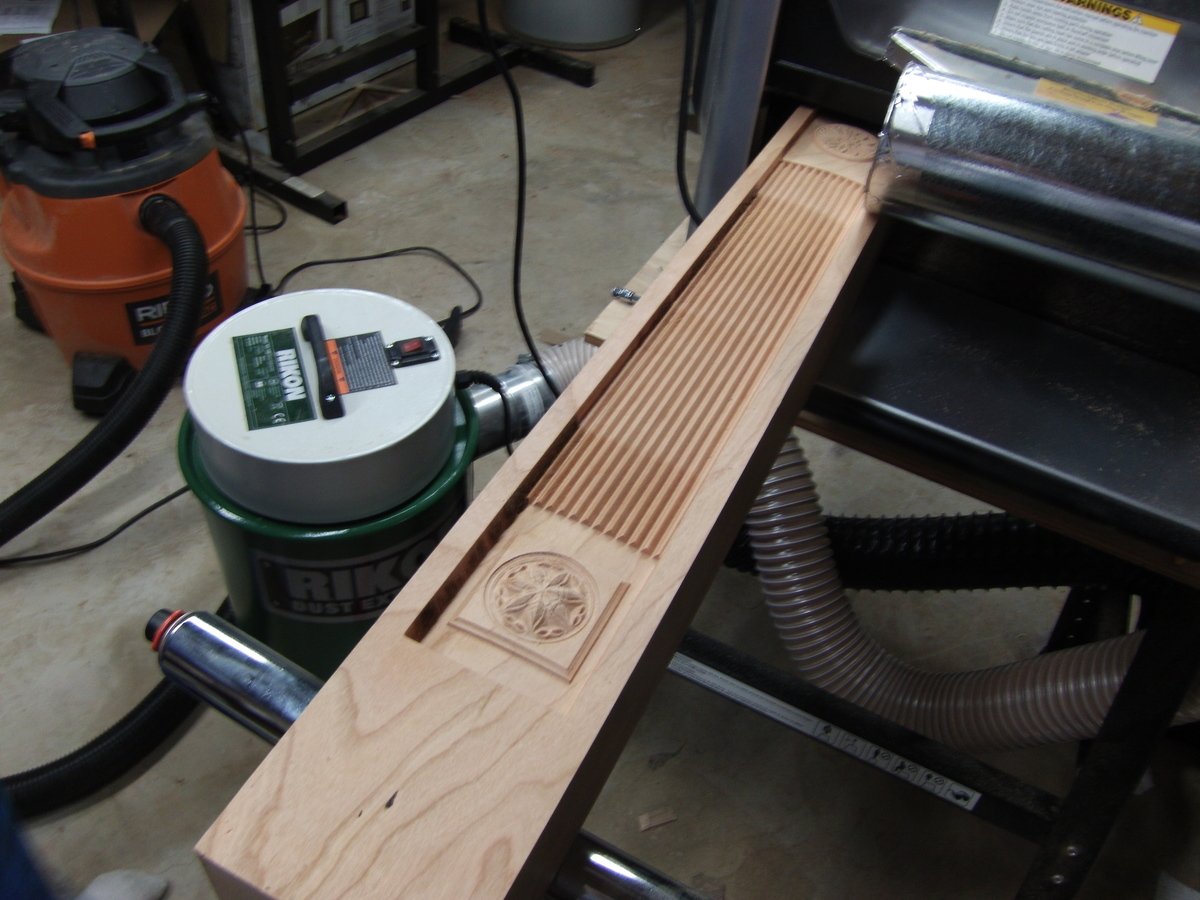
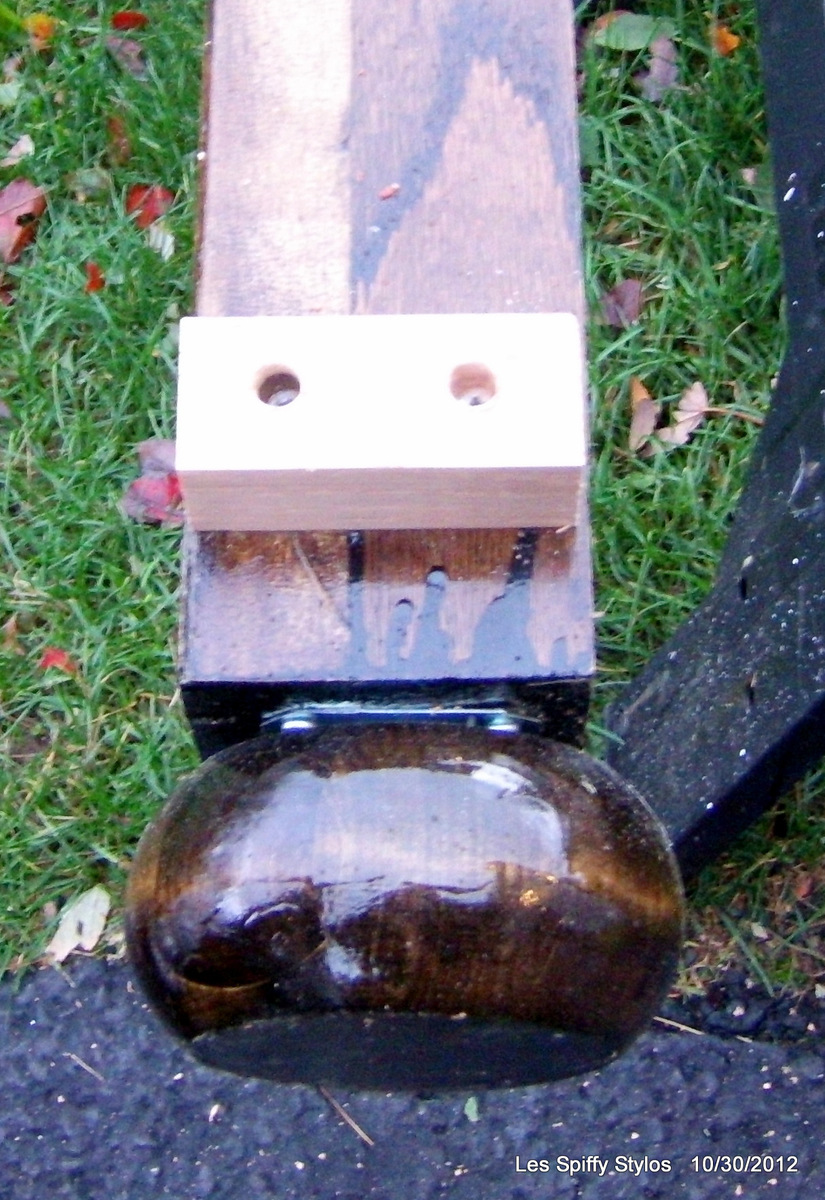
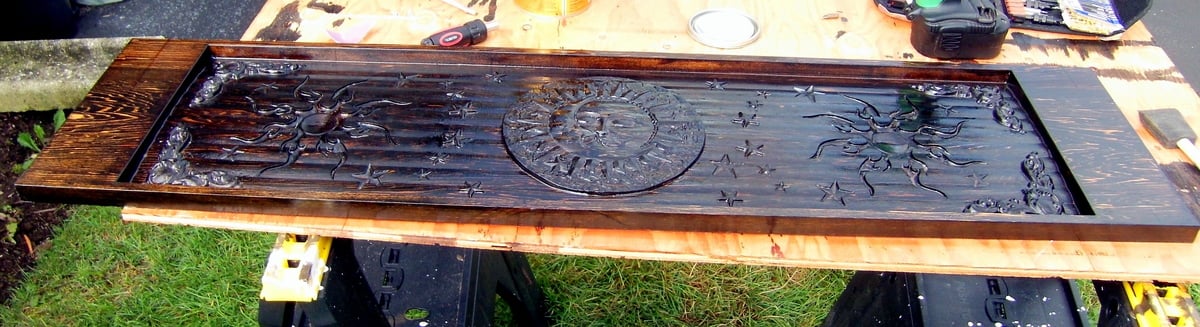
I built the Farmhouse bed with storage but departed from Ana's design a bit. I built the legs from 4" red oak, the boxes are painted plywood. The crowns on the head and footboard are also red oak. I have a Carvewright and used it to detail the bed pretty thoroughly...and topped it off with a temperpedic mattress. ROCK solid and looks great! Also, put LED lights behind the headboard insert that shines around its sides.
All in, great project, took me around 3 months to complete!
Estimated Time Investment
Week Long Project (20 Hours or More)
Finish Used
Gel stain, high gloss poly
Recommended Skill Level
Intermediate
Comments
Thu, 01/10/2013 - 17:42
More photos
Hi, if you want to see the rest of the build, I have 140+ pics posted on Facebook:
http://www.facebook.com/media/set/?set=a.10150844261192960.416336.65162…
Fri, 01/11/2013 - 17:16
very impressive
wow! I really liked your idea of adding lighting into the headboard.
Sat, 01/12/2013 - 06:51
The led light cost 15 bucks on eBay...
Fires up with a remote, something like 35 colors, strobes, flashes. Likes OK by day but it looks amazing at night. Which, in all sincerity, is a fair description of my own looks. (smile)
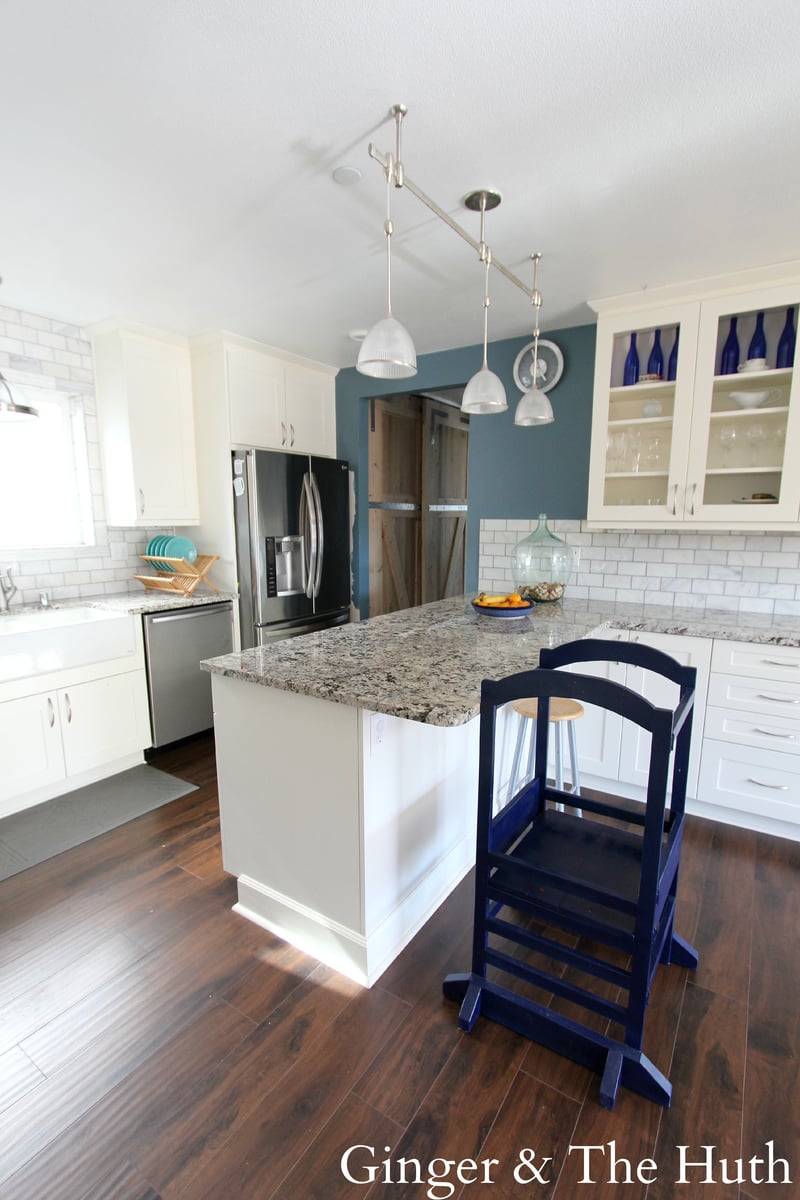
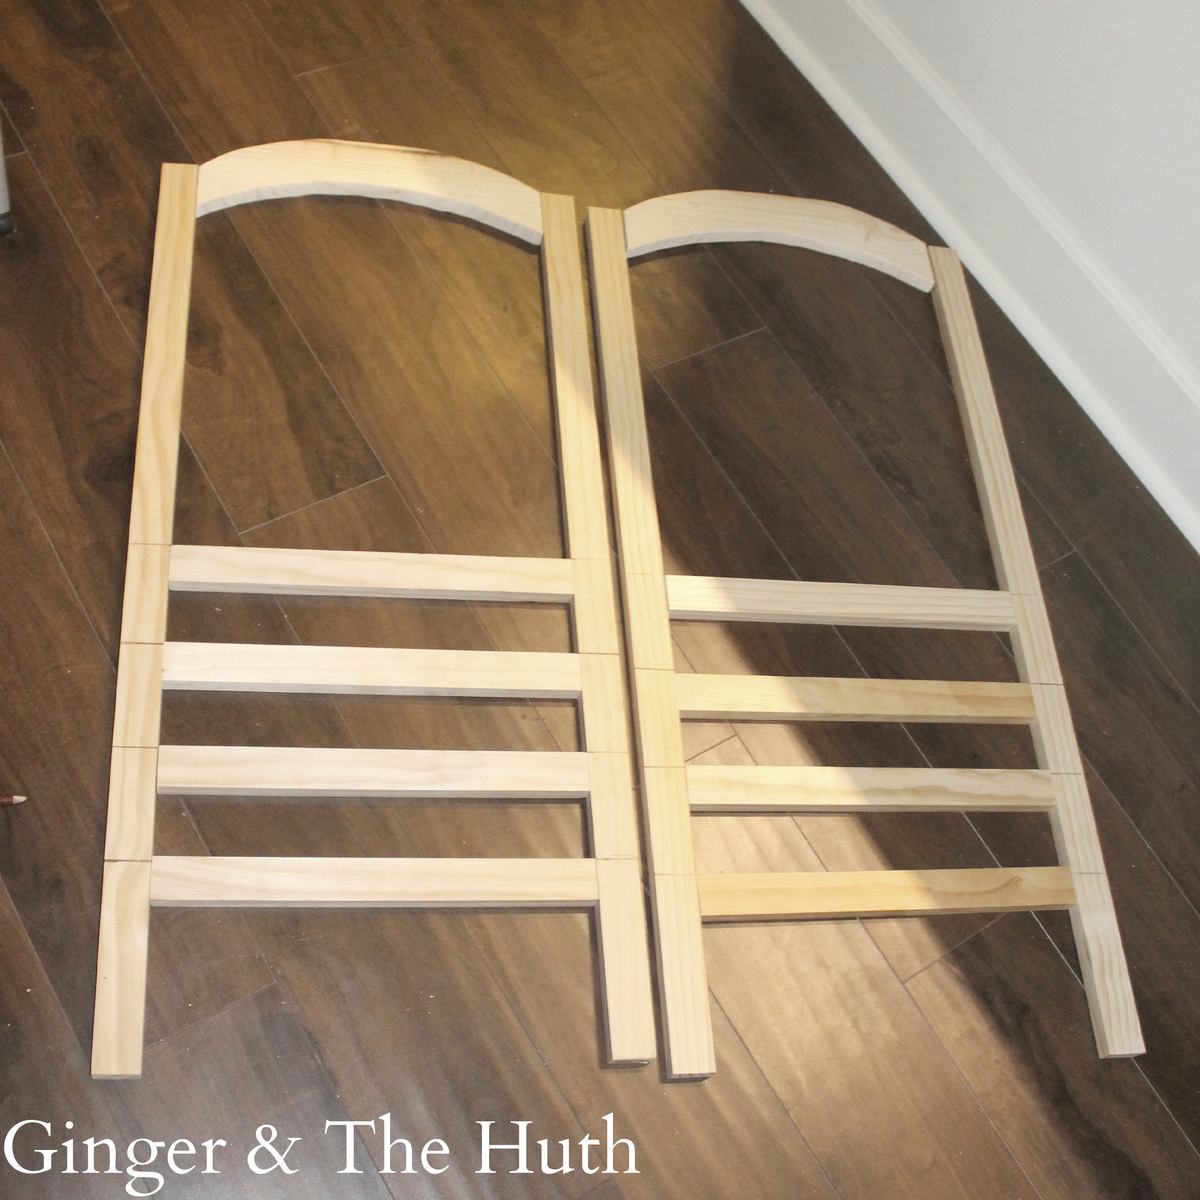
Little Helper Tower
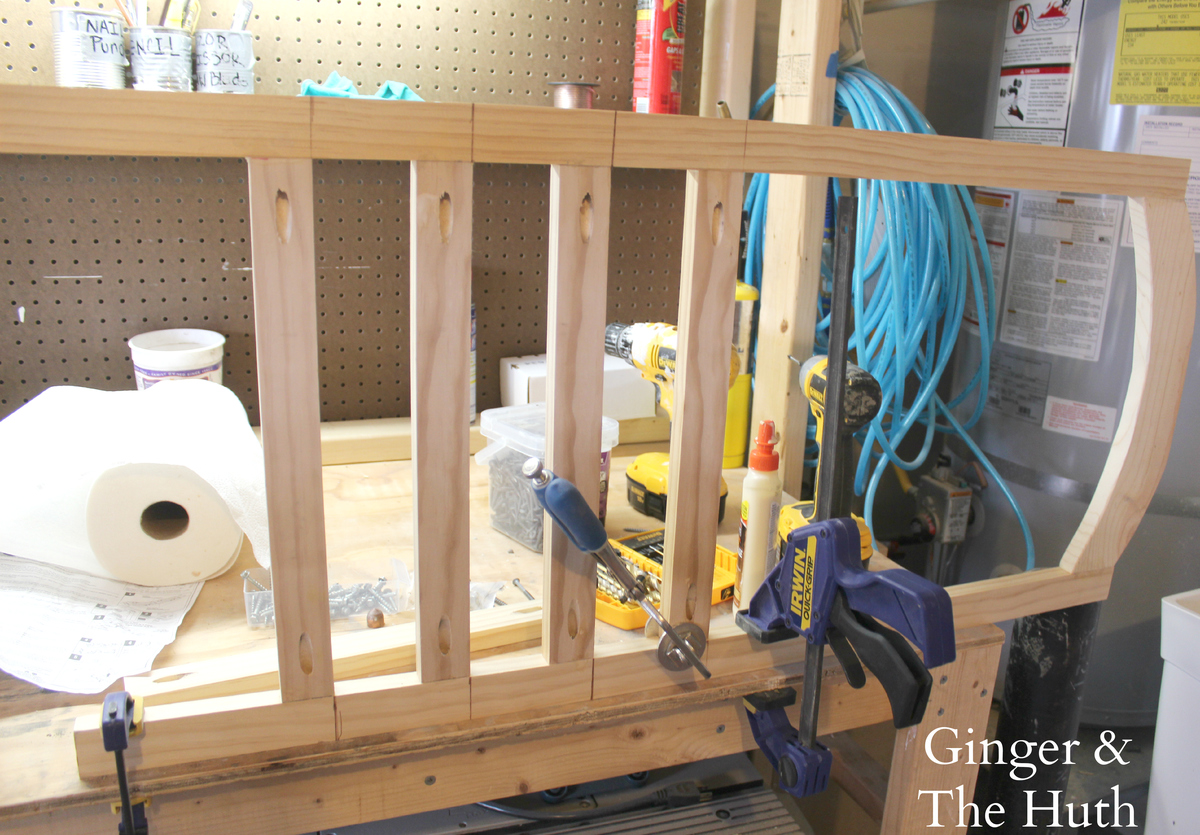
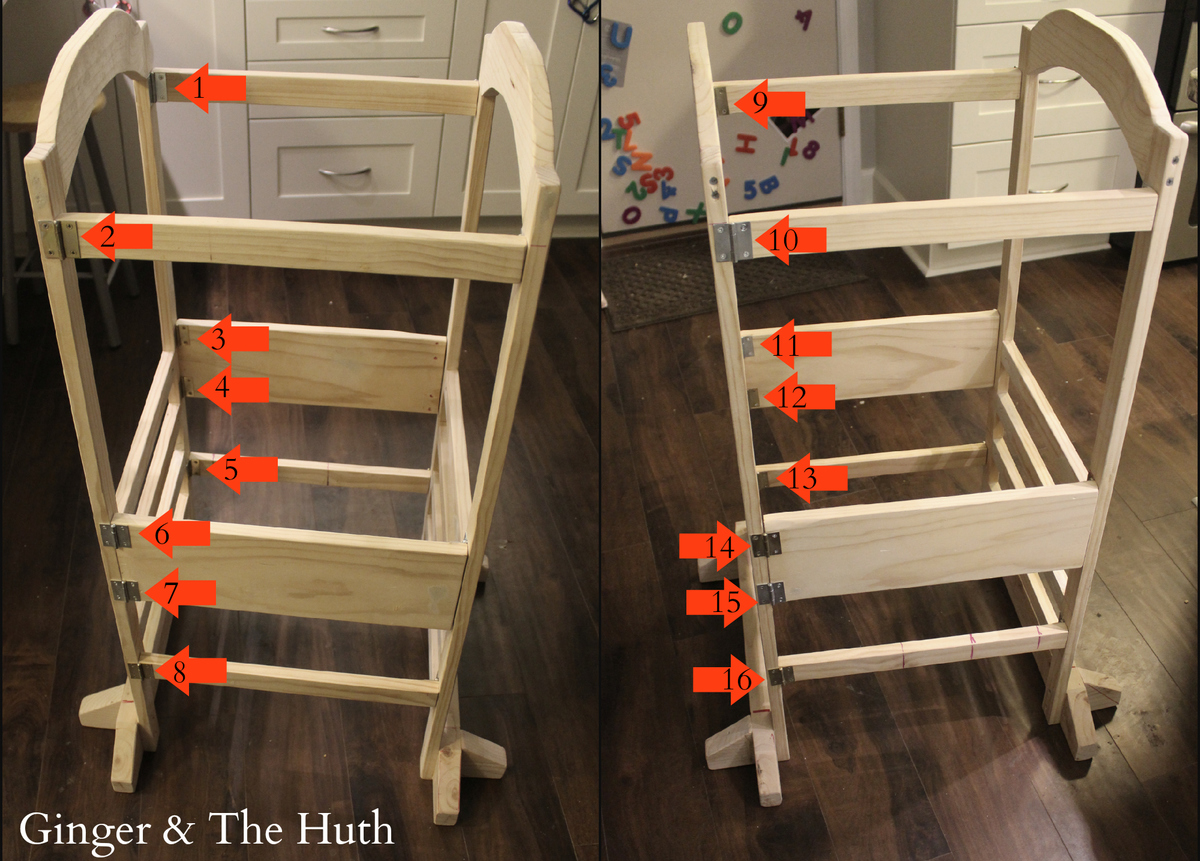
Ana's plan called for using 8 hinges (I'm not sure on the placement of those). I used a total of 16 to ensure sturdiness. I put two hinges on each corner of the 1x8 piece and a hinge anywhere the corners connected. I used Narrow Utility Hinges (1-1/2" Zinc plated). The pack of 2 cost $2.27 and comes with screws. My biggest regret is not painting the hinges before I put them on. I waited until after screwing them in and it was a pain and makes my paint job look sloppy.
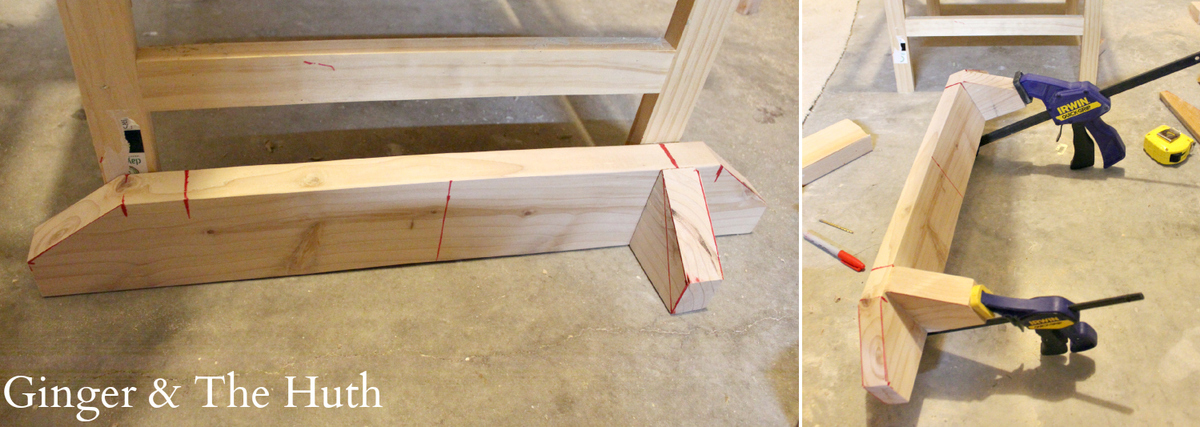
Although I priced this build out, I ended up using wood I already had in the garage. I didn't have enough 1x3 to make the anti-tipping feet so I used a 2x4. I also didn't make the rounded edges, just a few angled straight cuts.
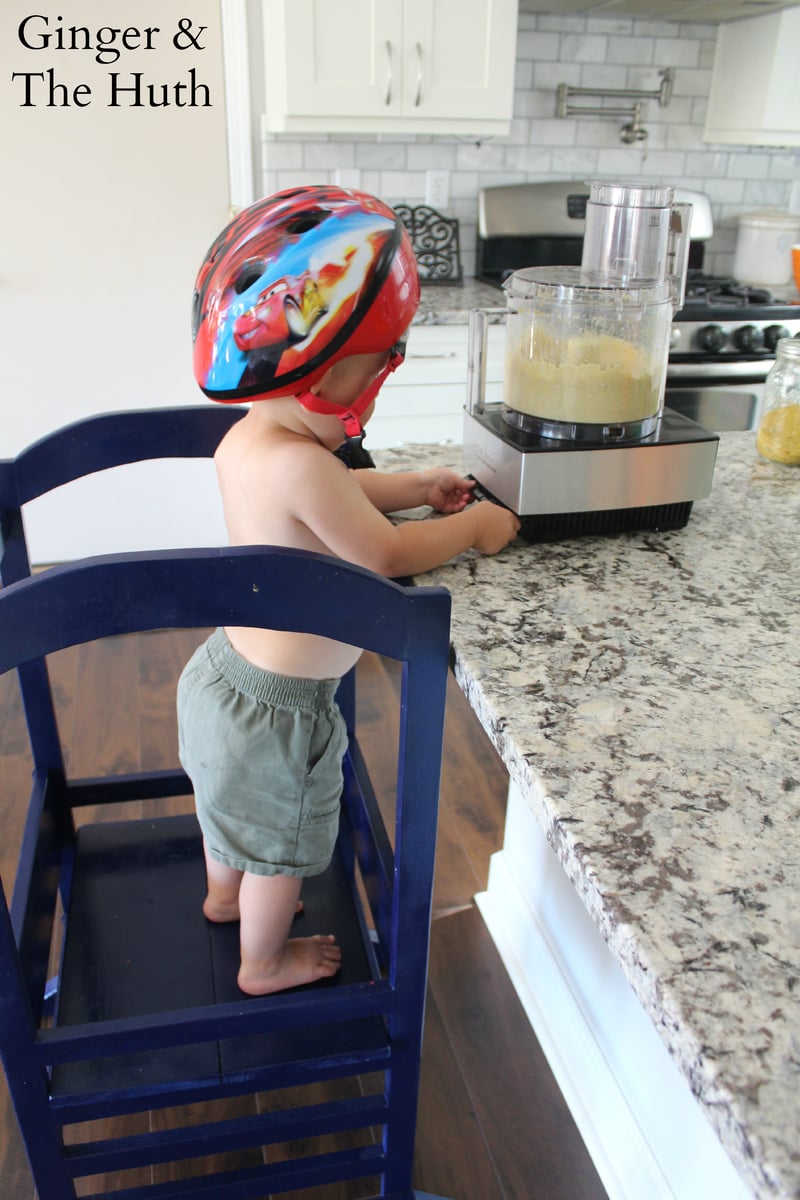
THESE ANTI-TIP FEET ARE A SAFETY MUST, DO NOT SKIP THEM!! I've seen a few commenters say they skipped the anti-tip feet, but for us they were a must. My kid would have easily knocked his tower many times if it weren't for these anti-tip feet!
Couldn't be happier with this build. Totally worth every penny. Hands down my favorite kitchen addition!
Wrote about this on the blog too: http://thehuth.blogspot.com/2014/11/ana-whites-little-helper-tower.html
Built from Plan(s)
Estimated Cost
$60.50- for wood and hinges. The 1x2's select pine board make the cost a little higher. If you were to the skip hinges, this project would set you back $42.34
Estimated Time Investment
Afternoon Project (3-6 Hours)
Finish Used
Glossy blue paint
Recommended Skill Level
Beginner
Comments
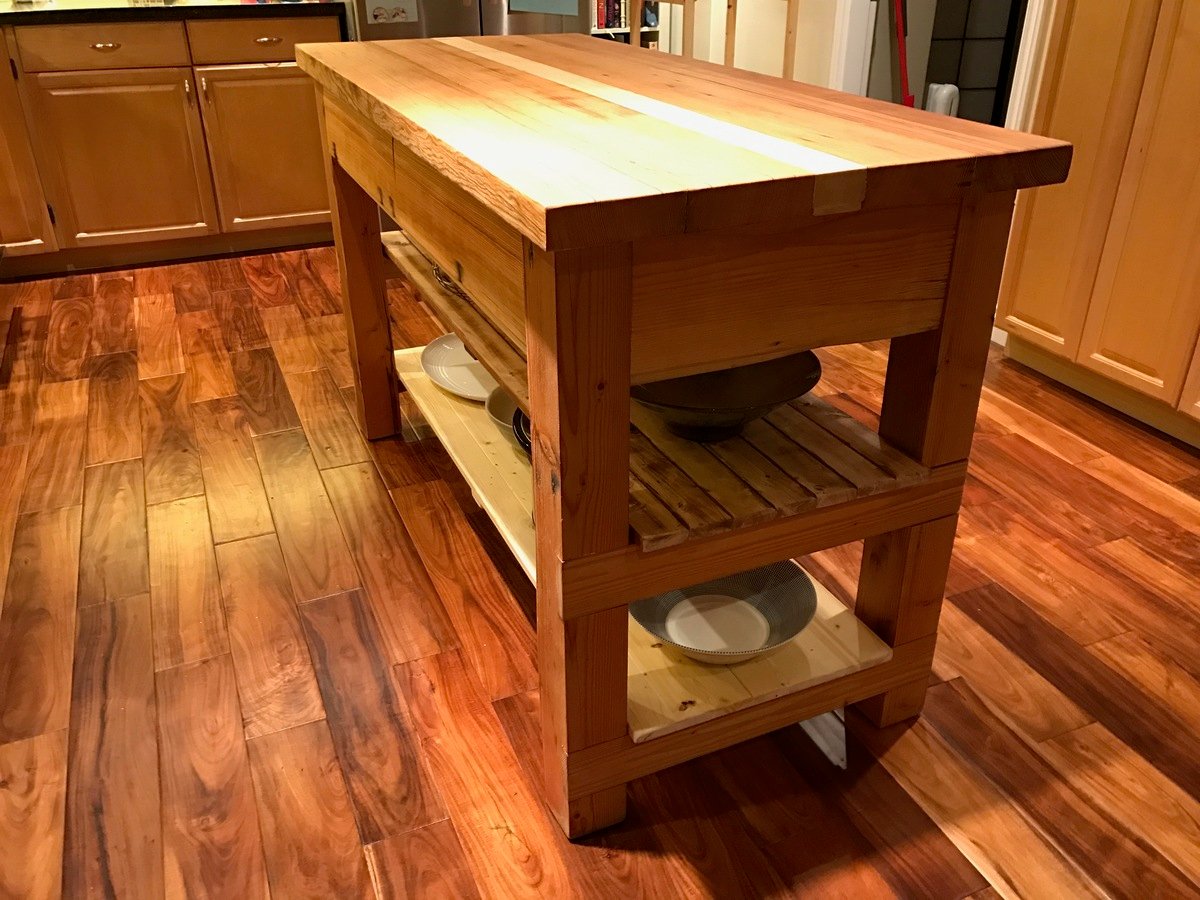
Reclaimed wood kitchen island
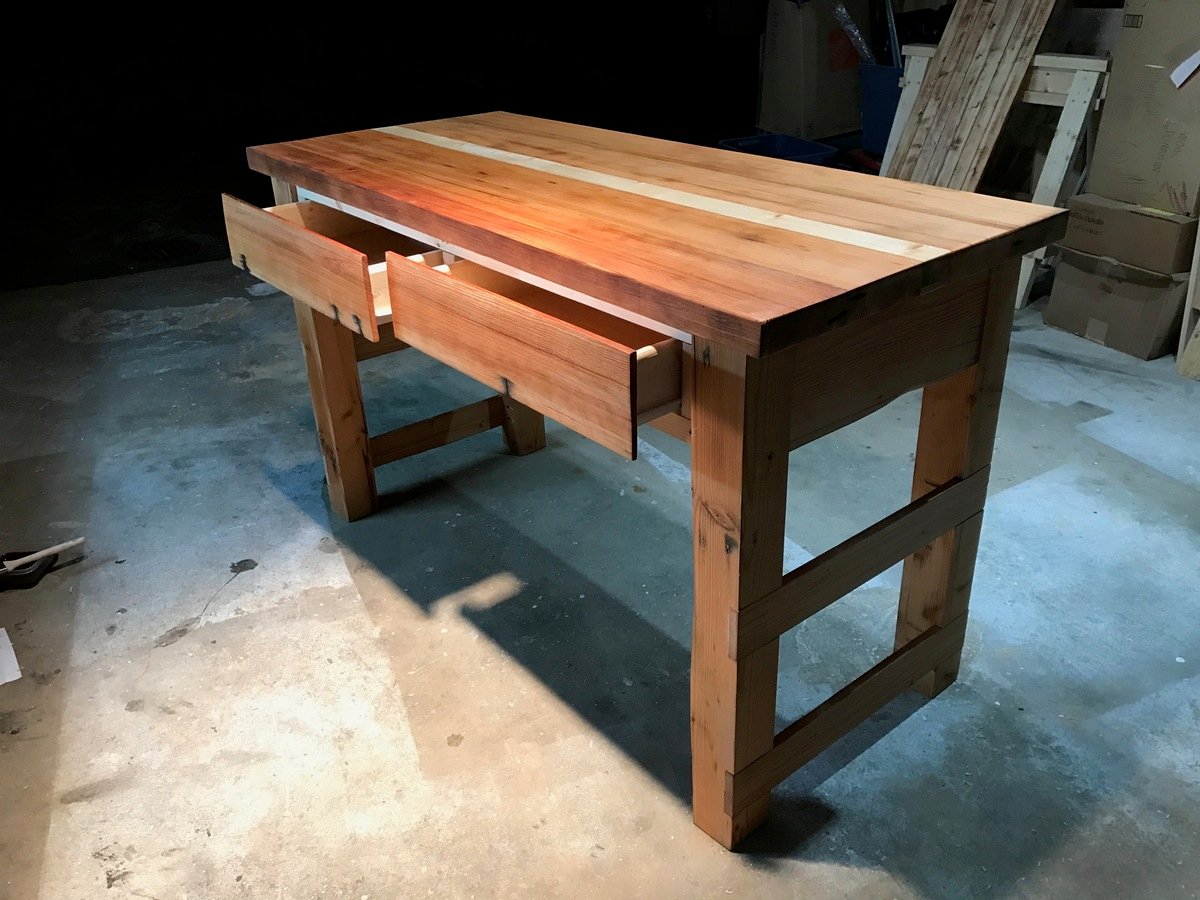
Not much to say here other than THANK YOU ANA! I built it right to the plan, used plain dimensional spruce for the drawer box, and reclaimed fir for everything else. Had fun using my thickness planer to save many hours on the belt sander.
Built from Plan(s)
Estimated Cost
Cost was mostly in the reclaimed lumber, so no useful info here.
Estimated Time Investment
Week Long Project (20 Hours or More)
Finish Used
tung oil
Recommended Skill Level
Intermediate
Comments
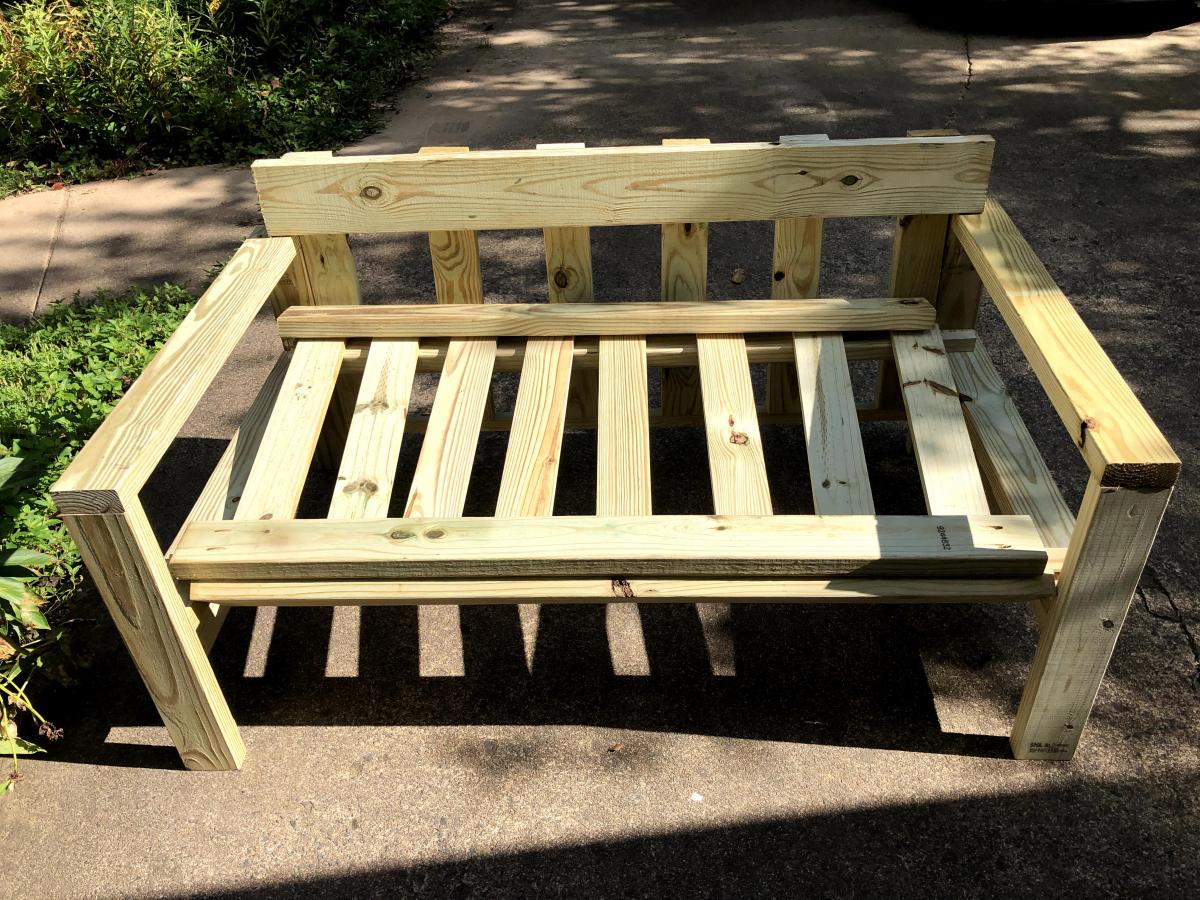
Lovely loveseat!
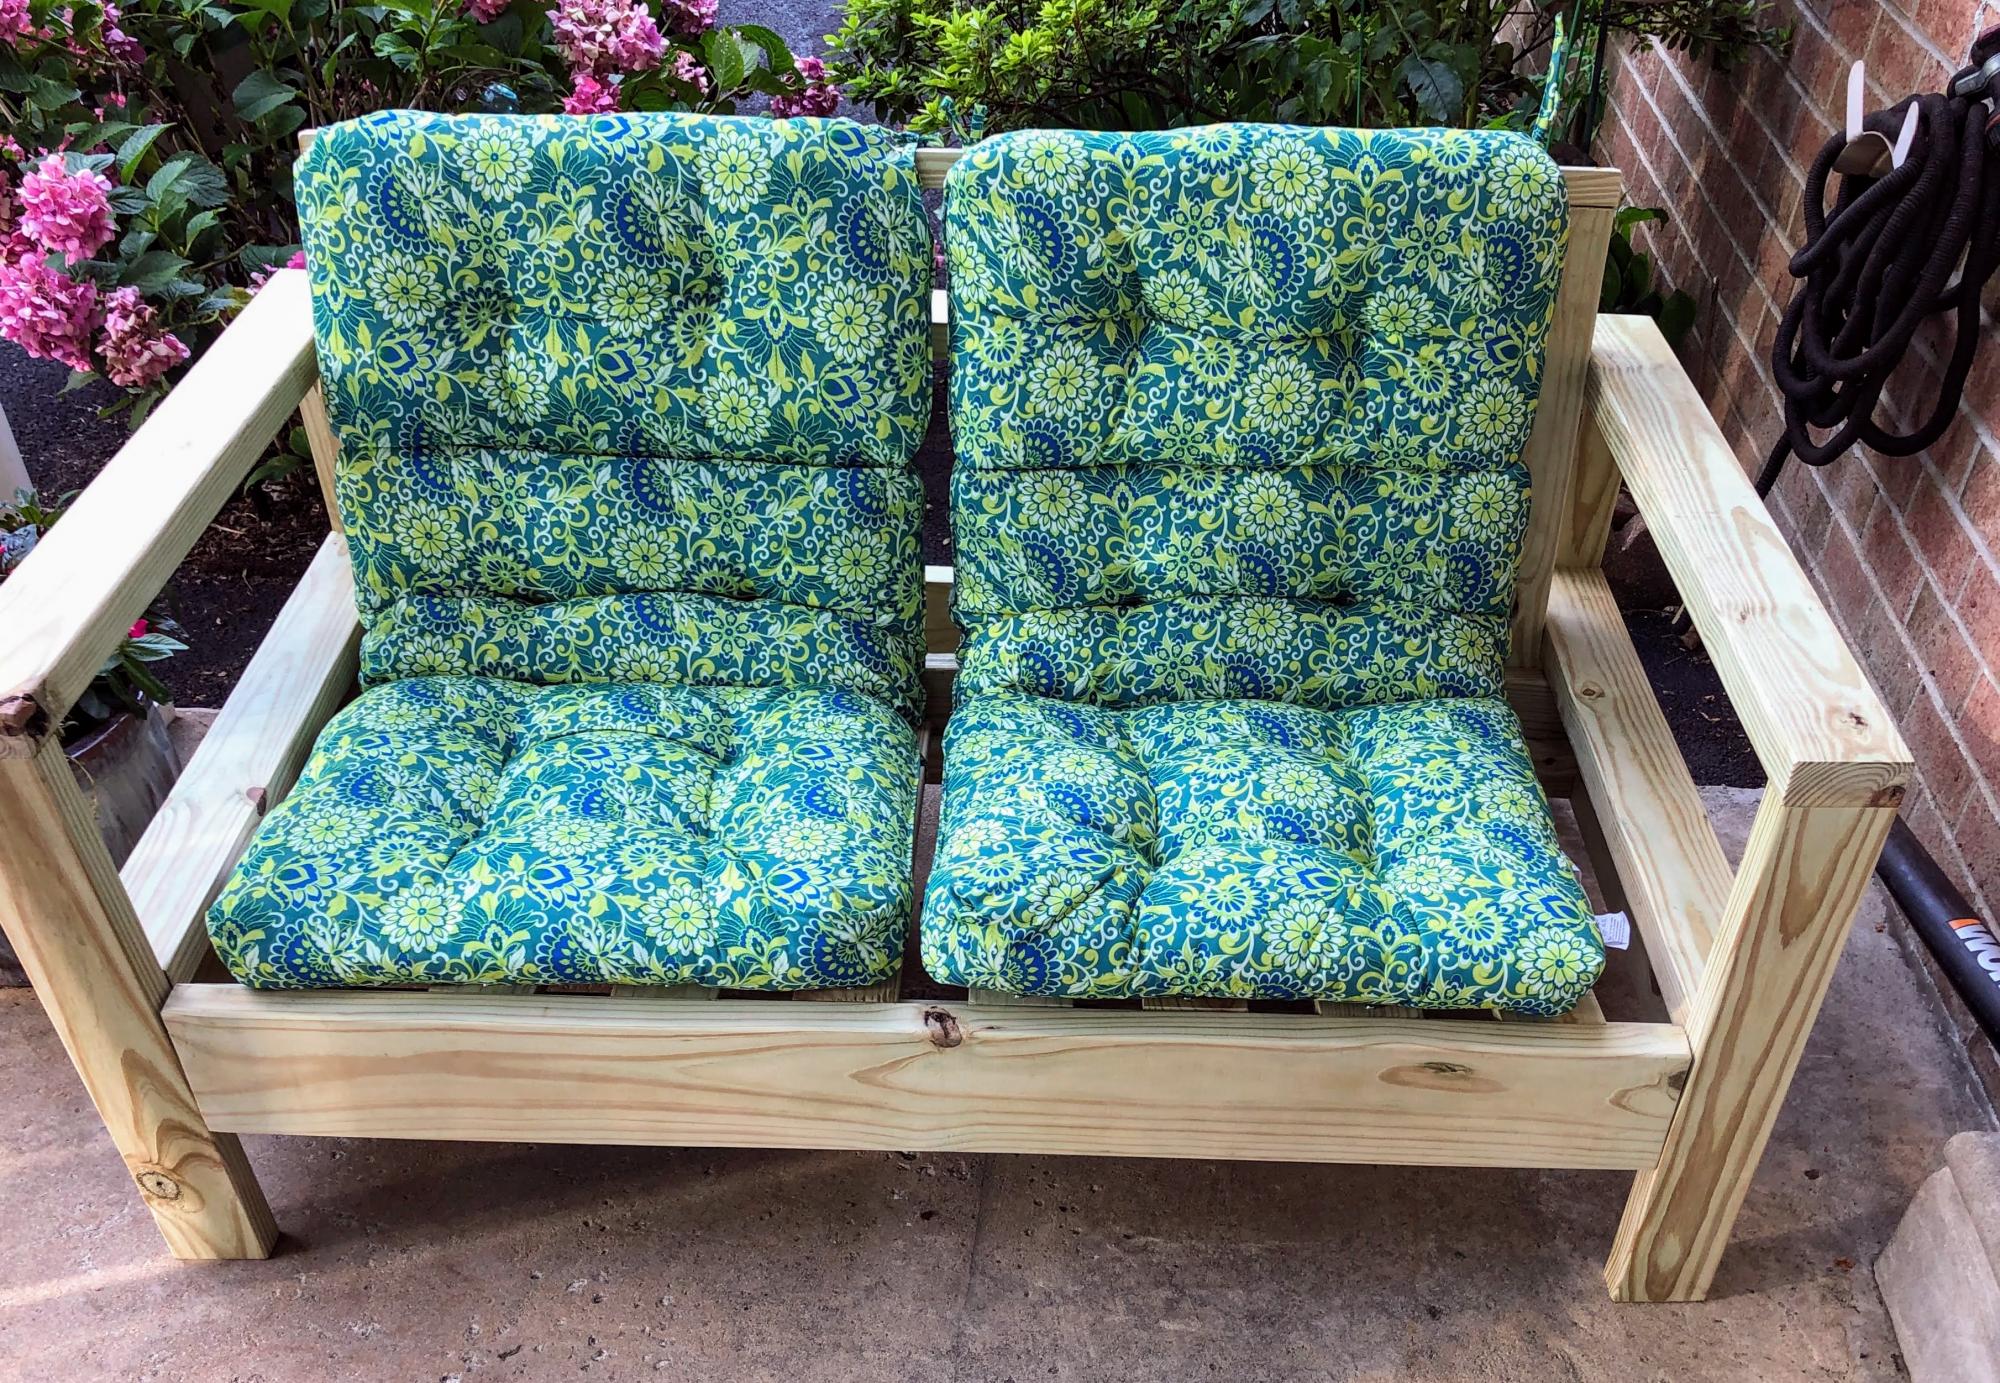
I made the "Outdoor Loveseat" from the "Modern Comfort Collection". The plans were very helpful! As a true novice, one issue I ran into was that the seat back bottom slats was about 3/8" longer than would fit. In any case, I was able to trim the boards down and the seat looks great. I ordered the cushions from Amazon.
The seat is now at my father's house where he can sit in the sun - when it's warm enough (in the spring/fall/winter) or cool enough in the summer. The build time was longer because I cut the wood and pre-assembled major pieces at home and then drove the pieces to my father who lives out of state.
Thank you for sharing the plans!
Built from Plan(s)
Estimated Cost
$56
Estimated Time Investment
Week Long Project (20 Hours or More)
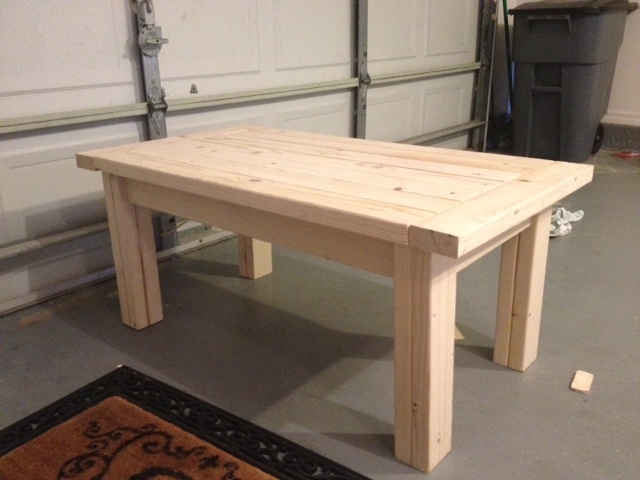
Tryde coffee table
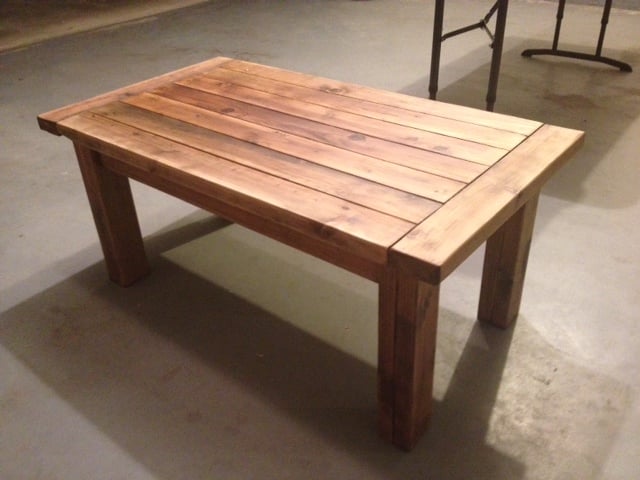
This was my first build...in fact, it was the first time I ever cut something with a saw. This was very easy and came out better then I ever imagined. I did some modifying because the original was way to big for the space I had planned for it. I also could not get ahold of a 4x4 that was not treated so I glued and screwed some 2x4's together to make my own. This was so much fun, I plan on making my sons toddler room and new living room furniture. I took pictures of most of the steps so if you want to see them, send me a message. Happy building!

Built from Plan(s)
Estimated Time Investment
Day Project (6-9 Hours)
Finish Used
Oxidation. Here is a link to what I followed. http://thefriendlyhome.blogspot.com/2012/07/how-to-oxidize-wood.html
Recommended Skill Level
Starter Project
Comments

In reply to Did you use a kreg jig by Nickibickie (not verified)
Sun, 01/13/2013 - 06:14
Yes, it was very easy. I just
Yes, it was very easy. I just bought the cheapest one I could find and it worked perfect.
Sun, 01/13/2013 - 12:34
Thank you! Plans
Thank you! Plans below:
http://ana-white.com/2012/10/plans/updated-tryde-coffee-table-pocket-ho…
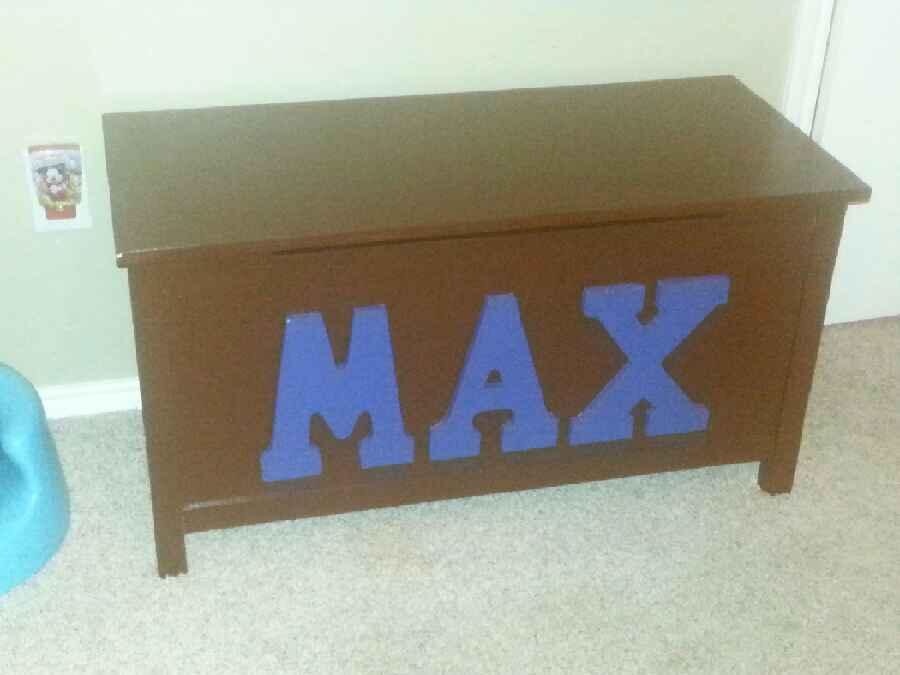
Nephew's 2nd Birthday Present
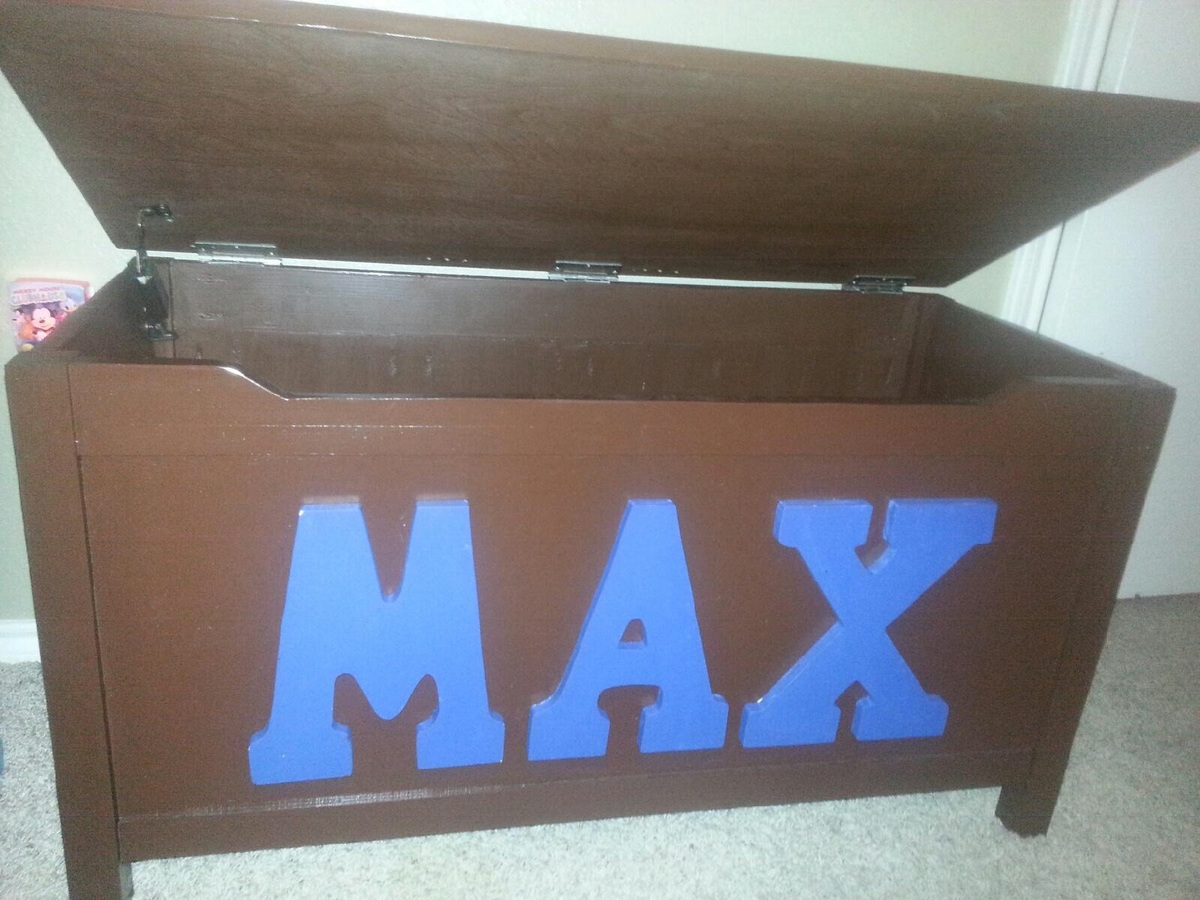
Wanted to give my great-nephew something handmade for his 2nd birthday and hopefully something he can enjoy for years to come. Spent the weekend with my hubby doing this and loved every minute and thrilled with the final outcome
Built from Plan(s)
Estimated Cost
$150
Estimated Time Investment
Weekend Project (10-20 Hours)
Finish Used
Paint and polyurethane
Recommended Skill Level
Intermediate
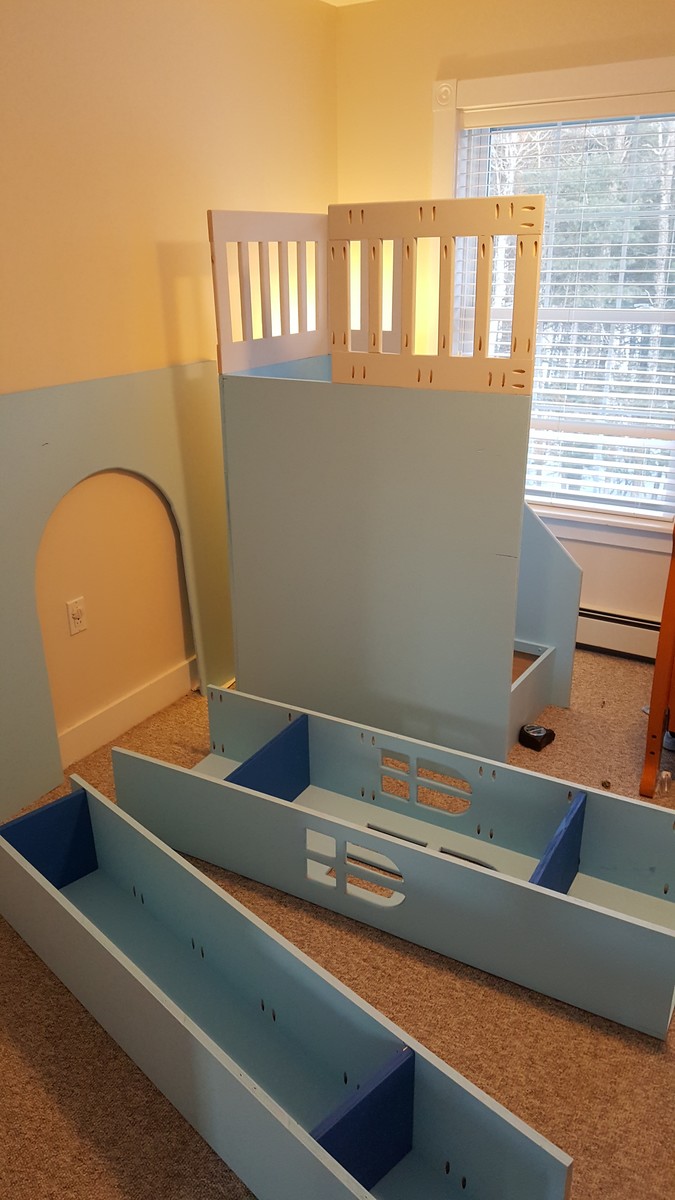
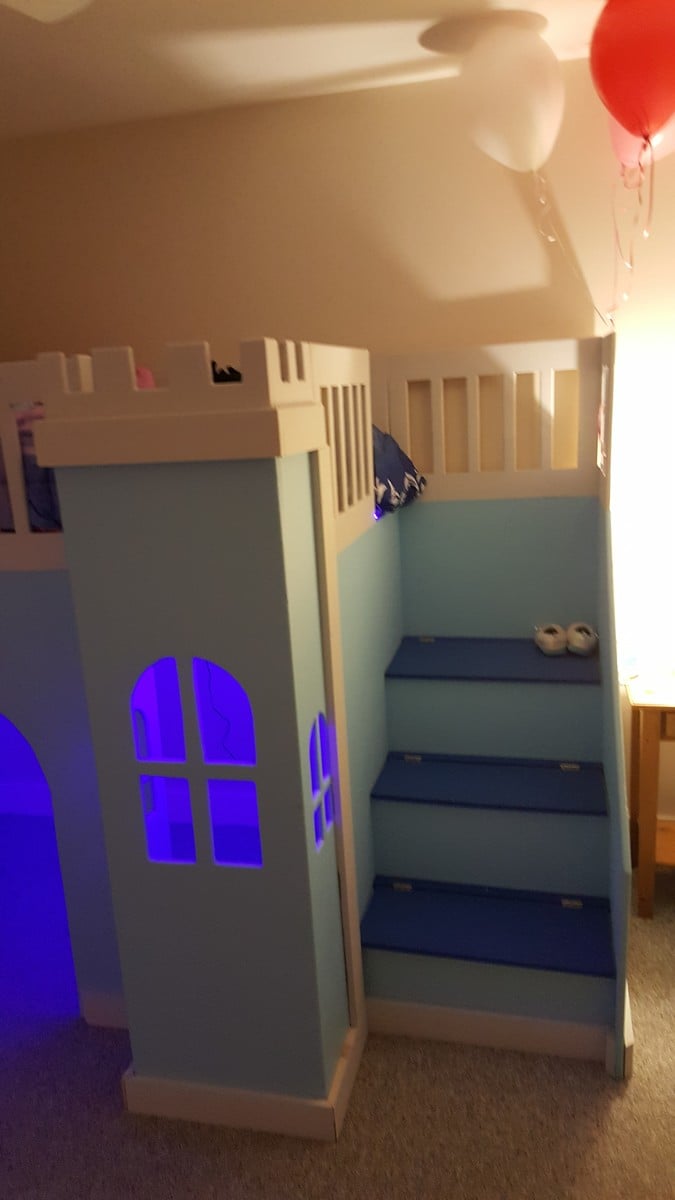
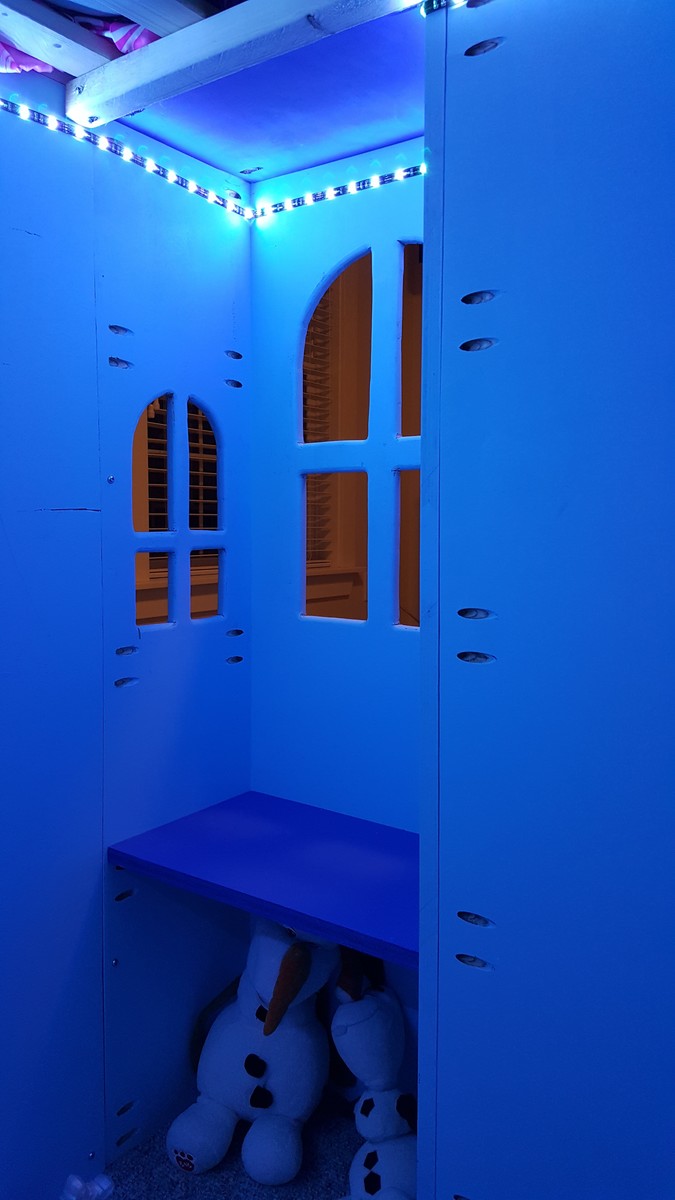
Castle Loft Bed "Frozen" Themed
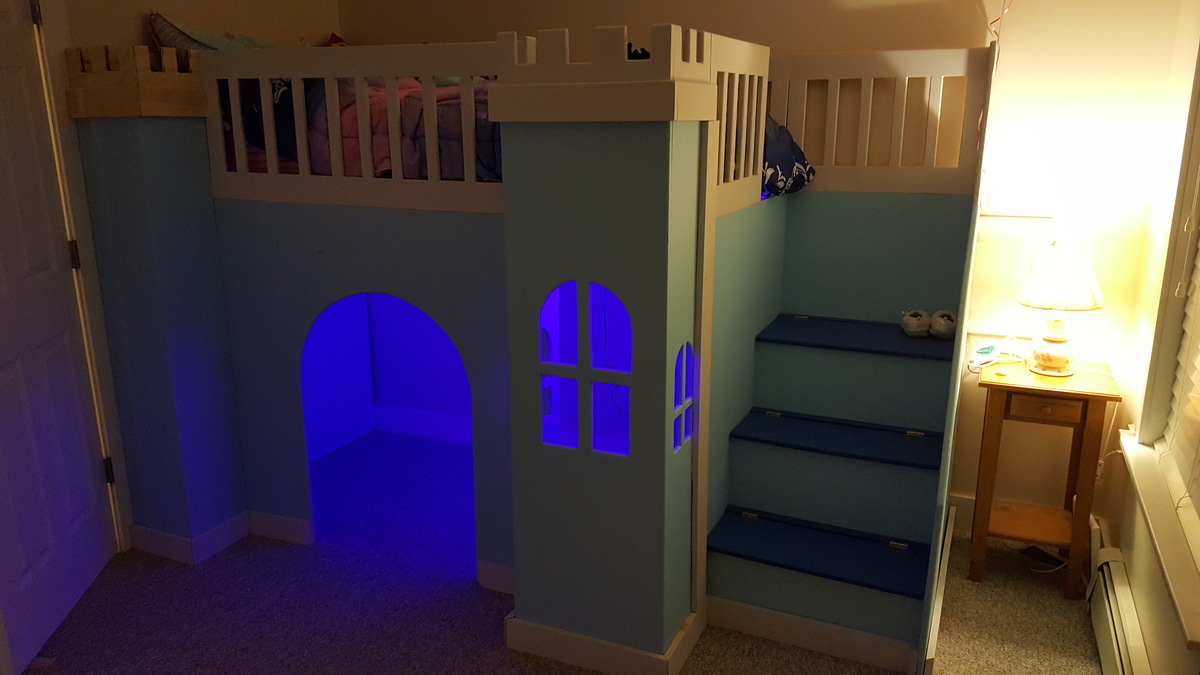
I present the "Castle Loft Bed" with minor modifications. Finished in a "Frozen" theme.
It was time to upgrade my youngest to a "big kid bed" and she was insistent on a frozen bed. After searching for various options we settled on the "Castle Loft Bed" from the Ana White catalog of plans.
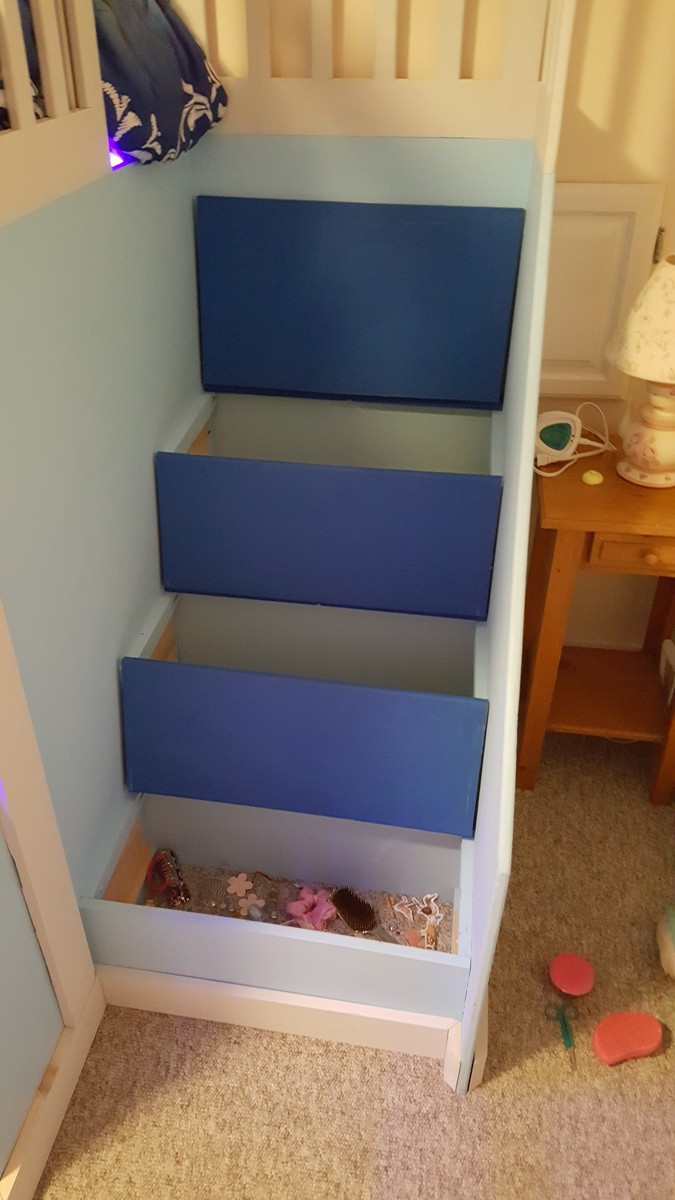
We left the slide off, due to available space. Also we changed the steps to be more of a usable toy box/storage and hamper area. I also modified the internal bookcase to have a small "secret" cubby for her "valuables". We also added color changing LEDs to fit the little princess's mood.
I hope you like my rendition and keeps in spirit the DIYers quality.

Built from Plan(s)
Estimated Cost
425.00
Estimated Time Investment
Week Long Project (20 Hours or More)
Finish Used
Various paints
Recommended Skill Level
Intermediate
Rustic X Hall Tree

Rustic Hall Tree
I have been looking for a really nice Hall Tree with out having to spend an entire week just to build it and I found it here. I followed the plans with the exception of the width, which I had to narrow due to where it was to go. I also had to shorten due to wife's height (5 ft 1). Because I help with my friends projects I end up with left over odd and ends and can use them in my projects. The backing I used is T- 1-11, that I sanded down till smooth and then painted. The seat and shelf is a 1 x 12 x 6 bullnose that was left over from a prior project that I cut to 1 x 12 x 3, then ripped the other half to fill in the seat making it 18 inch wide and used the other half to make the top self. The trim was left over from a book shelf that I helped a friend build. I painted the tree but stained the seat, shelf, trim and X with red mahogany stain to match the floor and then sealed with 4 coats of semi-gloss polyurethane.
Thanks for the plans, next project will be a desk for up stairs.

Recommended Skill Level
Beginner
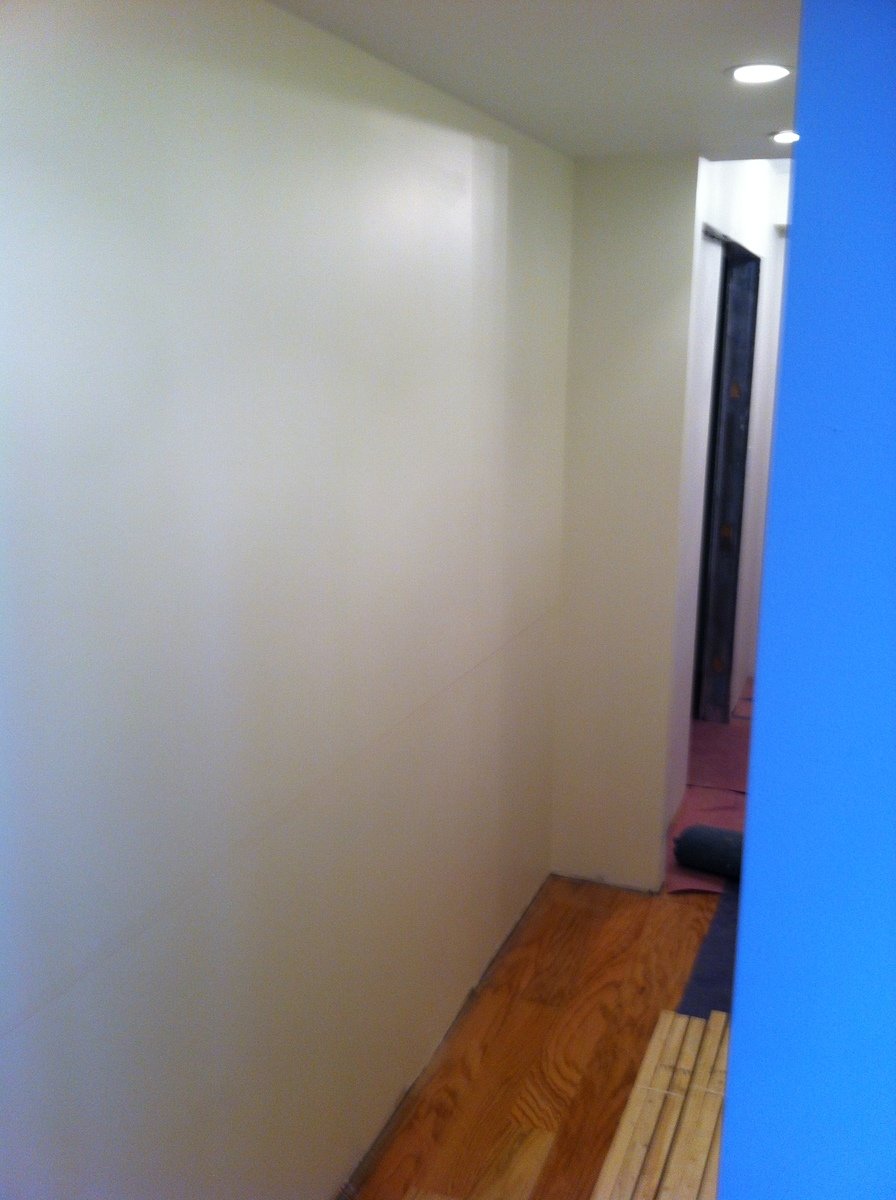
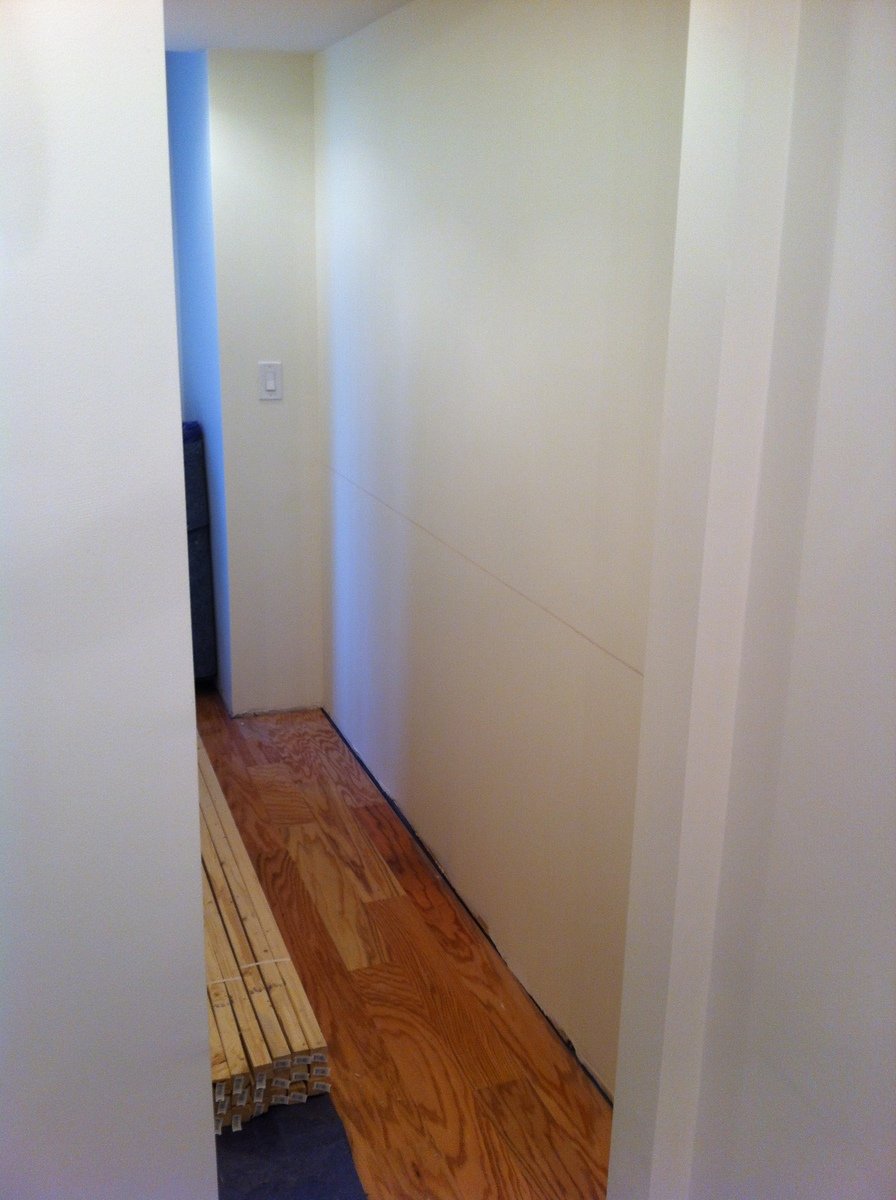
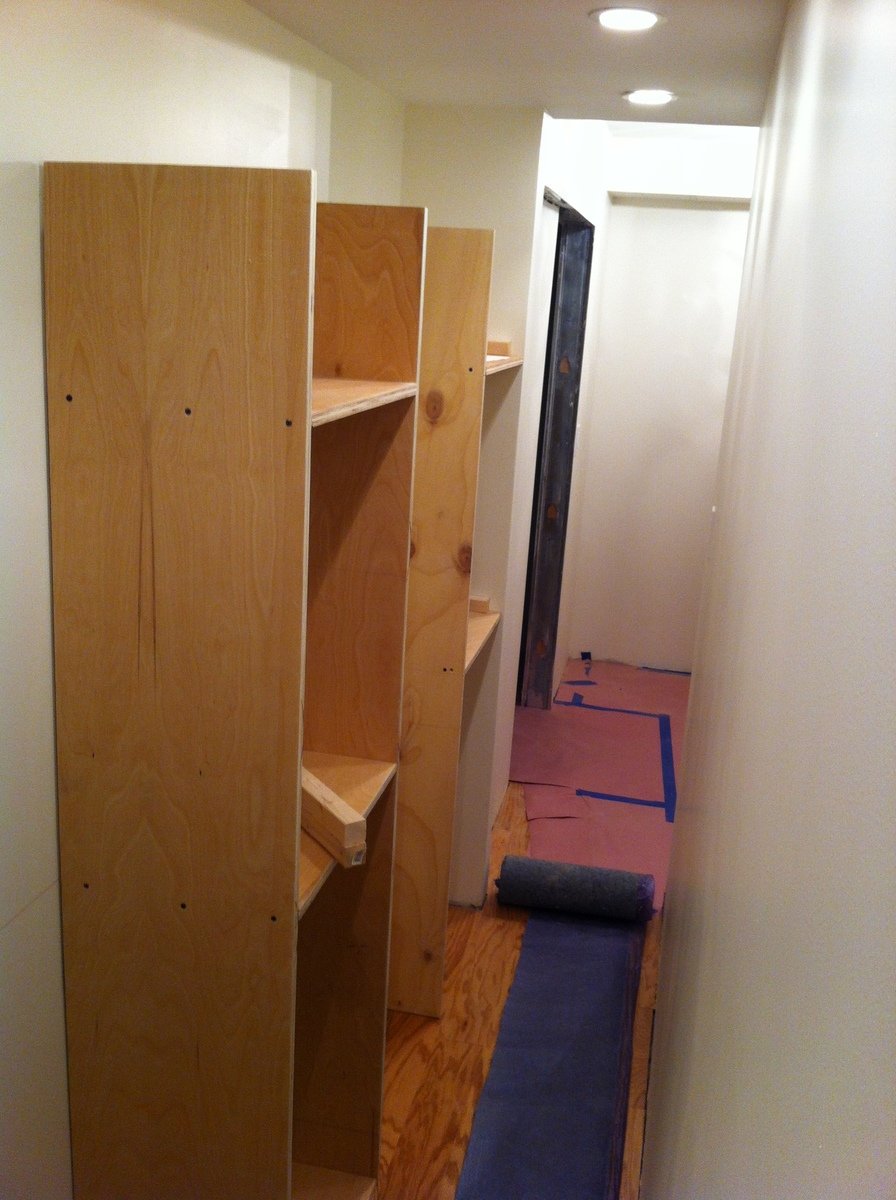
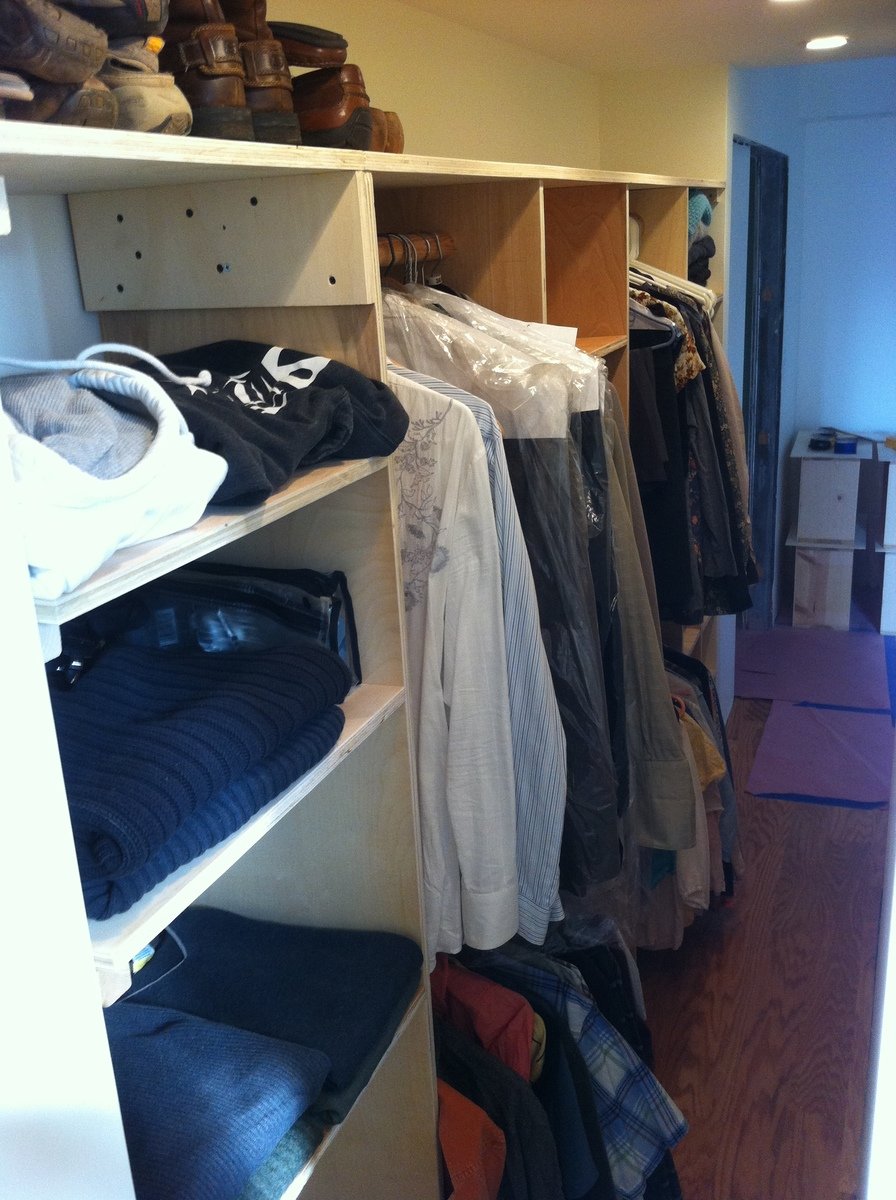
Master Closet System

Followed plans with slight modifications:
1. Made shelves deeper but narrower
2. Used 3/4" Birch Plywood for all
3. Built no base just mounted to floor & wall
4. No drawers just shelving

Built from Plan(s)
Estimated Cost
Under $80
Estimated Time Investment
Afternoon Project (3-6 Hours)
Finish Used
Clear Poly
Recommended Skill Level
Starter Project
Comments

Sat, 01/19/2013 - 04:43
There's stuff in there...
It's nice to see the closet system with actual stuff in it, so you can see how much it really holds. Good job!
Modern Outdoor Sectional & Table

This was my very first project, and it was so easy thanks to Ana's plans. I bought a few tools that I didn't have already - Kreg jig and miter saw - and things went super fast from there. I found cushions at Ikea that fit perfectly, and were cheaper than making them myself. I just hope they last! I used cedar for the sectional and storage table, and stained them a dark brown. I used deck stain as suggested by a Home Depot employee, so that the stain and waterproofing was all in one step. I have received tons of compliments on this set, and people still can't believe we build this ourselves! Thanks, Ana!
...onto the next project...
Built from Plan(s)
Estimated Cost
$275 (not including cushions/pillows)
Estimated Time Investment
Week Long Project (20 Hours or More)
Finish Used
deck stain - dark brown
Recommended Skill Level
Beginner
Comments

Fri, 11/14/2014 - 13:46
Wow! That's amazing! And I
Wow! That's amazing! And I absolutly love the decor! You have an awesome yard too!
Coffee table
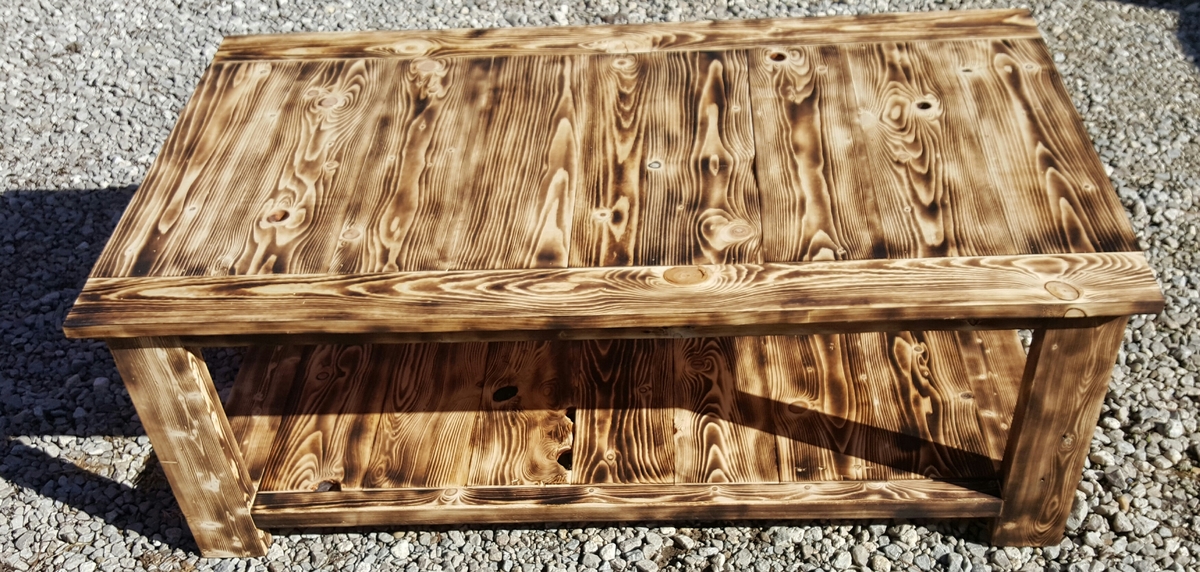
I changed the plans some. I started with a large pallet crate used to transport train windows. So with the used palletwood i had to put the boards in sideways and pockethole screwed them together. With going on the cheap iwent with a 1x4 and 1x6 top so i could use the pallet wood. I ended up torching it with a torch to bring out the grain and it looked good with the rustic look of table.i plain to eventually clear it when ohio weather permits. I only had to buy i 8 foot 1x4 and 1 8 foot 2x2. Have less then 15 dollars
Built from Plan(s)
Estimated Cost
Less then 15
Estimated Time Investment
Weekend Project (10-20 Hours)
Finish Used
Burned with torch eventually clear coat
Recommended Skill Level
Beginner
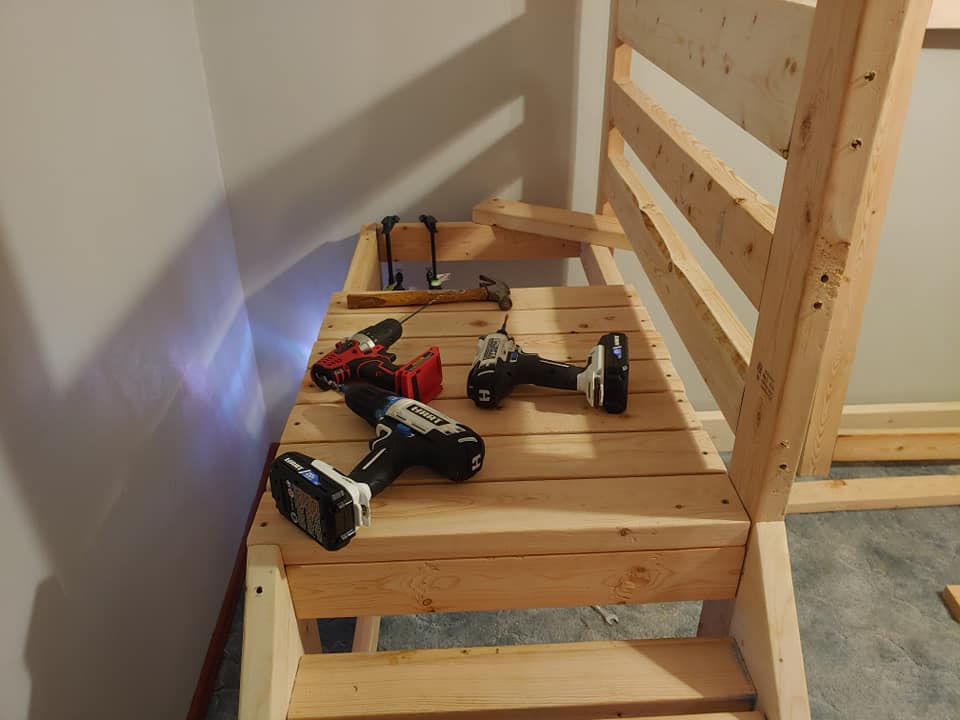
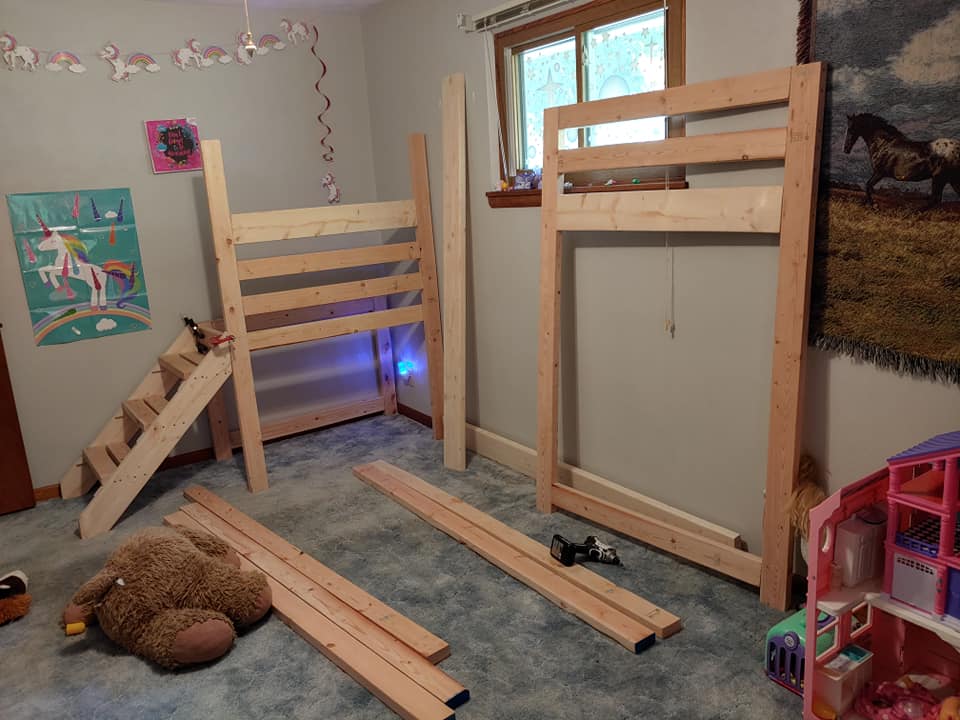
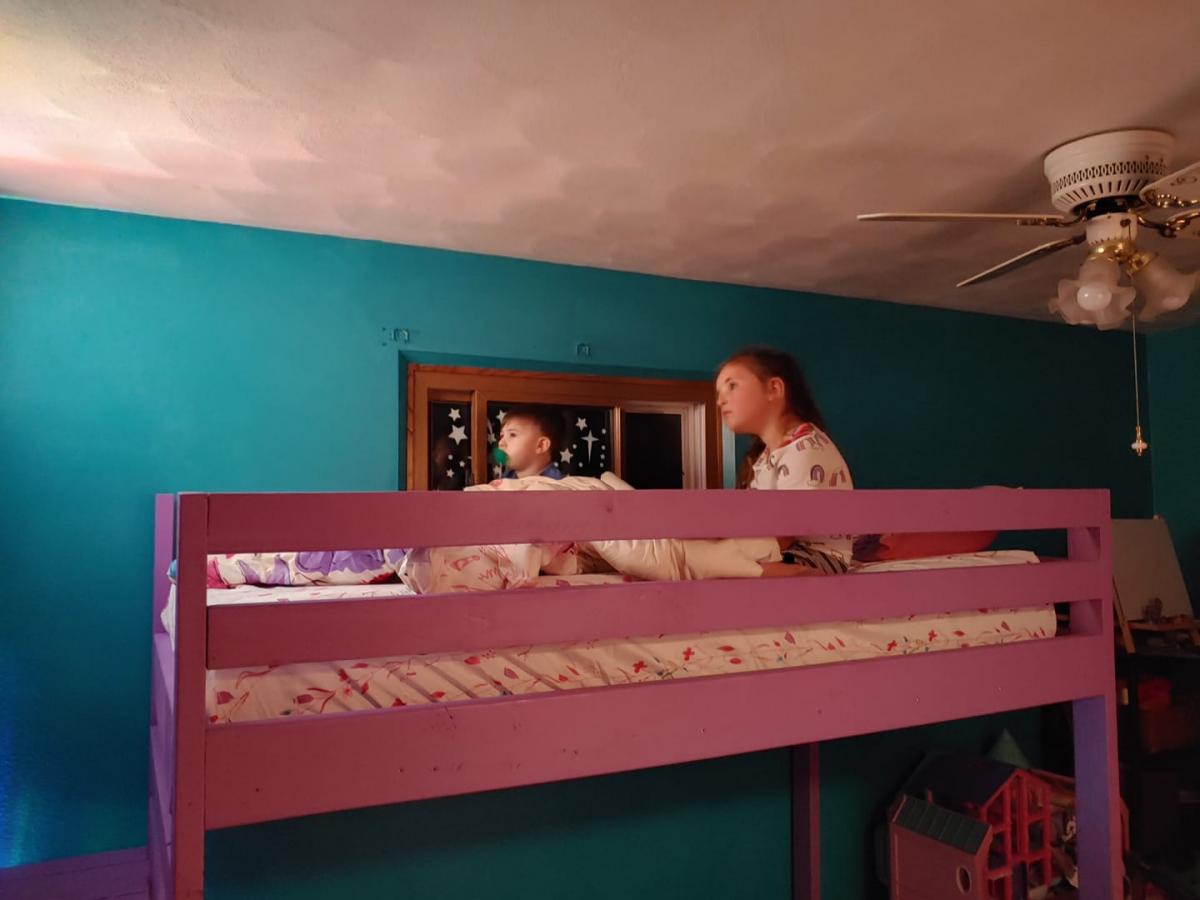
Loft bed with stairs

I started planning this project this spring when we bought and moved into our new house. I knew with the room size a loft bed would make the most of the room. My daughter is scared of heights a little bit so I was worried about using a ladder. I stumbled on this site and these plans and knew this is exactly what I was going to build. Ever since we finished painting it and getting her room done she has been glued to it!
Built from Plan(s)
Comments
Dress-up Tower
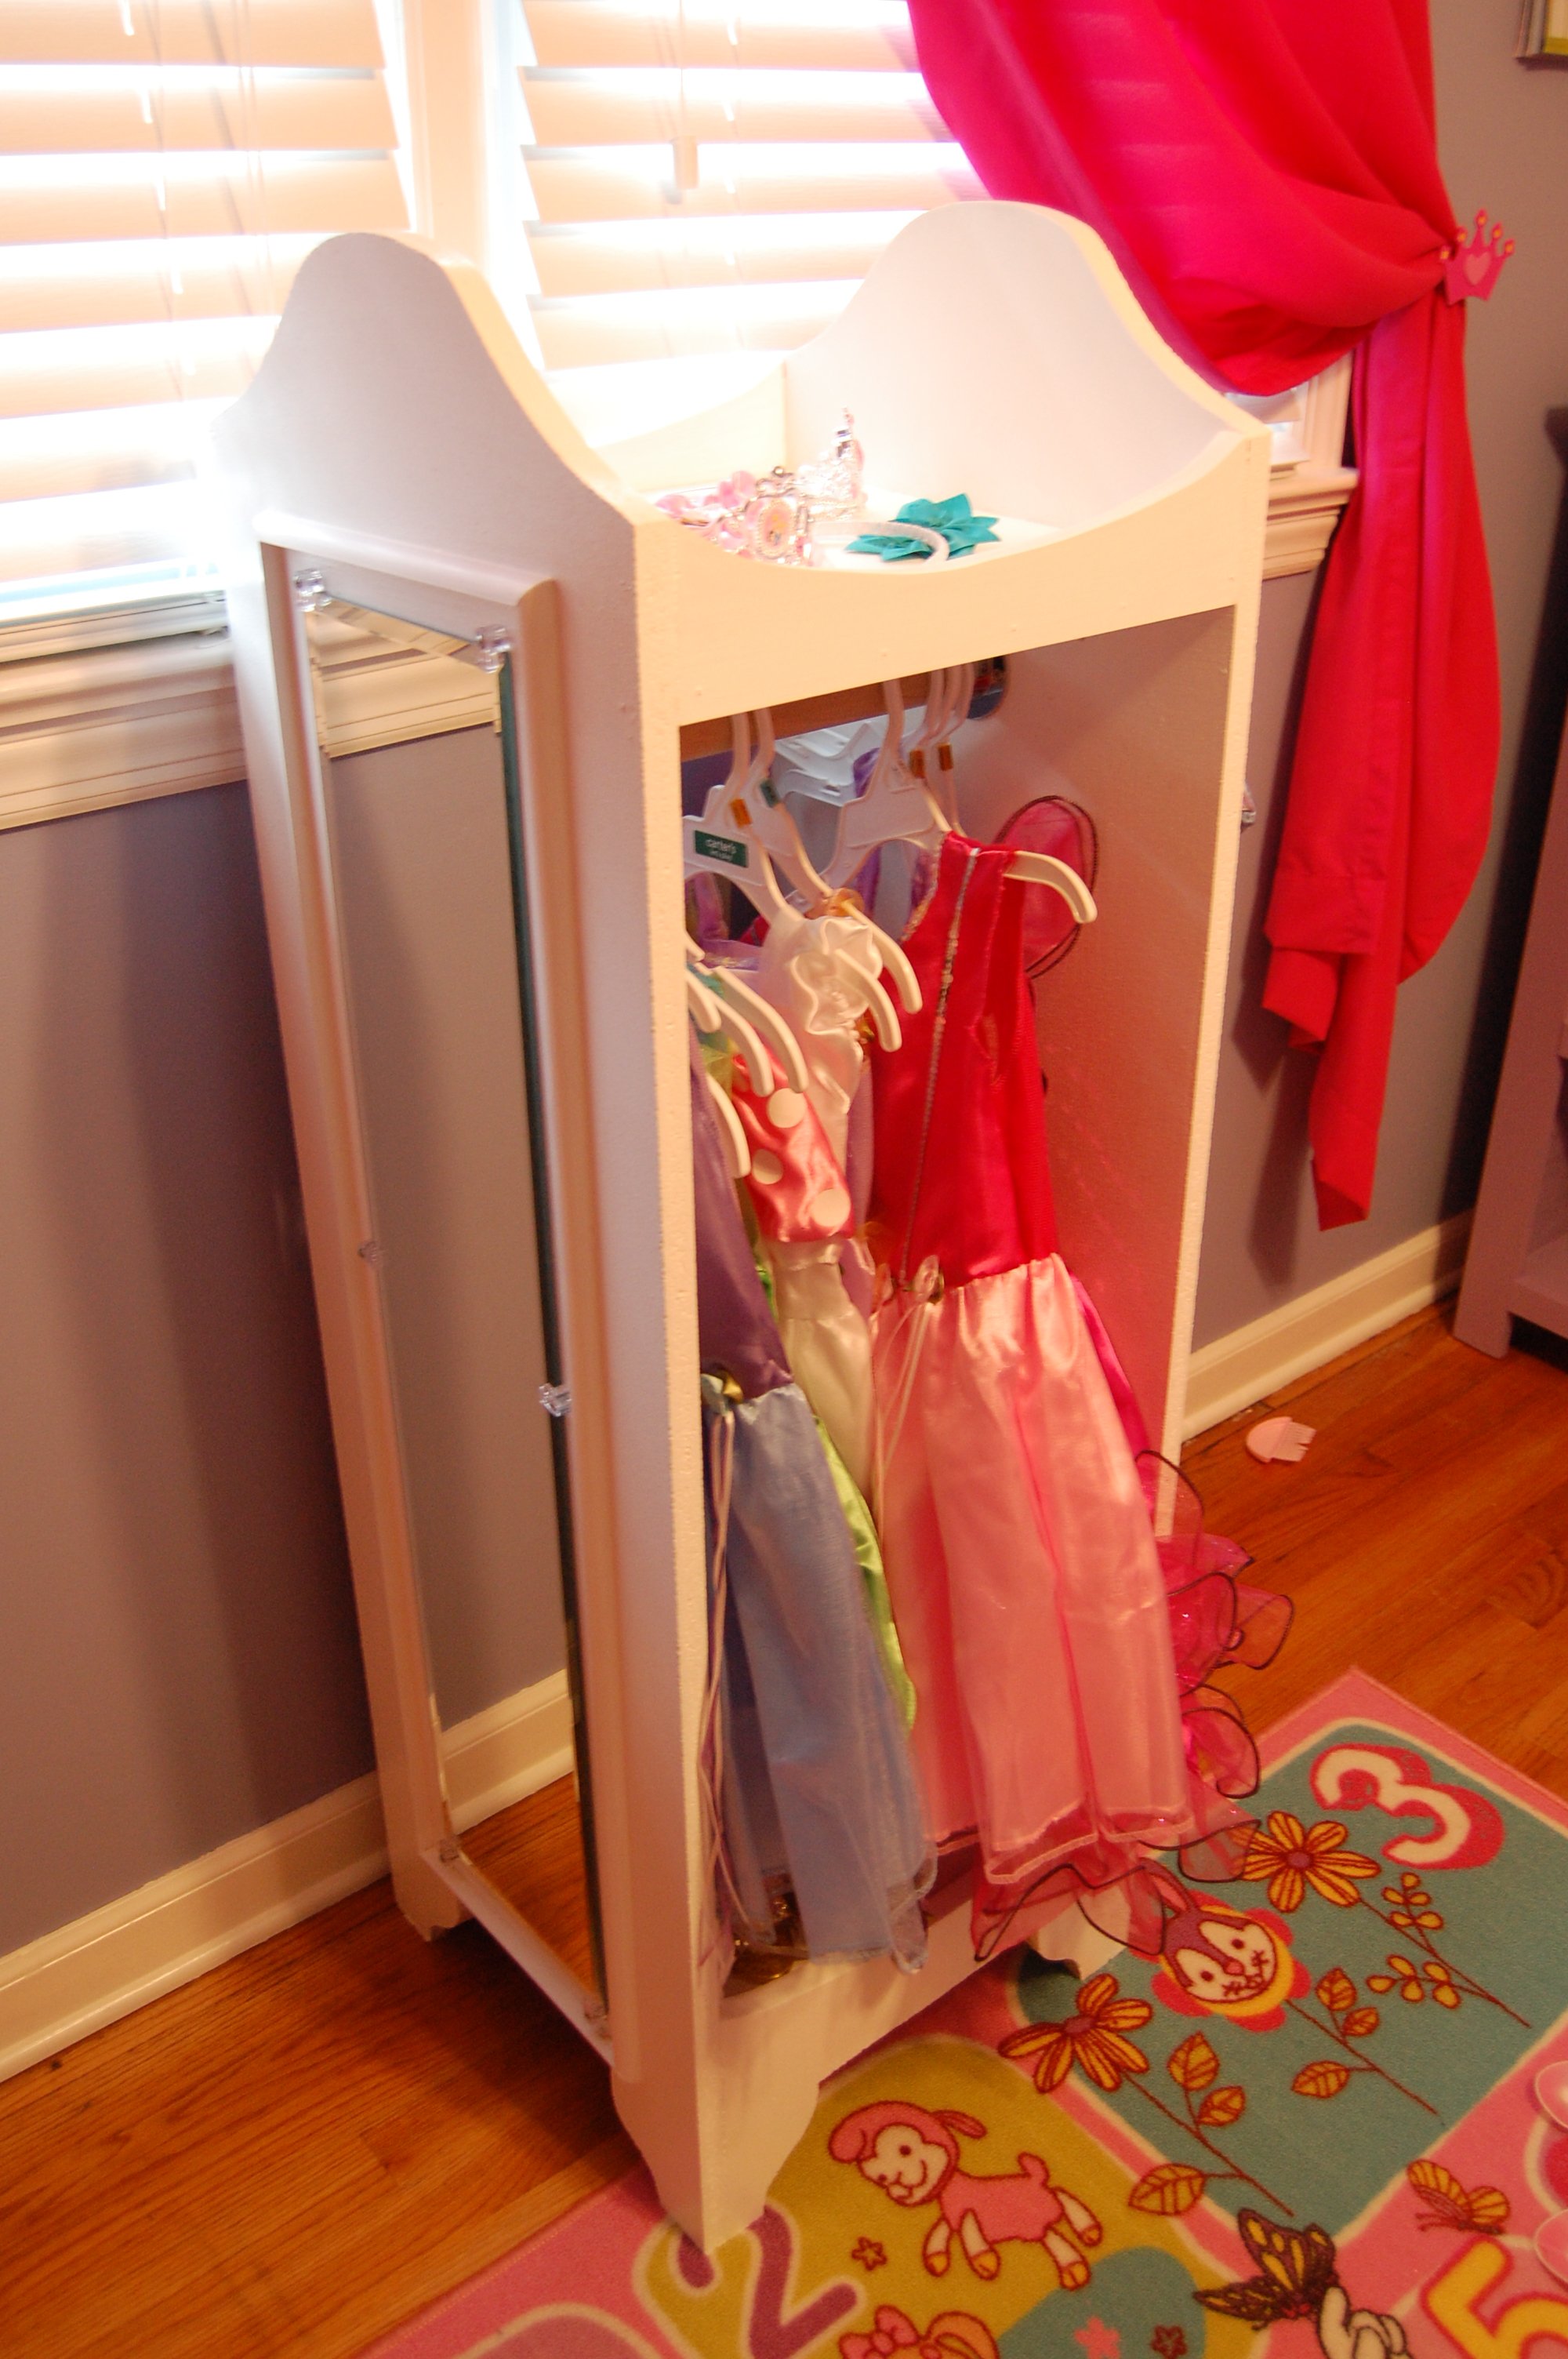
Our daughter has just recently gotten into playing dress up so we were looking for storage for all of her new dresses and accessories. This tower was the perfect solution. We used a mostly MDF and some plywood we had left over from other projects to help keep the cost down. We added a mirror to one side and 3 hooks to the other side. Very pleased with the result!

Built from Plan(s)
Estimated Cost
$40
Estimated Time Investment
Afternoon Project (3-6 Hours)
Finish Used
Basic white interior paint
Recommended Skill Level
Beginner
Garage Storage
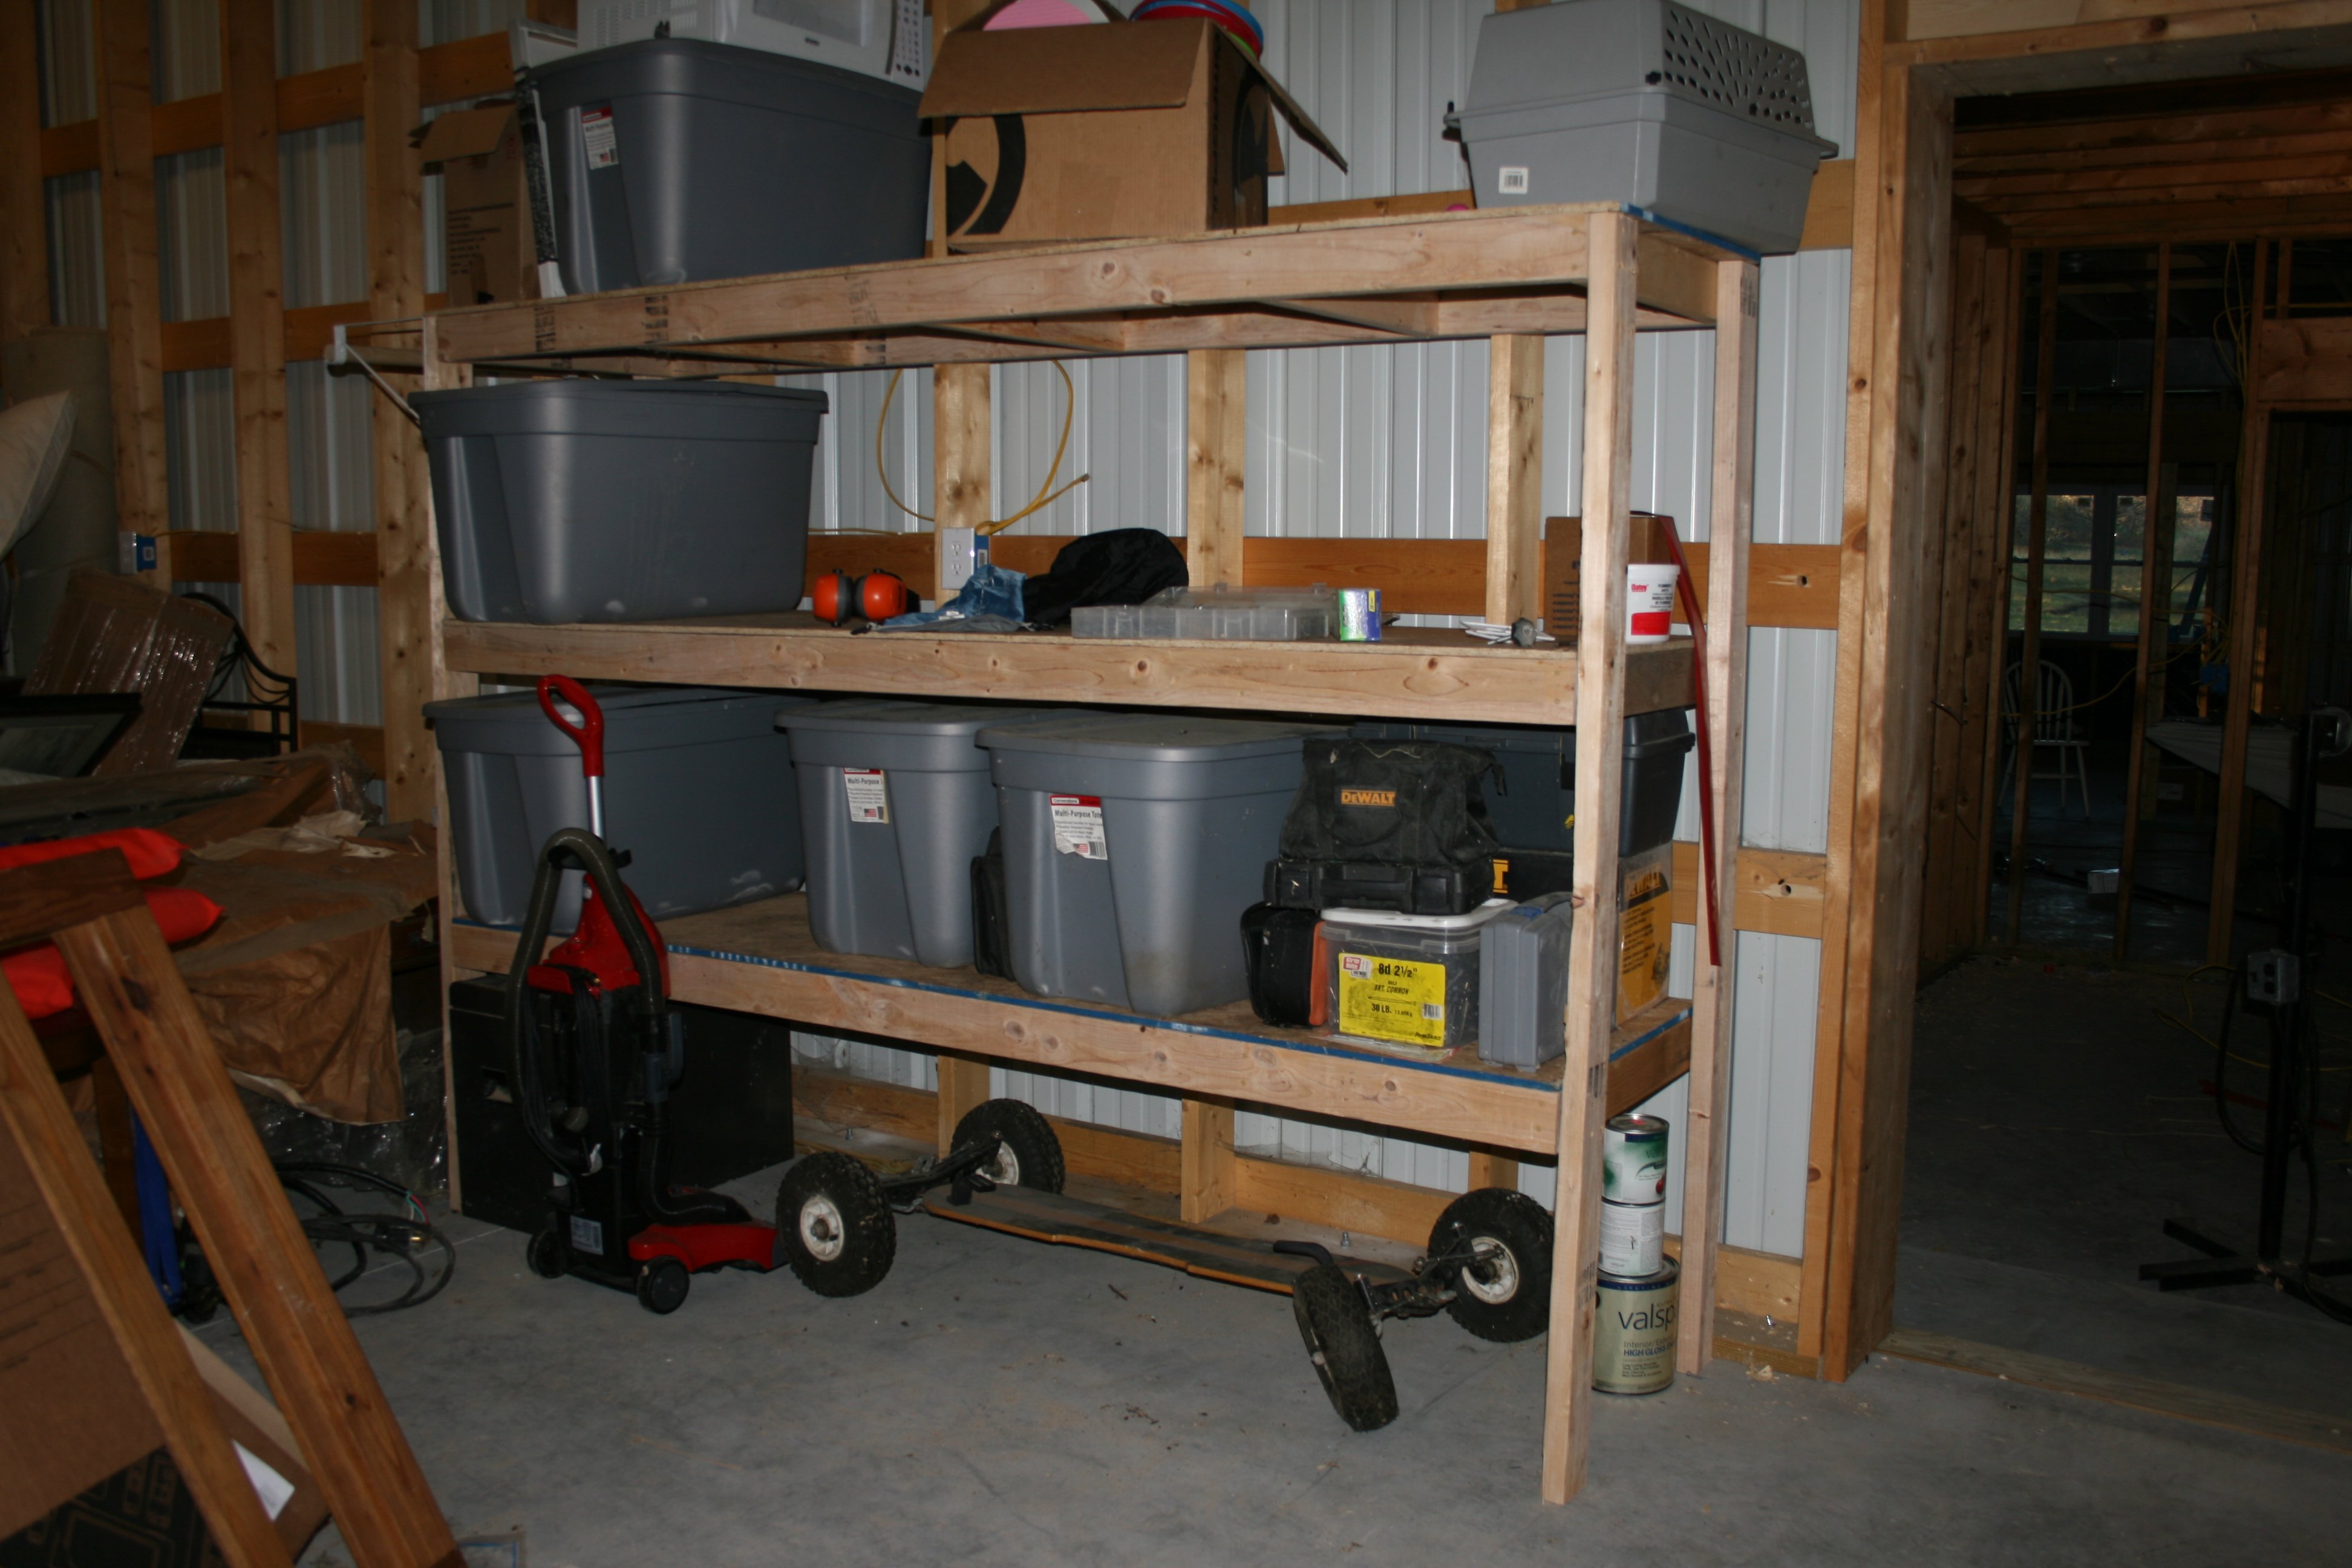
I improvised on this a bit. I envisioned being able to put small items on the shelves at some point so I made it with solid shelves instead of all 2x4's. Except the stuff I bought for the shelves was so flimsy I had to add the support pieces. Ahh, well. I'm learning. And with the three support pieces (2x4's cut to size) running widthwise, it turned out to be a solid shelf. LOVE this site!! Thank you again, Ana! Next project is a bathroom vanity.
Built from Plan(s)
Estimated Time Investment
Afternoon Project (3-6 Hours)
Recommended Skill Level
Starter Project
Comments
Minnie Mouse Chair
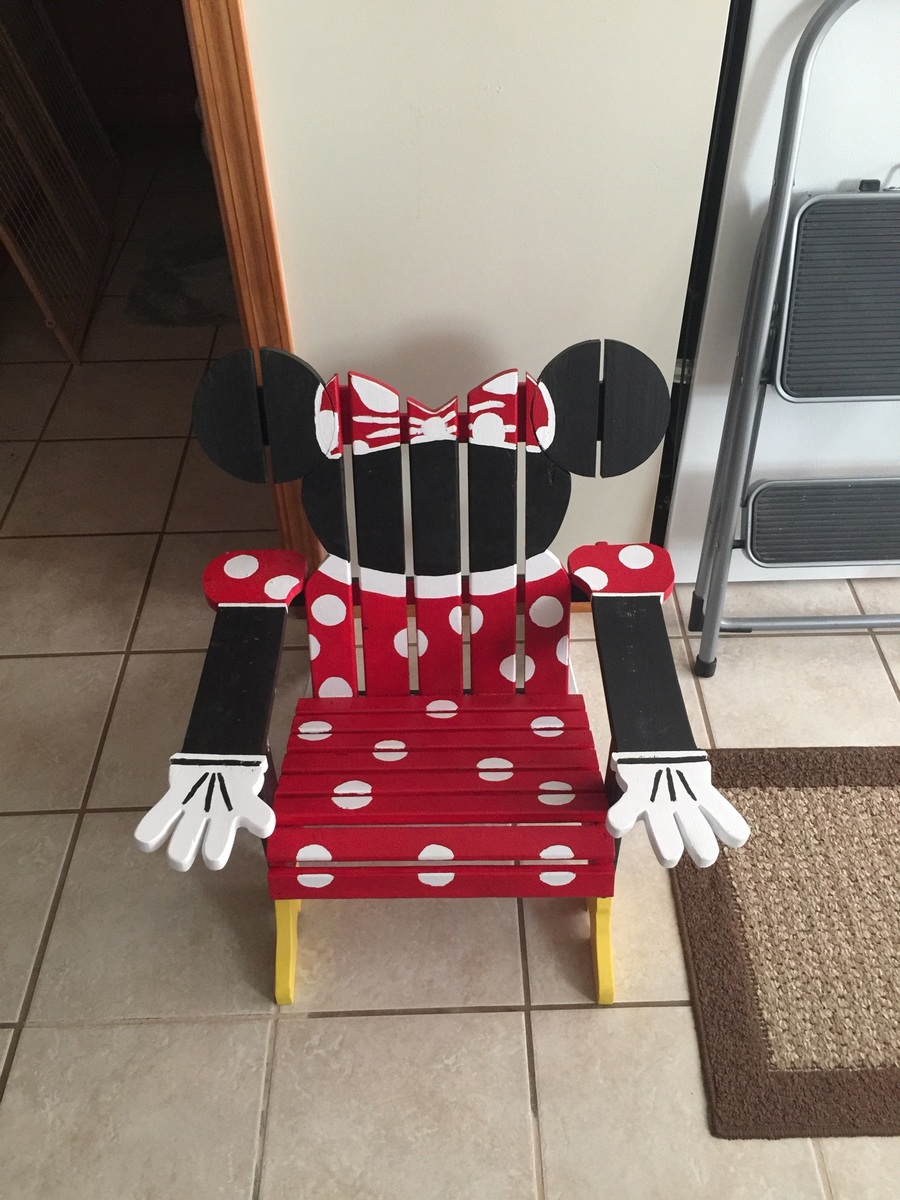
Made based on a picture i was shown,and used the kids andarondac plans on this site
Estimated Cost
12 dollars
Estimated Time Investment
Day Project (6-9 Hours)
Finish Used
Paint, they painting was difficult for me as I am no artist.. I had a picture of a minnie mouse chair and did the trial and error method
Recommended Skill Level
Beginner
Comments
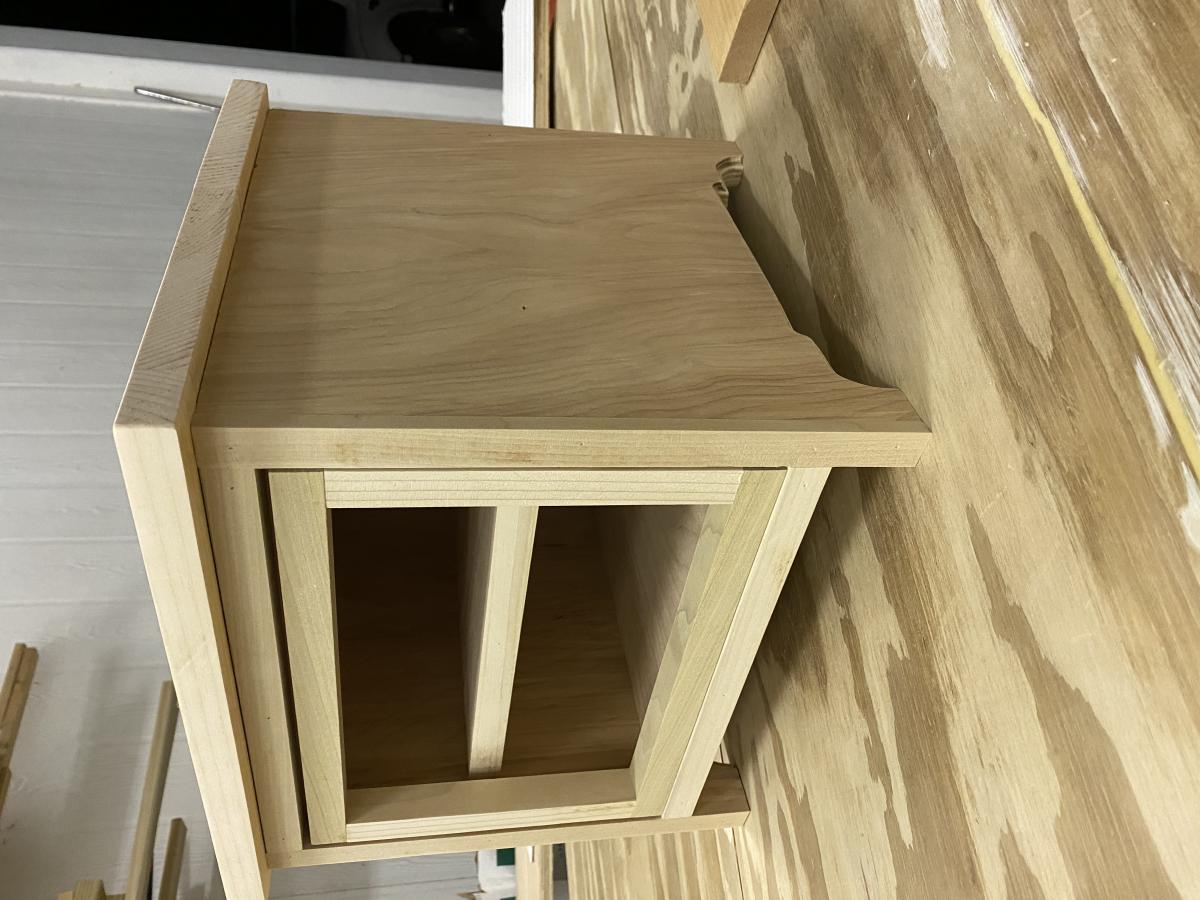
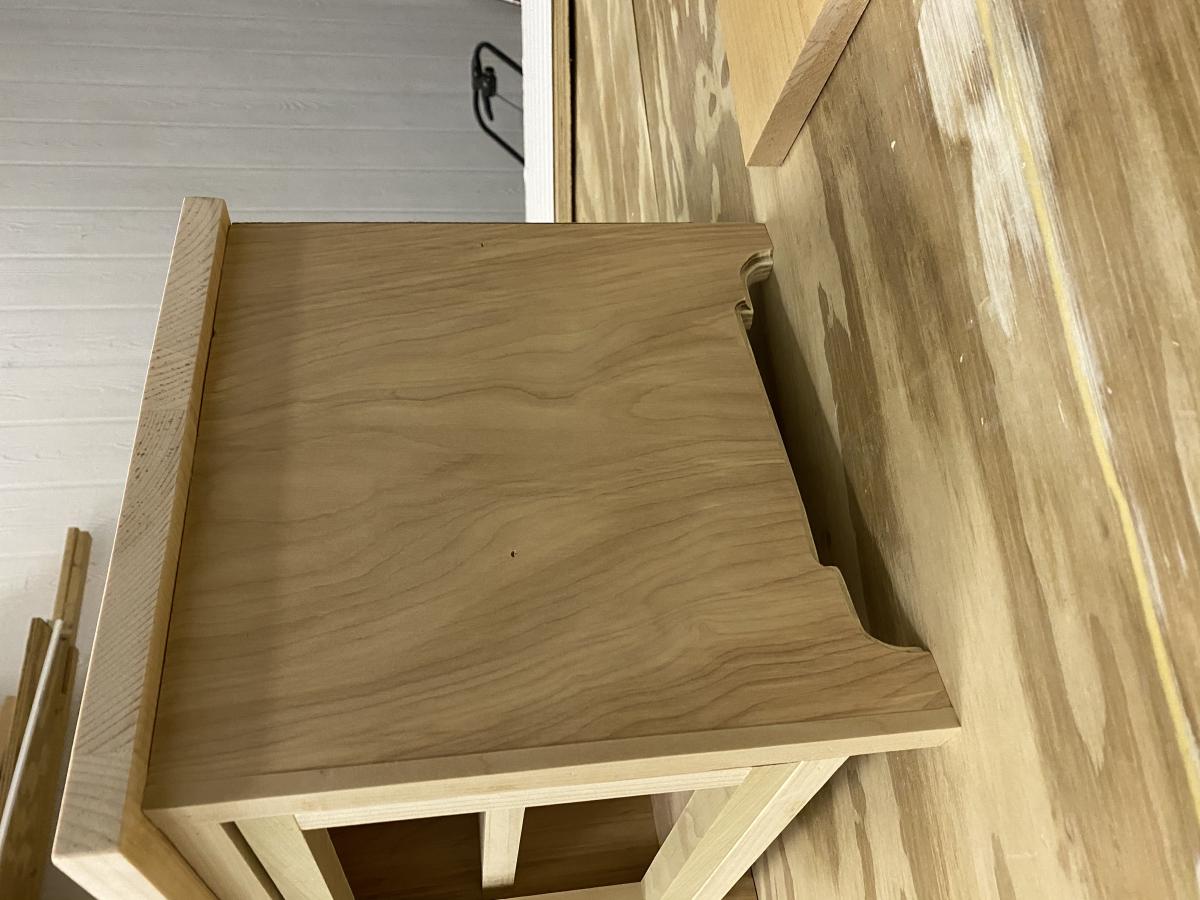
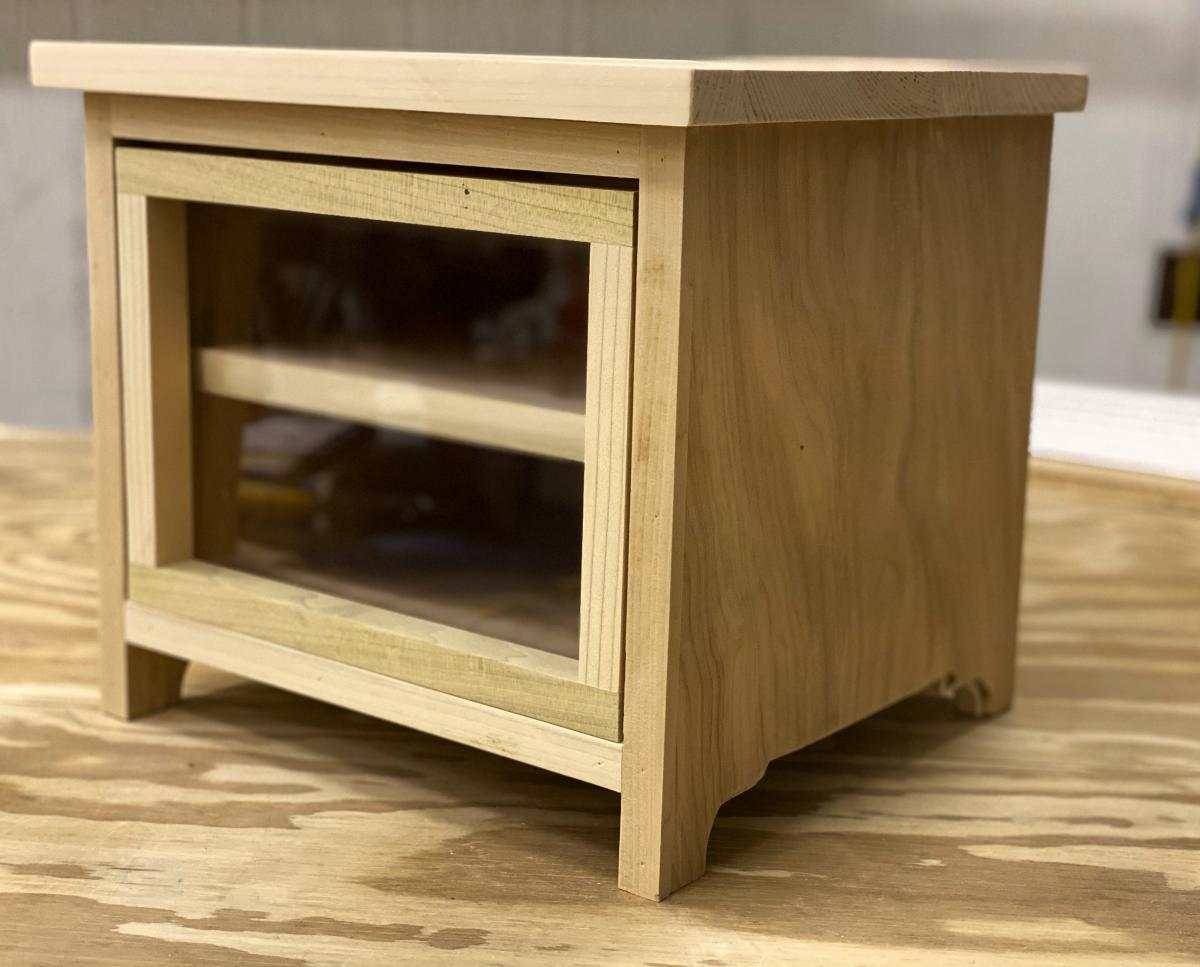
Christmas pie safe
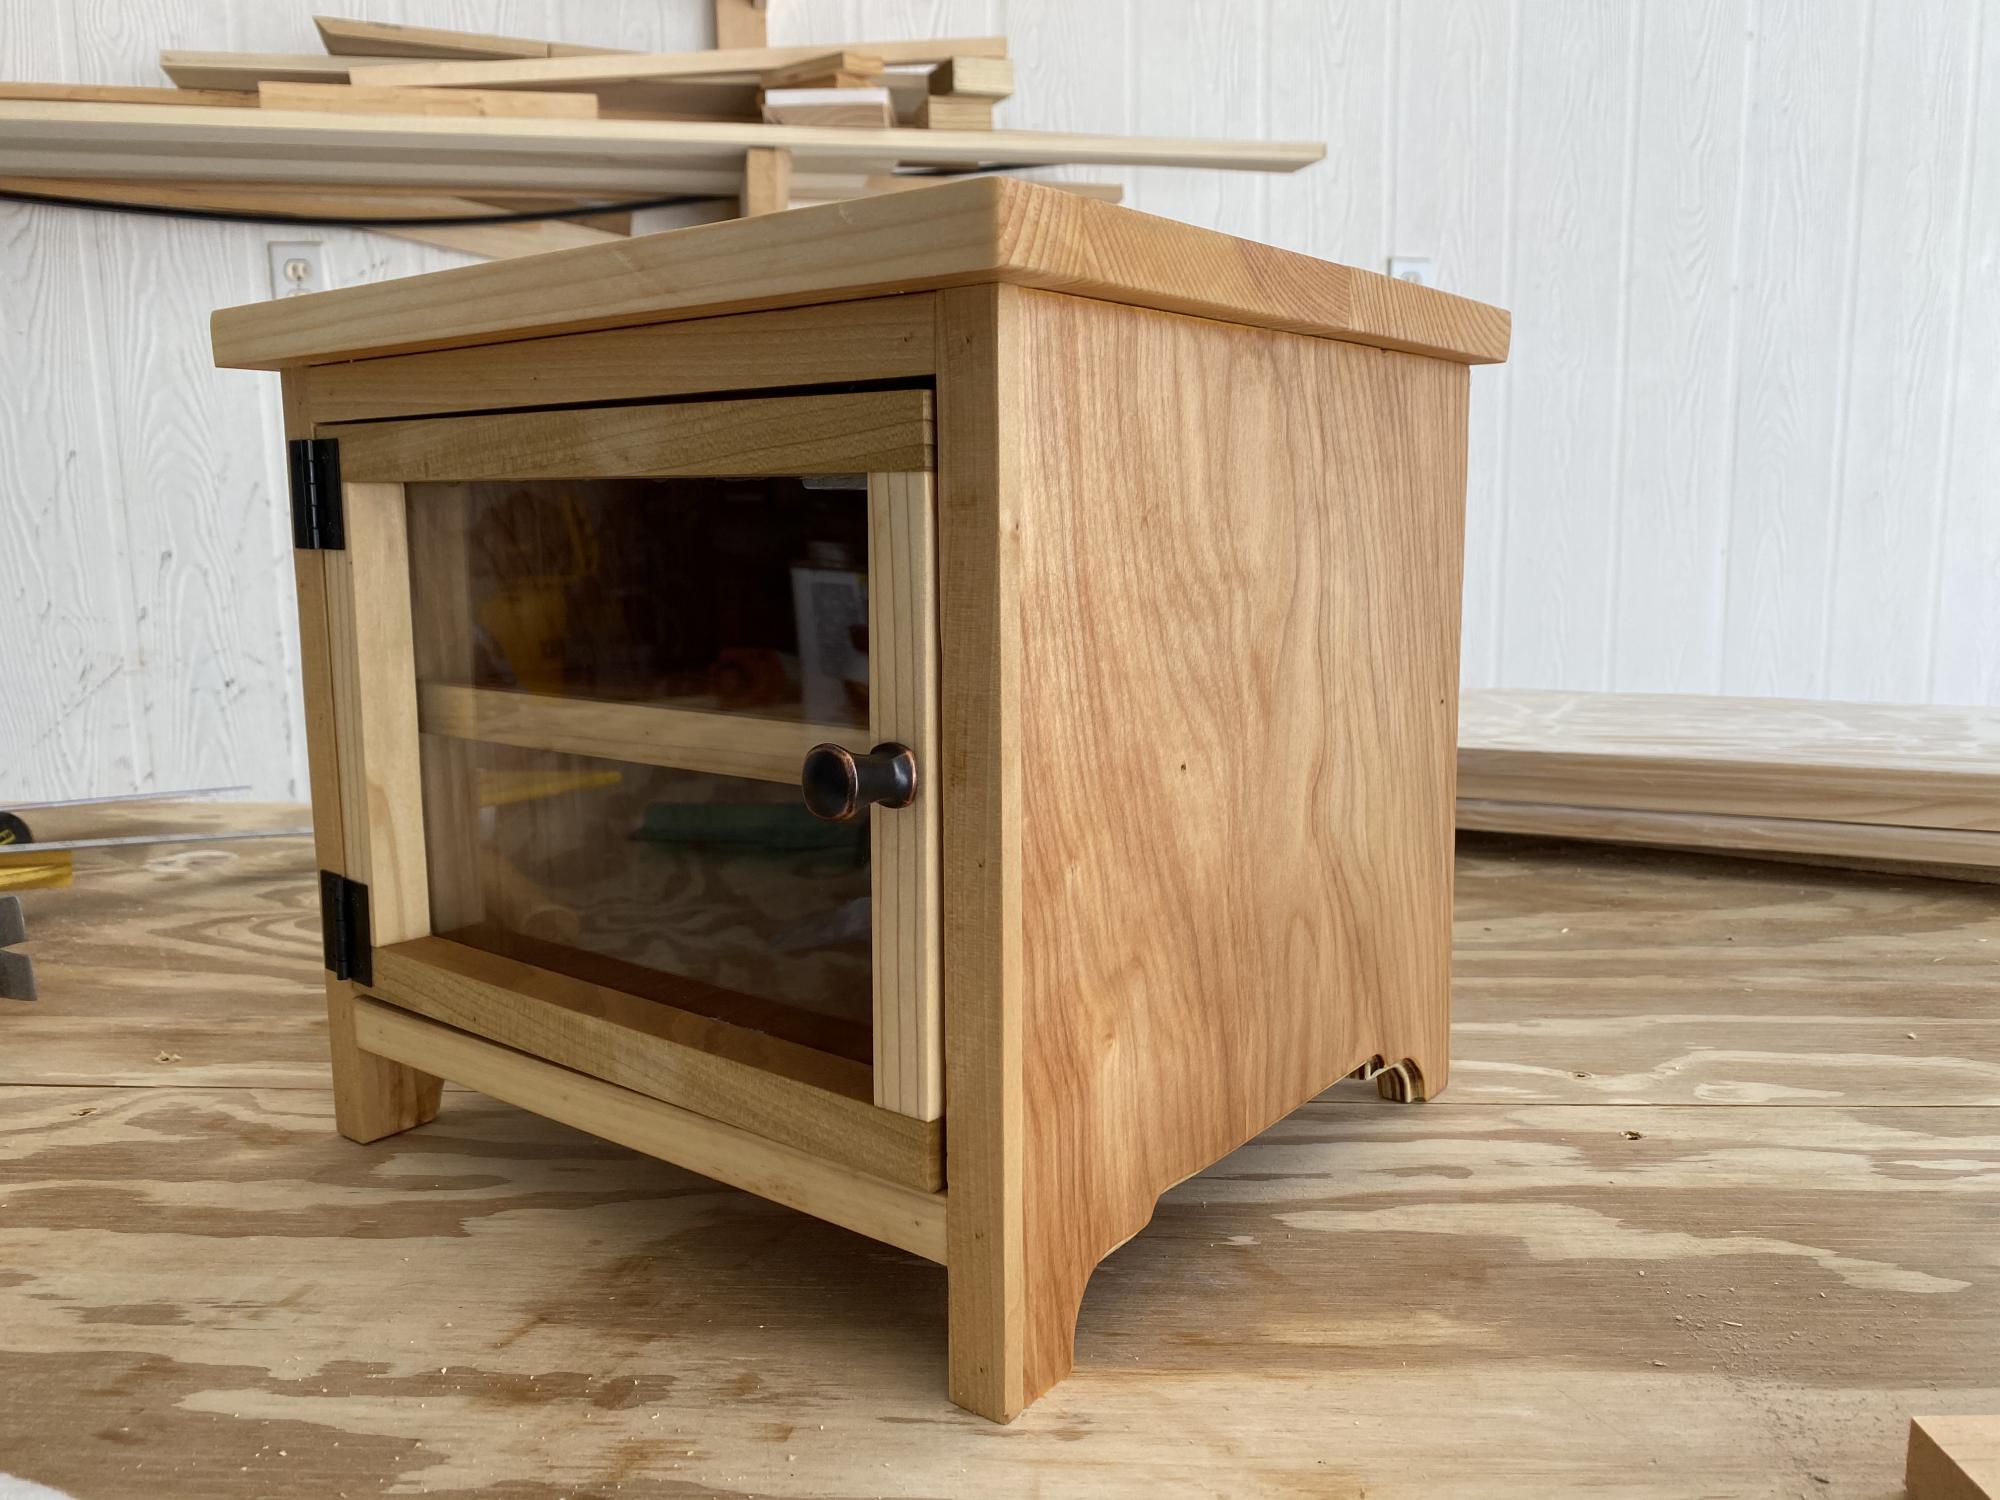
I found the knob on clearance for 59 cents at Lowe’s and the hinges were under $3. The rest was just pretty plywood and some thin poplar instead of edge banding with a boiled linseed oil finish.

Built from Plan(s)
Estimated Cost
Under $5
Estimated Time Investment
An Hour or Two (0-2 Hours)
Finish Used
Boiled linseed oil
Recommended Skill Level
Intermediate
Comments
Seasonal And Holiday
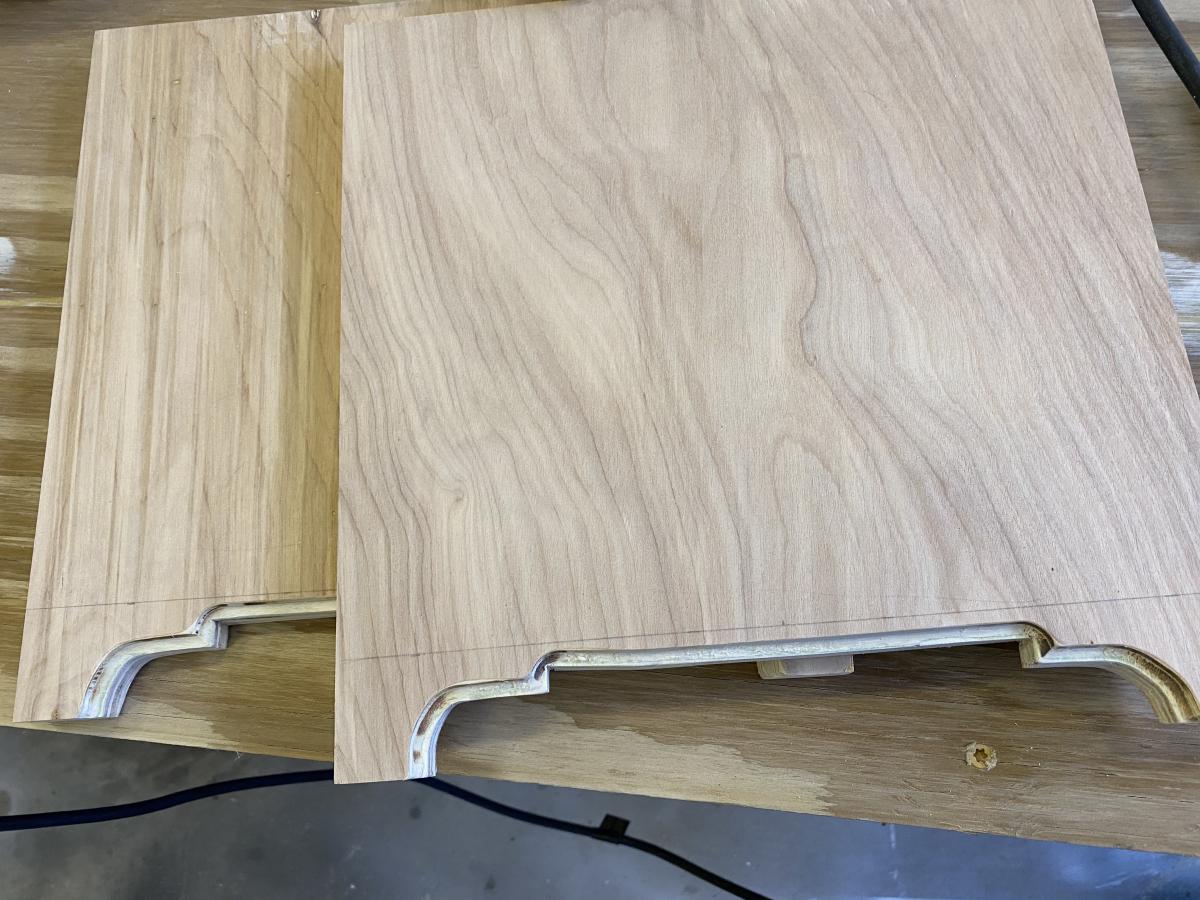
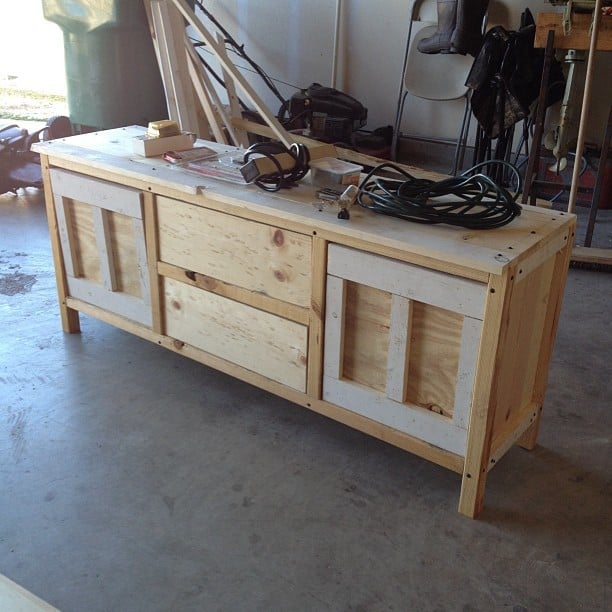
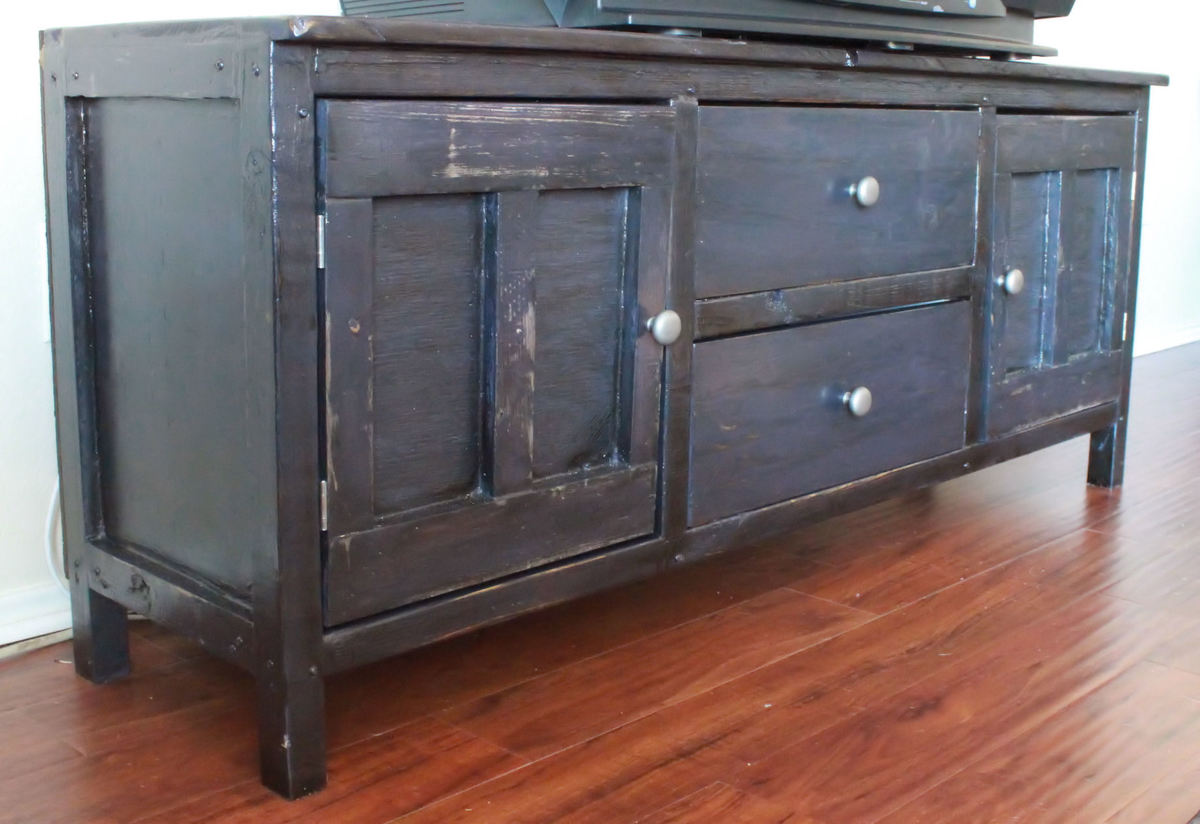
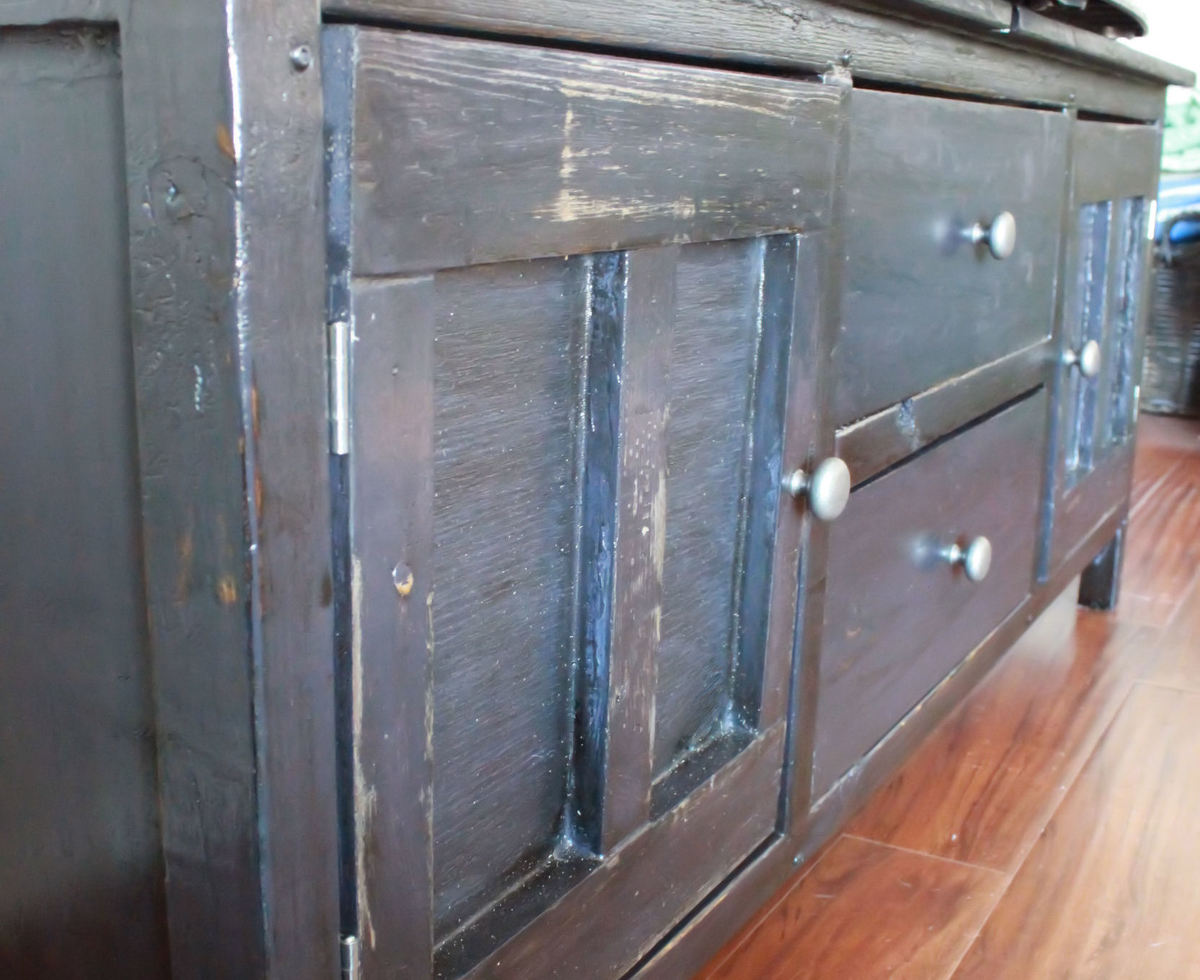
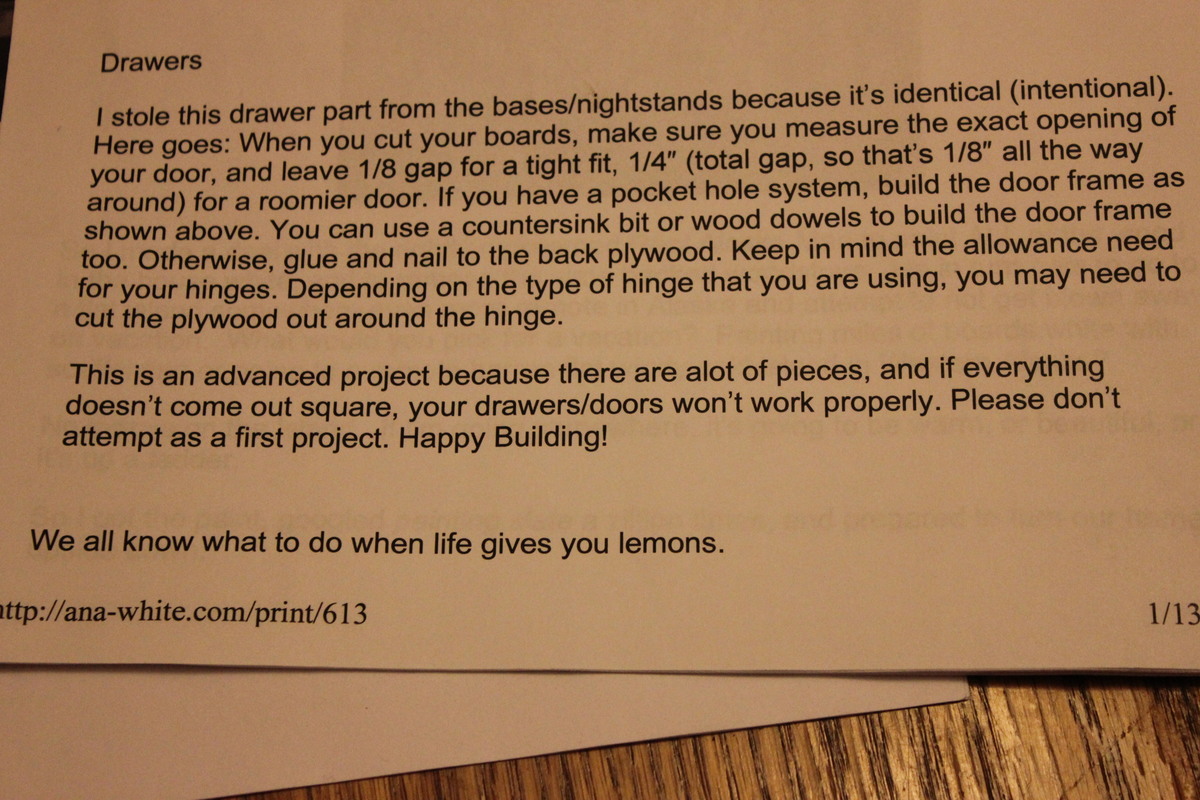
Media Console
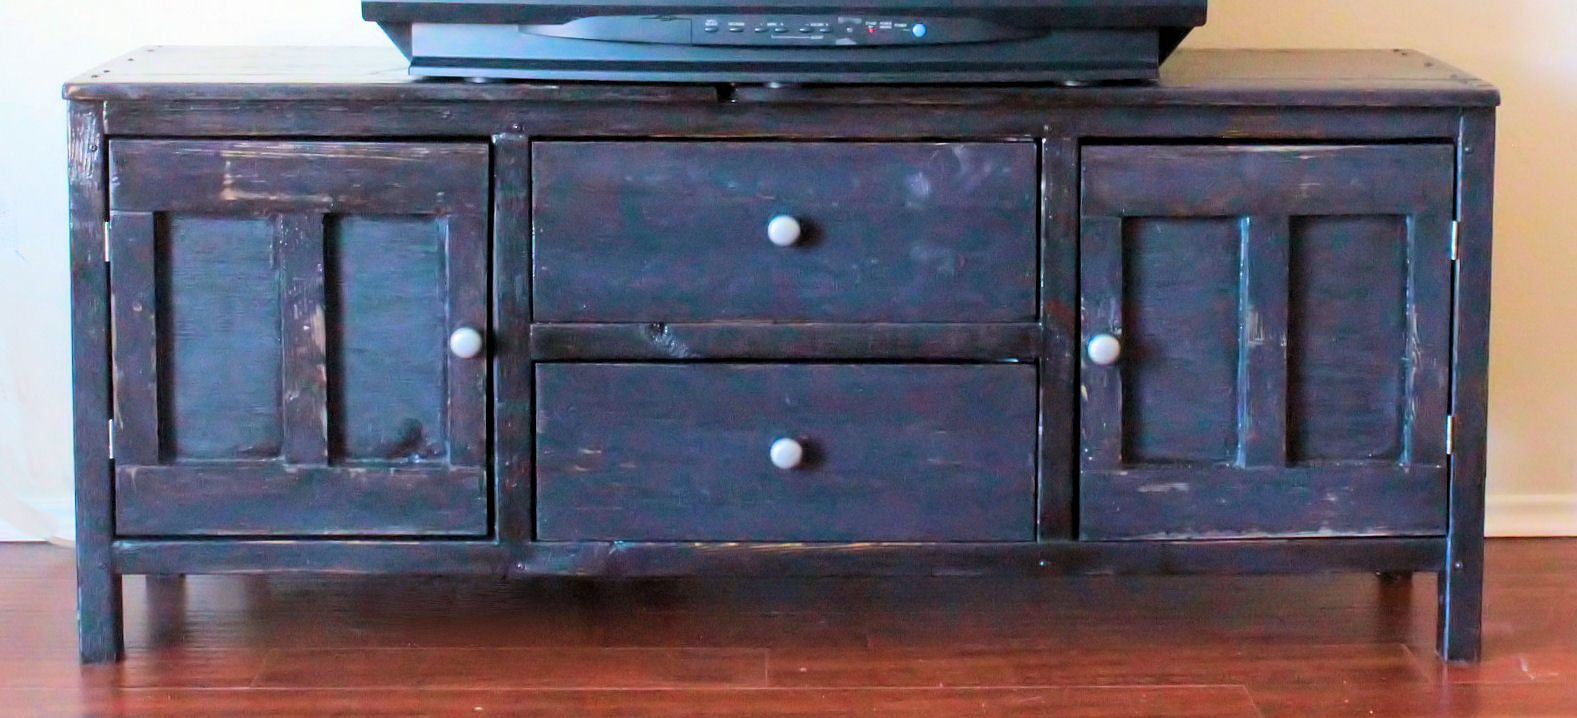
This is the first project my husband and I have made. Funny enough, it was suggested in the directions to not do this as a first project. We had already gotten the materials and our minds were already made up on building this media console. We just took it one board and one nail at a time. Sometimes we would take one step forward only to turn around and take two steps backwards. We learned A LOT on this project. Needless to say, we loved working together and building our own furniture... We will be building more for sure!
Built from Plan(s)
Estimated Cost
$50
Estimated Time Investment
Weekend Project (10-20 Hours)
Finish Used
I had some navy blue paint I found at the "miss tint" section at Lowe's for only $1.80! I decided to paint this color on 1st. After painting, I skimmed over the wood, with my sander, in spots to give it the rugged look I wanted. Then, I painted Minwax's "dark walnut" stain over the entire piece. Afterwards, using an old rag, I wiped it all off. The next day, I went back and brushed glossy polyurethane on to seal it.
Recommended Skill Level
Advanced
Comments

Husky Farmhouse Table
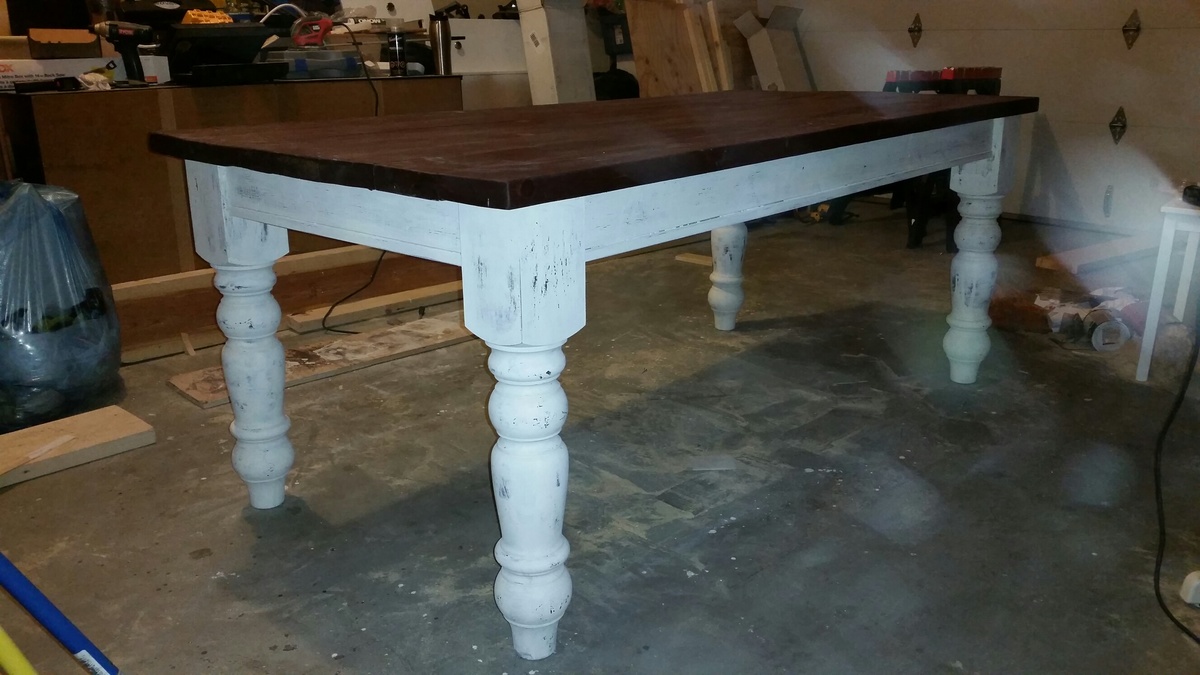
This was such a great project and not too complicated for my first large one. I loved using the milk paint to create the old world distressed charm.
Built from Plan(s)
Estimated Time Investment
Afternoon Project (3-6 Hours)
Recommended Skill Level
Beginner
Comments
Grandy Sliding Door Console
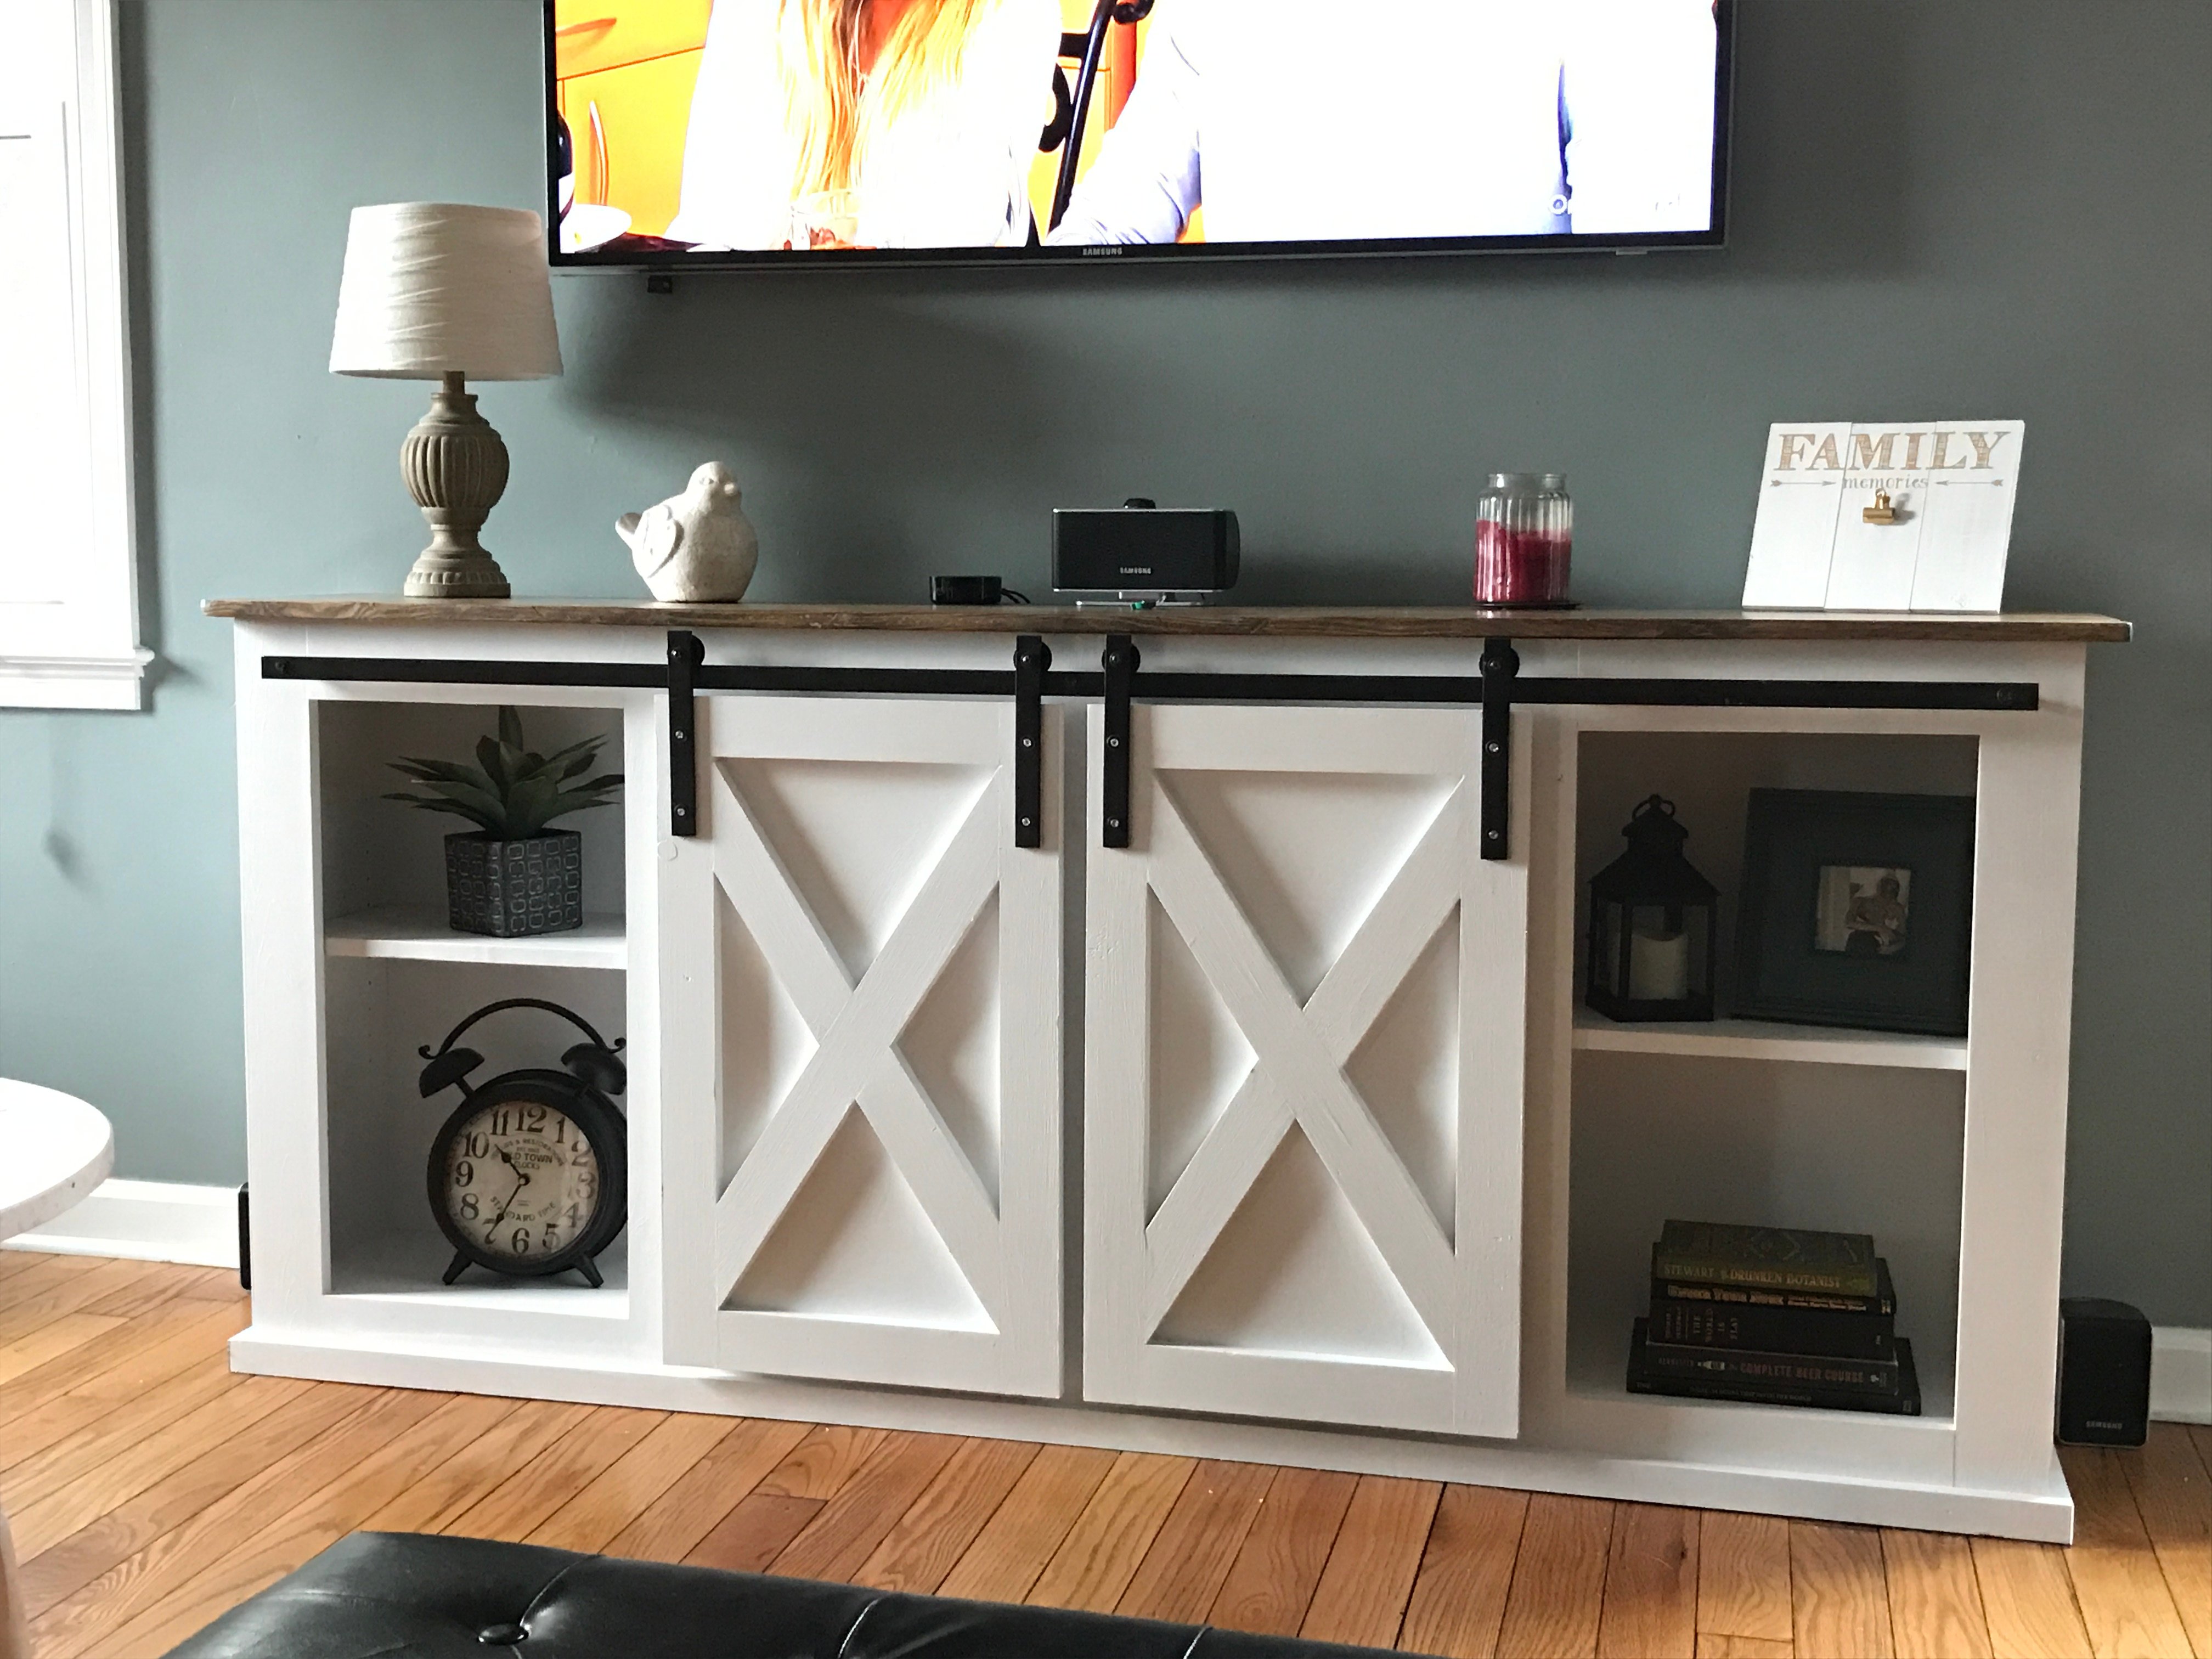
I built this 7 months pregnant and couldn't be happier with it. The plans were excellent and easy to follow. I was intimidated by the hard ware at first but that was also very simple. Overall very happy with this project build.
Built from Plan(s)
Estimated Cost
150
Estimated Time Investment
Week Long Project (20 Hours or More)
Finish Used
Stained top Special Walnut
Recommended Skill Level
Beginner
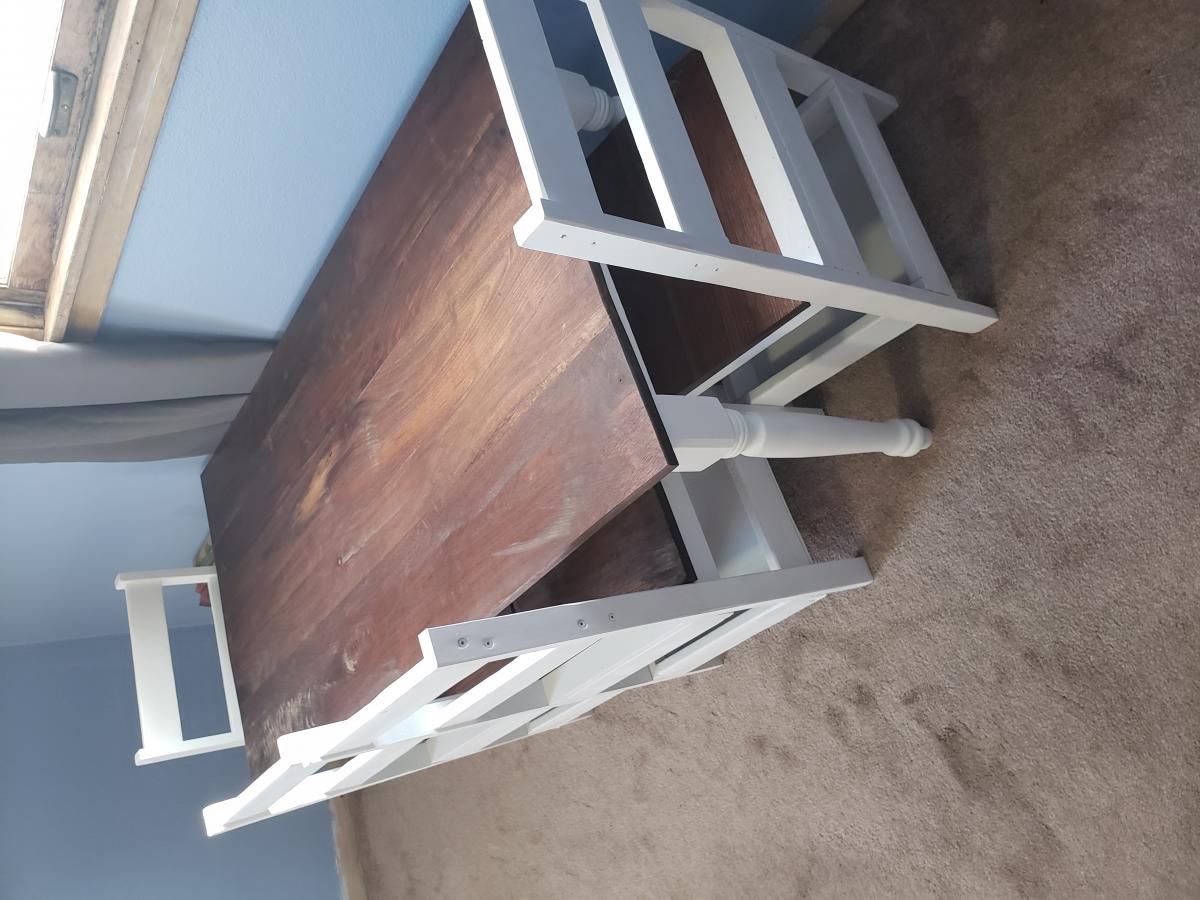
Farmhouse play table
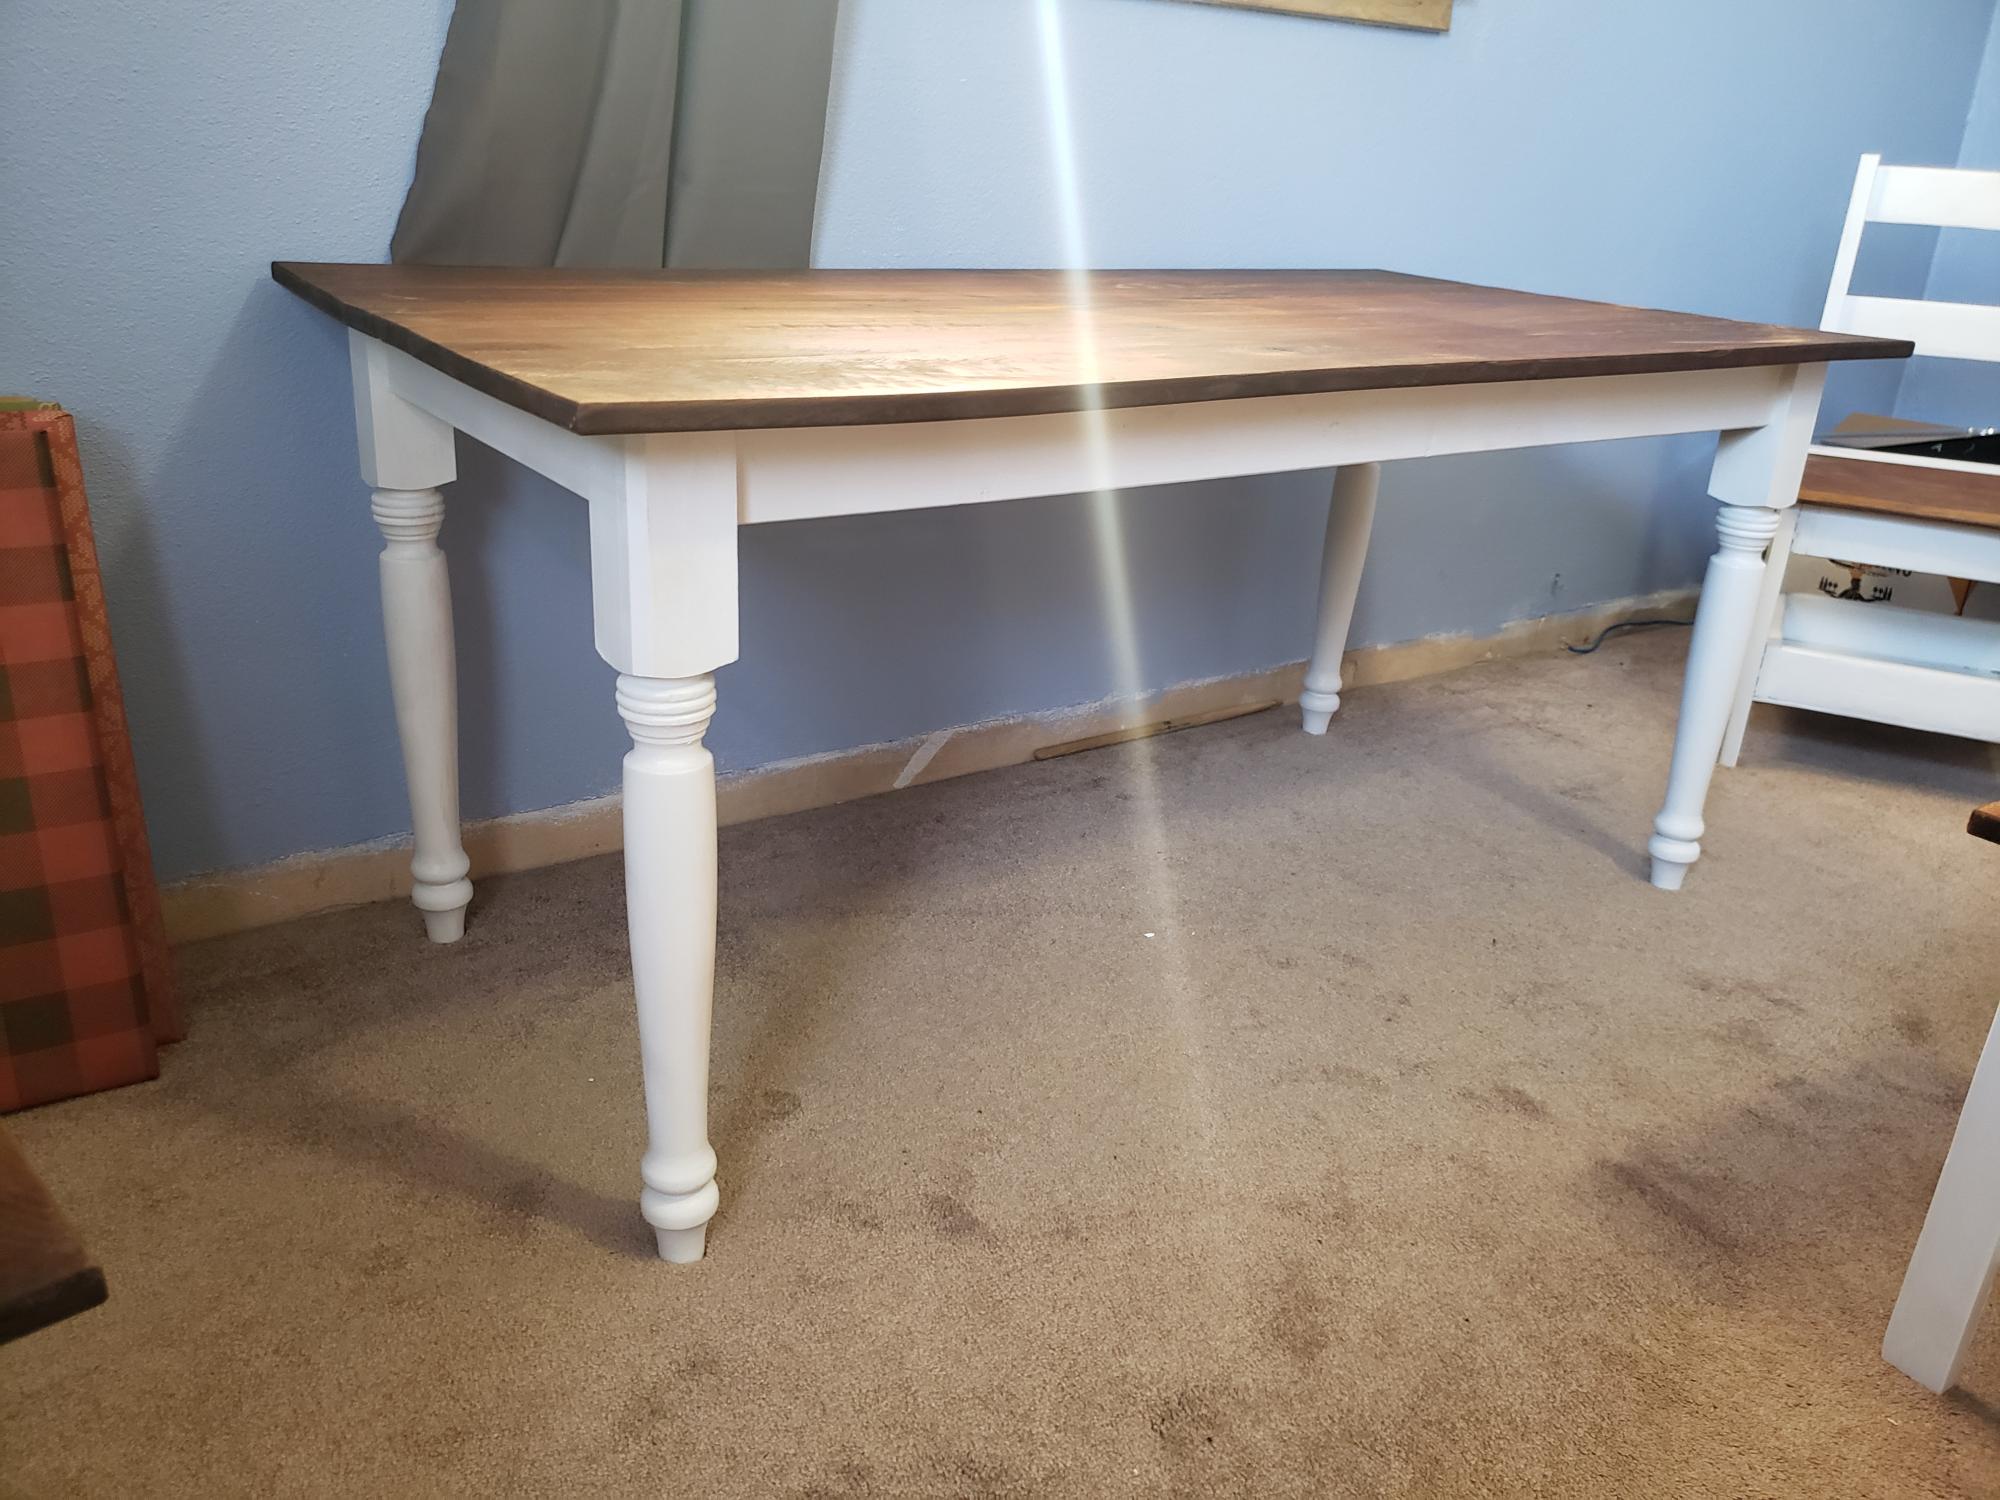
Made per the plans but I made walnut tabletop for it
Built from Plan(s)
Comments
Ana White Admin
Tue, 11/10/2020 - 09:47
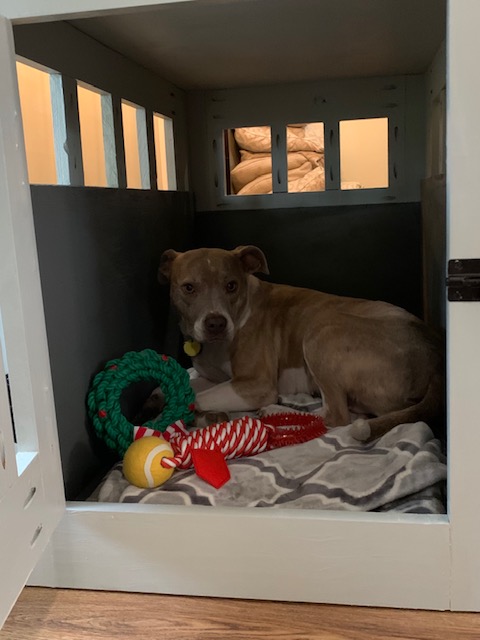
Cute little pup!
Great project! It looks like a success, thanks for sharing:)