This is the first project my husband and I tackled since we were in middle school, (when you built things like clocks and puzzles). We had virtually no tools, a limited workspace, and a compact car to transport lumber in. Believe me when I say - if we can do this, anyone can!!!!
We bought a circular saw and sander, and had a power drill on hand. We were working on a very tight budget, so we bought a Kreg Jig mini instead of a full sized jig. I also borrowed a few hand clamps from our parents. I thought the Kreg Jig mini would be a MASSIVE pain, but it actually worked really well (as long as you have hand clamps).
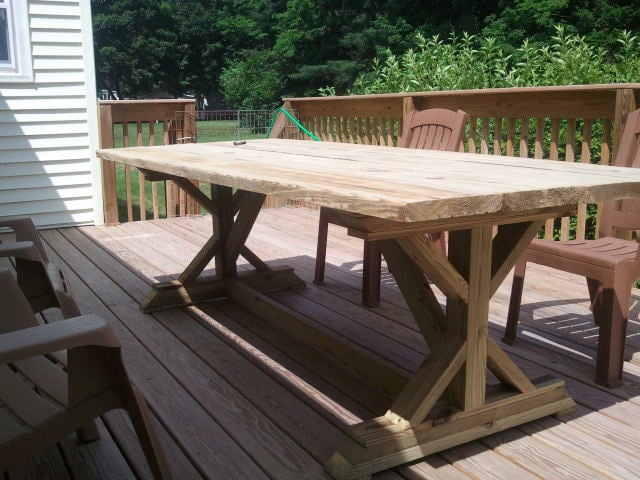
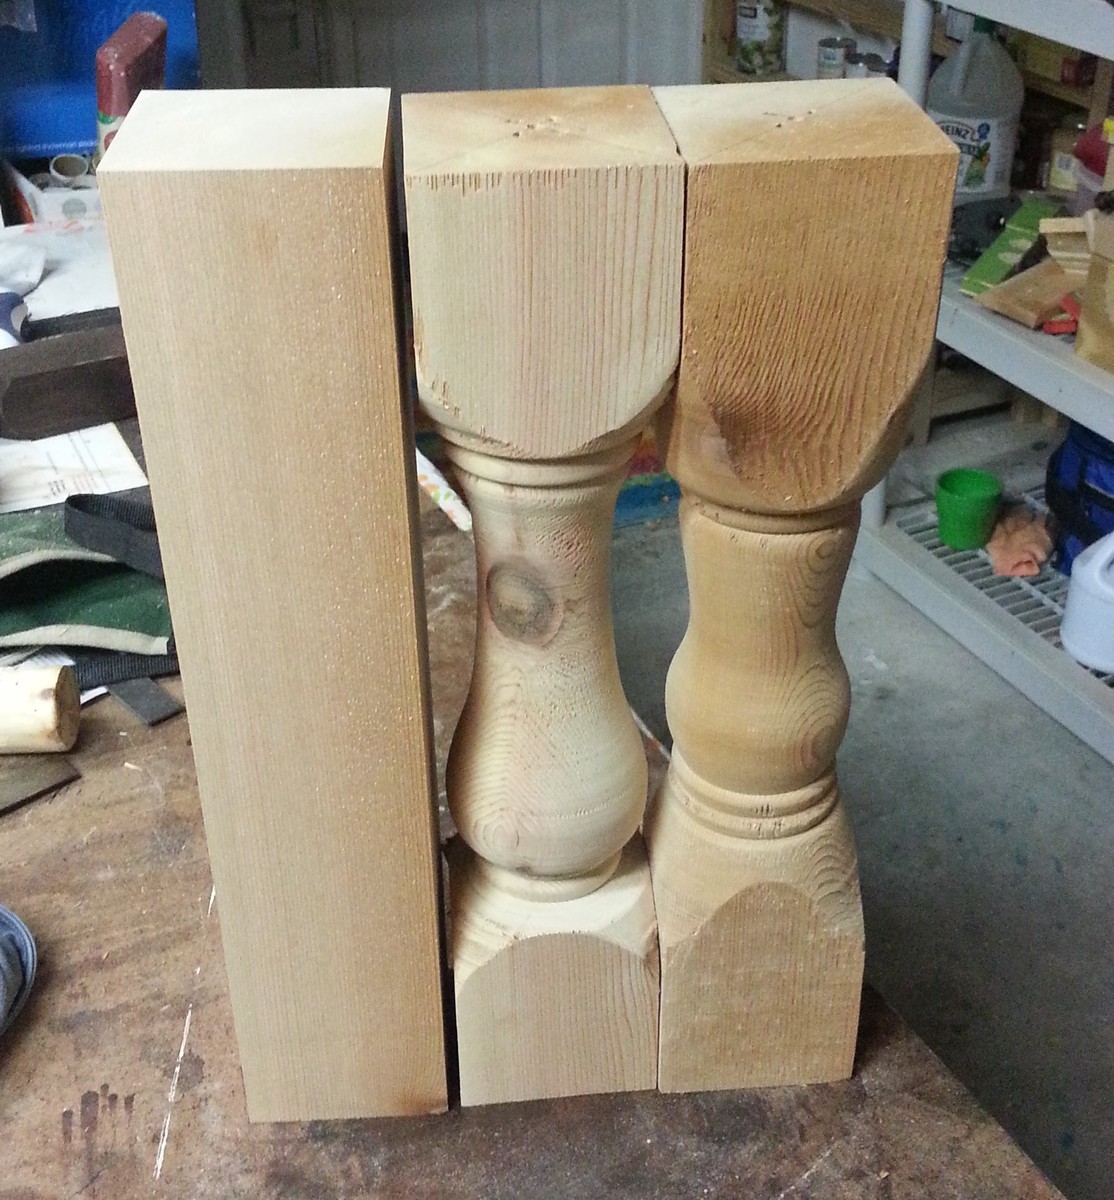
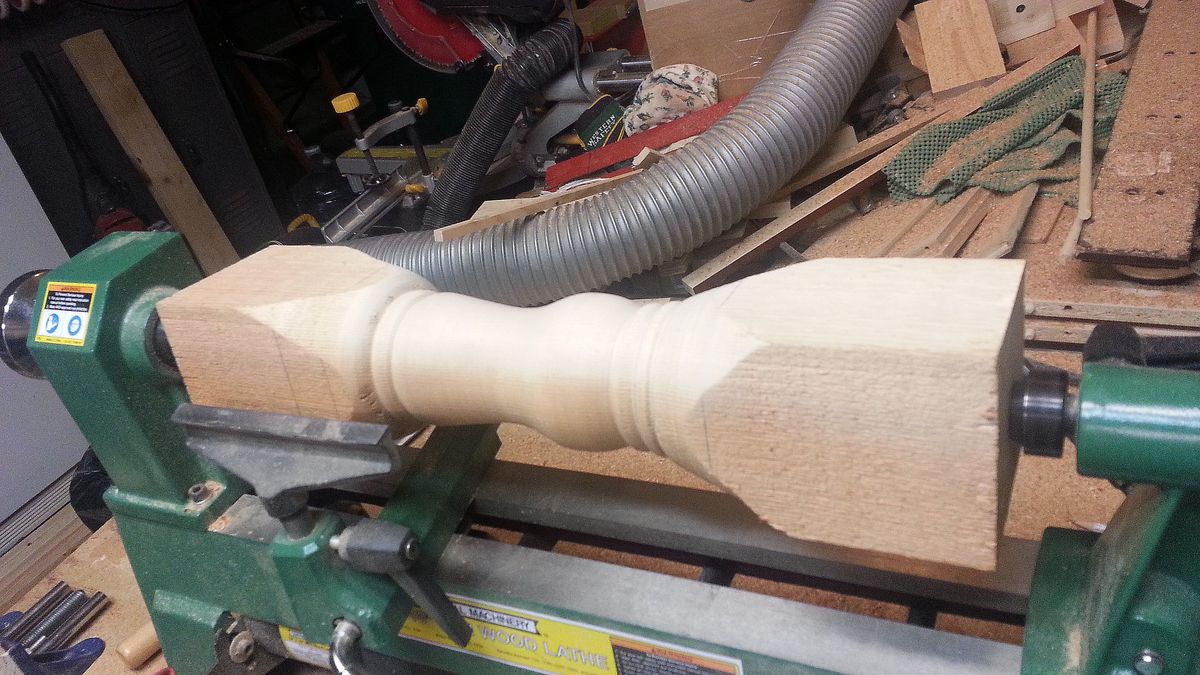
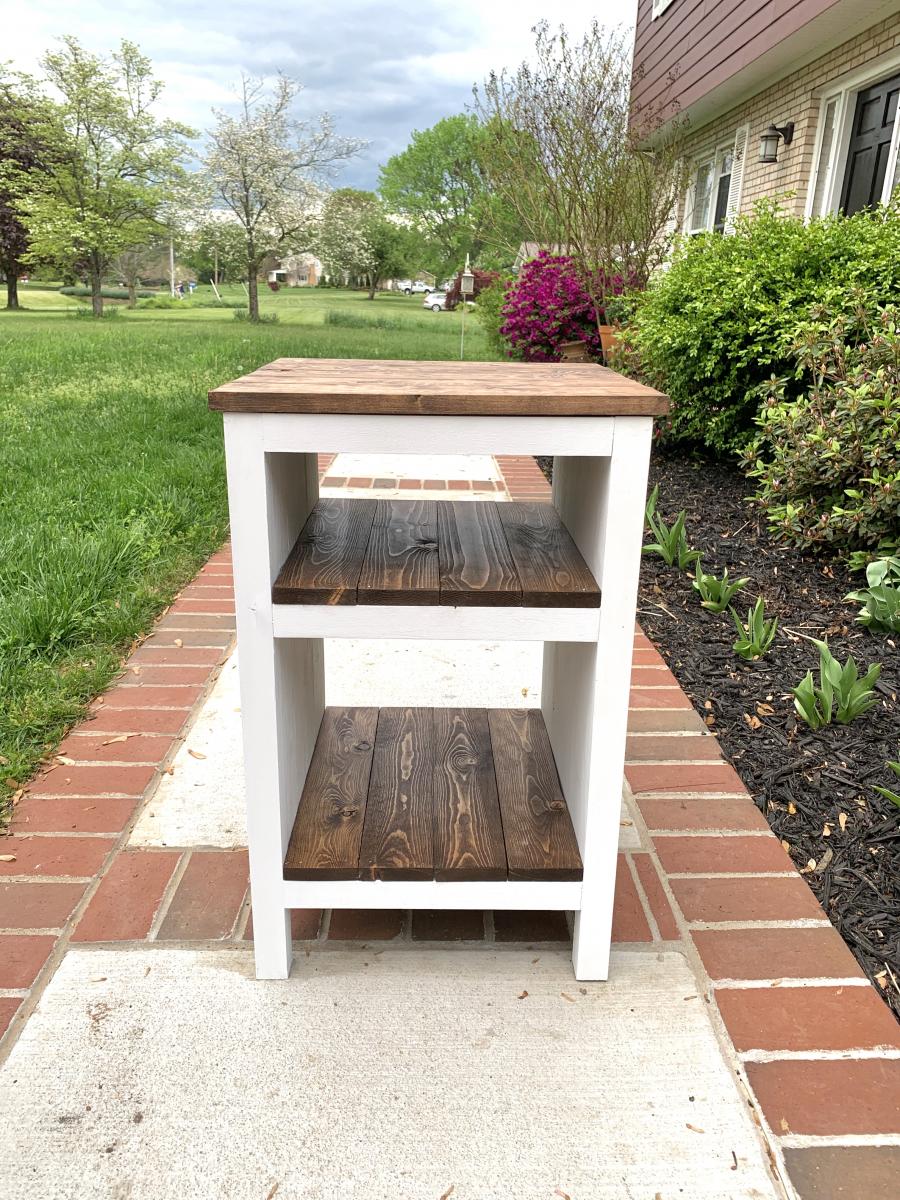
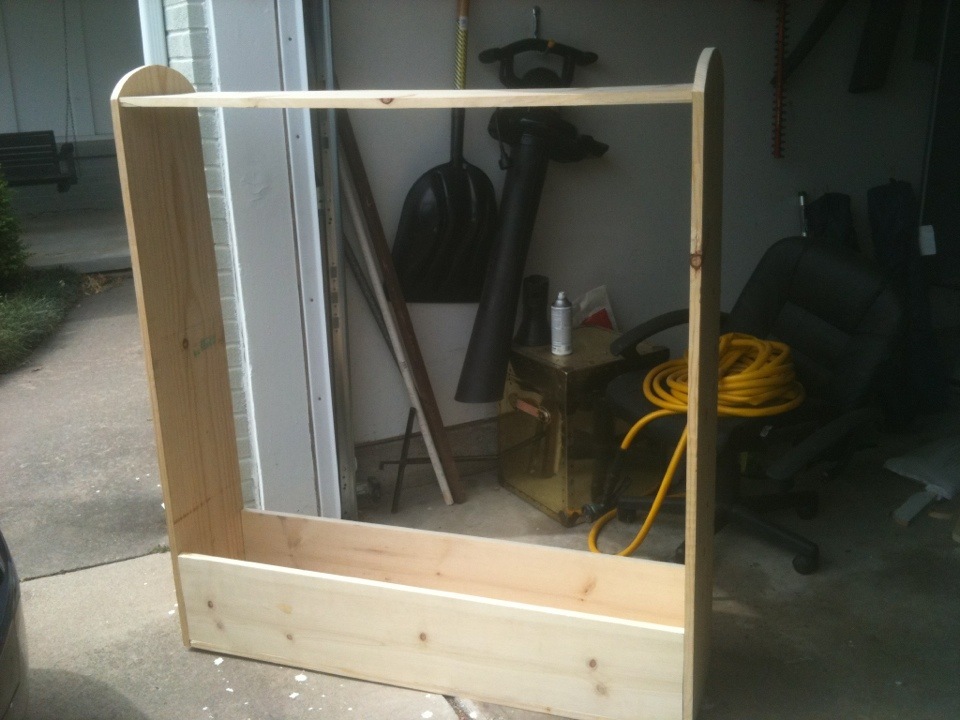
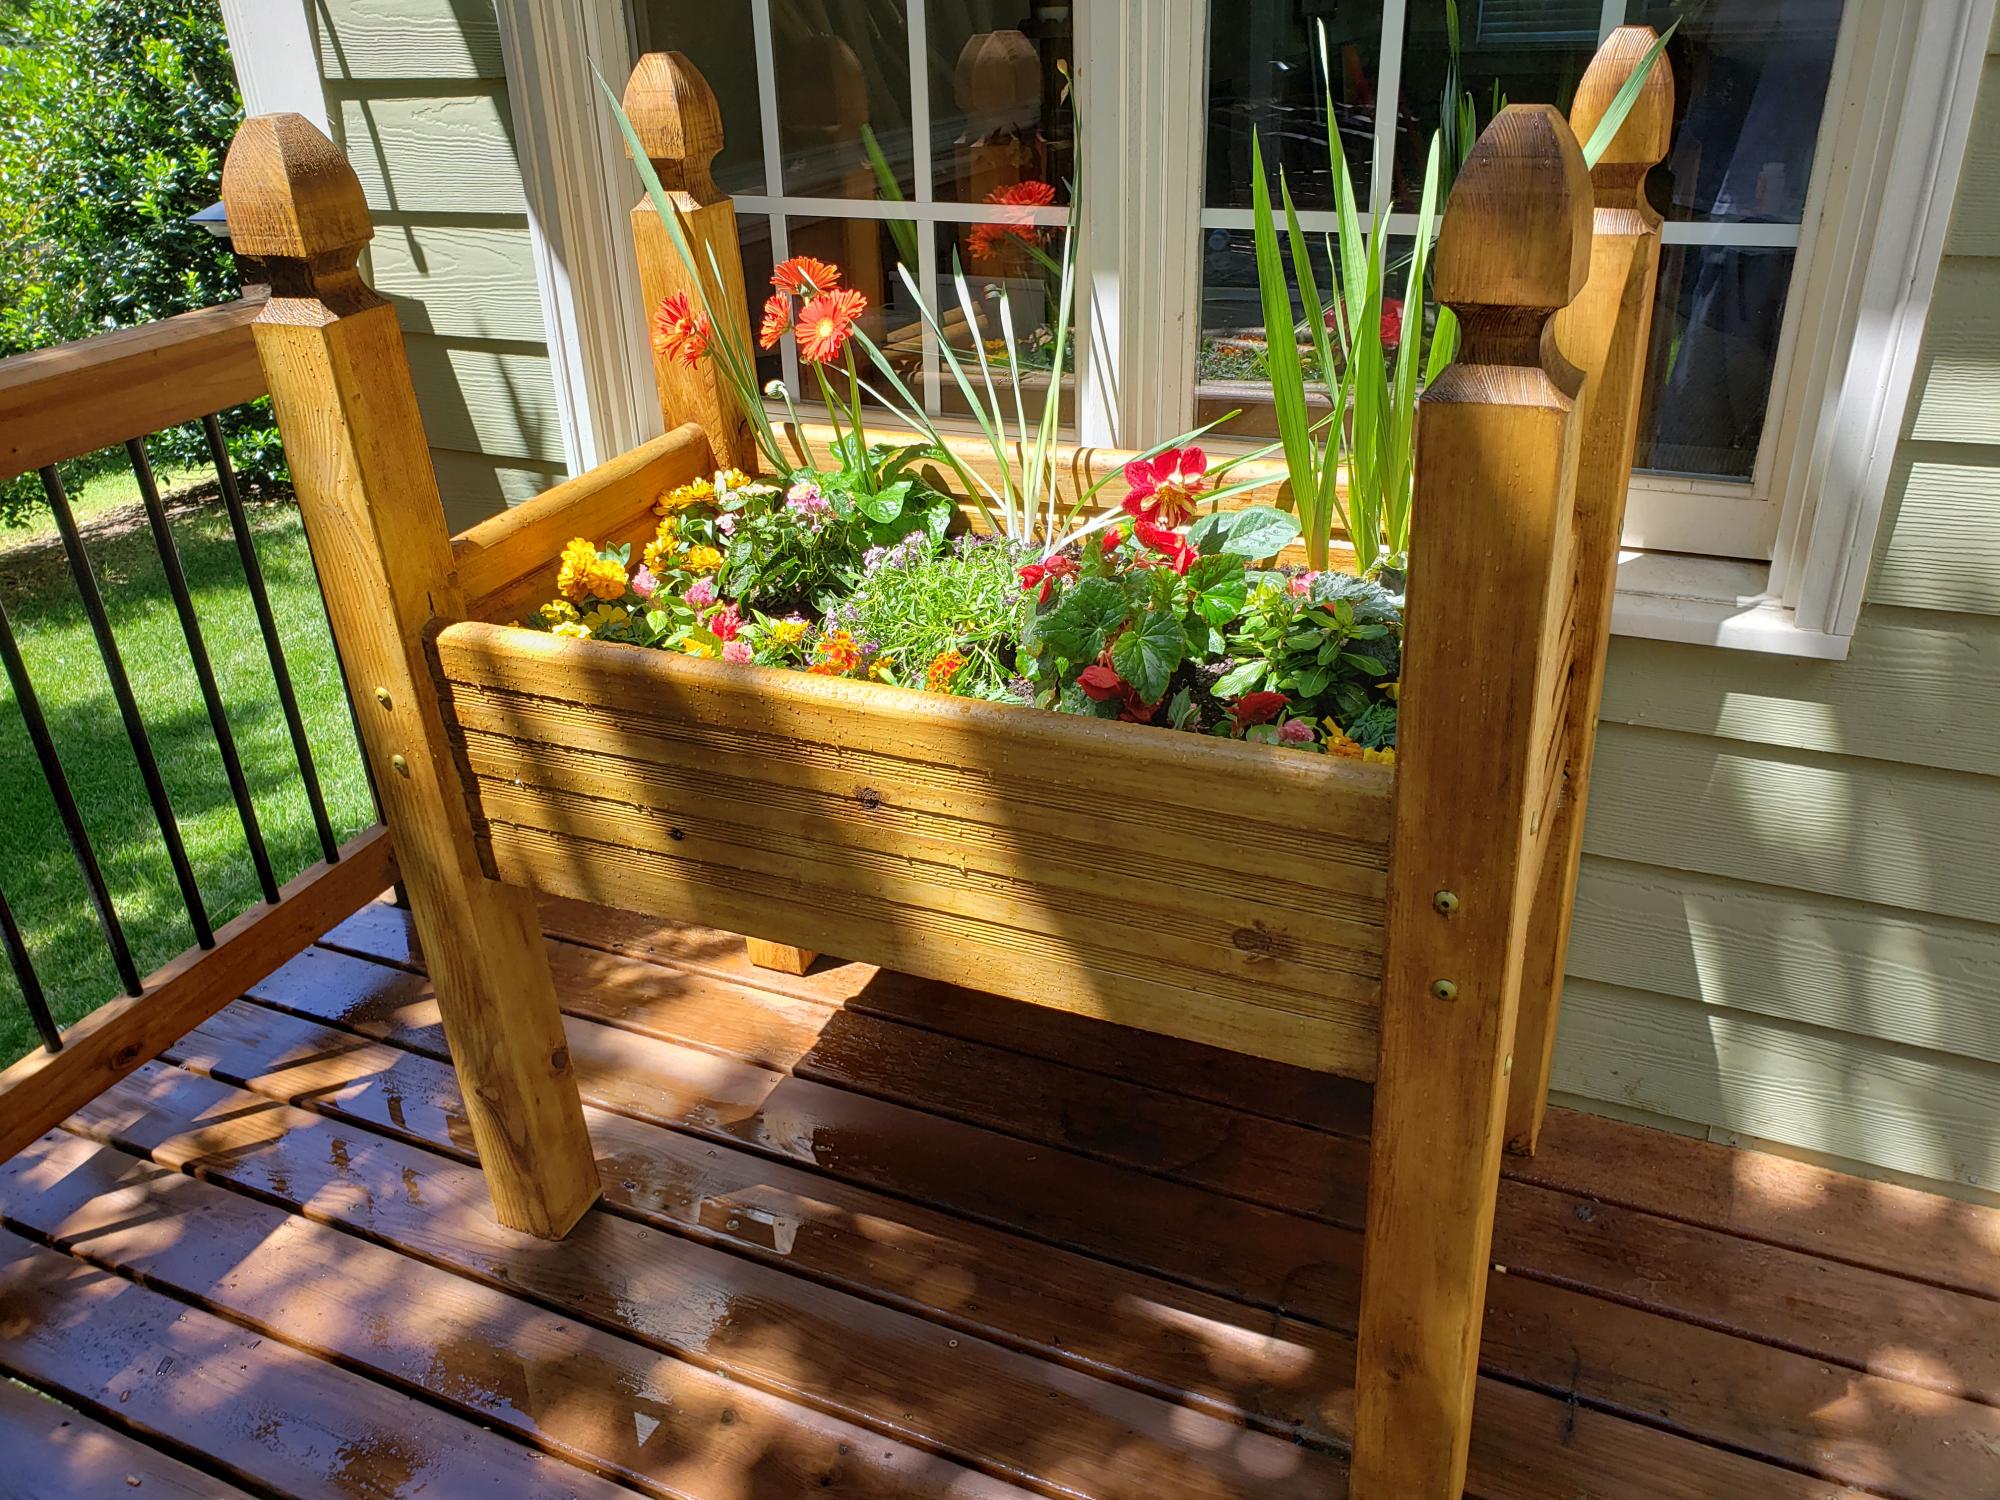
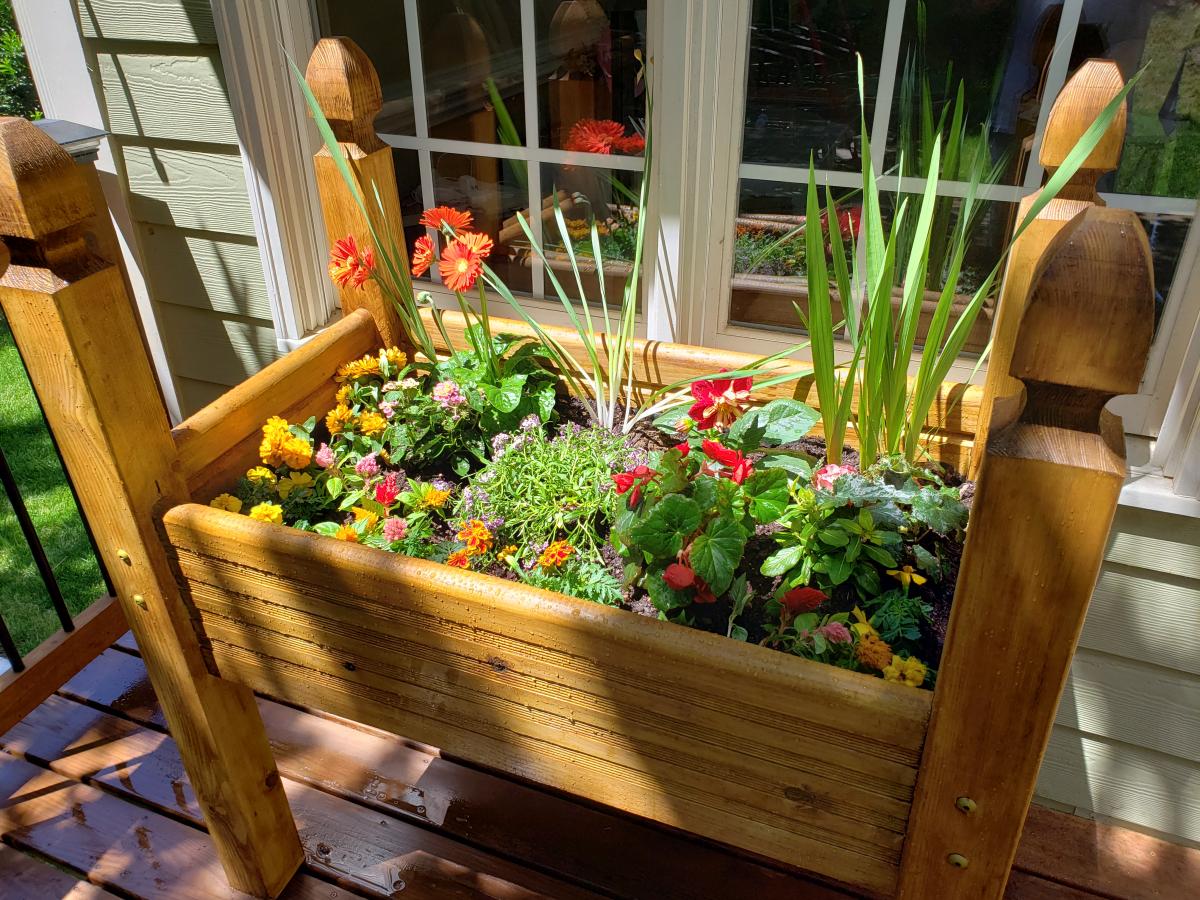
We used regular SPF lumber for the planks and aprons and cedar posts for the legs, all purchased at HD. Best advice - take your time looking for boards that aren't warped. Even in the end, we had a couple of imperfect boards, but it didn't inhibit our construction at all like some previous posters experienced. We did all the cuts at home EXCEPT the cedar posts (We got the people at HD to do this for us. They did it for free).
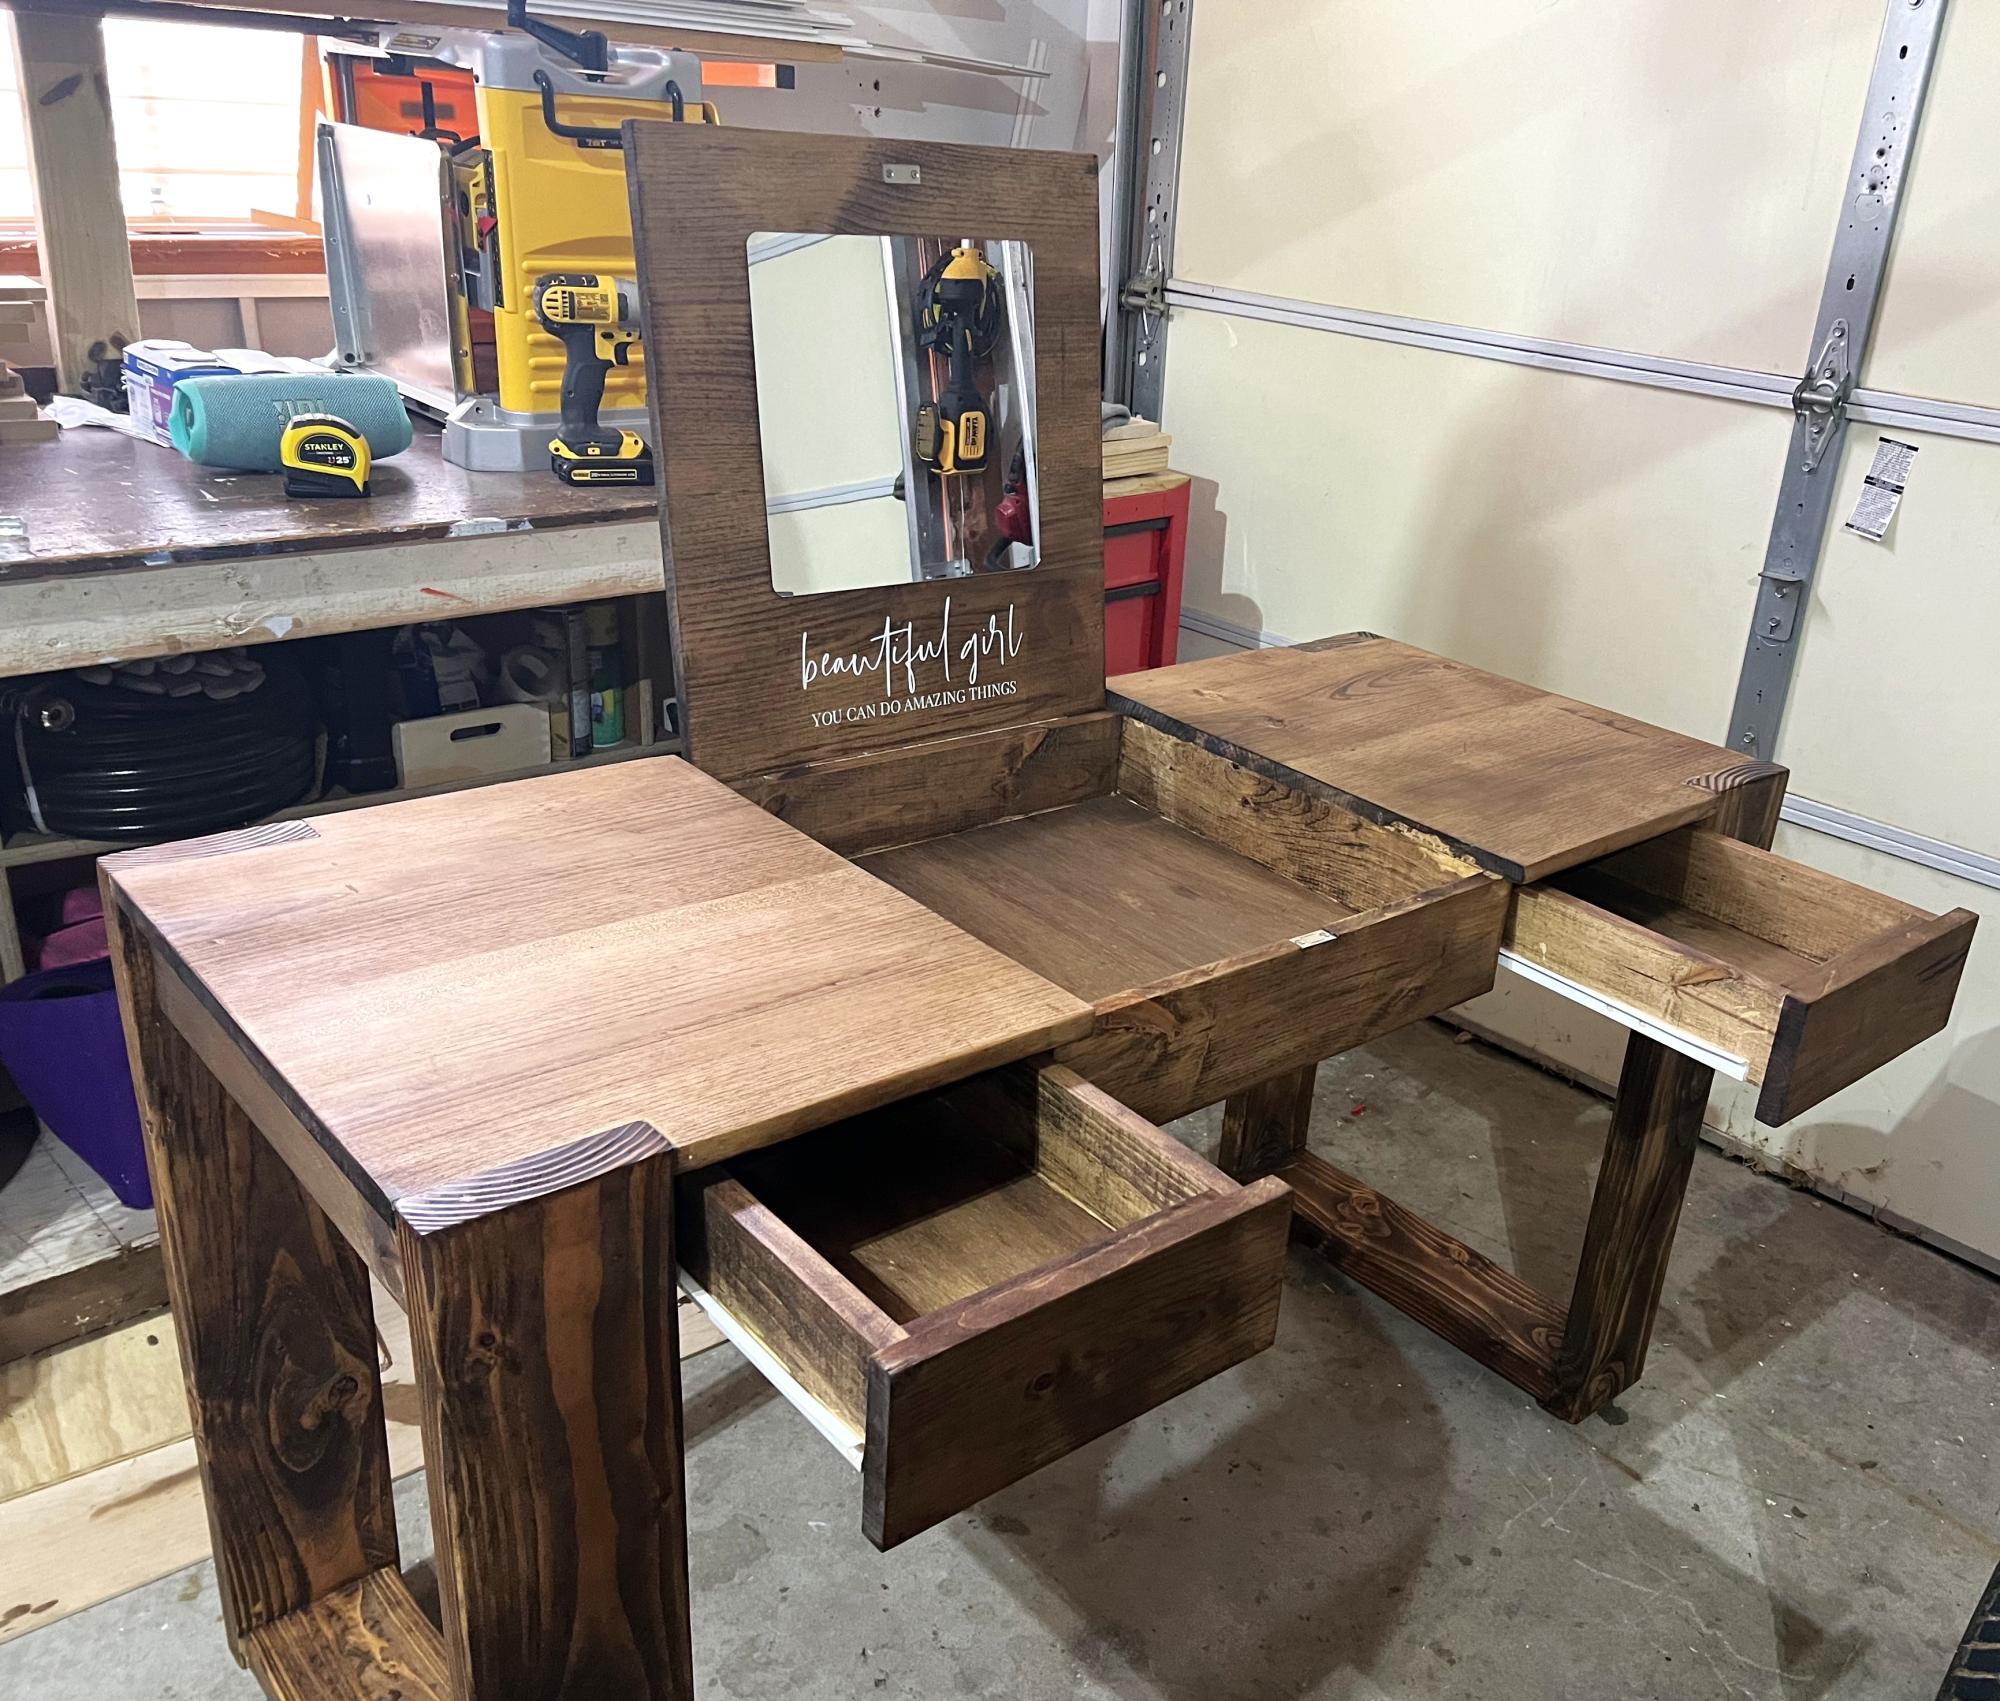
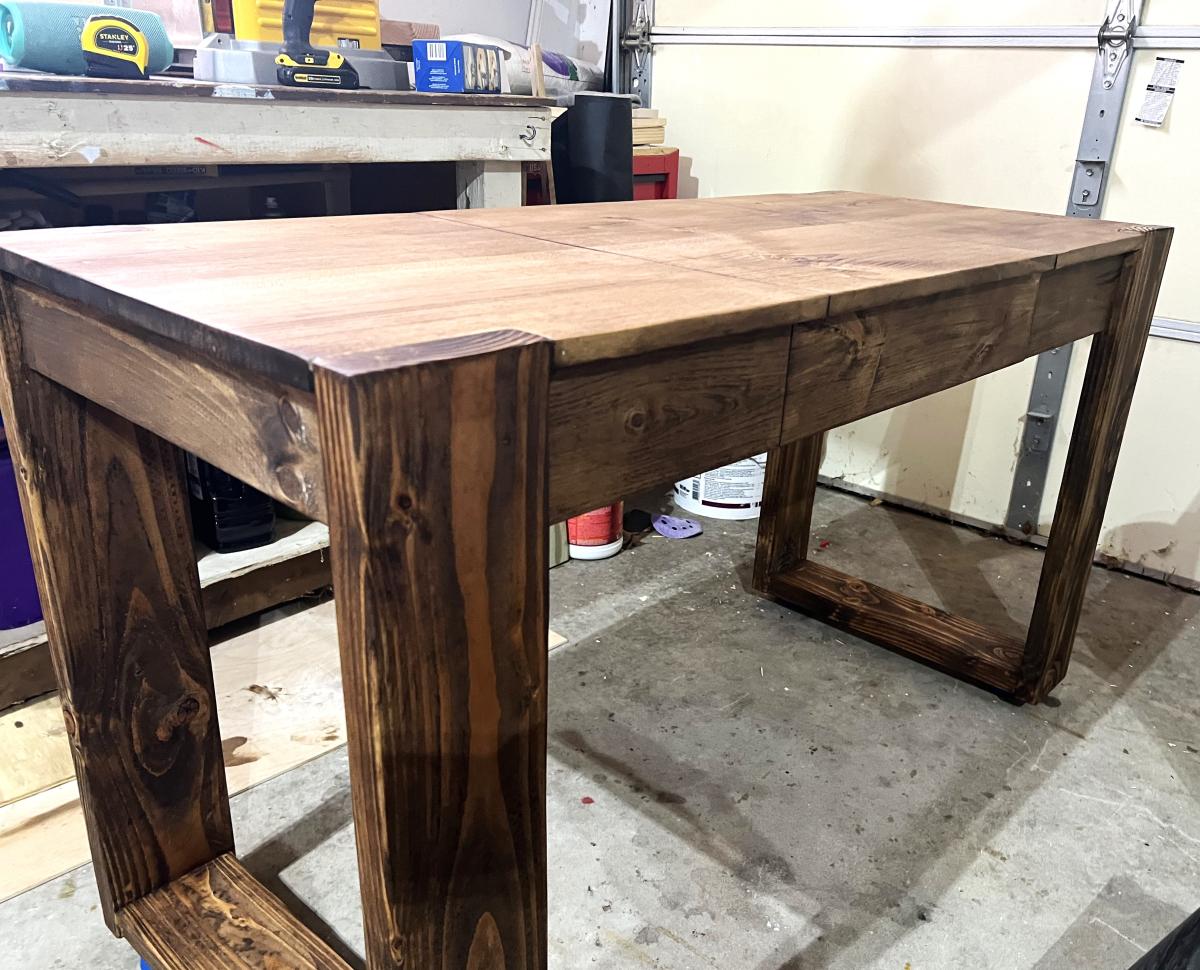
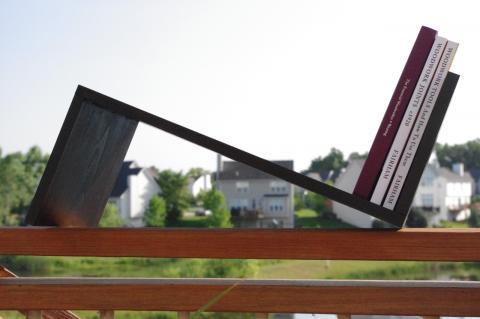
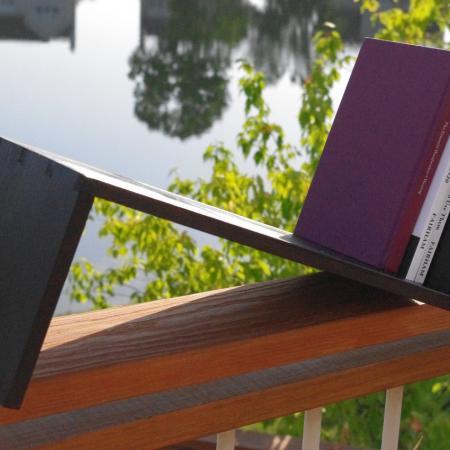
The build was straight forward. We had to do a few modifications (as our table is just over 5ft in length), but if anything I think the smaller size made things easier. We measured twice and cut once. As long as you take your time, it's easy. We even modified the plans so we can add an extension leaf should we need more room in the future.
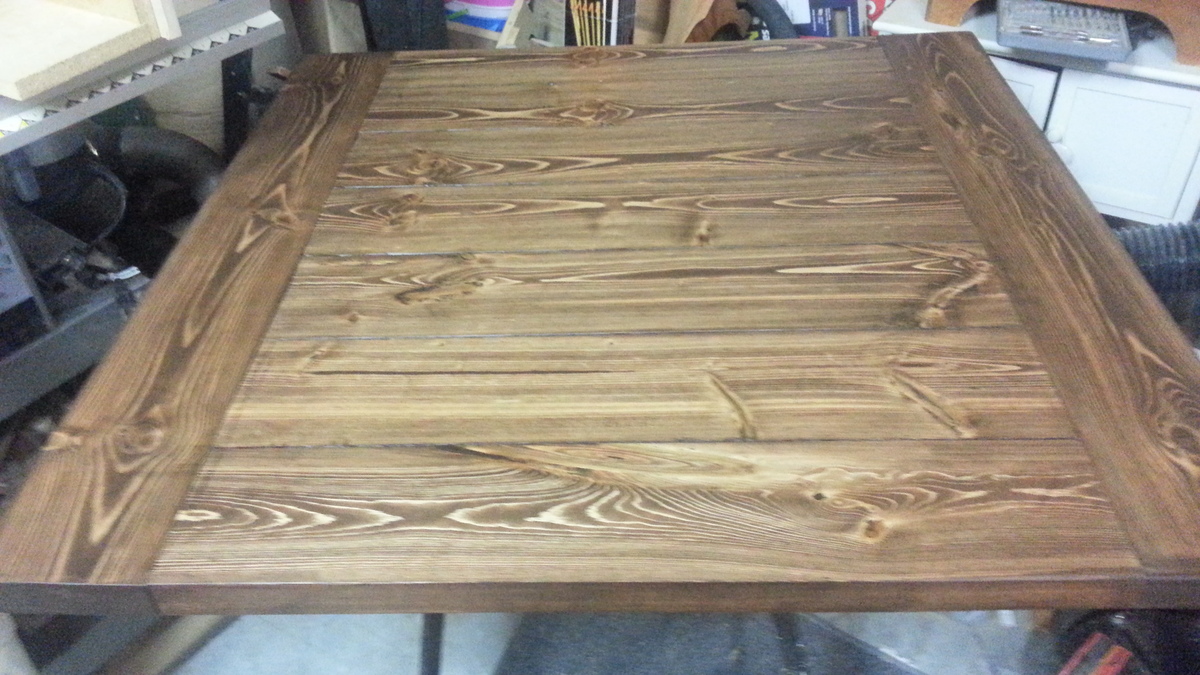
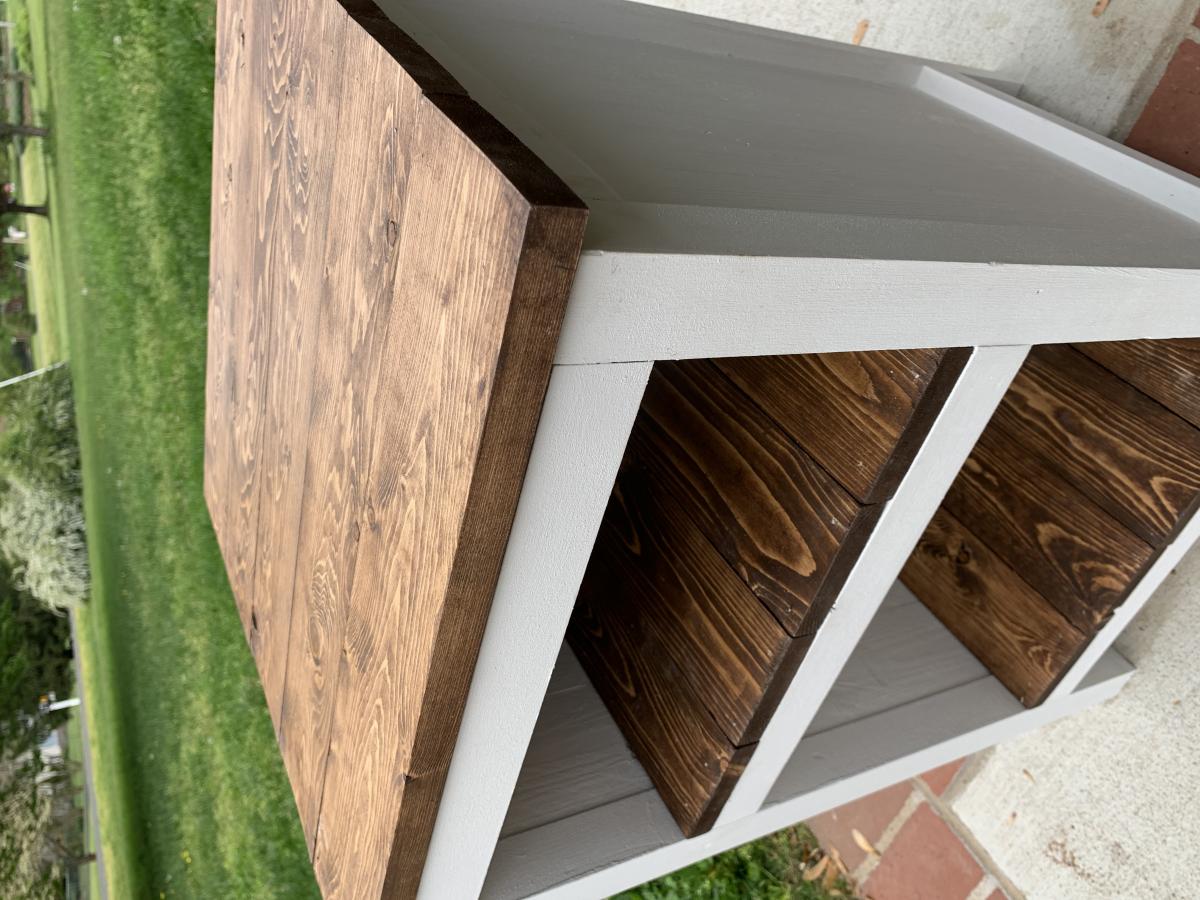
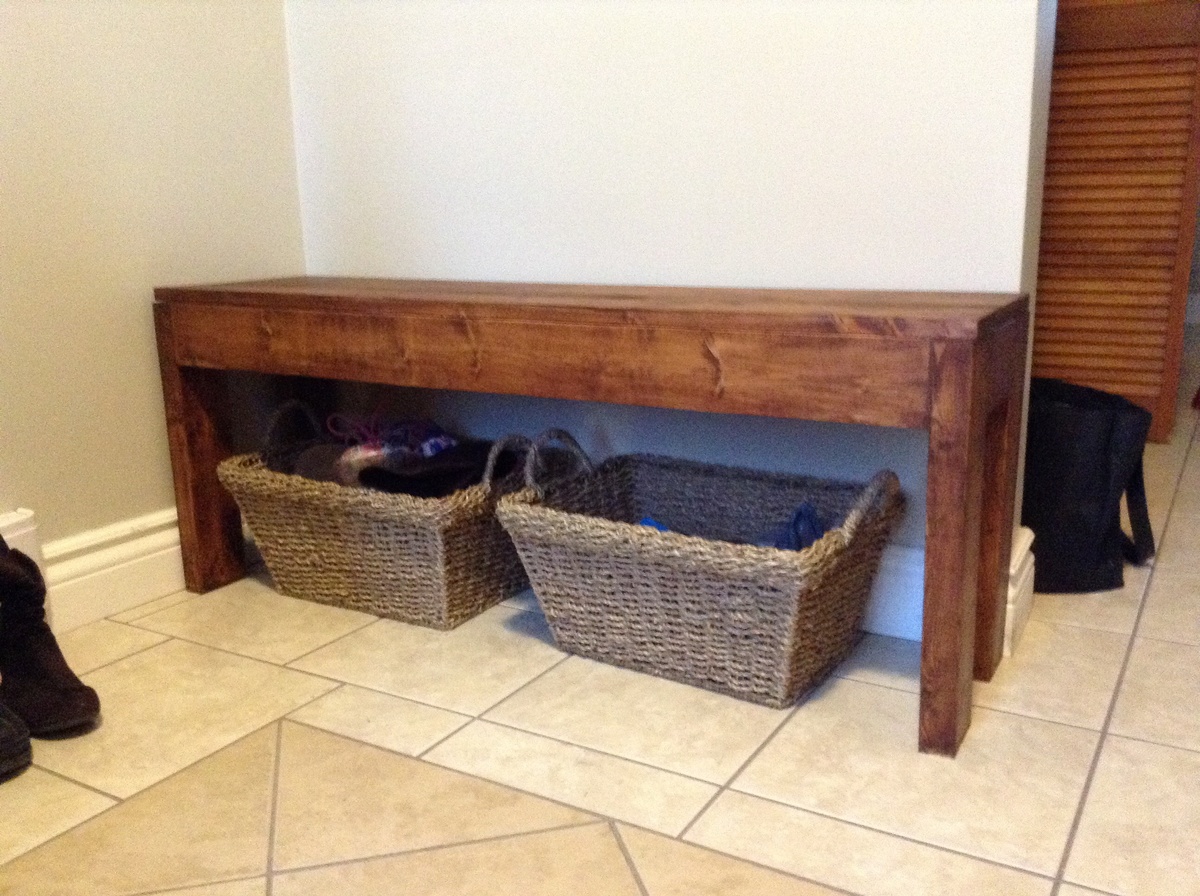
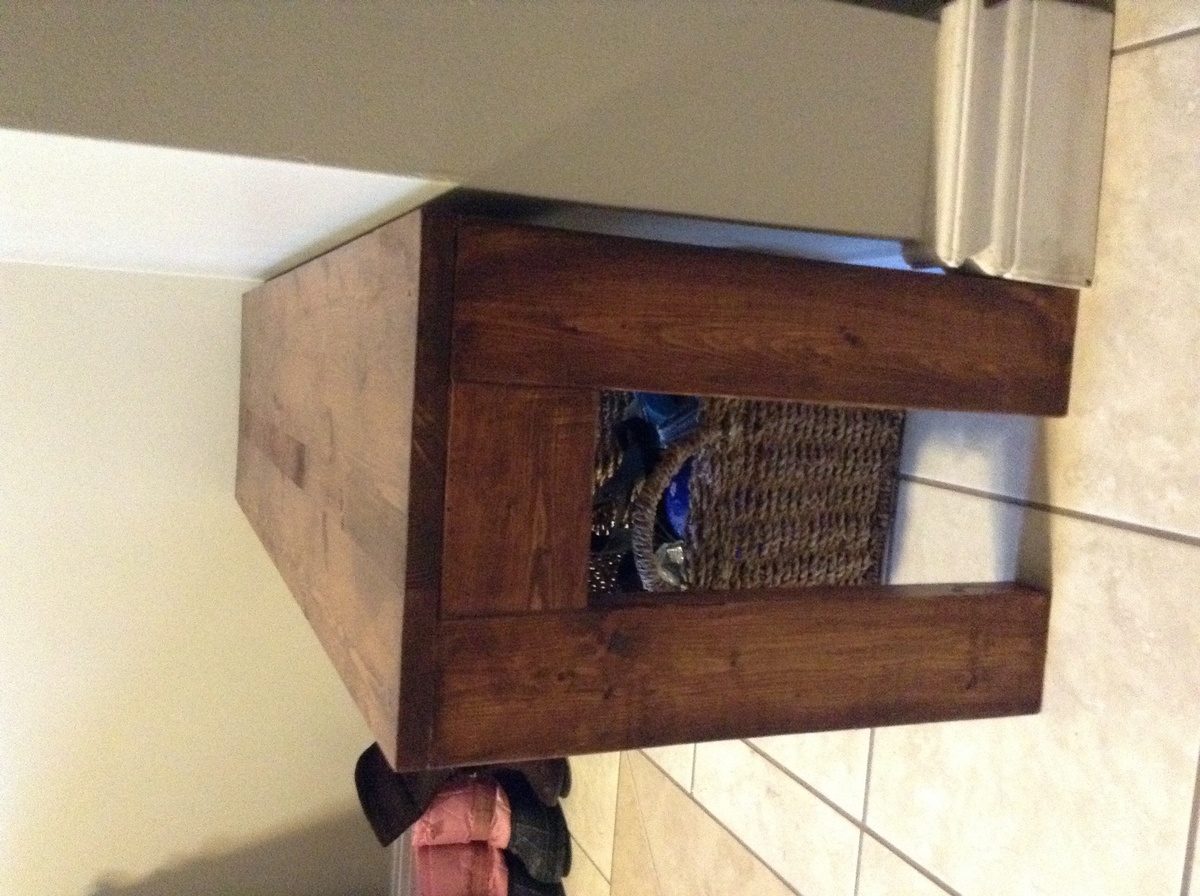
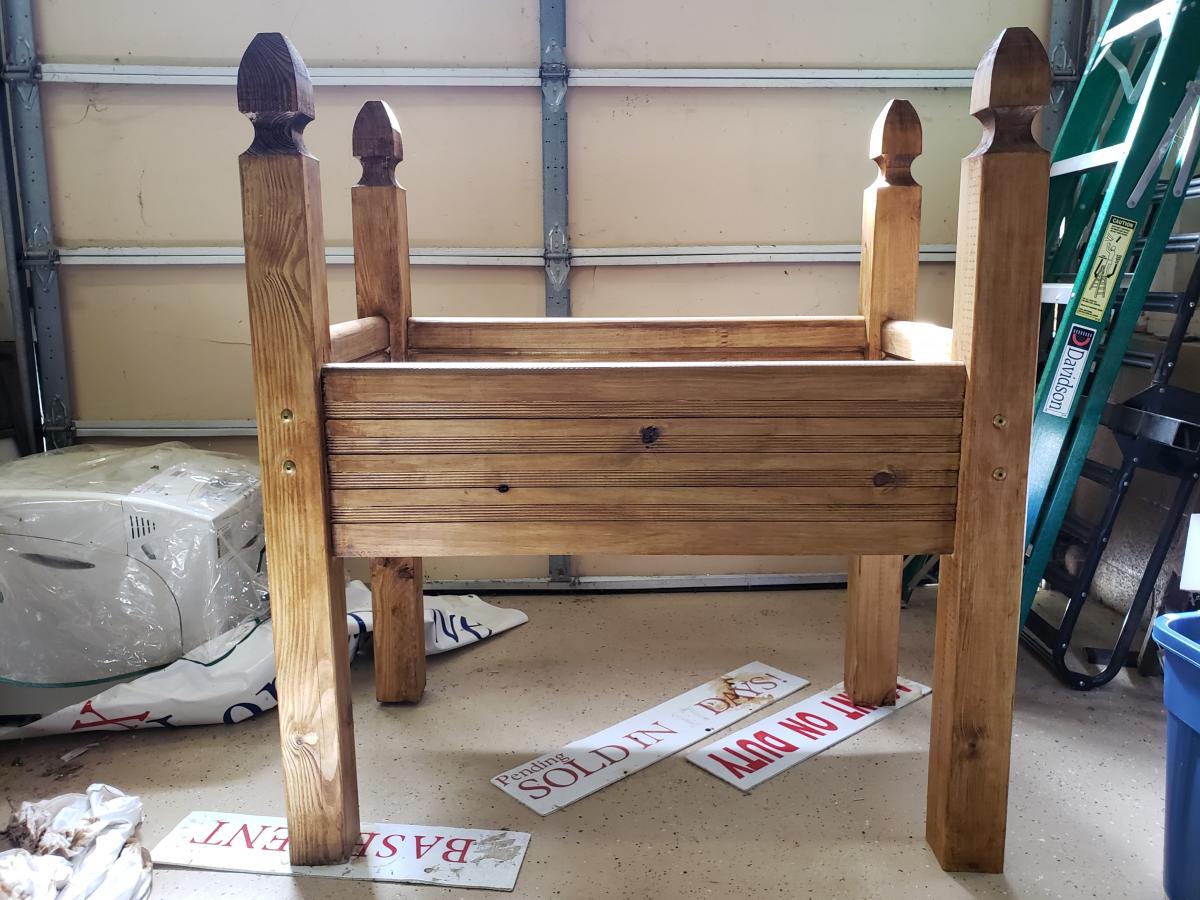
We sanded every inch of the table. No joke - this step played a HUGE roll in making our table look and feel good. Some of the planks on the table top were a little uneven, so at the last minute we invested in a cheap hand planer - it still isn't perfect, but it definitely helped a lot.
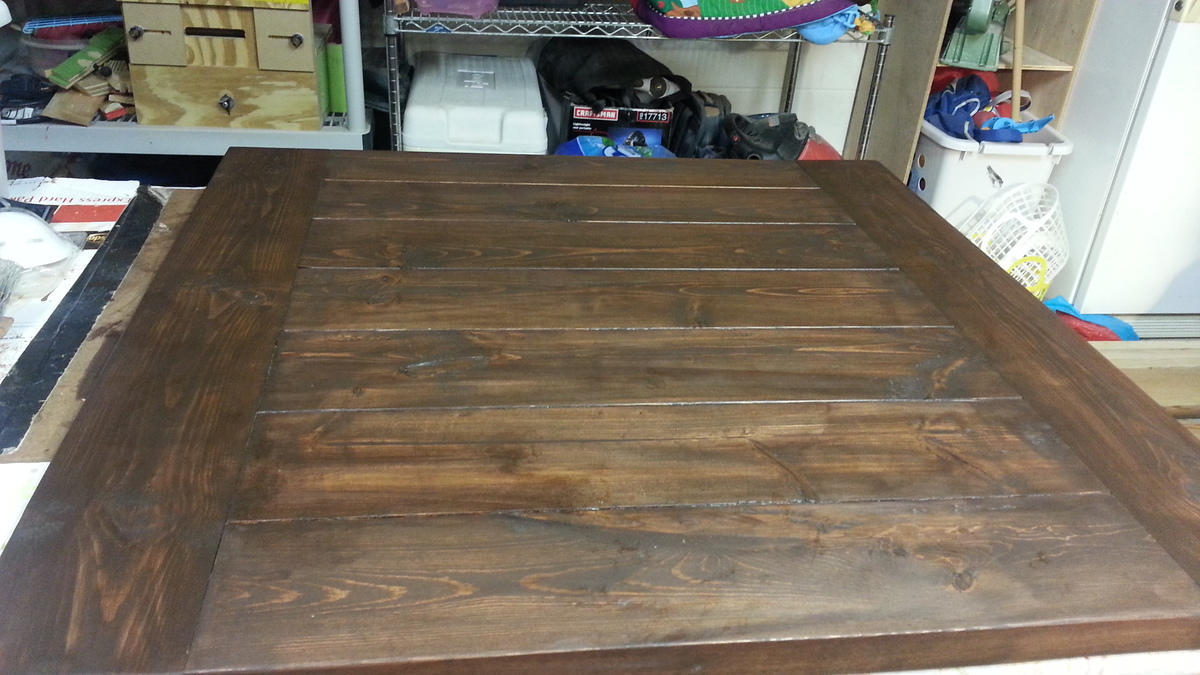
To finish, we used Wood Conditioner. I'm glad we did. I've stained other things in the house without it, but the wood conditioner definitely gives the finish a richer, more professional look. We used Minwax dark walnut, and we topped it off with Waterbased poly (just what we already had hand).
For our first project, we are very satisfied. It took us about 3 days (off and on). We will be making a bench for our table soon. I look forward to doing more projects in the future! Thank you :)


Comments
benfoldsfivealive
Wed, 06/20/2012 - 12:12
This is amazing! I really
This is amazing! I really want to build this, but the plans seemed really confusing to me. Did you use a kreg jig for this?
In reply to This is amazing! I really by benfoldsfivealive
mlmerrel
Thu, 07/05/2012 - 12:05
I did not use a Kreg jig
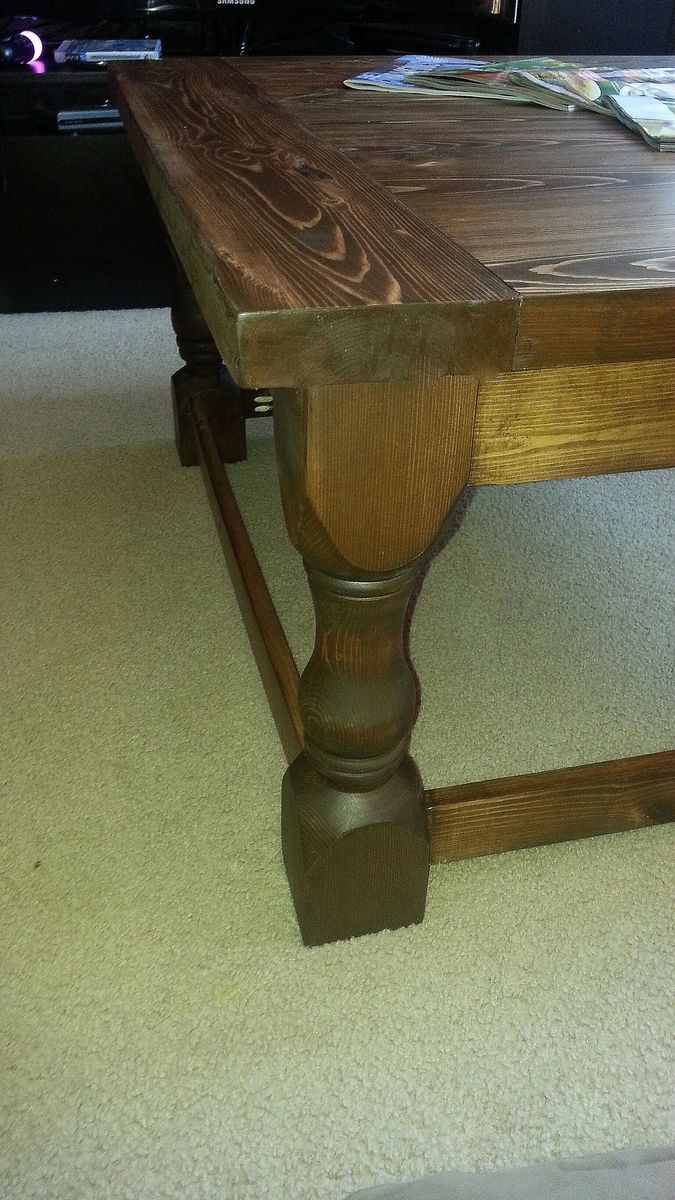
I did not use a Kreg jig because i dont havd one and I didn't try to hide my screws. I did pre-drill all my holes so that I didn't split any boards... and my dad is a carpenter so he helped me attach the 2 cross pieces (which is the only part I had trouble with) to the ends, which we did by just angling the screws in. I will try to take a few more detailed pics in the next few days so you can get a better idea of how I did it.
In reply to This is amazing! I really by benfoldsfivealive
mlmerrel
Wed, 06/20/2012 - 19:15
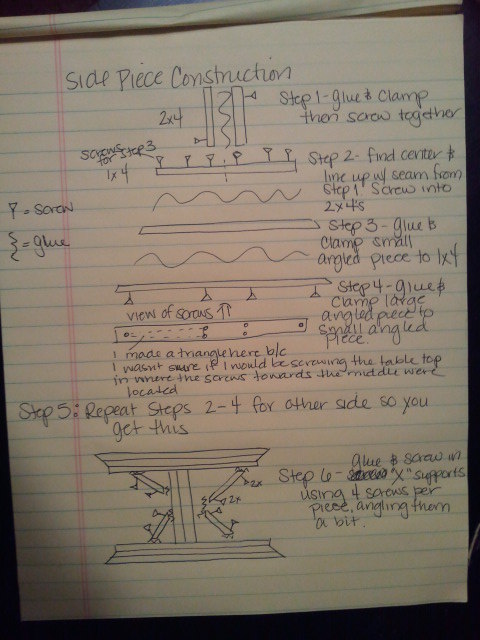
Posted an explanation of how
Posted an explanation of how I made the side pieces. Hope it helps!
benfoldsfivealive
Thu, 06/21/2012 - 09:21
Wow! Thank you, that is a
Wow! Thank you, that is a huge help!!
I Rub (not verified)
Mon, 07/02/2012 - 03:37
Quick question
Hi, great build !
Could you please explain how and from where did you screw the curved pieces at the bases ?
same question for the table top boards ?
Thank you!
In reply to Quick question by I Rub (not verified)
mlmerrel
Thu, 07/05/2012 - 12:03
Screw Locations
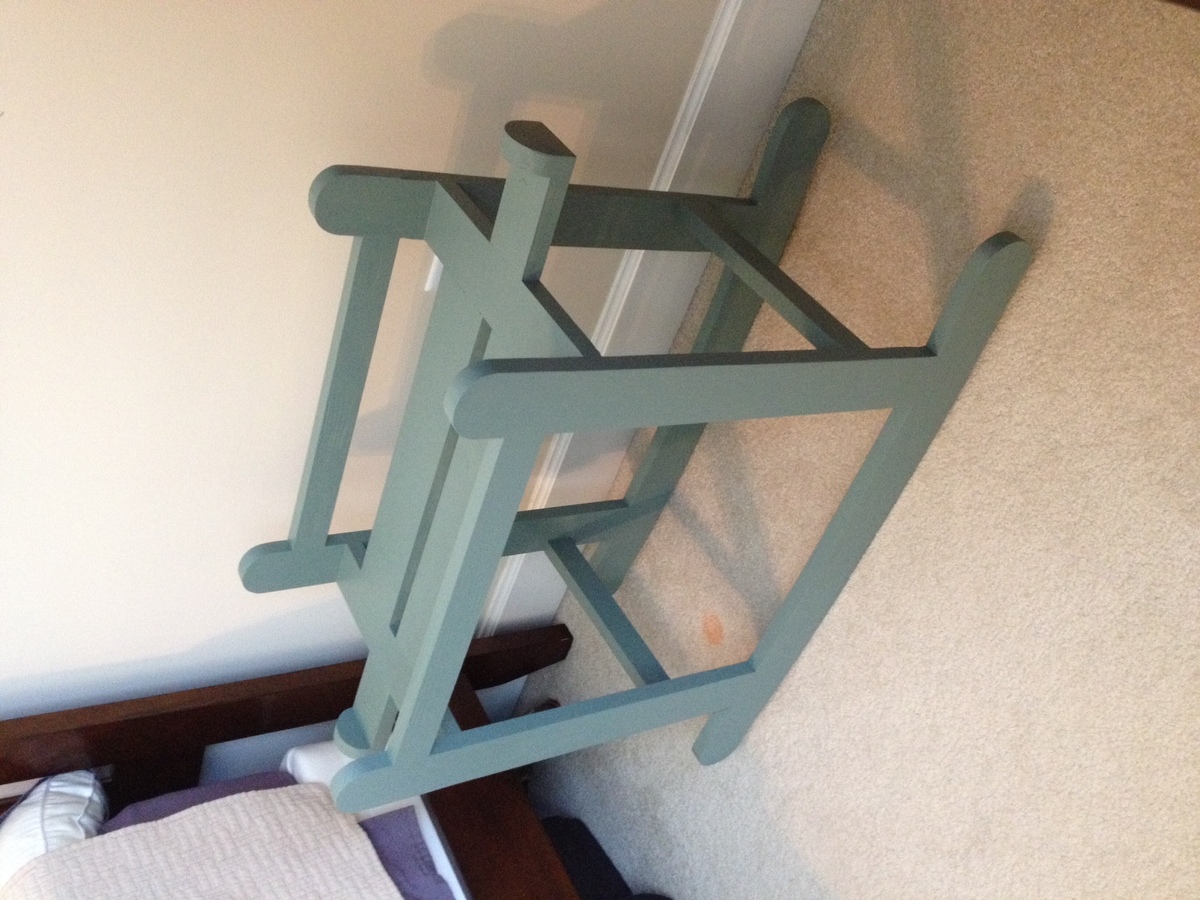
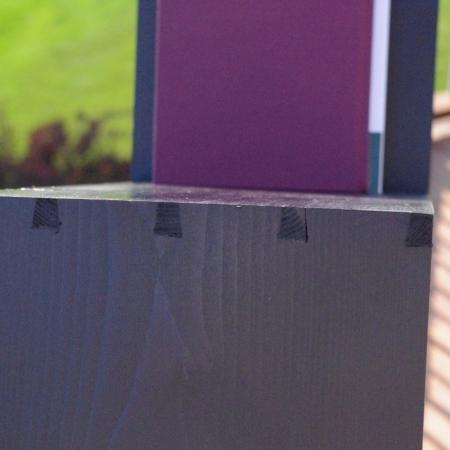
If you look at the first drawing I have attached it will show you where to screw the curved pieces in. I screwed through the 1 x 4 to attach the smaller curved piece. Then I would screw through the larger curved piece into the smaller curved piece to attach it.
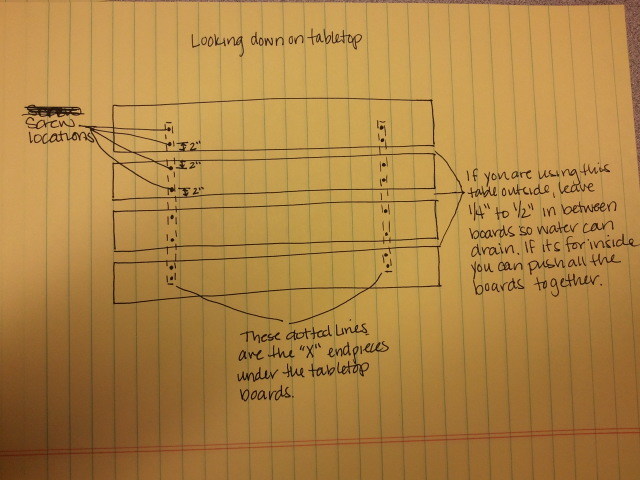
The table top pieces I screwed in from the top into the side pieces that you build first. I used 2 screws per board per side. The 2 boards in the middle should have screws at least 2 inches in from each side. The 2 boards on the end will have one set of screws 2 inches from the side that is next to the boards in the middle. The second set of screws will end up in about the middle of the outside boards. I'm going to attach another drawing to explain. Let me know if this helps.
I Rub
Mon, 07/09/2012 - 11:22
Thank you!
I plan on building the table this week, will use your advice. Much appreciated.
Gus (not verified)
Sun, 07/15/2012 - 16:20
Thank you for posting this. I
Thank you for posting this. I started the project yesterday and I started with putting the cross braces on first and it did not turn out leveled. I thought that I would try to put it together first and then add the cross braces but was scared if it would hold. Thanks to your post I feel more confidant about it. I am going to make a run to the big box store and start over. Its okay because this is my very first build and I am just happy with my first 45 degree cut with my new circular saw ;) I guess its a learning process.
Thanks again for your post,
Gus
In reply to Thank you for posting this. I by Gus (not verified)
mlmerrel
Thu, 07/19/2012 - 07:58
Glad I could help! Good luck
Glad I could help! Good luck with your build!!!