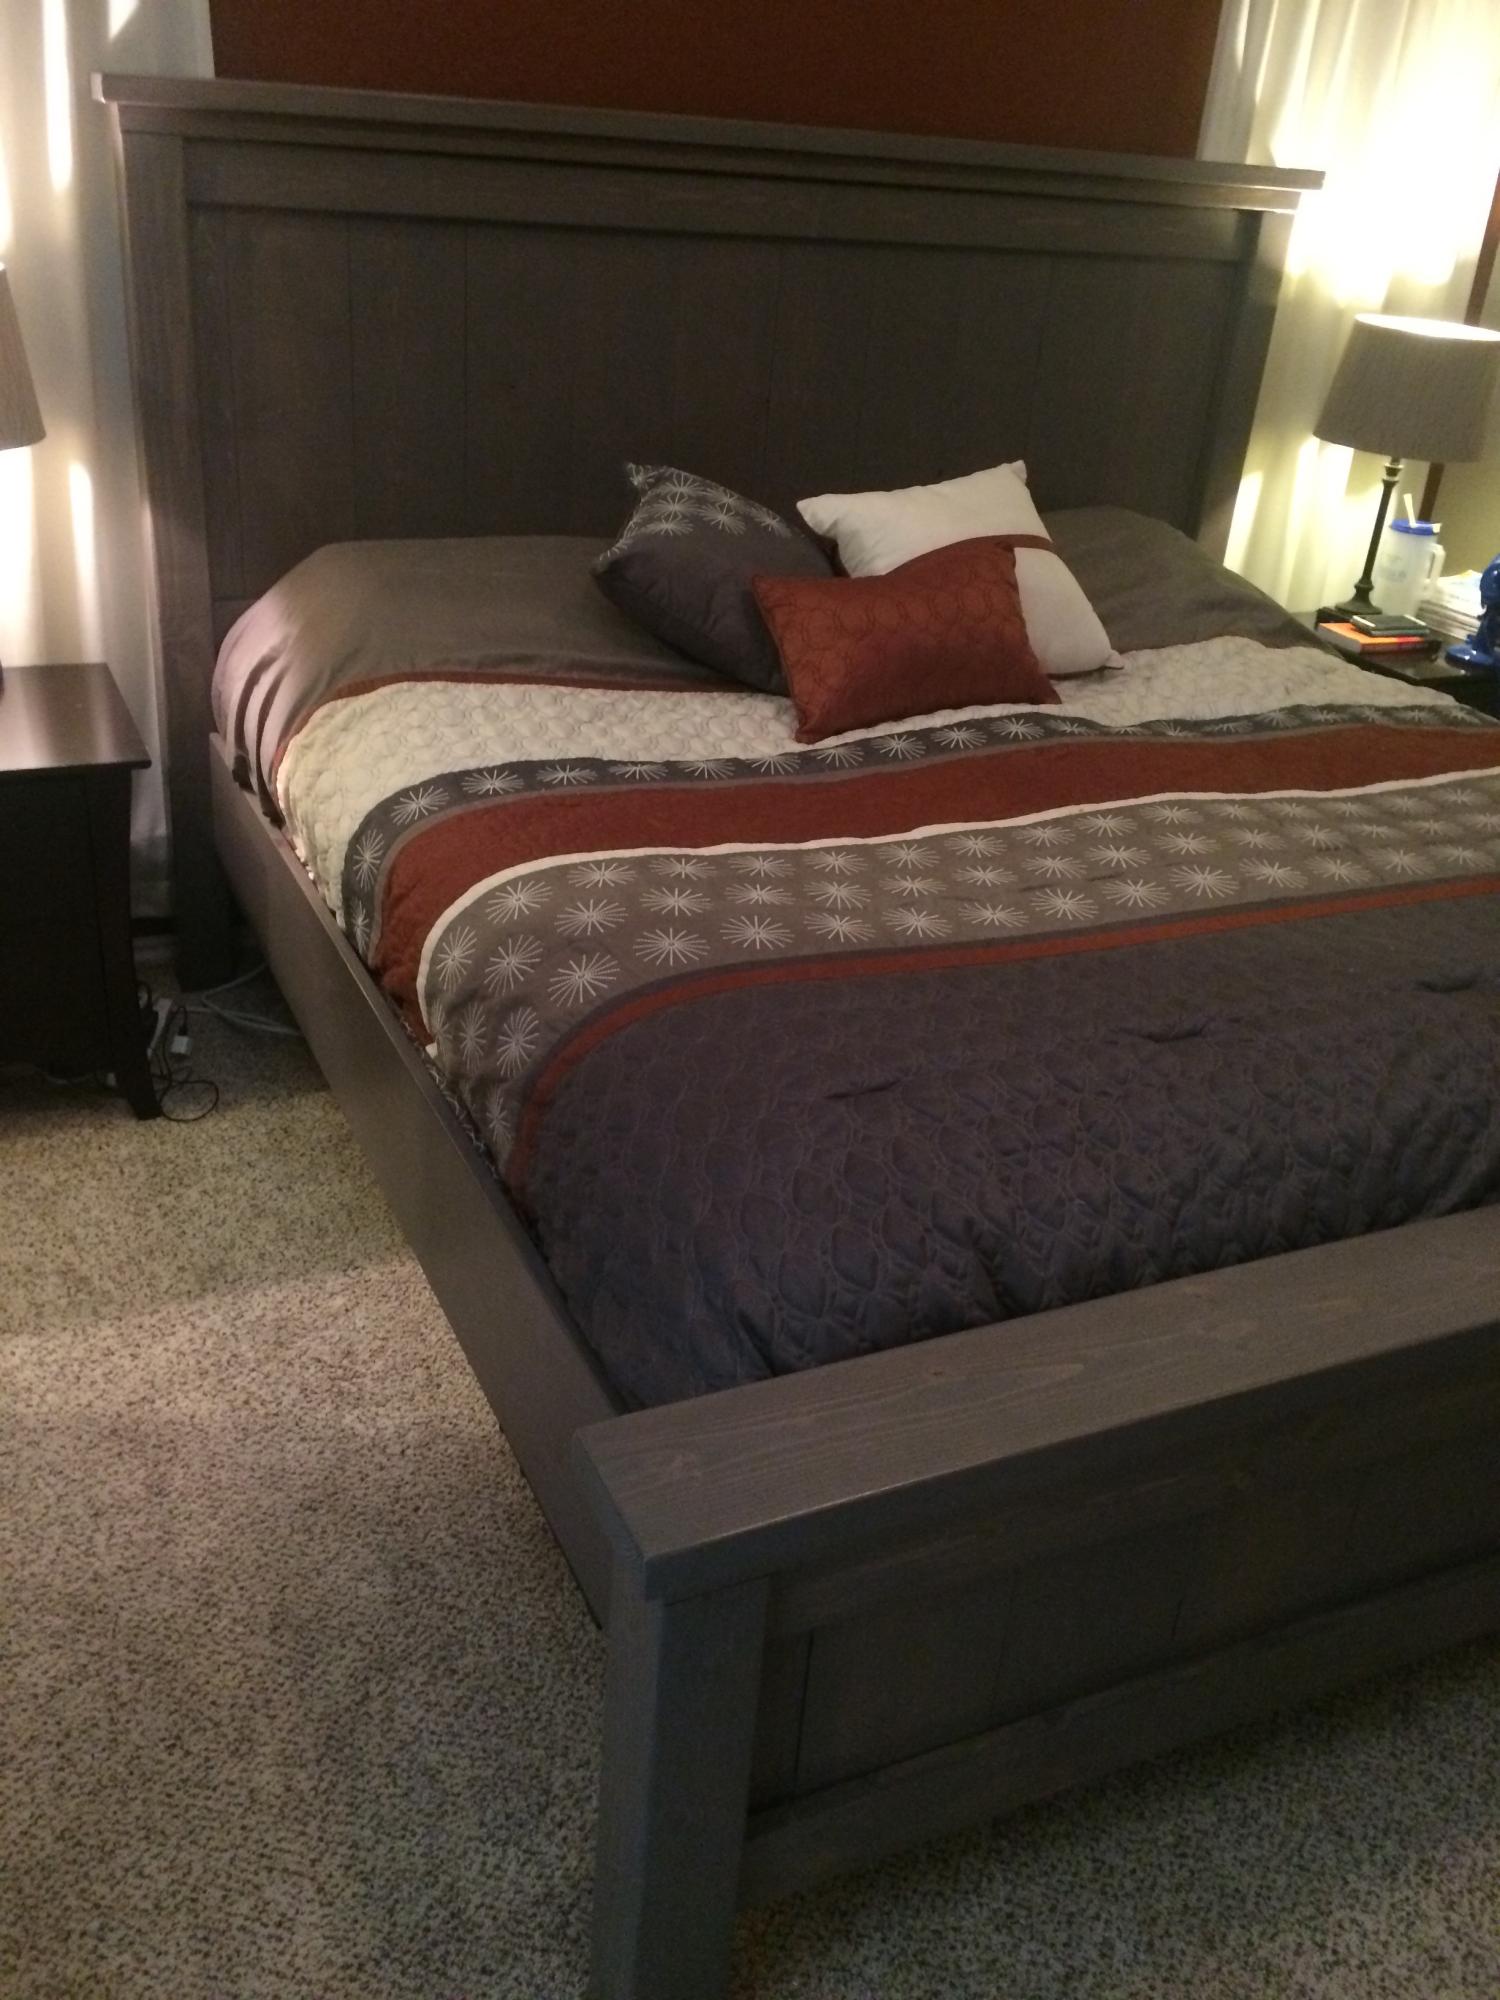
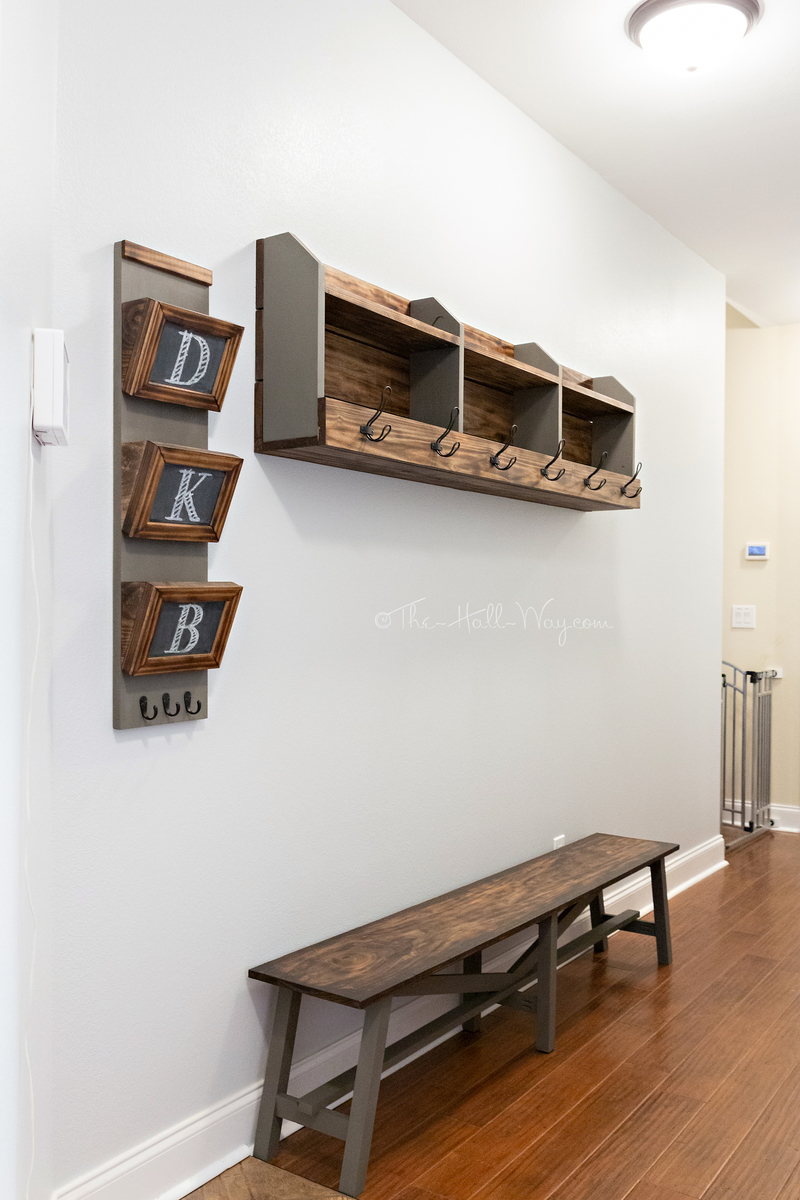
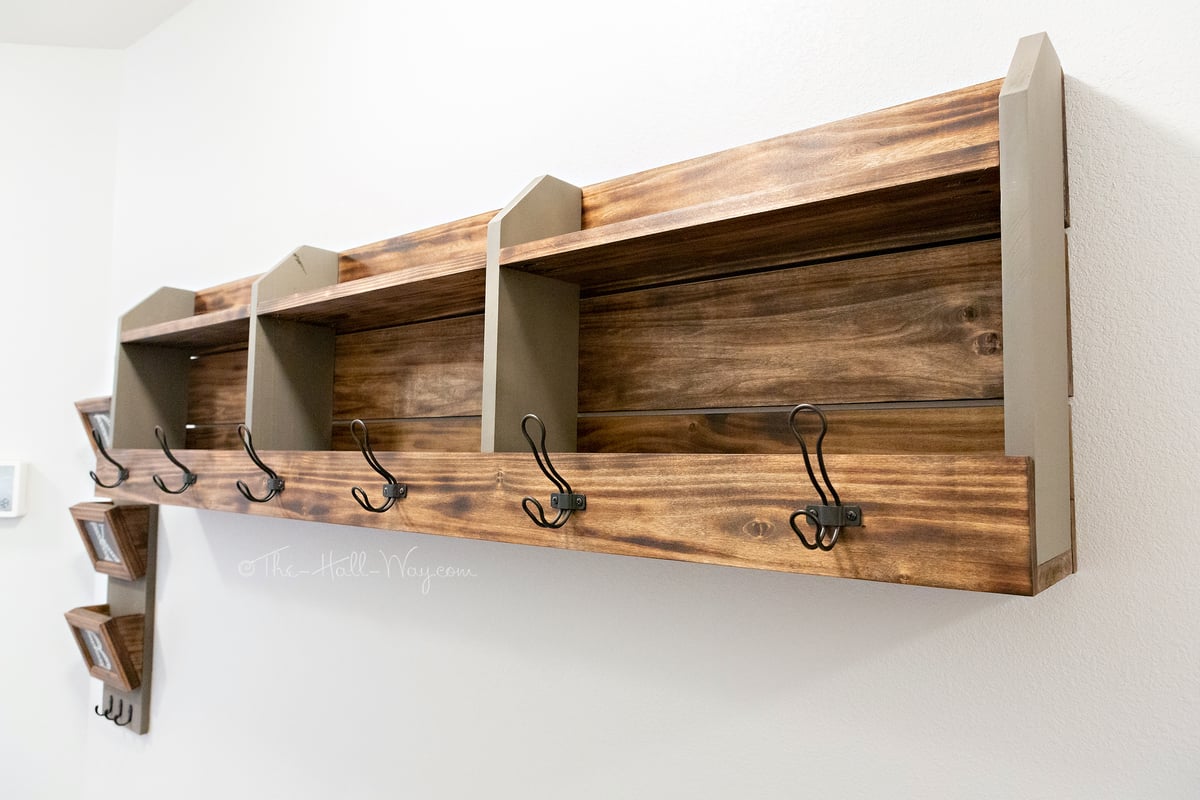
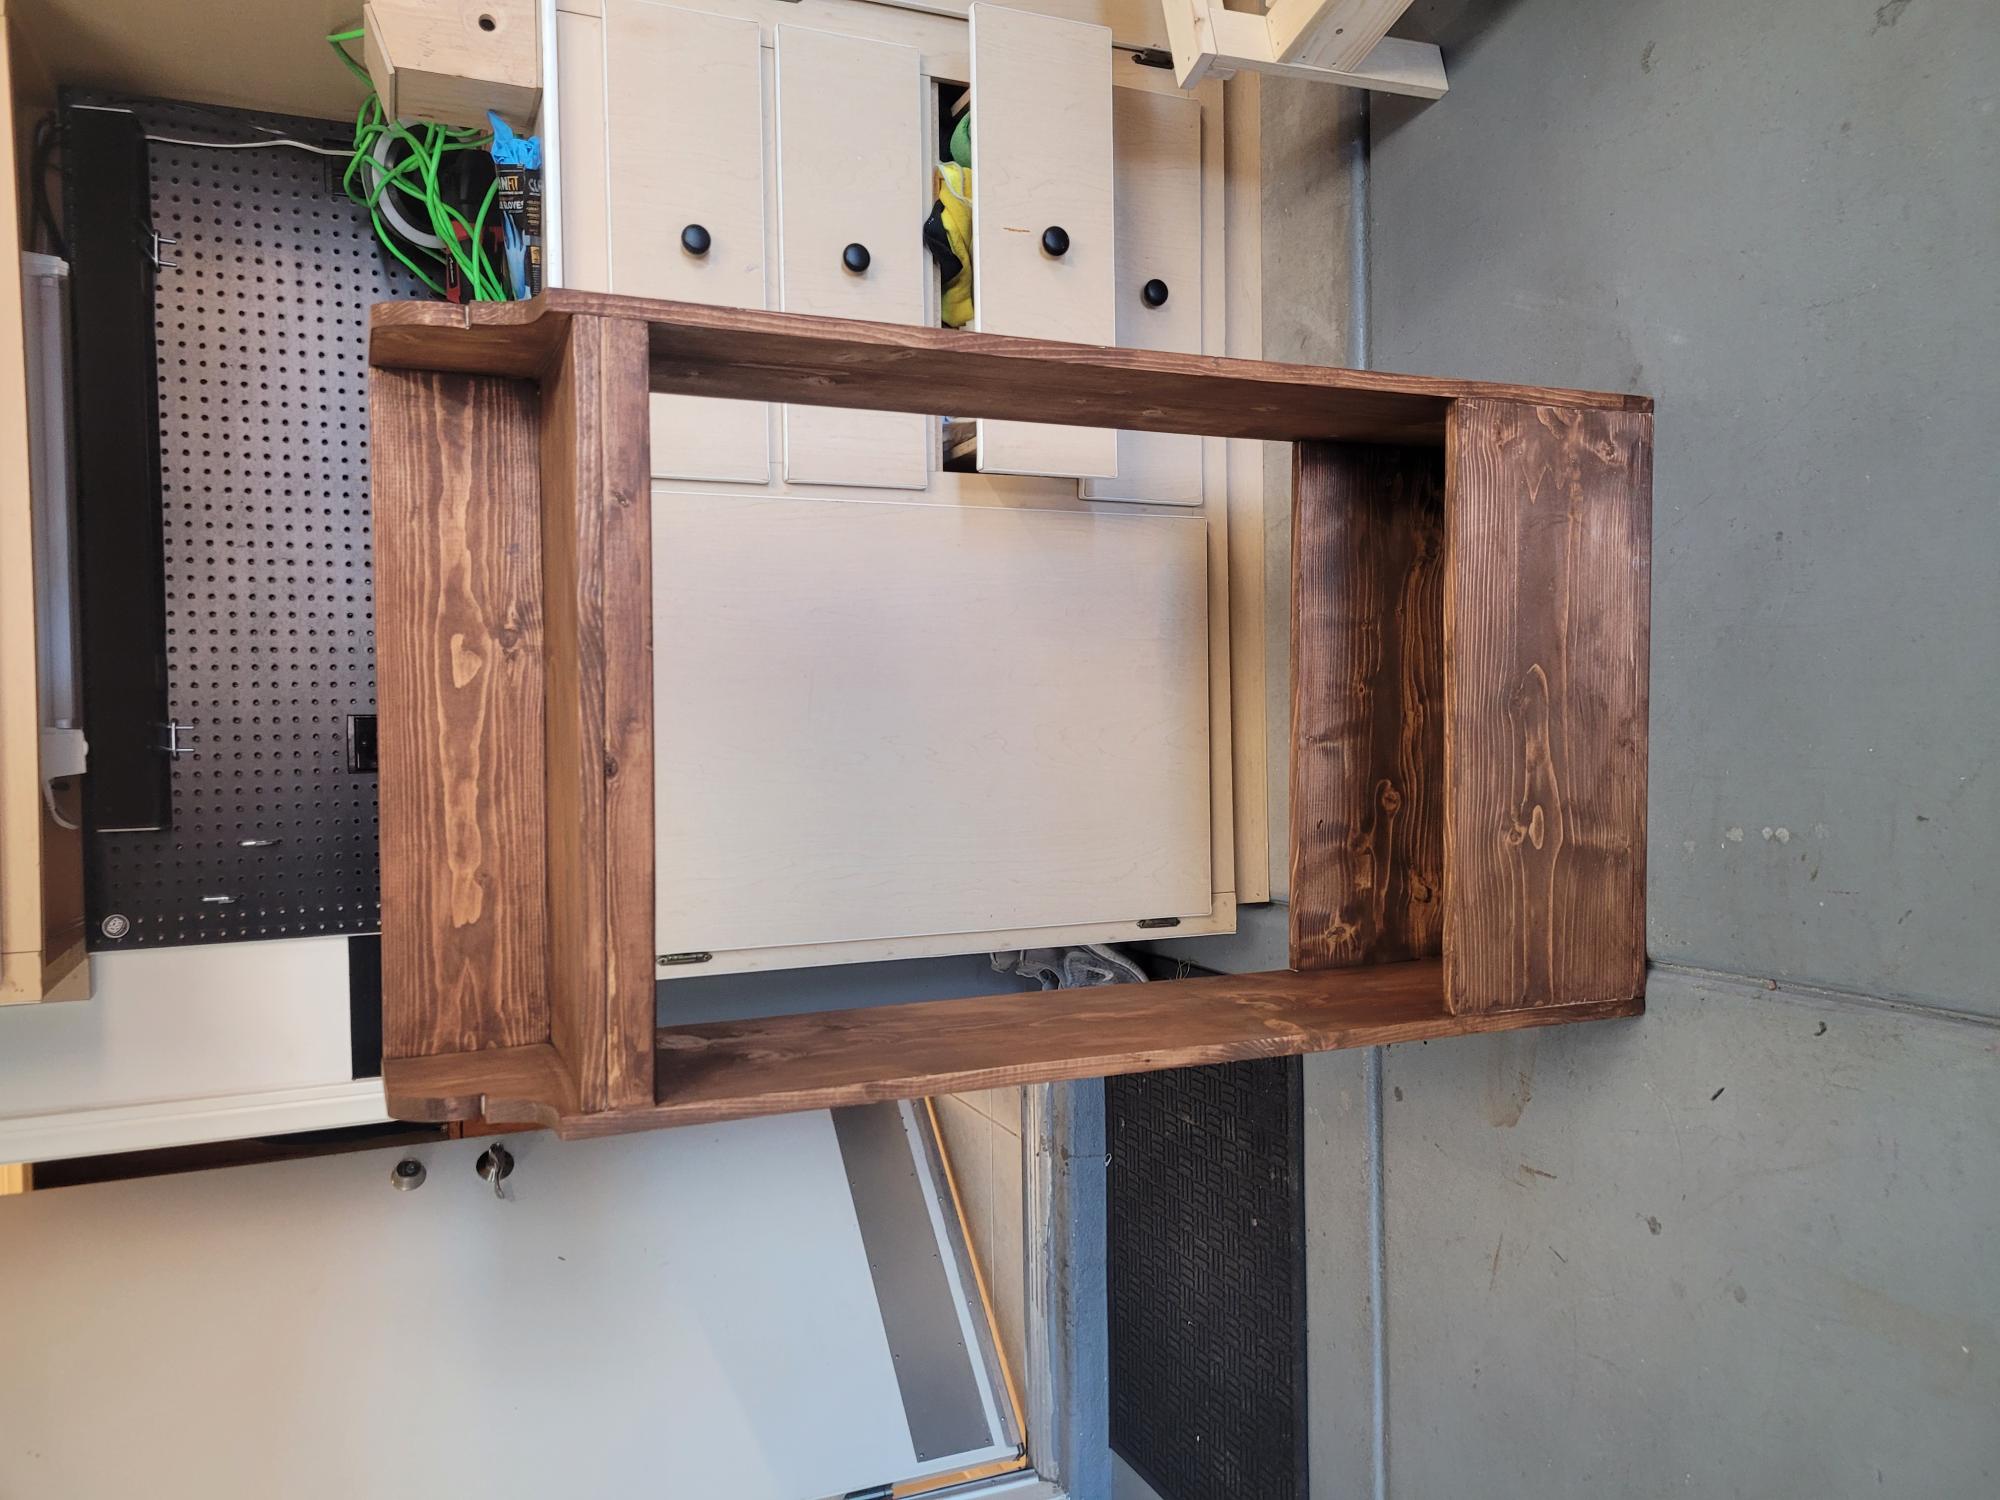
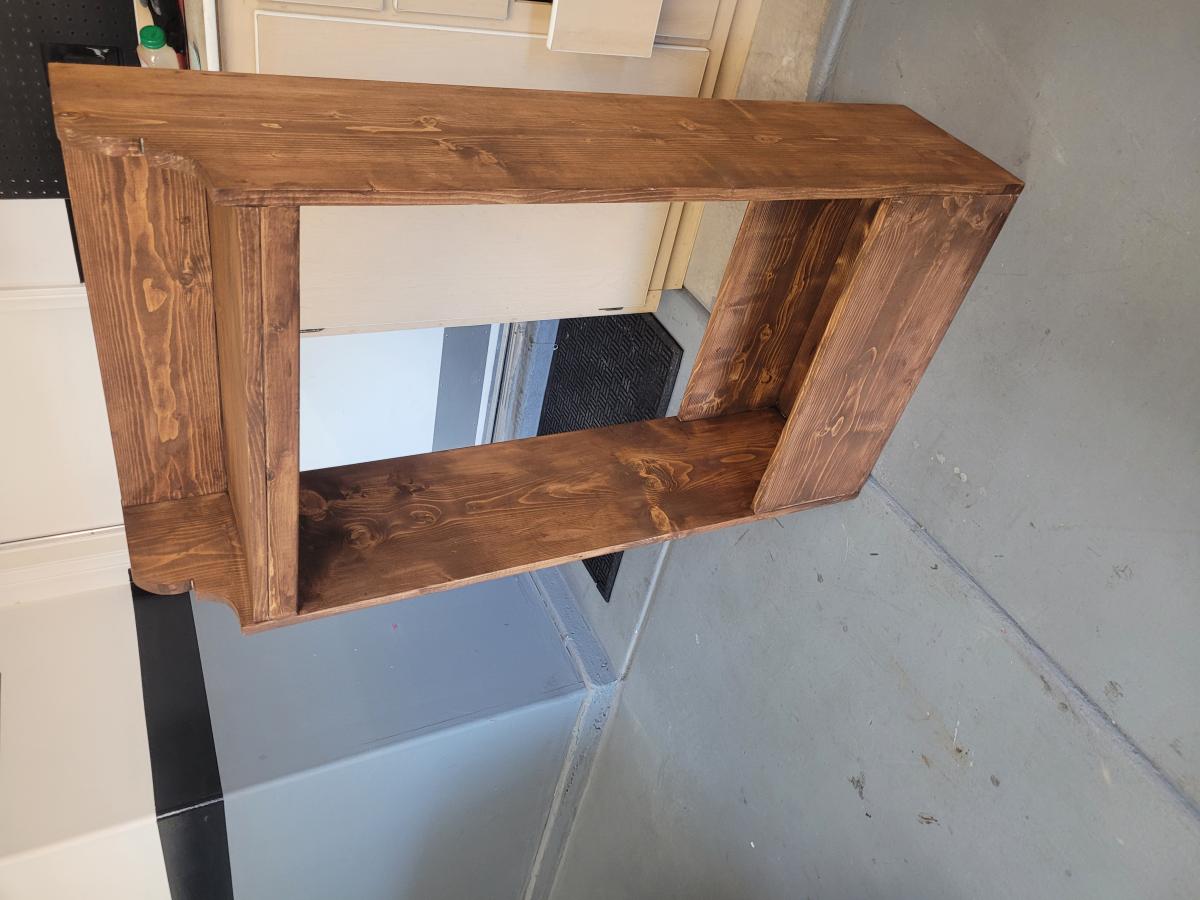
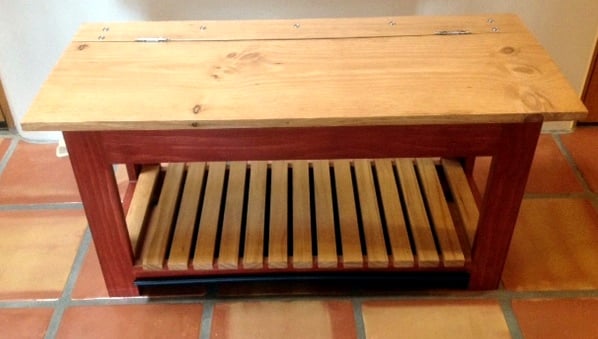
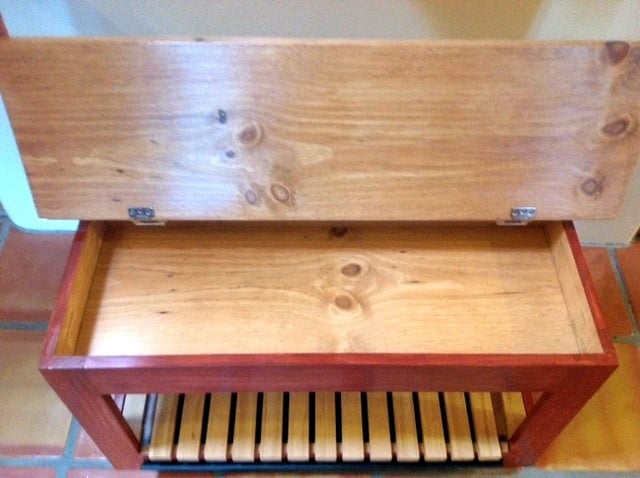
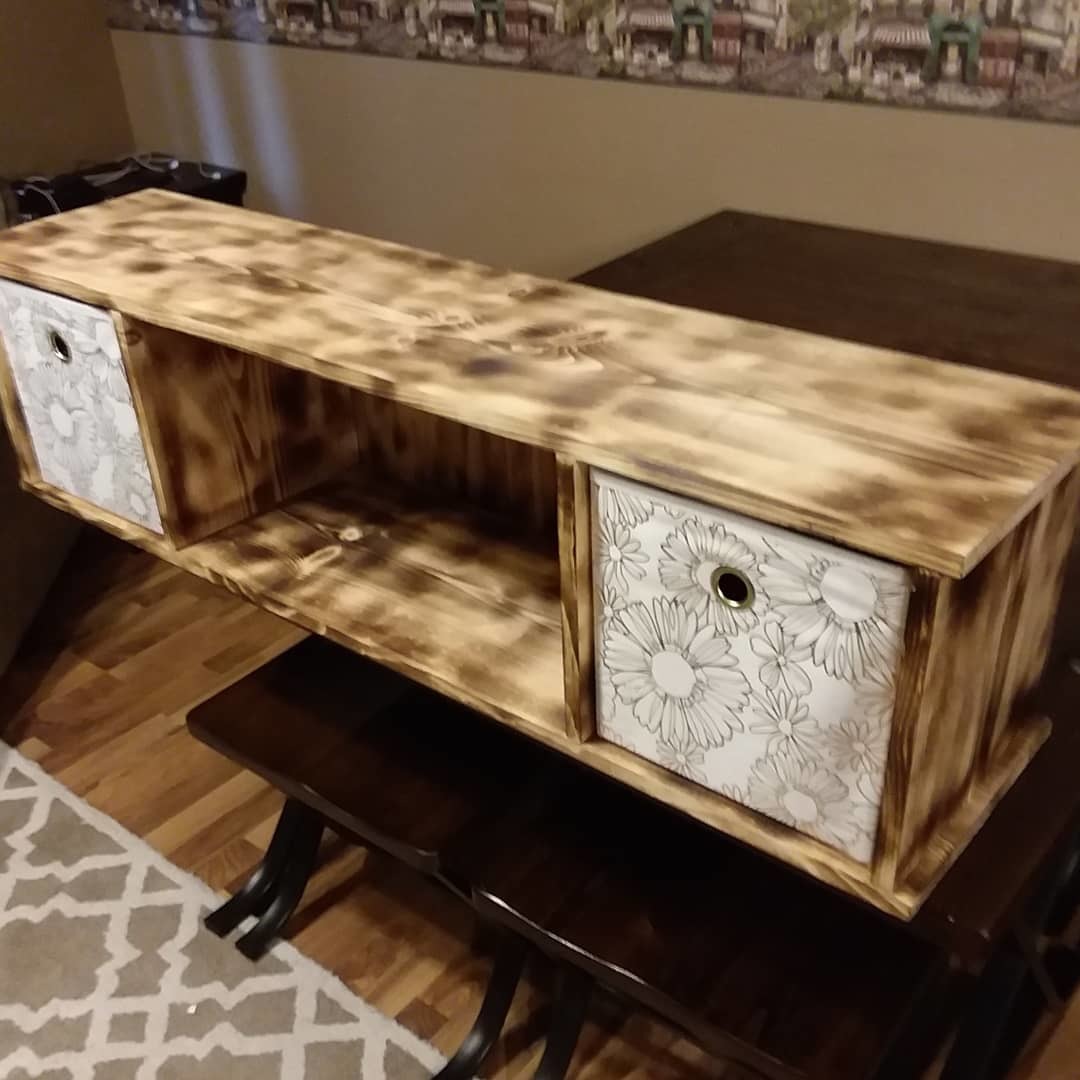
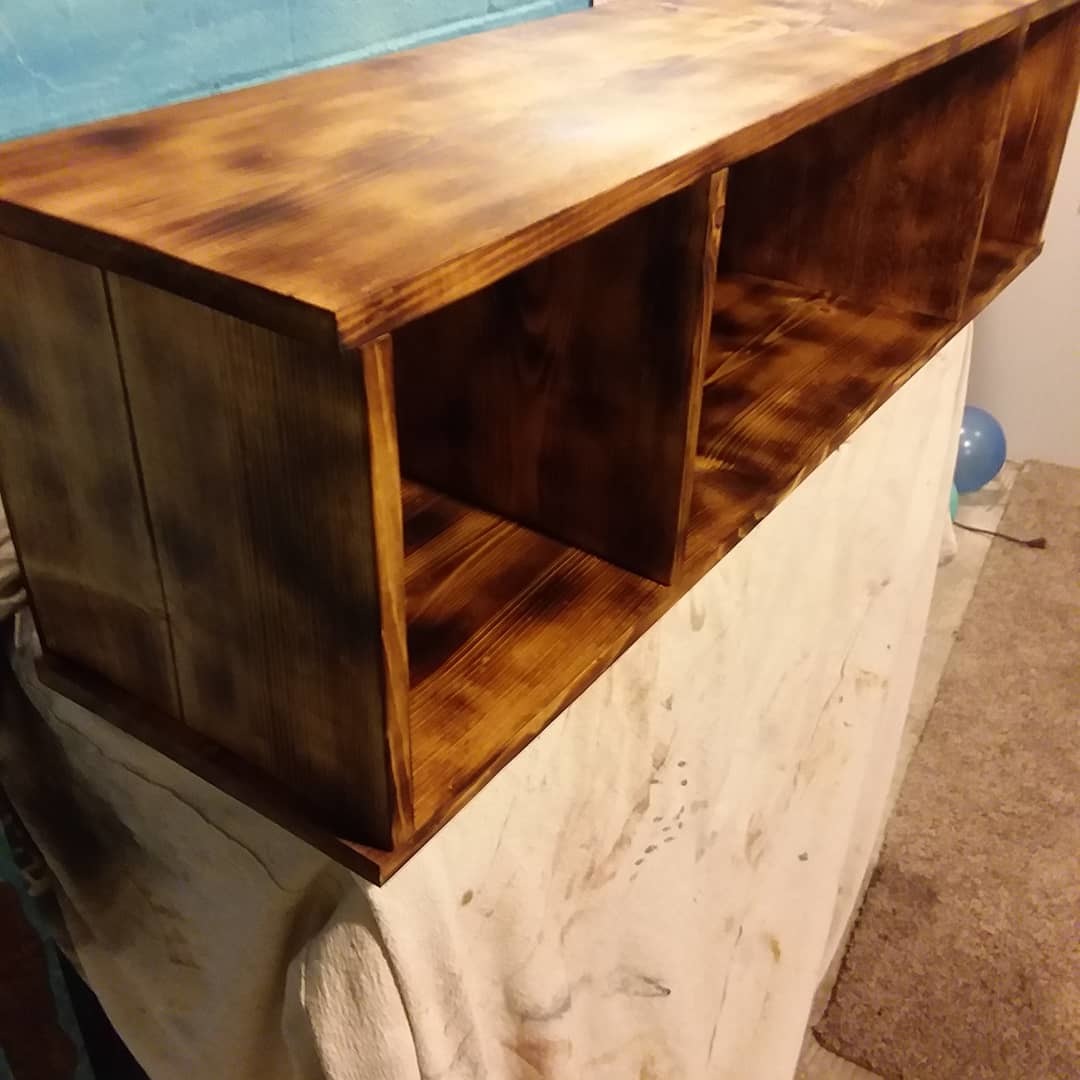
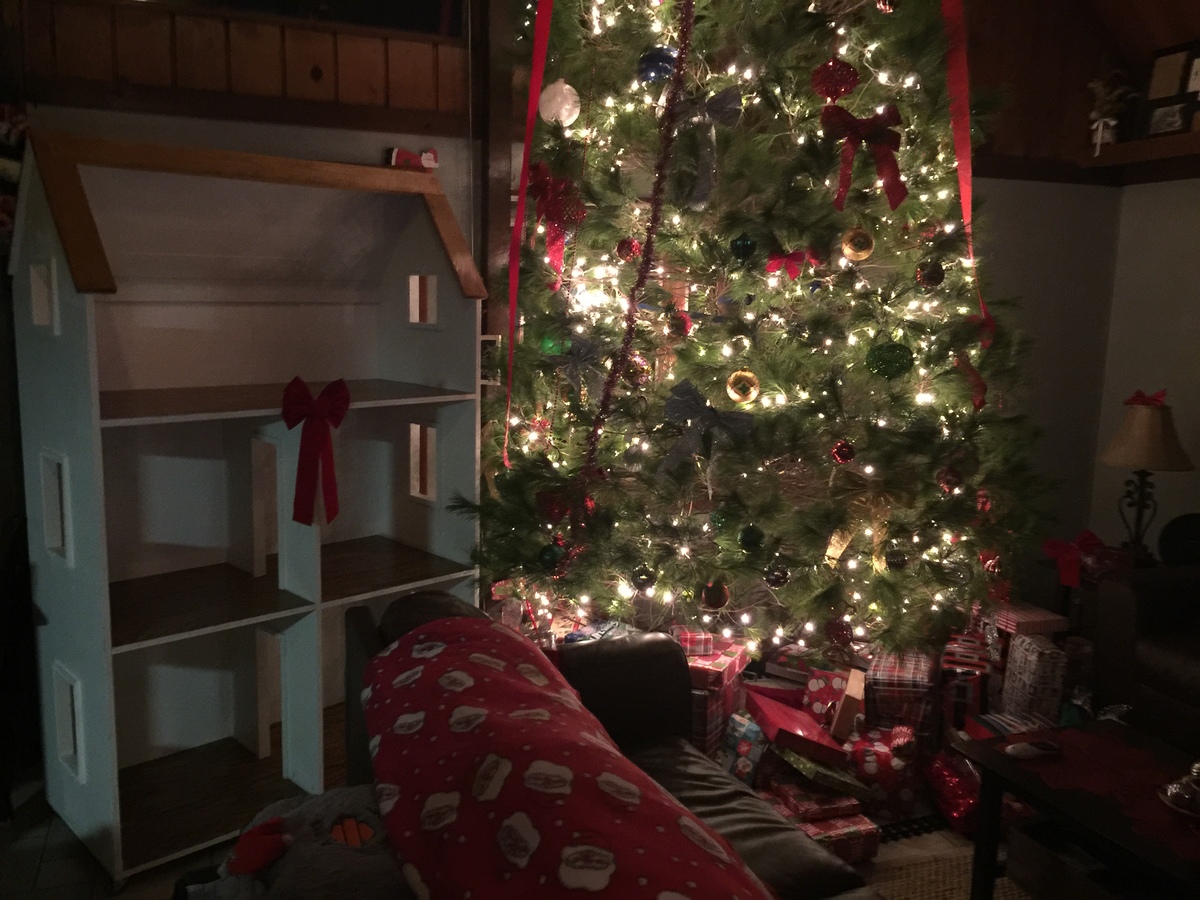
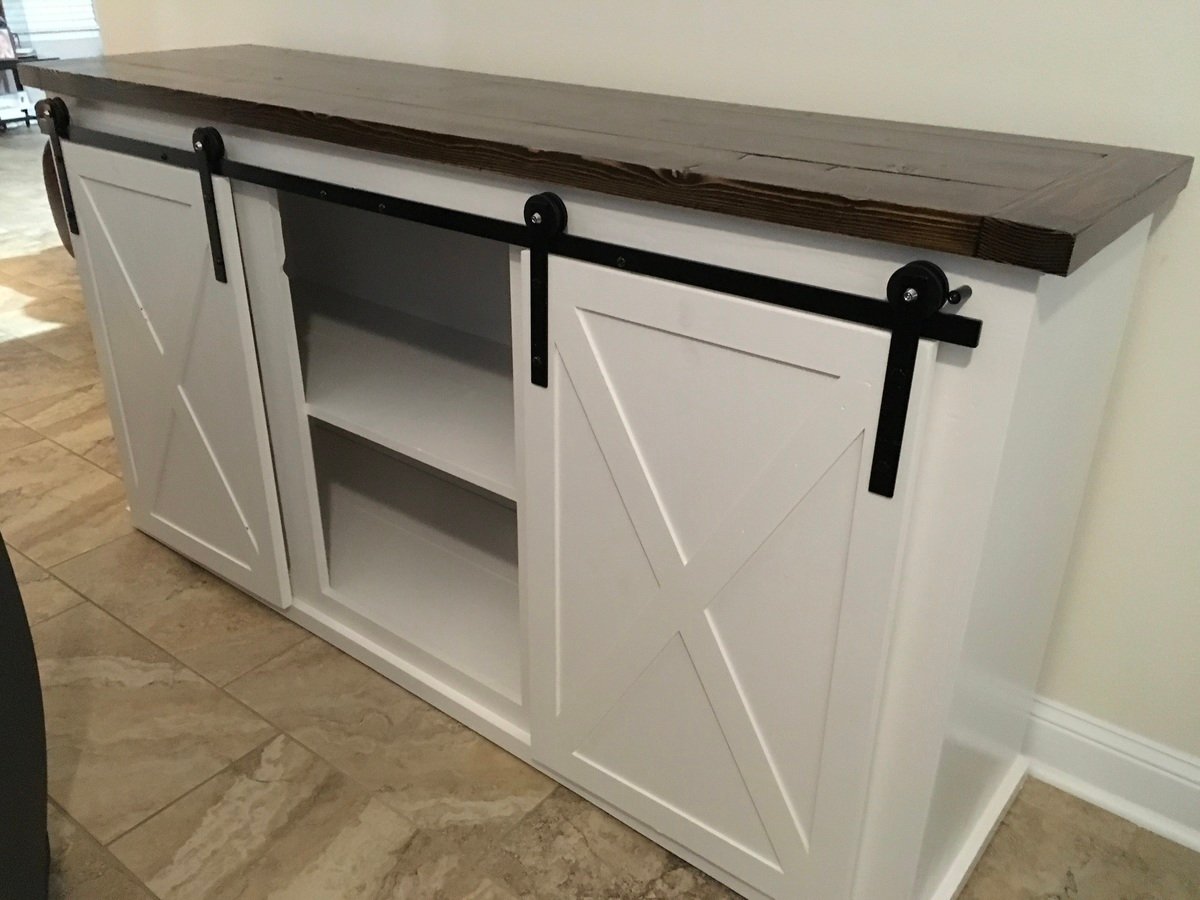
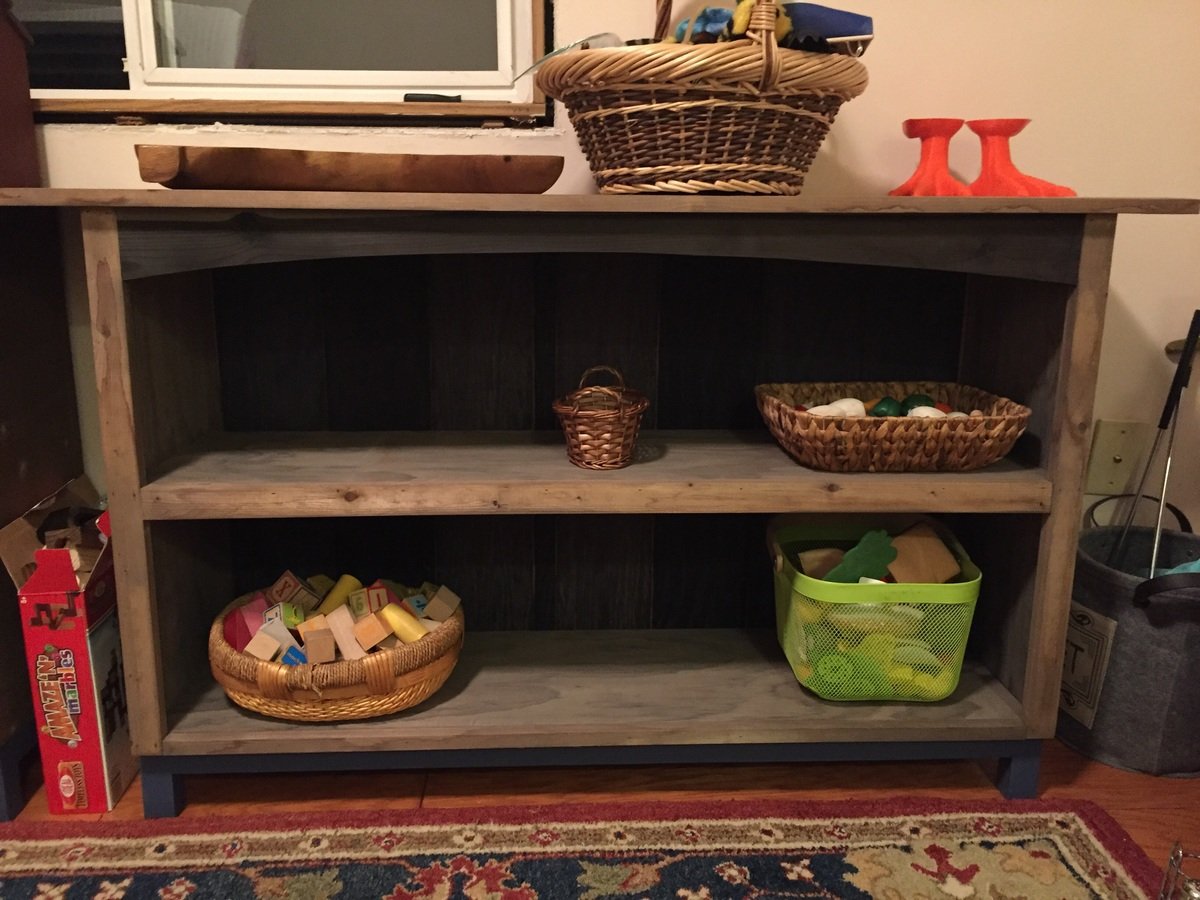
Craftsman Style Toy Shelves
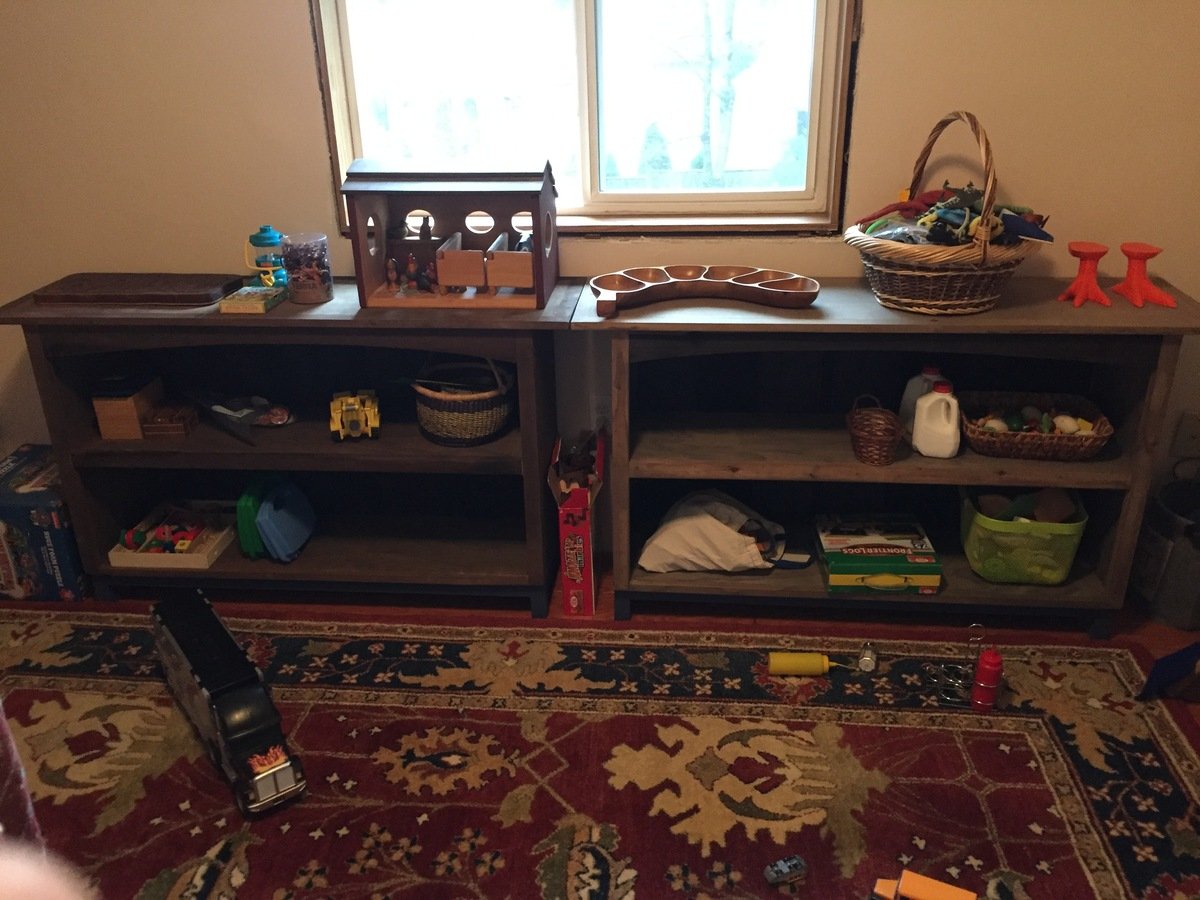
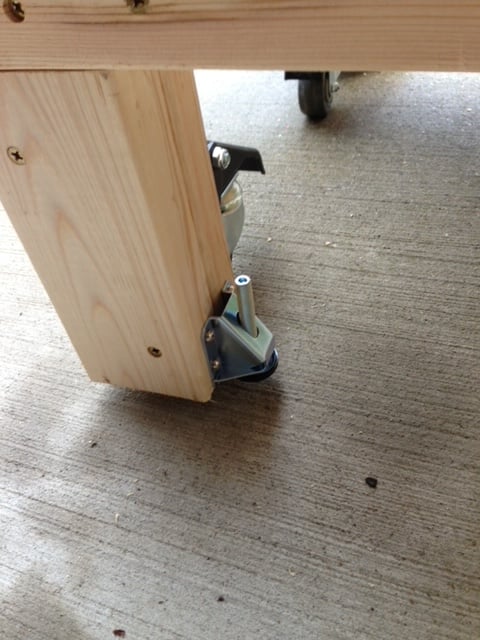
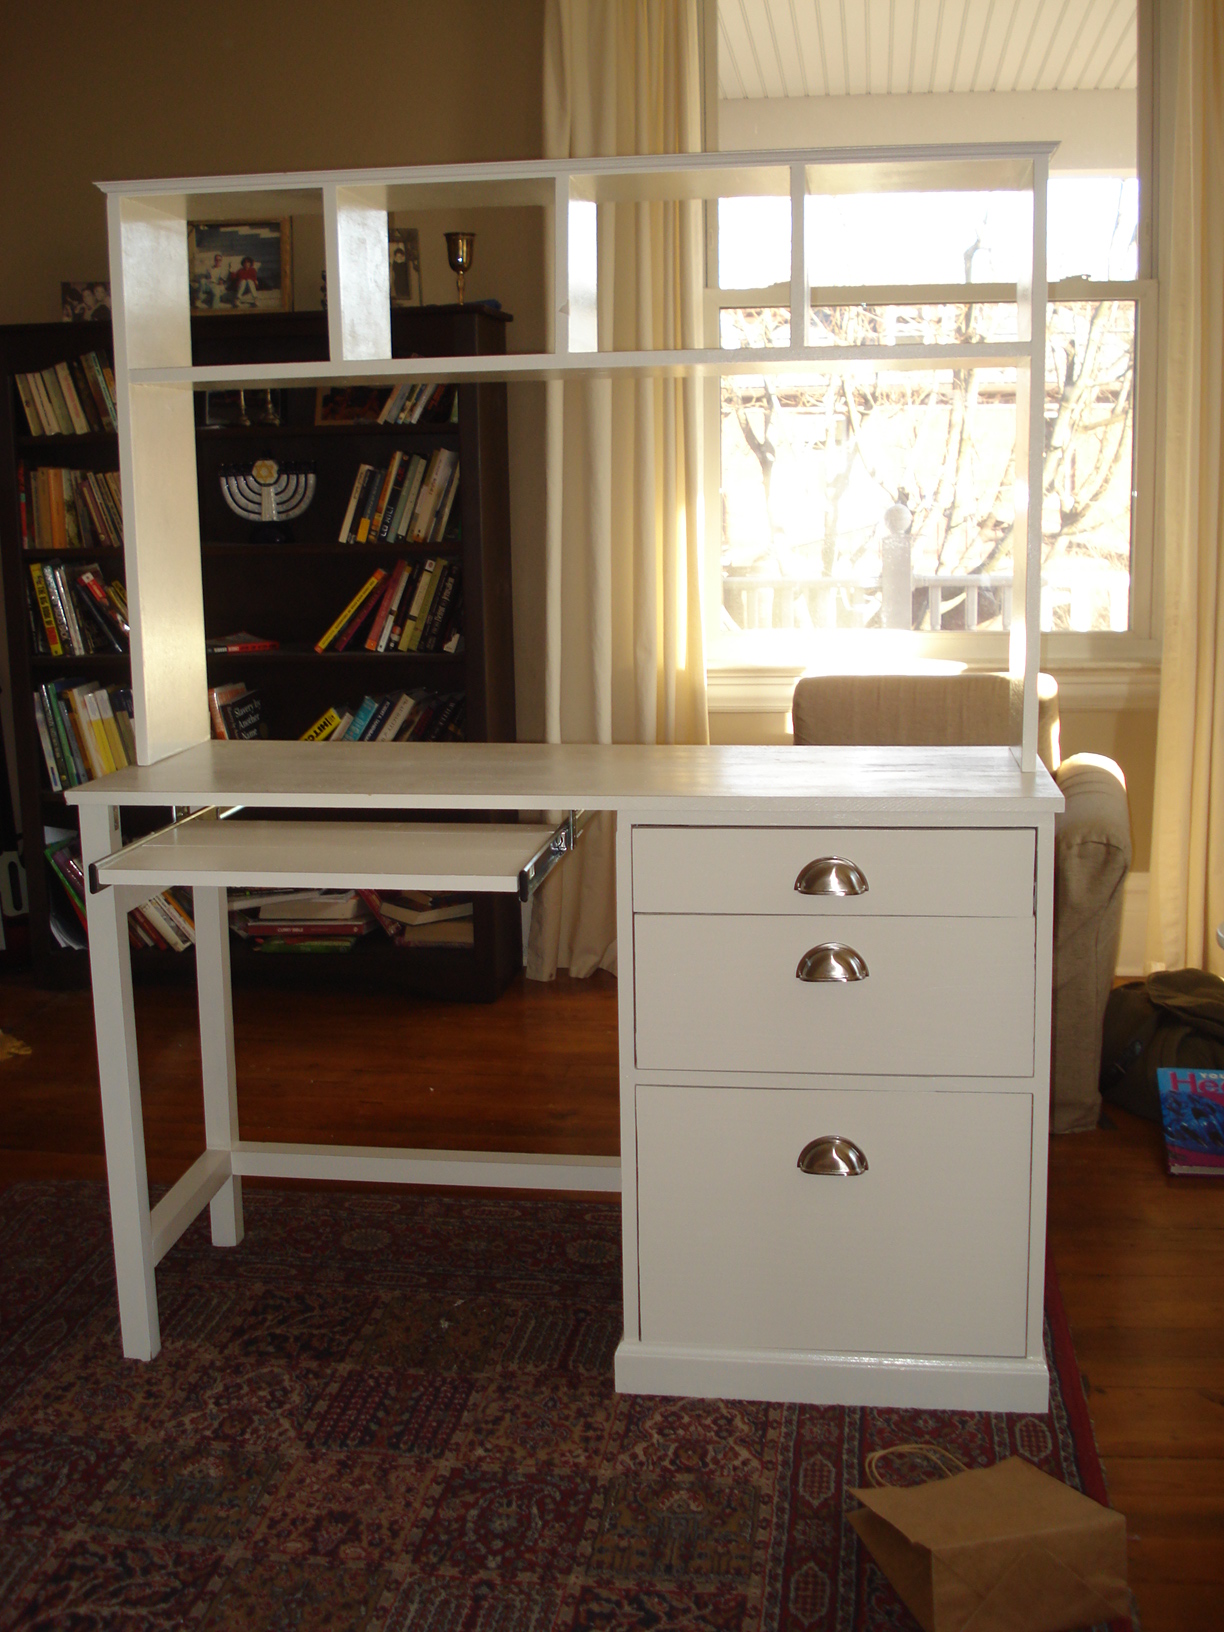
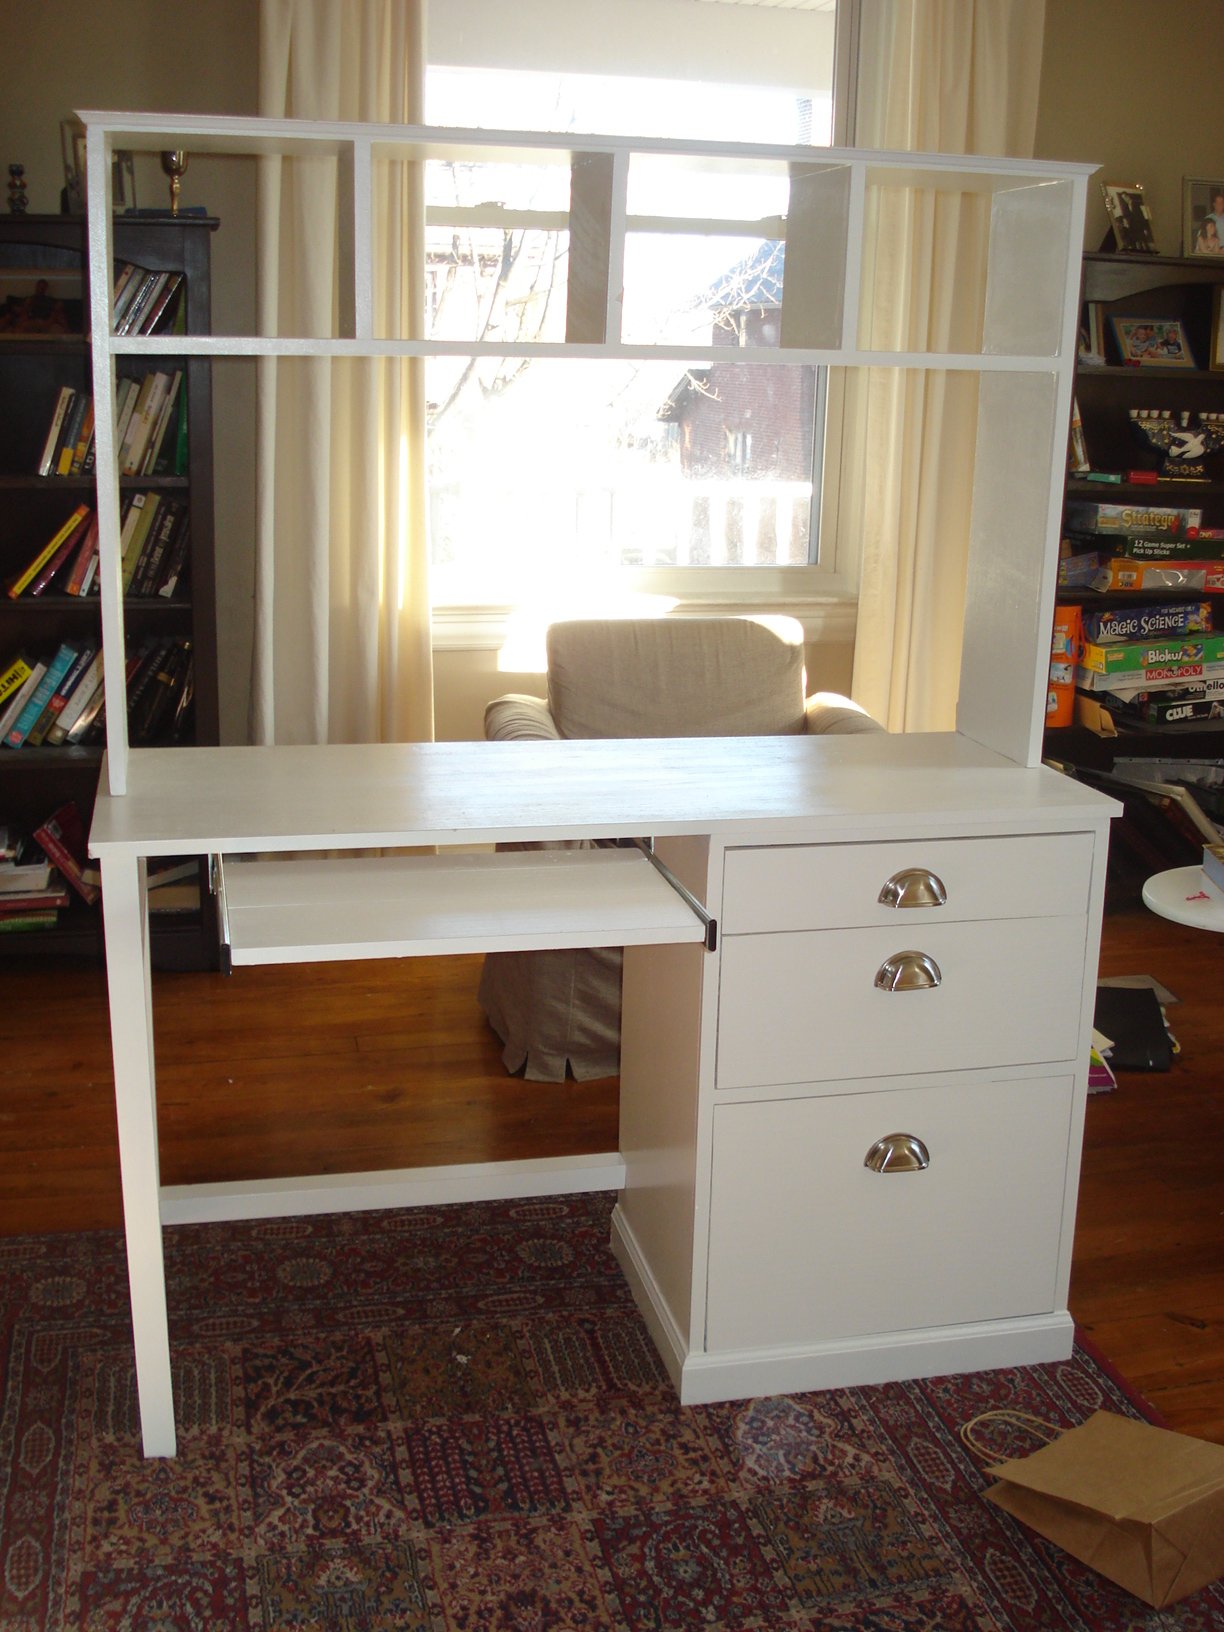
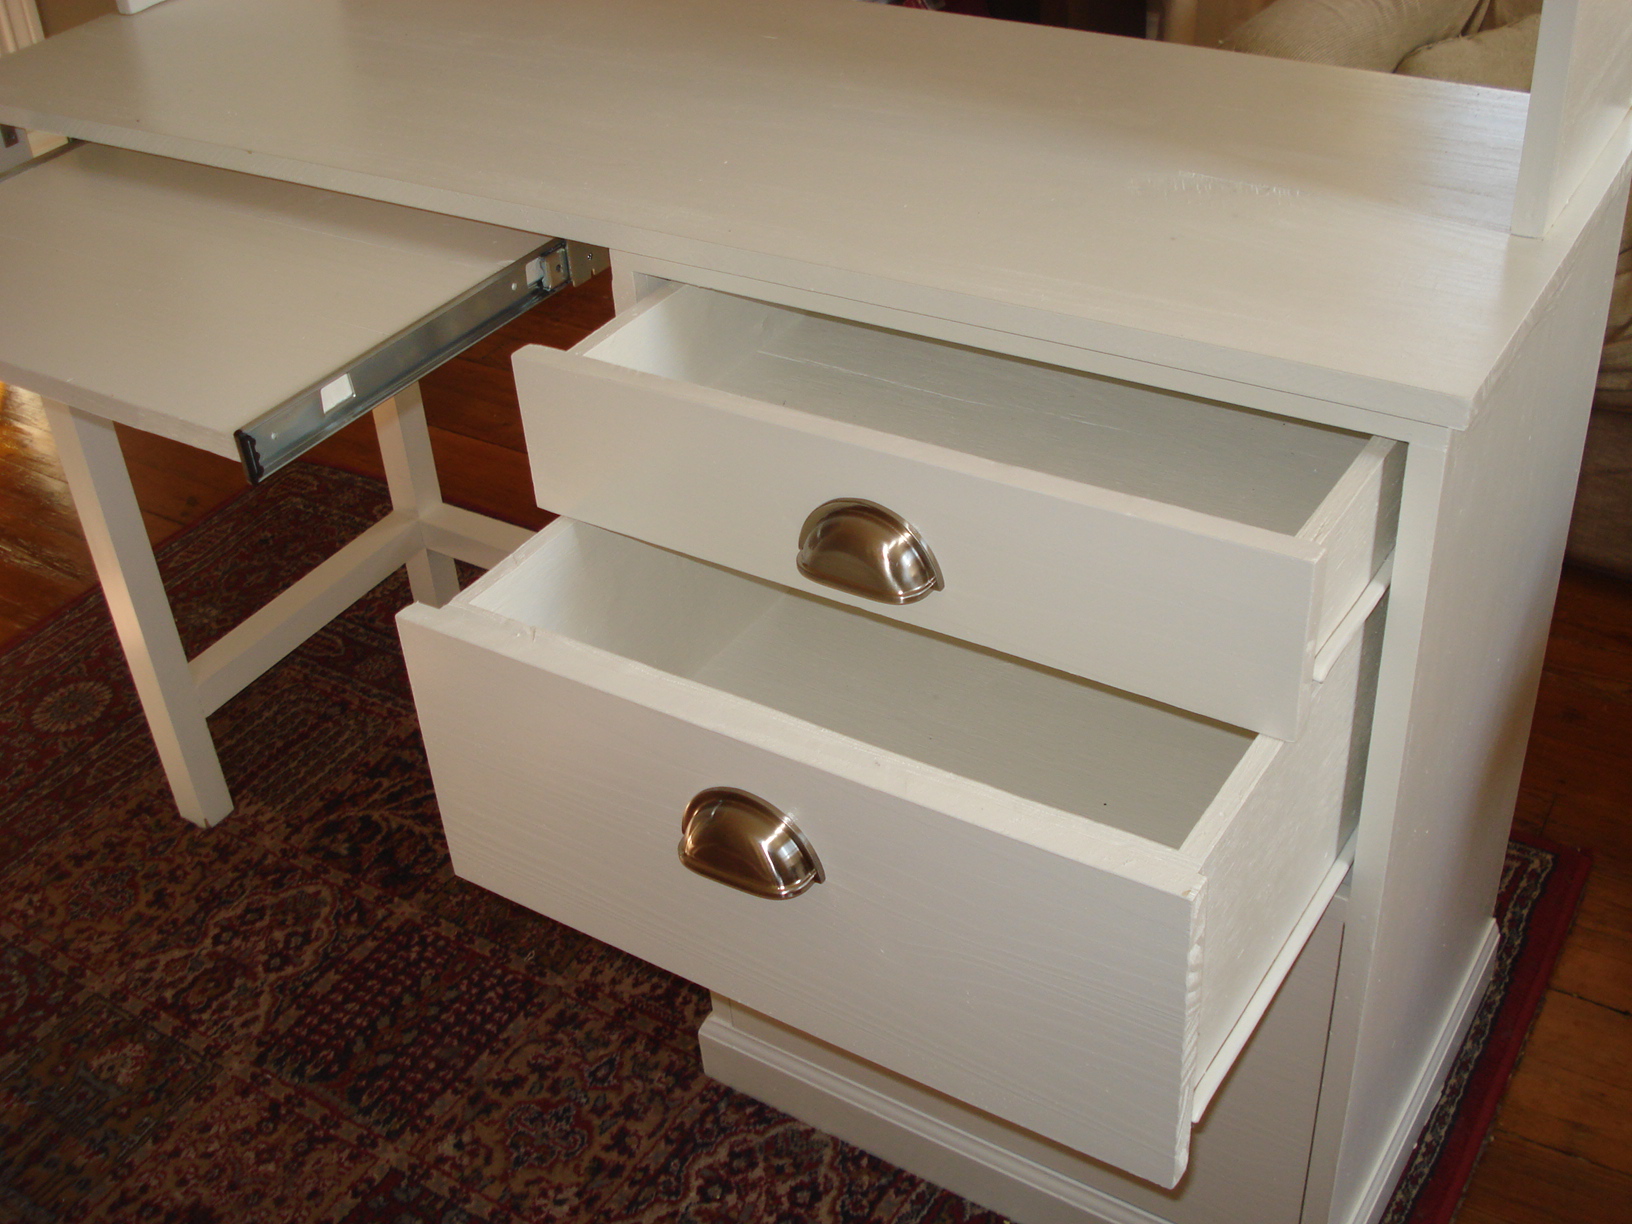
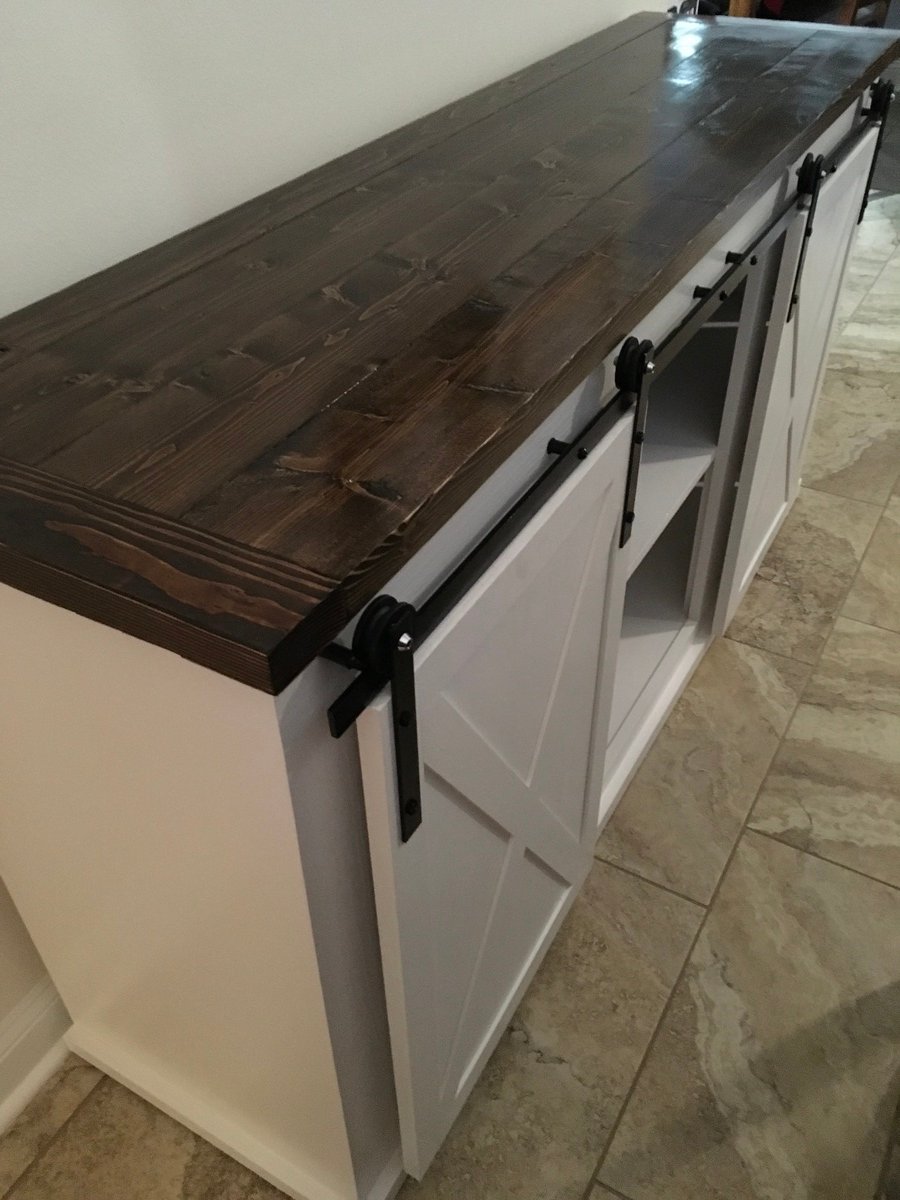
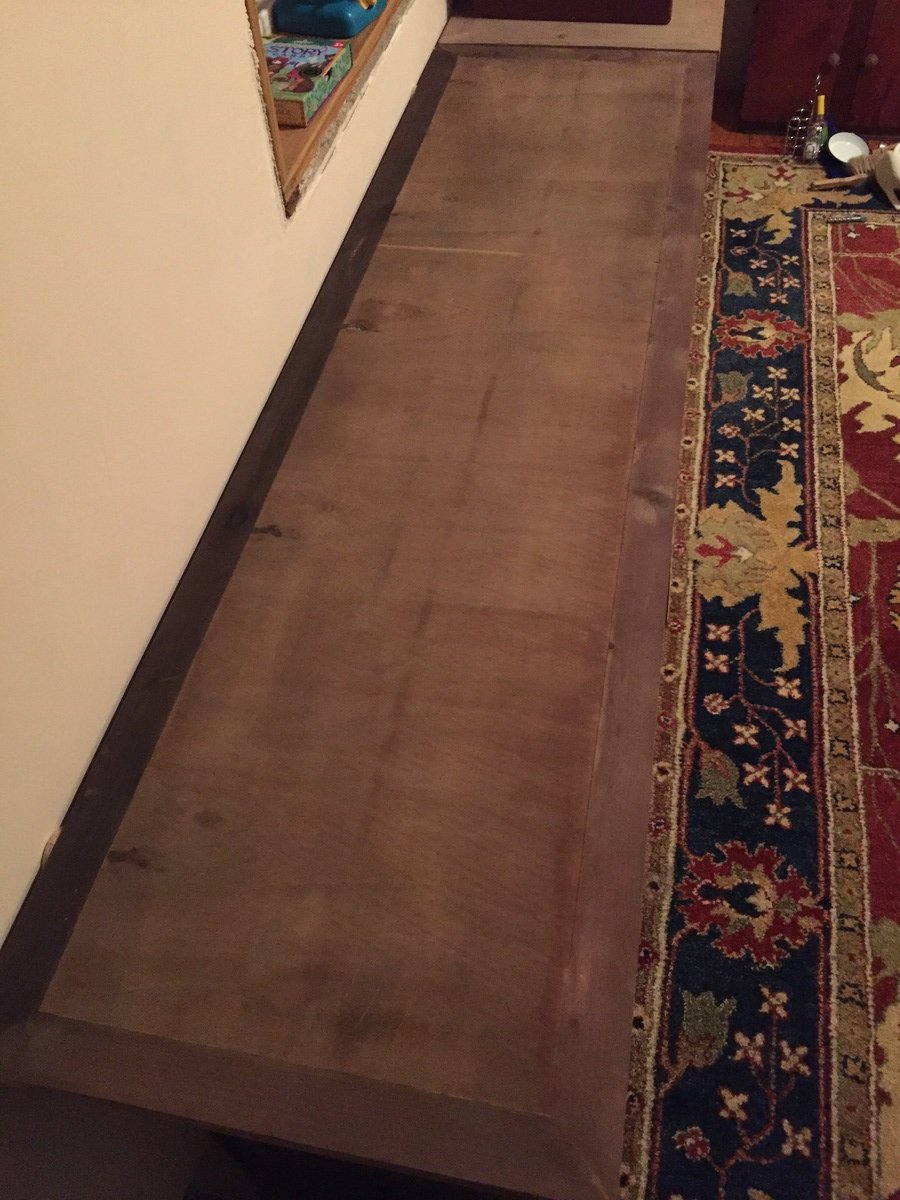
These were such a gratifying project to build! Used a 1x4” for the top front frame and cut a curve in it to give a Craftsman vibe. I really like the look of the retired IKEA Norna bookcase and that inspired the 2x2” framed base painted in a contrasting color. I also finished the top with a full 1x2” frame with mitered corners to make it look more “finished.” If I were to do it again, I’d cut the top plywood shorter to create less overhang on the sides. Eventually I’d like to paint a design in white paint on the top!
Built from Plan(s)
Estimated Cost
$100
Estimated Time Investment
Weekend Project (10-20 Hours)
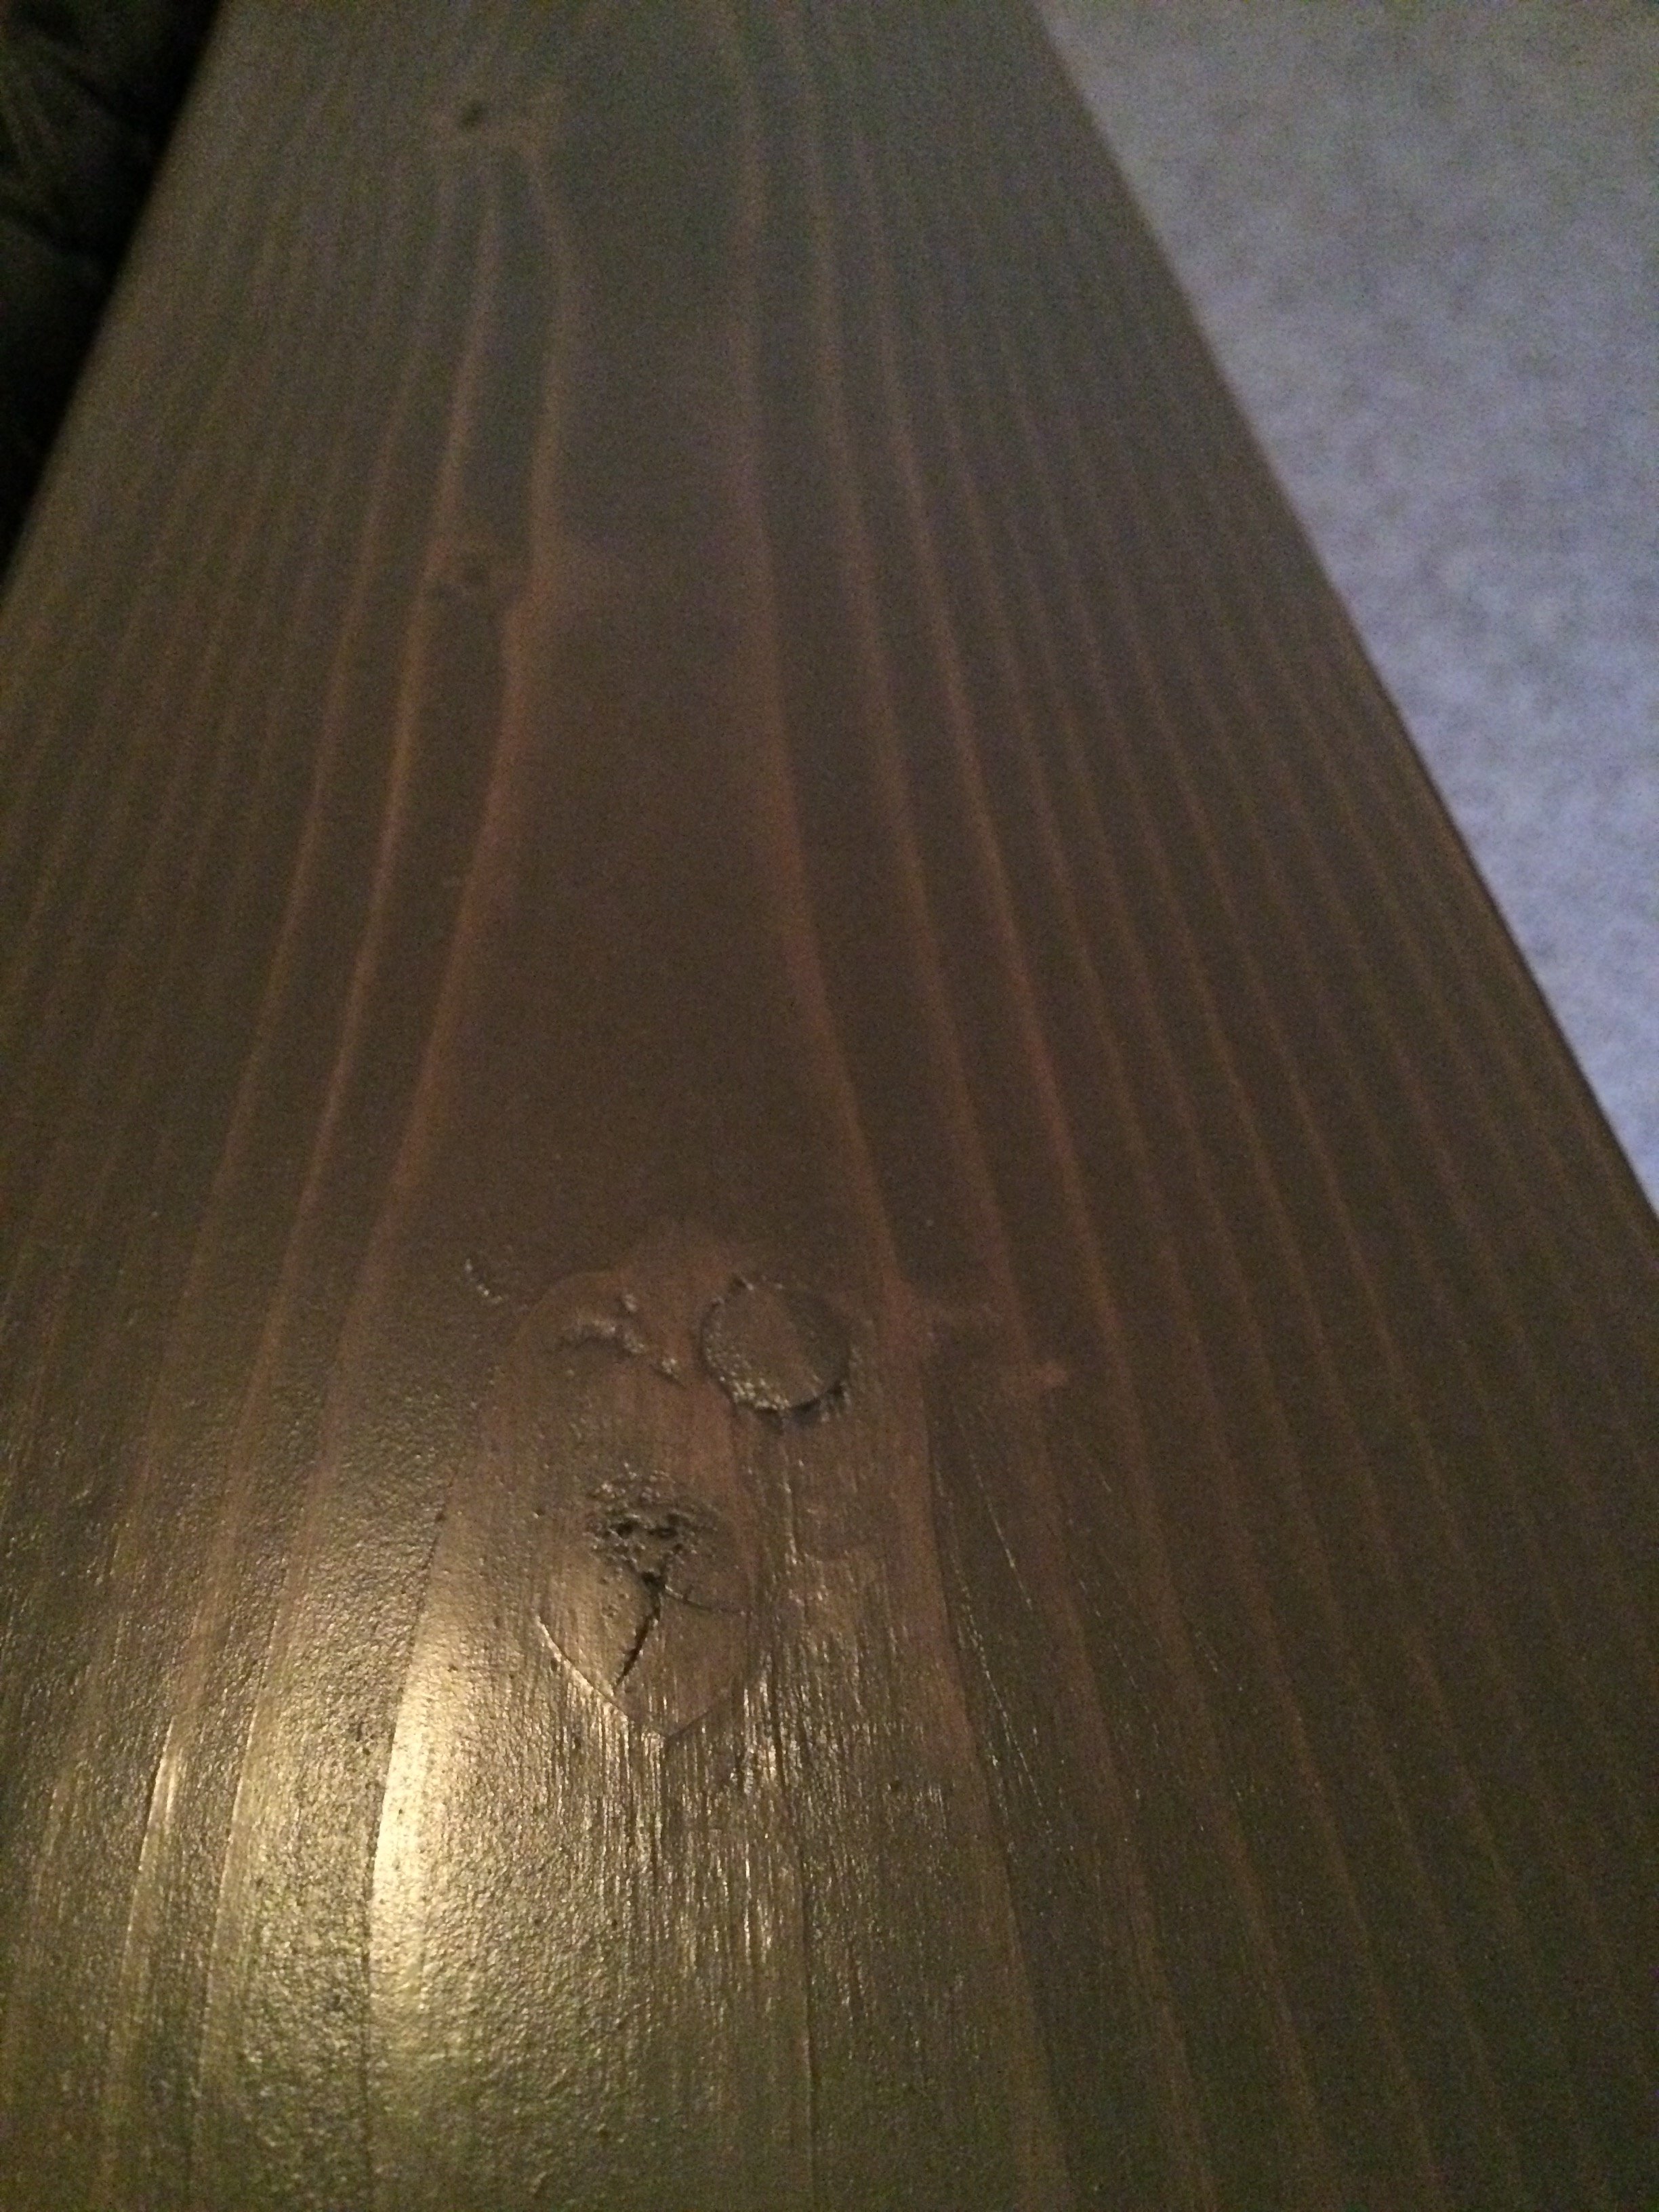
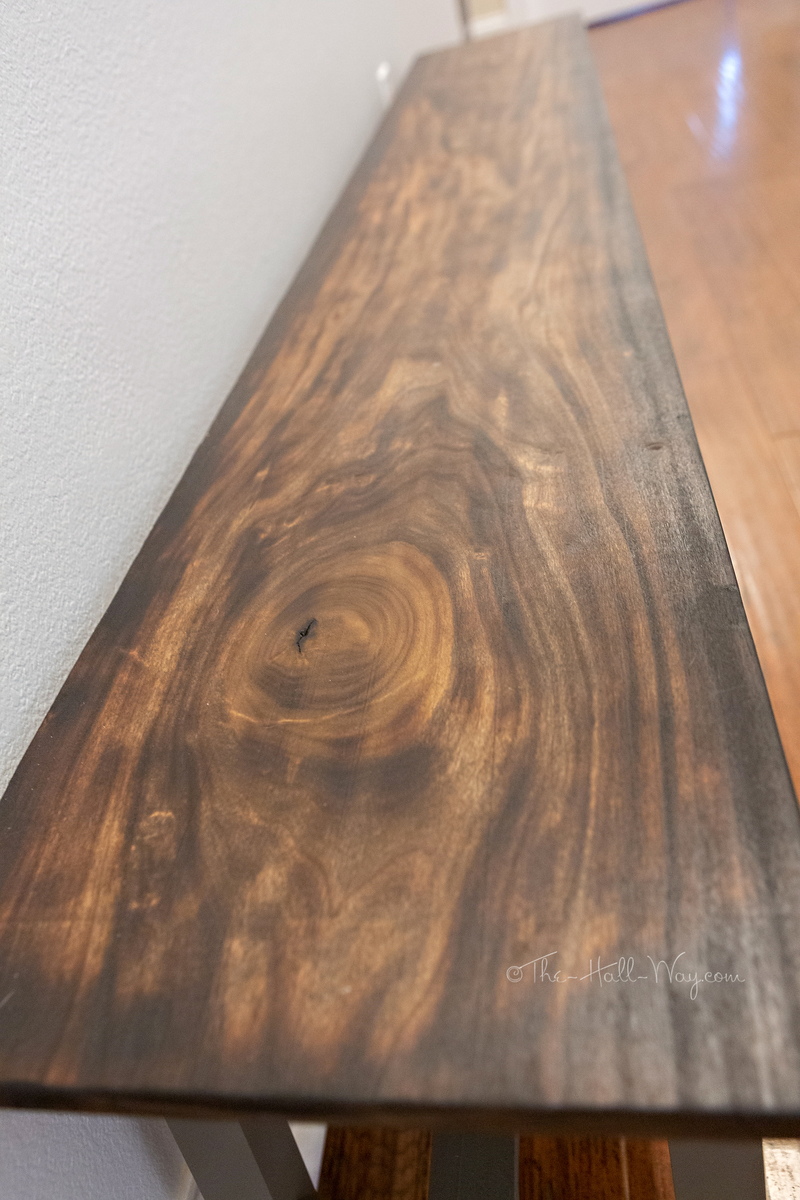
Finish Used
Pretreated with strong black tea, steel wool & vinegar stain
Recommended Skill Level
Beginner