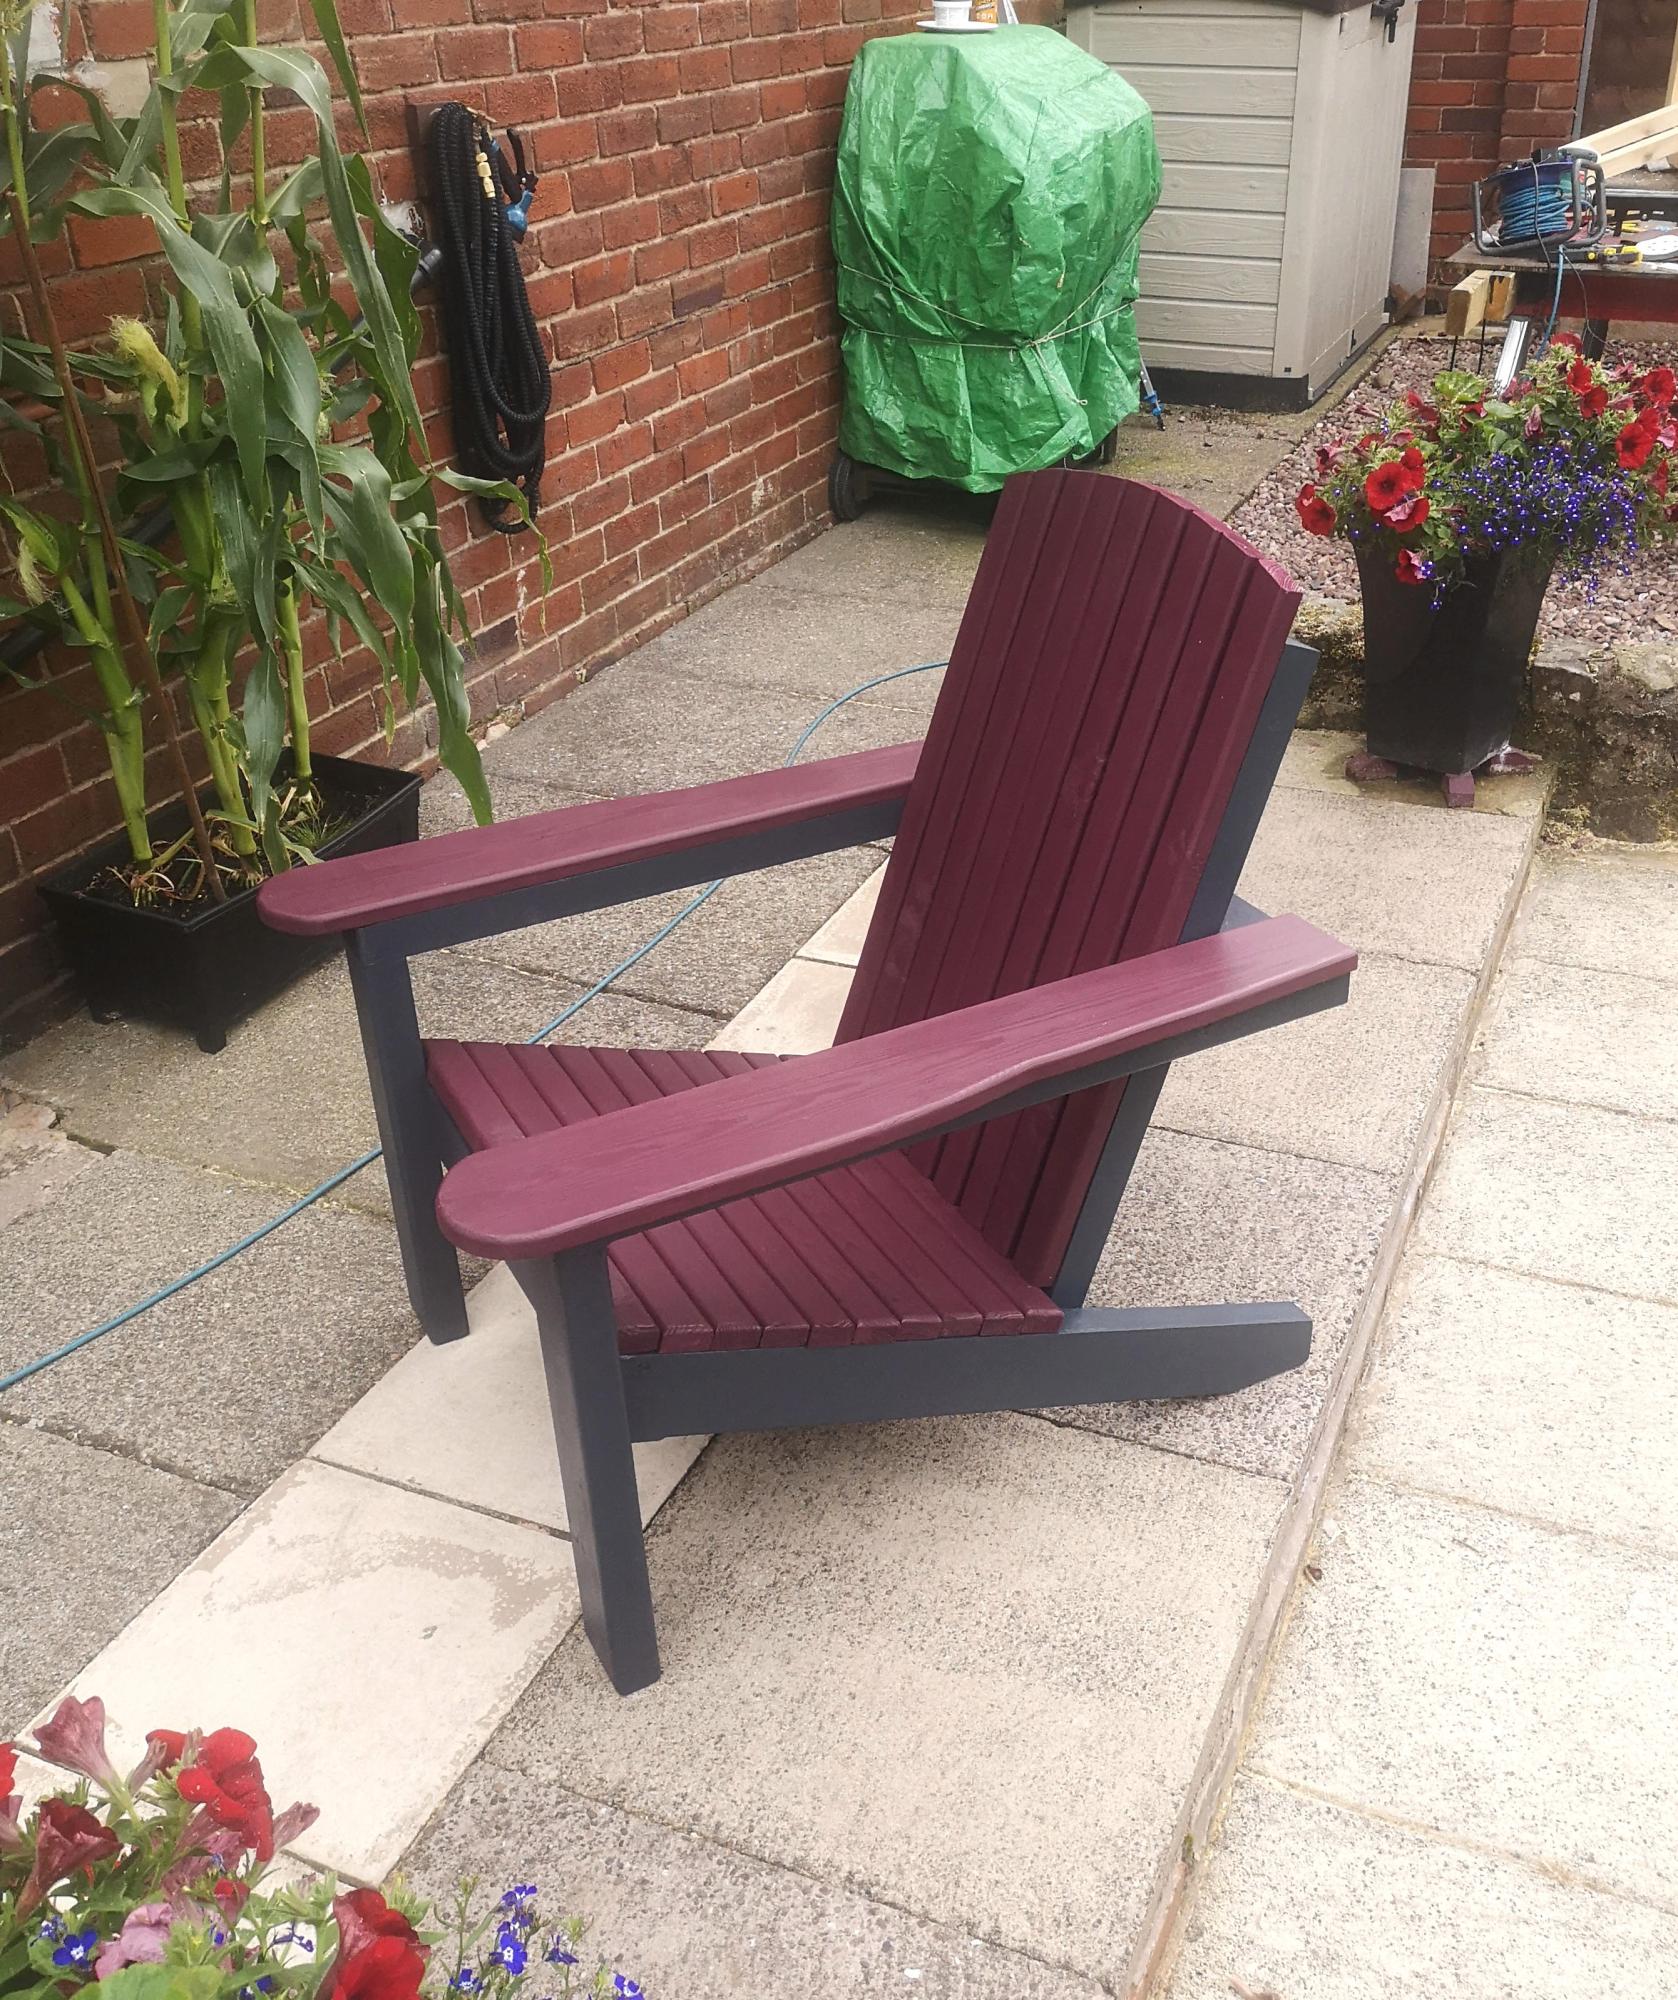
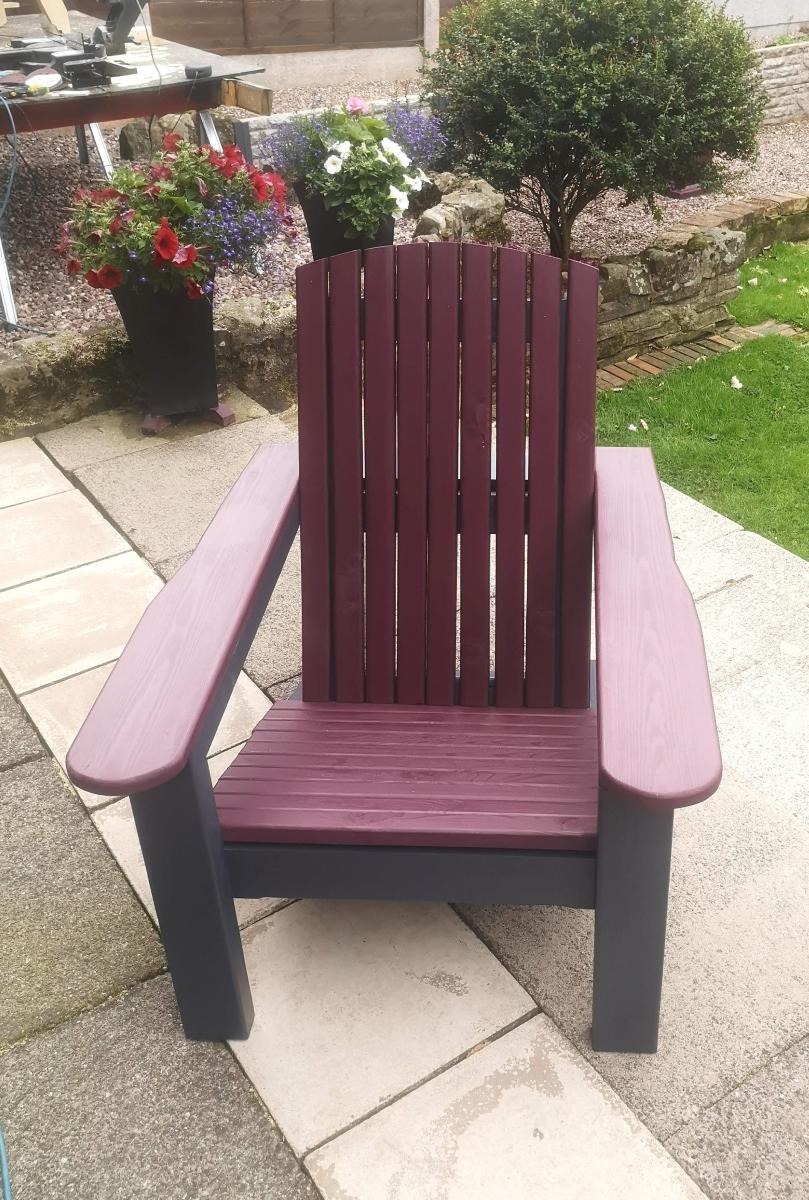
Custom Adirondack Chair
Hello Ana
Just a quick e mail to say how pleased I am with your chair plans , I did add a few extras hope you don't mind.

Built from Plan(s)
Hello Ana
Just a quick e mail to say how pleased I am with your chair plans , I did add a few extras hope you don't mind.
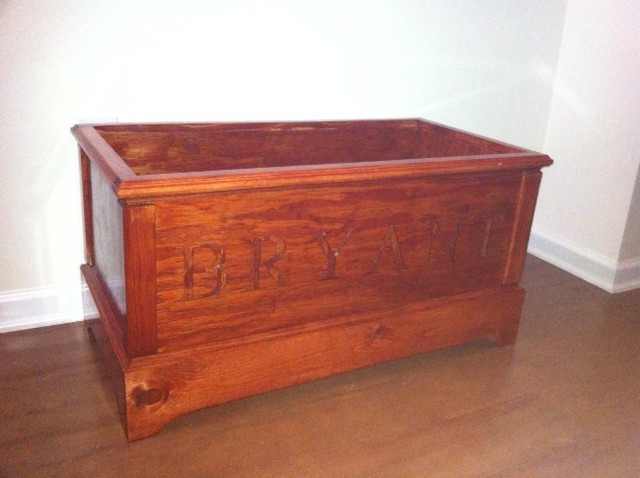
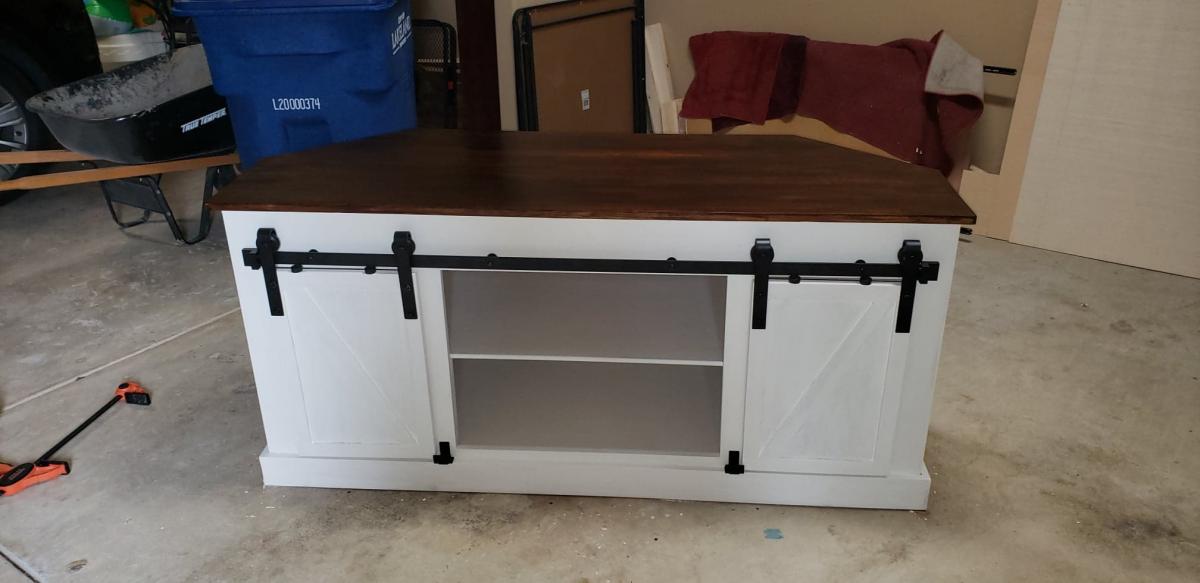
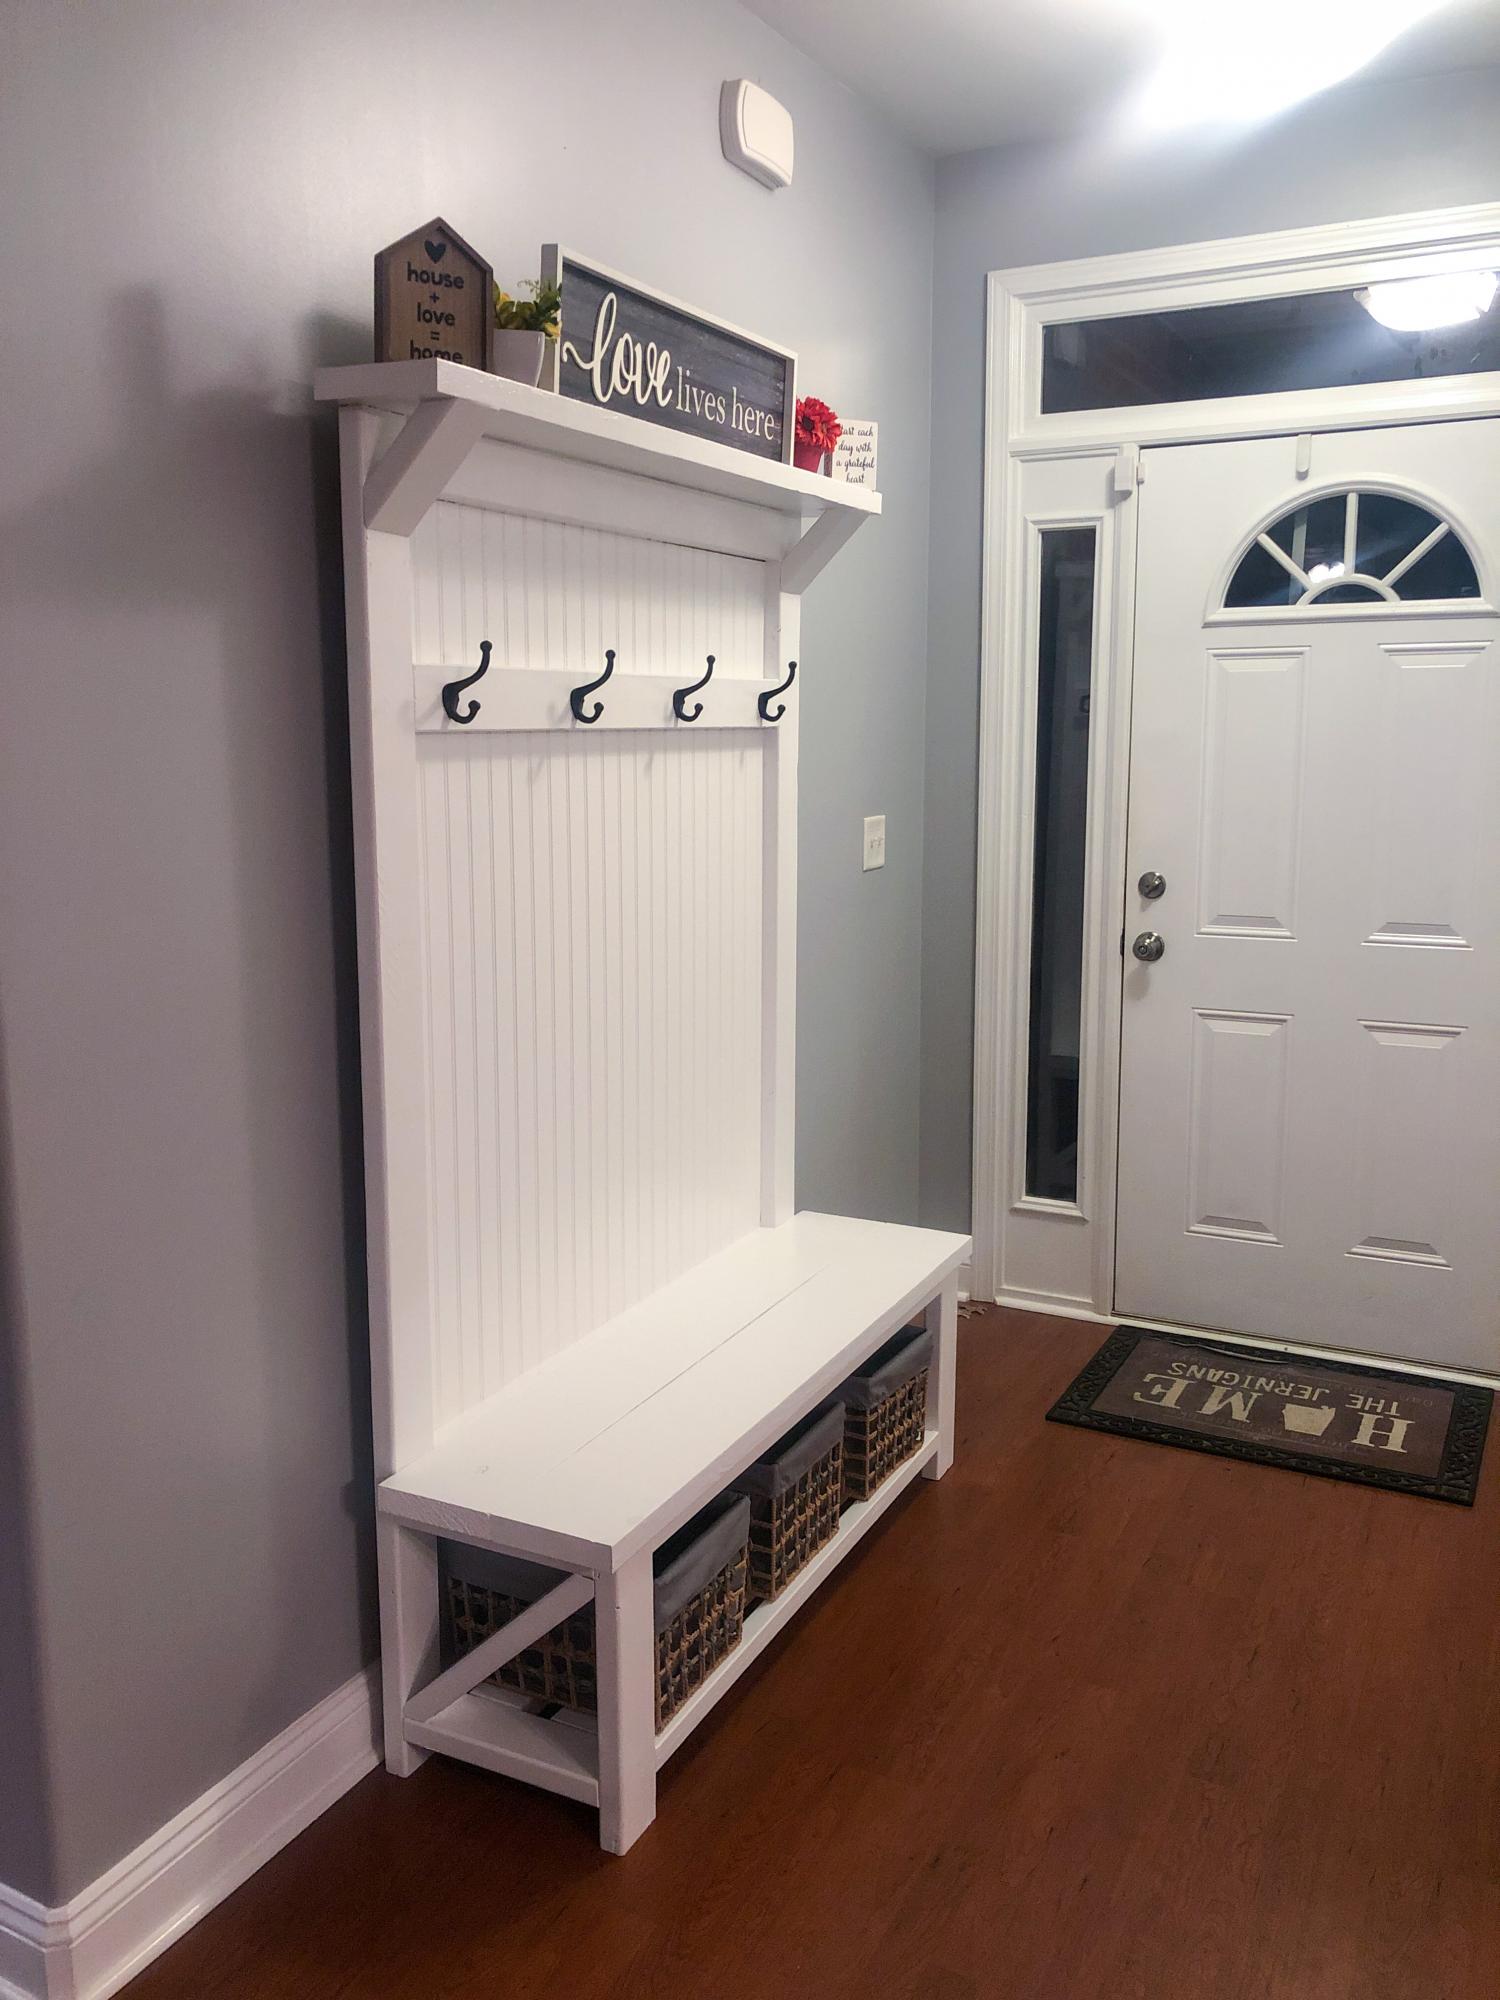
I chose to go with regular plywood, and I used thin pieces of wood to cover the screw holes in the corners. I just rounded the edges of the corner pieces to make them meet up with the molding better. Then I routered the top to smooth it out. I stained and clear coated it instead of painting it. For the lettering I chose to router it out instead of drawing it on.
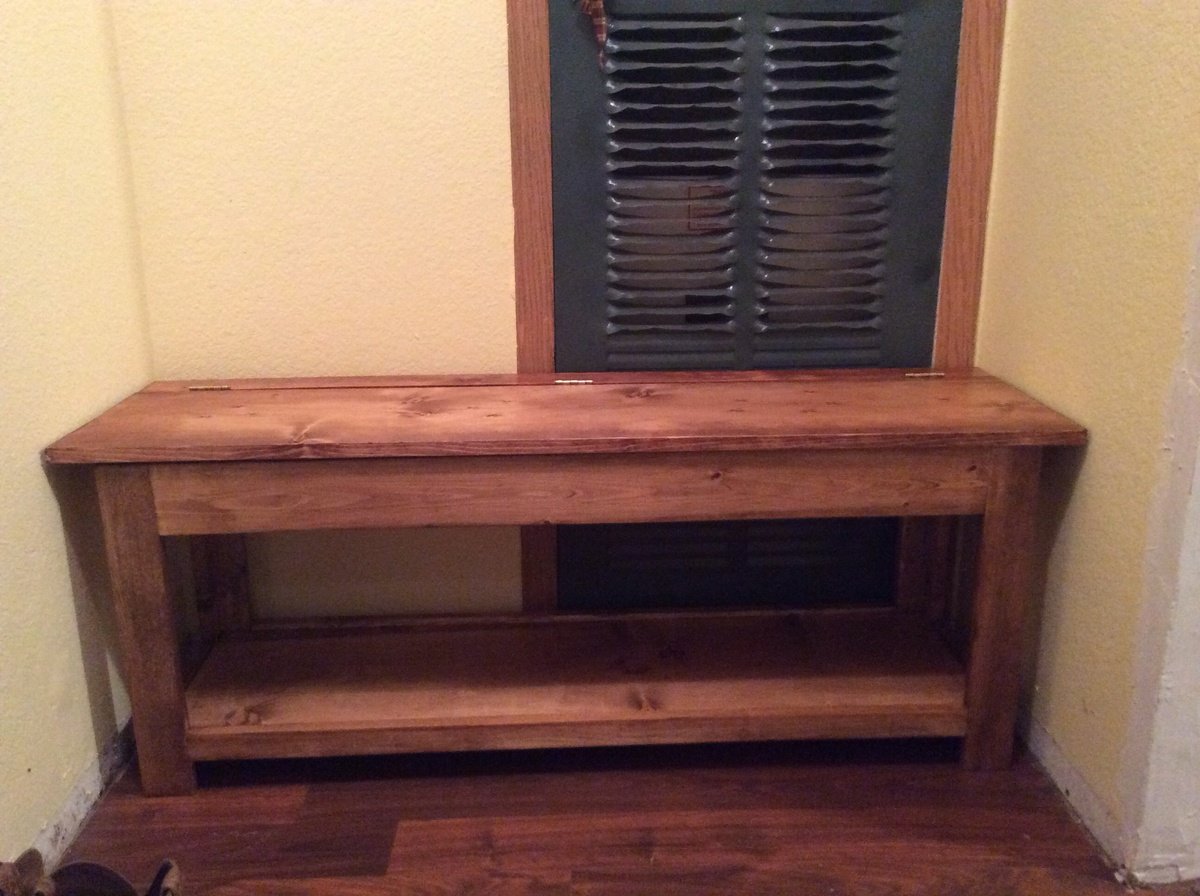
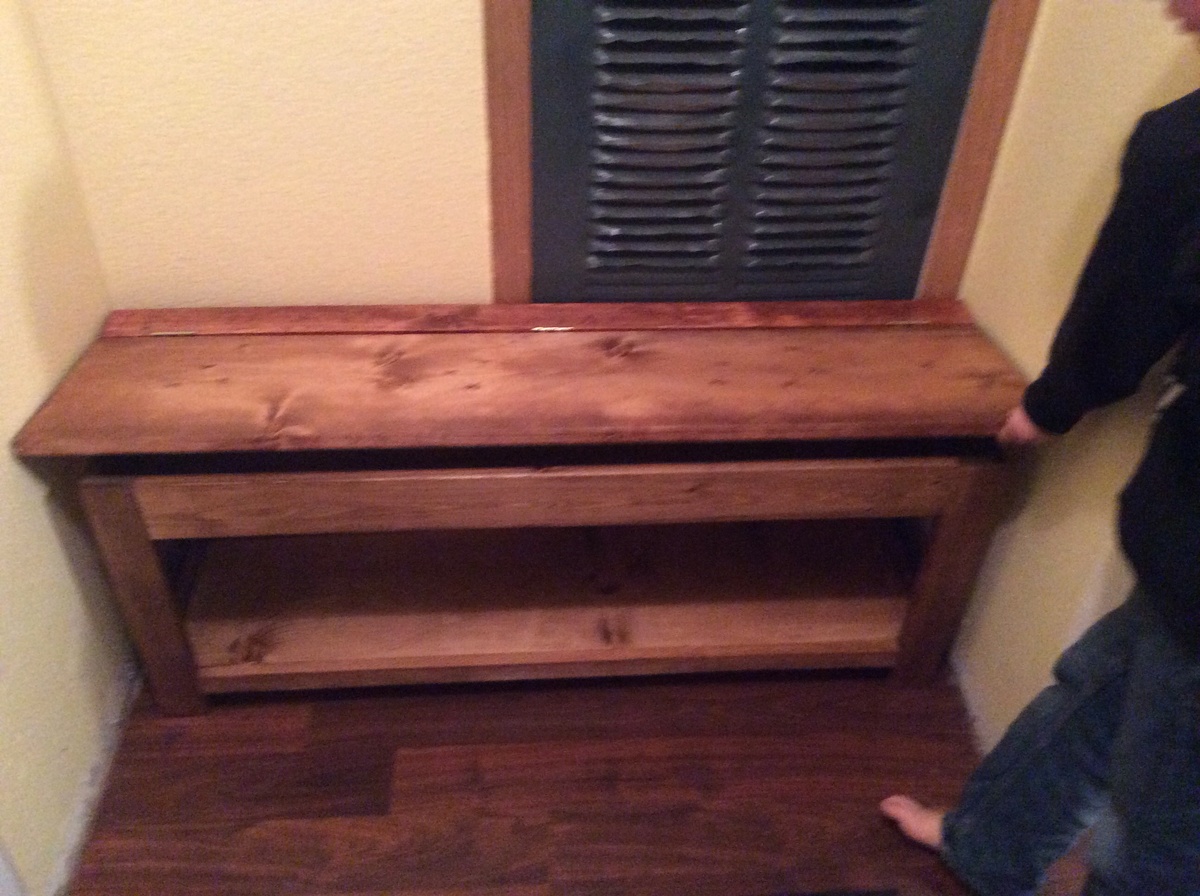
I have a small mud room and this bench was perfect for keeping shoes organized on the bottom shelf, as well as storing hats and gloves inside. The storage area isn't very deep but it holds a decent number of hats and gloves.

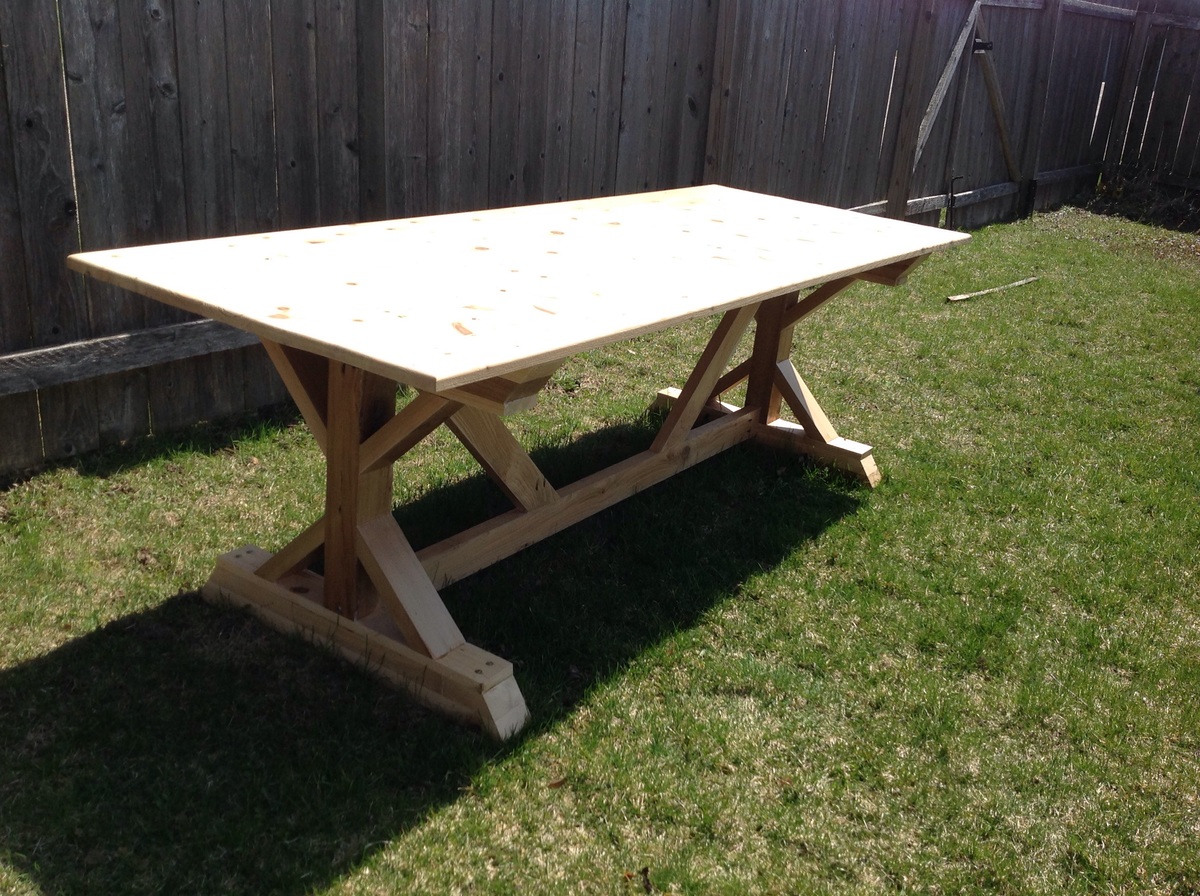
Fancy table for outside barbecues. I built this table out of 100% Cedar. In order to maintain the lighter cedar color, I just several coats polyurethane for outdoor protection.
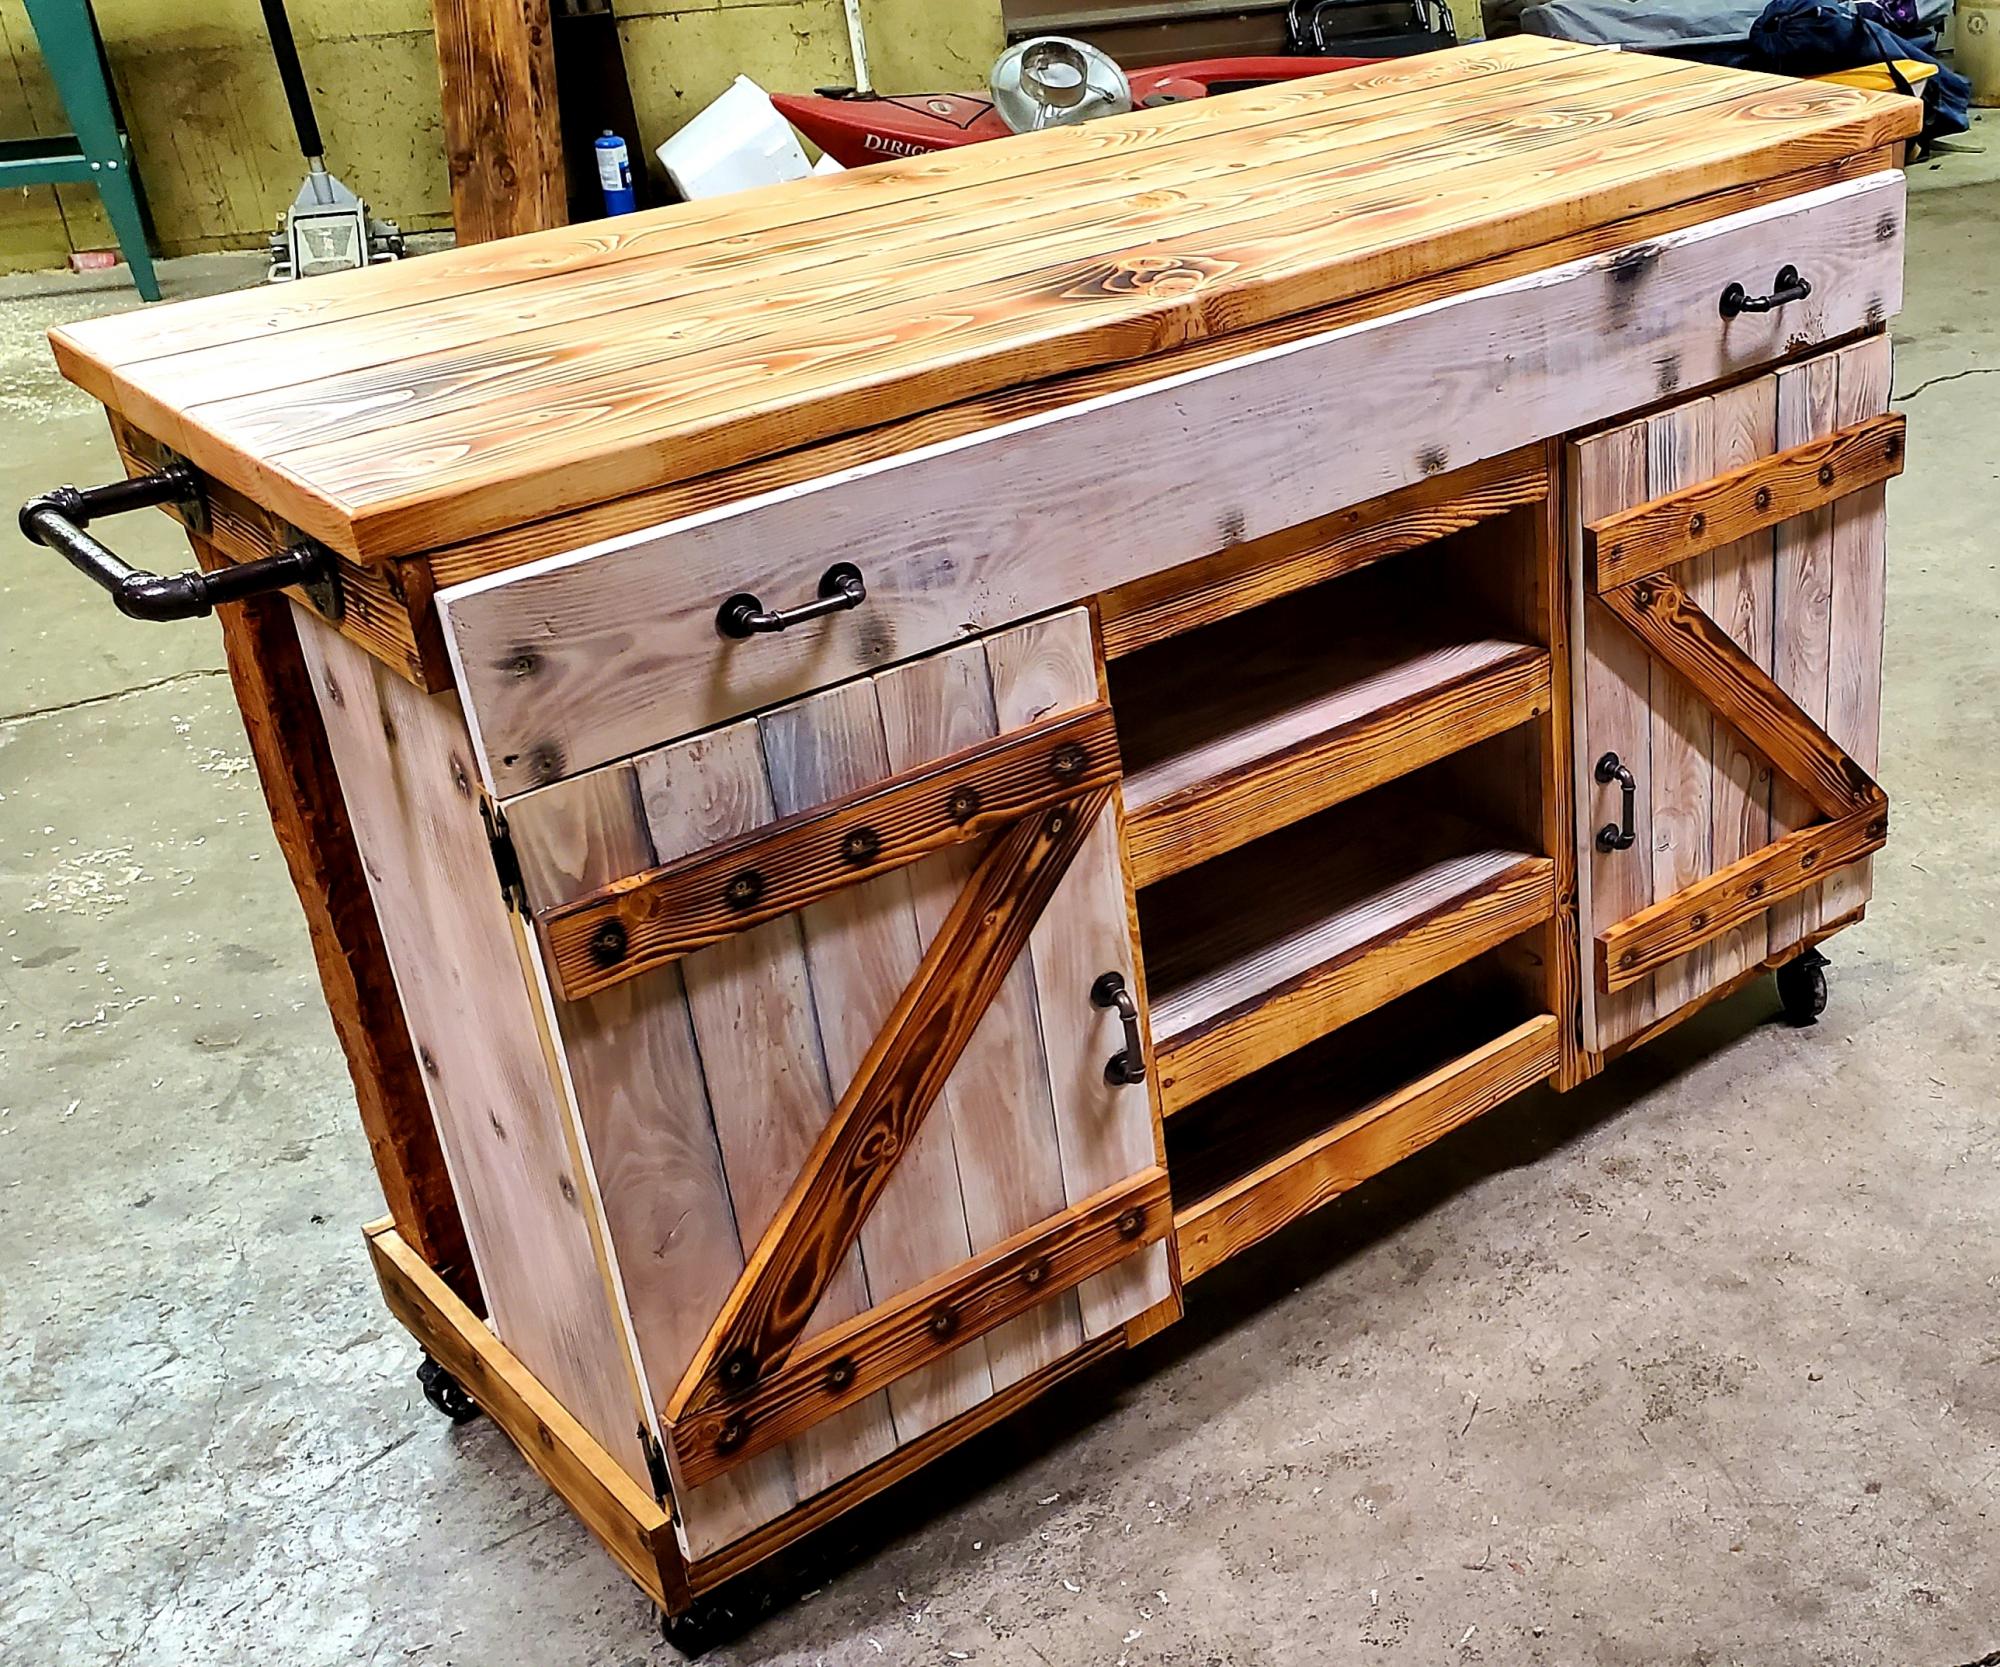
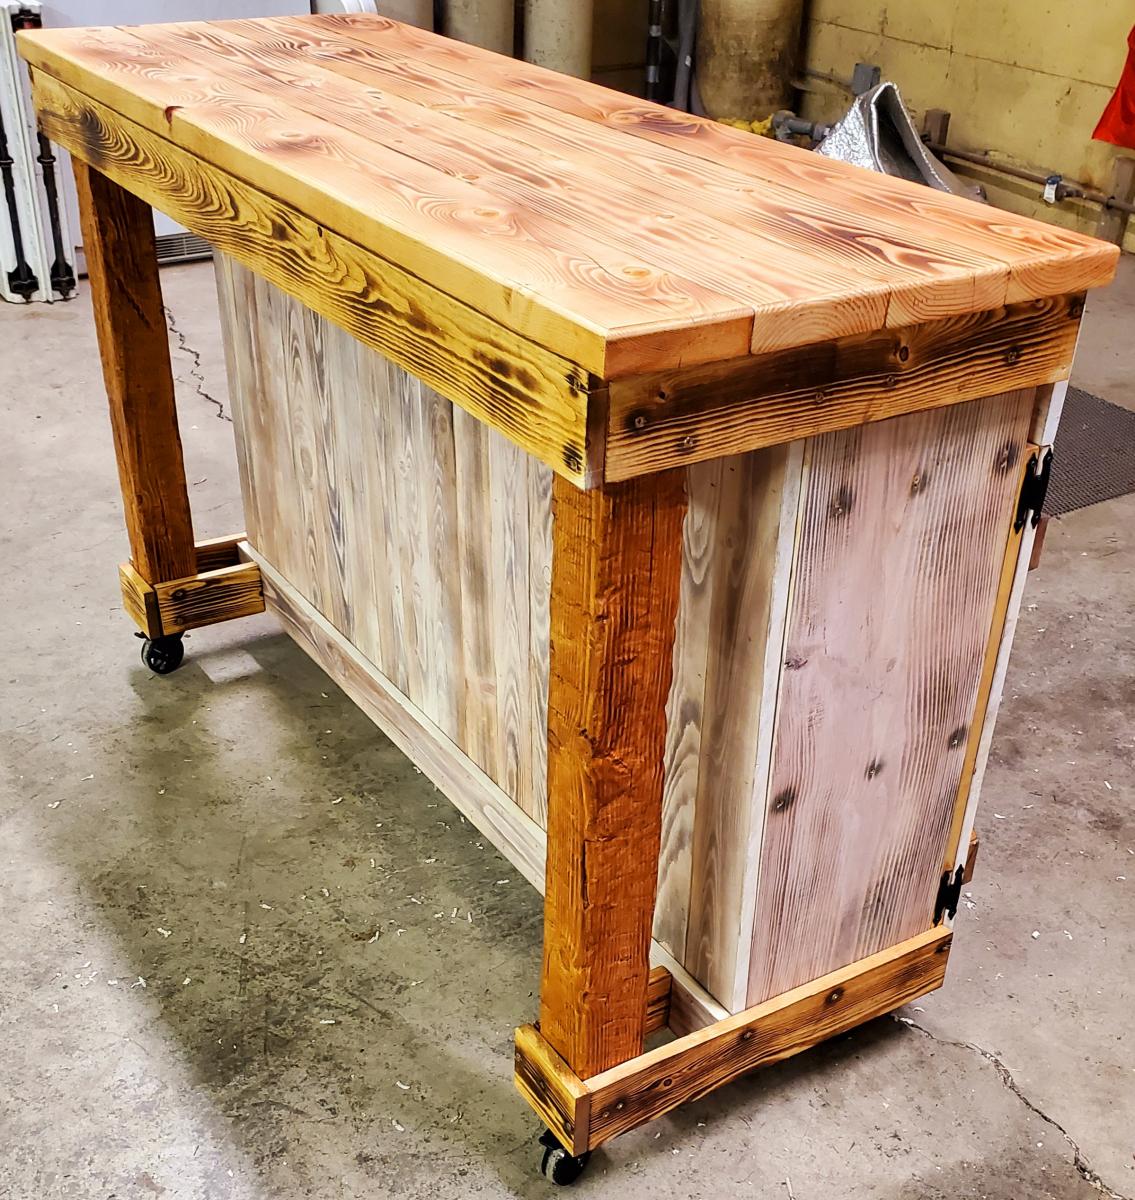
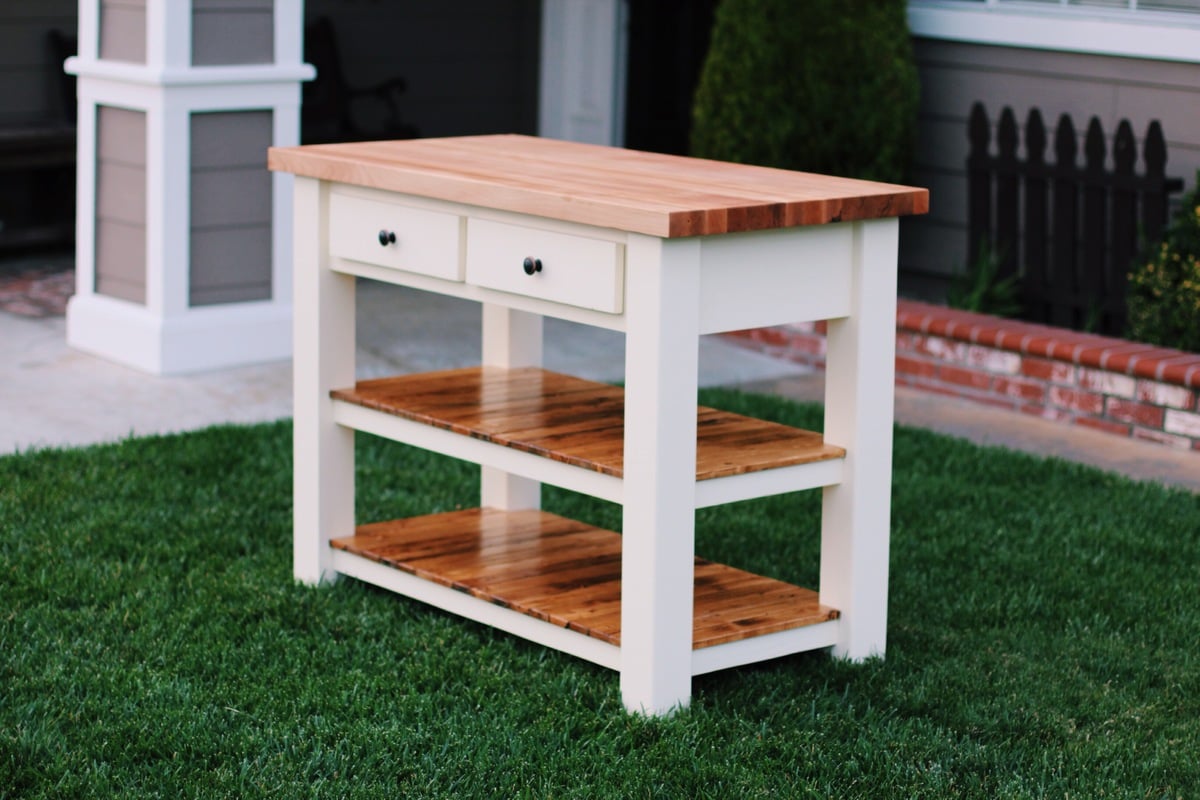
My wife wanted/needed a kitchen island for more storage and prep space. After seeing the prices online of nice kitchen islands, I decided to take the time to make her this one. I would mark this as advanced due to the numerous cuts, joinery techniques, and sheer prep time it took. The build was a success as on Christmas morning once she saw this she cried out of joy! It took the better part of a month because I Hand Hewed with an axe the legs, the whitewash finish is of my own design(a 6 step process), all pieces were sanded, finished, and distressed before assembly. For the butcher block, I used Anna's rustic-x coffee table top design- I only wish I had a jointer so I could have the slabs flush, but I did plane and sand all the way from 80 grit to 240 grit to create a smooth finish. Then all pieces were treated with multiple coats and buffings of citrus wood wax.
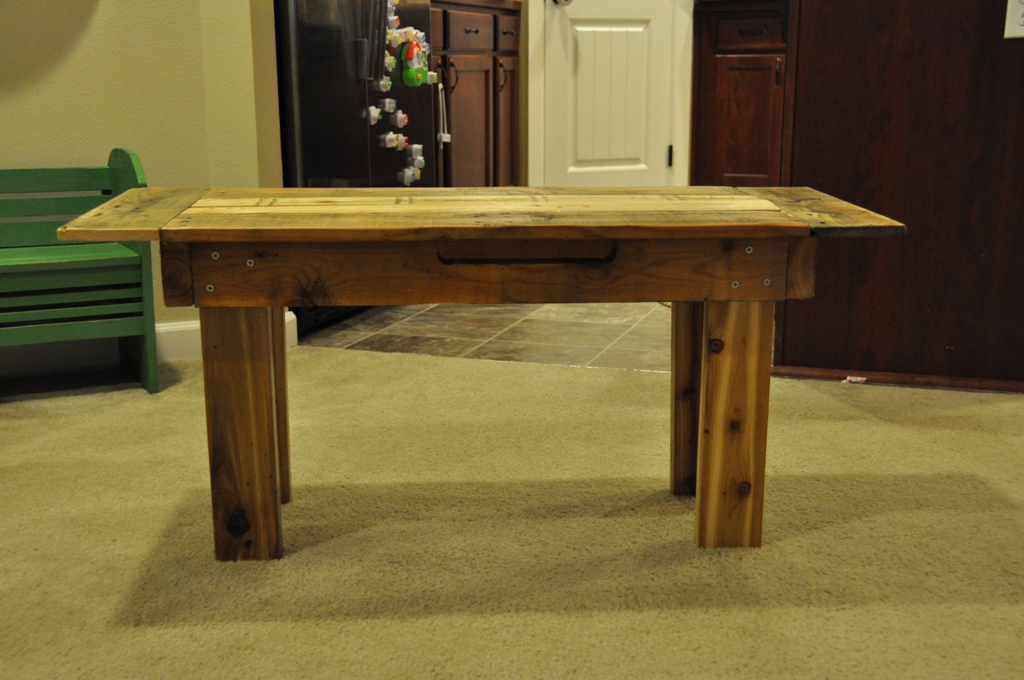
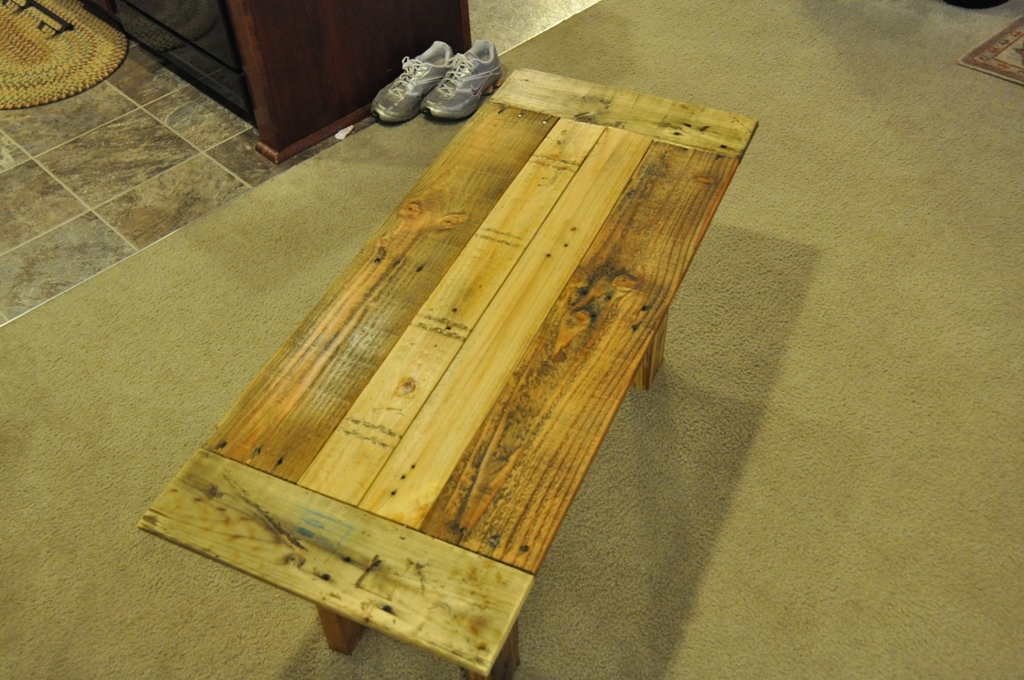
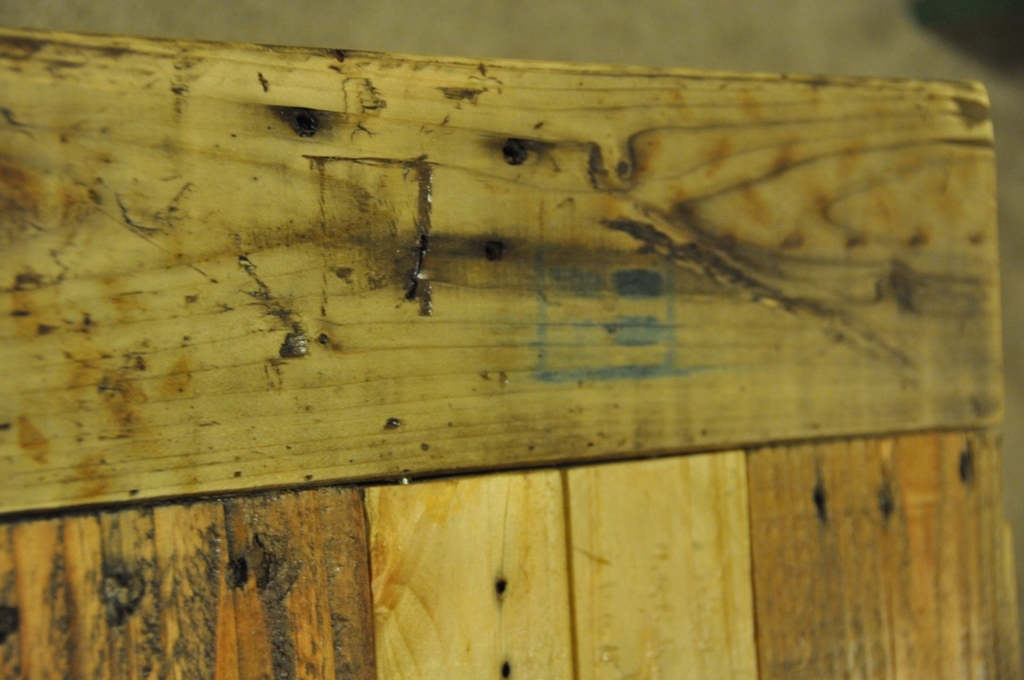
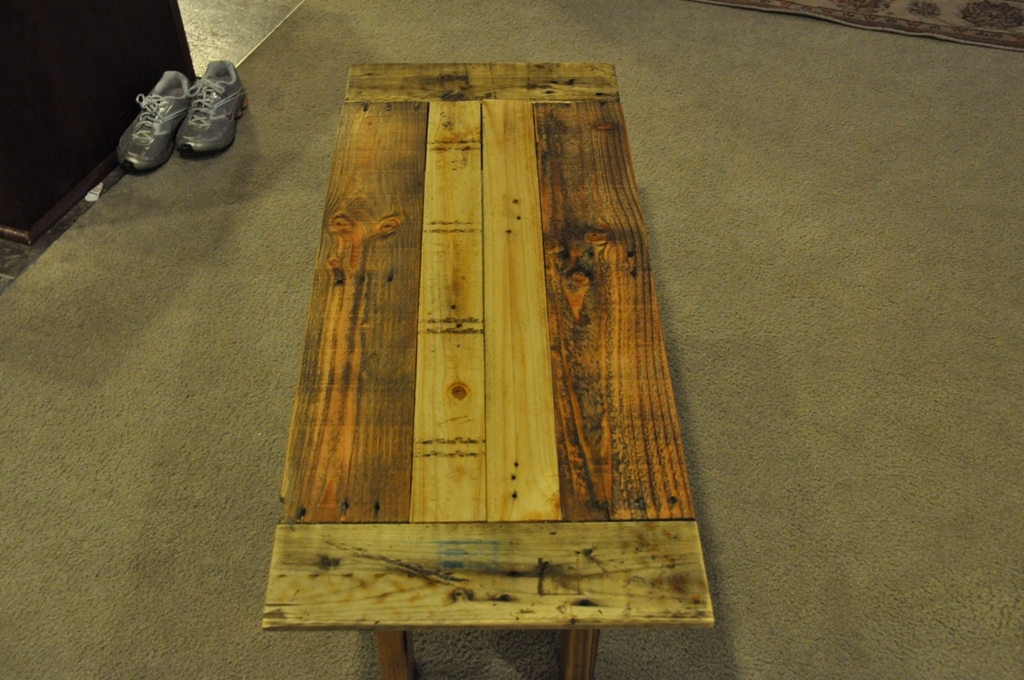
I had a bunch of extra wood sitting around the garage, so I decided to build this. Reclaimed wood 41 1/2 long by 17 1/2 wide and 19 inches tall. I used natural stain so it could keep it's beat up charm.

My first project!
Fri, 01/24/2014 - 22:16
Congrats on your first project! Looks great. I will start my first project as well in the next few months. I am guessing that the edges were well sanded to avoid splinters?
Our very first DIY furniture piece my husband & I made. We absolutely love it & will definitely be doing more DIY projects together.


I built this dresser for my wife. When we moved in, we got new furniture for my 2 boys. But didnt have much for ourselves in our room. She deserves a nice peice like this to put her clothes in. Its built from 1" solid cherry boards. Finished is a simple boiled linseed oil with shellac.


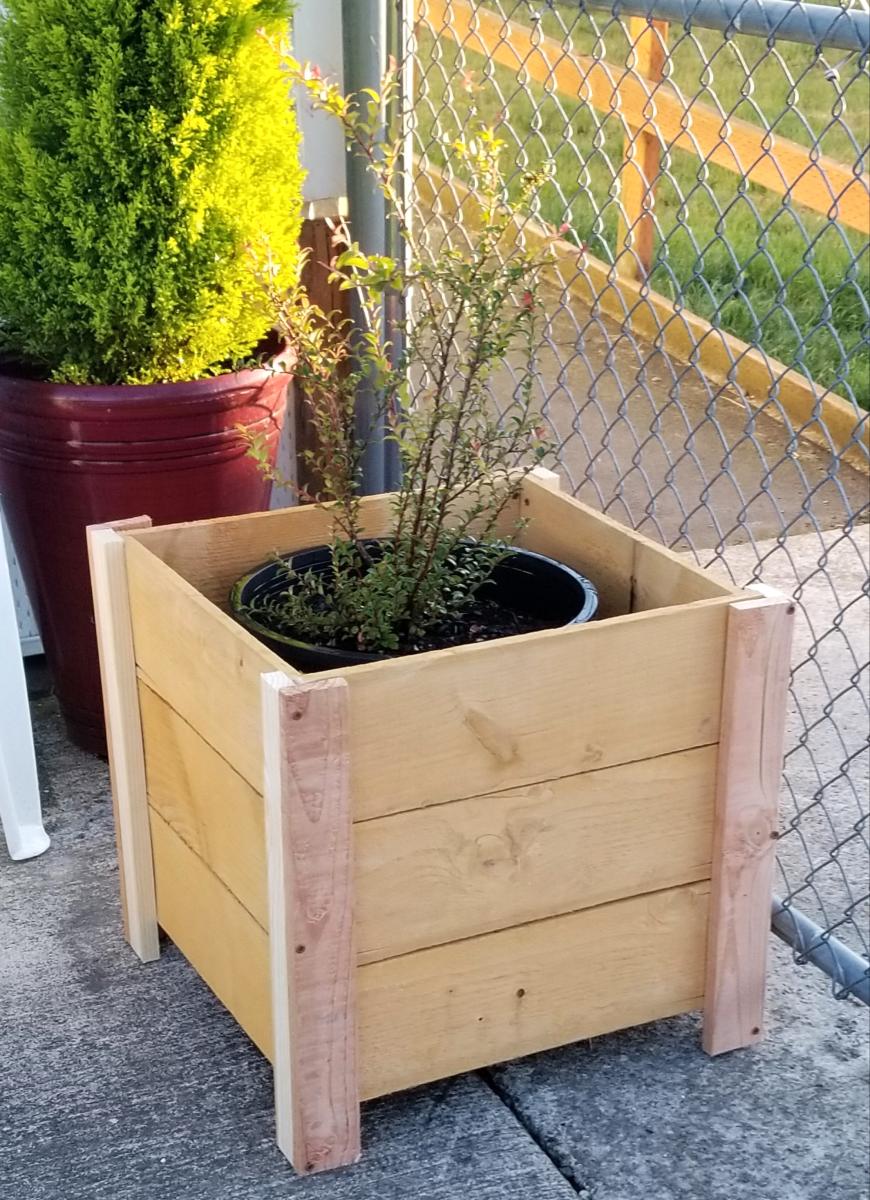
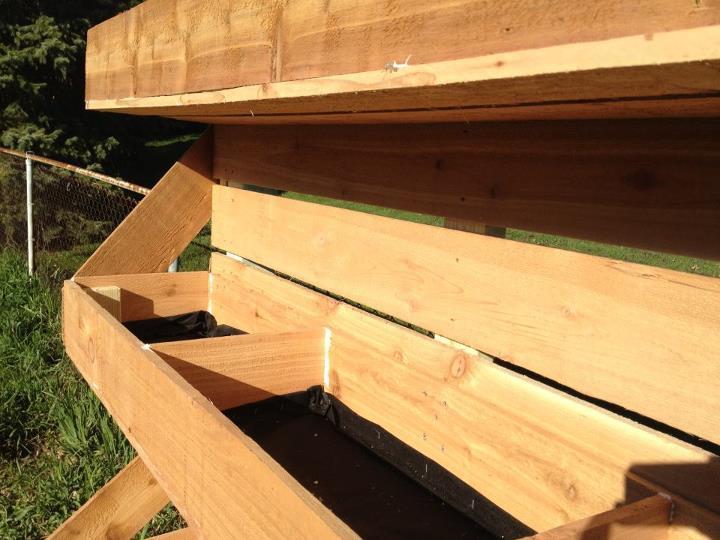
I built these planter boxes to hold my raspberry and blueberry plants. Also by connecting them with 2x2s, it keeps my dogs out of the garden
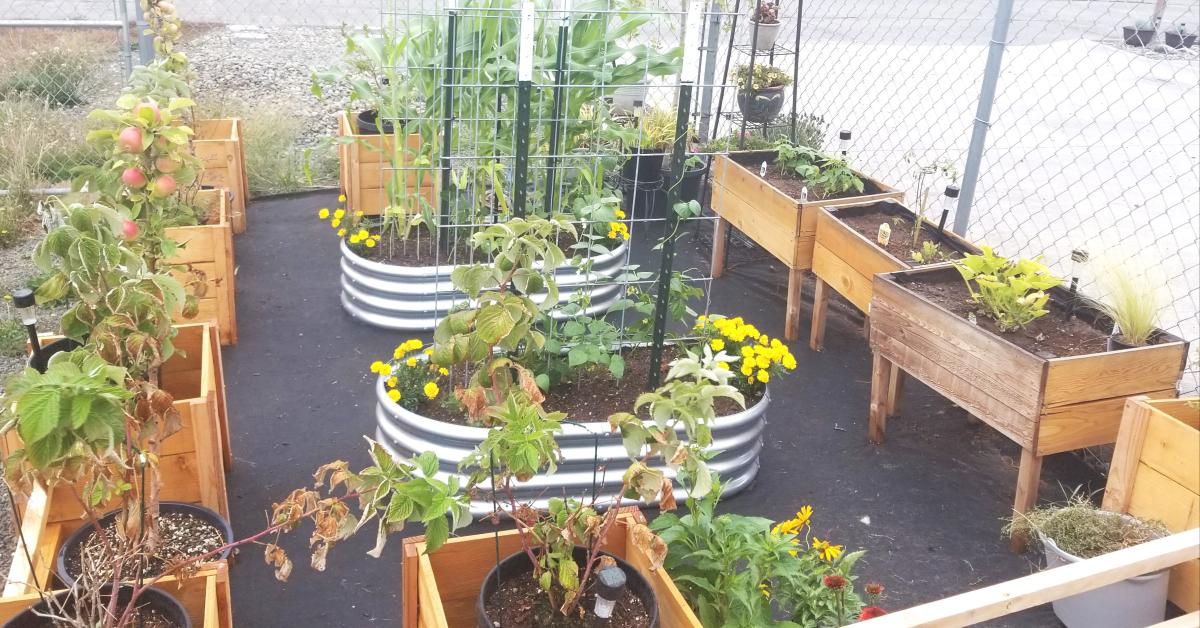
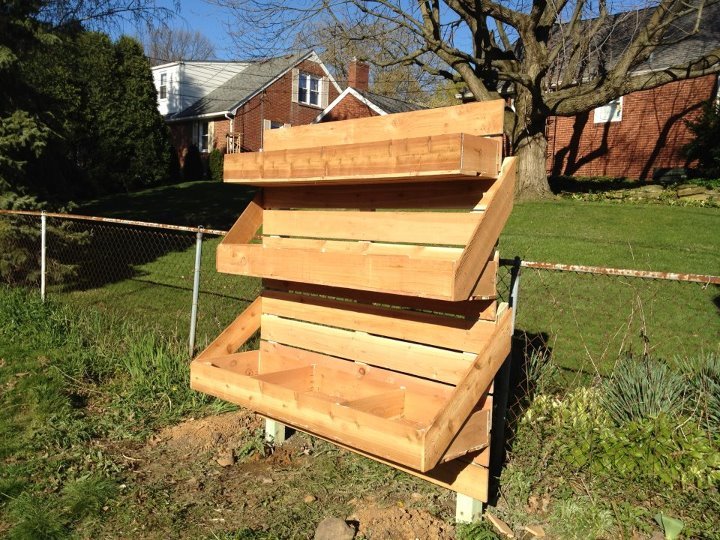
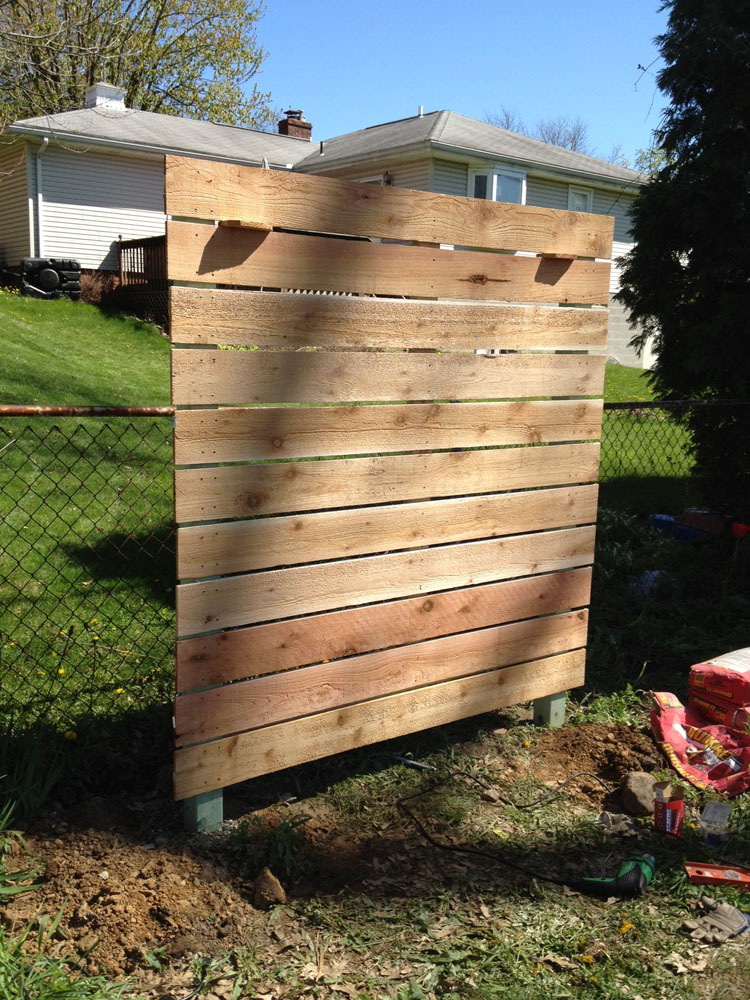
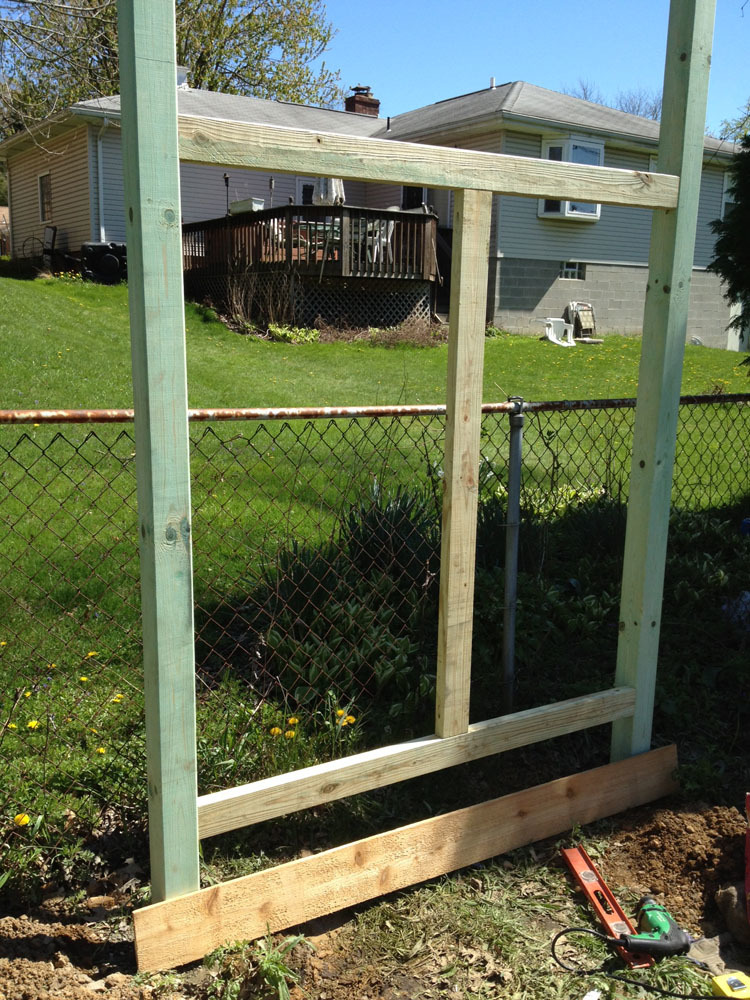
We don't have a ton of space in our back yard thats in direct sunlight. Also we have an ugly old chain-link fence. I saw a lot of vertical gardens and decided that would help two issues, maximize sun space and obscure part of that ugly fence. It's super easy to put together and was pretty cheap as well. I took some inspiration from the cedar raised beds on the site and built all the planter boxes out of cedar fence pickets. I added some extra supports so that the weight of the boxes wouldn't rip down the planters.

Sun, 07/08/2012 - 10:32
Thanks for this great idea and the photos of the details. What did you decide to plant? (Btw, all you need for that fence is a few cans of black spray paint!)
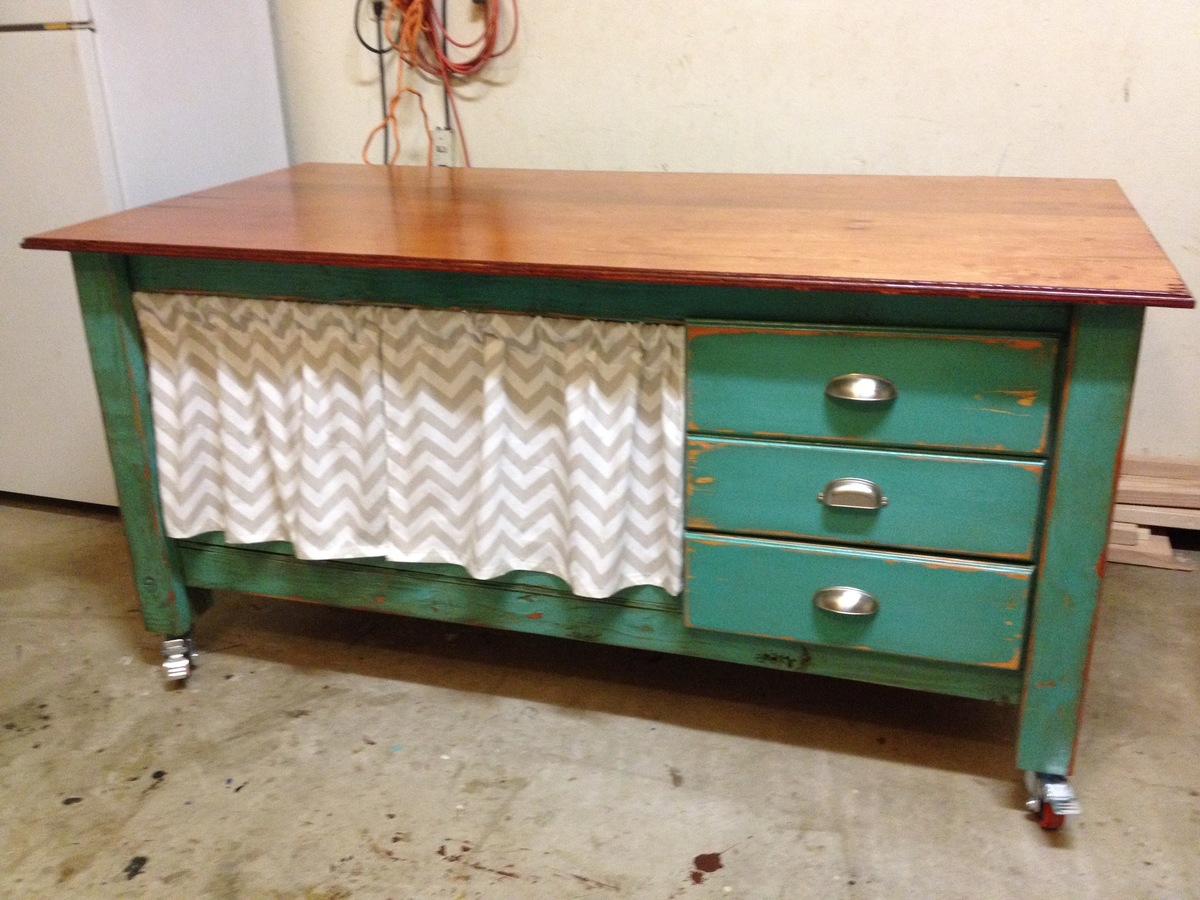
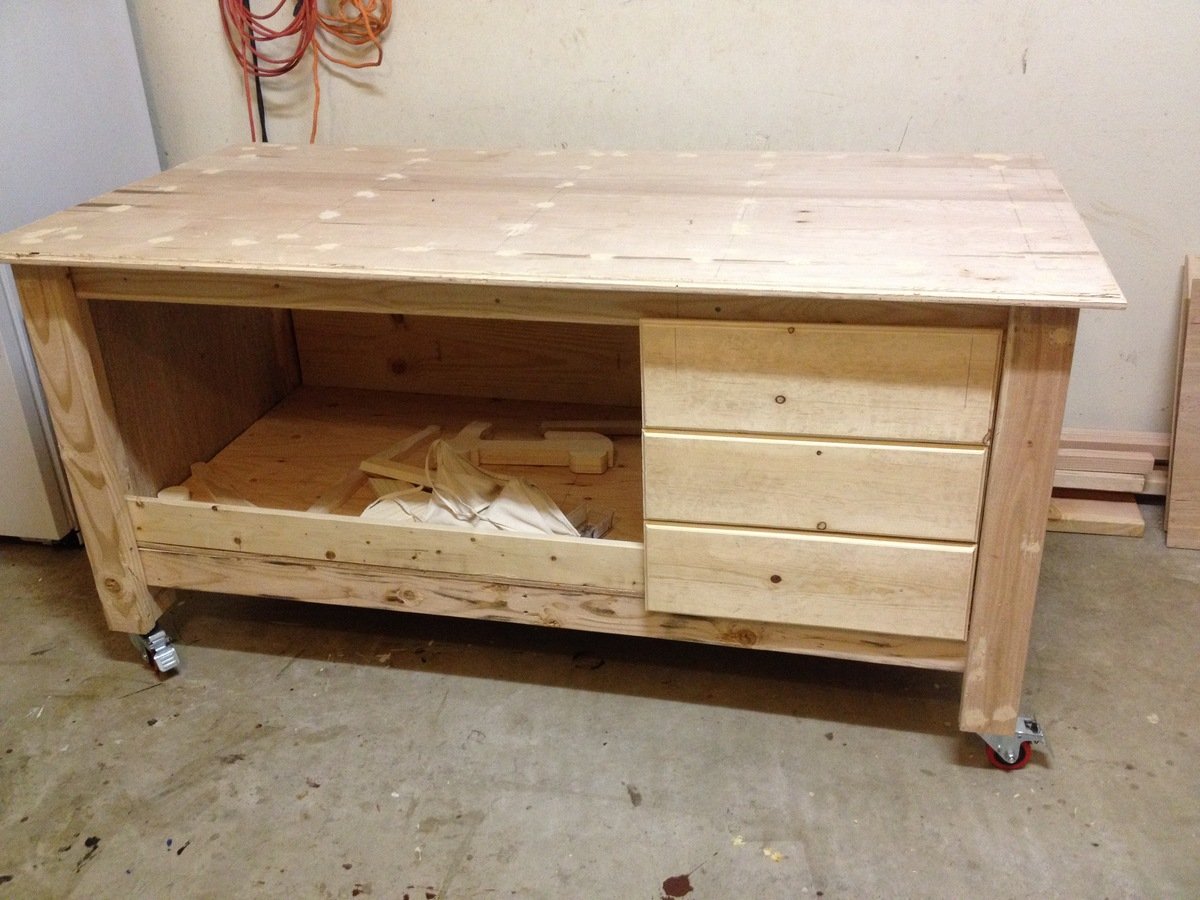
I'm so excited. I have my very own work bench! Thank you Ana for the sturdy work bench plans. I've added drawers and some curtains to keep the dust out. My brother did most of the work on this but I did some of the build at the end and all of the painting. Even though this will be stored in the garage, I wanted it to look like a piece of furniture found inside the house. I love the distressed look and I think I've succeeded in making it look old. I've made a few of your projects which I will post later. Right now I'm enjoying my new (old looking) work bench and I think it's really cool that it looks like it belongs to a girl.
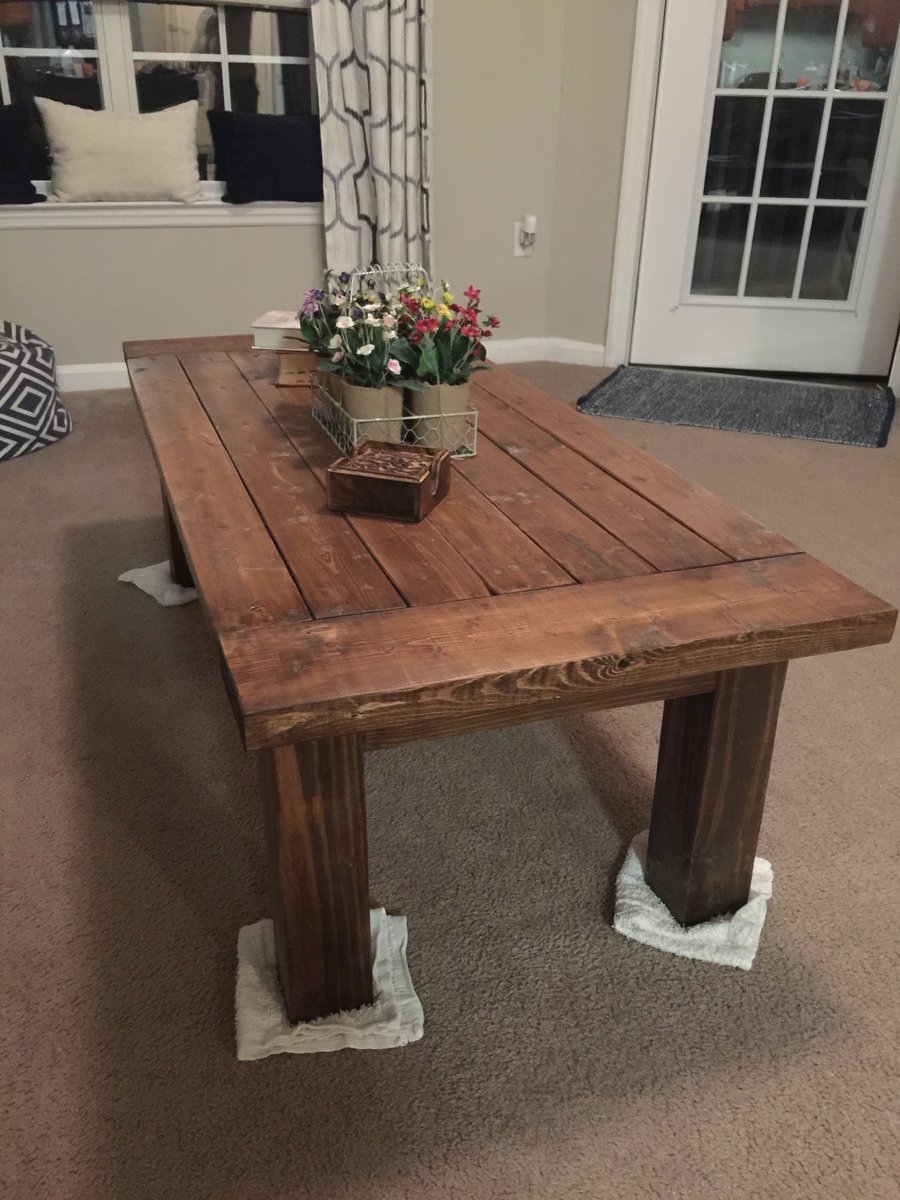
I learned from other project fails to sand down the boards as I go. So my hubby cut the lumber and handed each board to me and I sanded down the boards with 120 grit sand paper followed by a finishing sanding block. Luckily the lumber that we purchased was not super rough so I hand sanded everything down. Once each board was mostly sanded down we put it all together.
Since my hubby countersunk the screws I applied standard wood filler and sanded it once it was dry (about 2 hrs later). I then applied wood conditioner and about 30 minutes later, followed by 1 coat of stain and 1 coat of polyurethane finish. Once the polyurethane was dry I sanded it down one more time with the fine sanding block so it was perfectly smooth.
I must confess: this was the second time I built a coffee table from this plan. The first time I built it I did a HORRIBLE job with the sanding & staining. When my husband and I first built from this plan it took us about 8 hours to build it. The second time it took us 3 hours.
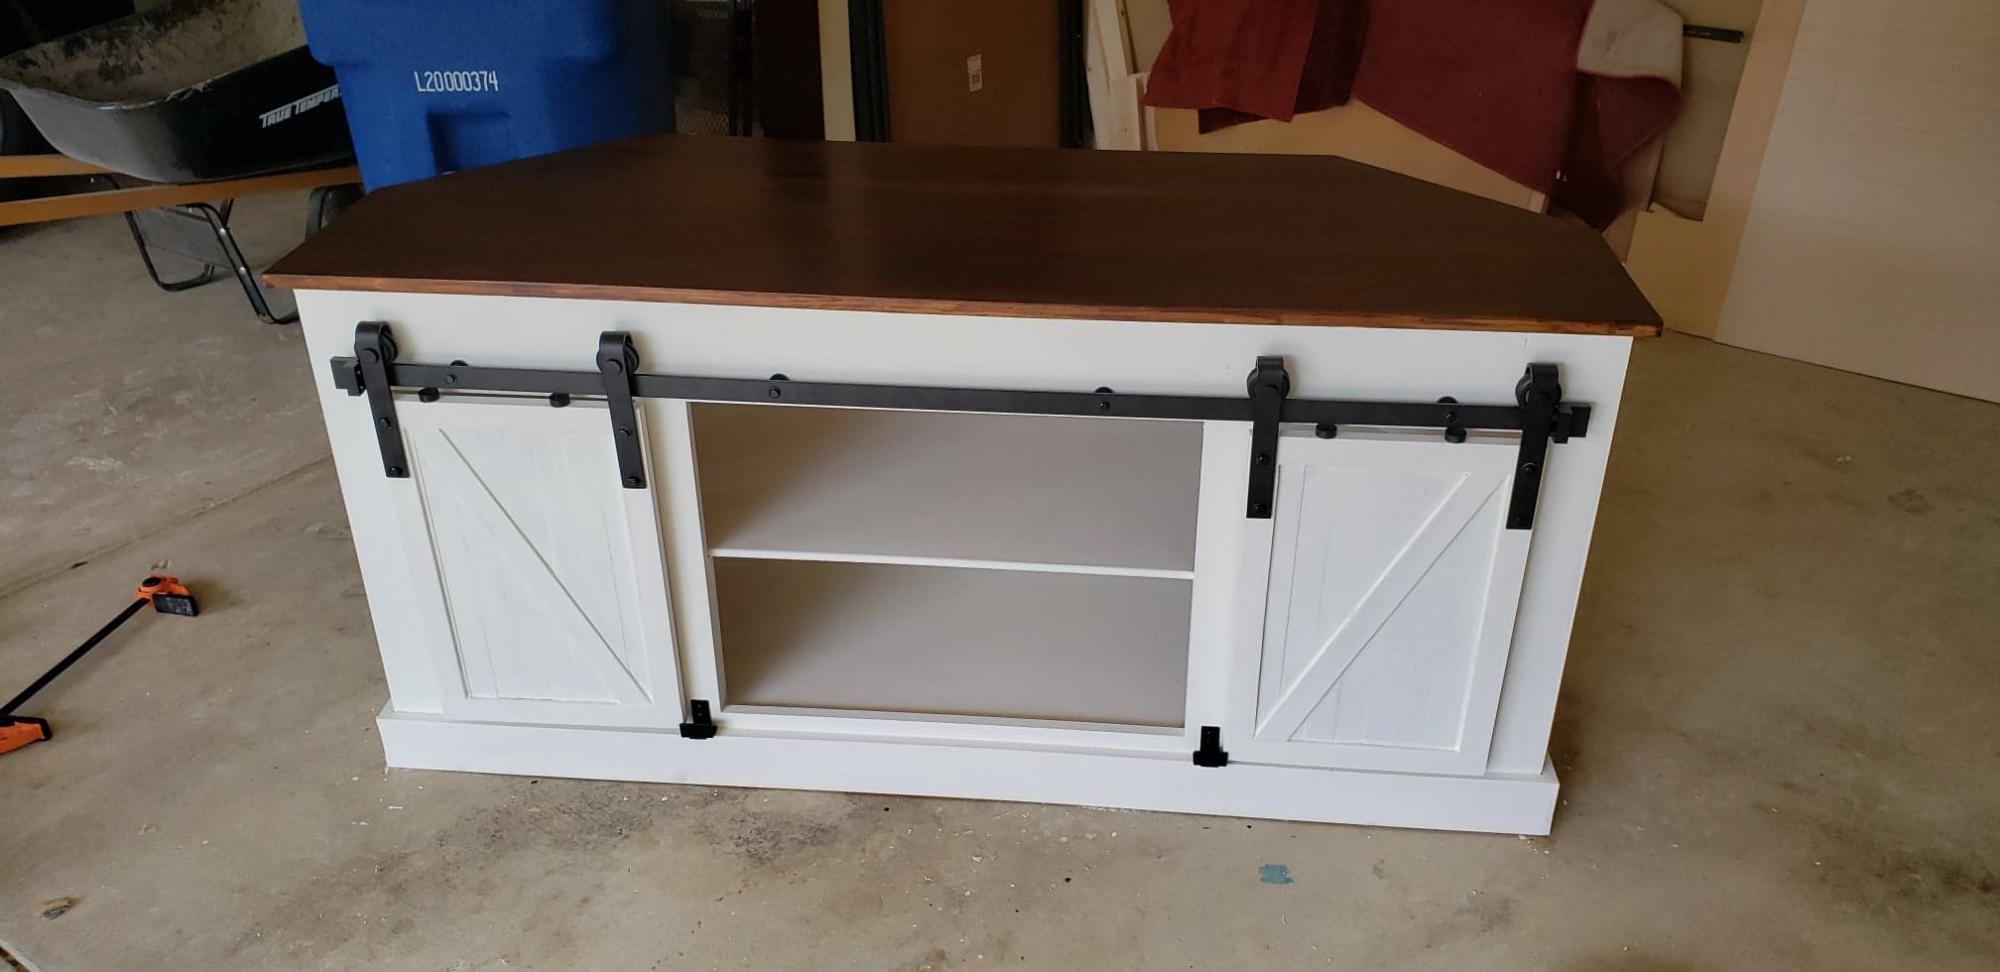
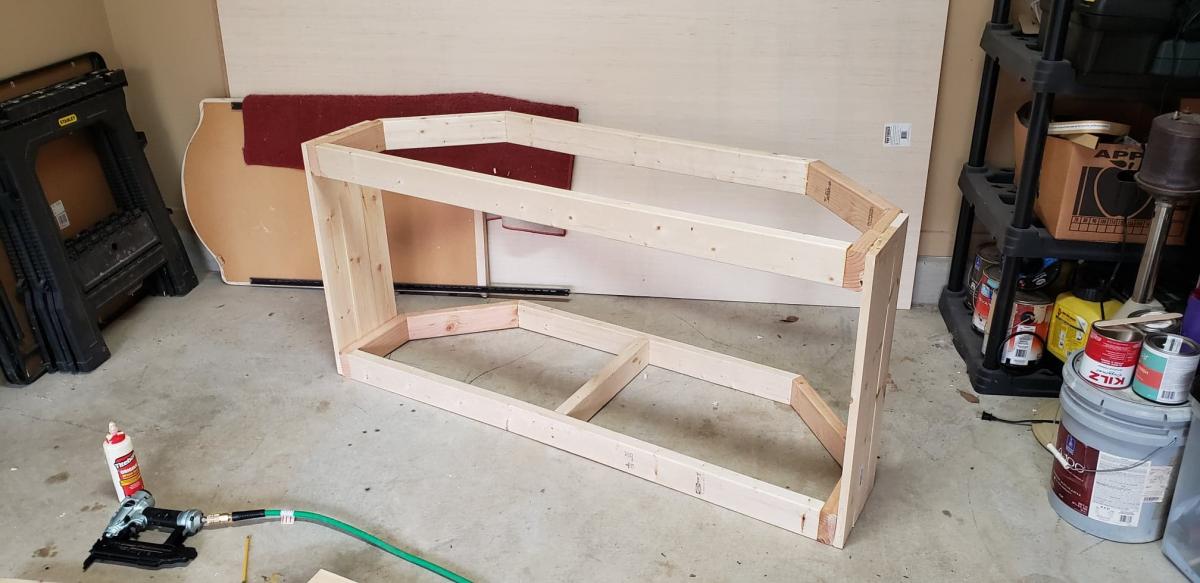
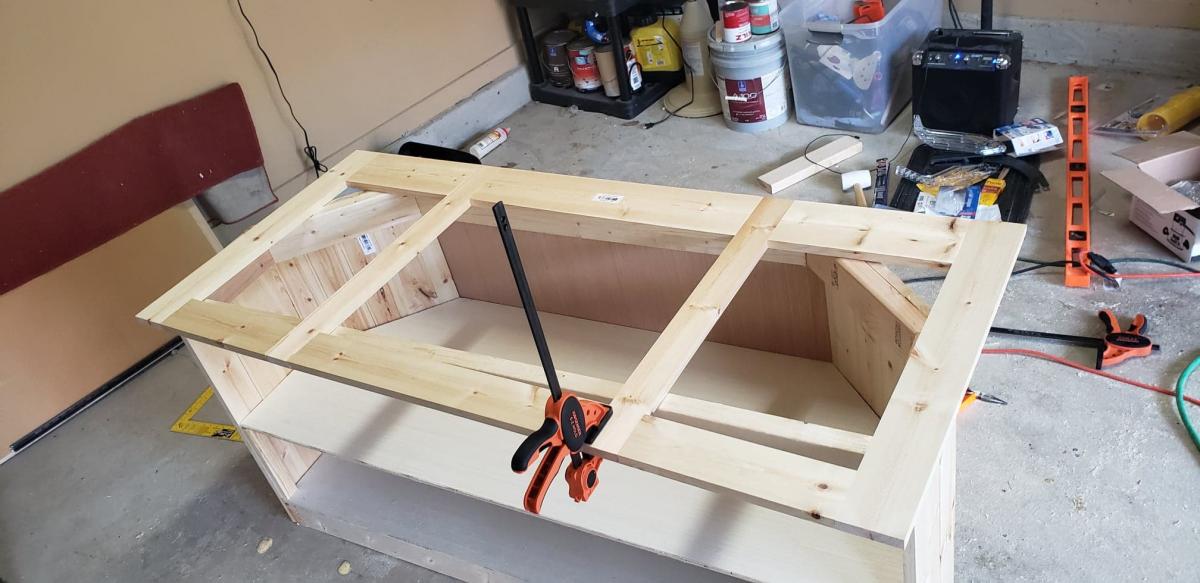
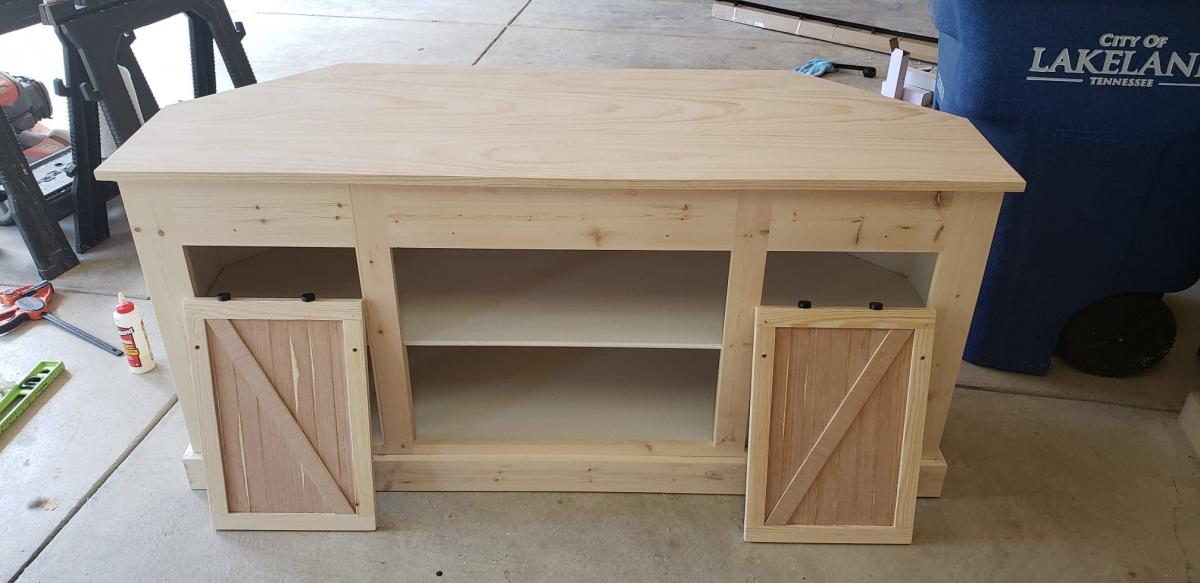
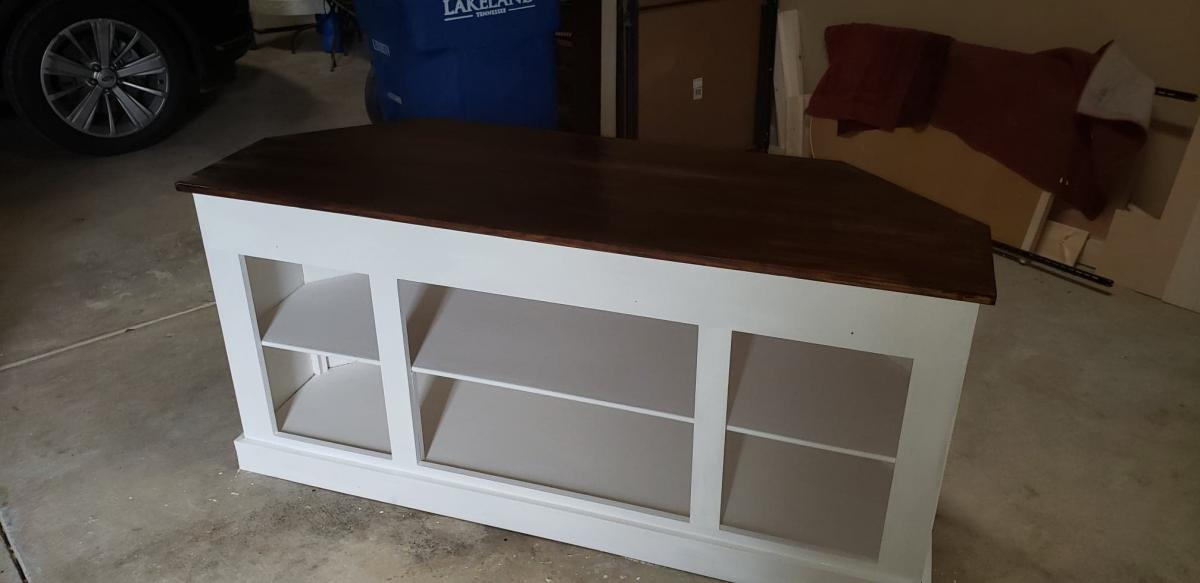
I couldn't find any corner TV stands with the barndoor style that were big enough, so I decided to design and make my own using the Grandy buffet design.
Sun, 05/03/2020 - 17:54
This would be perfect for my house, new look. Also like the idea of the Grandy Barn Door Console, dining room cabinet.
Fri, 03/19/2021 - 10:57
Did you save the measurements/plans? If so, I'd like to get them from you.
Tue, 01/04/2022 - 13:37
I will gladly pay for these plans with the modifications, if someone can send them to me.
Tue, 01/04/2022 - 13:37
I will gladly pay for these plans with the modifications, if someone can send them to me.

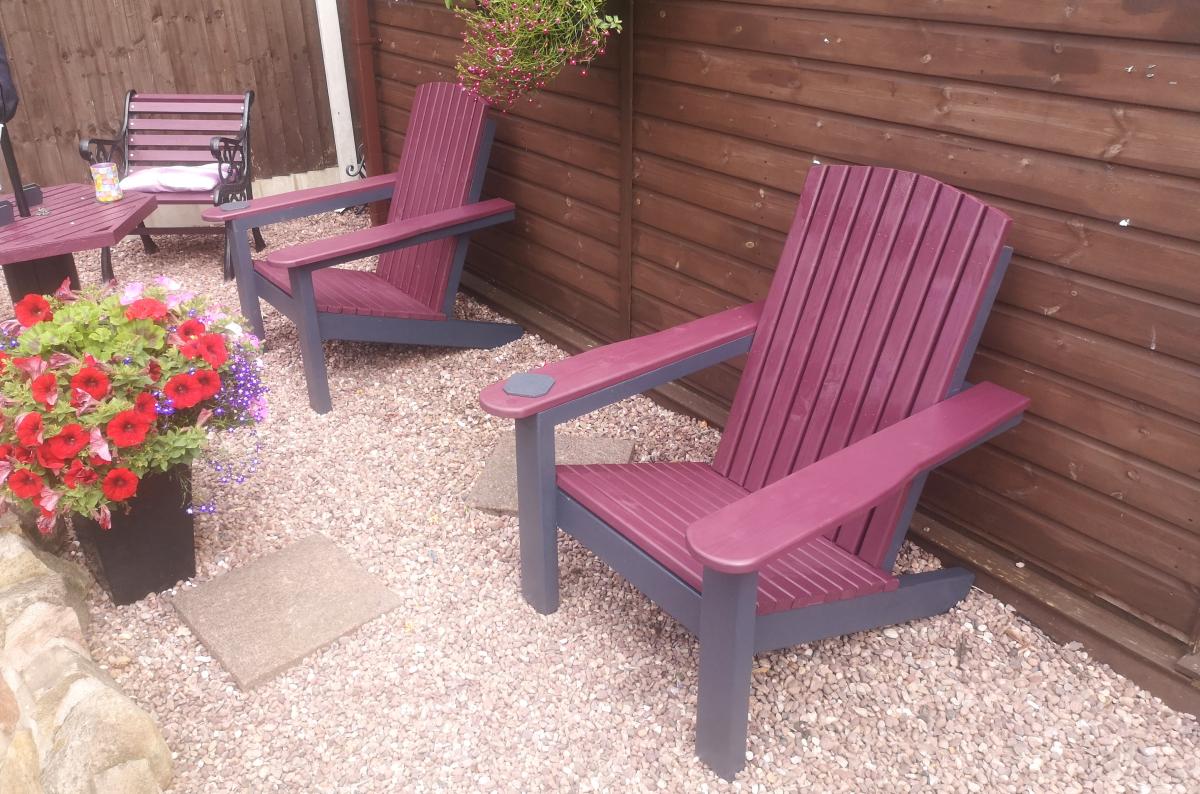
New Deck Chair

My daughter's school needed a personalized item, (a class gift) to be auctioned off at the annual Spring Gala. The project needed to be personalized by the children in the class. I used the plans from Ana's toy box project plan, changed the footer to bun feet, and added a lid. The lid is also an upholstered top that can be used as a bench. I used two slow close hinges, one on the left one on the right, then two regular hinges to hold the lid on. We sent in blank tiles for each of the children (4 year olds) to paint in class. They turned out pretty abstract but cute. The tiles on the front are supposed to be bee's, the school's mascot. It turned out great! Having a hard time uploading other pics of it, specifically how I did the lid inside and attached it to the box.
Fri, 12/07/2012 - 10:36
I love the addition of the lid! Do you have those plans to share?
Fri, 12/07/2012 - 10:51
love the lid! would you be willing to share your plans for it?
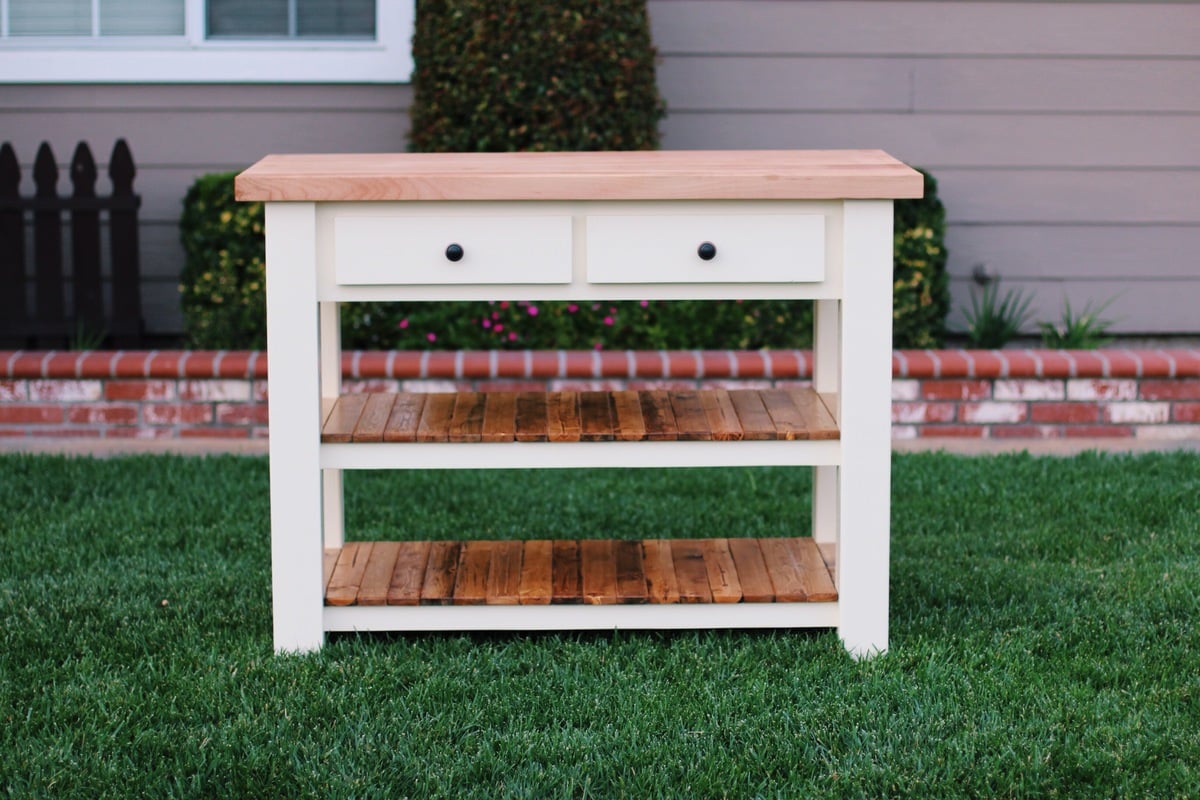
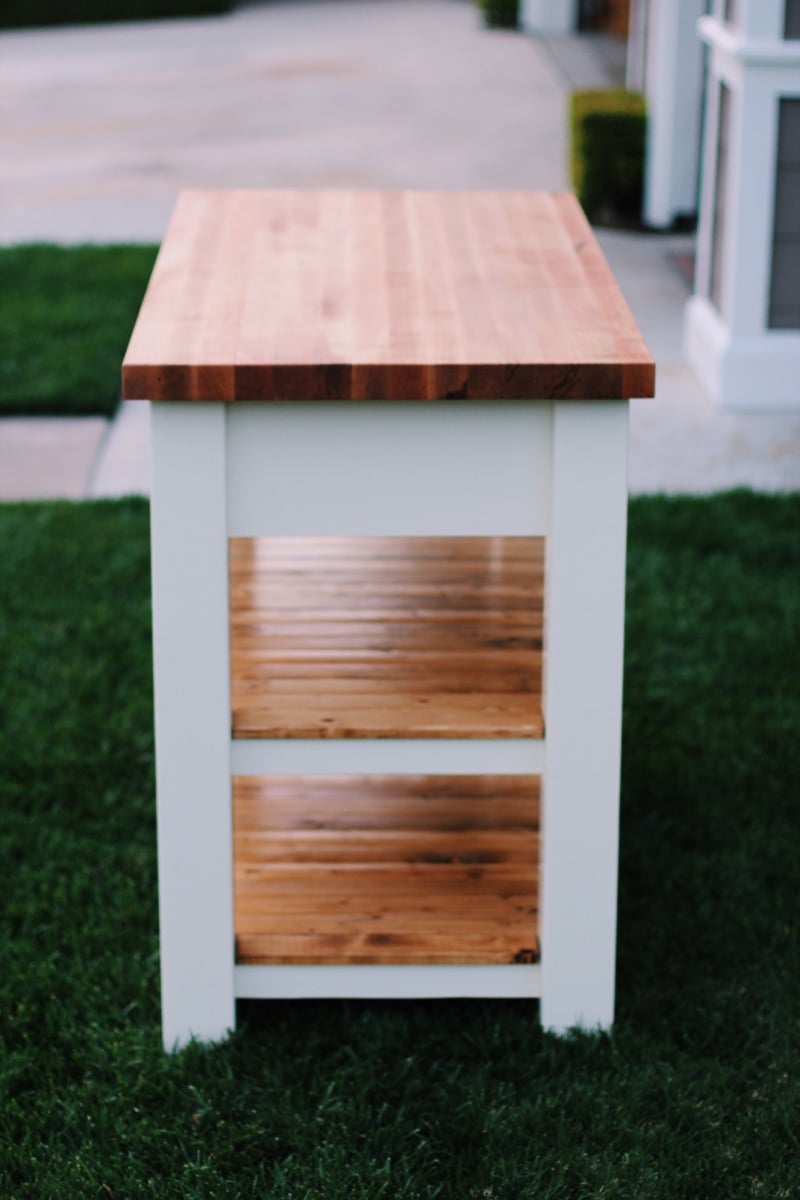
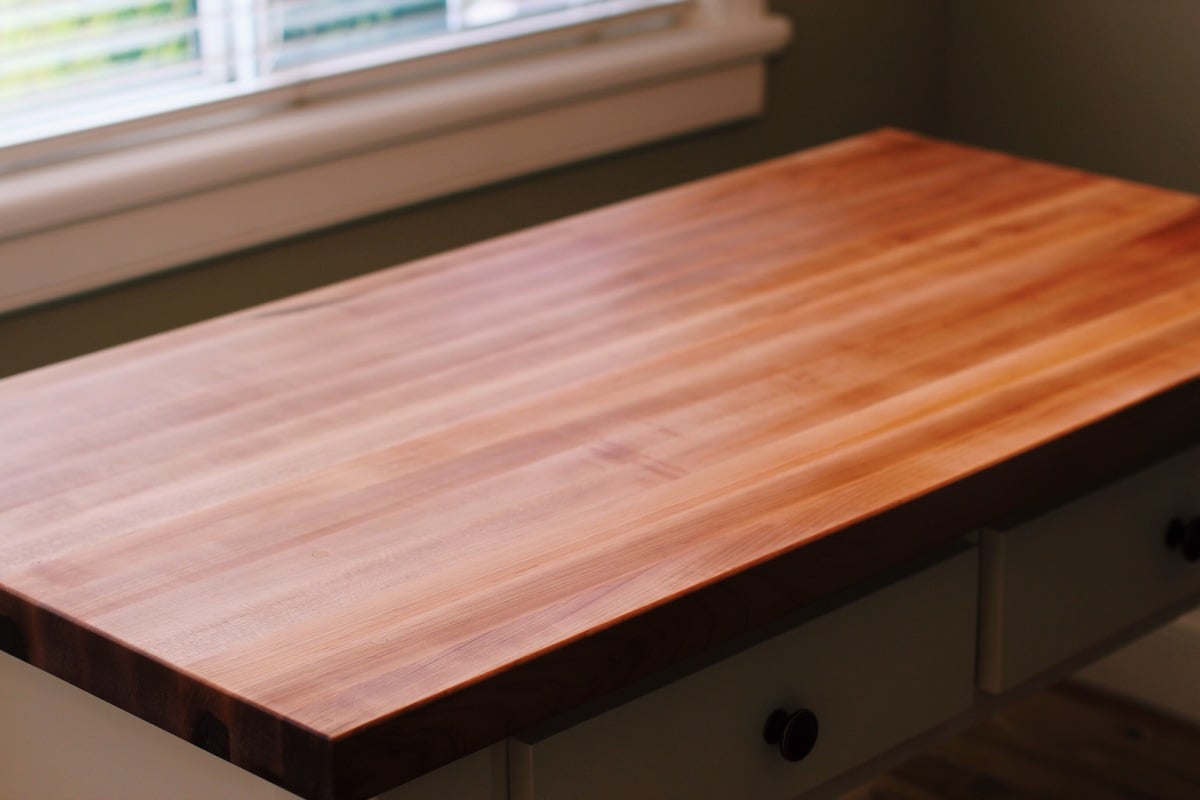
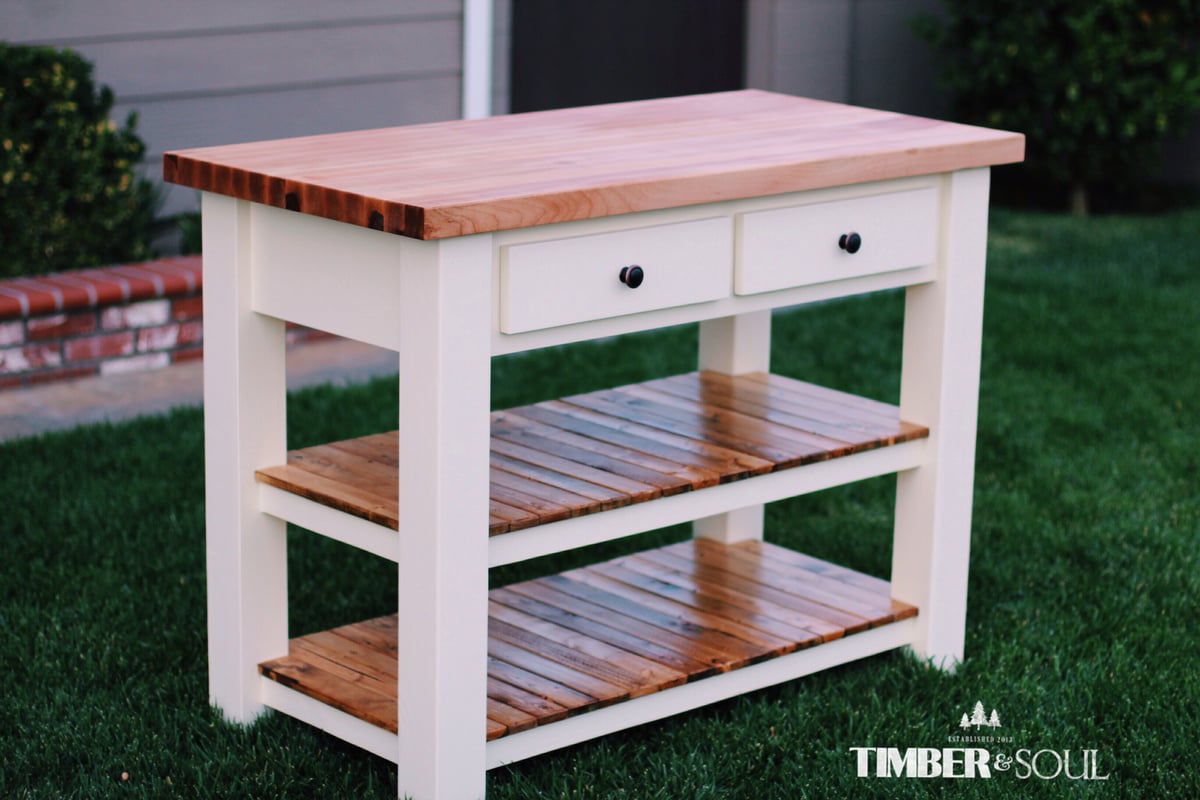
I built this piece from ana white's plans. I modified the shelf design and also the dimensions to meet my needs. Instead of using 2x6 douglas fir for the top, I built the top out of hard maple. The top is built by ripping down several strips of hard maple 1.75 inches wide, turn the strips on there edge and gluing all the strip together. This is what is known as a edge grain cutting board. I finished the top with mineral oil and bees wax. The top is food safe and knife friendly. If you have any questions please don't hesitate to ask. - Brad

Tue, 01/28/2014 - 18:42
Did you use a planer to level your top and bottom surfaces here, or just lots of sanding? I've been told not to attempt butcher block construction without a planer...but I'm thinking of maybe going for it!
In reply to Butcher block question by romanweel
Fri, 01/31/2014 - 23:01
I did use a planer for this top. But because my planer is only 12 inches wide I had to glue three individual boards together leaving two seams that I could not plane but instead had to sand out. Just sanding those two seams took a long time, I cannot imagine sanding 20 seams. I would not suggest attempting without a planer.
Mon, 04/10/2017 - 18:45
is it possible for you to share your measurements. I need a smaller island. Thank you.
Wed, 02/05/2014 - 17:25
I'm curious how you joined the stretchers to the legs. The construction appears different from the plans. Did you use pocket screws or something more advanced like mortise and tenon?
In reply to stretcher joinery by Biff Loman
Fri, 02/07/2014 - 16:58
I am not sure exactly what you mean by stretchers. If you are referring to the shelf frame, yes it is different than the plans, I modified it. I felt the shelf design on the plans was not enough for the weigh that was going to be place on top. I used simple pocket holes to joint the frame to the legs. Hope this helps, have a great day.
Fri, 08/12/2016 - 10:41
Thank you Brad. This is a really nice piece. I recently picked up an old table from a college. I discarded the base and plan to use the heavy butcher-block-style top to build something similar to this. Do you have plans you could share? Thanks again, Brian

Plan for this table was easy to follow. Loving me new table.
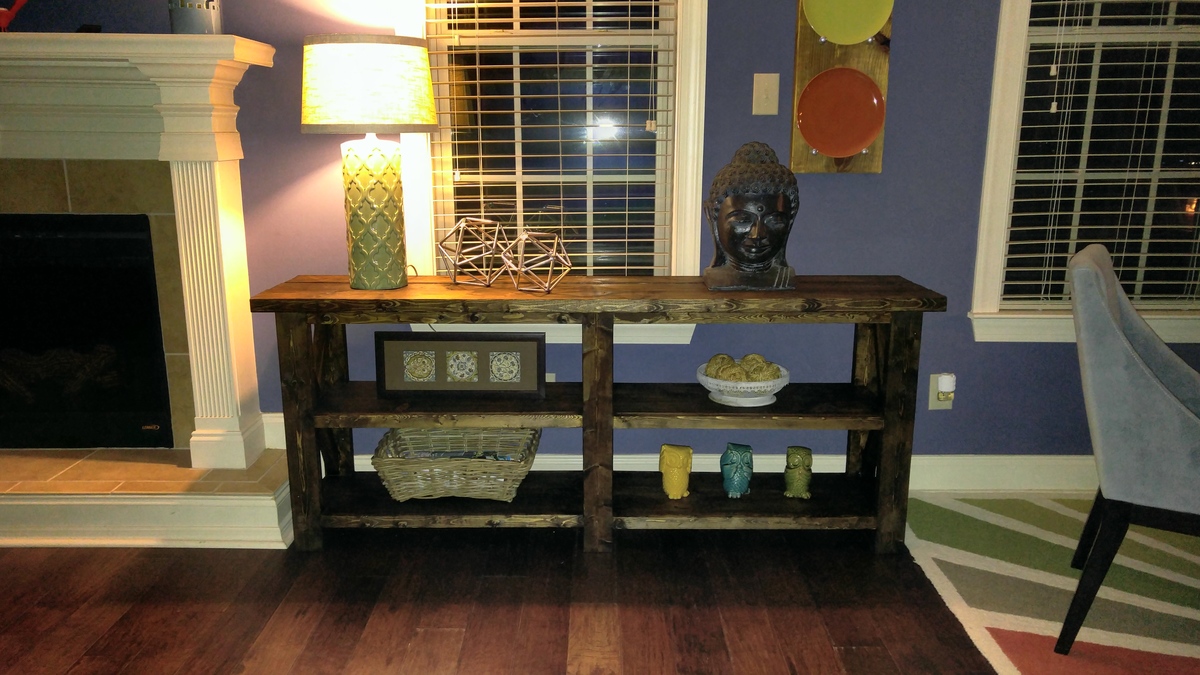
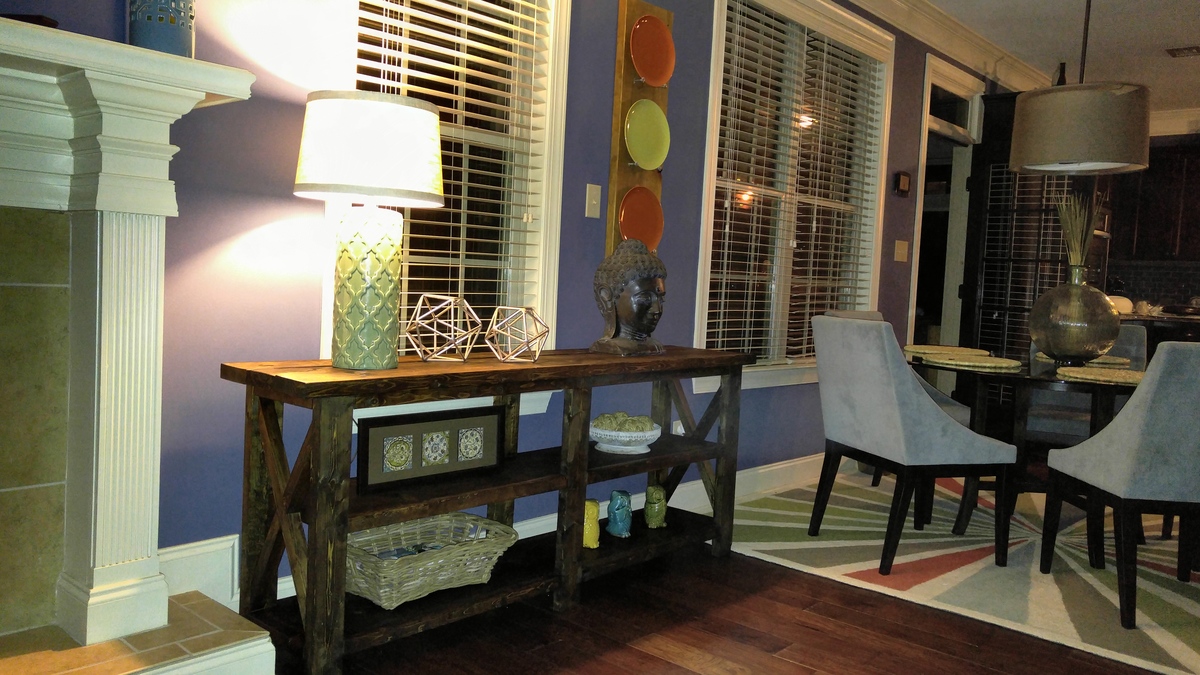
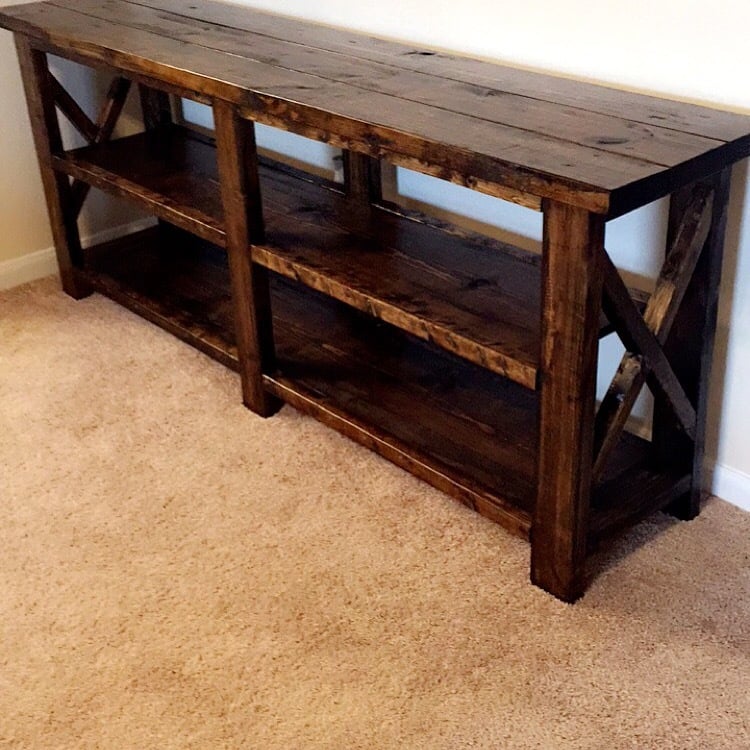
Just finished this tonight. Decided to make it a little wider than the plans. Added bead board on the back. I also made the top shelf a little larger so I can come back later and add some LED lights on it. Because I made the top shelf bigger I wanted to add the angled supports. That’s why I didn’t do an “x” on the bottom so the shelf support would mimick the slanted piece in the bottom.
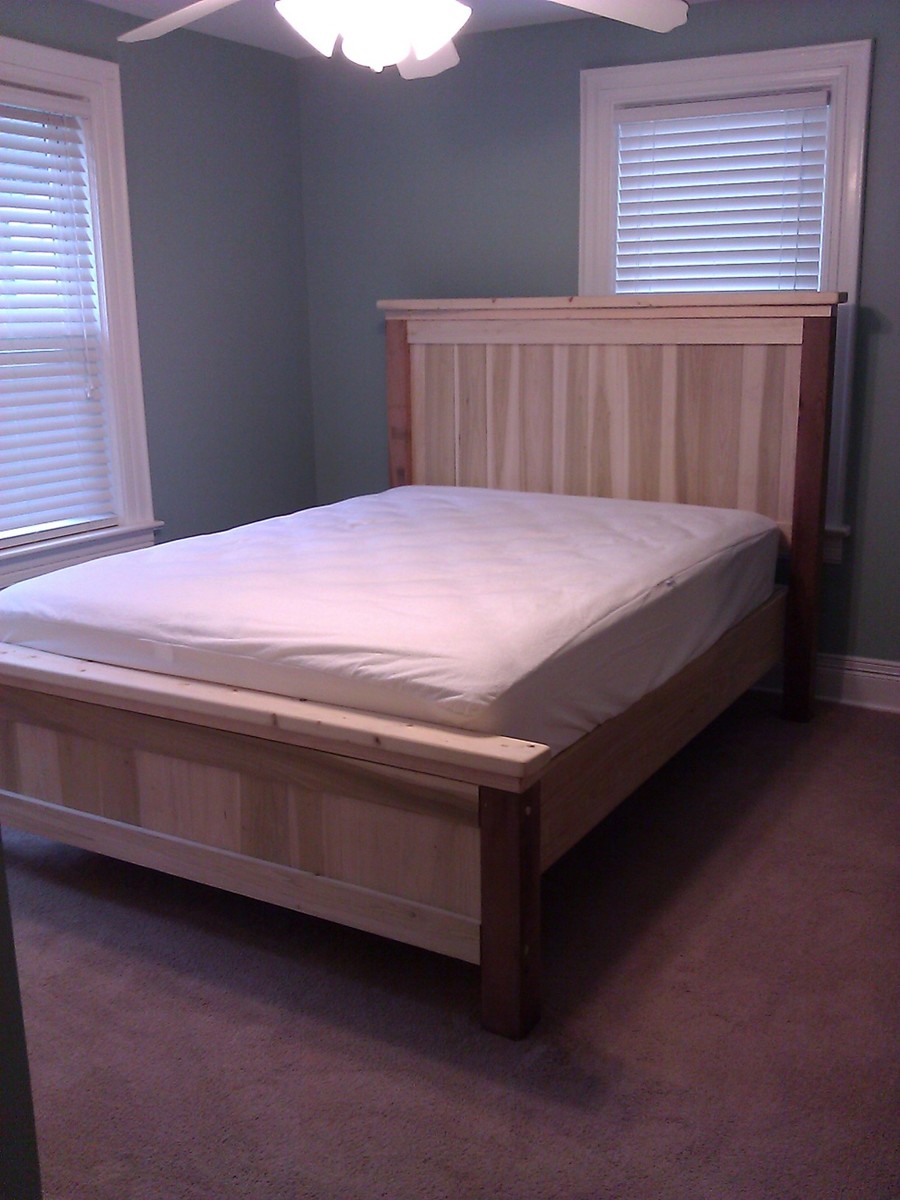
We ended up going with a combination of pine, cedar (posts - from Ace Hardware) and regular ole 2xs. We ordered our hardware from Rockler ( http://www.rockler.com/product.cfm?page=10).The bed can be easily disassembled down to the headboard, footboard, side rails, support beams, and platform. It's a quirky combination of woods, but overall we are happy how it turned out. We thought of painting it, but have really been enjoying it as is.

Tue, 05/01/2012 - 13:40
This is so beautiful! I agree with you, the woods beauty is best as is, without paint hiding it. You could put a coat of poly to seal and preserve the wood without losing any of its natural beauty. Great job!
Thu, 10/25/2012 - 07:25
I clicked the link for the rockler hardware that you used. I noticed that it required mortising. Did you find that difficult to do? Did you use a router to mortise the wood?
Thu, 10/25/2012 - 11:01
They also have surface mount hardware
http://woodworking.rockler.com/search?asug=&w=bed+brackets&Search.x=0&S…