Sheila's hall tree

dark gray stained farmhouse hall tree

dark gray stained farmhouse hall tree

I'd been looking for a similar table for months but couldn't find one that I liked and that would fit at the bottom of my stairs. I found this pattern and changed the dimensions by removing just one of the top boards so that the final depth is 10.5" deep rather than 14". It's exactly what I wanted and get to brag about it!
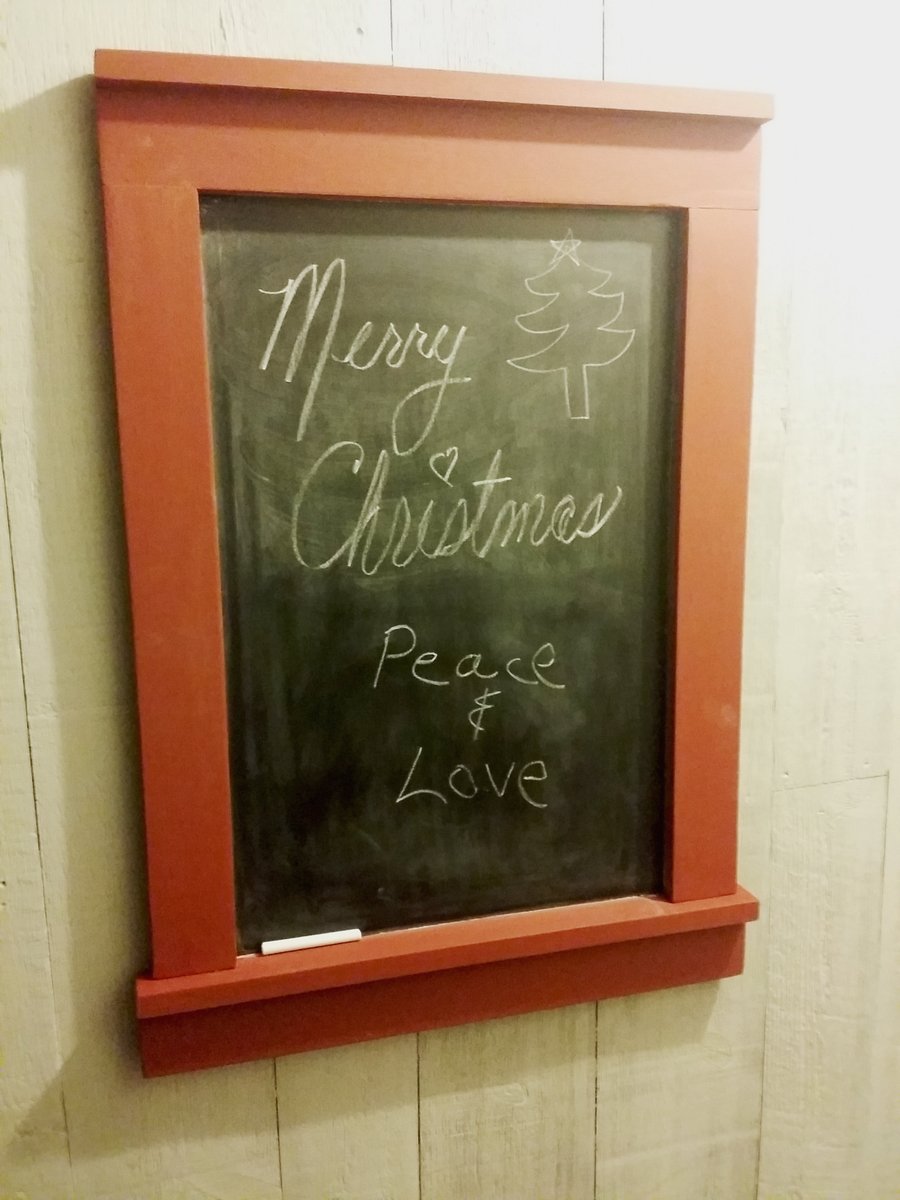
I made this craftsman frame to fit a 16" x 24" chalkboard. I followed the plan, using 1x3's and 1x2's, attached with a Kreg Jig which made it easy. Oh, and glue. I usually buy full sheets of plywood and paint them with chalkboard paint but time was short and I used a 24" x 48" prepainted panel. I cut three 16" x 24" chalkboards from this panel.
I allowed 1/2" all around the inside dimension in order to glue and staple the chalkboard to the back of the frame. I decided to paint them all with a barn red paint sample. Cheap enough and they're going under the tree to three family members!
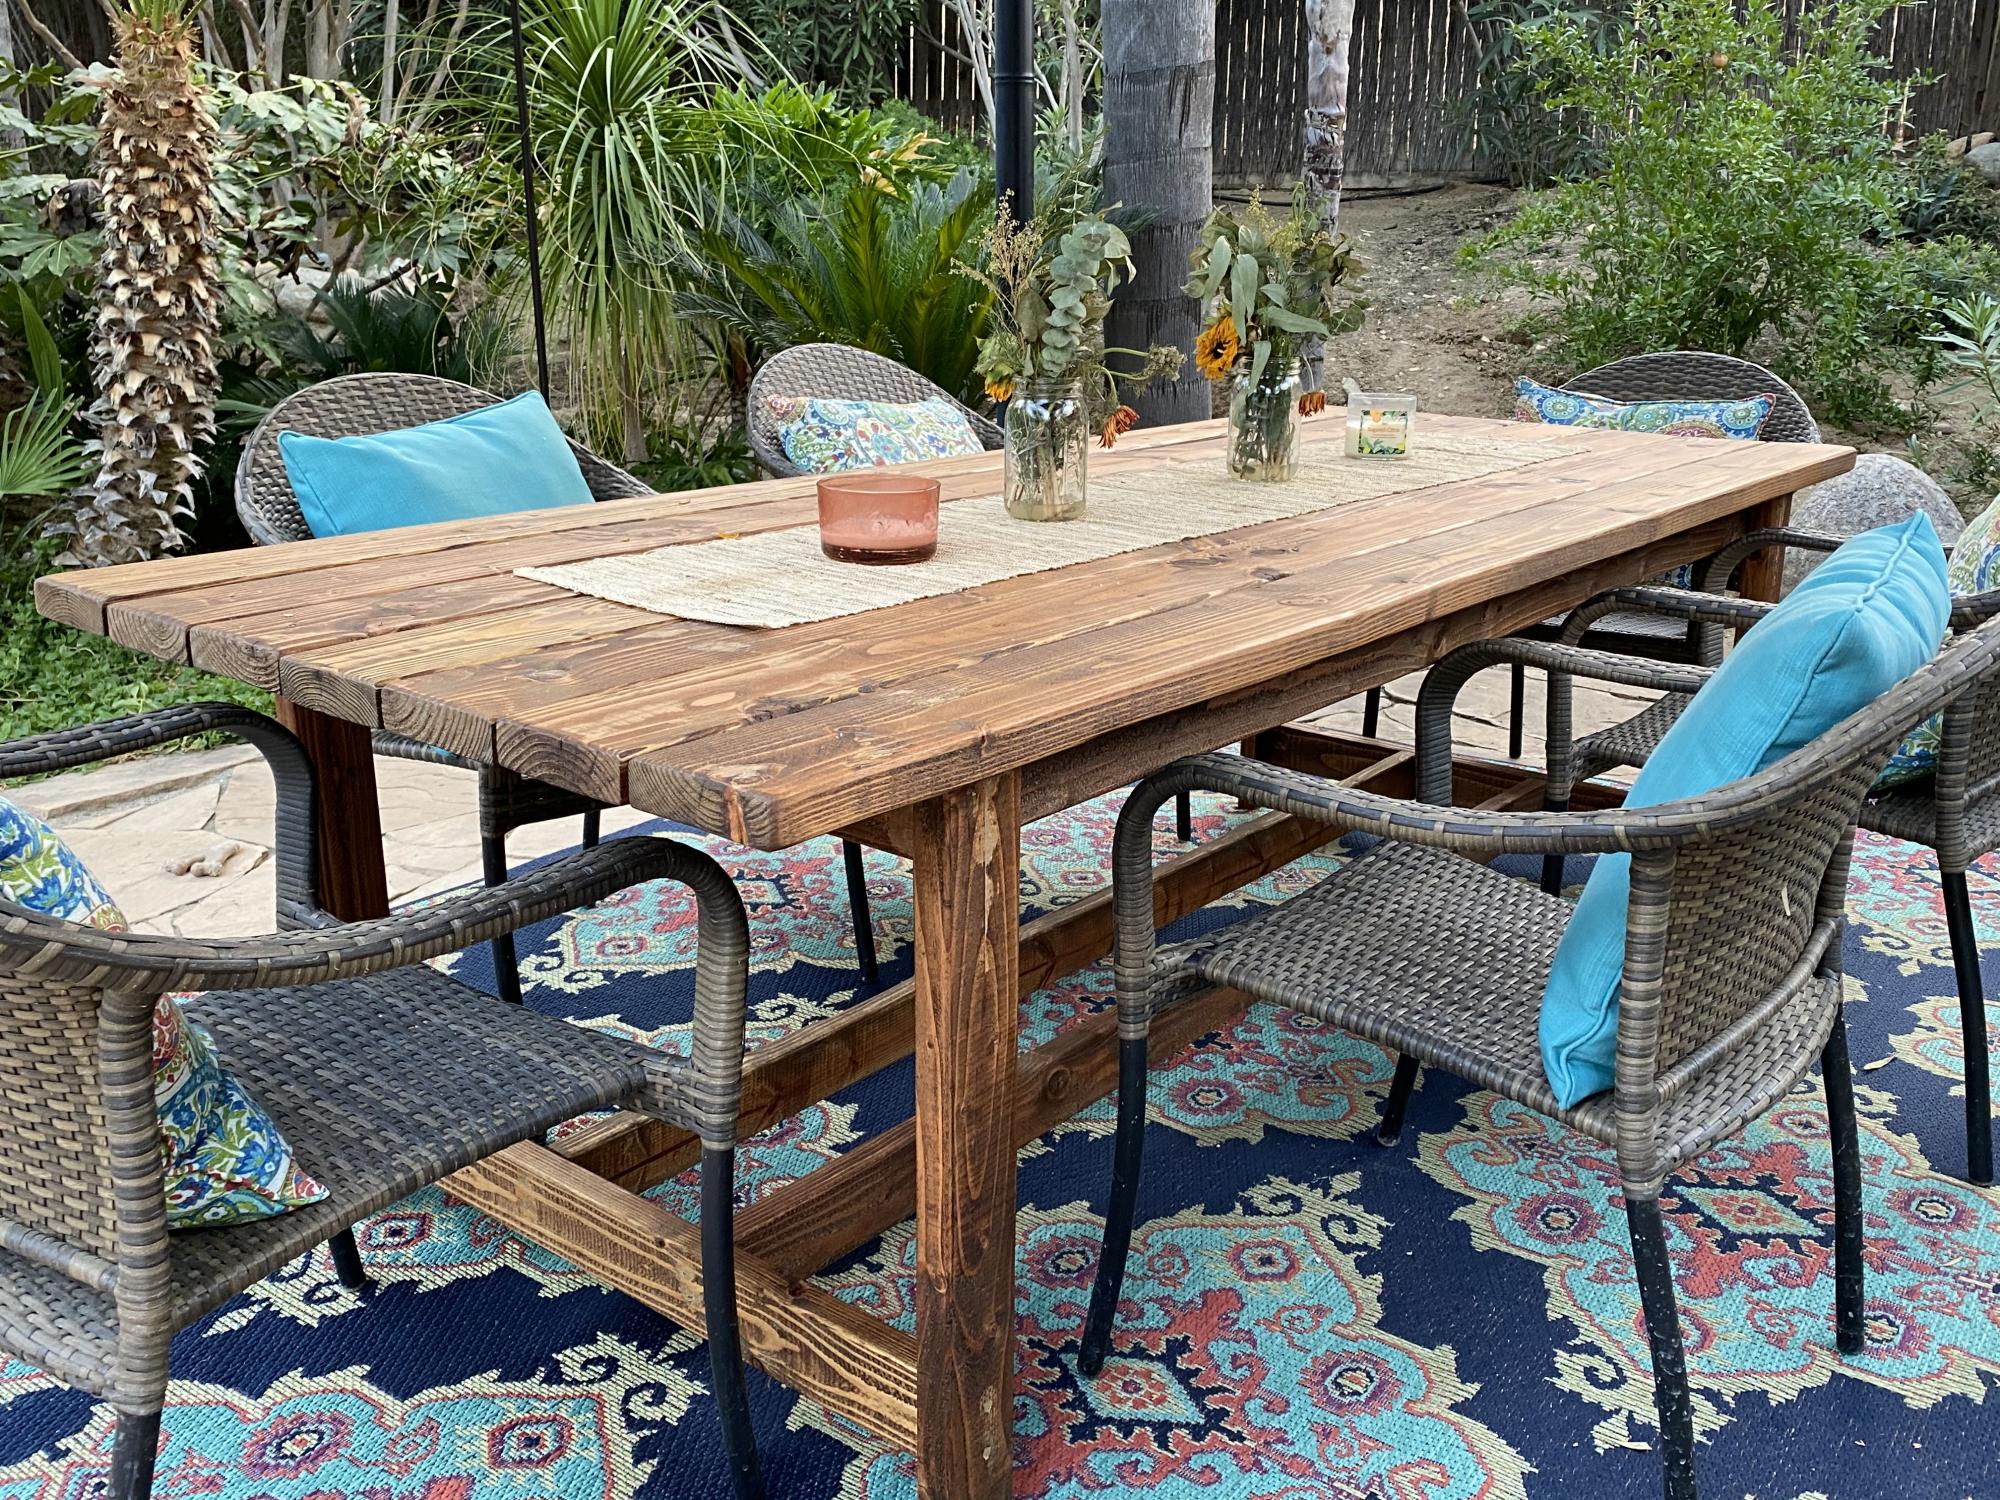
Thanks for sharing this project. I made a few adaptations knowing my friends, family, and monkey grandkids would be climbing all over the table. Everyone loved the table and we have broken it in with a great party.
Changes:
I added a second bottom stretcher that also serves as a footrest and ran them between the bottom legs rather than on top.
I added on 2x6 to the table width which required changing the leg dimensions.
I also ran an extra 2x4 middle support brace.
Results:
This table is a tank! Thanks!
I used the Danish Oil and the Thompsons to seal.
Now I am ready for another project.
Thanks Ana!
The Martin's
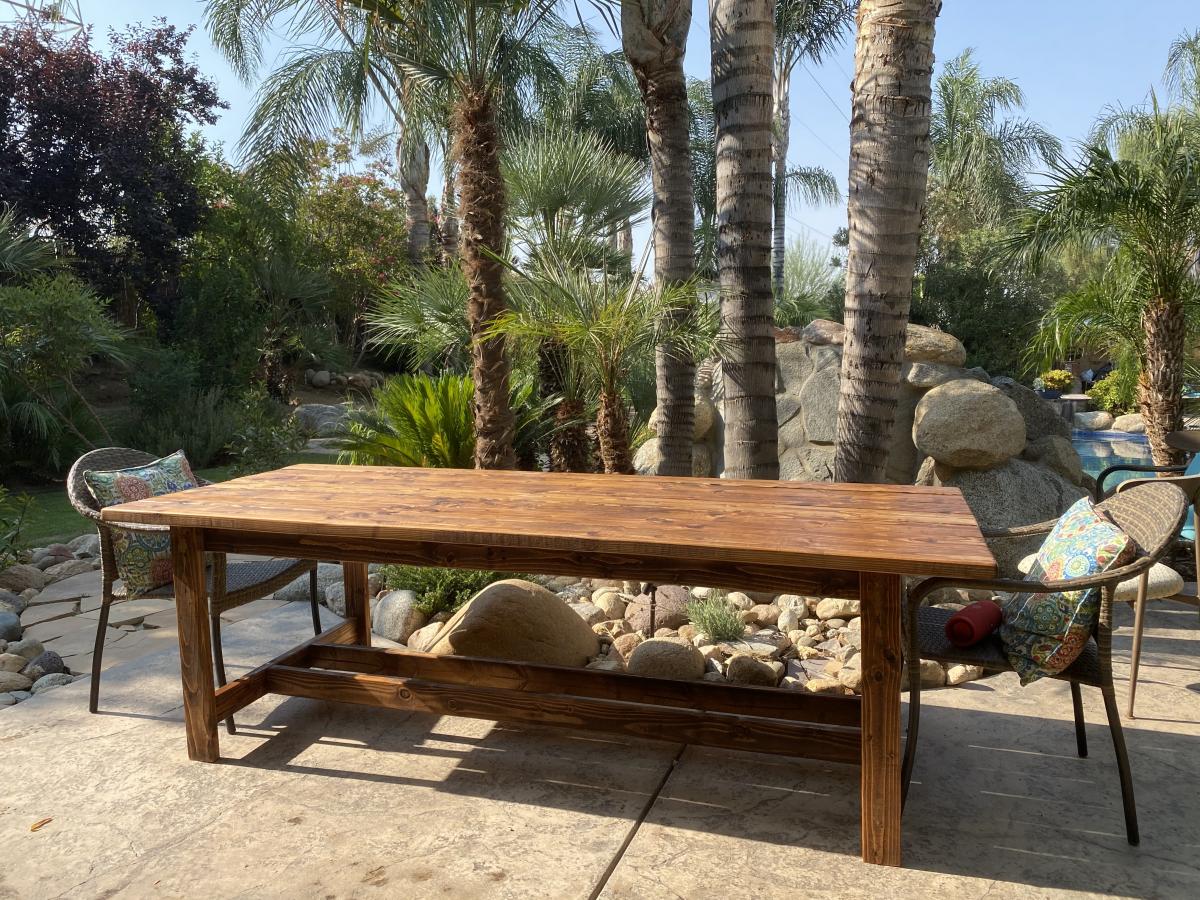
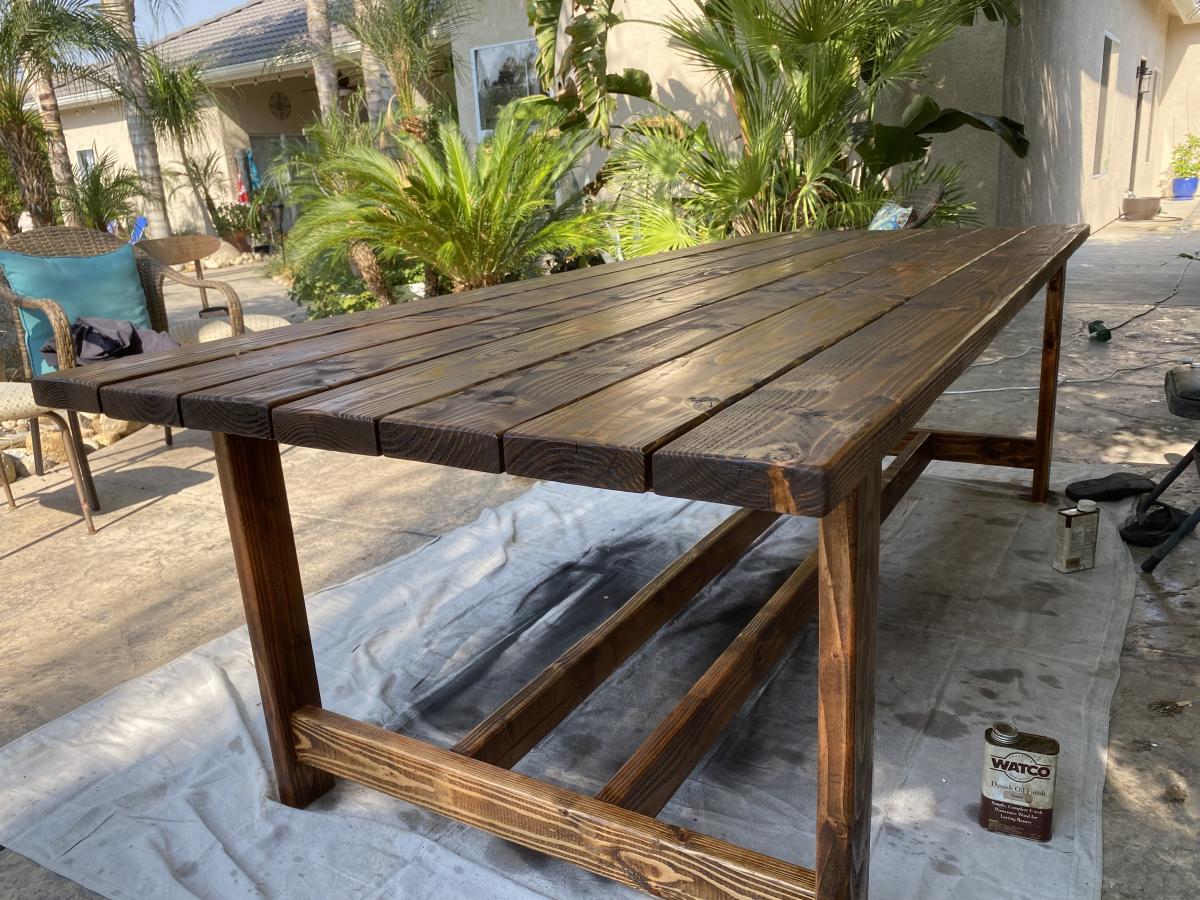
My first build from the Ana White projects. I had to adjust a few cuts but it came together! - Kerry Kirkley on Facebook
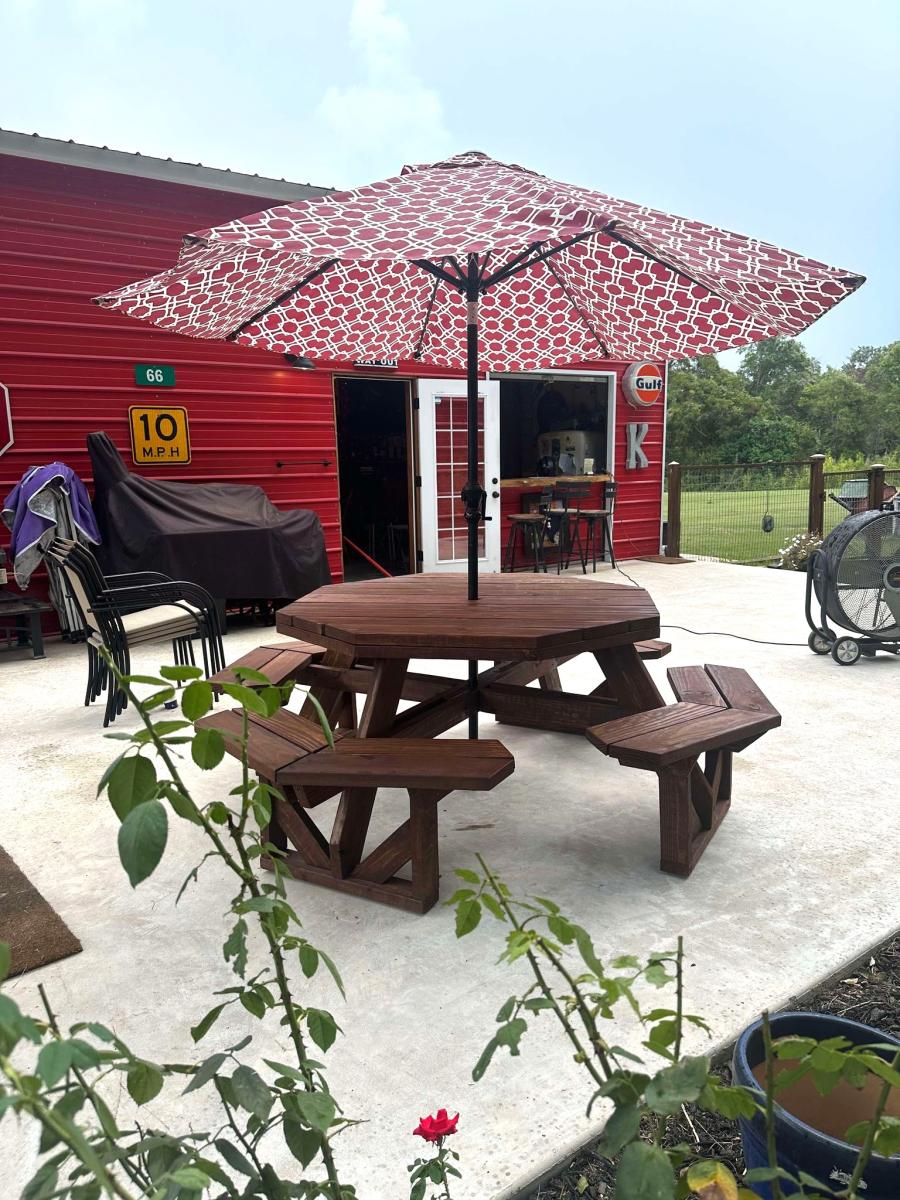
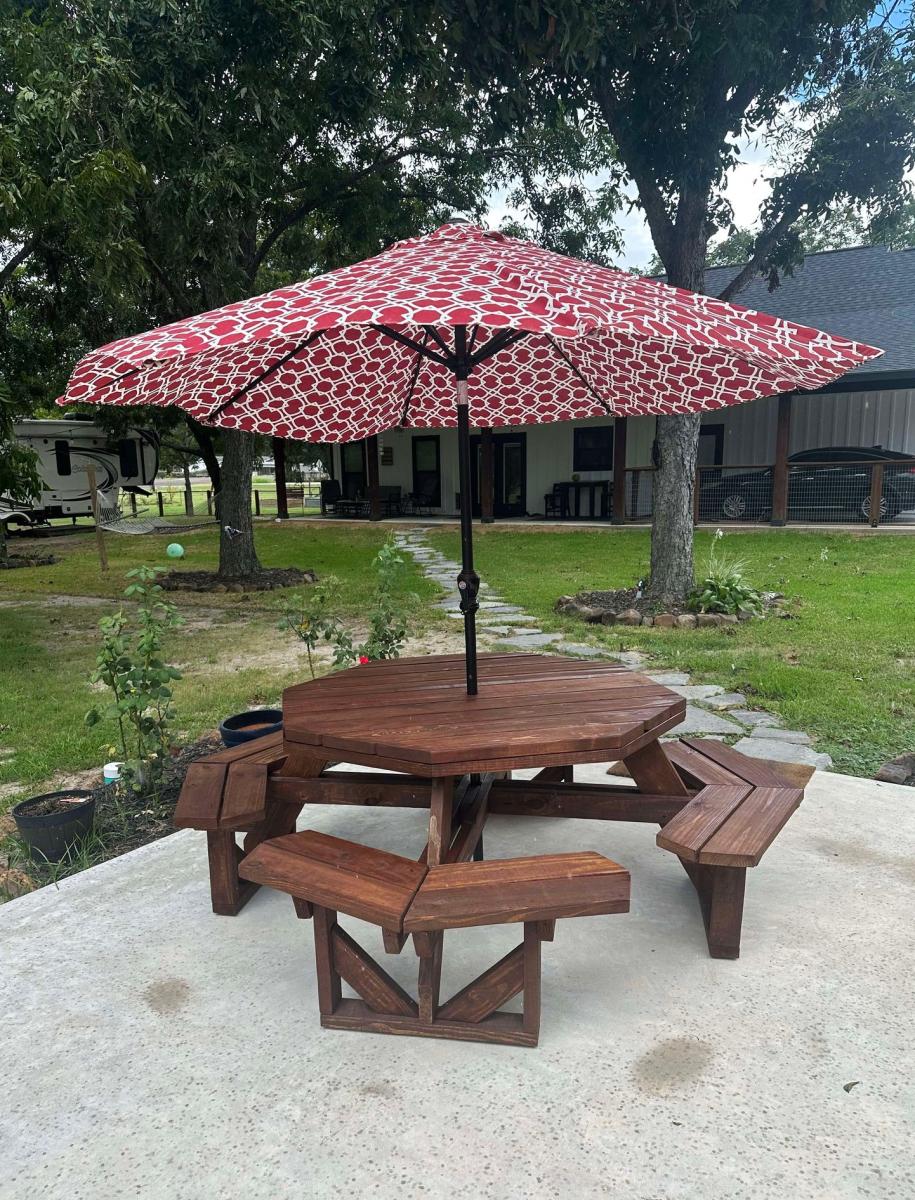
After a floating shelf fail, I threw this one together with scraps. Time investment below includes waiting for paint to dry and hanging it up.
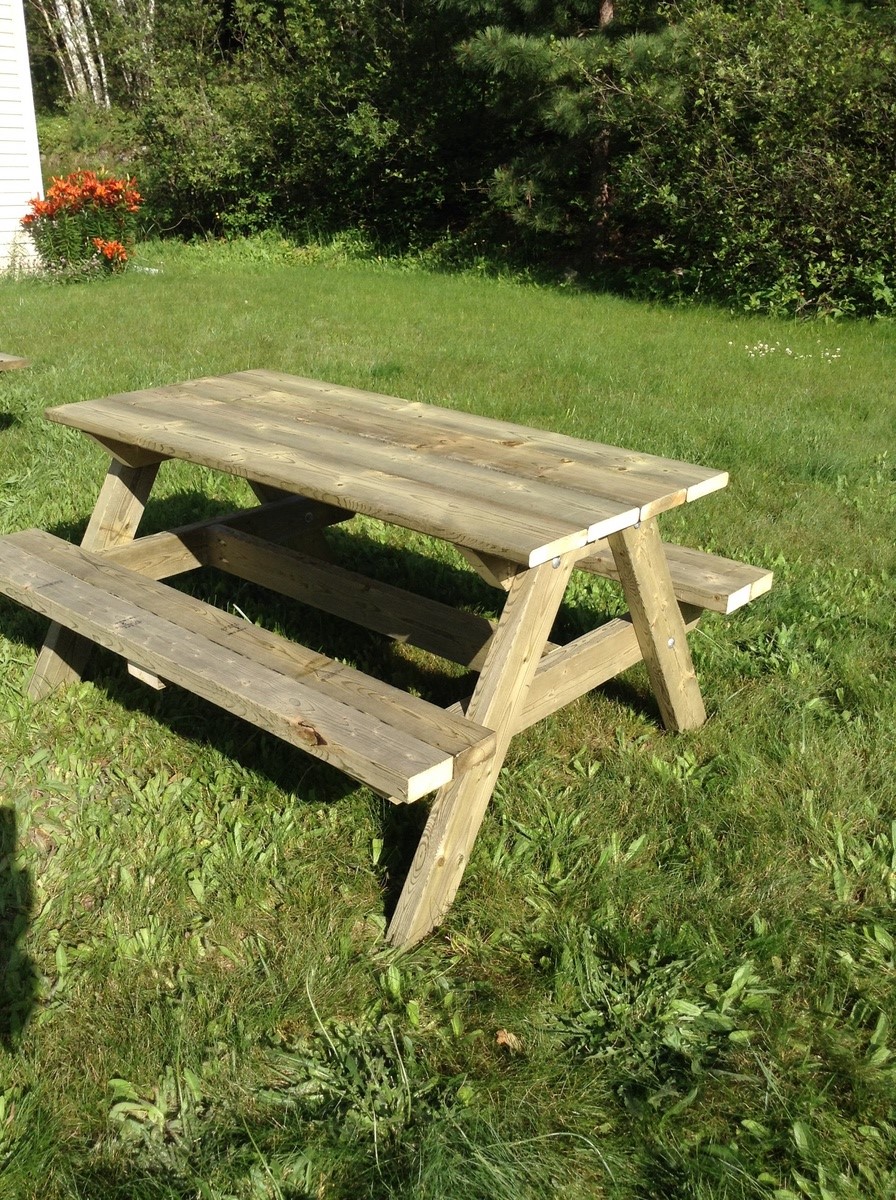
Excellent plans, fit my 15 month old nephew and 8 year old daughter! Easy to follow plans
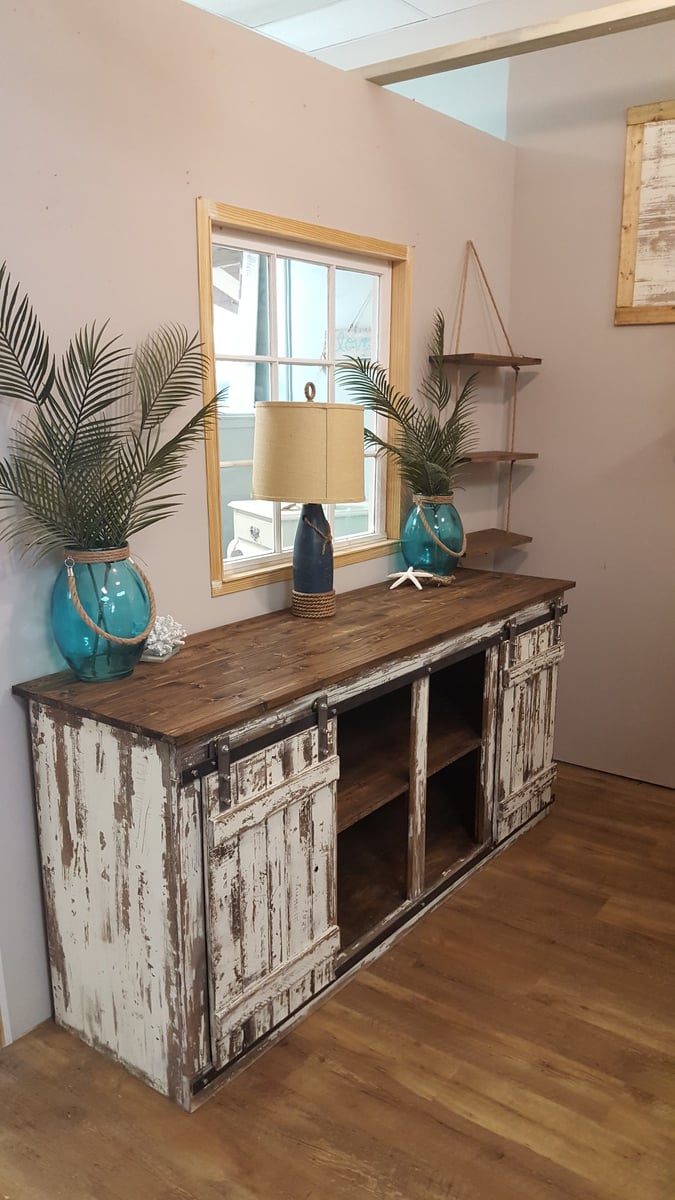
Sliding door console built by Kathryn and Scott Winkler of K & S Coastal Home Furnishings. Kathryn added her own unique chippy finish to set this piece off!
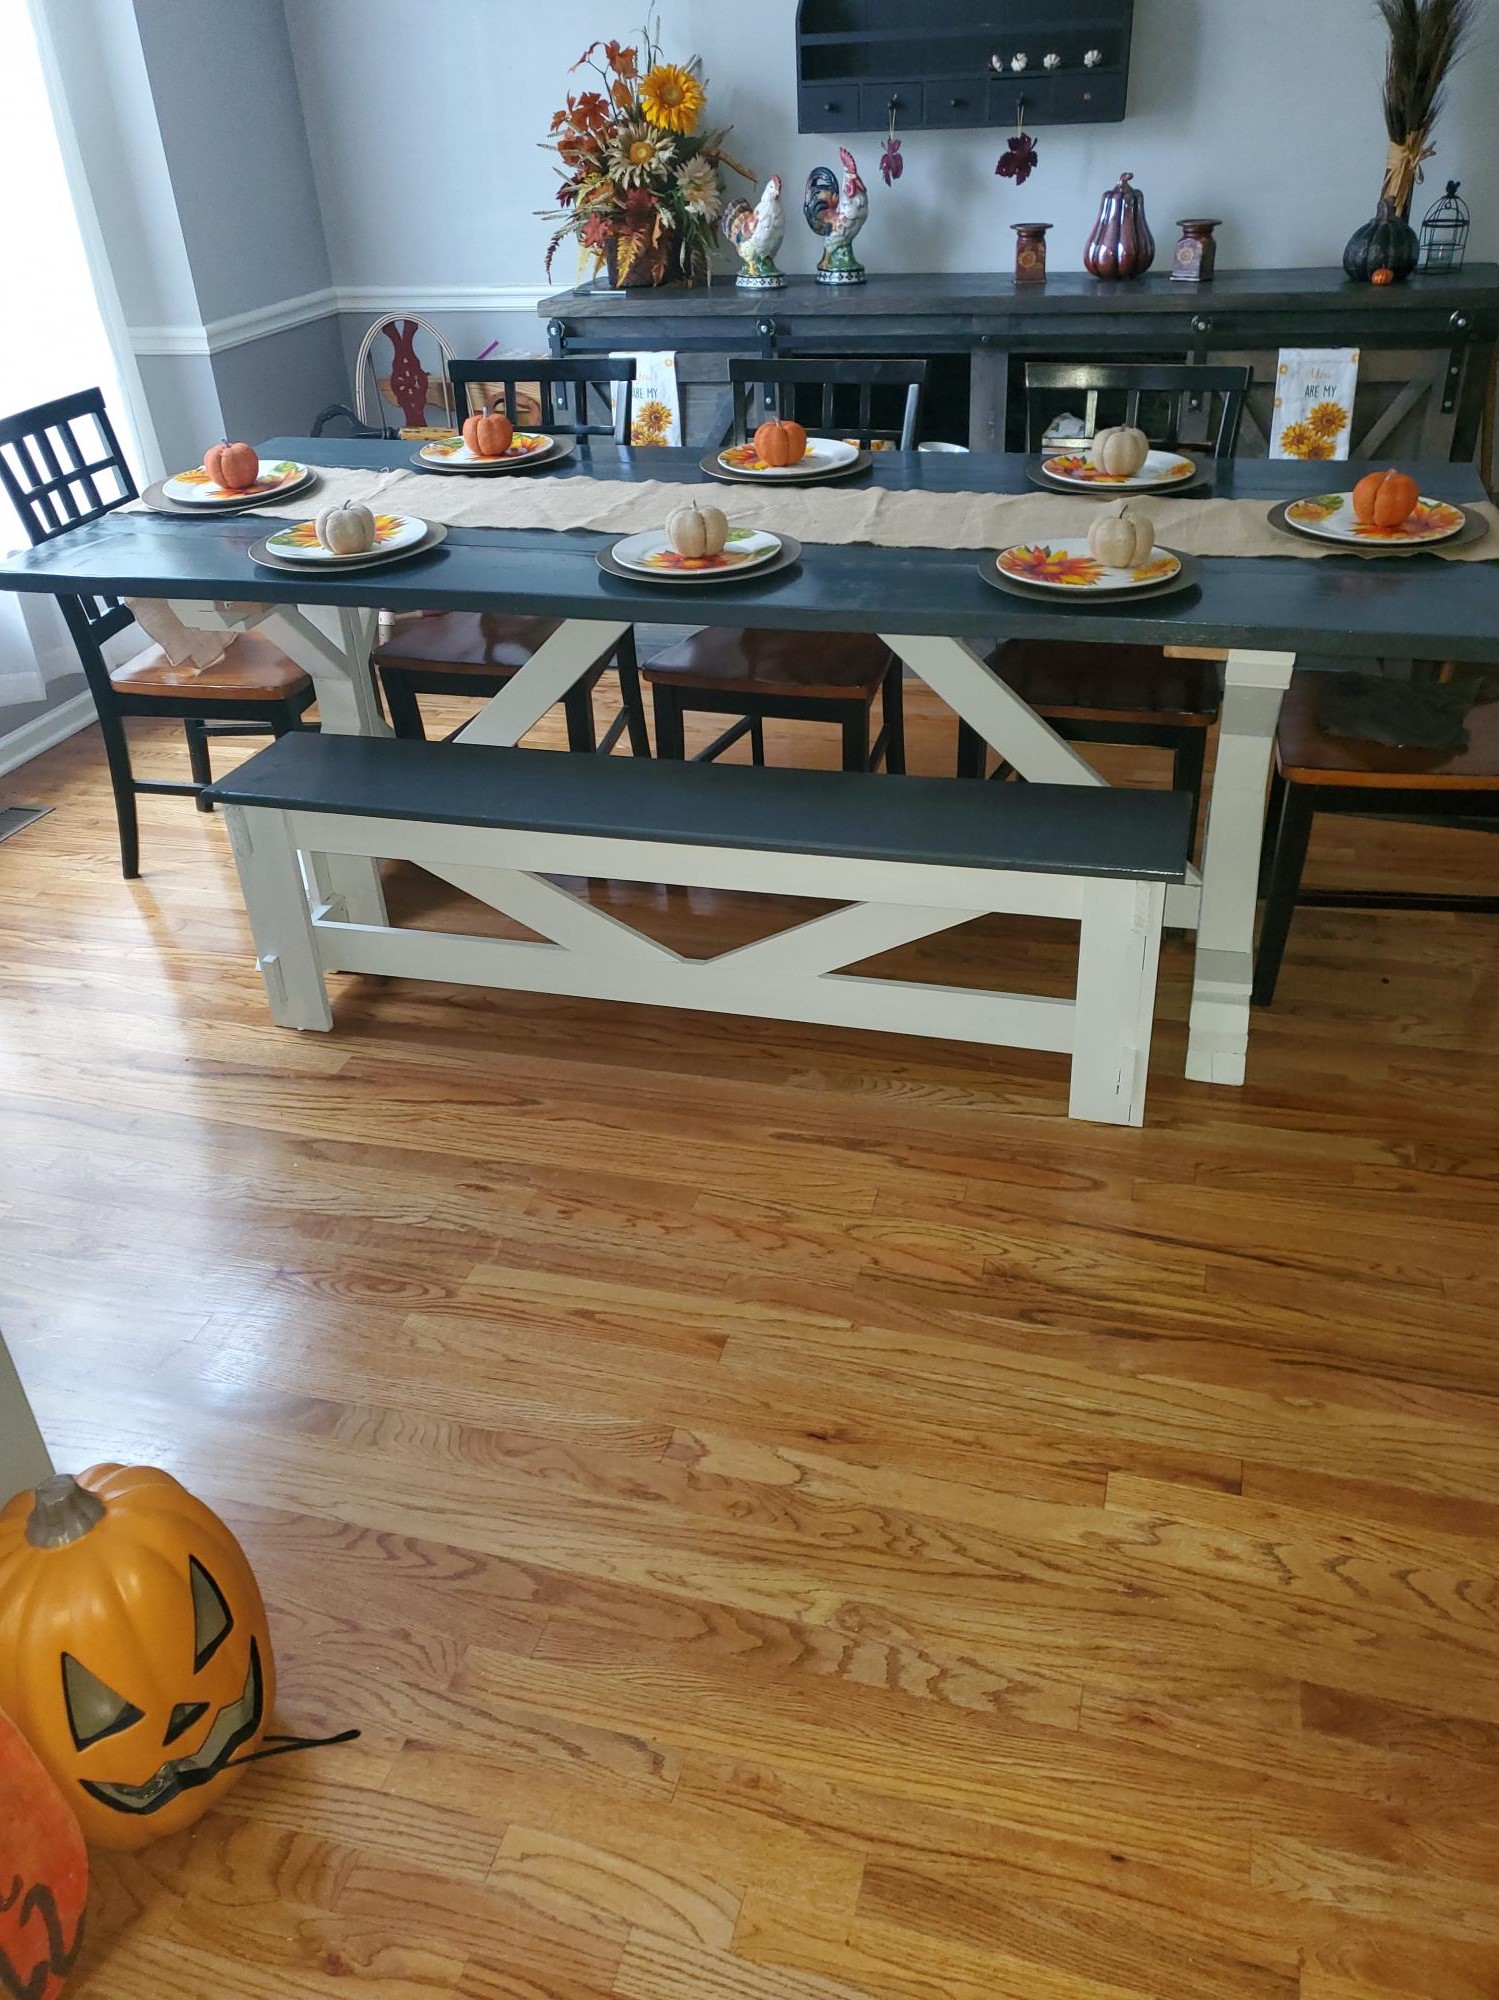
This was a weekend job, had a lot of angles and I had to scribe a lot of them
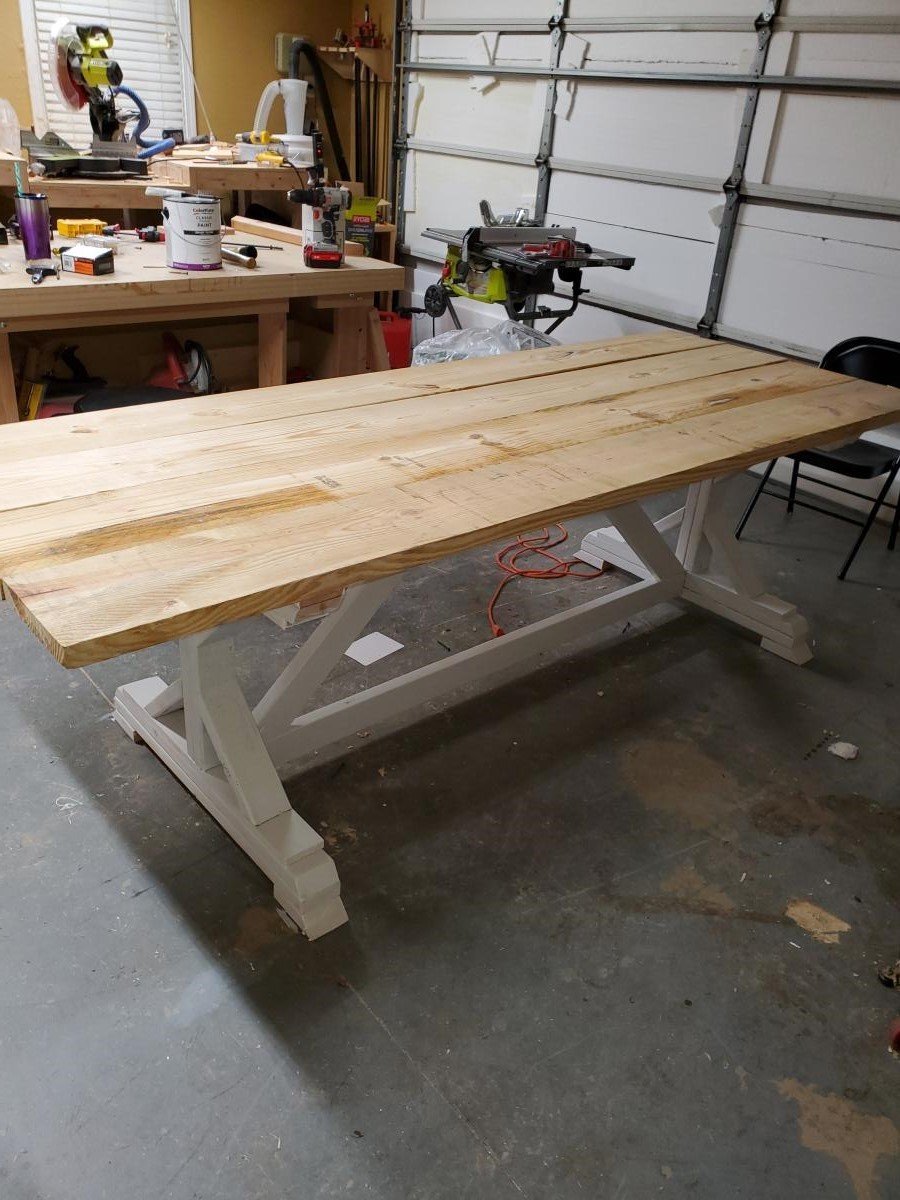
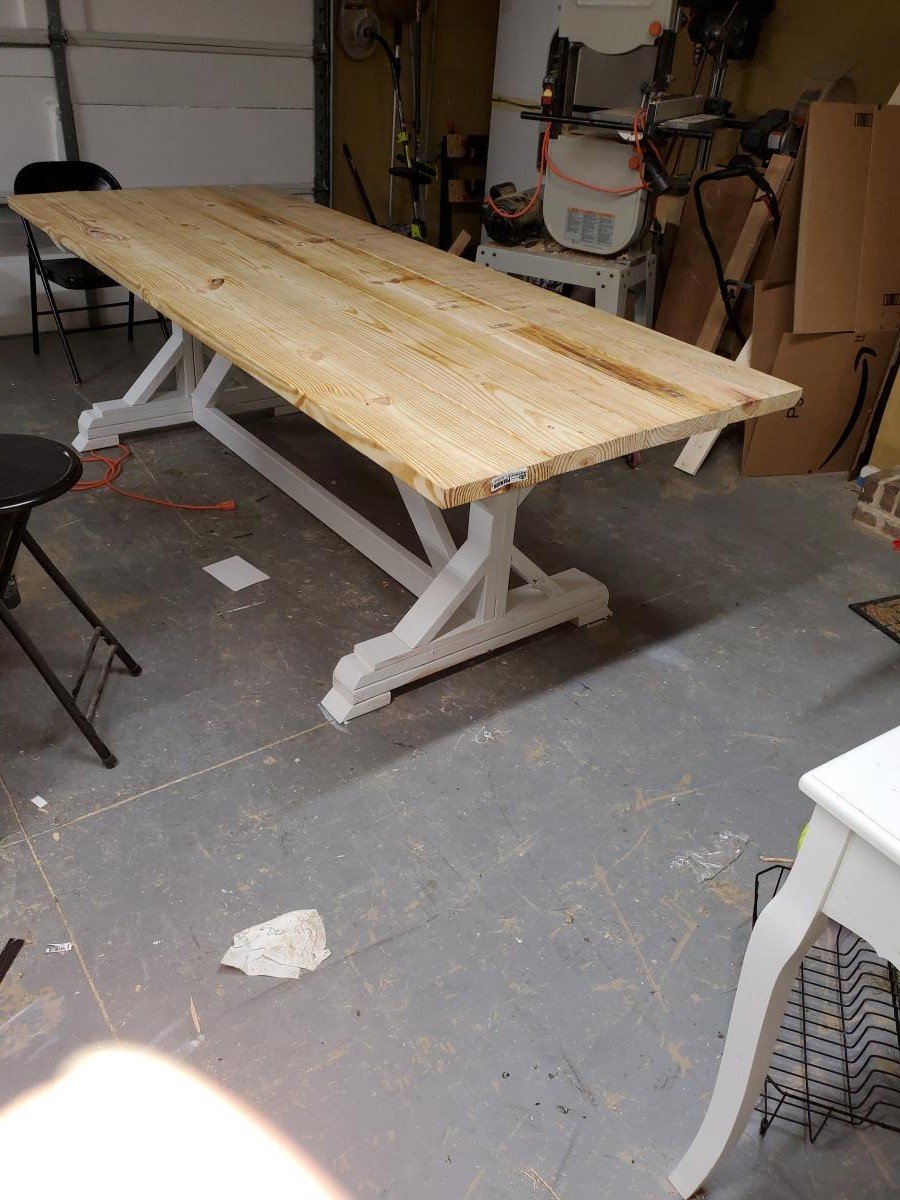
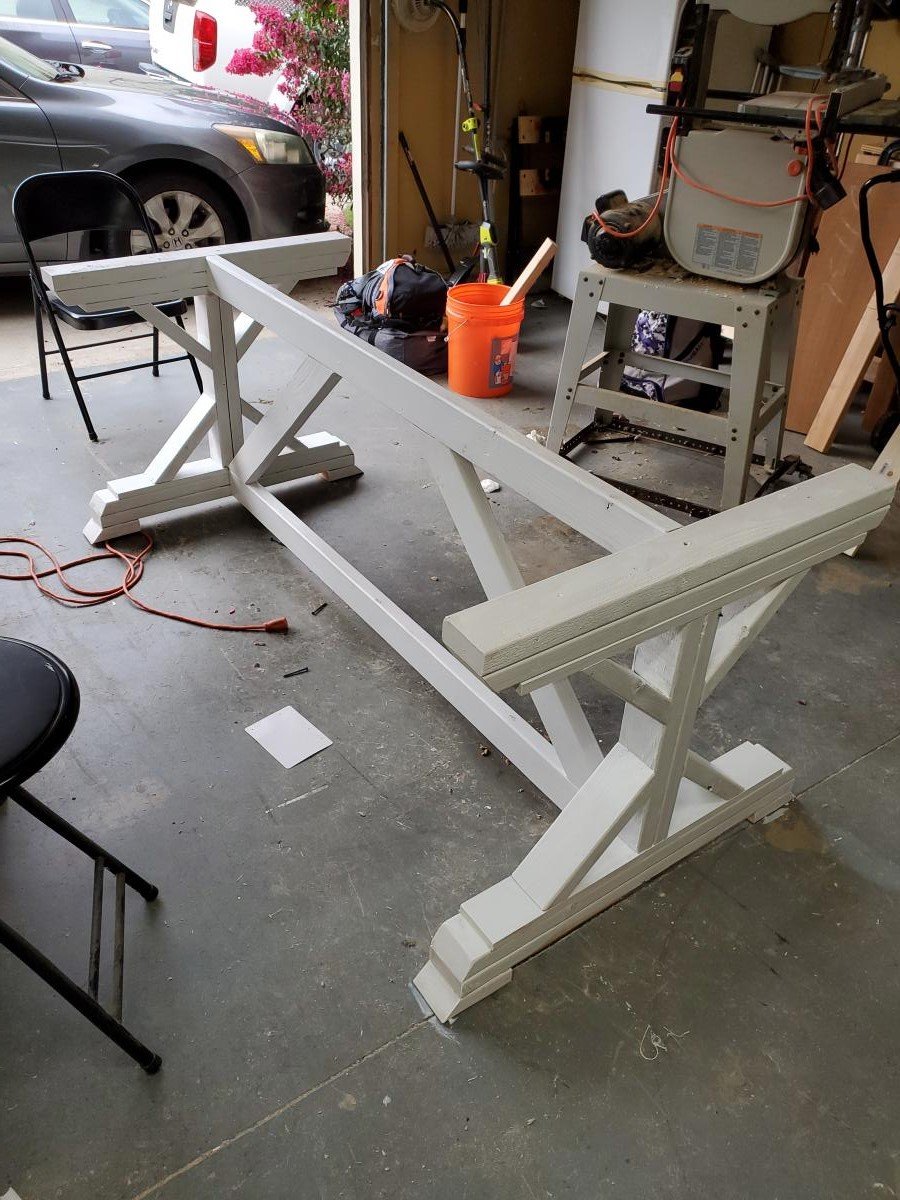
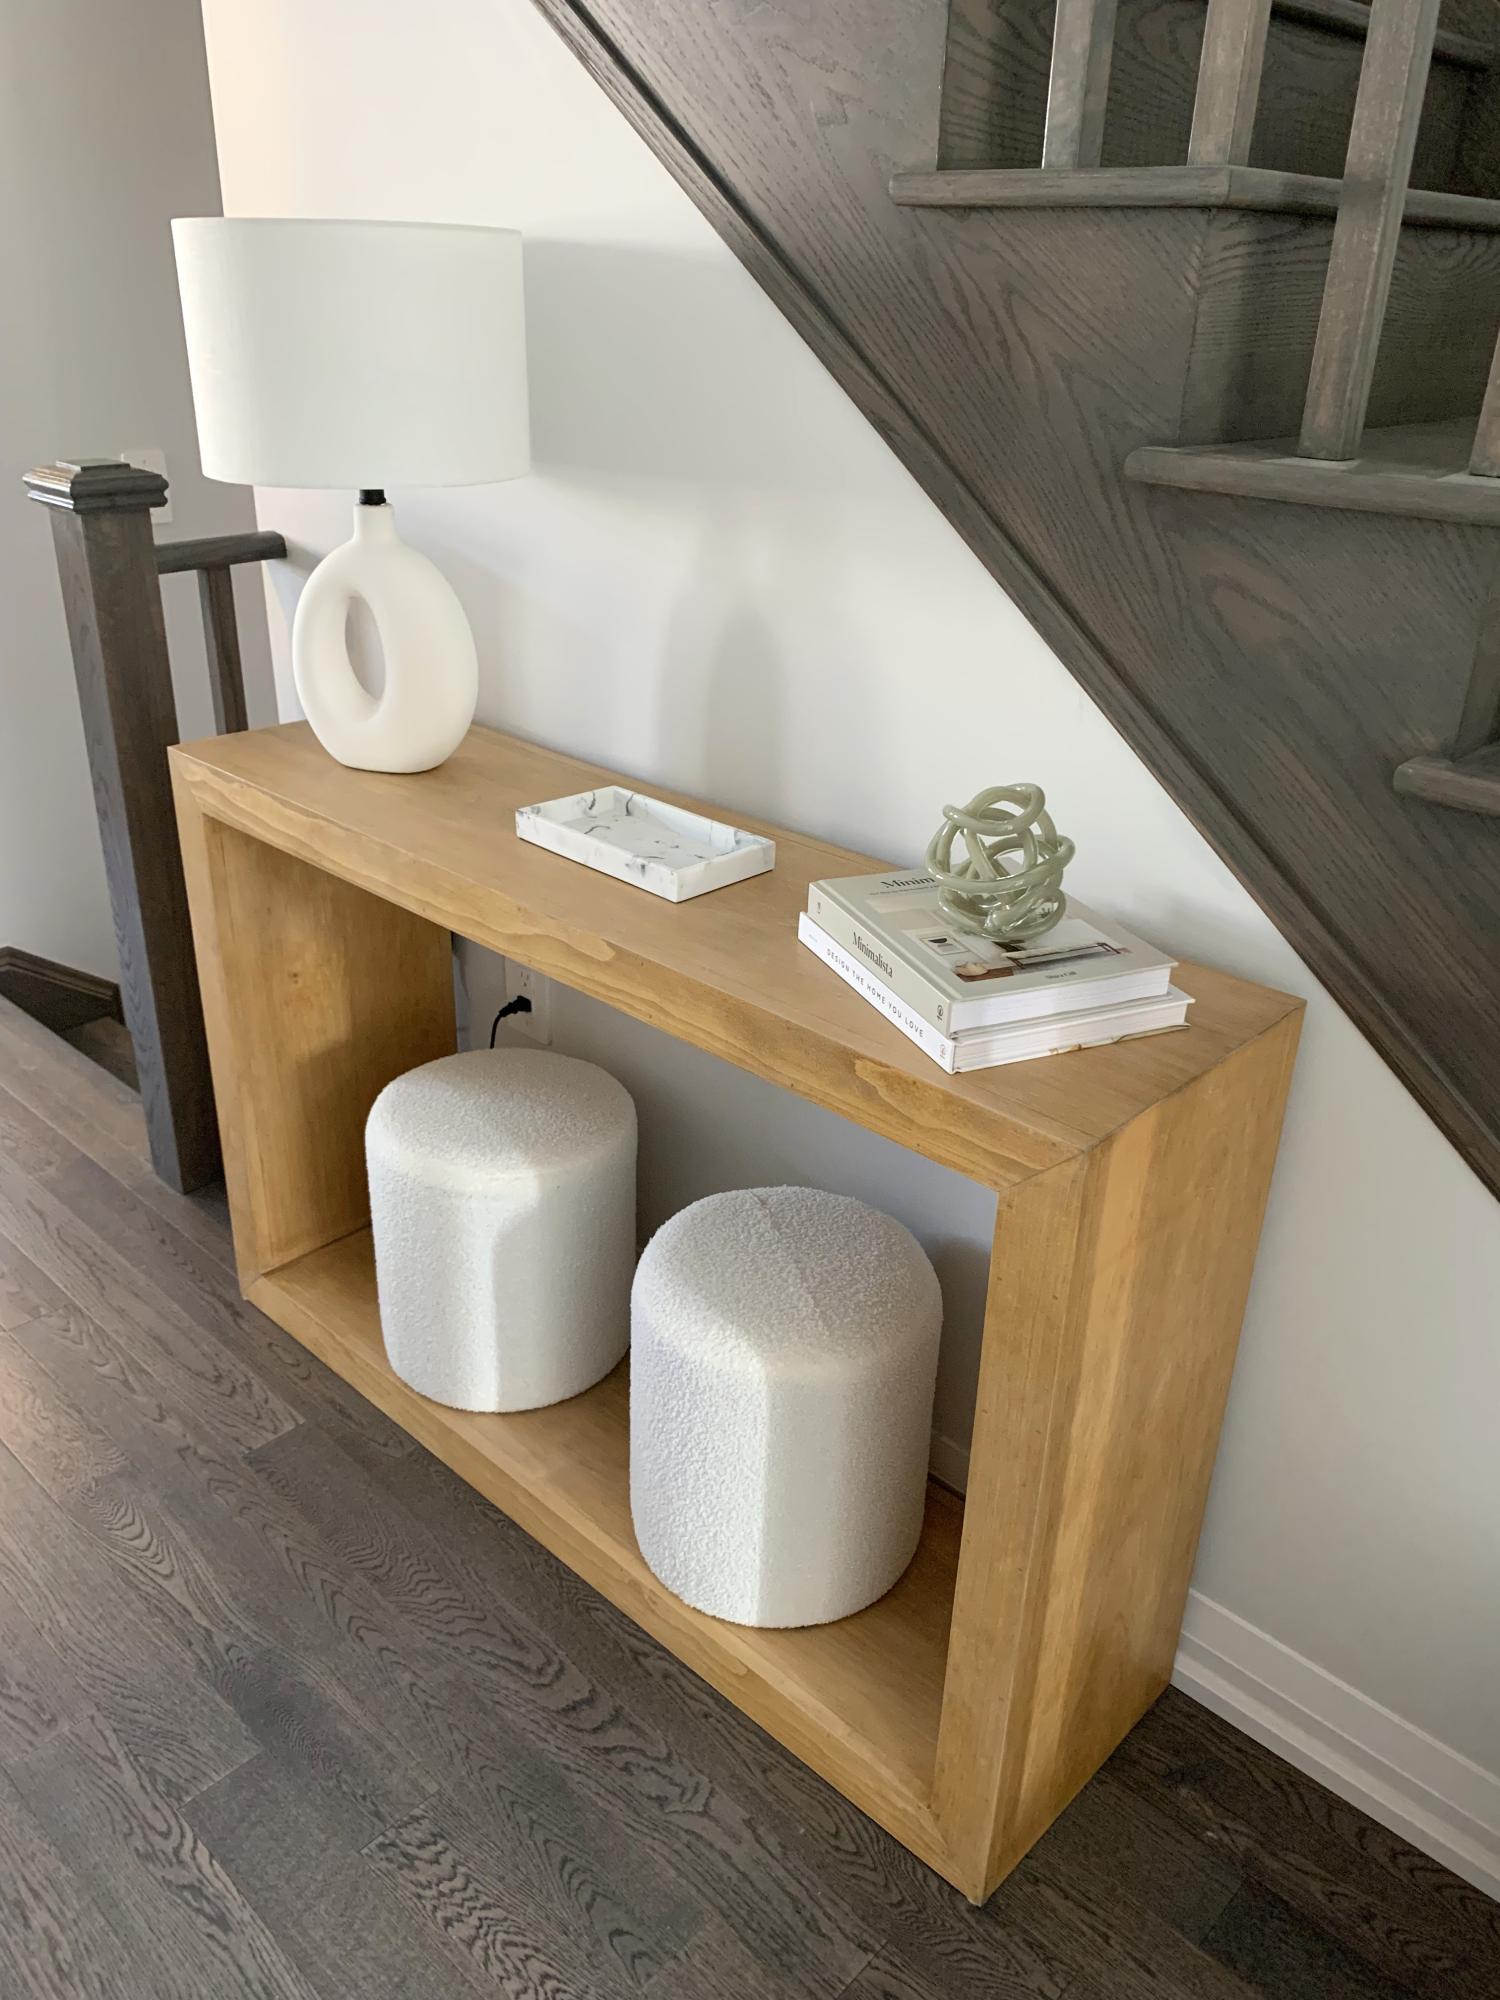
Console Table
Easy first furniture project. - Brad
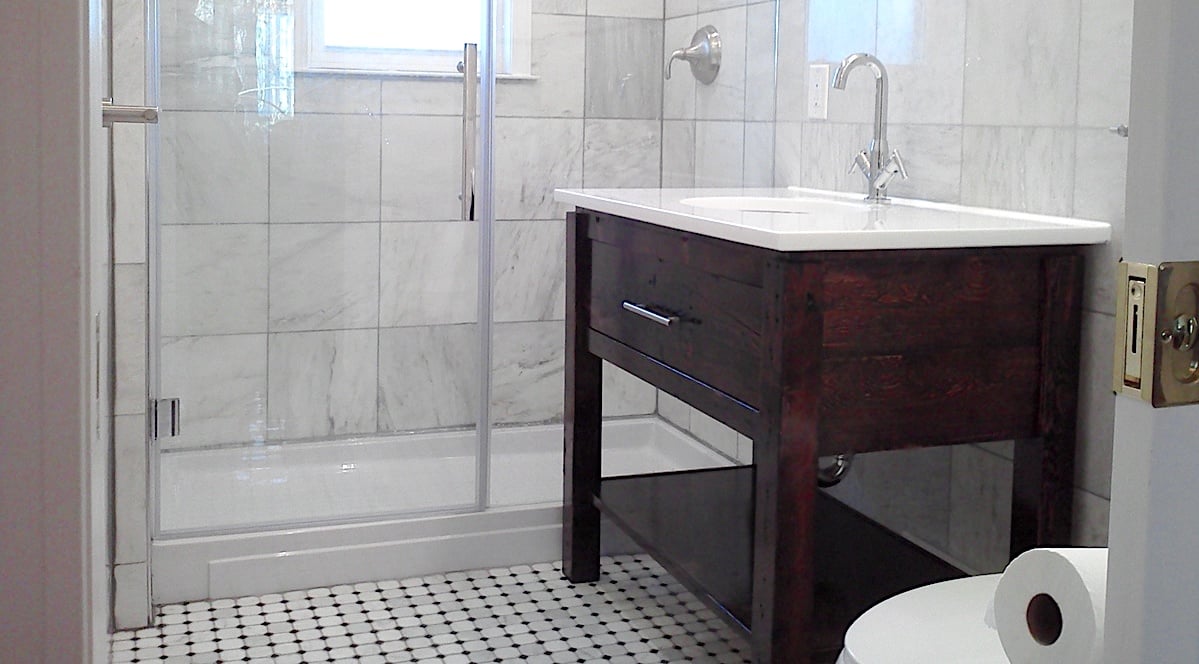
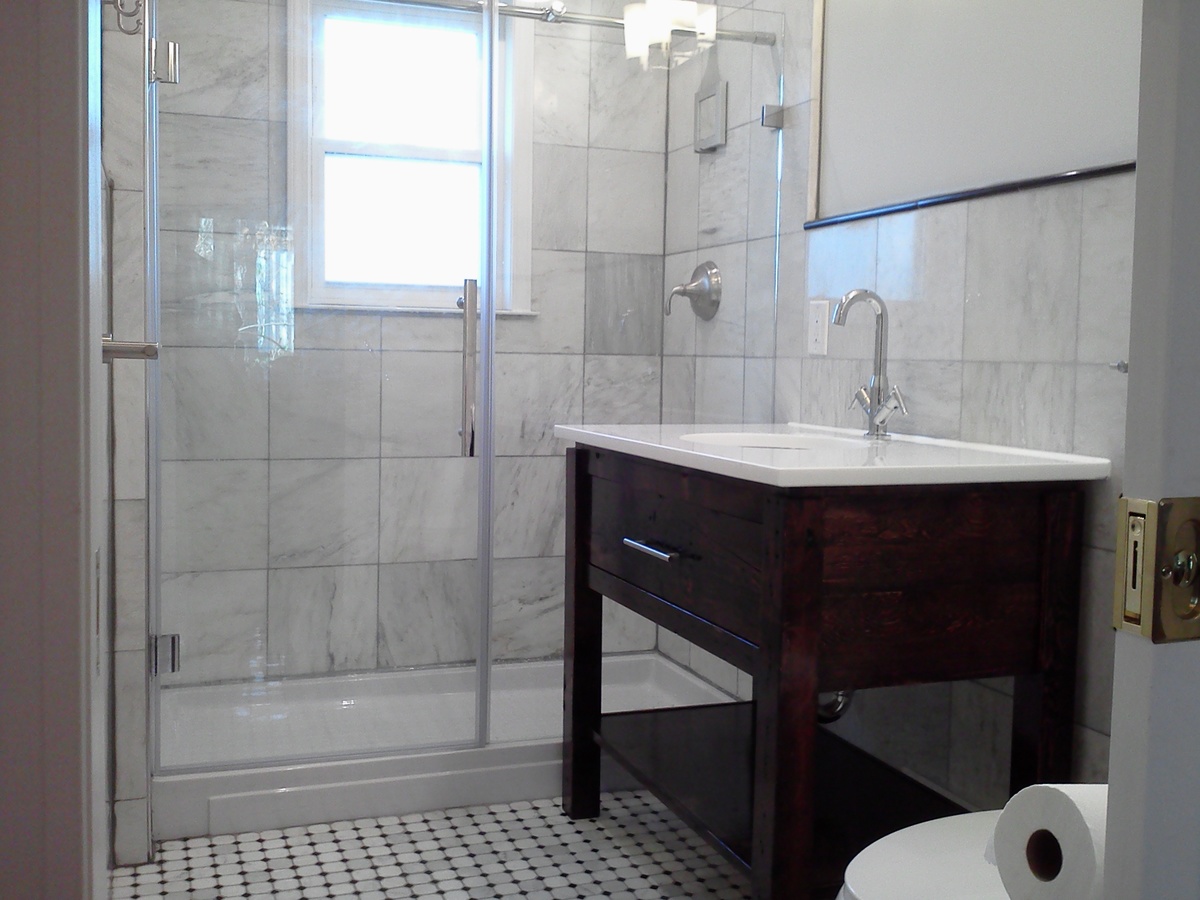
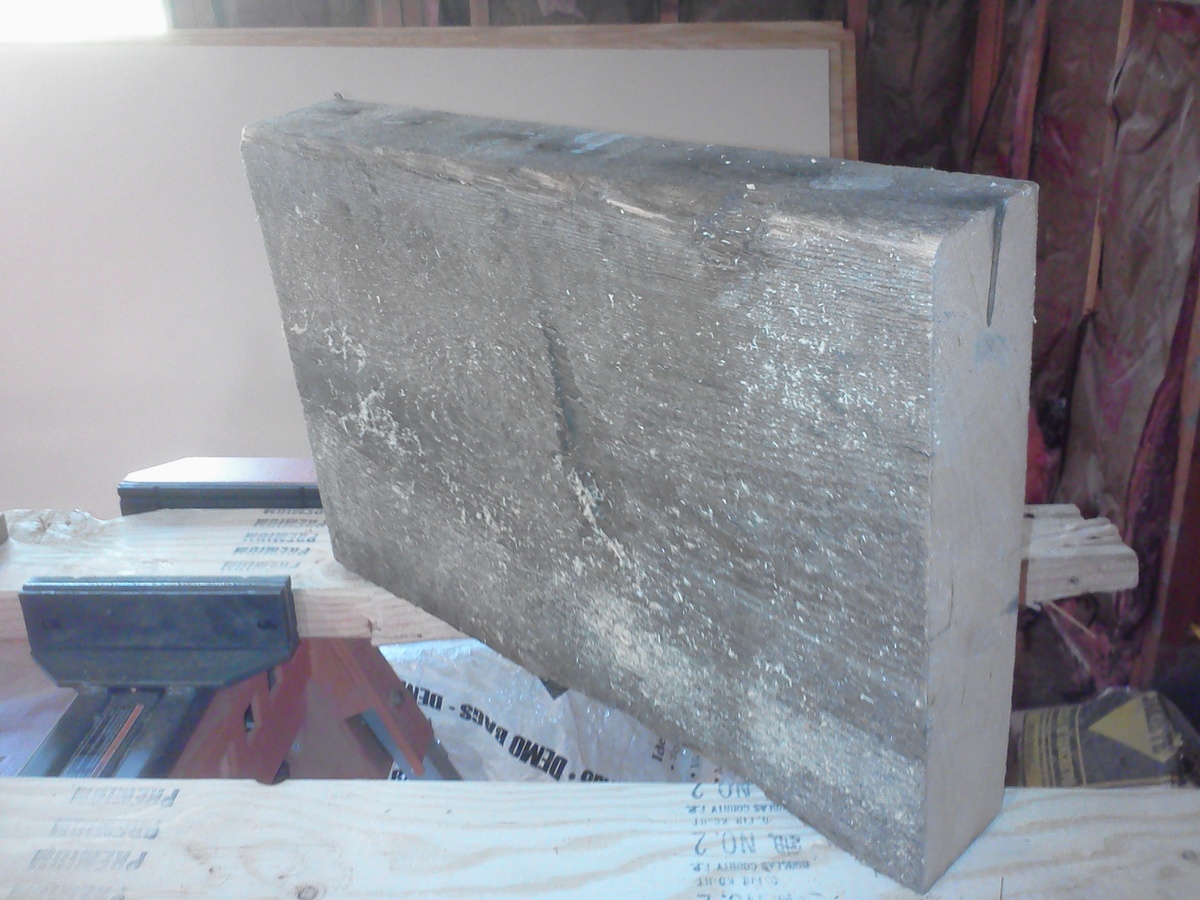
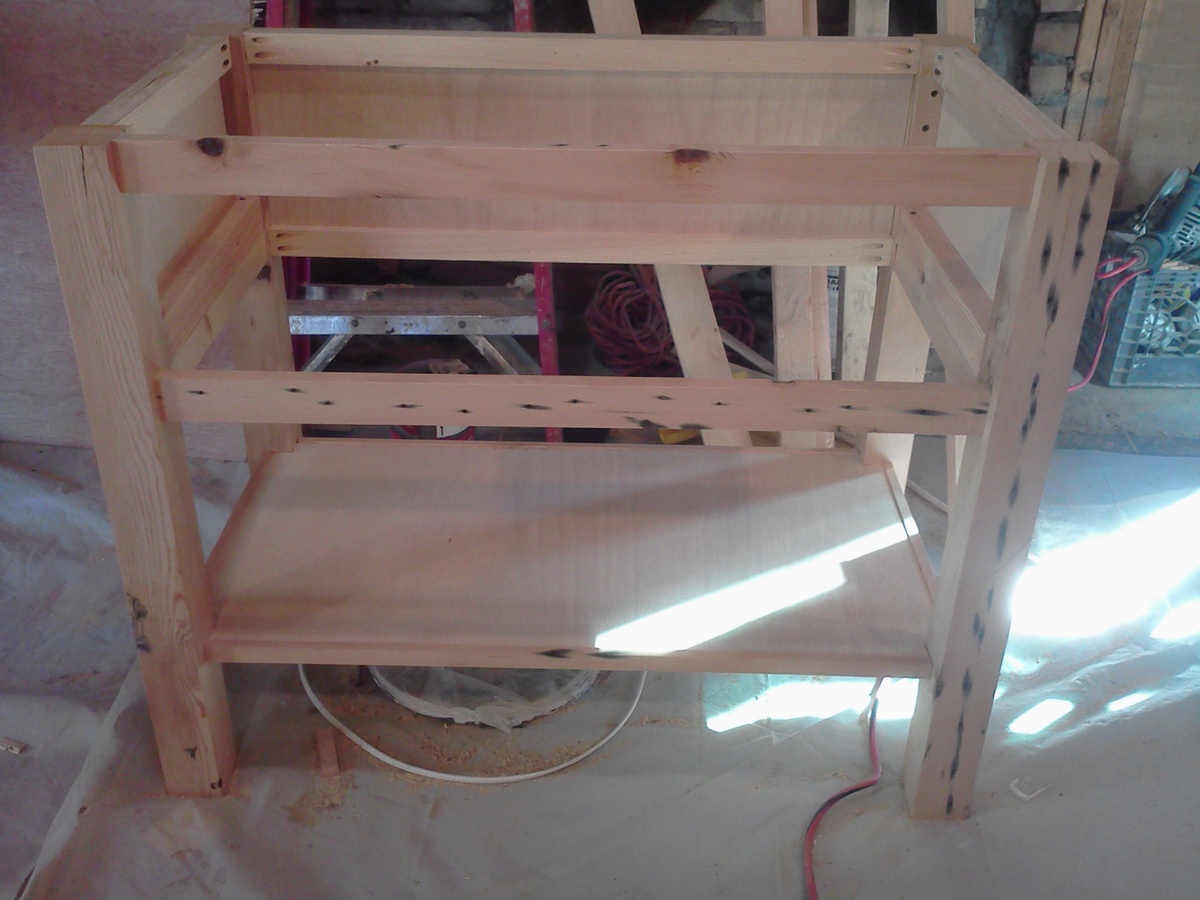
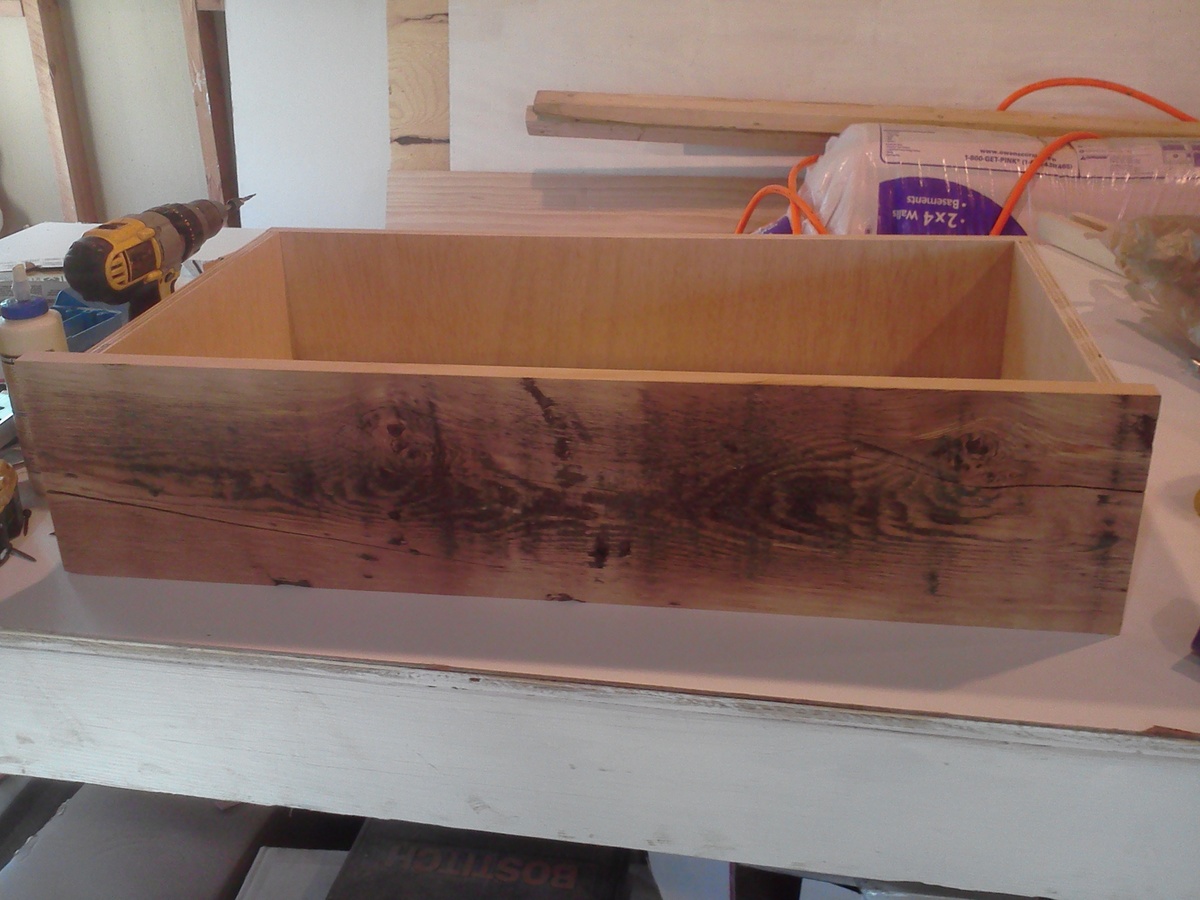
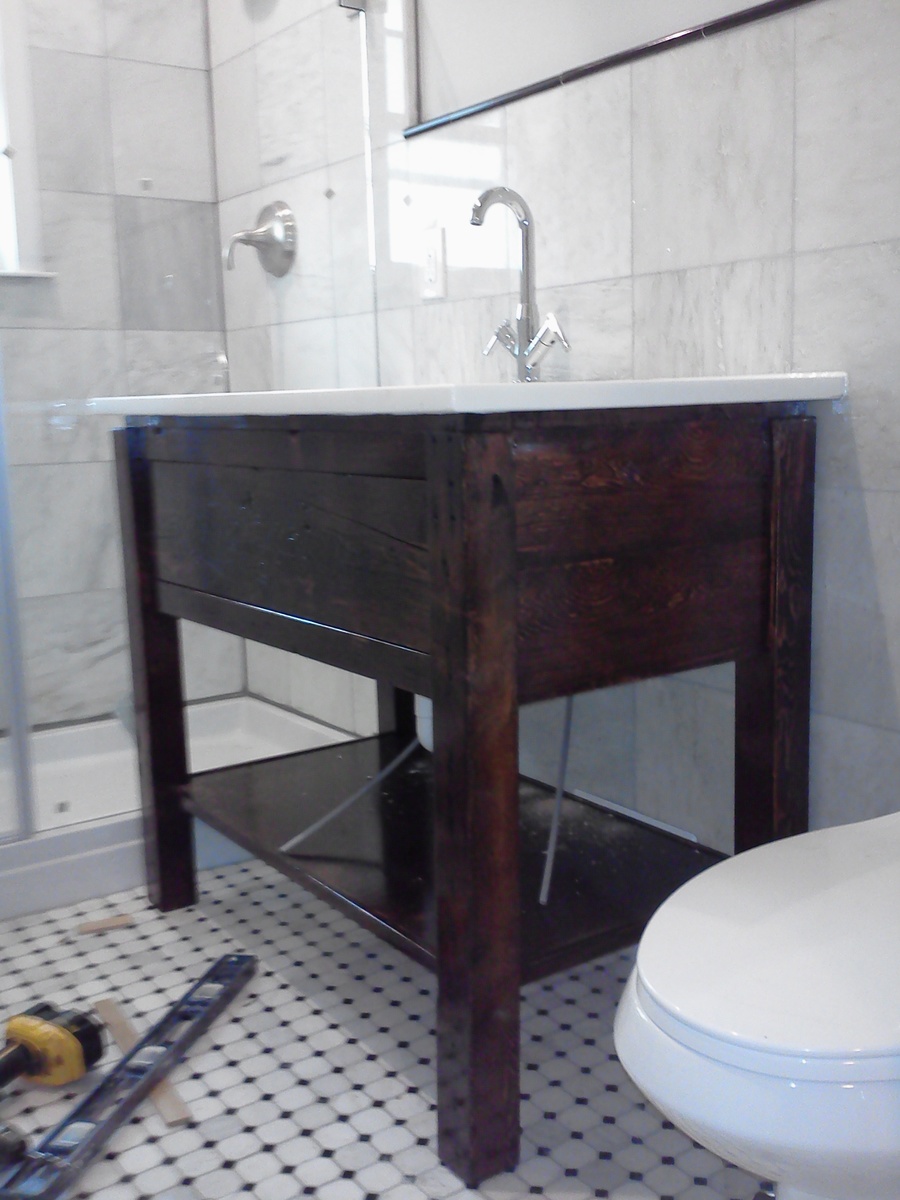
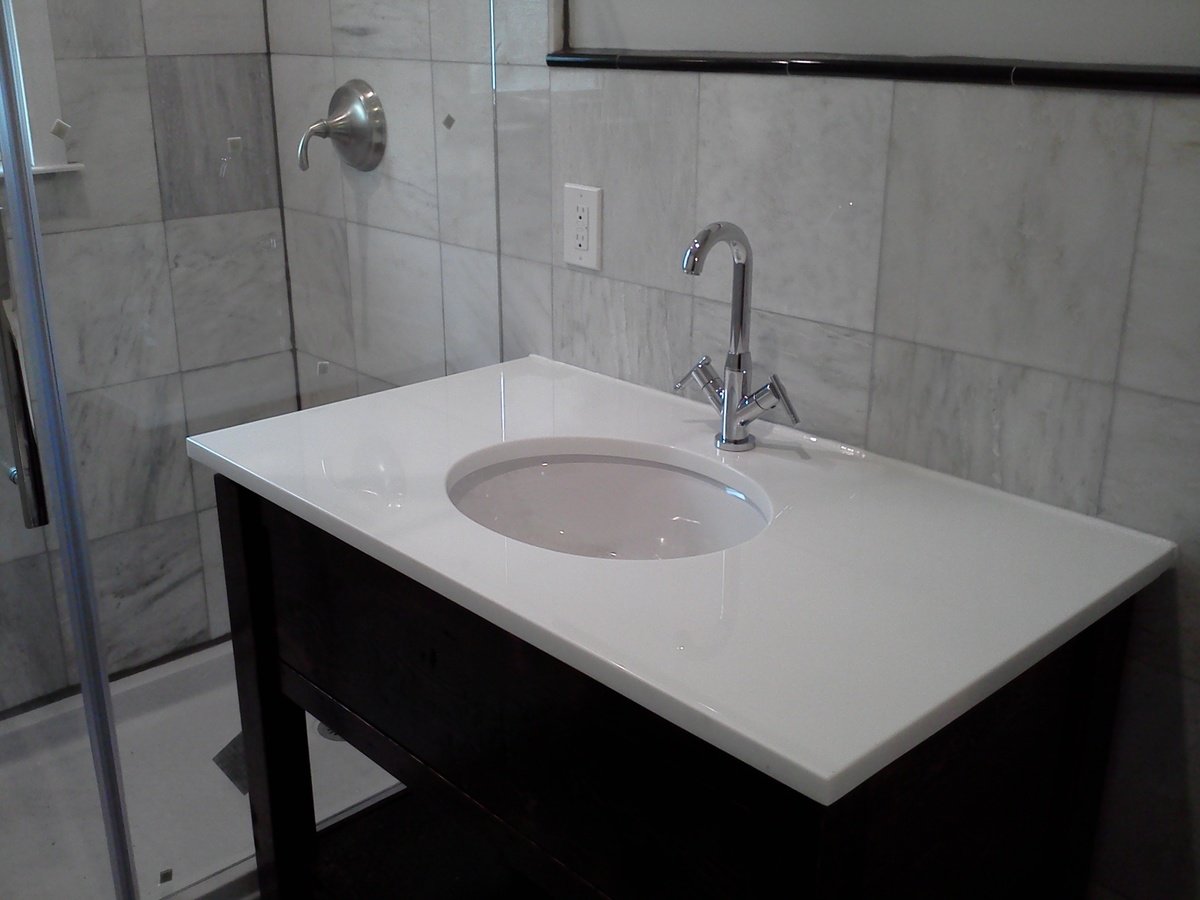
Hello, this is my first post and i wanted to thank Ana for this great website. my wife and i bought a new house and we renovated one of the bathrooms. i looked all around for a bathroom vanity and i could not find anything that was simple yet classic and elegant that would fit the place and compliment the space. so i started by ripping down a 4 x 12 beam that i bought from a salvage yard and turned it to the vanity. the vanity measures 38" x 24 "x 34.5" and it has a full size pull out shelve and a soft close hinges and it has an open bottom shelf. the finish is dark walnut and high gloss polyurethane. if you have any questions feel free to ask. Thank you.
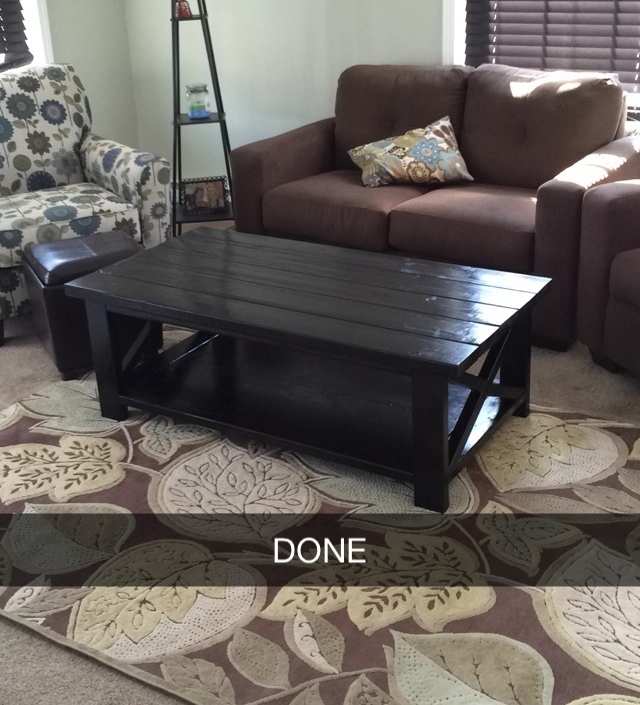
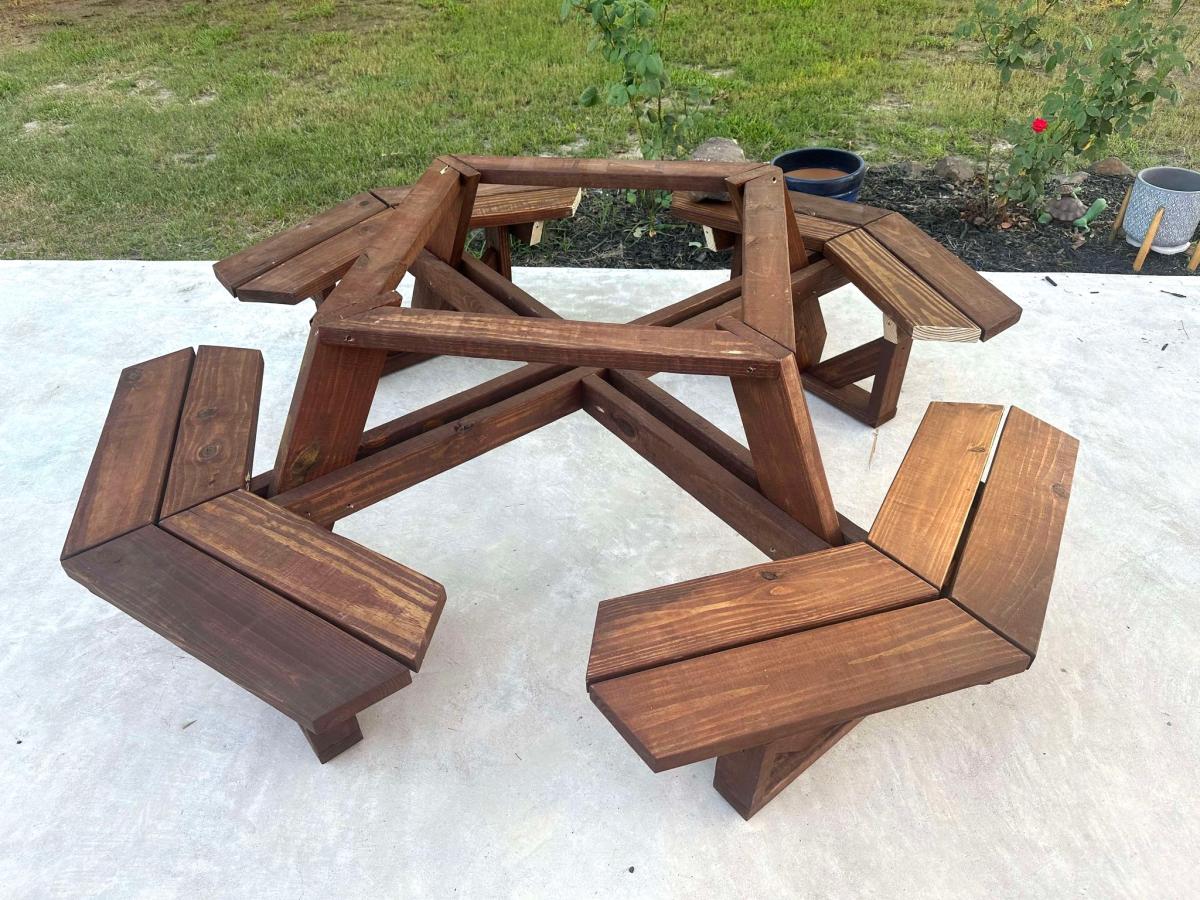
This was my first project and it turned out way better than I expected. One of the most time consuming parts was finding pieces of wood that were not warped from Home Depot. The Xs really make the table look amazing, and even though mine are not perfectly symmetrical, I think I did pretty well since my compound miter saw will only cut up to 45 degrees. I had to use a jig saw for the 60 degree cuts, which was kind of a nightmare.
Tue, 09/09/2014 - 09:46
MBuckson, nice job on the table, it looks great. A 60 degree cut is the same as a 30 degree cut, cut backwards. Because Miter saws work with a straight line (180 degrees) the middle postion is 0 (90 degrees) depending on which way you flip the board your are working with. So the 45 degree postions are half of the 90 degree (0 postion). If you want a sixty degree cut add fifteen degrees to the 45, which you would actually subtract the 15 to get 30 degrees since you are flipping the board and cutting it backwards. Or atleast that is how I understand it.
Wed, 09/24/2014 - 16:37
I used the 2x2 with the max length of the opening and just scribed it after clamping it down. I then duplicated it 3 more times (which included the half pieces for the X) for for the same length. I then scribed two that would be cut up... found it easier to cut the mini X pieces in half for easier handling on the mitre saw. Jays version works well also.
D
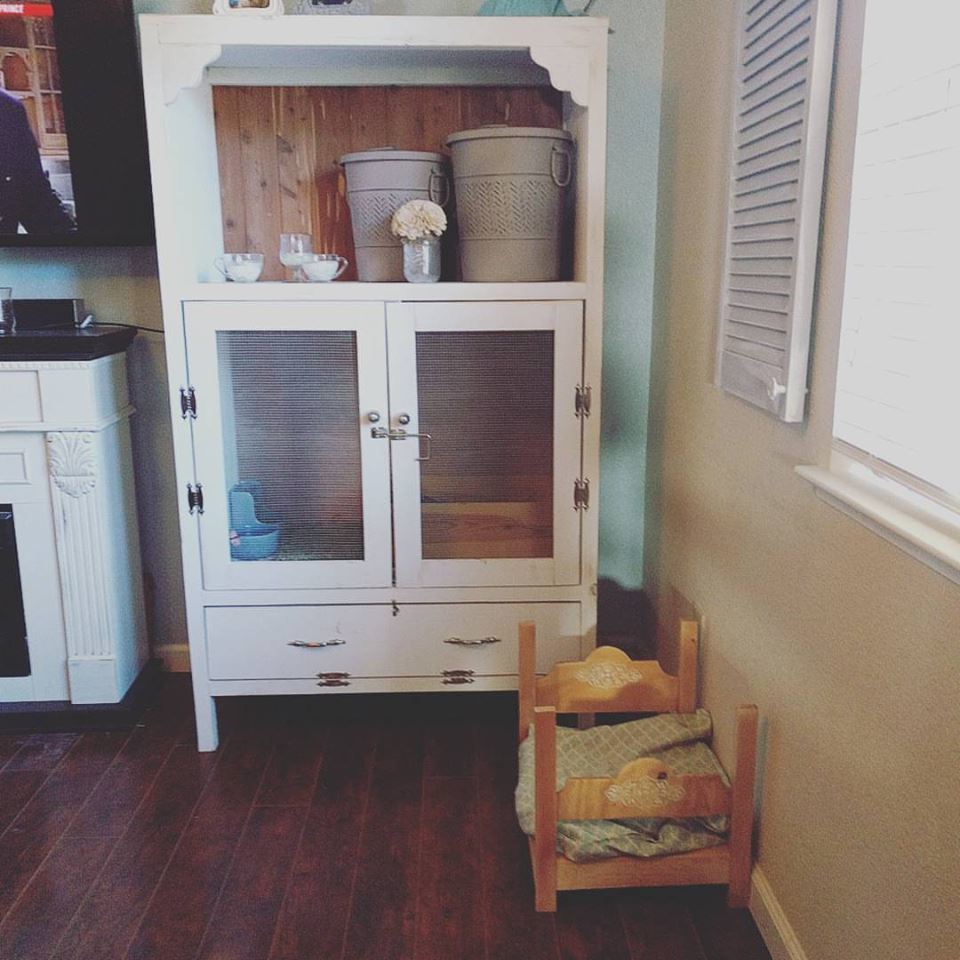
I used Ana's plans, but switched things around a little as I went. I wanted something fancy for my bunny to hang in when I'm not home. The biggest modification I made for a bunny was the bottom. I wasn't happy with the stability of the chicken wire even though my bunny is just a few pounds. I used a more solid plastic called plaskolite ( you can find it in the lighting section of Lowes) We are planning on adding levels for the bunny as well as a cloroplast tray to fit the bottom since bunny poo can get stinky. We took about 2 weeks to complete this project and it was definitely a learning experience! We also tried to cut costs by getting some of the wook and backing from Habitat for Humanity!
We also made the little bed with the leftover wood from this project :-)

My wife wanted a table for the entry way; so, of course, I showed her plans from this site. Wasn't hard to build at all. Since I knew she wanted an antique look, I left the screws exposed for a more rustic look.


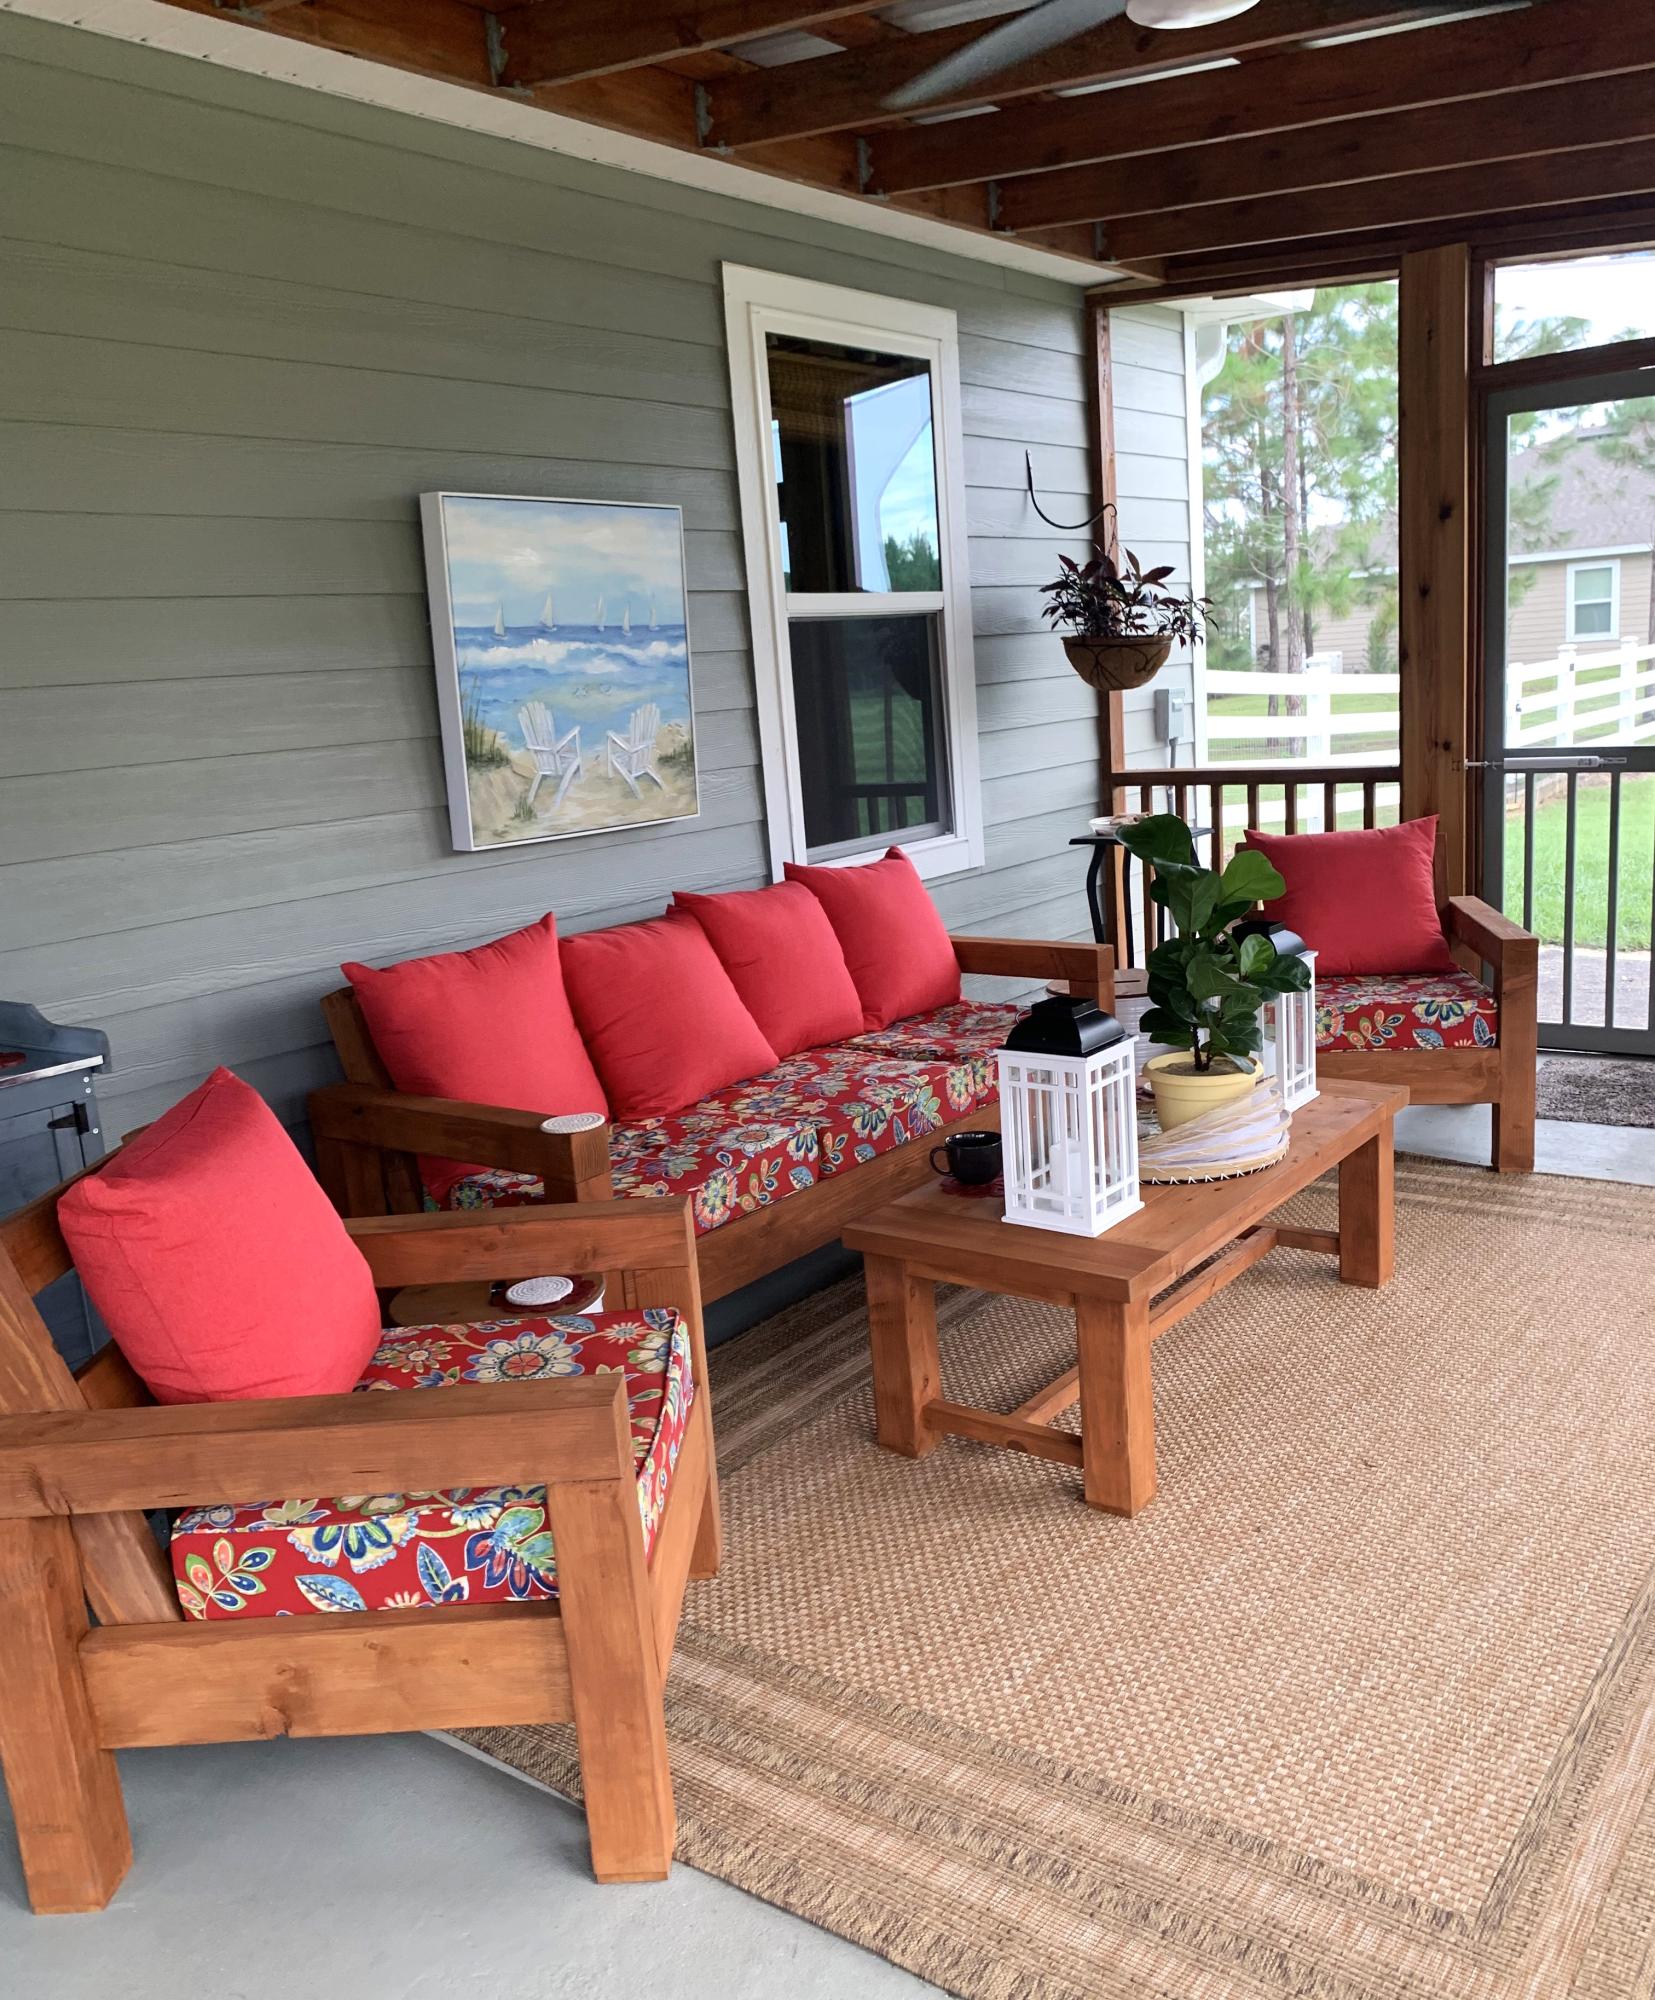
We recently built the sofa, two chairs, coffee table farmhouse table with two smaller benches. Everything is so comfortable. Thank you for the plans and advice about purchasing the cushions first in order to build to the size of the cushions. My husband built it all super fast. I stained everything and selected what to build. It all is so nice on our new covered & screened in porch that we built our. - Nancy & Bob
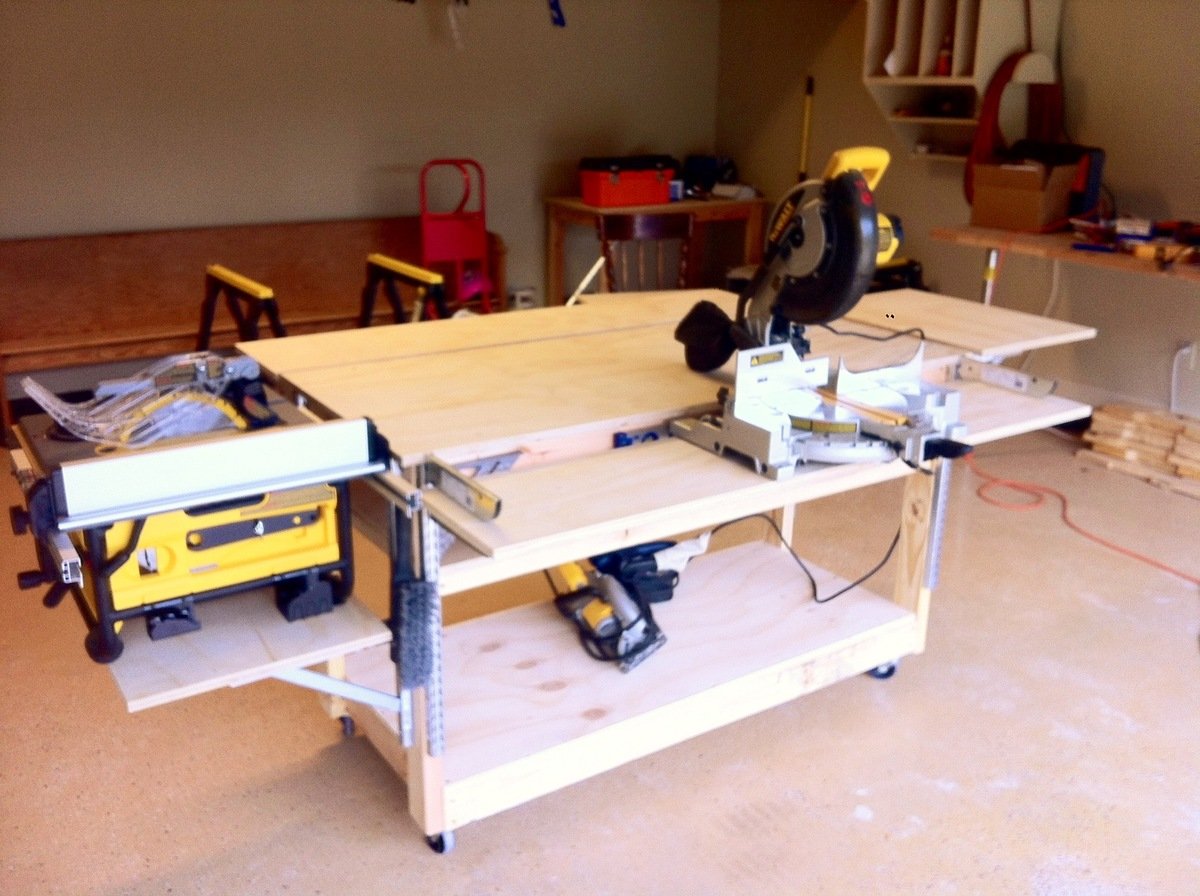
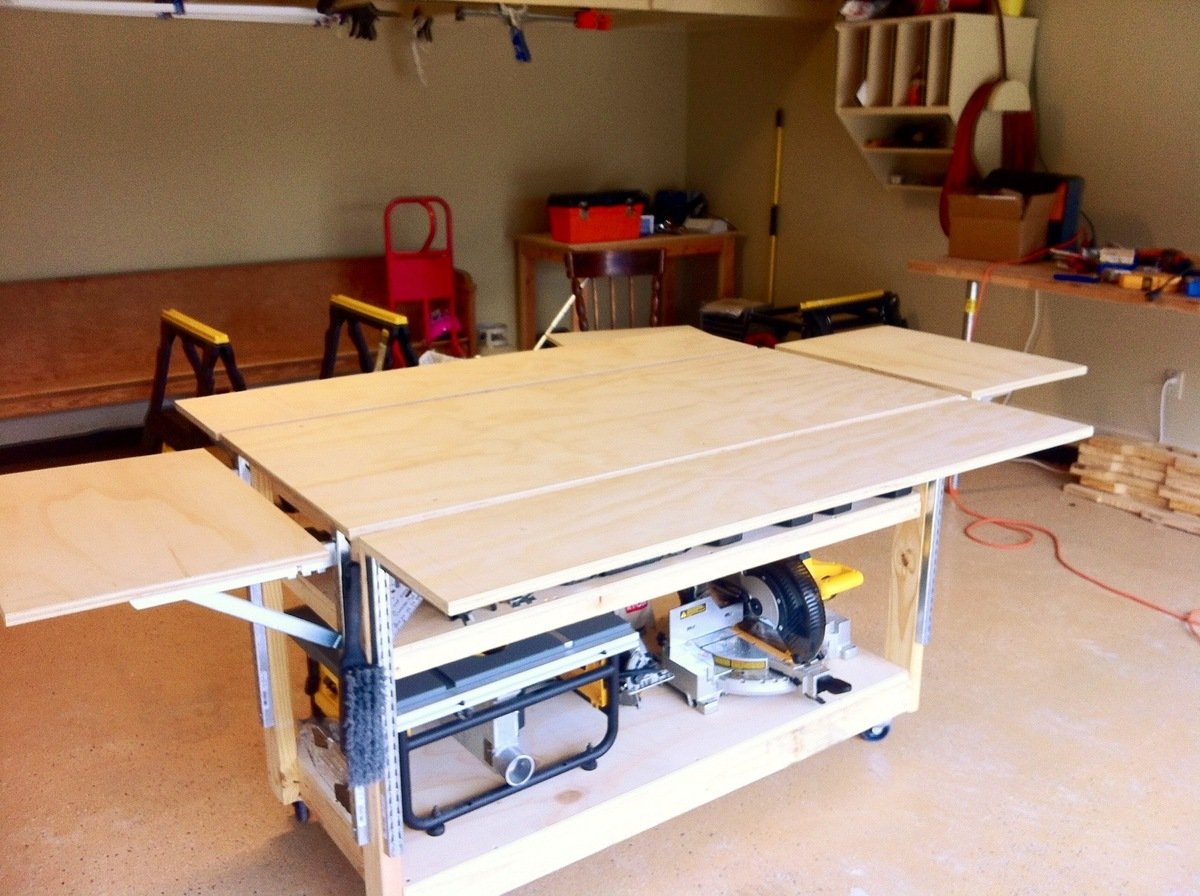
The need for a proper workbench in my garage/shop is a must, but. So is space! I already have a fold down workbench I’ve made with ¾ inch pipe & a door, but. I just need something that can handle all my tools. So, I stumbled upon these plans from the Family Handyman & couldn’t find a reason why this wouldn’t work in my shop. It has room for storage, can easily accommodate my tools & most importantly fold up to store. Easy to build too! Make sure you read all the plans first as some of the materials could be pricey, but well worth it. Technically it’s taken 2 months to build this bench, as I operate on a firefighter/teacher’s budget & during the holiday season no doubt. I ordered all the shelf standards & brackets through Amazon, $210.00 for those alone, but they hold so much weight to support your tools I figure it’s worth it. The rest materials (wood, screws) were purchased at Home Depot for around $150.00. The plans called for ¾ inch ply & it was $45.00 per sheet. However they did have a smaller thickness for $22.00 per sheet & was only a 1/32 inch thinner. I plan on topping all my surfaces with some ¼ inch tempered hardboard later on so I knew it would work. That also left me adjusting my screw size to mount my brackets. Due to the reduction in thickness of the plywood all my #8-1 inch screws needed to be adjusted to ¾ inch so to not screw through the ply. I also hit the molding isle to nab some pieces to use as furring strips to use under the shelves before attaching the brackets. This way I can sand each strip to match before mounting to make sure it lined up flat with the center top. One more thing; where it says “drill 1/8 inch hole in brackets make sure you use 1/8 inch pop rivets. I barrowed a pop rivet gun & was handed some rivets as well. Popped two & they had to be trashed because the rivet size turned out to be 5/32. So I stepped up in drill bit size & it all worked out. As I said, I’ll be topping it with some ¼ inch hardboard. I also plan to run it’s own electrical with an outlet on each post. I hope you all enjoy & this can help!

Thu, 11/29/2012 - 07:03
This is by far the best workbench I have ever seen!!! Thanks for sharing. And excellent choice of table saw and miter saw.
In reply to That is awesome! by Rusty Cottage
Thu, 11/29/2012 - 14:59
If I had it to do over I'd had gotten the contractor grade portable saw from Dewalt. The smaller version I have is the same 10" saw, but. It's maximum rip capasity is only 16. The other will at least rip a sheet of ply in 1/2.
Thanks for the kind words on the bench! I hope everyone that may find this valuable will. The plans came out of a 2005 issue & were hard to find on the internet.
Thu, 07/04/2013 - 18:28
I love this work bench and would love to build it but i cant find them. Could you post them or email them to me please. uniquetrio2000 [at] gmail [dot] com
Thu, 10/23/2014 - 09:04
After some searching, found the plans at http://us.readersdigest.com/images/offer/fh/project_plans/pdf/FH05DJA_W…. Hope that helps. This is on my list of things to make very soon.
Wed, 10/22/2014 - 13:31
I bought all the standards and brackets at Menards for $87.58 and this price included tax and shipping.
Mon, 12/10/2018 - 16:55
Thanks for sharing! Good job! Any chance you'd share palns? No luck on inet or with provided link. Thanks!
Wed, 08/07/2019 - 12:48
This is the perfect workbench that I’d like to build. Could I get the plans for it?
Thu, 03/12/2020 - 12:46
Were you able to locate the plans?
The link in this thread doesn’t seem to be active.
Sun, 07/12/2020 - 17:59
I found the PDF download for these plans, here is the link:
https://docplayer.net/28130746-Do-it-all-mobile-workbench.html
The only place where I could find them, FH doesn't have them online any more.
Tue, 12/08/2020 - 17:57
Great build. I would love to see an instructable on this. :) Thank you for sharing..
This is my first big Ana White project!! I built this bed with the basis of the Camp Style Loft Bed for juniors, but decided against the large stairs and reused some stairs i had built for our pop-up trailer. They were smaller and took up less floor space. I used all reclaimed wood from a house construction site (trash) except for 5 2x4s and the book shelf 1x8. Because of this the project took significantly longer than her 'weekend' plans called for, but it was fun. I spent probably 6-8 hours sanding/cleaning the wood. You can see all the dimples or angles in the boards which give it a pretty cool look in my opinion. I wanted to stain the wood to see all the pretty grain and knots, but my wife wanted a princess castle  so she won out.
My mother help sew the super cute castle wall curtains. We used Ikea lighting for under the ledge, and Ikea chandelier, and Ikea curtain rods to keep the project cheap. Hope you like it.
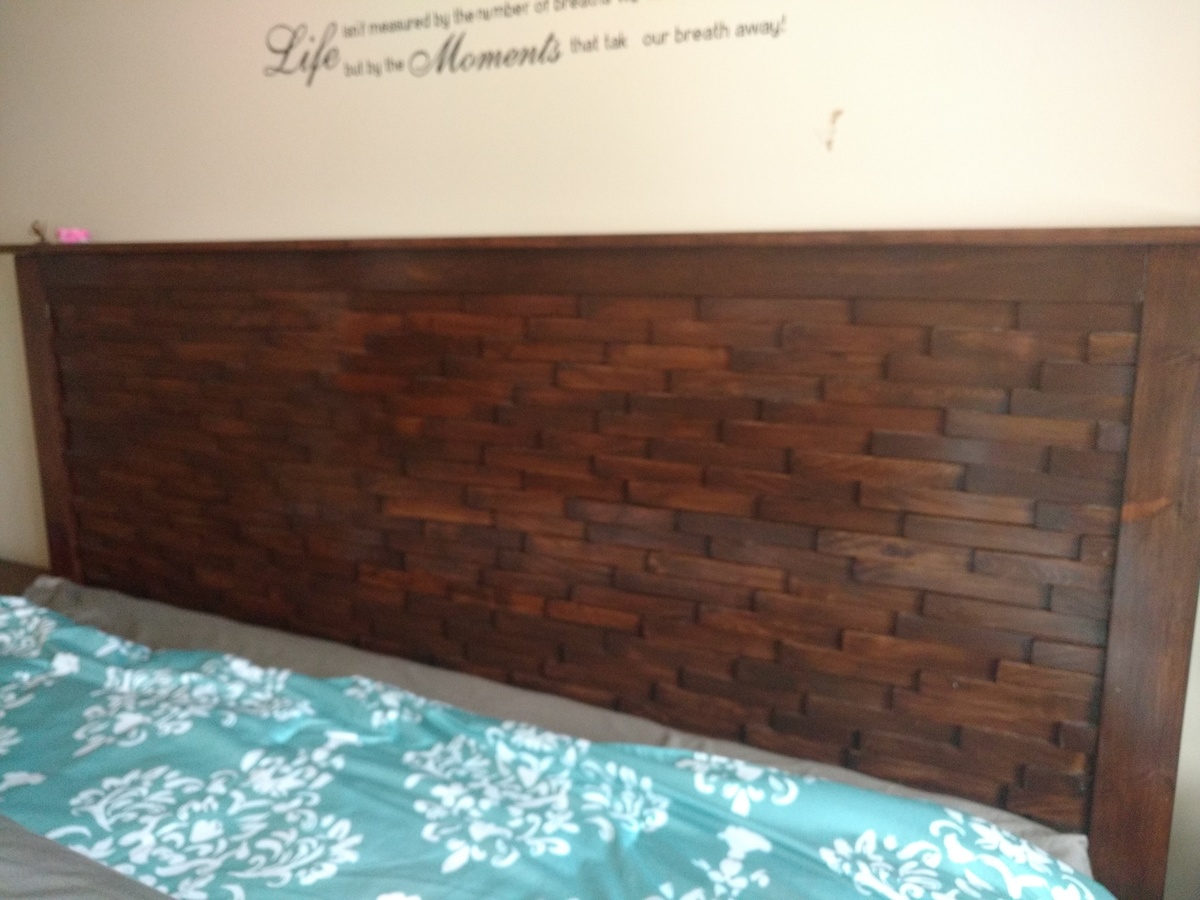
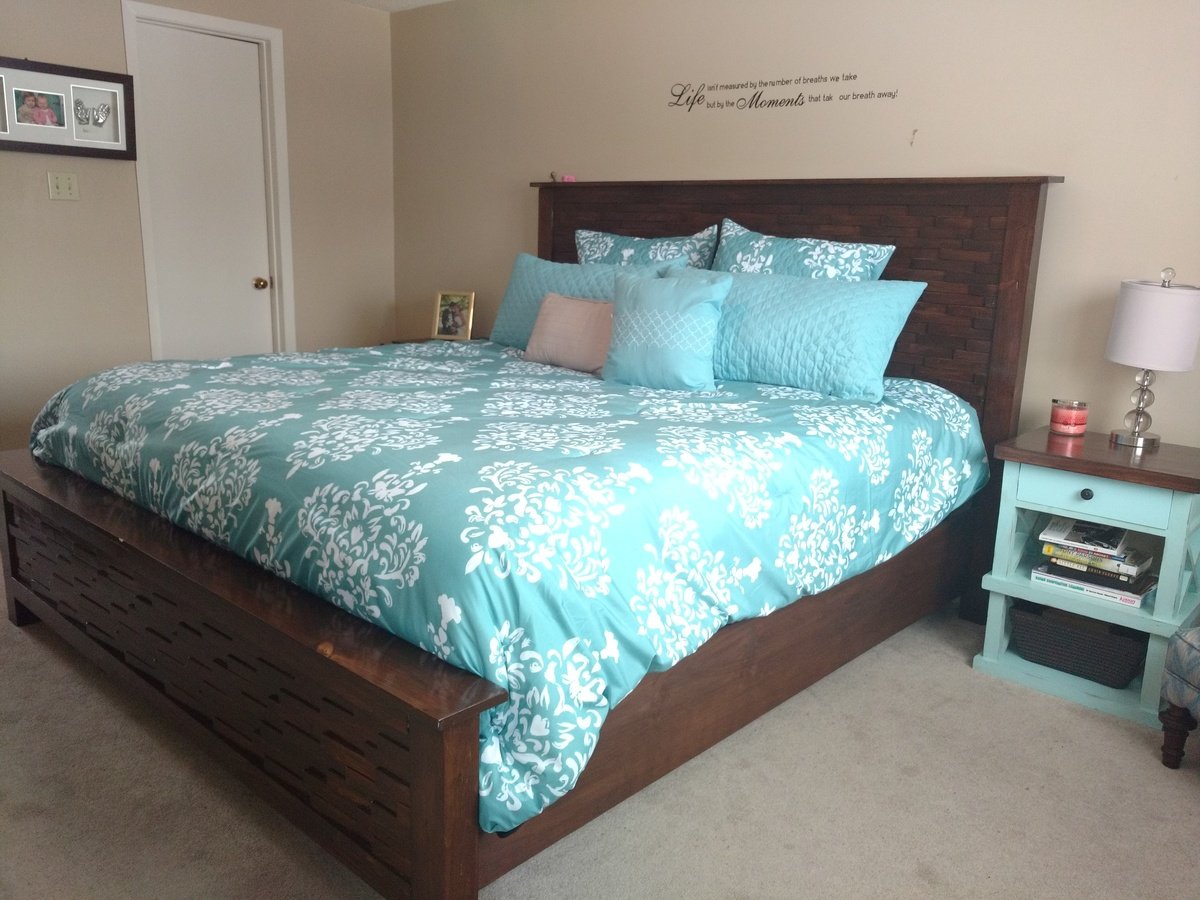
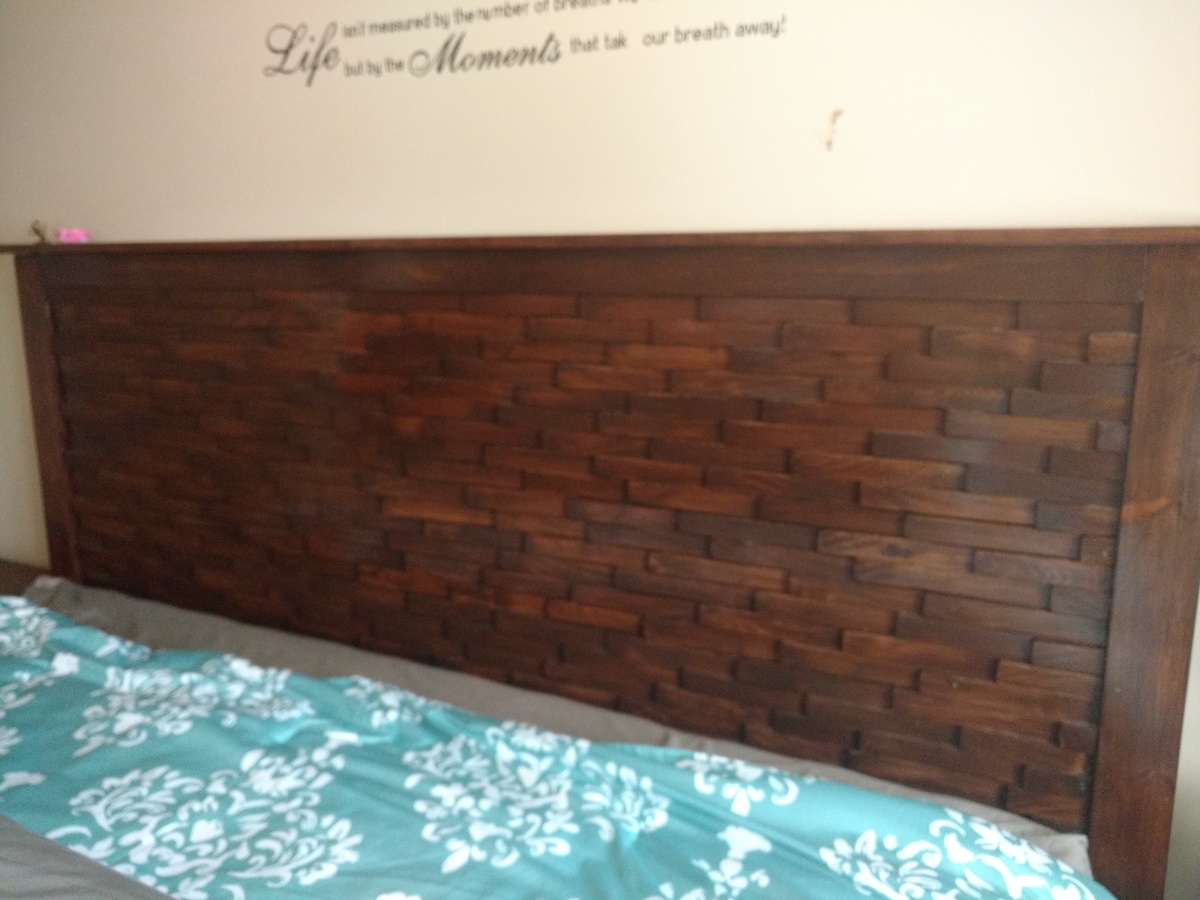
My first grown up furniture, I didn't start small lol...The picture is not great, but I love it! I took advice from other comments, I sanded and stained each shim individually. Took ages!!!!! But well worth the effort.I used a gel stain and a glossy finish. I made matching nightstands as well using plans from another site.
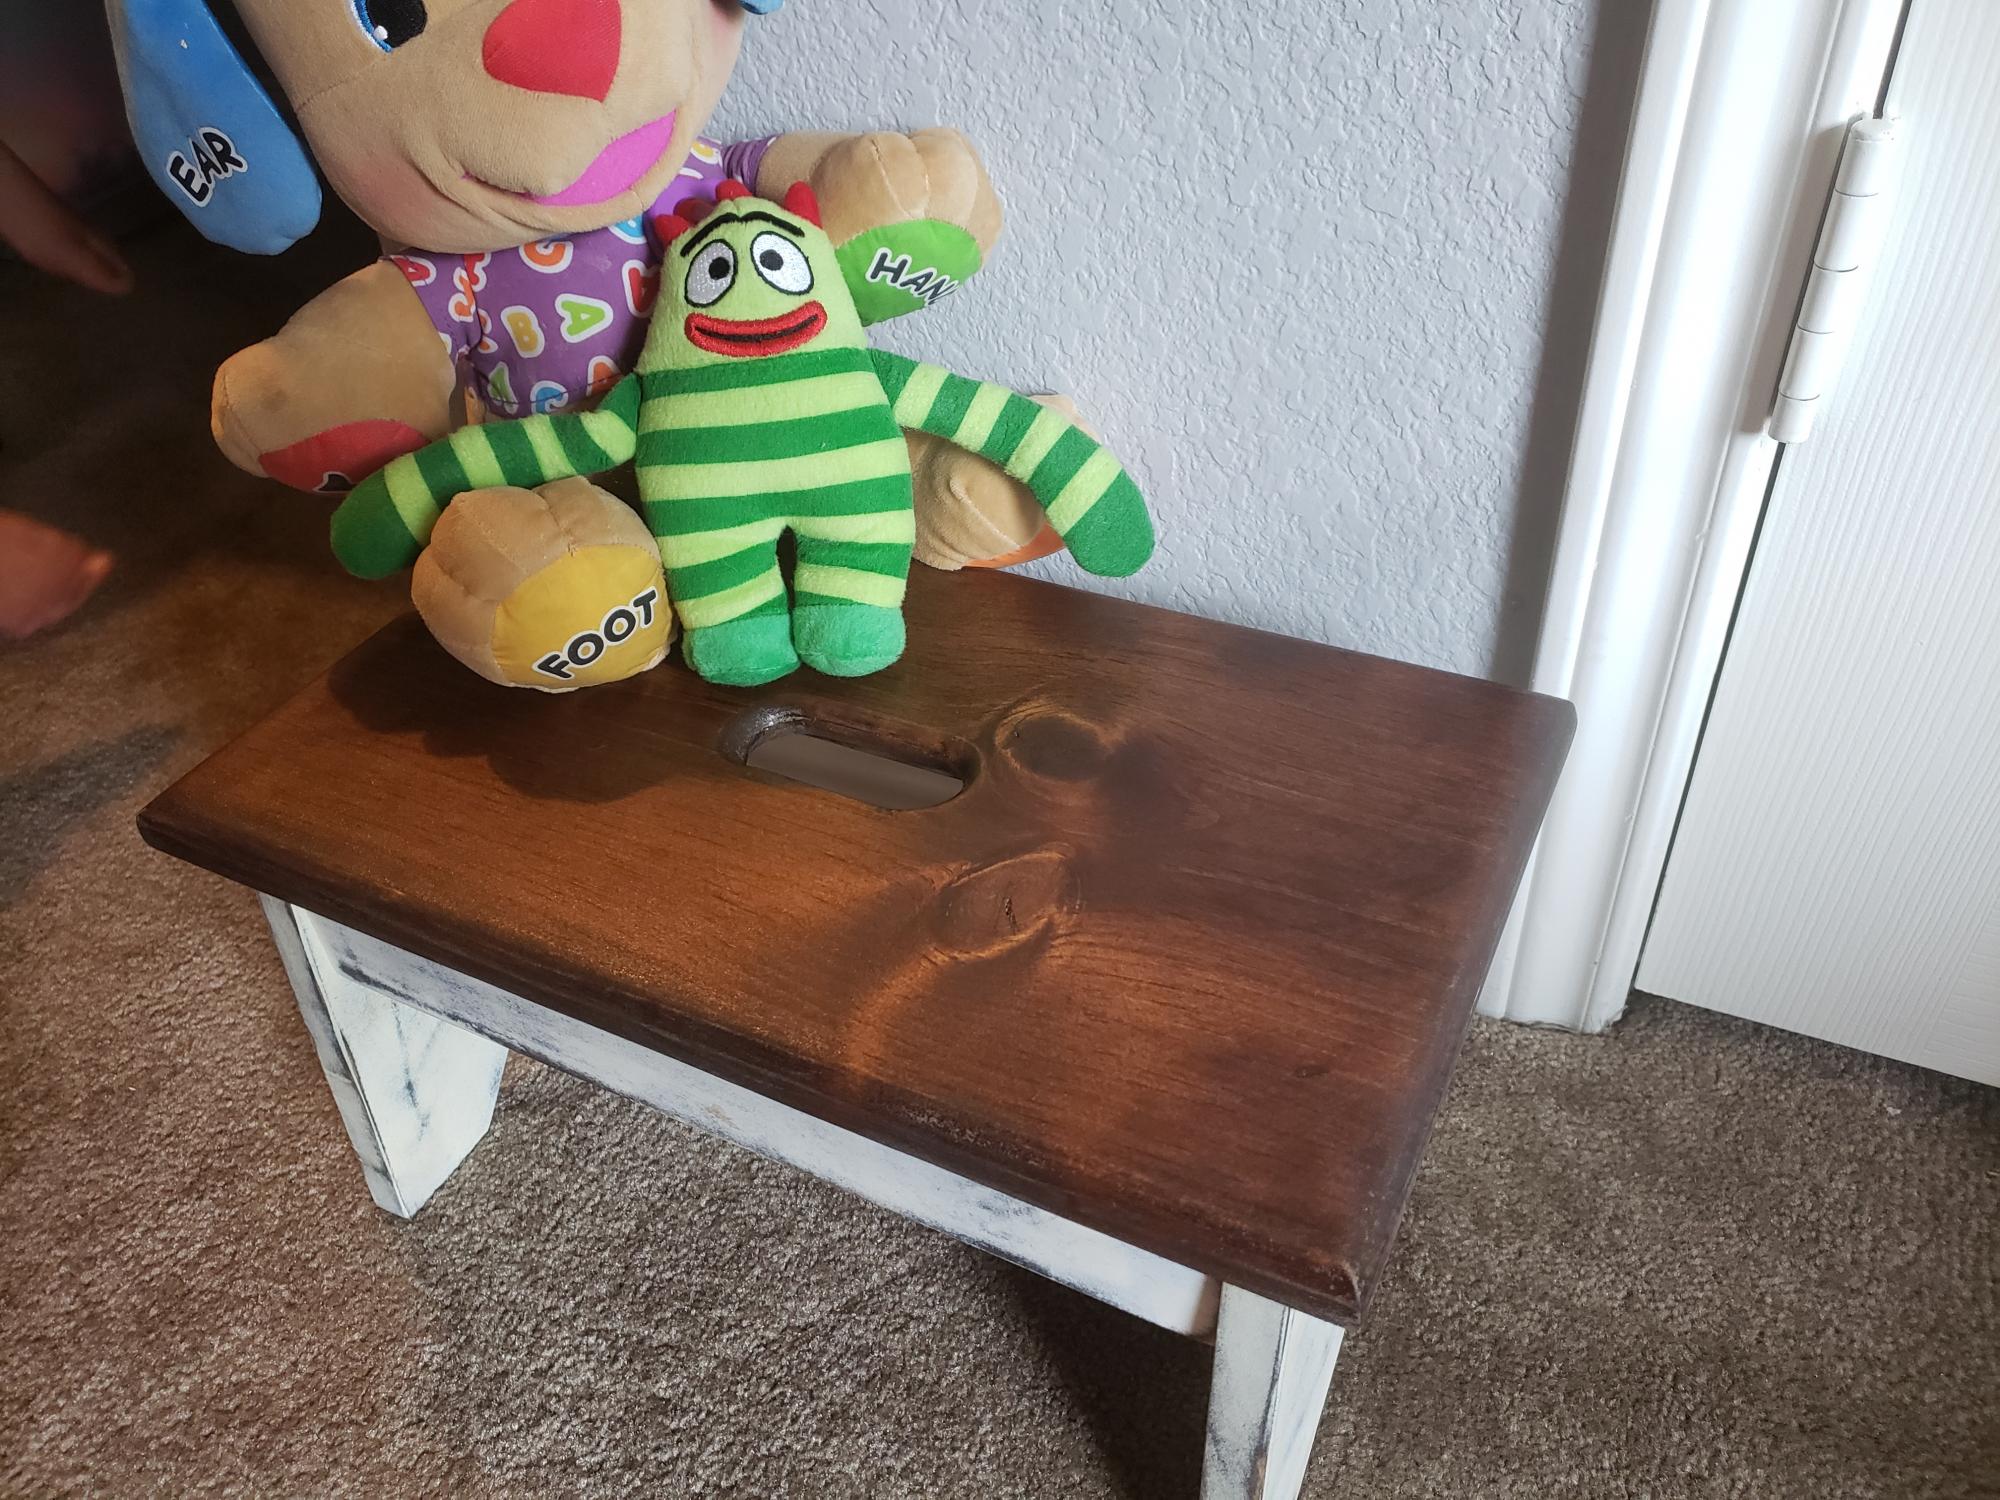
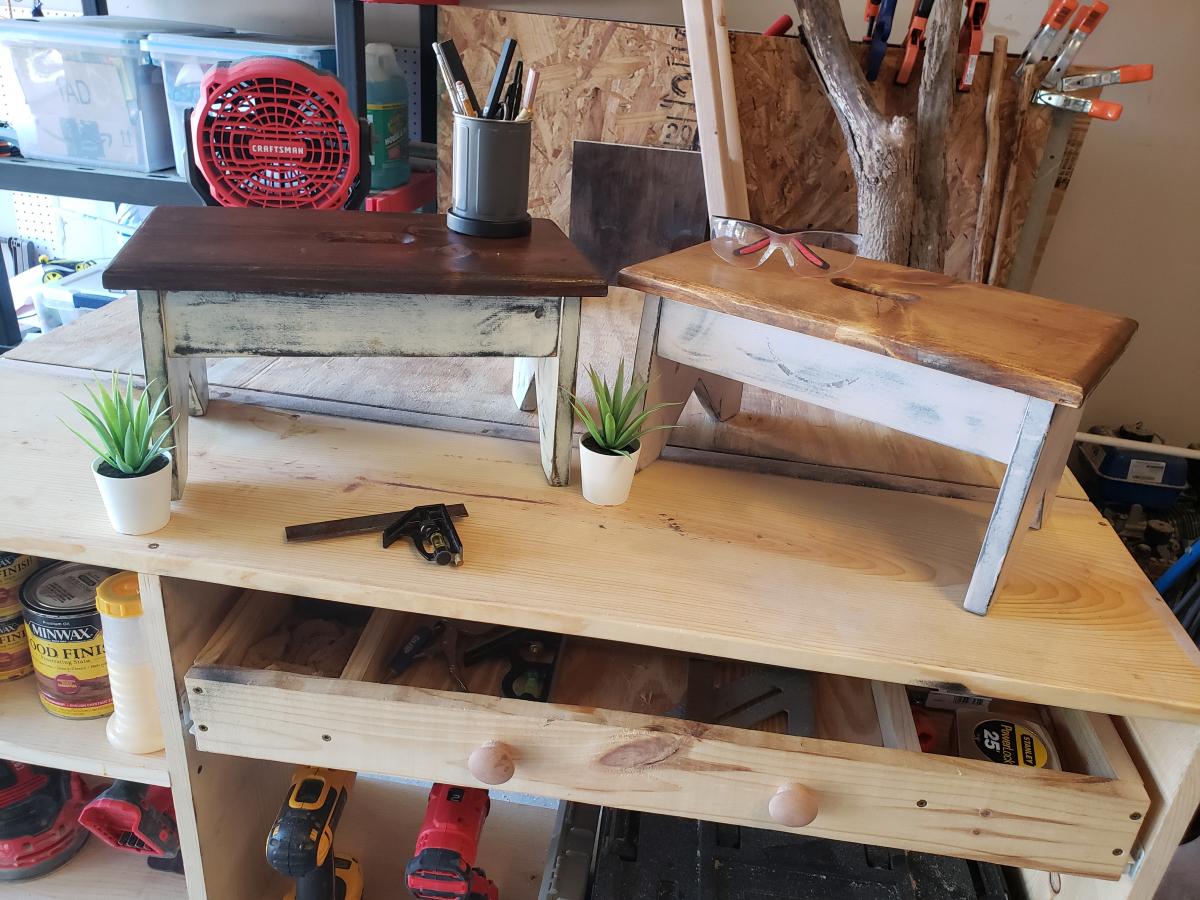
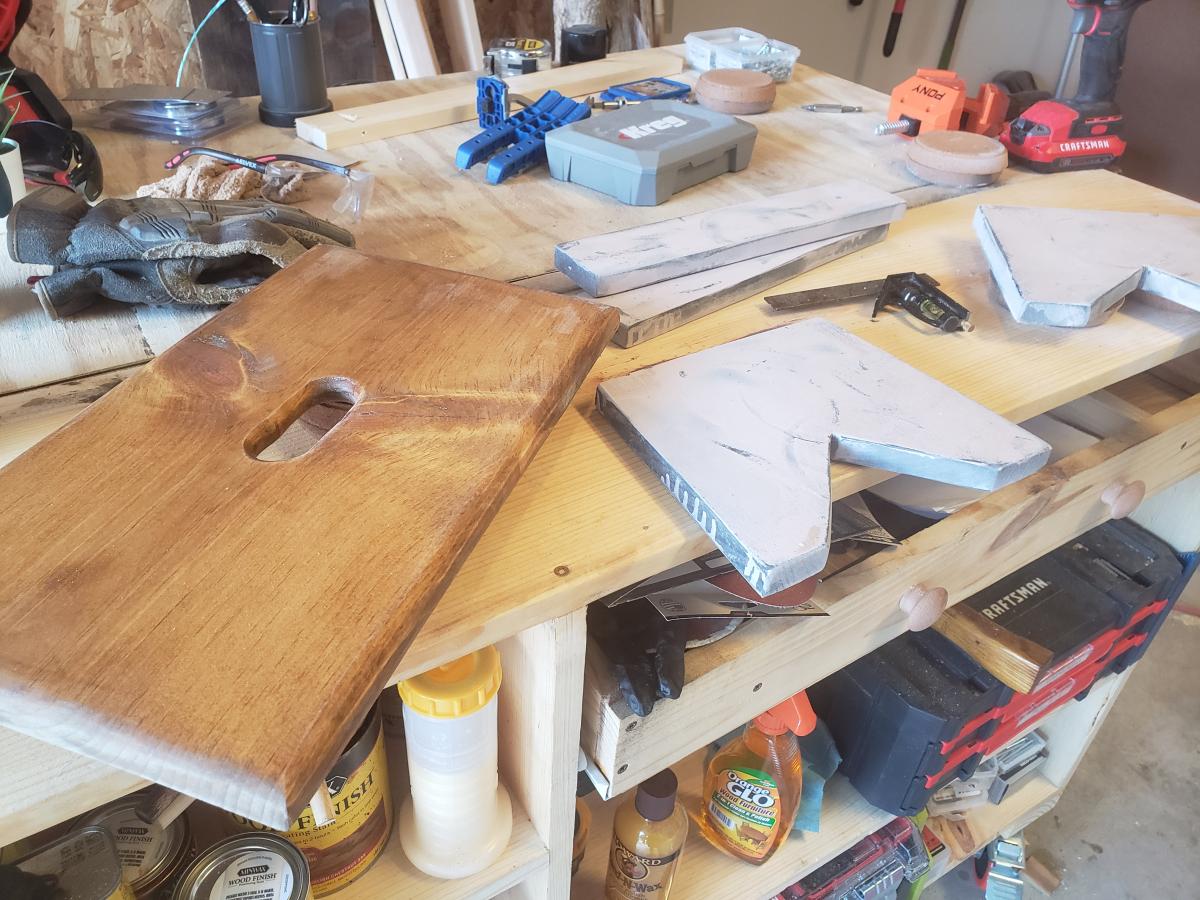
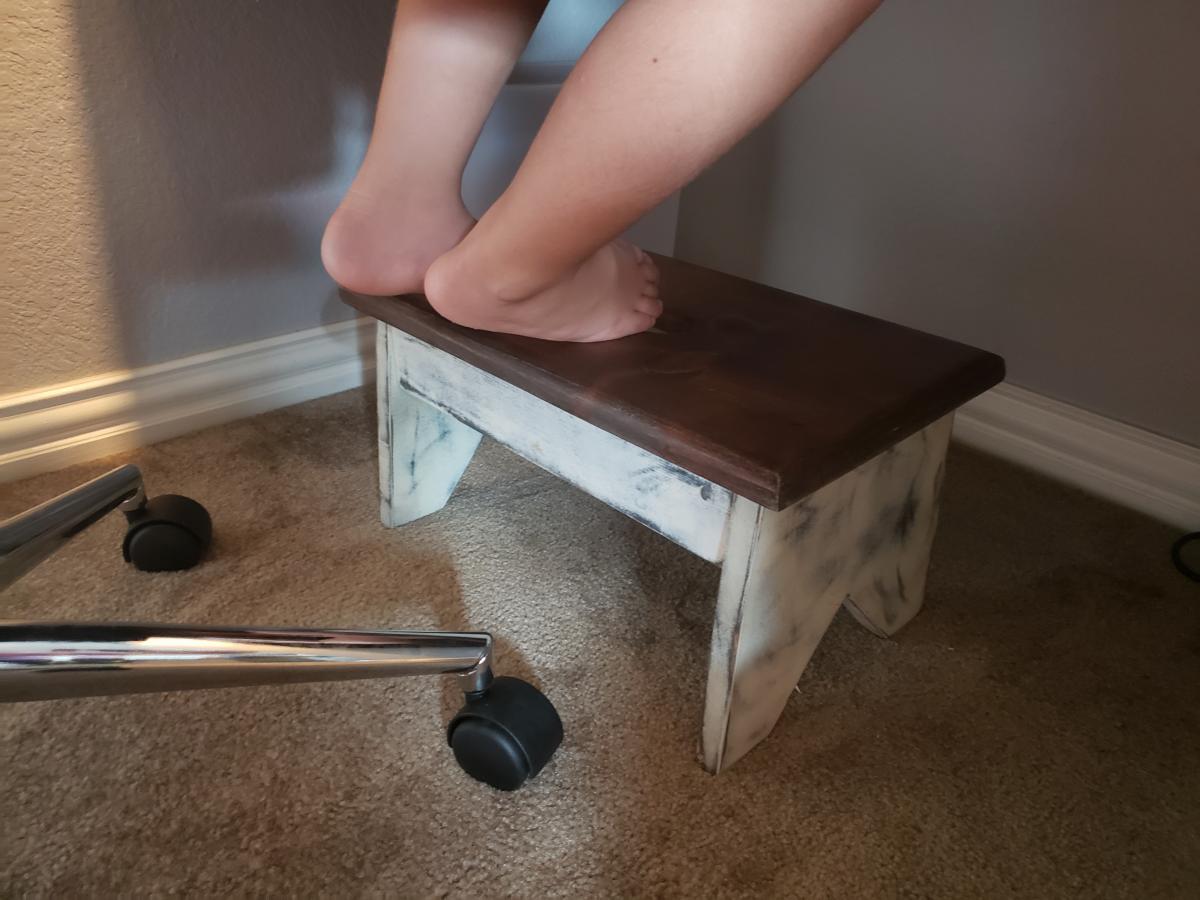
Followed instructions from child's step stool. Did a few modifications.
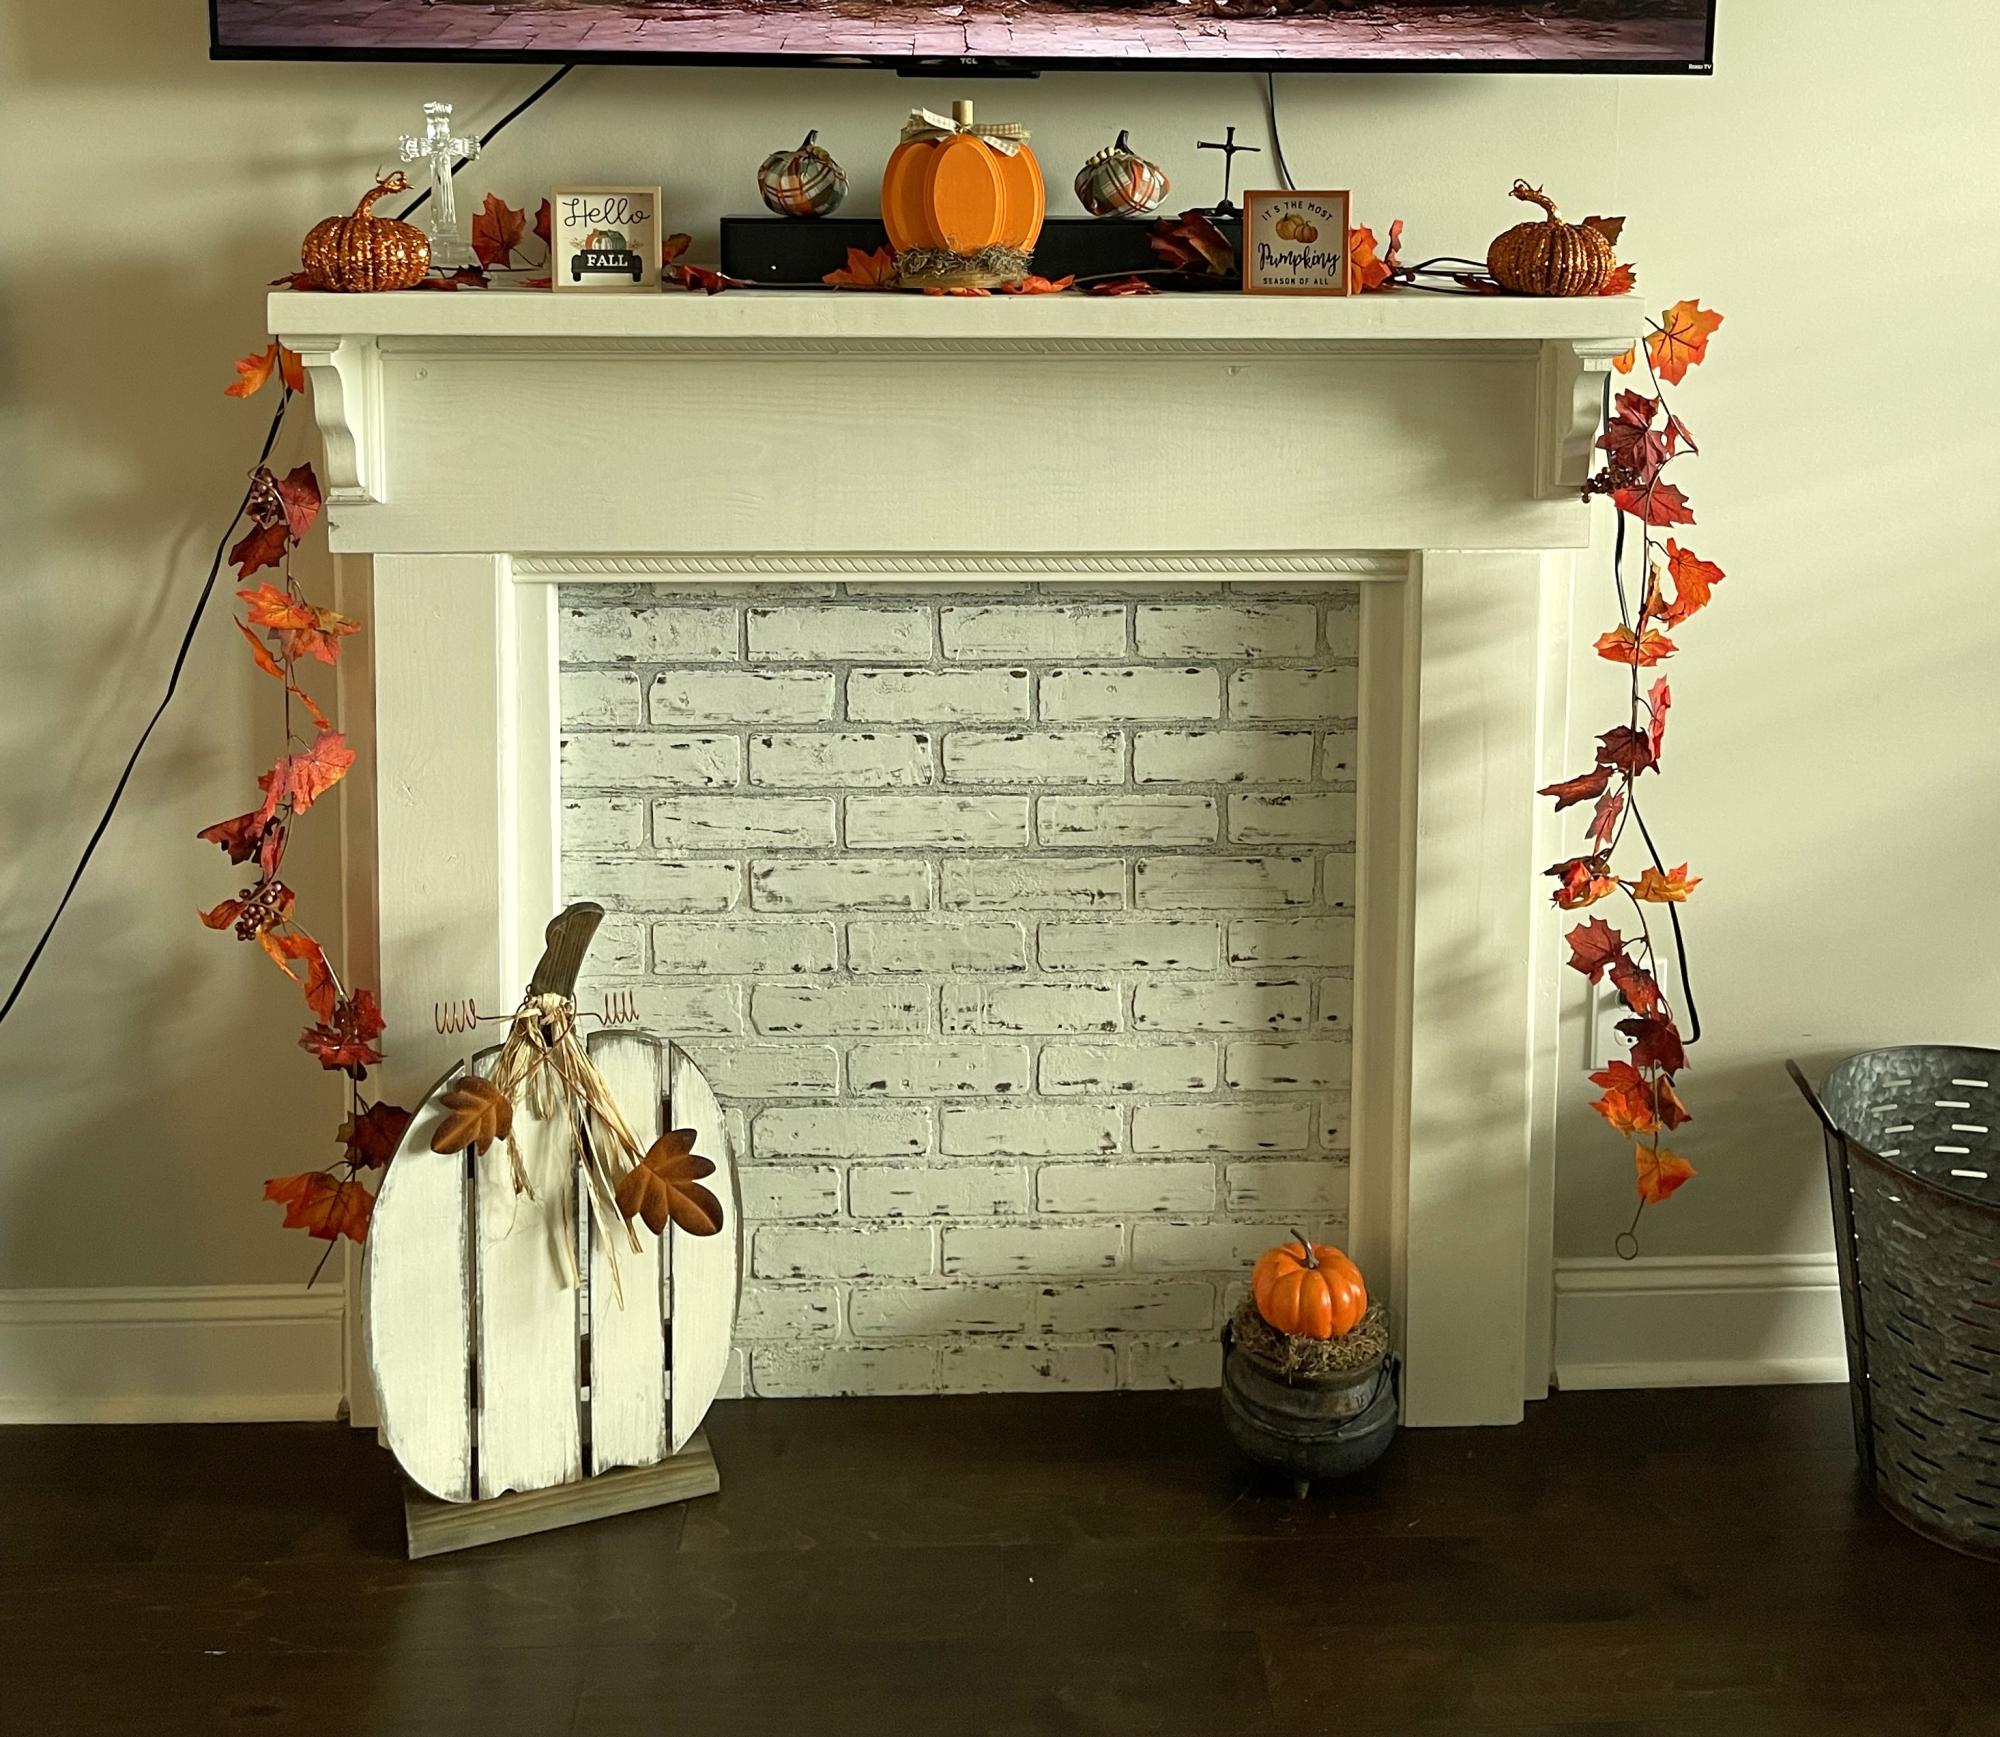
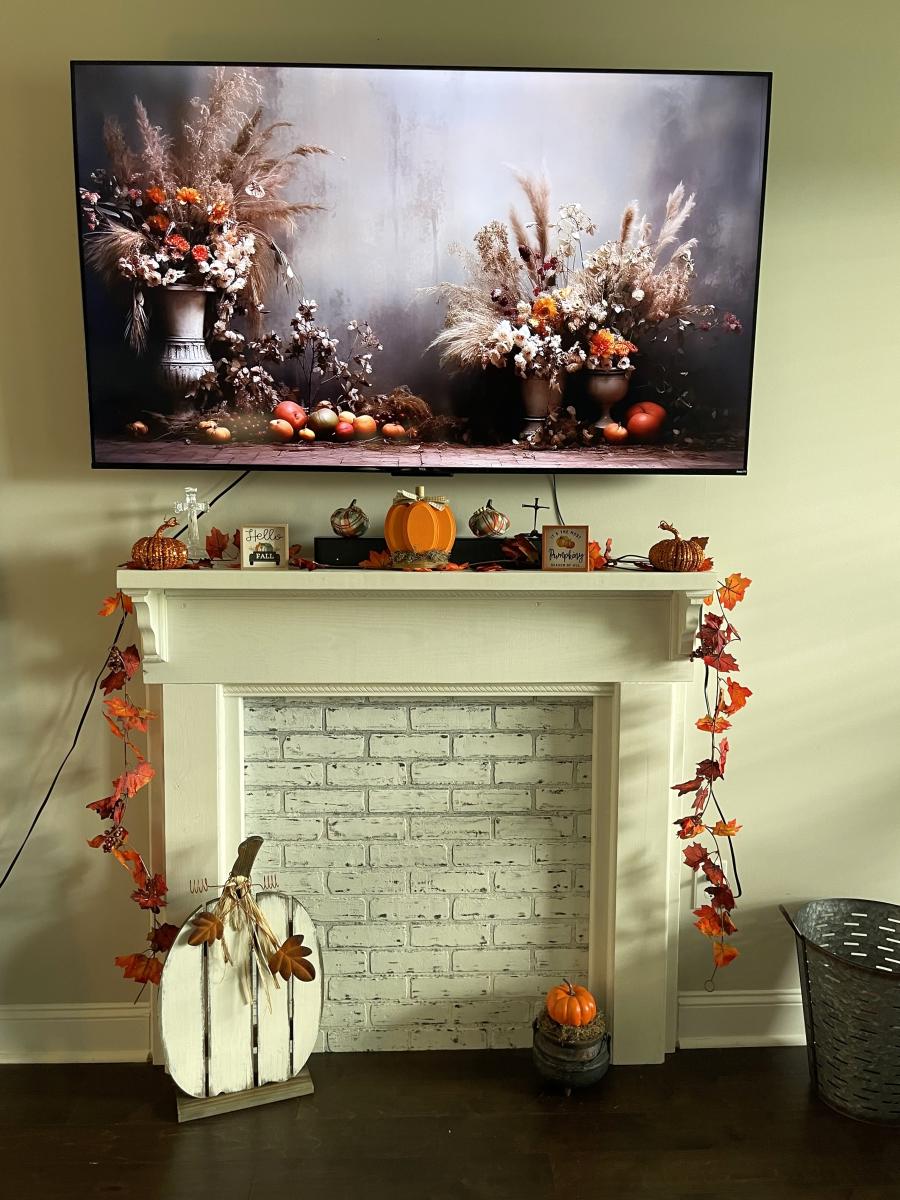
My wife has been wanting a faux fireplace mantle so I built one. - Dustin Lewter

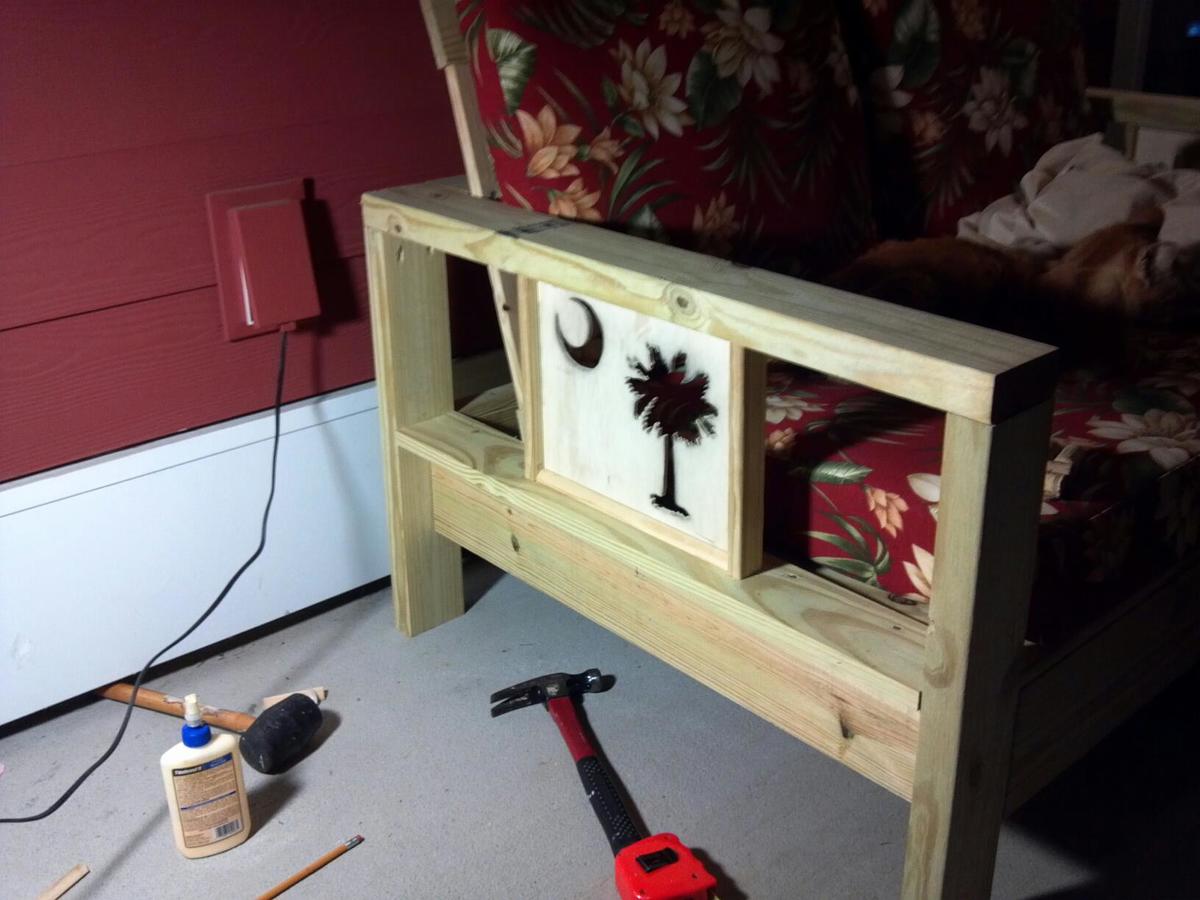
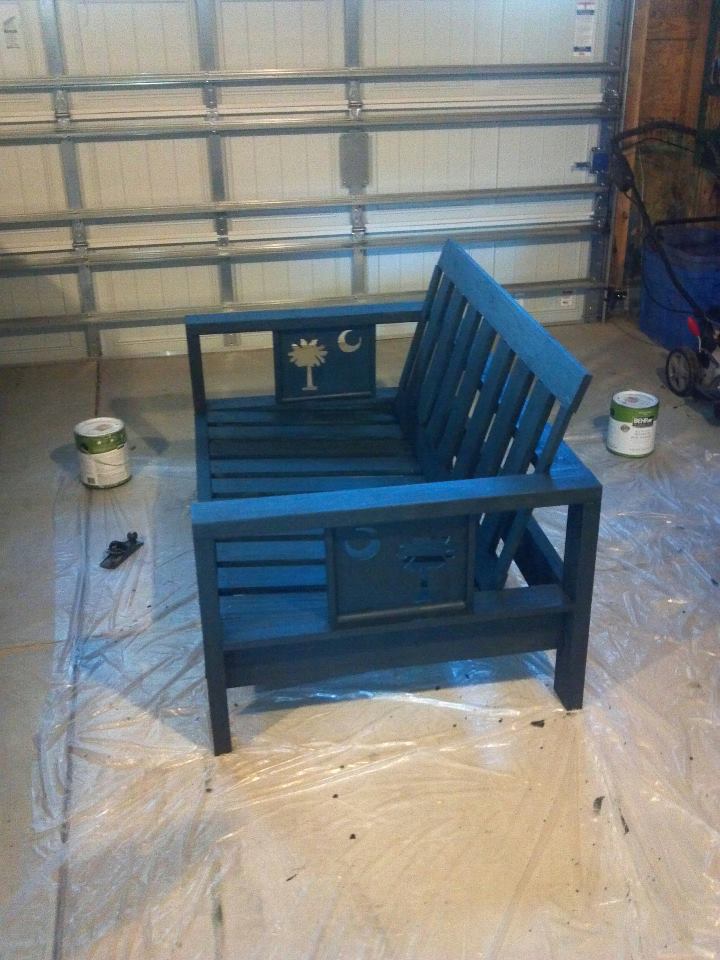
We wanted a simple loveseat that used standard-sized cushions (that I found at target.com) that we could put on our narrow screened-in porch. The cushions were about twice the cost of the lumber! I modified the plan by changing the outsides from 2x3's to 2x4's and I made decorative panels of our State's flag using a stencil I created from an image on the Internet. I then cut the stencil out, marked it and cut it out using a scroll saw. The pattern is on 1/4' plywood framed in with 1 x 2's on the sides and 1/2" quarter round on the tops and bottoms of the patterns on both sides. This was fun and quick to build and it met our needs perfectly! I'm even designing some matching end tables for it! Since we're in Charleston, SC we used a color called "Charleston Green", it's nearly black but in bright sun you can see a little green. We barely get to use it though as the cat has taken it over! Thanks for a great plan!
