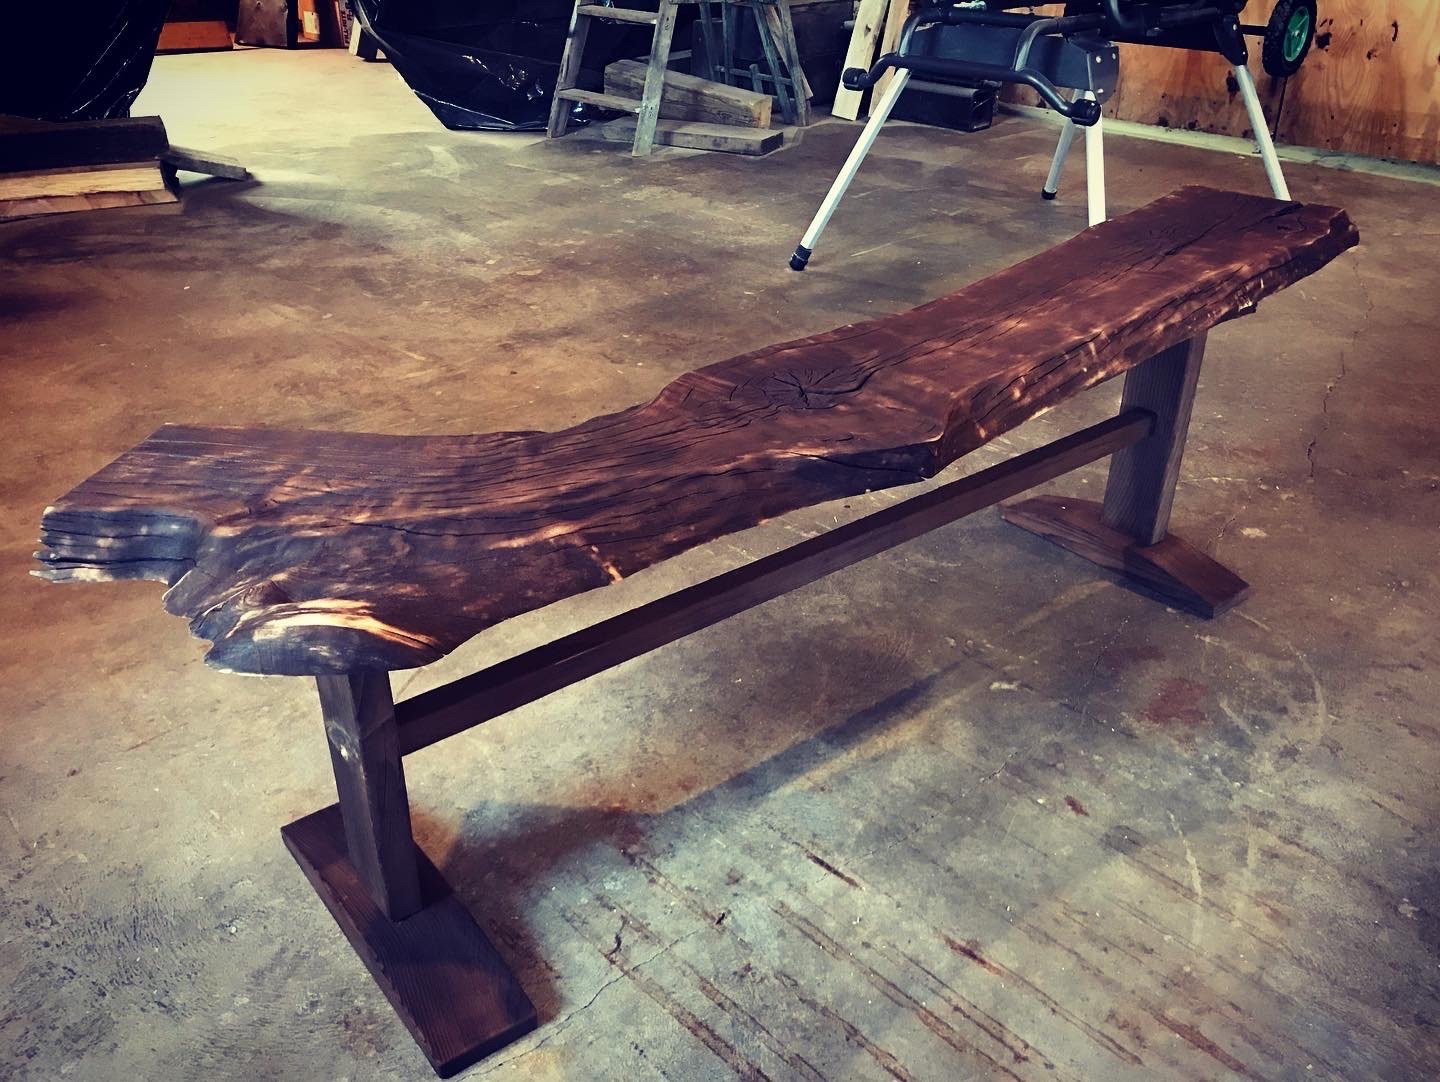
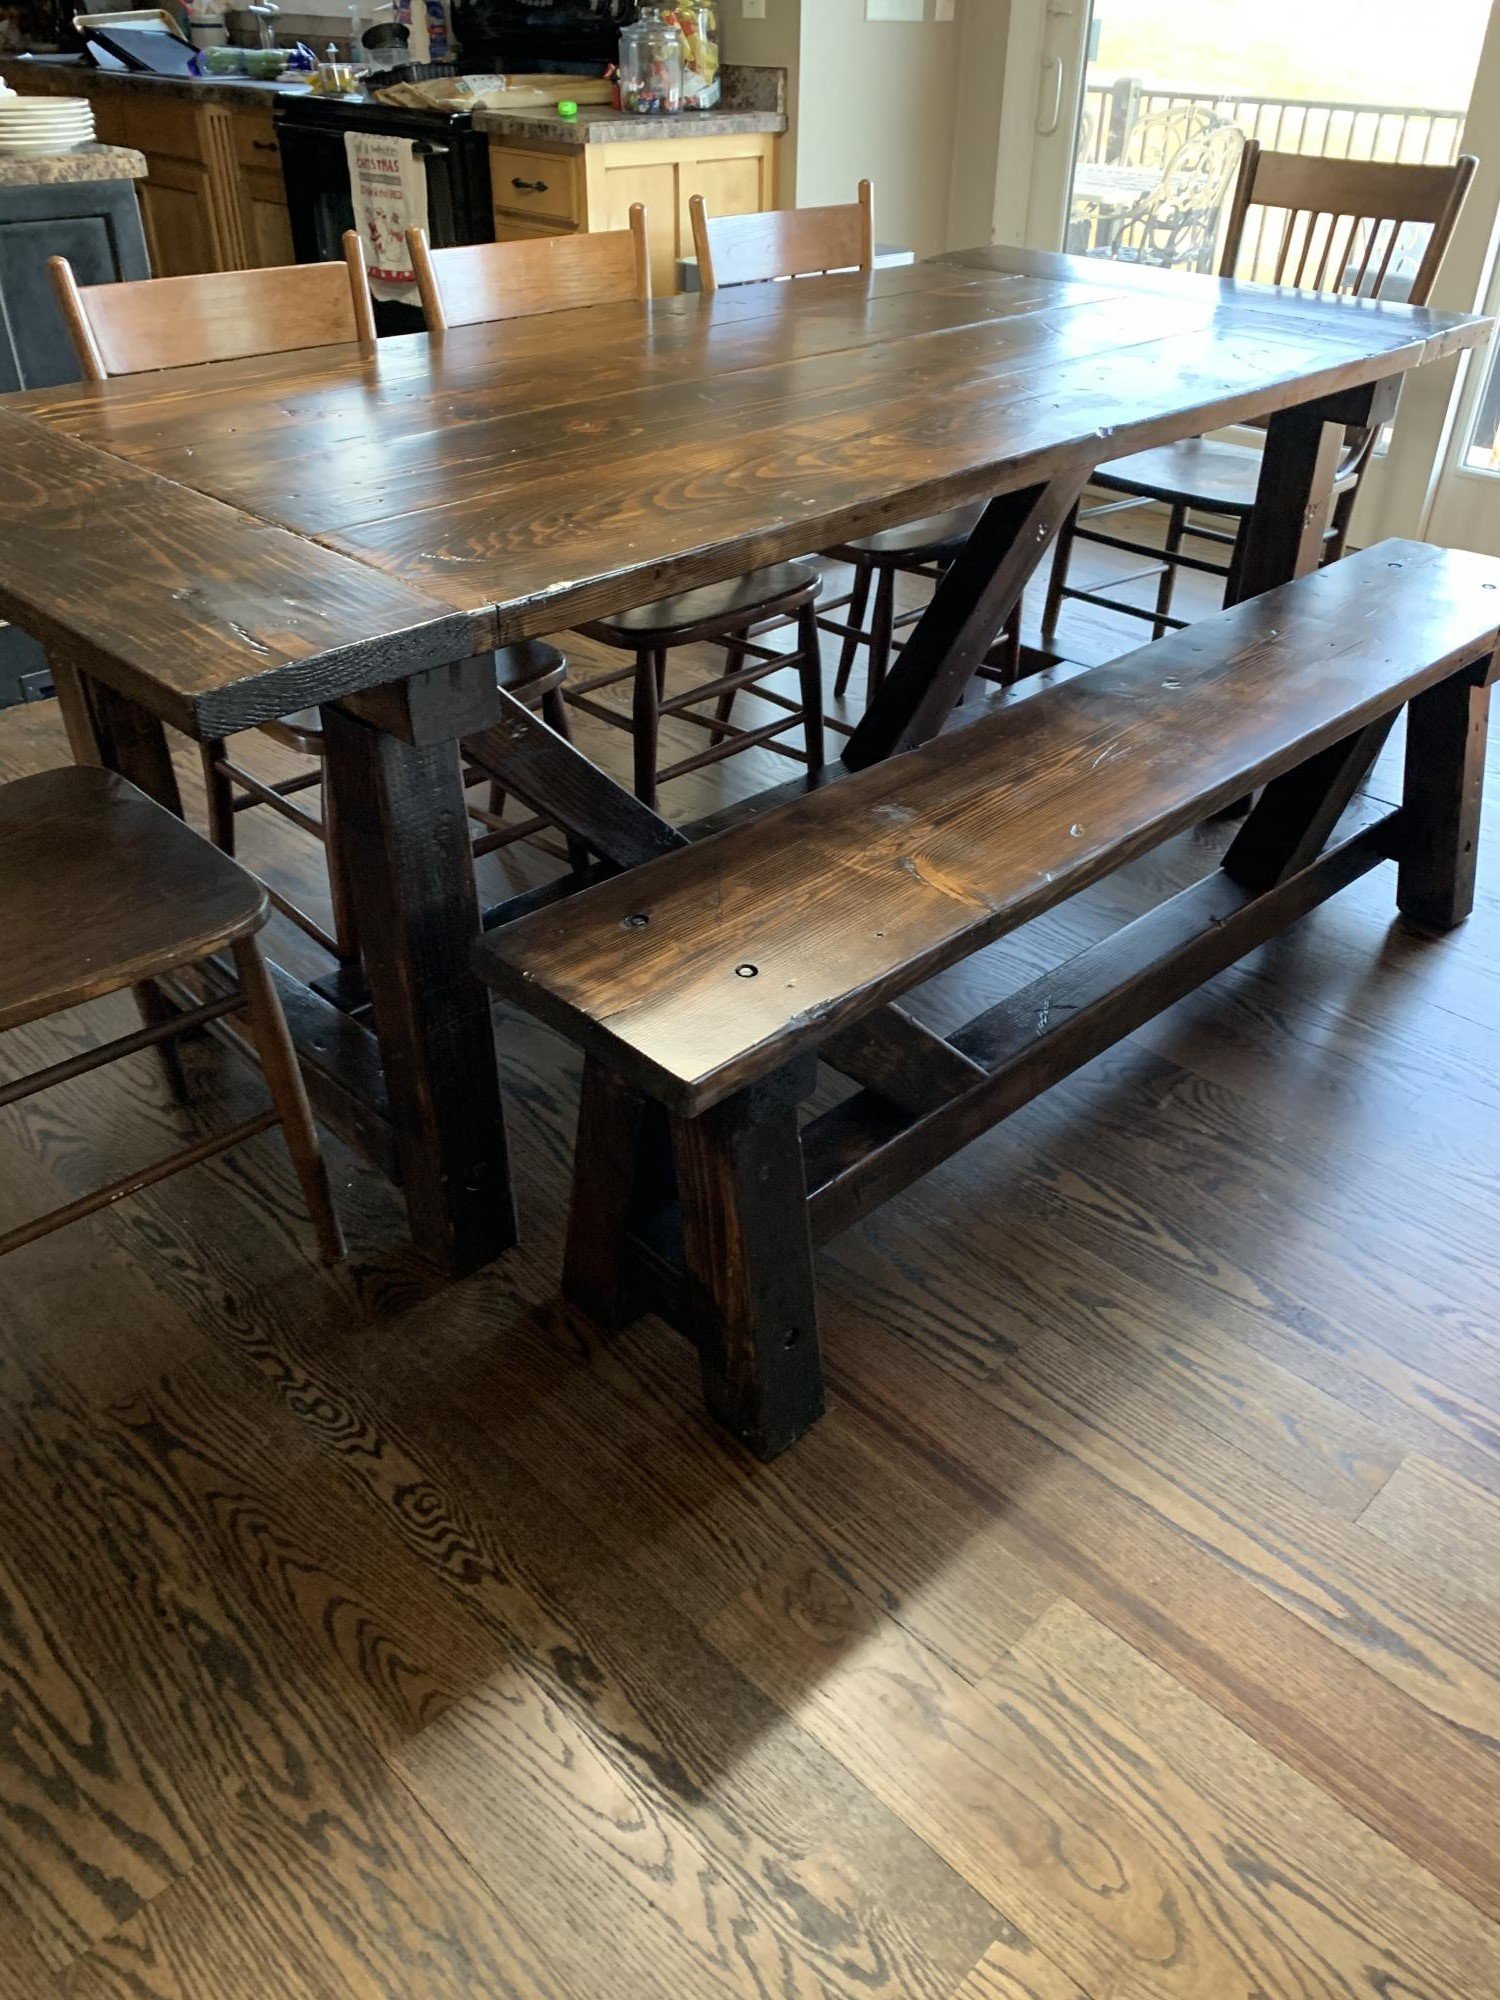
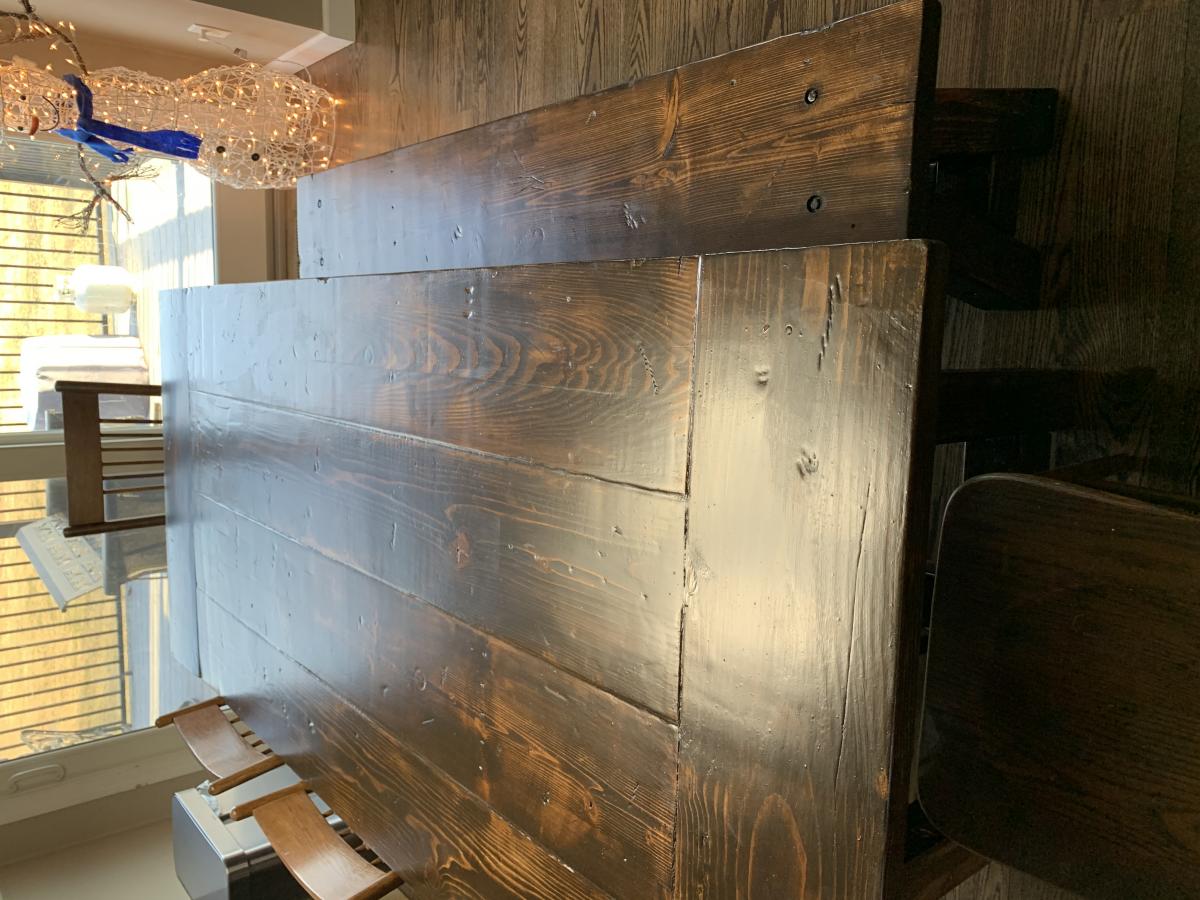
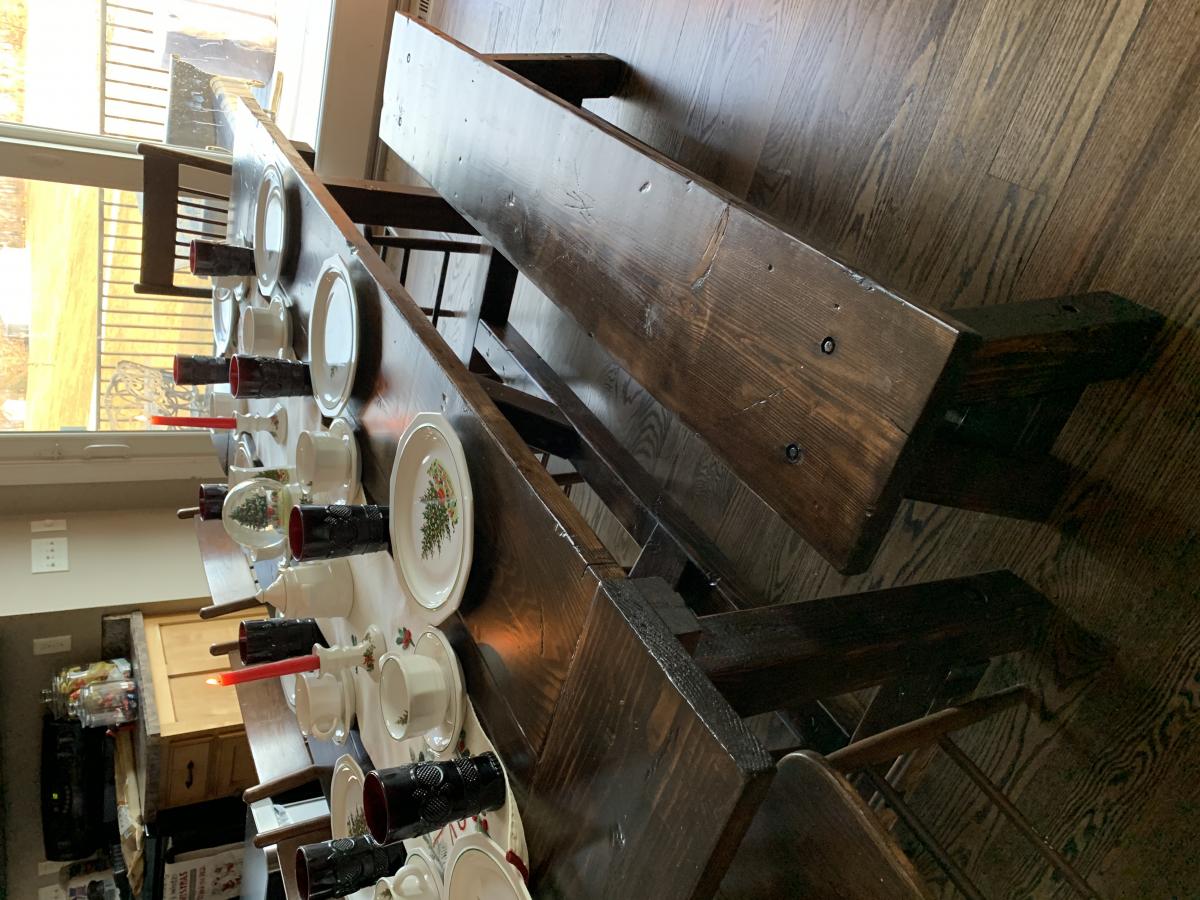
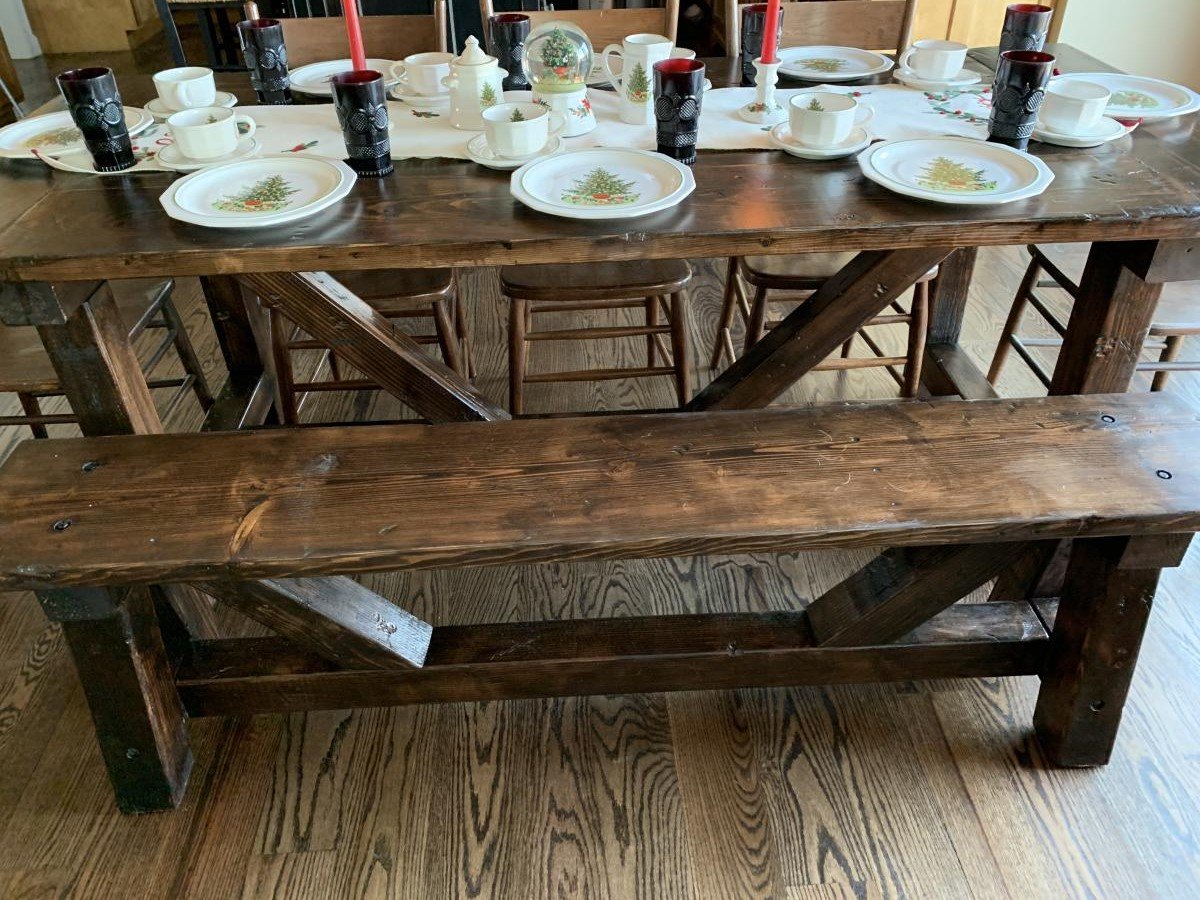
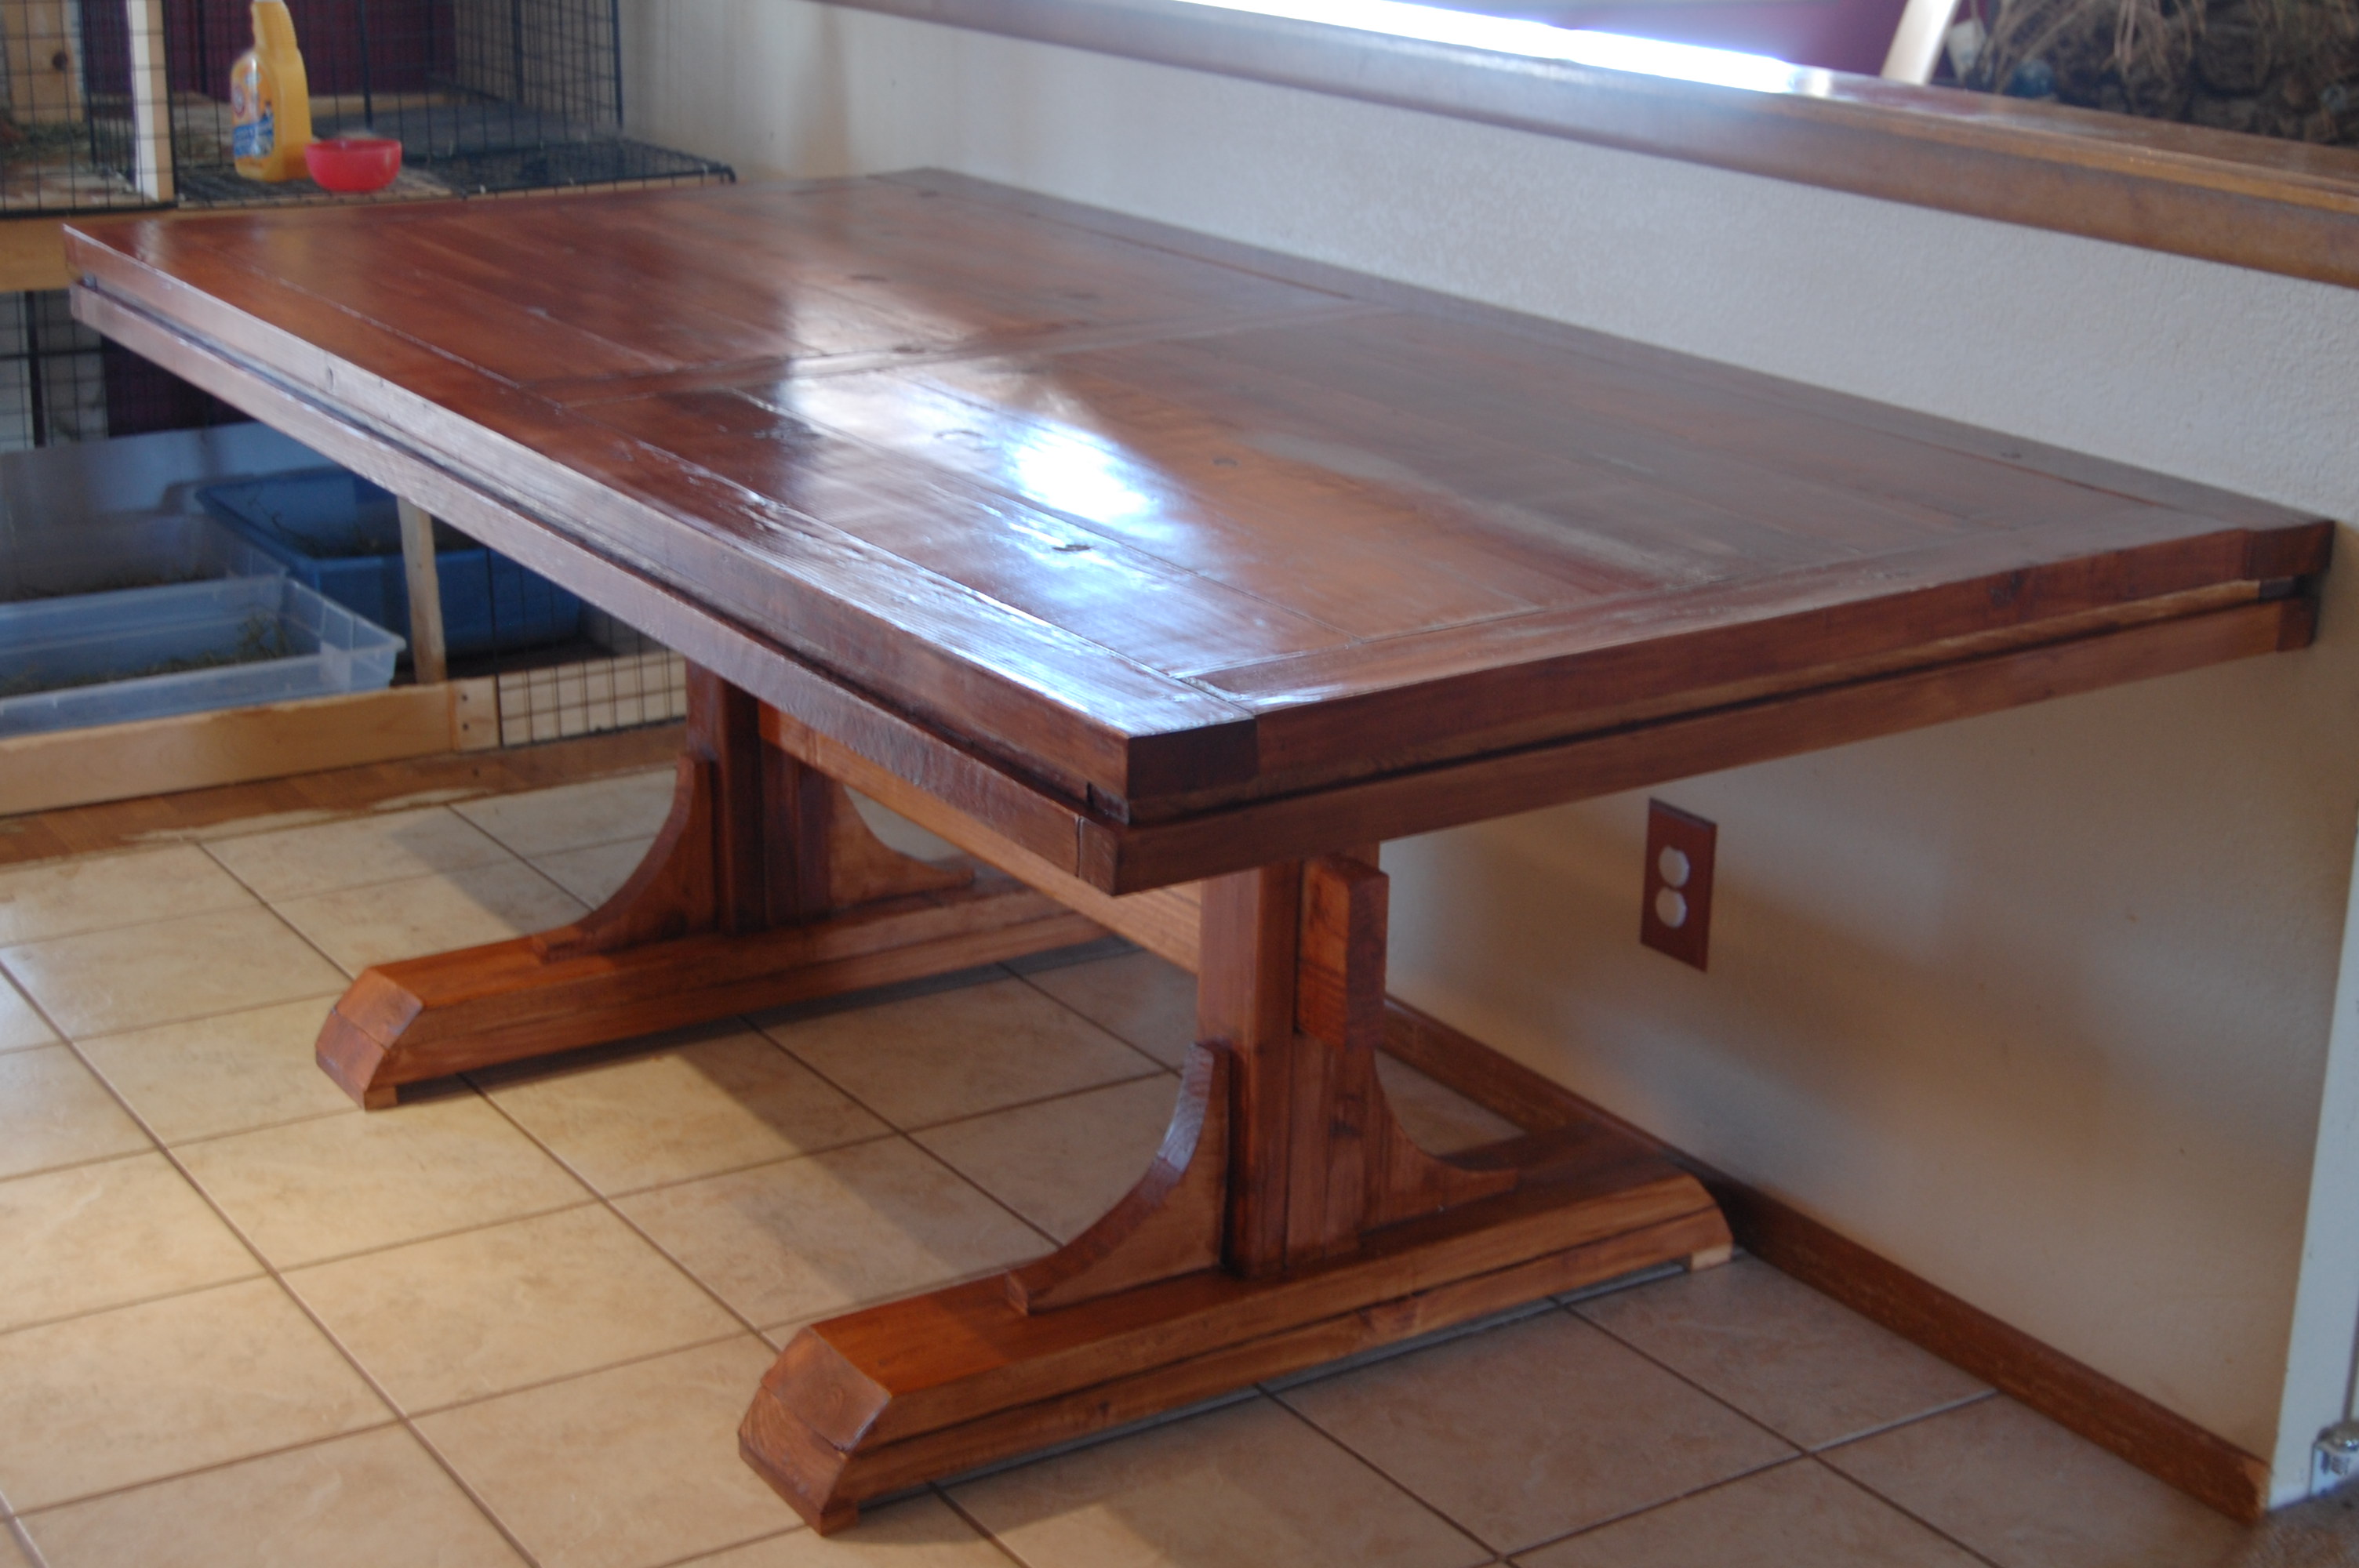
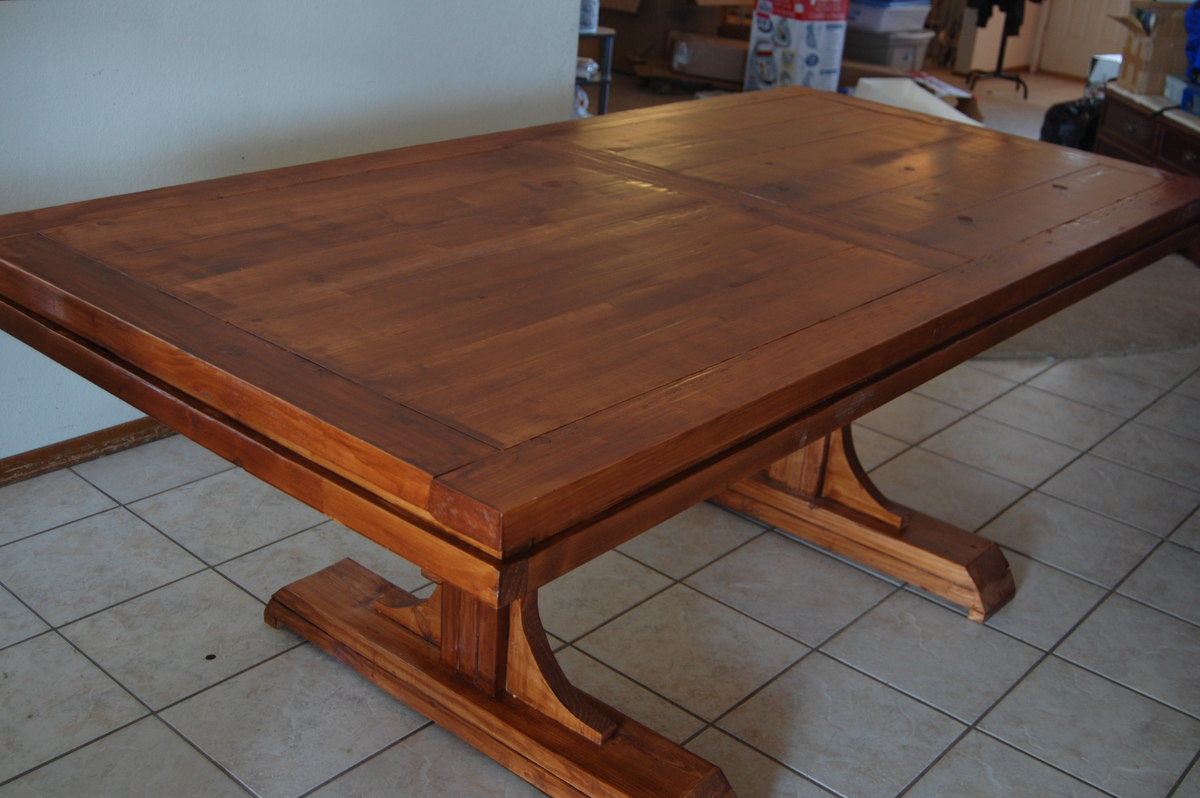
Reclaimed wood dining table

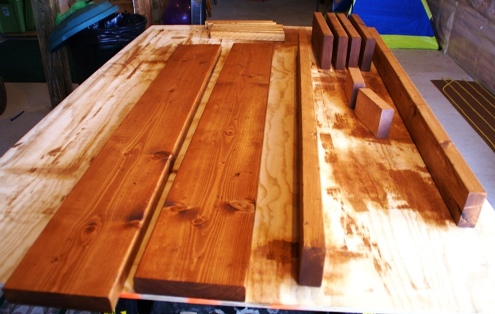
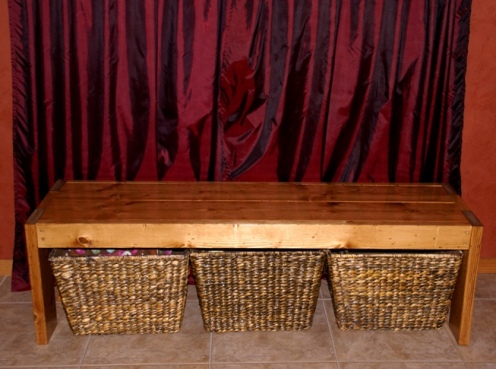
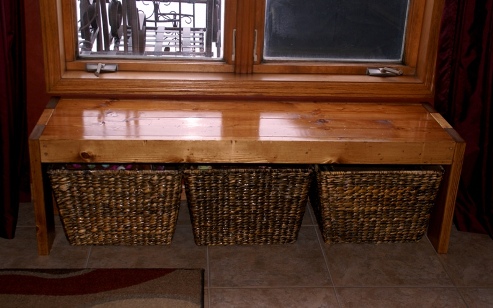
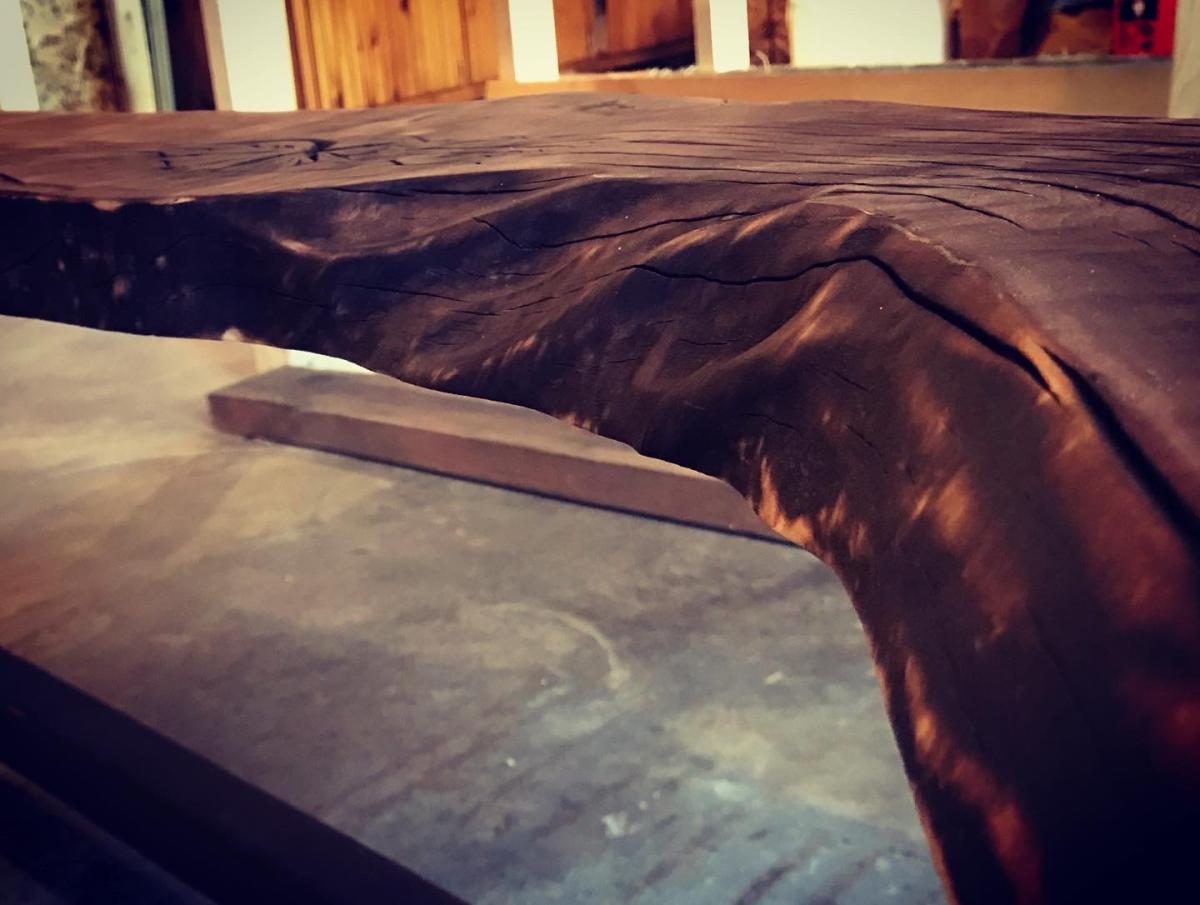
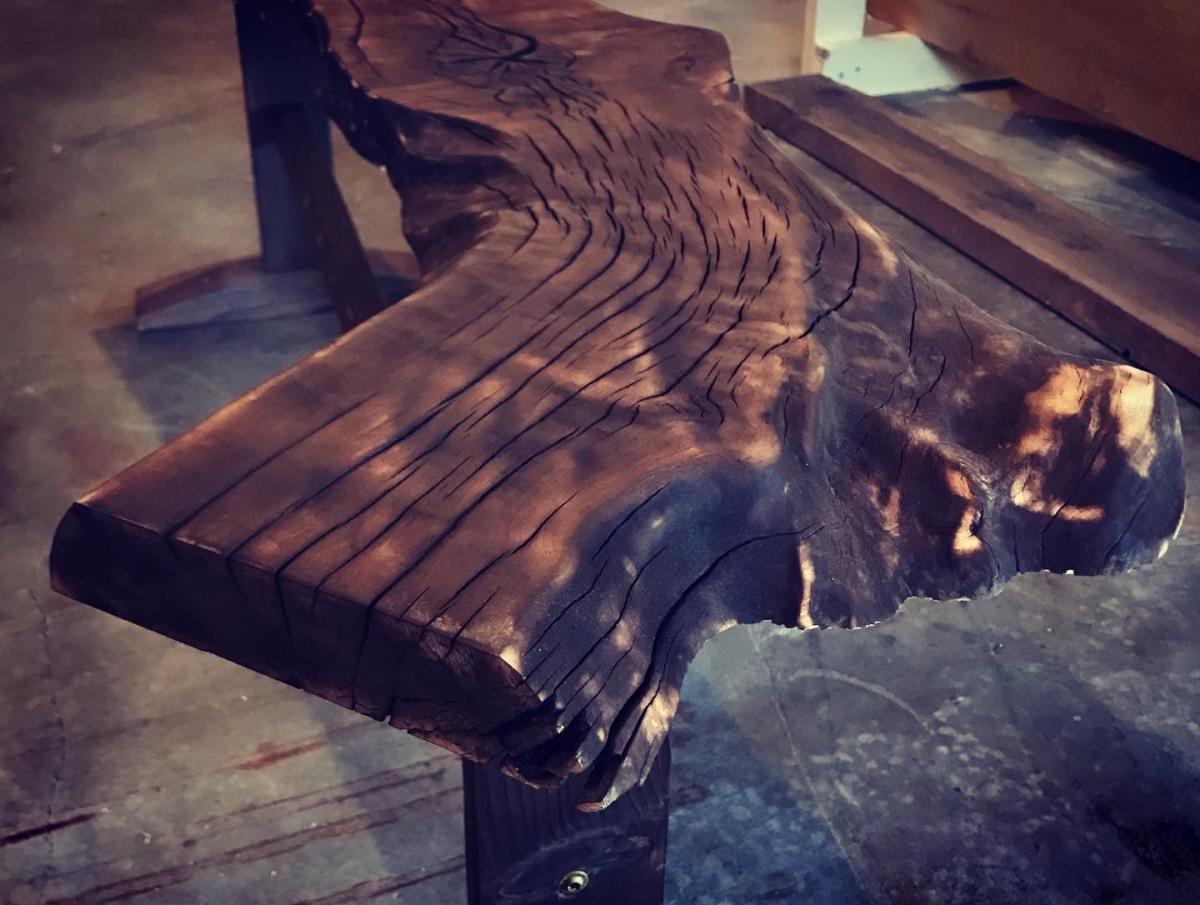
Built this for my wife from warehouse floors from the Mare Island Naval Station. 150 plus year old planks. Doug Fir. Hope it will become a family heirloom!
Estimated Cost
$700
Estimated Time Investment
Week Long Project (20 Hours or More)
Finish Used
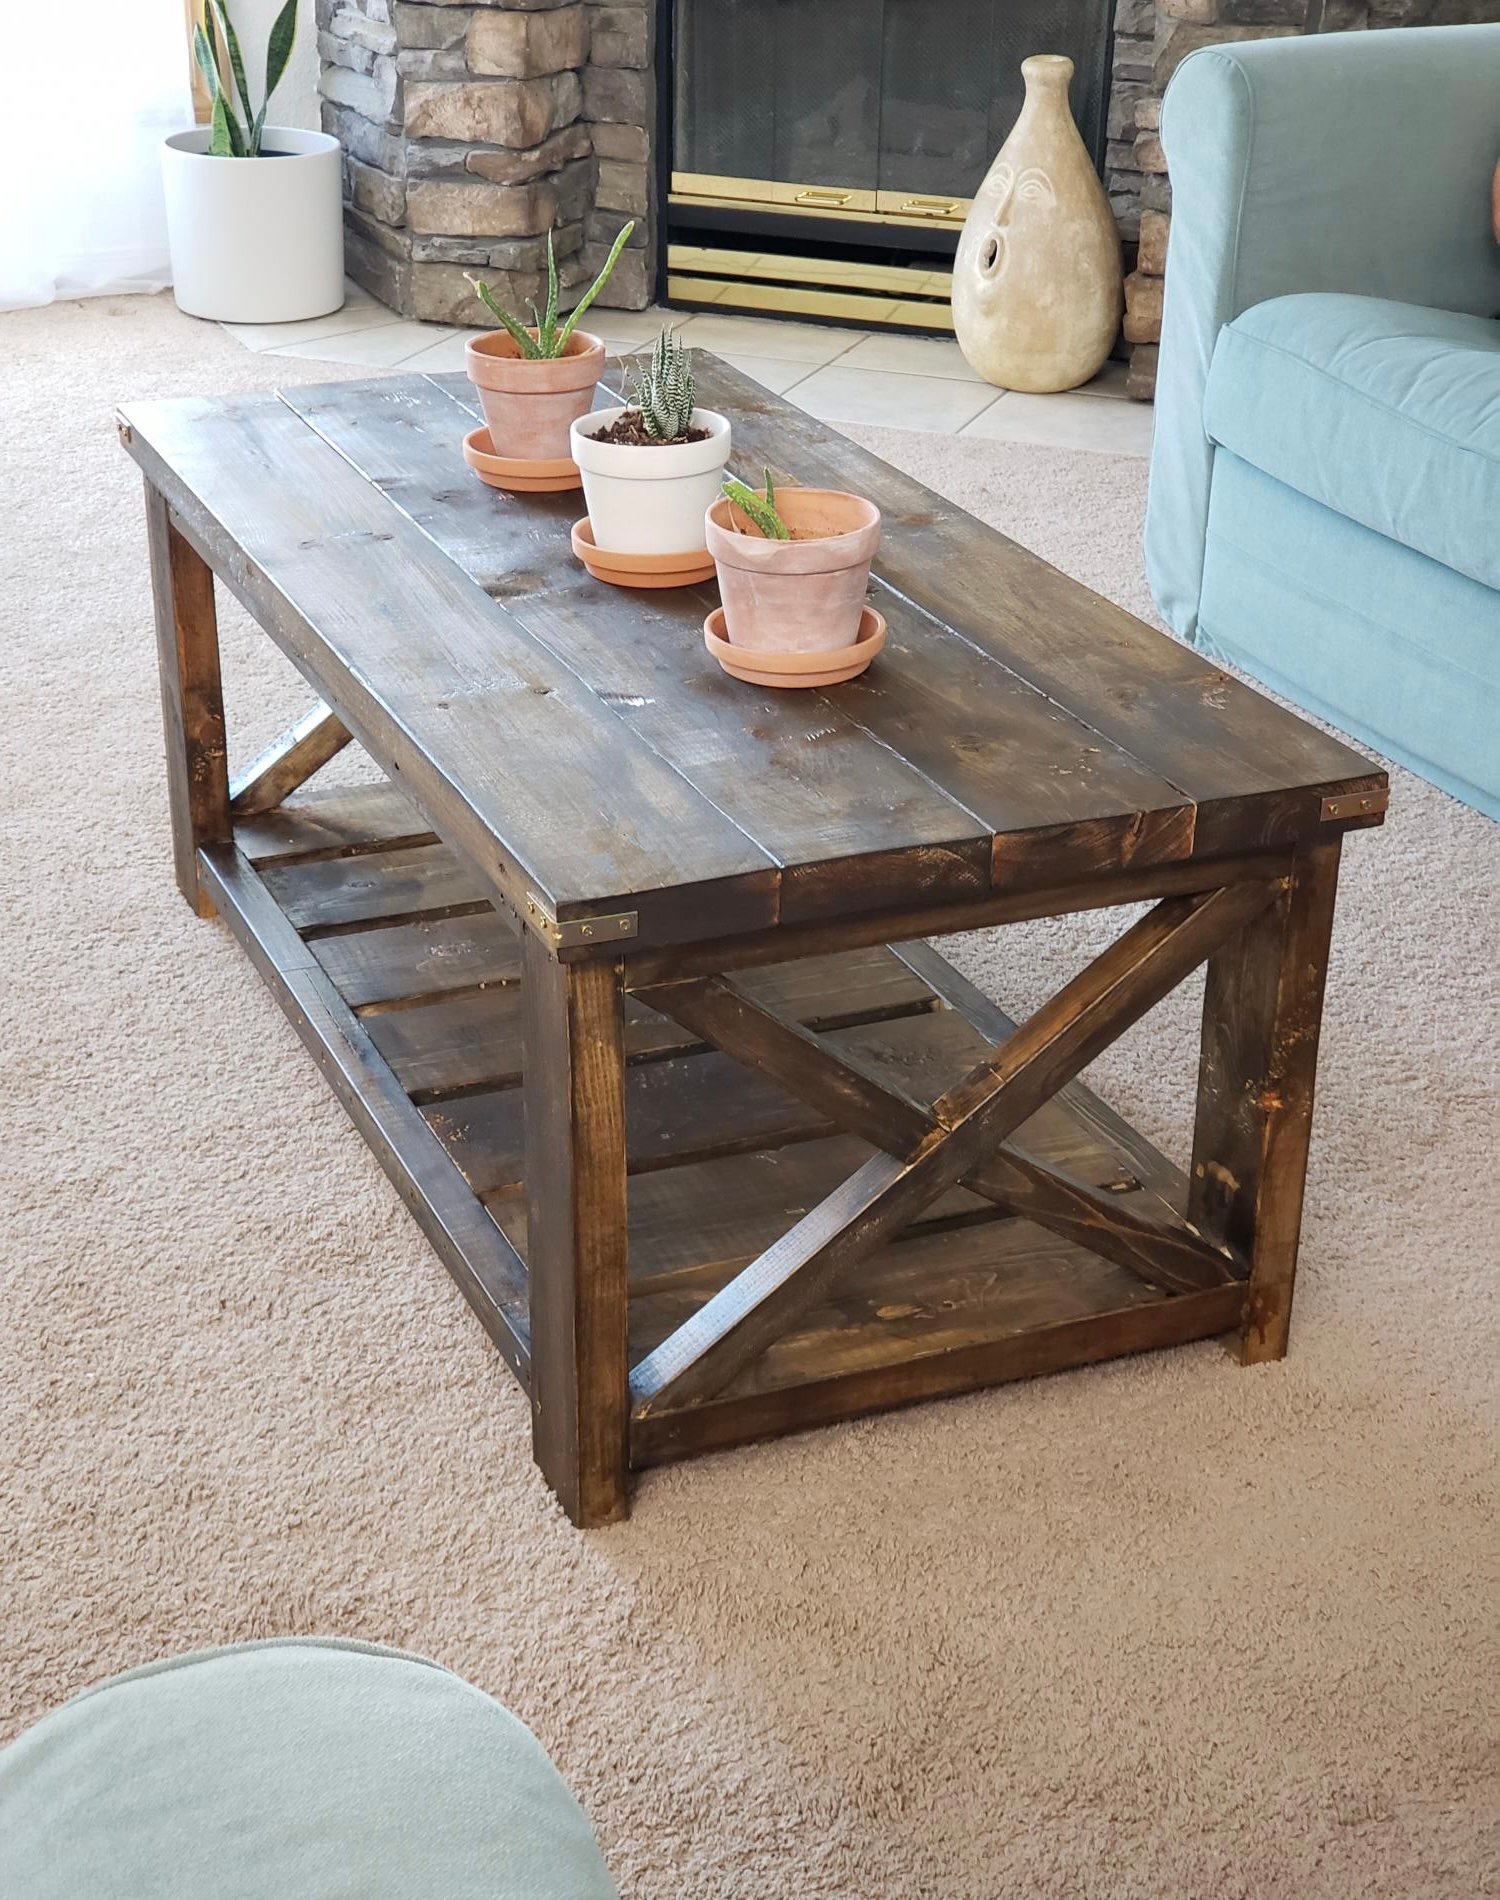
Classic Gray and Dark Walnut on the top. White wash on legs.
Recommended Skill Level
Intermediate