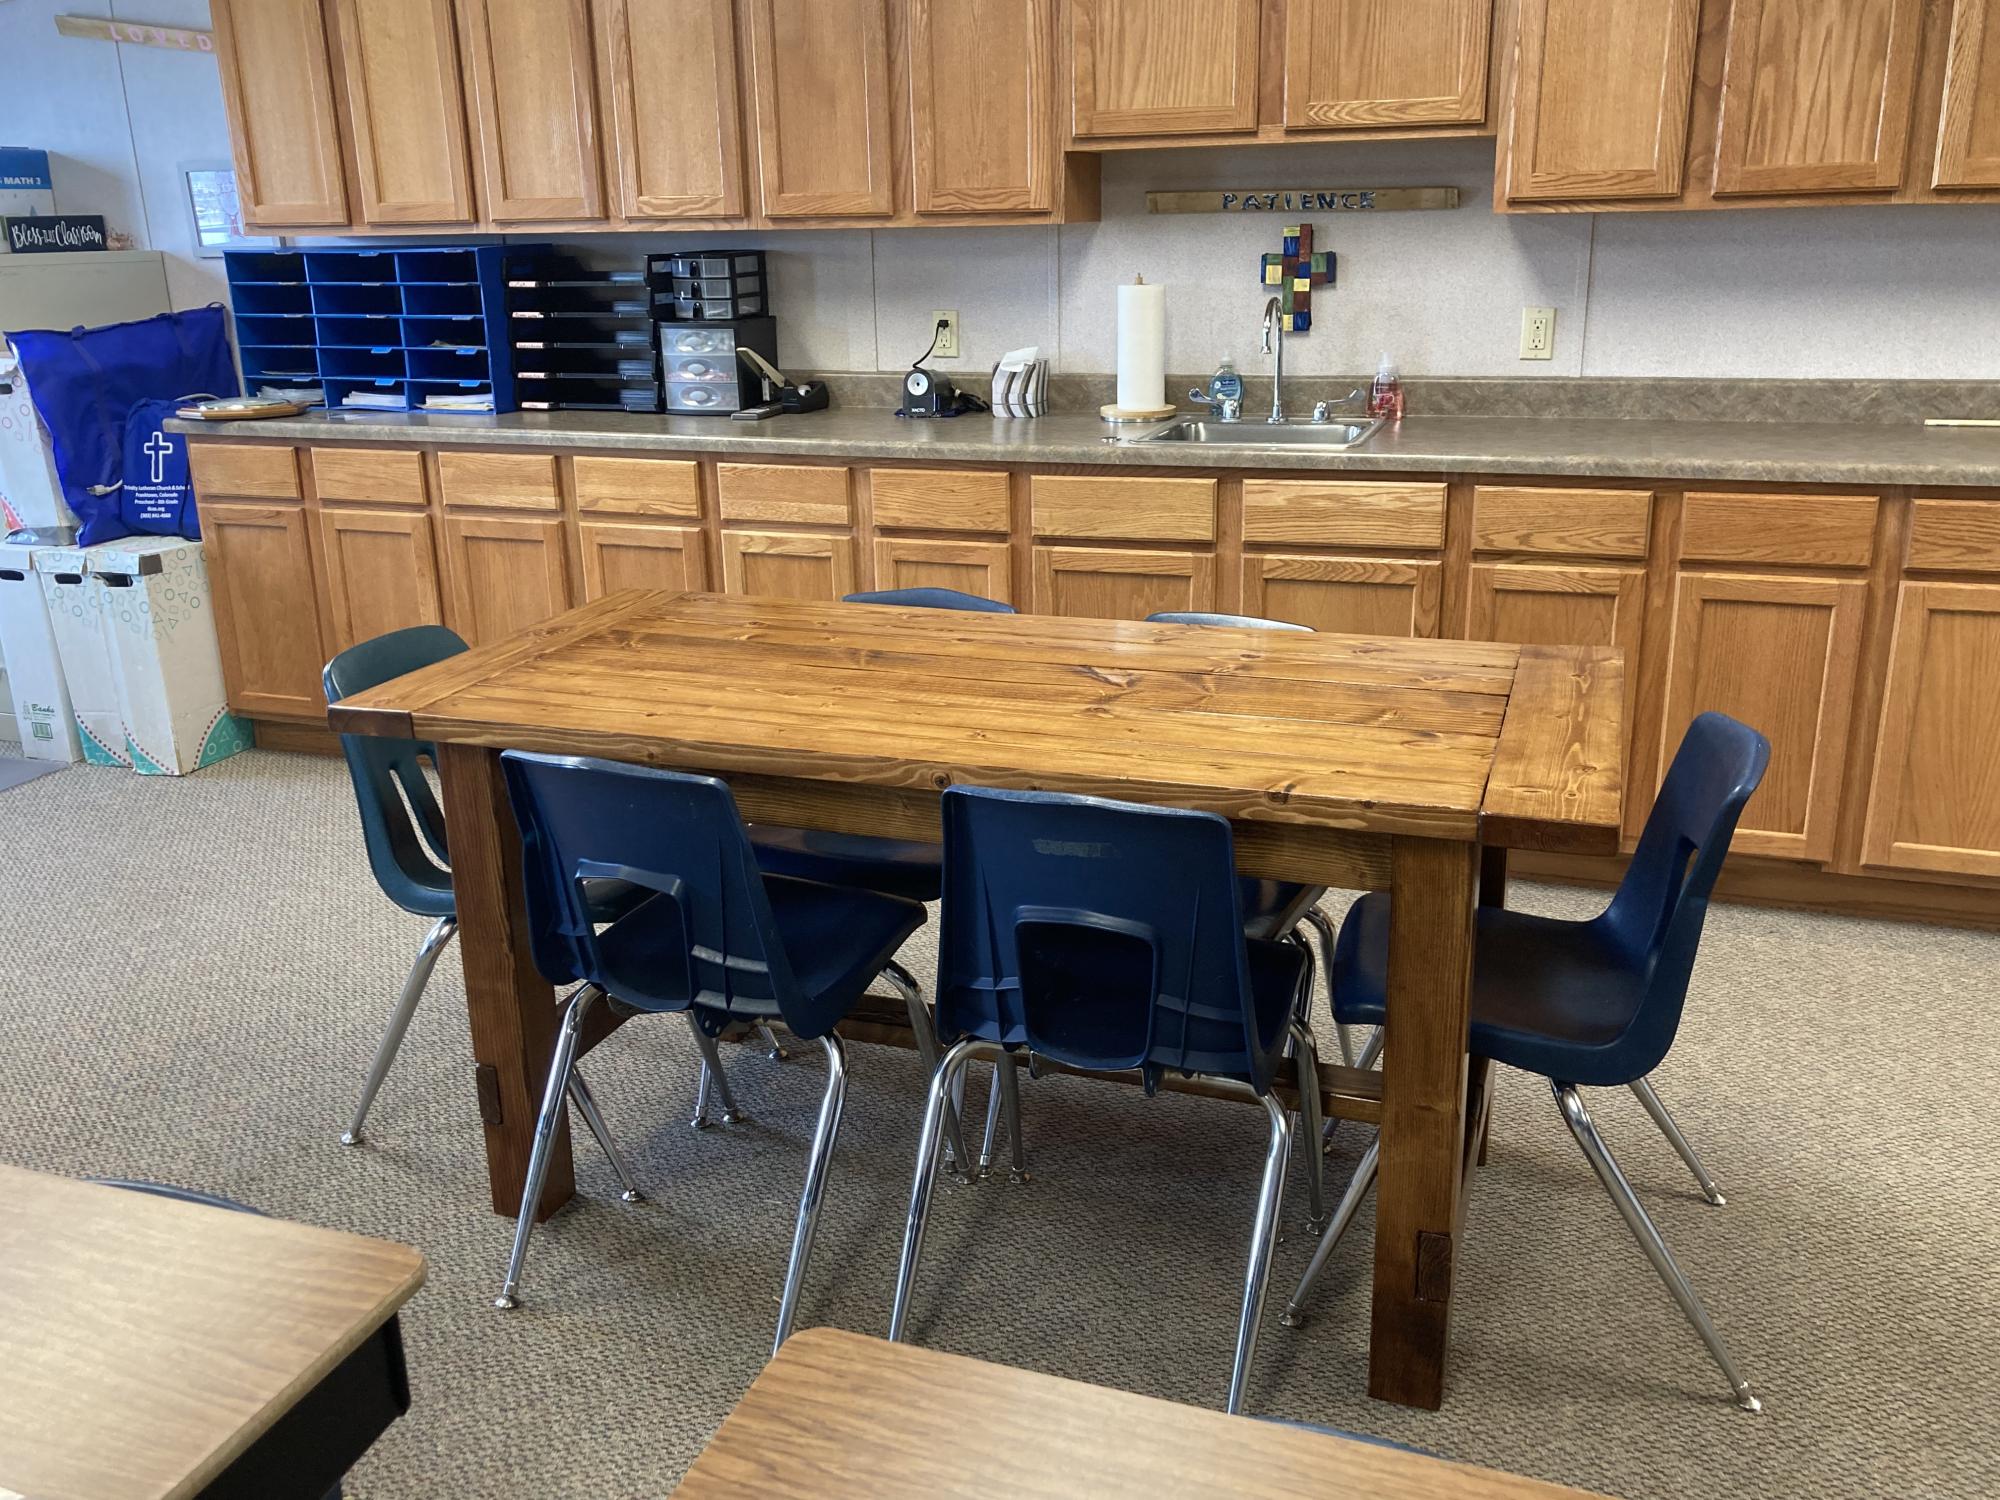
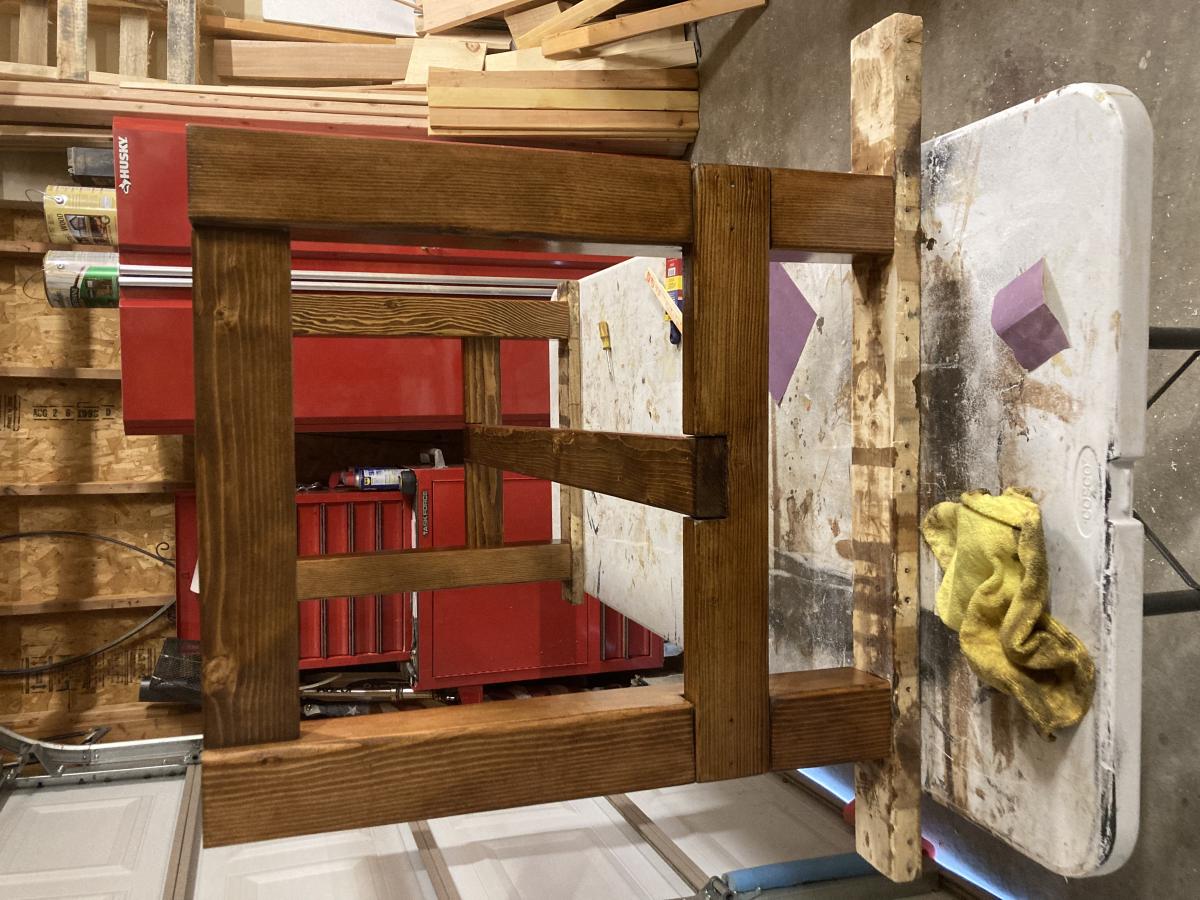
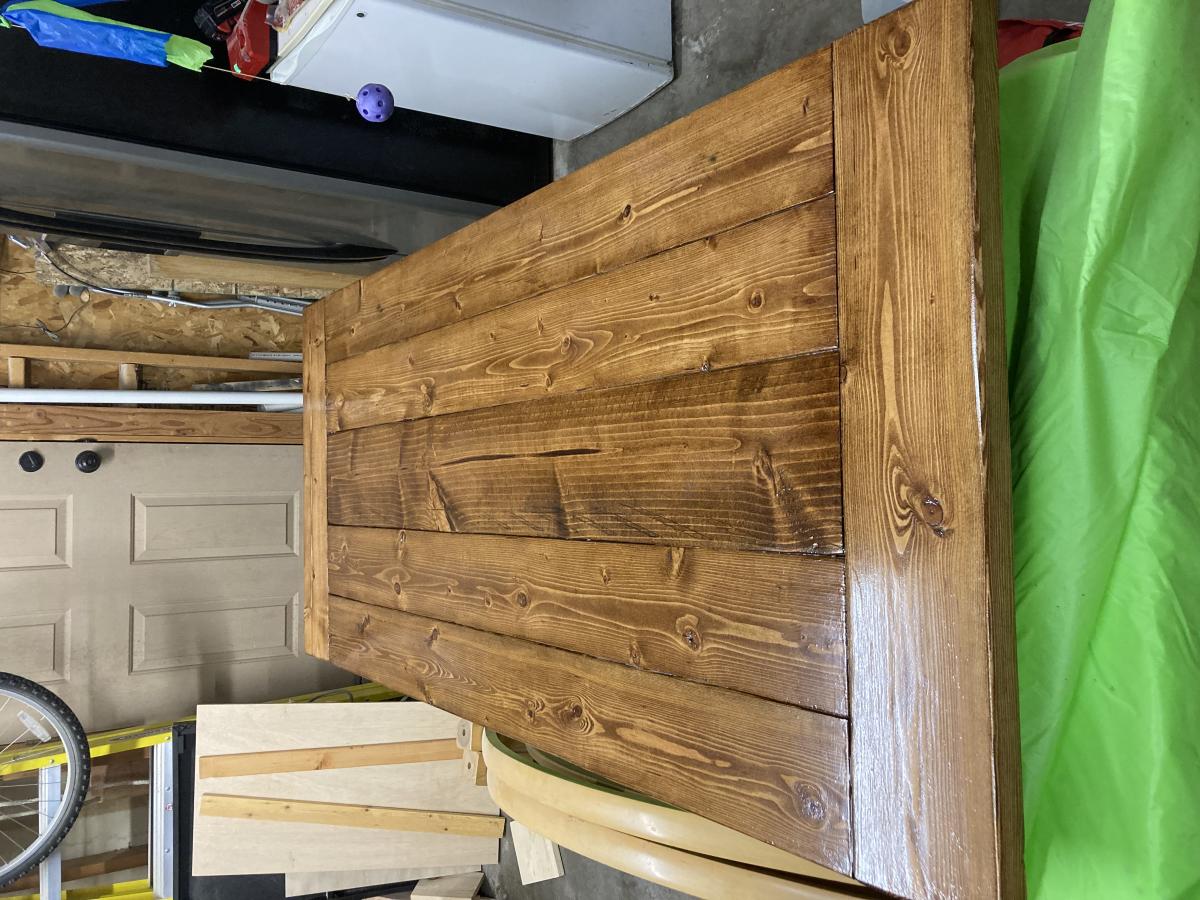
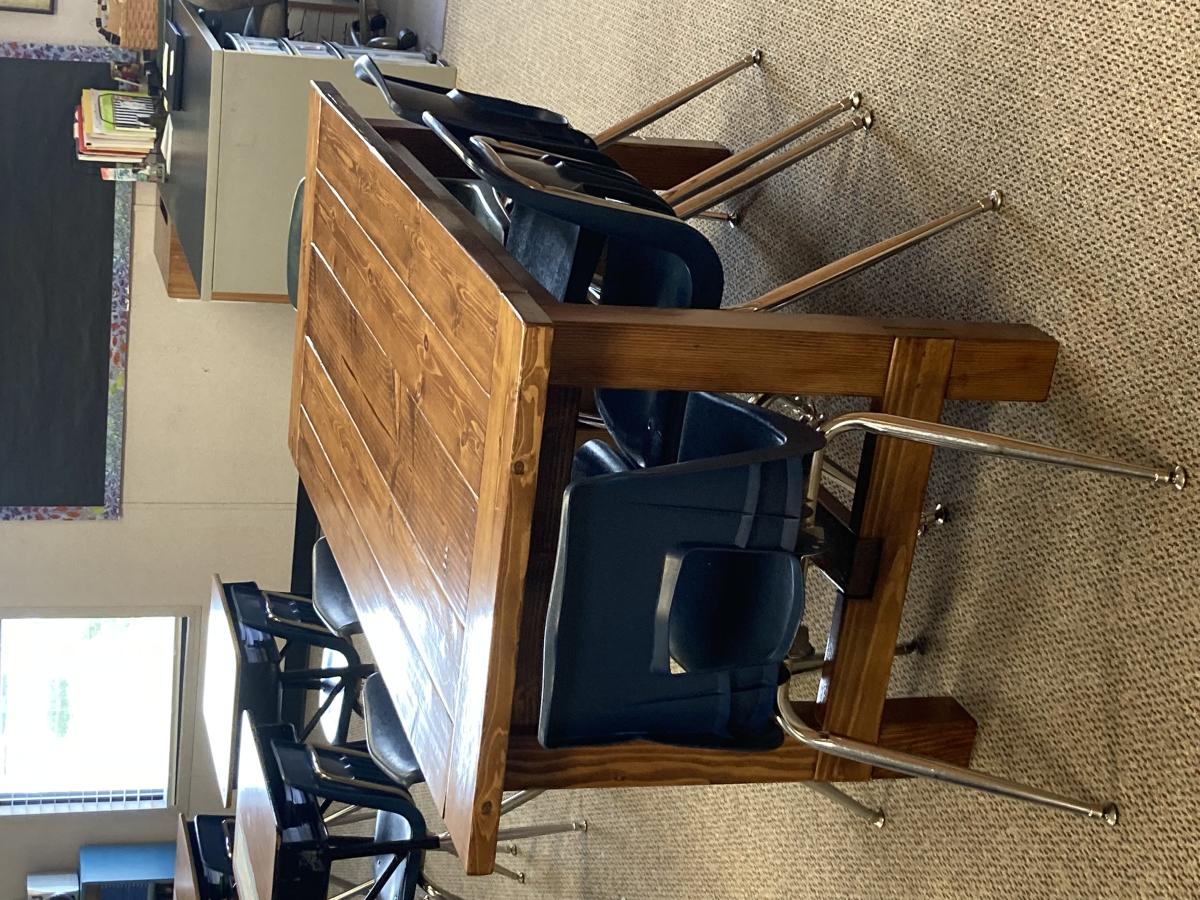
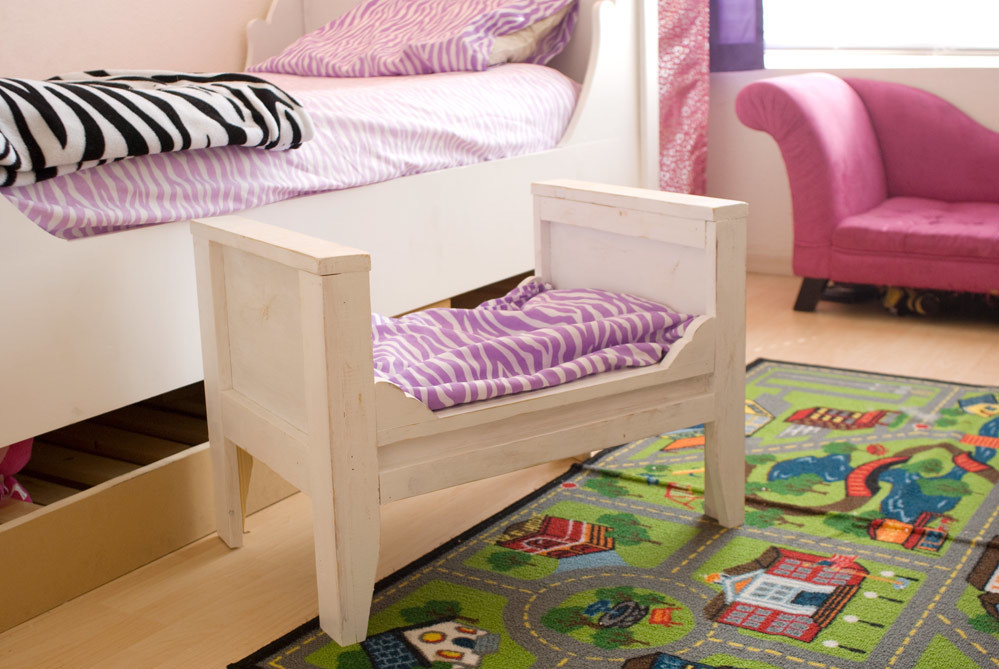
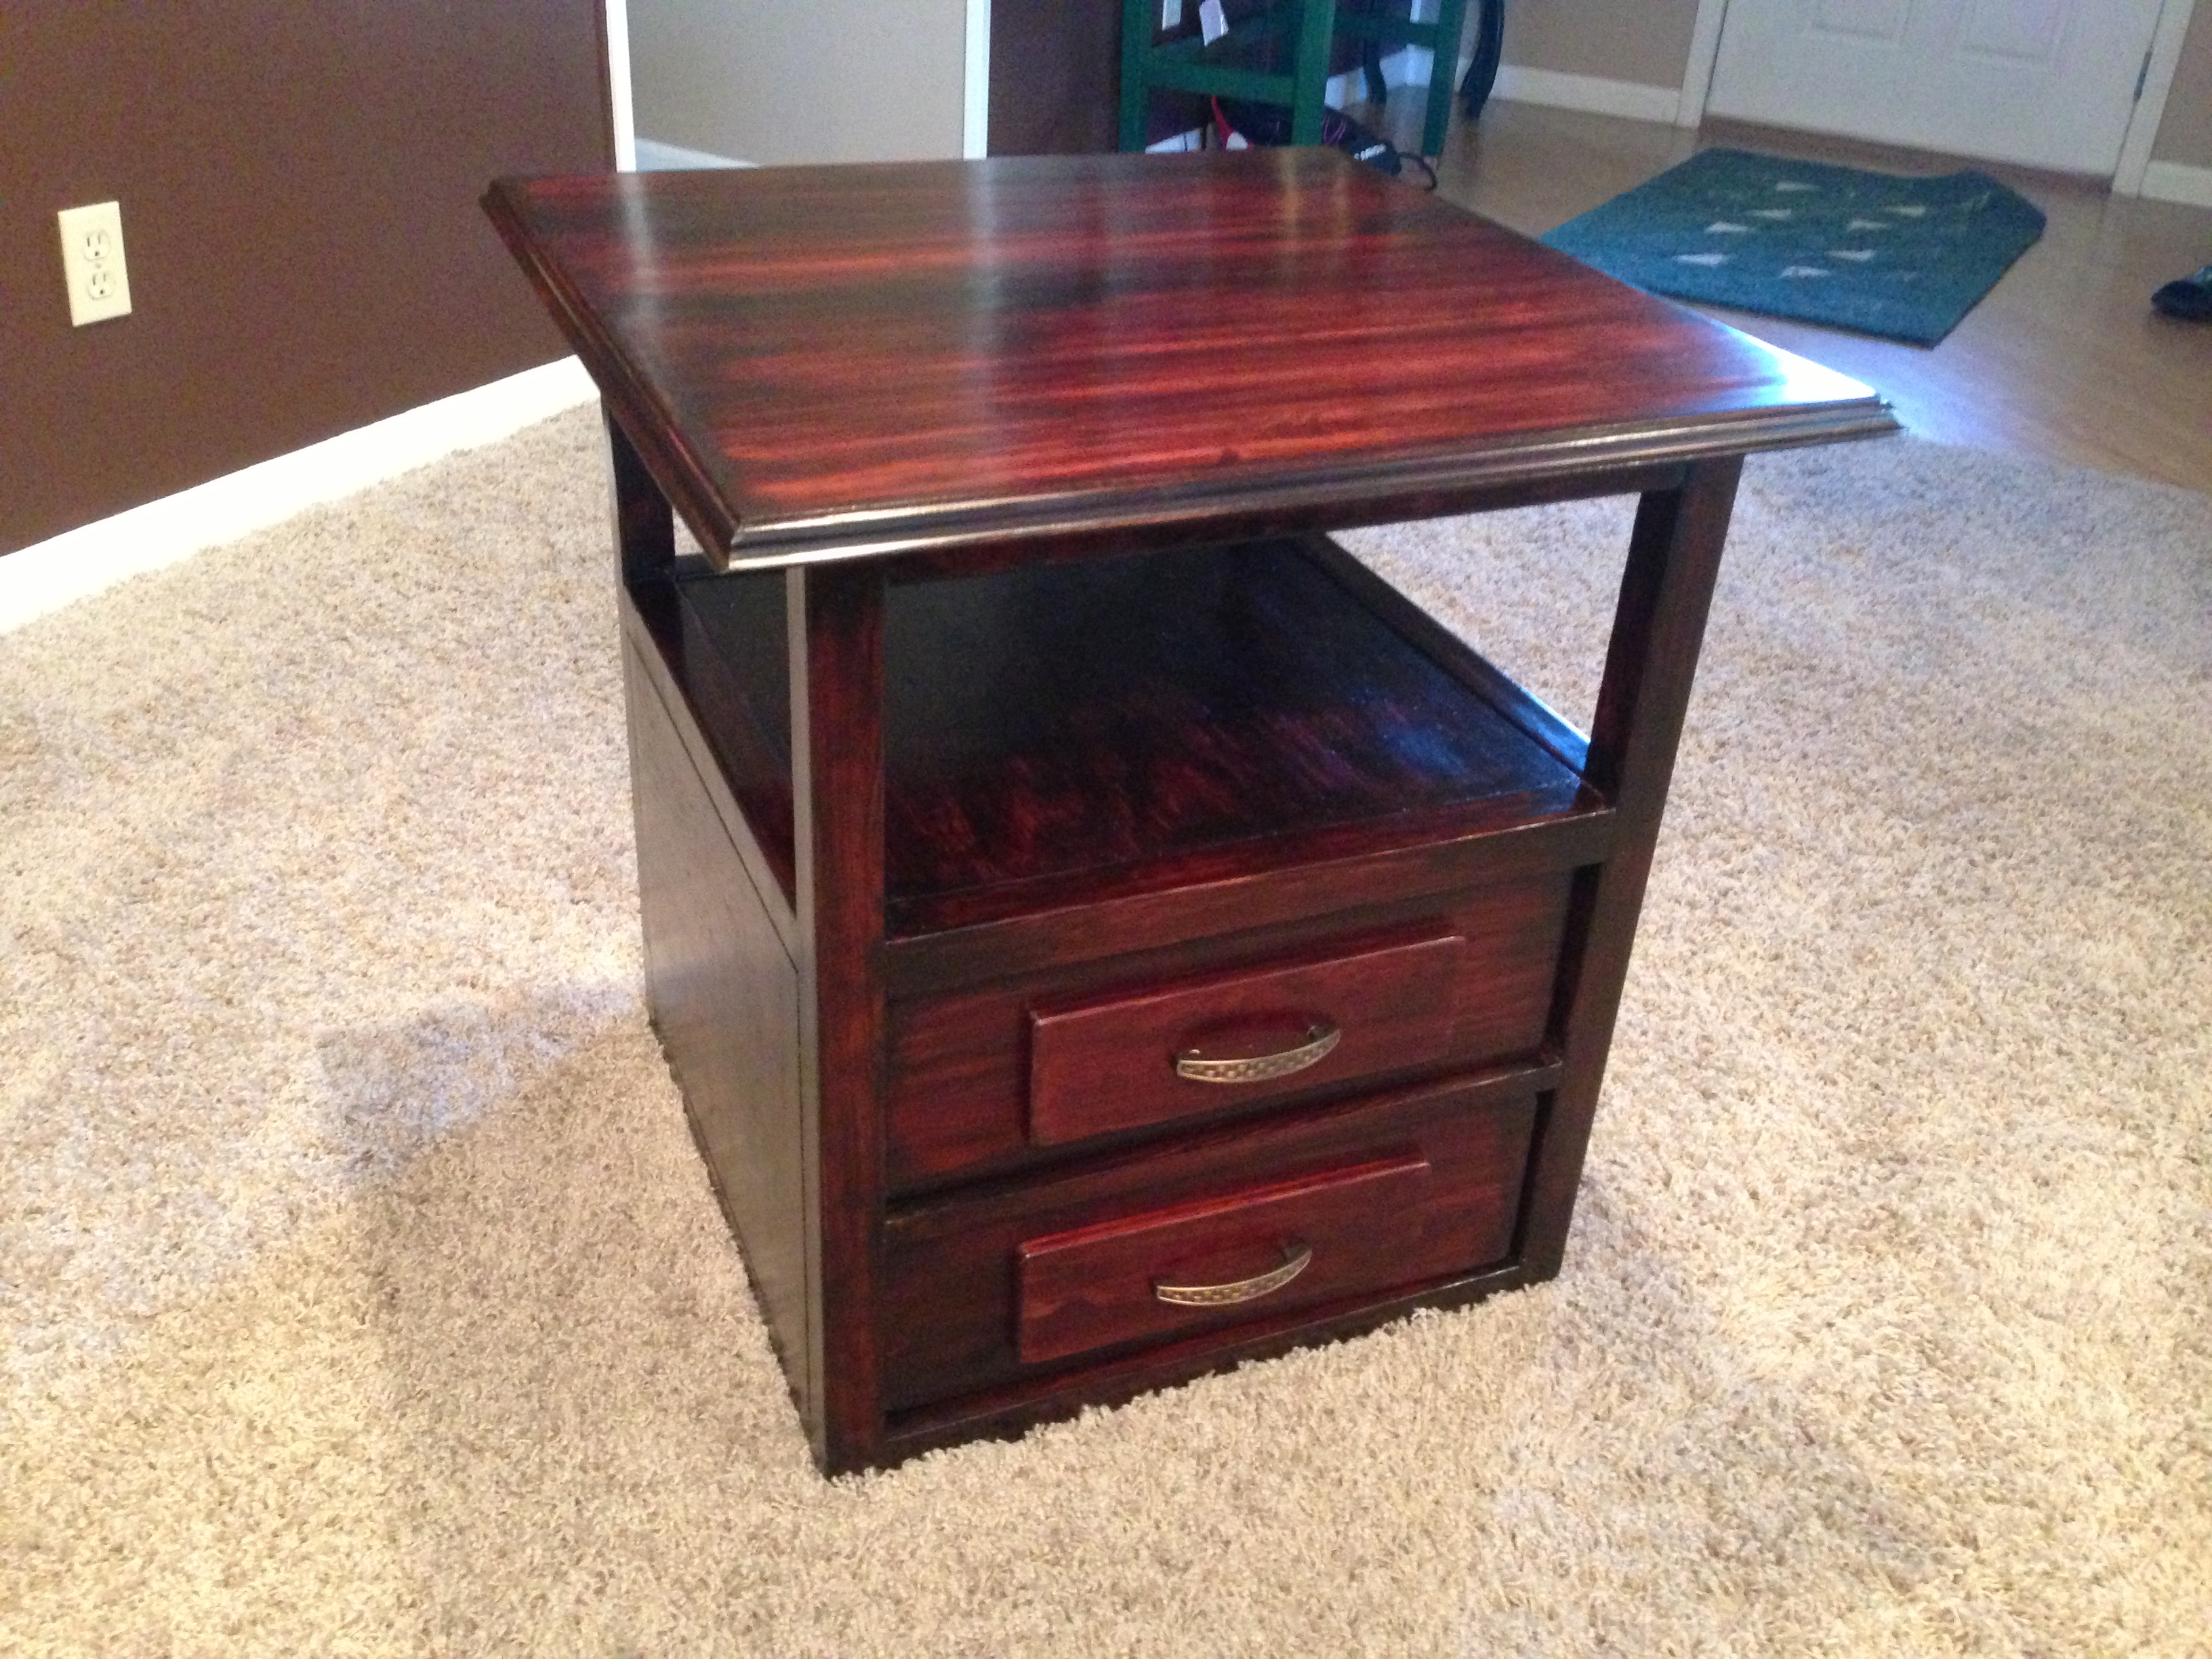
Farmhouse Bedside Table

I built this nightstand several months ago, so I honestly don't remember my time or money investment all that well. It was a fun, easy project though. As usual the biggest time investment was in the finish work.

Built from Plan(s)
Finish Used
Primed. Painted in Behr Cotton Fluff - Satin finish. Sanded and stained with Minwax Dark Walnut stain. The stain was pretty dark but I wanted to use up what I had. I just kept plenty of paper towels and paint thinner nearby to thin it down to the shade I wanted.
Recommended Skill Level
Beginner


Comments
Lori E (not verified)
Tue, 08/09/2011 - 07:41
This came out great ... nice
This came out great ... nice job! Can I ask you where you got the drawer handle?
peaches76
Wed, 08/10/2011 - 15:57
Hardware
Thanks! I got the drawer pull from Lowes for $5.97.
Ana White
Tue, 08/09/2011 - 17:33
Stunning! I love this look,
Stunning! I love this look, the finish, the hardware! Gorgeous!
Ana White
Tue, 08/09/2011 - 17:33
Beautiful photography too!
Beautiful photography too!
Guest (not verified)
Mon, 02/27/2012 - 07:24
I cannot get the link to come
I cannot get the link to come up with the plans for this???
peaches76
Mon, 02/27/2012 - 21:21
Plans
Try this address...
http://ana-white.com/2011/01/farmhouse-bedside-table
Guest (not verified)
Sun, 03/18/2012 - 10:44
Your Farmhouse Bedside Table Finish
I read your description of the finish for your table but I was wondering if it was really paint, then stain in that order. I know nothing about finishes so any tips would be greatly appreciated.