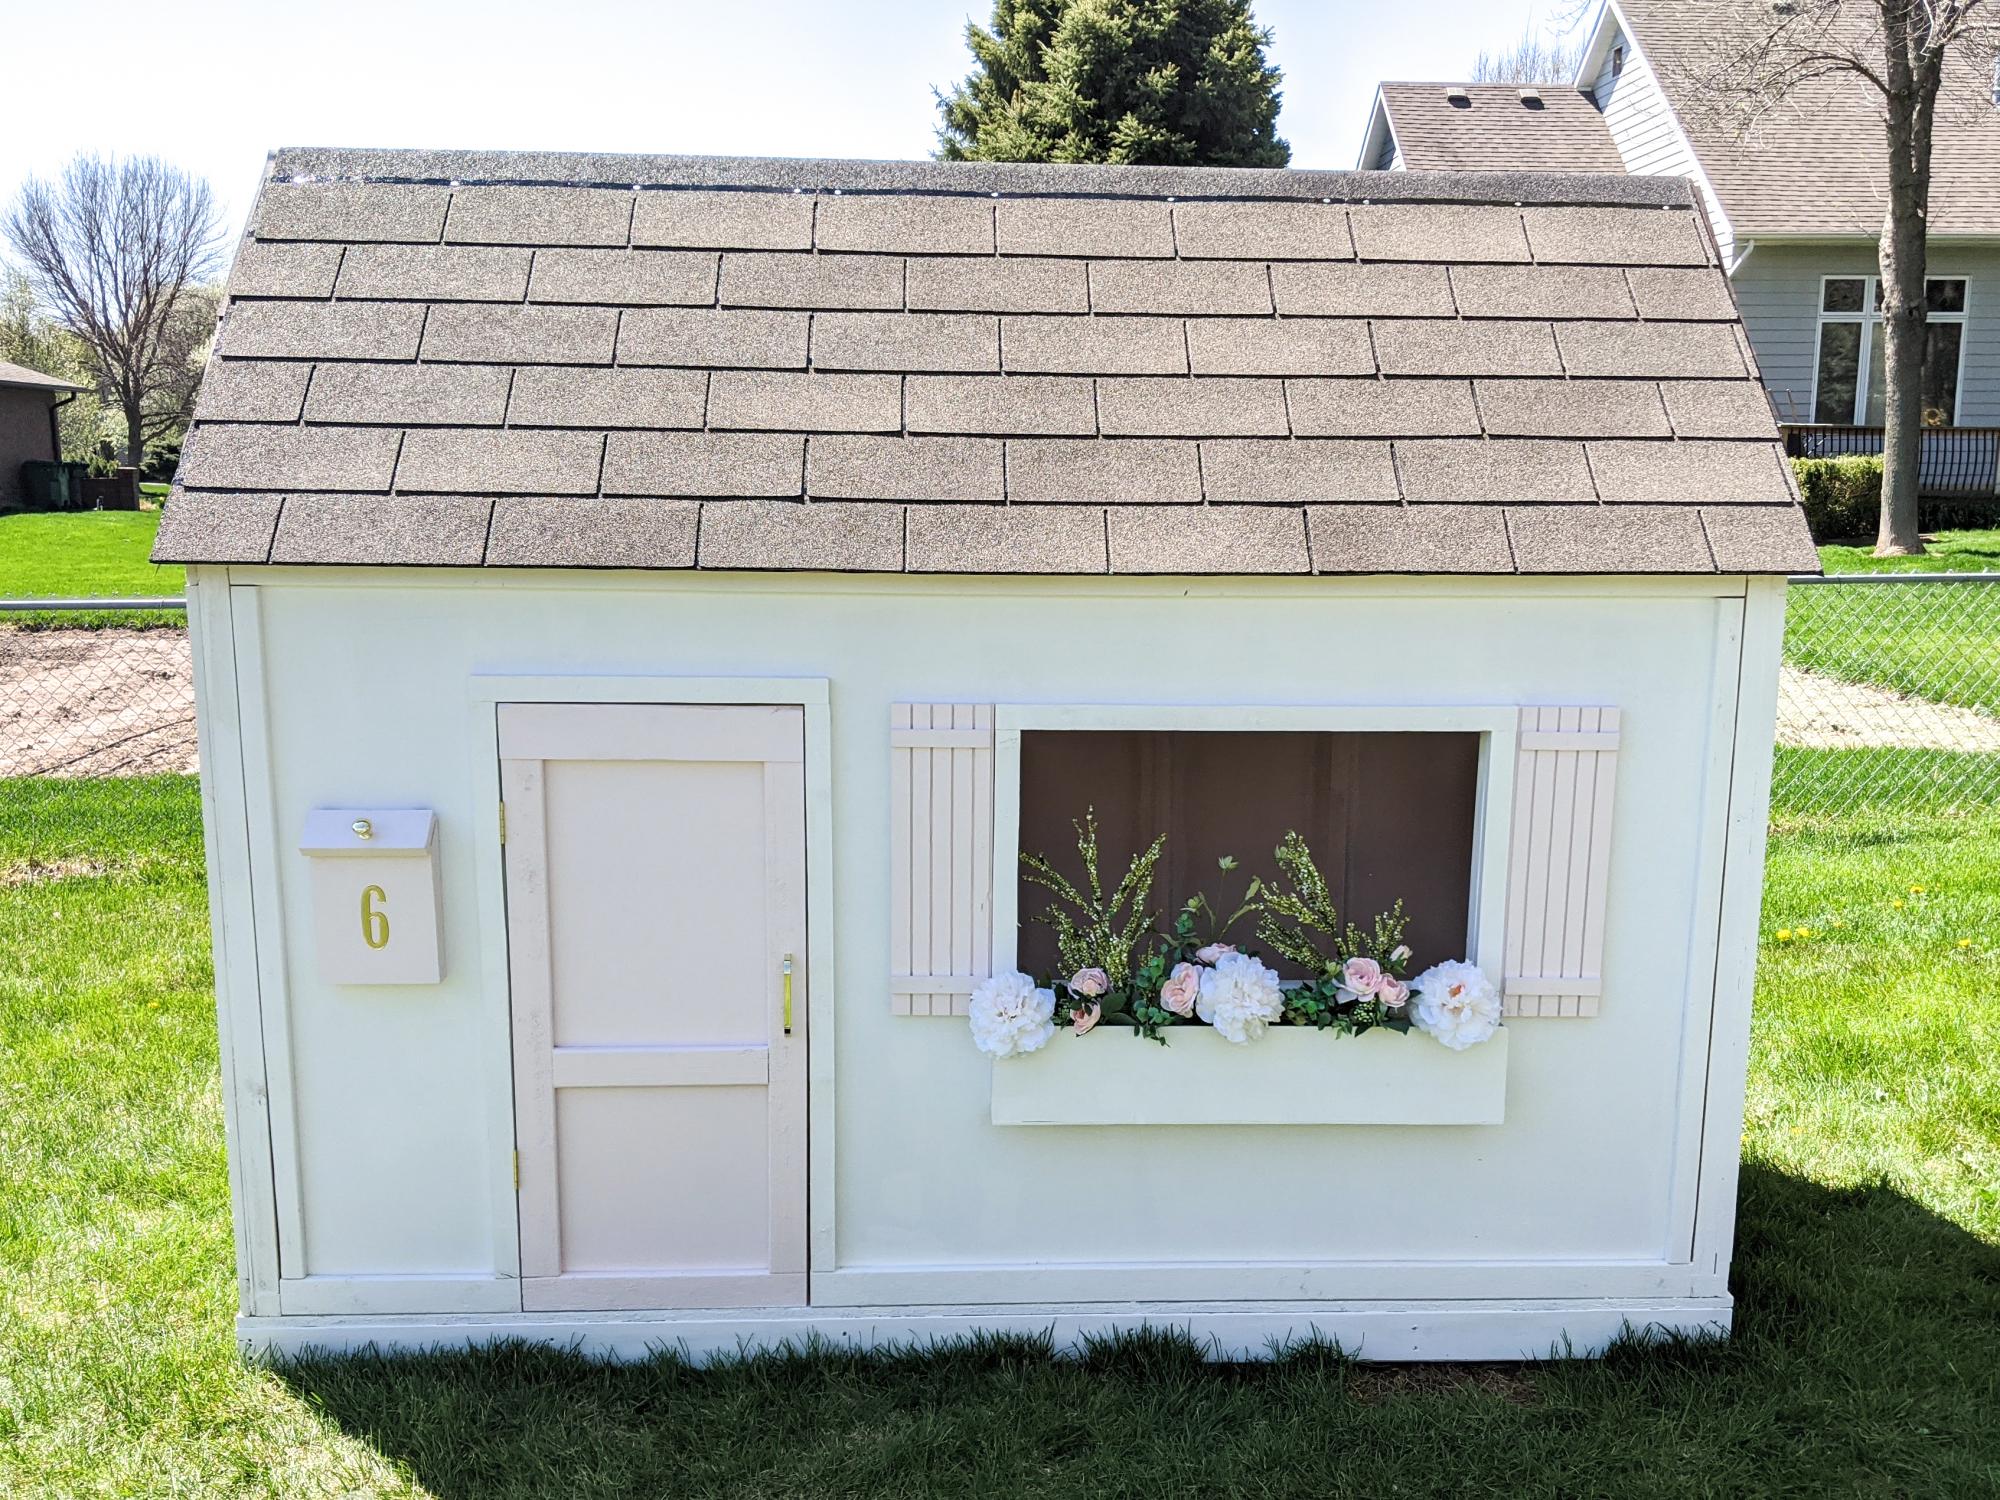
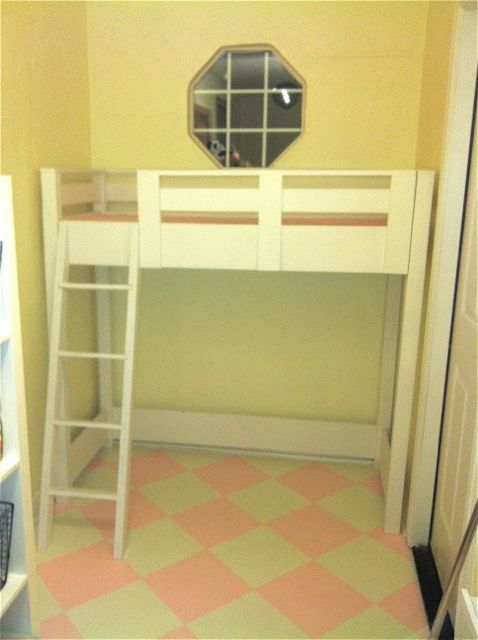
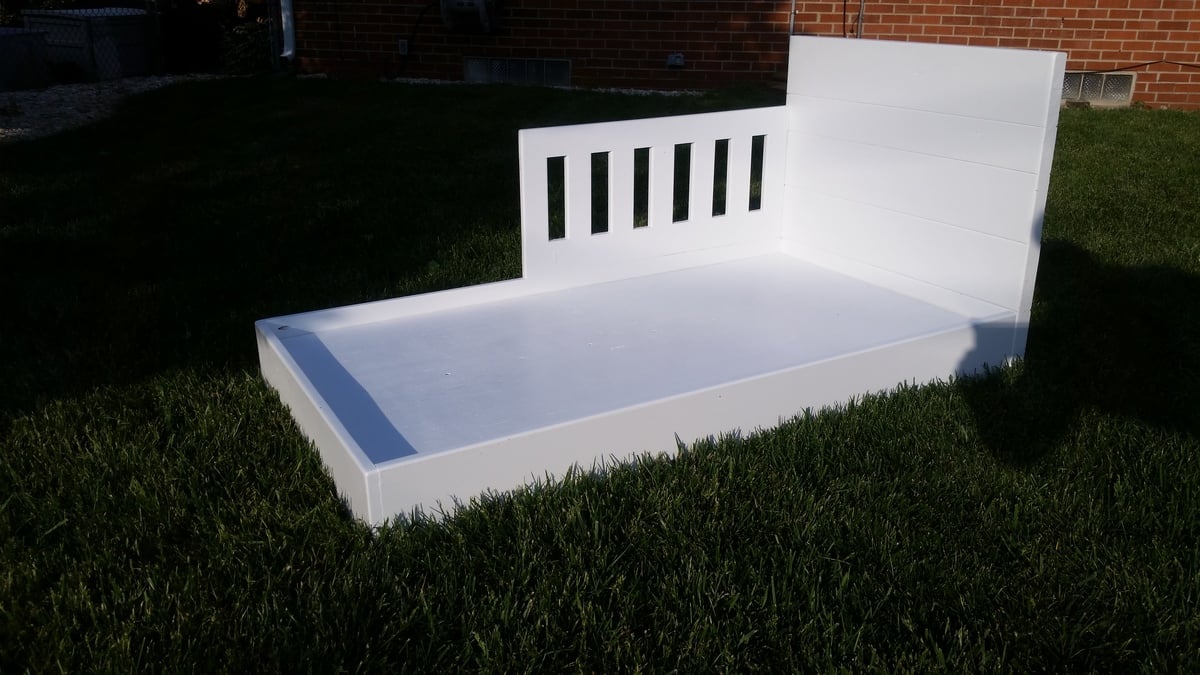
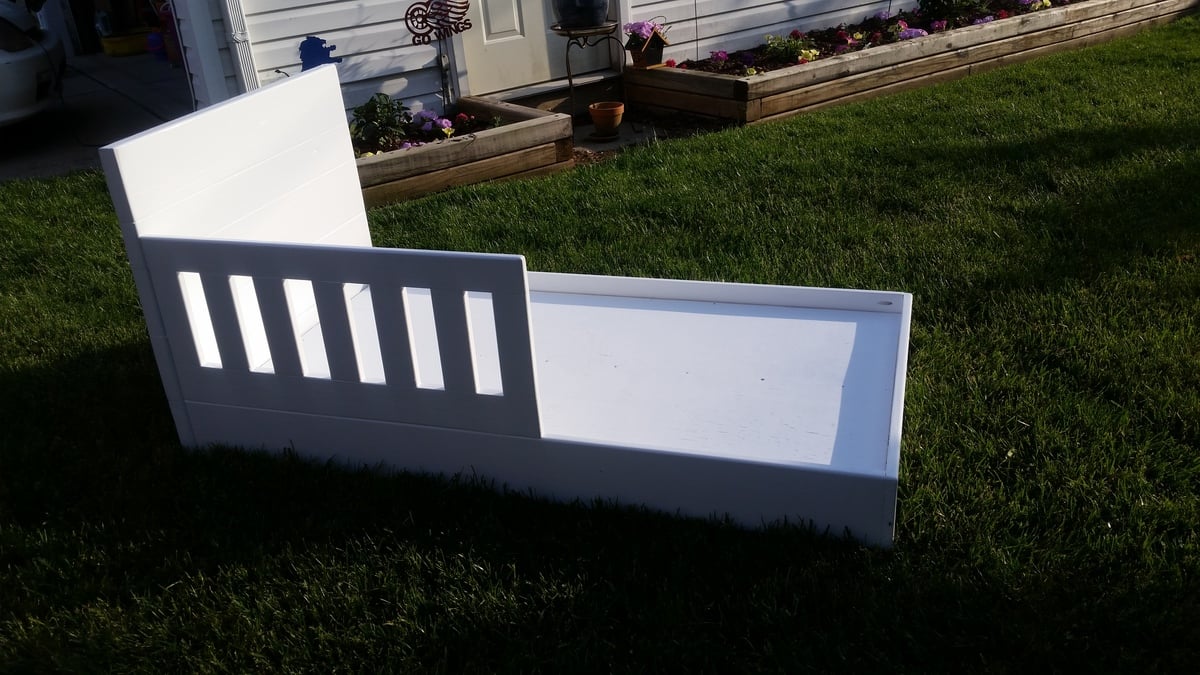
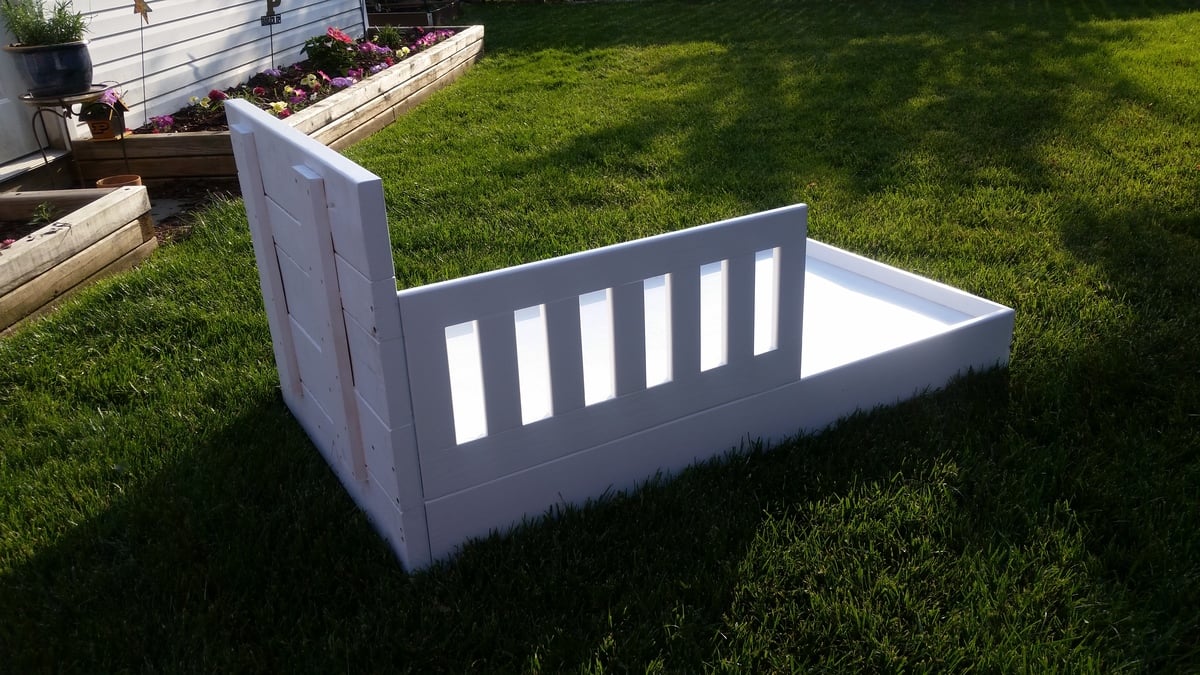
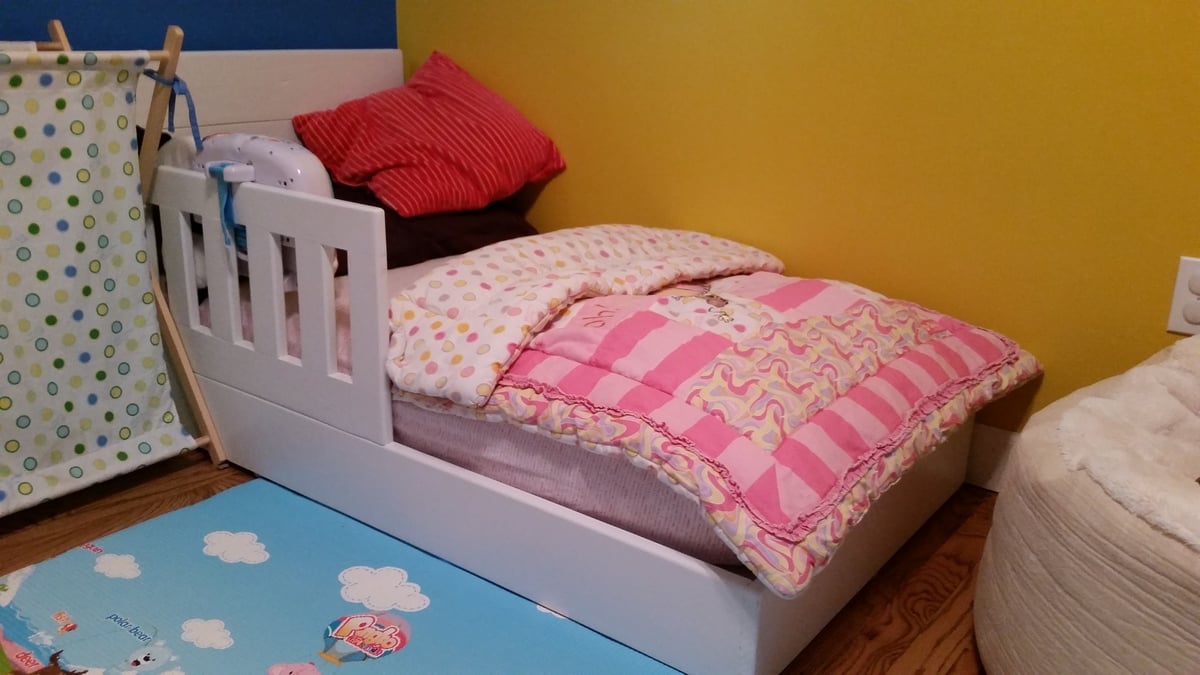
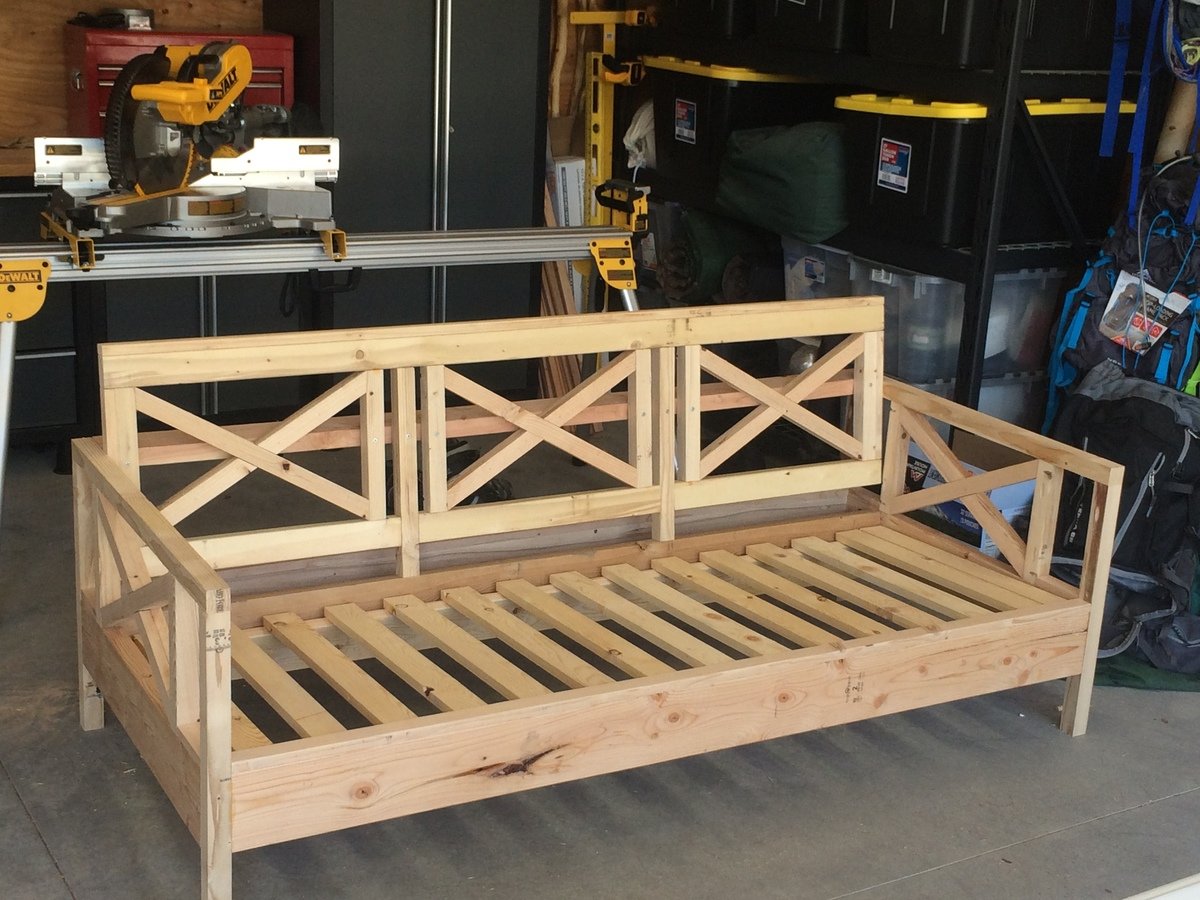
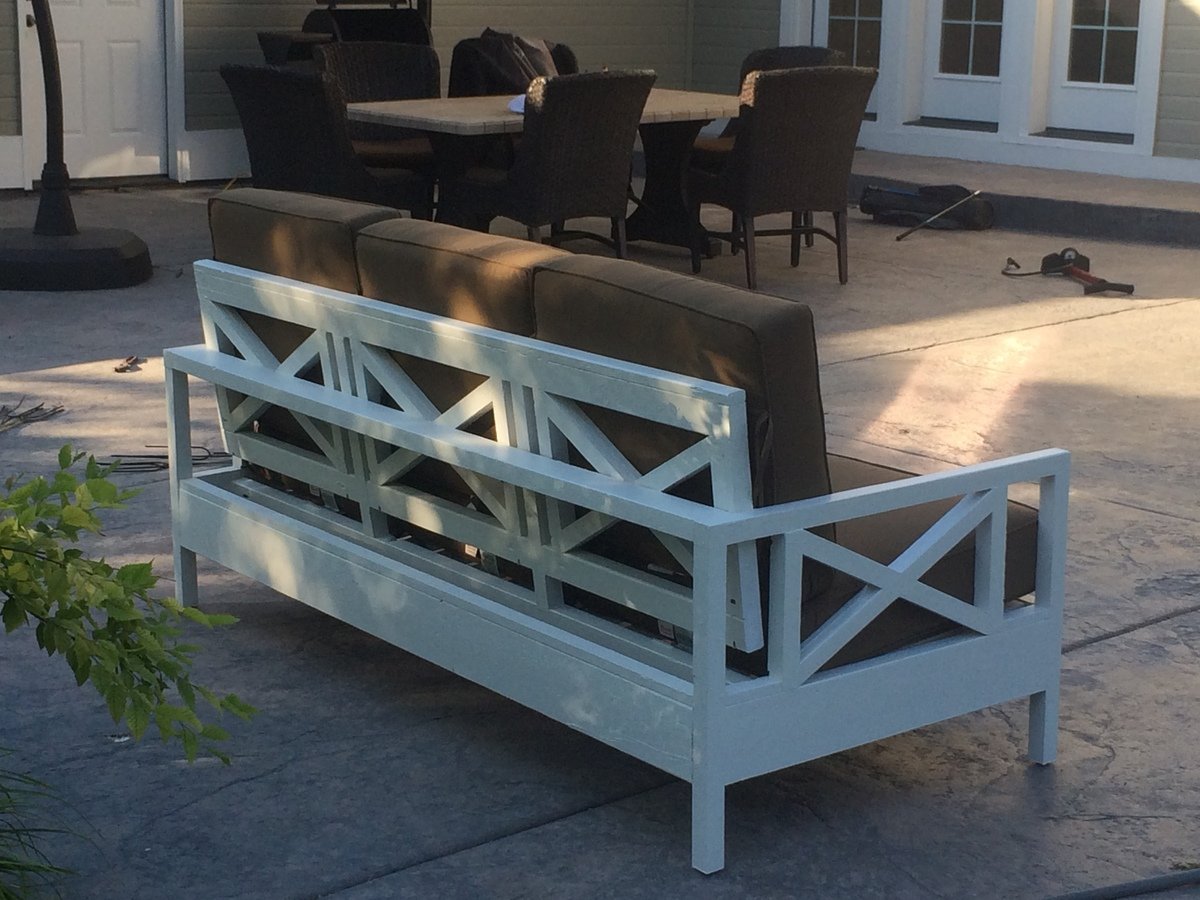
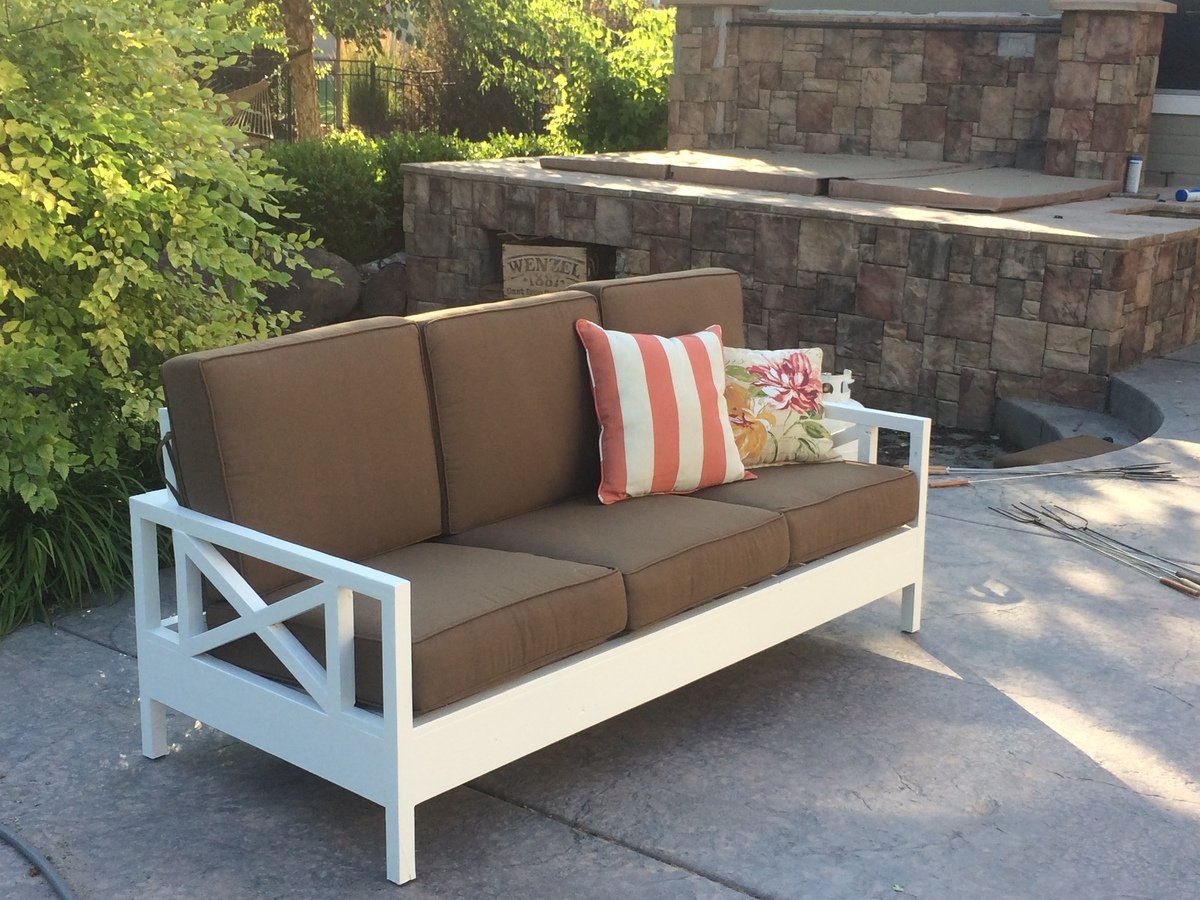
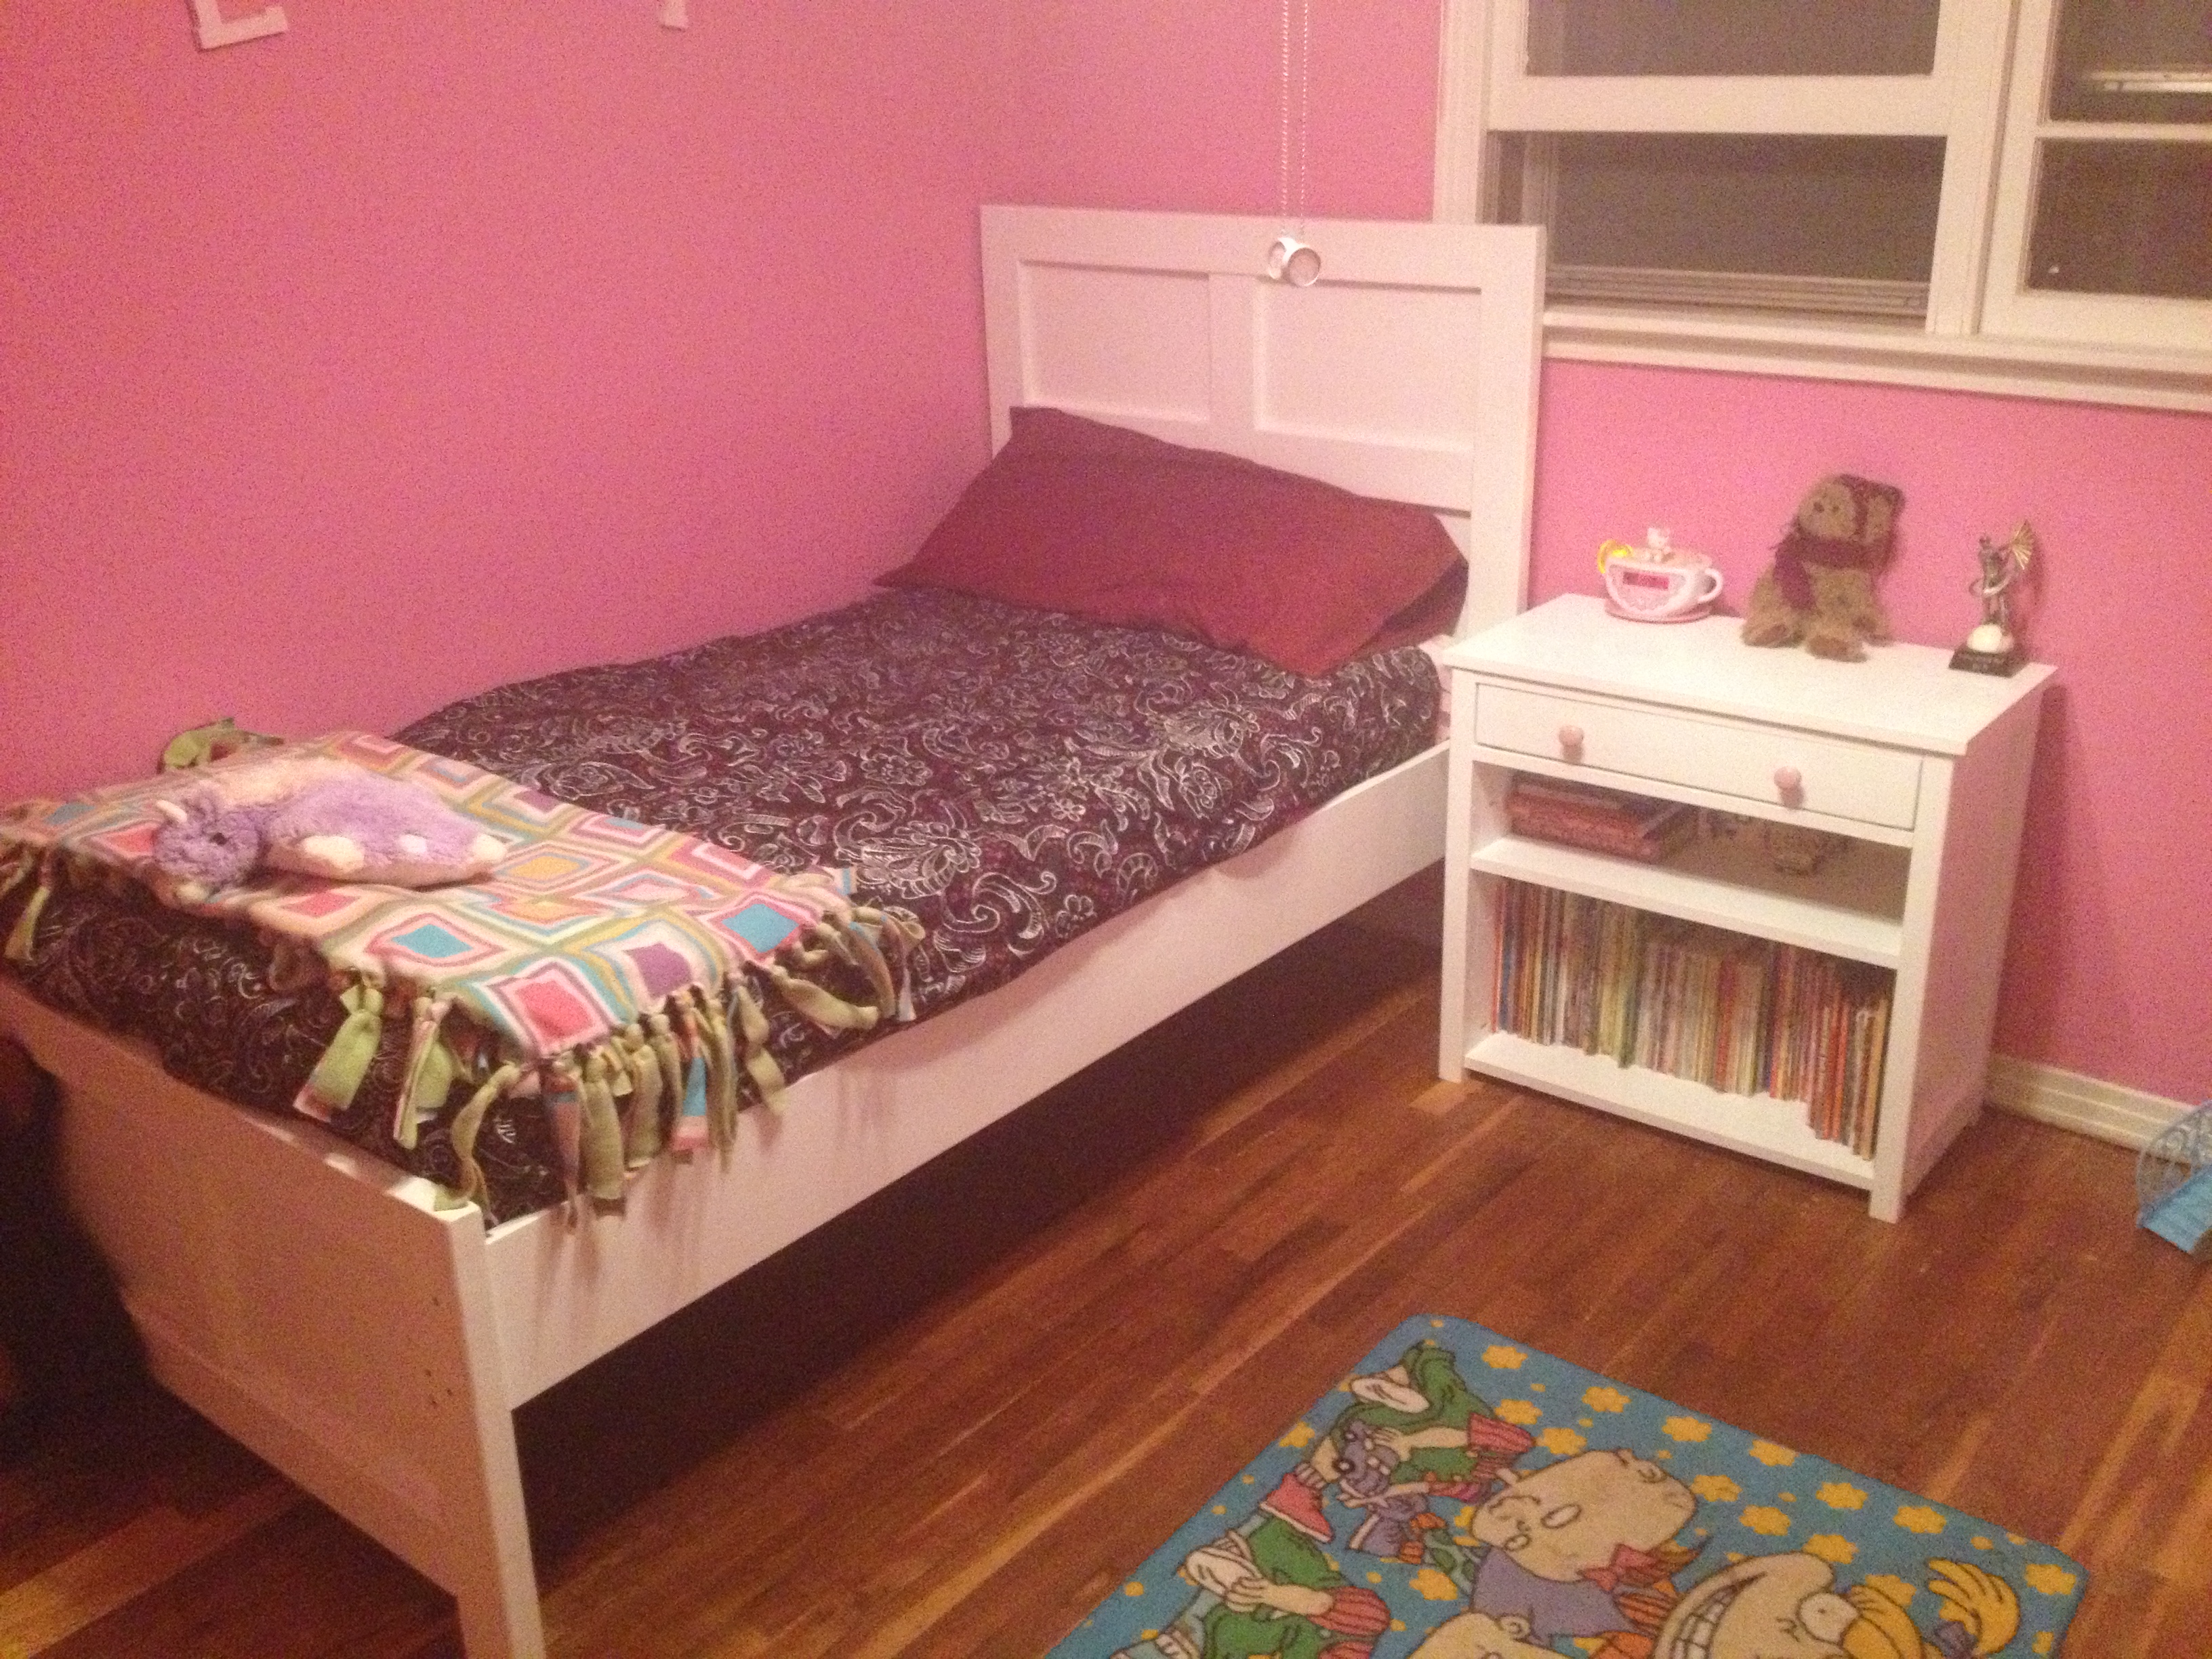
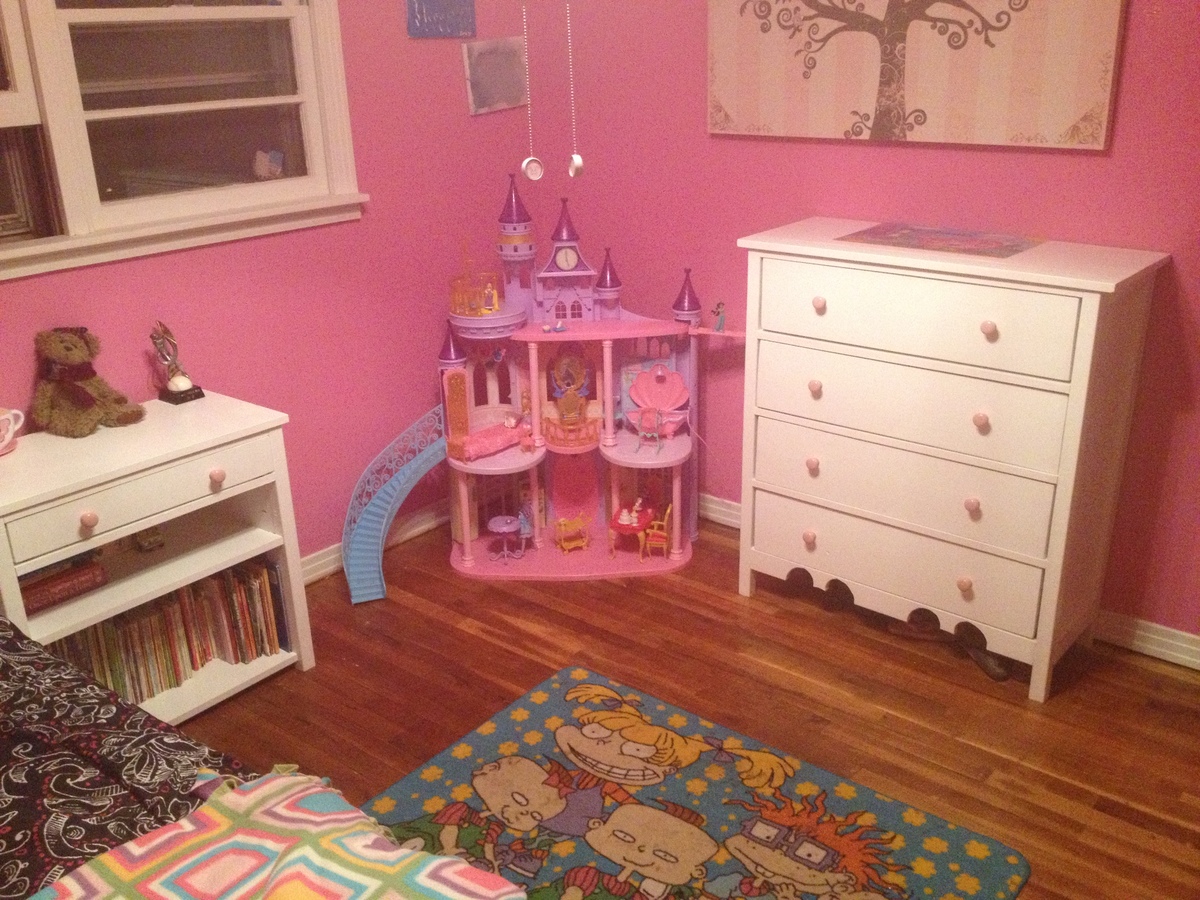
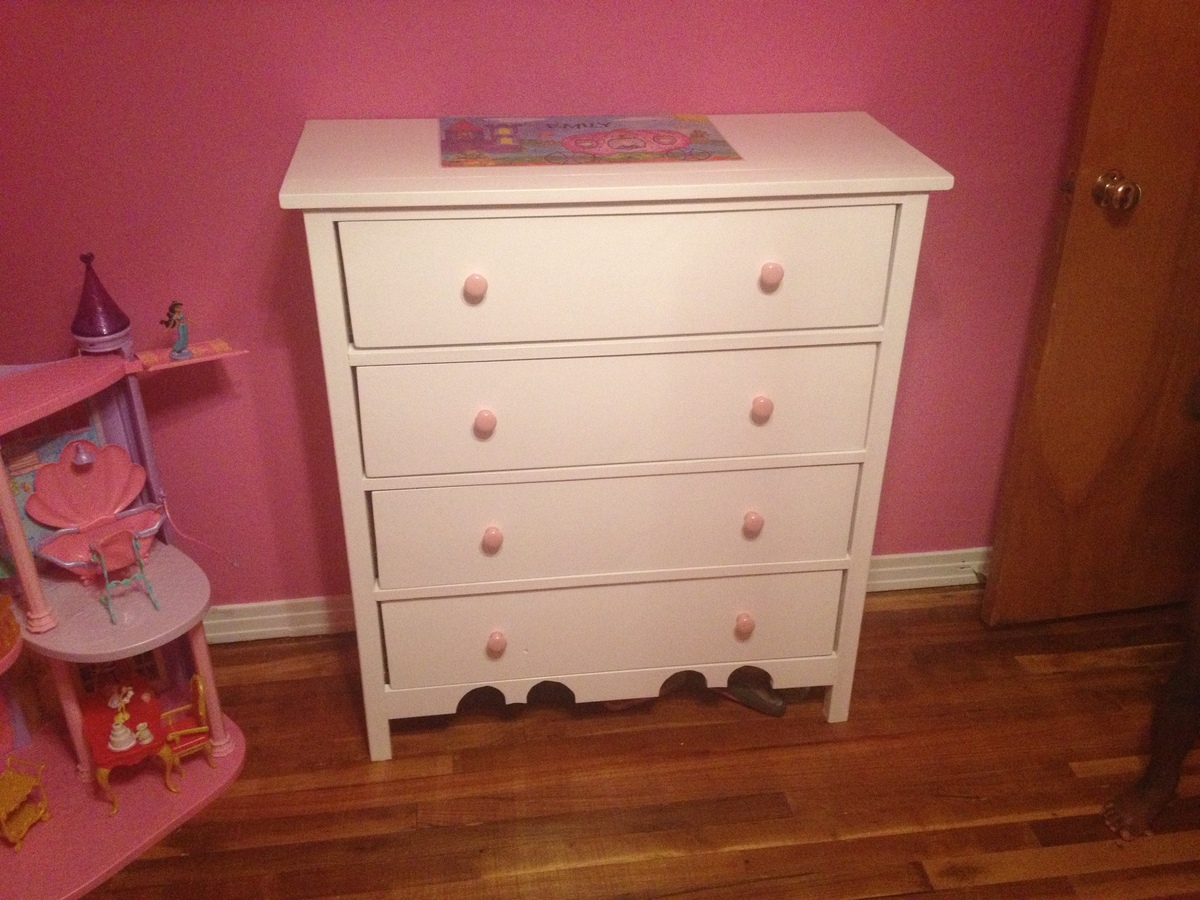
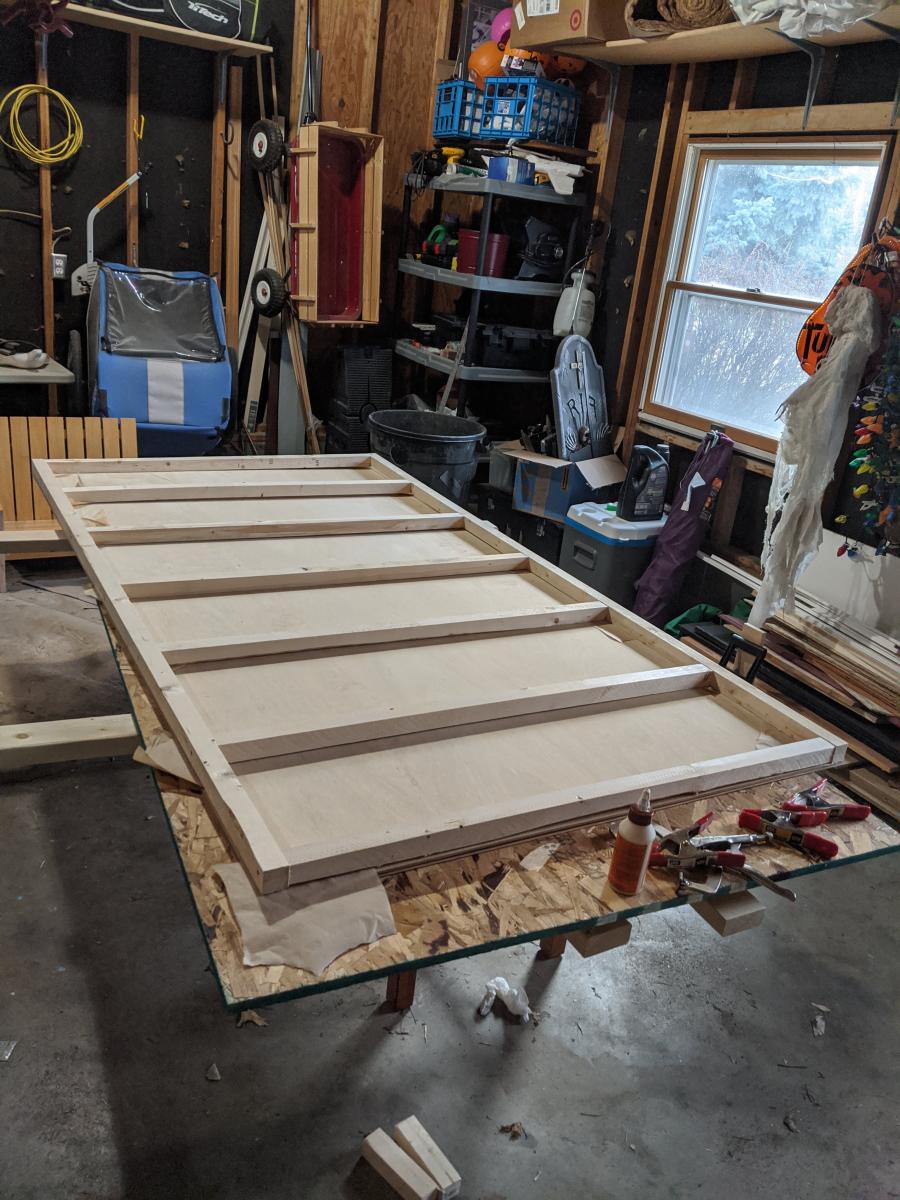
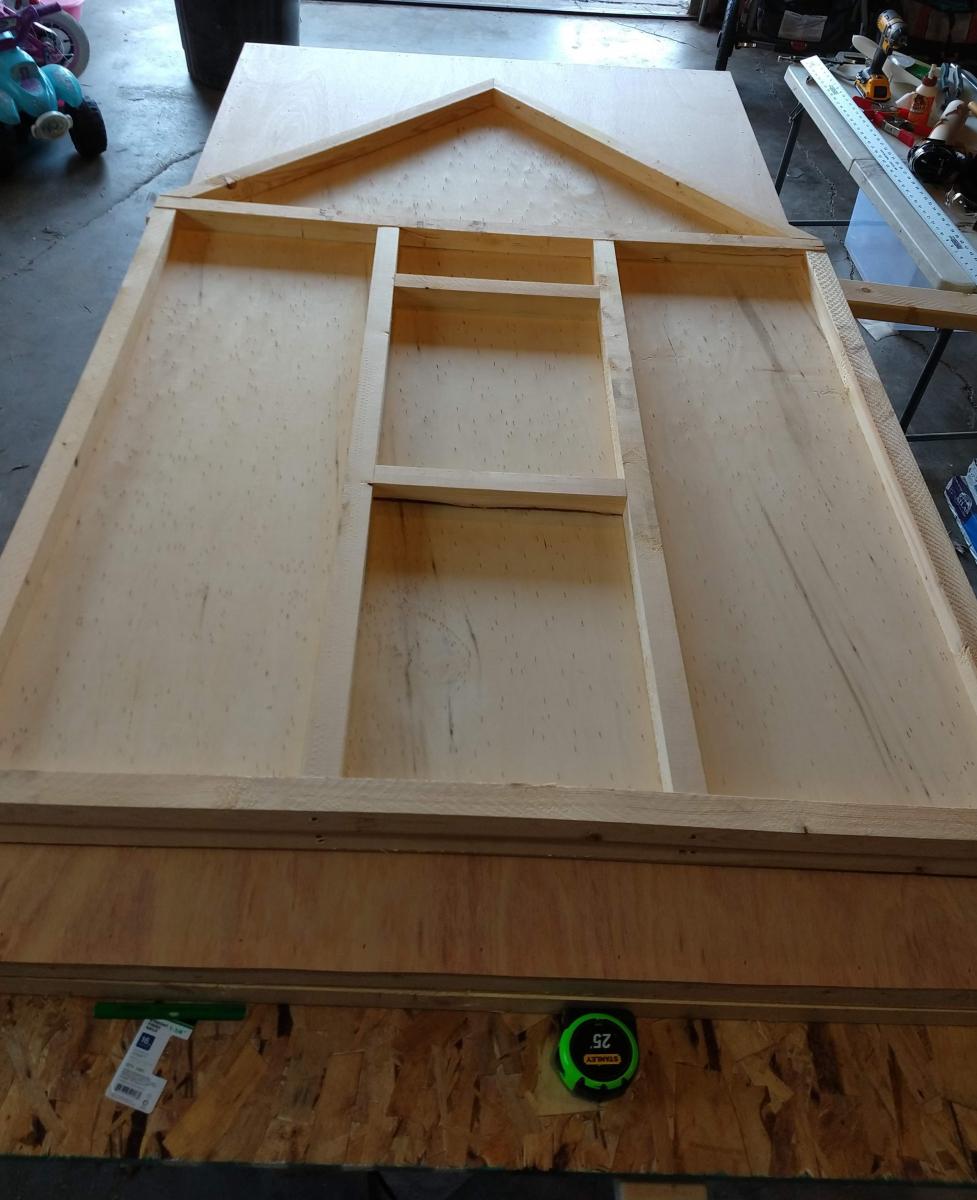
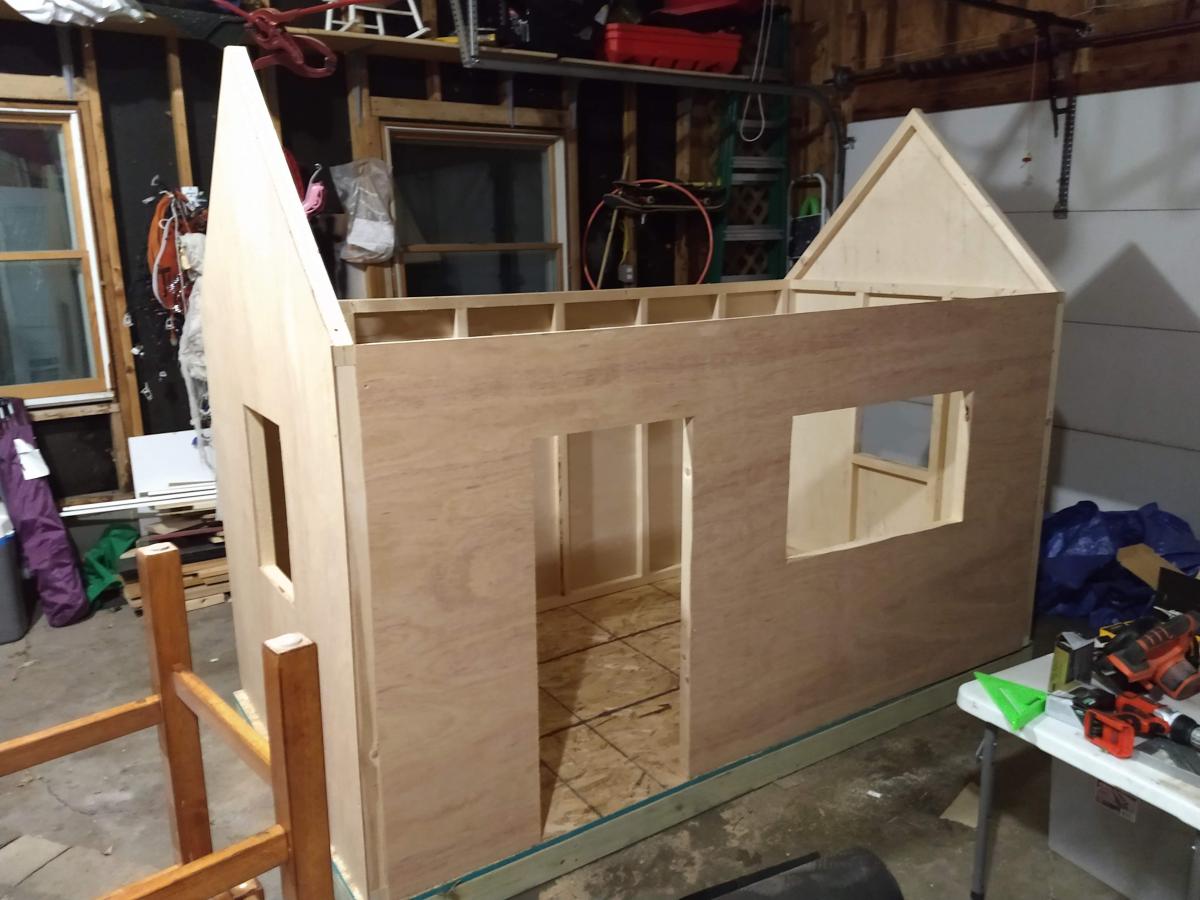
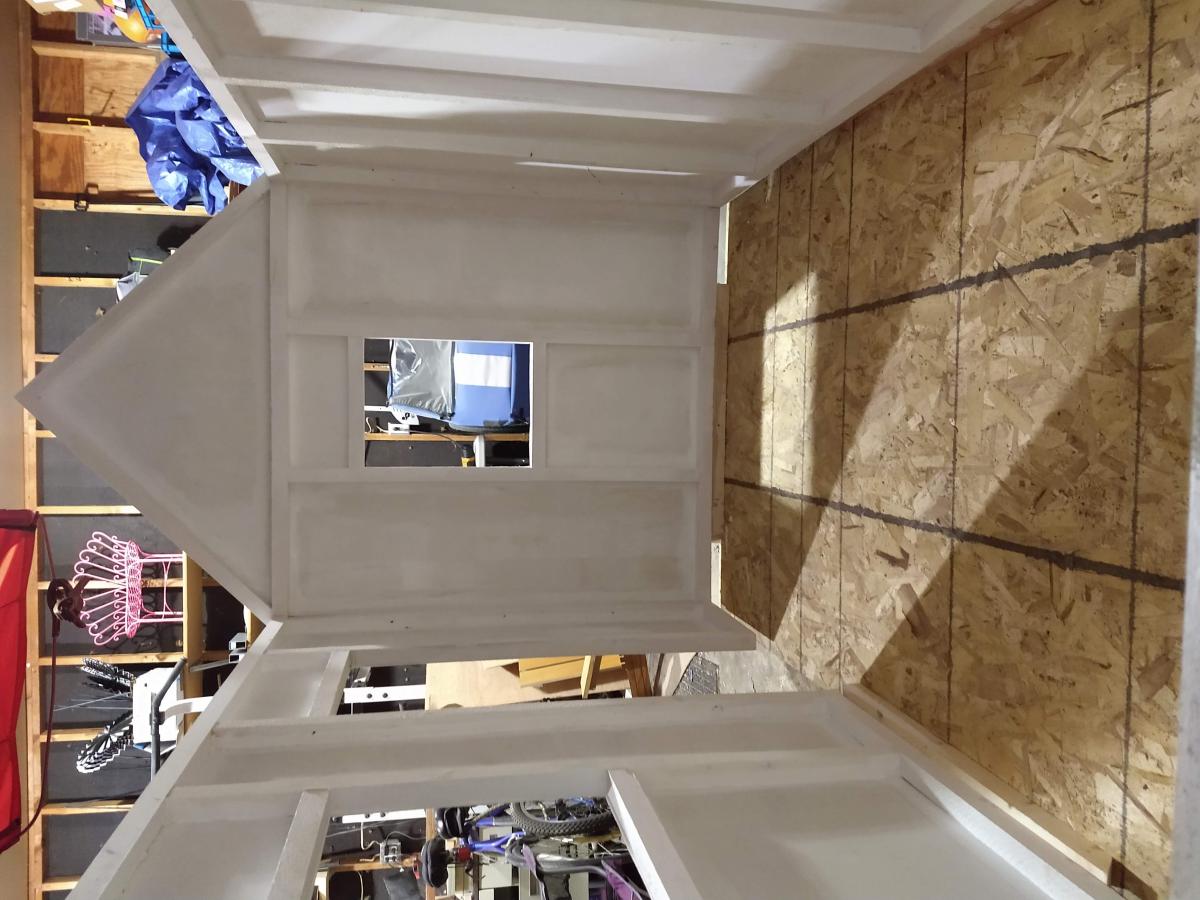
Entertainment Console with Barn Doors
This was an easy project. It turned out great. I made my own hardware from using the video on Shanty 2 Chic website. That's for posting the plans.
Loved your plans for building a bed frame- easy to follow.
This was my very first project I tackled from Ana's site. I wanted to see if I could do it, so started with something easy. I think it turned out great and looks great in our flower bed in front of our house.
I built these side tables with a friend. We under estimated the time it would take by a long shot! We estimated that with the both of us it took 15+ hours to complete. We spent $120 on all the wood, paint and hardware for both. It was a lot of work and the most time consuming part was the finish (sanding, painting, sanding, painting, clear coat, sanding, clear coat, sanding, clear coat). In the end, it was worth it! They turned out so cute!
Tue, 05/14/2013 - 08:31
The Ebony finish really sets these tables off. Great job! This plan will go on my to do list≥
Queen sized storage bed in width for a full sized mattress. I wanted this against the wall, so i put both sets of drawers on one side and hinged the footboard for access underneath.
Fri, 04/03/2015 - 11:17
This looks fantastic, love the hinged foot board, thanks for sharing!
Wed, 07/13/2016 - 08:13
Do you have plans for this design upgrade?
Thu, 04/08/2021 - 08:26
I just finished building the same bed and designed it with a second set of drawers above... I WISH I HAD SEEN THIS FIRST!! What an ingenious design with the step built in. I made a step stool for my daughter to get into the bed, but this was really a fantastic idea. Well done!
We needed a large dining room table for our space and couldn't find one we liked that didn't cost a fortune. We adjusted the plans to make the table 9 feet long. Also, around the edge of the table we added a 1.5 inch frame.
We were in the need of a set of tables for our living room
Thanks to Ana, I was able to make two coffee tables, a center table and a console table as well
This is a variation of the cabin collection nightstand, I have a wall that needed a catch all, so we throw keys on top of it and junk in the drawers!
X- console
Sat, 05/18/2013 - 05:23
My first Ana White build. After this one,mi was hooked. I built the matching coffee and end tables too! I'll post those pics soon.
4x4 Truss beam dinner table with matching benches. Benches are modified to fit under table to save on space when not needed. This table is large and in charge and demanded a large space to fit in. Luckily my friend had plently of space in his home to fit this table!
We've been wanting to tackle some outdoor furniture for a while and finally took advantage of a coupon to get a bunch of outdoor cushions. With a big mound of cushions taking up space, we had to force ourselves to get to it. We spent more time talking about cushion and stain colors then it actually took to cut and screw it together. This is a great solid project to start with. Don't be intimidated by it. We can't wait to start on some chairs to go with it.
This is my first bathroom cabinet. I'm a beginner in this carpentry thing. And using the plans to create the Cabinet I was able to do it
This project is a modified version of Ana's loft bed. We shortened it and made it a bit more narrow to fit our space and because we only needed a place for our eight year old daughter to read and work, not a place to sleep. We also added a desk to the bottom, making it a full-service work station for our elementary school girl!
I made 3 crates using Ana Whites Chalkboard Produce Crate plan. It was my first woodworking project, was totally doable, and has created a monster. The middle crate in the photos was the first one, and I added extra 1x3s on the sides because I thought I didn't want the gaps between the side boards. Changed my mind for the second 2. I wanted a chippy finish so I stained with glaze and burnt umber by Golden, followed by a topcoat of dry brushed Titan Buff. I sealed with CeCe Caldwell Aging Wax.
Thu, 08/29/2013 - 18:29
These are beautiful. :) You did a fantastic job!
My best friend and I built these Easter weekend with very little husband intervention. I then painted and finished them and installed them with my husbands help. The main modification we made was to figure out the angle to cut the posts in order to adjust for the slope of my laundry room, which is a converted porch on a 1912 craftsman. It was not easy, but we jumped for joy when we tested it out and it was level! We decided to use plywood scraps on the side and back for more support and to keep laundry from falling behind the washer. I had the chair raiI trim from another project, so I used that along with a healthy dose of wood filler. I absolutely LOVE how it turned out...now I just need to find cuter baskets.
I love this site! This is my second build. I started this project one weekend and came back to it to finish. Unfortunately, two of the boards bowed by the time I got back to it the next weekend; so, I added imperfections of mine own and give it a rustic look!
Easy, fast and affordable garage shelving!
This was my first project with drawers, and I learned through sad experience how important it is to have ULTRA straight boards to begin with! I am grateful for things like itty-bitty washers to help correct things that aren't quite straight enough. More info on my blog!
Mon, 10/21/2013 - 10:47
I had to use Full Extension slides instead of regular euros because of the seam for the drawer bottom being right in the middle of the mounting holes. Now my drawers are not quite mounting the correct way. I have learned a lot of painful lessons on this one. Man.
I added a cabinet door and put some extra trim on to fancy it up a bit. I also used my router and an ogee bit on the top. The top and plywood sides are aspen and the rest is poplar. They were finished using General Finishes Georgian Cherry gel stain.
Built this for my wife from warehouse floors from the Mare Island Naval Station. 150 plus year old planks. Doug Fir. Hope it will become a family heirloom!
We made this out of walnut we milled a couple years ago. We didn’t stain just used Dixie Bell Gatorhide to seal it with. Not sure why the pictures turned sideways when they uploaded.