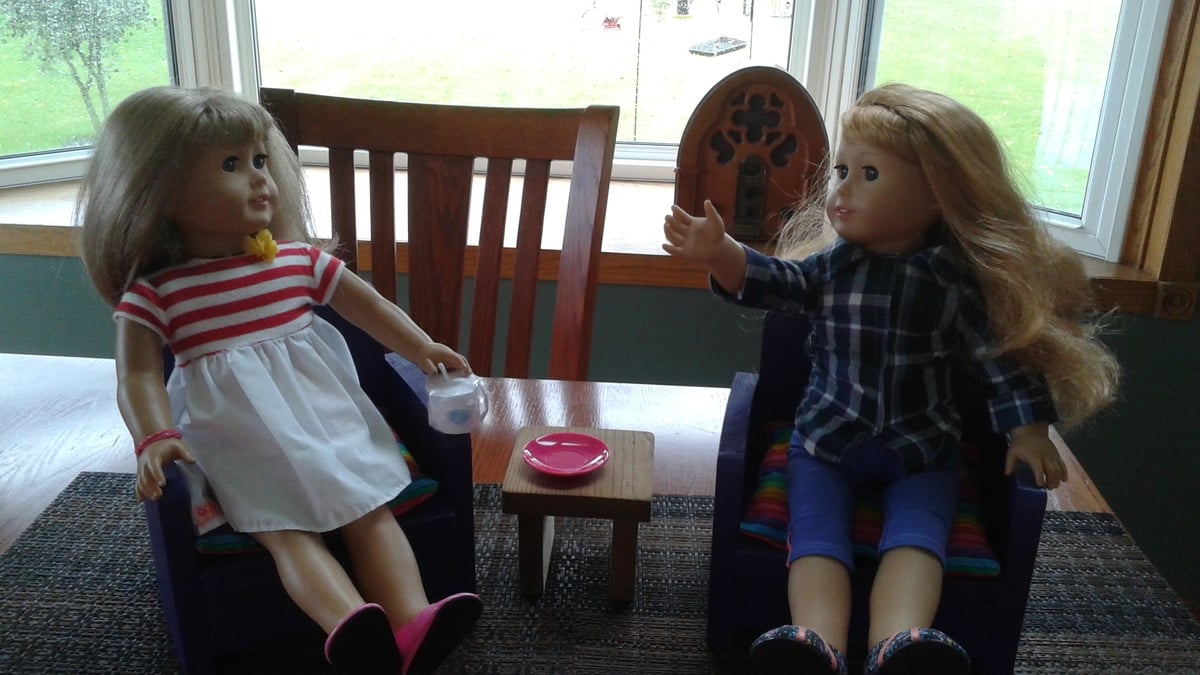
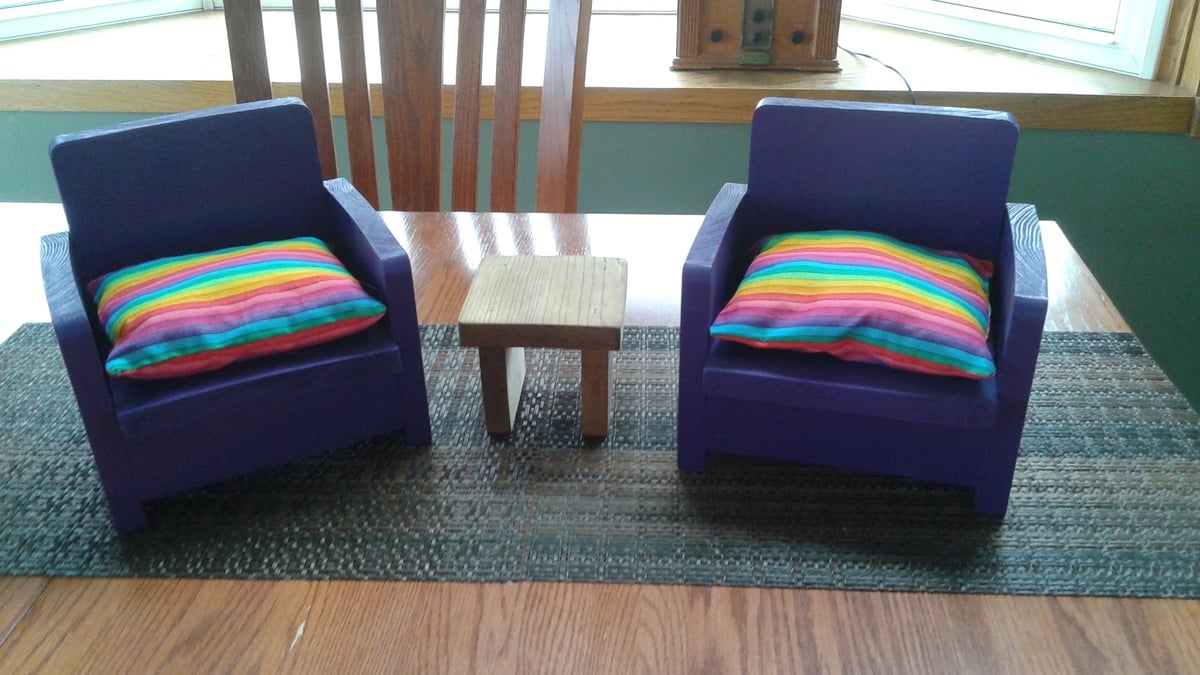
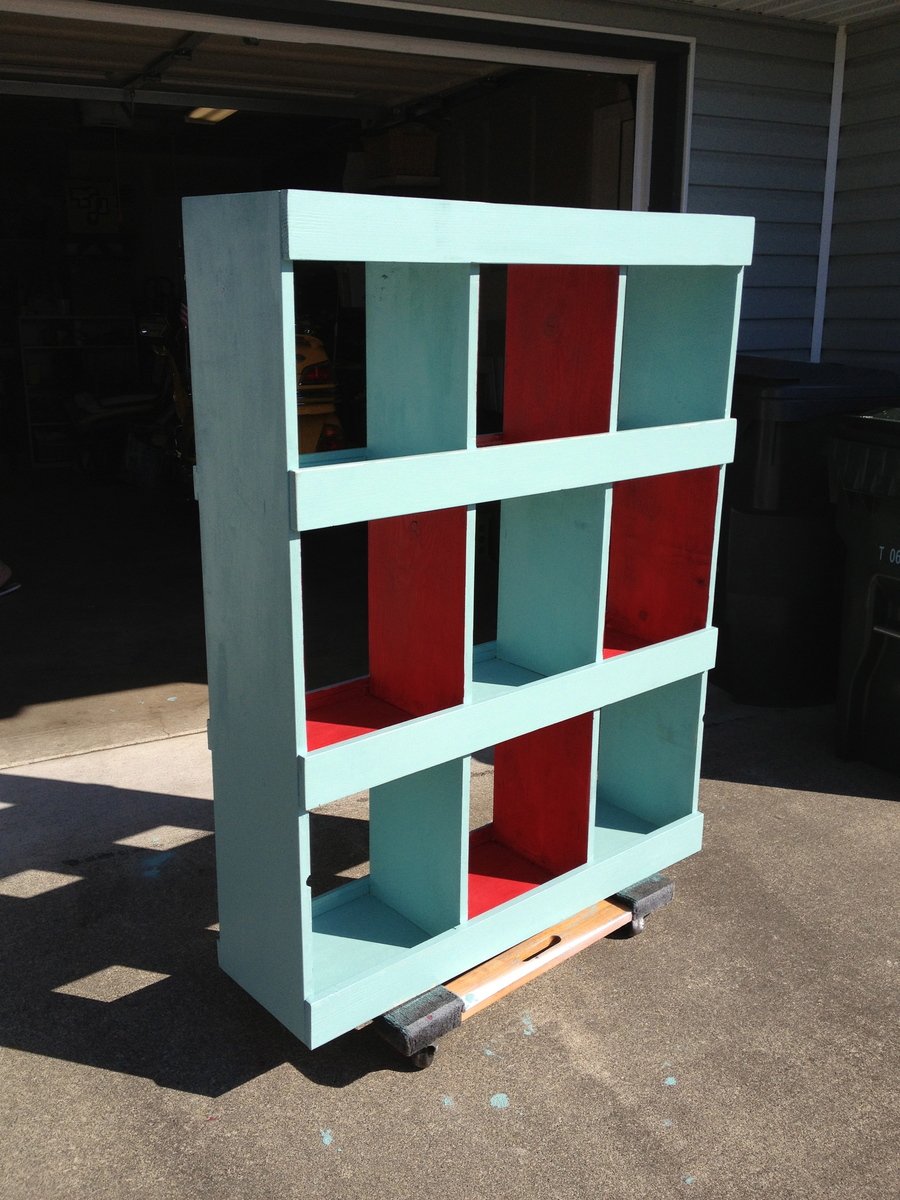
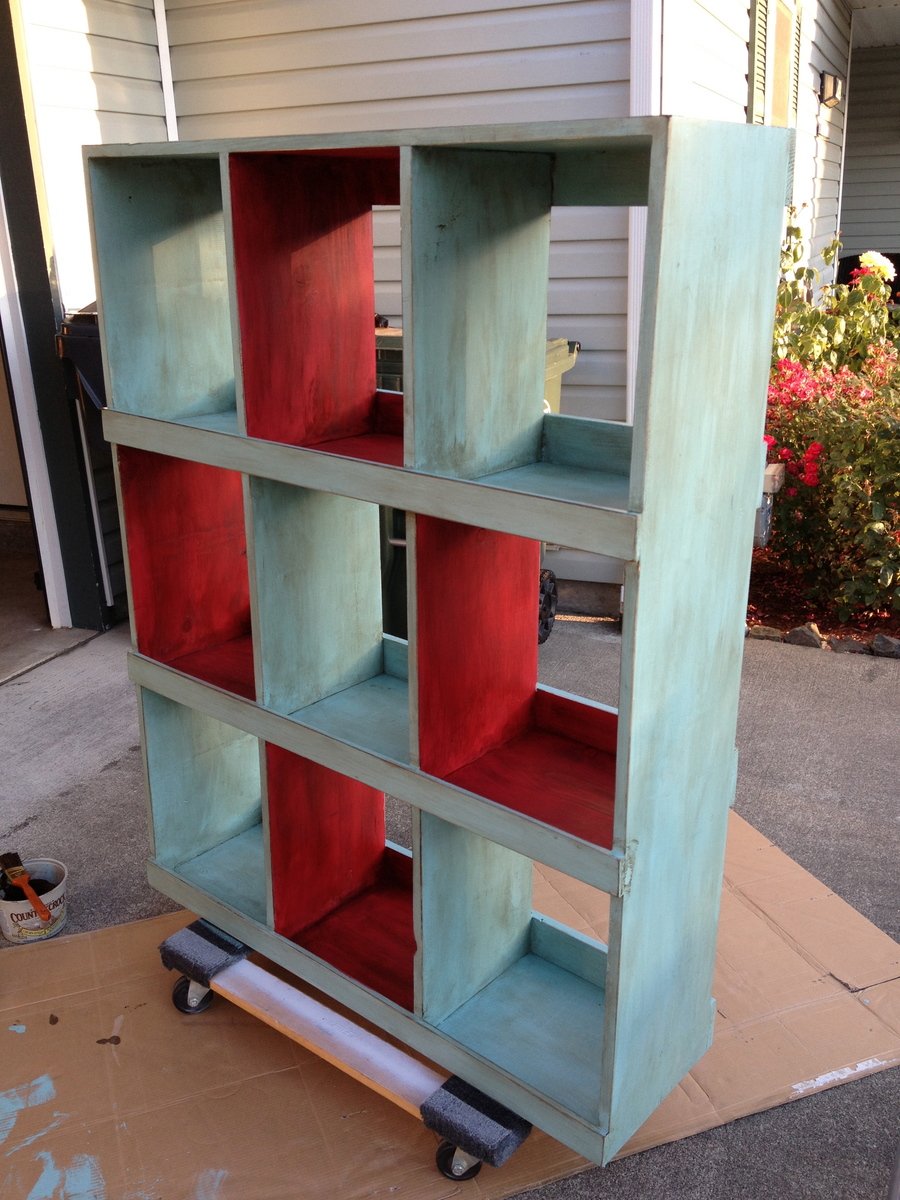
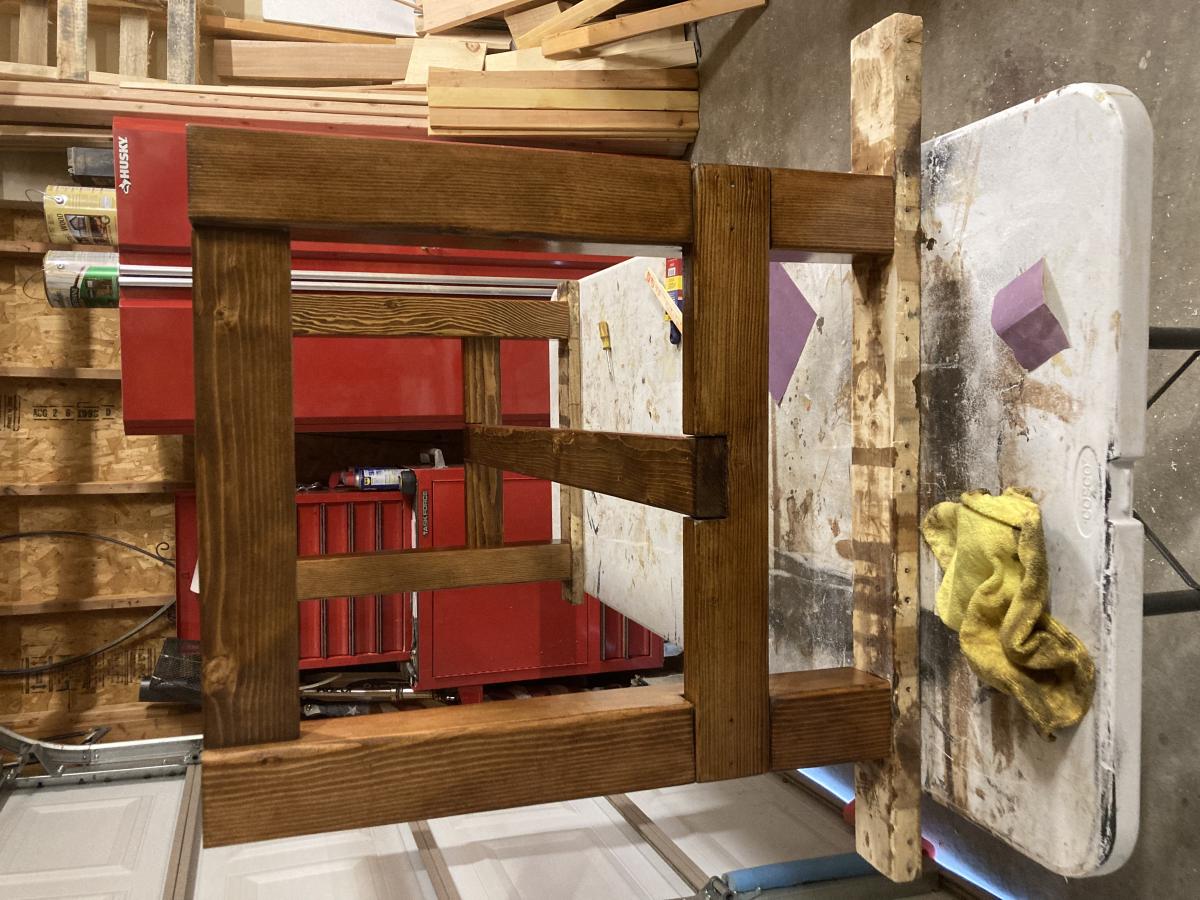
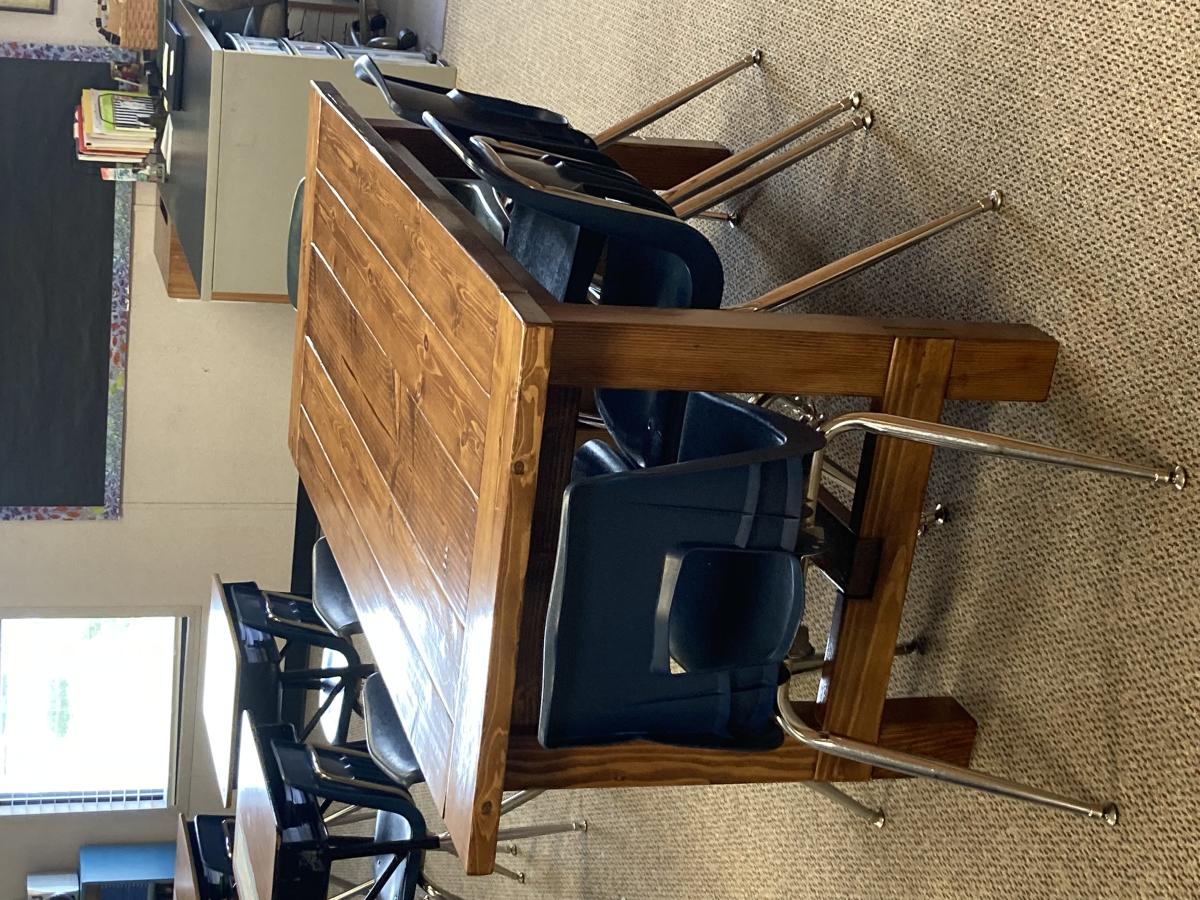
couch and two chairs

Used the plans for the 2x4 couch added an additional 2x4 across the back for a little more back support. Then made two chairs by modifying the couch plans to fit the cushion width
Estimated Cost
100.00
Estimated Time Investment
Weekend Project (10-20 Hours)
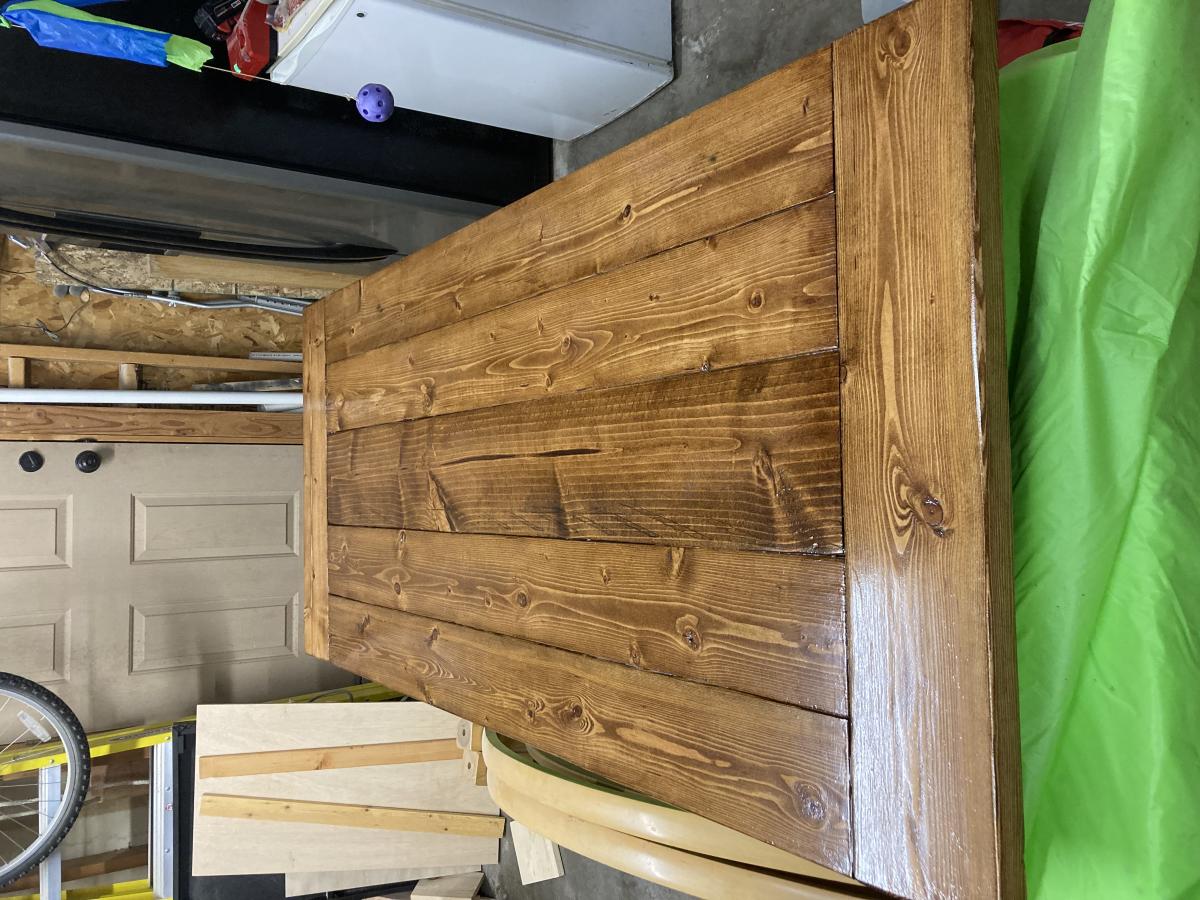
Finish Used
Rustoleum Kona stain
Recommended Skill Level
Beginner


Comments
Ana White Admin
Sat, 10/10/2015 - 10:29
Fabulous!
Looks like an amazing outdoor oasis!