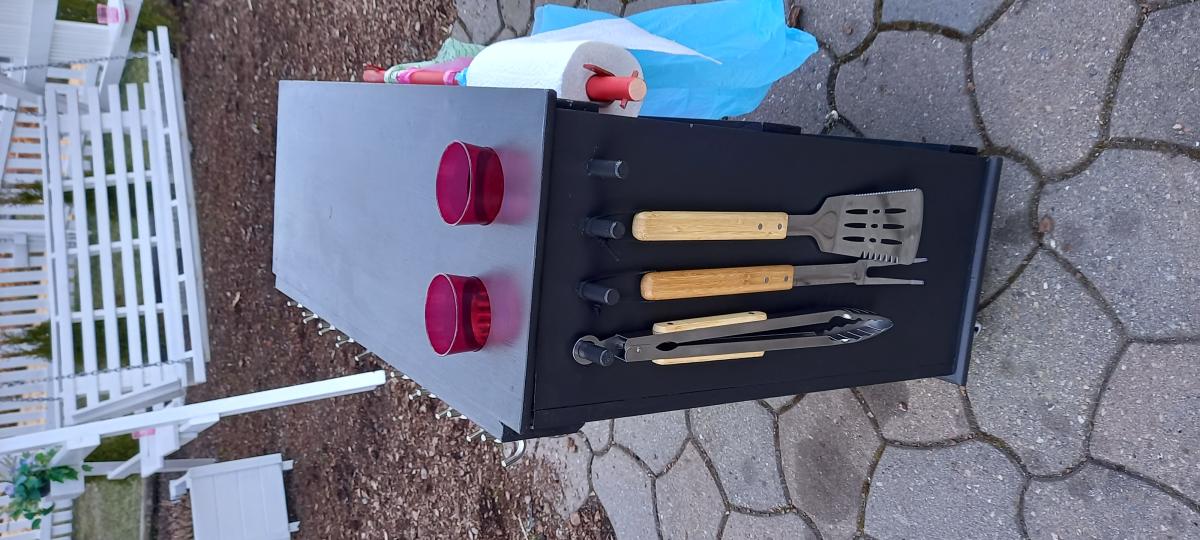
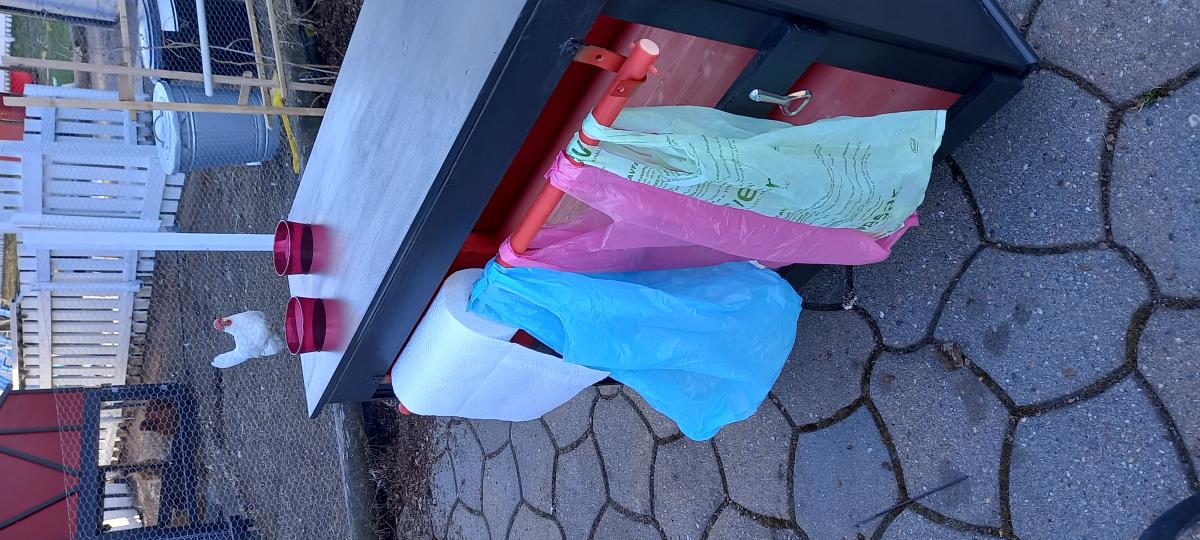
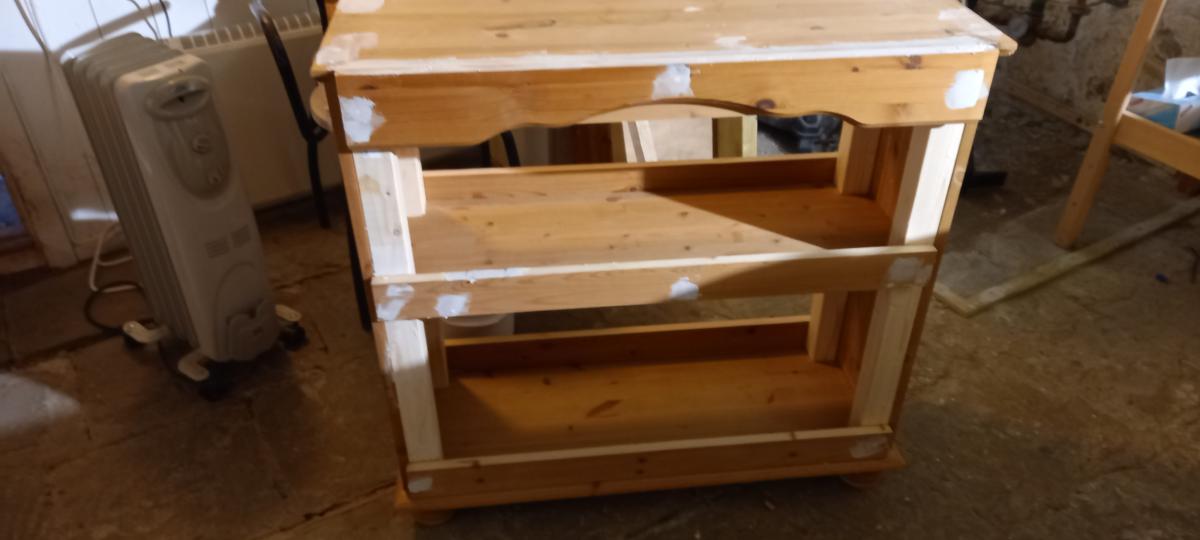
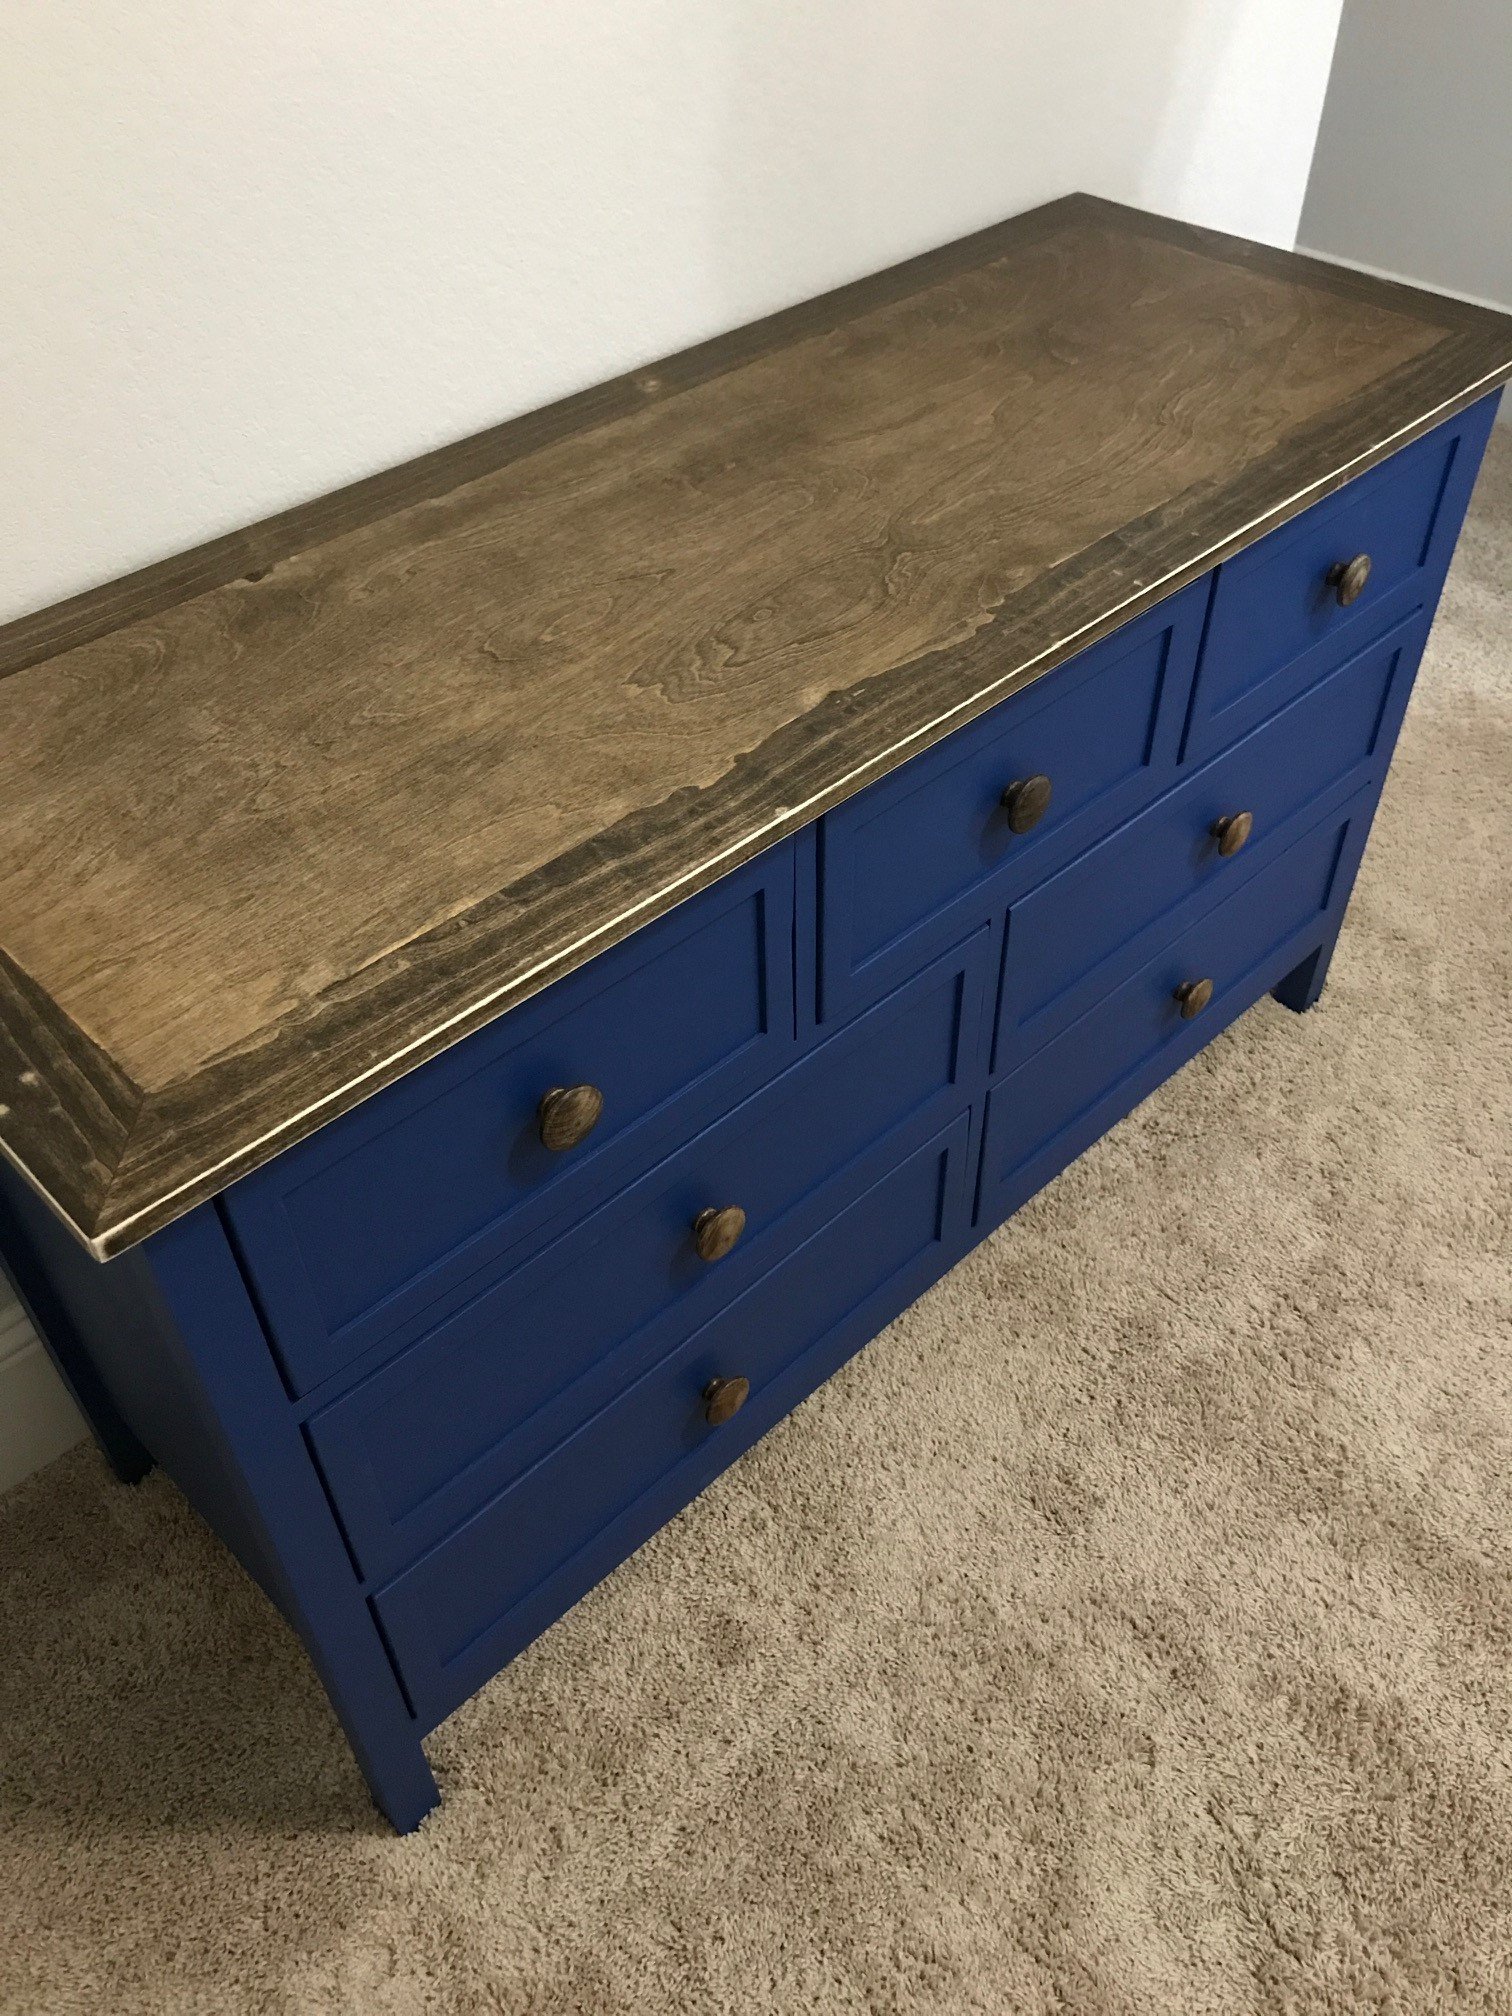
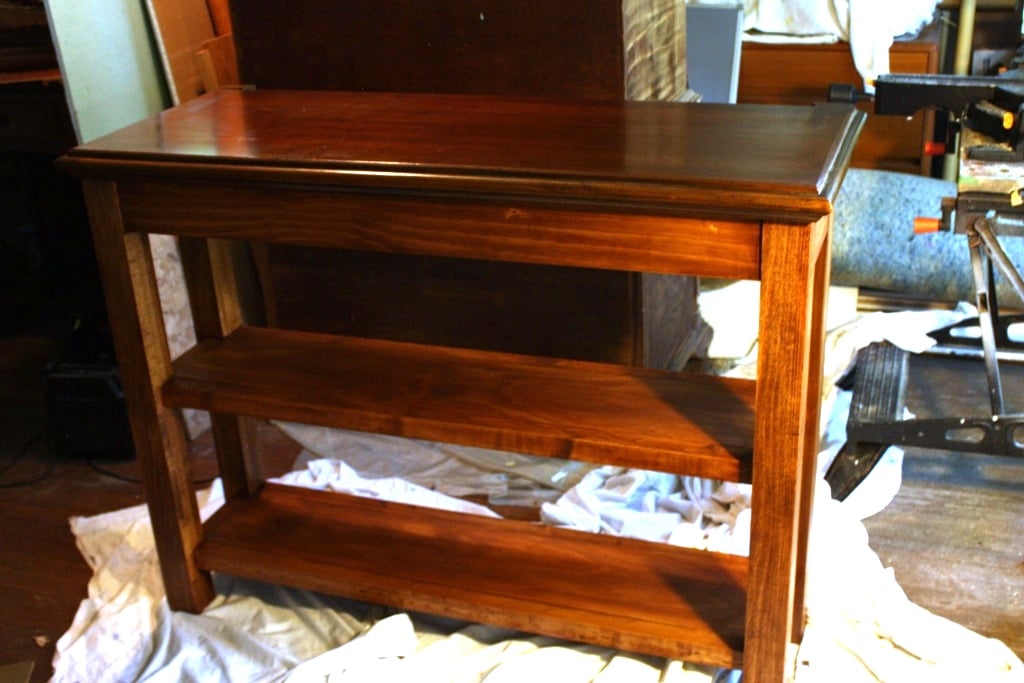
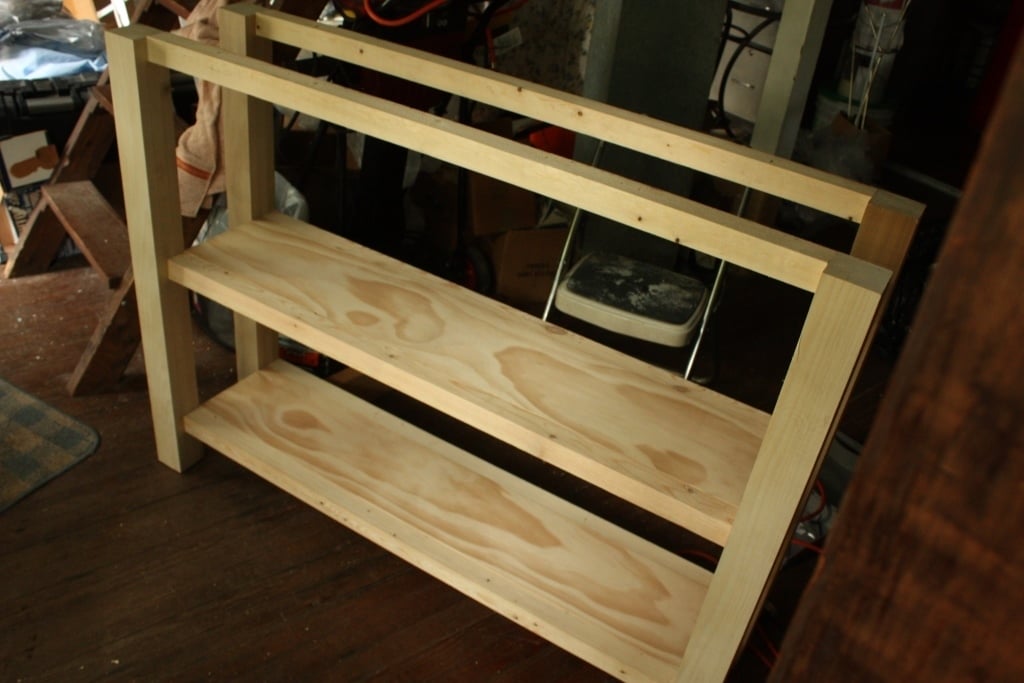
Outdoor BBQ-help table
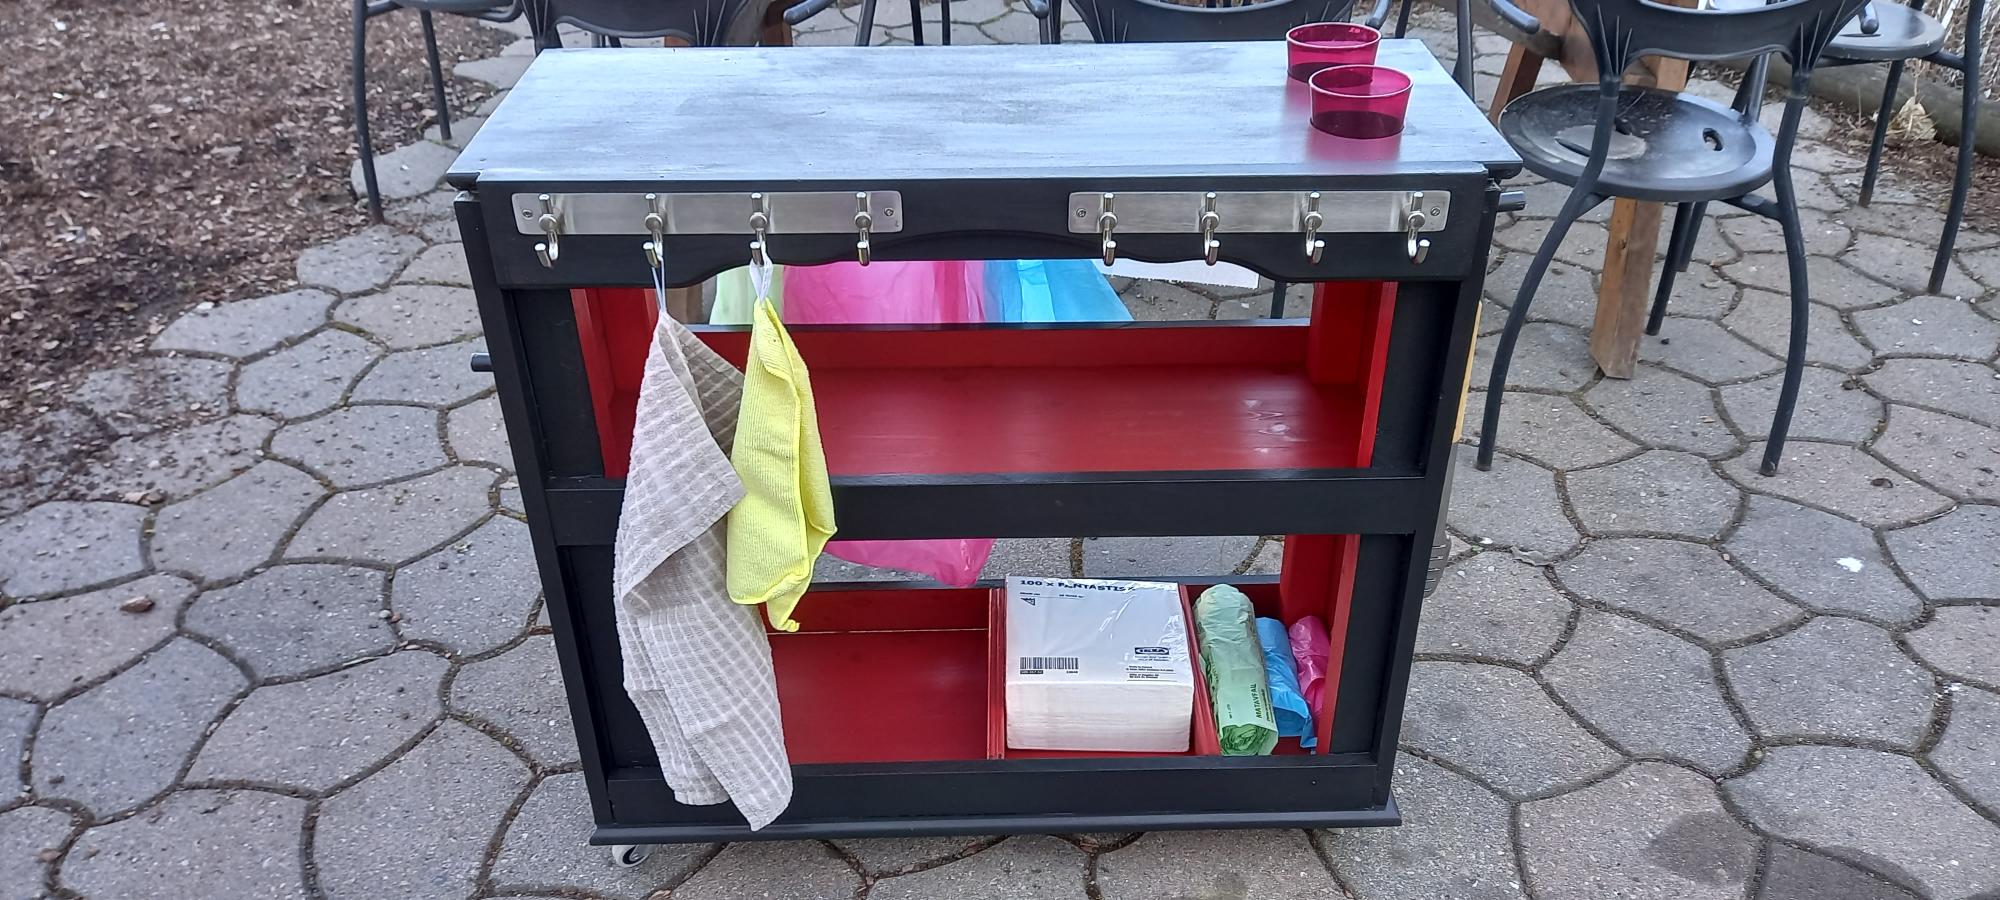
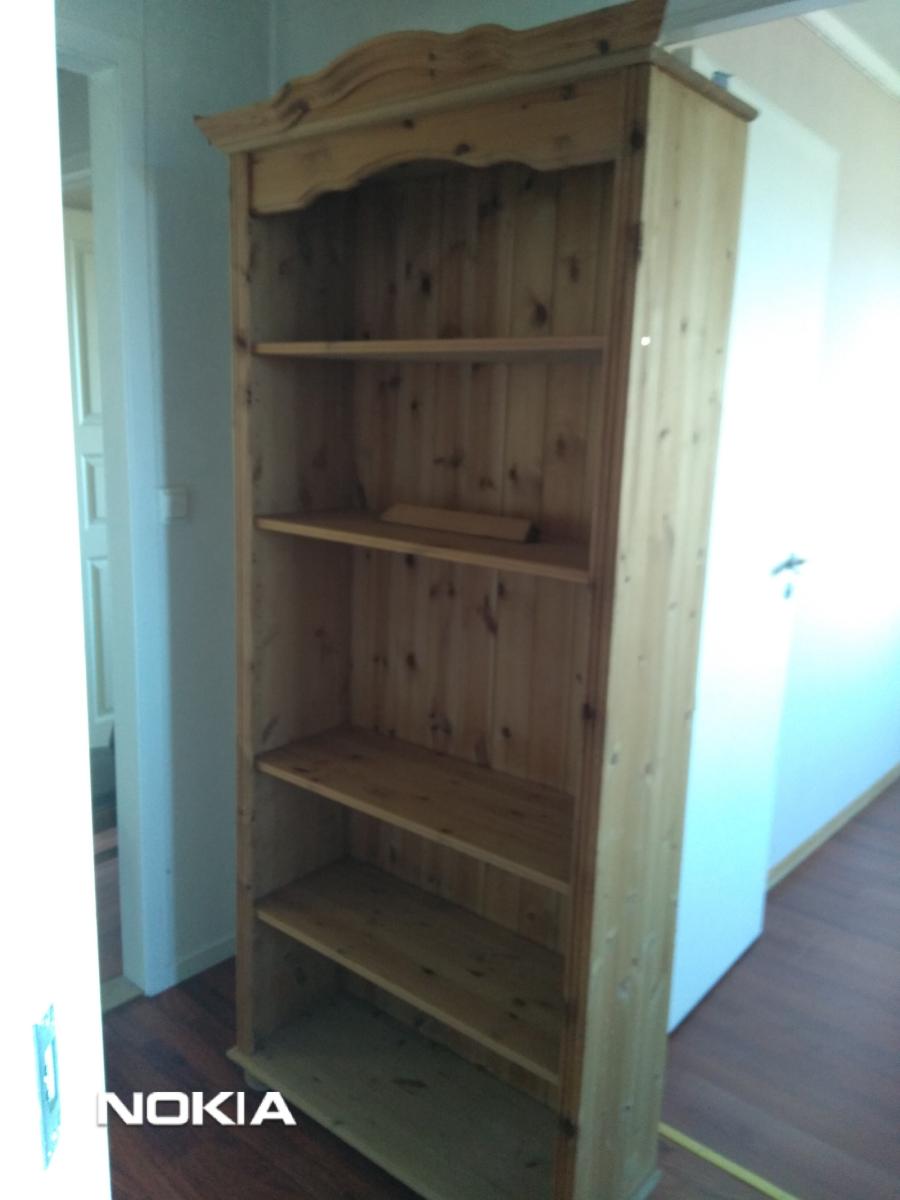
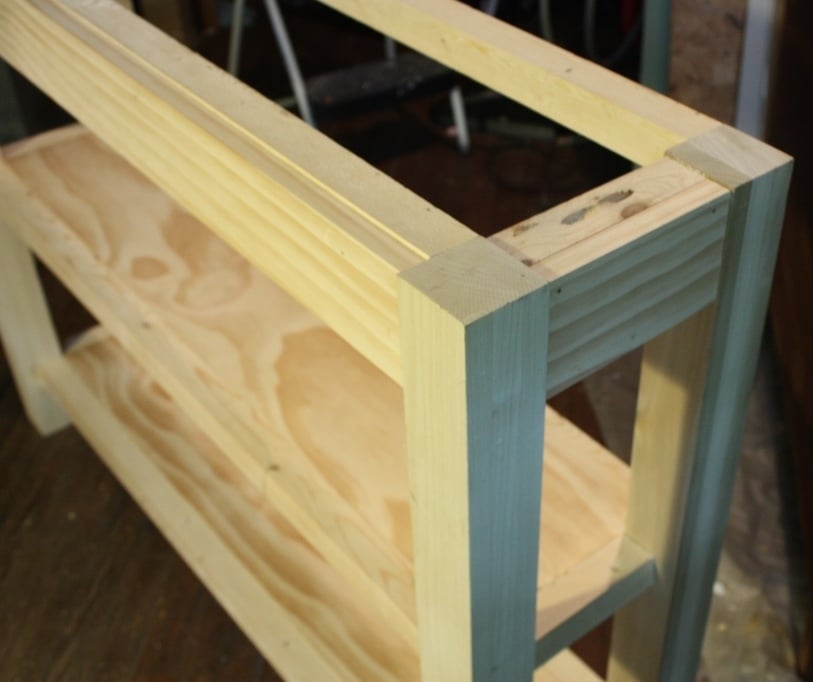
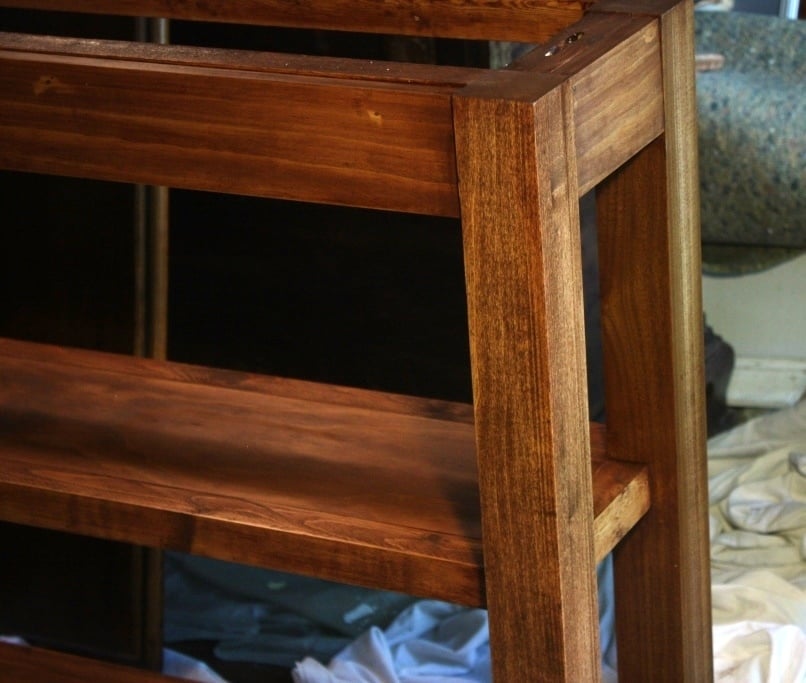
I love you and your site and have learned tons from it. Last week I picked up this old bookcase on a website for free. I then worked on it to turn it into a BBQ-help table. I'm very happy with it and hope the weather in Norway will soon be hot enough to get out in the garden and BBQ!
Love and best wishes,
Pauline


Comments
Ana White Admin
Thu, 04/21/2022 - 15:10
WOW, awesome repurpose project!
This looks great, we are so ready for summer too! Thank you for sharing.