The Flickr gallery for this project is at https://www.flickr.com/gp/akutz/48S29J/.
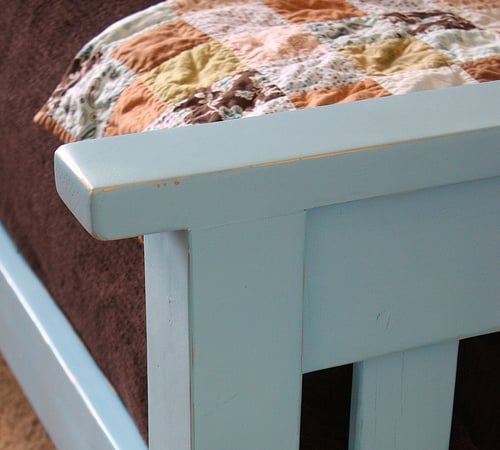
My daughter is three now, but she when she was only 15 months old she was able to climb out of her crib. Because her crib mattress was rather expensive (organic per the wife's wishes), I decided to build her a toddler bed around the dimensions of her mattress. And I think it turned out rather well.
Unfortunately I didn't write down any plans other than the basic measurements. For the routing work on the hearts I traced the outside of the bottom of a standard paint can. For the heart in the middle of the headboard I simply free-handed it.
Yes, one of the hearts on the side is chipped. It was the last route of the entire project, and when it ripped off I was ready to be done with this because I had spent a lot of time sanding. So much sanding. Can't have my little girl getting splinters! So I decided that her daddy would just be the "first boy to break her heart." :)
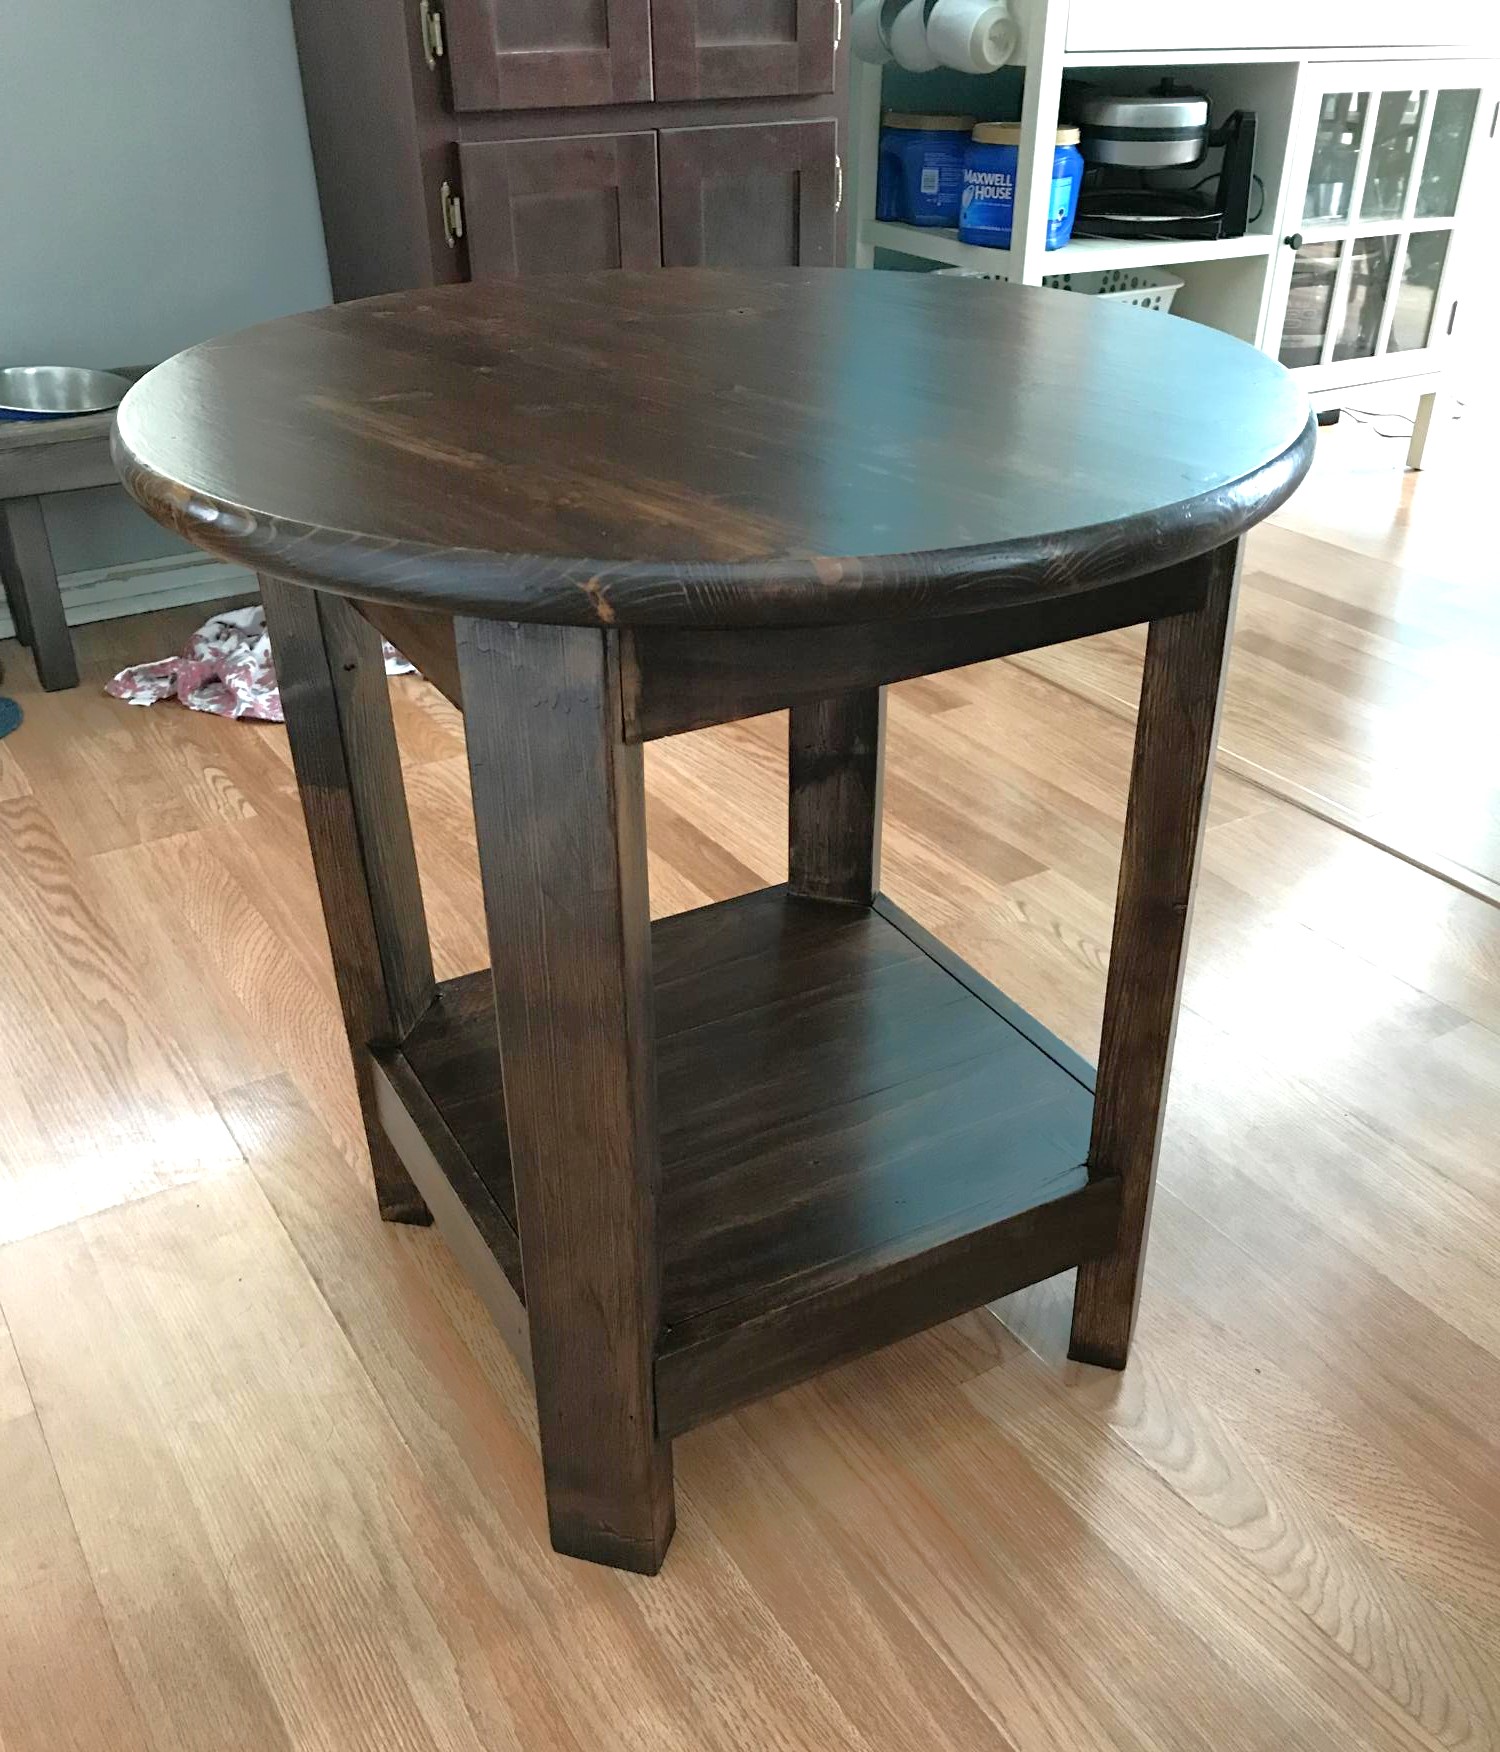
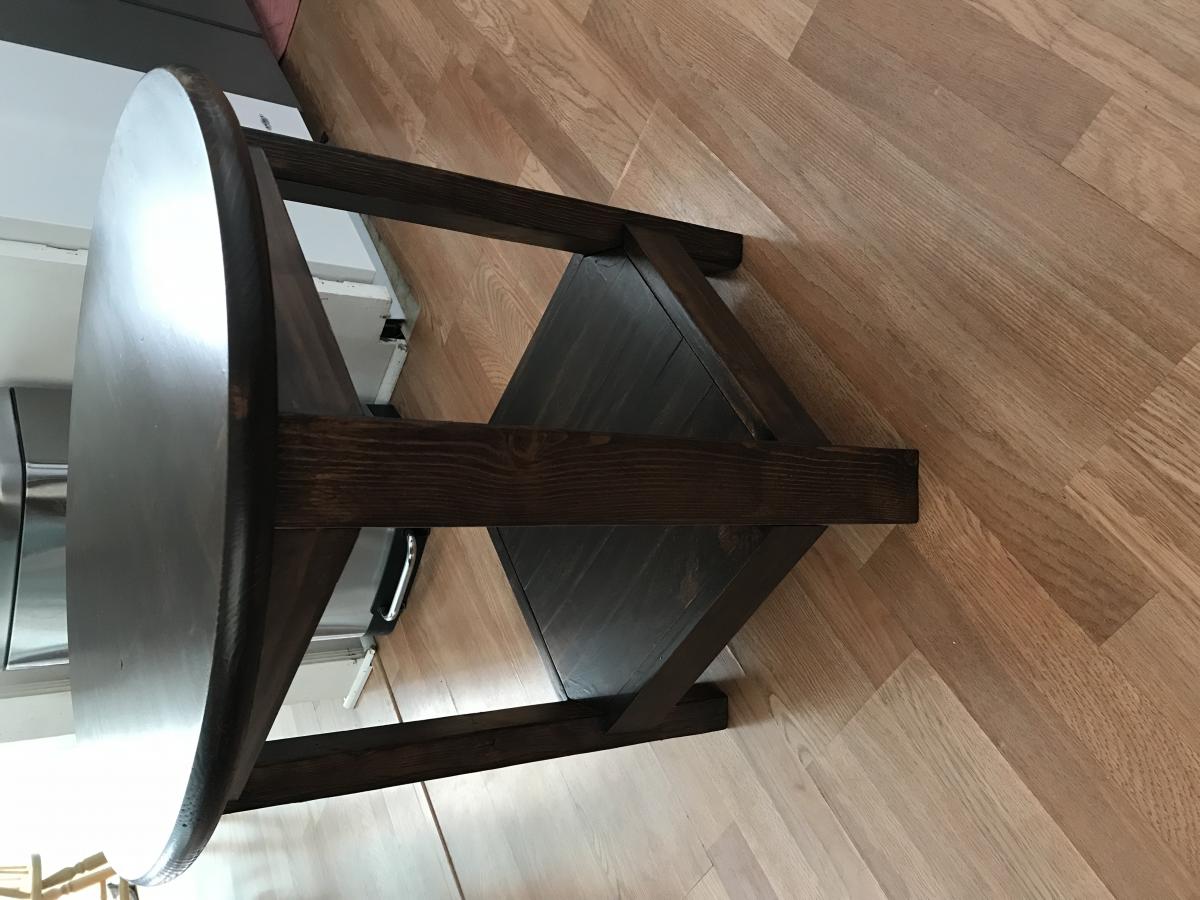
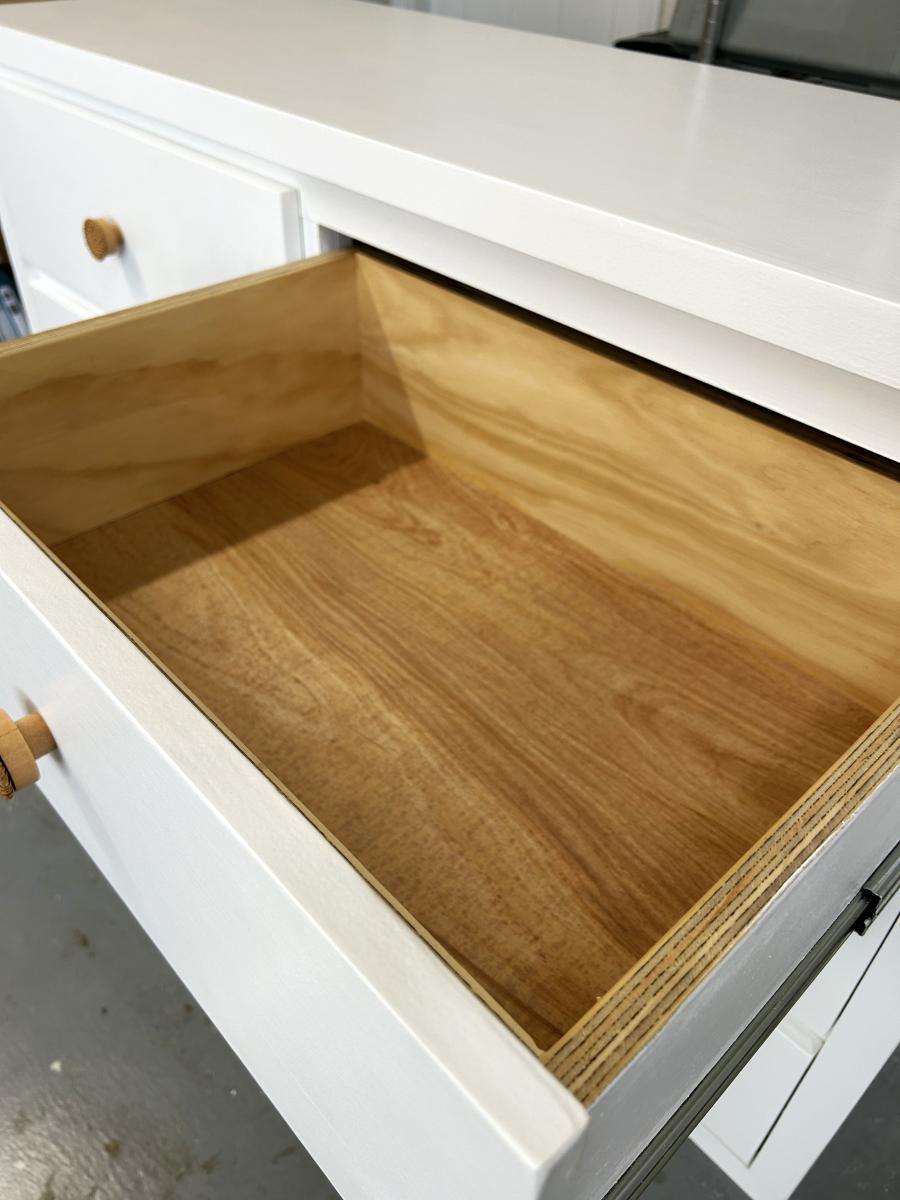
The lumber was just red oak from Lowes. I don't recommend it for a first project. It is *hard* wood. It was extremely difficult with which to work for a beginner like myself. The internal slats were white pine since I didn't care about their appearance since they weren't going to be visible.
Please pardon the dow and dove-tailing work. I know it's shoddy, but this was my first attempt at wood-working. I come from a long line of master carpenters, but I haven't practiced at it in 15 years, and I live in the city with only an assortment of basic tools and half a garage filled with toddler toys as a work space. I did the best with what I have :)


Comments
Luig302
Thu, 06/11/2020 - 17:15
Very Nice modification. Two…
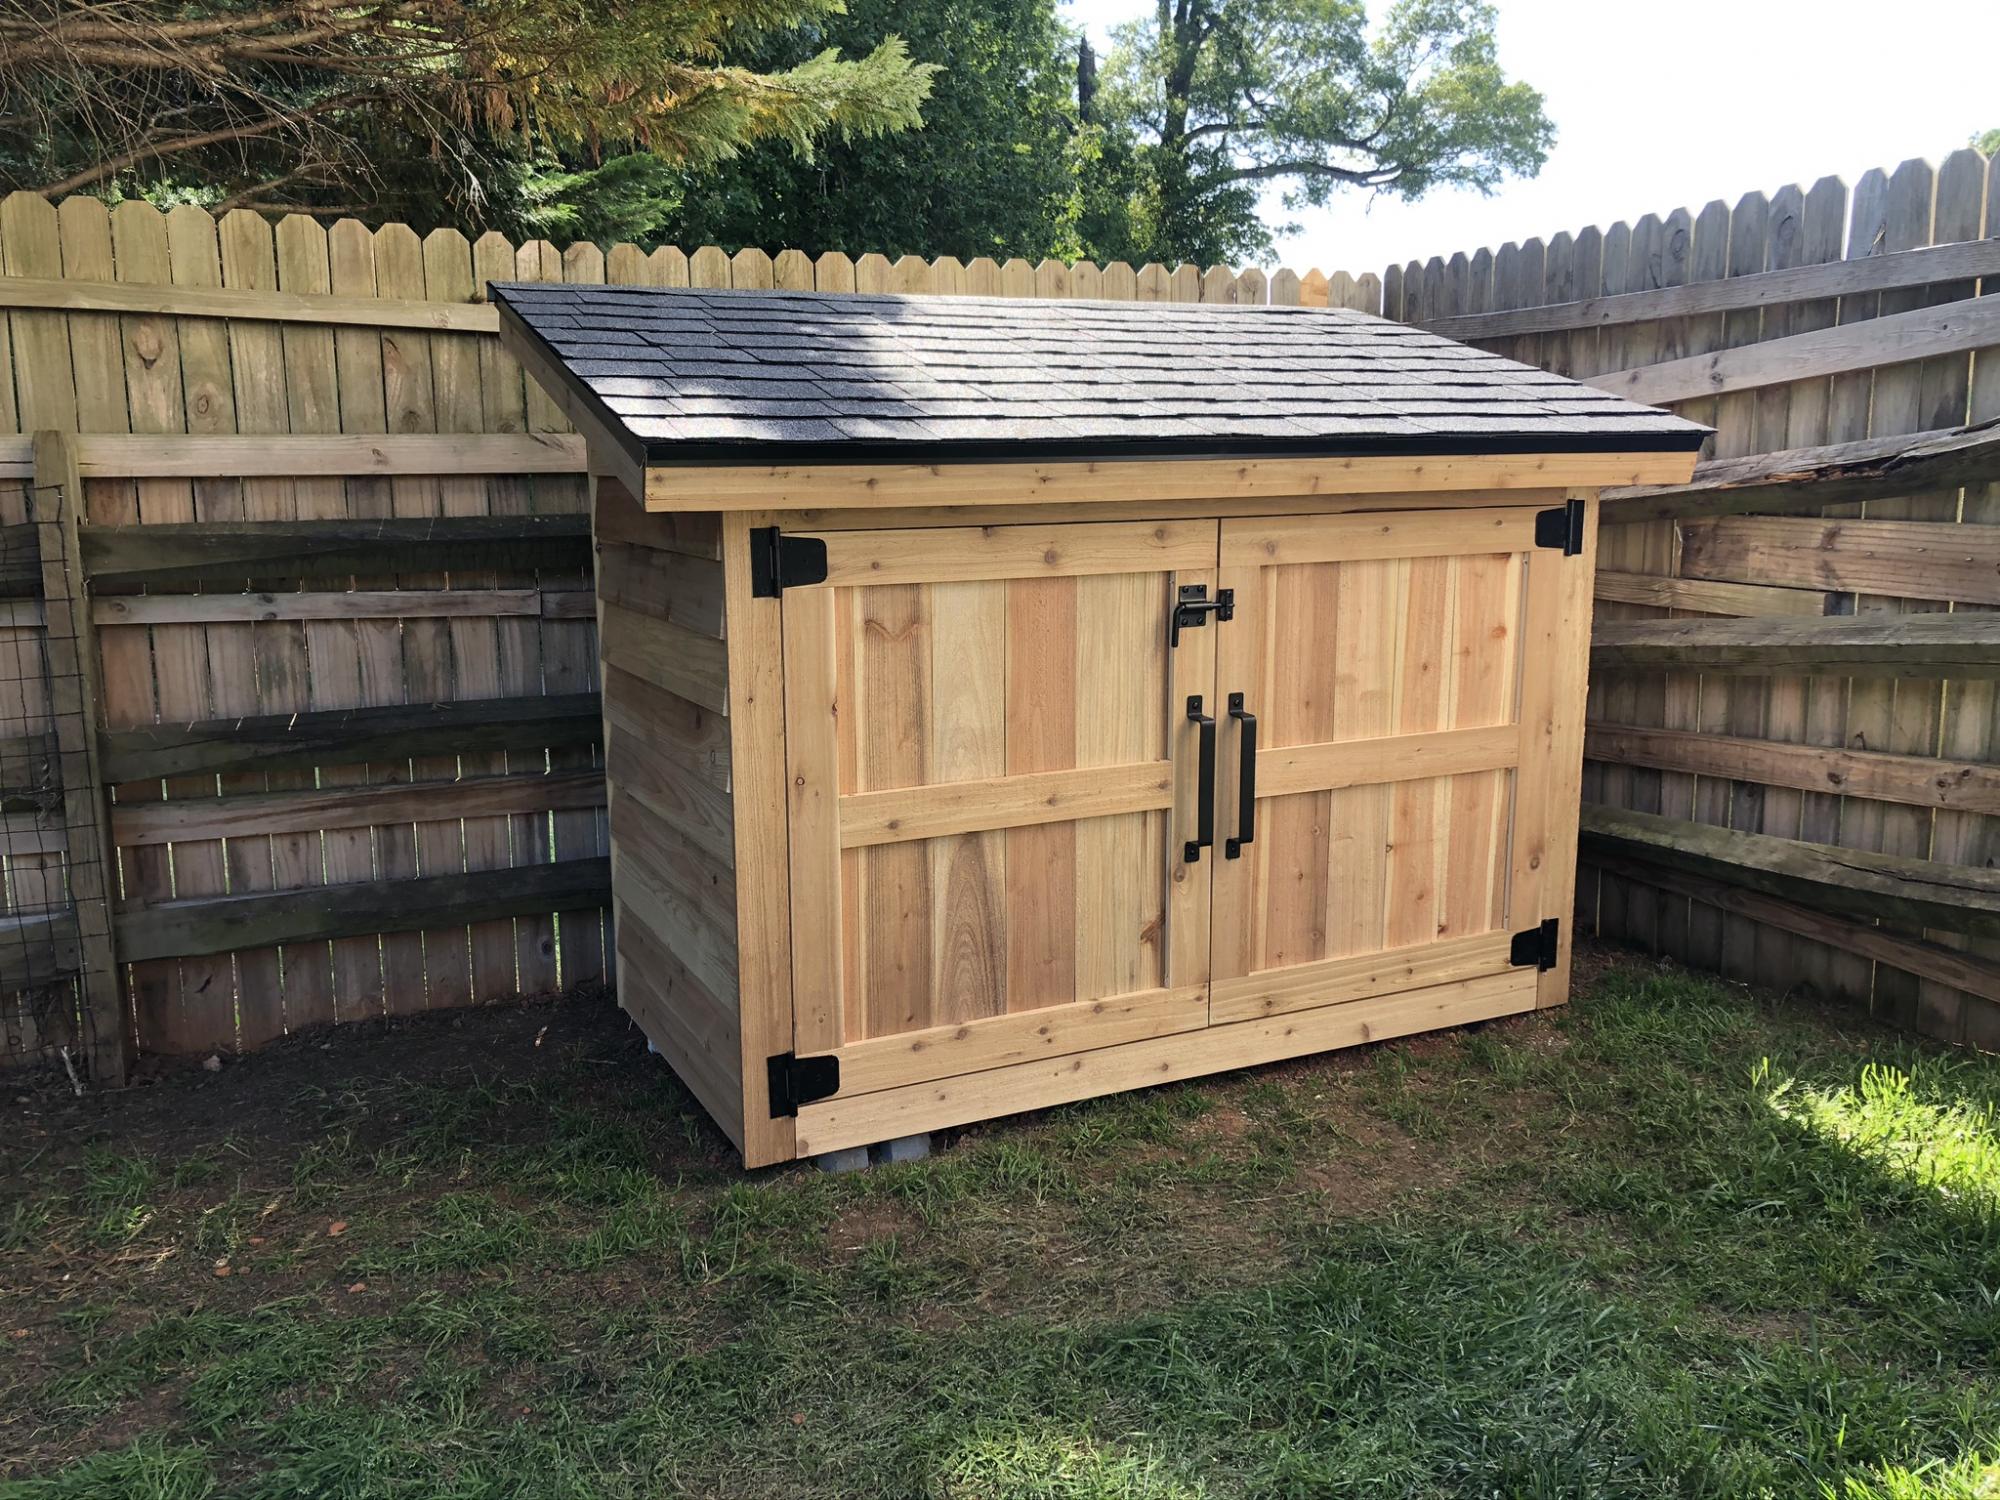
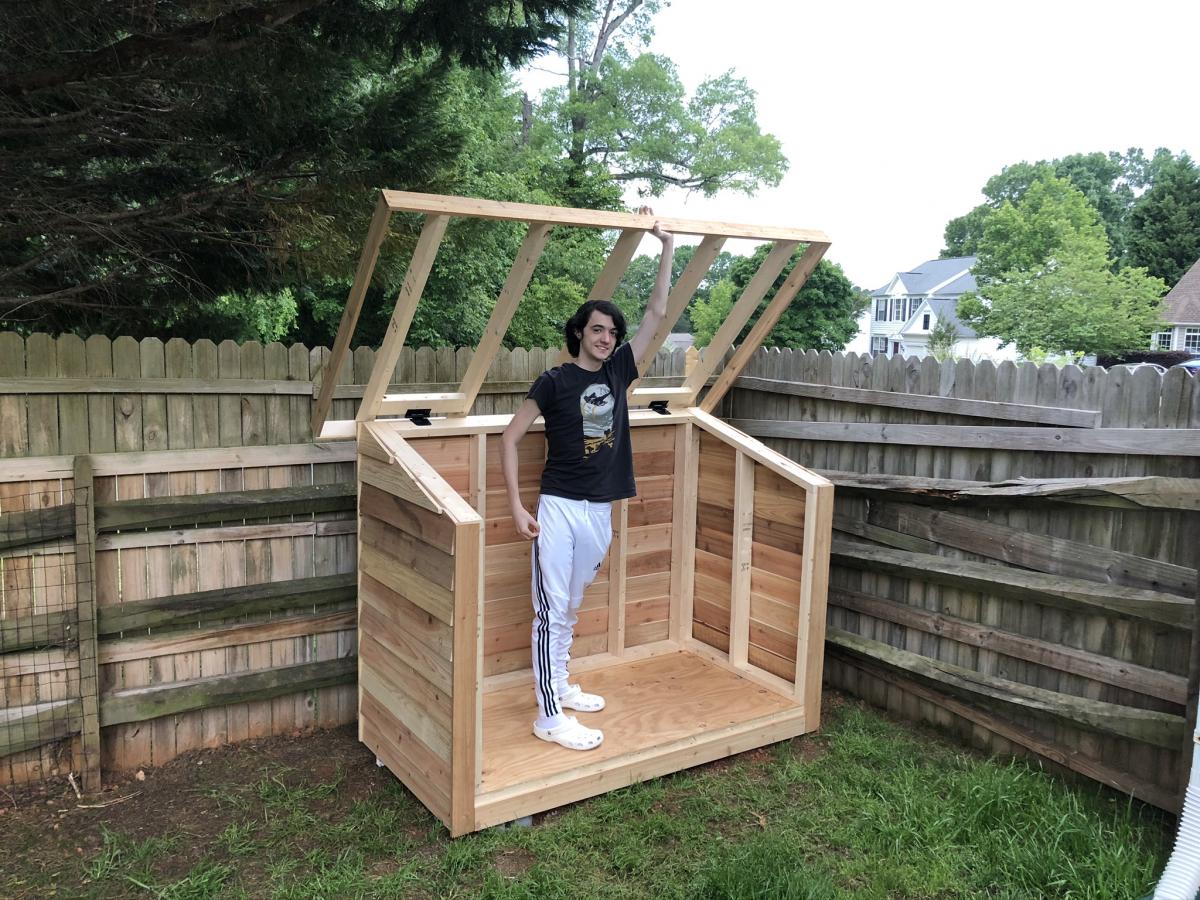
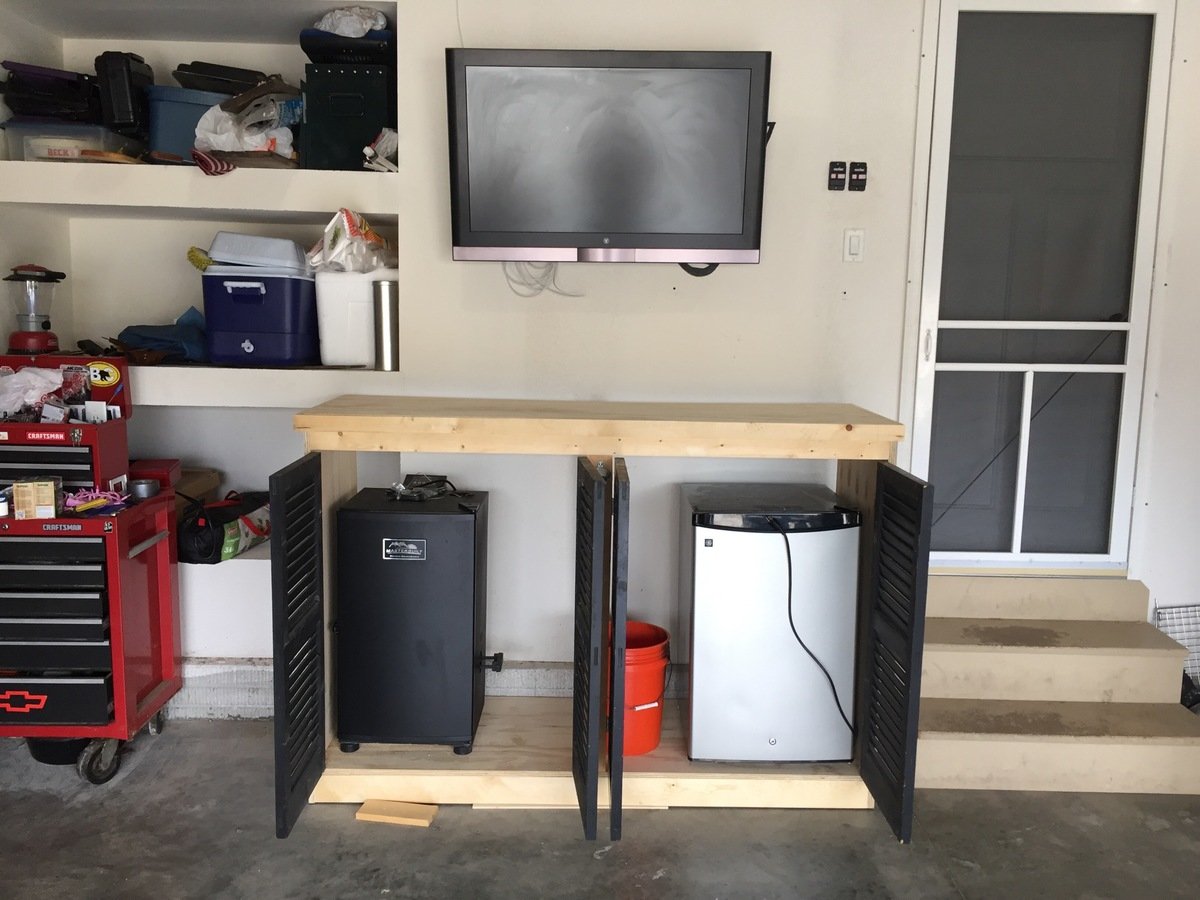
Very Nice modification. Two thumbs up! May I please ask you for the dimensions of the shed?