DIY Modern Rustic Outdoor Chair

I made this outdoor chair by looking at a variety of plans and designs from Restoration Hardware and other stores. Check out more info on the project on my blog link. Thanks for looking!
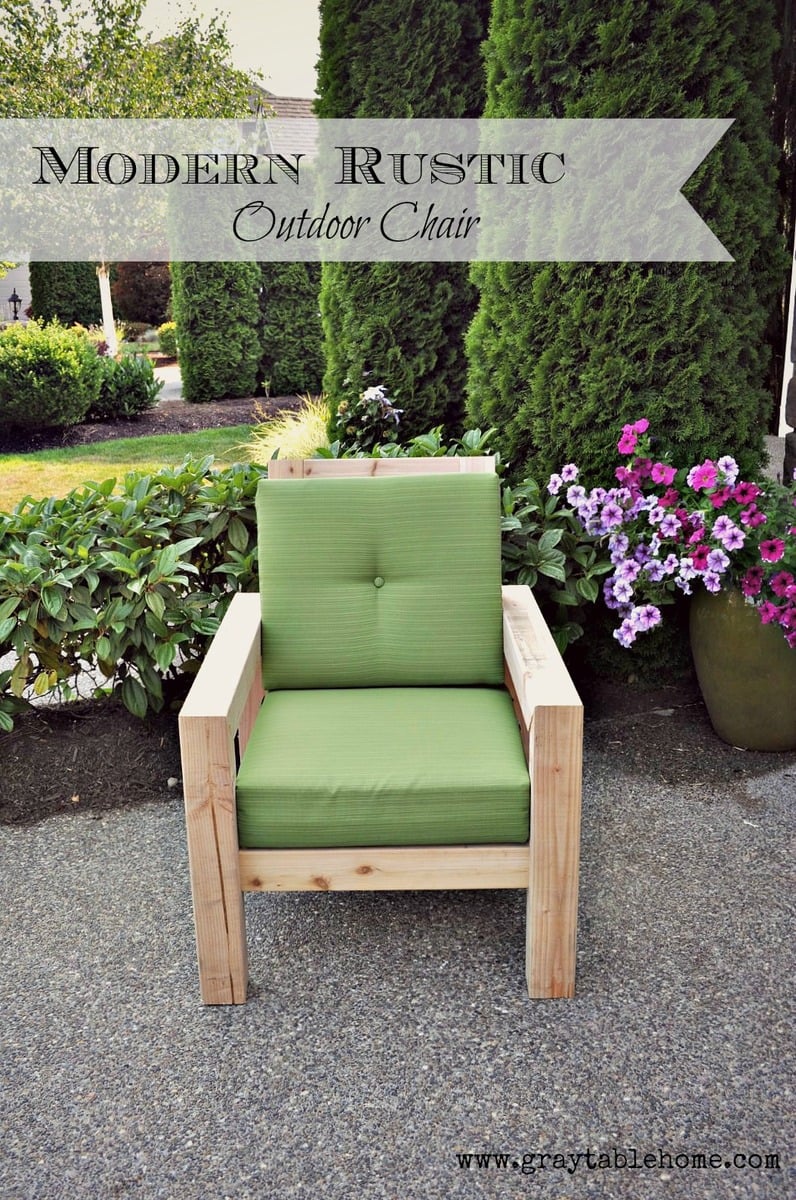


I made this outdoor chair by looking at a variety of plans and designs from Restoration Hardware and other stores. Check out more info on the project on my blog link. Thanks for looking!


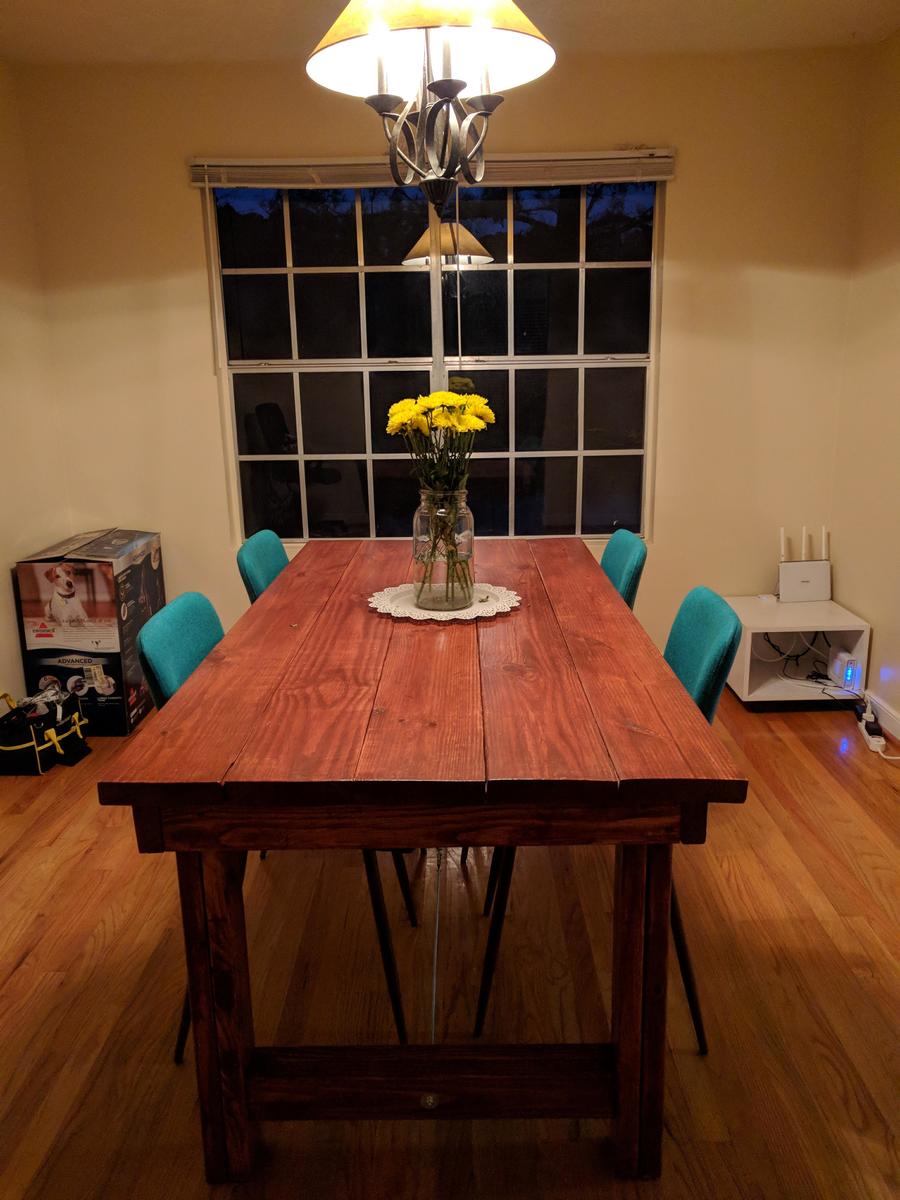
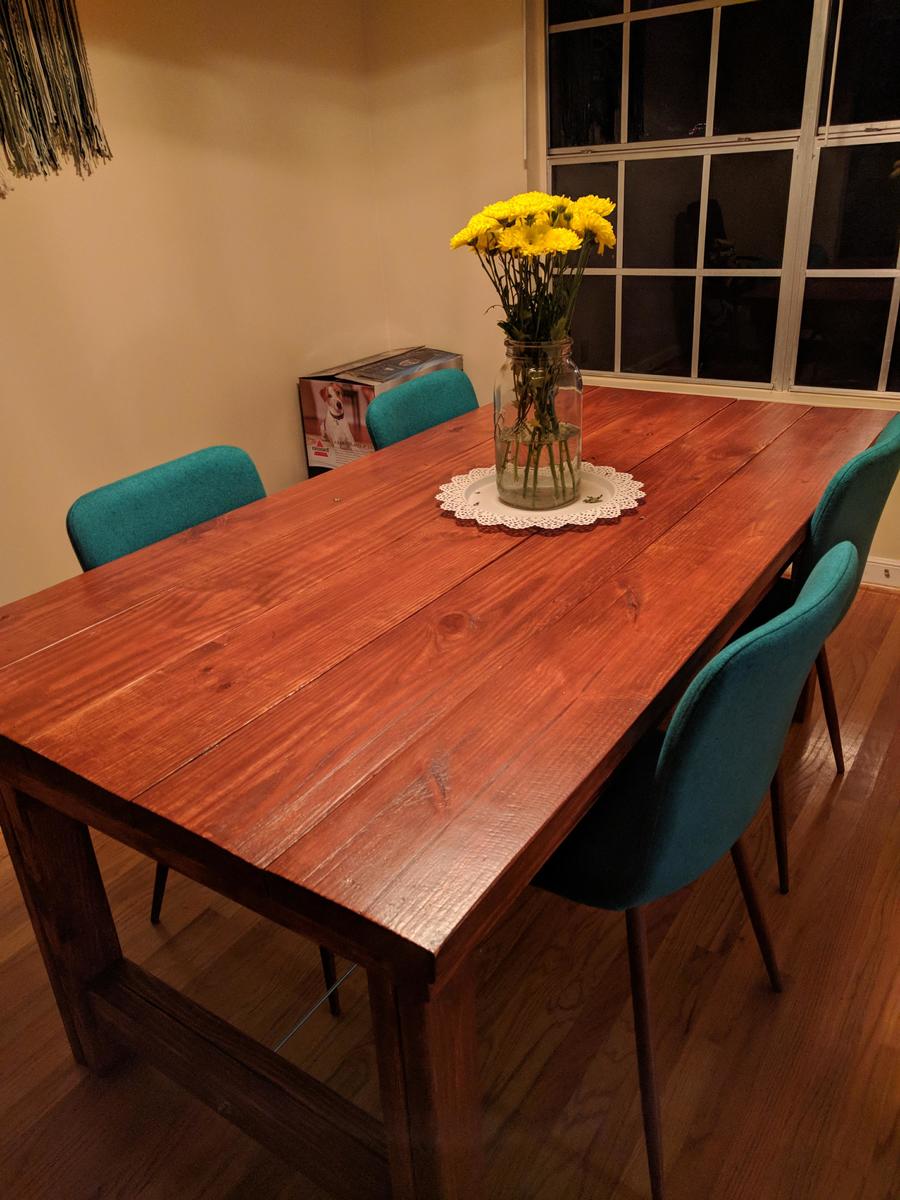
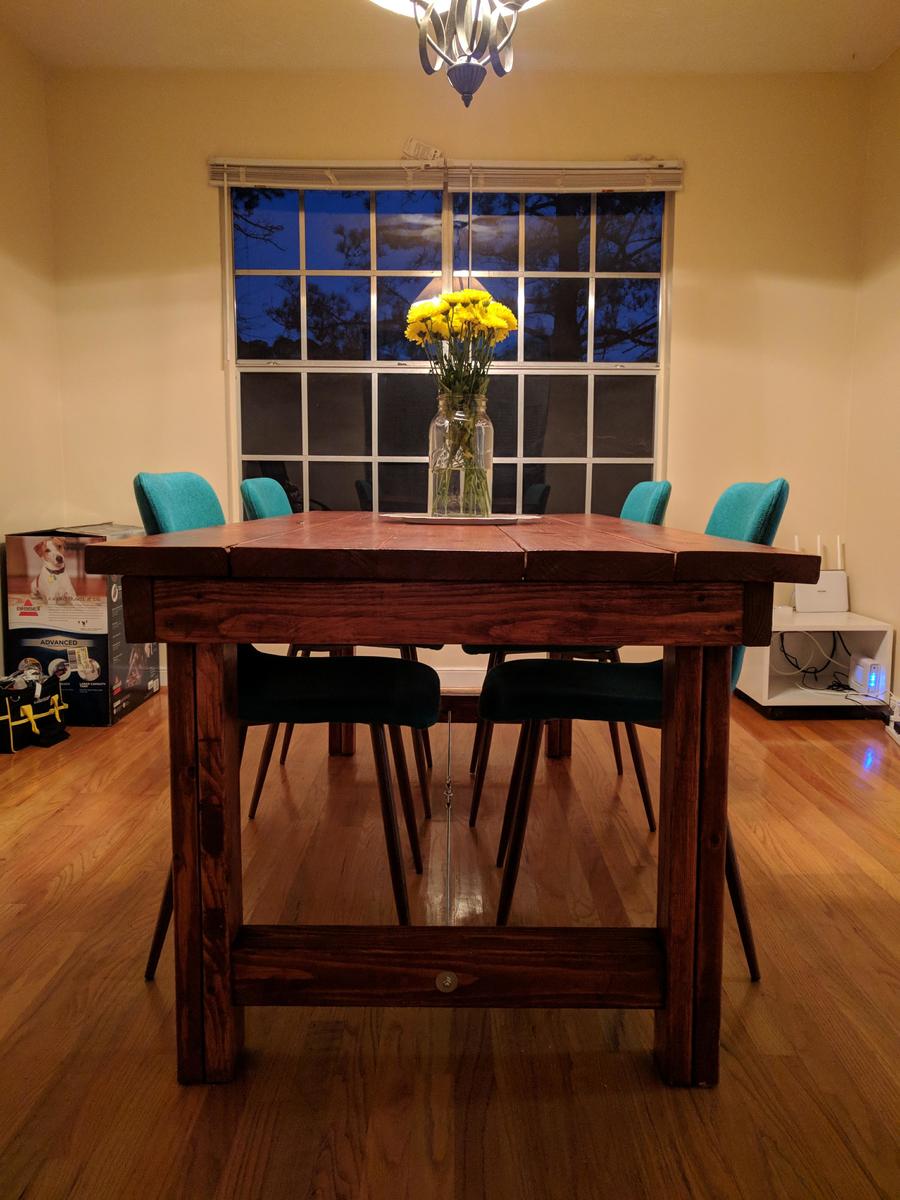
My husband and I just moved from an apartment to a house, the first place we've ever lived with a dining room! I knew I wanted to build a really special table for us and I LOVED this plan. It seemed straightforward enough, and my stepdad had all the tools in his workshop. So my stepdad, mom, and I built the table over the course of a weekend. It was SO fun and it looks perfect in our first little house!
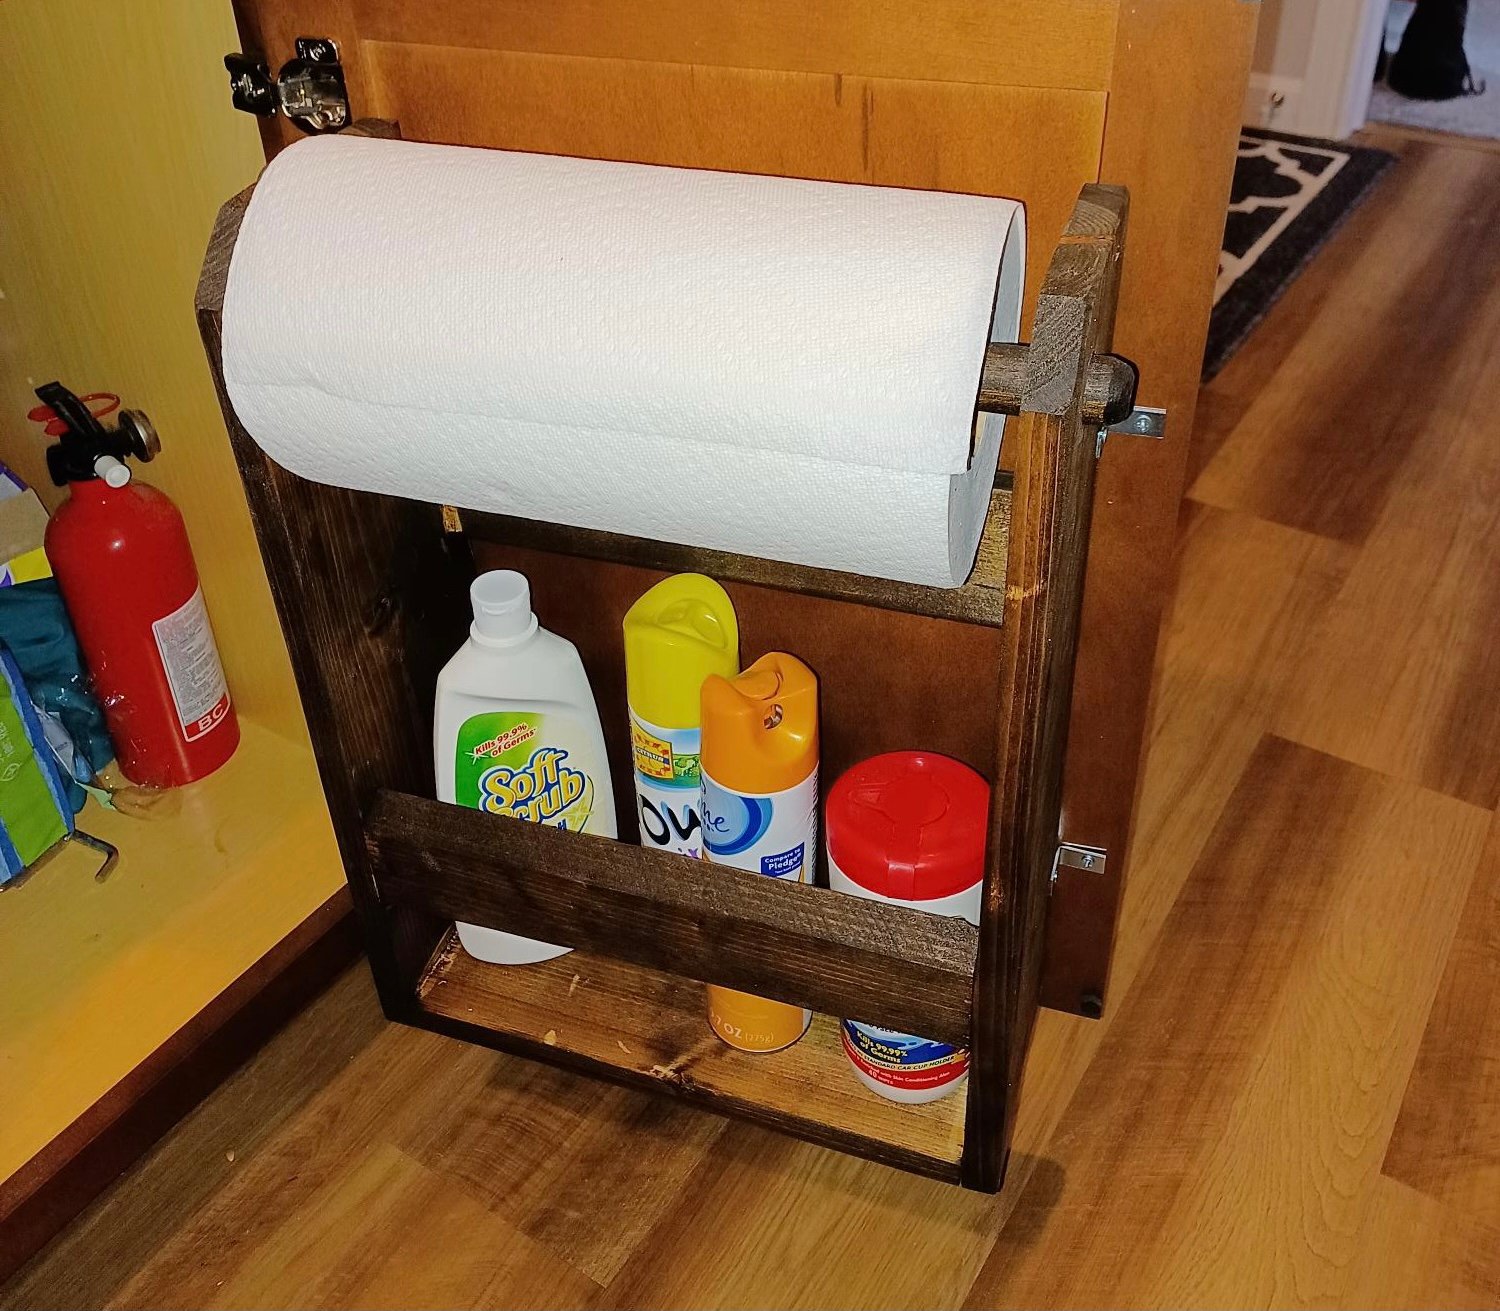
Yea, I know these were posted way back in 2013, but I only recently found them. Was looking at some kitchen organization ideas and I knew I wanted to make a paper towel rack. I liked this idea and went with it. My variance from original was to use a dowel rod for the paper towel holder and I cut 45 degree angles in place of the radius.
Sat, 01/29/2022 - 08:50
So glad you found it and built it! Thanks for sharing:)
Love this sofa! Shown primed and in the process of painting a chocolate brown now. Super easy to make!
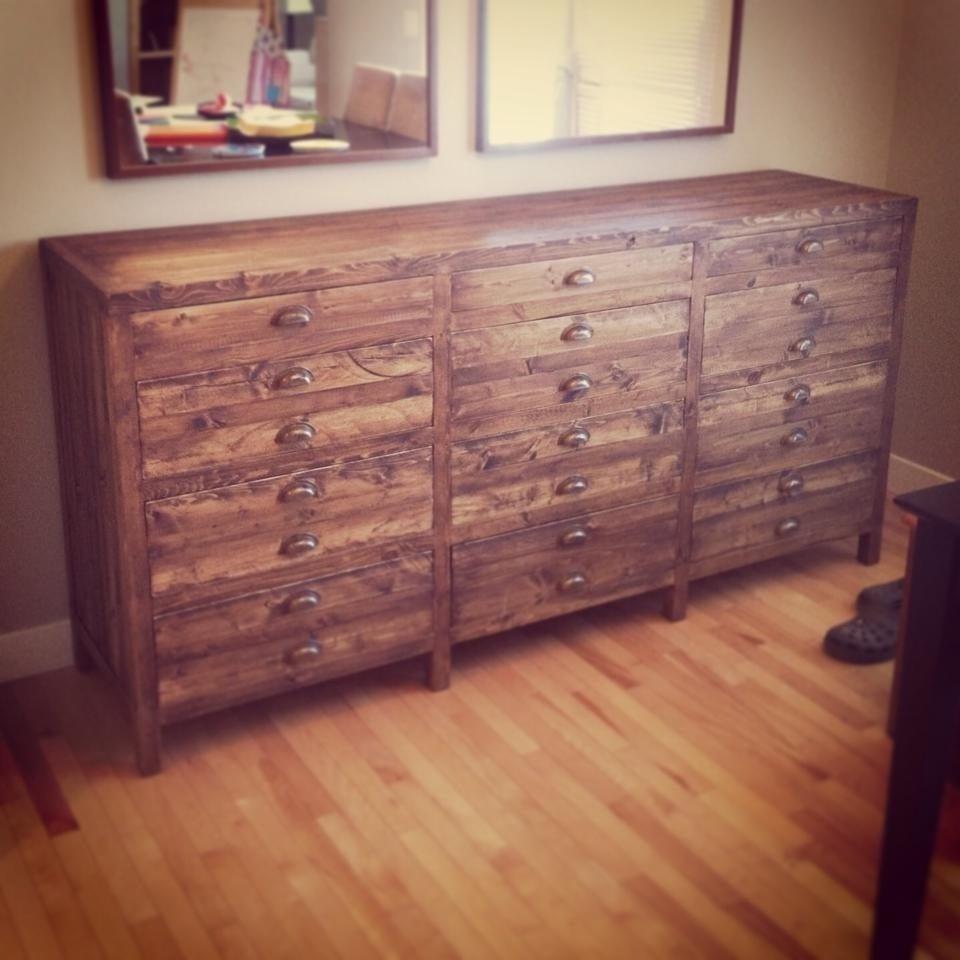
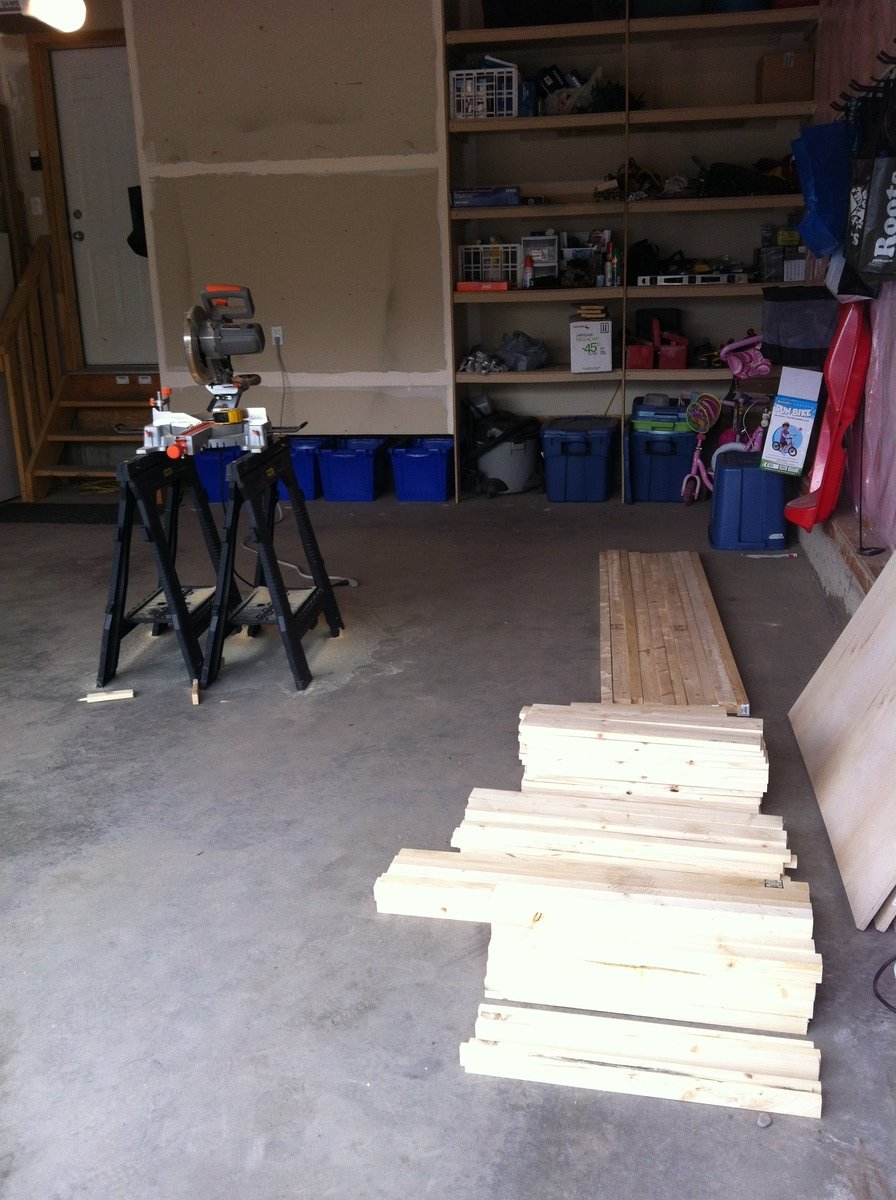
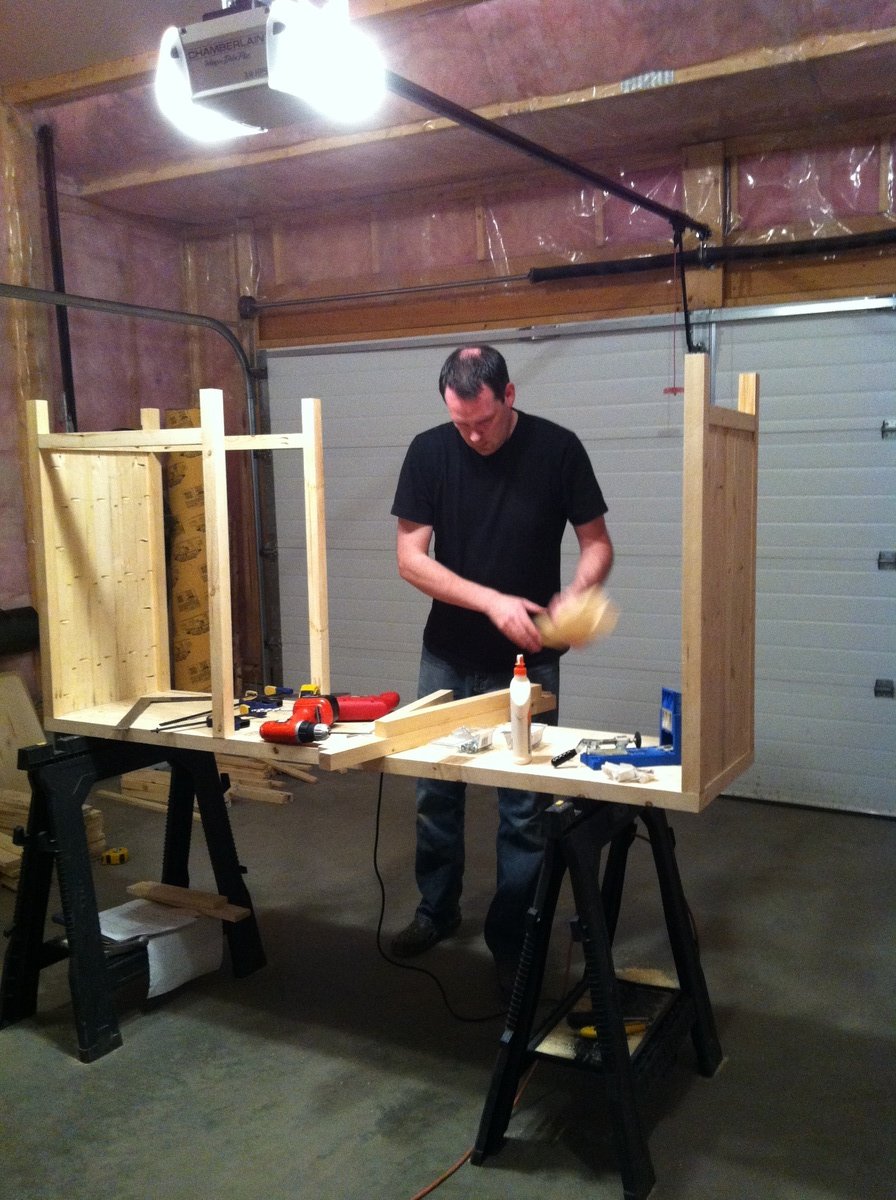
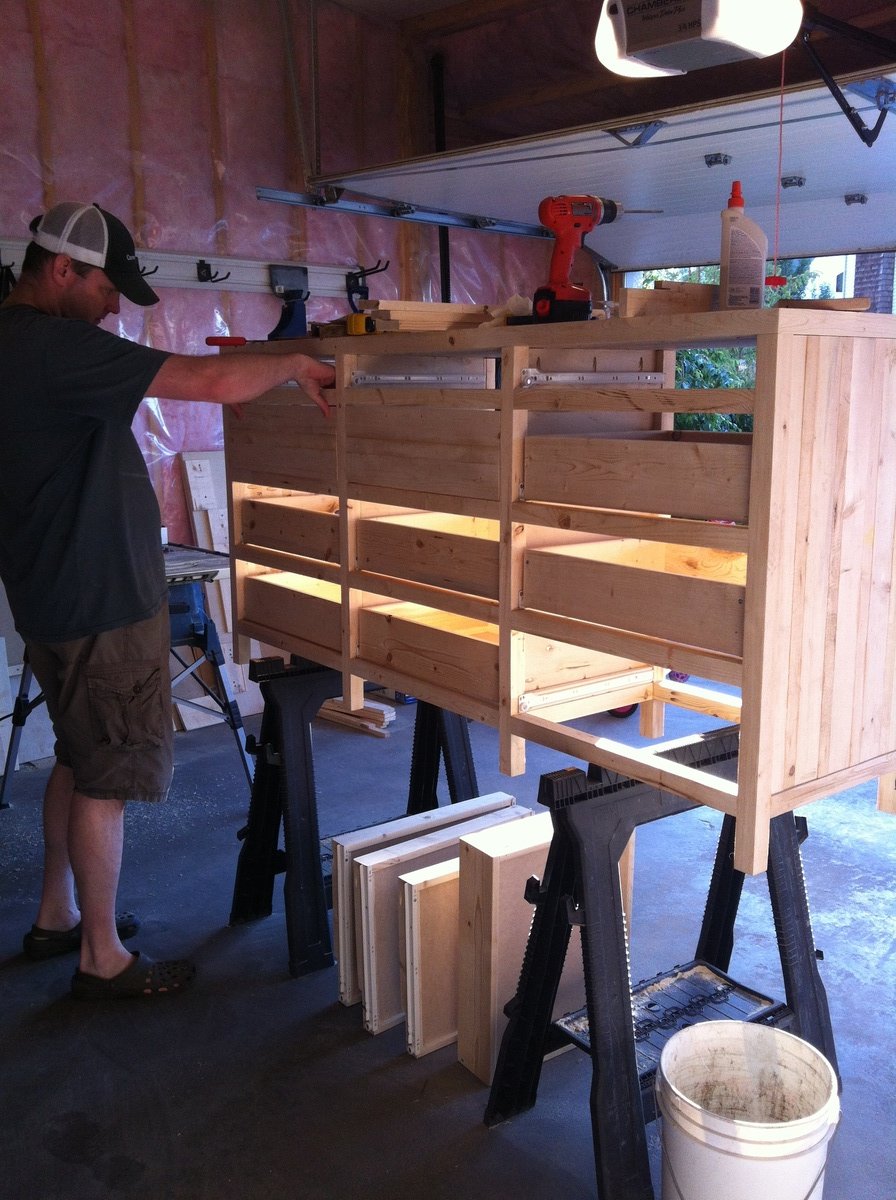
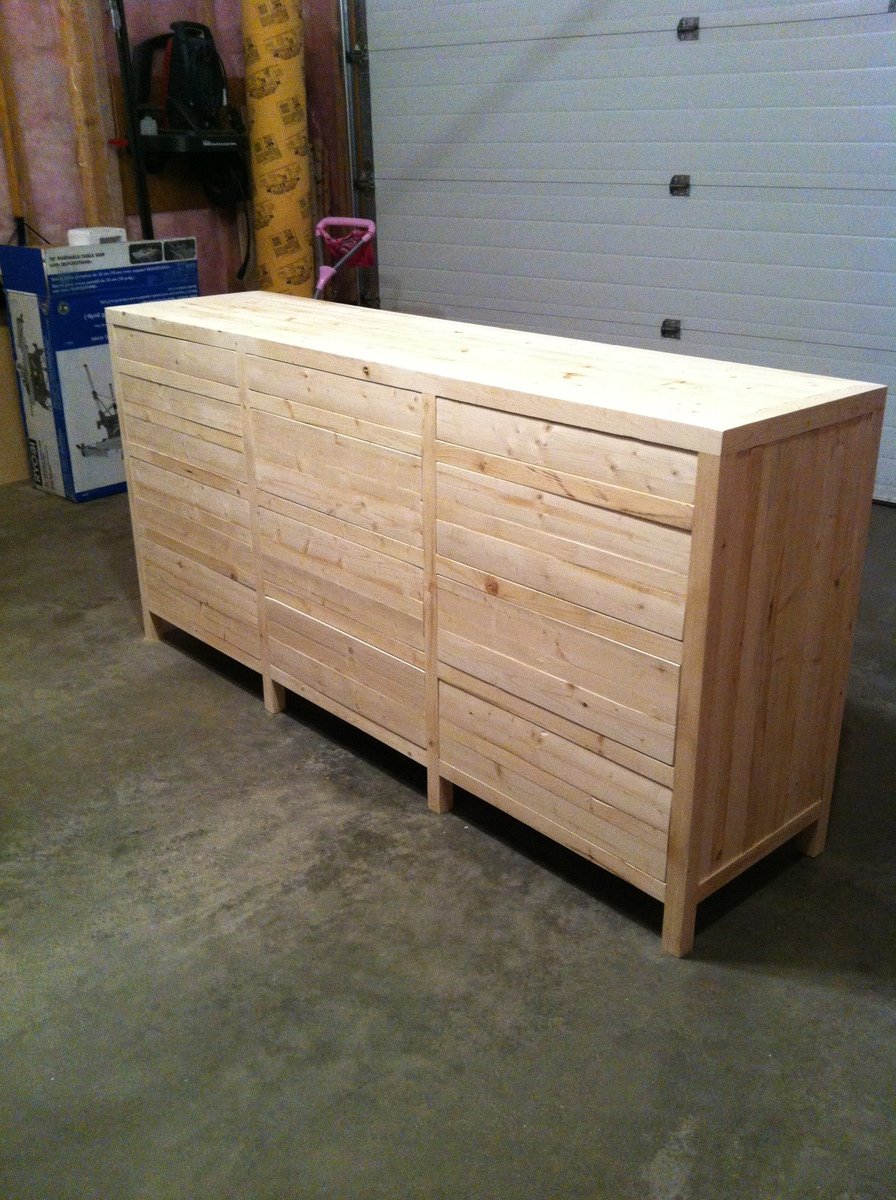
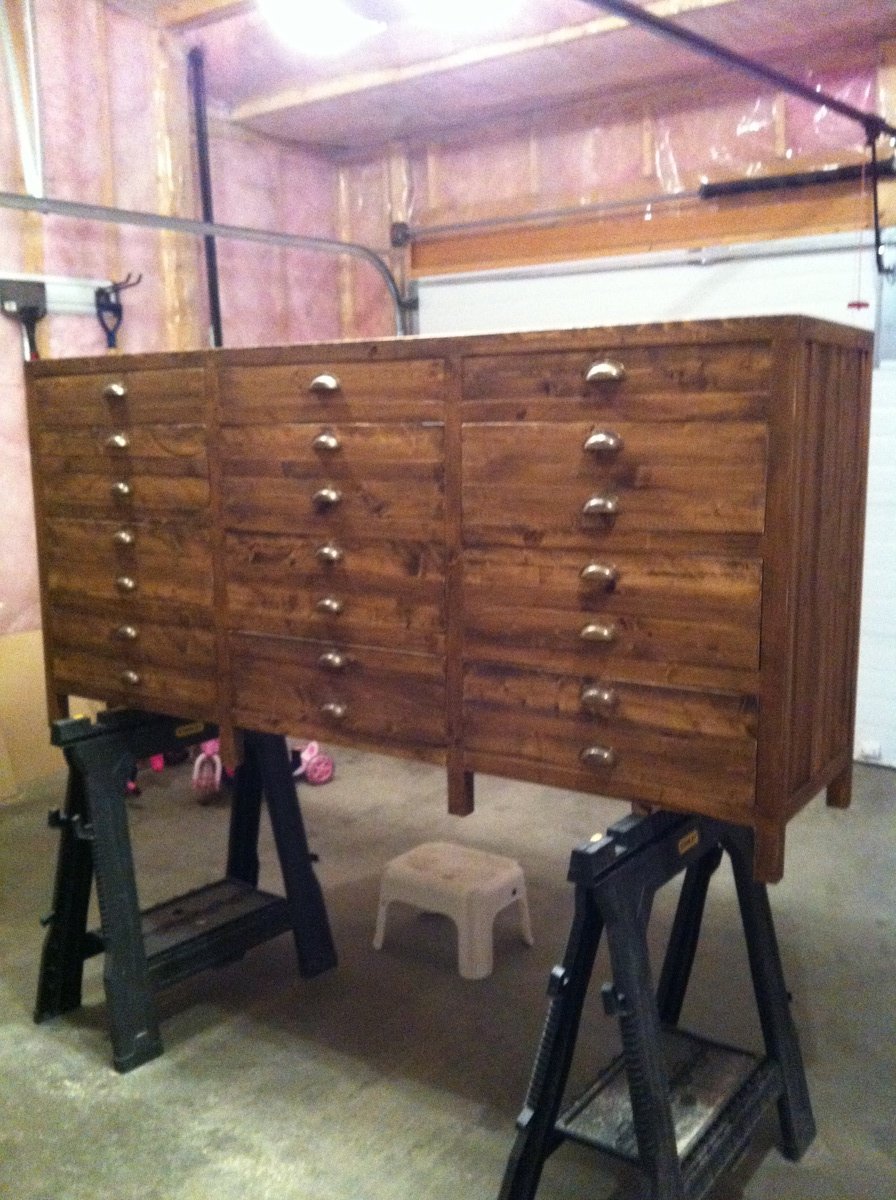
I purchased the Restoration Hardware Printmaker Sideboard but unfortunately we had issues with the delivered product so returned it. We then came across your plans online and my husband decided to build it for me instead. Our sideboard is all simple pine from Lowes, basic drawer slides and antique brass handles from Lee Valley. My husband adjusted Anna's plans and created 12 drawers more like the Restoration Hardware piece as we really like drawers for storage. We built it over about 5 weekends. It was a very ambitious project for our first but my husband was truly the brains and Braun of the process.
Wed, 10/02/2013 - 14:43
LOVE LOVE LOVE this console! You did an amazing job! I'm going to have my husband help build us something similar. Wondering what size antique brass handles you used? Thanks:)
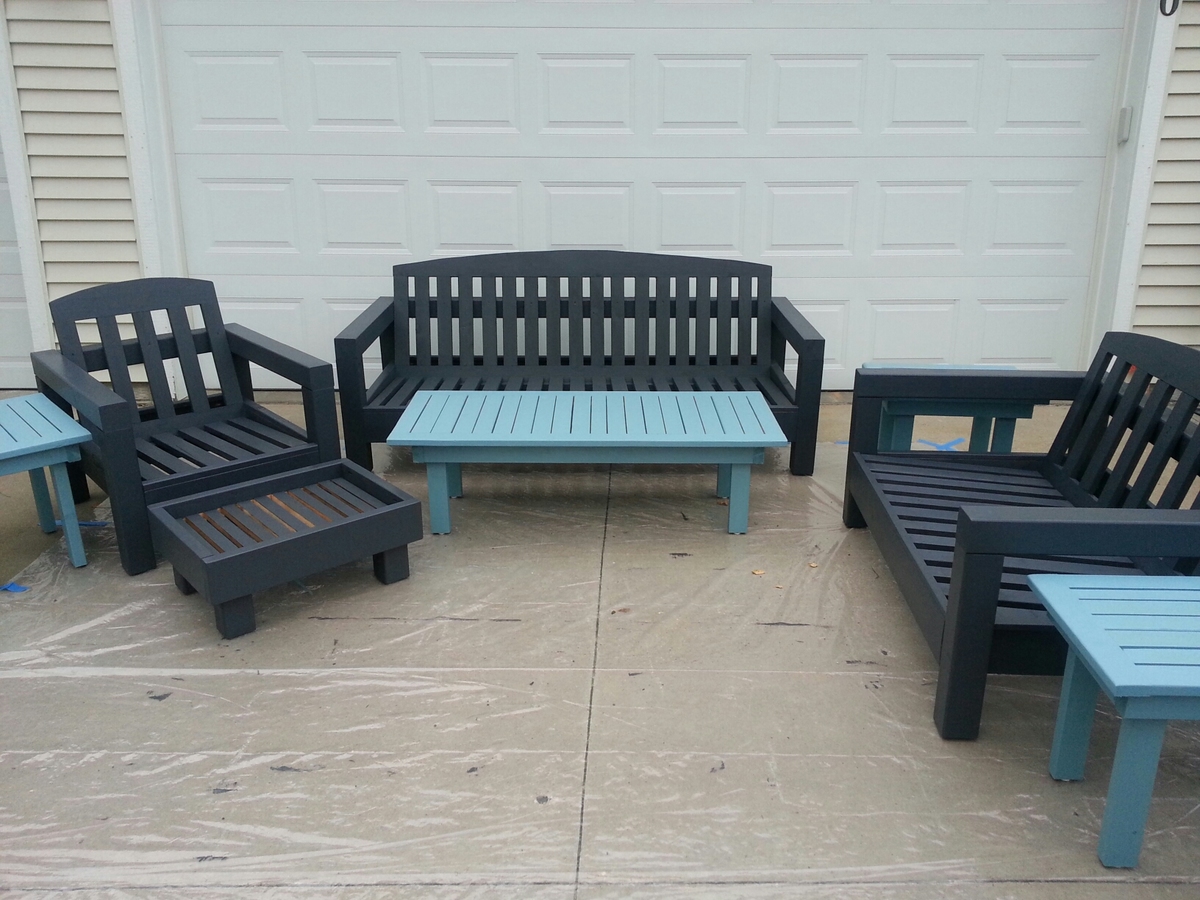
I built this set of furniture and tables over two full days and spent another whole day on the finish. Thanks for your inspiration and plans to get this project from a list to something we can enjoy. Cushions (Sunbrella) were purchased at clearance from Restoration Hardware (not shown) last year. The plans were changed slightly for the cushions and choice of lumber dimensions utilized (4x4 cedar instead of 2x2). That's a heck of a lot of pocket screws--the mounted jig is required for this much work.
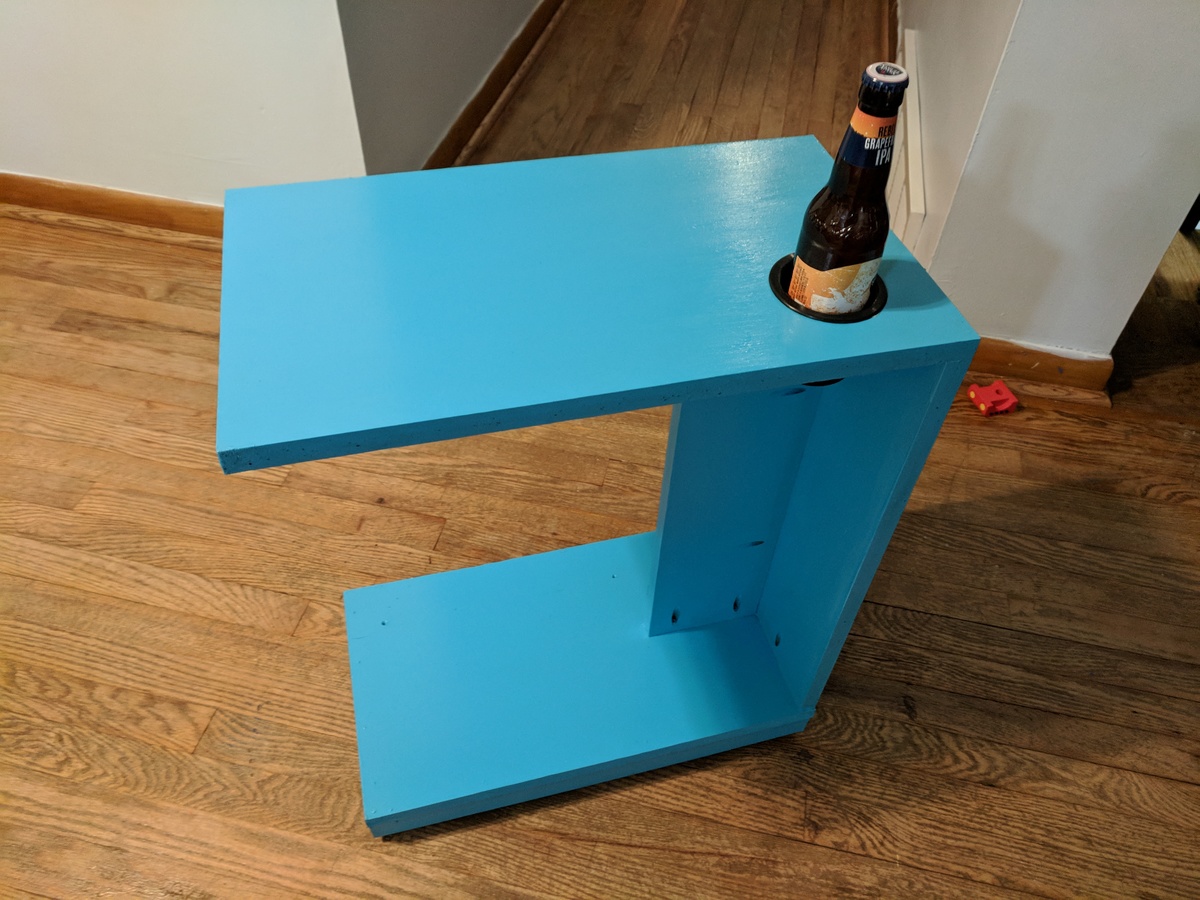
I had a bunch of scrap 3/4" MDF, so I used that instead of wood. The result is still as sturdy but a bit heavier than if I'd have used pine, which has added to the table's stability. I added a cup holder, but otherwise kept to the base instructions with no extra mods. I put an extra thick layer of polycrylic on the top surface, to protect the MDF from absorbing any spills. This was just a test run, so I didn't bother filling any of the visable pocket holes. Given how cheap and easy this was to build, I imagine I'll end up making 2-3 more.

First attempt at Live Edge - I stubbled across this great slab.
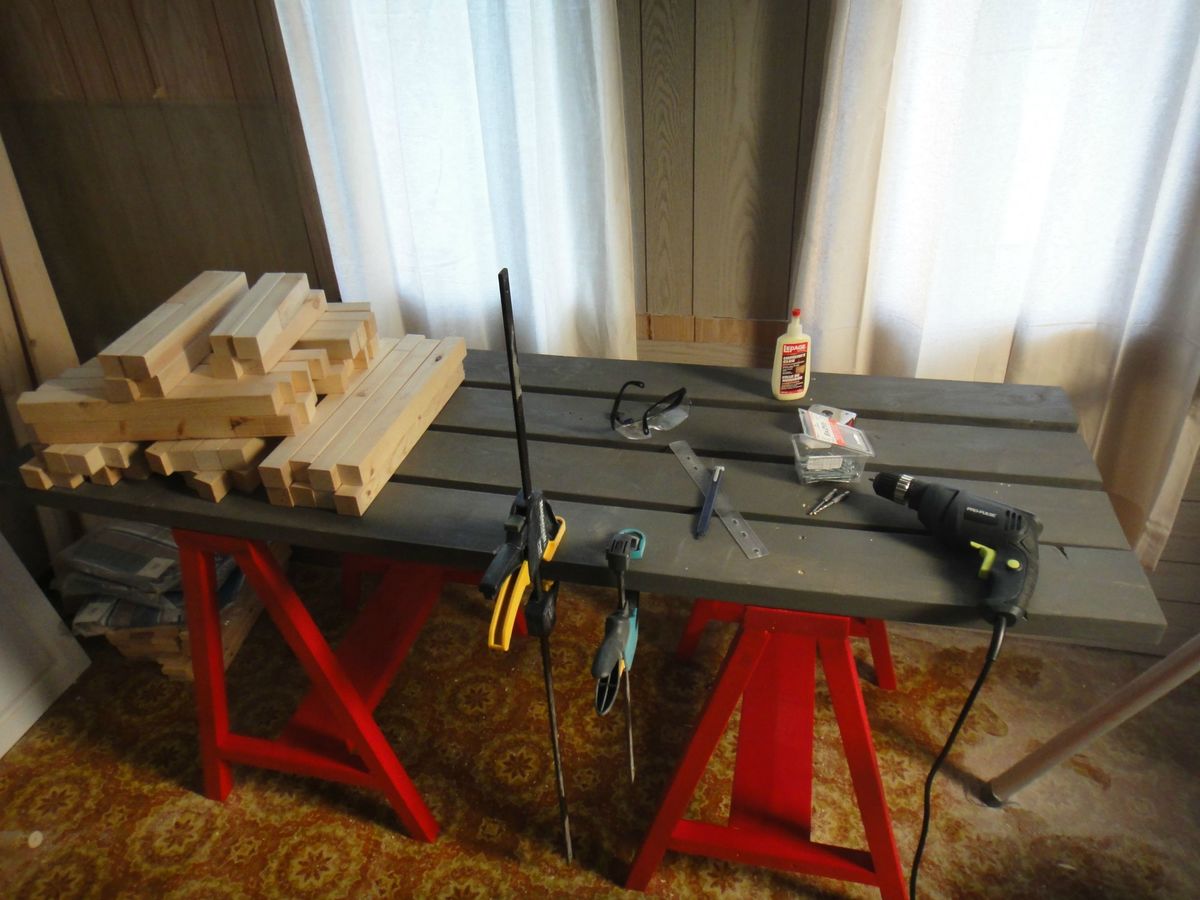
I needed a surface to work on all of the projects I'm building from Ana's wonderful plans!
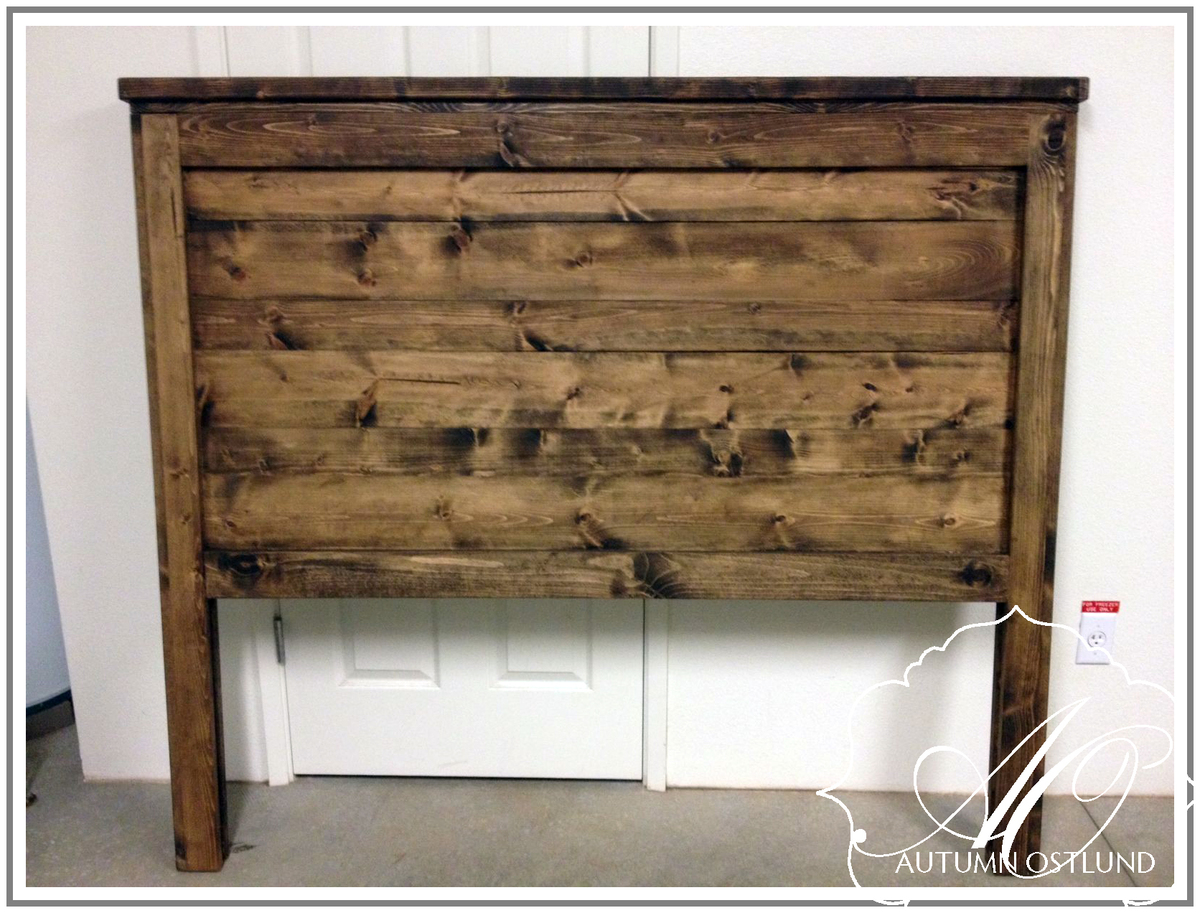
I love how the stain turned out on this one. Super simple project!
Wed, 07/17/2013 - 09:56
I just clicked over to your blog, Autumn. I wanted to comment on your "Never ever" post, as I never thought I'd be building furniture and blogging about it, either. I live in Hawai'i as well, although I was born and raised here. =D I've added you to my bloglovin' list to keep track of your posts. Malama pono!
Wed, 07/17/2013 - 10:48
So glad you commented! I'll also be following your blog. Good luck in your endeavors!
Autumn

The Ash for this table was sitting at a friends house out in a field for years. There were several 8/4 x 8' boards with various widths laying in the dirt. After many hours of planning and sanding I brought the Ash back to life.

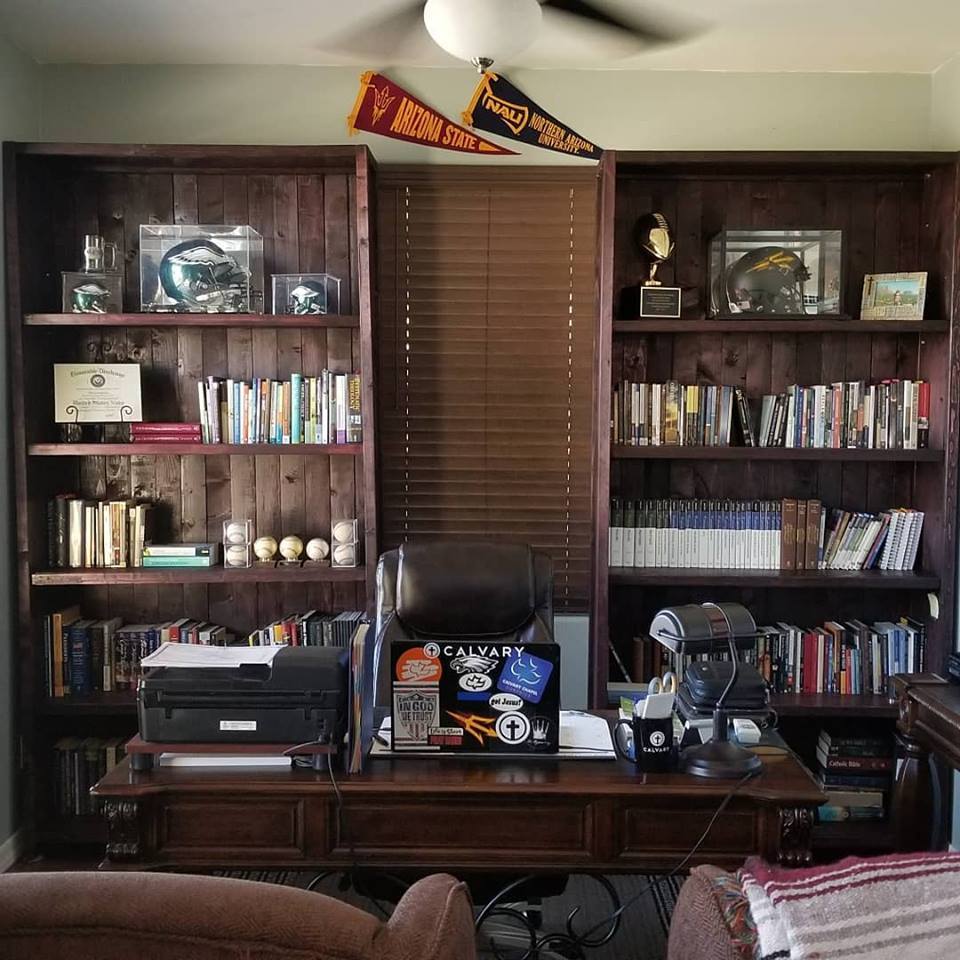
I had a few days a week to work on this project. I needed to modify them by the following:
Size was 92" H x 47" W x 14" D. I had two football helmet cases to place on these shelves and they had big cases above the standards shelf size. The top of the case did not overlap the project. I cut it to size. I used Cherry Stain and did not varnish it. I am not a fan. One thing I would change is the wood. I would have paid double for the premium select wood so that I know it is cut straight.
This was my first project and it didn't turn out bad. I never used the Kreg, but I think I became a pro after this one. I would recommend going out and buying all the size pocket screws and have them on hand. Also, buy the vises that you will need. Trust me, they will come in handy. I hate having to drive back to the store for things I should have had.
Overall, I paid about 240 for the wood. Since I only had the Kreg and no screws, I ended up shelling out a lot of money for the big buckets of screws and vises. Total for the both came out to about 350, from wood stack to finish. I would have paid more for one smaller piece at a store.
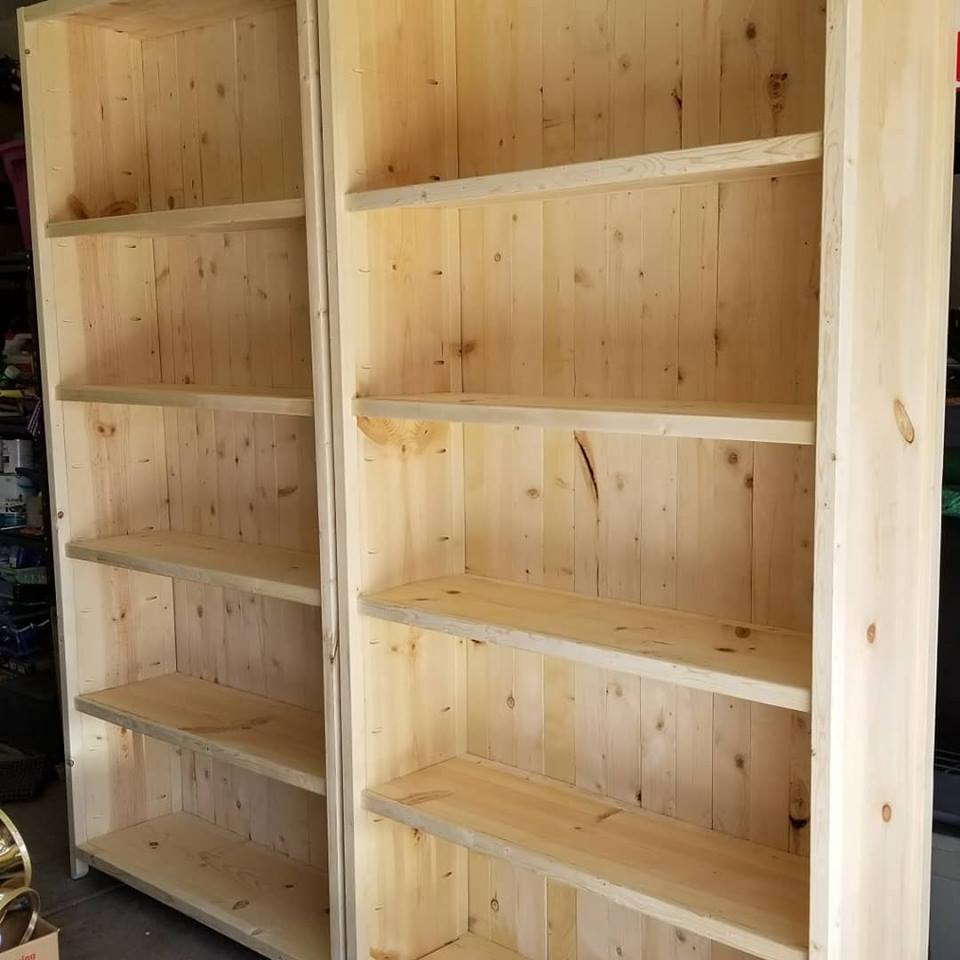
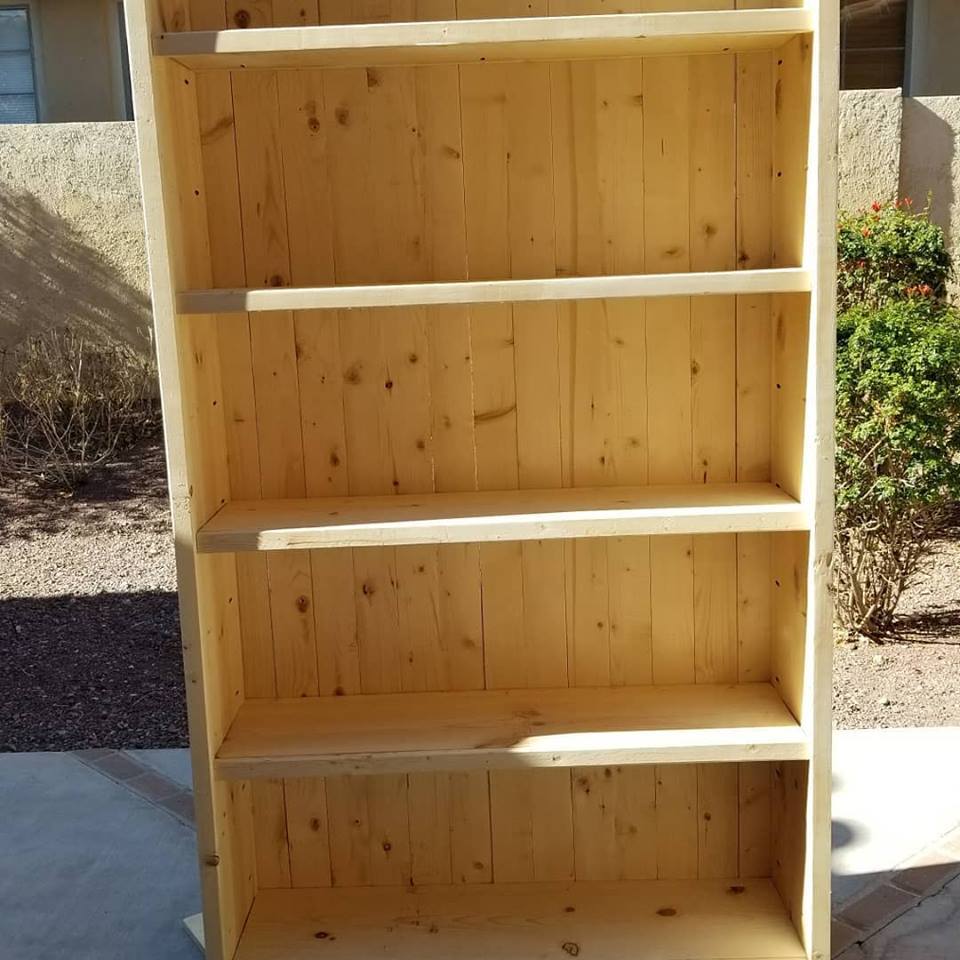
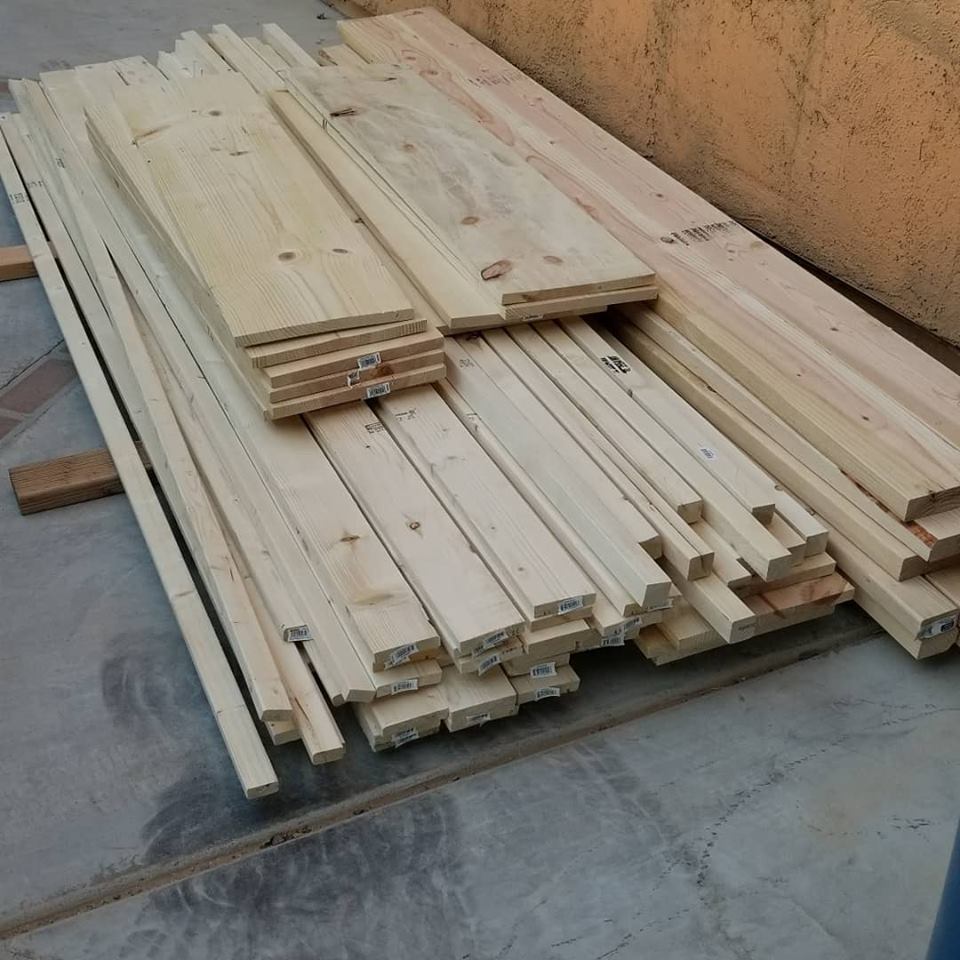
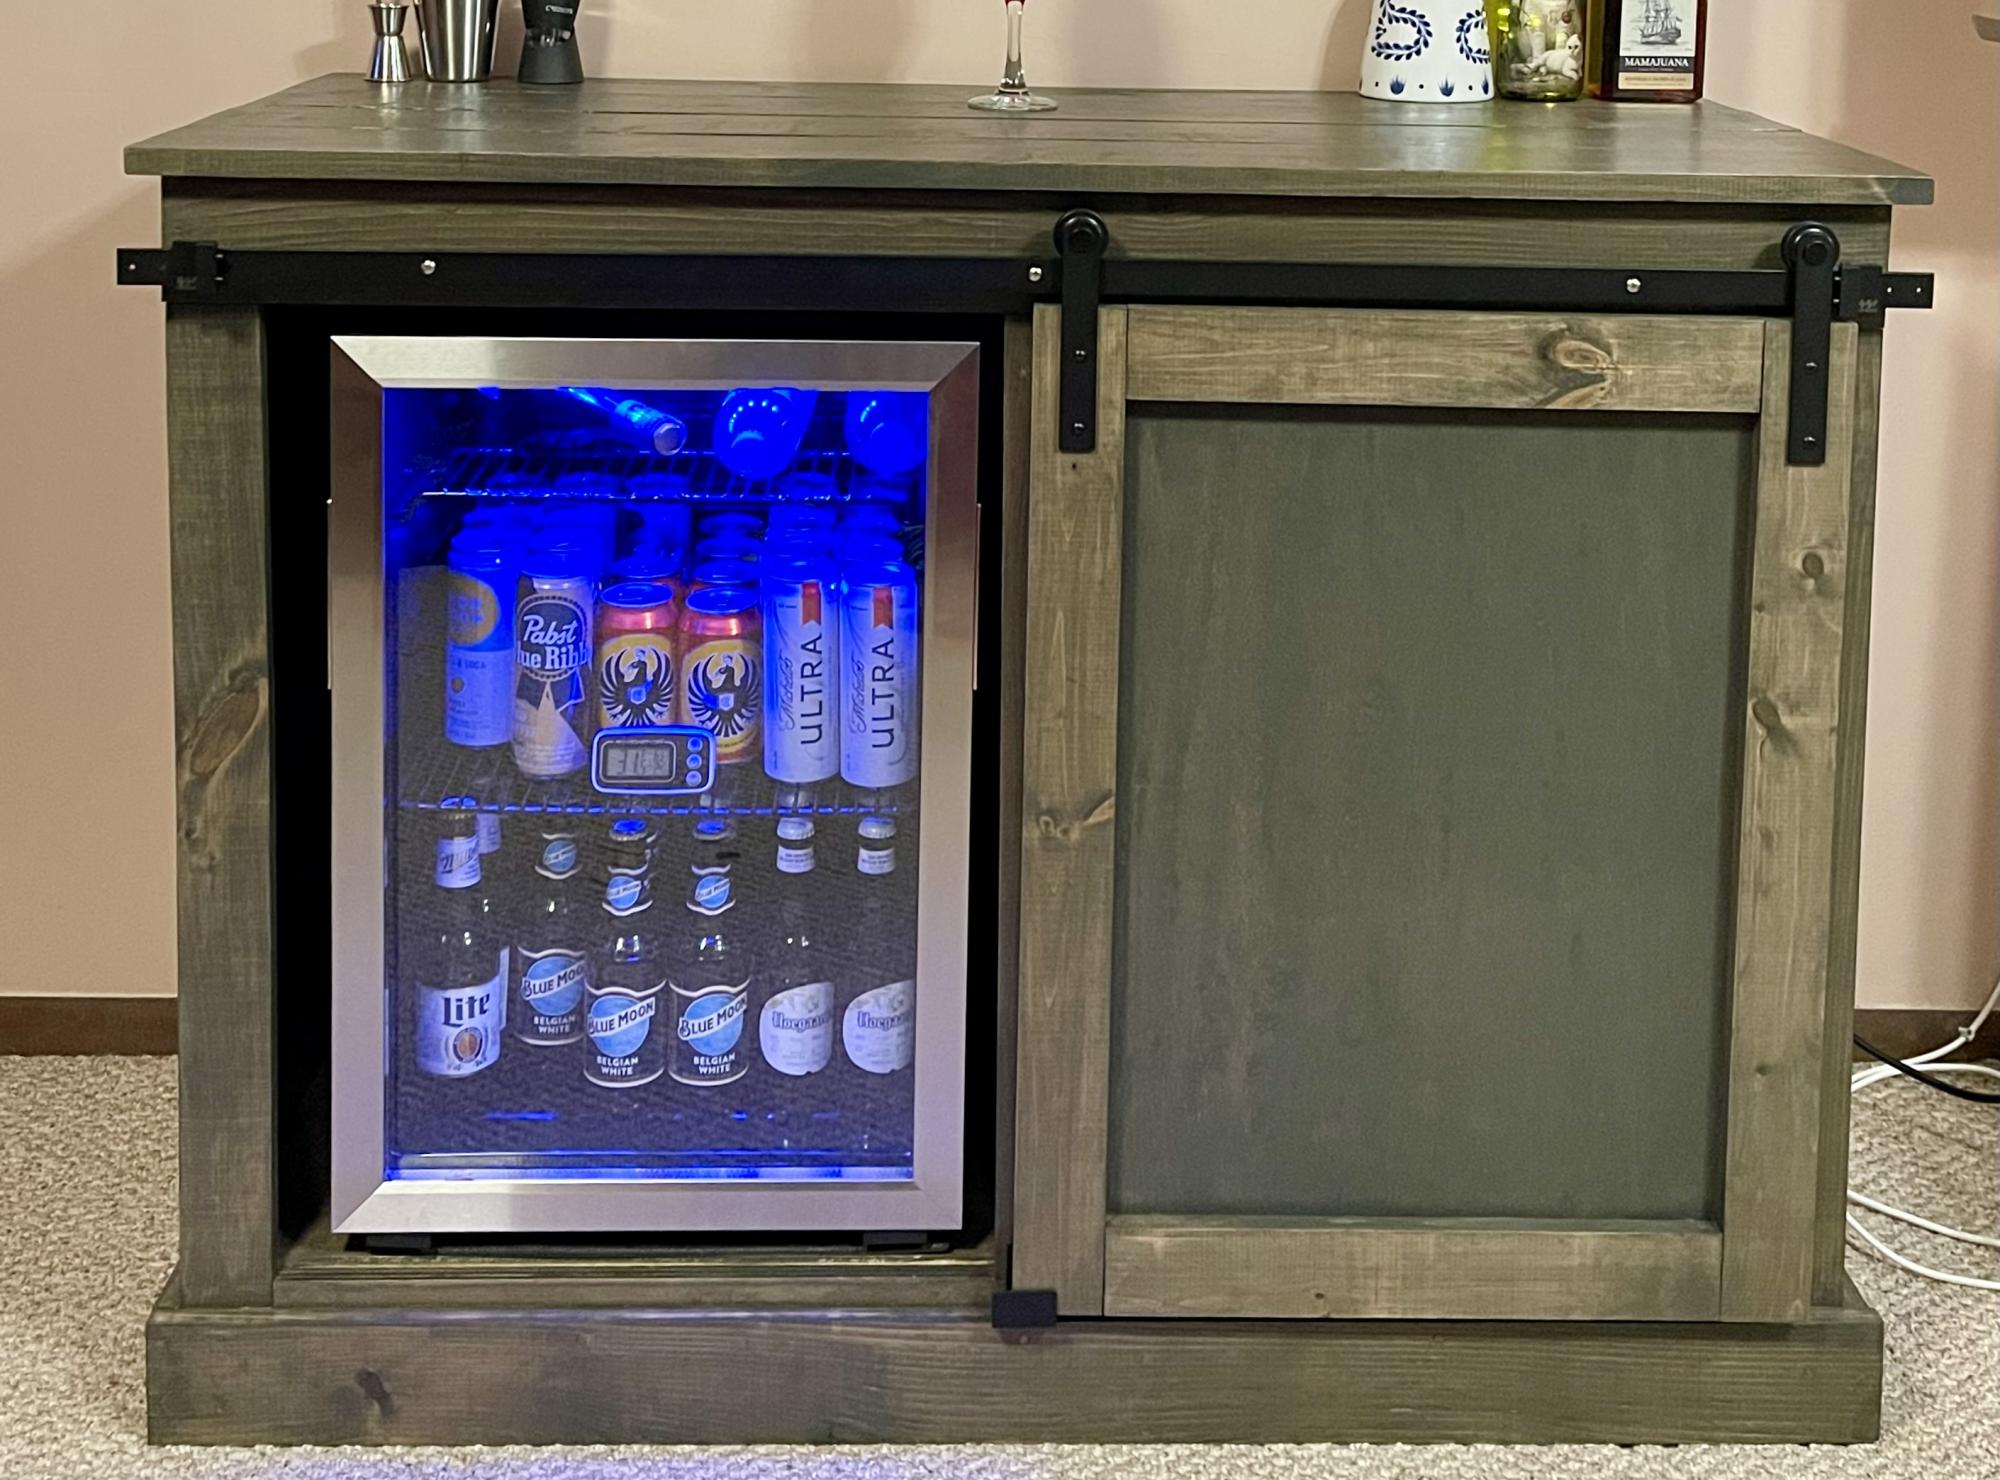
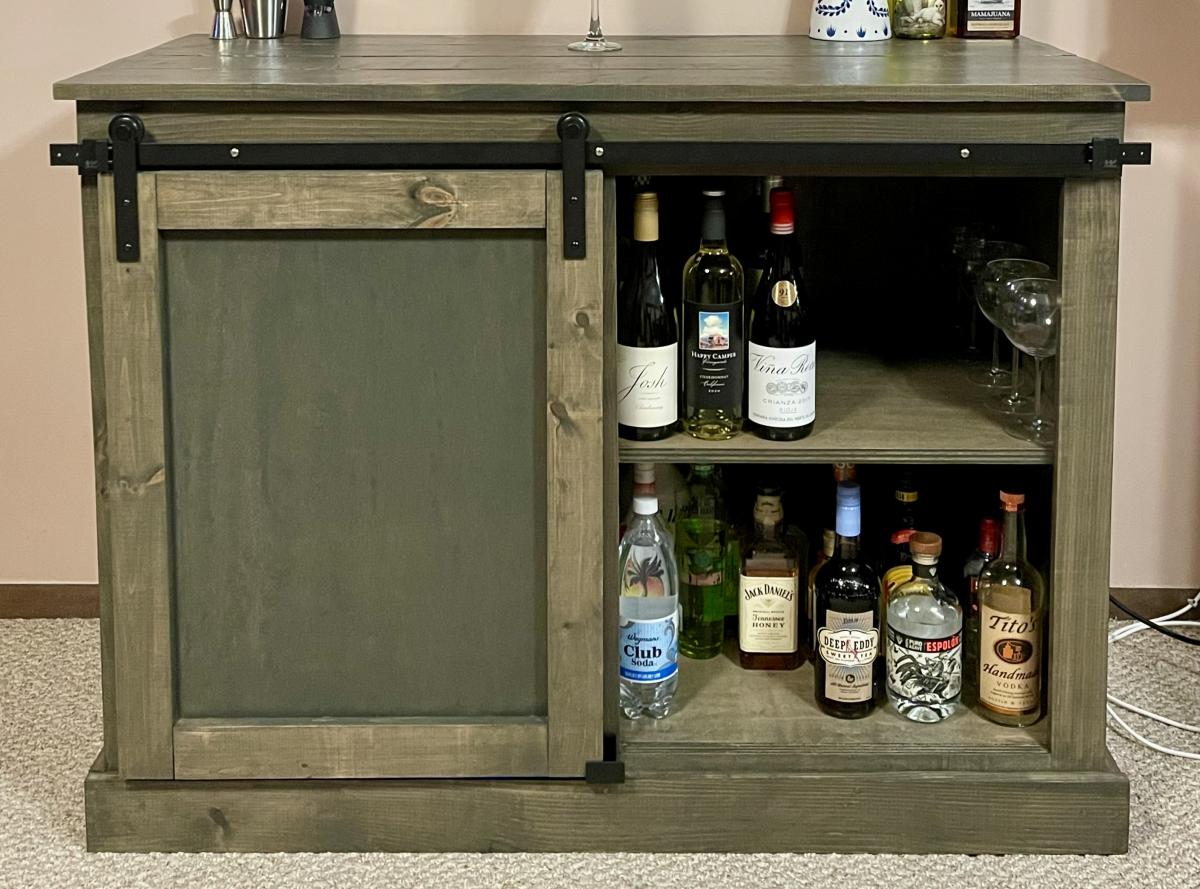
Built this exactly from your plans. Used aged barrel for stain. I love it!!!!
Mon, 03/14/2022 - 14:17
That's awesome, love the finish choice! Thanks for sharing:)
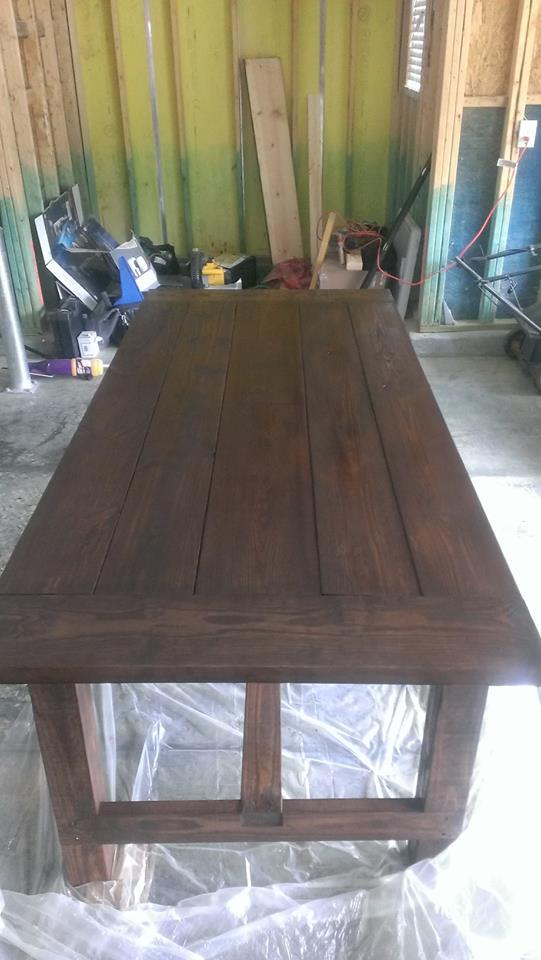
First attempt at a project and I have to say I am pretty proud! It may not be perfect but I think the imperfections give it some character. I used a dark walnut stain and finished with poly two coats.
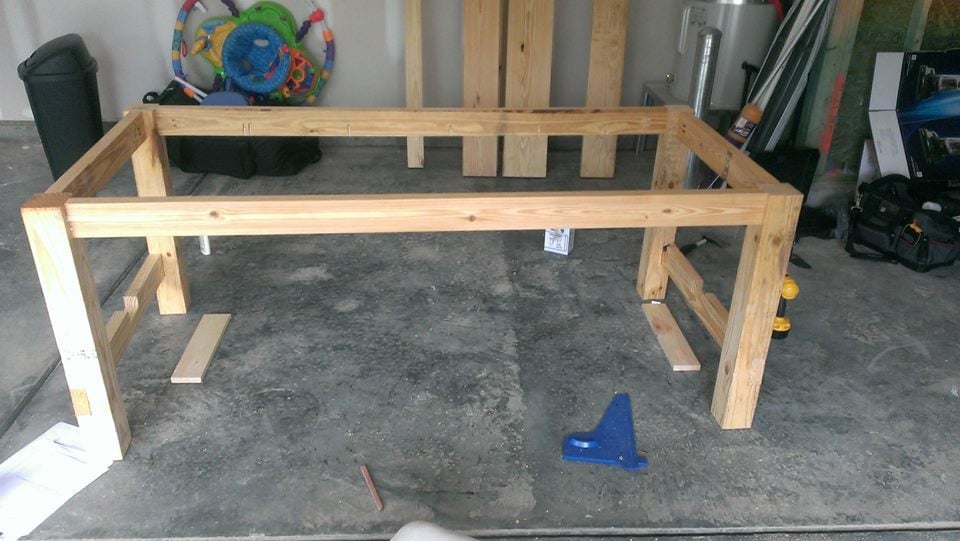
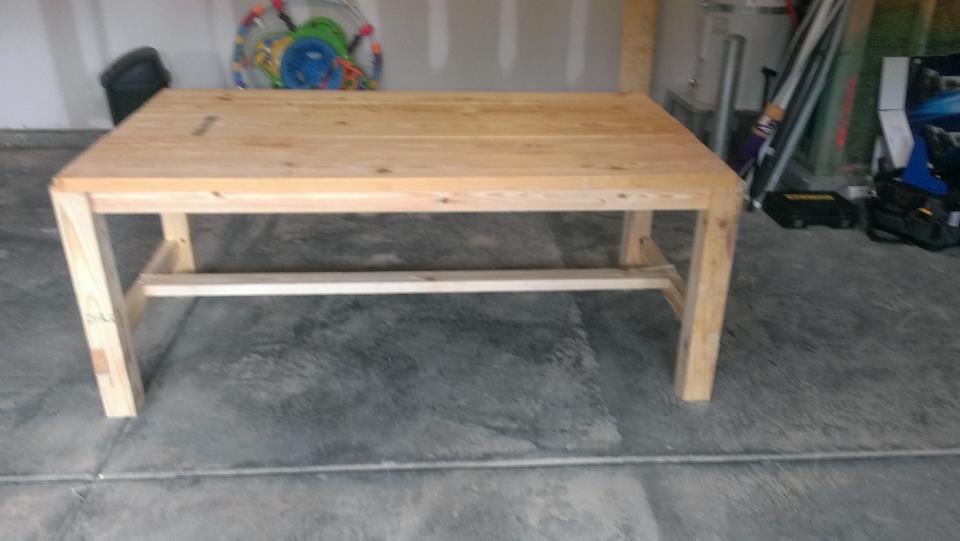
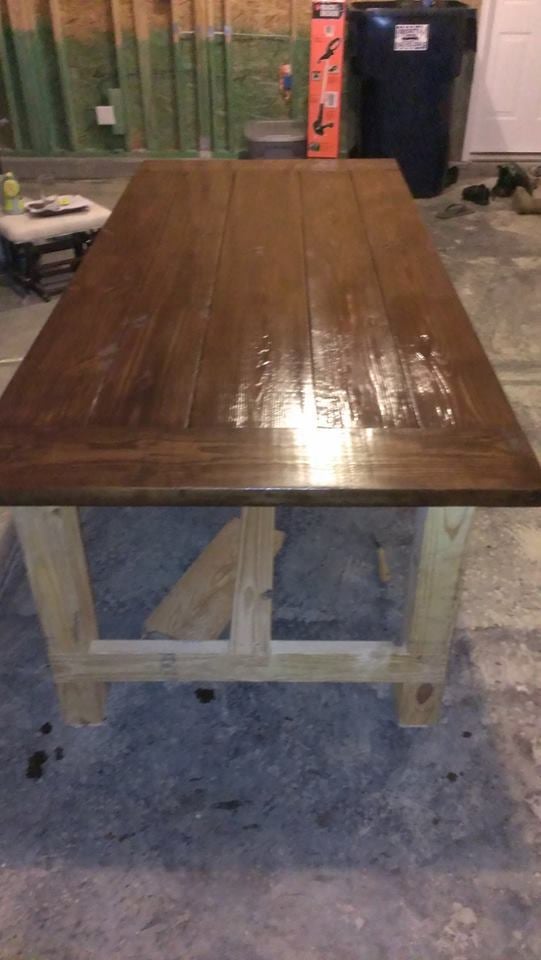
Really great and easy plans to follow. The only thing I would do different is replace all the 1x3's with 1x4's.
Sun, 07/26/2015 - 10:03
The bed looks great, and so does that nightstand! Thanks for sharing!
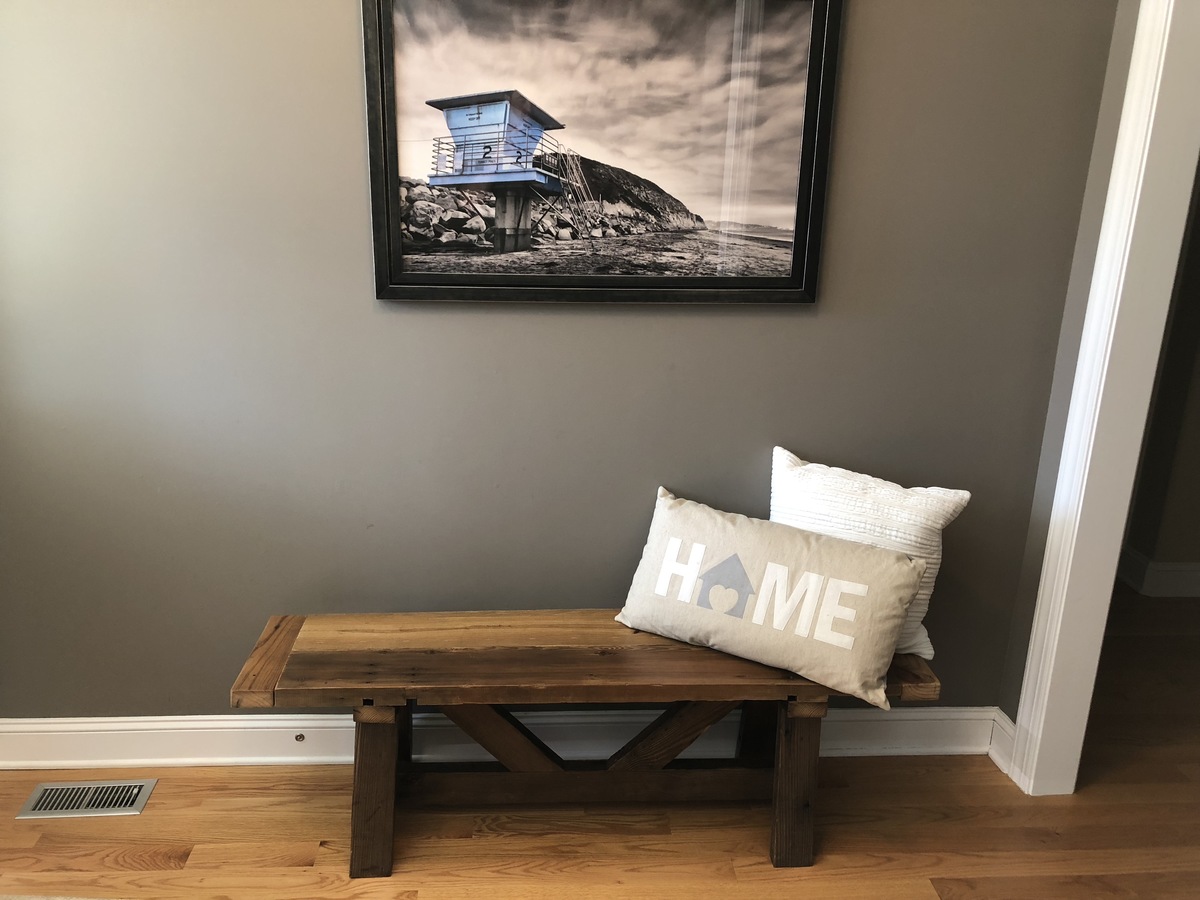
Entirely made of reclaimed wood. Sanded with 220 on a random orbital and applied two coats of polycrylic finish
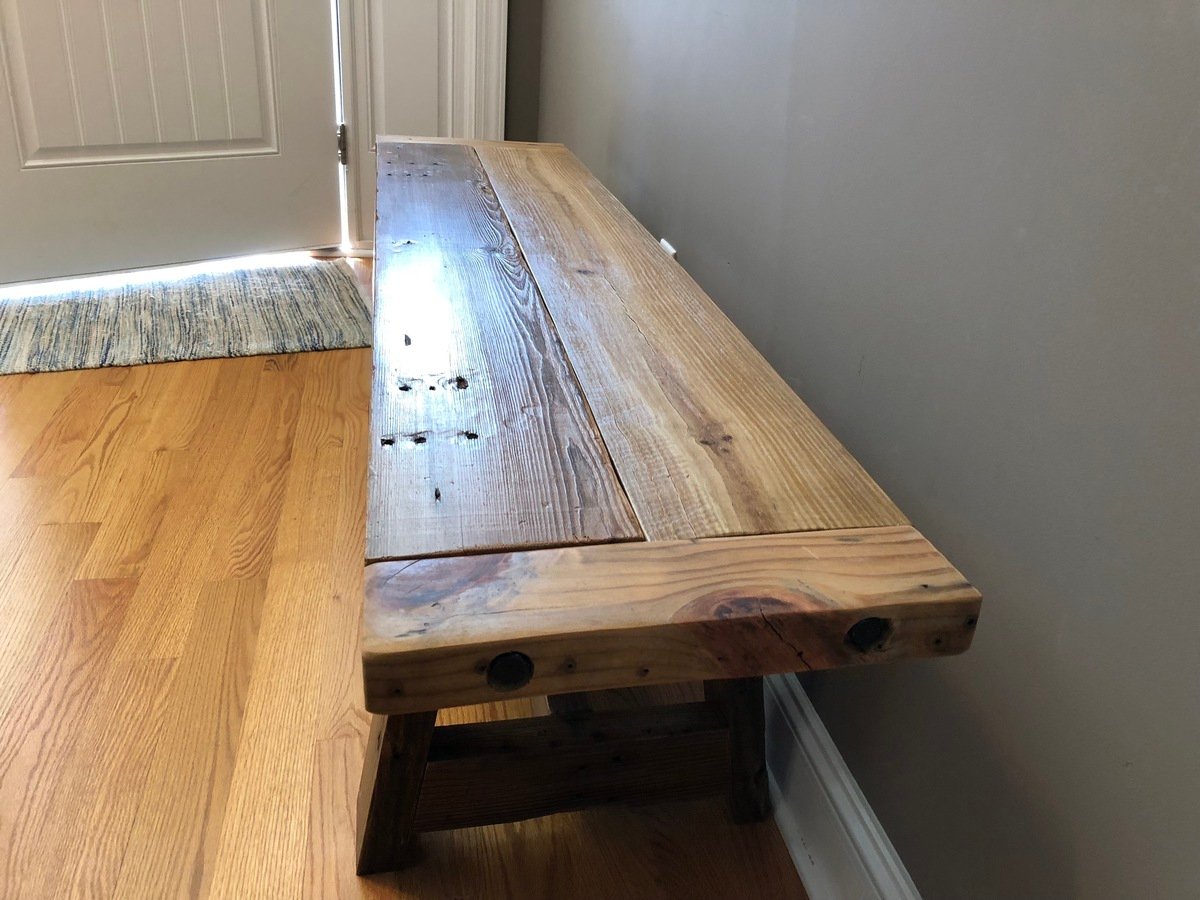
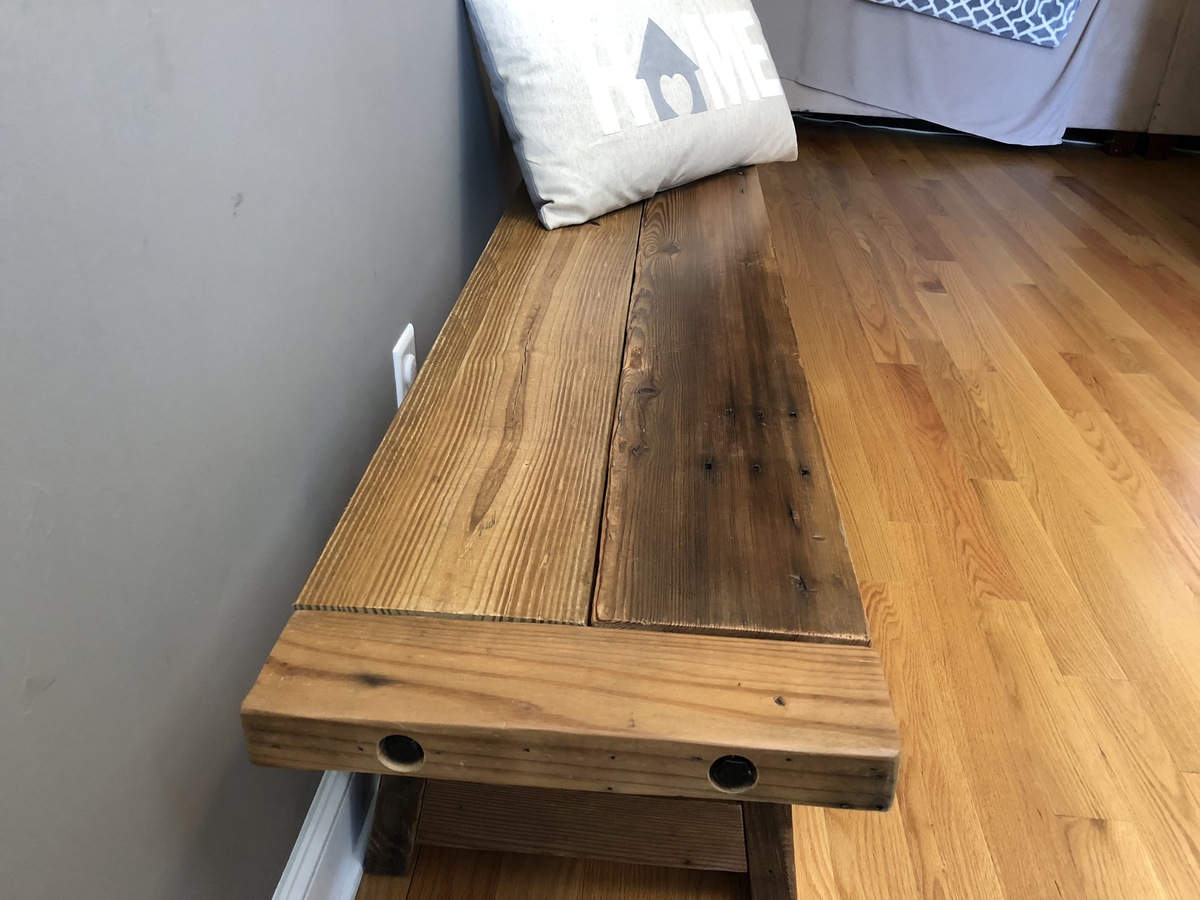
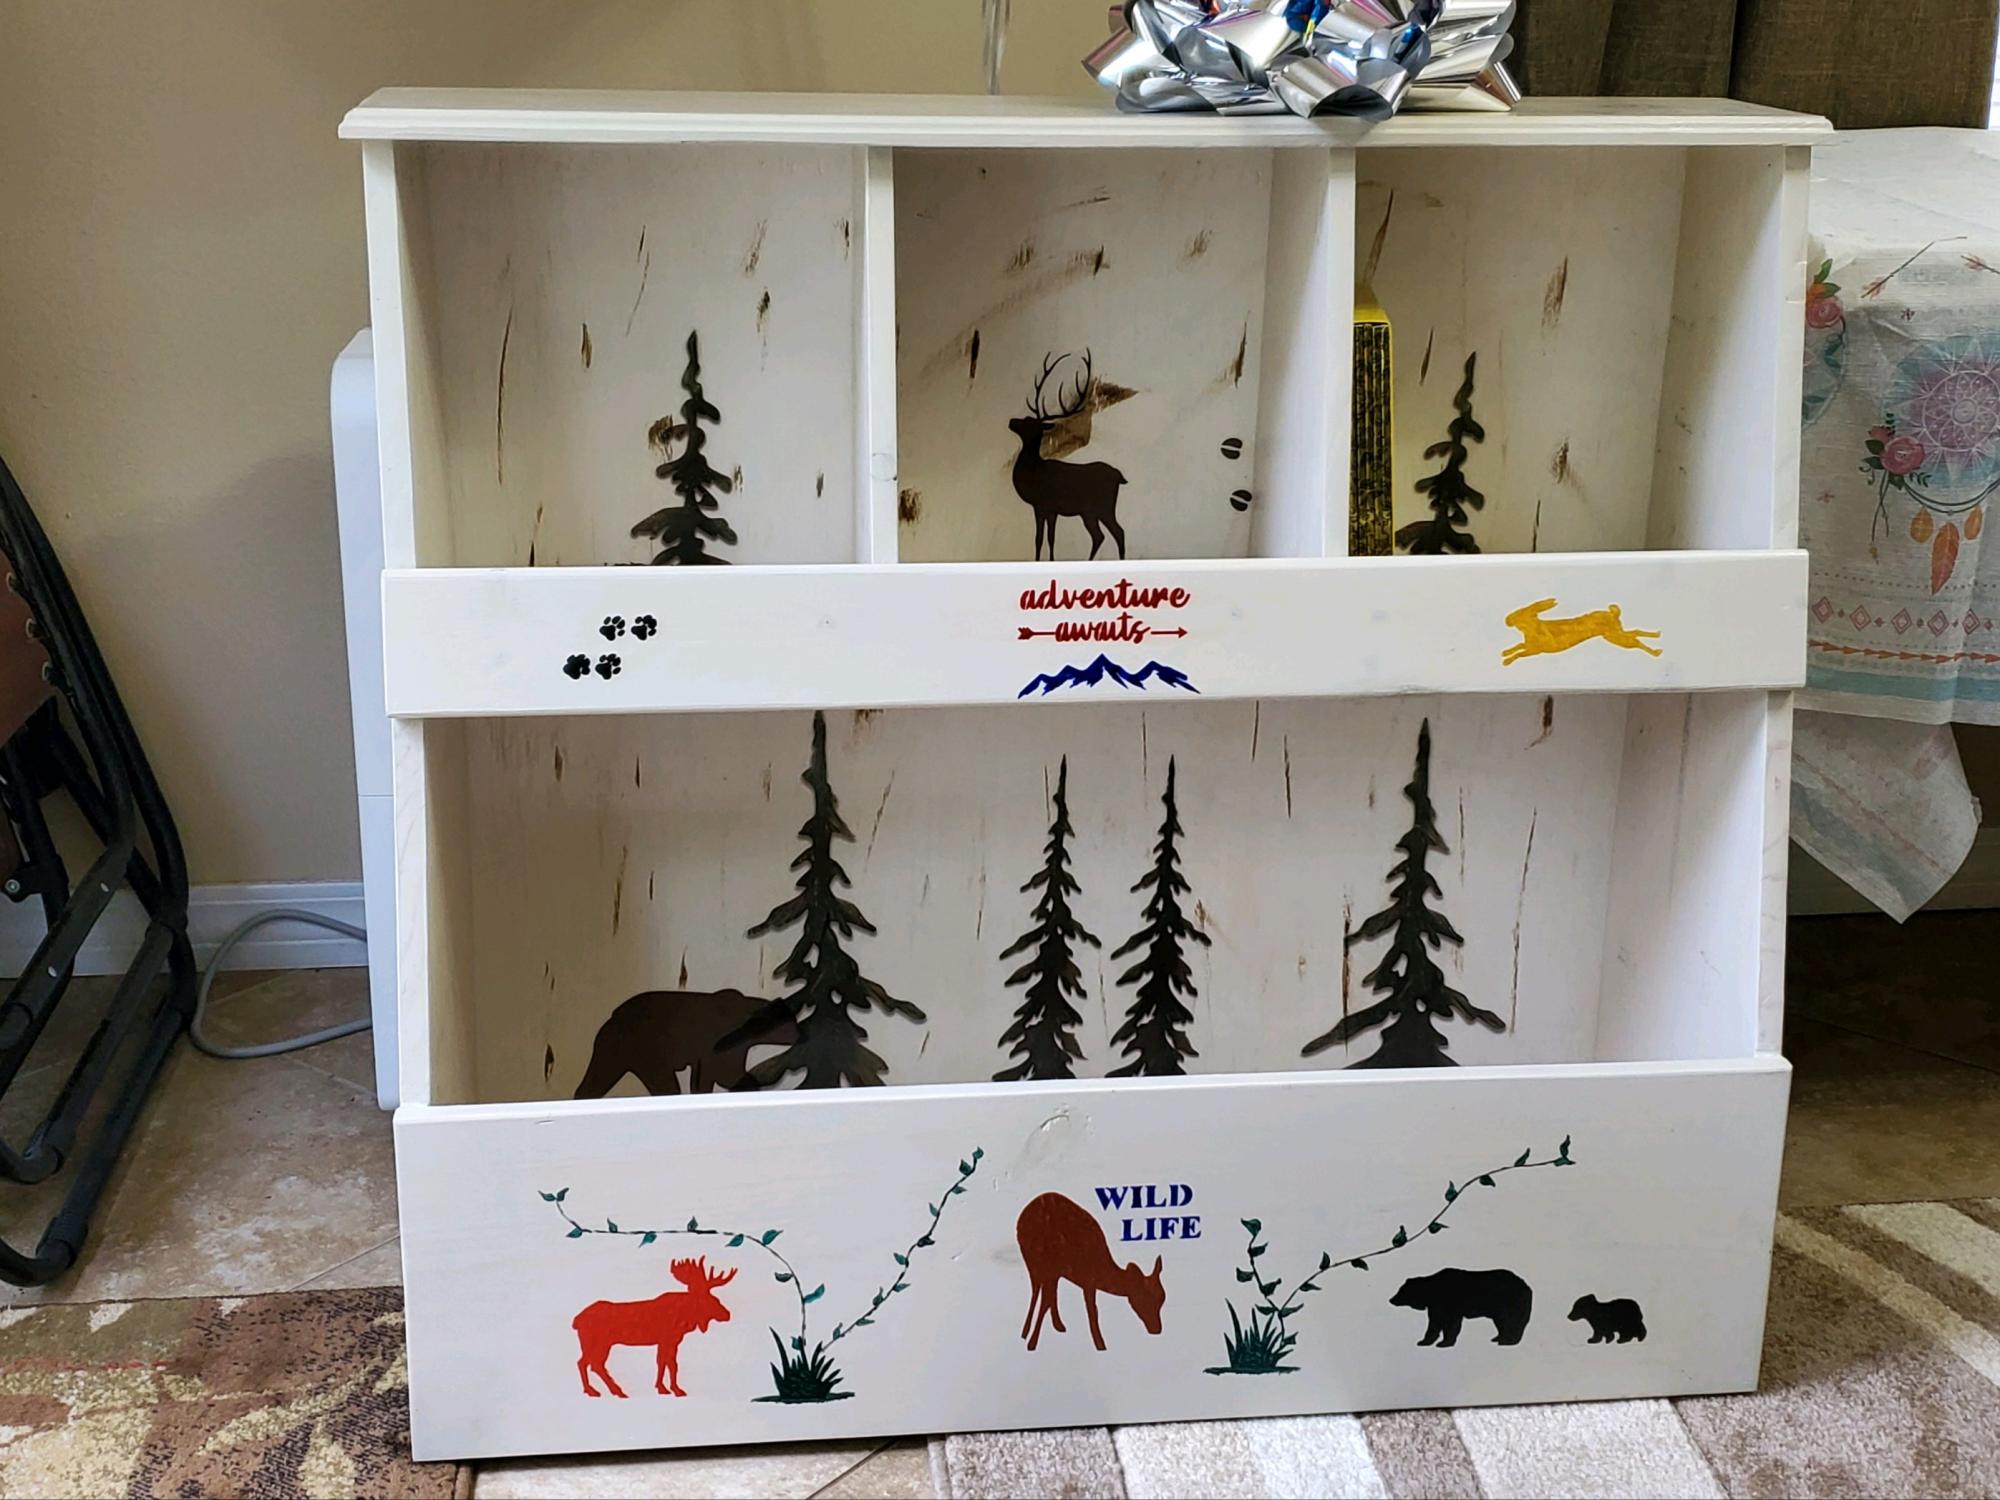
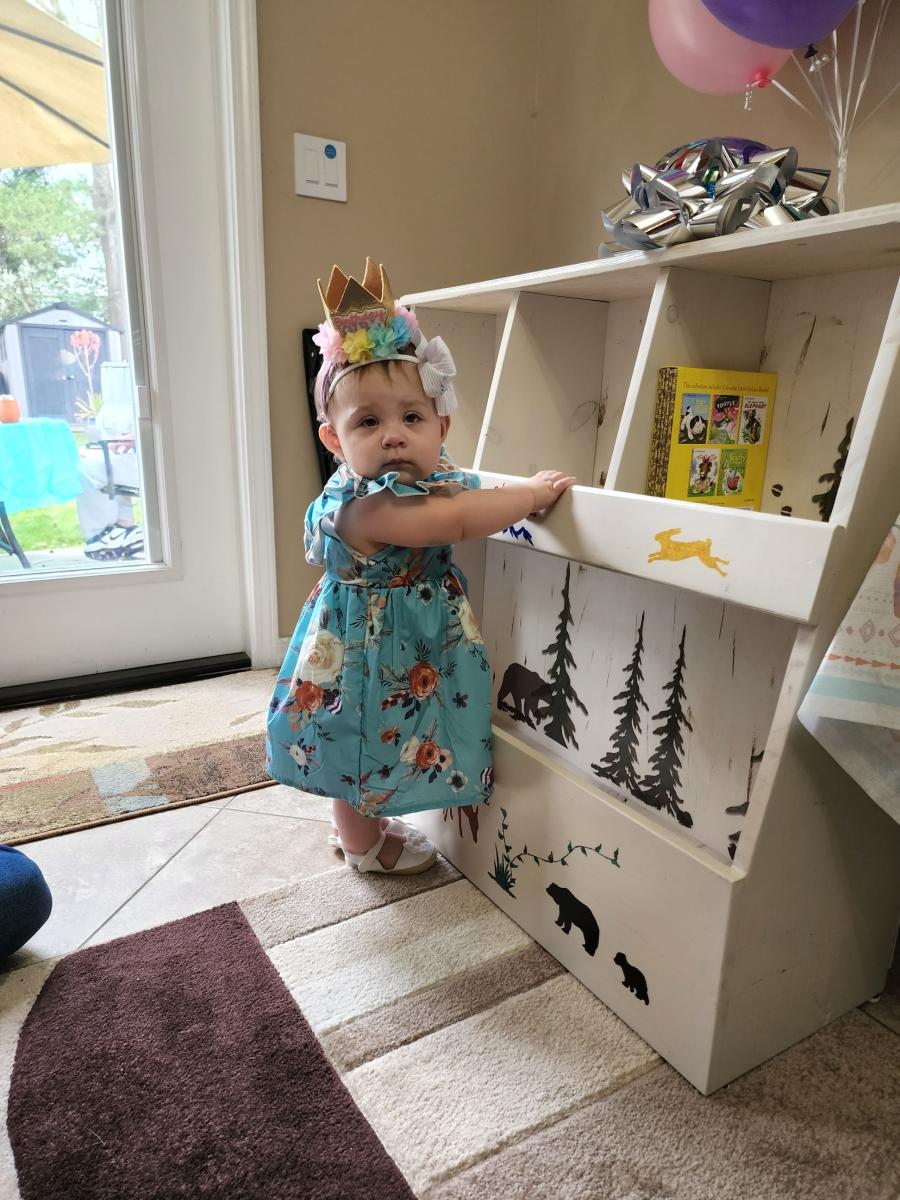
Tried to find a toy box for my Granddaughters 1st birthday. Ana White has the best plans so far. My Grandaughter’s room is wildlife themed, so I customized it for her room. Used semi-transparent white Minwax and added stenciling with acrylic paint before I added 2 topcoats of clear coat. In less than 10 minutes they filled it up, and so far, she seems to love it.
Sun, 04/03/2022 - 19:03
Thank you for sharing your awesome project, love the wildlife theme!
This project was so EASY and it is just what I wanted over the entertainment area. We had some So excited that it came out so well and looks great! Thank you for such easy to follow instructions!
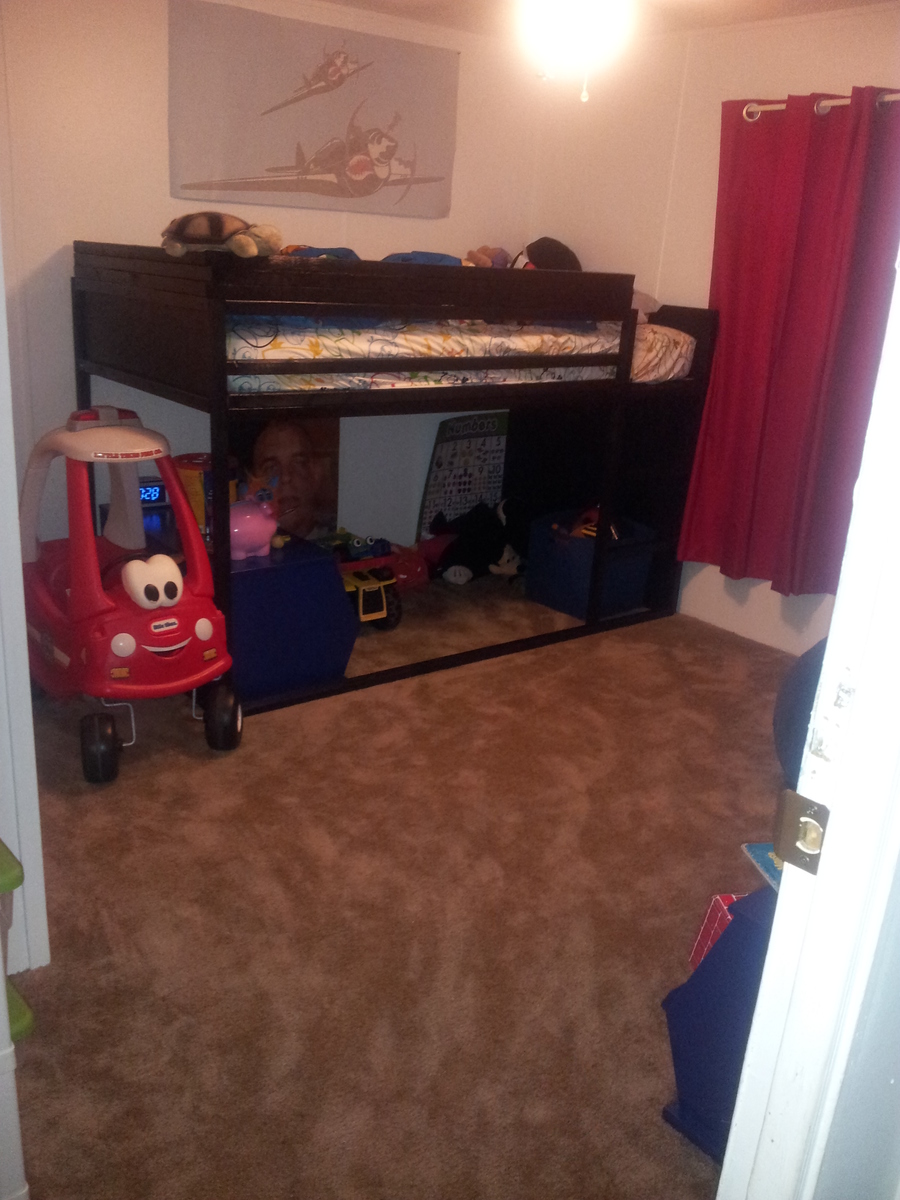
We're in a rental and the rooms are a good size, but on the small side of good sized. Thought this would be perfect to give my 4 year old a little extra play space. I added three extra 2x2s to the guardrail, it was a bit short for my liking. Other than that, stuck to the plans. It seemed when putting together the ladder that we were missing a piece and couldn't figure where it was in the plans, but I just ran to the store so we could keep the ball rolling. We love it!
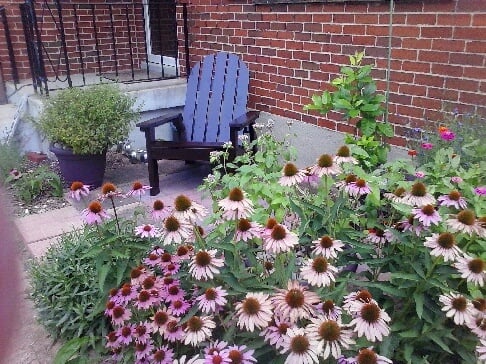
I built this for my daughter, and she loves it! Looks great and feels even better to relax in. Now I'll have to build one for me, 'cause she's not sharing ![]()
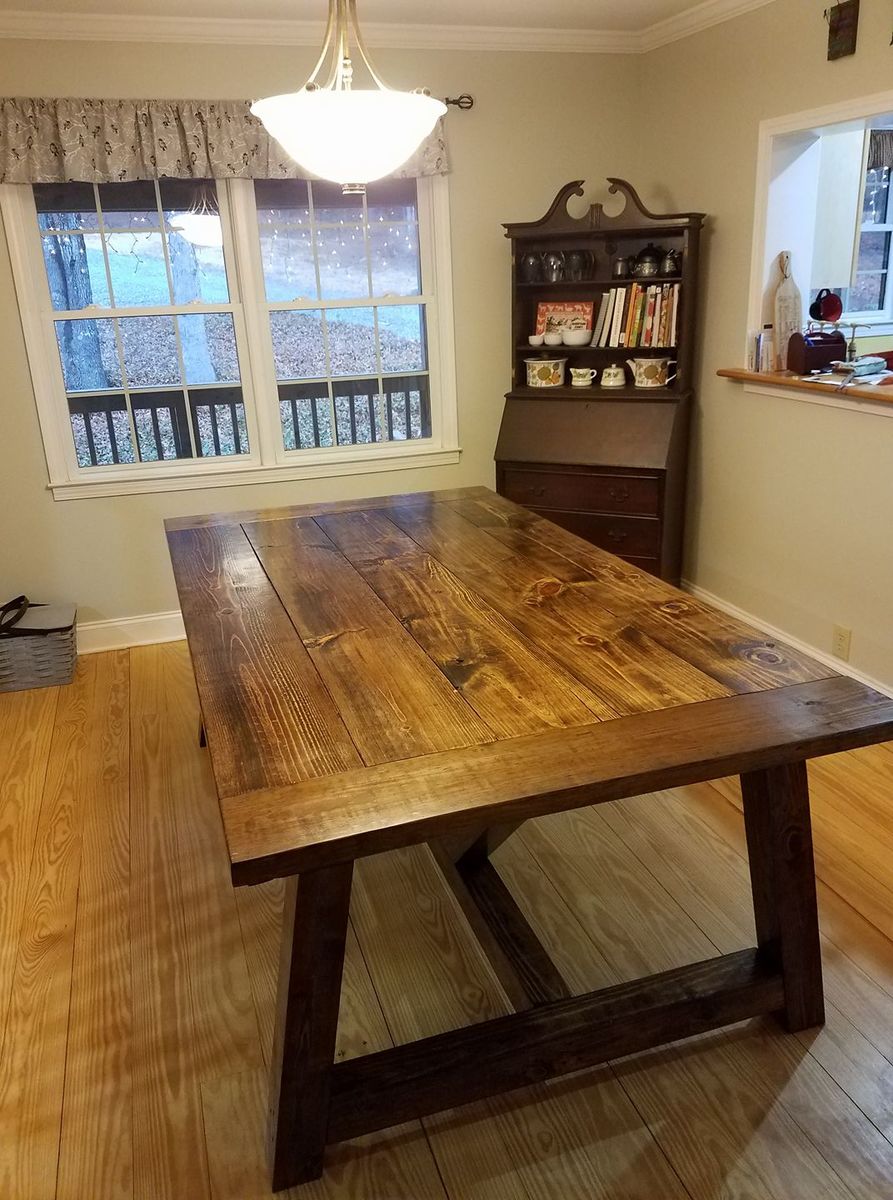
It took me a good 6 months to finish this since I started before summer, but it got too hot here in SC very fast. So I just finished it in January this year. It turned out great! Longest part was the finish work since many days it was too cold to put Poly on it. The actual building of the table went quick.
Comments
thomasputnam77
Sun, 08/02/2020 - 15:10
Awesome
Awesome
Julisib
Tue, 04/19/2022 - 10:17
It looks great and very…
It looks great and very solid.