Small Kitchen Storage Cabinets

Our kitchen is smaller than our last house, so we turned our breakfast nook into more storage and could yet space. I love Ana White’s plans, tips, videos, and community.
Beth Ivy
Built from Plan(s)
Our kitchen is smaller than our last house, so we turned our breakfast nook into more storage and could yet space. I love Ana White’s plans, tips, videos, and community.
Beth Ivy
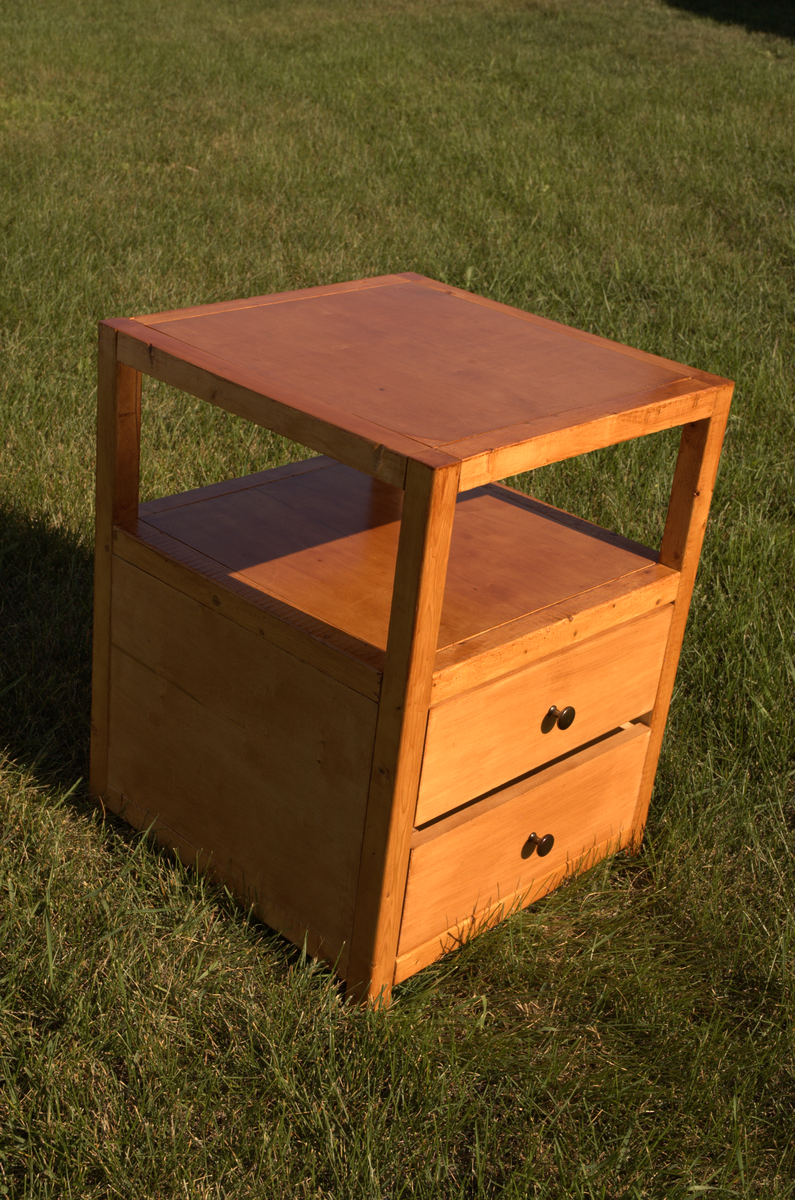
This all started with wanted to clean up my side of the bed. I have a CPAP machine, I like to read and I am a techno-geek. There simply wasn't enough space for things to fit, so they find themselves on the floor.
I started looking around at furniture stores, and none of them were exactly what I was looking for, and the ones that I would have considered were $500+. I thought to myself that I can use this as a learning opportunity. I found Ana's site here and immediately knew I had found the right place.
I downloaded the plans to the Rhyan End Table and was so impressed with the layout. I wanted to know how the construction pictures were built and downloaded Google Sketchup and the Rhyan End Table plans and proceeded to build the end table virtually. I am truly in awe of the power of that tool.
Then I started the actual build of the project. I hadn't really done a lot of woodworking - but I am now a fan of the Kreg Jig. What a great tool!
I know I should have read everything *thoroughly* - but I didn't. Because I didn't have all my own equipment, I went to a friend's house to cut all the boards. In hindsight, I now know why that wasn't a good idea. Because I had pre-cut everything (and was as accurate as I could make it), when I got to the drawers, I was really in over my head. I had a woodworking friend help me set the drawers and shave off a bit of the drawer slide mounting boards, so the drawer would fit. One side effect of that is that I decided that putting the spacer board in-between the two drawers would made things more difficult and could possibly make the drawers not work very well, so because it is for me, I decided to leave the spacer board off.
I just finished putting the last coat of Pecan Poly on last night and moved it in.
As this was my first project, I learned a _ton_ of stuff. So I left it rougher than other people would like but I already love it.
Now my wife wants one for her side of the bed :-)
Thank you Ana for your site, your passion and inspiring me to start doing a little woodworking!
-Bryan

Plans used from Ana-White.Com's awesome recreation of a commercially available table. Ran through this construction in no time and it came out like a charm. Thanks!

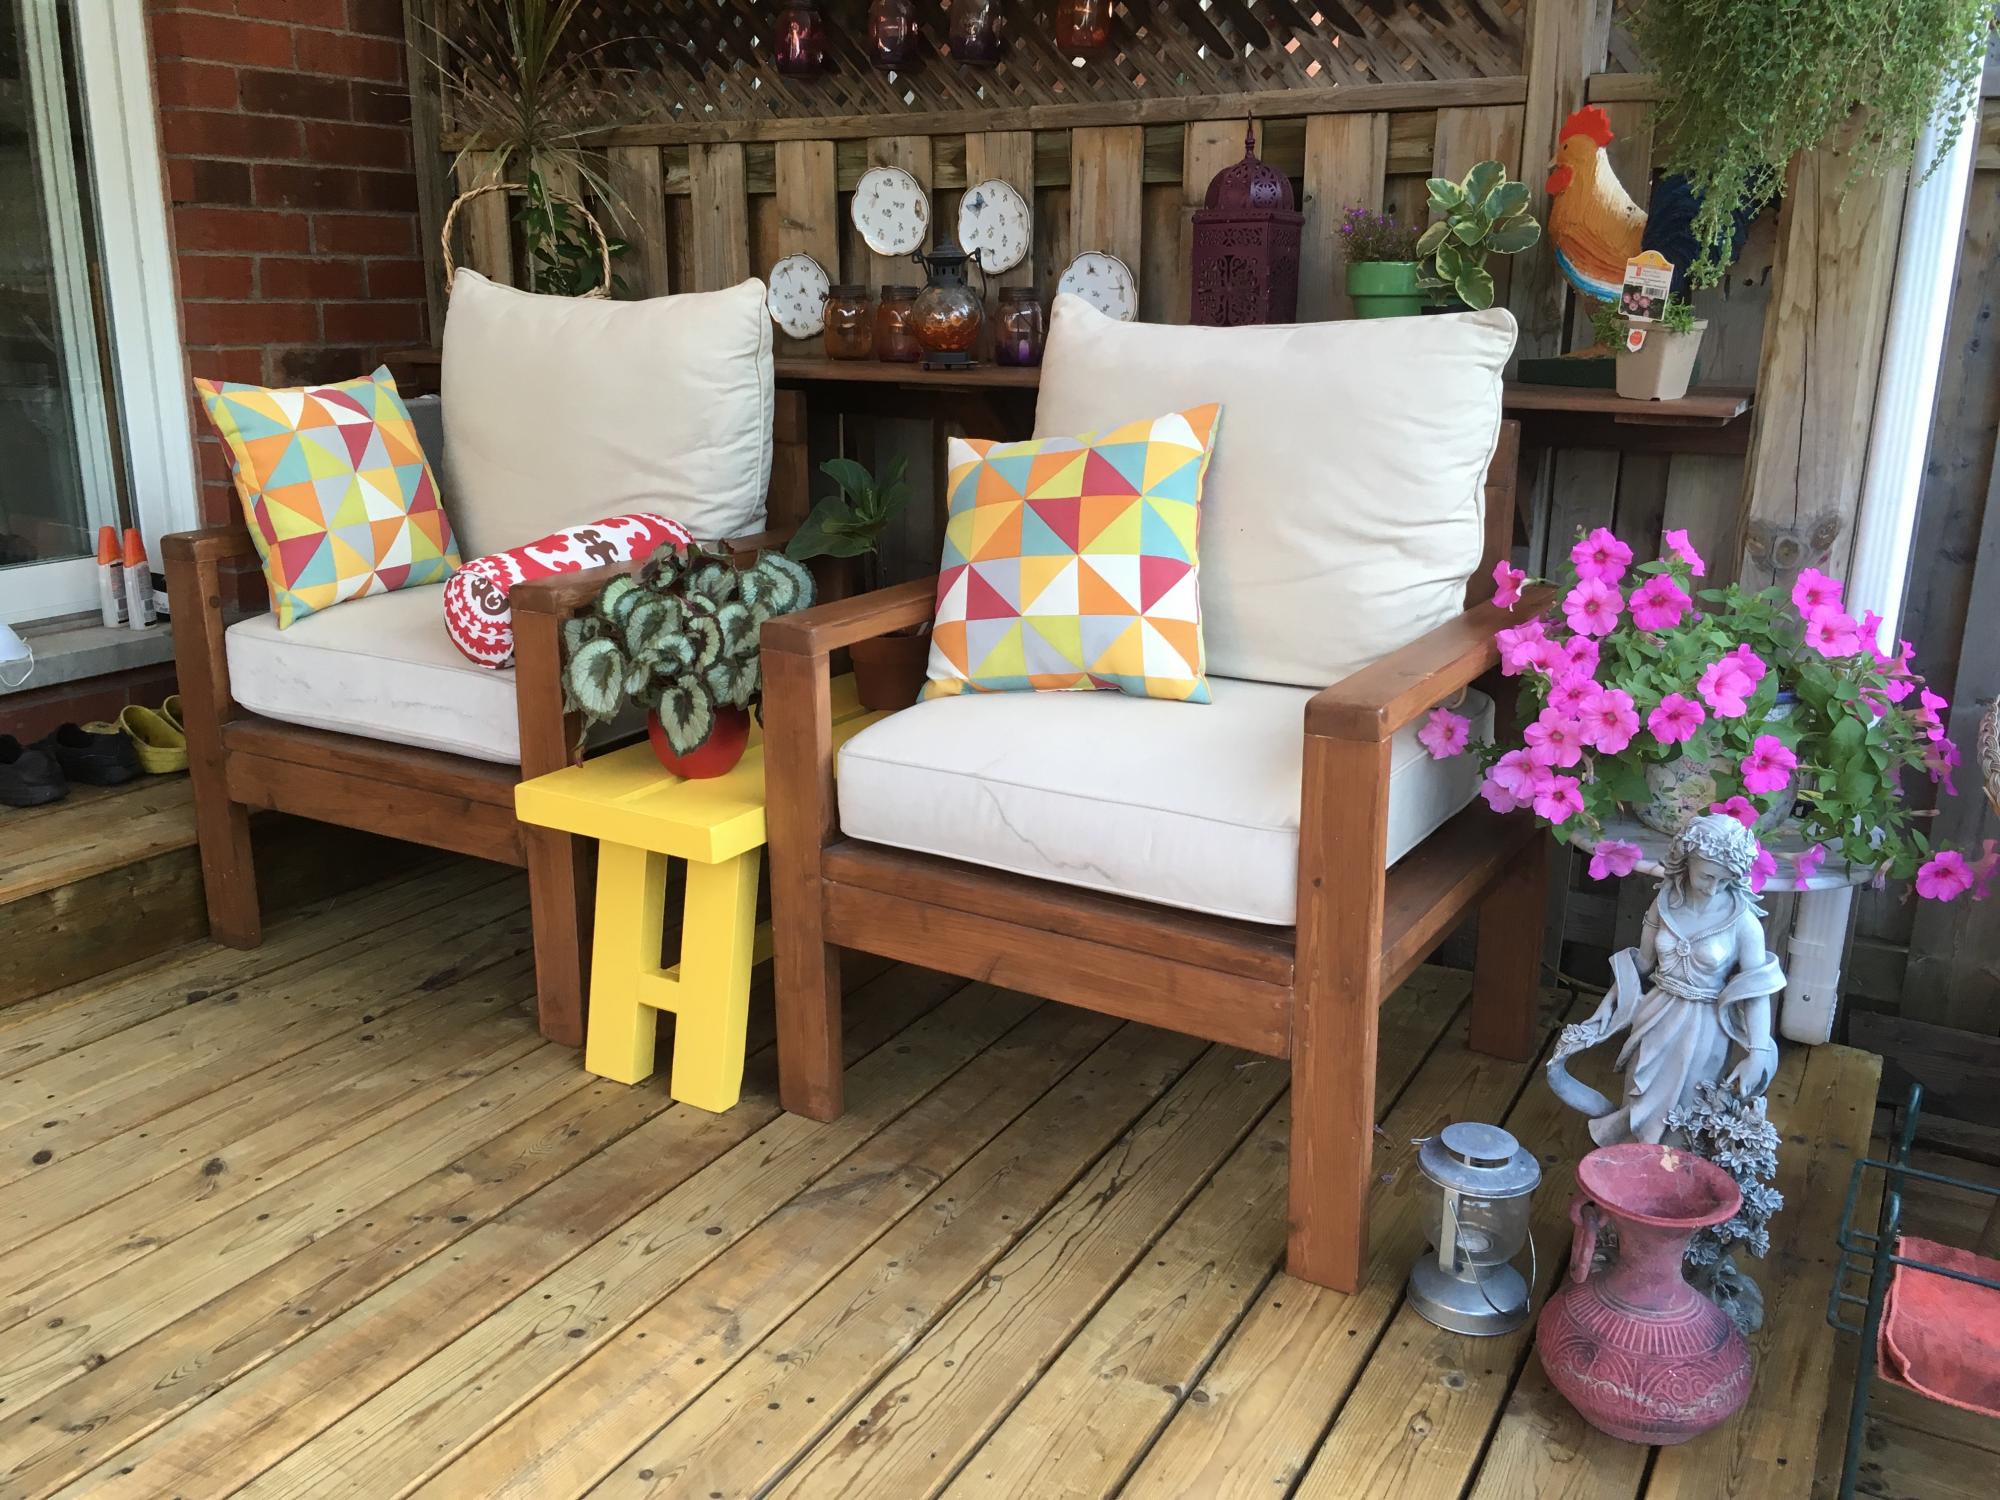
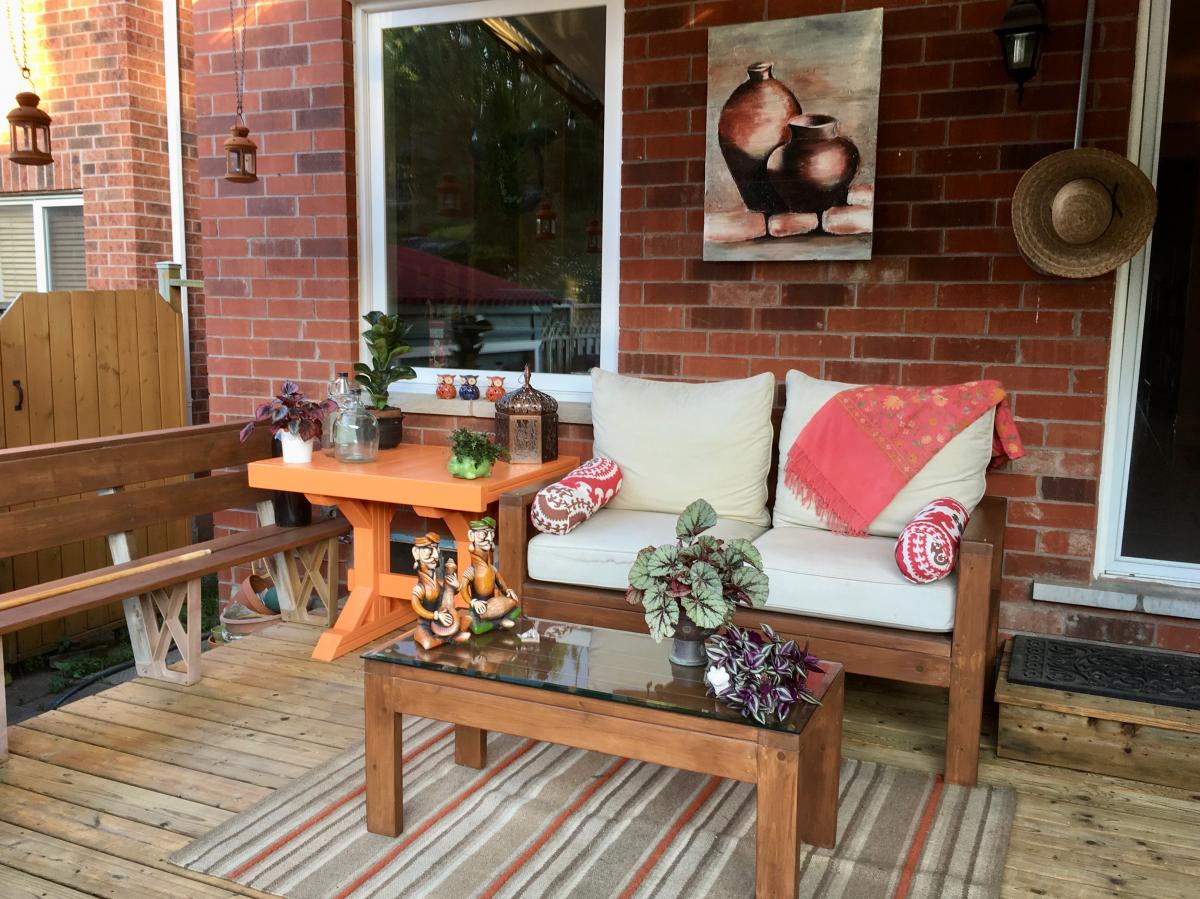
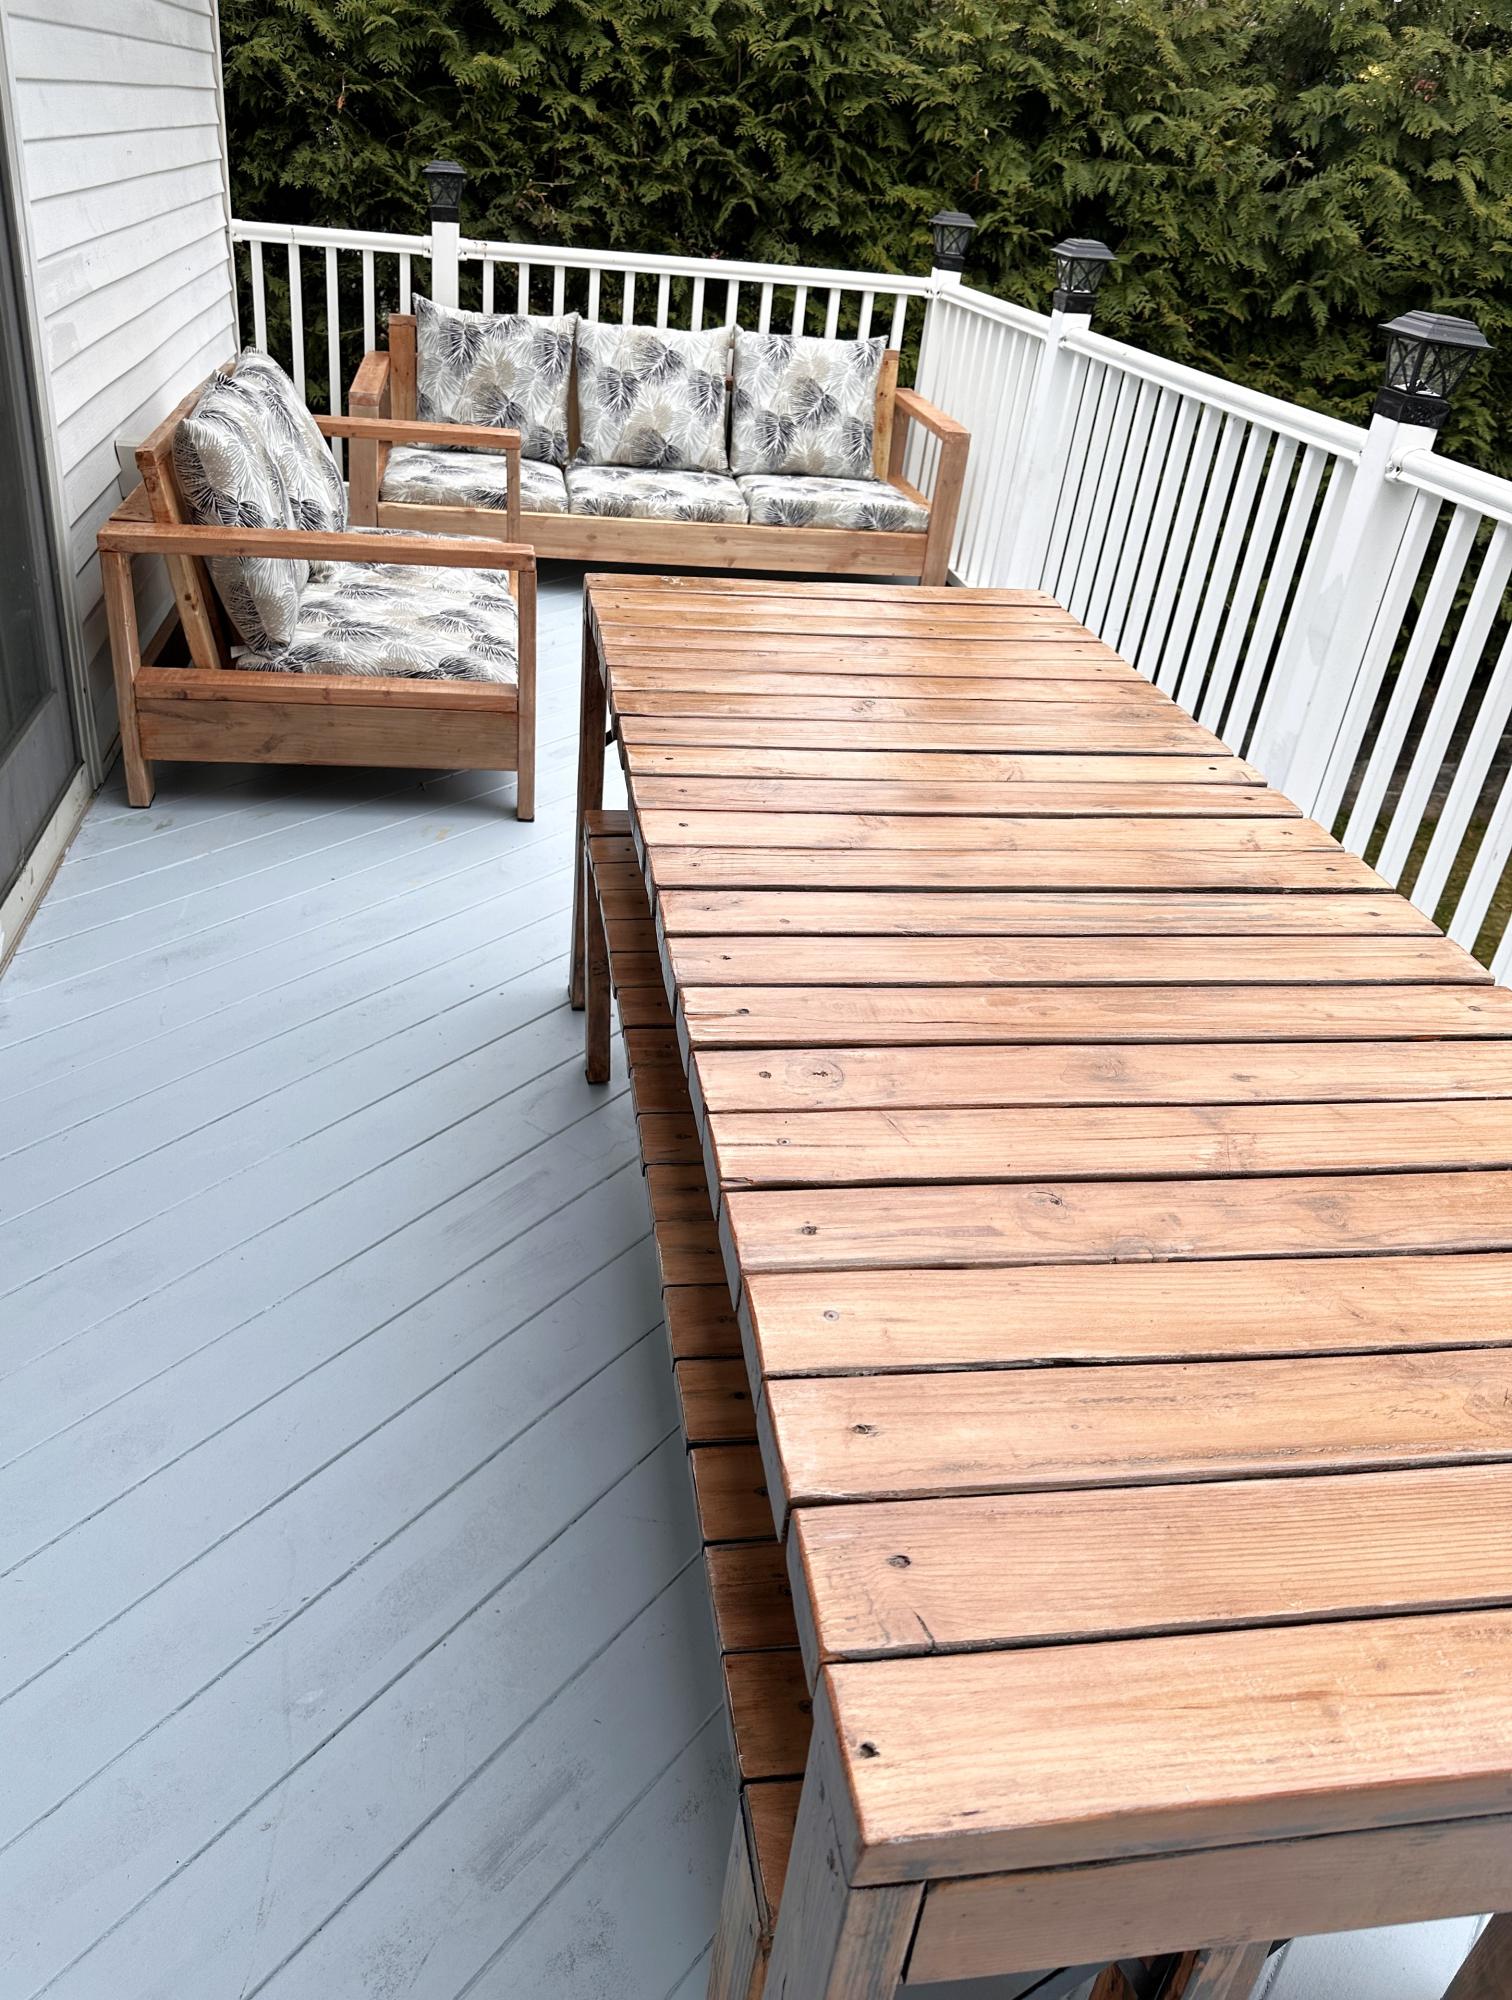
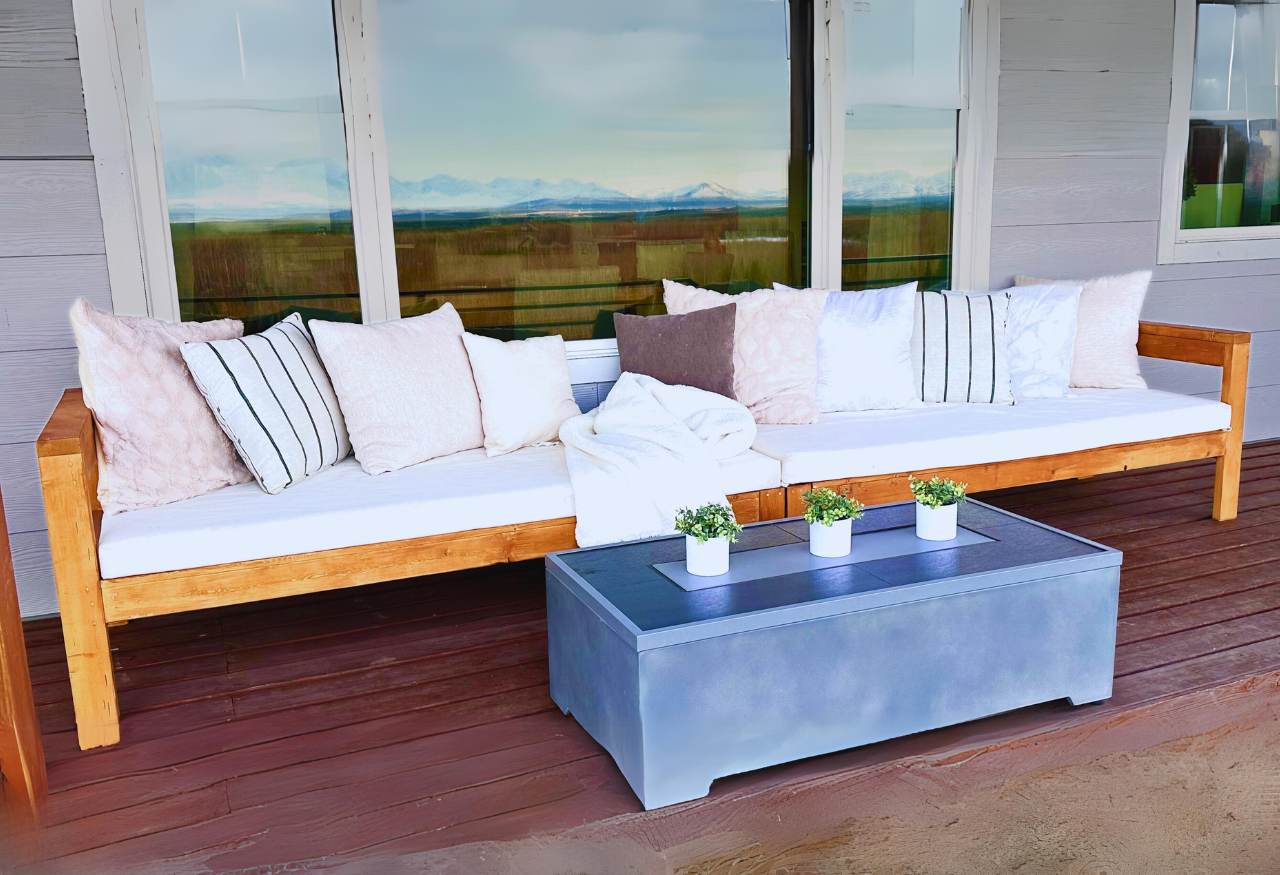
Someone on my street had thrown out 2 couches. The cushions were in perfect condition. So I built chairs and fit the cushions! I built a matching coffee table to fit a glass I had. To finish the space, I added a table to have my morning breakfast.
Mon, 11/01/2021 - 10:09
That's a steal! It looks like a very relaxing spot to hang out, thank you for sharing~
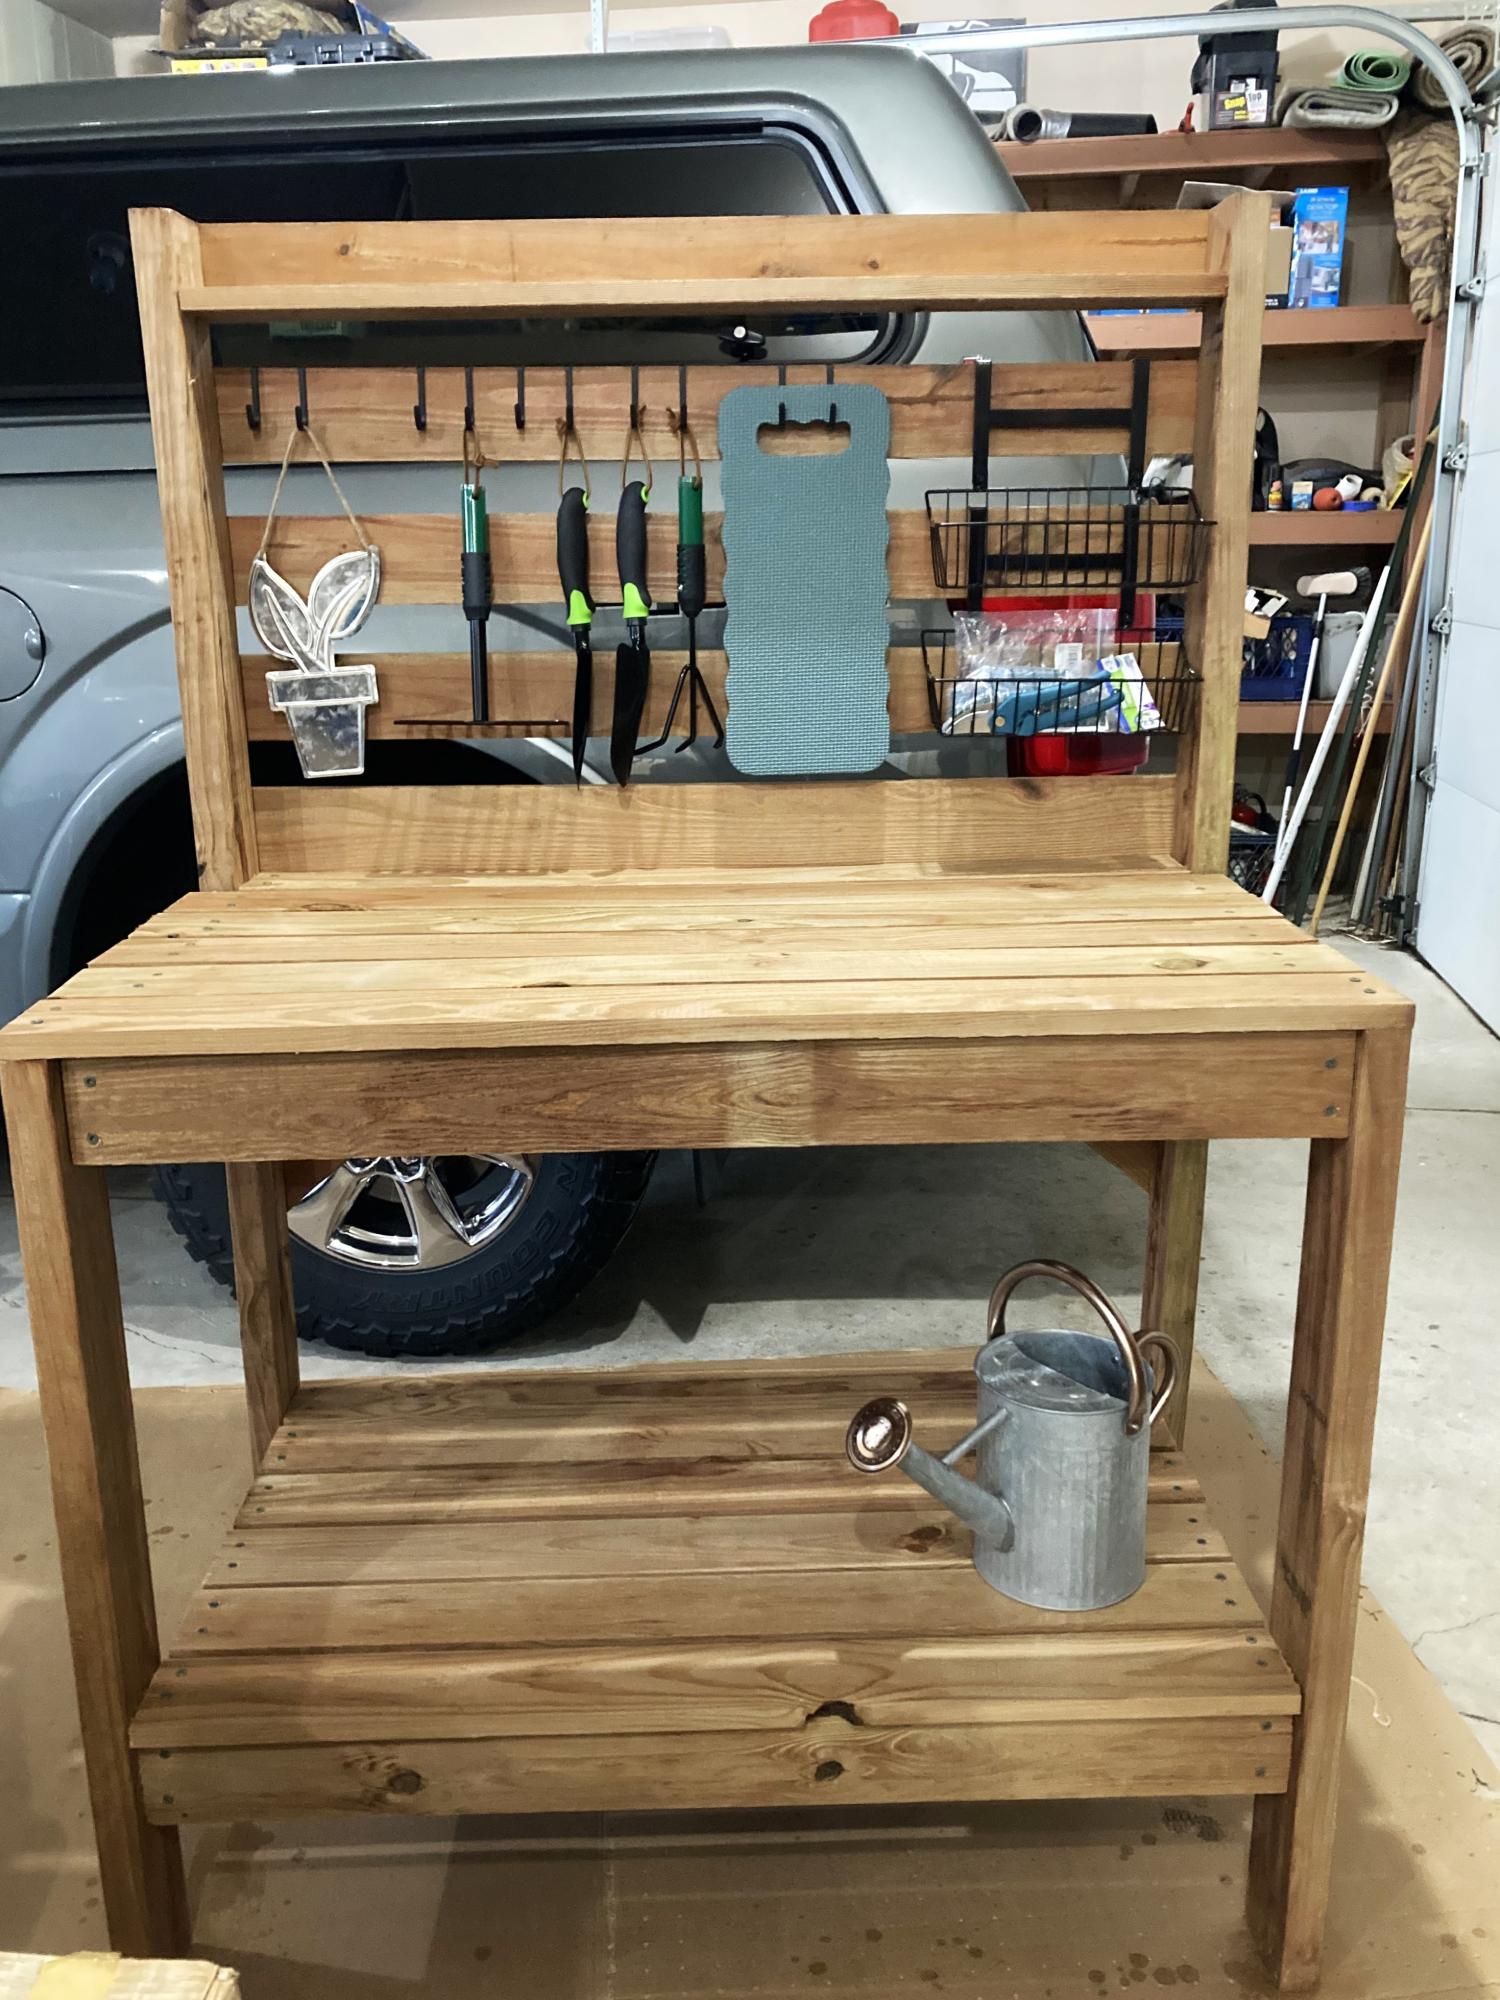
Potting bench I made for my daughter as a housewarming gift to her newly built home. Easy plans! It was a great build.
Kmw
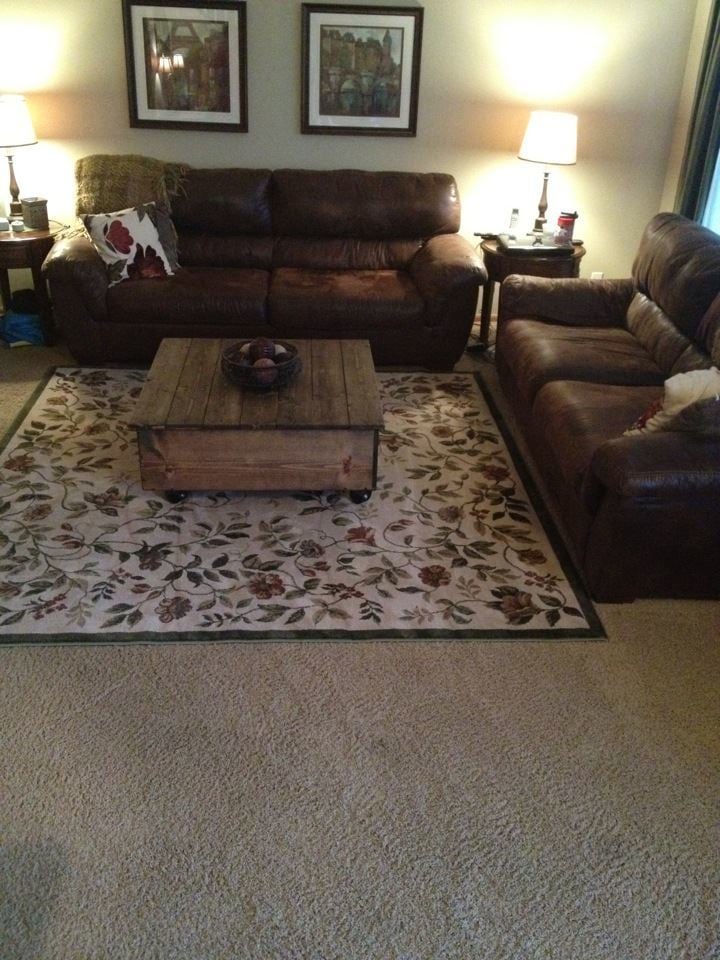
This is our version of the factor cart. I used 12 inch boards on the sides to make the table have a little more height.
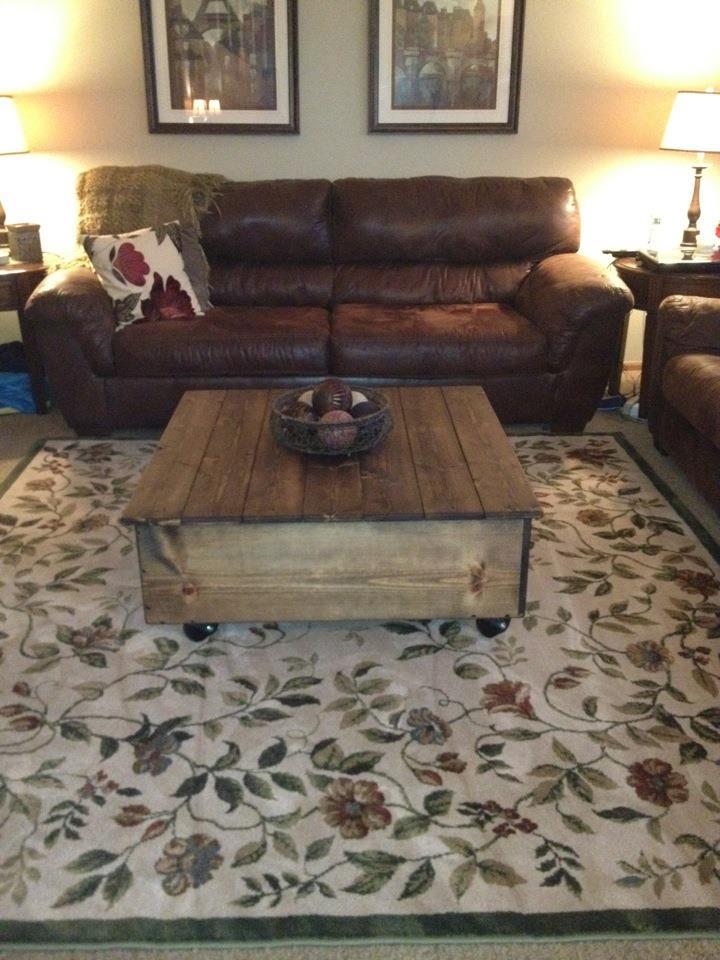
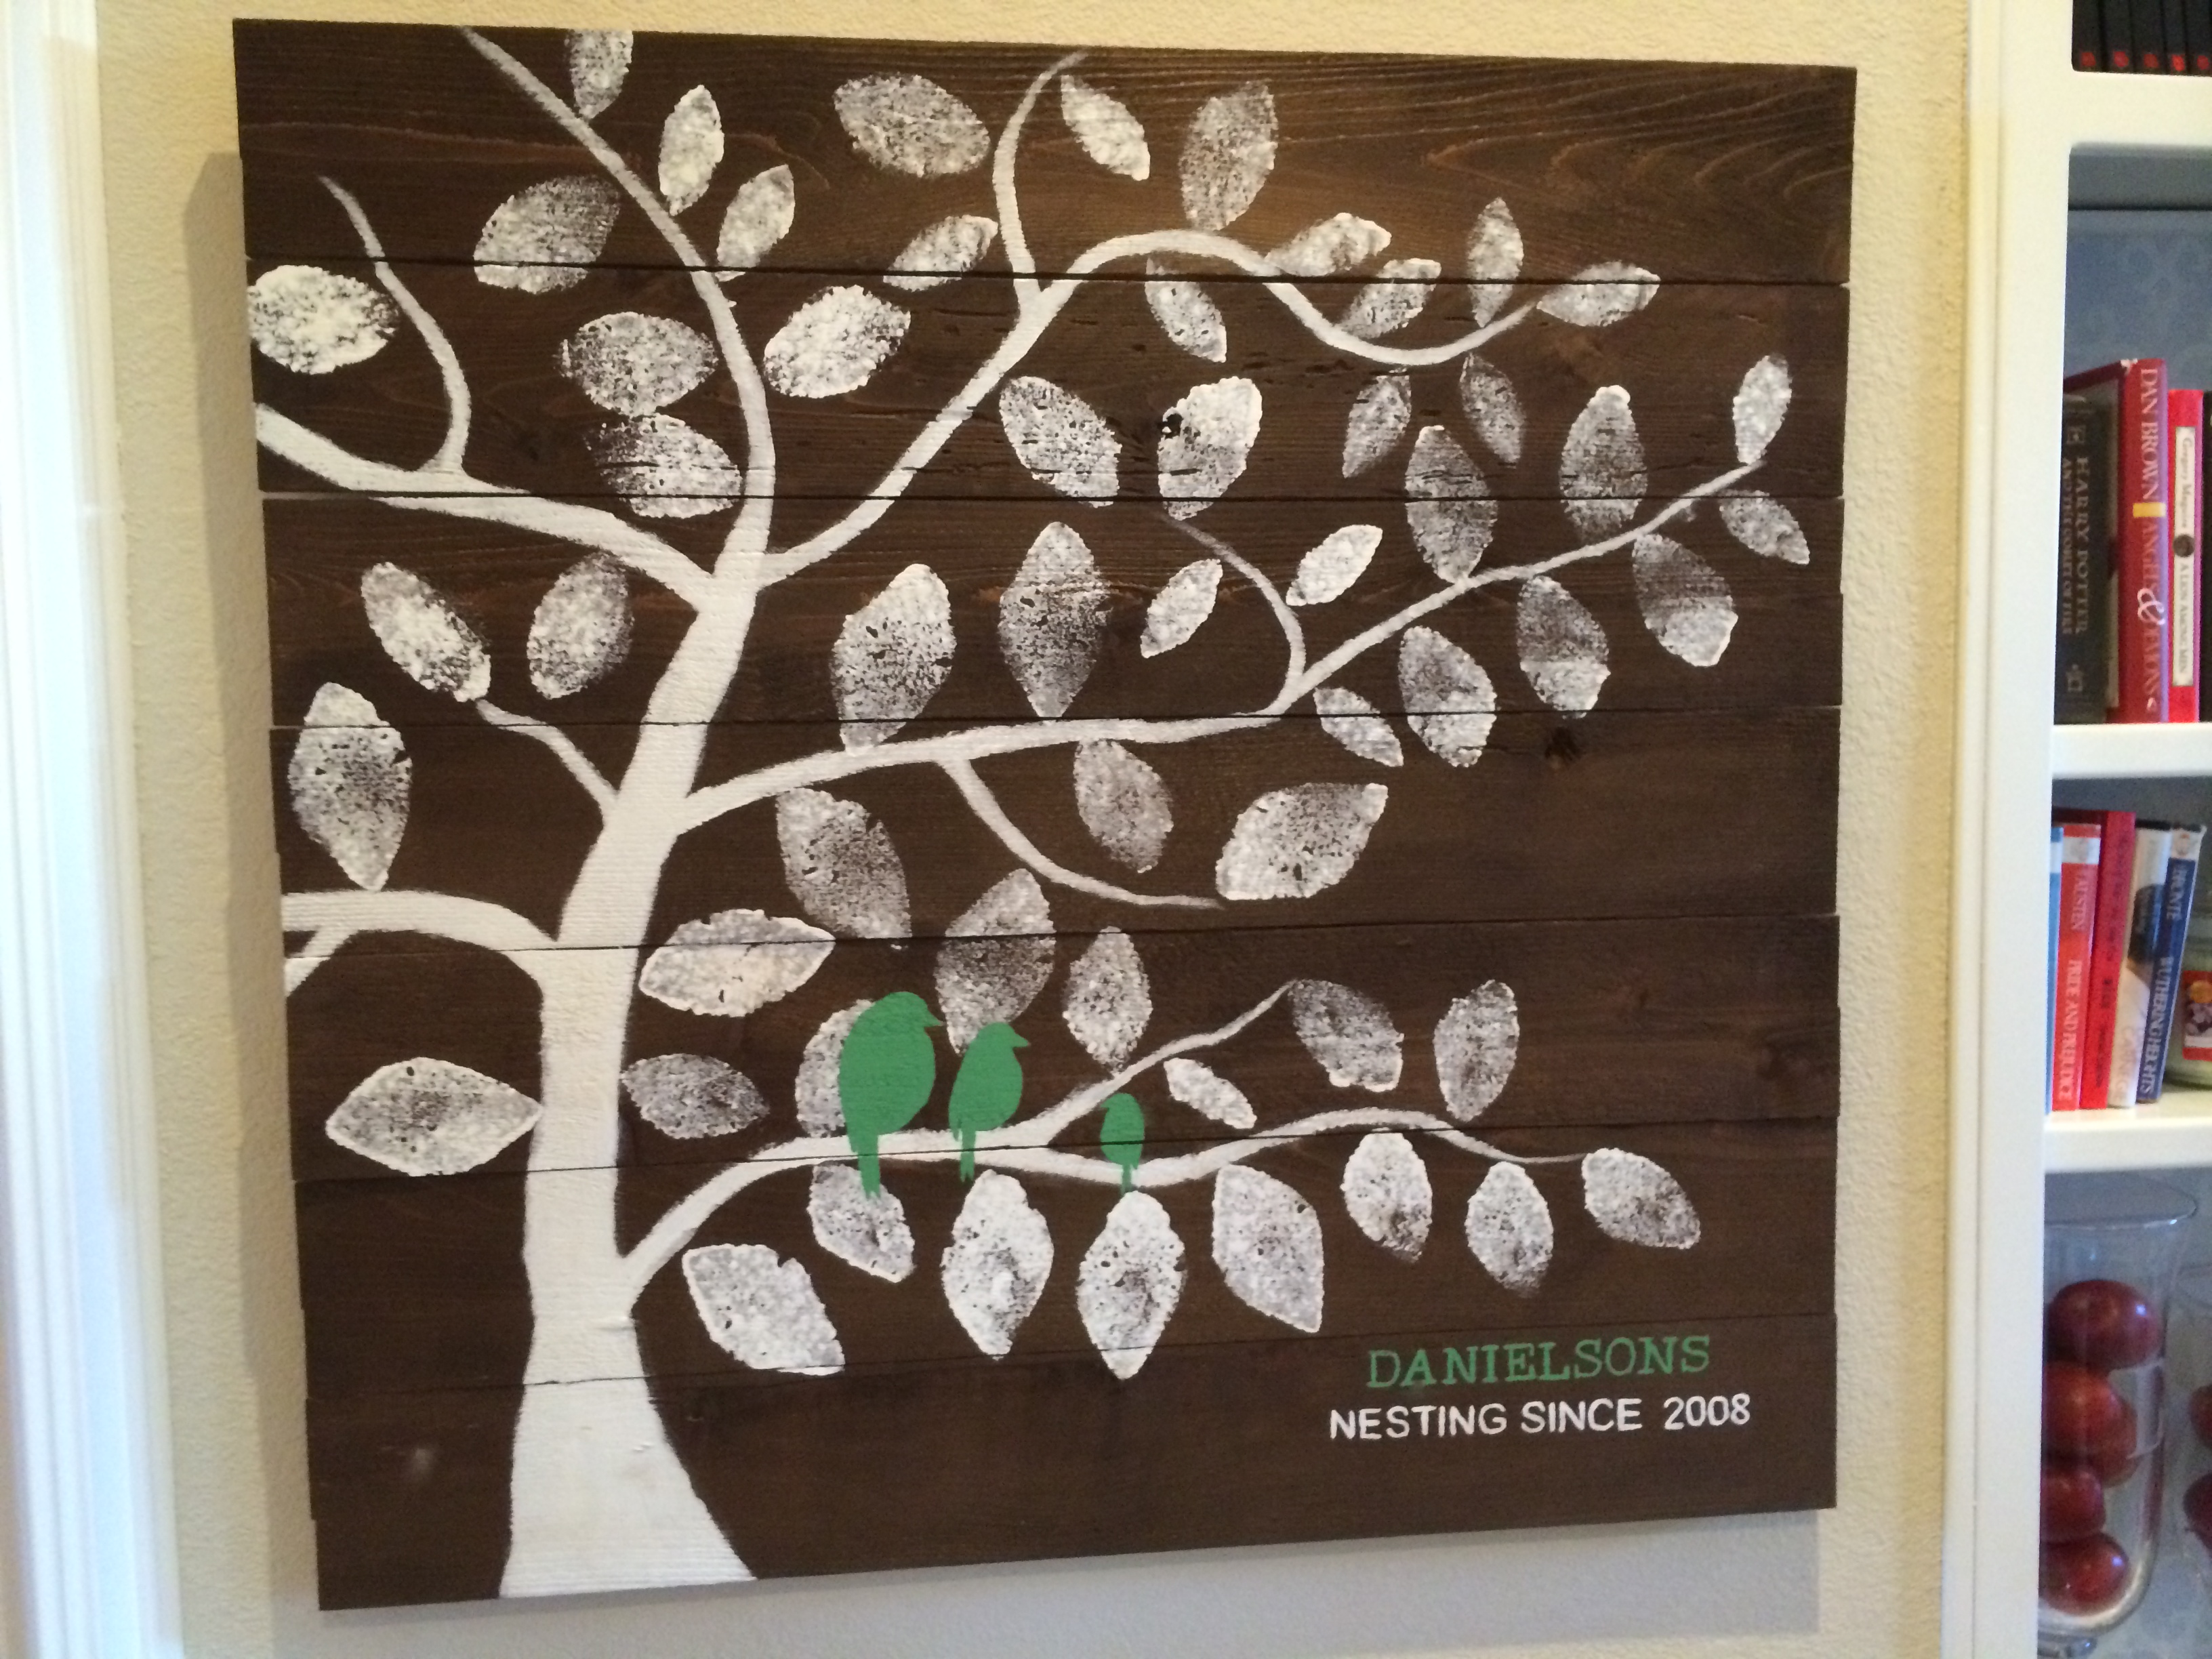
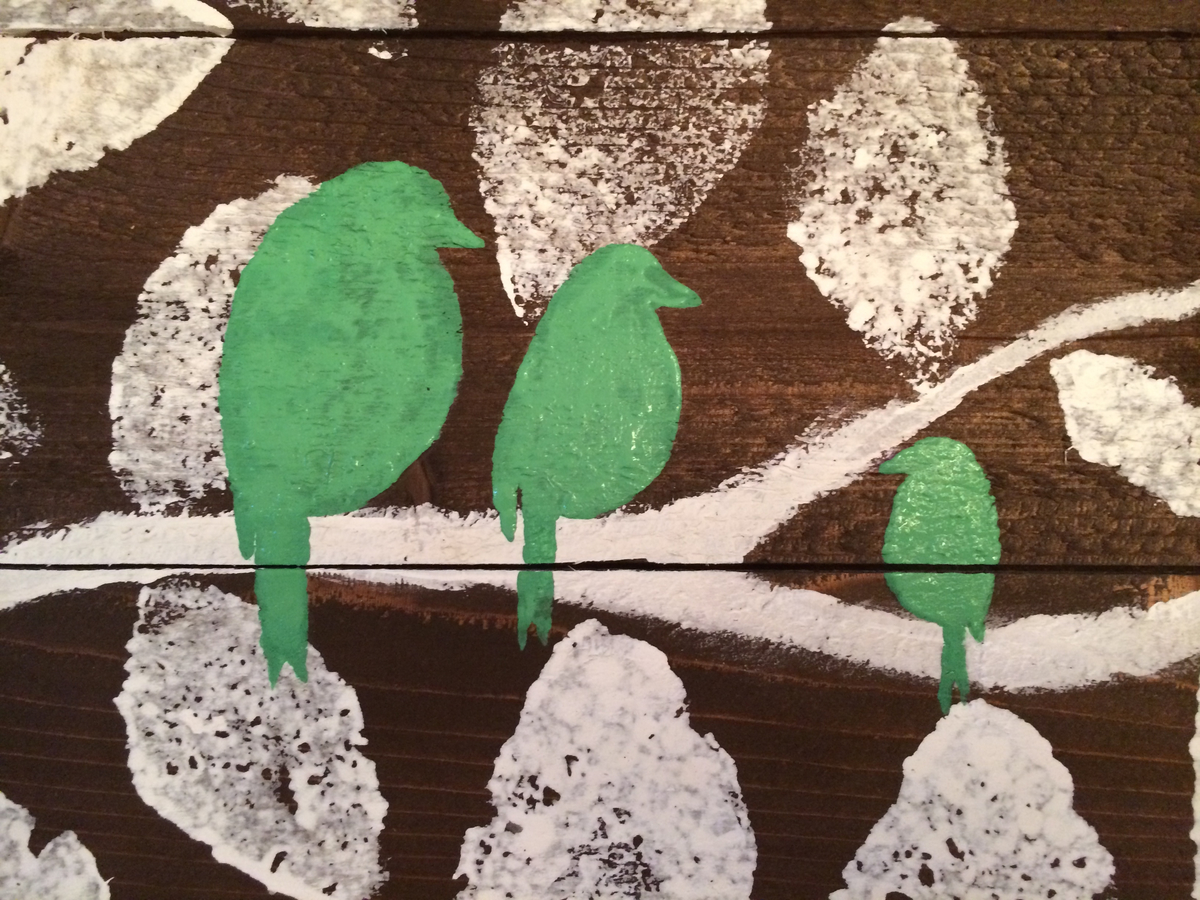
Simply copy of Ana's post. Used American Walnut stain and acrylic paint. Measures 40" x 40".

It took us awhile but we built these white cabinets from scratch. It turned out great and looks better in person. Thank you for your articles!

Modern Comfort Outdoor Sofa and Loveseat to go with the Simple Outdoor Dining Table and Benches that I made 2 years ago. I love that the "Modern Comfort" plans don't require angles or a miter saw. I used a circular saw for all of it!

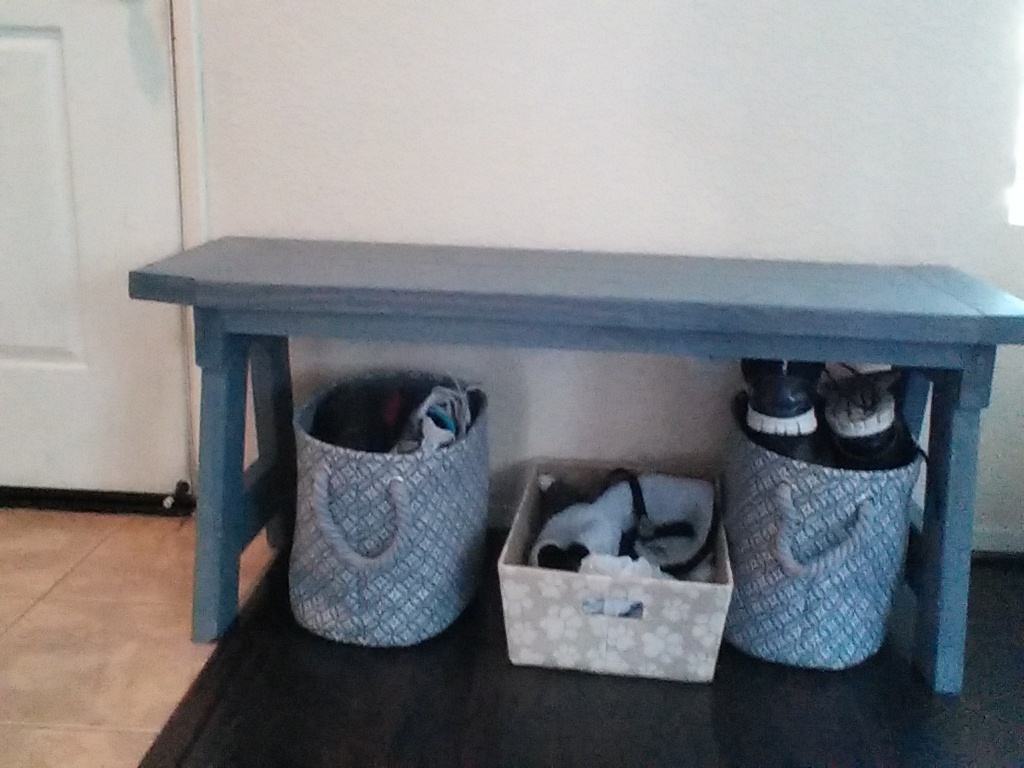
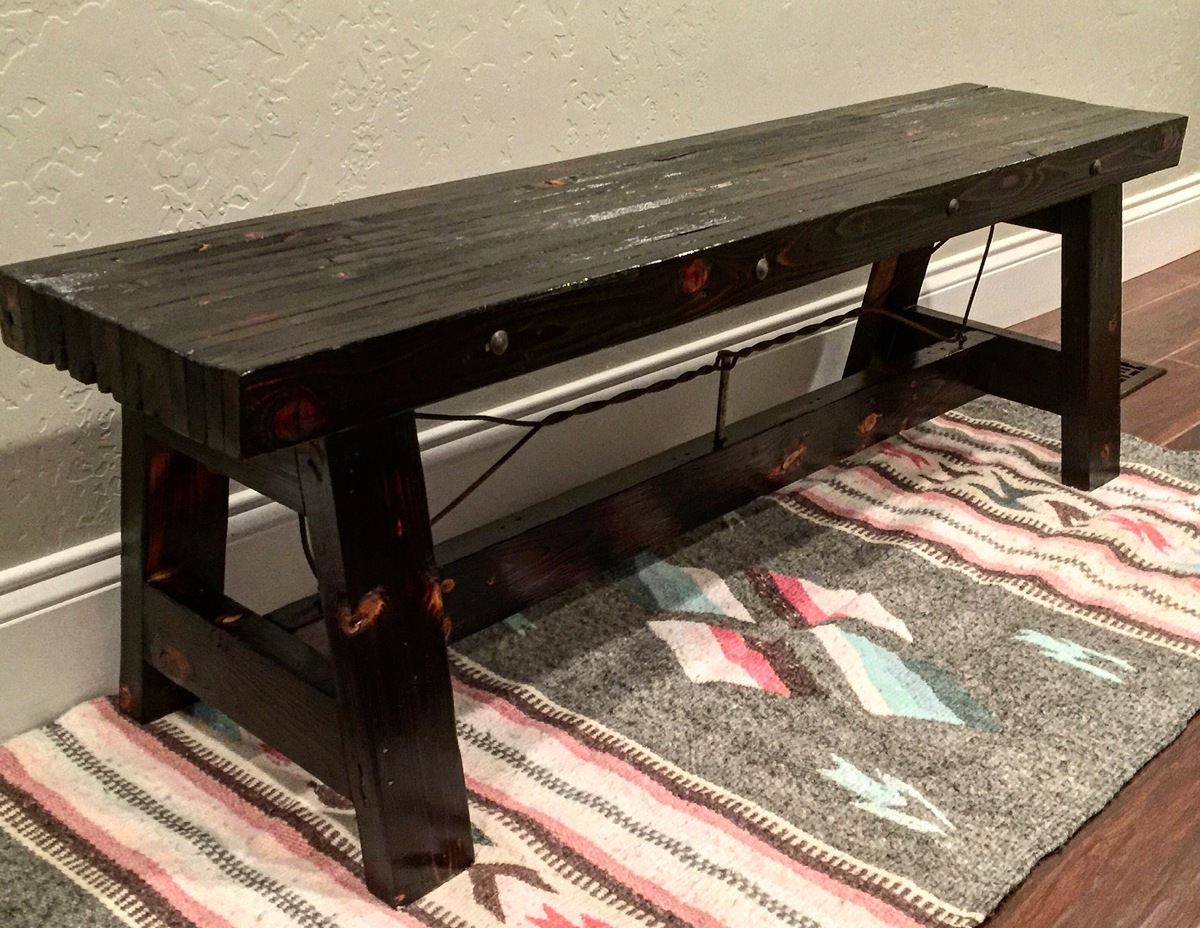
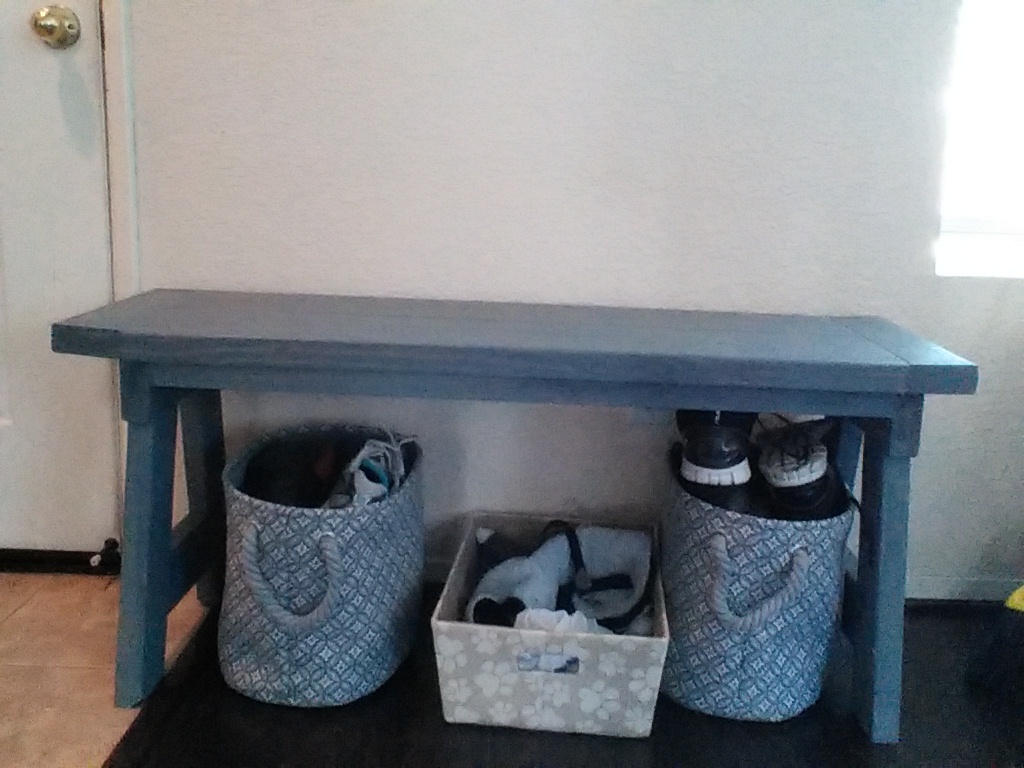
I used 2x4 instead of the 4x4 to create this bench for my entry way. I left off the stretcher so my shoe baskets could fit underneath.

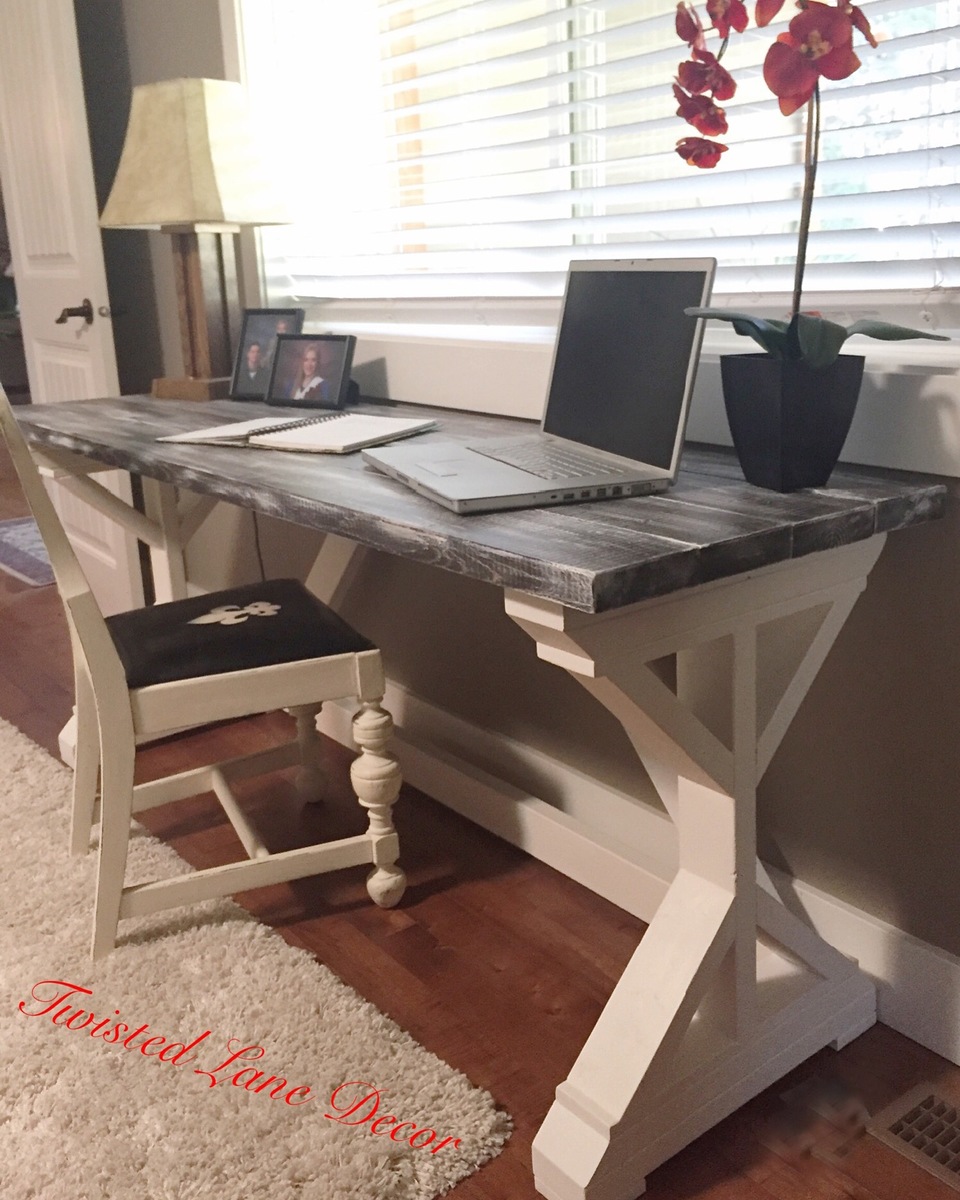
Loved this desk, for my first project I was extremely pleased how it turned out.
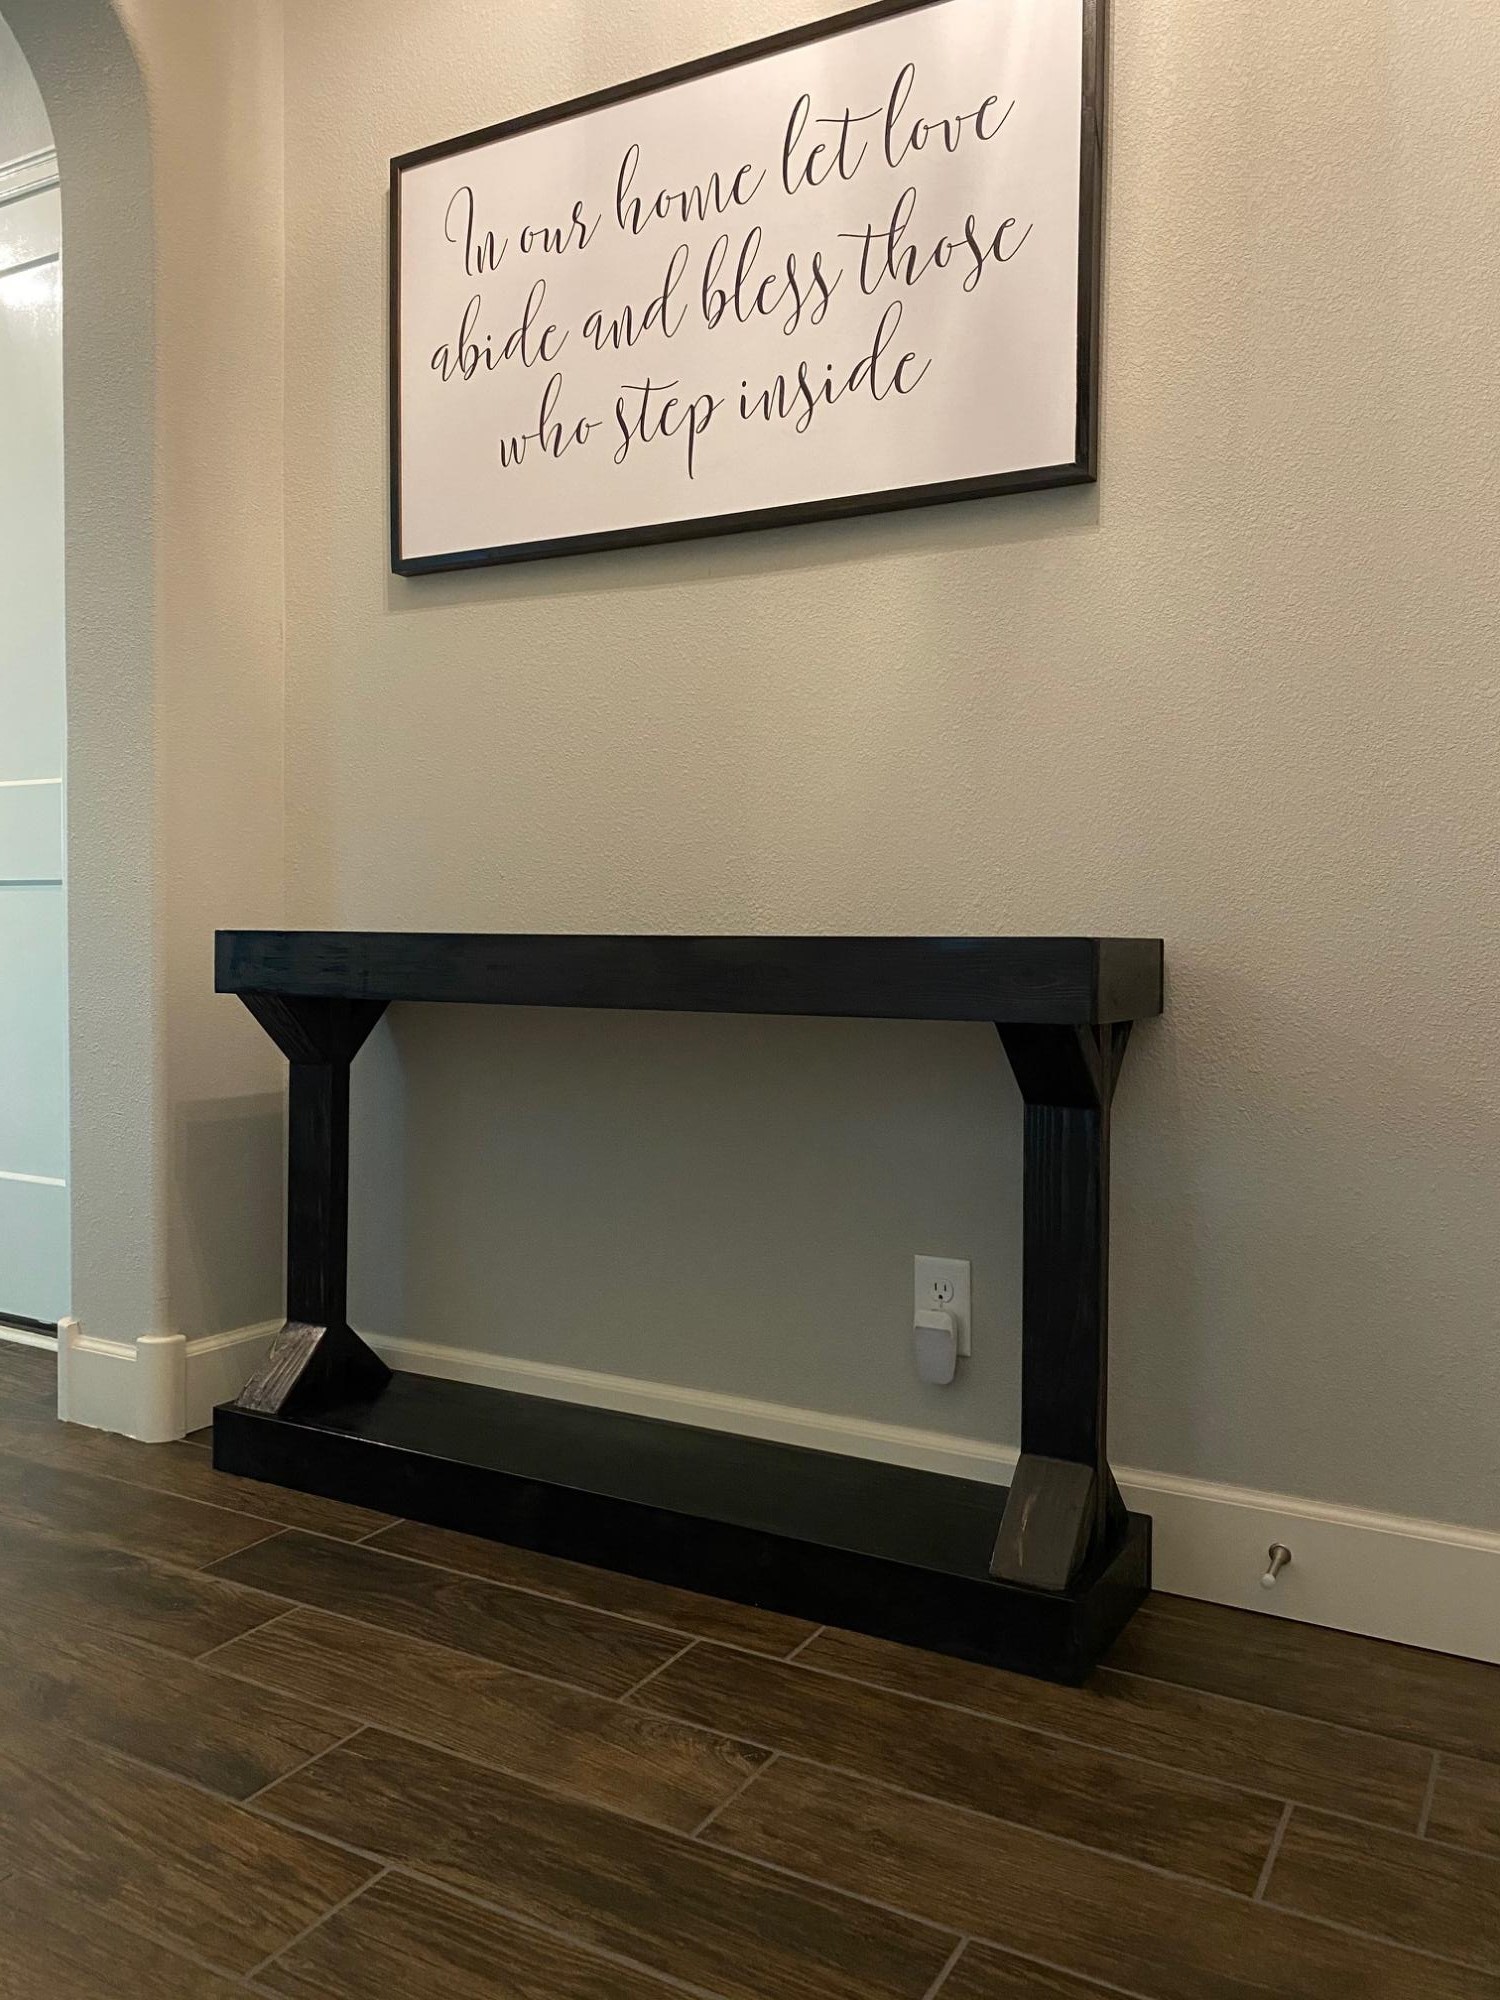
This is my first try at one of your projects. I made the console table 48 inches long to fit the space of our entry way. I thank you for all of your amazing content, and still having informative and wholesome things to watch.
I built these two outdoor chaise lounges last year
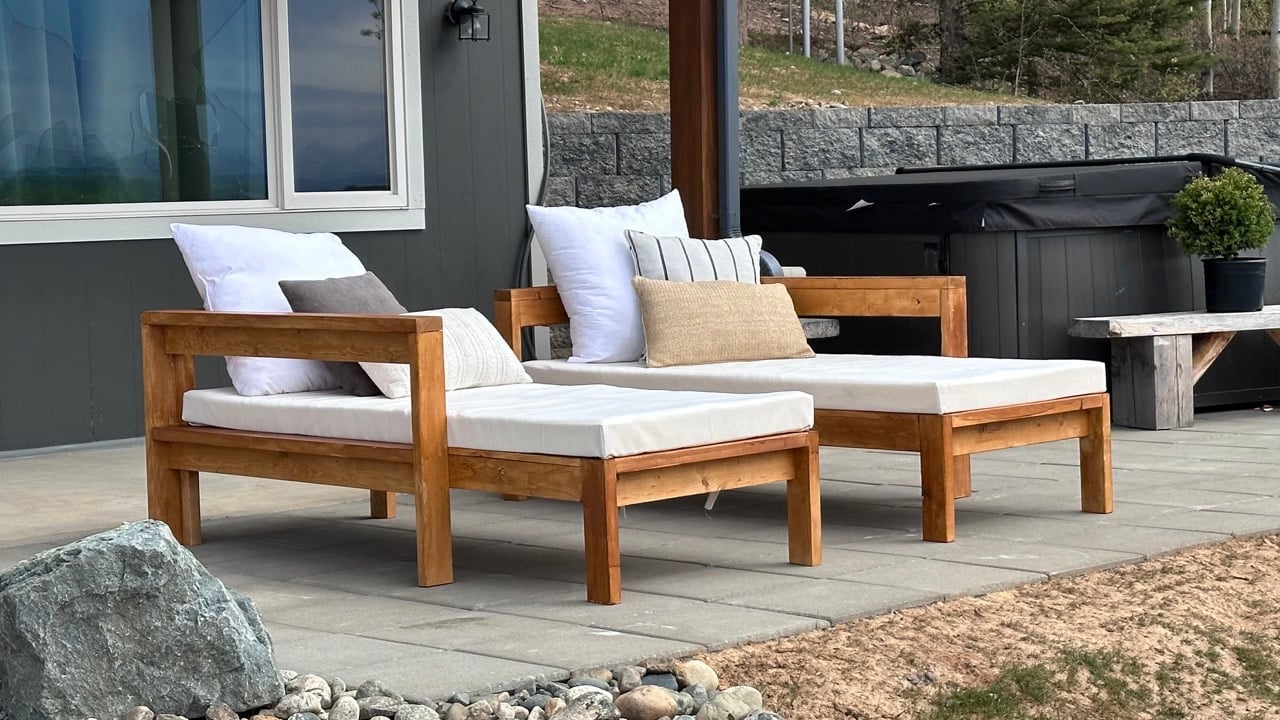
Over the winter, I stored them on the deck, turning them into a huge outdoor sofa!

I needed to add some cabinet space in the bathroom and saw this medicine cabinet on DesignConfidential. It turned out great. It is big and heavy so if you build it make sure you use substantial fasteners when you place it on a wall. I spent more than necessary because I wanted certain drawer pulls and glass. In a small town they are just not available. I got the drawer pulls on-line from Kennedy Hardware and the glass at a local glass company. Big Blue and Big Orange just do not carry much. The door is probably backward but I am tall enough that it doesn't make much difference. Now my big old Lab and I don't have to share the same cabinet. I will redo the drawers so the ends of the plywood bottom doesn't show. The design is such that you have a lot of flexibility in how you use the interior.
Changed the look of my medicine cabinet with the help of photographer Sonja Caldwell whom I ran across on ETSY.com. She had a wonderful pic of a medicine cabinet she found in a medieval French charity hospital. She worked with me to get the image to fit into my cabinet window. I really like the result. It almost looks 3D. I changed the drawer labels to the best French I could come up with and still fit in the little slots. The words are Mortel (Deadly), Plus Mortel (Deadlier) and Le Plus Mortel (Deadliest). I understand that there are not comparative endings in French but i hope these translations will do. Here is a link to Sonja's site:
http://www.etsy.com/shop/SonjaCaldwell?ref=seller_info


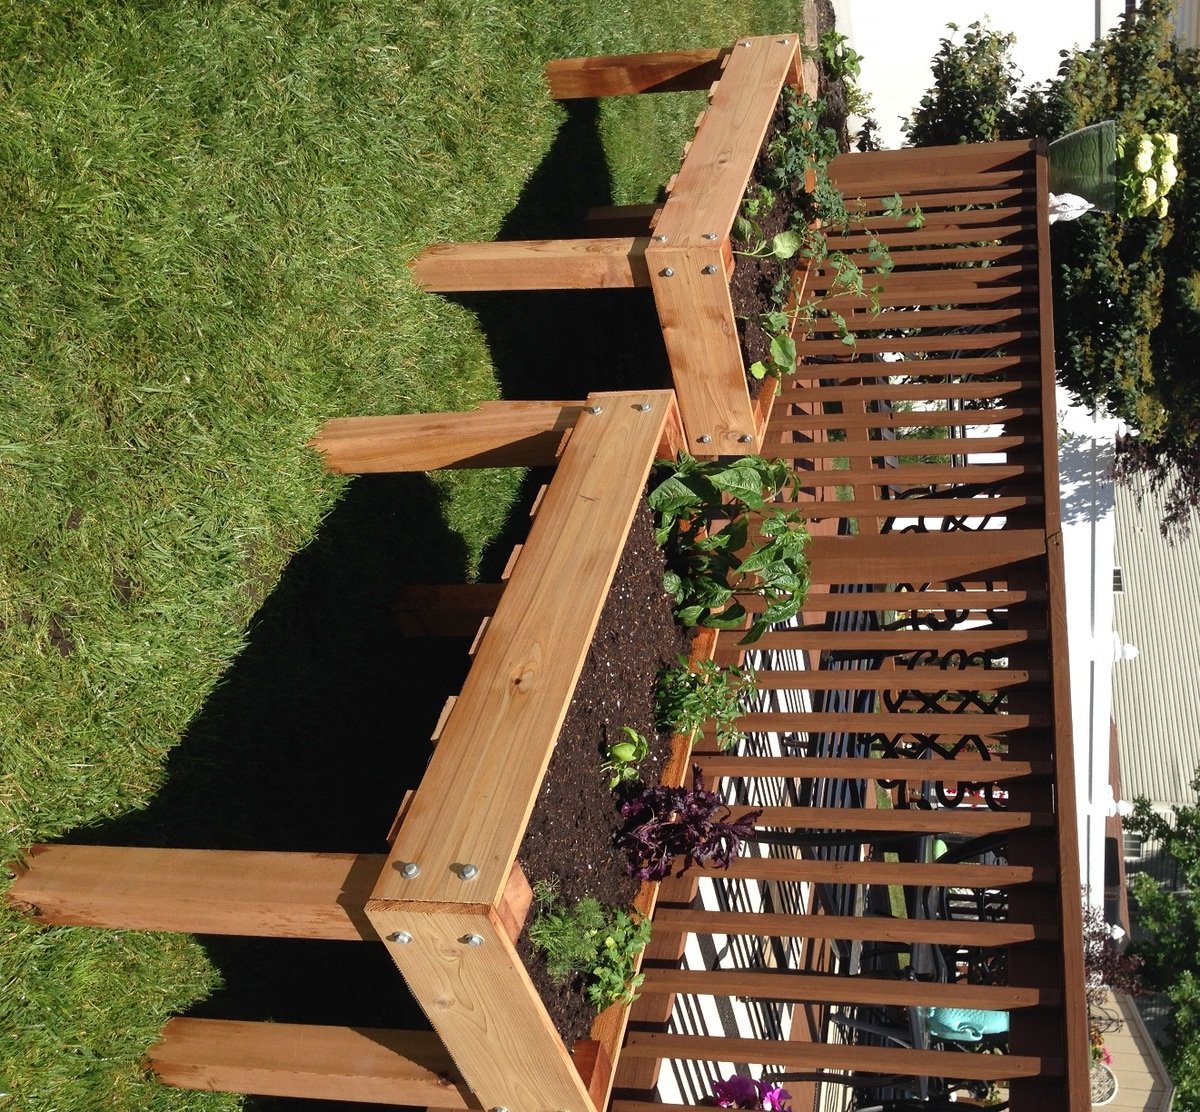
Using the counter height planter plans from Janettx. Thanks!

Mon, 09/20/2021 - 13:24
Nice job!!! I'm still using mine. I ended up putting 12"x12" pavers under each leg to extend their life. After the 2nd year now we get bumper crop out of ours each season.
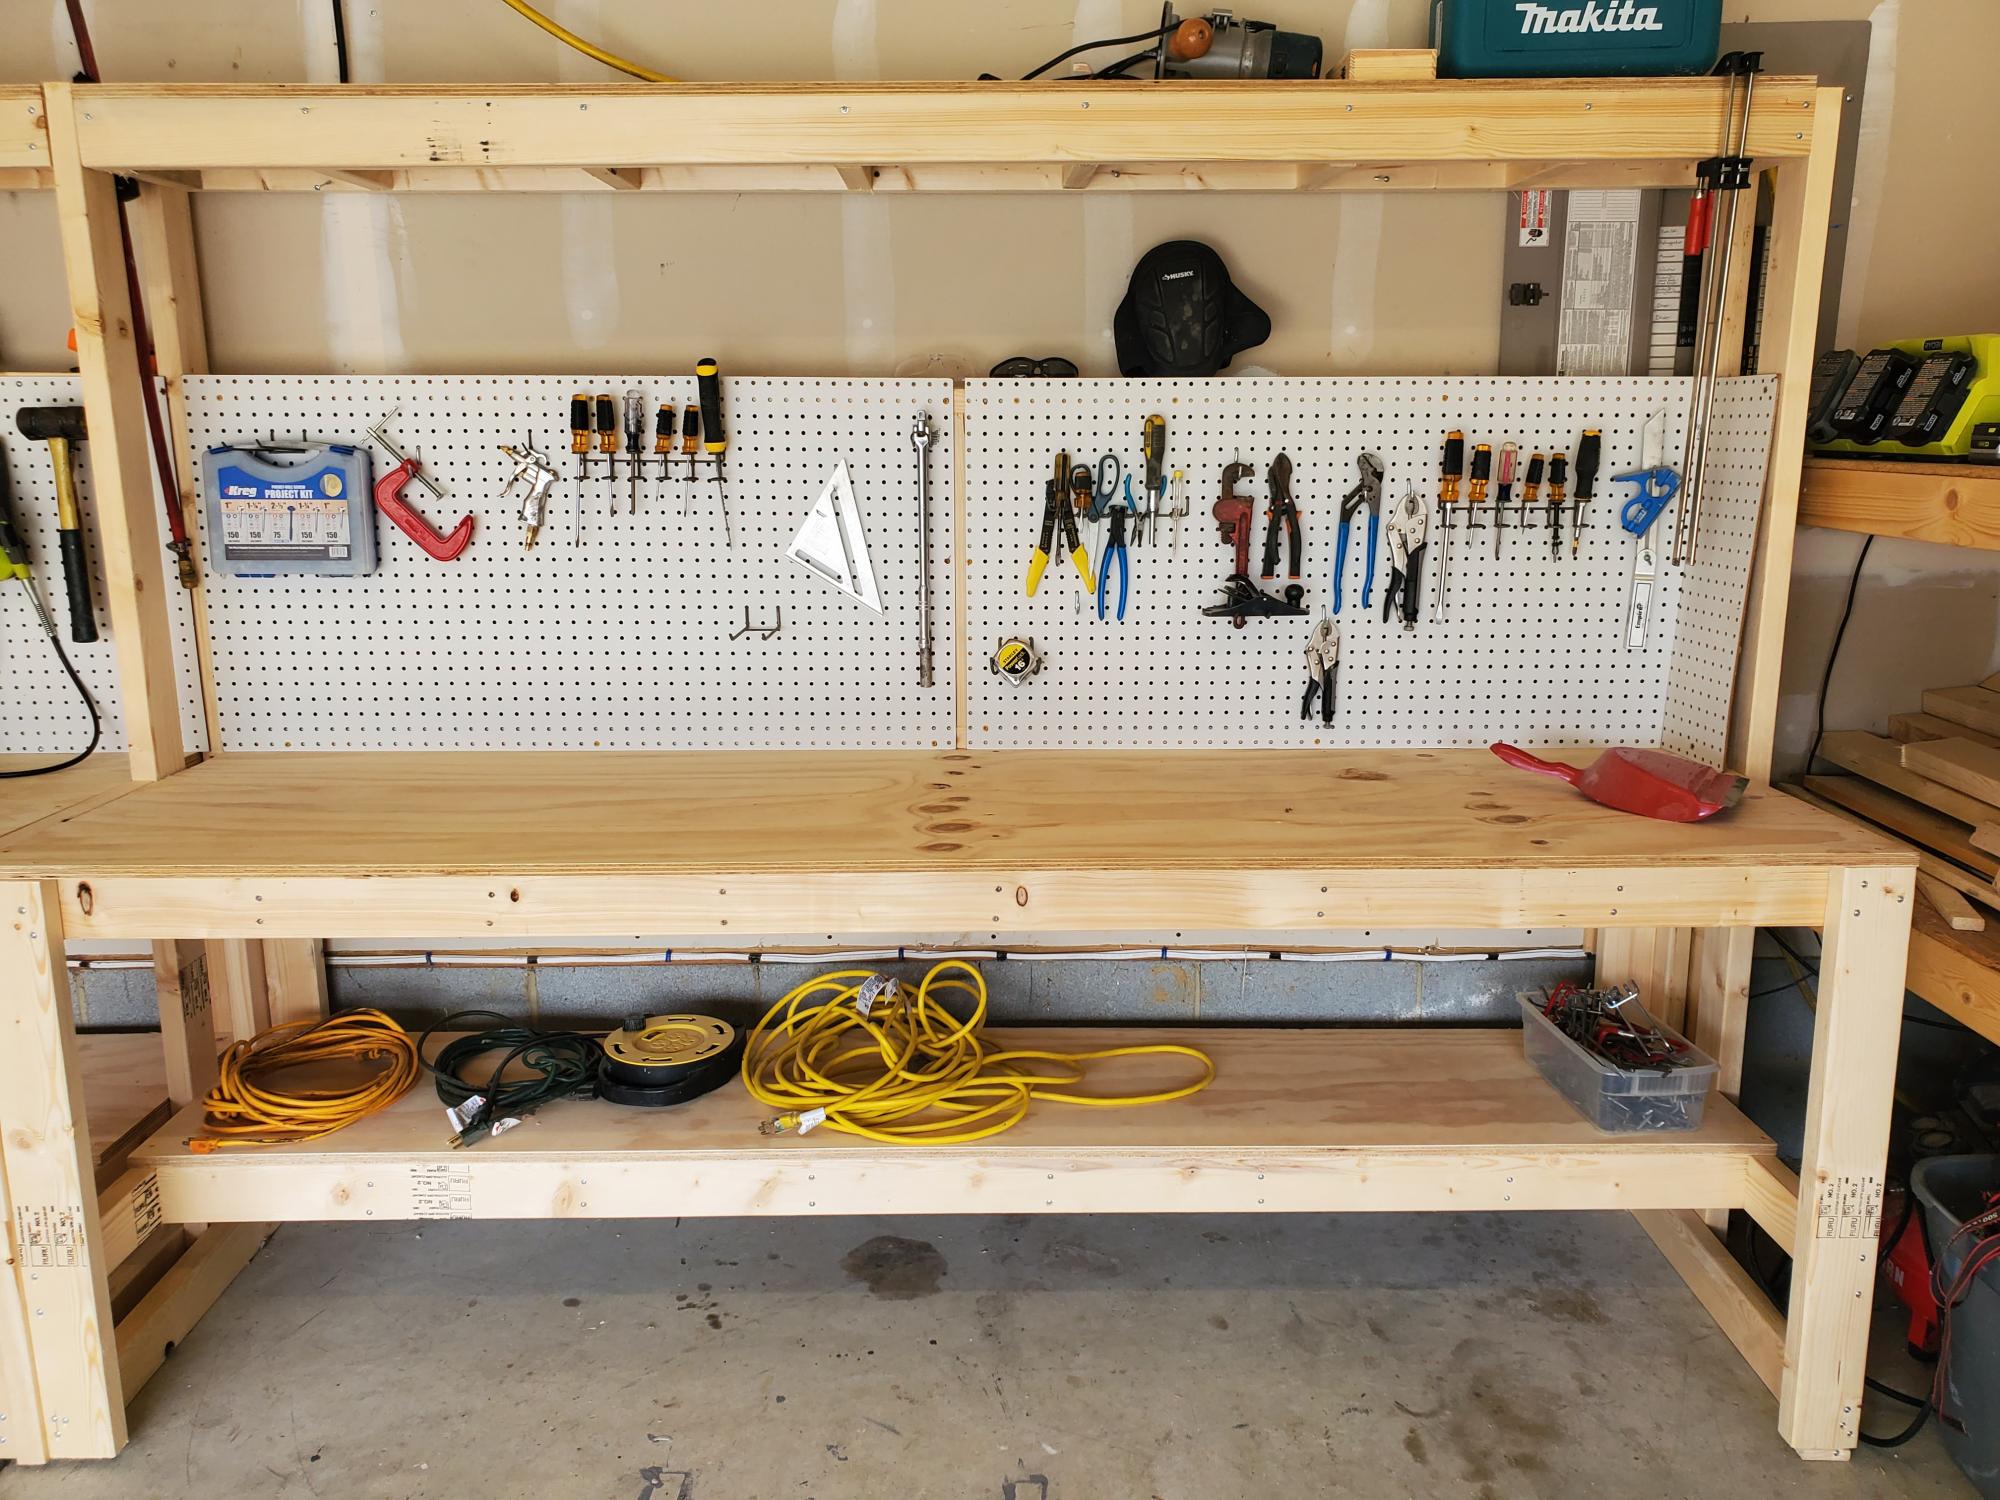
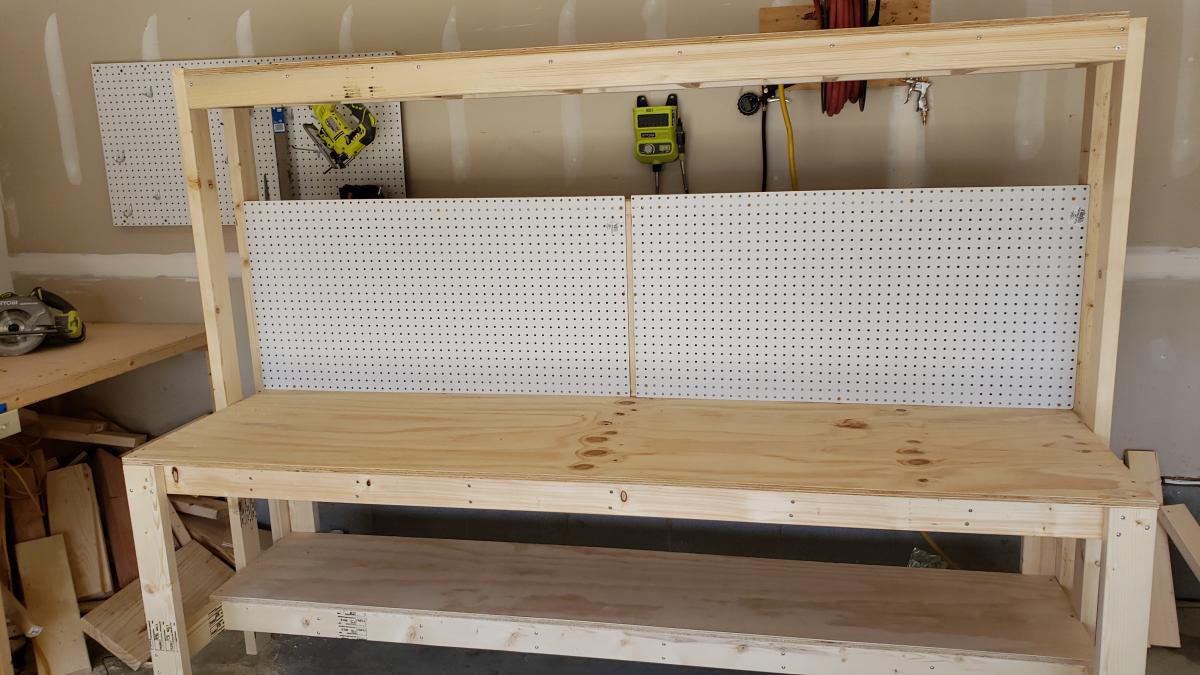
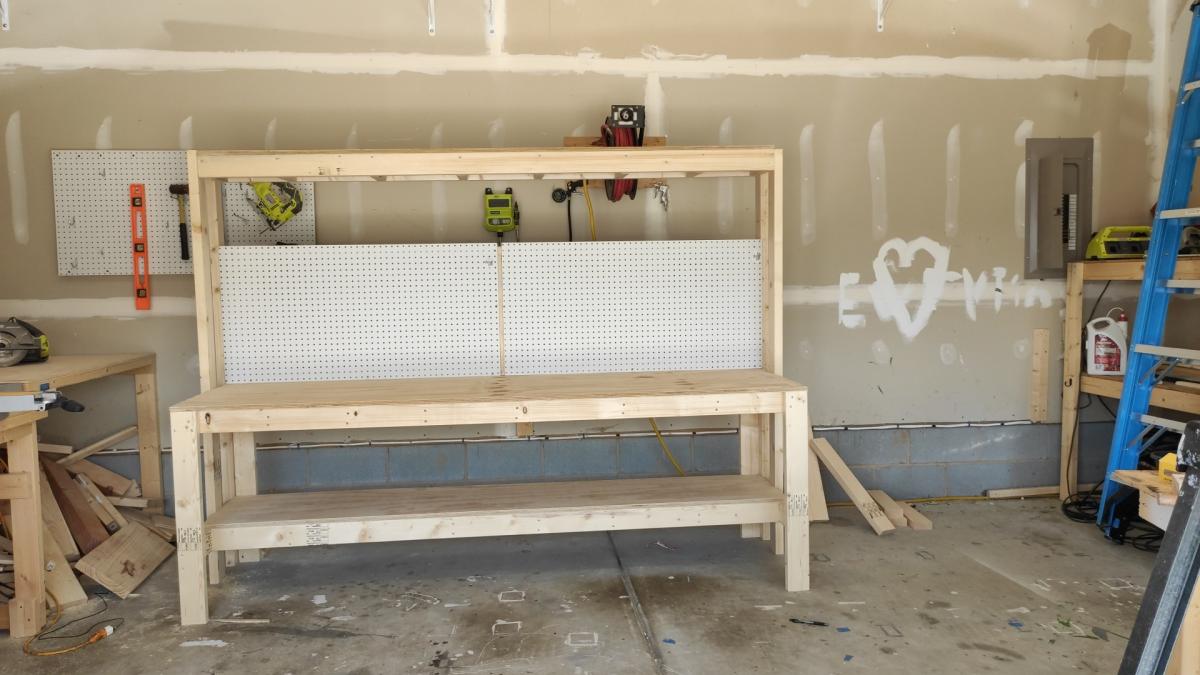
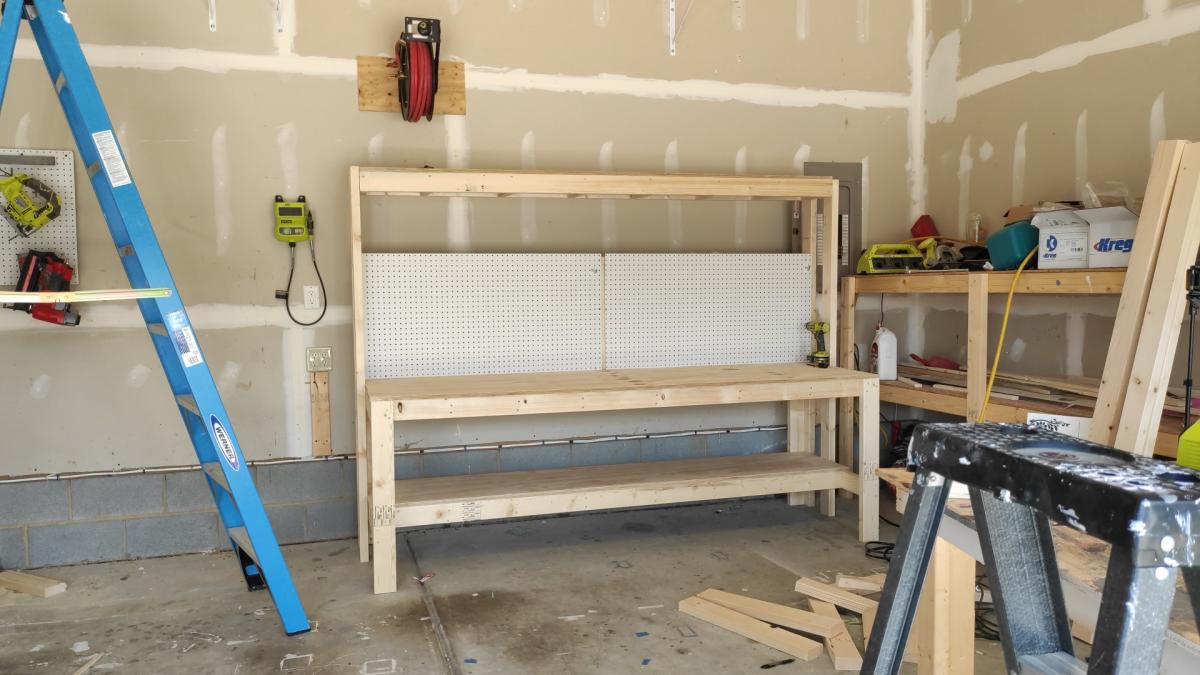
I made a workbench for my garage it was pretty easy. I also made an instructional youtube video if you want to learn how to make it. #diy #workbench #bench
This was my second project (first was a work bench) and it came out great.
W. Knight