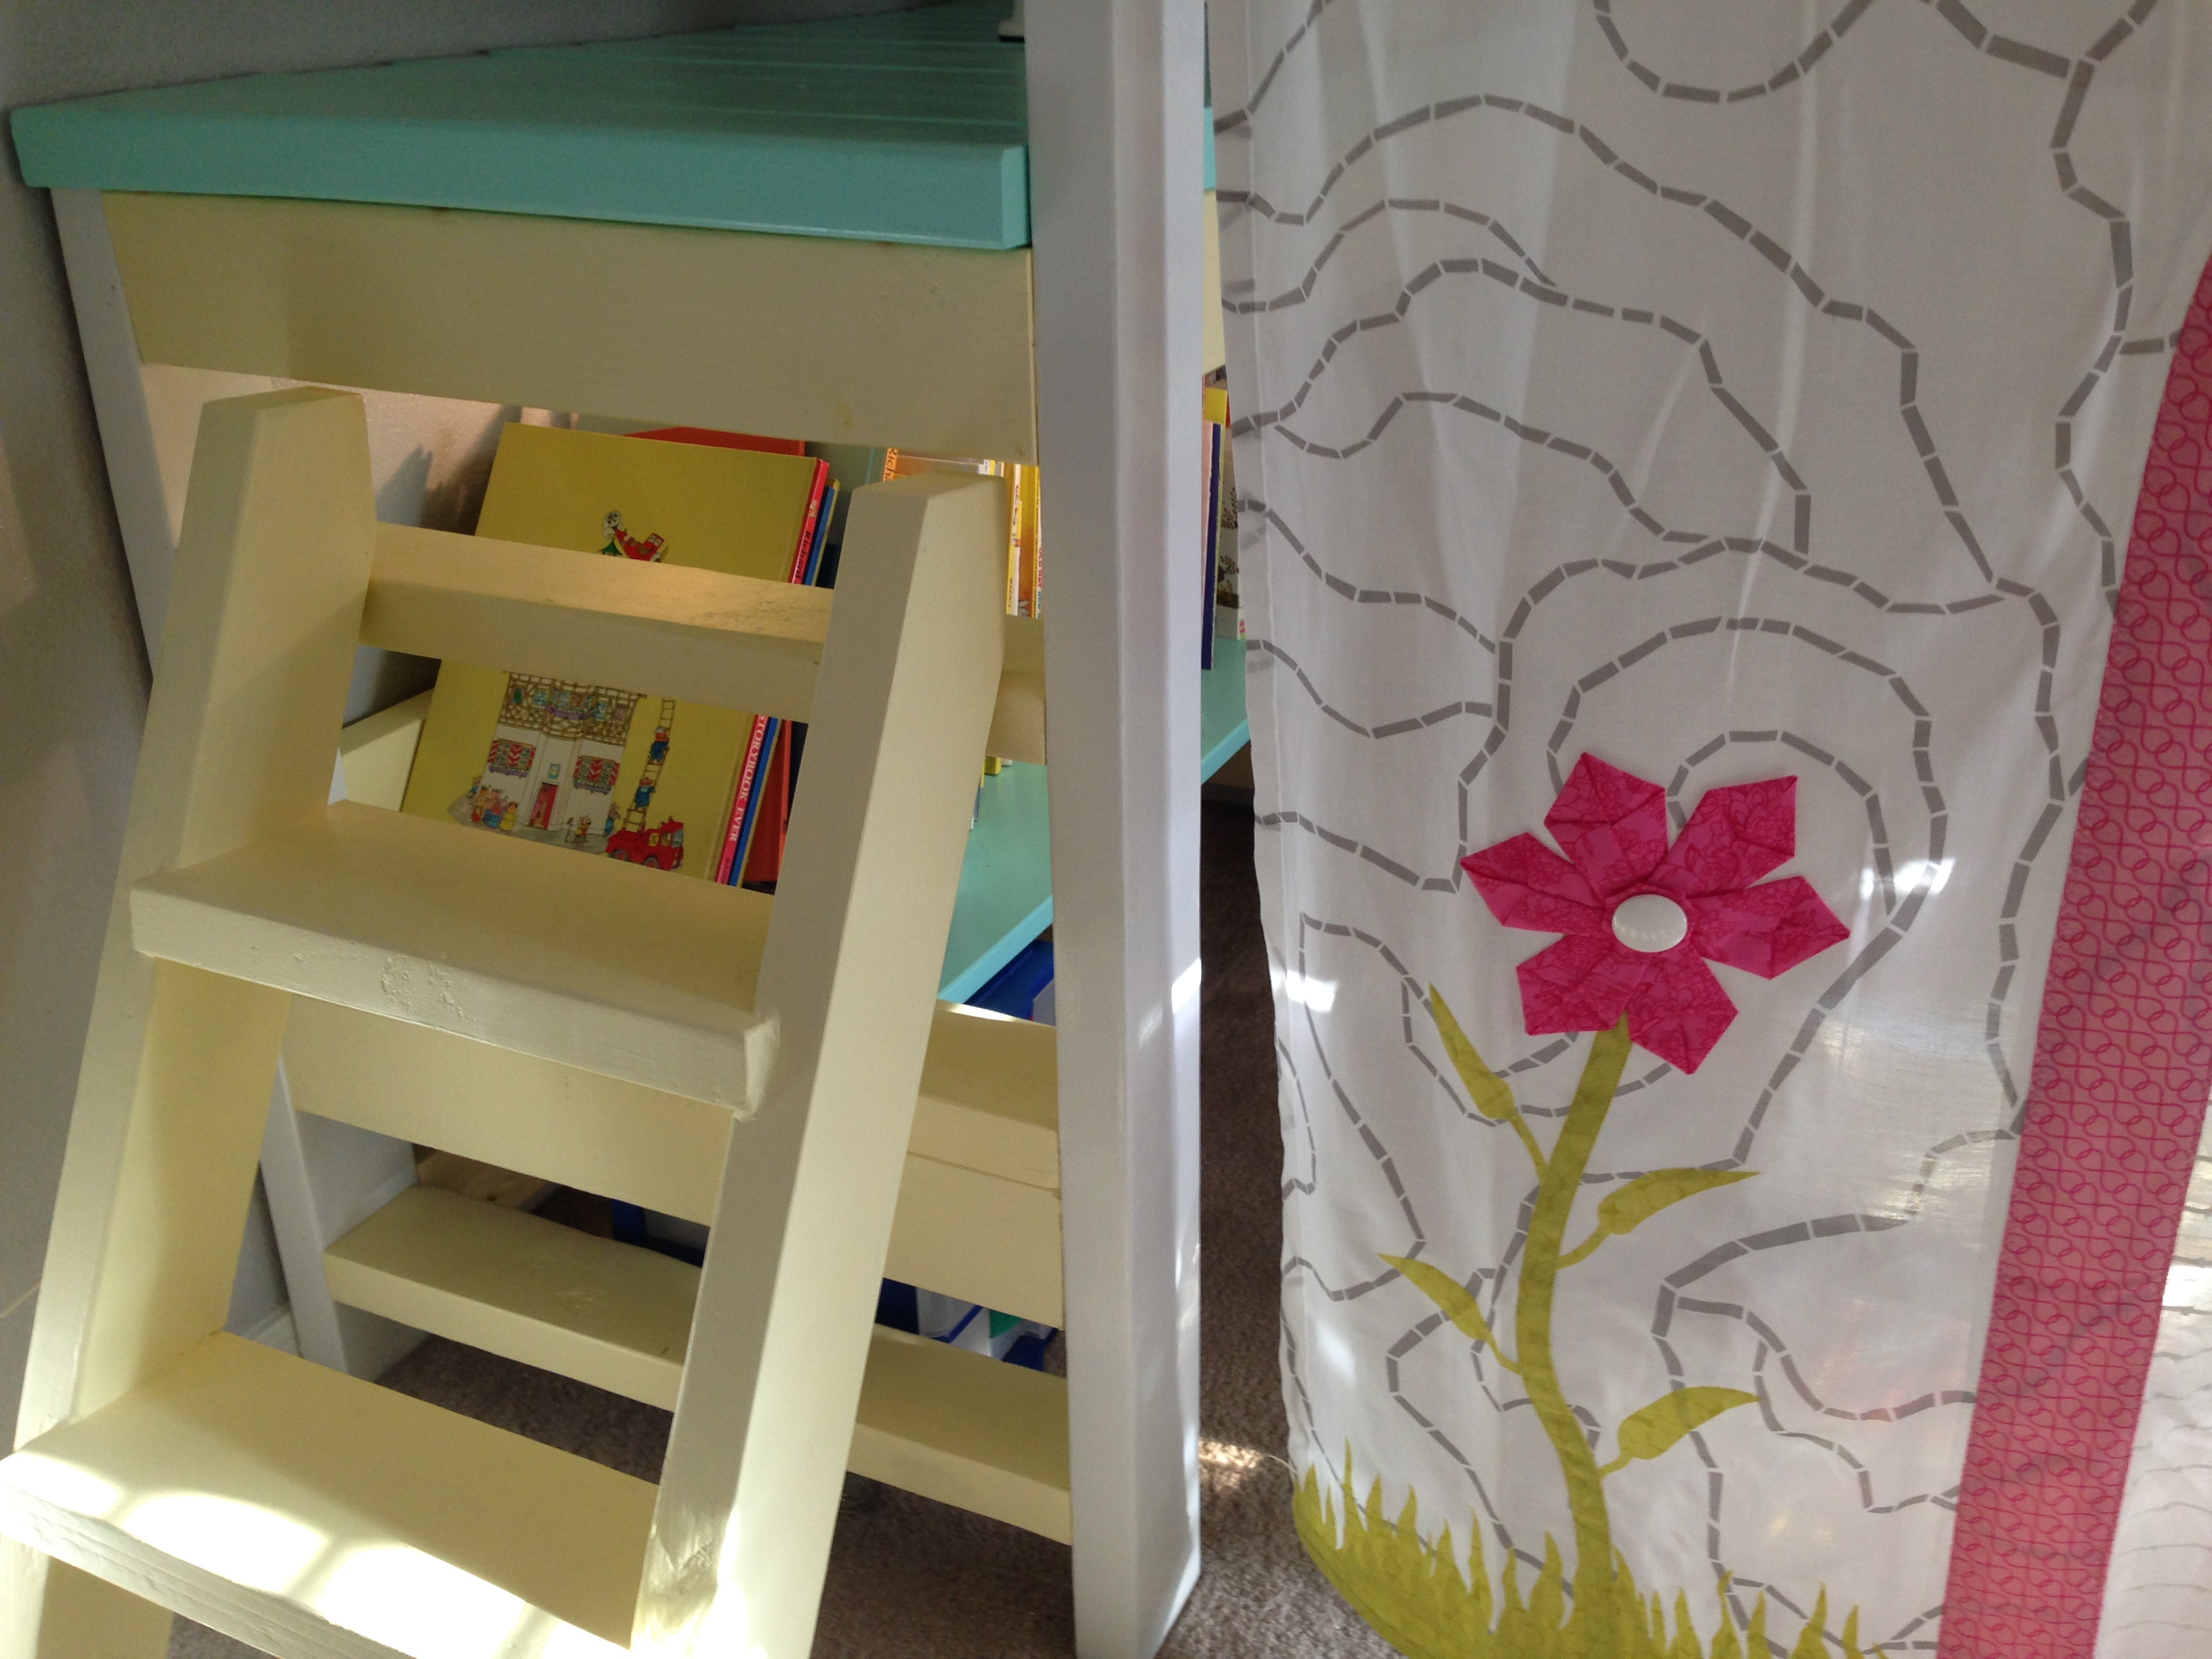
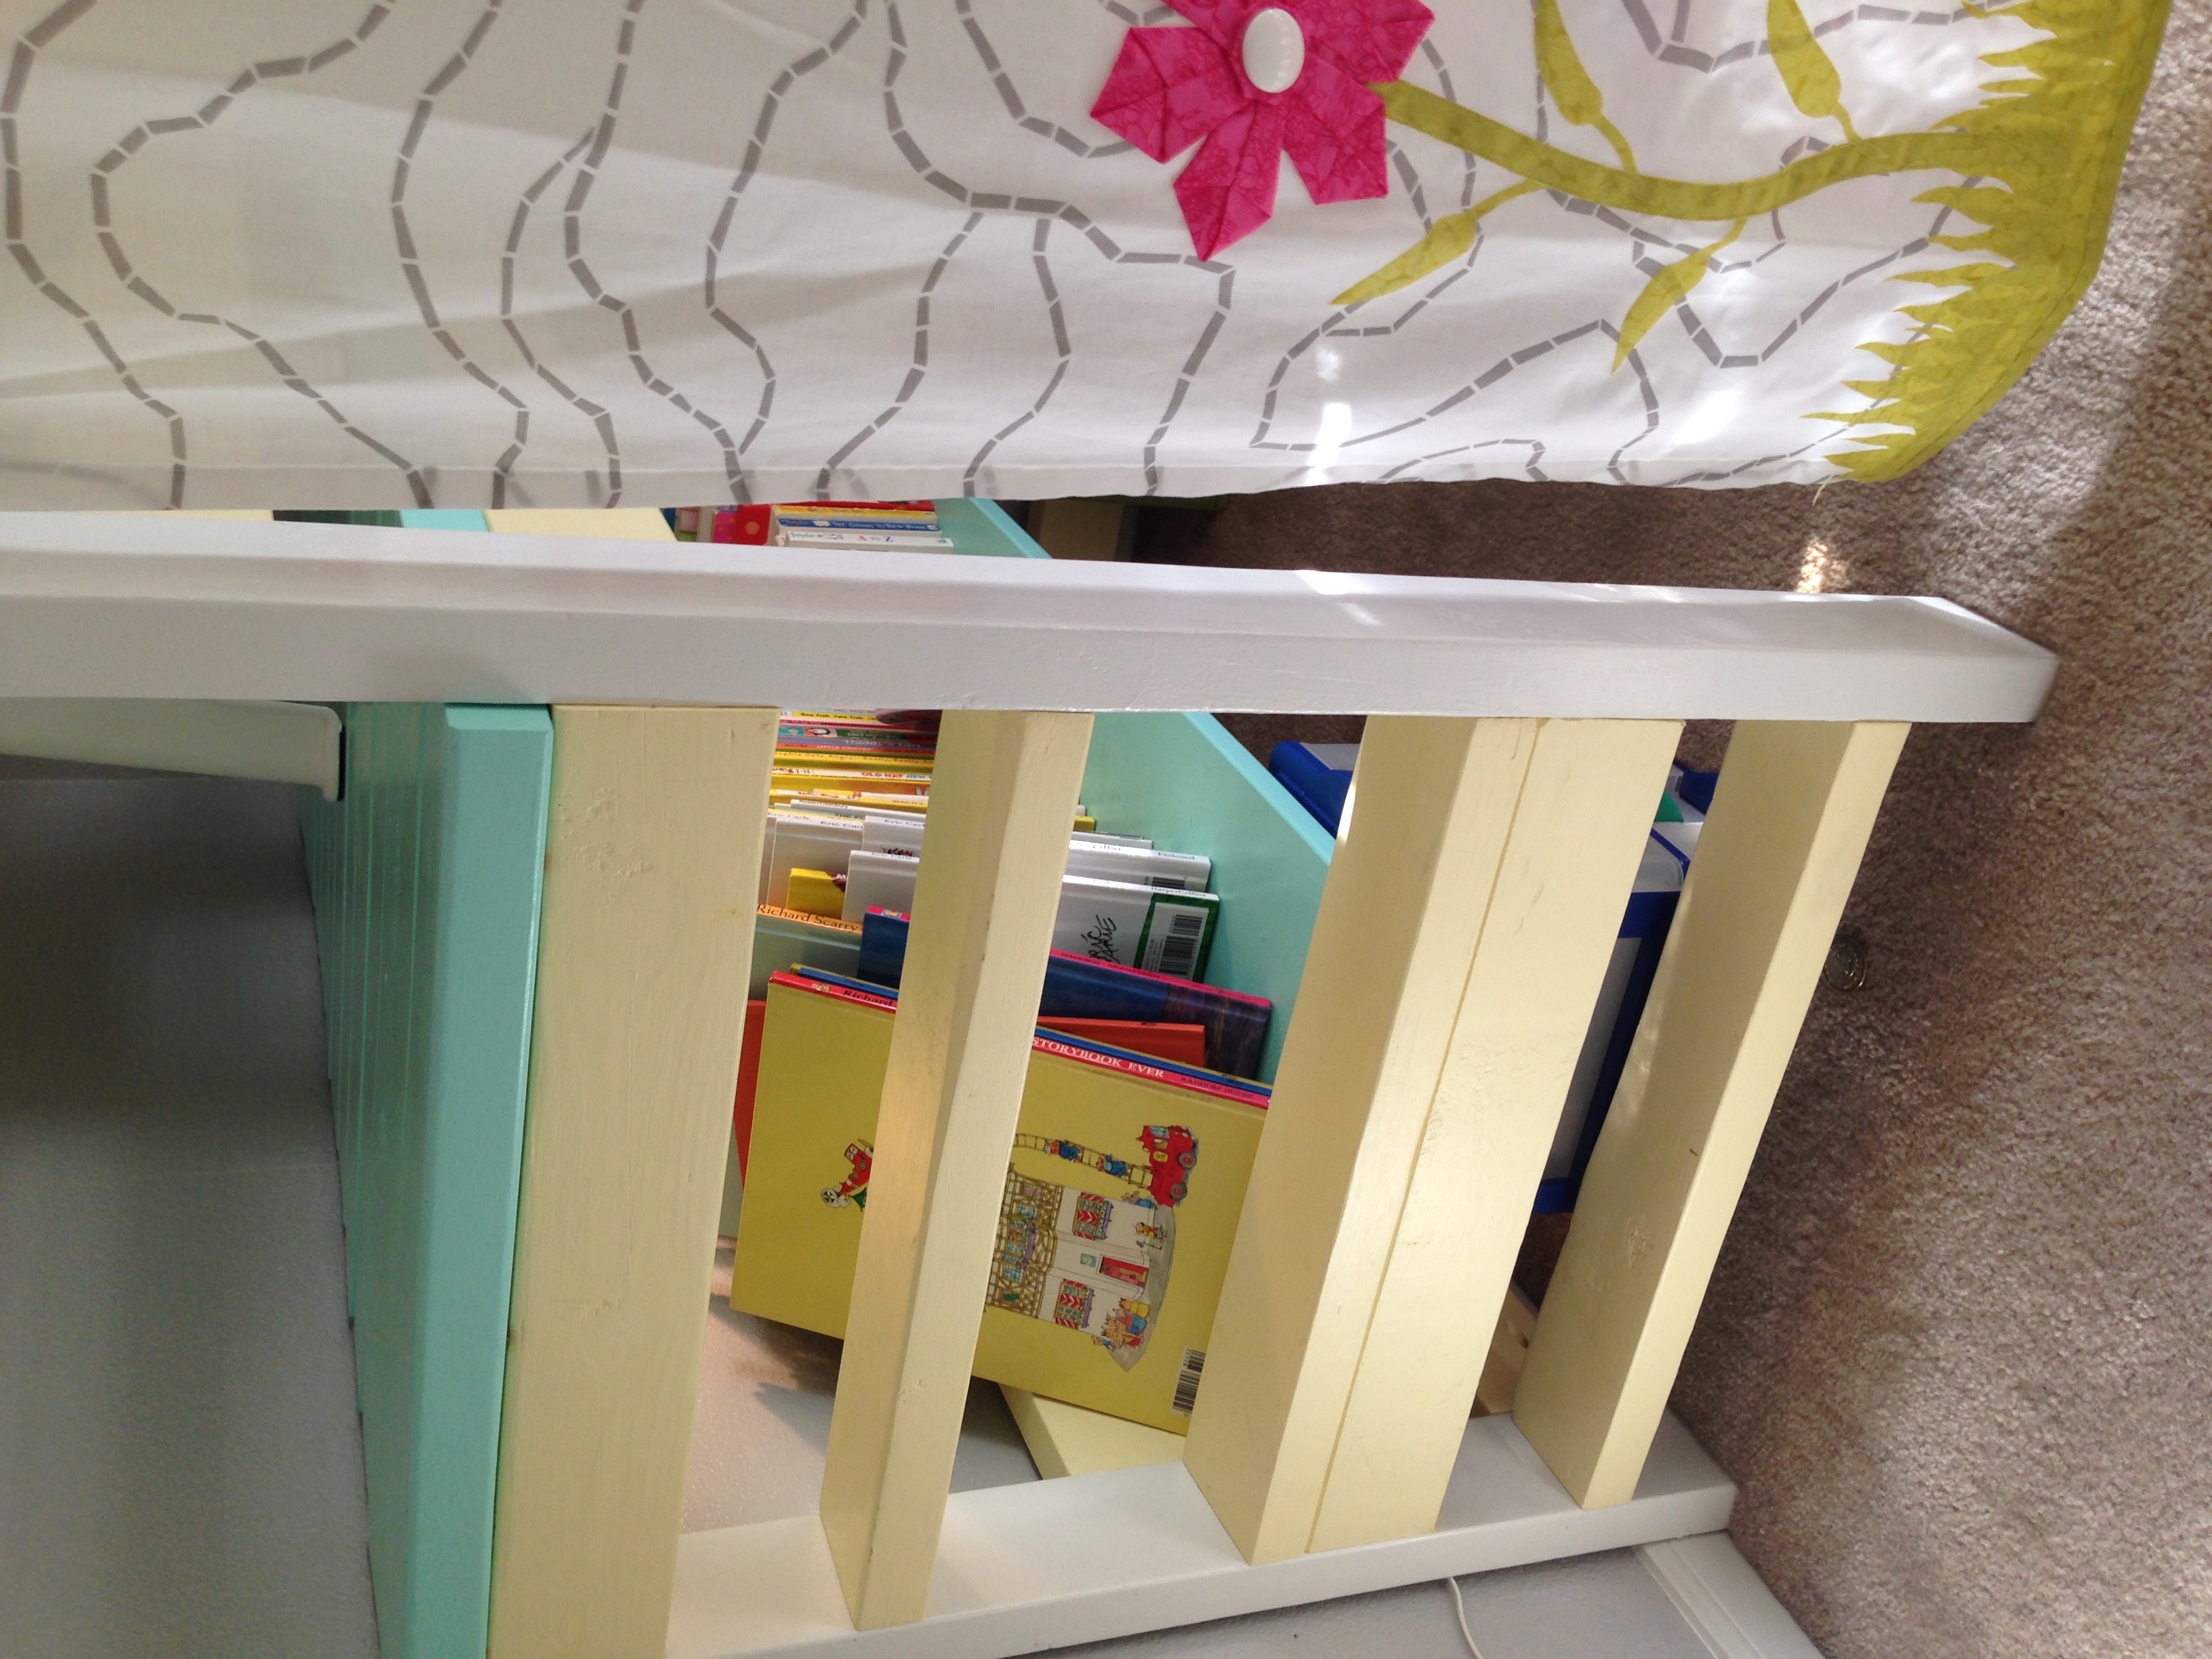
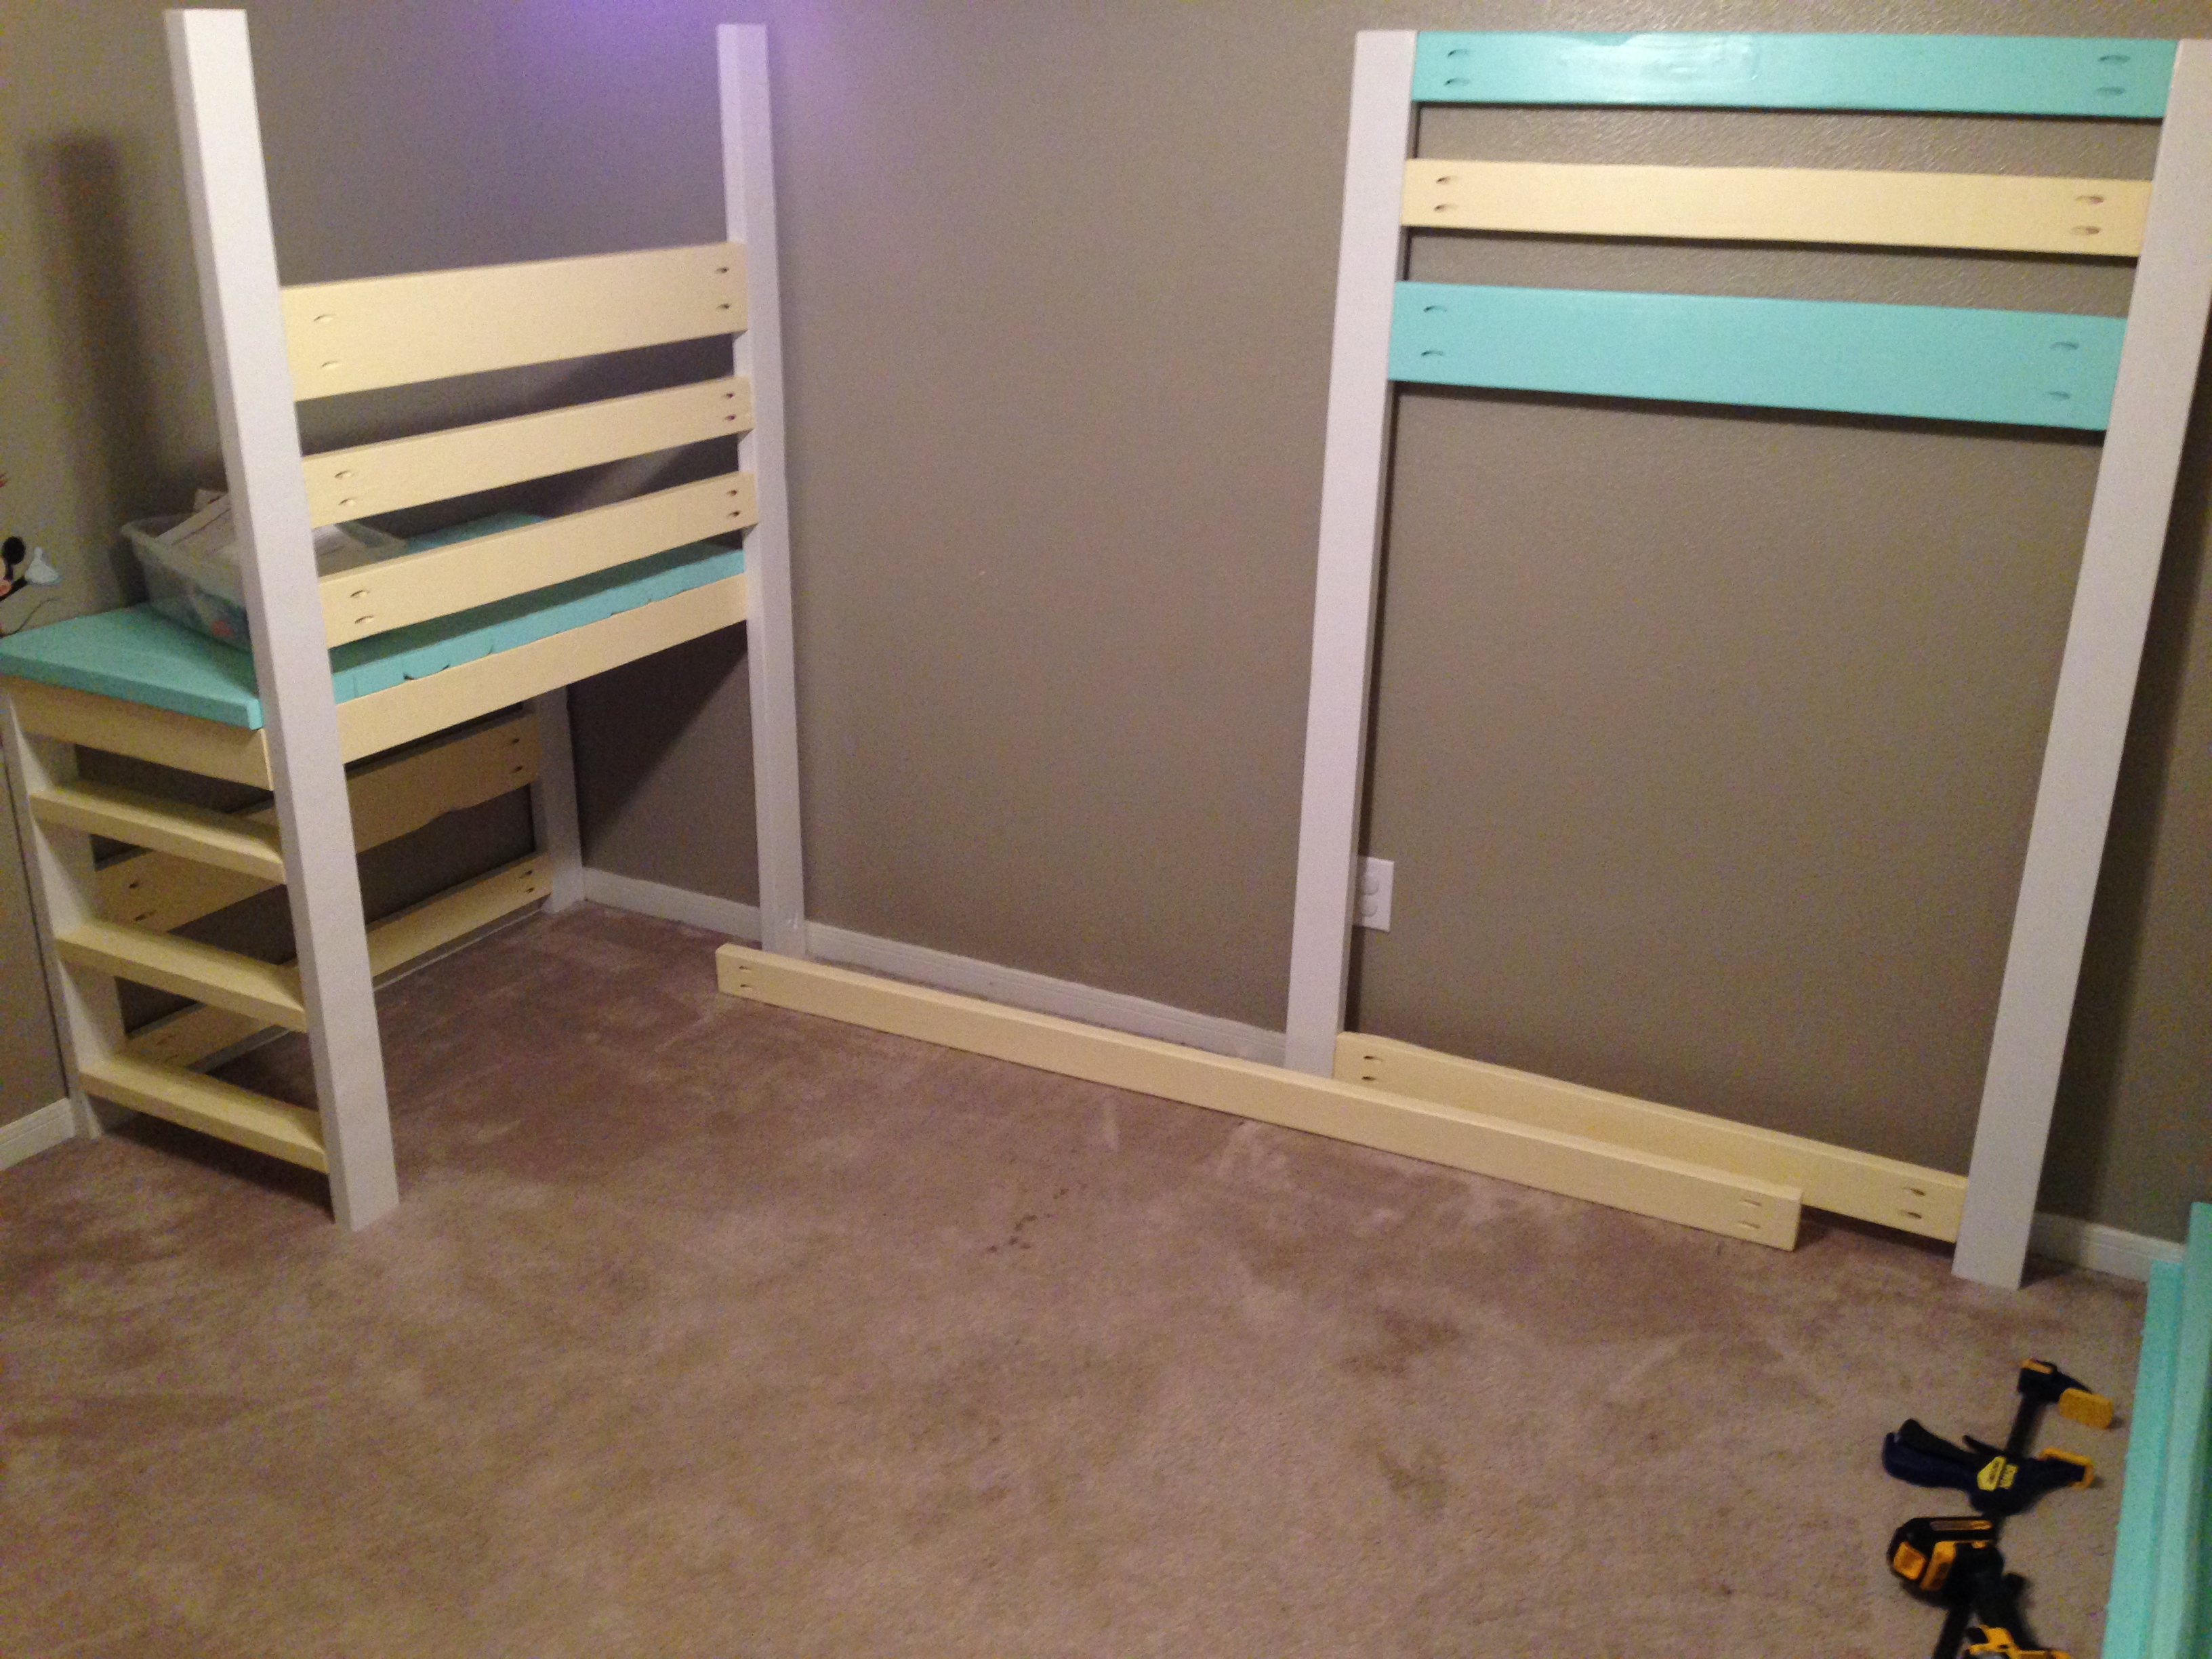
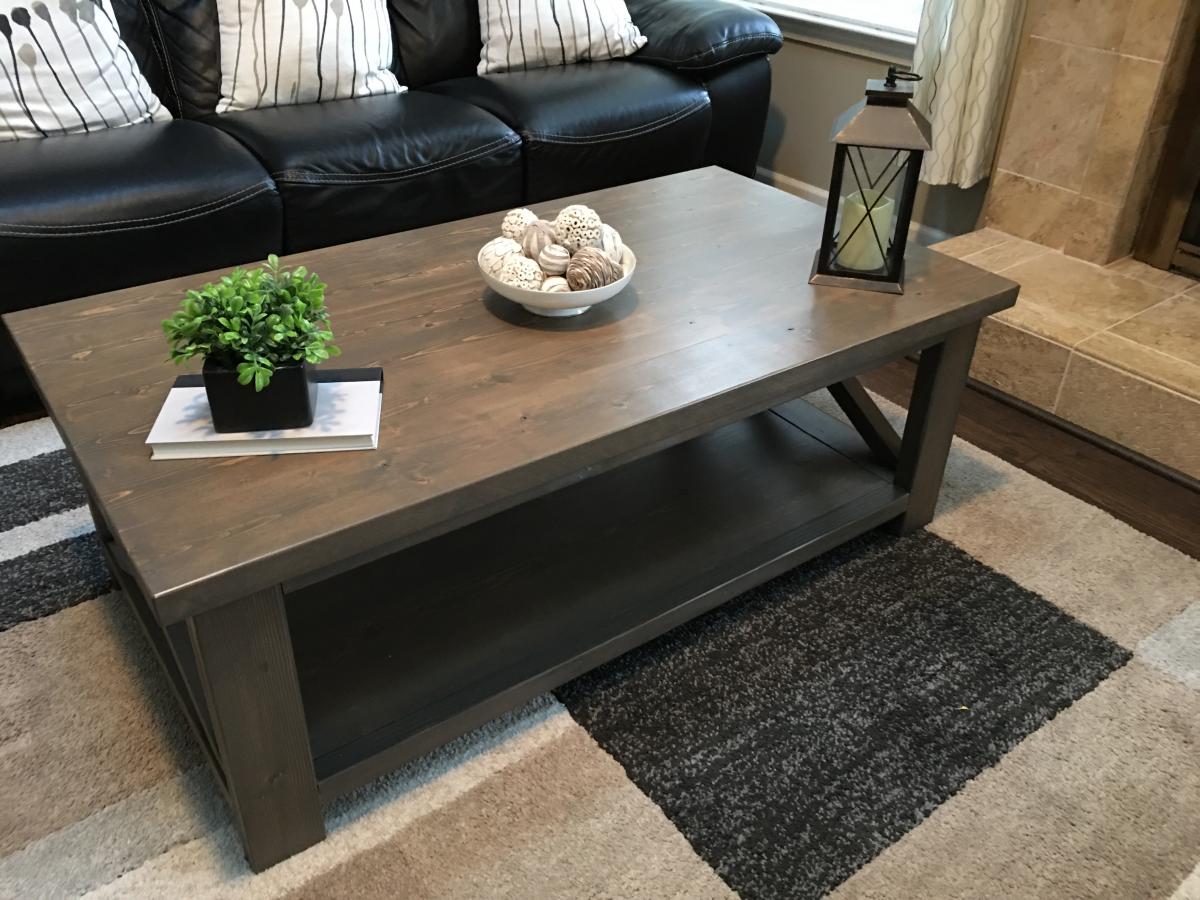
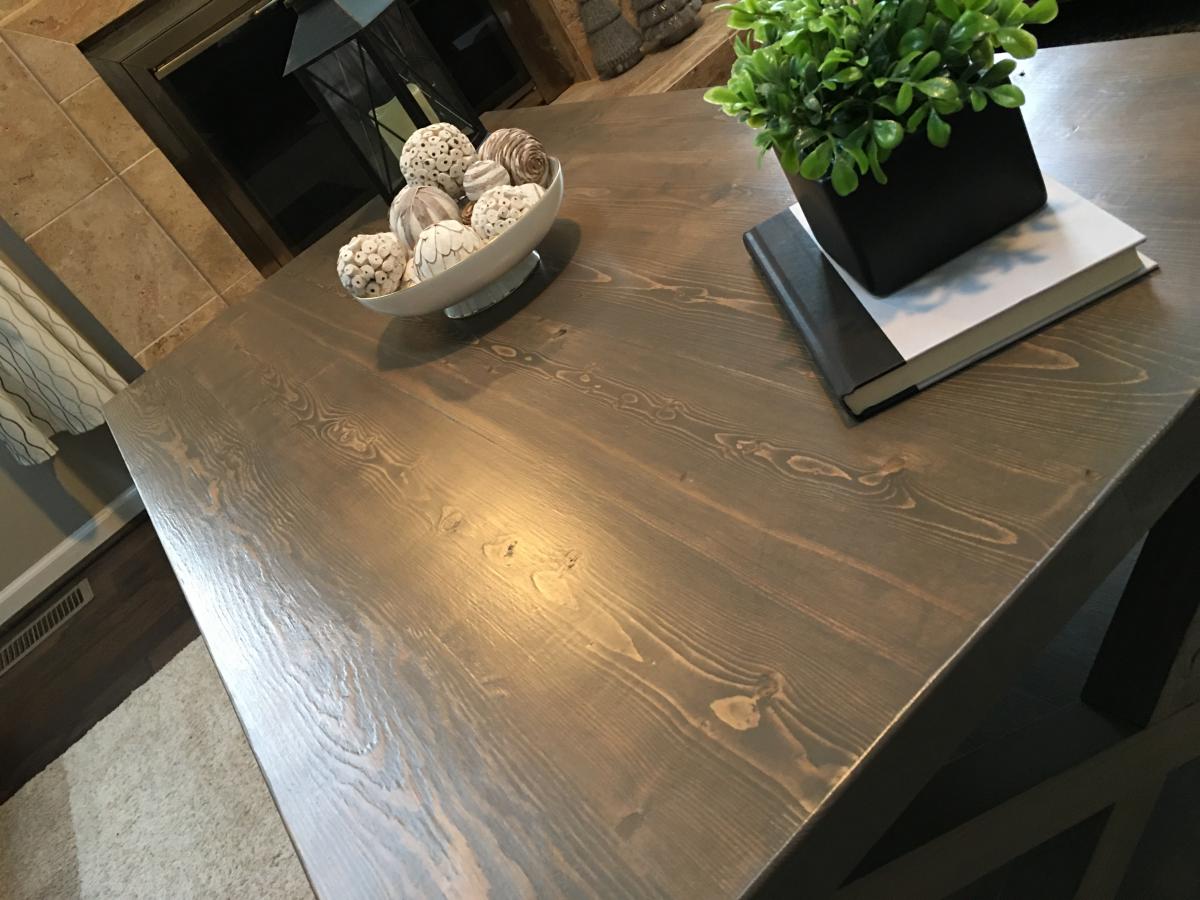
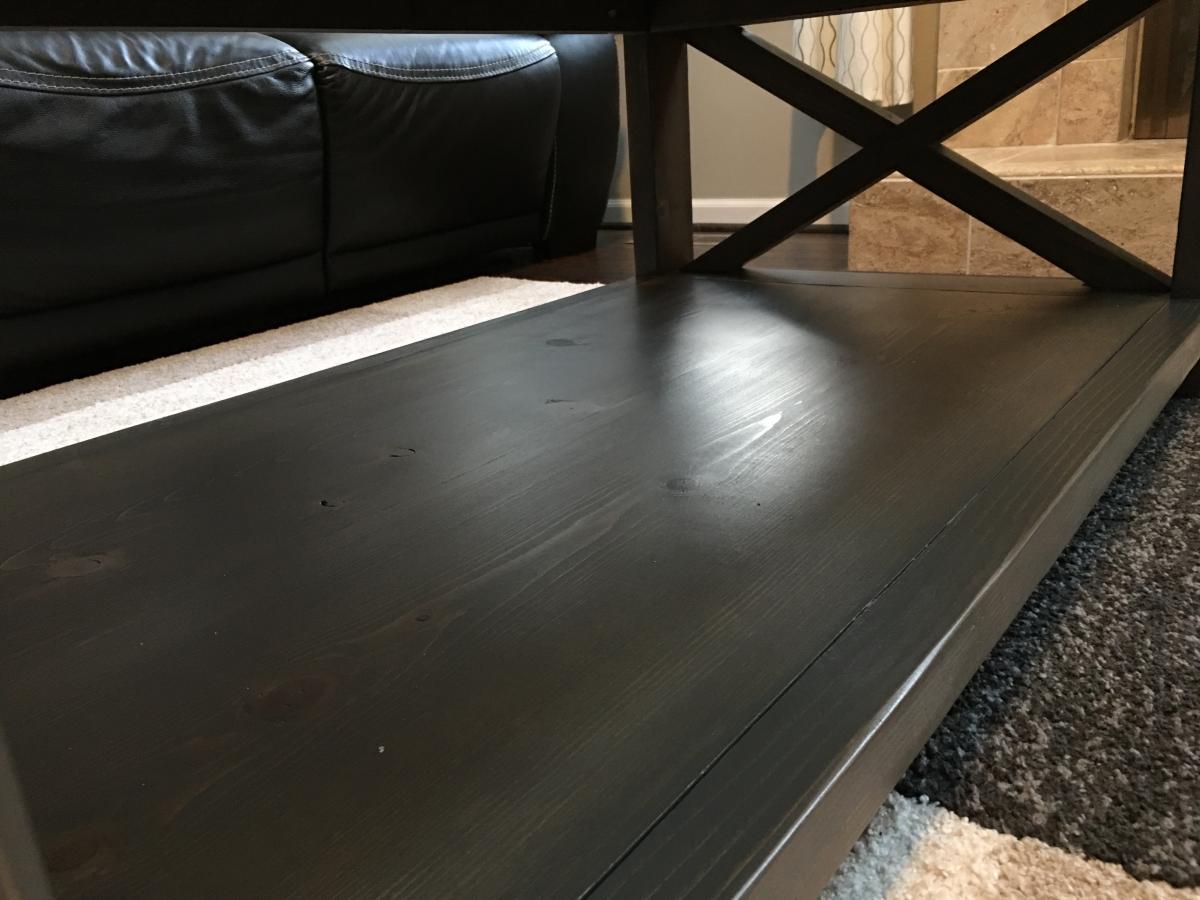
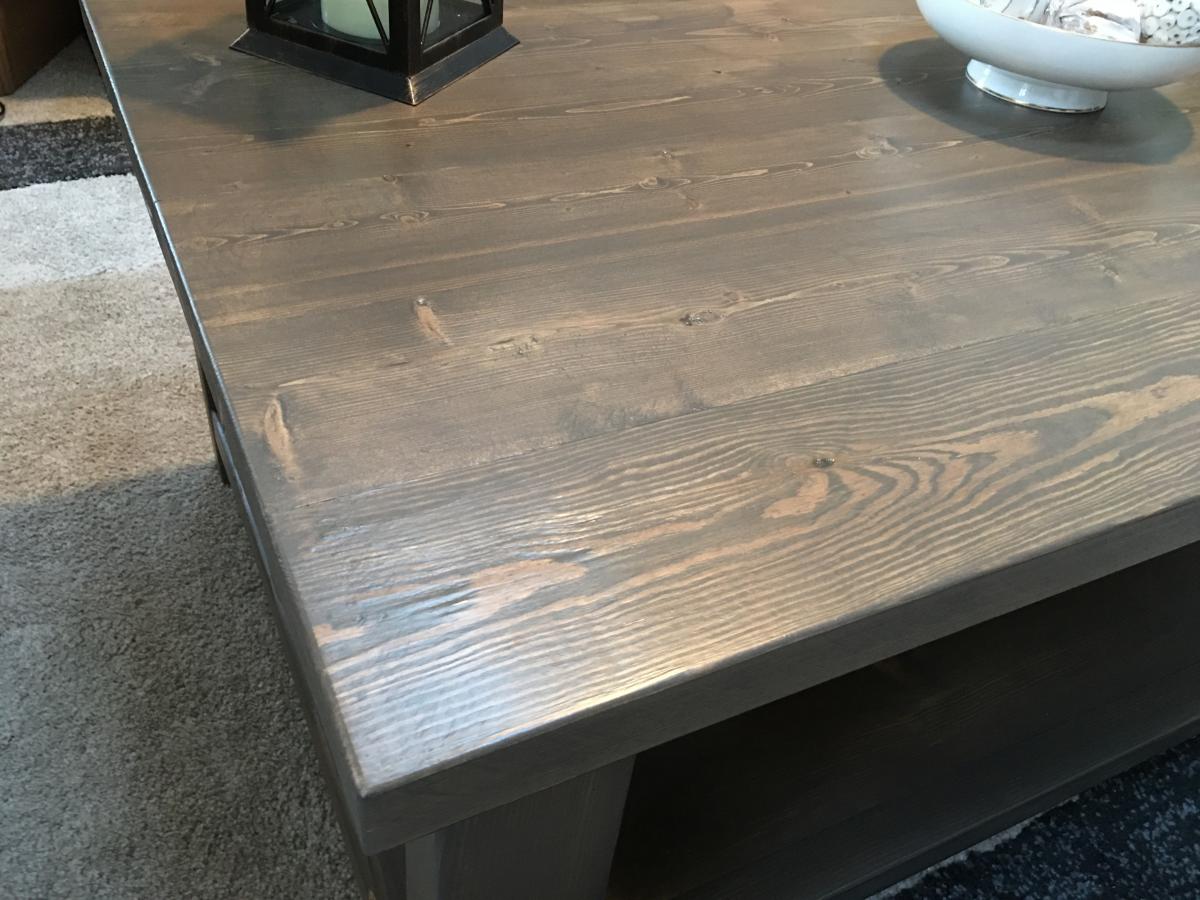
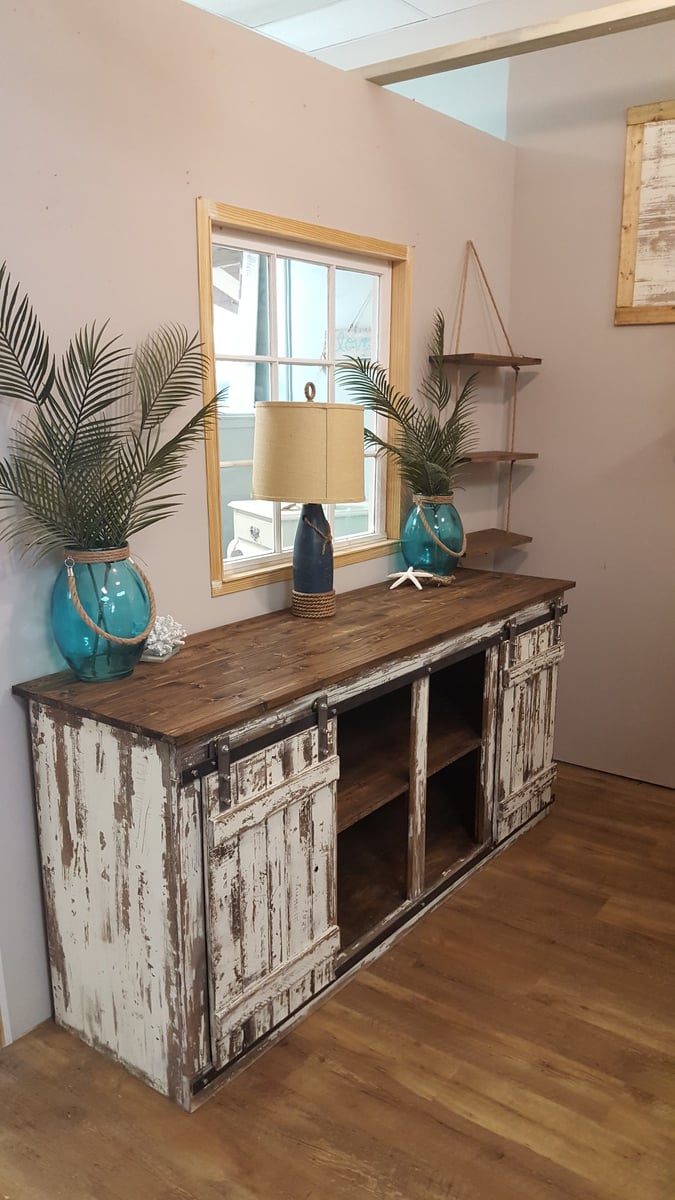
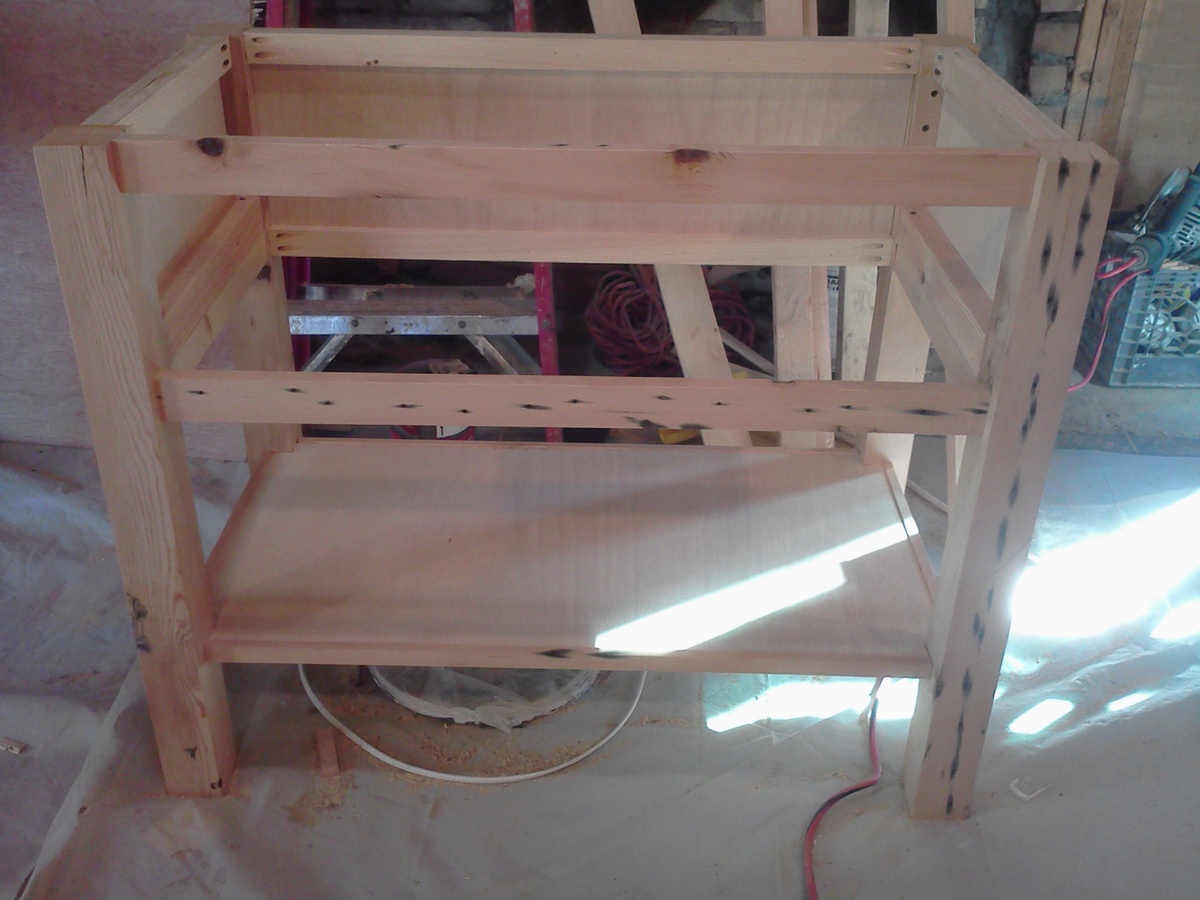
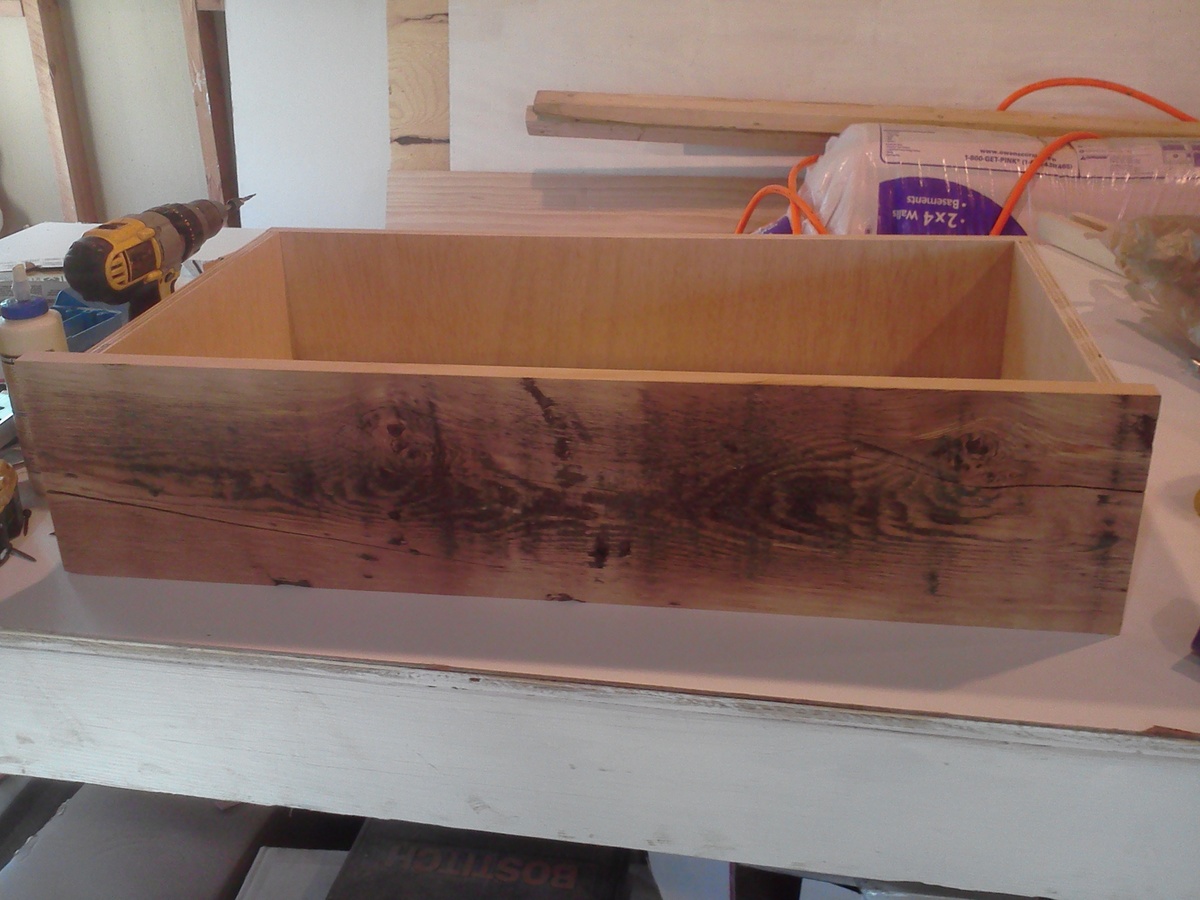
Modified console table

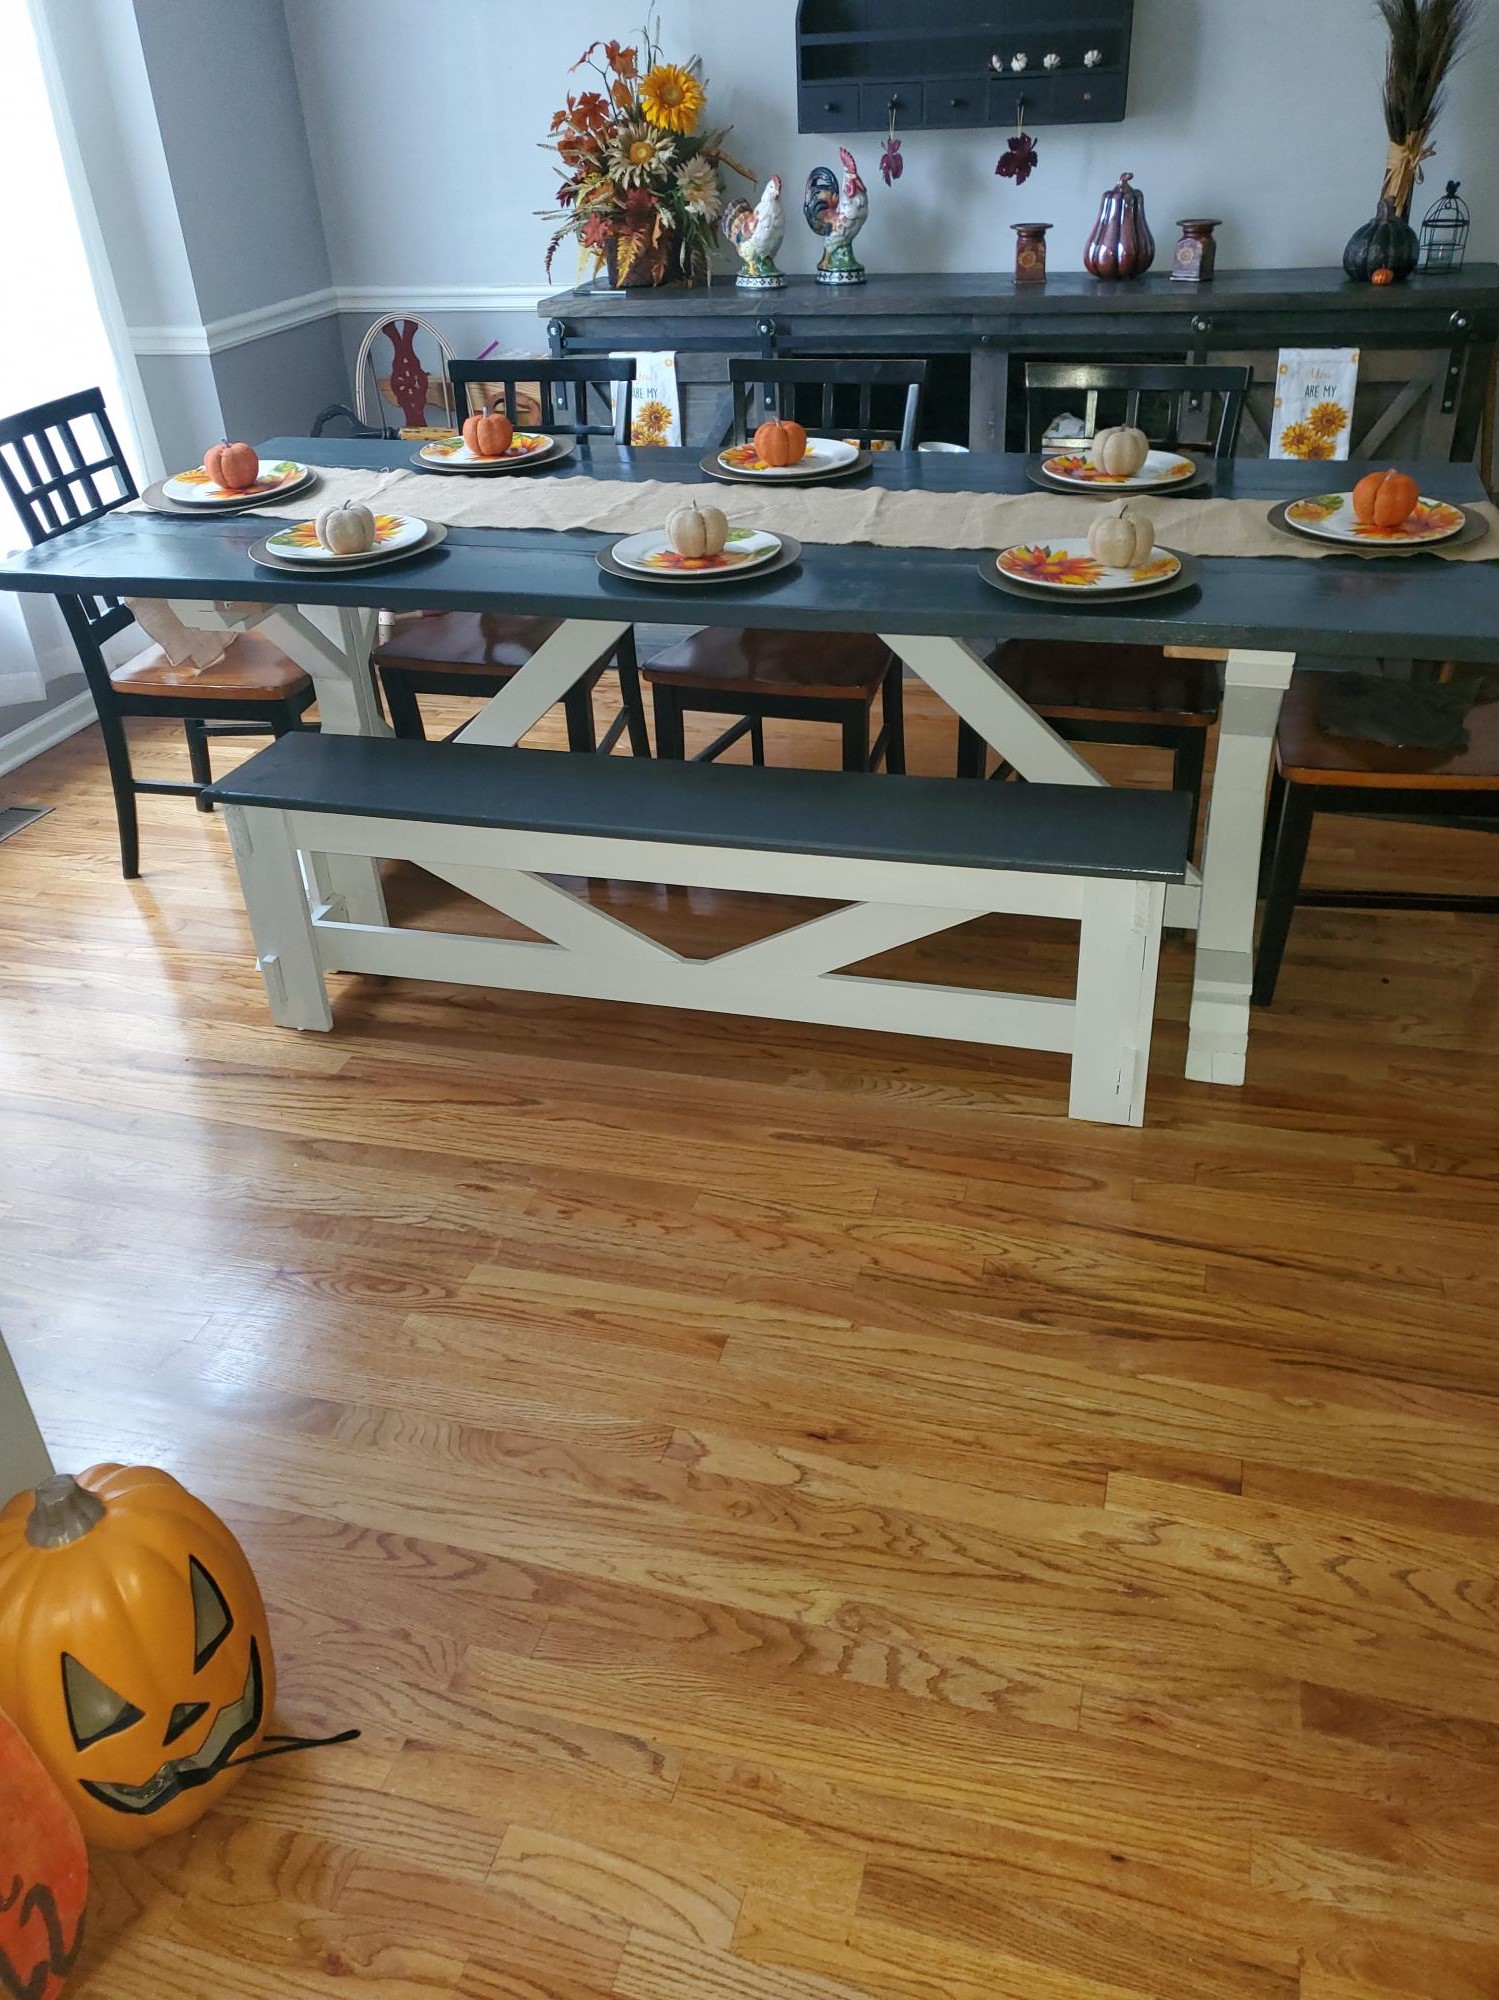
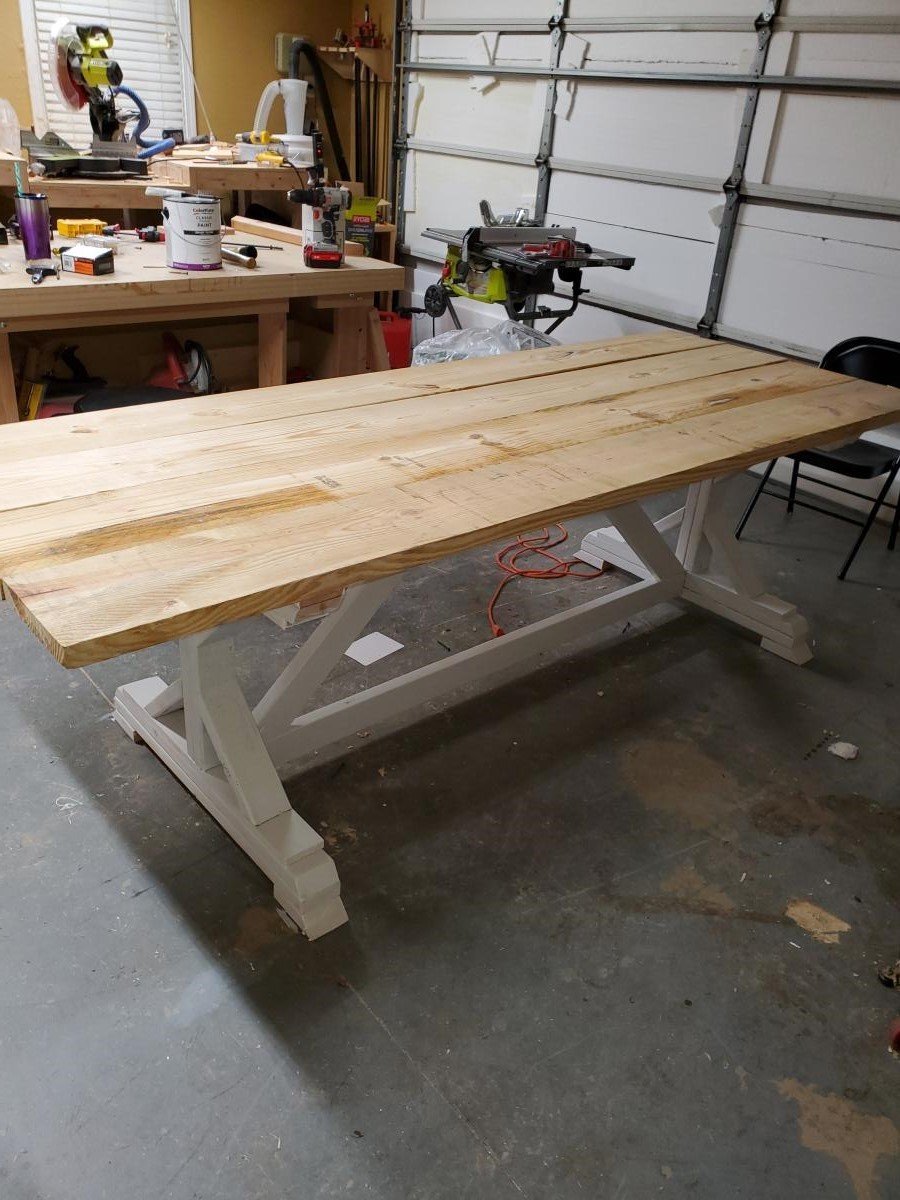
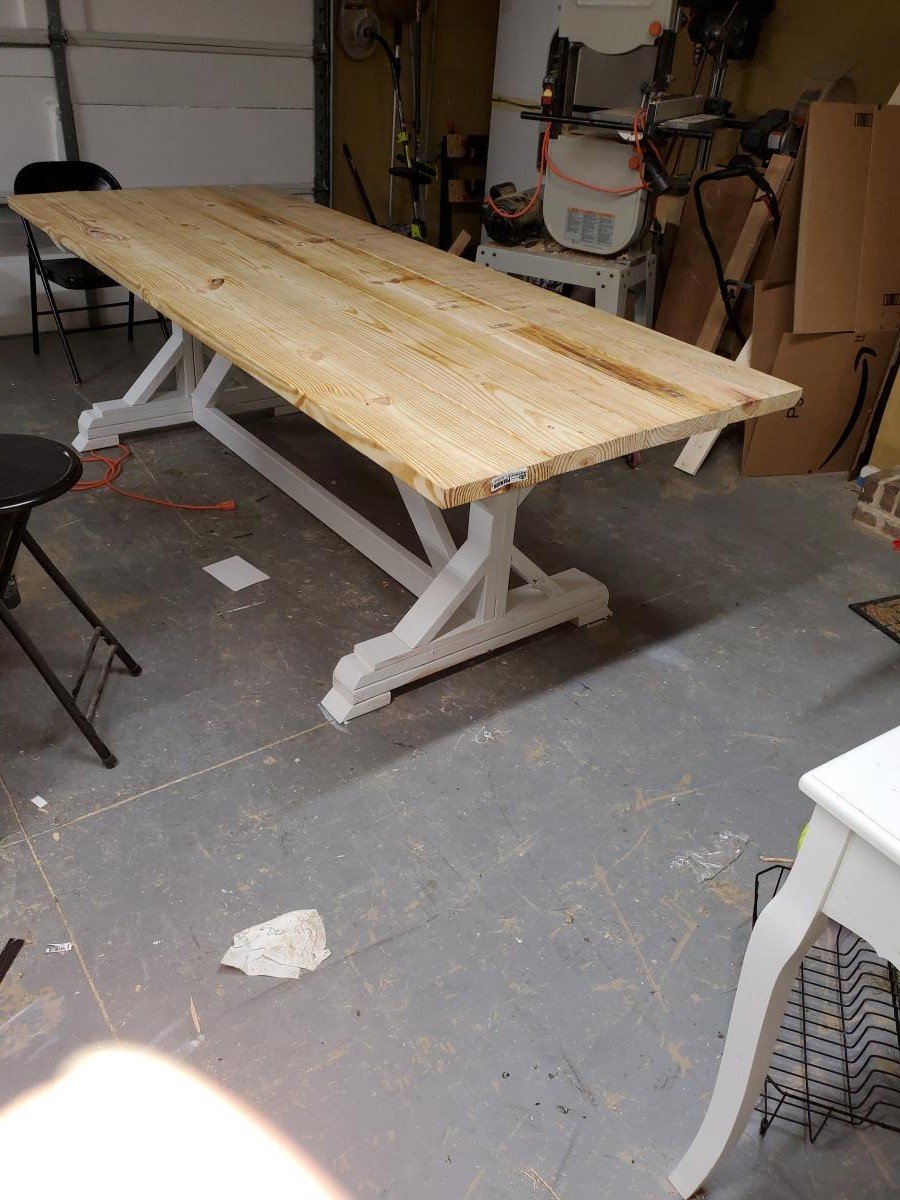
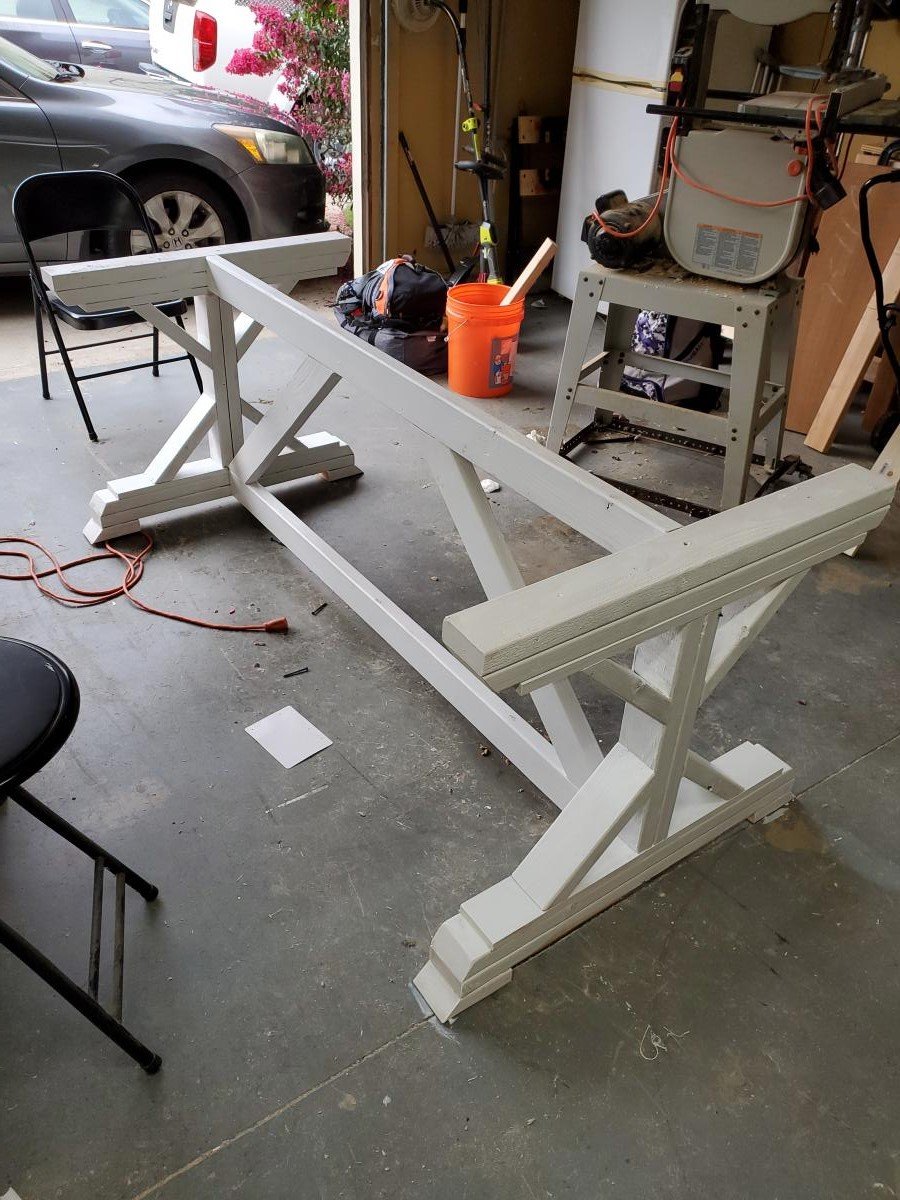
I'd been looking for a similar table for months but couldn't find one that I liked and that would fit at the bottom of my stairs. I found this pattern and changed the dimensions by removing just one of the top boards so that the final depth is 10.5" deep rather than 14". It's exactly what I wanted and get to brag about it!
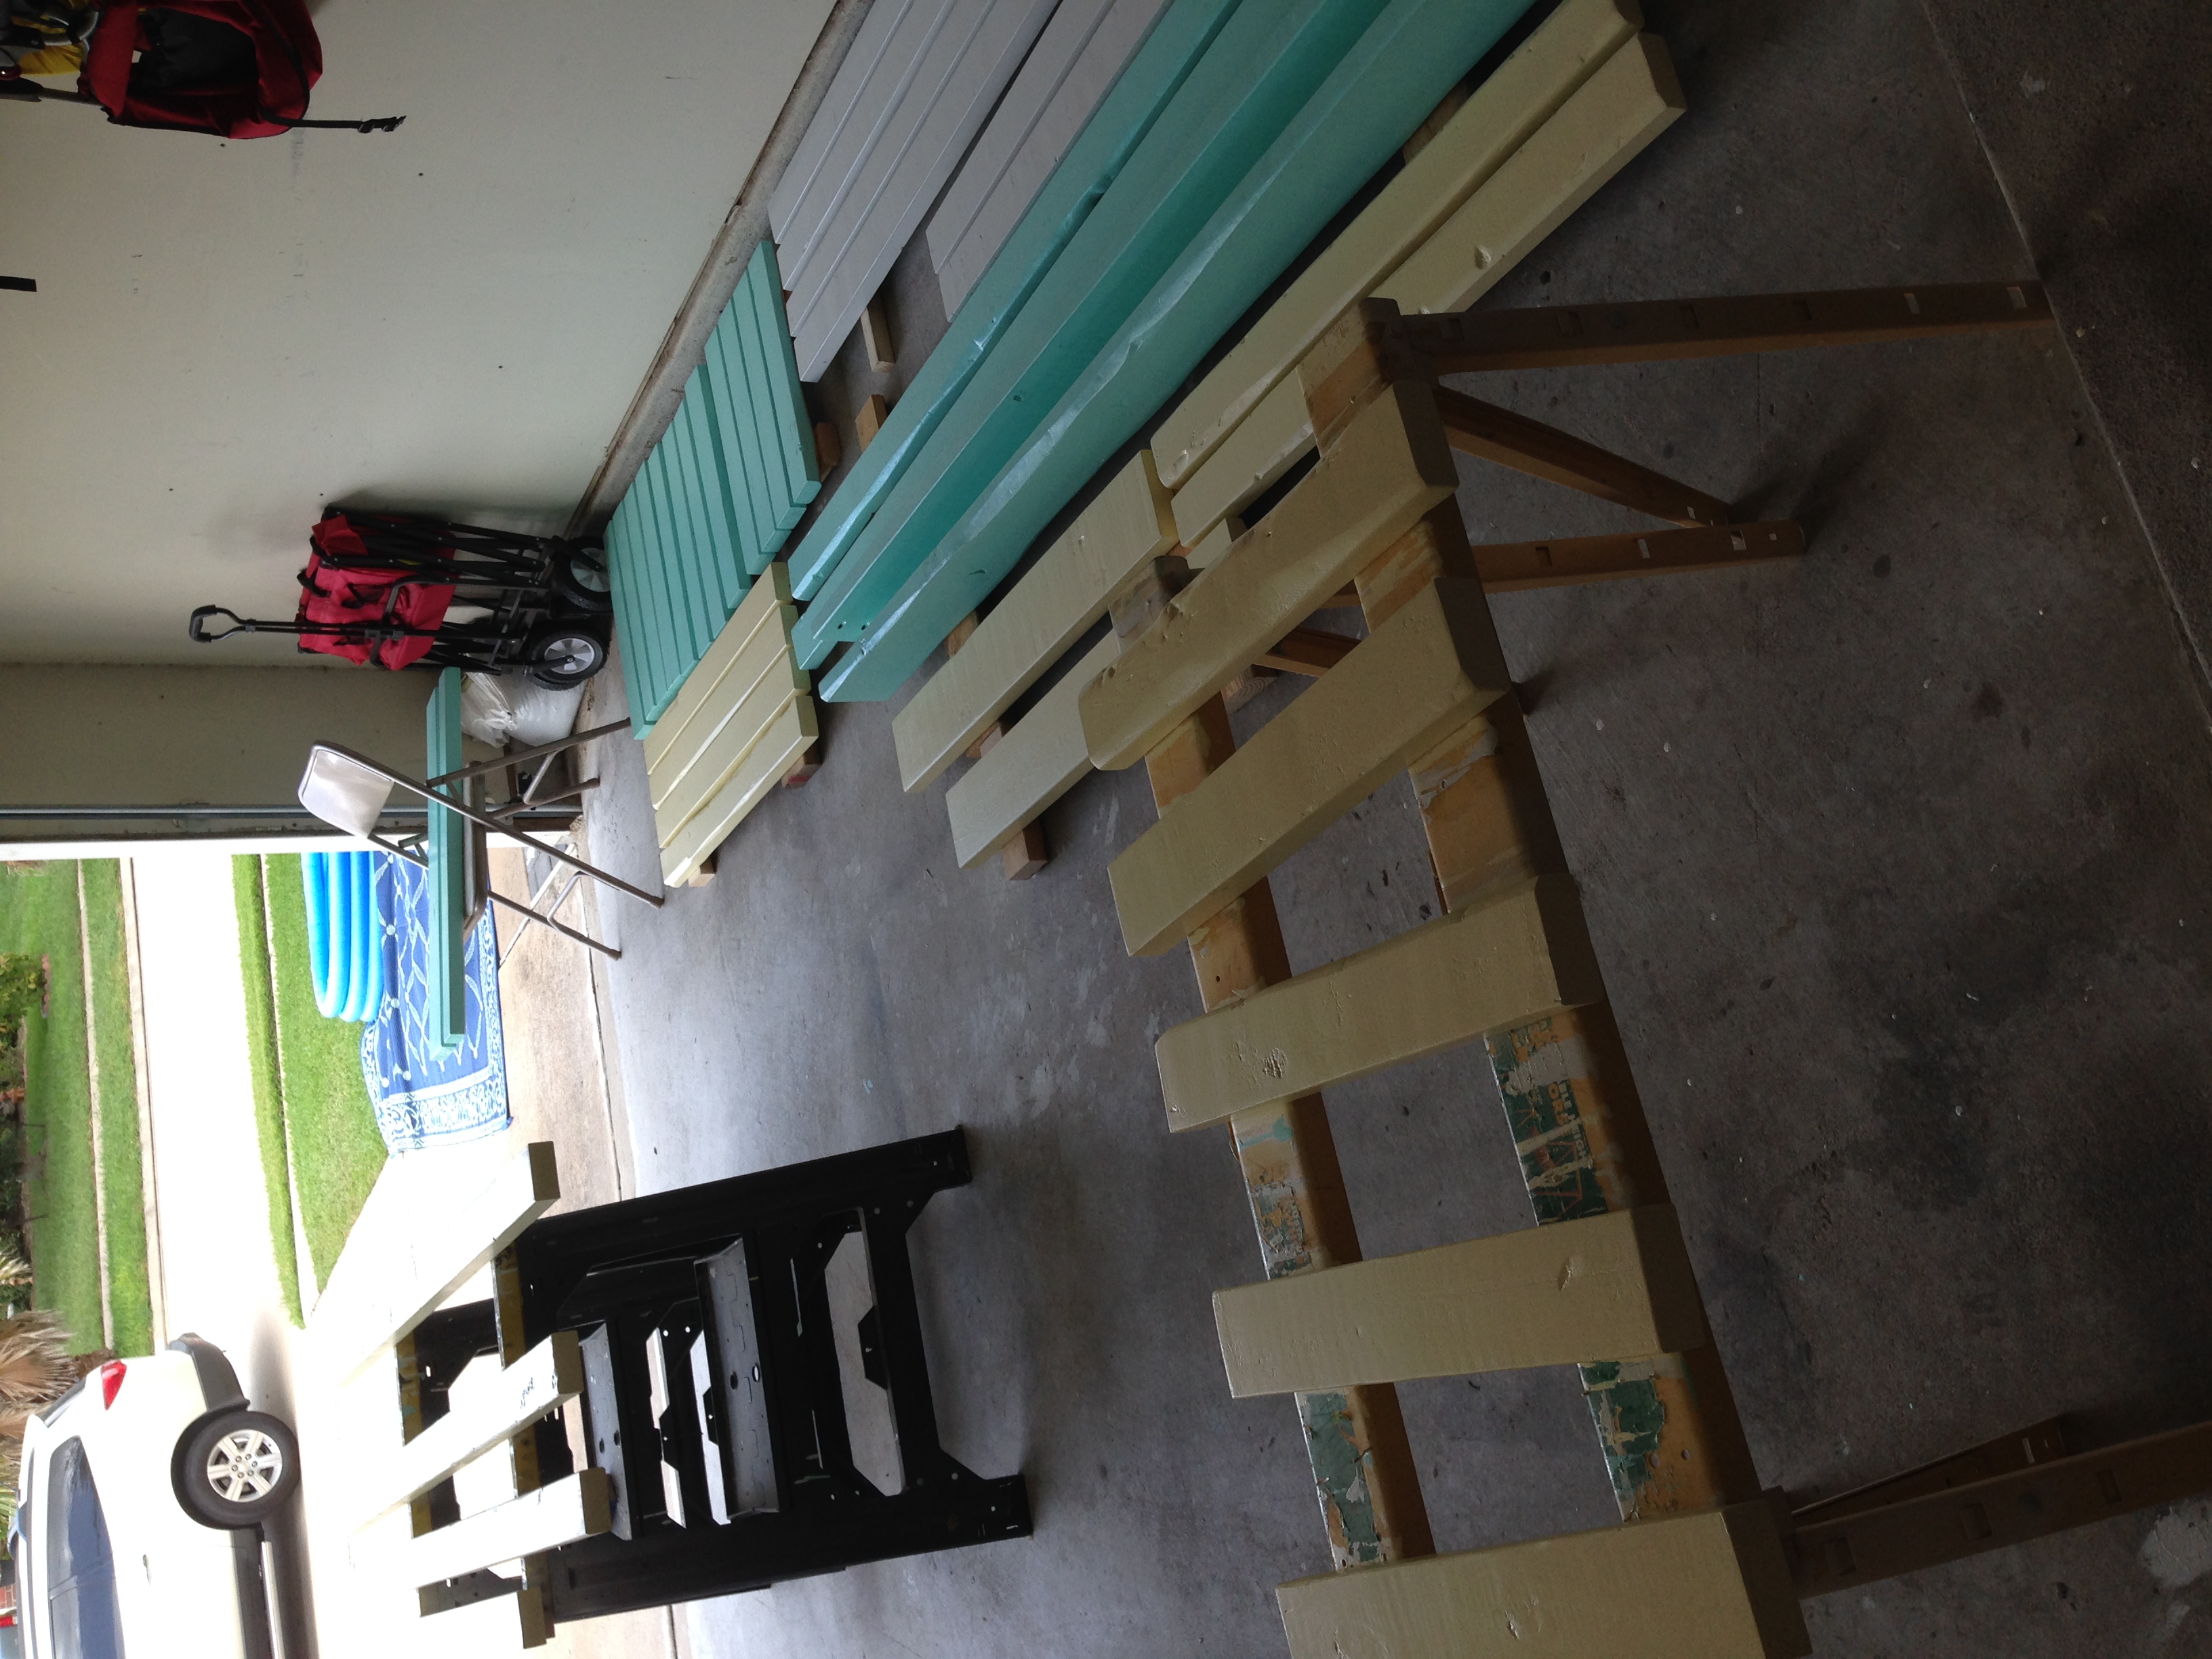
Estimated Time Investment
Weekend Project (10-20 Hours)
Recommended Skill Level
Starter Project


 so she won out.