Herb Garden Planter { $2 }
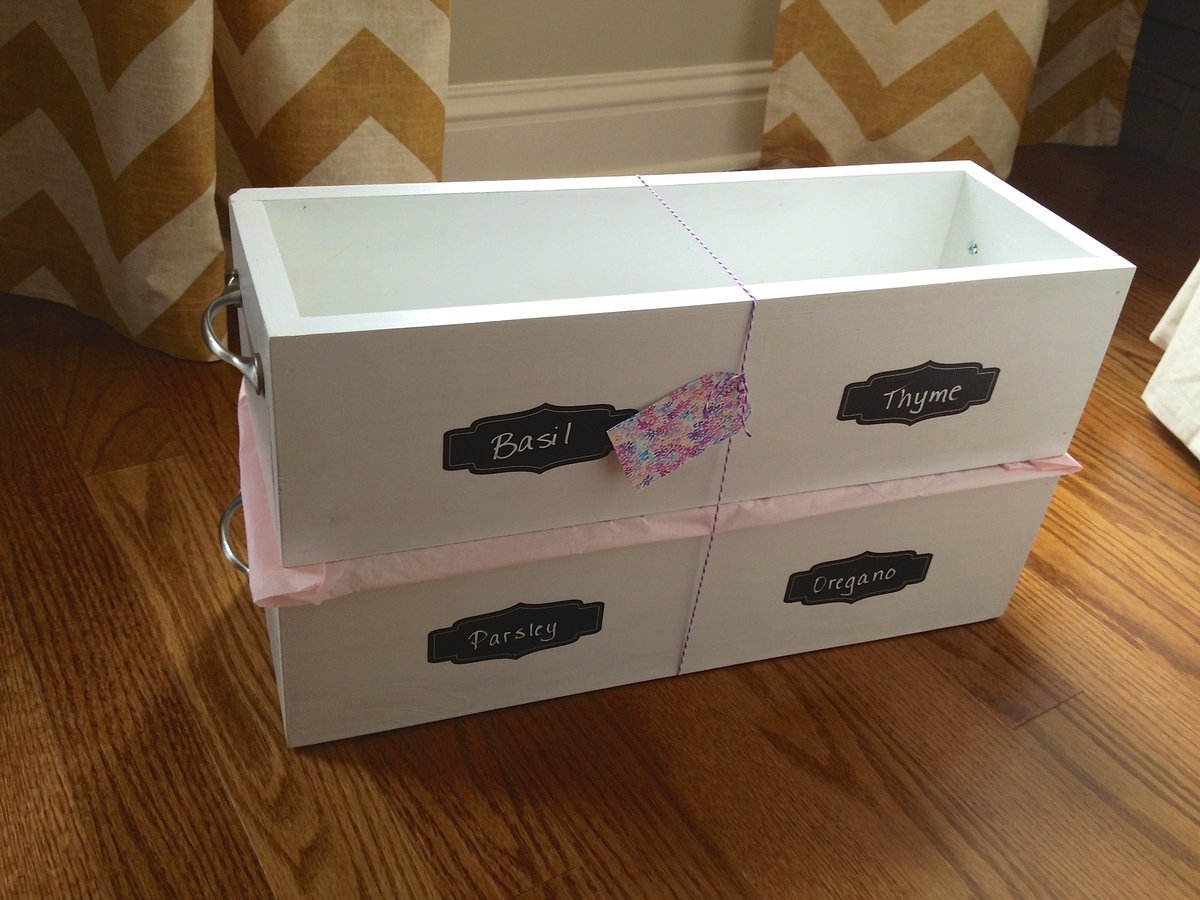
This is the fourth time I have made these to give as gifts. They are just so cute, easy, inexpensive, and versatile. Now that the growing season is among us, Im sure Ill be making even more.

This is the fourth time I have made these to give as gifts. They are just so cute, easy, inexpensive, and versatile. Now that the growing season is among us, Im sure Ill be making even more.
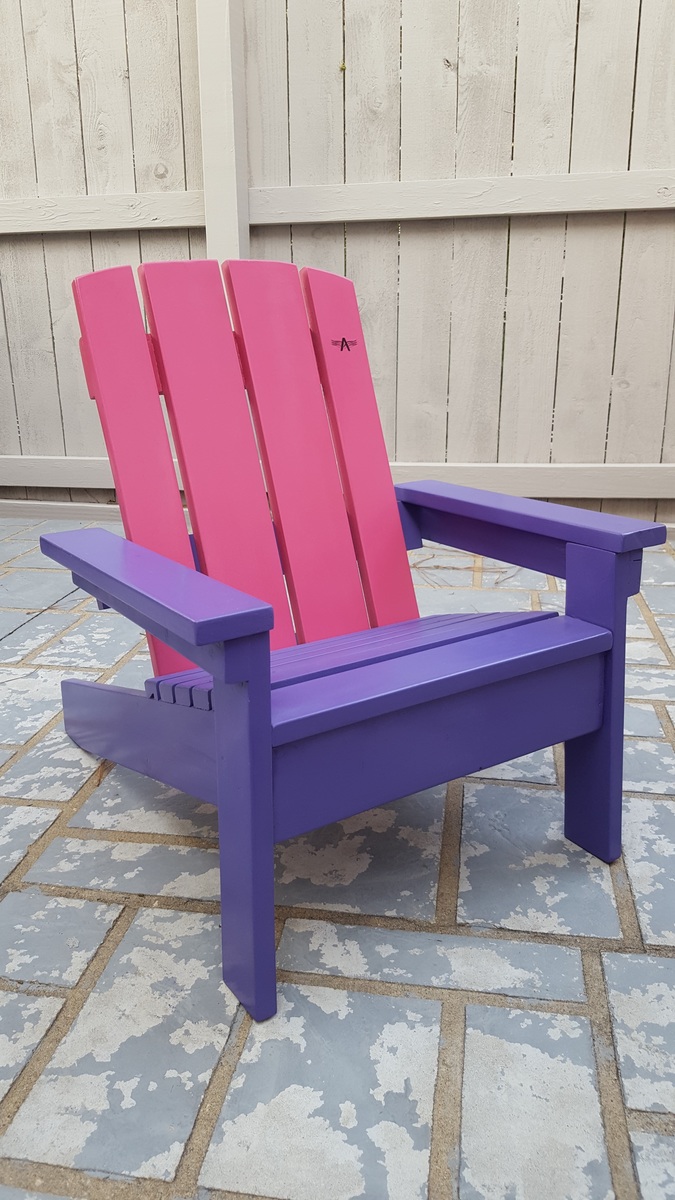
I built this for my granddaughter. I made a couple of design changes because I worked with wood that I already had in my shop. It's select pine with acrylic paint sealed with UV-resistent acrylic laquer. Great plan! Thanks!
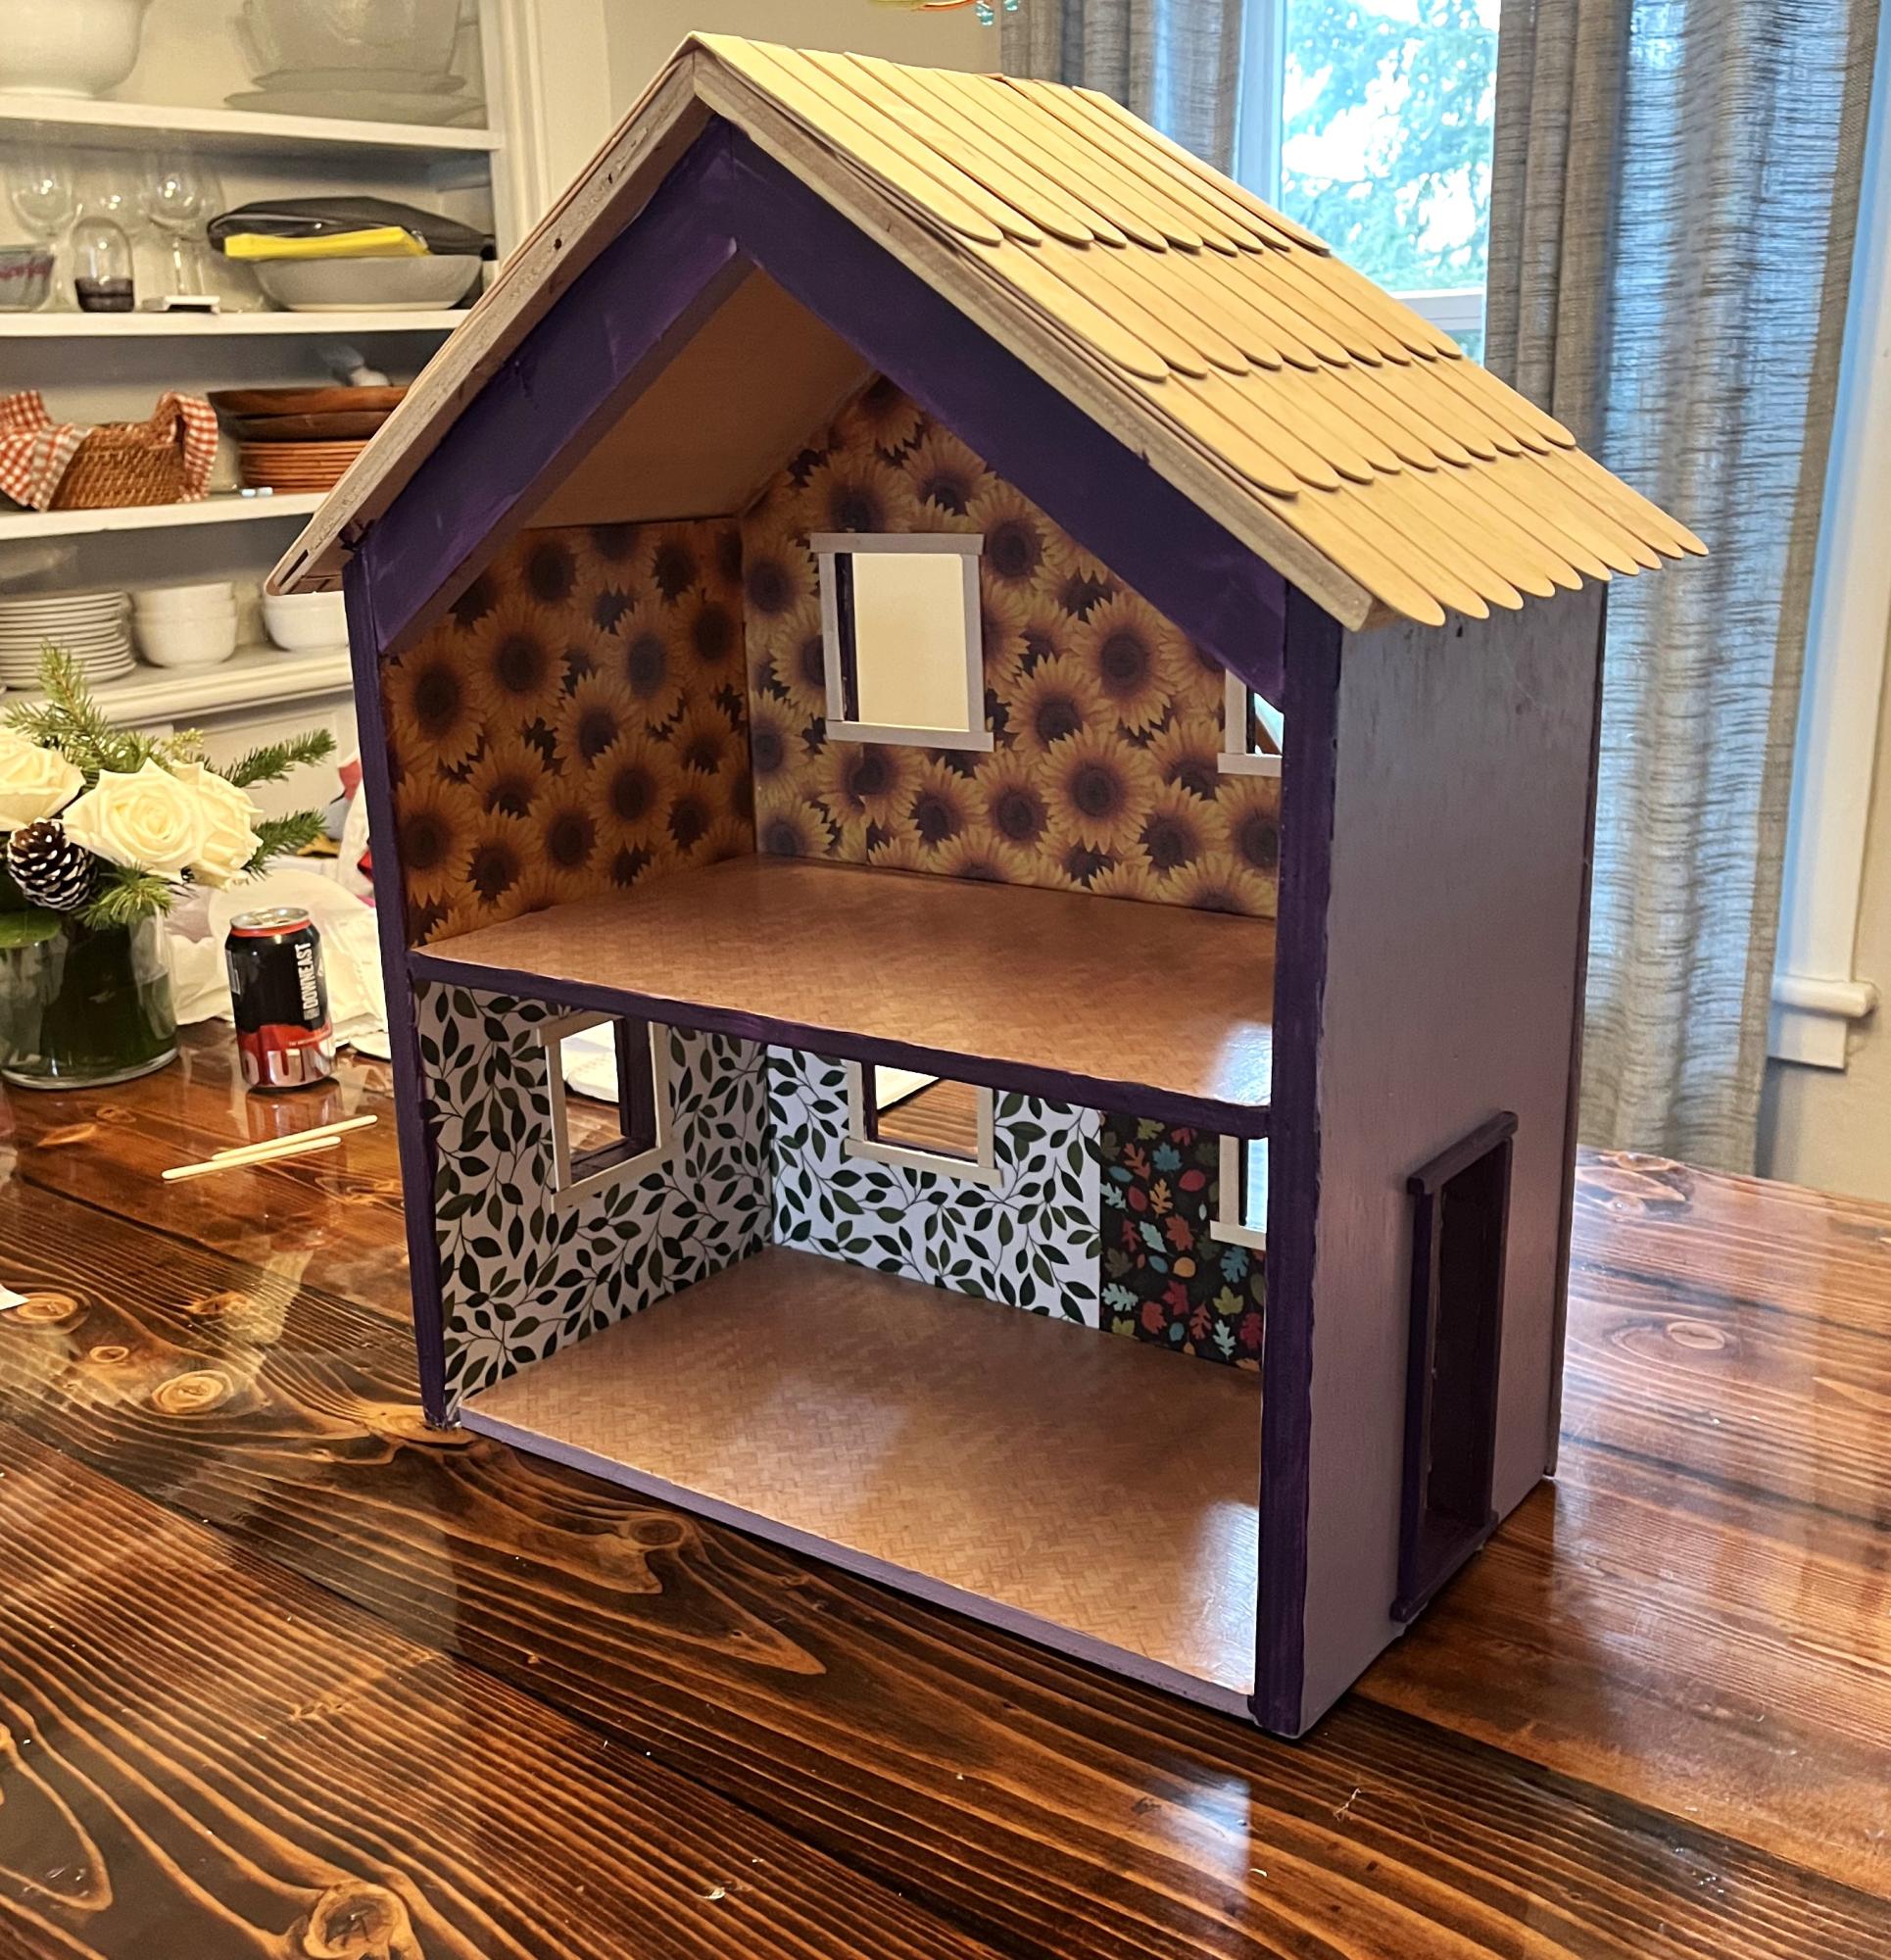
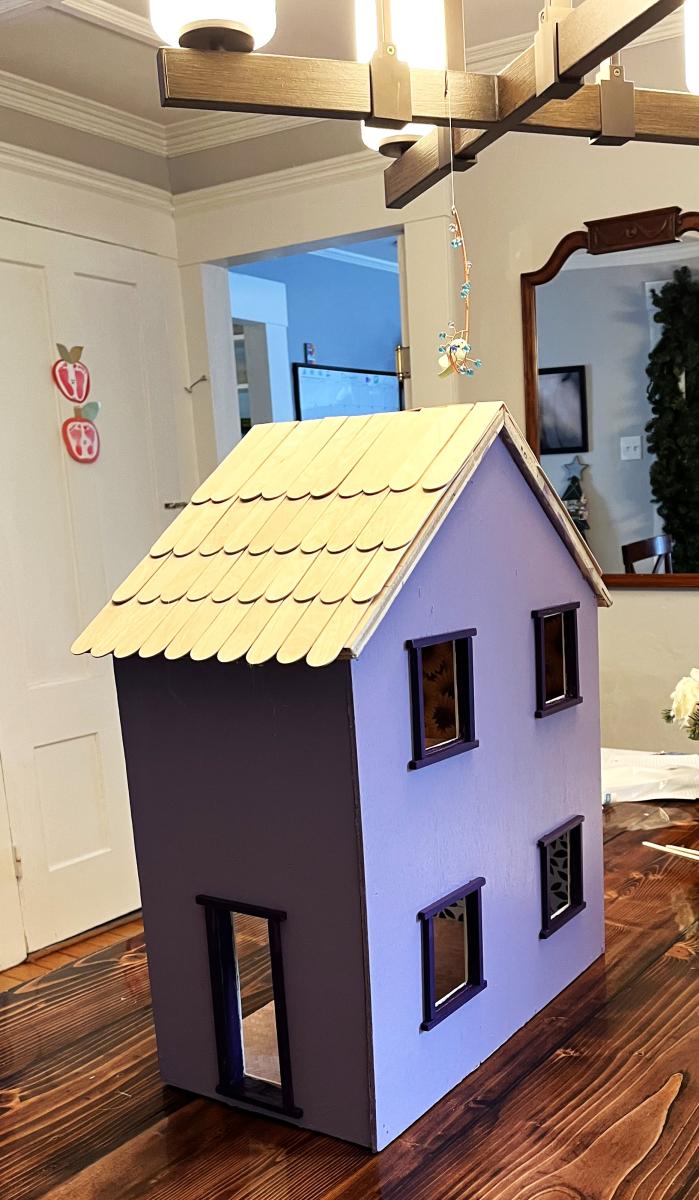
This is for my daughter’s 3rd birthday. I decopaged the walls and floor with patterned paper before assembling. I thought it would be easier.
I also didn’t bother with the middle ‘front’ door. The dollhouse in the example photos look beautiful from the outside, but kids don’t really play with the outside of the houses. So I made the windows a little bit bigger.
The windows and doors both looked terrible. My first time using a jigsaw was not a success. So I used tiny dowels for the trim around the door and craft sticks on the inside.
The last thing I need to do is put some lights in it. I ordered some fairy lights on amazon. I plan to use another dowel that I’m hoping I can wrap with the fairy lights and then wedge in the back on the ‘ceiling’ on the first floor and then Velcro the switch to the side of the house. It won’t look professional or anything, but being able to turn the lights on and off will be very fun.
Casey
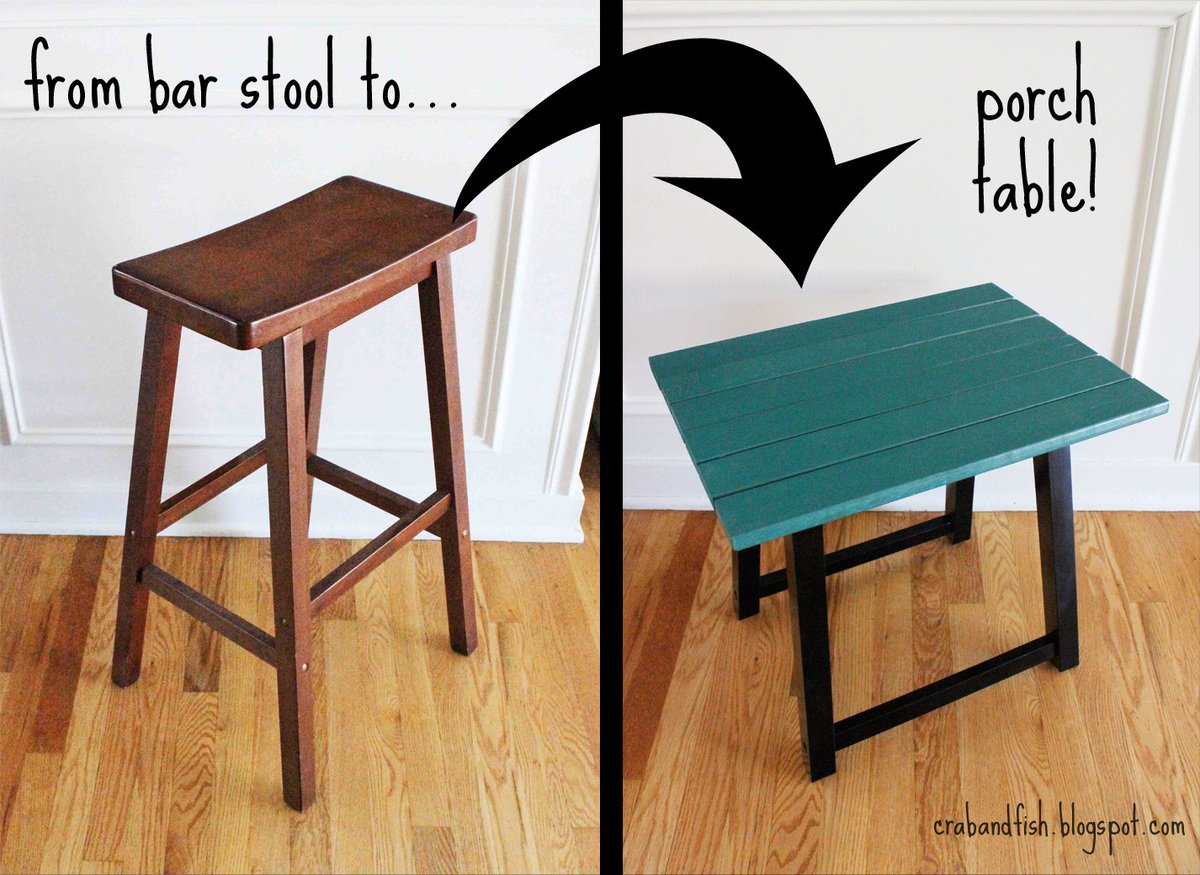
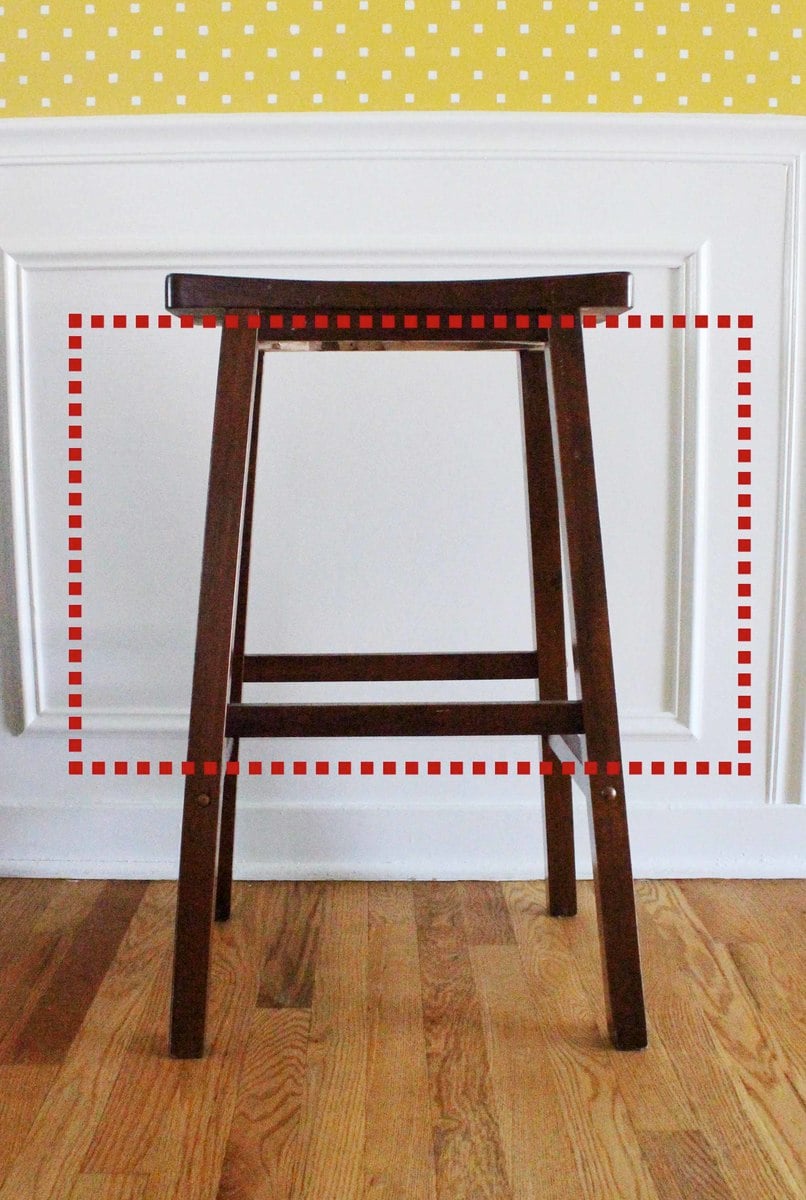
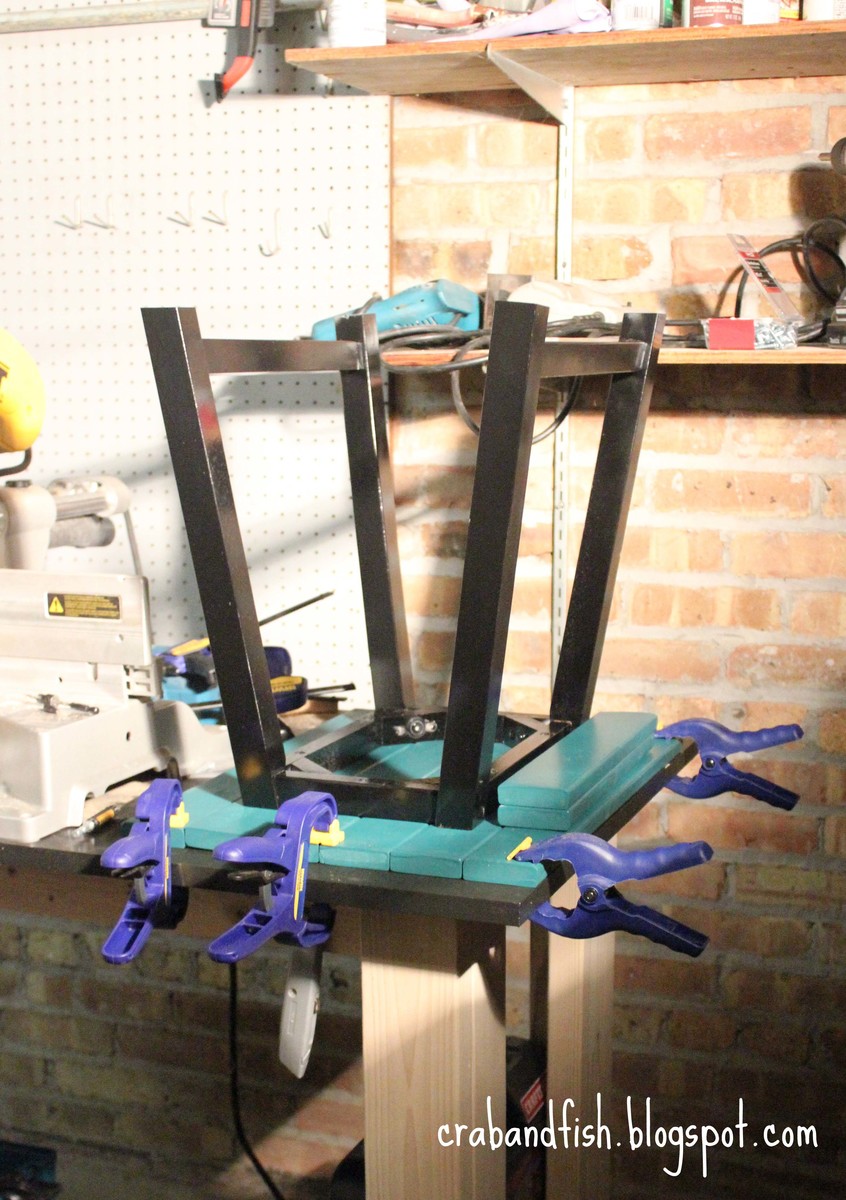
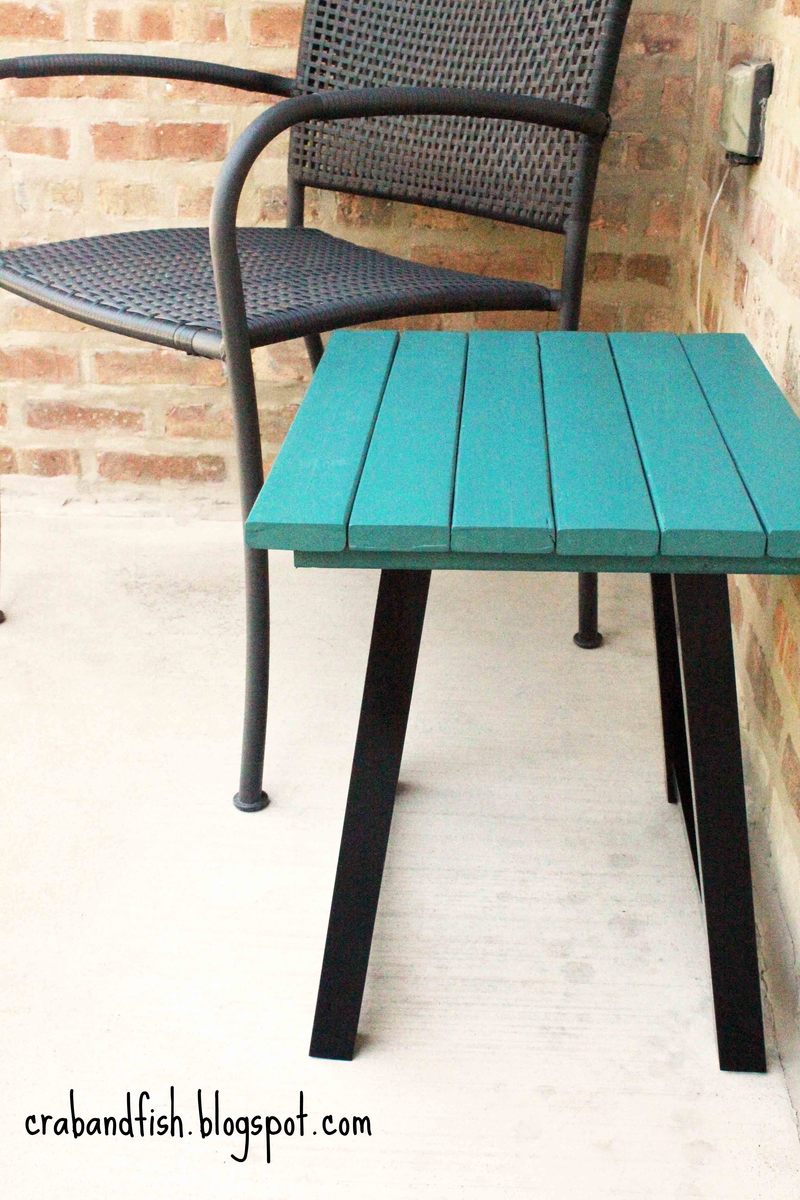
We had a couple of these bar stools from our apartment-living days. We didn't have a need from them in our house since we have no bar -- so my husband made a small porch table that we DID need.
You can read about it here: http://crabandfish.blogspot.com/2012/06/fish-made-porch-table.html.
Thanks!! :)

We followed the king sized Farmhouse bed with a few changes. We added 5 inches to the footboard so that it was almost flush with the mattress. This was just a personal preference. The bed went together pretty easy and looks amazing in our room. We LOVE it!
Since we did the king sized plans, the side runner boards do not fit inside of the headboard but we did make them flush with inner edge {attached to the front though instead of to the side}. Since we did this, we had to go and buy brackets to attach the side rails to the headboard and footboard. We also had to go back in and cut off the 3 inches that they add to the side rails for it to be able to be screwed to the inside of the headboard. Just a few minor adjustments and it all came together great.
We finished it with minwax dark walnut and two coats of clear coat.
We already had the stain and clear coat so this project cost us about $170 for the wood.


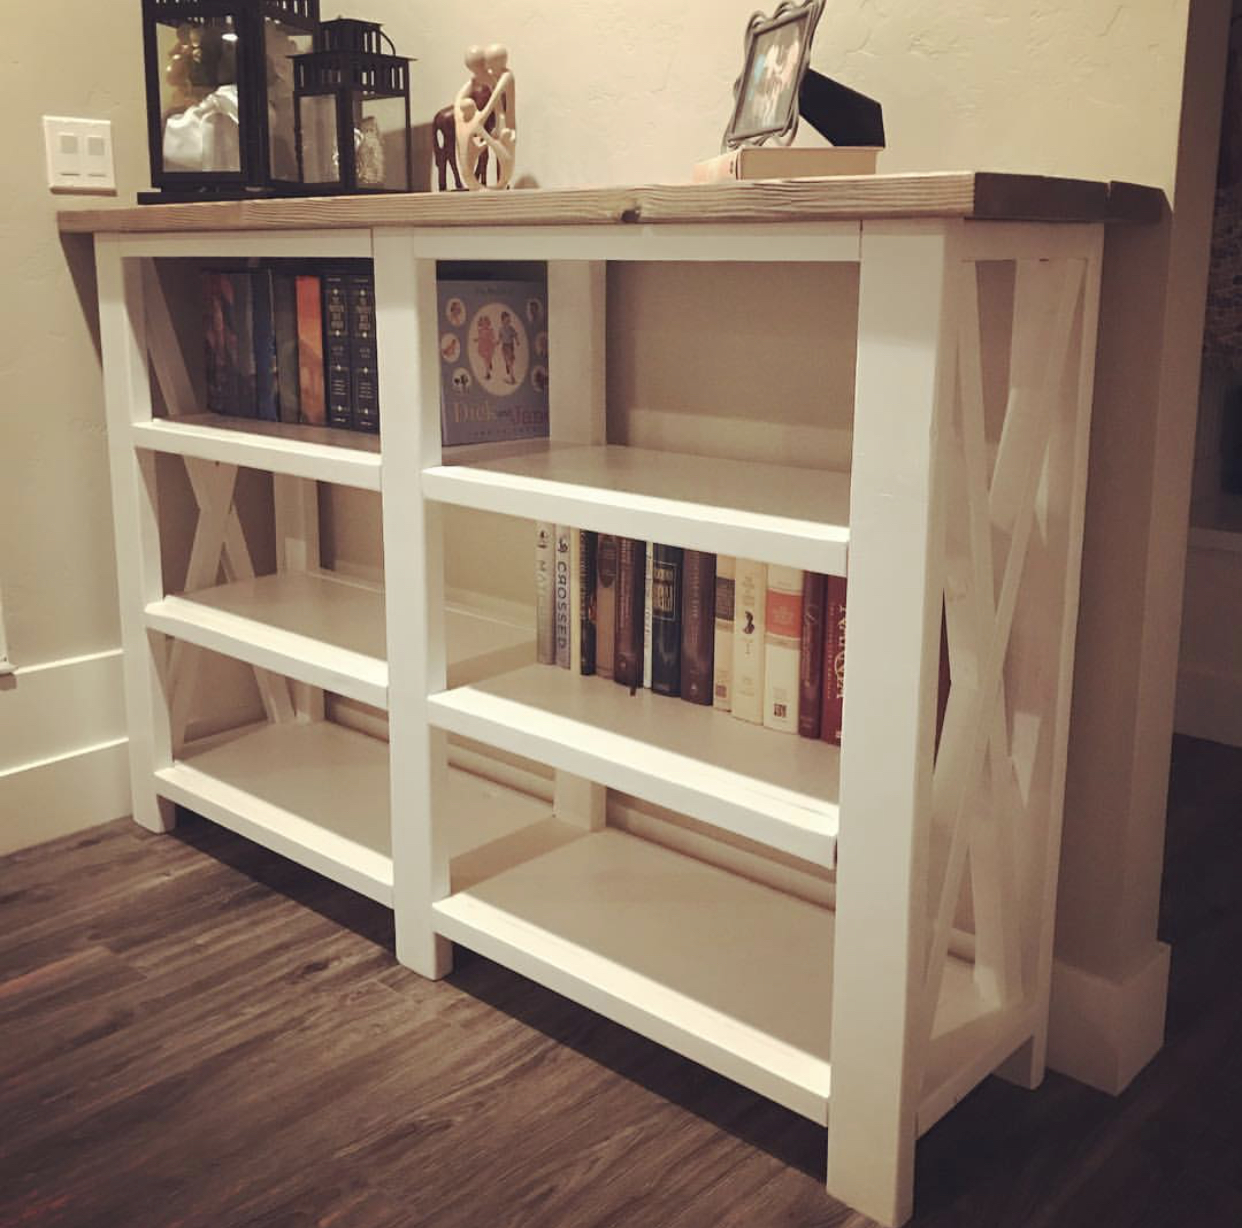
Wanted to make shelves to put on both sides of our fireplace but had to alter the dimensions. So I added another shelf and made it shorter in length. I was a bit nervous because I’ve always just built per the instructions. It turned out perfect! Just don’t look too closely at the X’s!
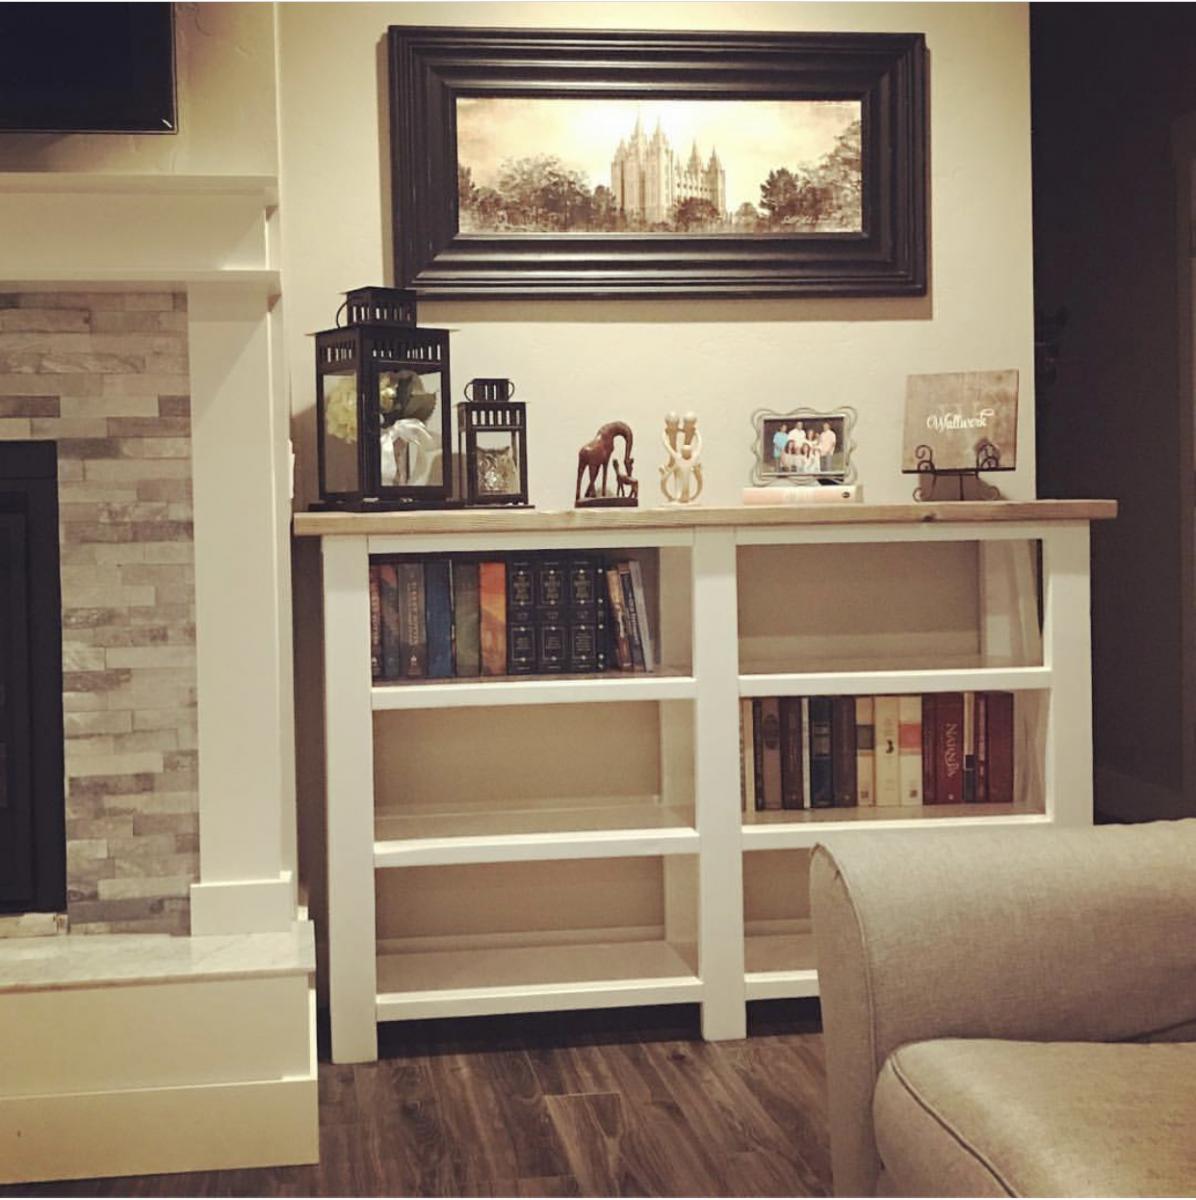
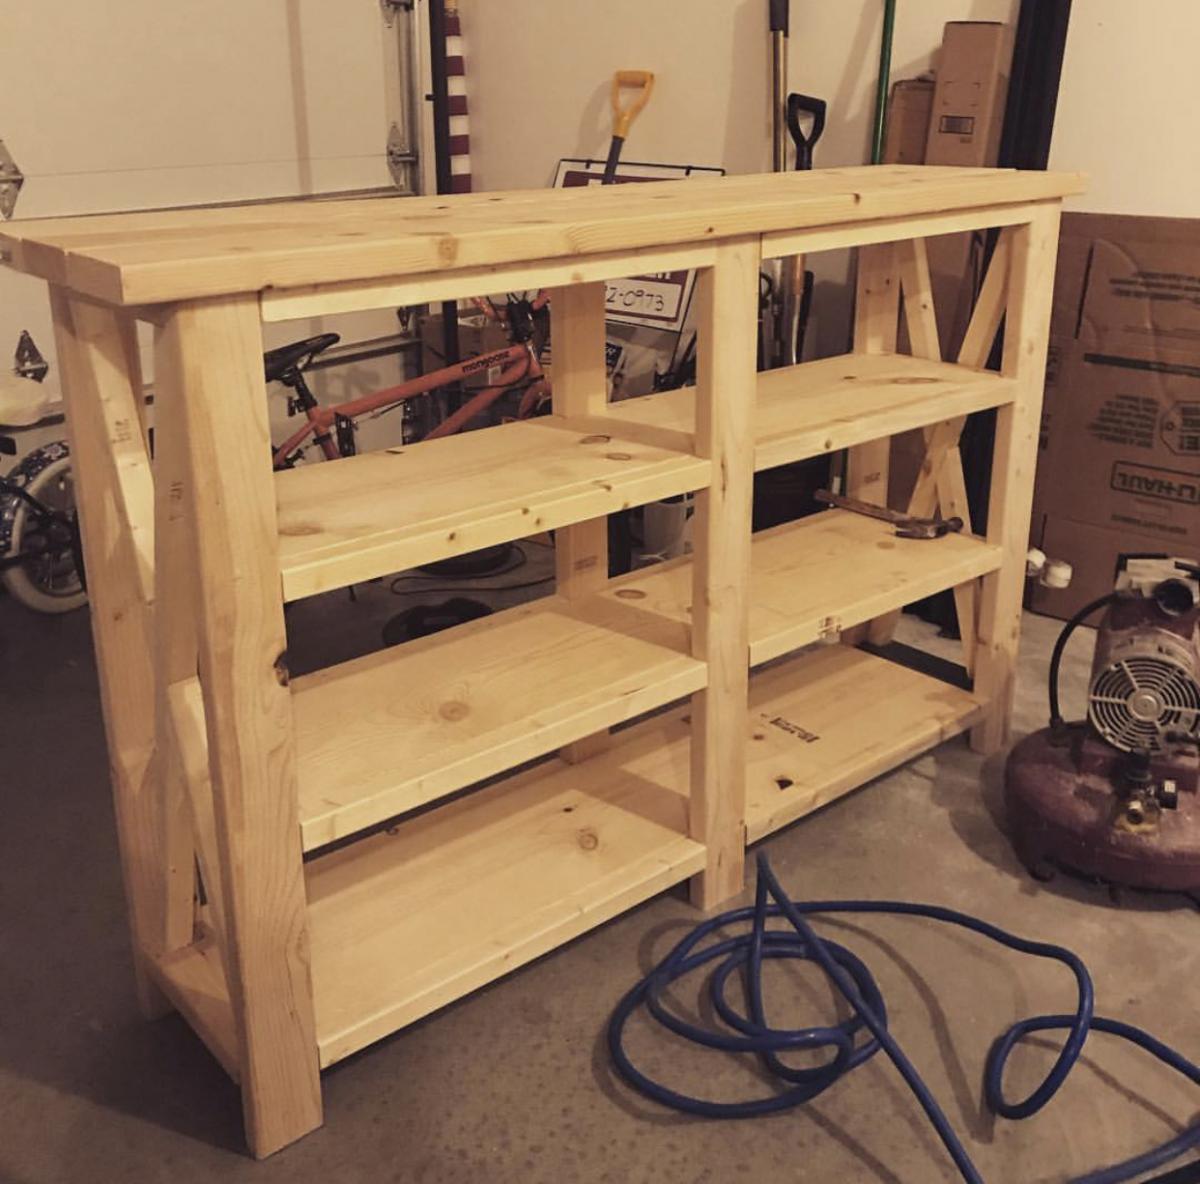

Loved making this. I added a top rail for a shelf.
R Chase
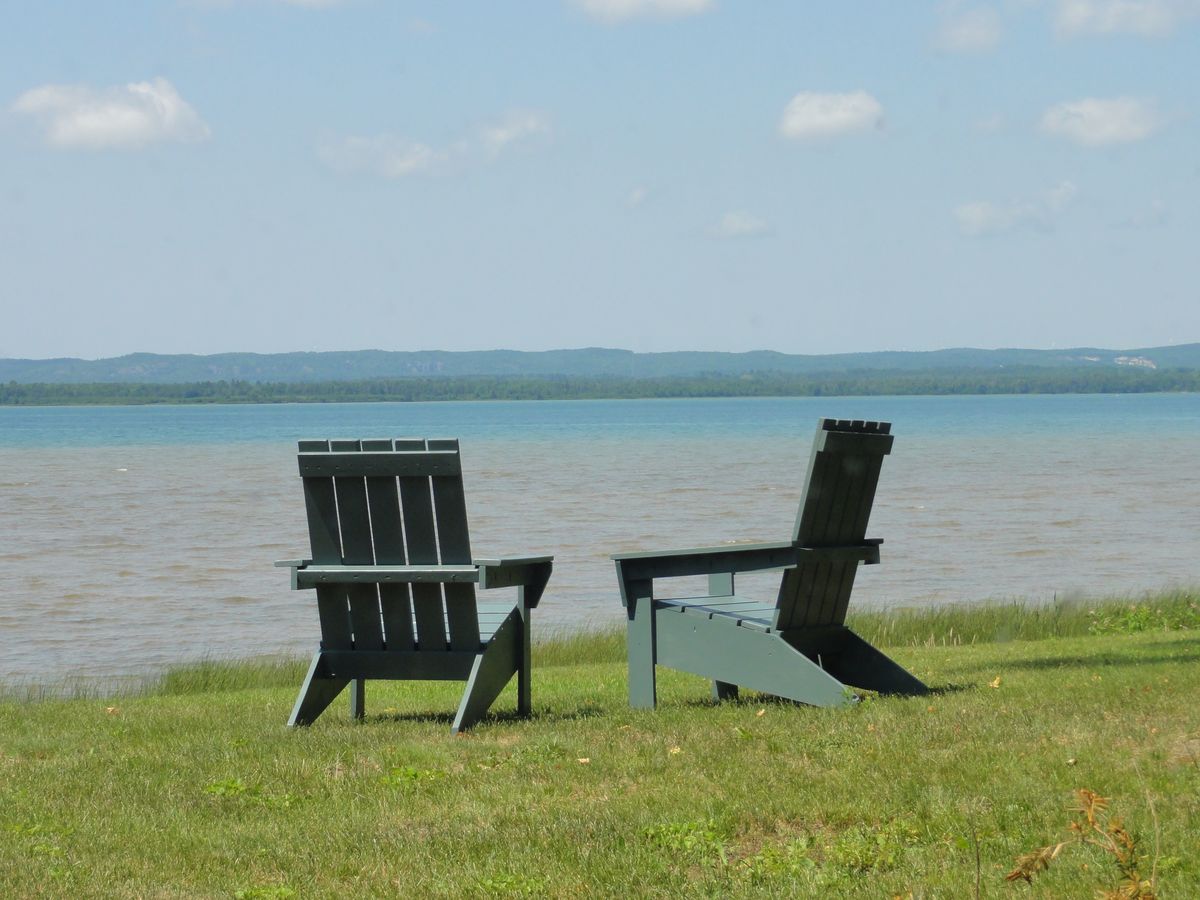
Amazing what some basic lumber can make! Read the comments included with the instructions ... the 1 x 4 cut list was especially helpful. All told it was under $30 for a very comfortable sturdy Adi !! Some modifications I did for mine ... I used pocket screws to attach the seat slats and arm rests ... no splinters :) I found it easier to attache the middle back support loosely to the arm supports, then attach to the back slats in the correct position Paint was Clark & Kensington All-In-One from Ace in Fairfield Manor -- it's a beautiful watery green ... perfect!! Thanks Again Ana!!
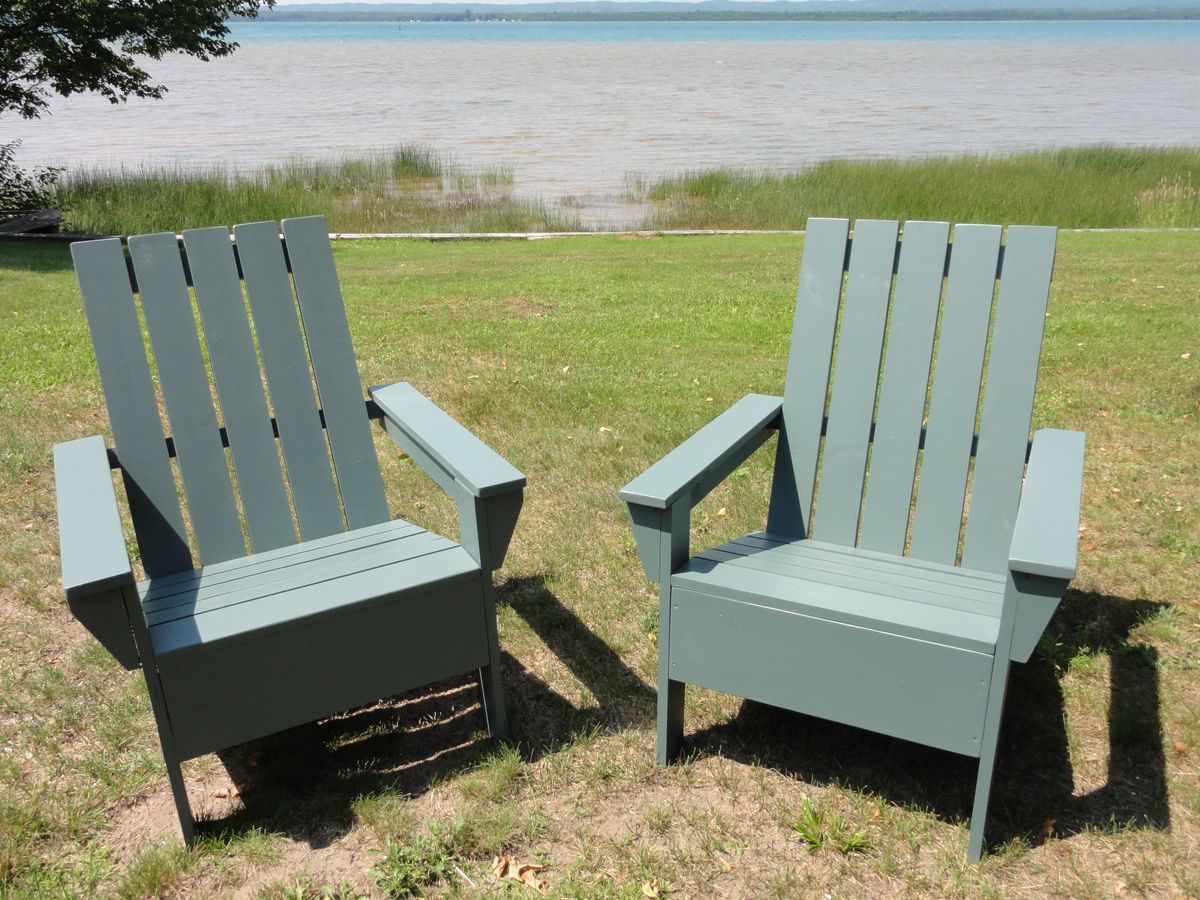
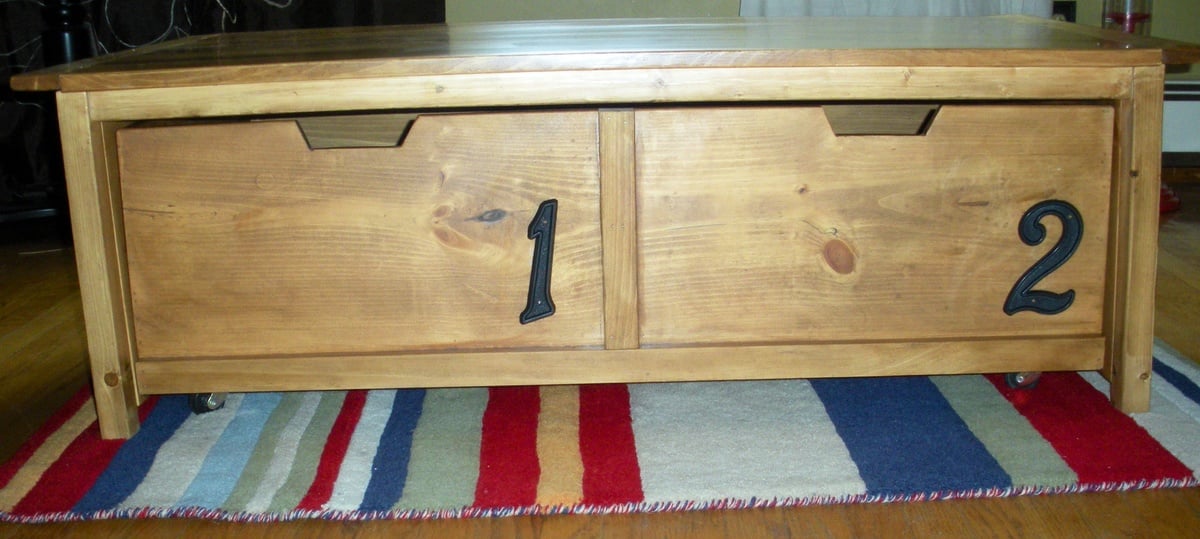
This project was simple as long as you follow directions. I had some problems with the finish but in the end it all worked out!
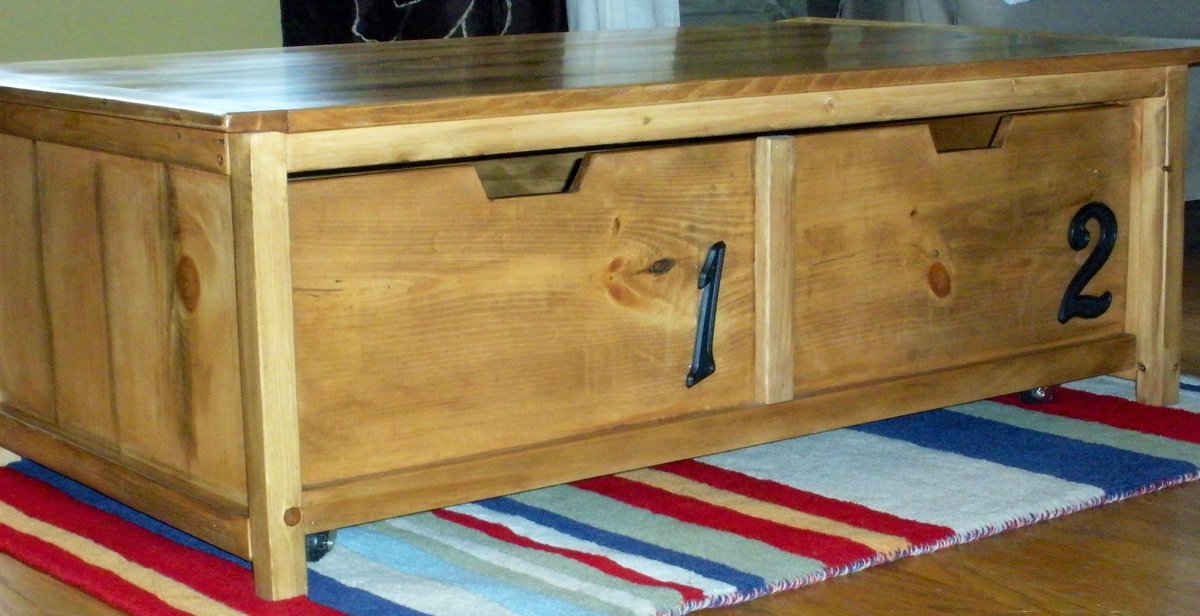
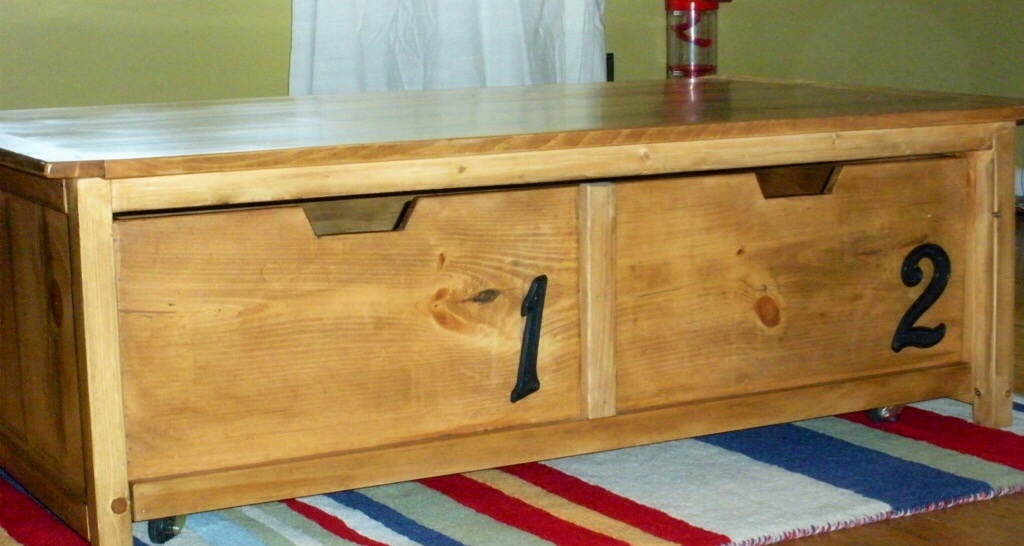
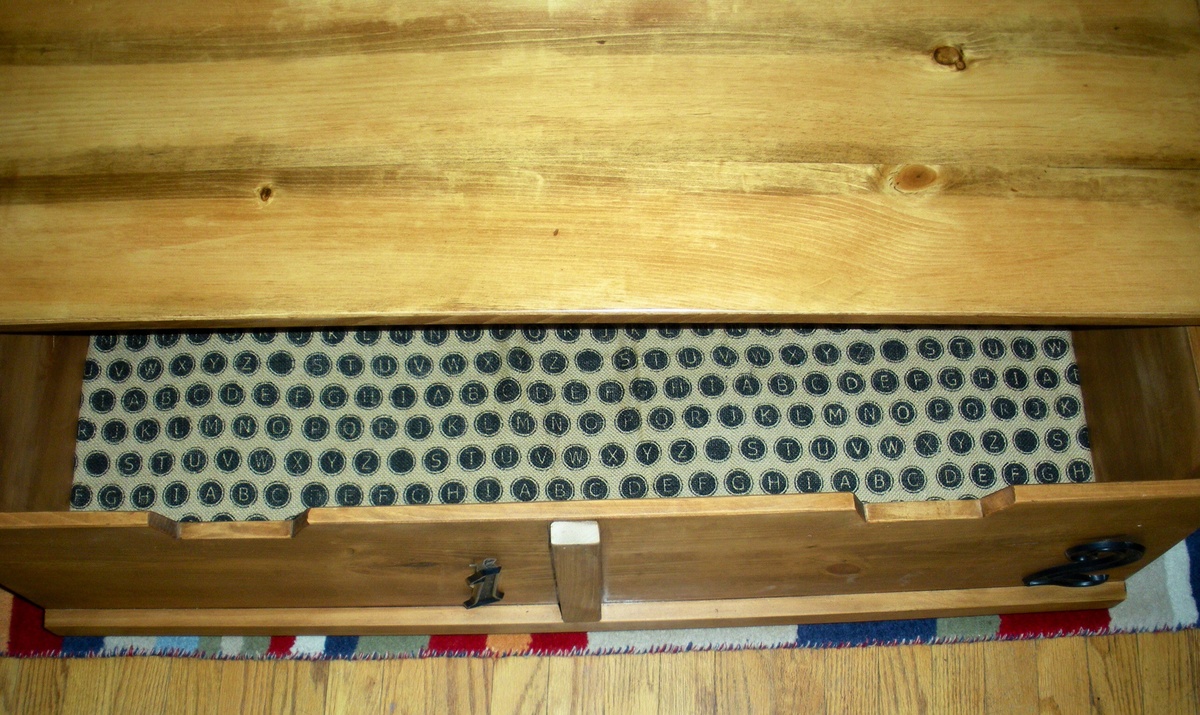
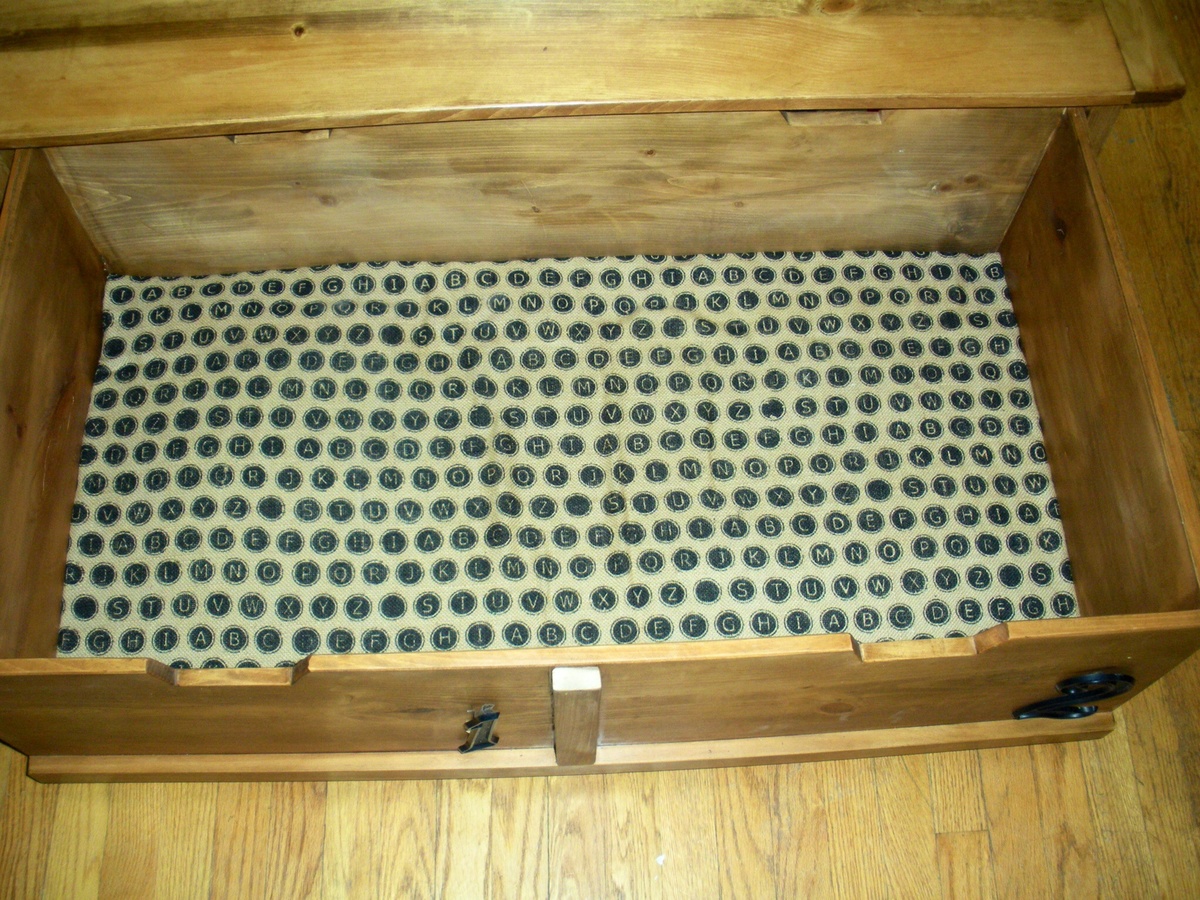


This is the first project my husband and I tackled since we were in middle school, (when you built things like clocks and puzzles). We had virtually no tools, a limited workspace, and a compact car to transport lumber in. Believe me when I say - if we can do this, anyone can!!!!
We bought a circular saw and sander, and had a power drill on hand. We were working on a very tight budget, so we bought a Kreg Jig mini instead of a full sized jig. I also borrowed a few hand clamps from our parents. I thought the Kreg Jig mini would be a MASSIVE pain, but it actually worked really well (as long as you have hand clamps).
We used regular SPF lumber for the planks and aprons and cedar posts for the legs, all purchased at HD. Best advice - take your time looking for boards that aren't warped. Even in the end, we had a couple of imperfect boards, but it didn't inhibit our construction at all like some previous posters experienced. We did all the cuts at home EXCEPT the cedar posts (We got the people at HD to do this for us. They did it for free).
The build was straight forward. We had to do a few modifications (as our table is just over 5ft in length), but if anything I think the smaller size made things easier. We measured twice and cut once. As long as you take your time, it's easy. We even modified the plans so we can add an extension leaf should we need more room in the future.
We sanded every inch of the table. No joke - this step played a HUGE roll in making our table look and feel good. Some of the planks on the table top were a little uneven, so at the last minute we invested in a cheap hand planer - it still isn't perfect, but it definitely helped a lot.
To finish, we used Wood Conditioner. I'm glad we did. I've stained other things in the house without it, but the wood conditioner definitely gives the finish a richer, more professional look. We used Minwax dark walnut, and we topped it off with Waterbased poly (just what we already had hand).
For our first project, we are very satisfied. It took us about 3 days (off and on). We will be making a bench for our table soon. I look forward to doing more projects in the future! Thank you :)

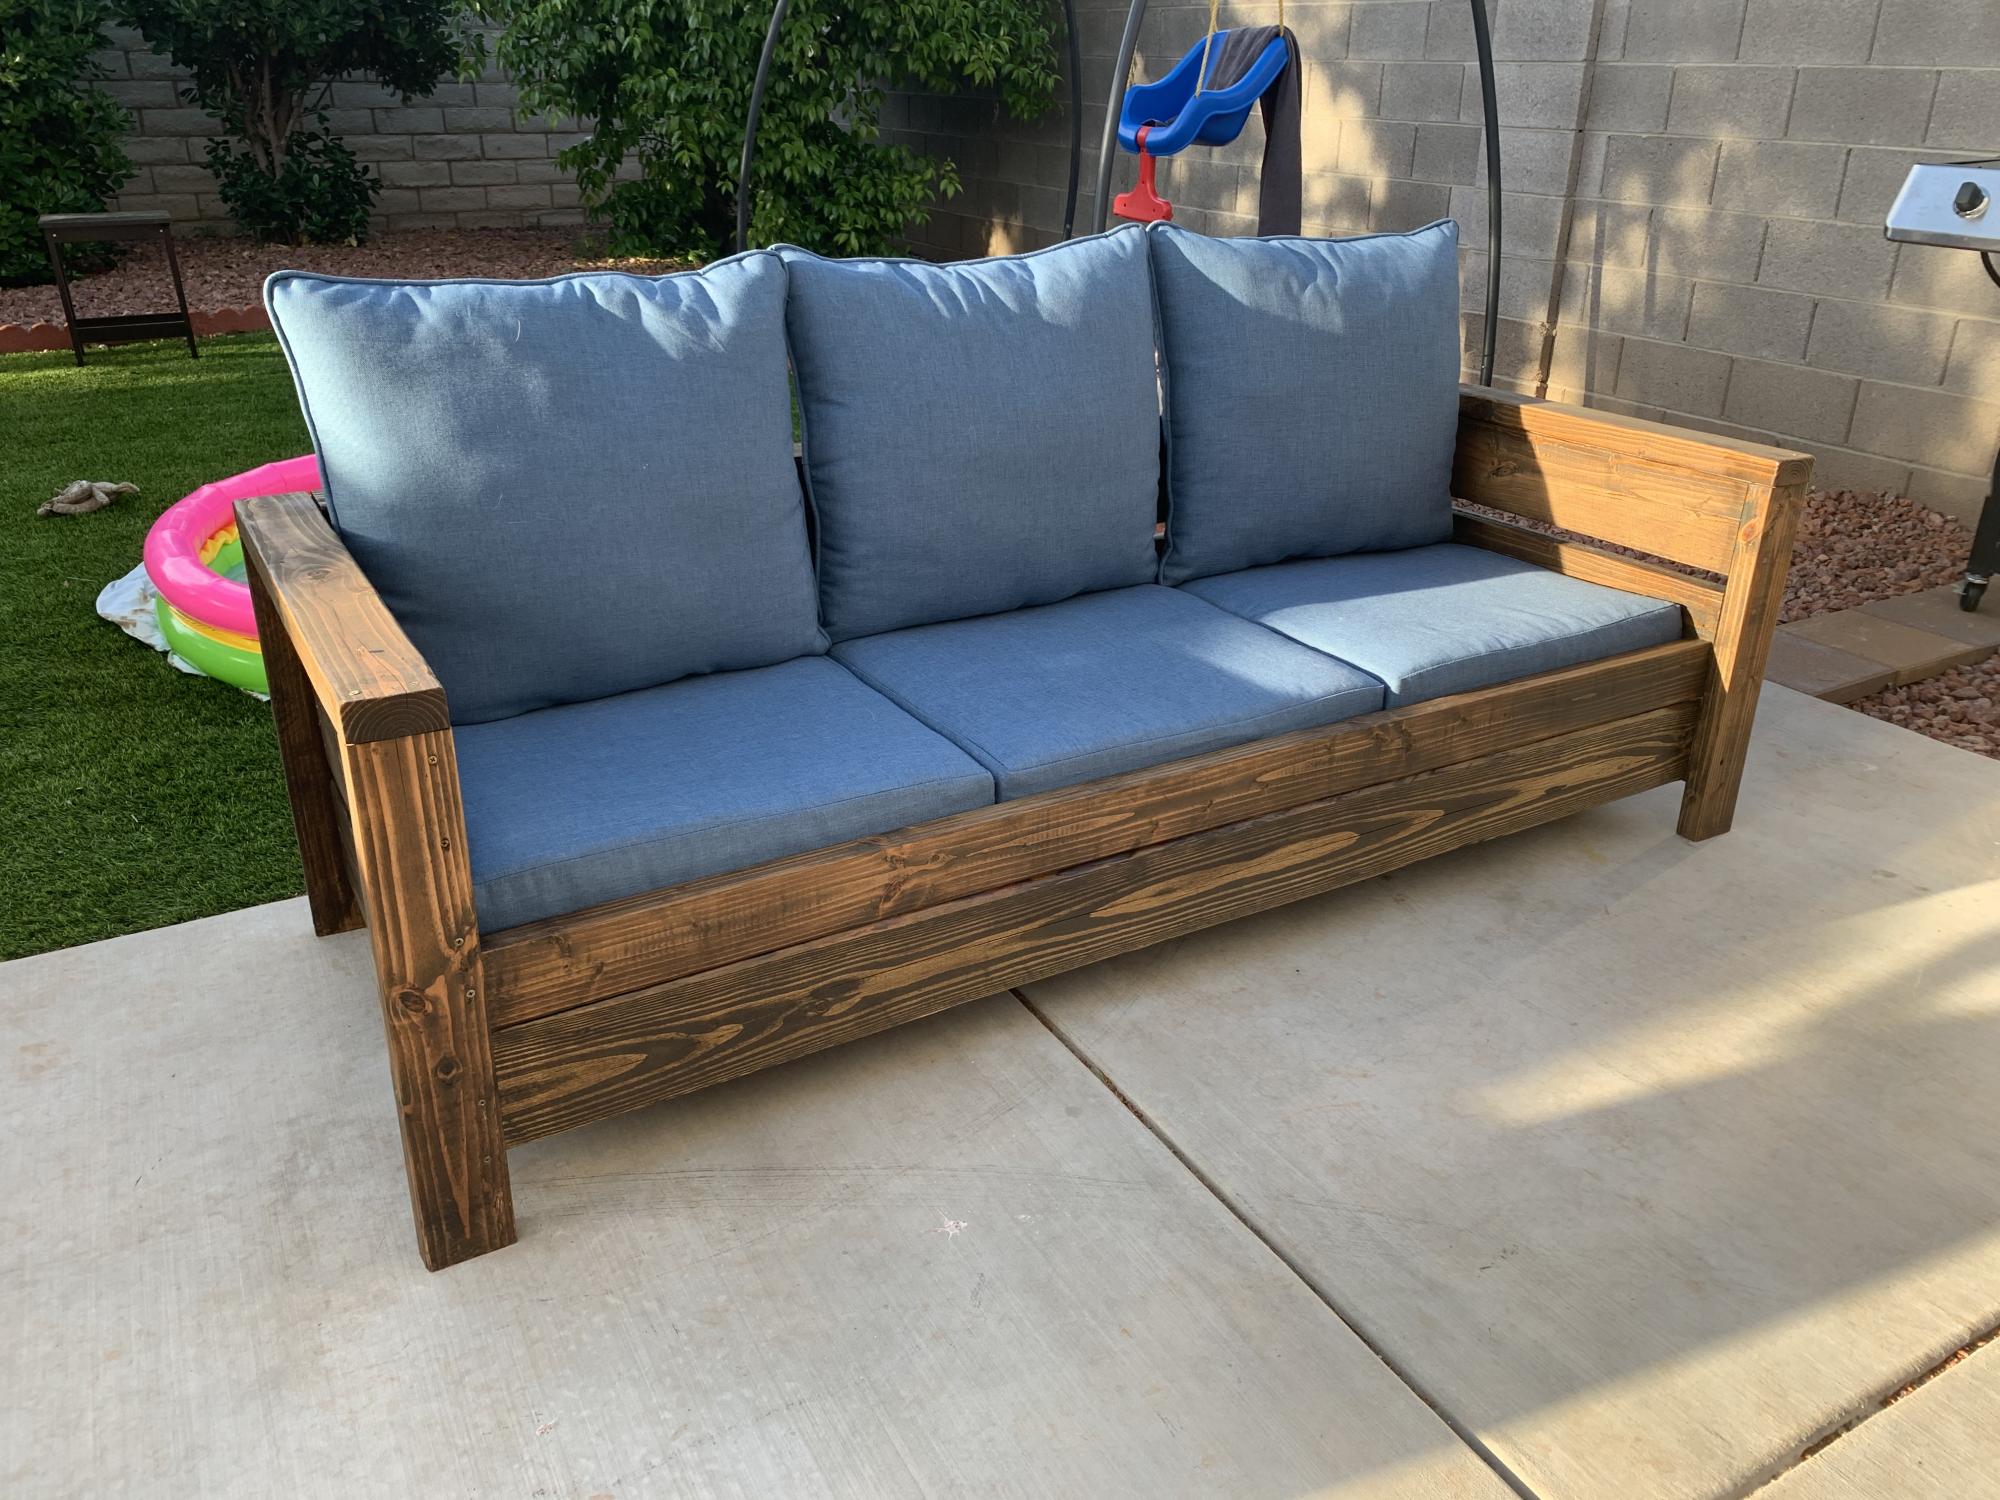
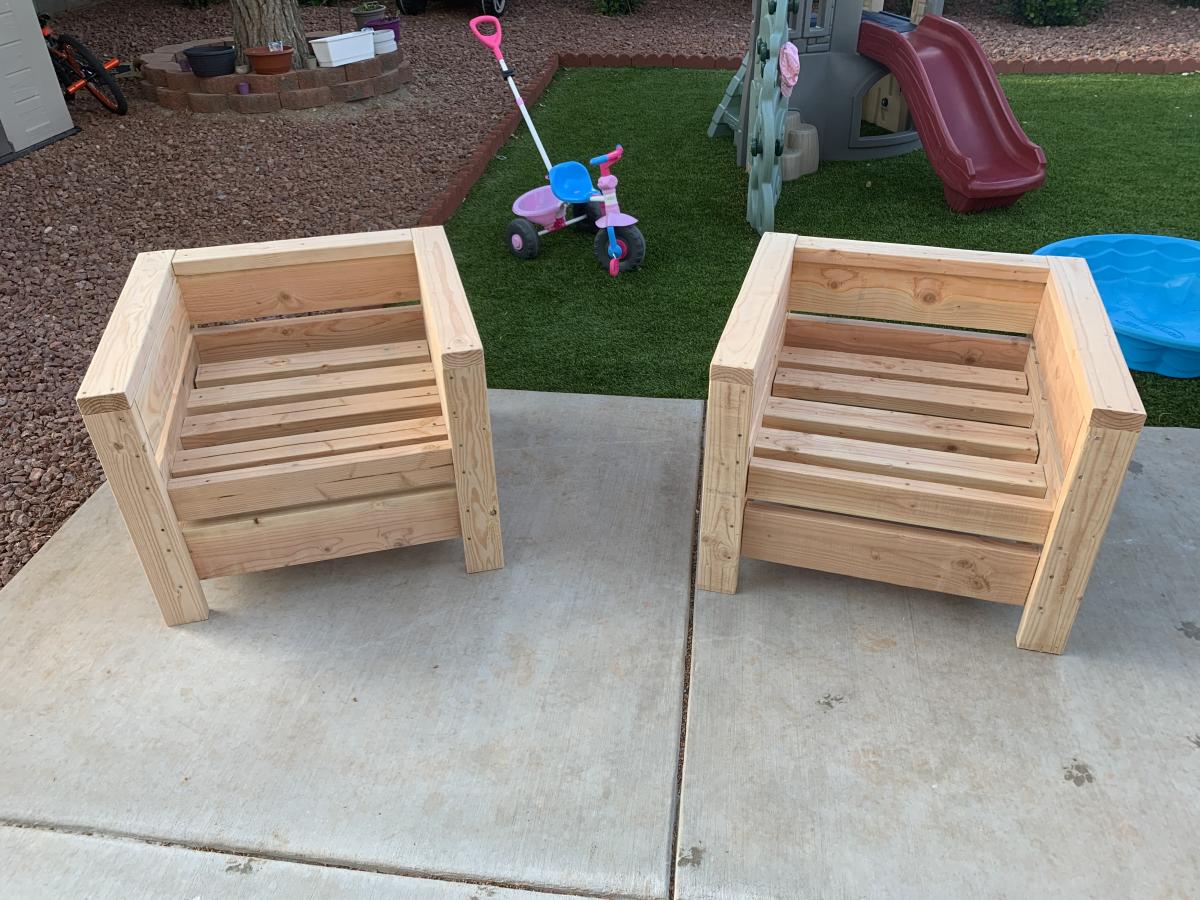
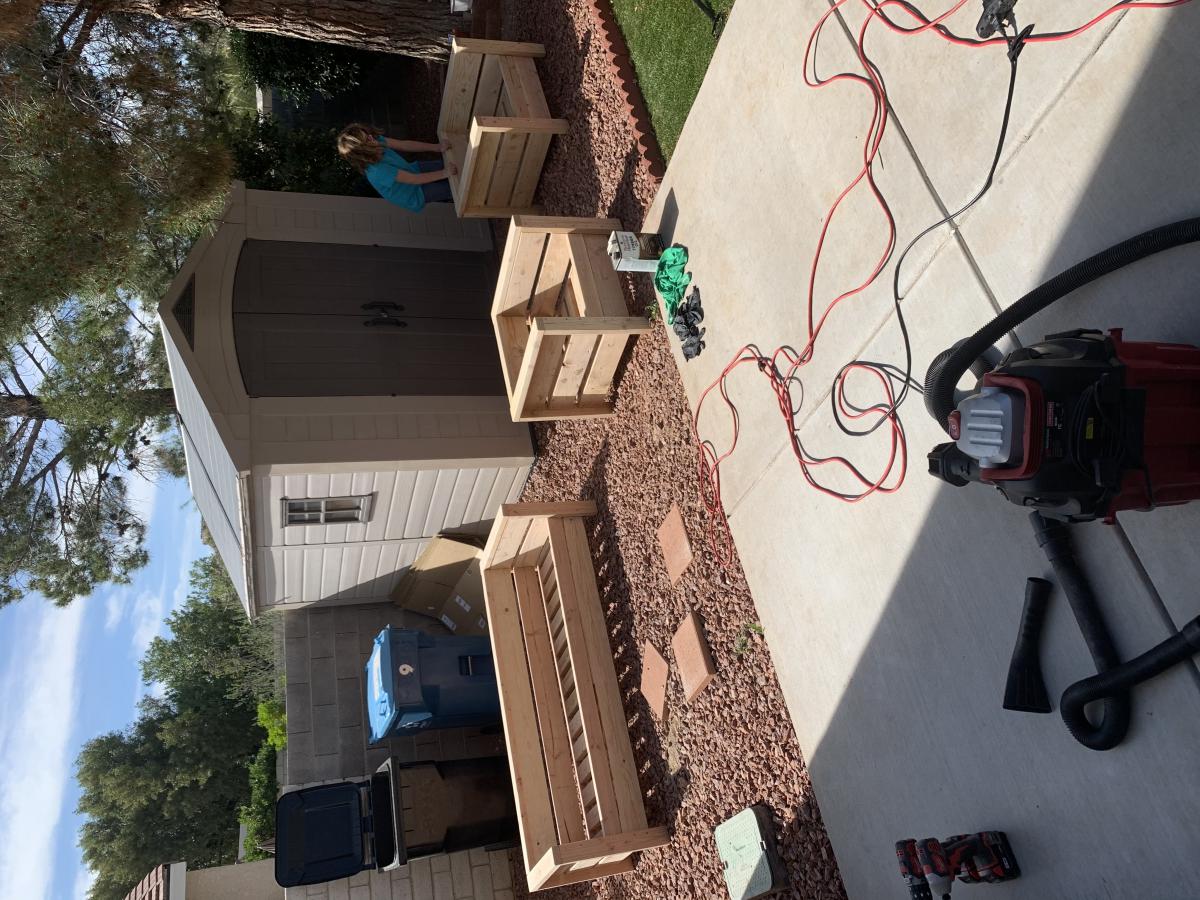
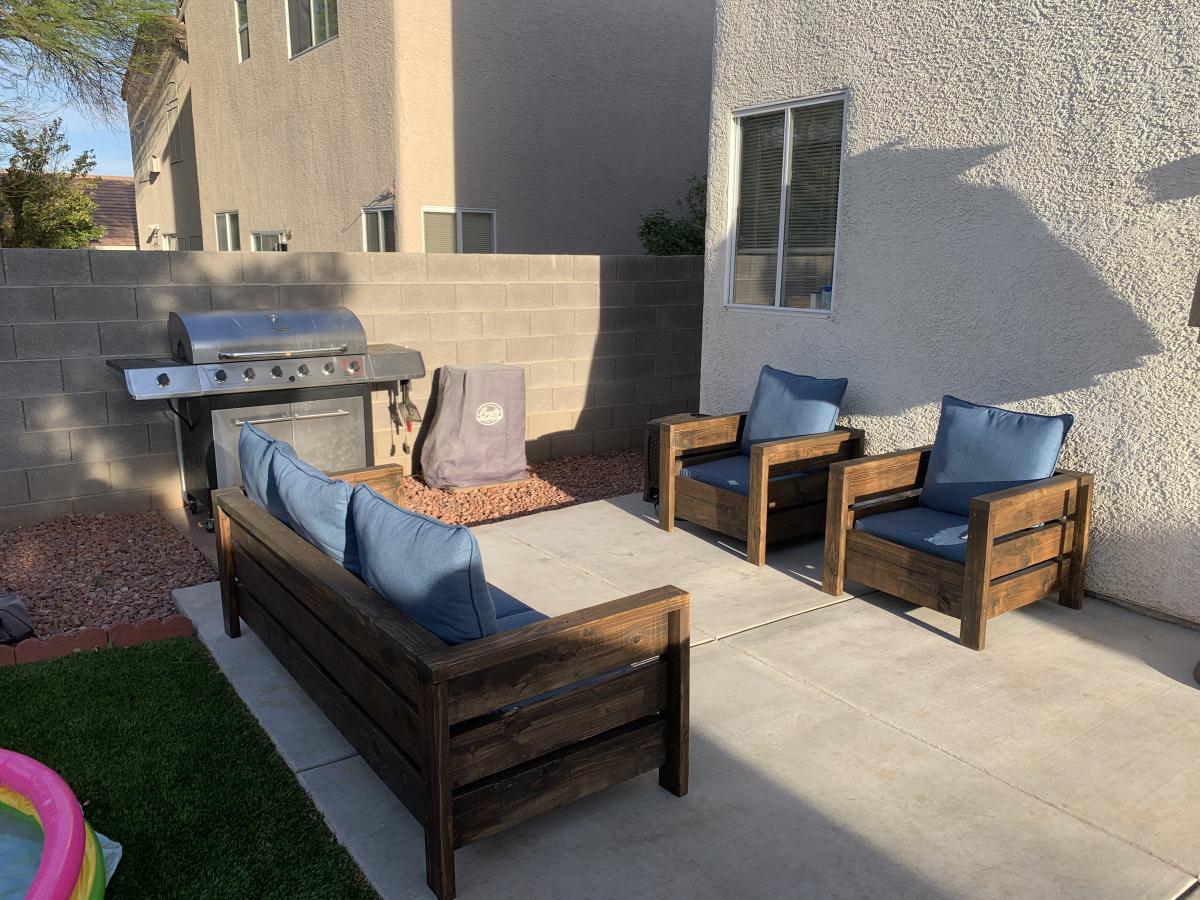
I used the Modern Outdoor Chair from 2x4s and 2x6s plans and slightly modified then to make a 3 seater couch. My cushions(most expensive part) were 24 in x 24 in and purchased from Lowes for $40 per seat. The couch is 79 inches in total length. I also dropped the seat down to the lower level to allow more room for my cushion backs to sit further down into the seat.
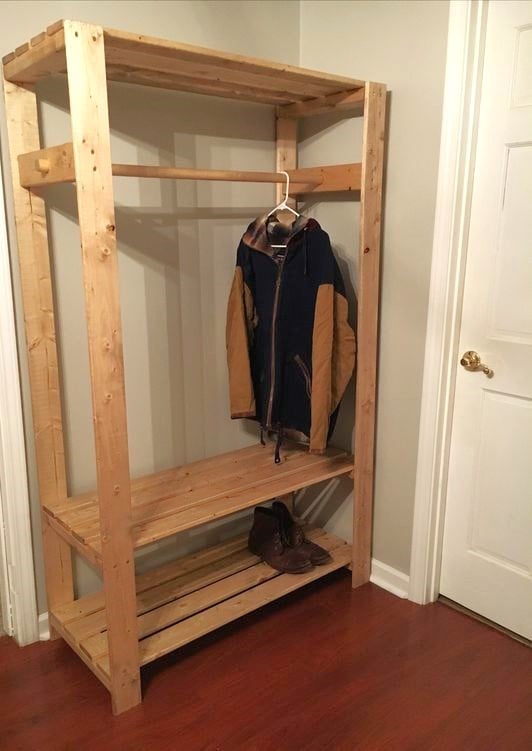
Quick and easy closet to add anywhere.
I've never thought that I could build any piece of furniture.. then I found a blog called Shanty-2-Chic and it was two sisters who built any piece of furniture you could think of from Ana White's project plans. So this is my first brag and I'm soo thrilled at how they turned out. Of course it didn't run smoothly the entire time.. I had some bumps along the way (that meaning I had to rebuild a chair like twice to get it right). I really don't know much about different type of work tools and all the different size wood and nails... but I did it and I can't wait for my next project!!
I didn't list the time it took because I did a little here and there.. it took me a month or so to complete! I also didn't have a lot of the tools, so price would include cost of wood and tools. I also would like to mention I used the Kreg Jig to build and I love it and would totally recommend it!

Sun, 07/08/2012 - 09:30
Thanks, I really love it and can't wait to build more!!
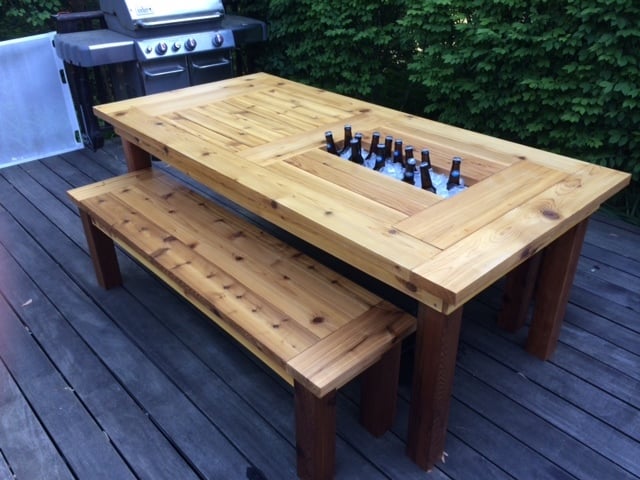
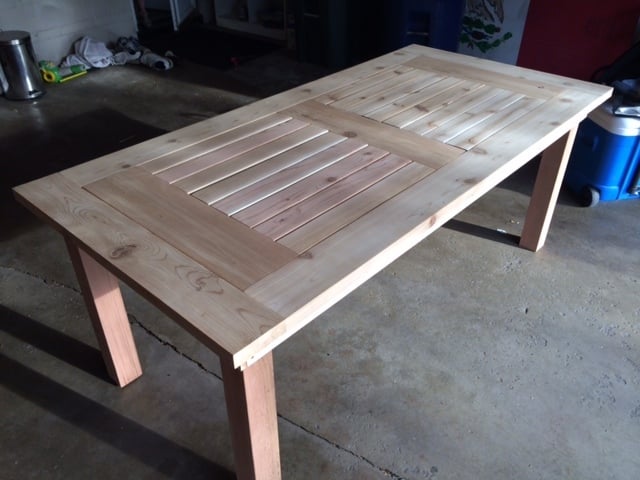
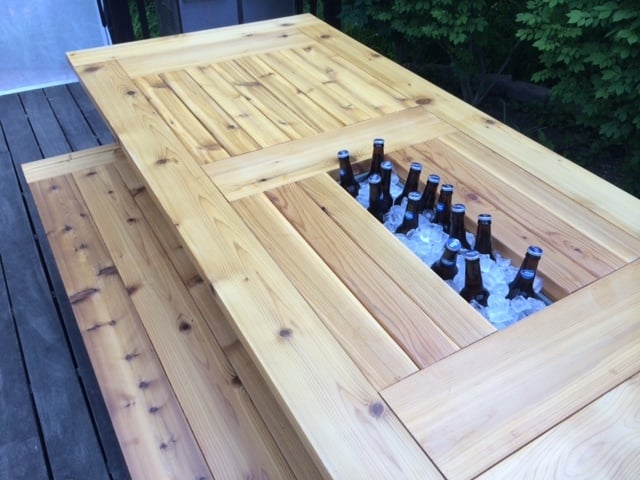
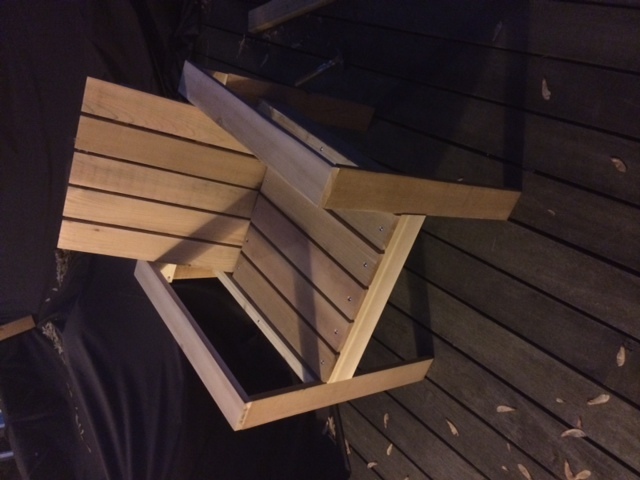
We needed a new patio table for our deck and I loved this design. I made it out of cedar which worked beautifully and made a few small tweaks:
- Needed it longer and wider so added two more 2x4's to the middle and added 2x6 end caps (as another poster had done).
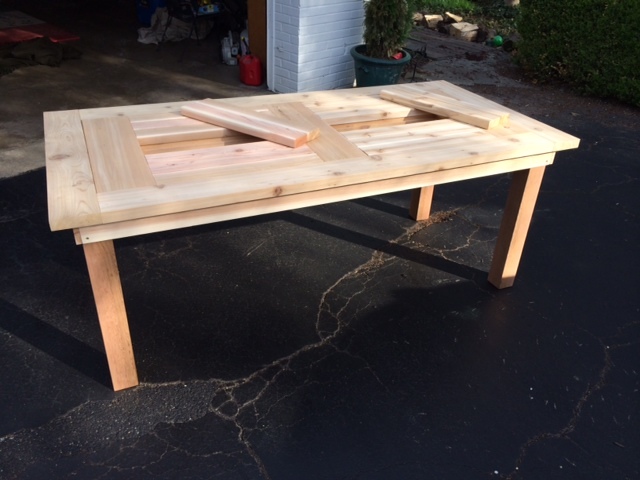
- I did not add the holes to the cooler covers for uniformity, they slide in and out very easily.
- I used 4x4's as the legs and constructed the table skirting around it. This is a very sturdy design.
Built some benches for seating and they worked out great.
Overall I loved this build and it was fairly simple. Stained with Penofin deck stain (red label) and a spar varnish for protection.
Hope you like it!
Thu, 04/24/2014 - 07:43
Thank you! Local lumber yard that had great stuff. I will say though that I had to get some additional pieces from Home Depot and their cedar is fairly nice too. Beware though, they don't have true 1x cedar (at least here in St. Louis) it's more like 1/2 inch think.
Thu, 04/24/2014 - 07:43
Thank you! Local lumber yard that had great stuff. I will say though that I had to get some additional pieces from Home Depot and their cedar is fairly nice too. Beware though, they don't have true 1x cedar (at least here in St. Louis) it's more like 1/2 inch think.
Tue, 07/08/2014 - 20:00
Really well done with the two-tone stain. What particular colors of Penofin did you use? I'm working on a similar build and would like to use your color combination.
Mon, 05/04/2015 - 10:06
Do you happen to have your lumber list? I'm not the greatest with add ons, LOL! If you happen to have a step by step that's even better.
Thanks,
Jennifer
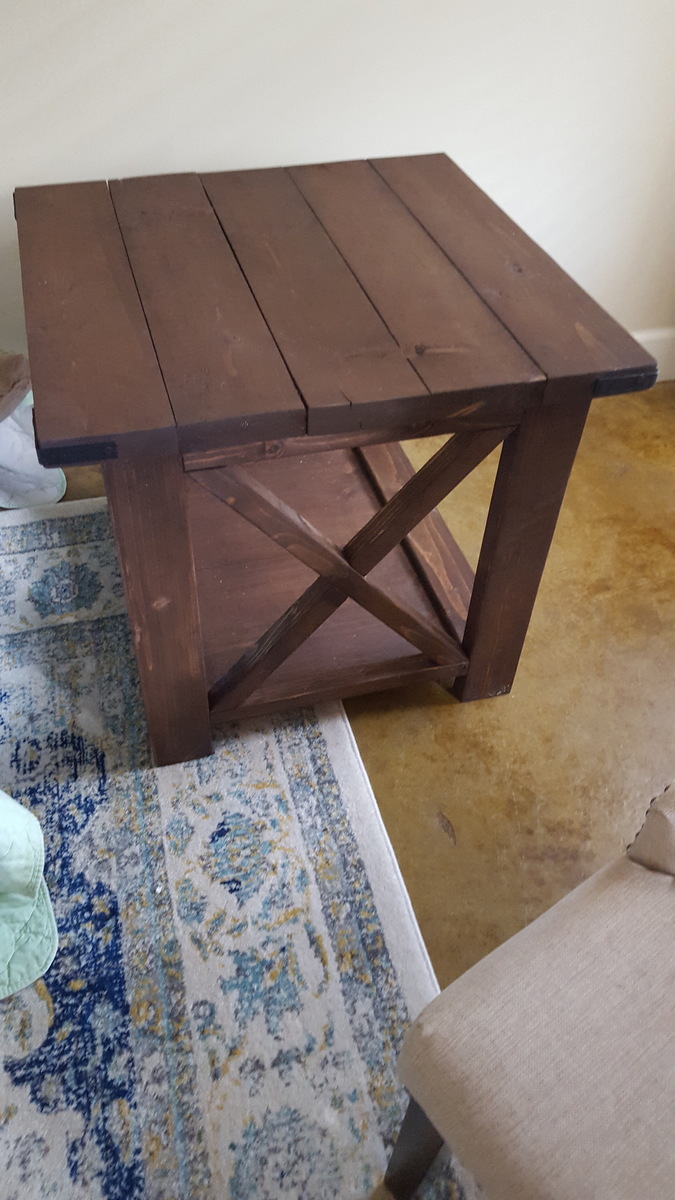
One of two rustic x end tables built for our living room! We also built the coffee table to go with it. All together the wood for the two end tables cost about 65 dollars but that doesn't include stair, jig screws, finishing nails for the x's, hardware, and the black spray paint for the hardware. We used a lot of the same stuff however for the coffee table so it wasn't too bad! they came out great!

Just waiting on some flowers
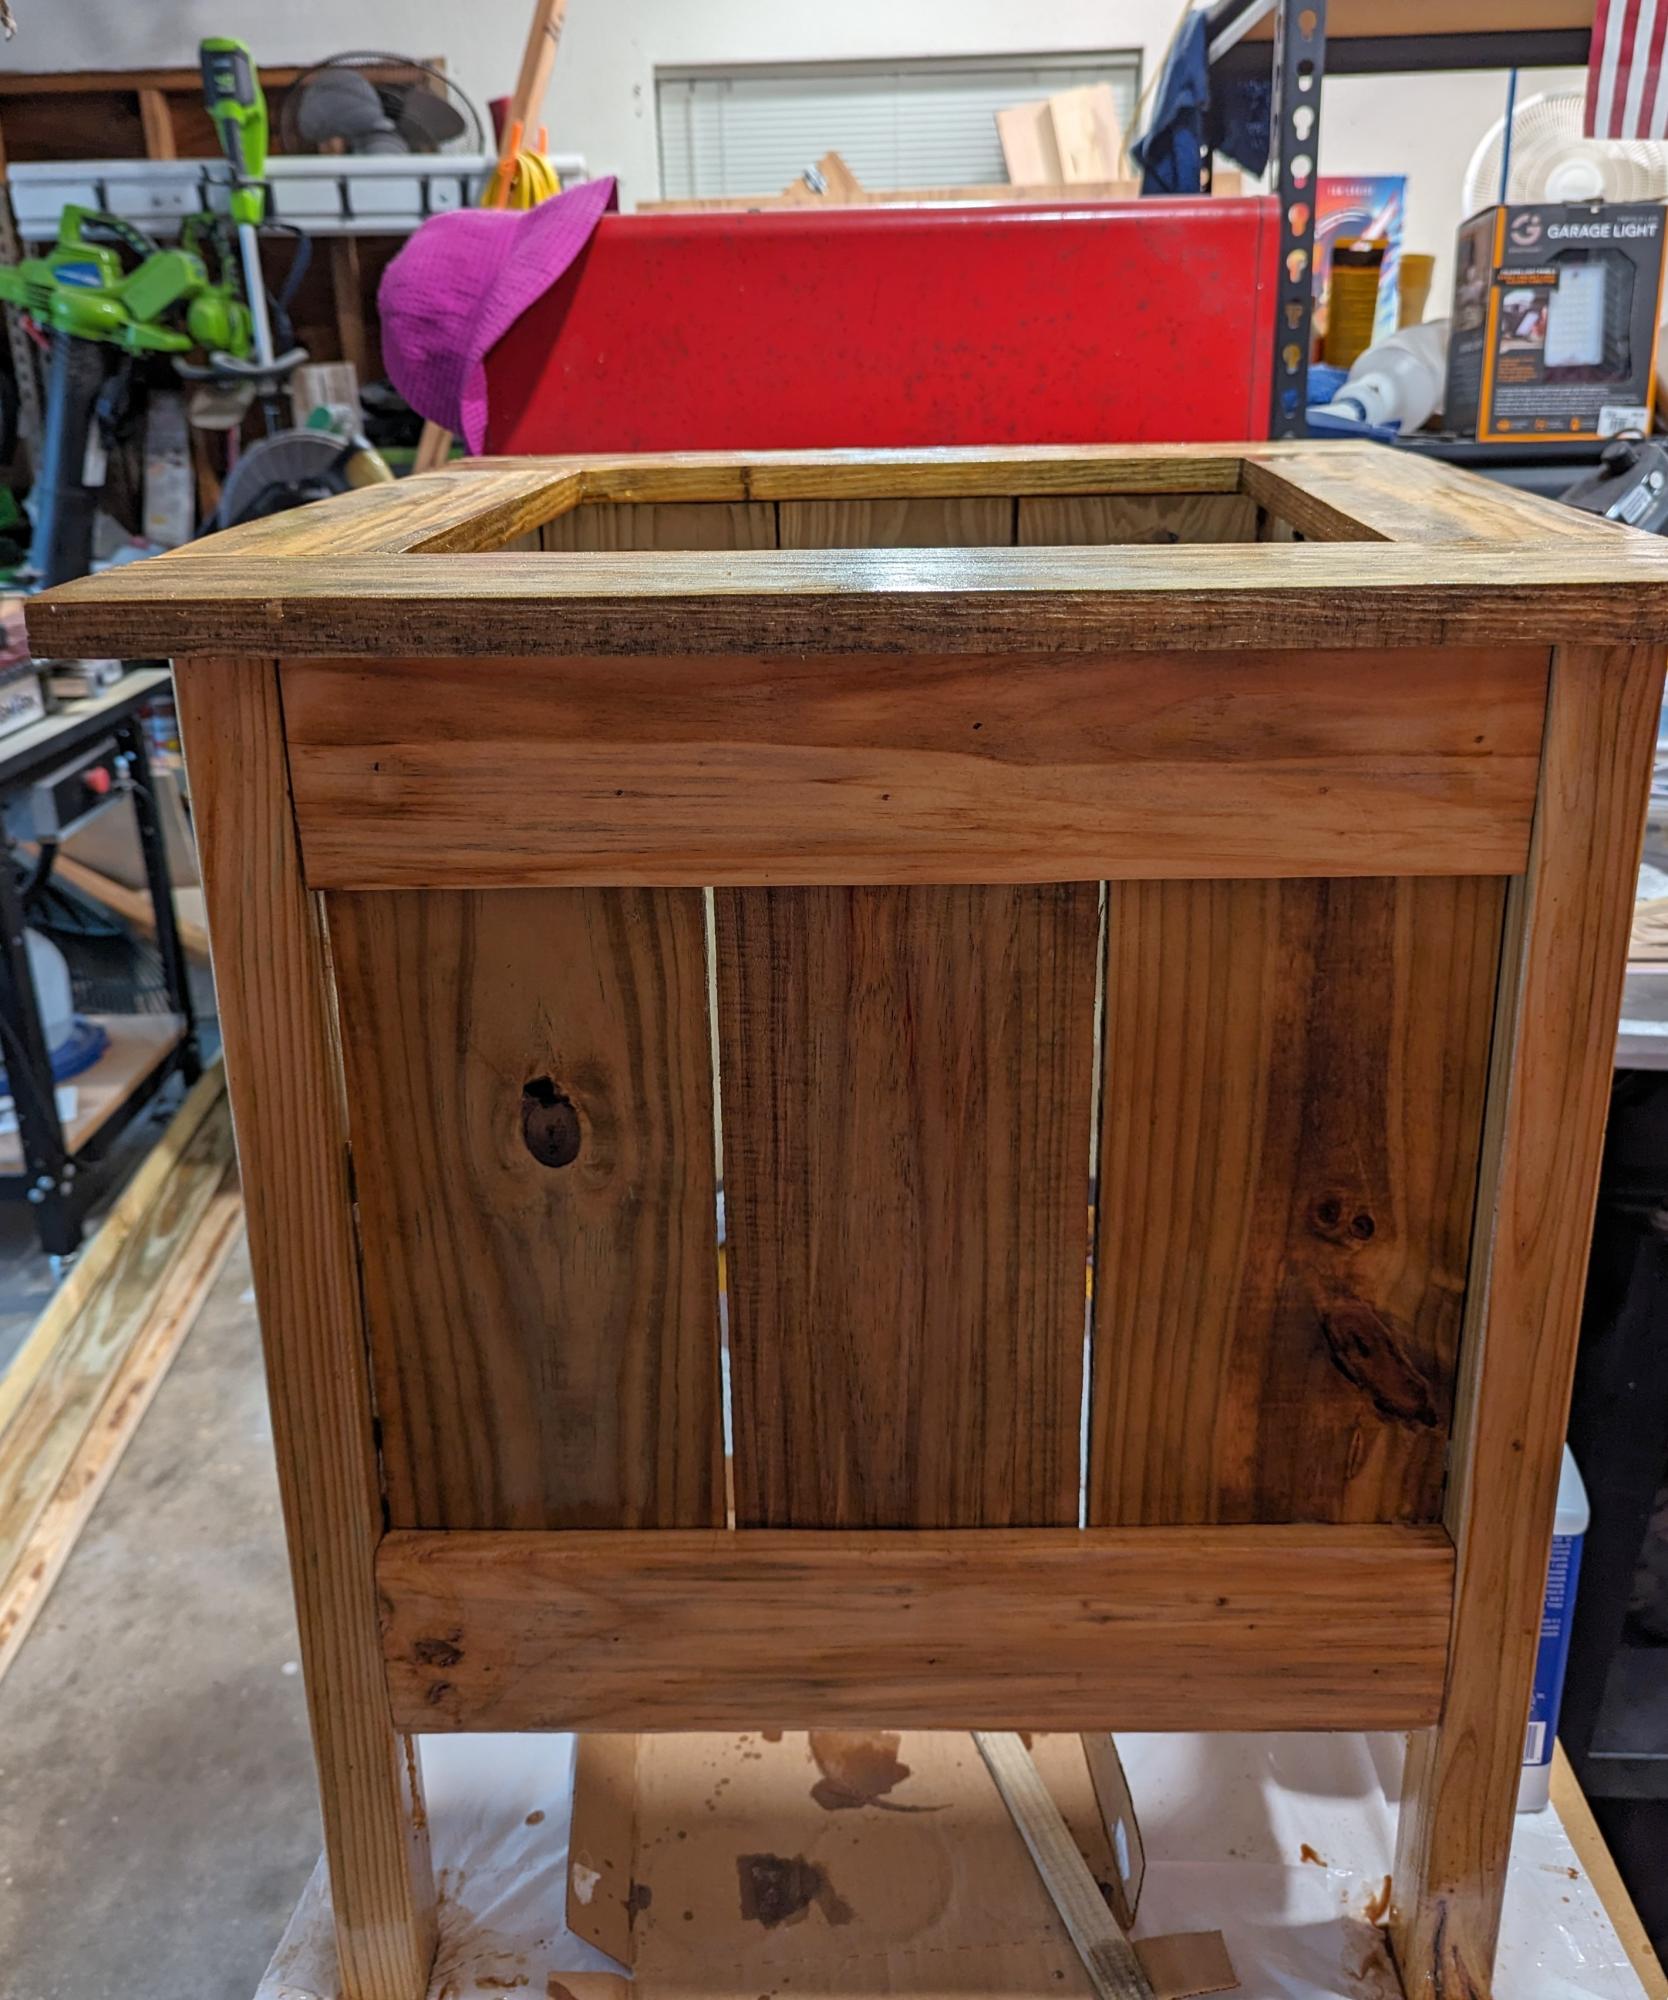
I built 4 planter stands, for Christmas. I finished the planter with a monlding on top.
From free Cummings workshop.
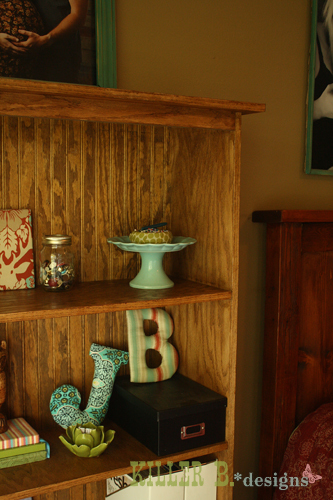
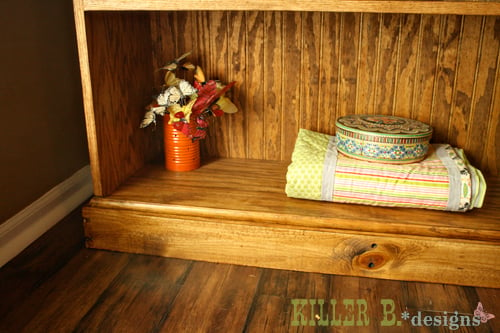
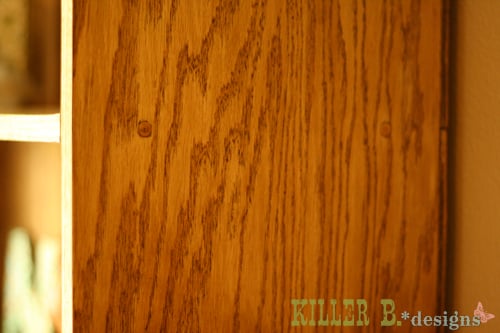
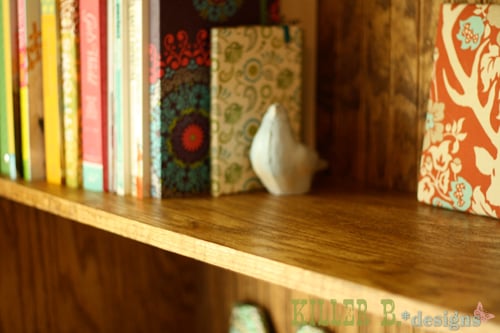
I got a request to build a taller version of the Tommy Bookcase. The only changes I made to the plans were switching the sides to 60" tall and adding two additional 40" shelves. To save on the cost of buying several 1x12's, I used a sheet of PureBond birch plywood. I didn't want to mess with the Kreg plugs or seeing the holes, so I countersunk screws into the sides and used 3/8" plugs to hide them. For the bottom, I trimmed down a 1x4 to the right width then added 1/2" moulding to the top of it. At the last minute she decided to add beadboard, and I found two quarter sheets at Lowe's on clearance for less than $8. I finished all the rough edges with edge banding. I really like how it turned out! It's a very solid, sturdy bookcase, and for $80 it's a fraction of the cost of the half sized PB one!
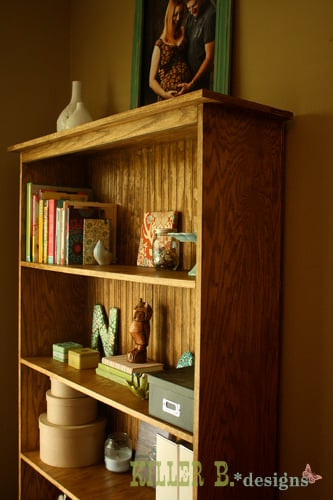
Wed, 03/13/2019 - 06:41
What size screws did you use and how many on each shelf? If I use this to make a pantry that backs up to the wall and is fastened to the wall, do I need luan in the back for the strength of the shelves? Could I put in cleats instead?
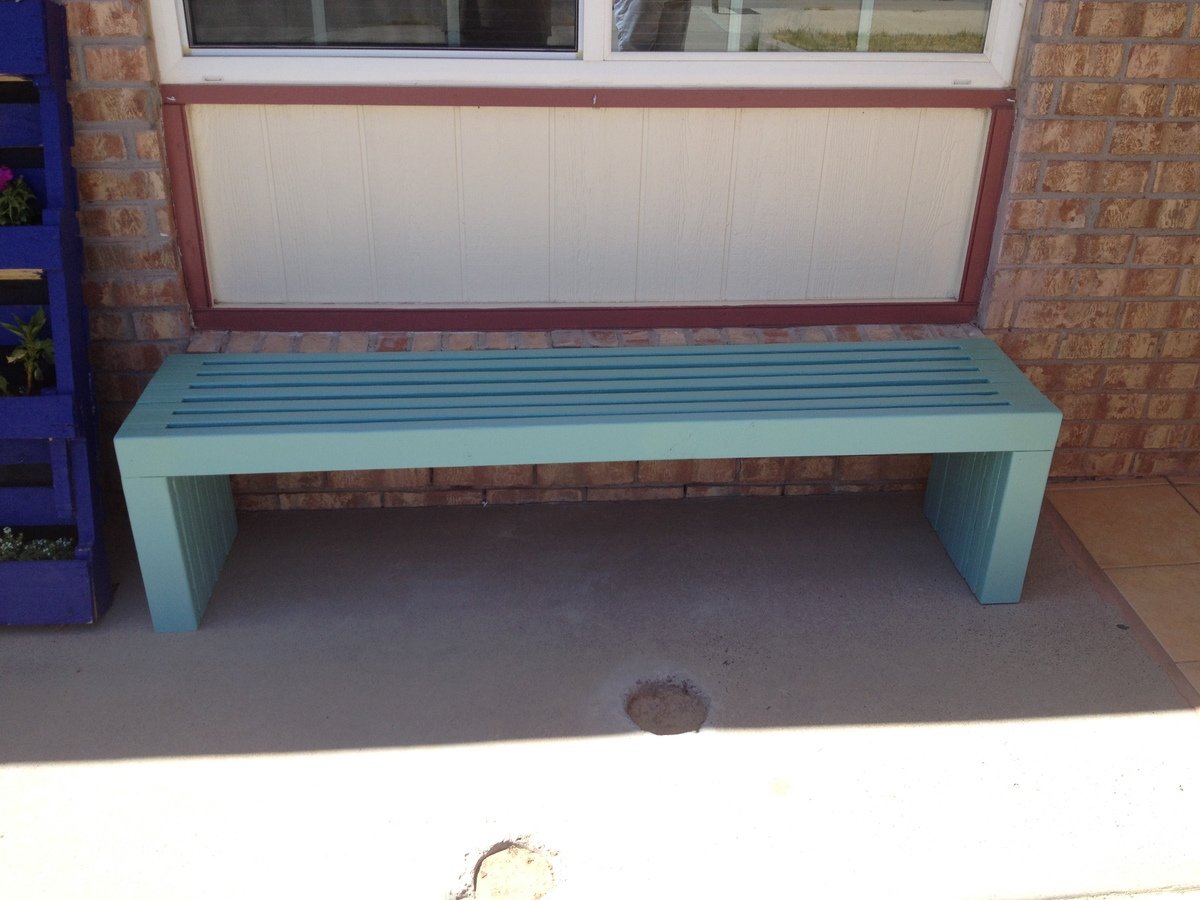
This was a super easy and fun bench to make.
I ended up having enough 2x4 and 1x4 scraps for the legs and only had to pick up a a couple of 2x4s.
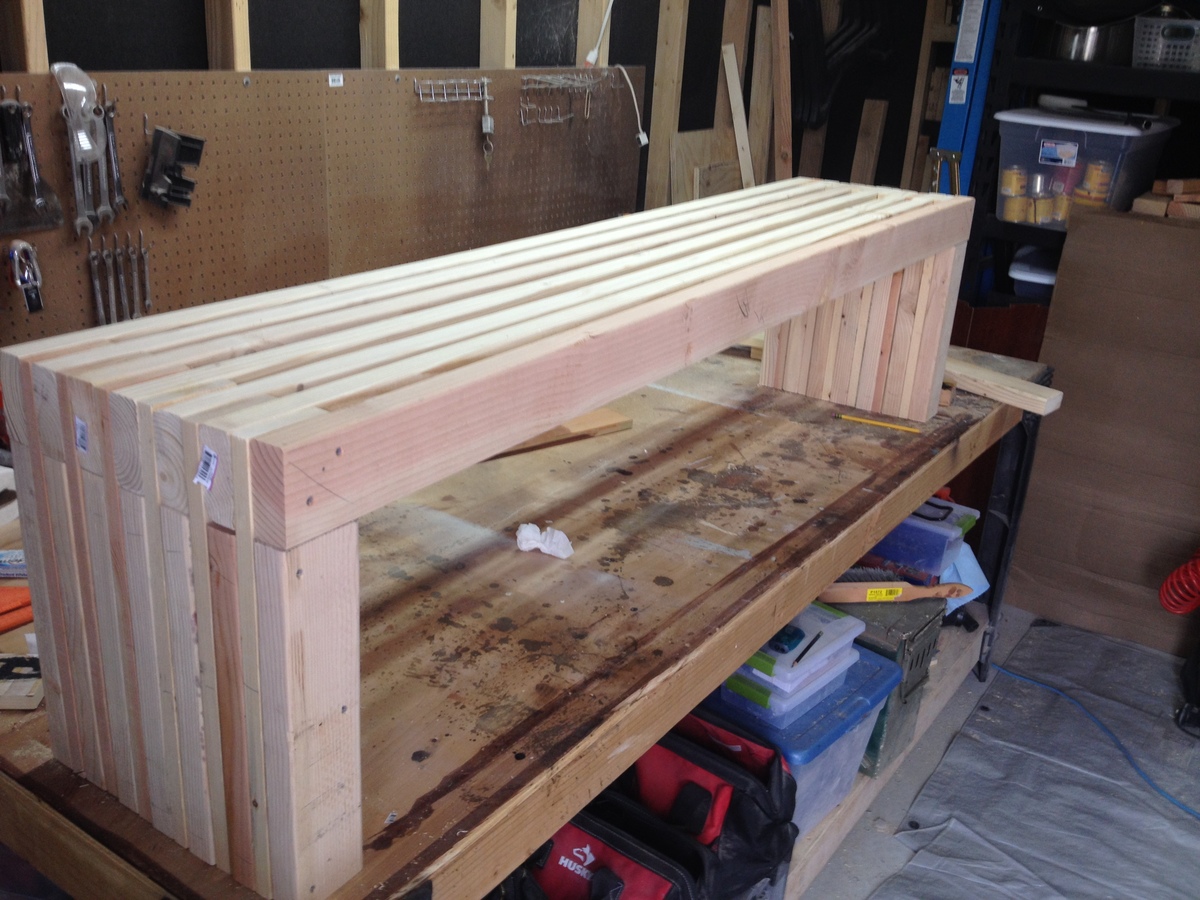
TIP: Others pointed said that you should paint slats before assembly... I highly recommend it as well. It was a bit of a pain trying to get between the slats to prime and paint though would likely be easier w/ a sprayer..
Finished it with some oops paint in a nice color and a 3 coats of spray urethane.
Great beginner project for sure. It may take a couple of days to finish but most of that time is spent waiting for paint/urethane to dry between coats :)
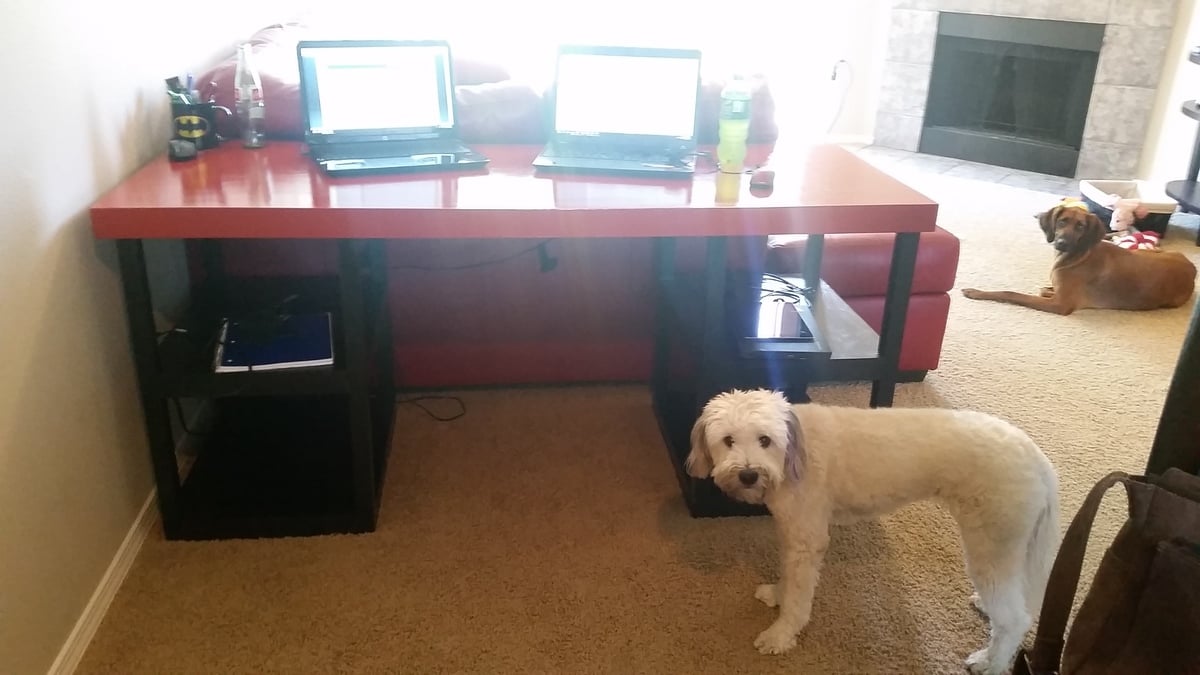
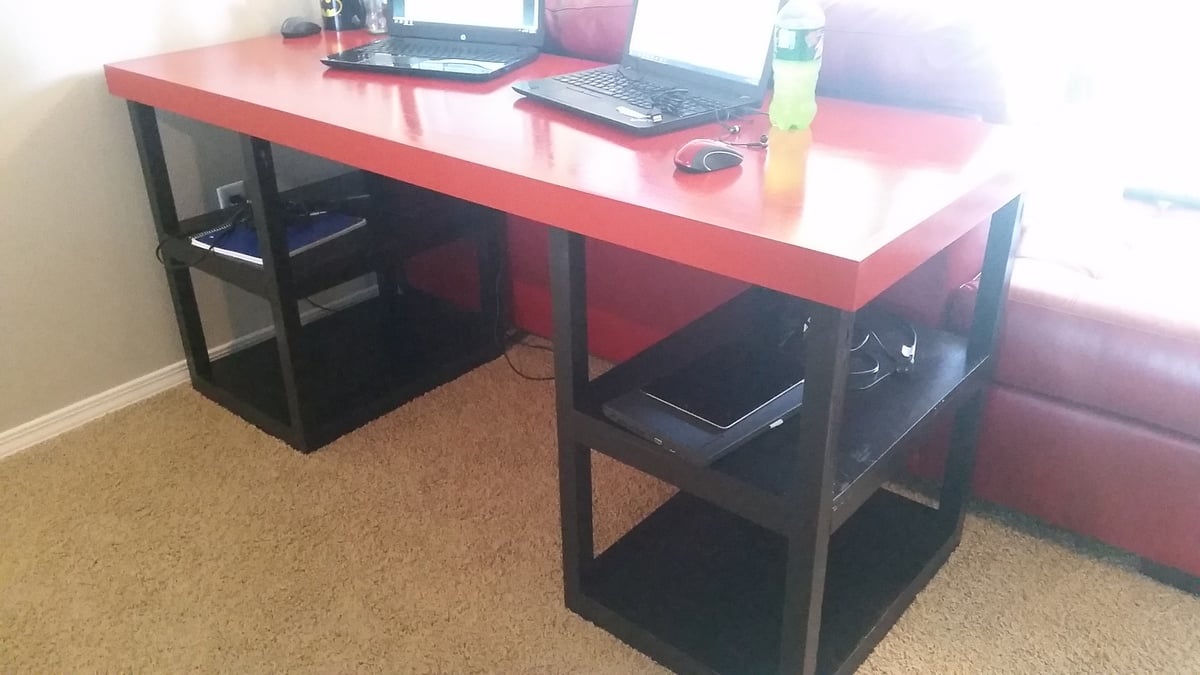
This was a great / simple plan that mostly fitted my needs. i made a few modifications;
1. wider 'human' well - extended the width by 6"
2. Deeper desktop - Extended to 24"
3. 2.5x.75" trim piece around table top - simple MDF
4. plywood on top of 2x2 frames - for all shelves and table top.
(the dimensional modifications required 2 additional 2x2 @8')
I like a larger leg well to shift around in on those long days, so i extended the width by 6" all applied to the foot well. I was still able to use only 1 8x4 piece of .75" sanded plywood. I use 2 computers and a second monitor on one, so I deepened the desktop from 18 to 24" to accomidate my technology. This then required an adjustment to all 15" 2x2s used on the sides, and the shelve stretchers. I prefered to use a Plywood on top of frame method for all shelves and tabletop, for stregnth and asthetics. This required me to make a notch into all 4 corners of each shelf. To accomplish, be sure to start with a squared piece of plywood cut to dimensions, and measure the from the insides of the cutouts for precise fit. The under shelf frames were still affixed with pocket hole screws, the tops of each were screwed to the frame with 2" wood screws (pre drilled) and smoothed over with wood filler. the top received the same, 2x2 frame around the perimiter, along with two additional 21" supports (at the same location as the inner legs from the towers). The top was the affixed with 2" wood screws, and smoothed with wood filler.
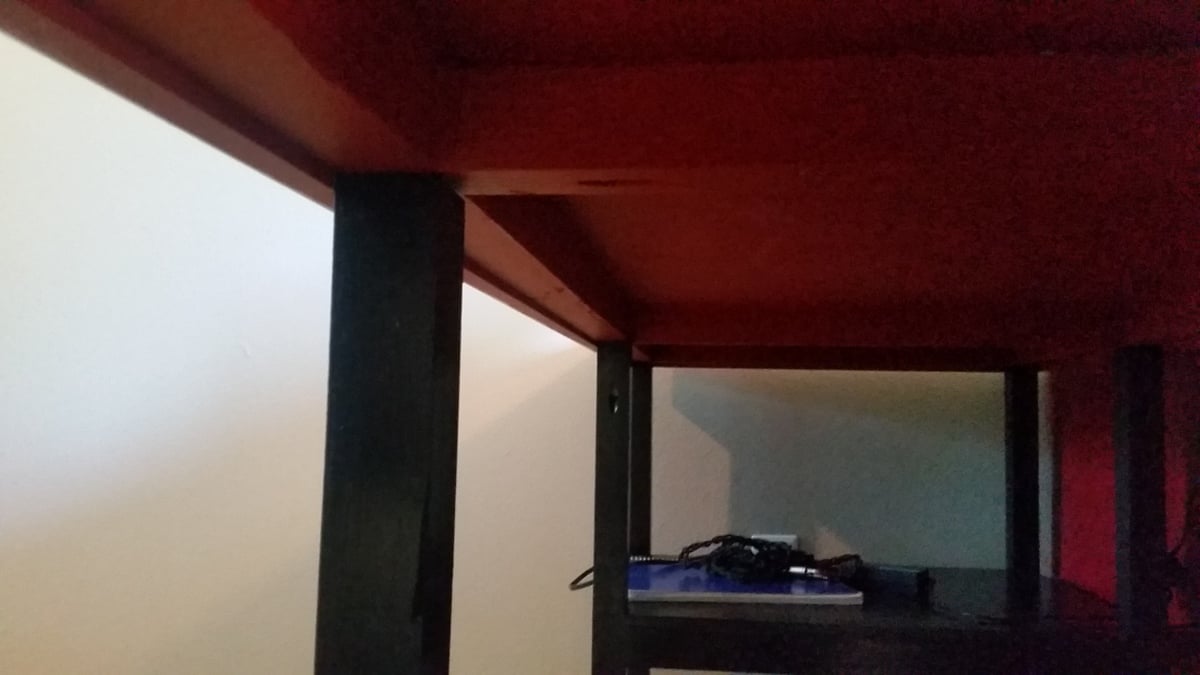
For asthetic purposes, I put in a 2.5x.75" trim piece around the top (to hide the frame/plywood seam) This actually worked out great!! It is mounted flush with the plywood top , 2" wood screws about every 12 inches and a healthy amount of wood glue. (be careful, these come pre-faced with a layer of white.. something.. this does not make a good glueing surface. Sand down before glueing to the tabletop.). Screws were countersunk, add wood filler to smooth. the best part of the trim is that it extendes .25" below the wood frame (1.5" frame, with .75" plywood on top = 2.25" total thickness). this allows allowed me to not screw the towers into the top. The legs fit in underneath the top, butted to the top's frame, and the recess created by the trim holds them in place! This will make for super simple moving should I need to relocate my desk; just lift off the top, and it's in 3 pieces!! this step adds a bit of work and $ (really not too much, 3 2.5"x.75" MDF trim pieces adds an additionan $12, and mounting only took an additional 20 minutes.)
I finished with a two tone top quality paint job, two coats of primer, 2 coats of paint, 2 coats of Polyurathane (3 on the tabletop).
All in all, it worked fantastically!!! it is incredibally sturdy. The plans are simple to follow, and easy to modify, just do the math, and draw it out..
Thank You Ana!
-MikeG.
(ps. the white one is Winnie, the Brown is Henry).
