desk with shelf
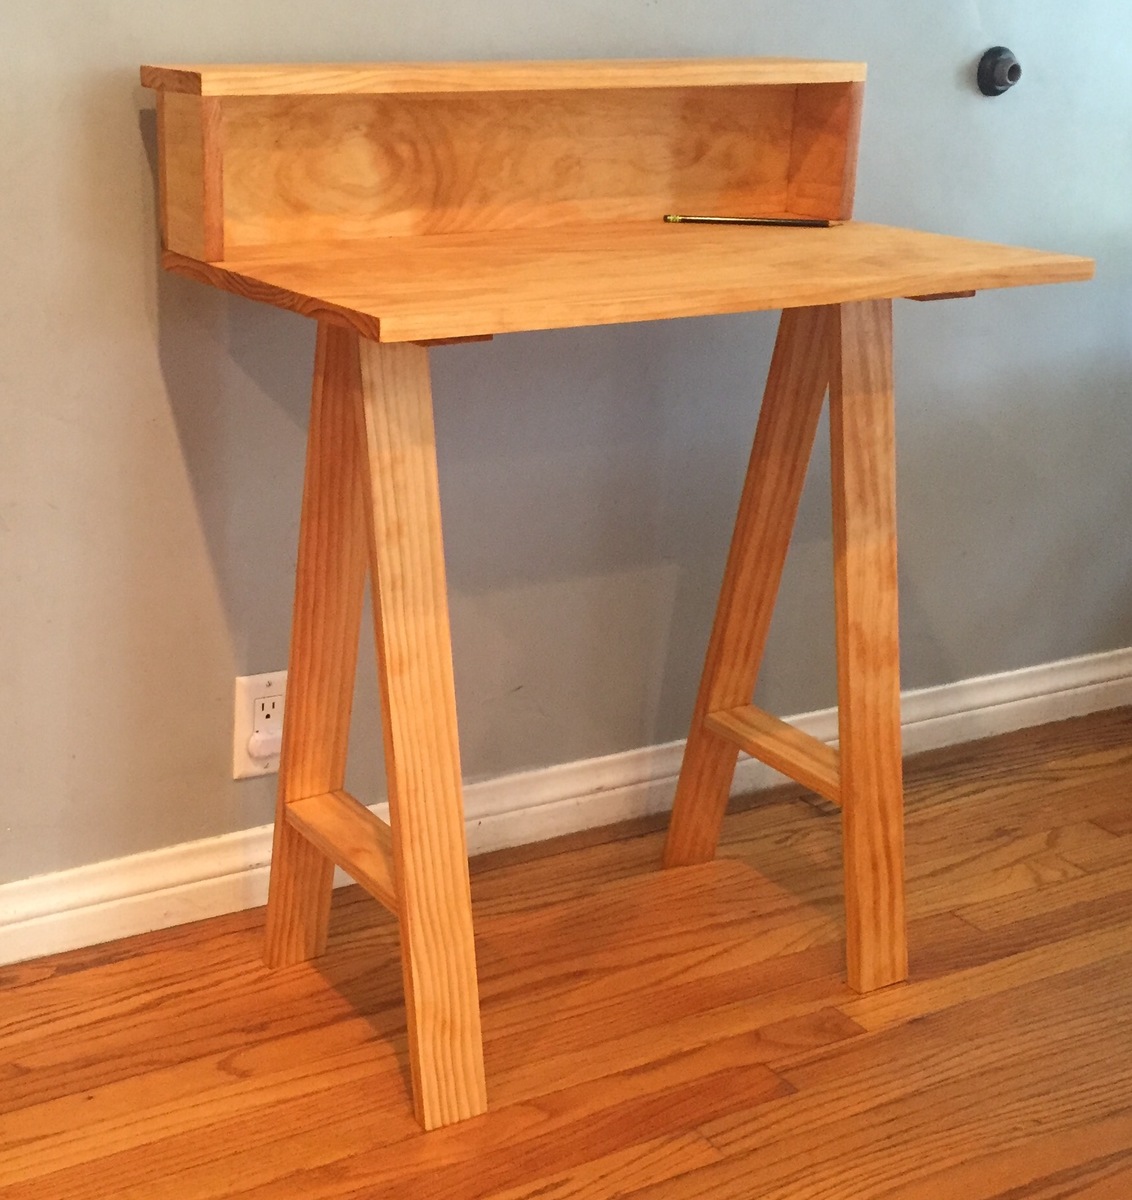
added a shelf for a desk lamp
Built from Plan(s)
Recommended Skill Level
Beginner
added a shelf for a desk lamp

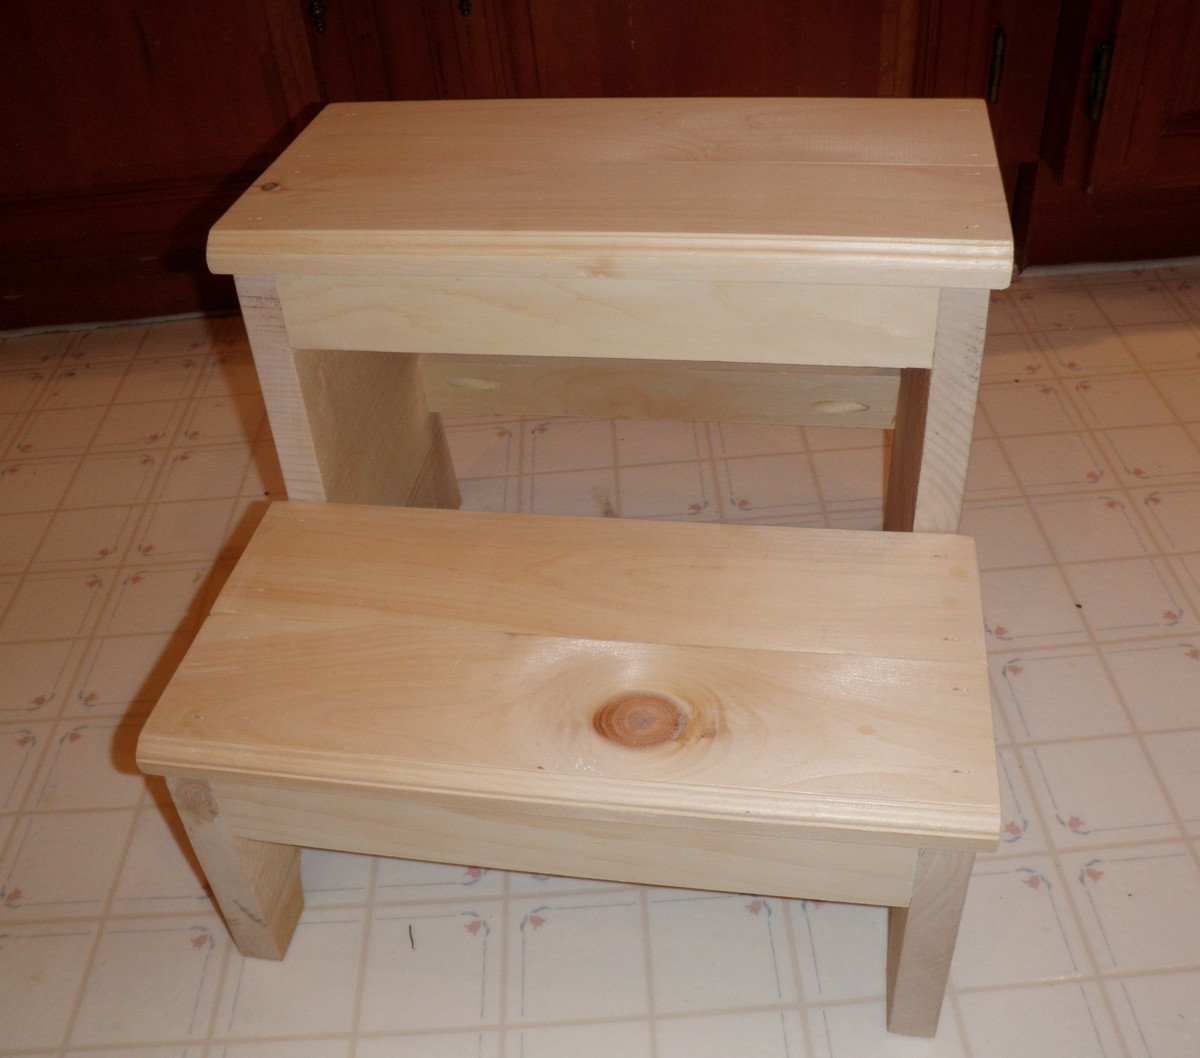
I kept coming across photos of this step stool plan in the brag pages and felt very envious that I hadn't seen it before I built the other set of steps! So I decided I likely had enough scrap wood lying around I could make one for our upstairs bathroom too!
I used two pieces of pine rough barn board for the sides and for the treads I used 1x4 scraps I had, two pieces that already had an edge routered in them from some trim I did for my sons World Map Mural.
I used my Kreg Jig for everything except the treads which are nailed.
I'm thrilled with it! It's nice and light and easy to move around and holds up my little guy with no trouble!
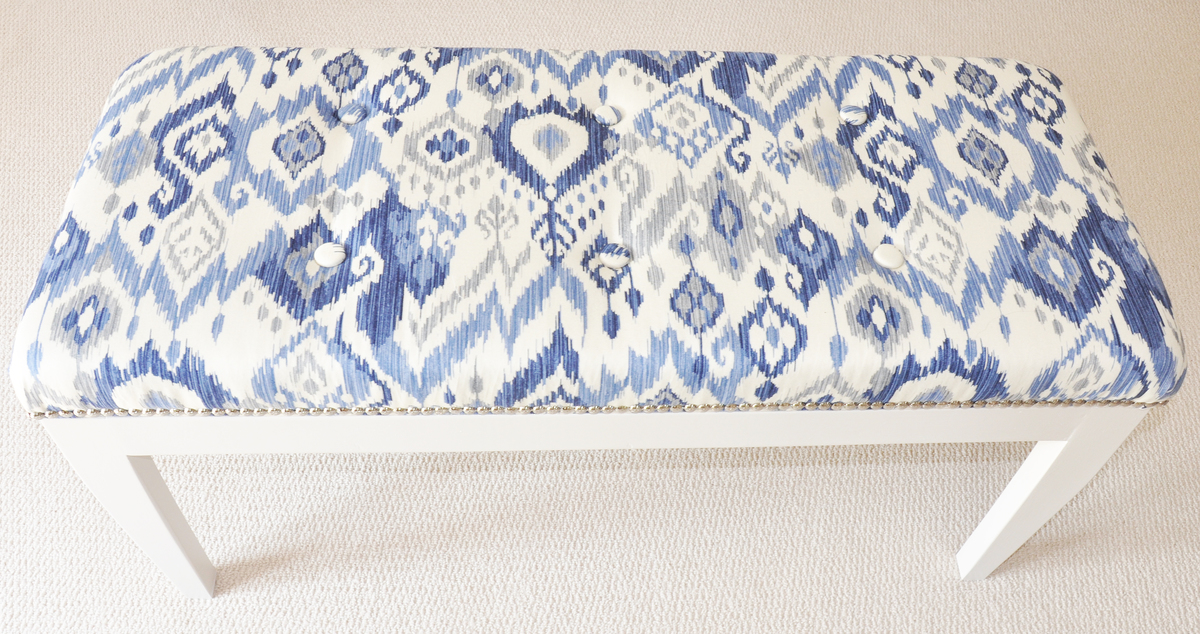
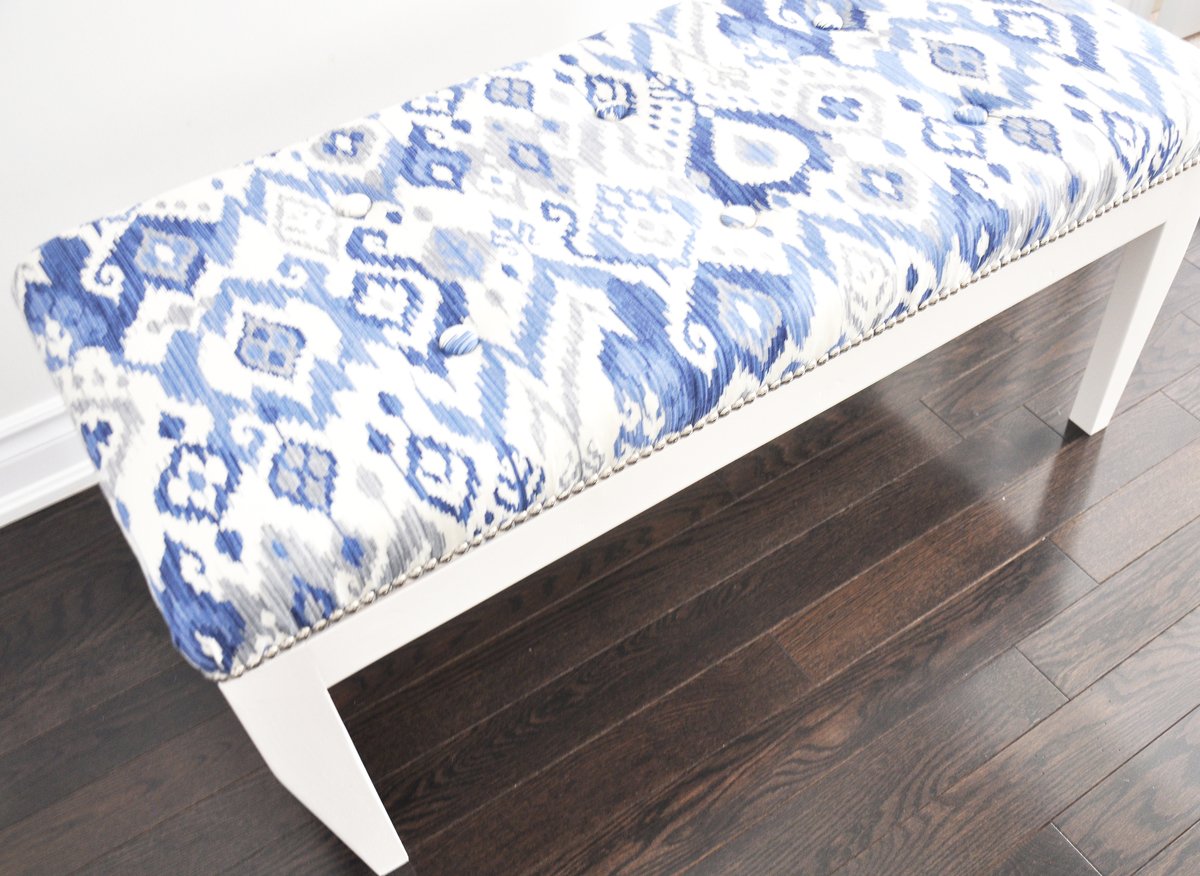
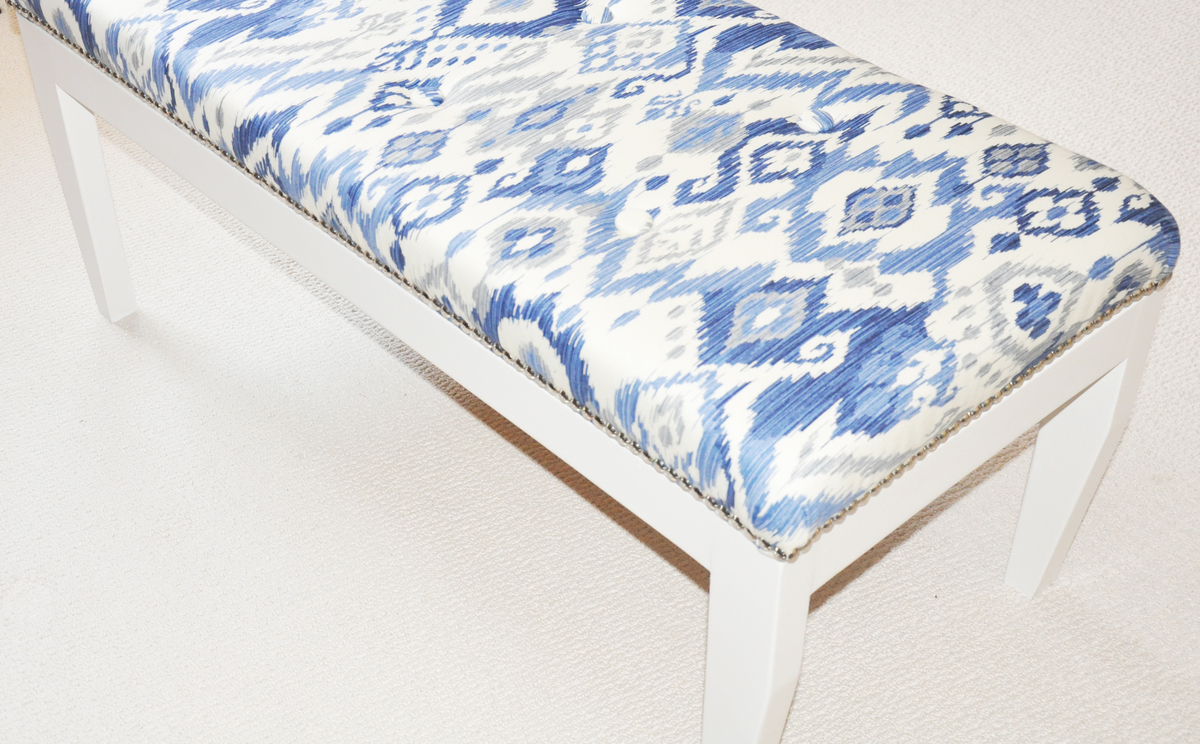
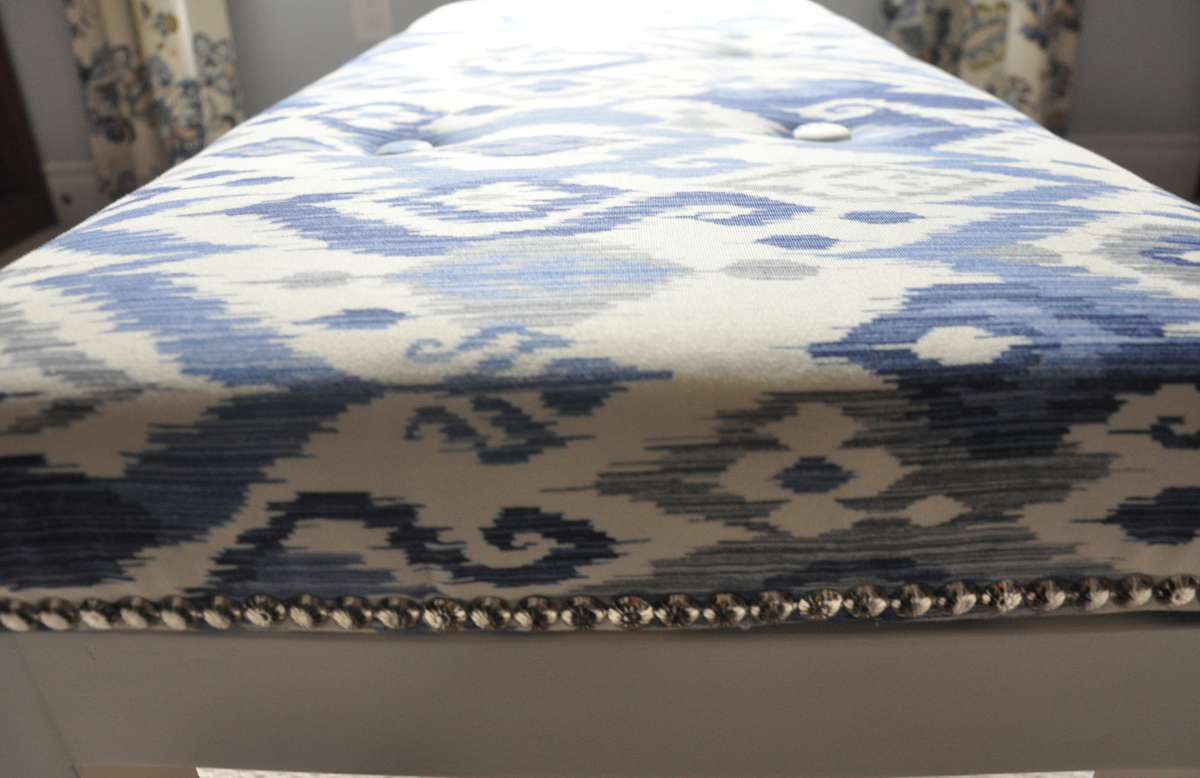
Ideally we would’ve loved to have found a nice thrift shop coffee table and added a nice upholstered top to make a cheap and cheerful bench for the dressing room.
Unfortunately, no such table was to be found. So we did what DIYers do. We built one ourselves. Of course, as usual, we had big dreams and no clue where to start. In theory it seemed easy enough. Wood, nails…put them together.
After visiting Ana White’s amazing site, we came across this plan. Come on, it has the word EASIEST right in the title! It was perfect for us. Our bench is tweaked somewhat from Ana White’s.


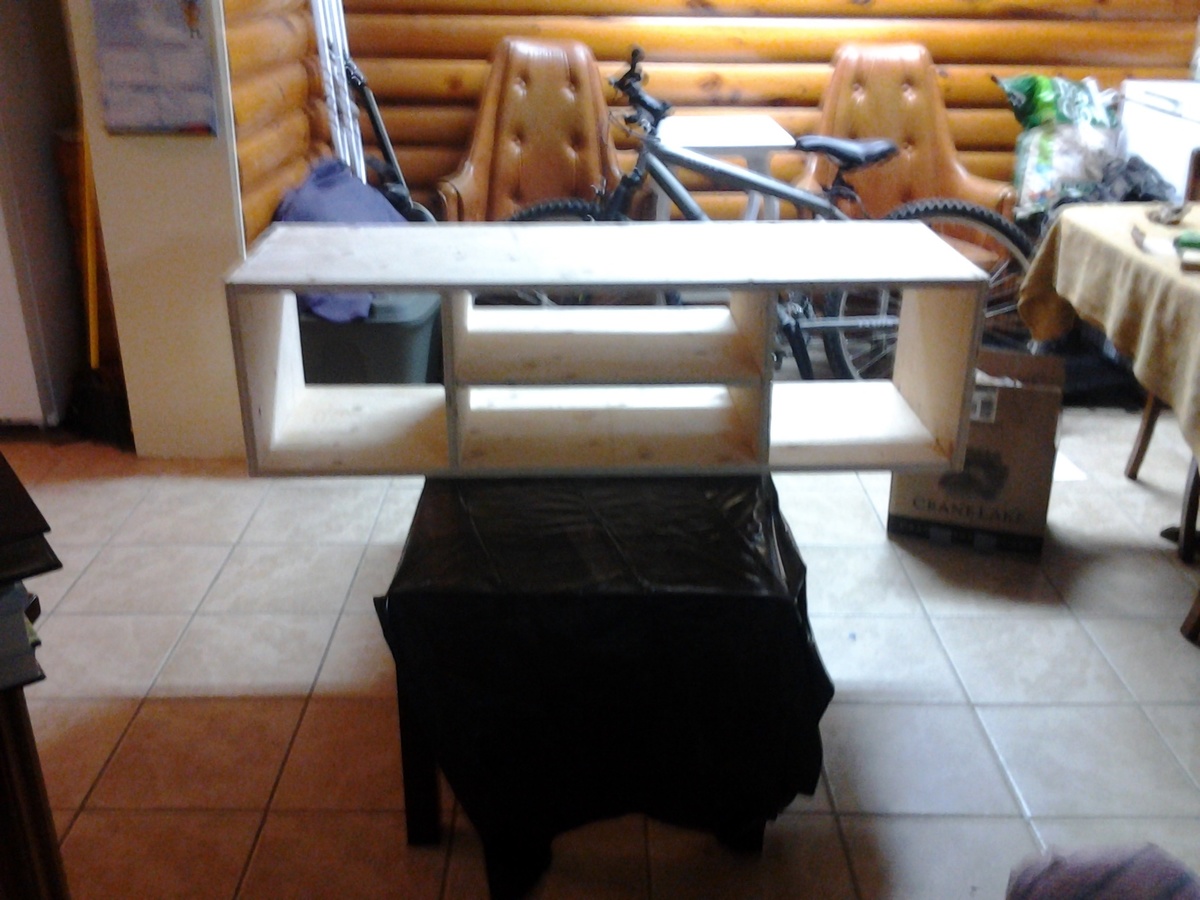
I went this up this afternoon after seeing the plans. It's only 3 feet long because I only had one board that was salvaged from a friends garage. I could not bring myself to use another piece of lumber I went this up this afternoon after seeing the plans. It's only 3 feet long because I only had one board that was salvaged from a friends garage. I could not bring myself to use another piece of lumber different
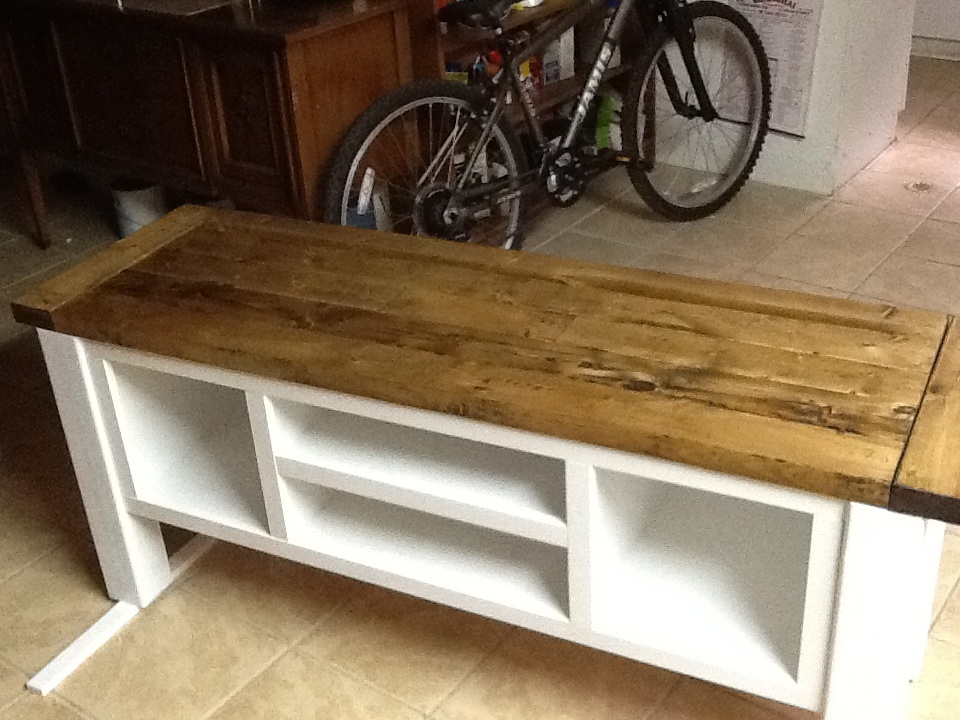
Very nice bench. I have now made three. This one is grey washed red cedar.
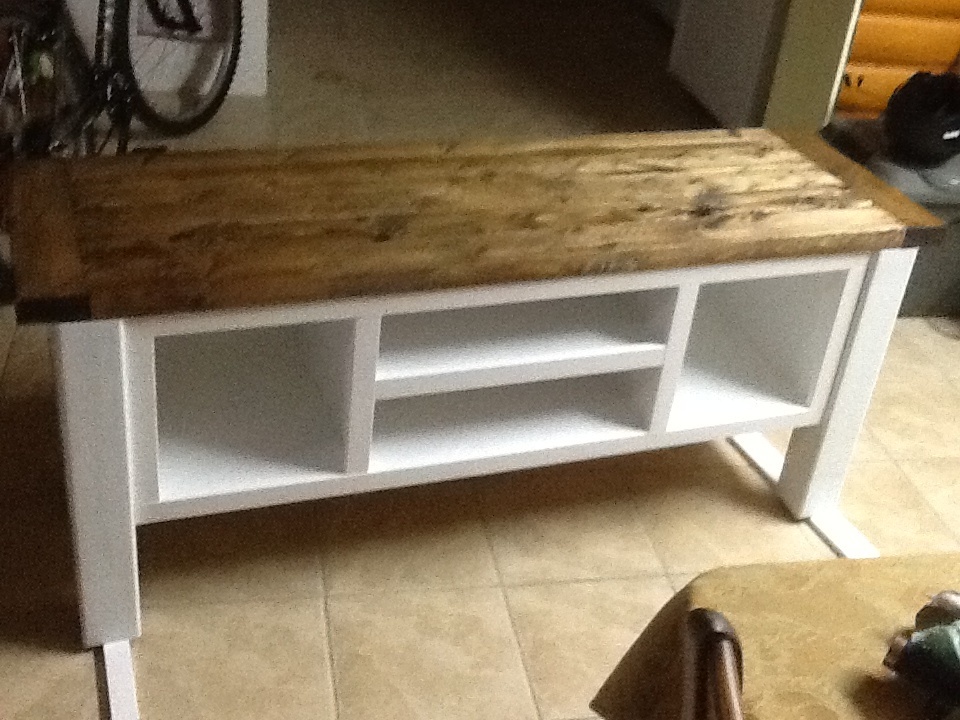
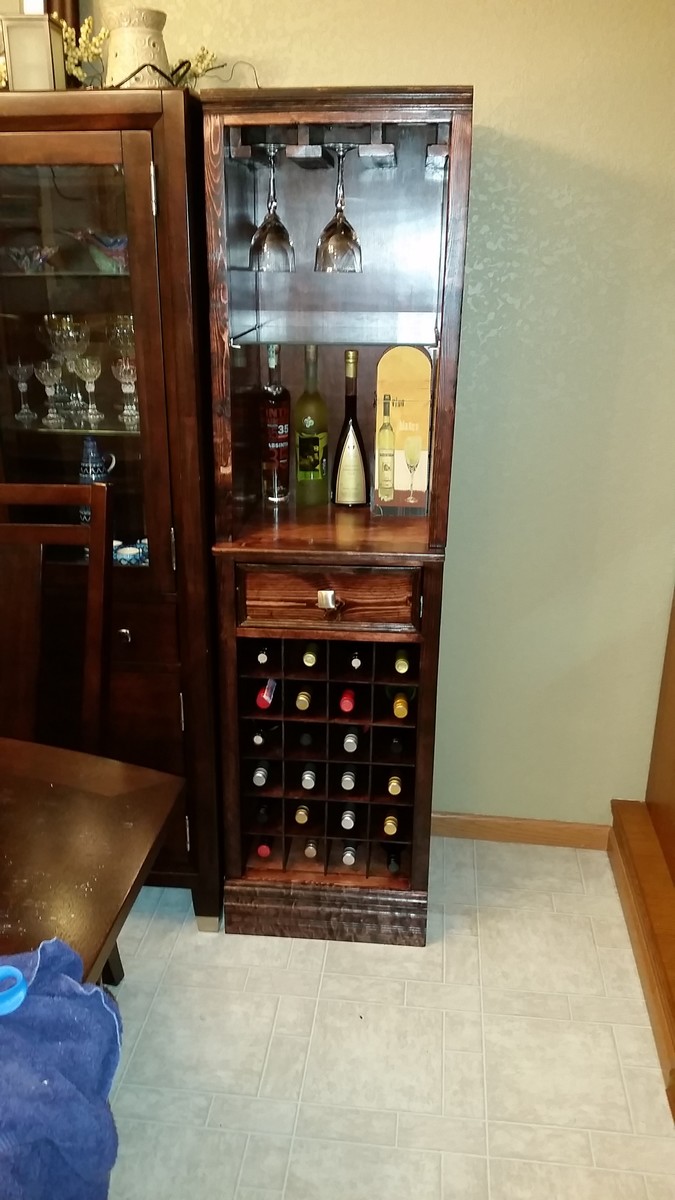
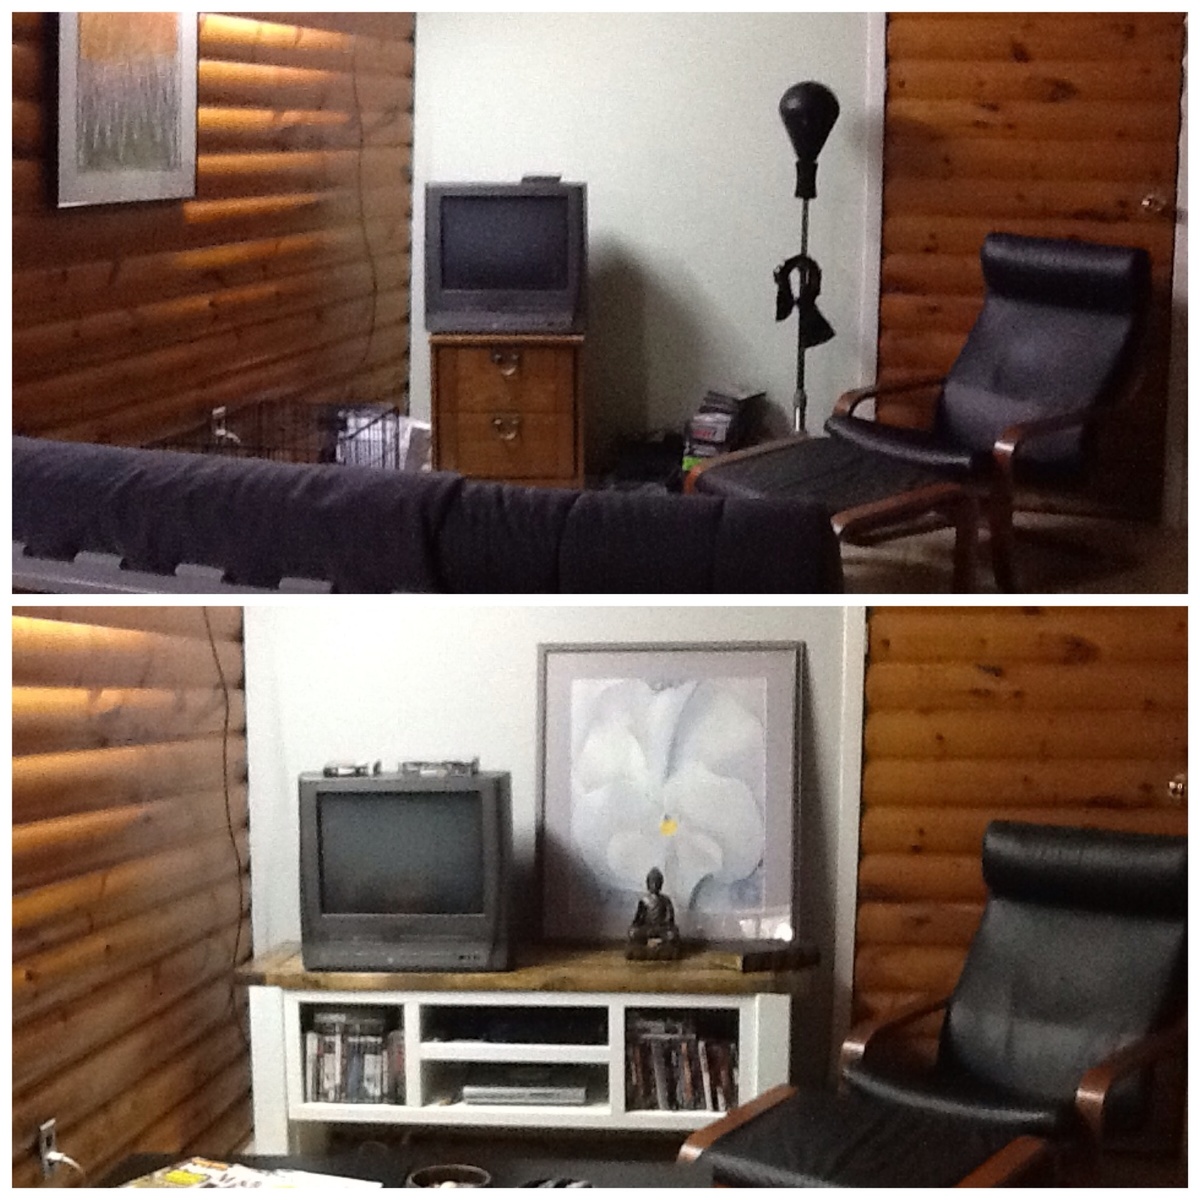
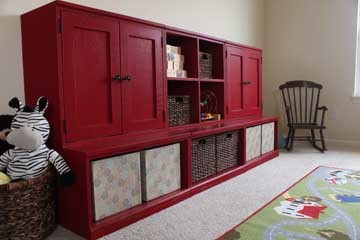
This project was greatly inspired by another user's version. The extra 1x2s on the front and the color scheme. Also, in the plans you are told to use plywood for the back, I ended up using hardboard because it is less expensive and also much lighter. I found the console to be quiet heavy already so this really helped. Finally, the other user stained the top with English chestnut and I used "special walnut".
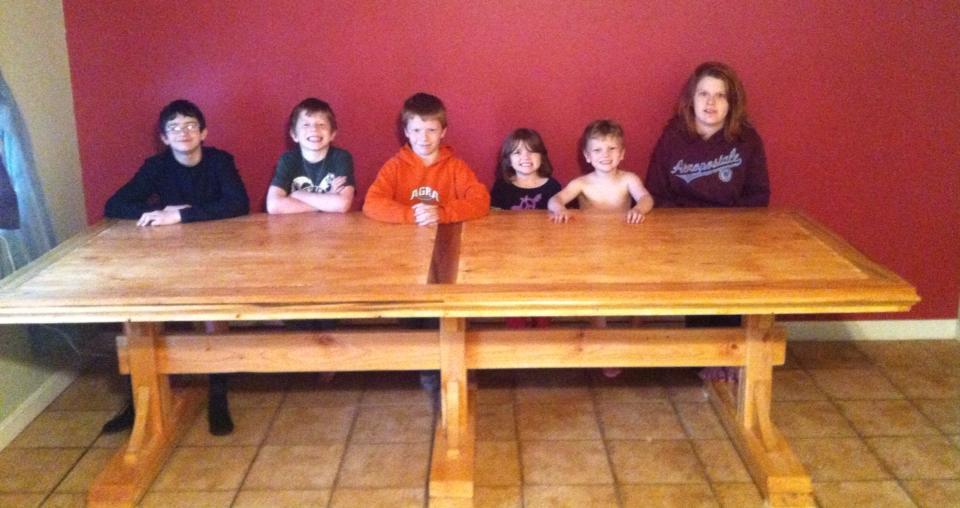
Built this table to have plenty of room for all the kids and a few family members for holidays
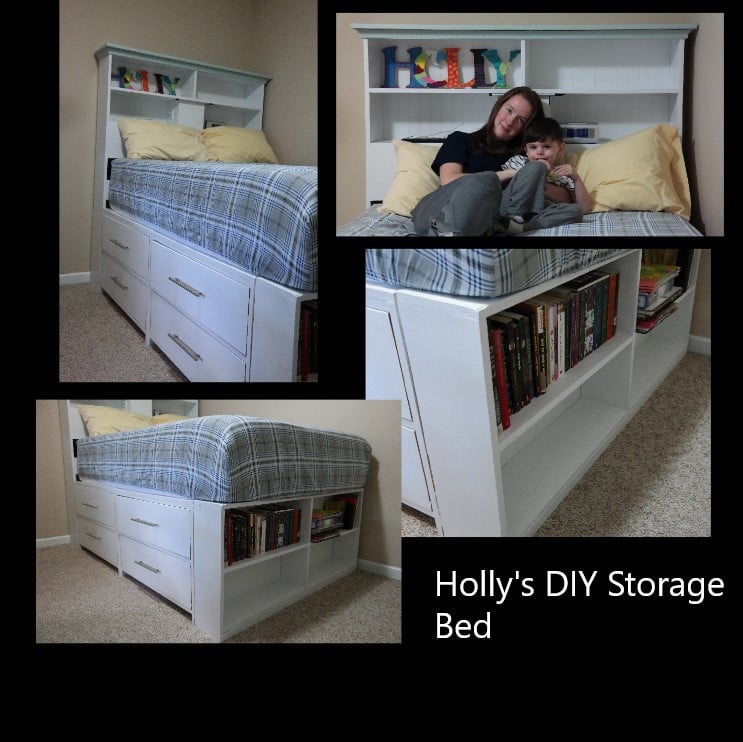
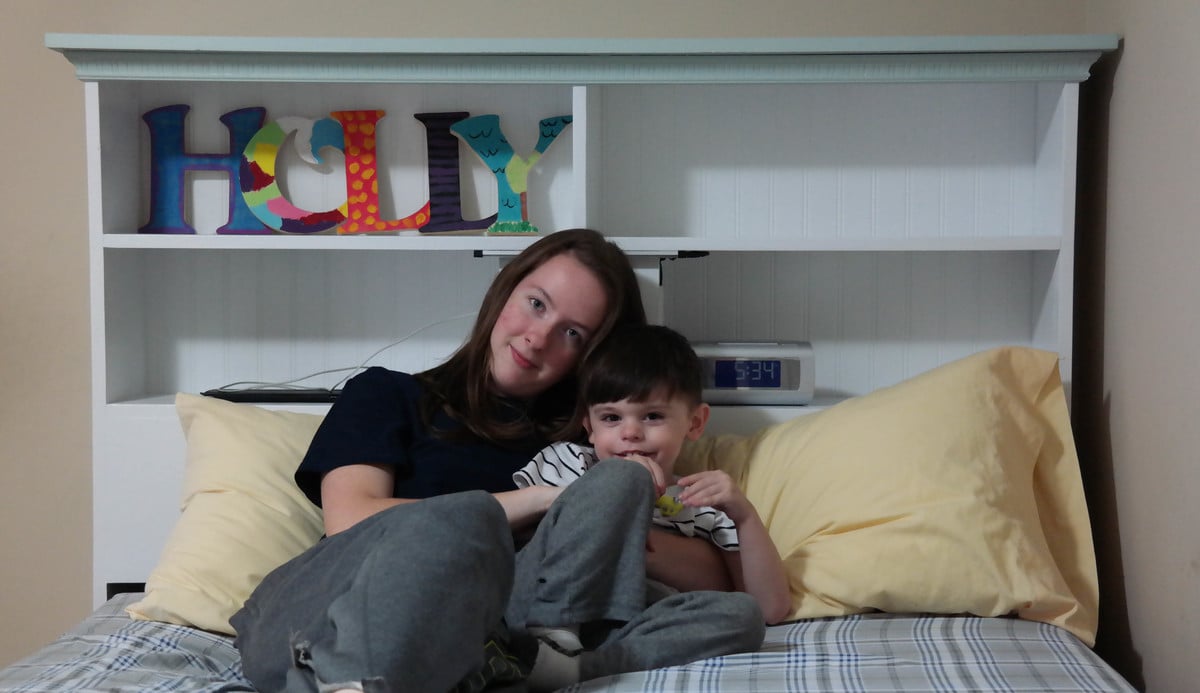
My daughter talked me into making her this custom full size storage bed, with a power center and a night light.
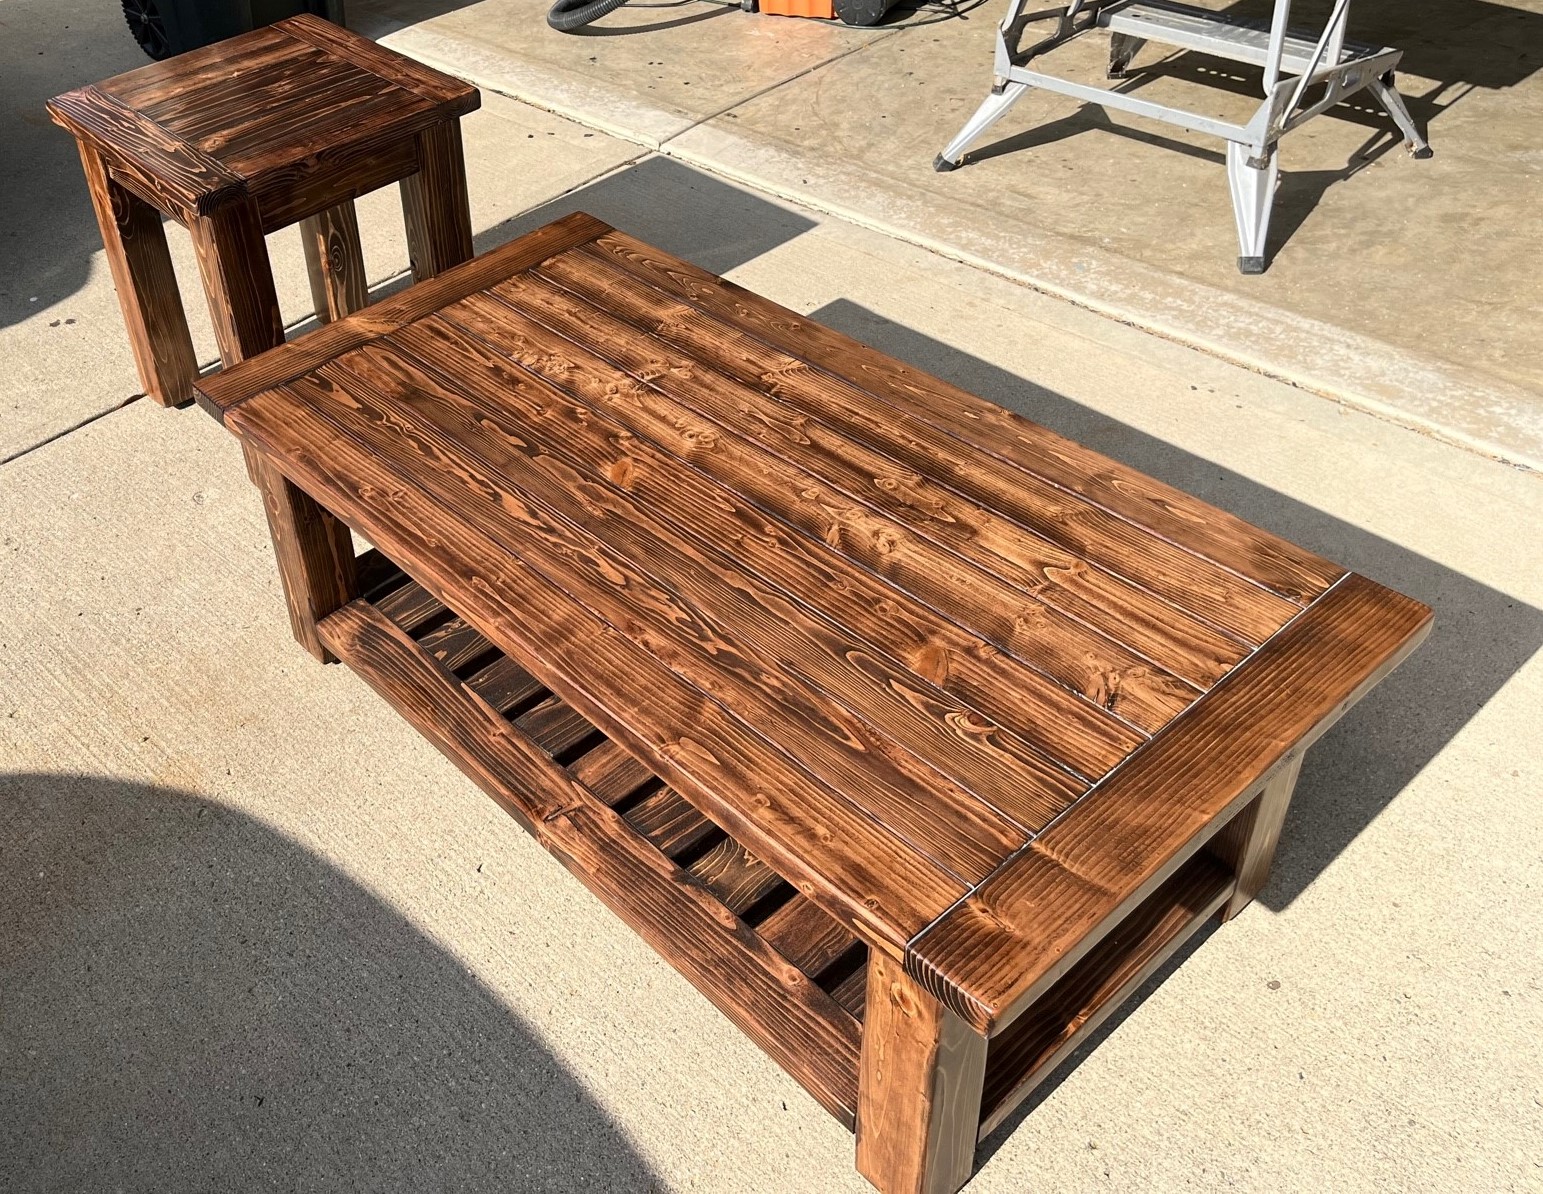
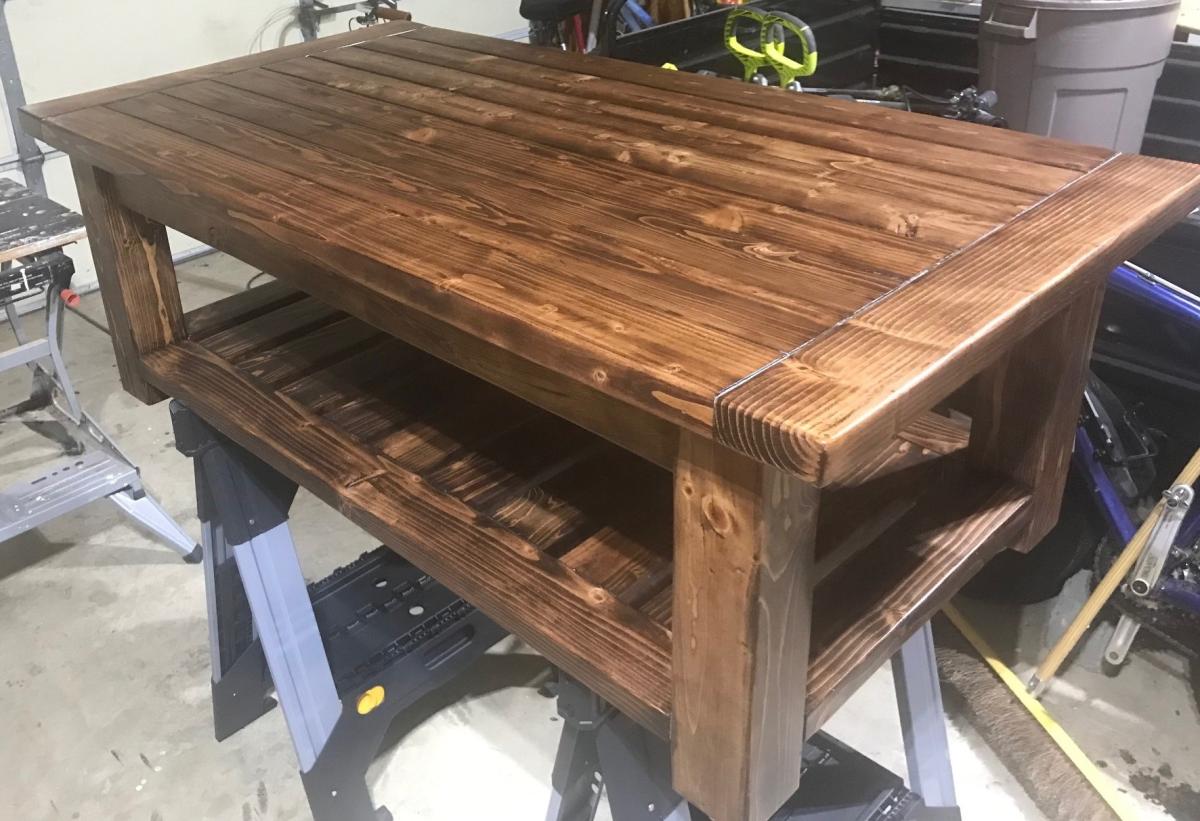
Oldest is moving out into their own apartment so thought I would help them save some money and built a Tryed/Tryde Coffee & End Table, although both are slightly modified:
- Coffee table I added the lower section
- End Table I did with pocket holes vs how the plans had it laid out.
For the end table , which I started after the coffee table, I "jointed" the table top pieces on the table saw - very slightly as I wanted to keep the more rustic looking individual boards. This worked really well and I wish I had done it on the coffee table too.
For the finish, which to me always starts with lots and lots of sanding (started at 60 grit down to 400 grit), I used a mix of Varithane Red Mahogany (4 parts) and Dark Walnut (1 Part), then several coats of Clear Satin Polyurethane. For some reason the end table was VERY glossy so had to use some 0000 steel wool to reduce the gloss.
So hooked on the pocket holes now going to upgrade my Kreg jig to the 720 :)
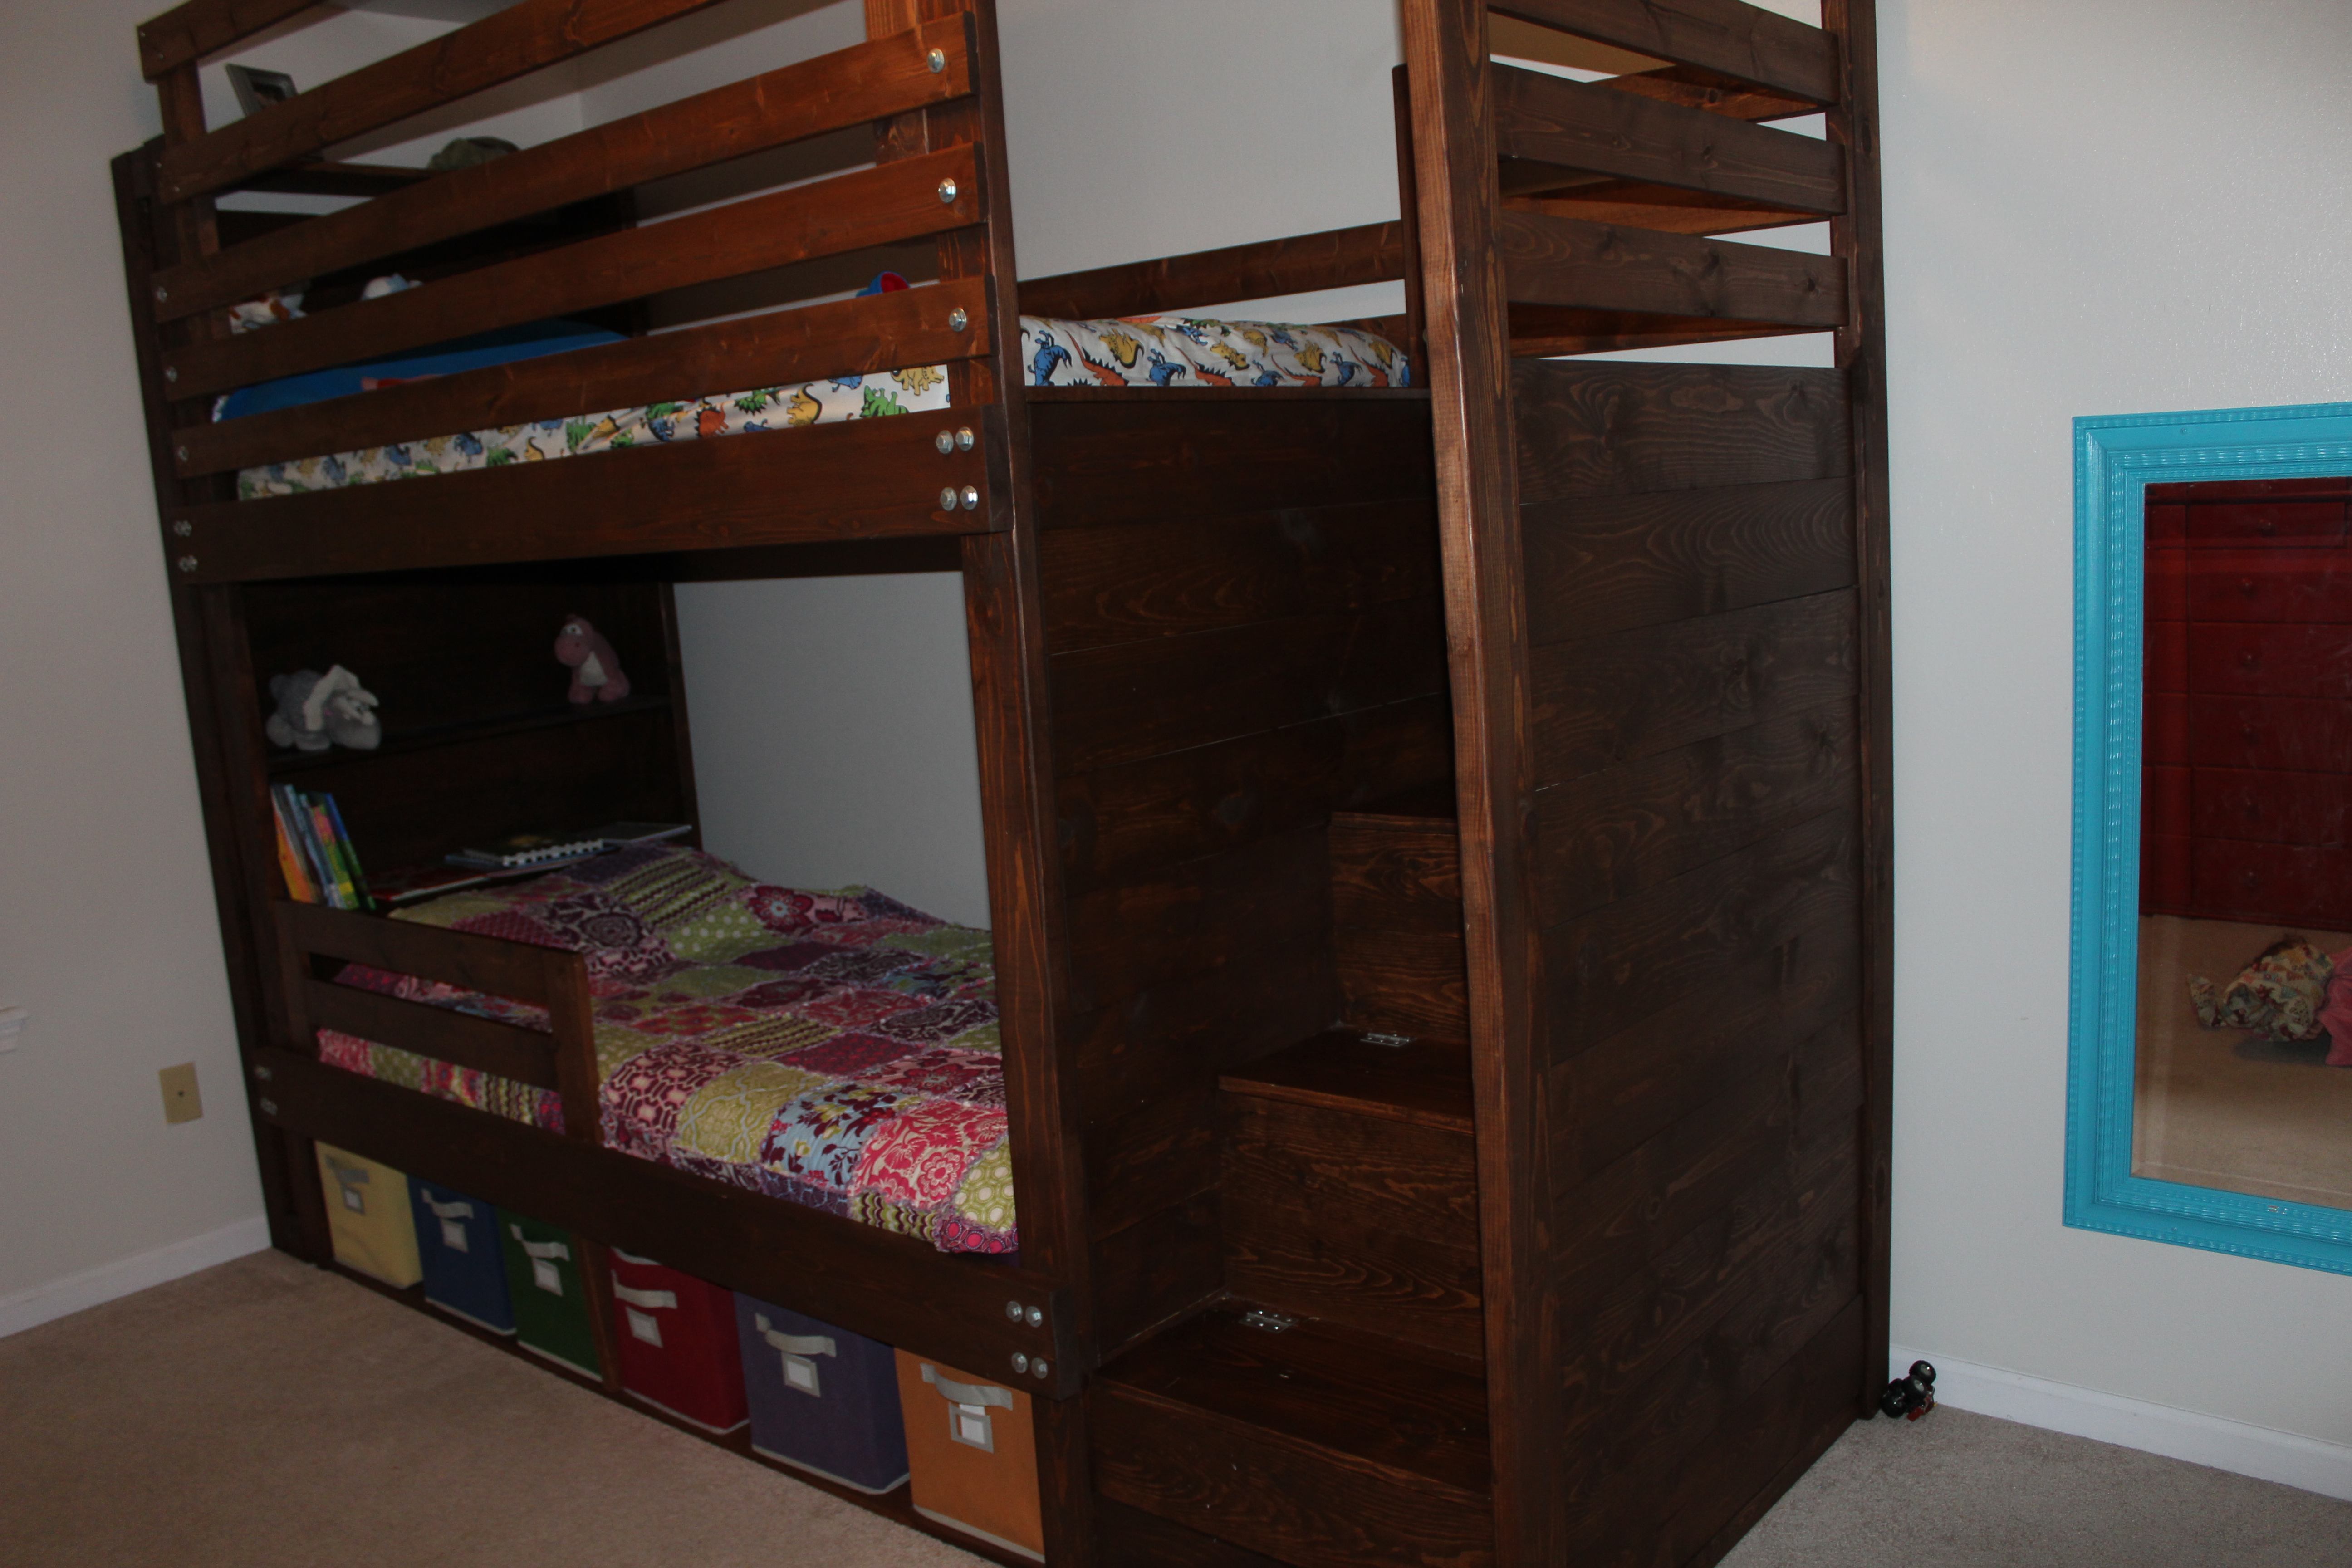
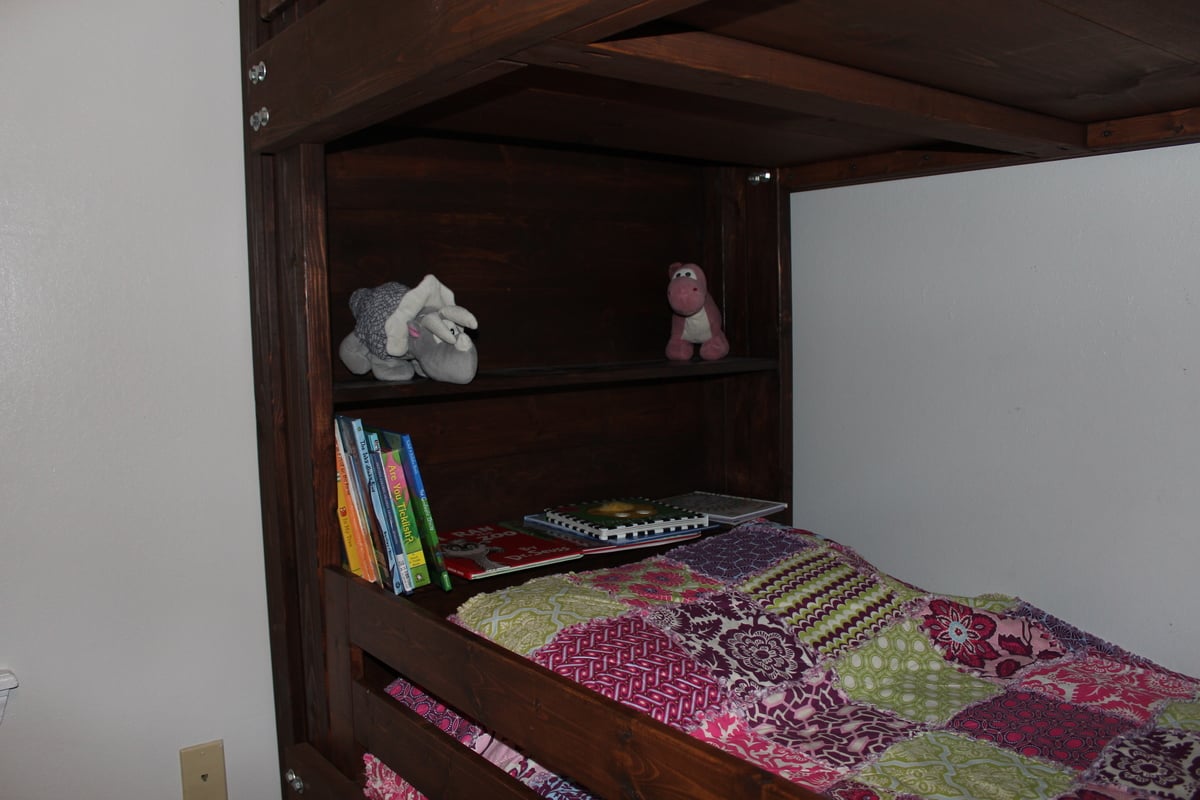
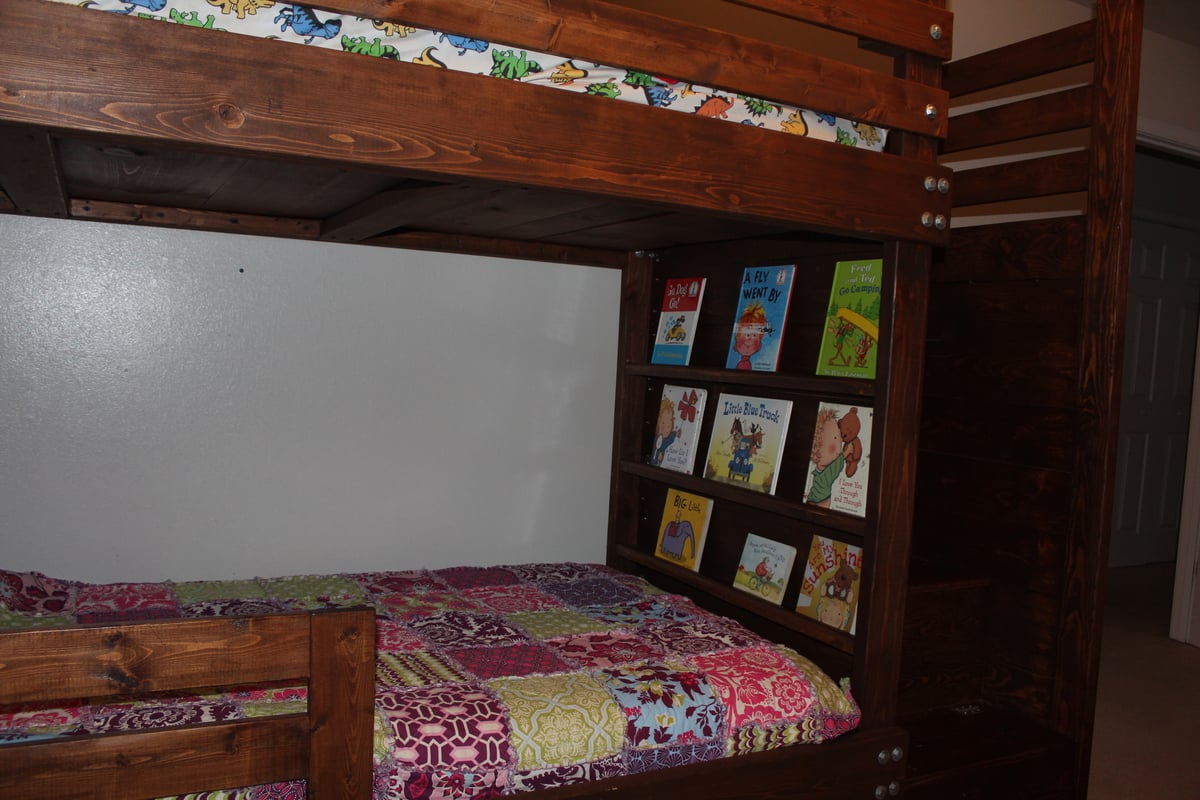
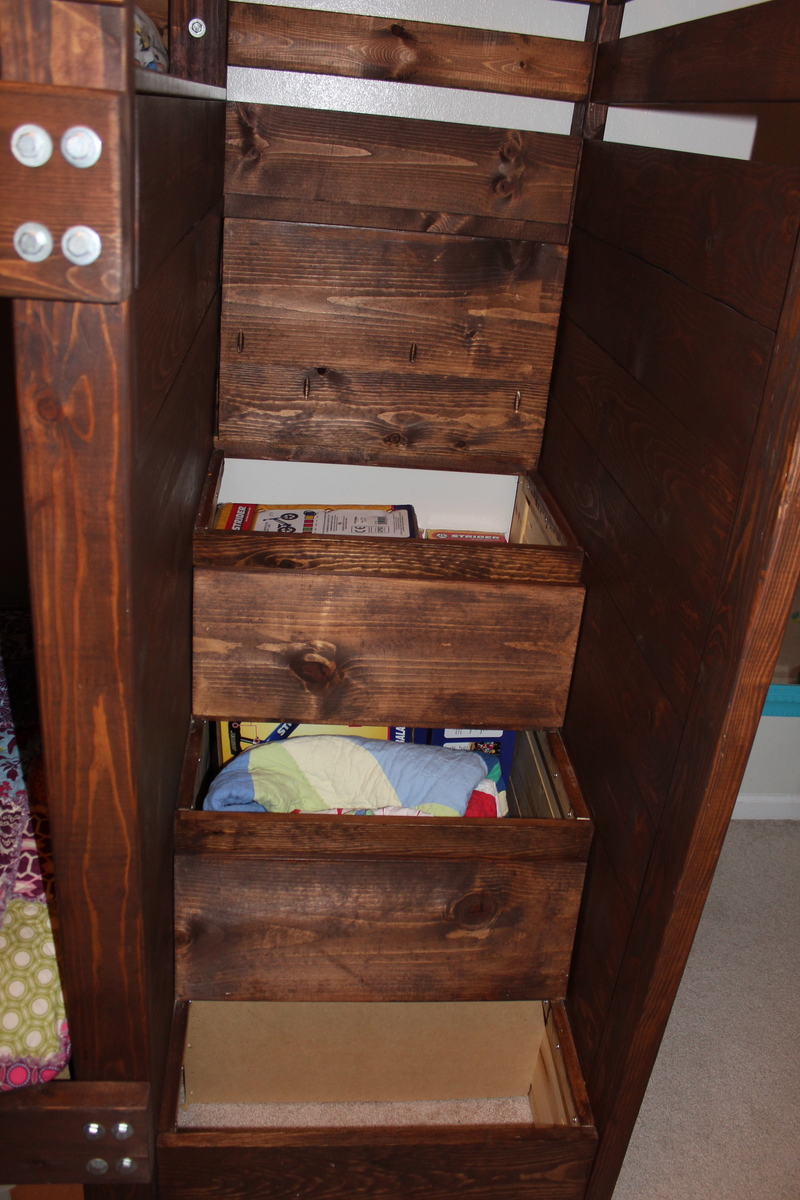
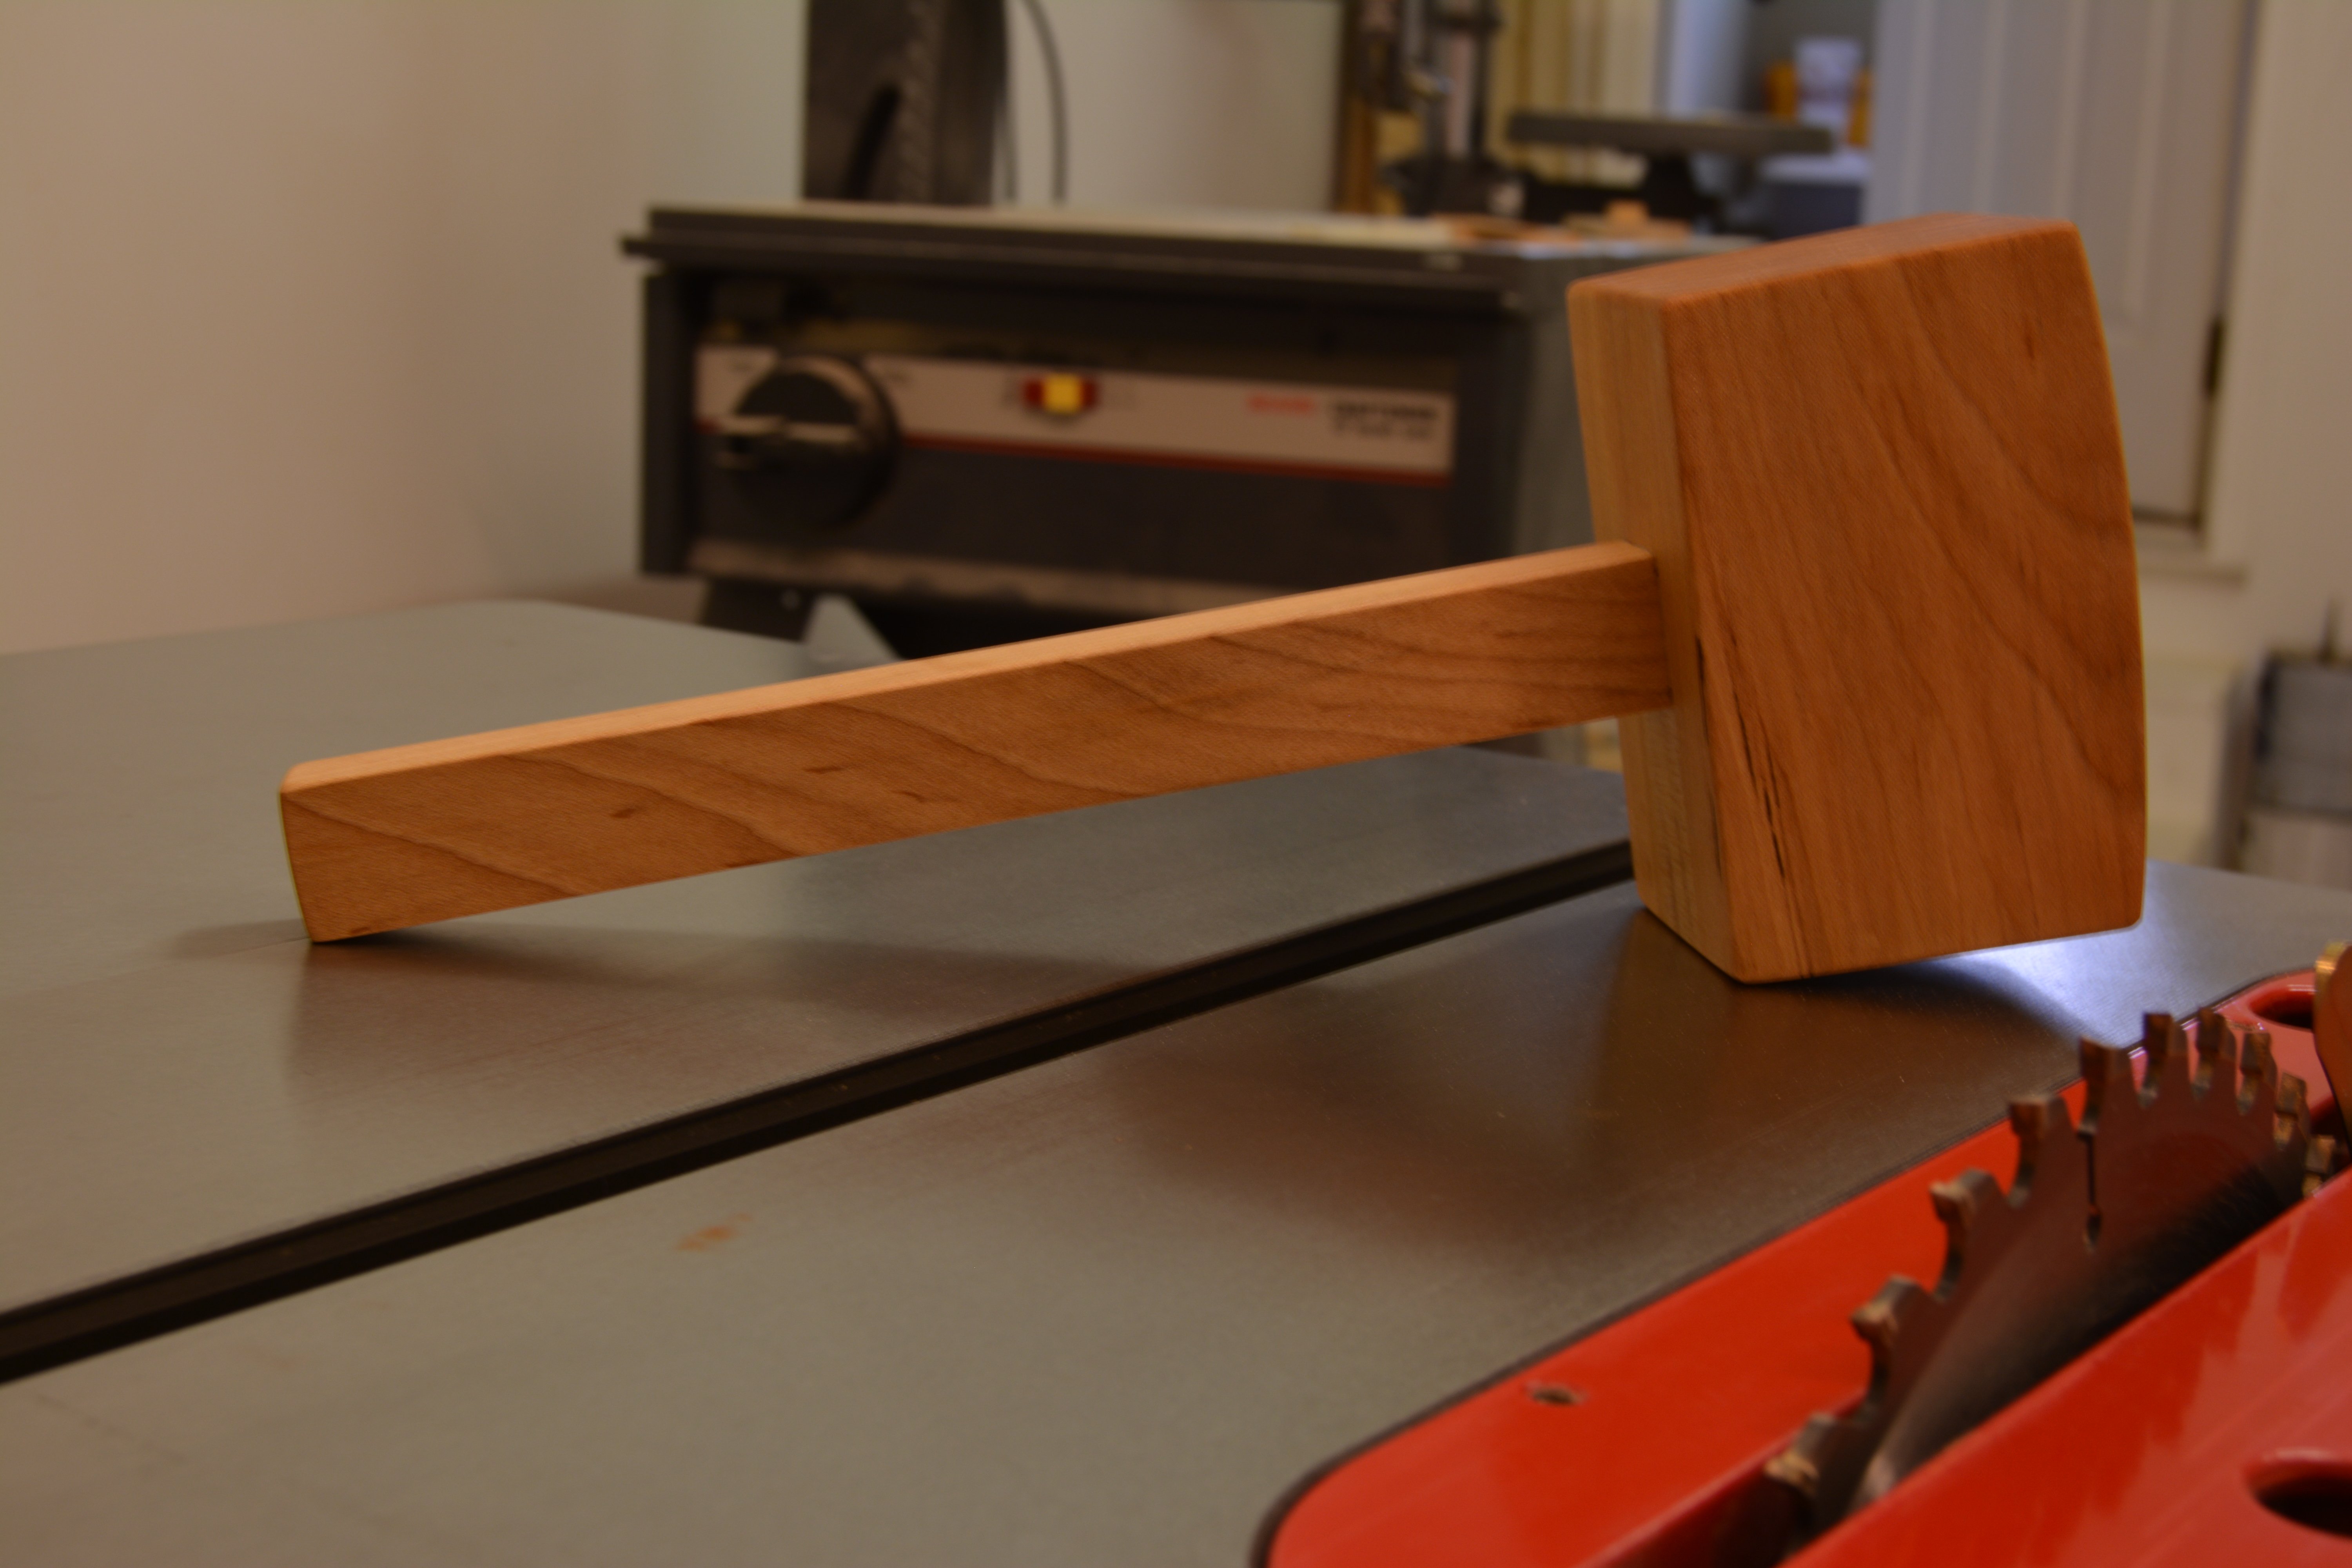
We needed bunkbeds for our 4 and 2 year old before baby 3 came along. We used the basics of the side street bunk bed, combined it with modified plans of the playhouse stairs and then added bookshelves as the headboard and storage bins underneath. It took us about 4 different weekends plus to finish it. We used mostly 2x4s and 2x6s for pieces holding it together and 1x6s for most of the sides. We absolutely love how this turned out! Both kids have plenty of room for books and animals on their headboards. There are skinny shelves at the foot of the bottom bunk for books and the storage bins are awesome for cars, dolls, dinosaurs, etc. The stairs store blankets, toys, misc (there is alot of storage under the bottom bed too...just more difficult to get to...we cut 3 pieces of plywood for bottom bunk so we could access things underneath). The boards underneath the top bunk are 1x10s. The stairs were the most difficult part of this project. Hopefully this bunkbed will be passed down to grandkids! We had a great time building it! VERY sturdy too.


Sat, 02/08/2014 - 06:57
Is there a place to download the plans for this bed? This would be great for my two little ones..
Sun, 04/27/2014 - 18:47
Hi Ana! I love this bunk bed, it's exactly what I need for my boys! Can you direct me to the plans? Thanks so much!
Sun, 04/27/2014 - 18:47
Hi Ana! I love this bunk bed, it's exactly what I need for my boys! Can you direct me to the plans? Thanks so much!

Thank You Ana White for posting the plans to make this great project! Mine is a little different without the "X" on the sides....maybe mine should be rustic ( / ) consule....

My husband built this twin farmhouse bed for our son. I stained and poly'd. We modified the plans slightly to fit our needs. We also added the trundle.
Submitted by Jennie Wood

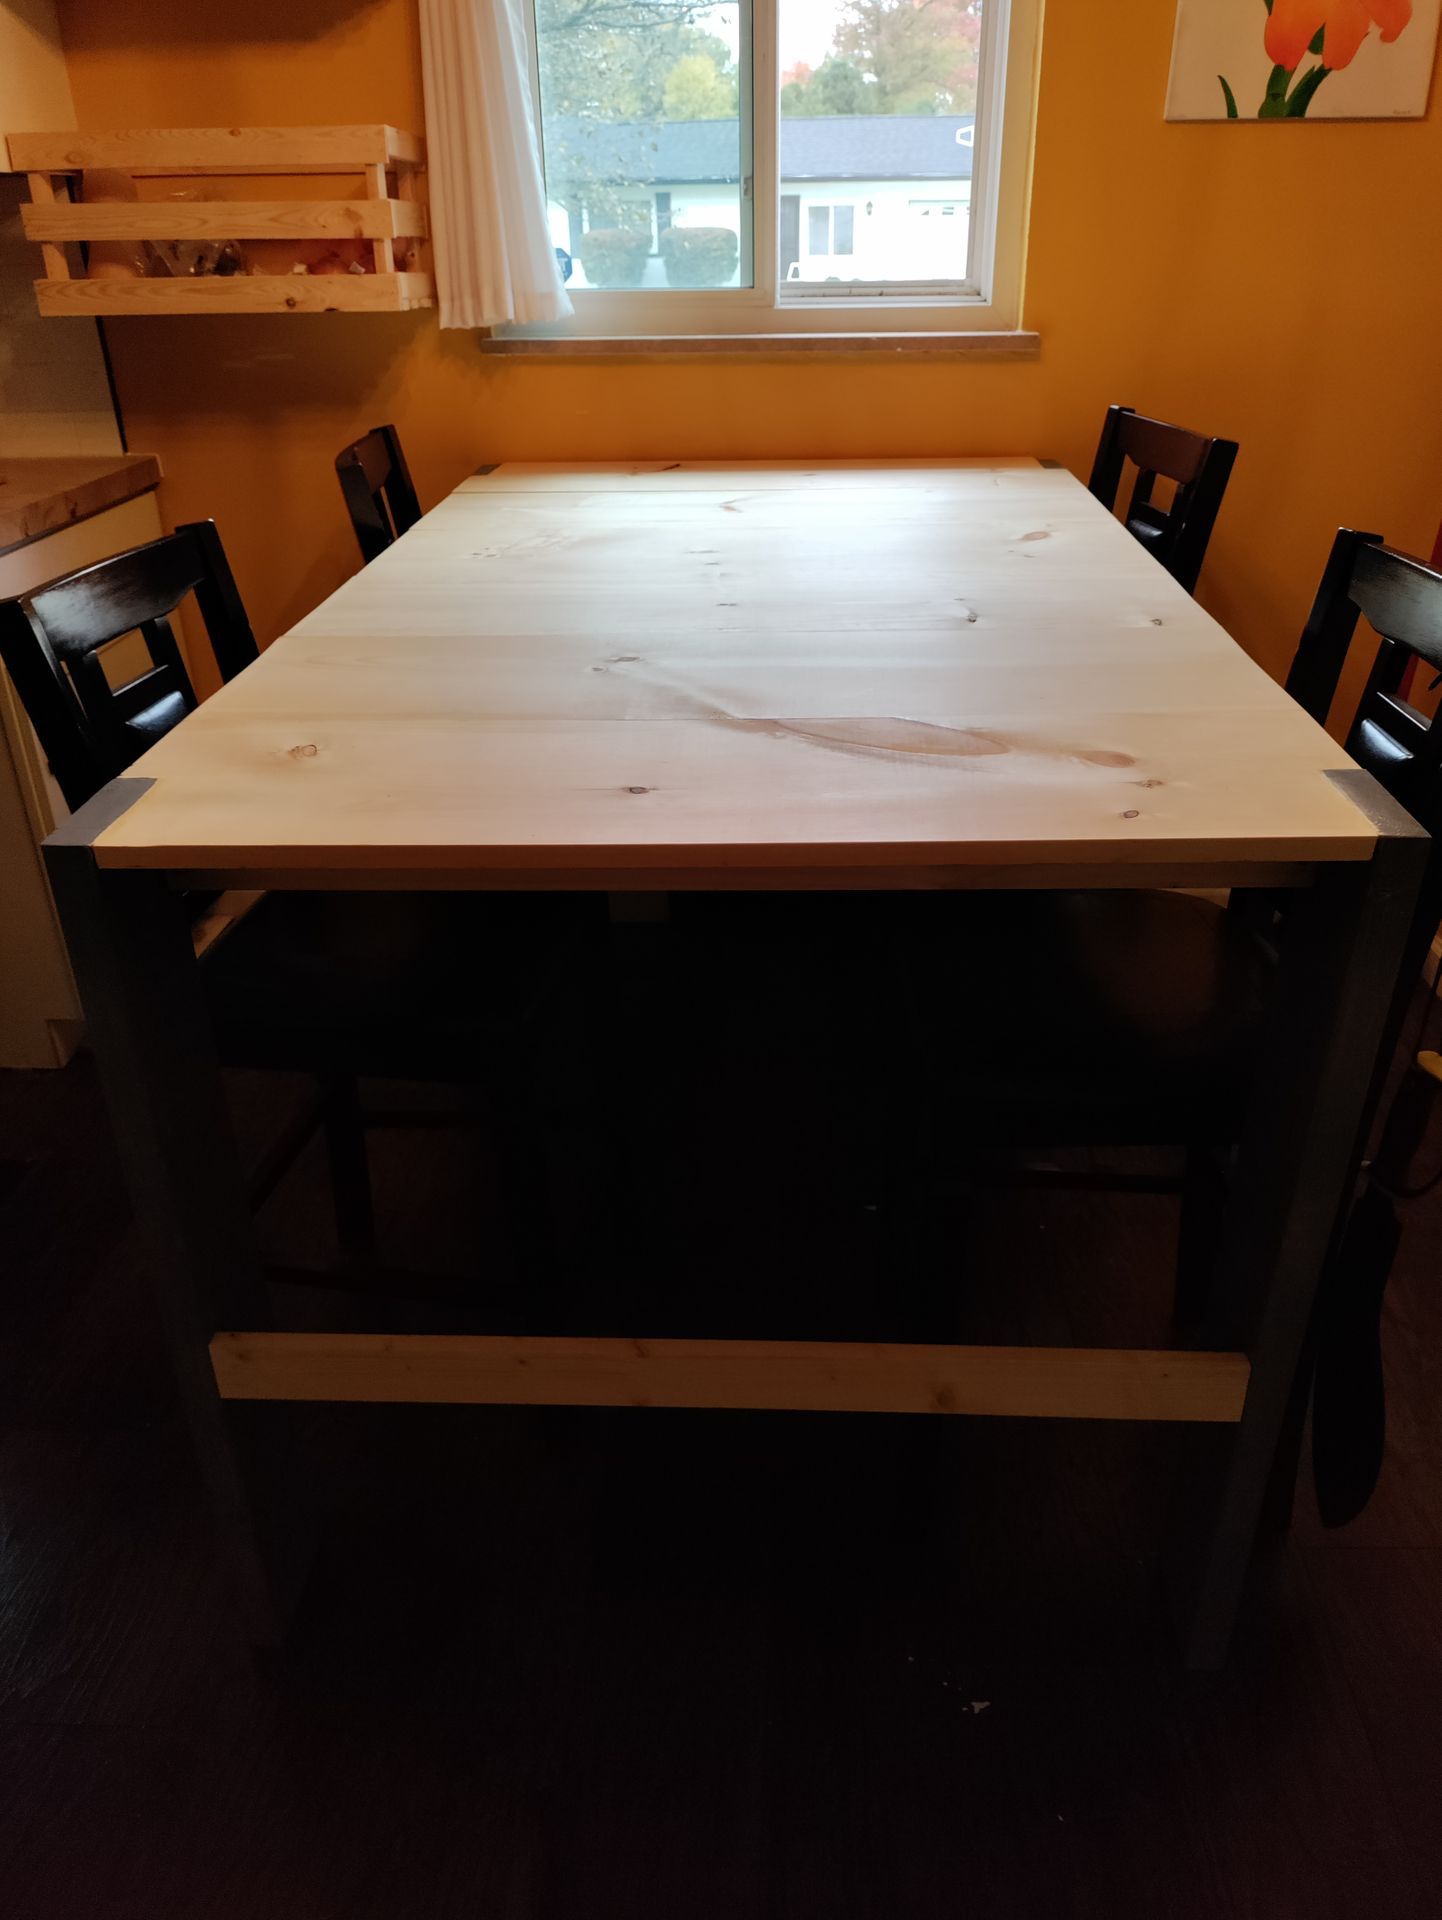
I loved the Chunky Leg Coffee Table and thought it would be perfect as a kitchen table! I made a few modifications, but it's solid and everyone loves it.
This was my first building project ever! Even though it took longer than I expected to complete (I have four tiny kids and snagged an hour here and there during nap time over the course of many months), it was absolutely worth the time investment (and wait)! Hanging the doors was tricky (my awesome husband tackled that part), but other than that it was easy to put together. Finishing it was the hardest part by far. If I were to do it again, I'd probably do some preliminary sanding of the boards before putting them together and I would most certainly not use oak (I was talked into it by the HD guys) especially since I ended up painting it. I think it would have turned out just as great if I'd used a cheaper wood or MDF. Thanks for the plans Ana!
This was my husband and mine's first DIY project! We started off using a miter box, and quickly caved and bought a miter saw. We also had trouble getting the X's to fit correctly, so we redid them and made it in a different order than Ana--we lined them up on the boards they would be attaching to and drilled in there. So we didn't make X's and then attach, but rather did it all at once. This made sure everything fit together!
Also, we didn't stain the top pieces of wood before we assembled, and it was hard to get in-between the boards, definitely recommend at least one coat of stain before attaching the top!
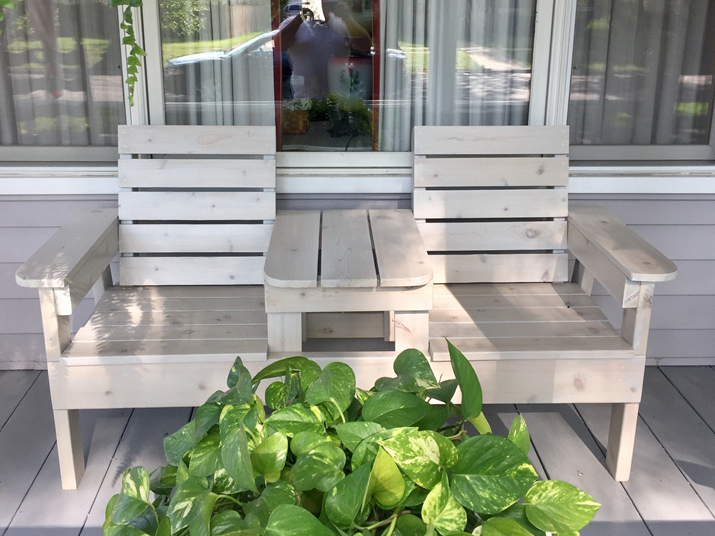
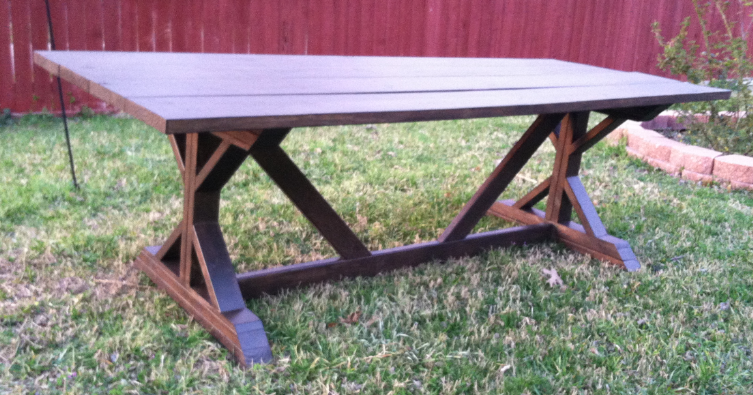
Had a great time making this bench, and love it!! Everyone that sees it is so impressed!! We made this one for outdoors, but we are thinking of making another in nicer wood for our indoor dining room table....
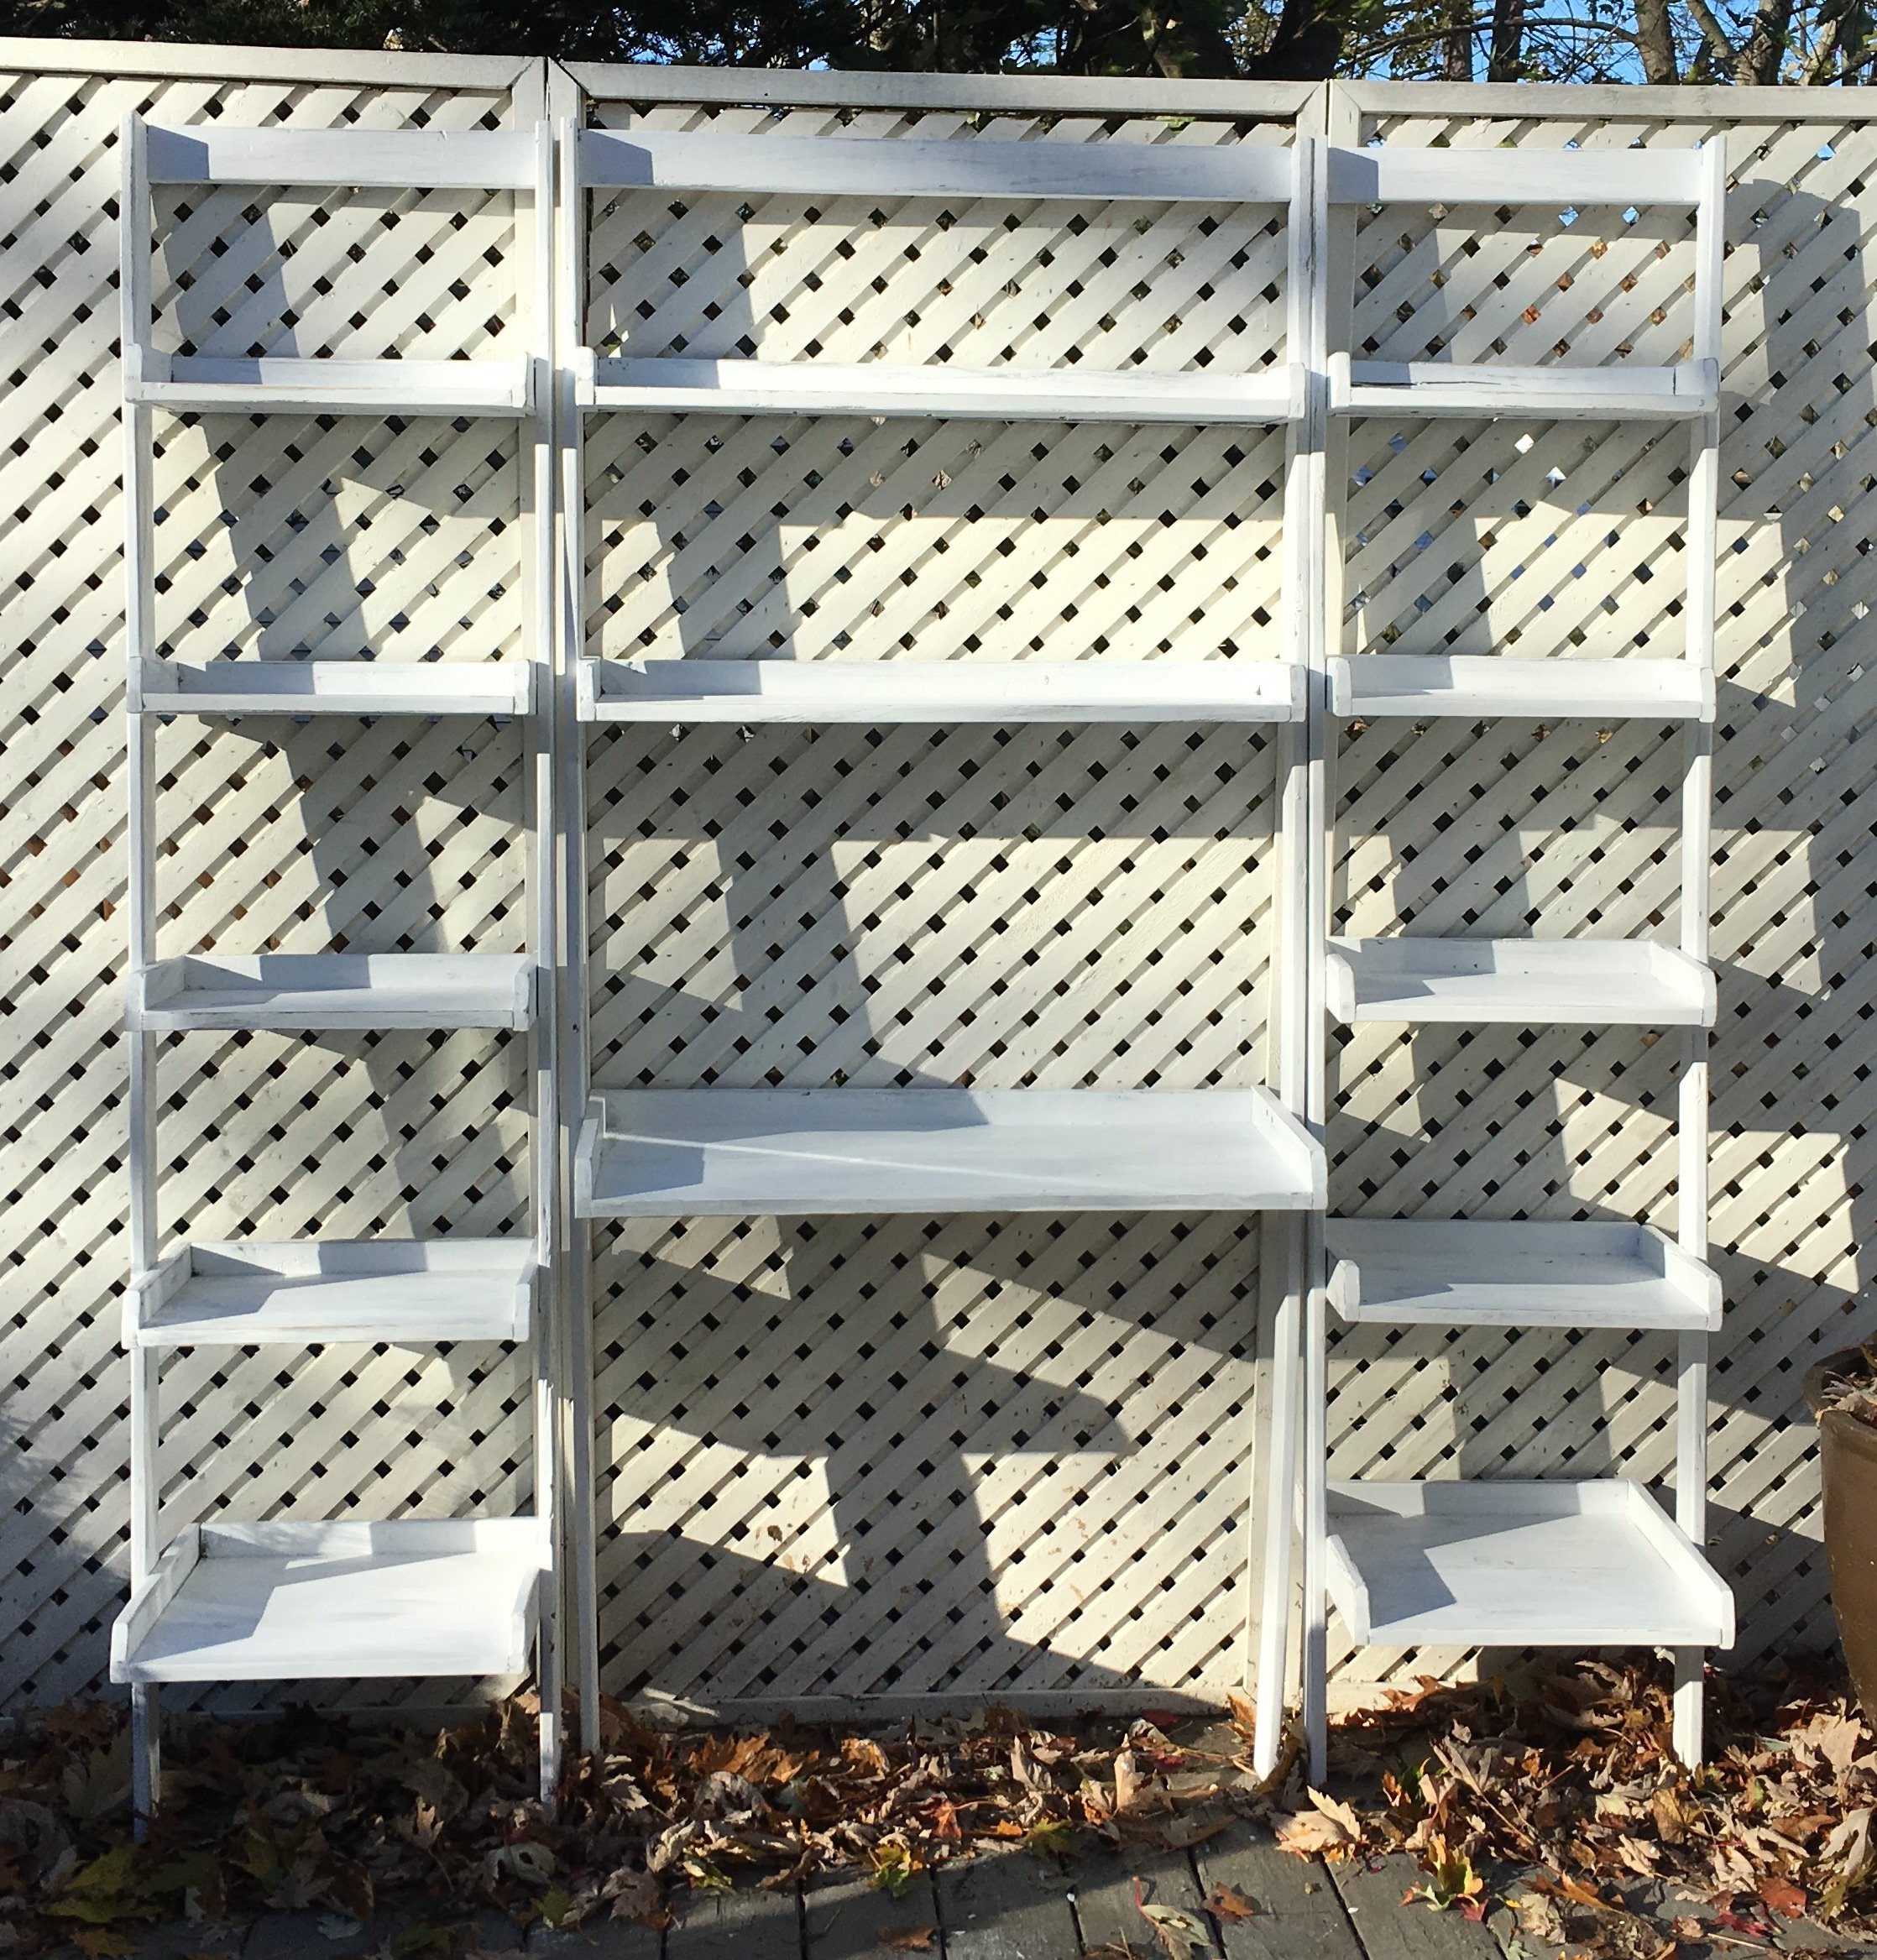
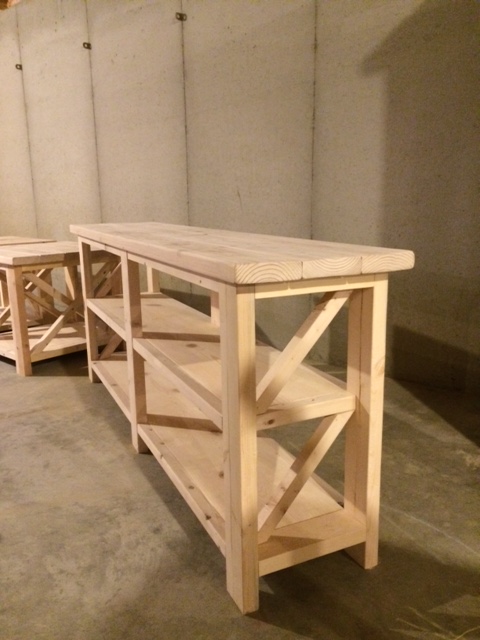
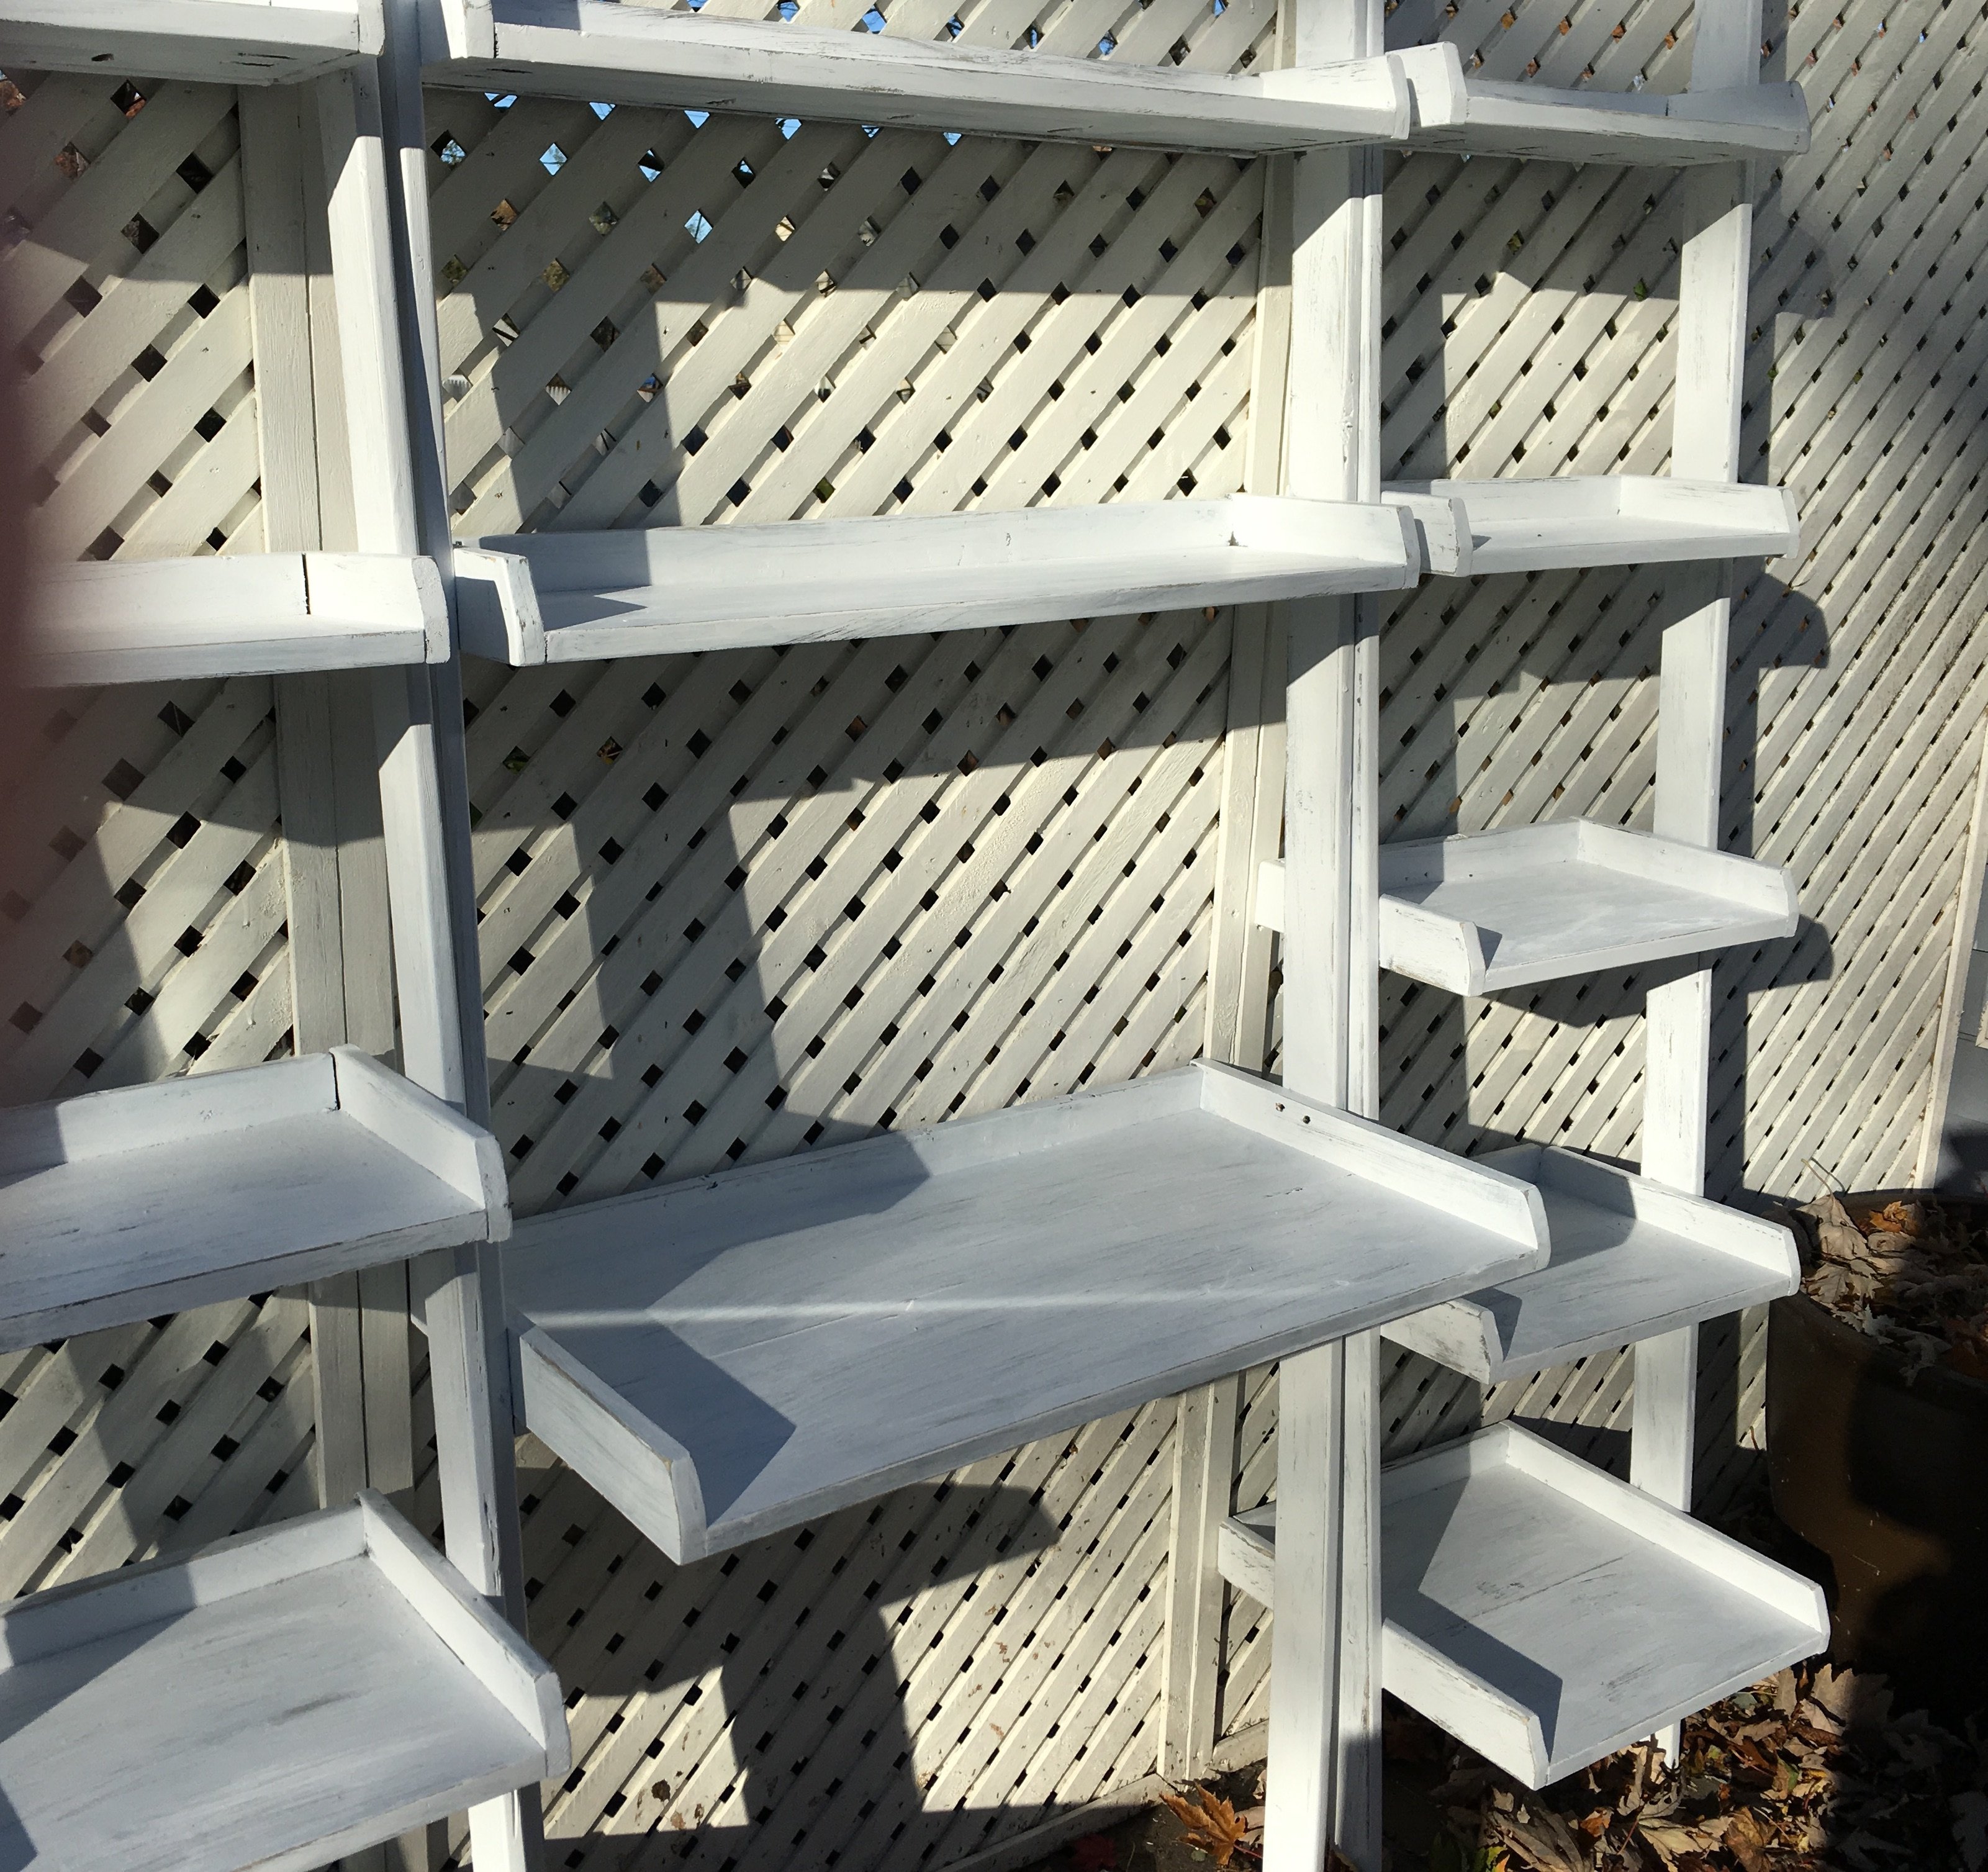
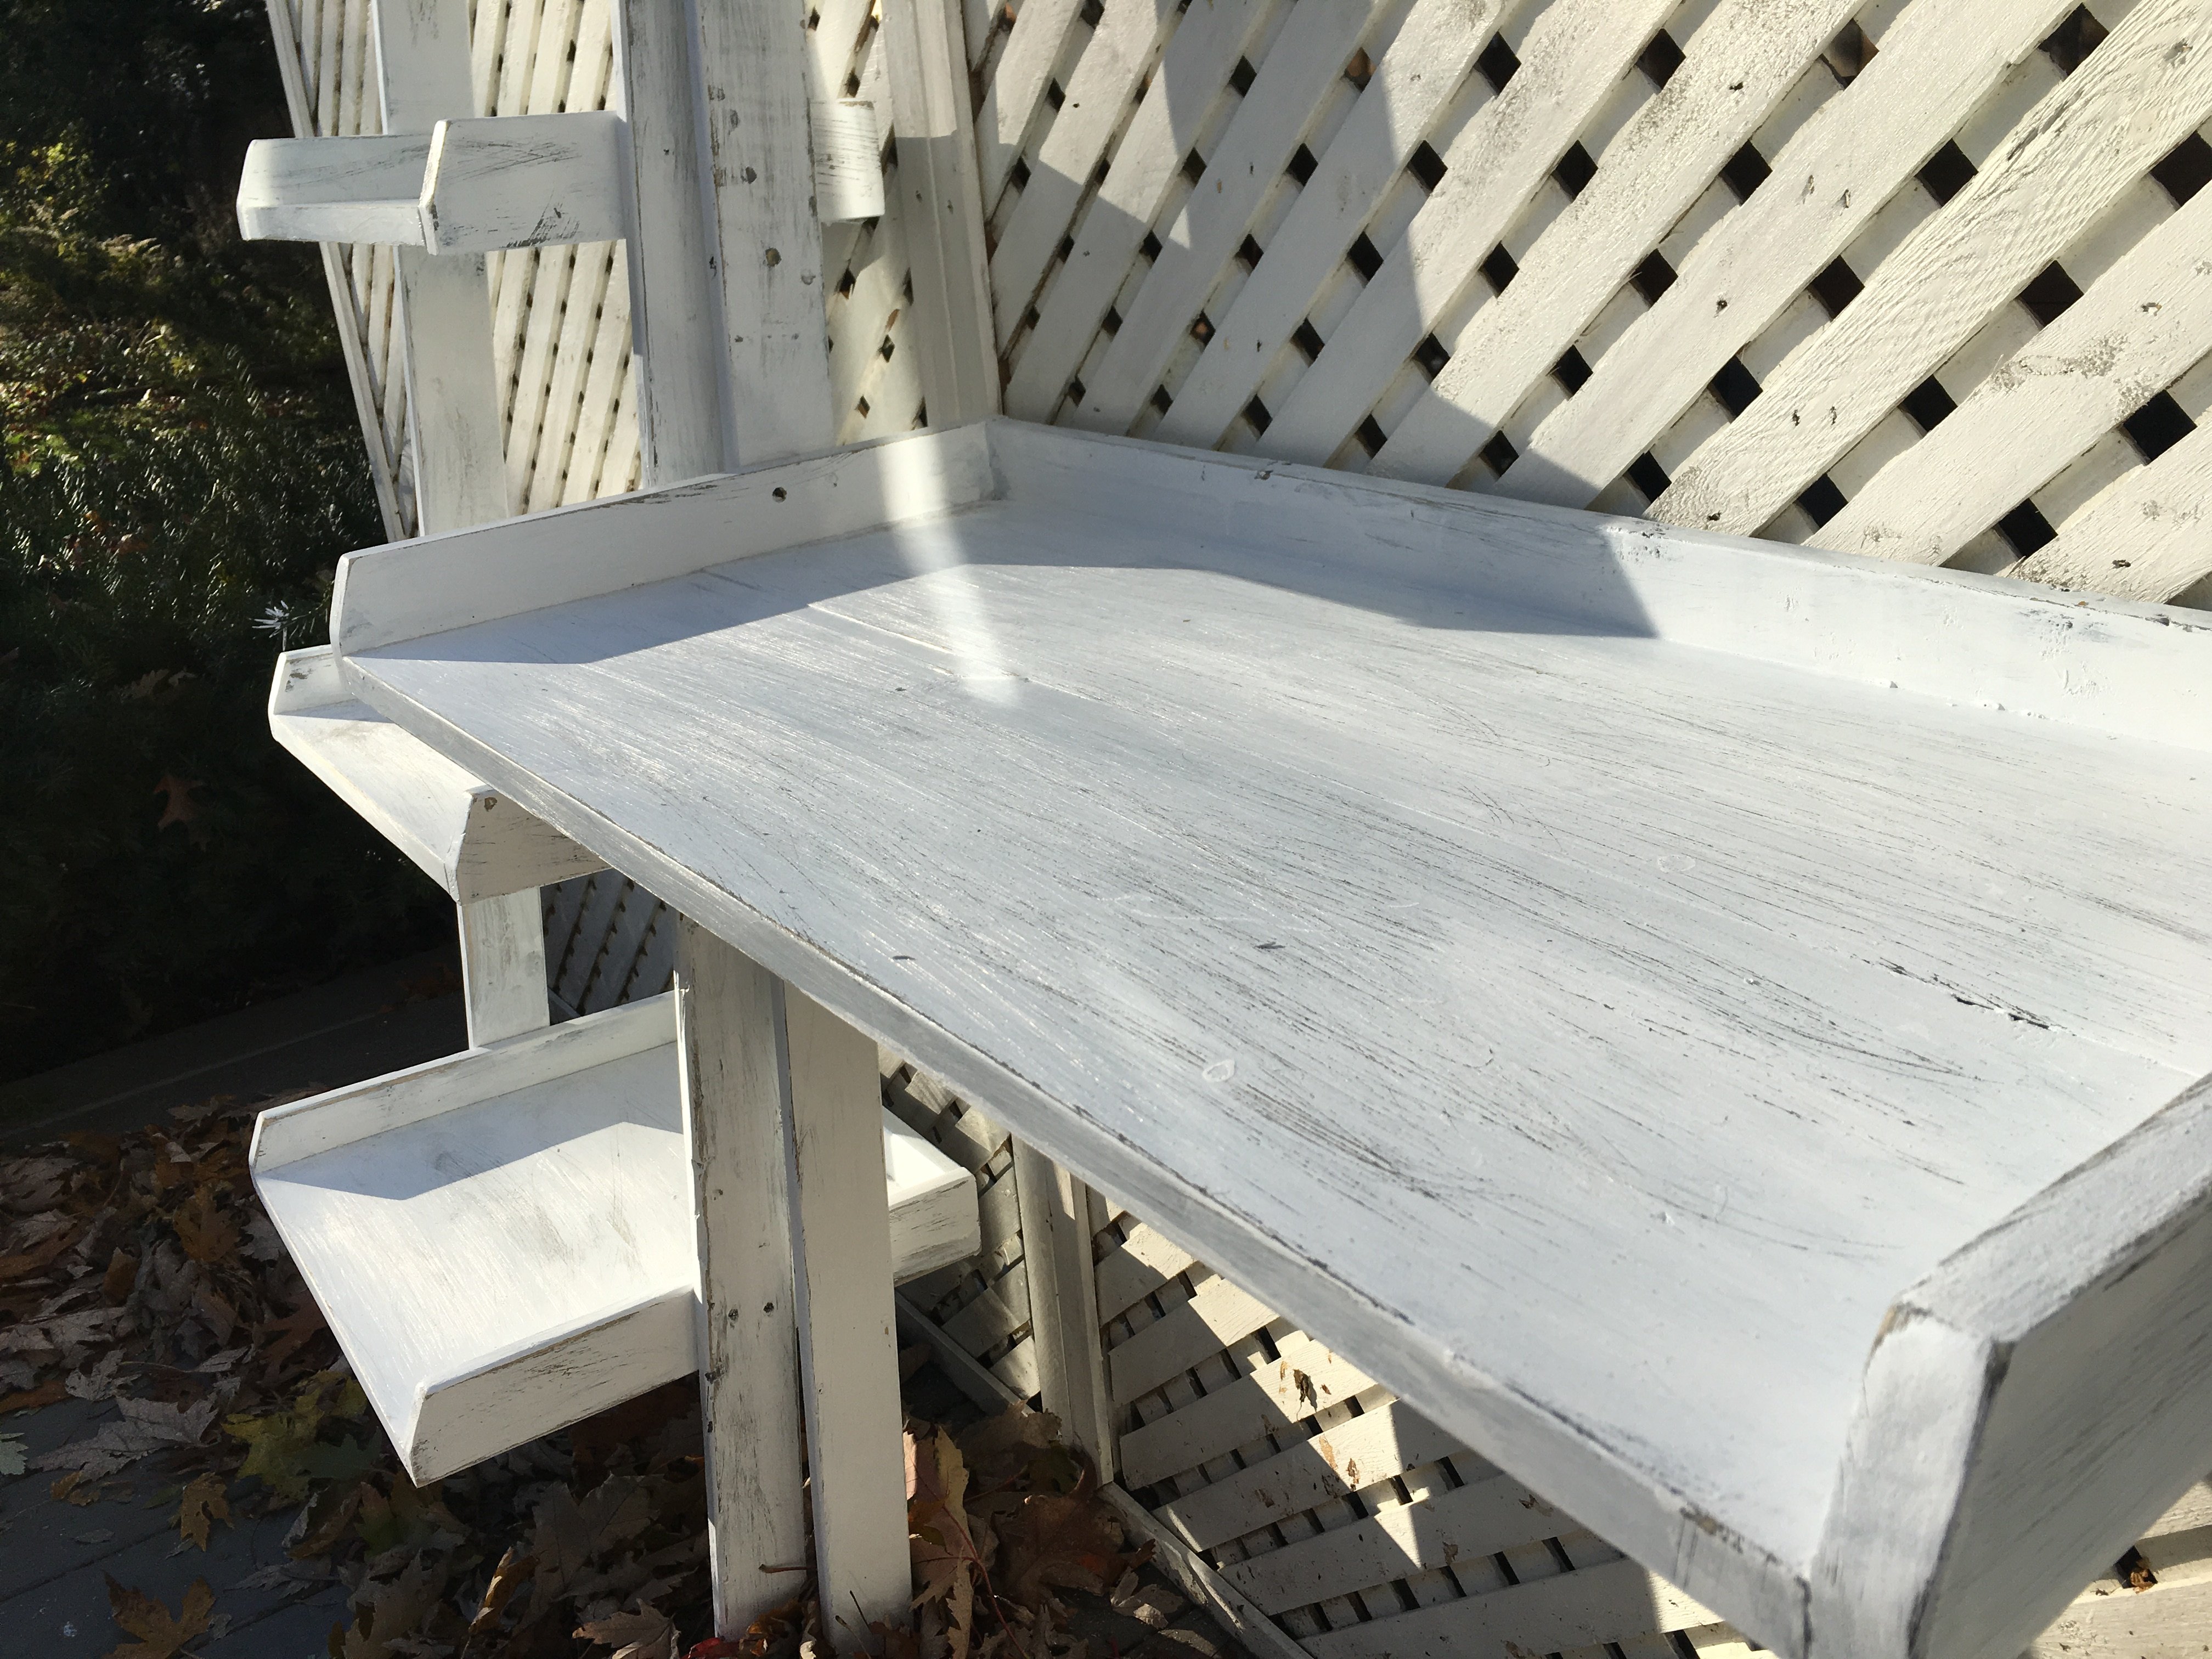
This wedding present for Dan's sister's wedding present took us a very long time to complete.
We finished all the little boxes and sides in an afternoon, but logical problems meant putting it all together took ages.
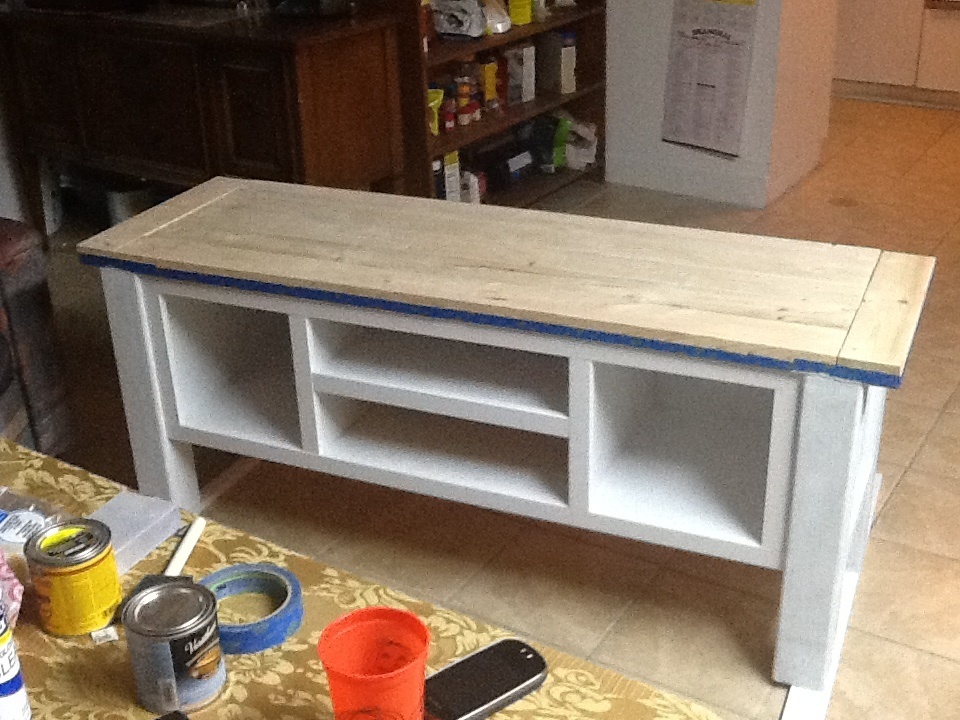
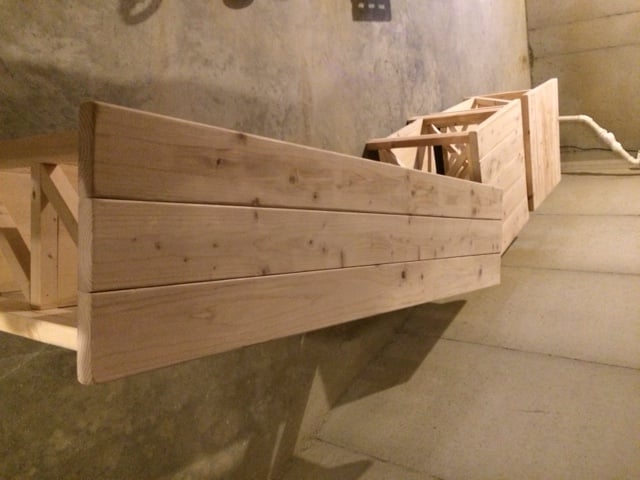
The Bride had specified she liked white weathered (rustic?) paint (can't think if there's a better name).
We finished it with two coats of grey stain, then two coats white paint that we sanded off a few hours after painting.
I think it came out great ! The edges are a little uneven and of course the shelves aren't completely level... but hey - rustic!

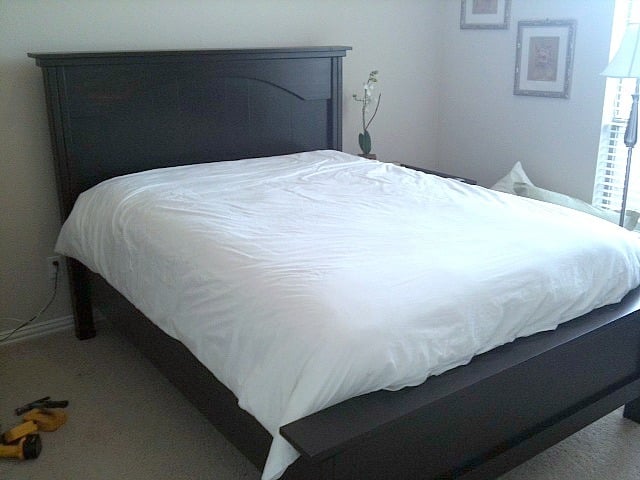
It has taken longer than I care to admit to finish this project, but life tends to get in the way sometimes. But it turned out great, there were little to no hickups during the process, and of course I had a lot of fun building this bed!
Thanks Anna for the plans!
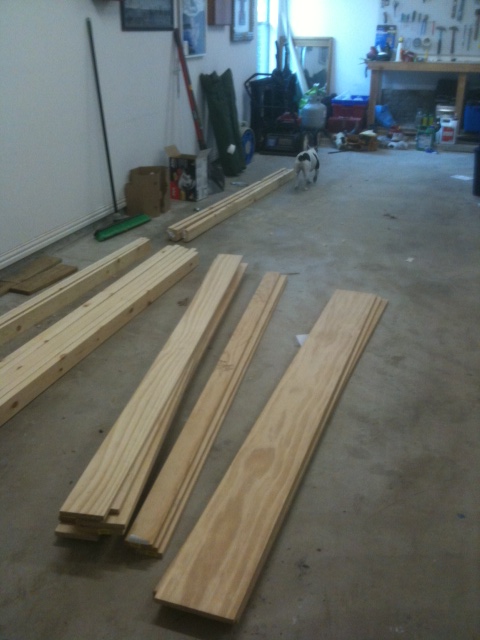
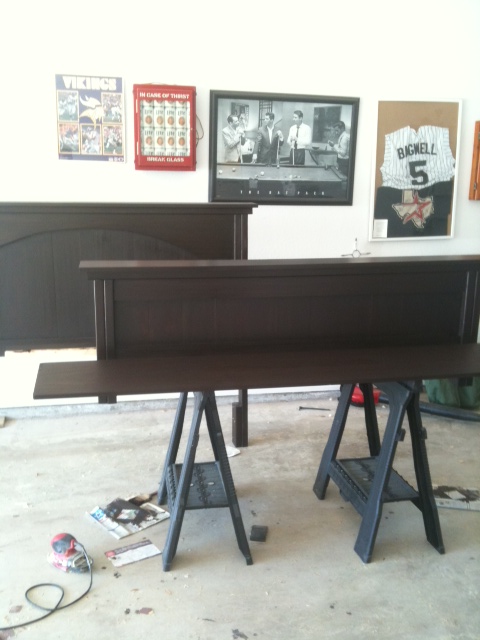
I have posted pics of the process below.
Pic 1: All the wood. Nothing smells better than a garage full of lumber! Oh, and please excuse my bulldog mooning you. She doesn't mean anything by it.
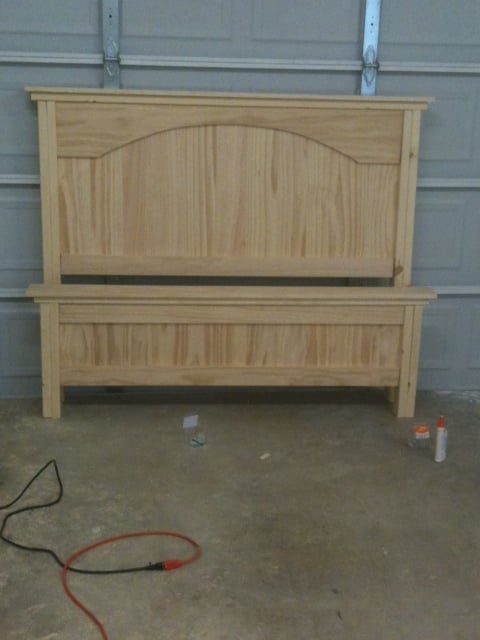
Pic 2: Headboard and Footboard finished and leaning up against the garage.
Pic 3: Just making sure everything would fit right. I used the cross-beam from the original bed frame as a guide.
Pic 4: staining in progress.
Pic 5: Finished and installed!

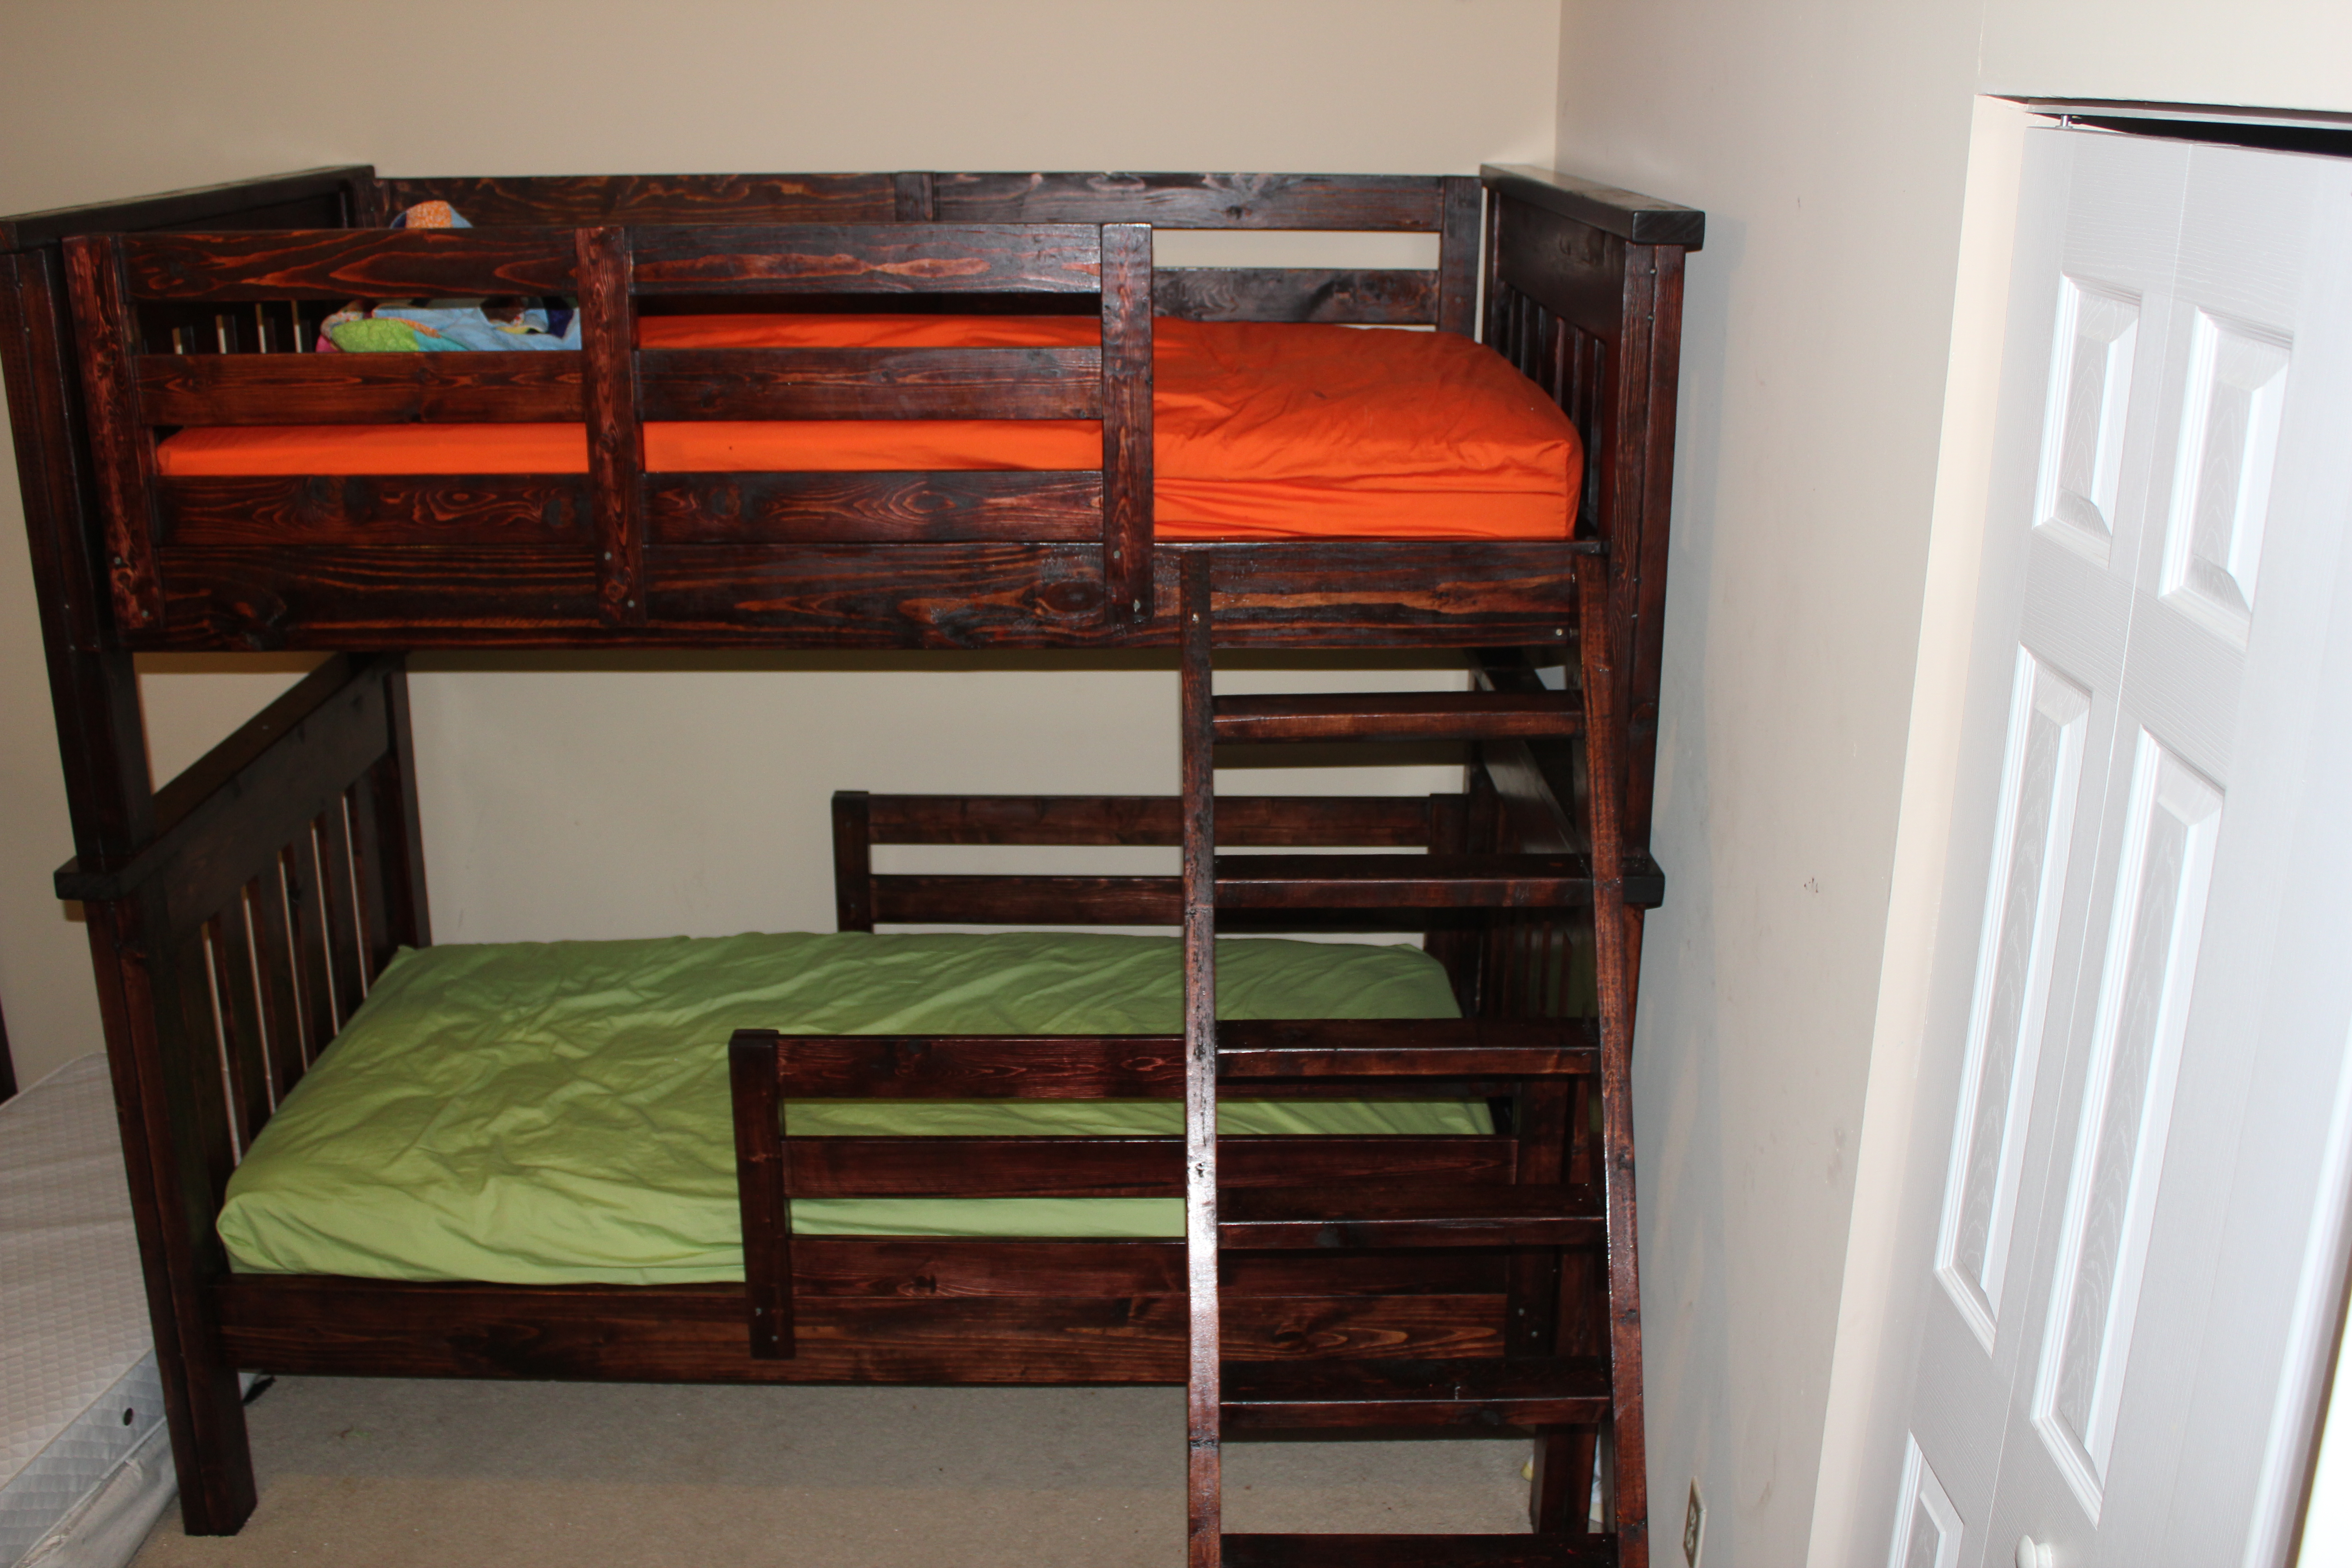
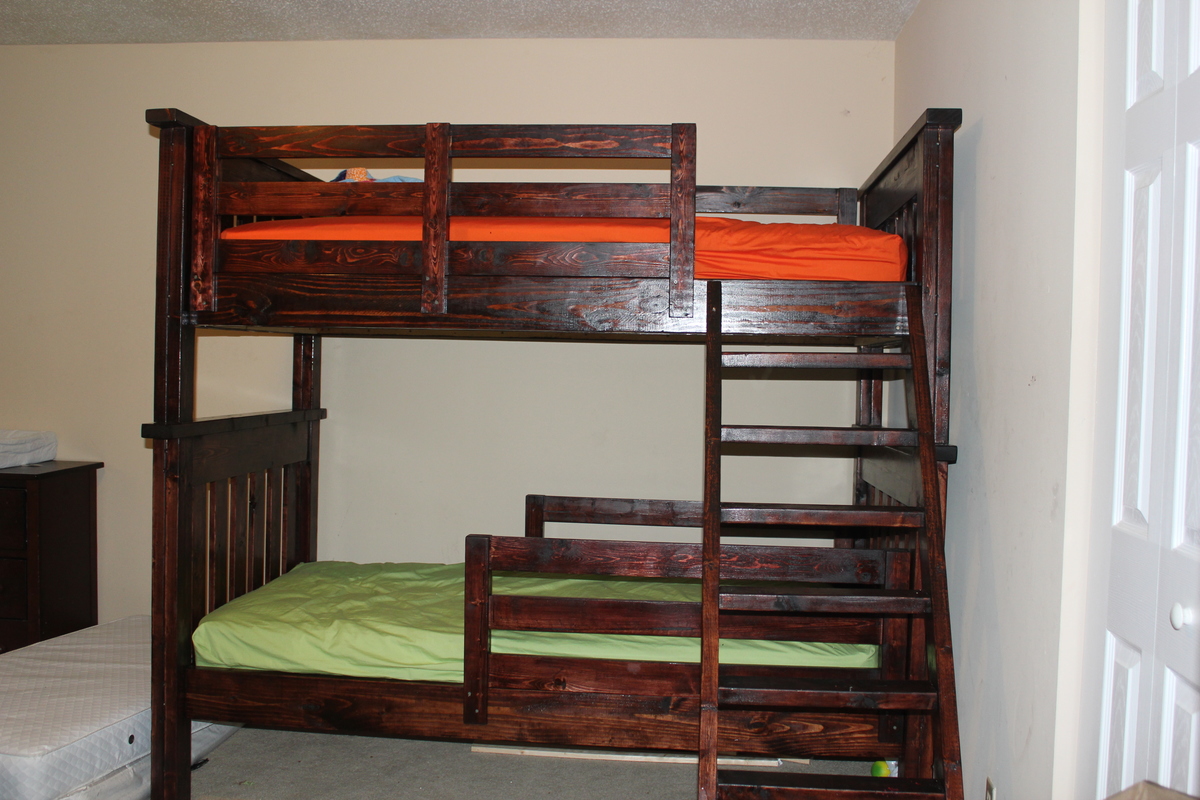
This was a doozy! Being only our second project ever (the farm table being our first) it took us about 3 weeks of hard work on the weekends and light work on the weekdays to complete this project. We extended the guardrails in both height (using 3ea 1x4s) and length to span the entire backside and all the way to the ladder on the front on top bunk. We wanted to be able to have a regular height mattress on each, so that if we take them apart to use as two separate beds they'd have a decent mattress on both. We also made two regular length, but extended height guardrails for the bottom to accommodate a toddler. We used the mortise bed rail fasteners from Rockler (due to the design the non-mortised kind were not an option). That took a good chunk of time. We also did 1x2 slats,13 per bed,to act as the mattress support. As with most projects, the lumber was around $200! The other was made up of sanding supplies, prep, stain, finish, safety supplies (mask, gloves) screws and so forth. I bet we spent about $40 on screws alone as we wanted to be really sure it's solid for two monkeys. It's a really beautiful piece that would cost well over $1000 if purchased mainstream.
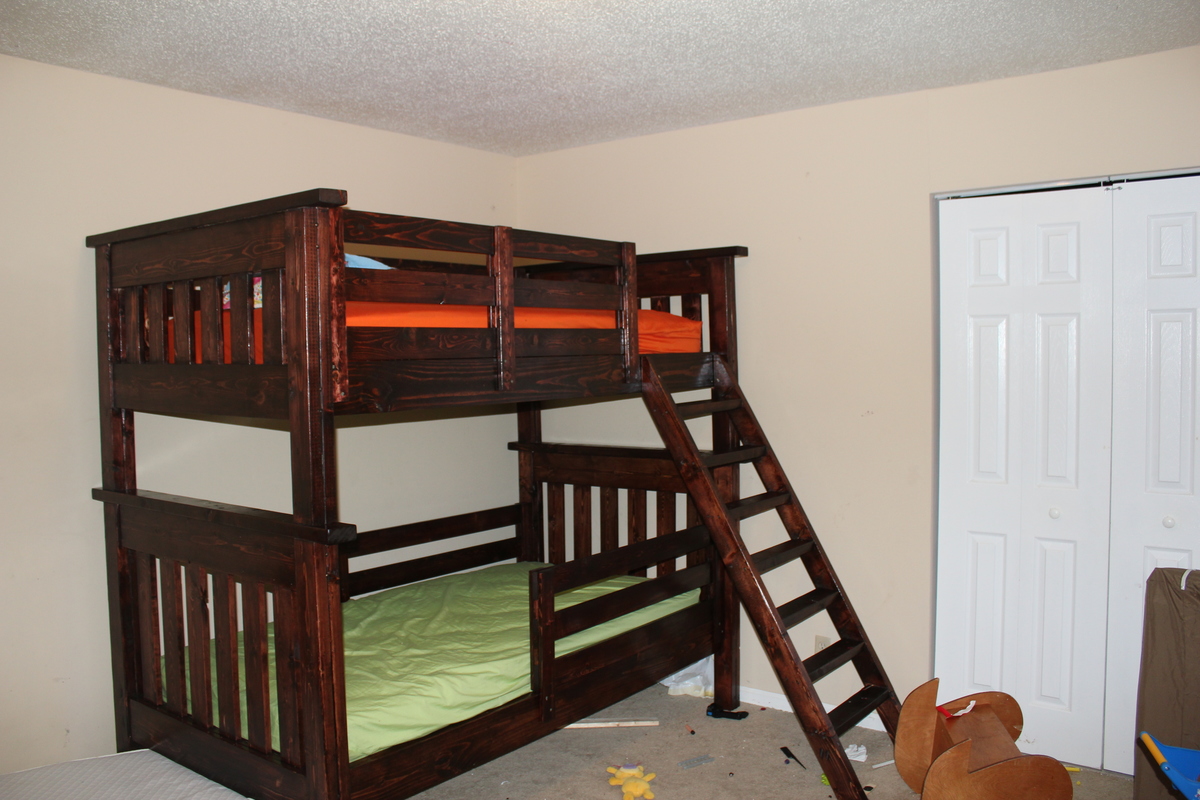

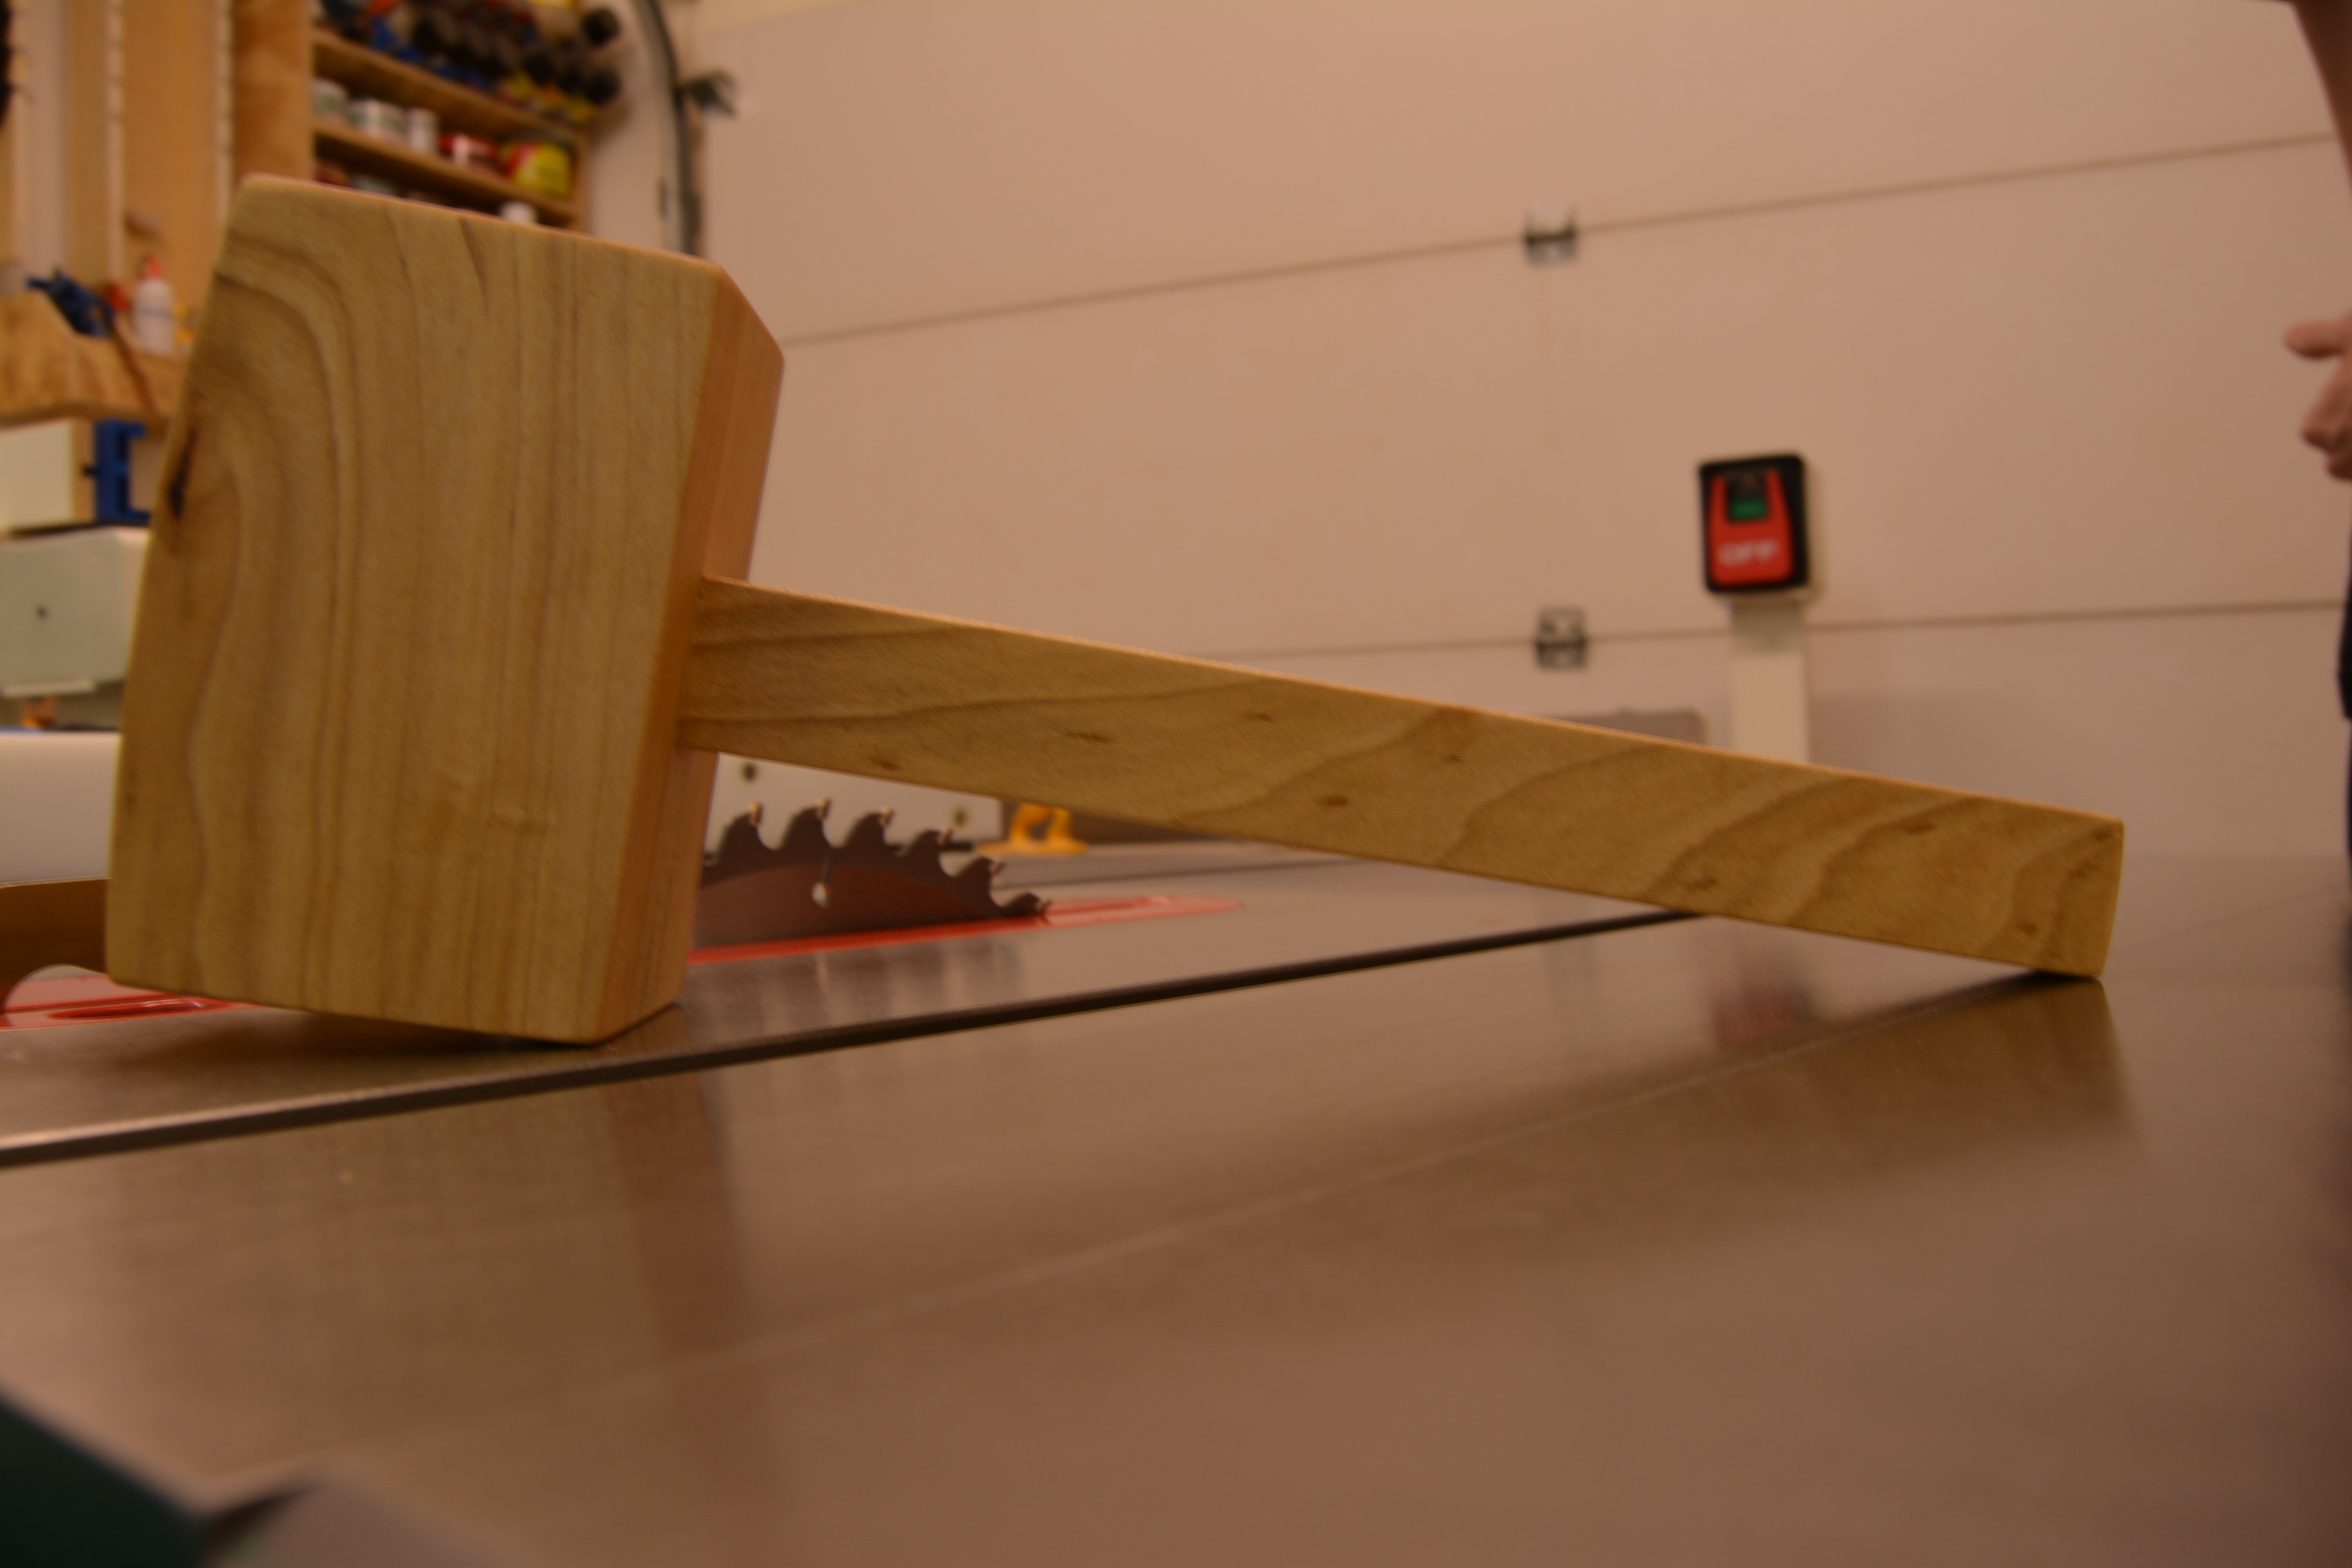
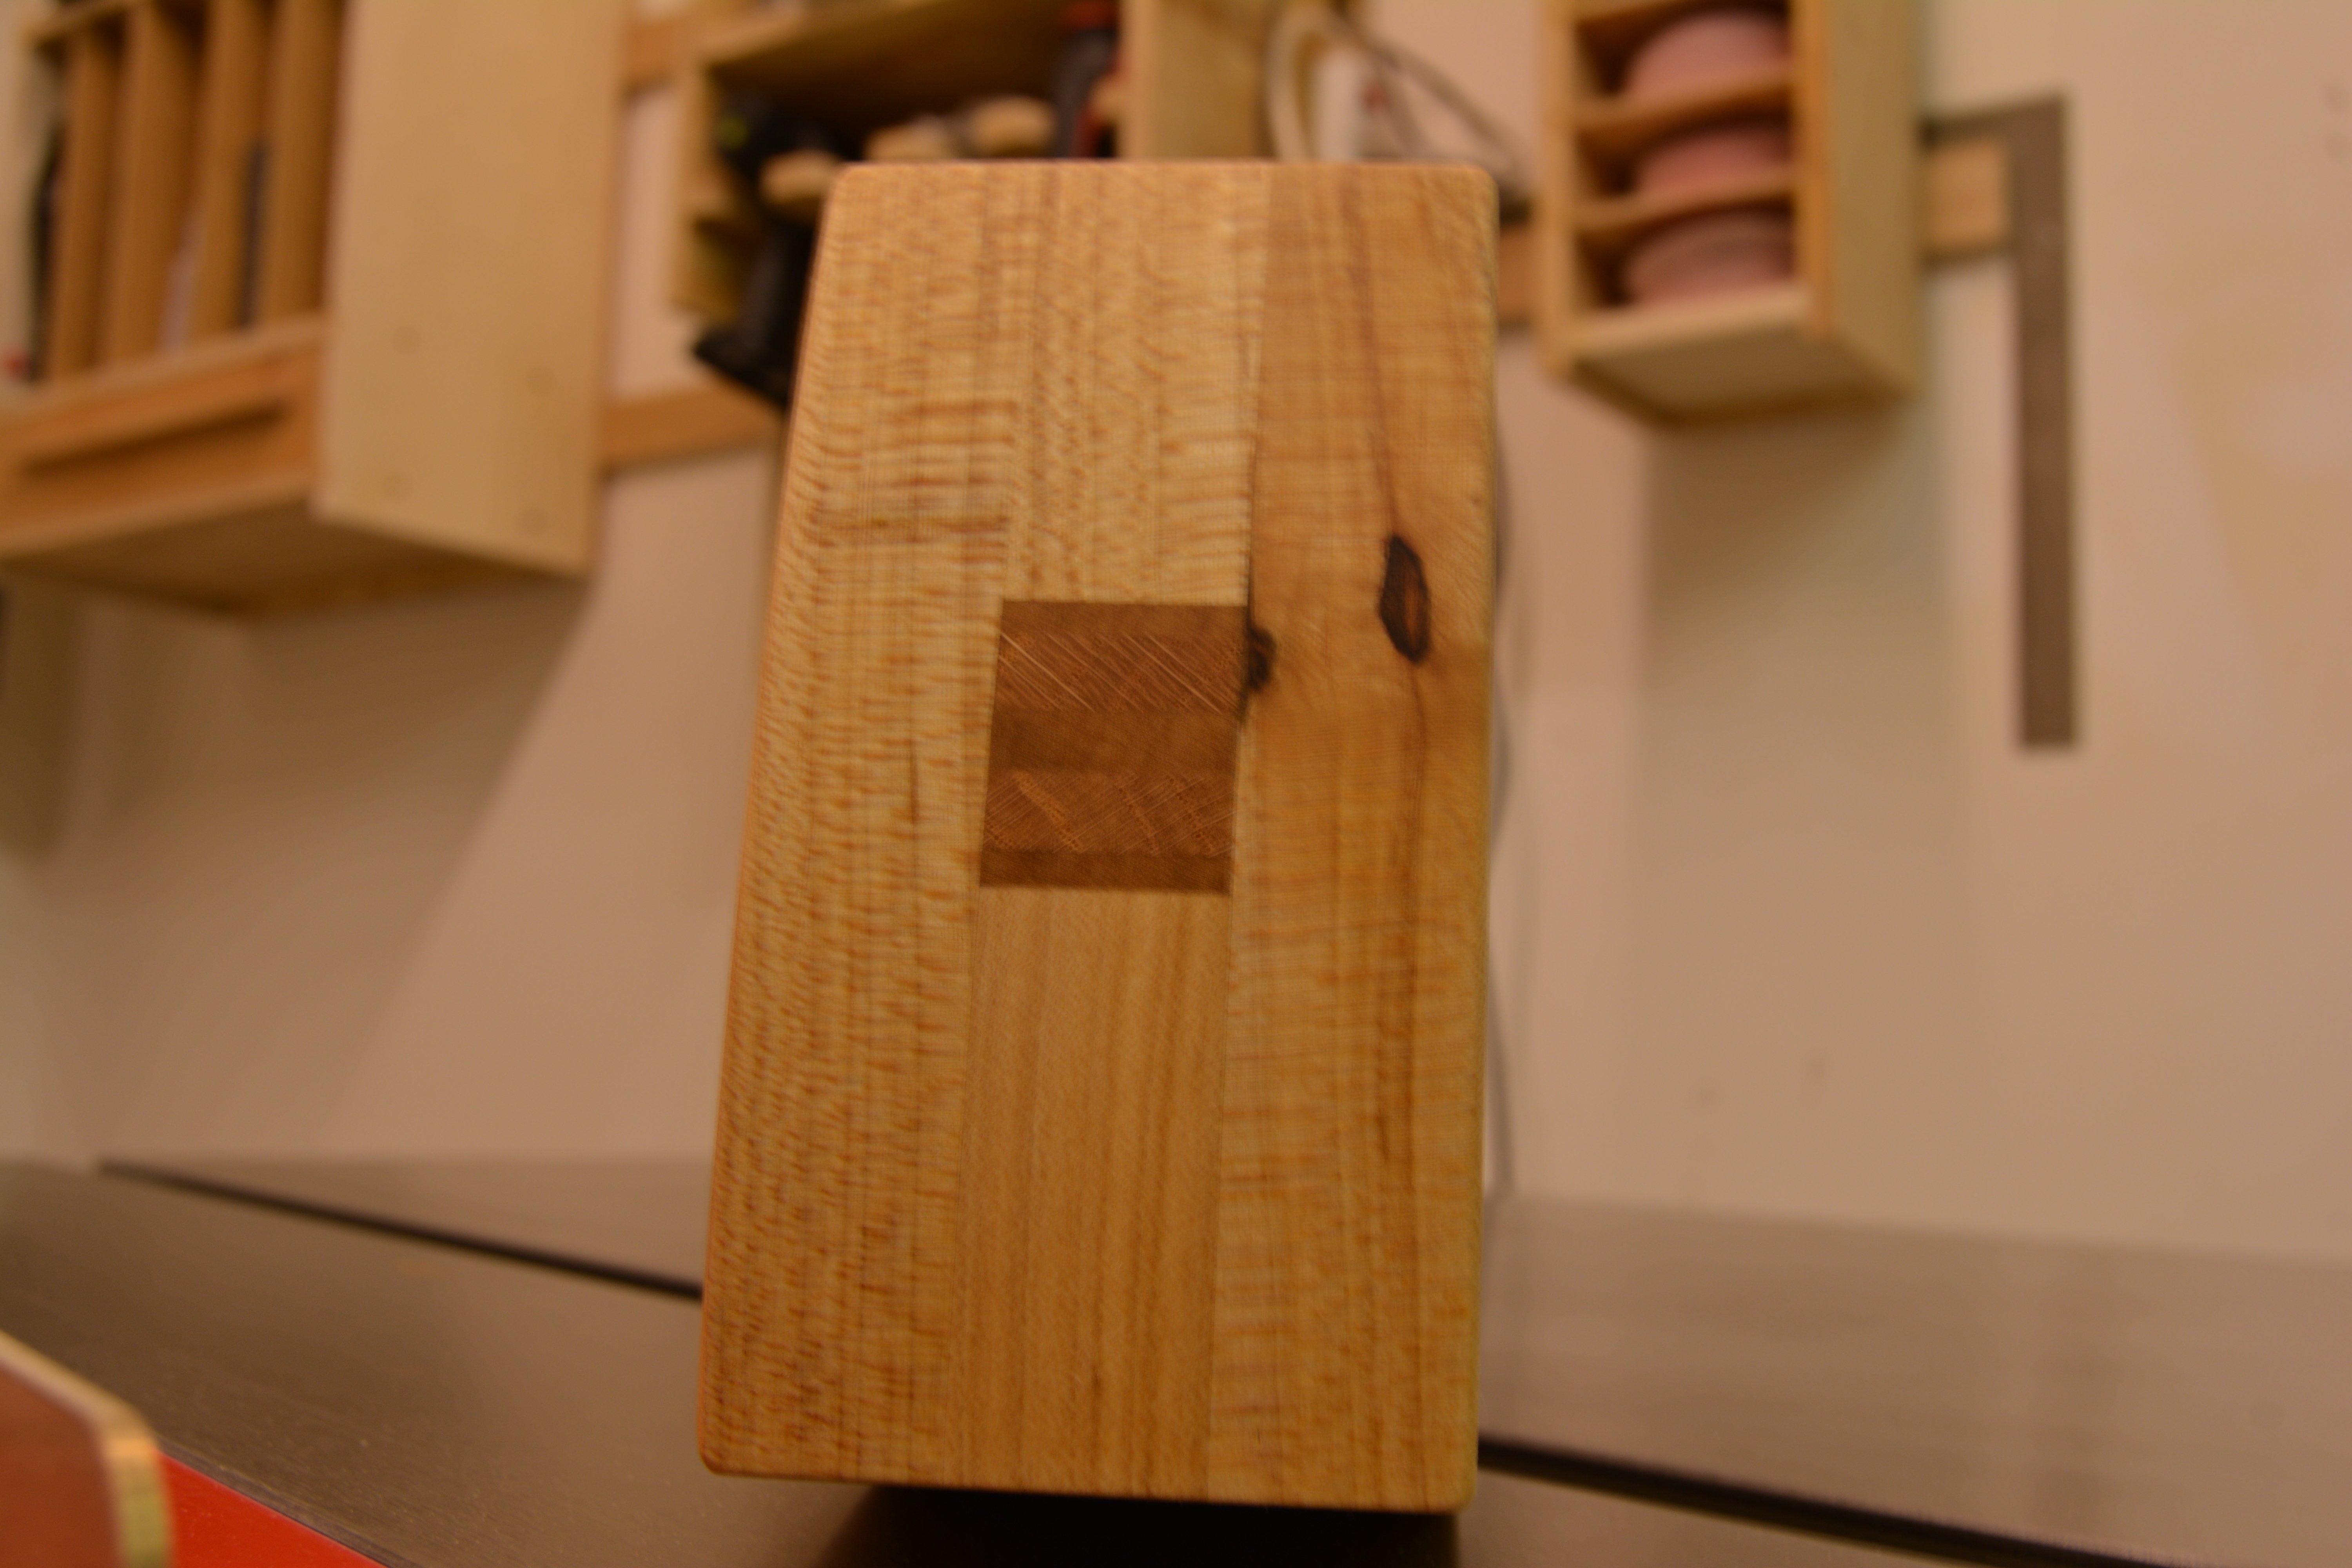
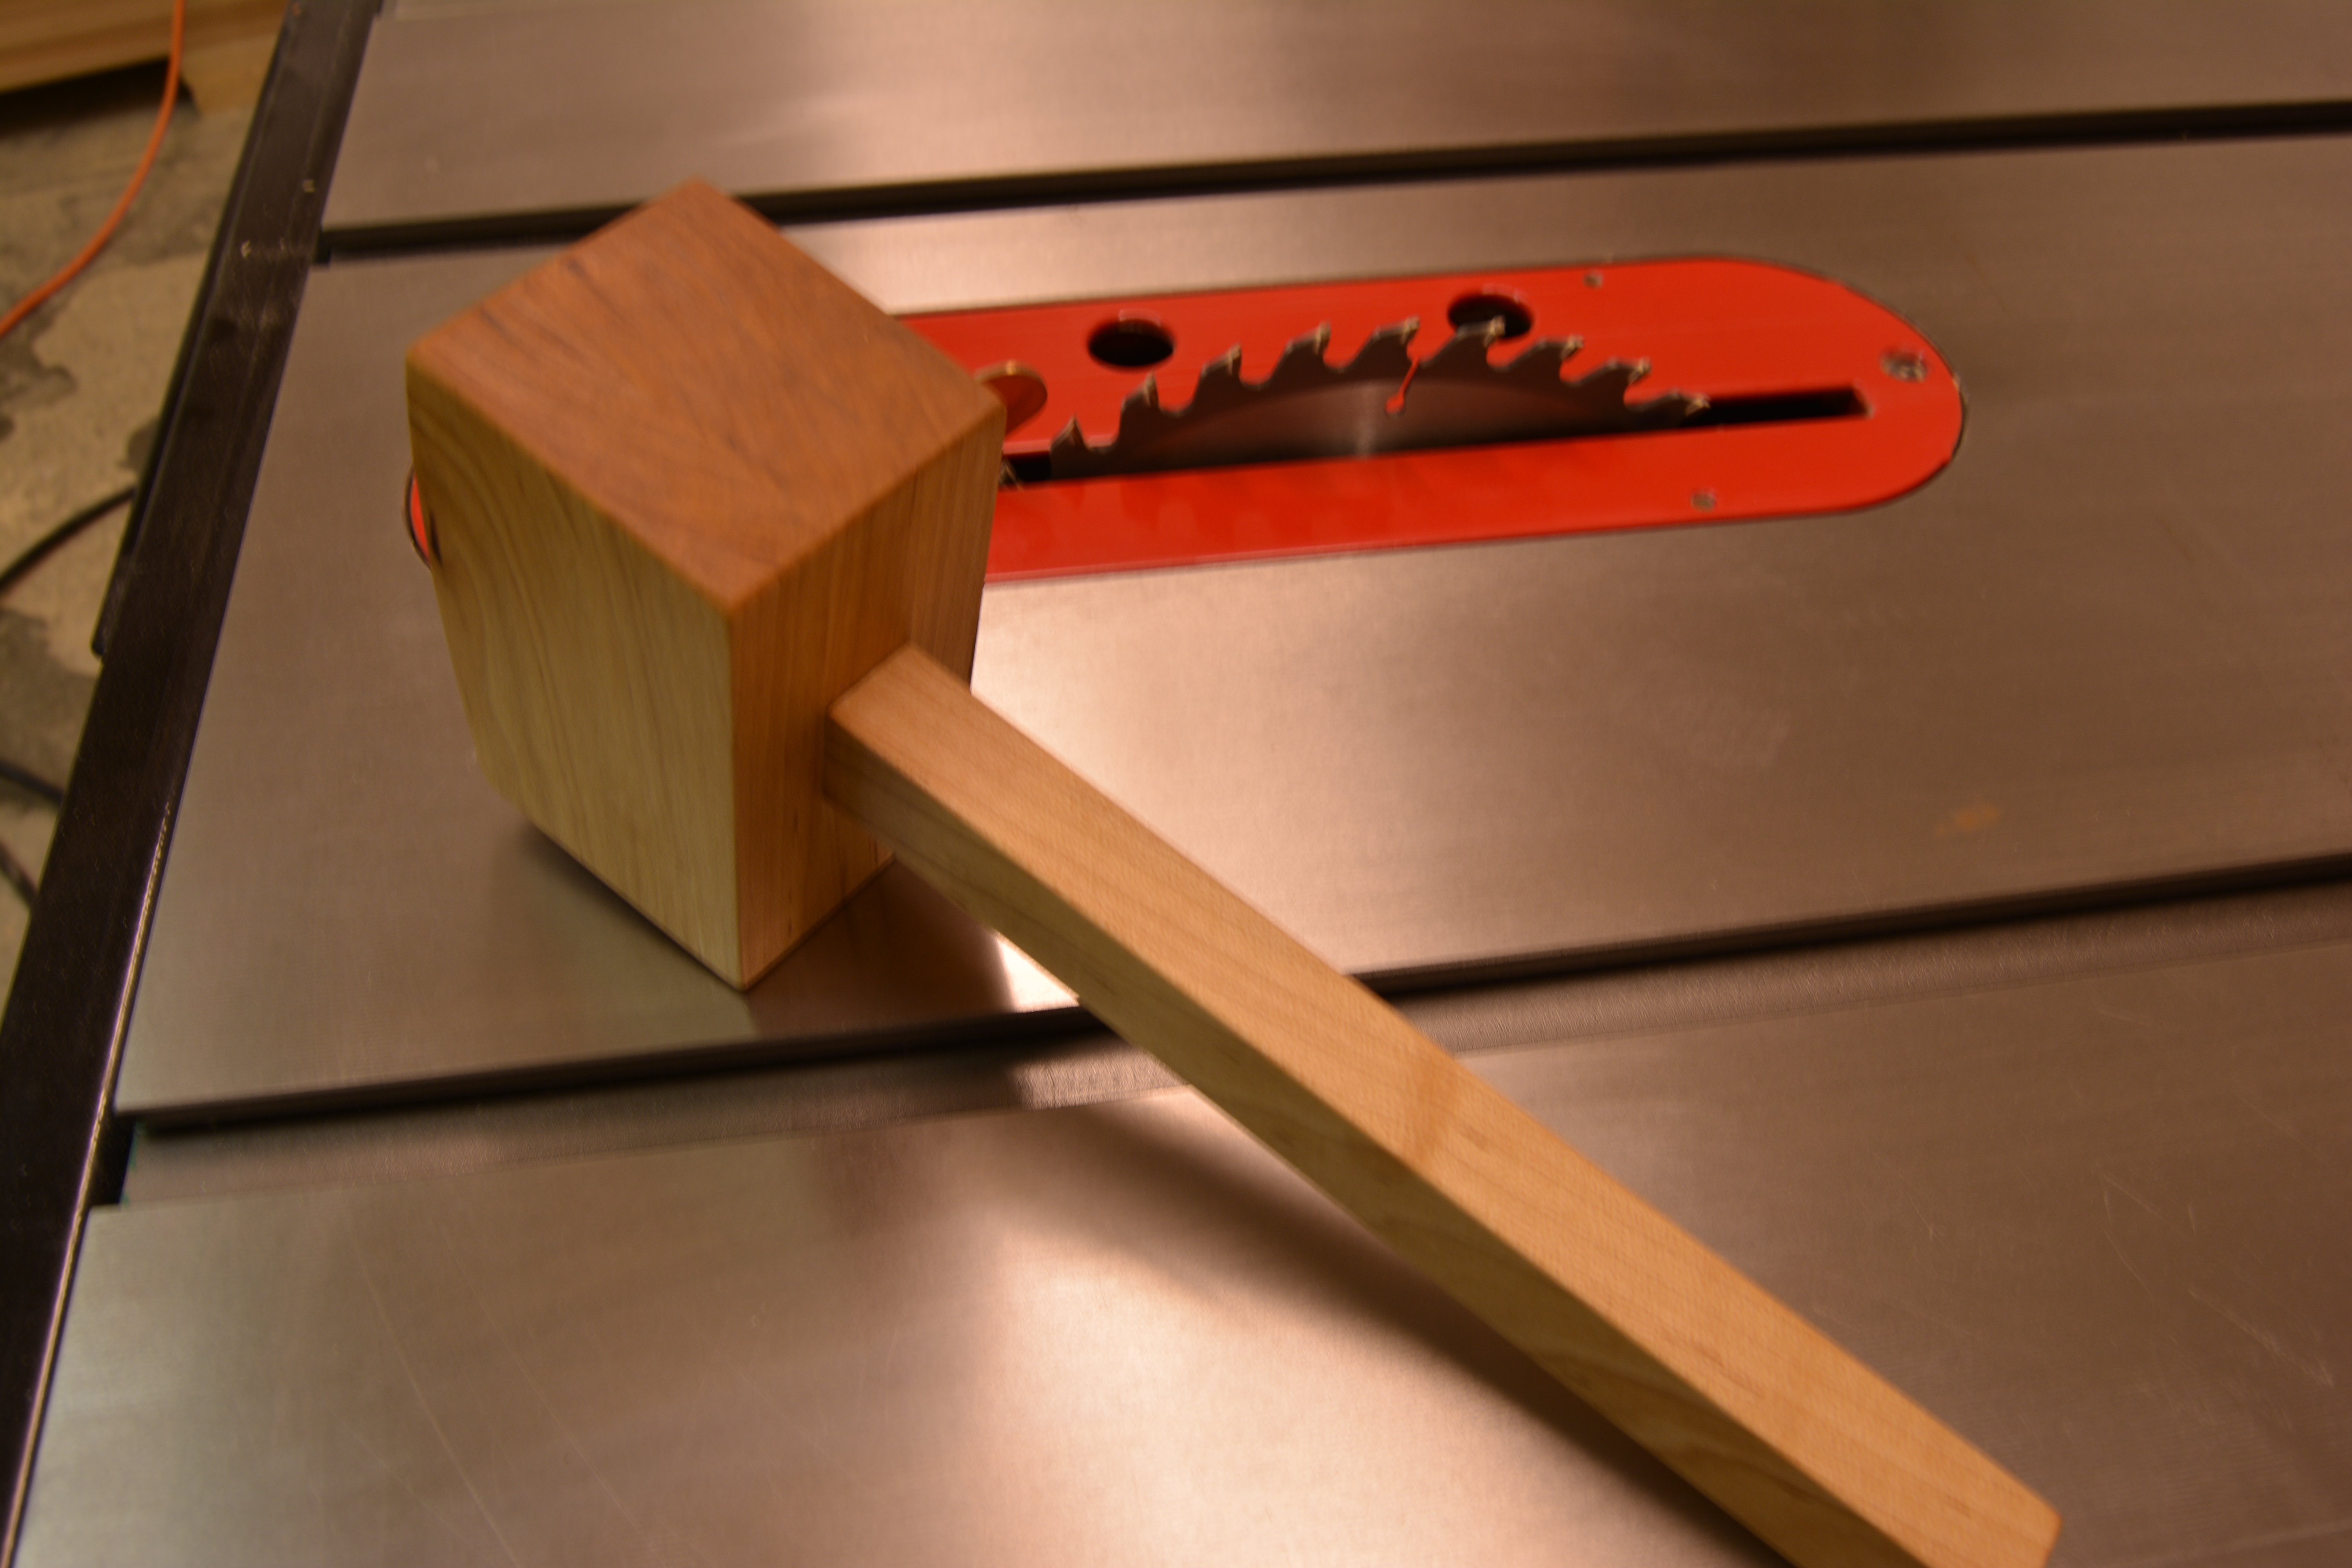
My first wood working mallet!

Sun, 05/17/2015 - 18:12
I have one of these from when my husband was in wood shop as a kid! Also a pencil holder he made in school on the drill press, I've used it on my desk for 35 years! :)

Sun, 05/17/2015 - 19:38
I've been thinking about getting a wooden mallet for a bit now. Currently I just use my rubber mallet, in the rare instance I need a mallet, but being so soft, gets quite a bit of wear and tear. The video is a great!