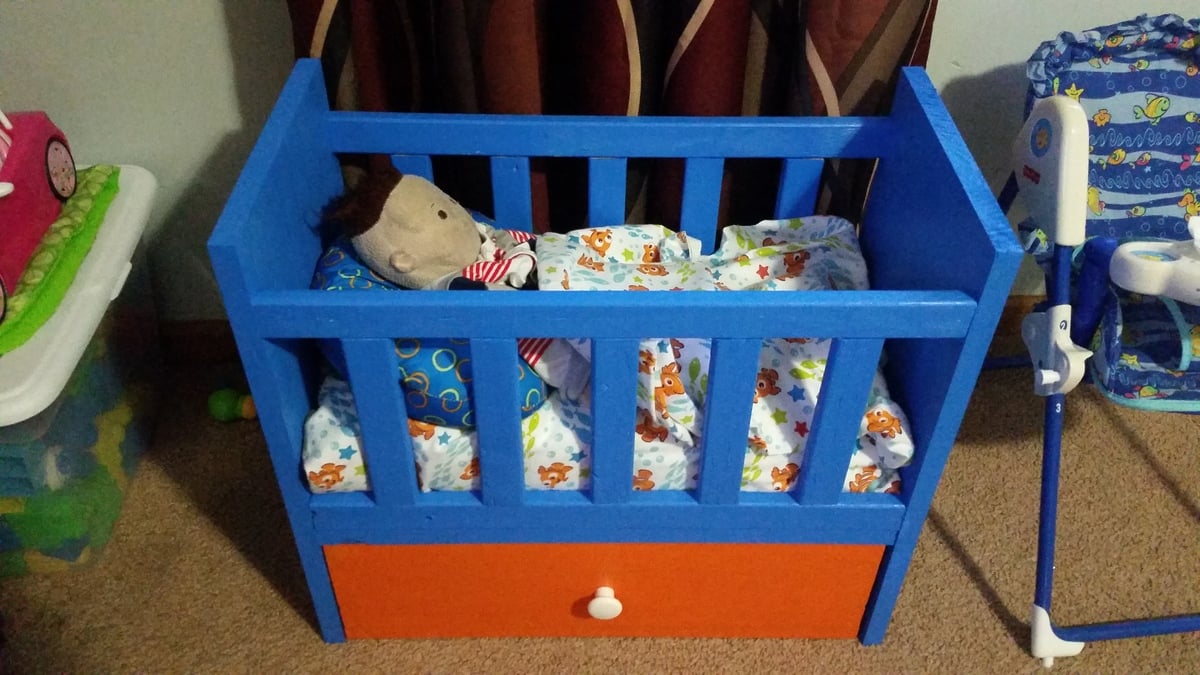
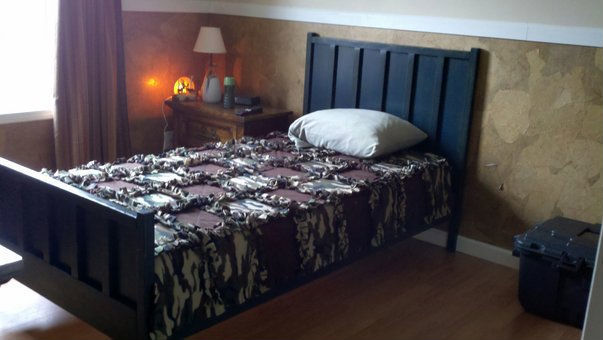
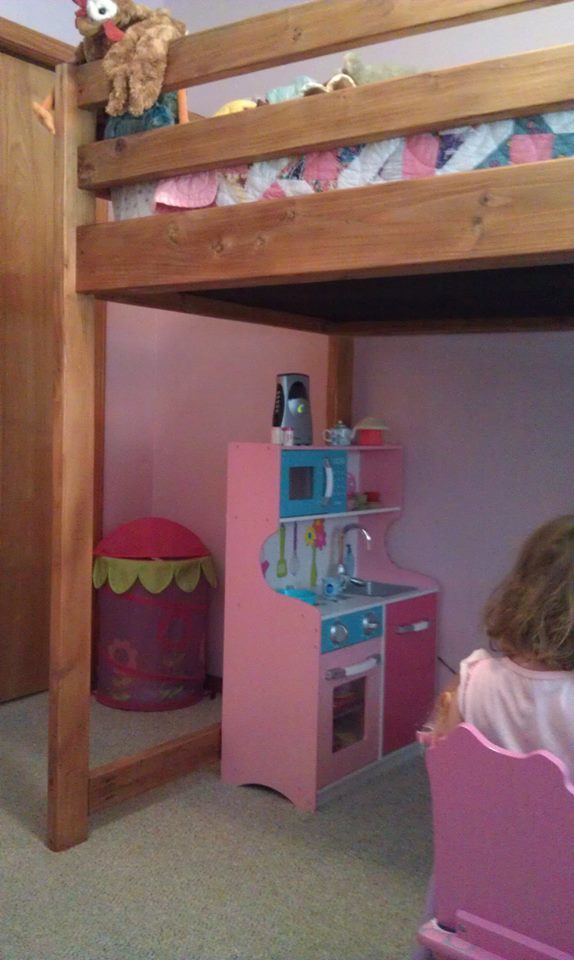
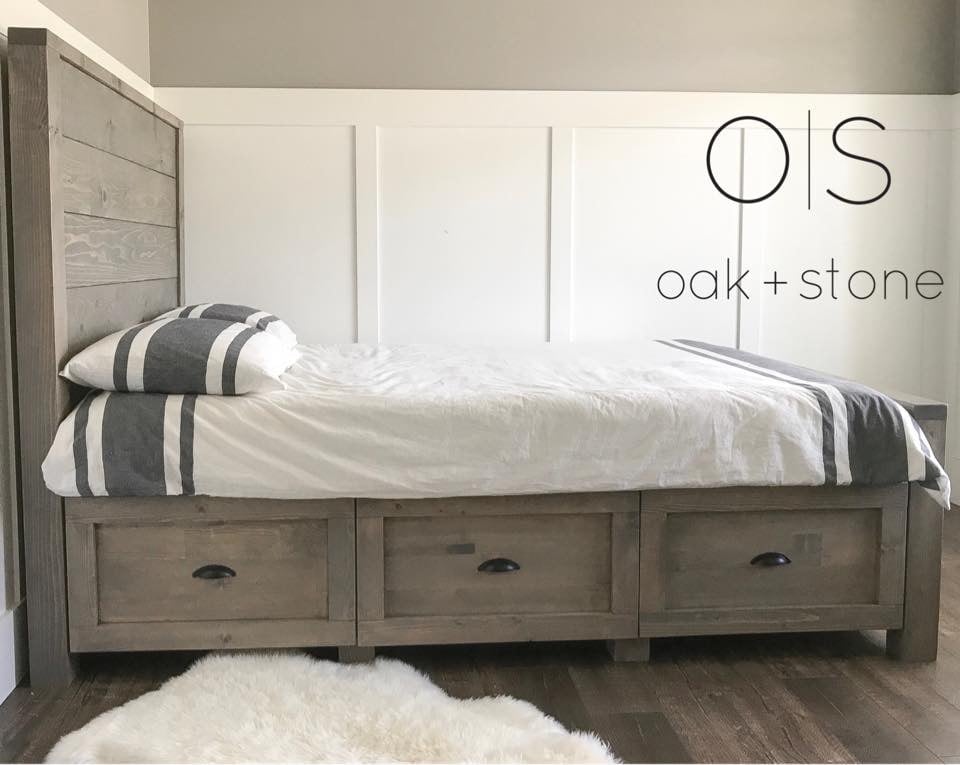
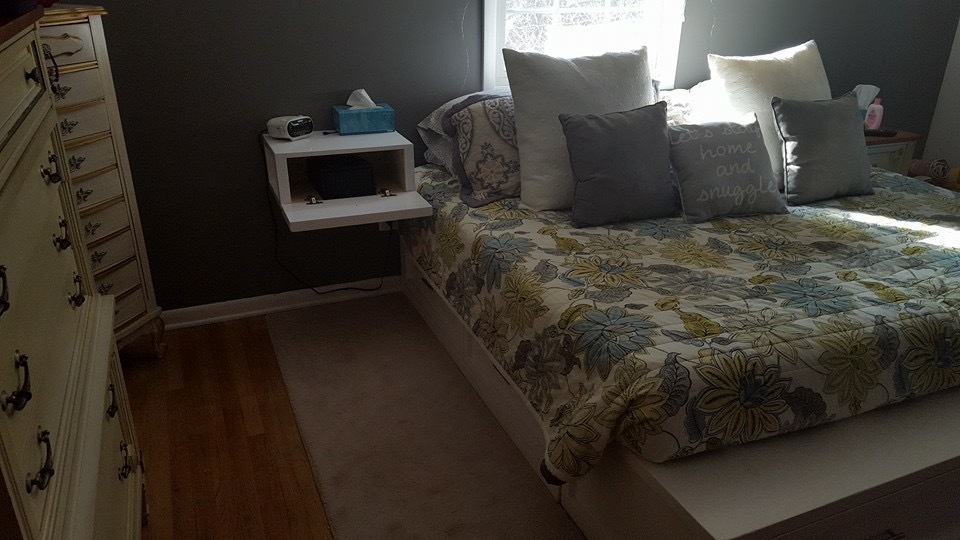
Wanted to utilize my daughters small bedroom, and give her a custom bed without a huge price tag.
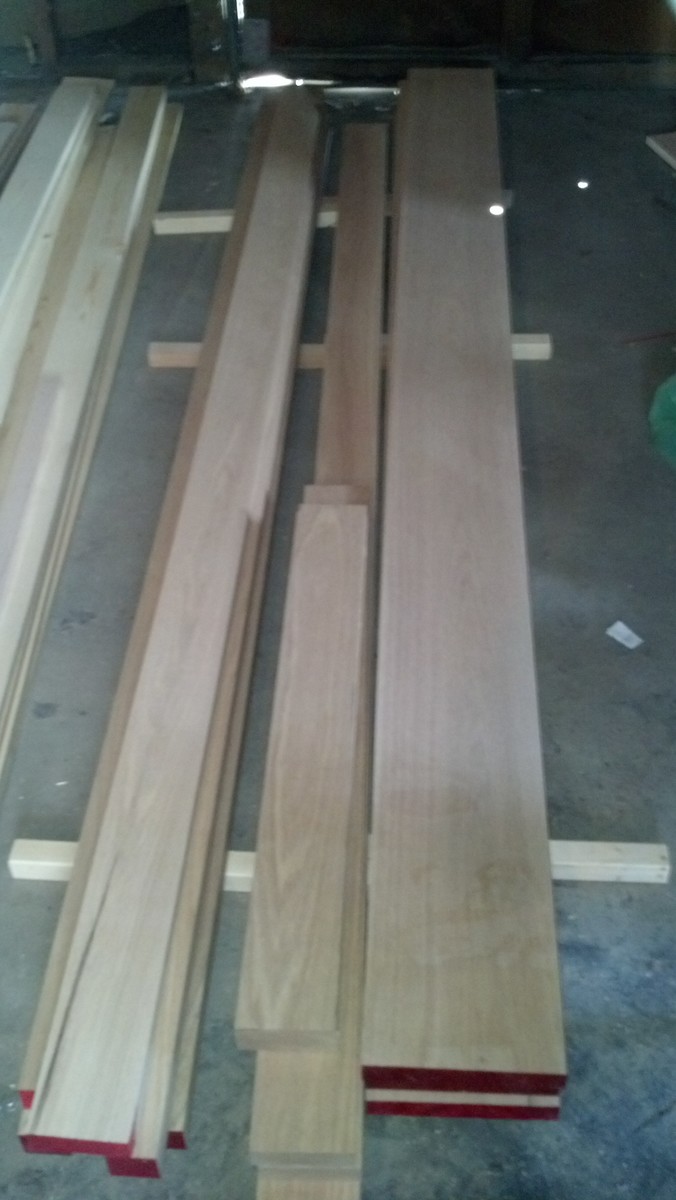
Supply list...required an additional 2x4
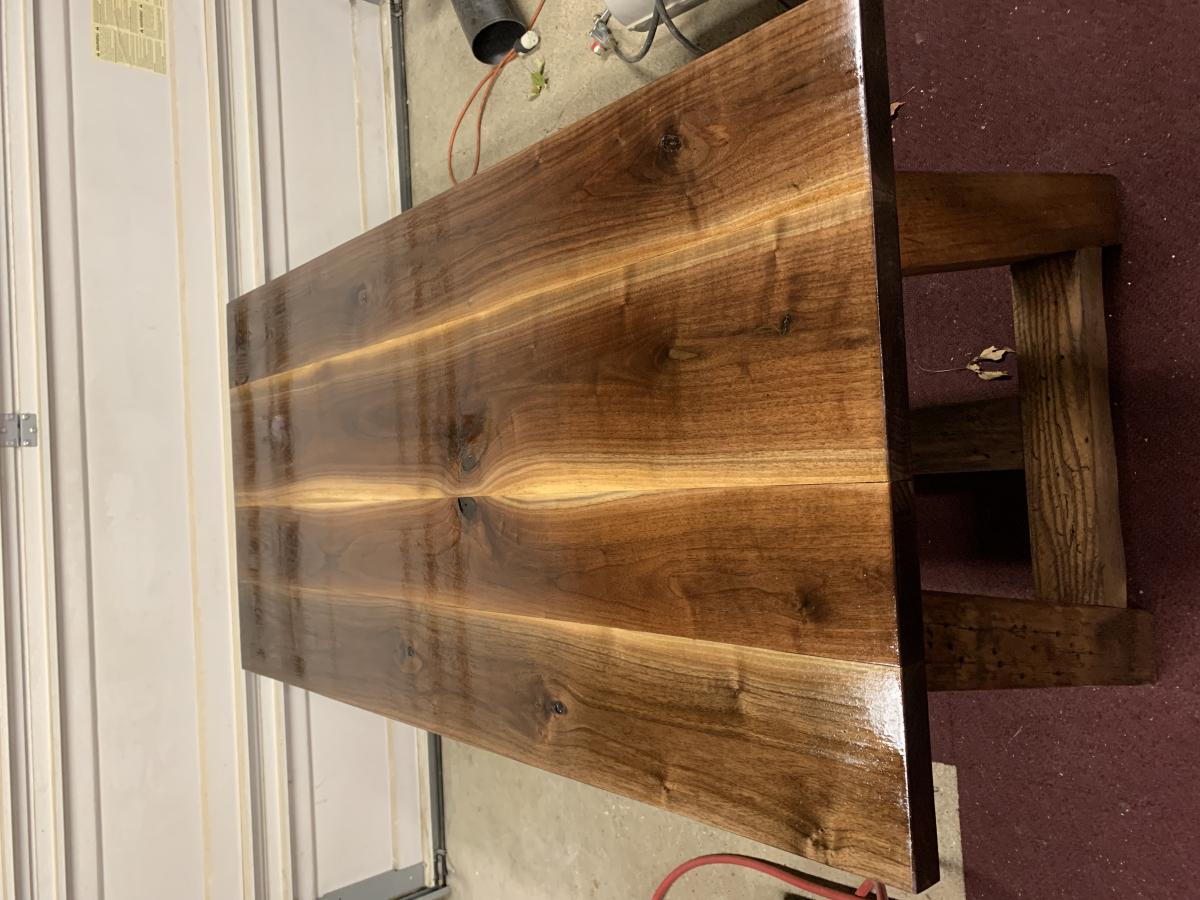
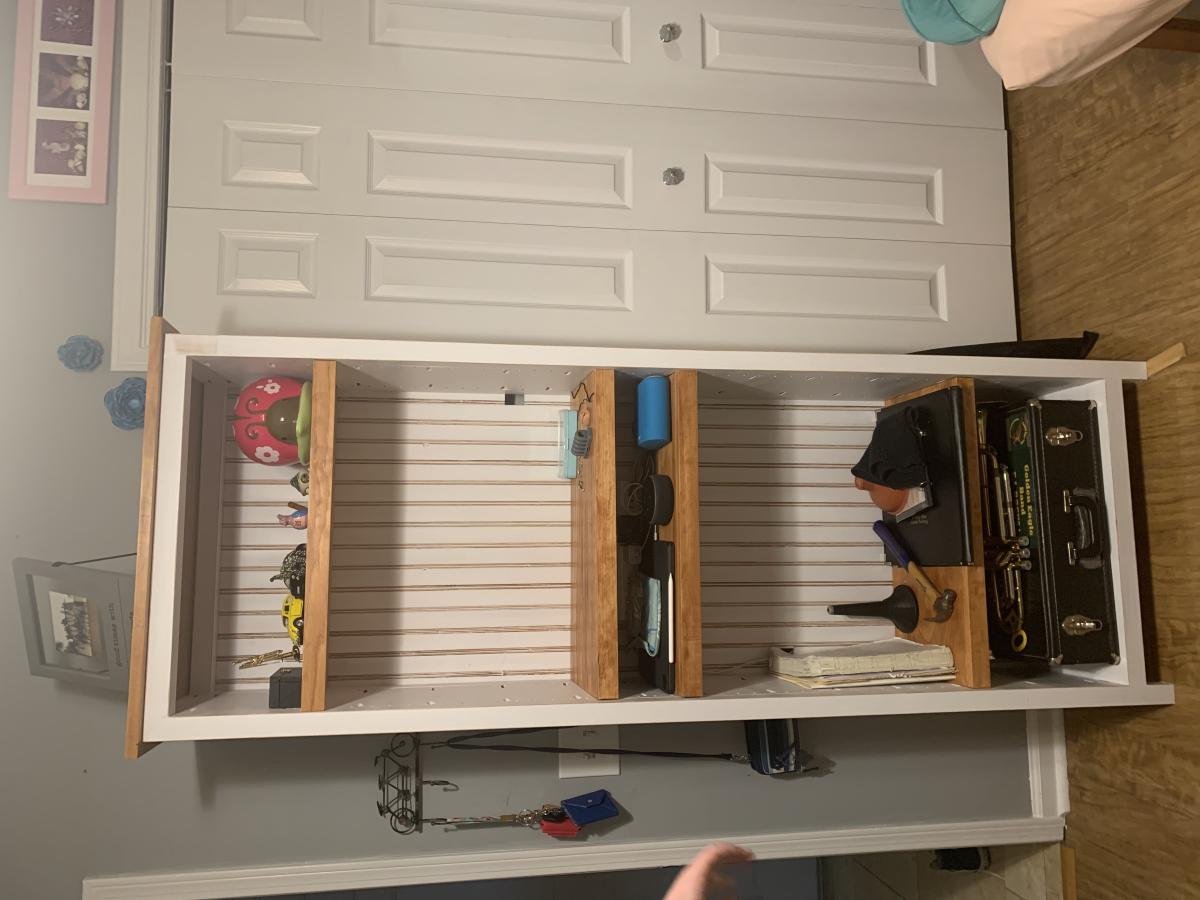
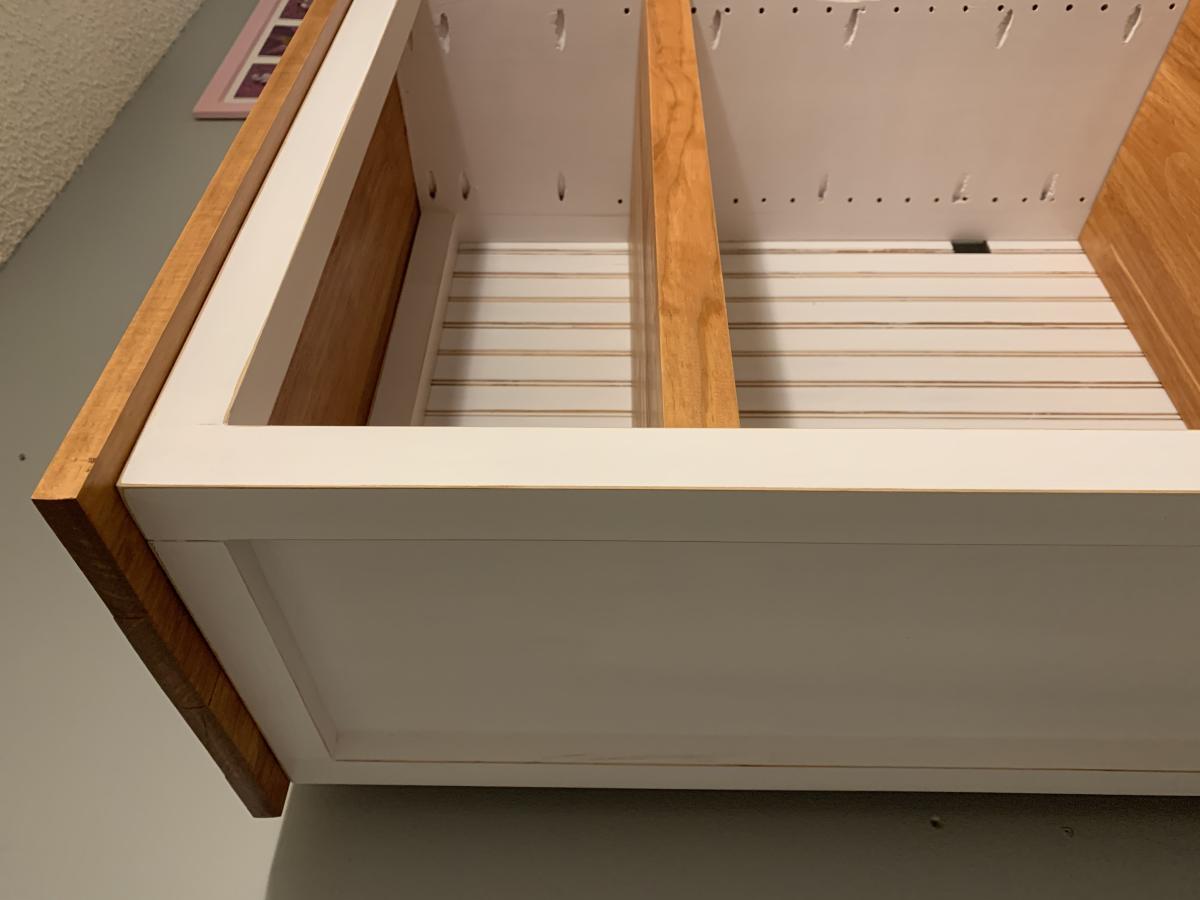
Used a bunkie board bought at local furniture store ($50) instead of slats for mattress.
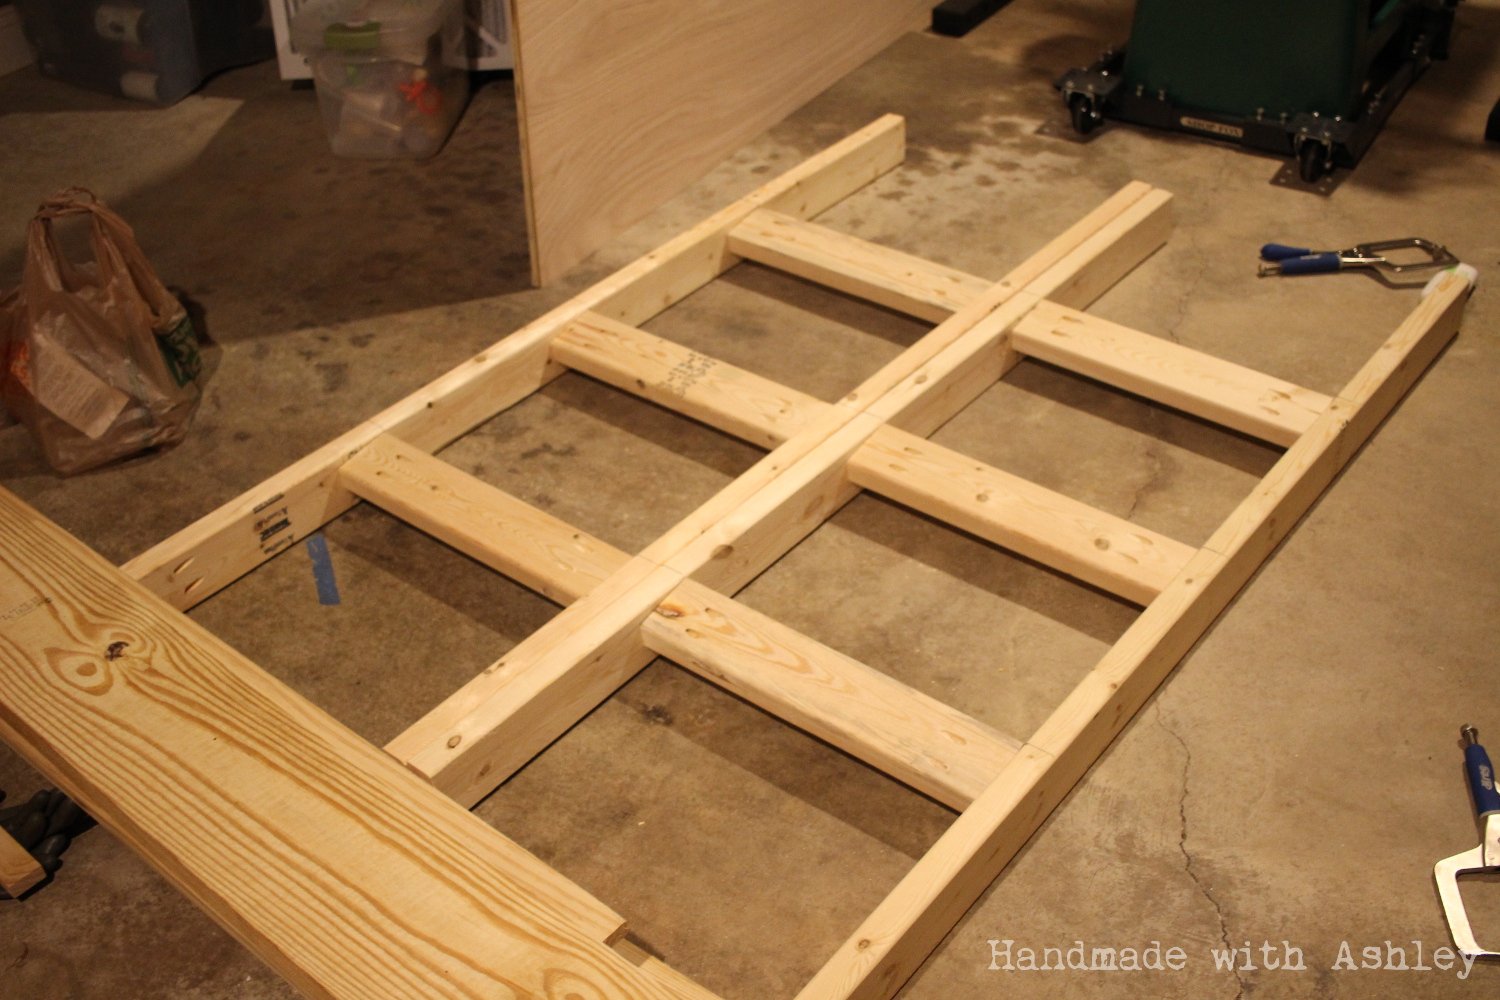
Cleats that were 2x2 weren't wide enough to keep bunkie board in- it kept falling out. (standard is 38 " wide) so I replaced those with 2x3s. Decking on platform is very sturdy- maybe a bit overkill for a 40 lb kid.
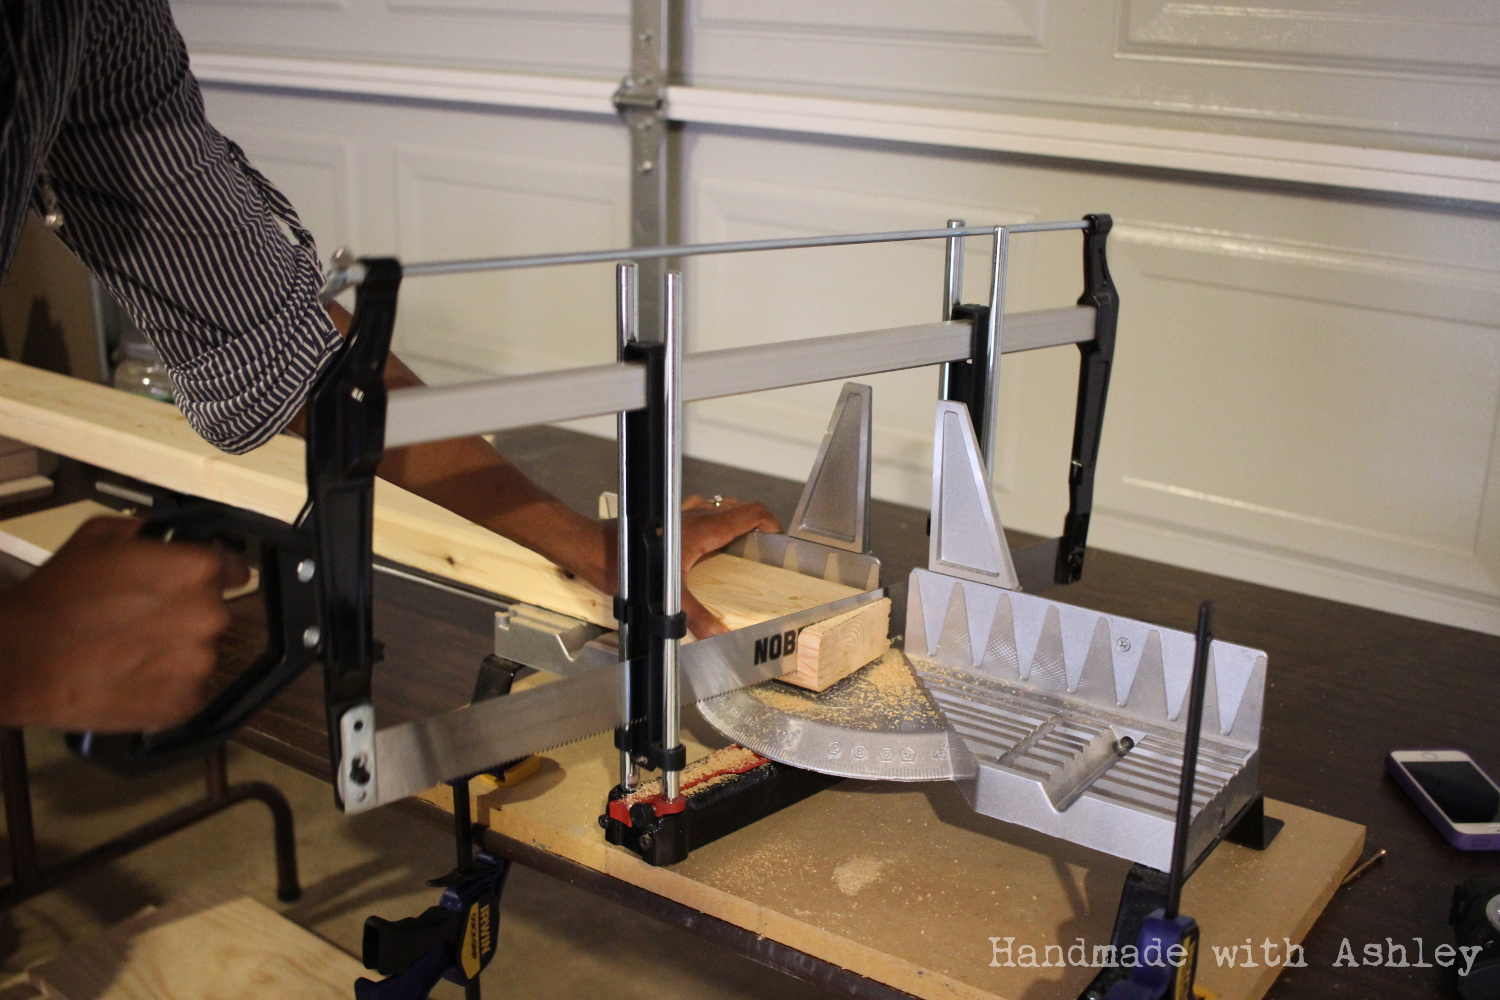
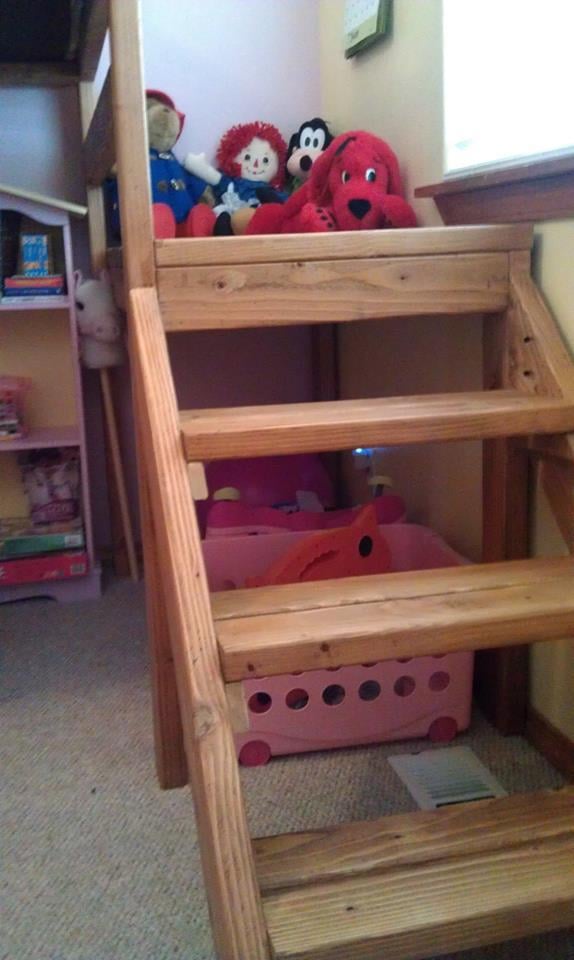
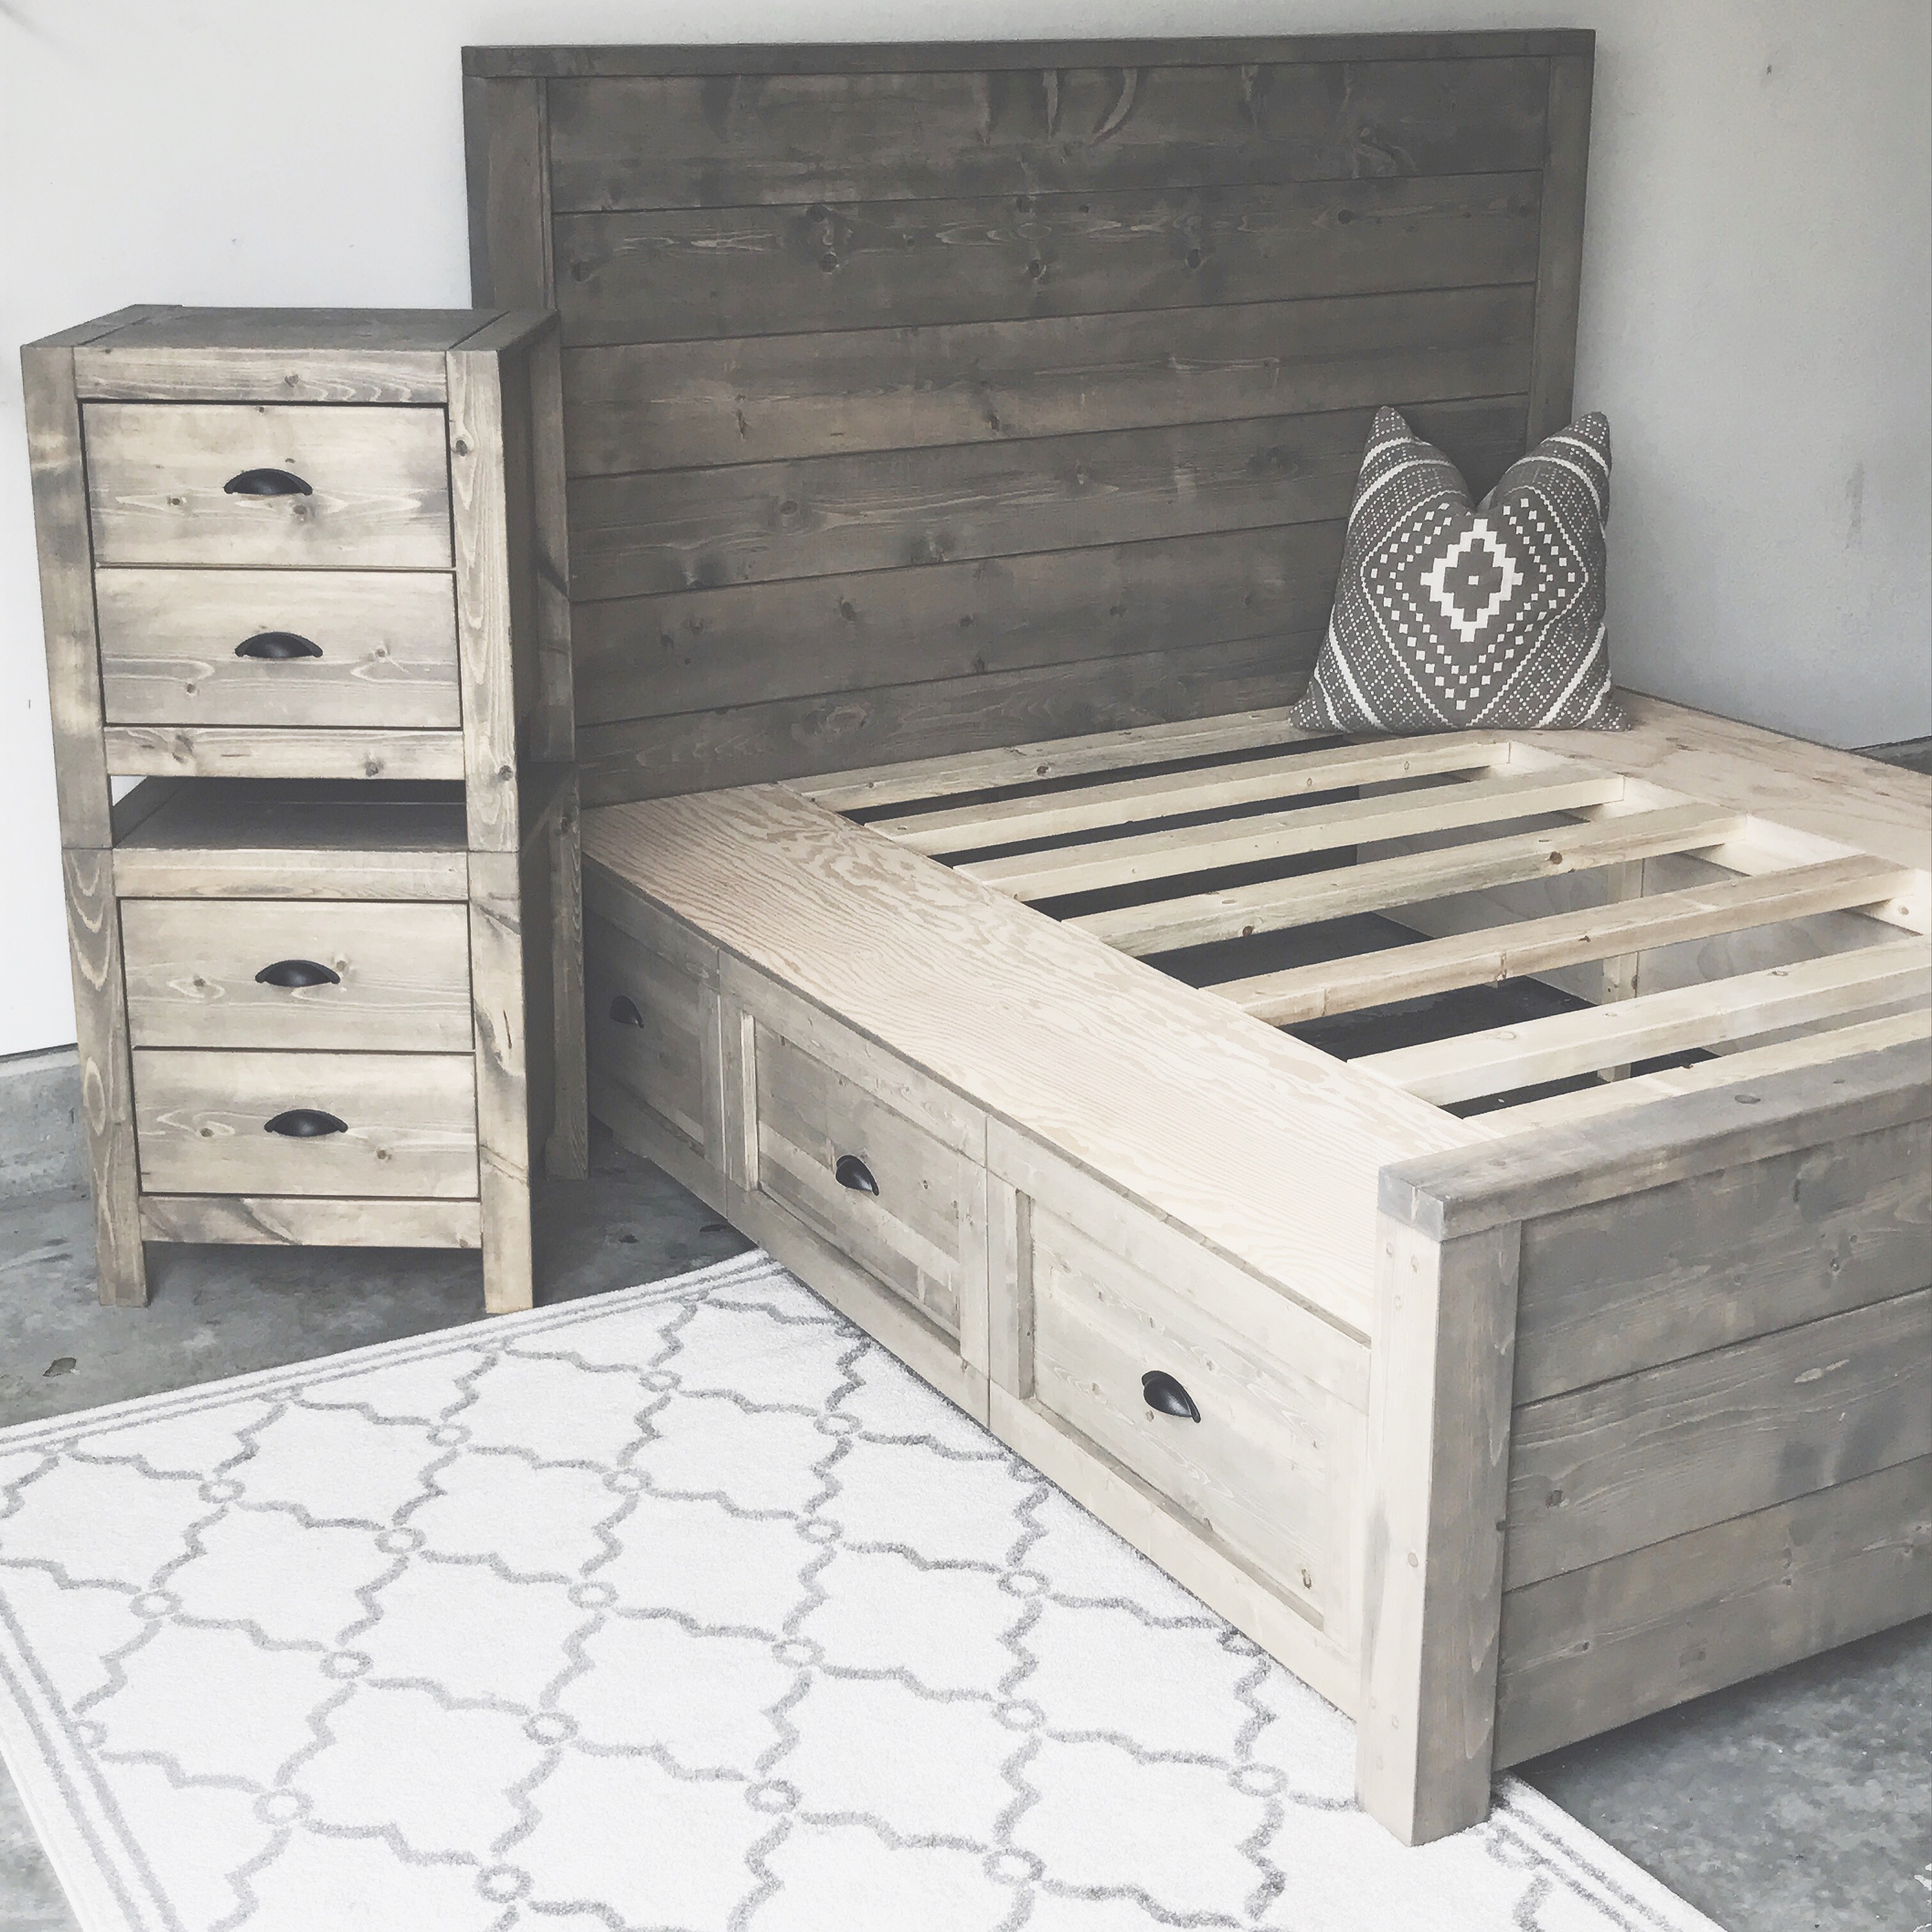
Overall a quick project. My mom and I built it- Lowes did all cuts for us (no charge!) except the angled stairs- which mom did.
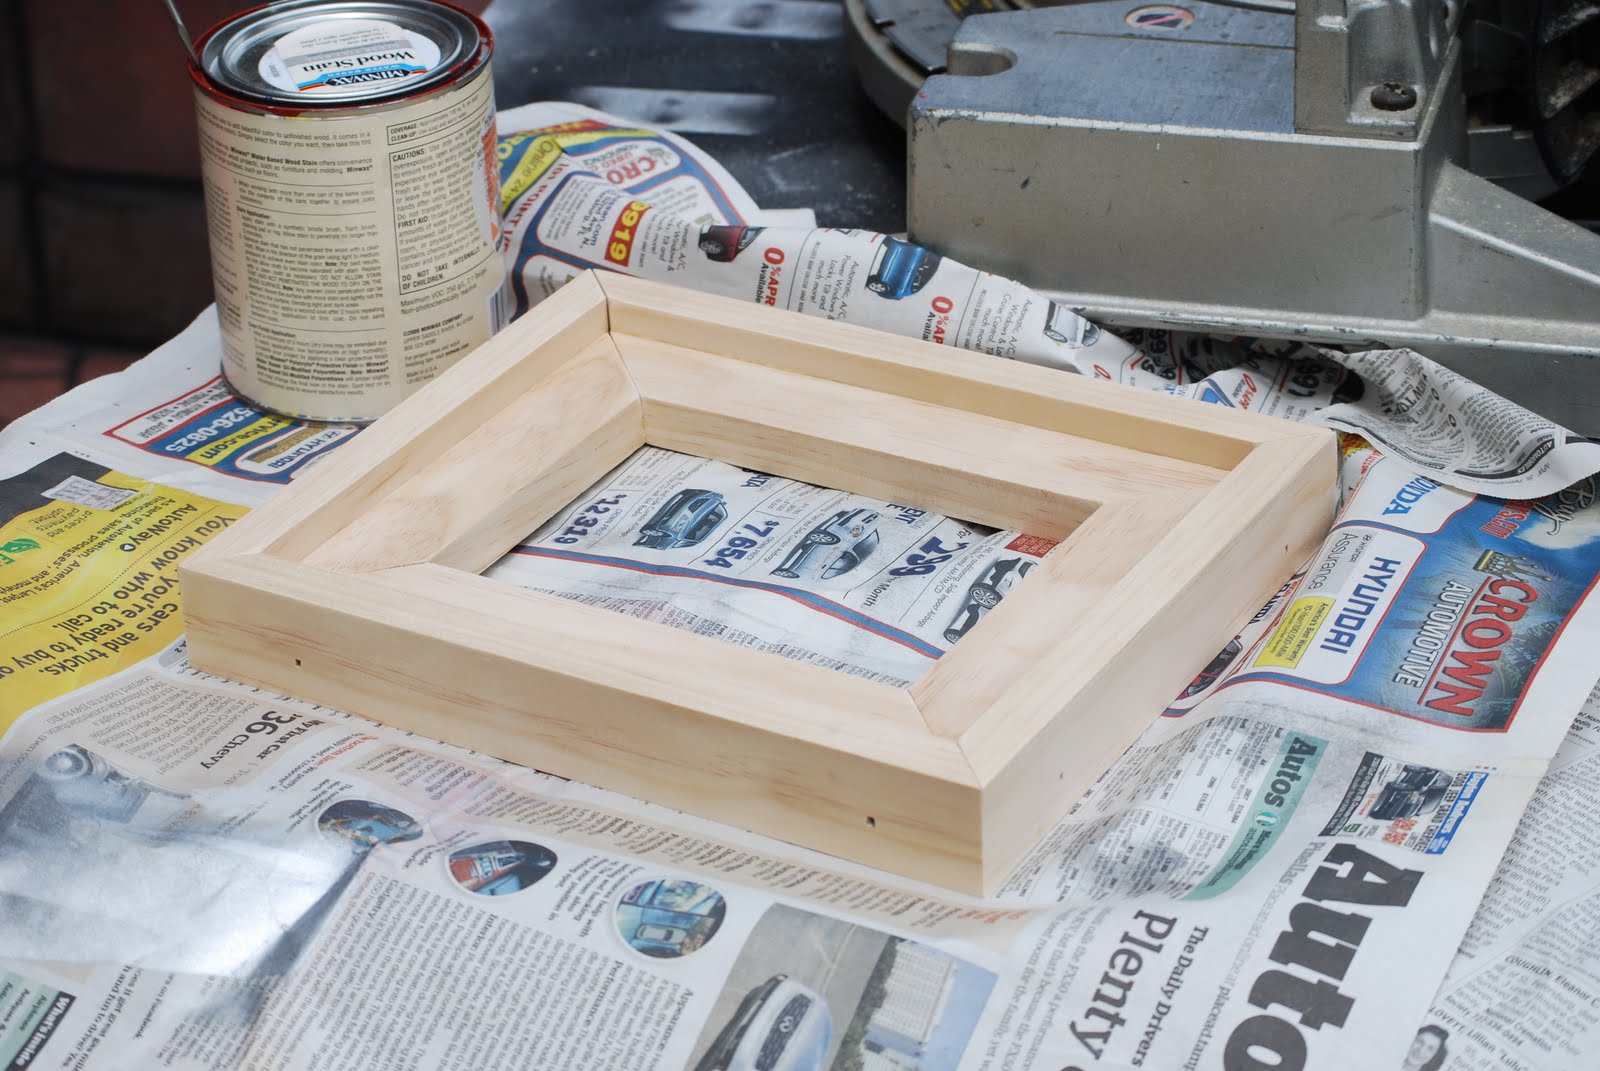
Turned out great- were were brand new to this- so struggled a bit as instructions are somewhat vague (where to drill holes- step by step process out of order) Drill all your pocket holes in all pieces prior to assembly. I would have sanded and stained prior to assembly too- doing in a tiny bedroom was tricky. Staining and sanding took the most time.
Overall alot of fun- ready to do next project. Thank-you for the inspiration!
Estimated Cost
Wood and screws $75, Bunkie board $50, Stain and other supplies $25
Estimated Time Investment
Weekend Project (10-20 Hours)
Finish Used
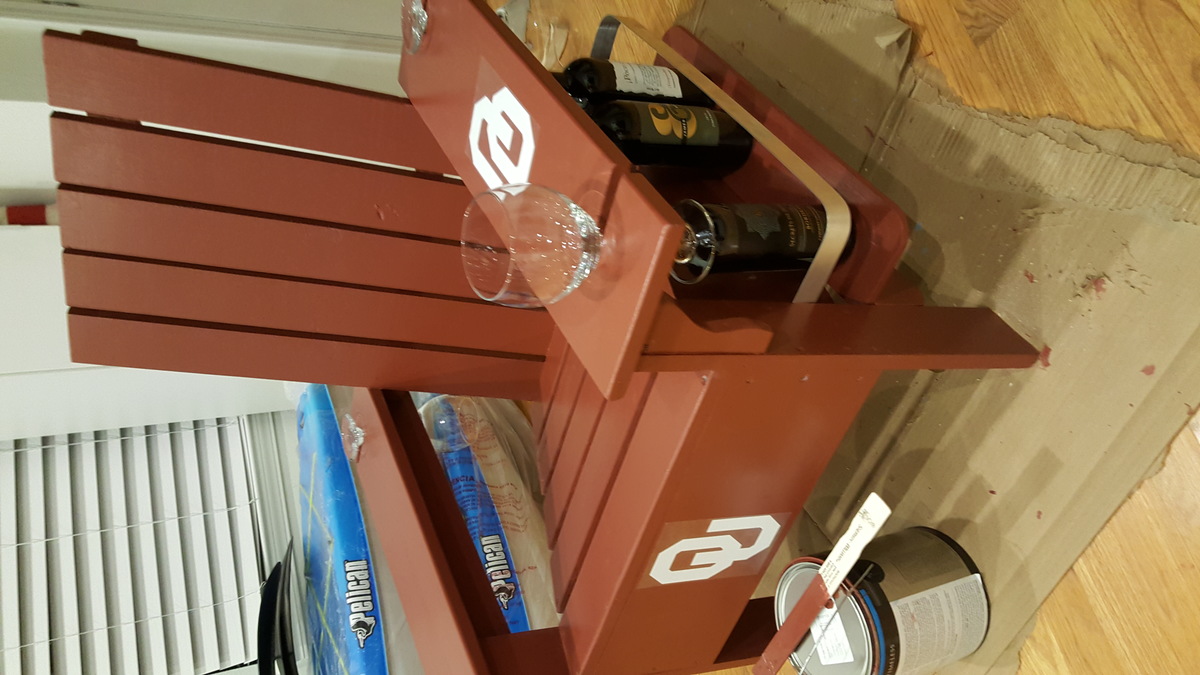
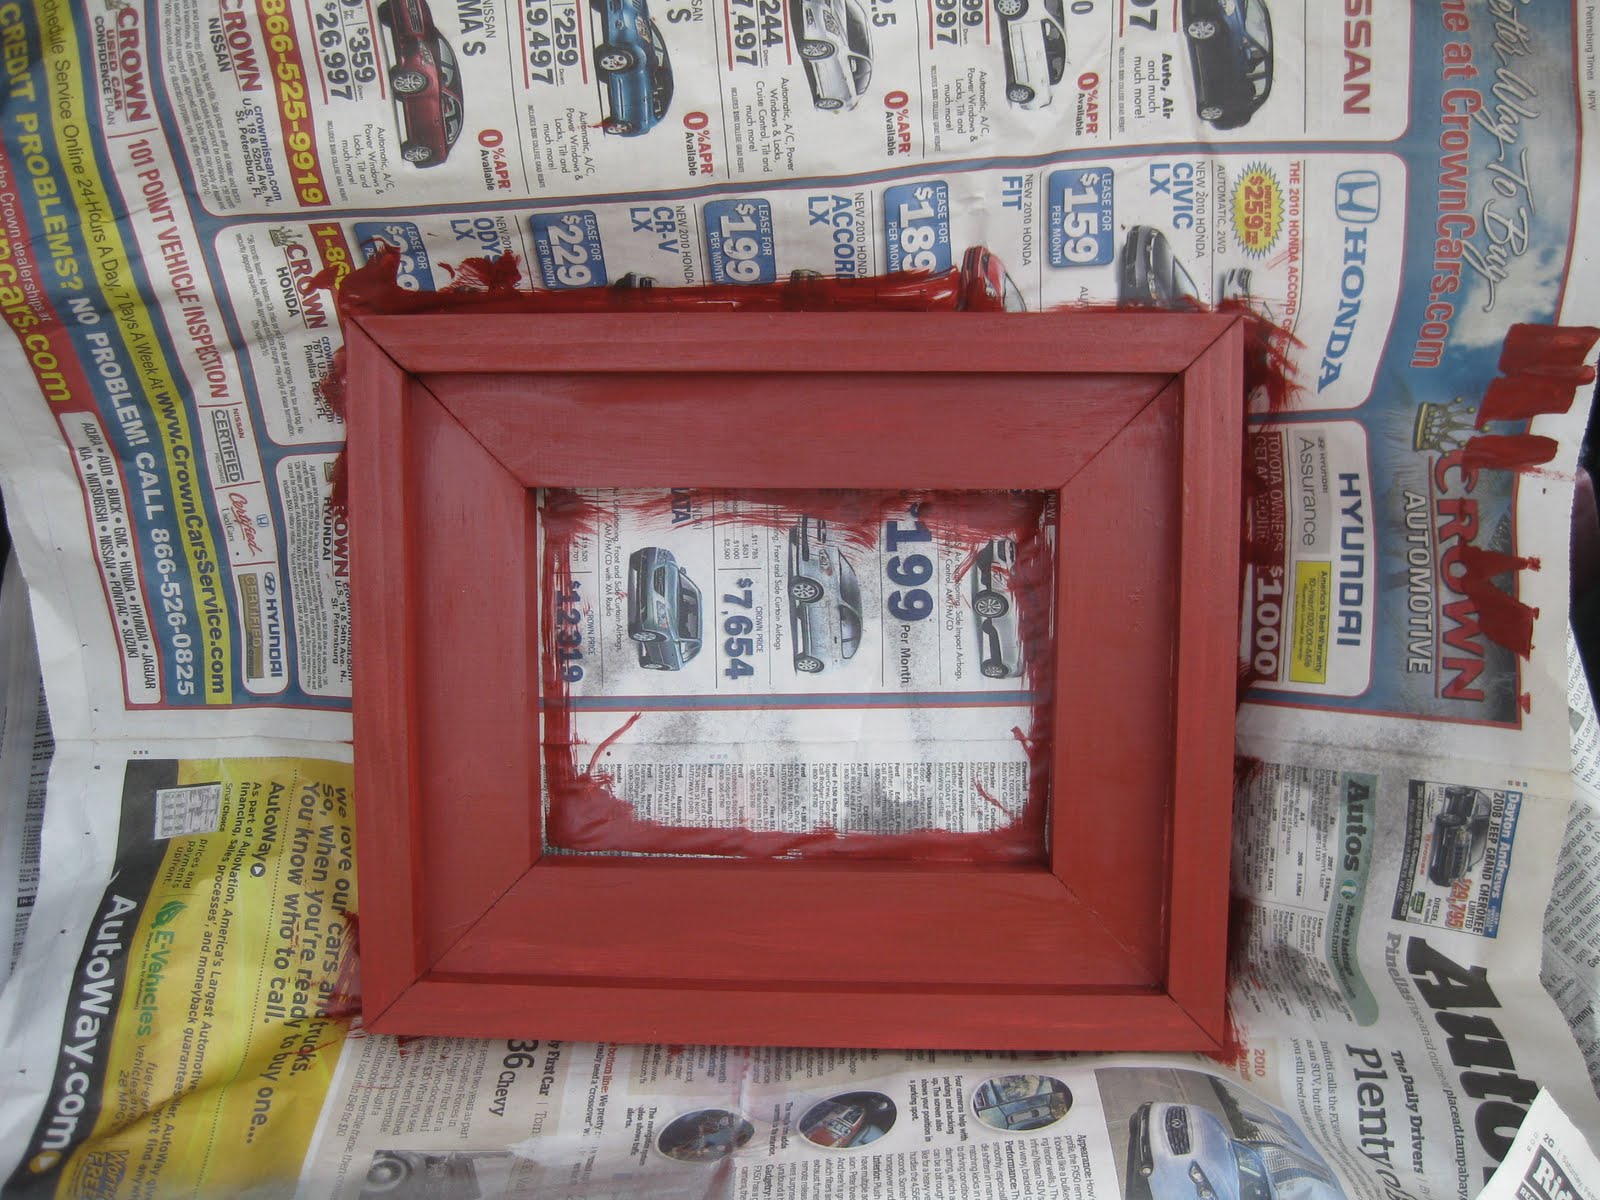
I followed plans recommendation. Color turned out beautiful. Didn't like the spray polyacrilic- it dried with a whitish cast- sanded to remove.
Recommended Skill Level
Beginner