Community Brag Posts

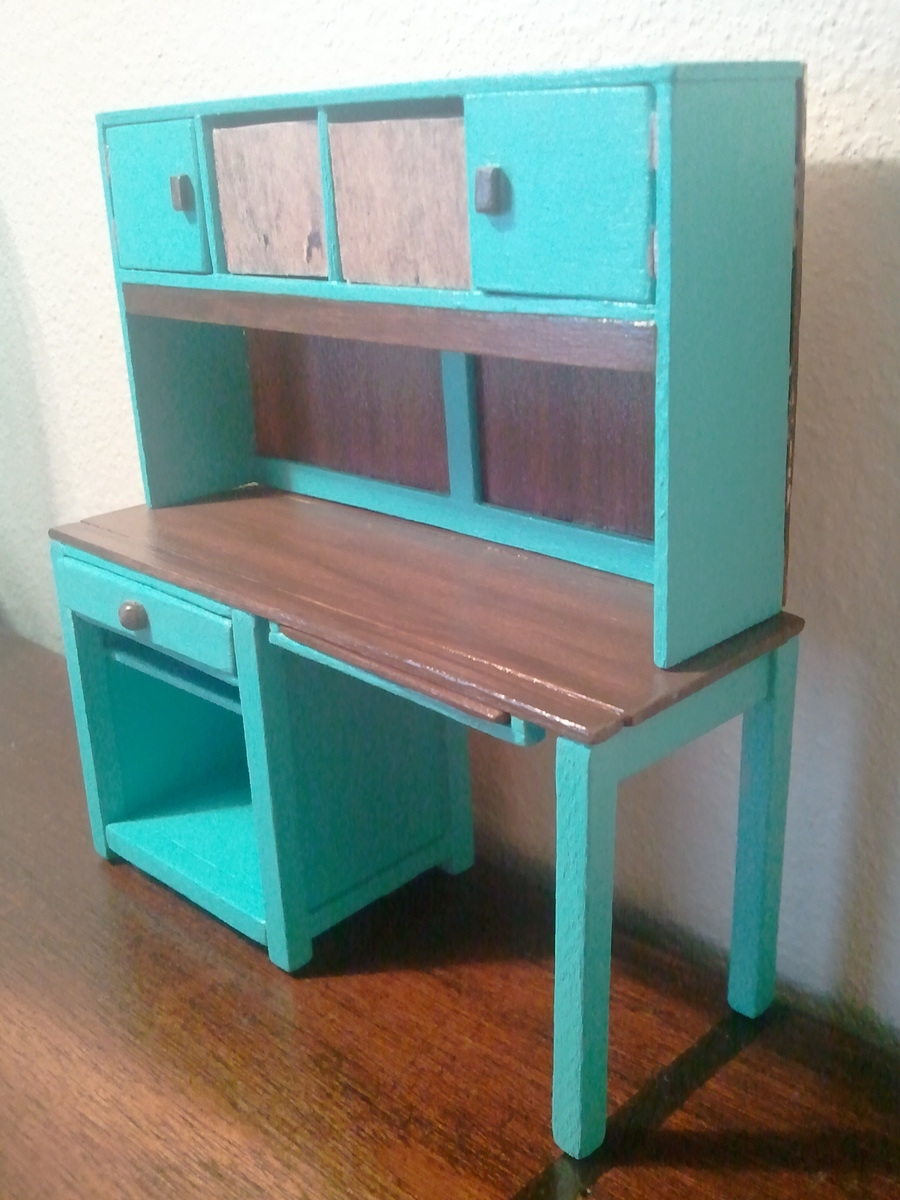
Miniature Channing Desk with Hutch
Submitted by ElleMay14 on Fri, 04/20/2012 - 14:08

Miniatures are a cute and easy way to see your project before you start the full sized version. And if you know someone who likes minis, you have a nice gift for them later! (or you could start a new hobby)

http://www.the-art-of-dollhouse-miniatures.com/miniatures-scale-calcula…
This is the link I used to find my measurements in mini. Just in case you guys might enjoy trying a smaller scale.

Its a good idea to very lightly sand your pieces, I used a metal nail file.
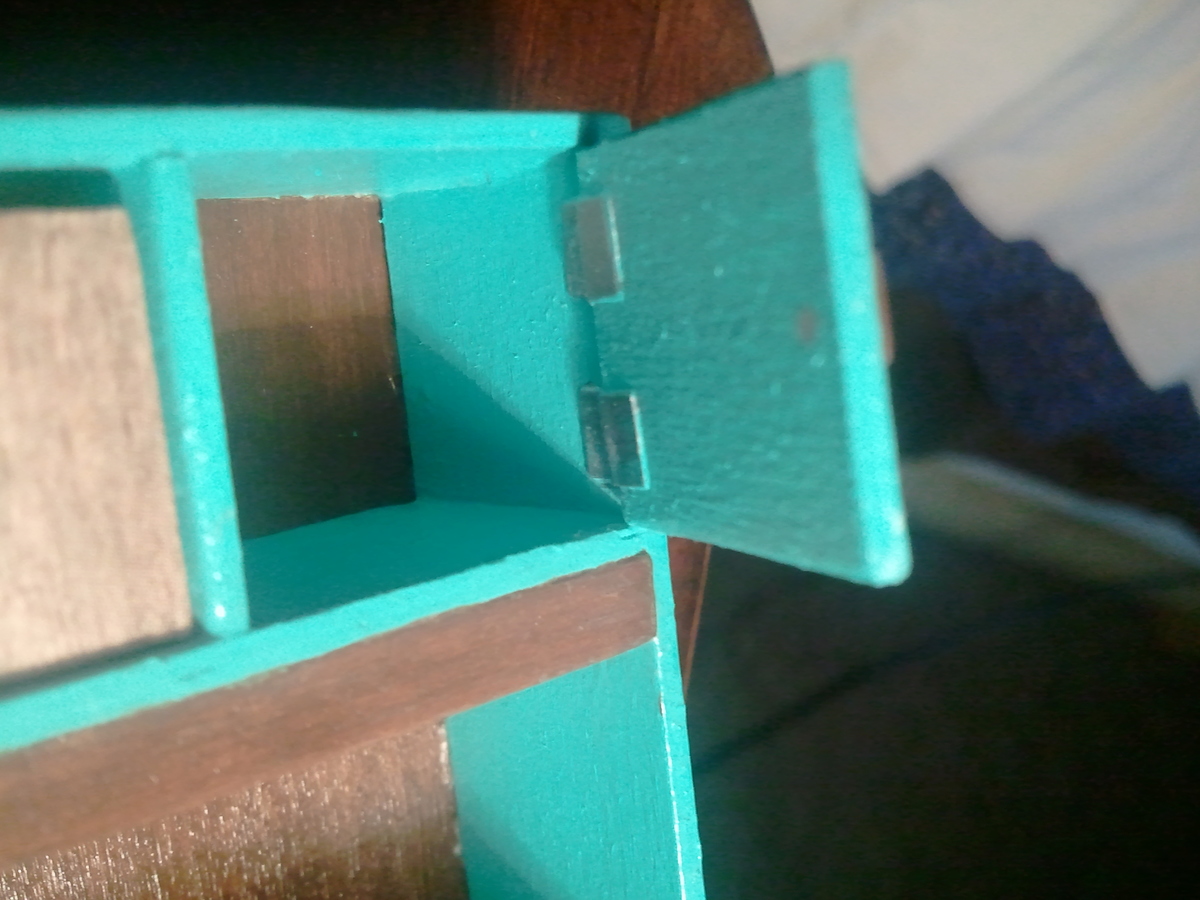
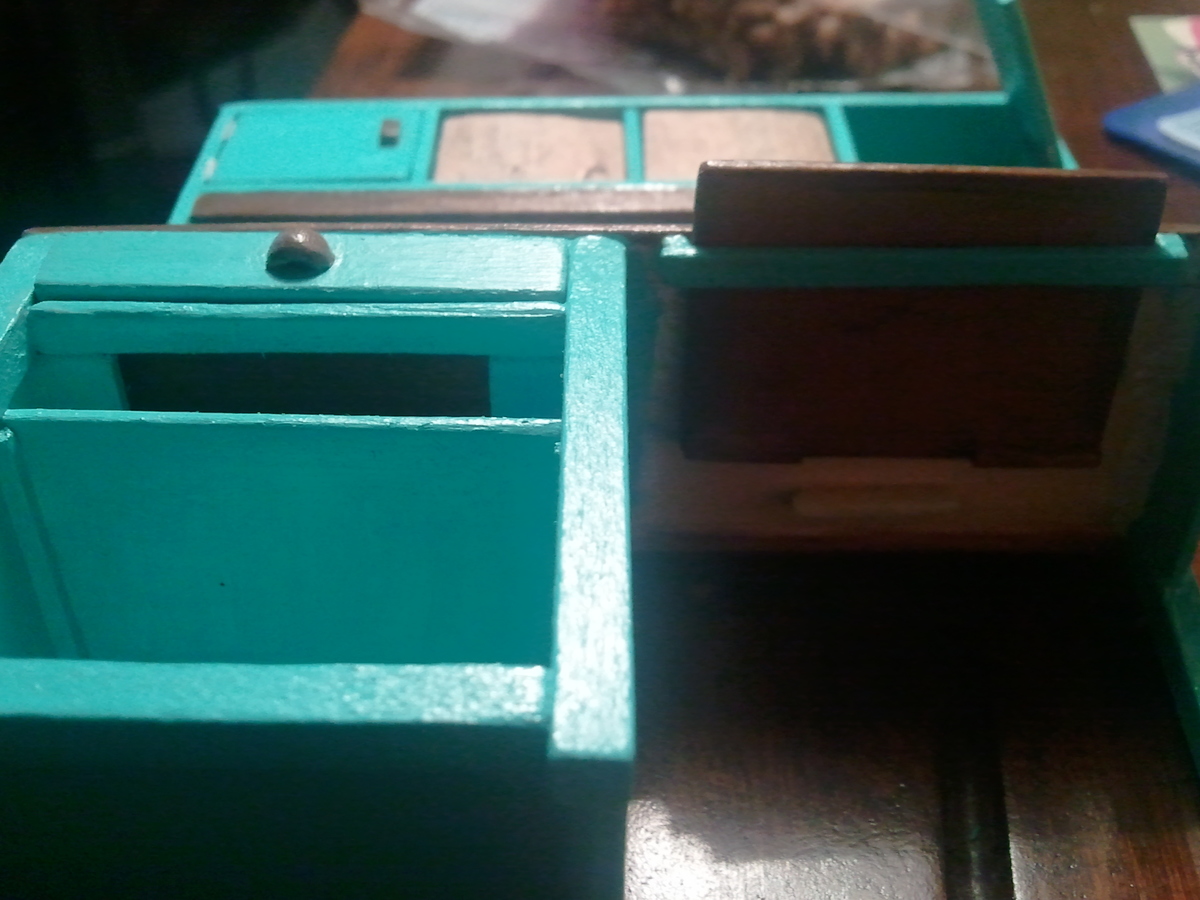
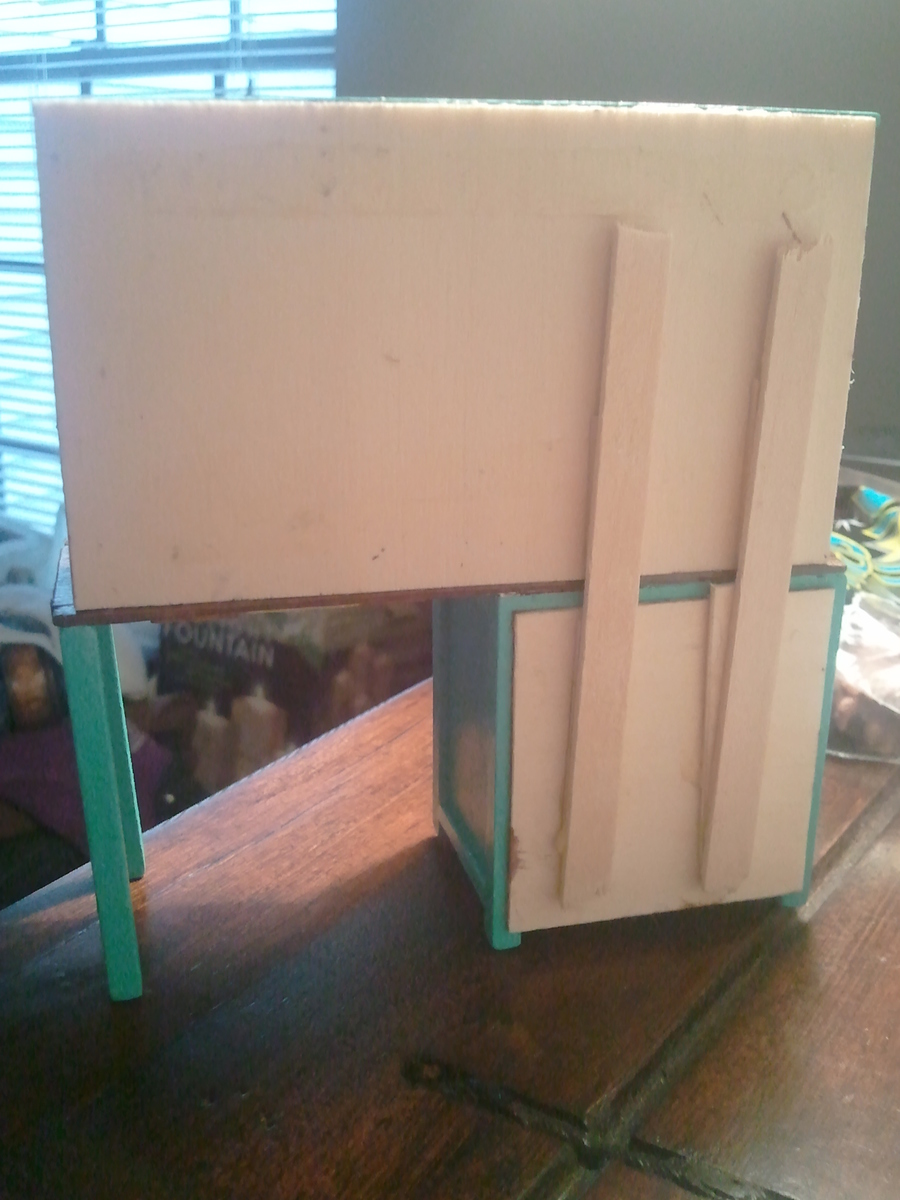
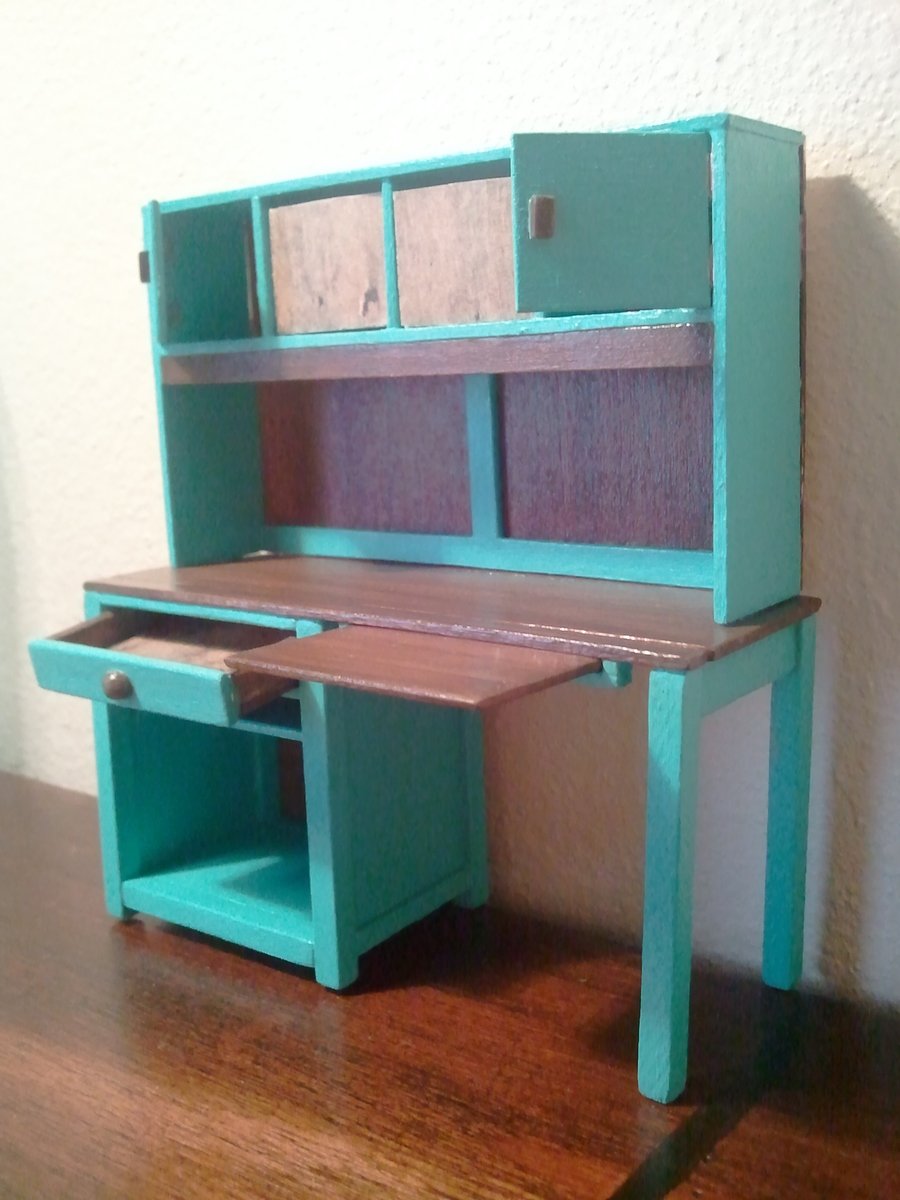
After adjusting your measurements, follow Ana's instructions for the desk. For the drawer to actually work, I used mini 1x's and made old-style slides that are mounted to the underside of the desktop. these support the drawer and guide it also. Similar idea used for the extra desk space via the pull out. For the hutch doors, I made simple paper hinges. Make sure you use cardstock or layers of regular paper.

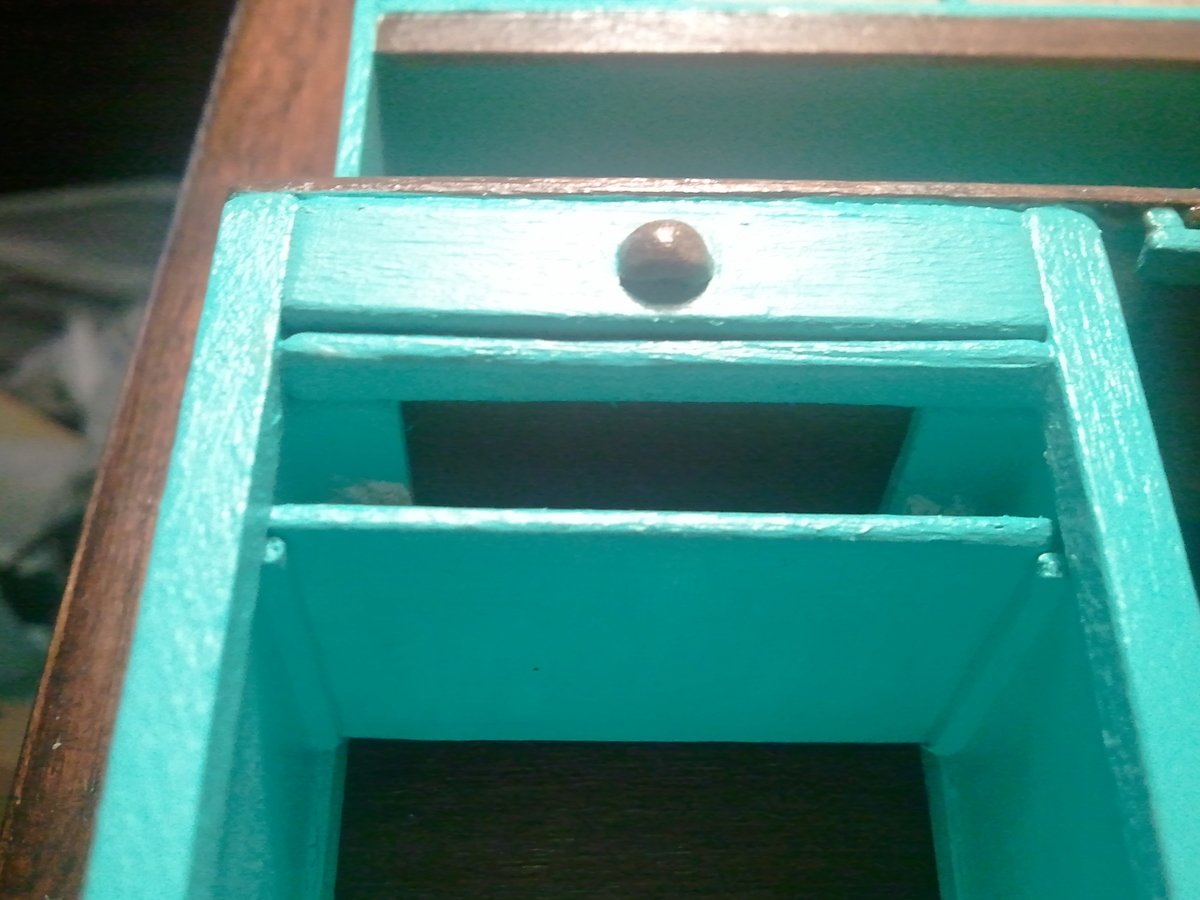
The full size hutch is screwed to the desktop, but the mini needs more support, so spare parts make good braces. I also used spare bits of wood for the handles on the doors, and half a wooden bead for the drawer handle.

After making this mini version of the Channing Desk, me and my husband were able to adjust add-ins like the pull outs (my full size will go above the drawer) and even thought about making the whole section of drawer/shelves detatched for more manuverablilty in a tight corner space.

I can't Wait to start the full size version!!
Estimated Cost
$10-$15 unless you already have craft paints
Estimated Time Investment
Weekend Project (10-20 Hours)
Finish Used
For the brown stain I used a Walnut gel stain from Americana craft paint, 3 coats. After letting the 3rd coat get tacky, I used a slightly wet brush and wiped it back in different places to lighten the stain's color. This gave me more variations in color since Basswood doesn't show as much grain as "full size" wood.
I used a base coat of white for the rest of the desk, then 2 coats of a pretty Turquoise from Creamcoat craft paint.
I varnished the whole desk with 1 coat of satin from Creamcoat, and gave the stained parts 3 coats.
Recommended Skill Level
Beginner

Comments

Rustic bookcase

Submitted by kschuck on Sun, 02/02/2014 - 15:41

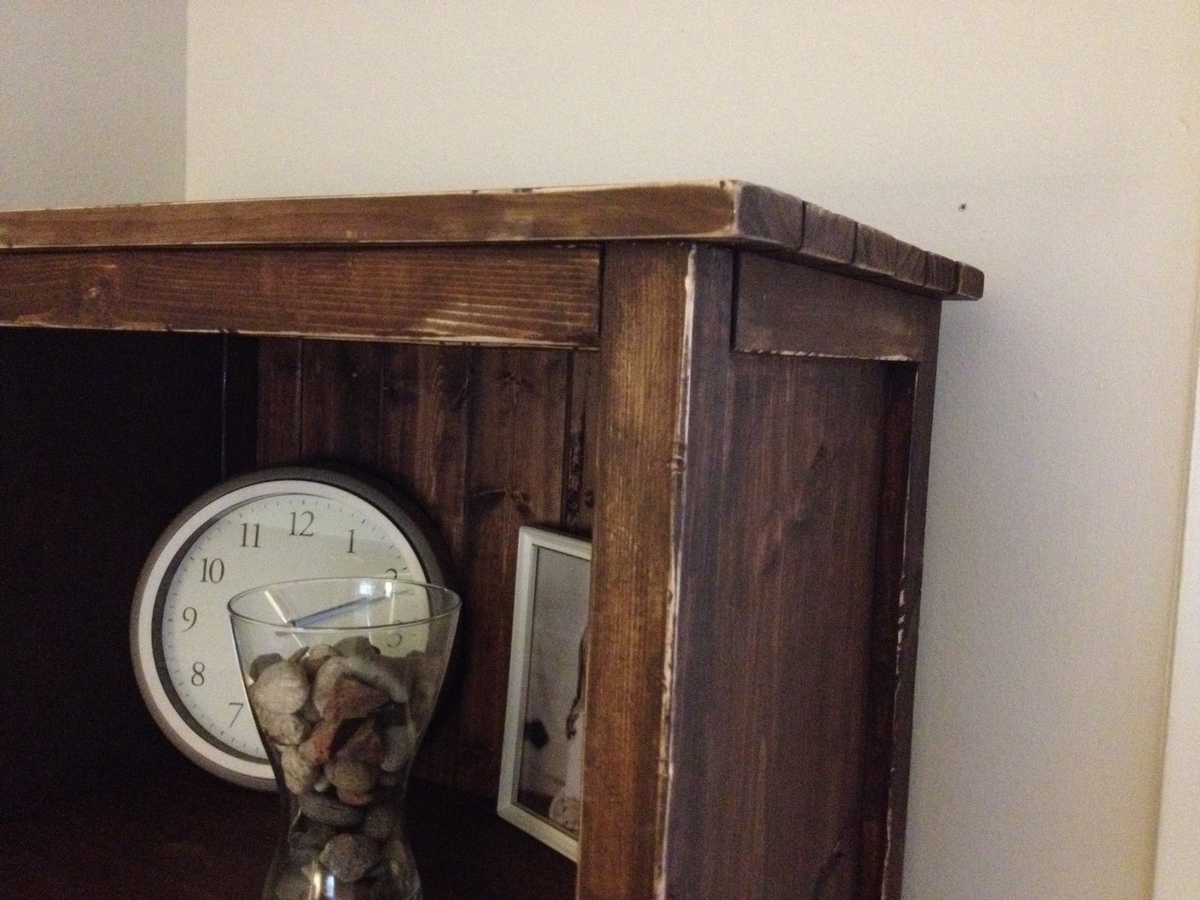
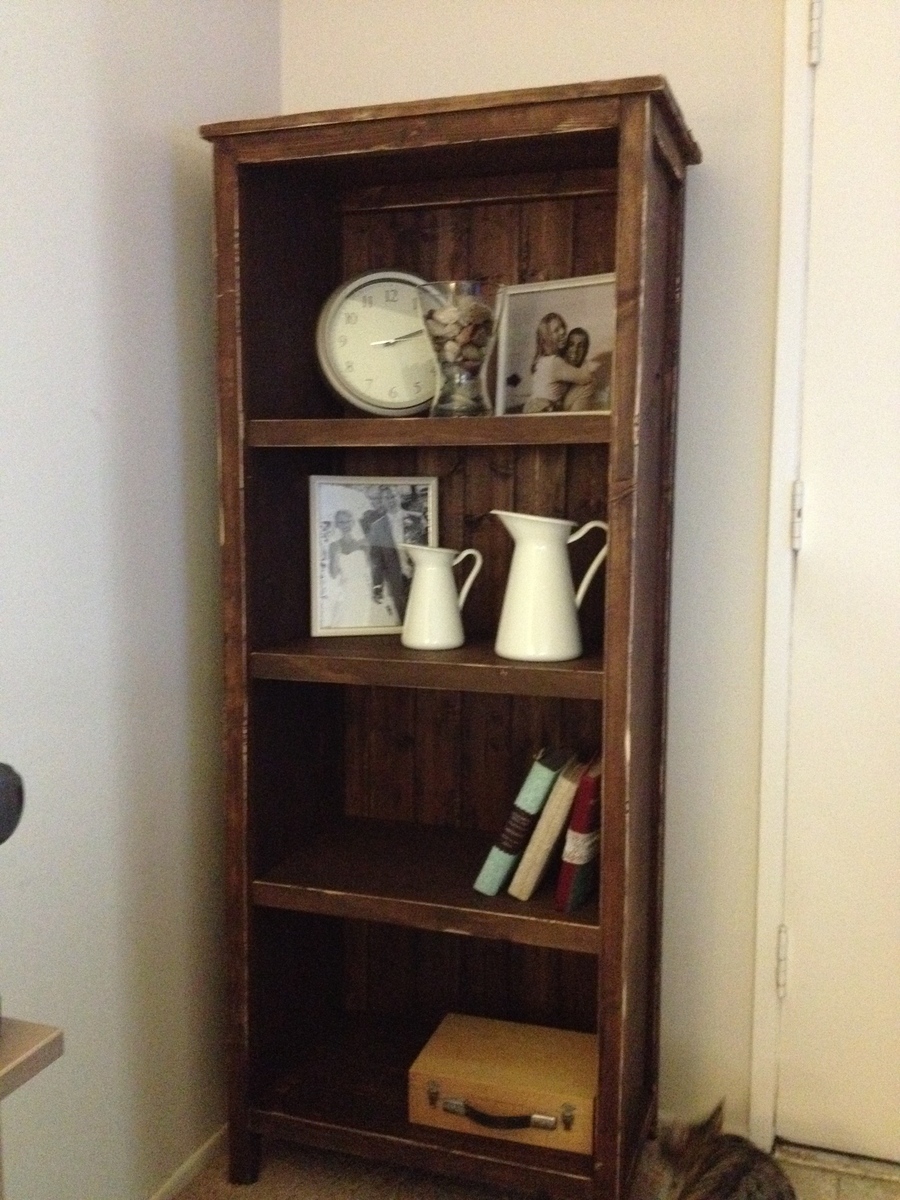
This was the first project my husband and I built from scratch. We experimented with our brand new Kregg Jig for a little while until we felt comfortable with it, and then nervously got started. Surprisingly, the only mishap we had was that we (ok, I) accidentally bought 1X10's instead of the 1X12's. Nothing a quick trip to Home Depot won't fix! We followed Ana's directions exactly, and definitely recommend the Kreg Jig! Our neighbor is a contract worker, and he was pretty impressed at how sturdy the bookcase was. The only part that gave us a little trouble was that our planking on the back (from Lowes), was a little too wide, so we had to trim it down a bit. This was also my first time staining, but thankfully I was going for the rustic look, so I just sanded off the corners and any weird spots.
Estimated Time Investment
Weekend Project (10-20 Hours)
Finish Used
Stained with Rustoleum Dark Walnut and finished with Minwax finishing paste wax
Recommended Skill Level
Beginner

Perfect playhouse

Submitted by Anonymous (not verified) on Mon, 05/02/2016 - 06:37

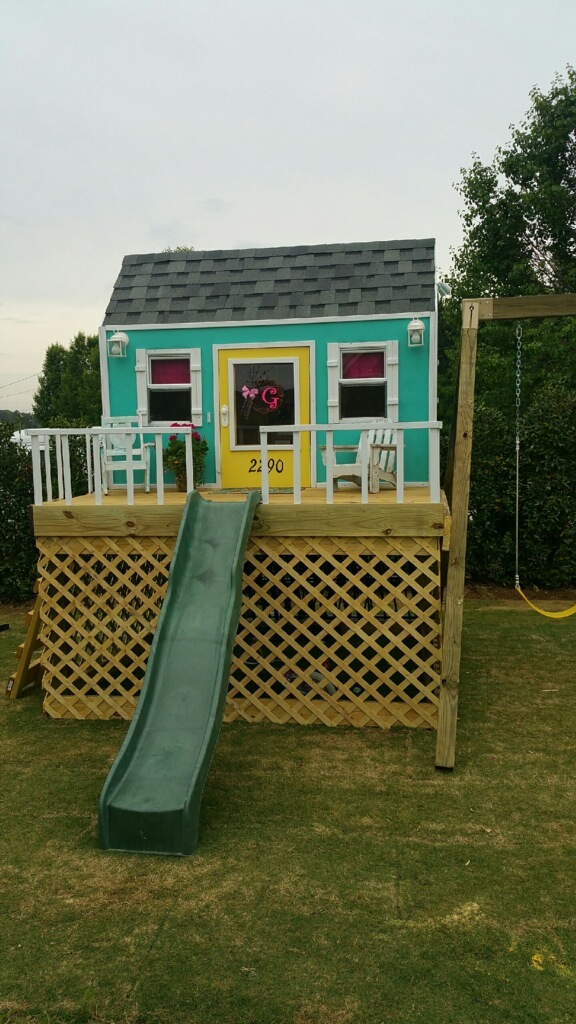
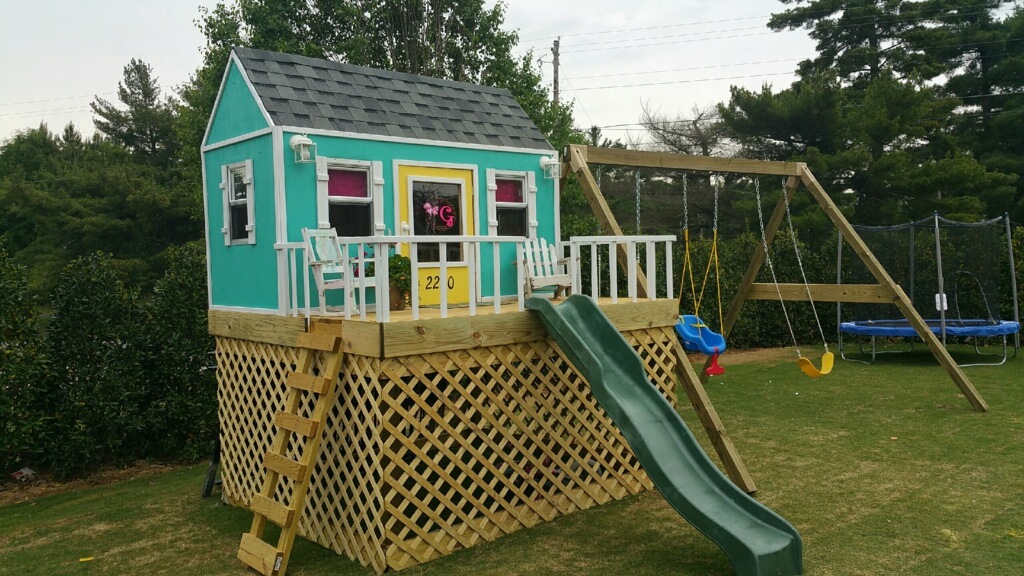
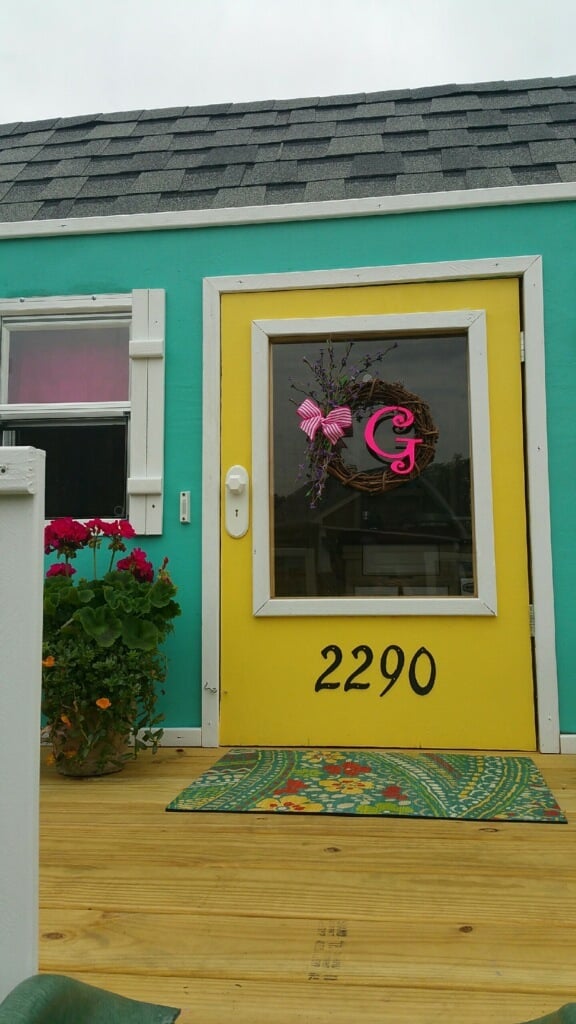
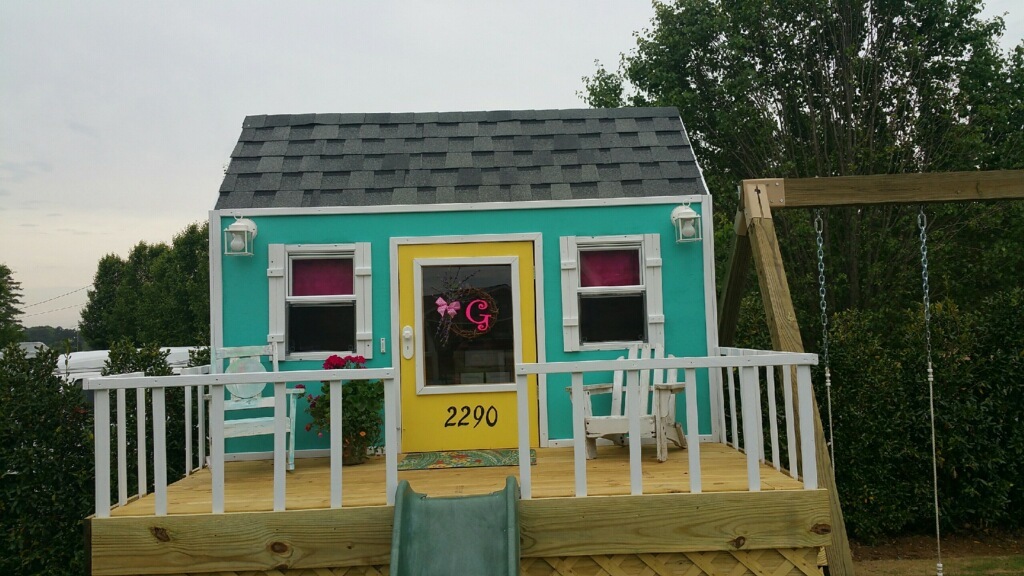
Perfect little playhouse my husband built for our girls.   It took about a week to build by himself, but worth every minute.   He did a wonderful job.   Such a good daddy!
Estimated Cost
1400
Estimated Time Investment
Week Long Project (20 Hours or More)
Recommended Skill Level
Intermediate

COOLER BOX

Submitted by Anonymous (not verified) on Mon, 01/27/2020 - 10:56

Wanted a place on my porch to put a cooler to hold ice for pool party.

Estimated Cost
100
Estimated Time Investment
Weekend Project (10-20 Hours)
Finish Used
Exterior stain and three coats of exterior poly
Recommended Skill Level
Beginner

Glass Top Display Side Table

Submitted by Anonymous (not verified) on Tue, 09/19/2023 - 10:58

I made two of these side tables for my niece and her new husband as a house warming gift. I dropped the top down 1.25 inch and added a glass top so she could display items. They are going to be a surprise, so I left them bare. She can stain or paint them whatever color she wishes.

Donna Cox

Comments

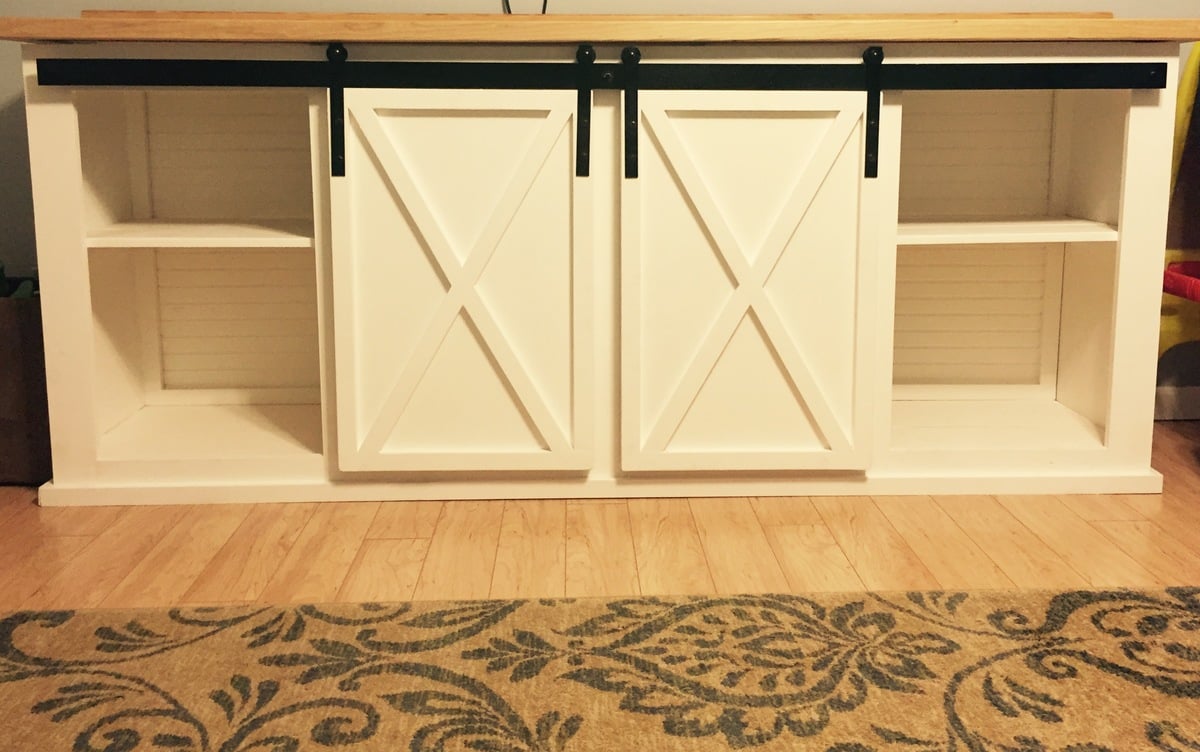
Apothecary Media Console- Dark Version

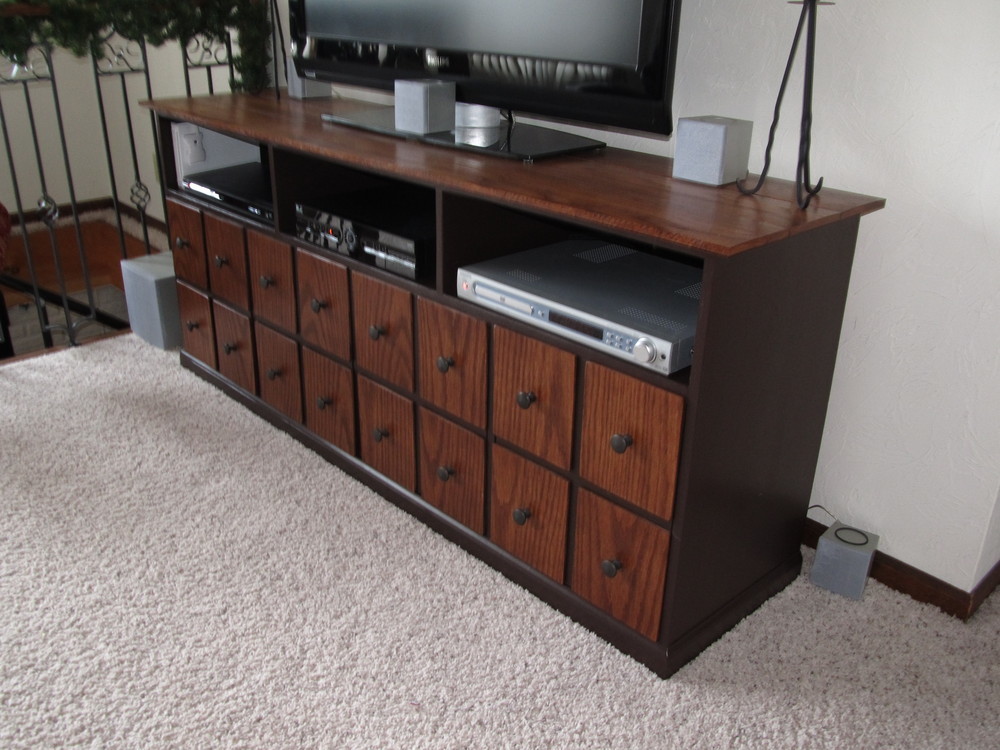
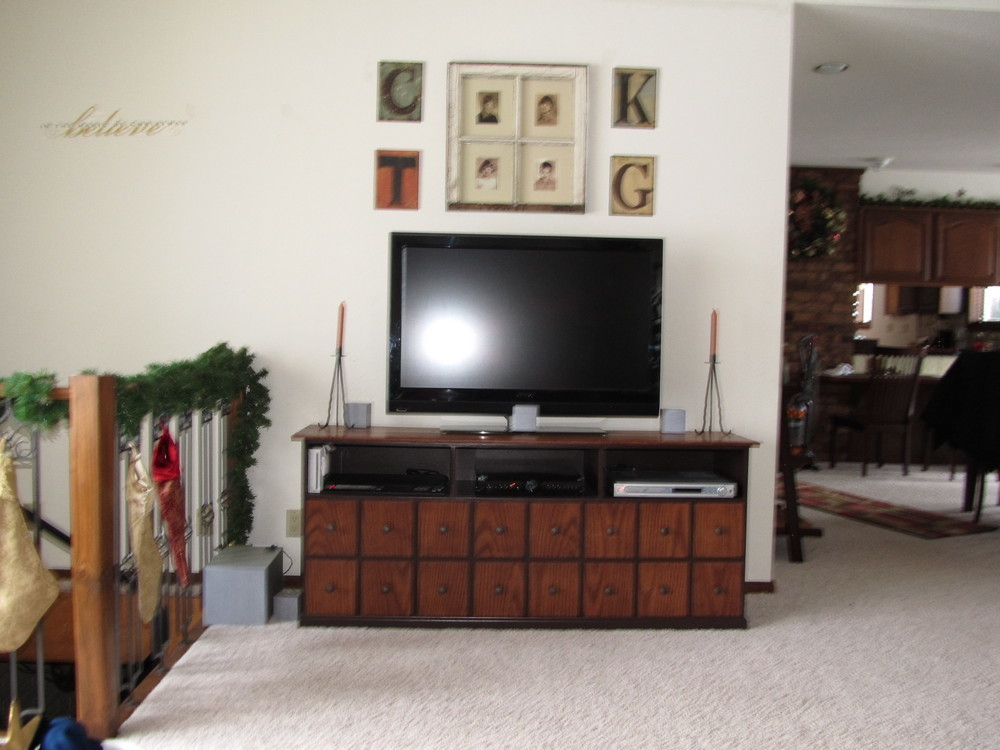
Our version of the Apothecary Media Console features 4 cabinet doors, oak front faux drawers, finished in satin espresso brown and dark mahogany stain with oil rubbed bronze knobs.

Built from Plan(s)
Estimated Cost
250.00
Estimated Time Investment
Weekend Project (10-20 Hours)
Finish Used
Rustoleum American Accents Satin Espresso Brown, Old Master's Wiping Stain in Dark Mahogany, MinWax- Polycrylic Satin
Recommended Skill Level
Intermediate

Storage Bench

Submitted by scokenour on Wed, 02/05/2014 - 16:53

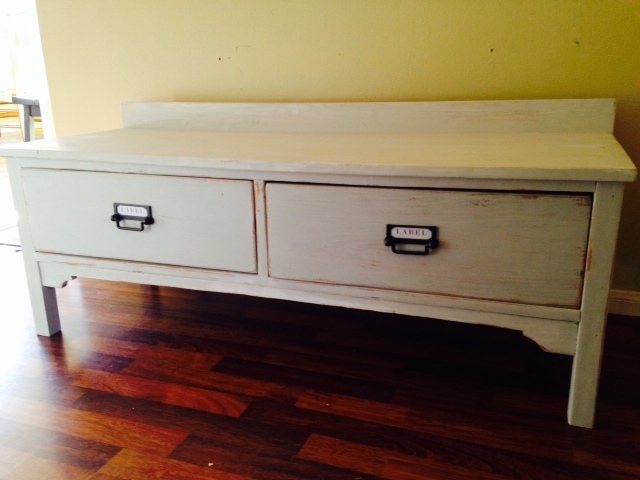
I pretty much followed the plans for the Alexia Bench except I didn't put sides on the top. I made this bench to donate to a silent auction for a fundraiser. I even used the same cute hardware that the ladies at Shanty 2 Chic used (I had to go to a few different Targets to find it).

I was very happy with the finished product & hope to raise some funds for a good cause! http://www.sendbrandon.com/about-brandon.html

Built from Plan(s)
Estimated Cost
I had LOTS of "scraps" from previous projects, so only had to spend about $40 in materials.
Estimated Time Investment
Day Project (6-9 Hours)
Finish Used
first stained using American Walnut by Rustoleum (what I had on hand - any would do), dry overnight, then a wash with off-white latex paint, light sand, then after that's dry, light sand and a quick coat using Amy Howard's Luxe Grey. After that is dry and lightly sanded, I finished off with a coat of clear wax. I've learned that the only way to get the layered look in finishes, is to layer! ;)
Recommended Skill Level
Advanced

My Brother-in-Law killed it, 1st Build!

Submitted by Anonymous (not verified) on Tue, 05/03/2016 - 16:58

This was my brother-in-law's first build and he killed it. I love this sturdy piece. Best thing in my house right now.

Built from Plan(s)
Estimated Time Investment
Week Long Project (20 Hours or More)
Recommended Skill Level
Beginner

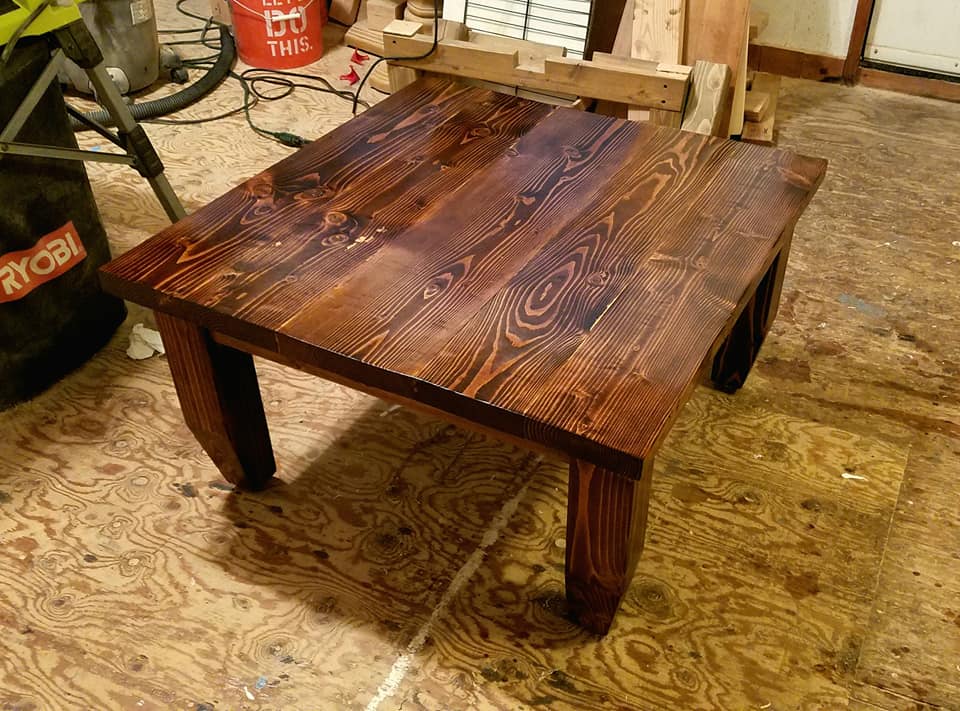
Chunky Coffee Table

Submitted by Malka on Sat, 02/01/2020 - 15:17

Chamfered the bottoms of some 4x4 douglas fir, and used 2x6 douglas fir for the top. Stained in Minwax Dark Walnut/Special Walnut. 

Estimated Cost
50
Estimated Time Investment
Day Project (6-9 Hours)
Finish Used
MInwax stain and Polyurethane
Recommended Skill Level
Intermediate

DIY Storage Cabinet

Submitted by Anonymous (not verified) on Mon, 09/25/2023 - 11:58

Needed something to hold an antique scale. The sides have pop out drawers to house bags and tags.

Darren

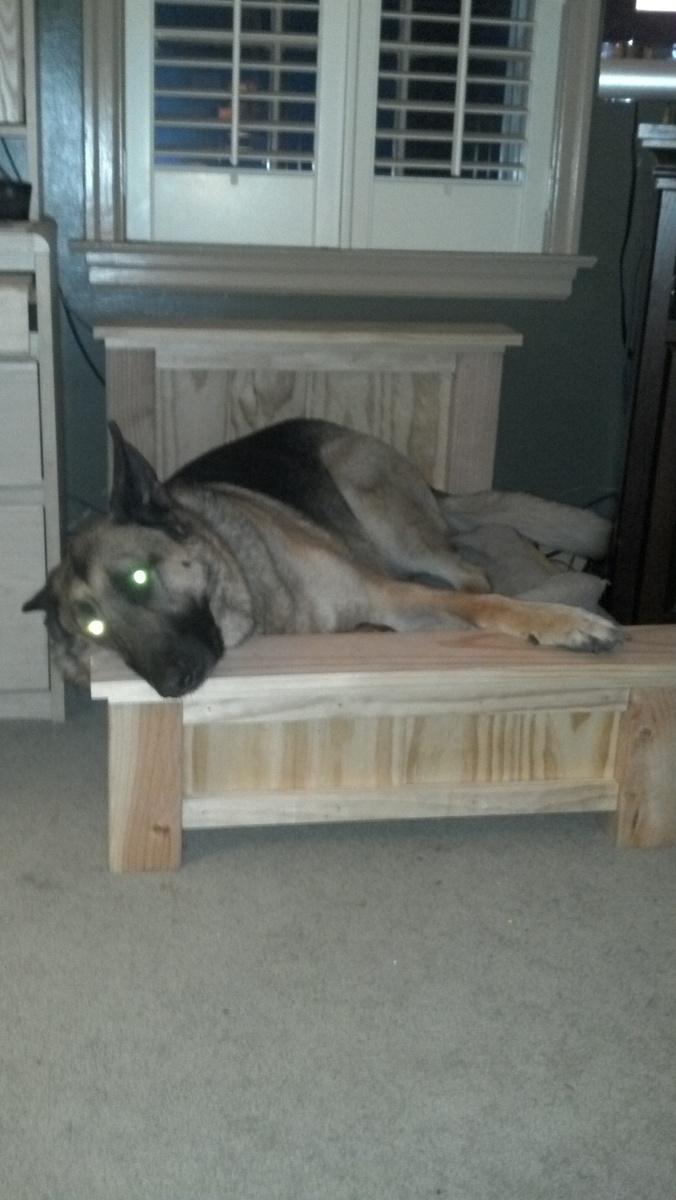
Dog bed

Submitted by Flowerchld on Wed, 04/25/2012 - 15:38

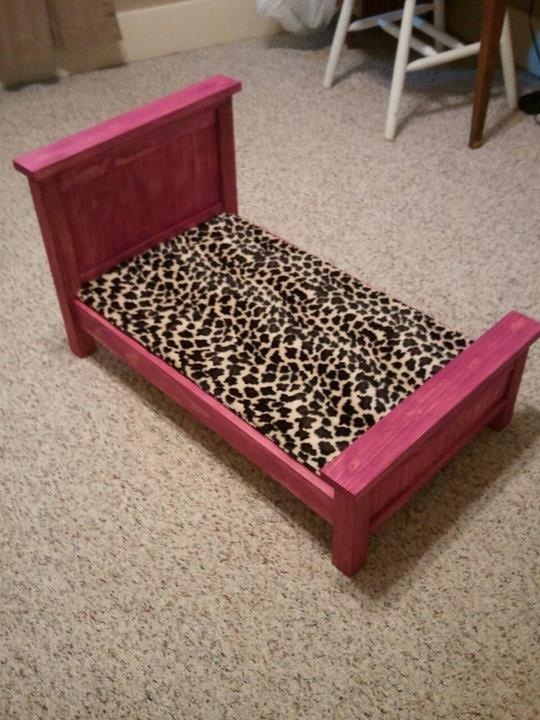
I made the doll farmhouse bed and altered it into a dog bed. First one done for my German Shepherd. The second, finished one was for a friend's smaller dog.

Recommended Skill Level
Beginner

Comments

JB (not verified)

Fri, 04/27/2012 - 09:21

Greetings!
As a guy, I tend to overlook the child stuff on this otherwise great site! But the idea to turn the child stuff for a pet is just great and a fine example of outside the box thinking. I am a dog trainer and think this is awsome! It's also a way to get a useful product out of a test run before you go full size! Again, superb!

Flowerchld

Fri, 04/27/2012 - 09:48

Thanks JB! I wanted something more stylish than your typical fabric covered mattress pad (which is what I threw in there until I get motivated to sew one that fits). He loves it so I think I'm going to do another one for the bedroom because 125# is a lot of dog to share a bed with! :)

momofour09

Fri, 08/17/2012 - 19:51

I was looking at dog beds and they can get pricey fast. For a little more money I can make her something that is more durable and stylish. I figure if it fits your dog, mine should be perfectly fine. Love the way it turned out :)

2x4 end table

Simple end table made from 2x4's

Estimated Cost
$40
Estimated Time Investment
Weekend Project (10-20 Hours)
Recommended Skill Level
Starter Project

Dress up center

Submitted by jim7sf on Fri, 02/07/2020 - 11:44

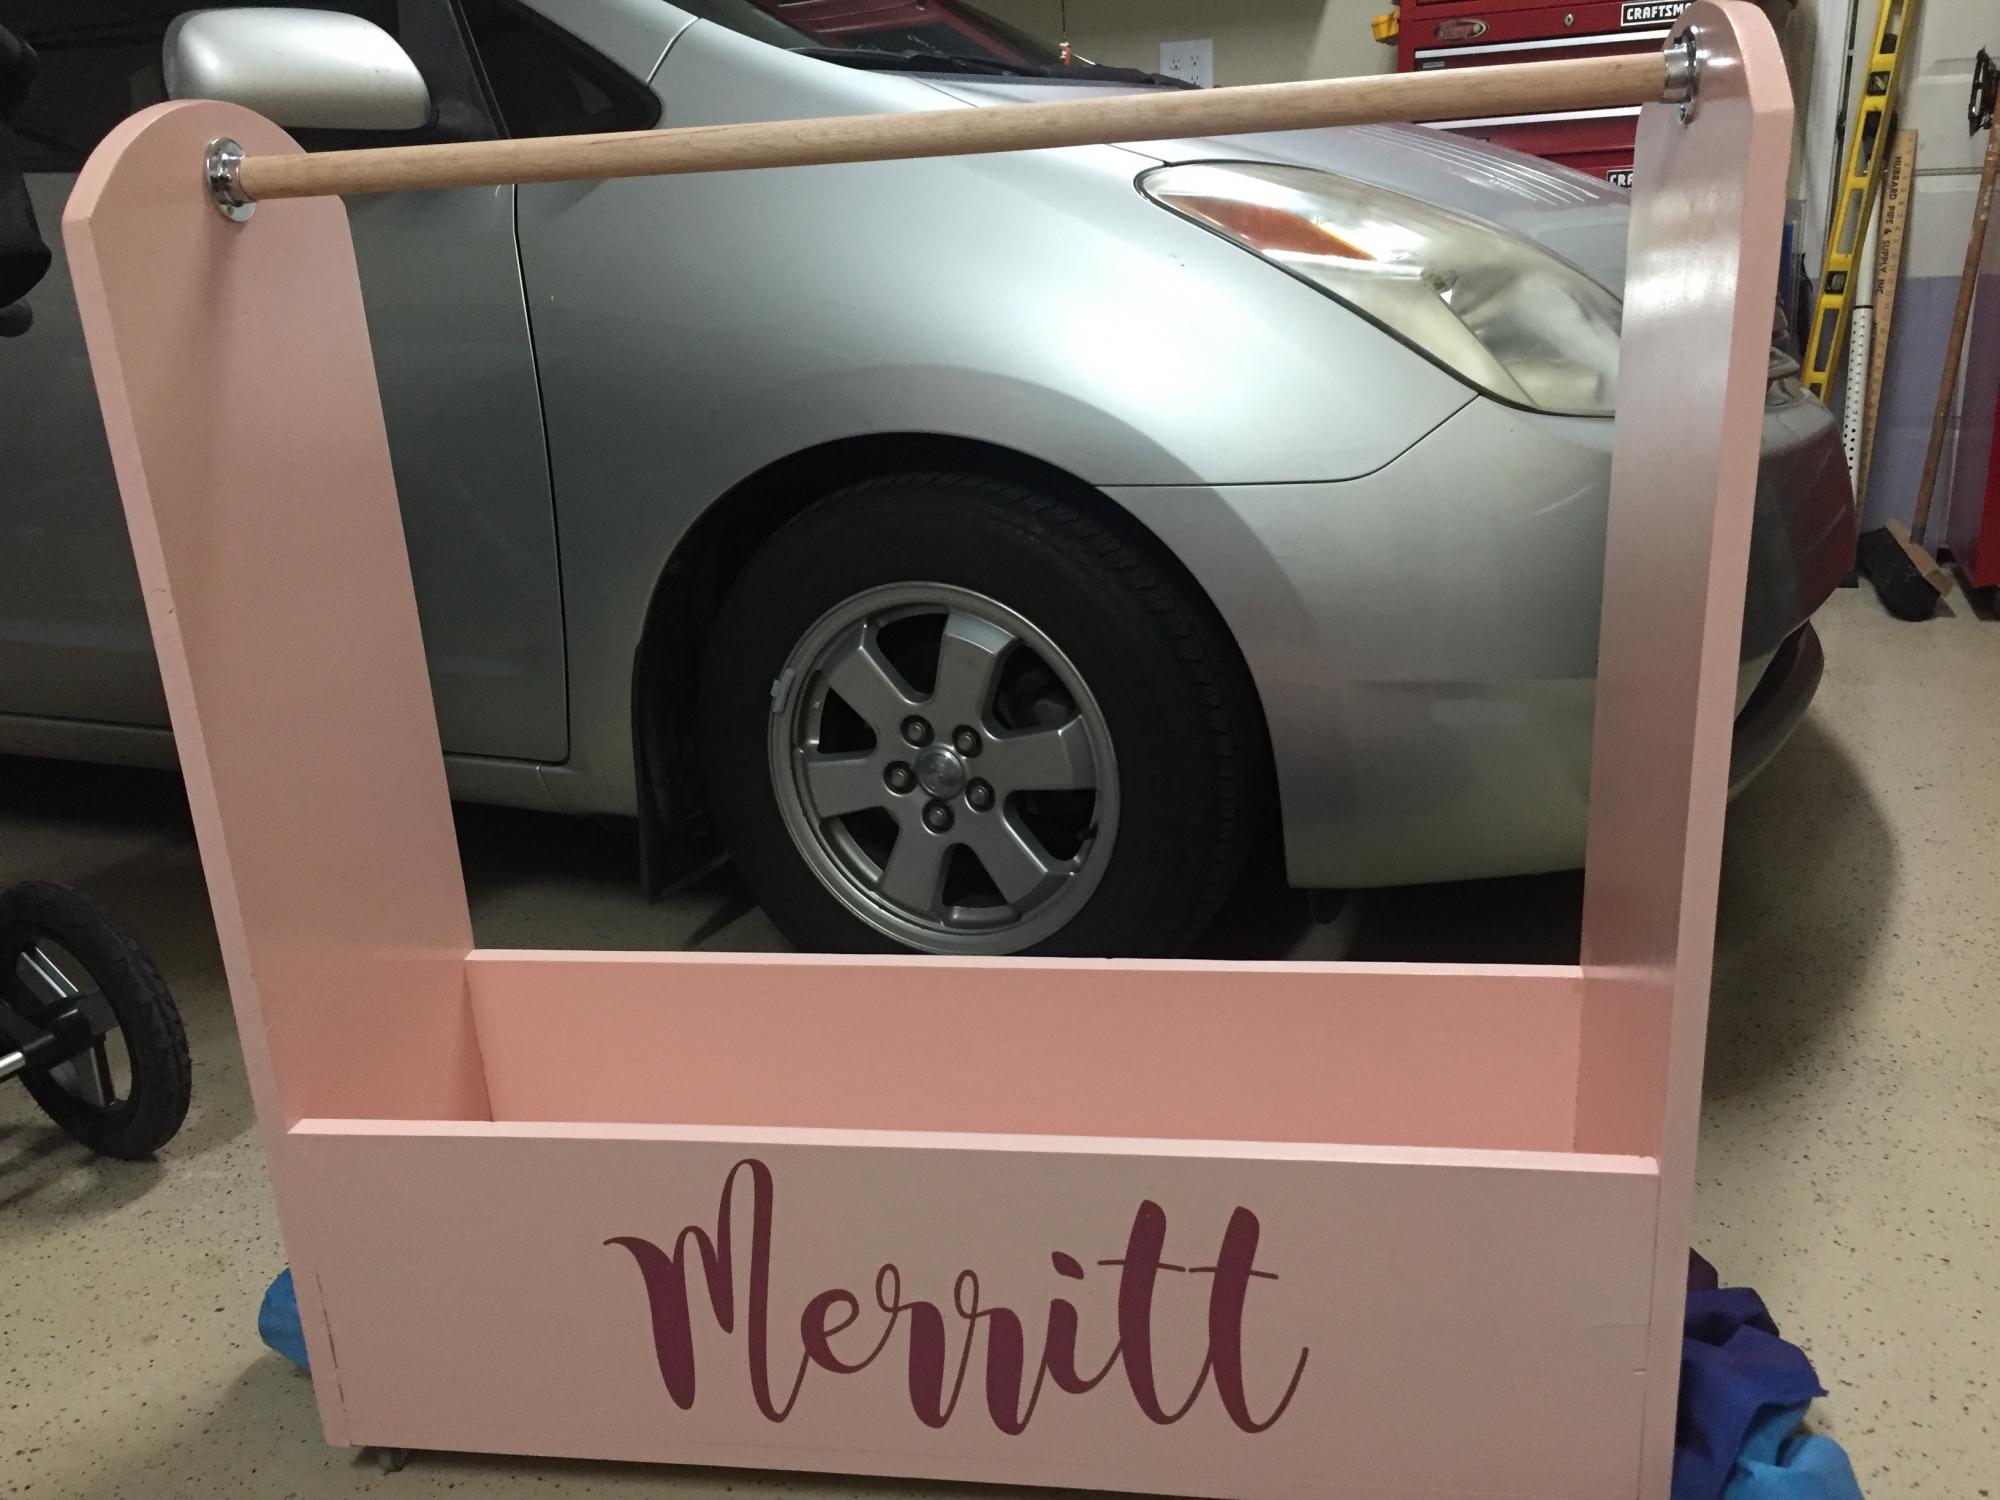
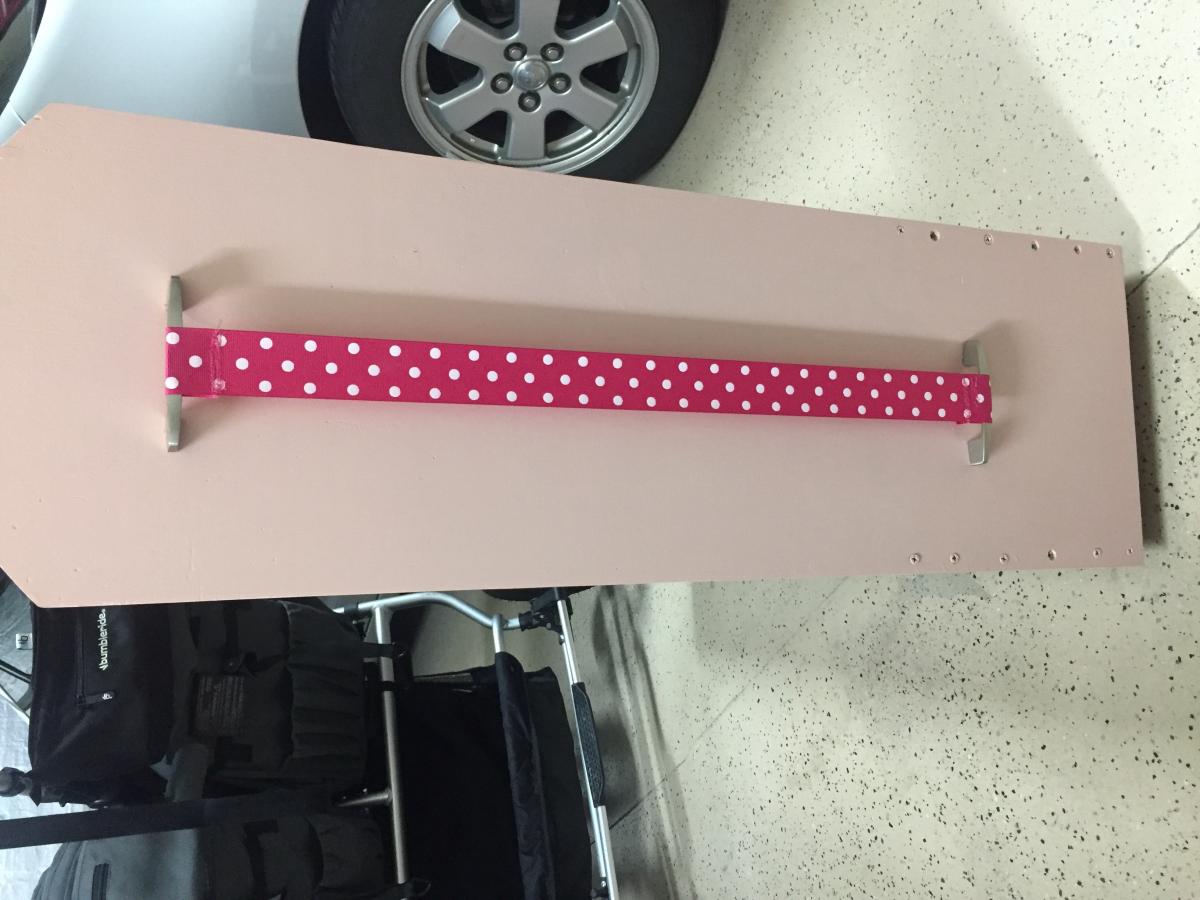
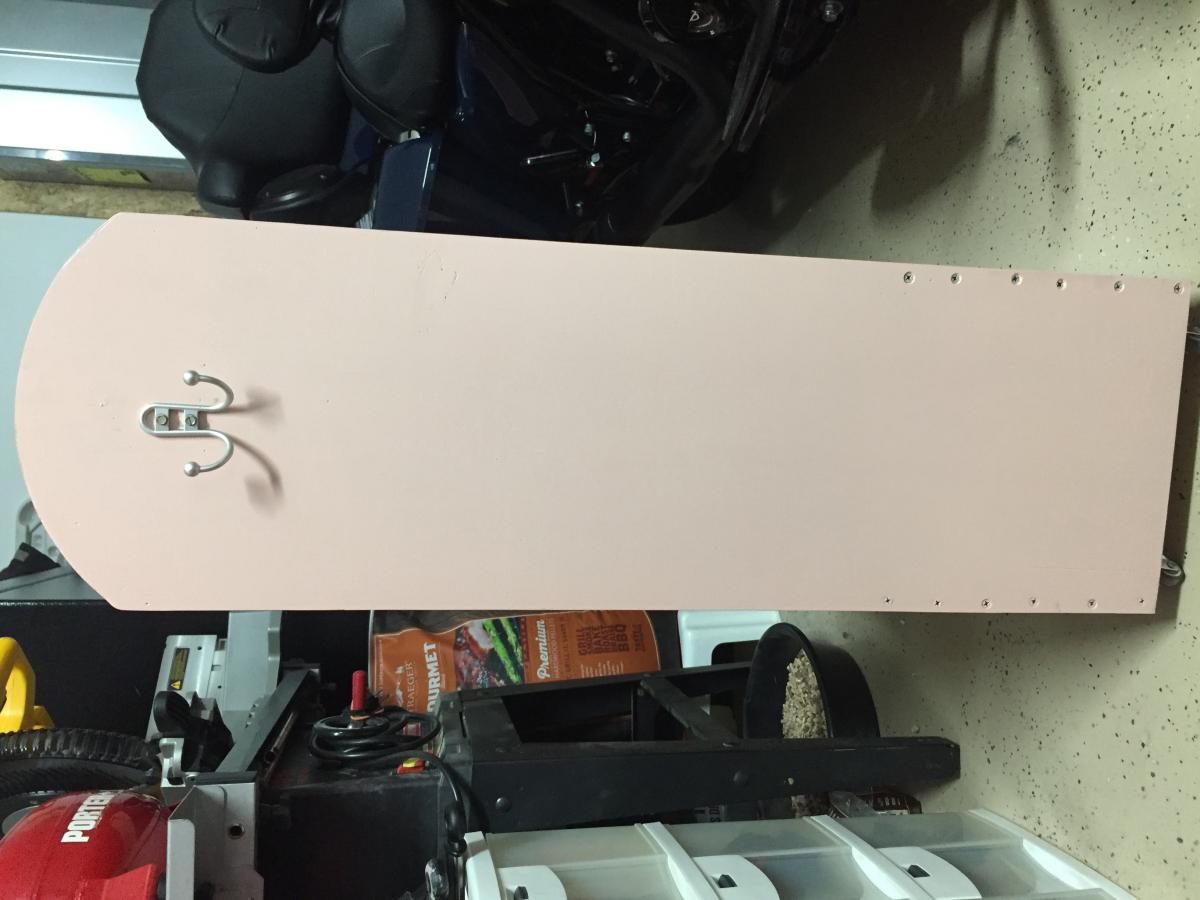
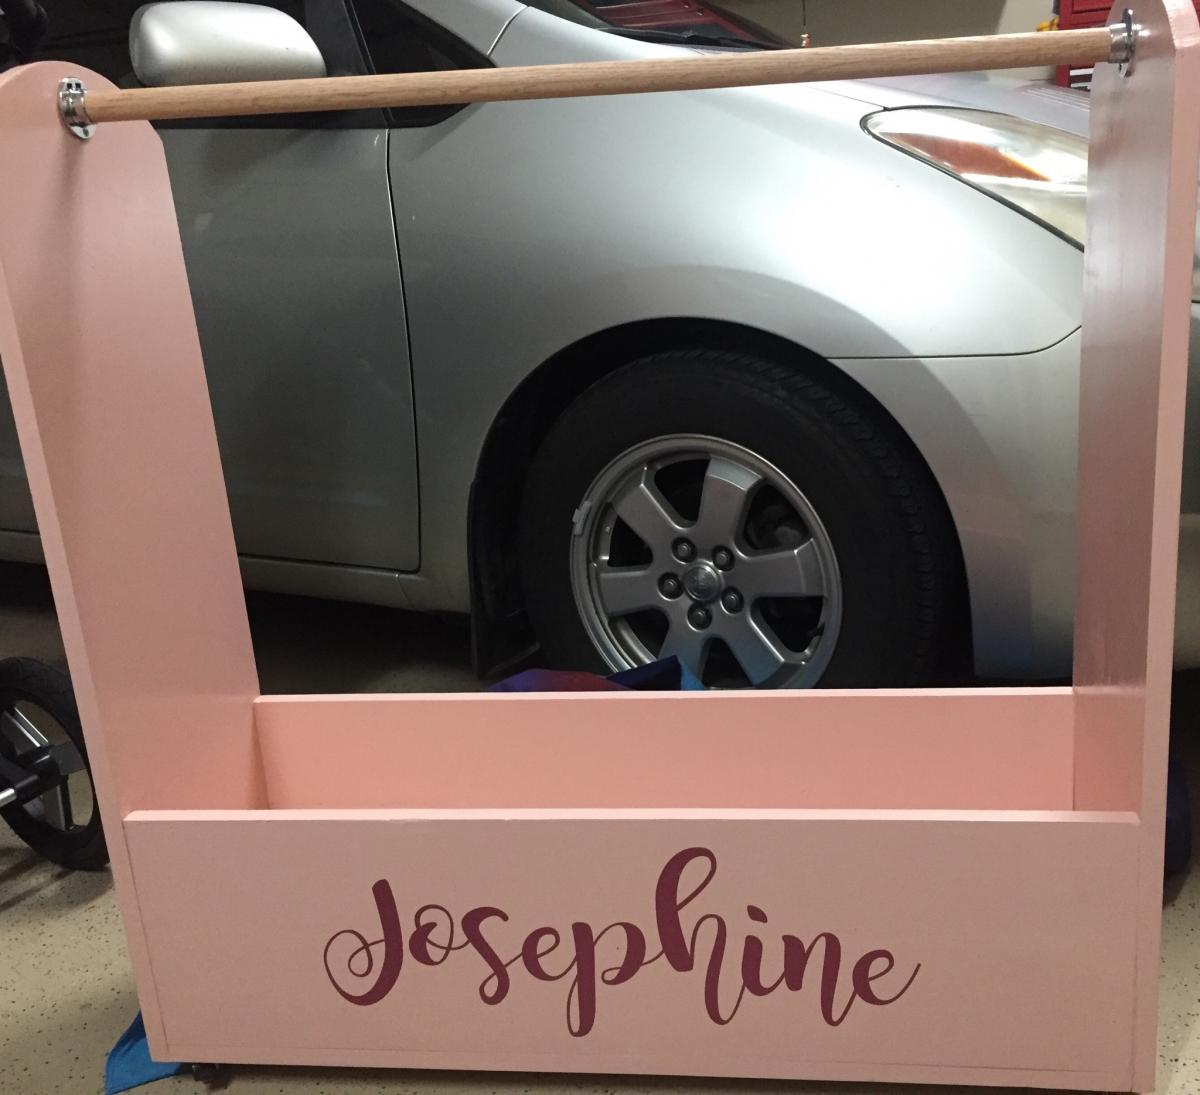
 I Purchased Kitchen cabinet handles to use for the ribbon so that the girls could put their bows on there I also got 1 inch wheels 2 of them with breaks on them from amazon. Between the vinyl letters and added bonus I spent about 110$

Estimated Cost
110$
Estimated Time Investment
Afternoon Project (3-6 Hours)
Recommended Skill Level
Beginner

Hall Tree Modified

Submitted by Anonymous (not verified) on Mon, 10/02/2023 - 10:29

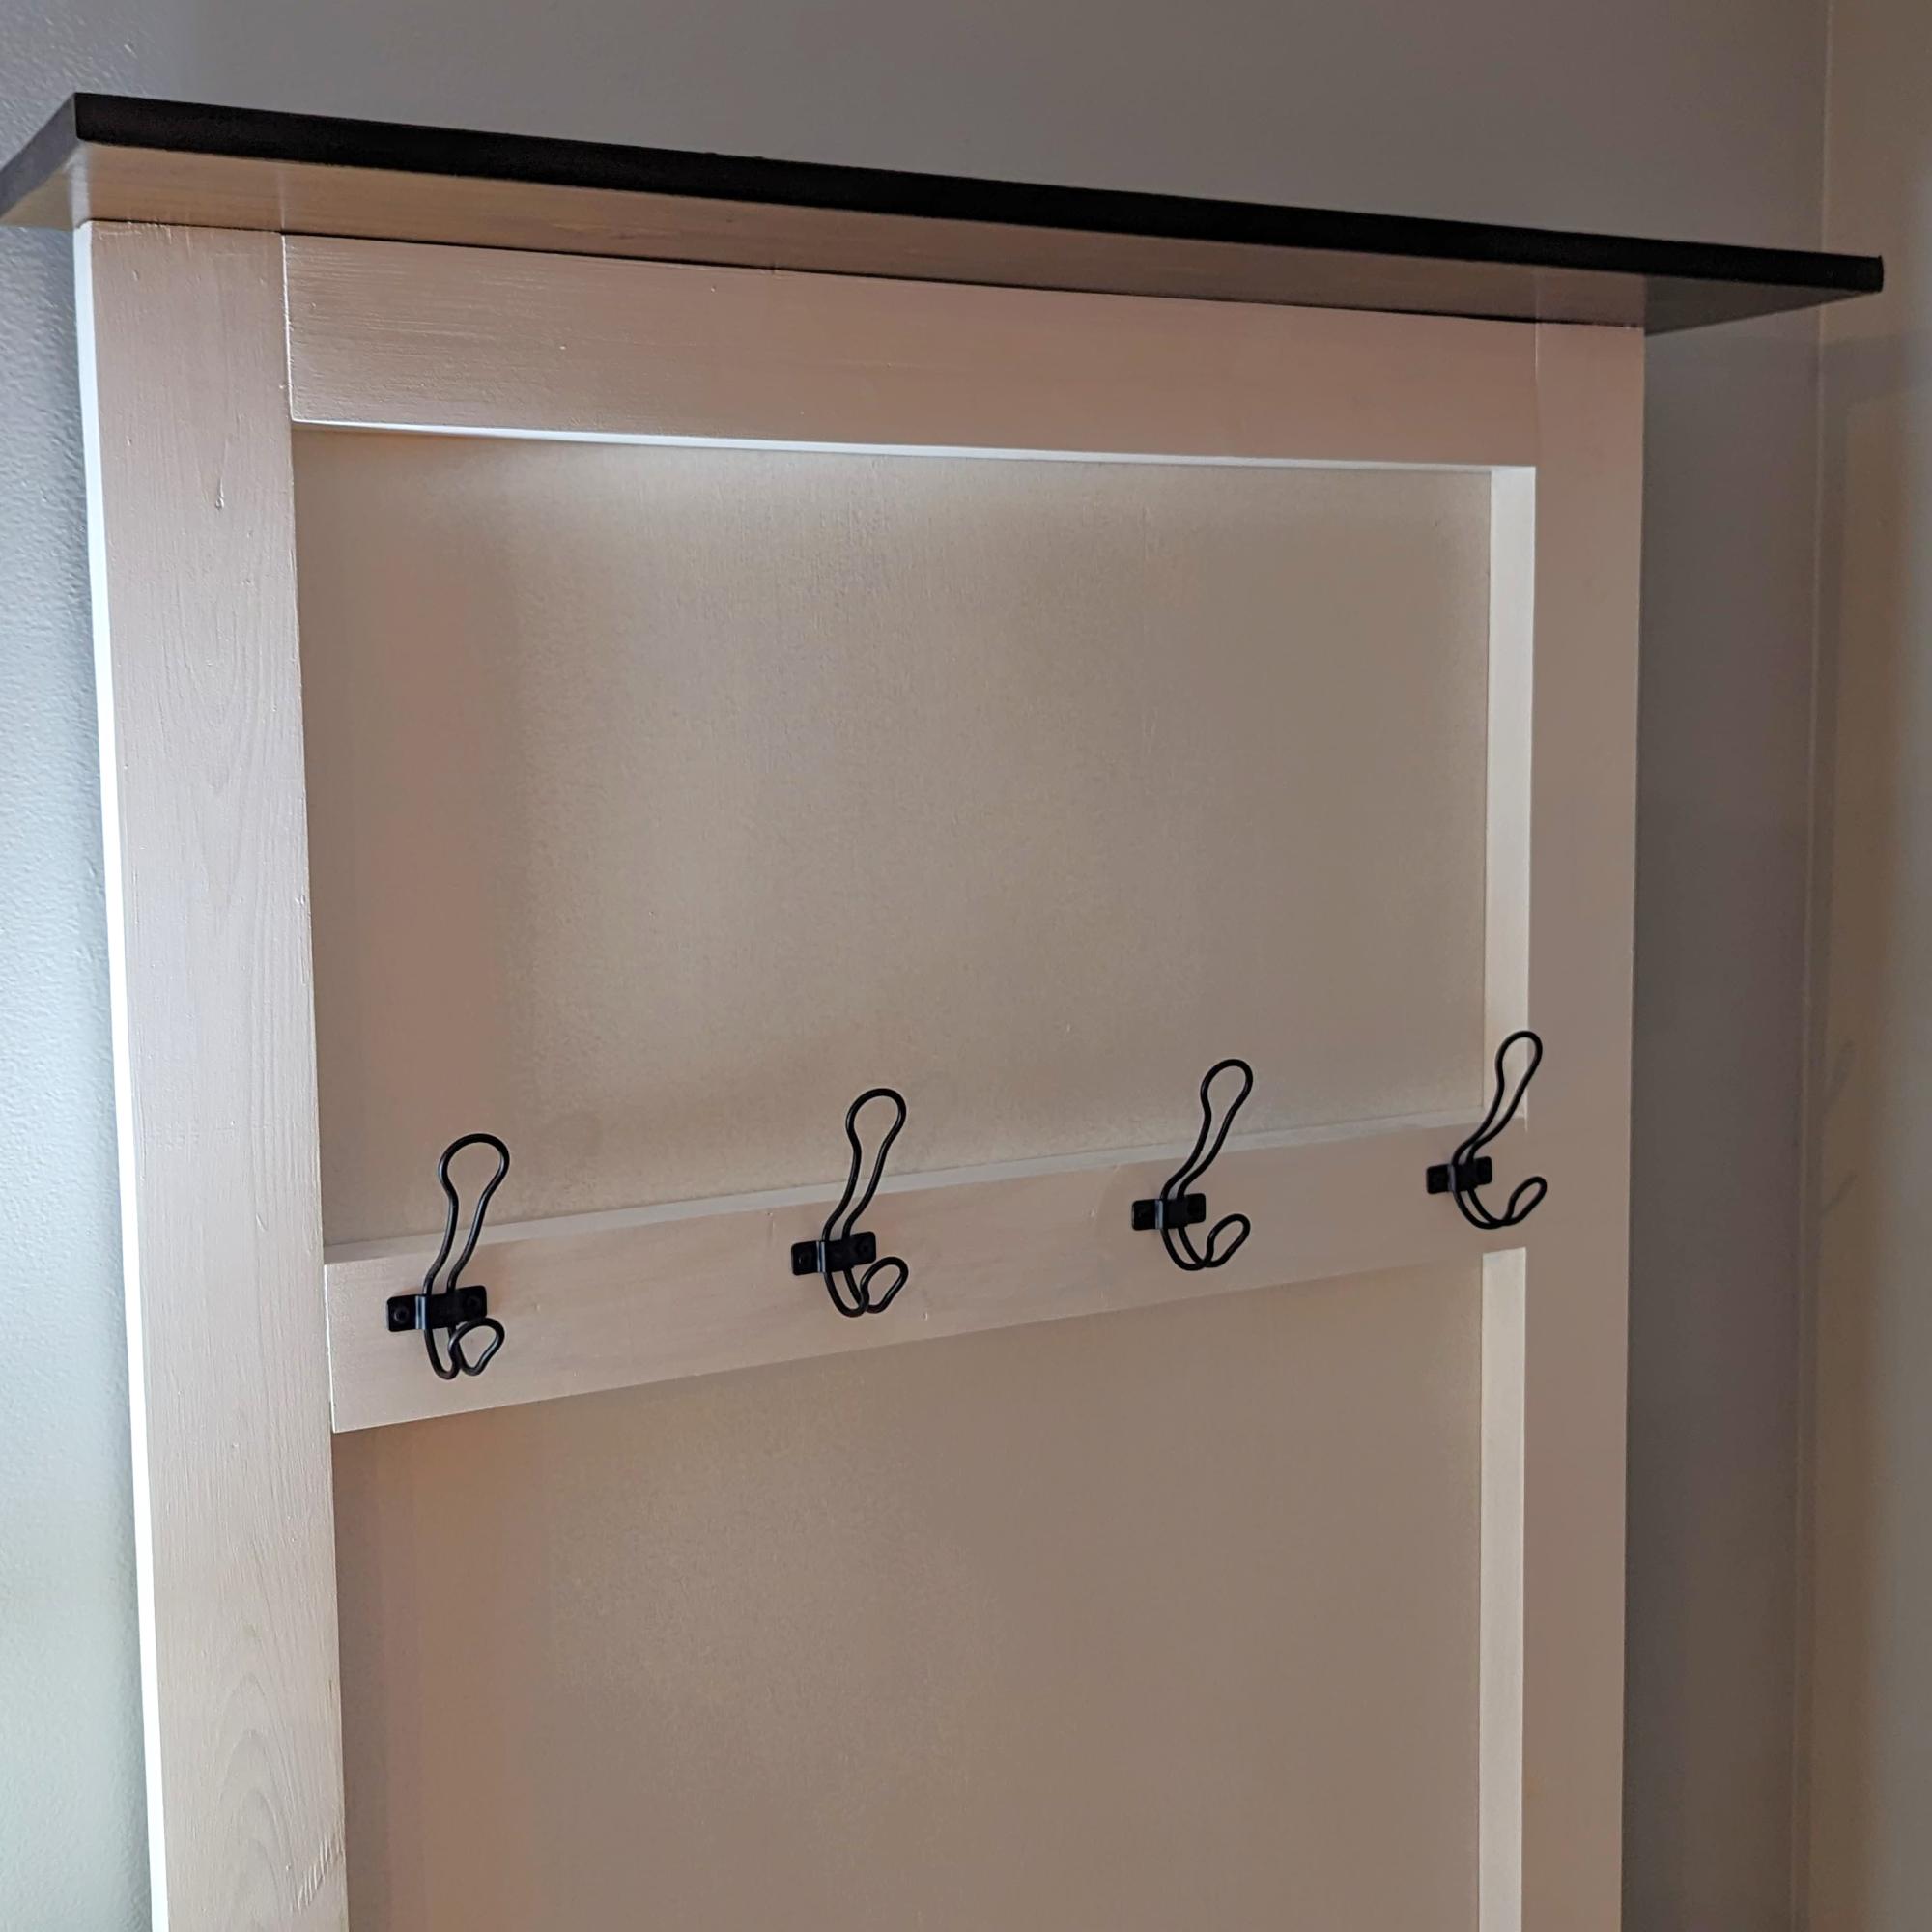
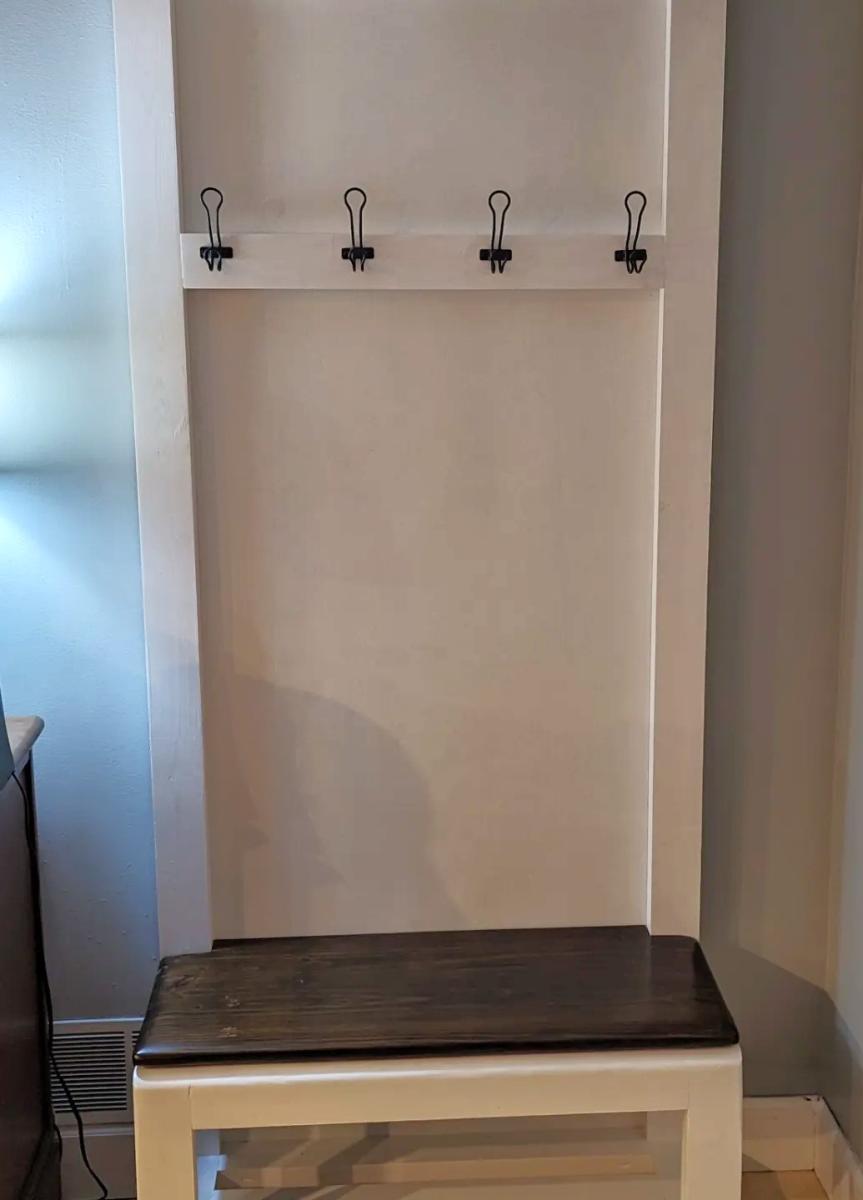
My variation of the hall closet. Dark stained bench and top shelf, it is taller (5'6") and skinnier (30") and doesn't include the venerated X's.

Jeffrey Knotts of Black Boots Woodworks

Built from Plan(s)

barnwood frame - poster size

Submitted by kari on Sat, 04/28/2012 - 09:48

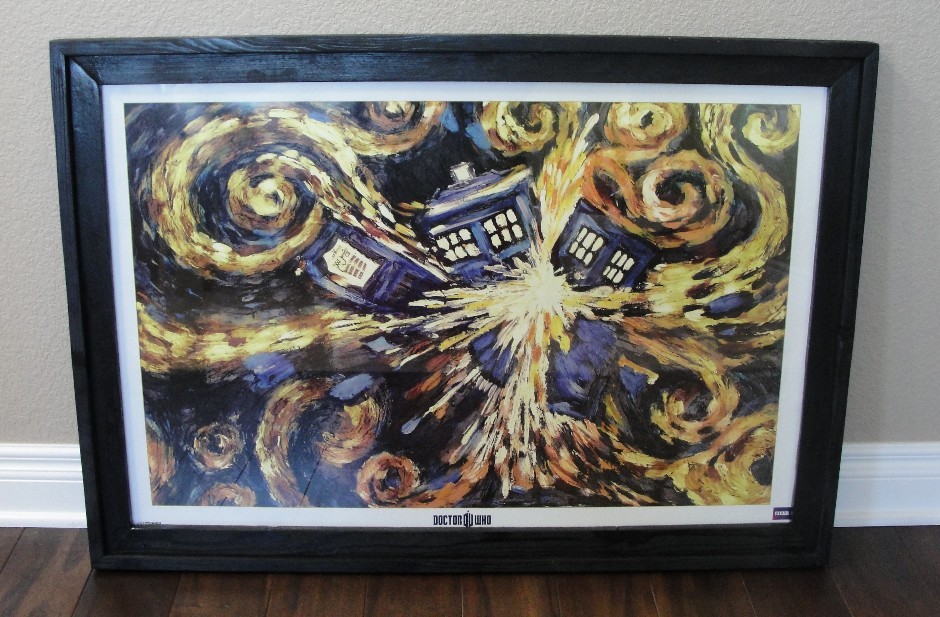
Our family loves Doctor Who, and I had given my son 2 posters as gifts. Apparantly keeping them rolled up in the tube would not do, so I tackled a frame.

One of things that I did to make the frame more difficult to build was to use the table saw to cut the angles. I did use the angle guide on the wood pusher, but the pieces were too long to lean against the fence. So, I was aiming the sawblade at my mark. The angle was good, but it was difficult to get the 2 pieces exactly the same length. Next time I will cut the 2 pieces at the same time so they match. I think a miter saw would be the saw of choice here.

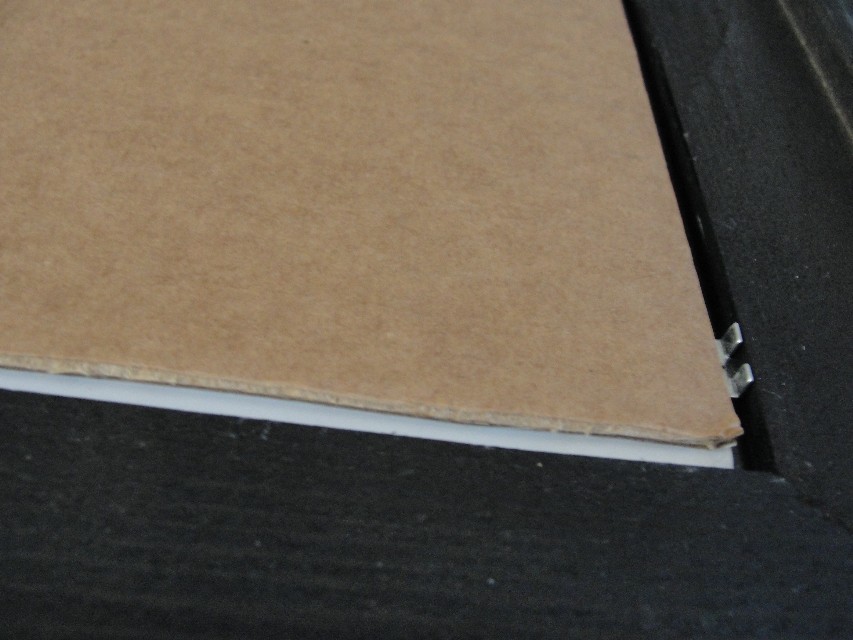
Also, I wanted to use glass. To inset the glass on the back I had to learn to use the router. That added a bit of time to the project. But me and my router are friends now, so the next one should go quicker. I cut a 1/4 groove on the inside edge on the back where I could add the glass. I used glazing points, sold by the glass at the depot, to hold the glass in the frame.

Estimated Cost
$18 (includes glass)
Estimated Time Investment
Afternoon Project (3-6 Hours)
Finish Used
Krylon satin black spray paint
Recommended Skill Level
Intermediate

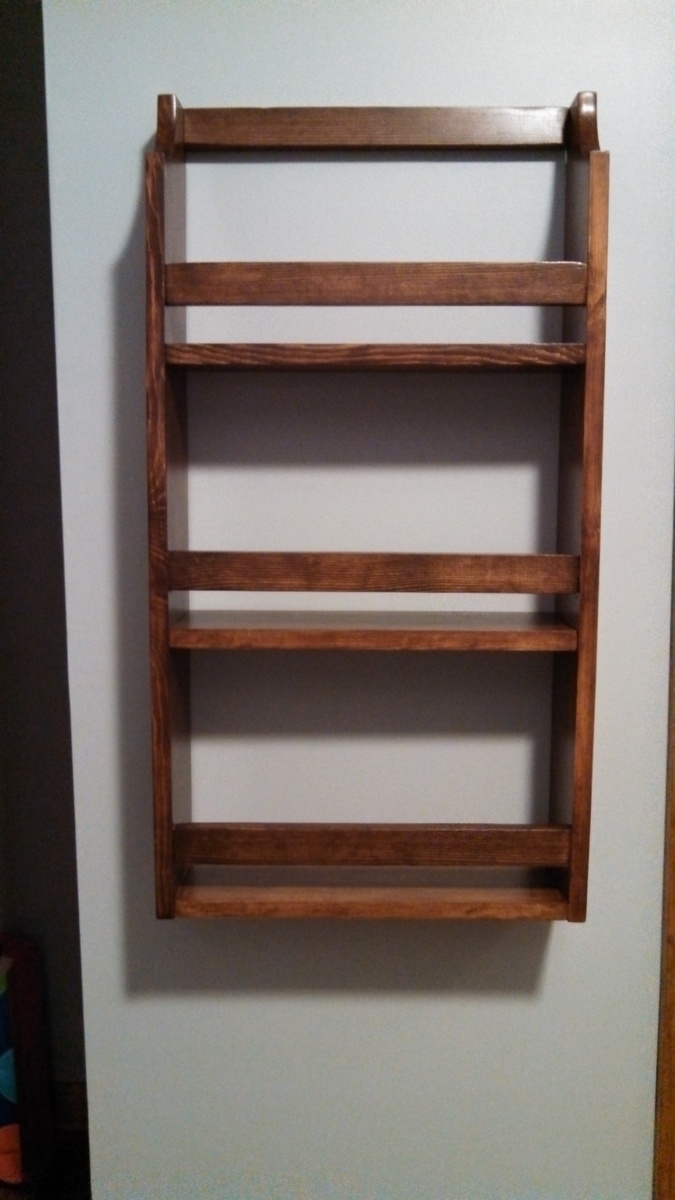
Wall Bookshelf

Our second project for our son's room makeover. I love that I can build this for $15 compared to a certain website where they want $89 for MDF. This was also the second project where I used Rustoleum Wood Stain, loving how easy it is and how quickly it gives a great color to pine.

Estimated Time Investment
Day Project (6-9 Hours)
Finish Used
Rustoleum Wood Stain in American Walnut, Rustoleum Satin Poly
Recommended Skill Level
Beginner

2x2 Playhouse Basement Loft Hideaway :)

We loved the idea of making two of the 2x2 playhouses featured on this blog and adding a 17" riser below to add more of a loft feel in our basement.  The riser really adds something special. [We designed the riser ourselves]. 

We resized the houses to accommodate adults as well as children, so the space can be used flexibly as a playhouse, reading space, or just a hideaway for kids and adults alike.  The house as we designed it is 70" tall (5.8 feet).  We also utilized a recessed wall in the basement, so the footprint feels just right for the room.  

After building the frames, we painted them white and custom-designed curtains for them.  We wanted the curtains to feel like walls and define the space. The curtains are attached via buttonholes that we sewed into the finished curtain.  They are looped over small cup hooks screwed into the frame.  

We left the risers in their natural color without stain and simply sealed them using a beeswax and olive oil DIY sealant that I've used on a handful of other projects in the past.

Overall, we feel so happy with this space.  It's just what we imagined it to be.  It feels so special and set apart :).  

Built from Plan(s)
Estimated Cost
~$300-350 for all materials (includes fabric)
Estimated Time Investment
Week Long Project (20 Hours or More)
Finish Used
Beeswax and olive oil sealant on riser, white paint on playhouse frames

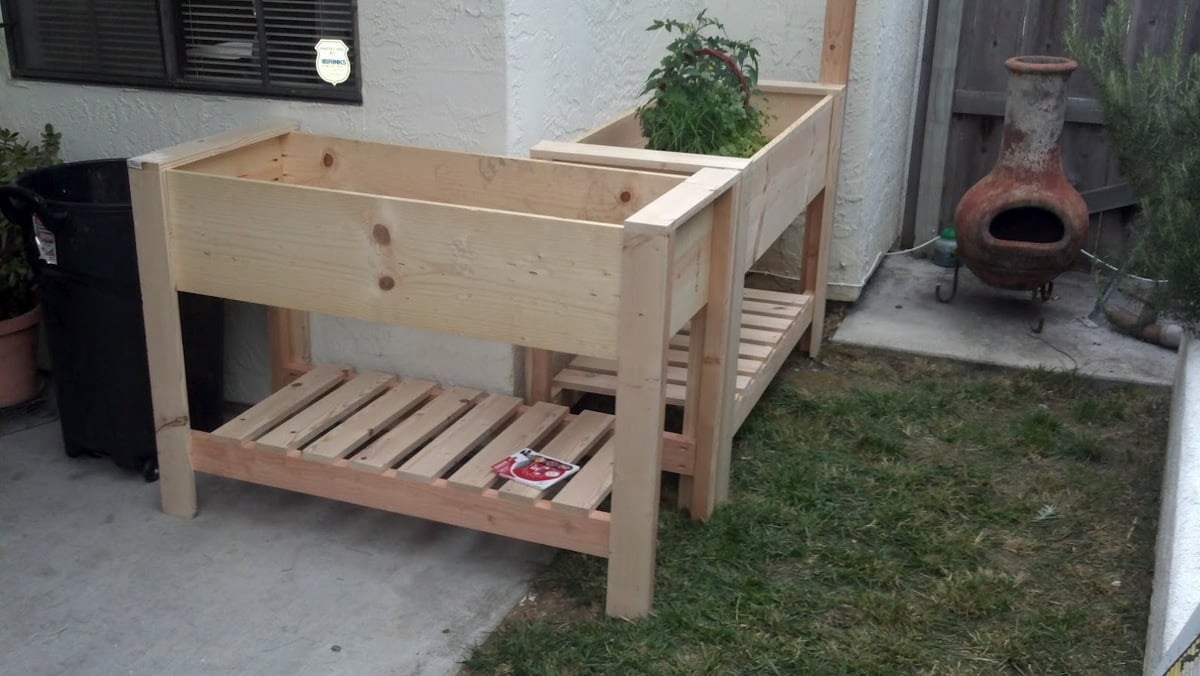
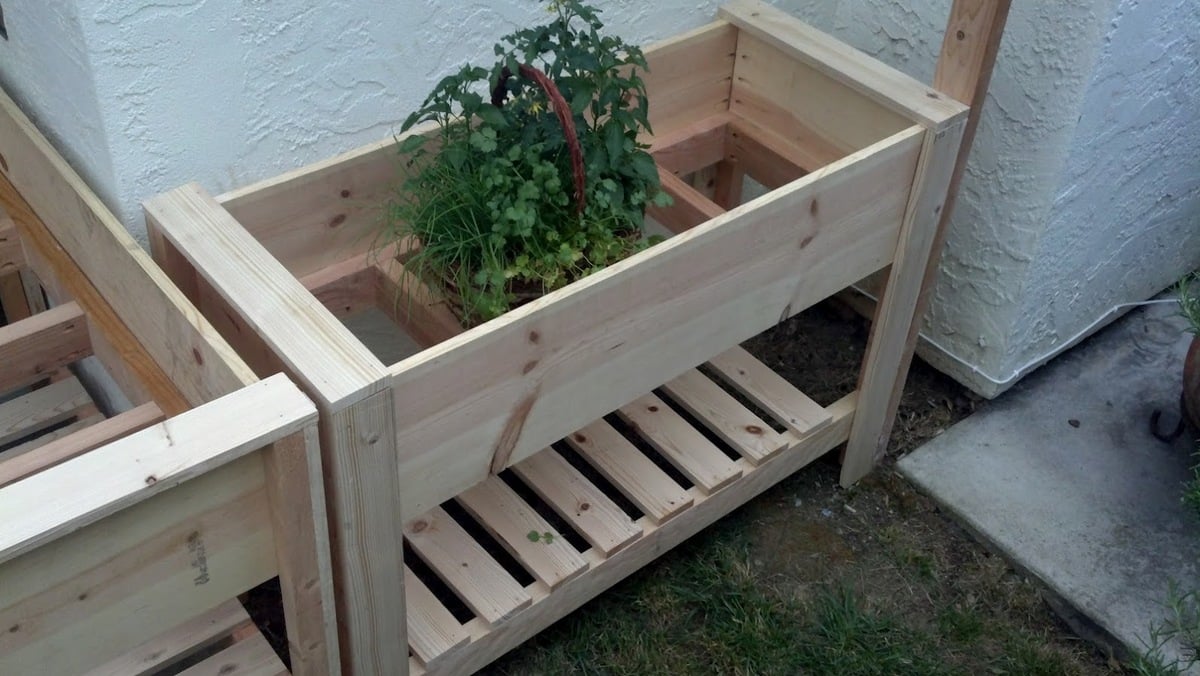
Twin Raised Planter Boxes

Submitted by dave92082 on Sun, 04/29/2012 - 18:46

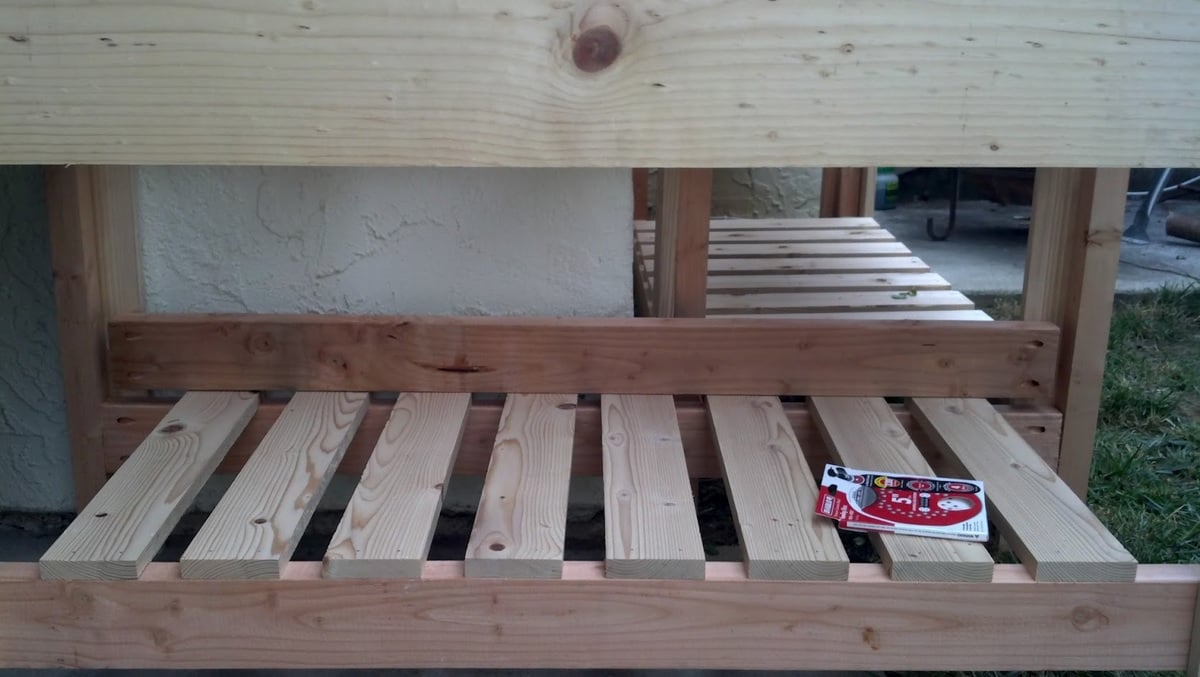
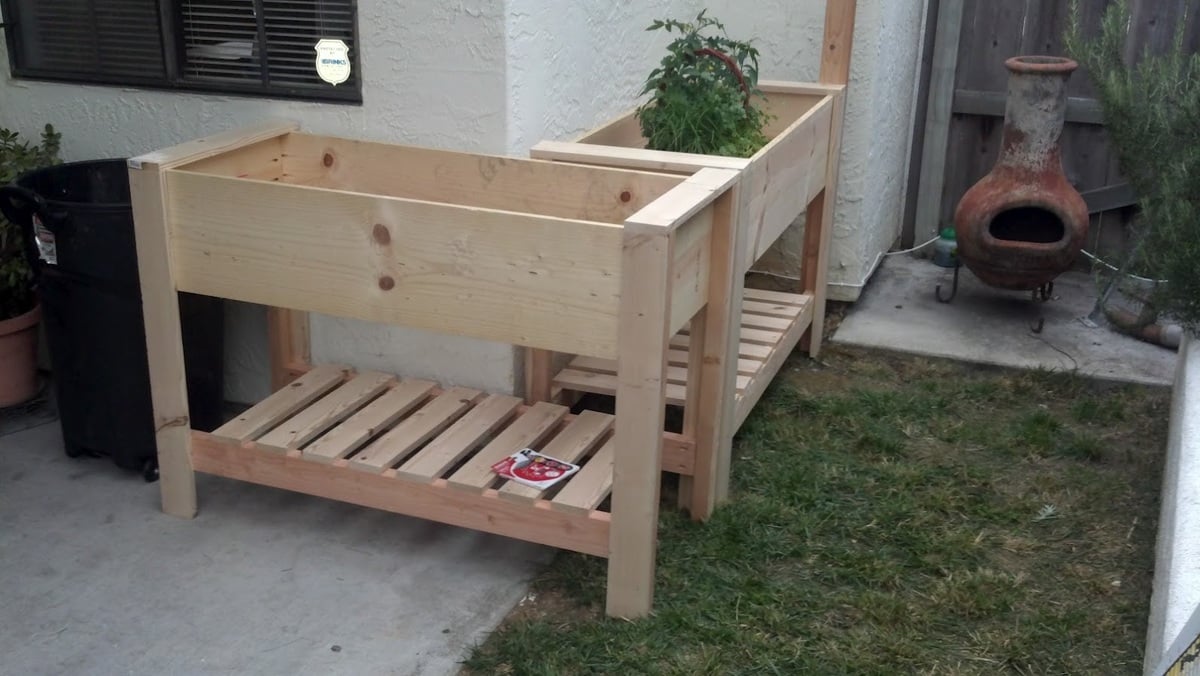
This is a build of the Raised Planter Box design by Tracy. While it is a fairly simple plan, I would still call it intermediate. One thing to note is that the bottom Cross Supports are listed in her plan as 46" when they need to be 47 1/2 to match the side panels. You can see in the picture above, I laid the incorrectly cut piece on top of the correct one that is screwed in.

Estimated Cost
Around $50 each ( a little less not counting hardware)
Estimated Time Investment
Day Project (6-9 Hours)
Finish Used
Going to prime and paint soon.
Recommended Skill Level
Intermediate

Comments

tracysmith

Sun, 04/29/2012 - 20:34

Thanks Dave for posting the pictures.. I see what you did differently from my plans and I think the way you did it was MUCH better. Congrats on the build, they look great!!! I'm going to rearrange my plans to make the changes and post the correct measurements to reflect that.

Rustic X Console

Submitted by TLinskey on Sat, 02/15/2014 - 12:51

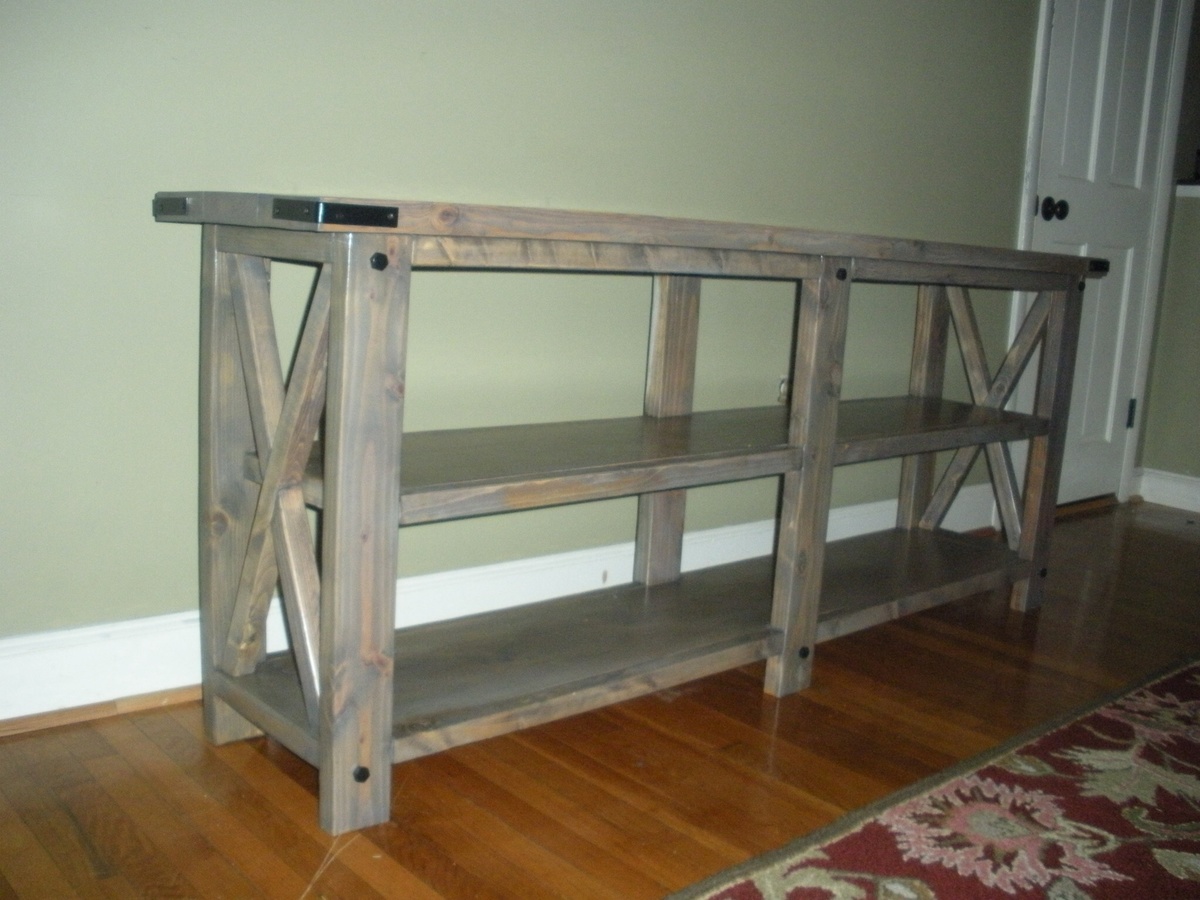
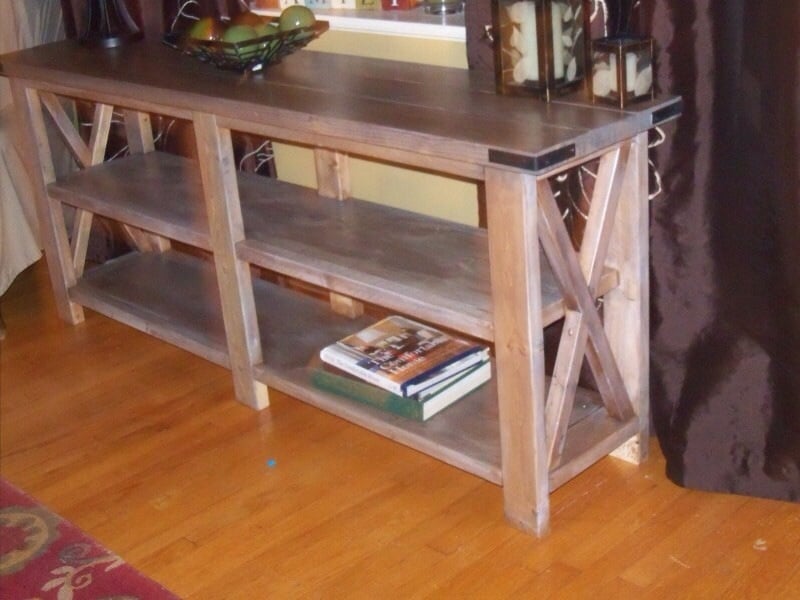
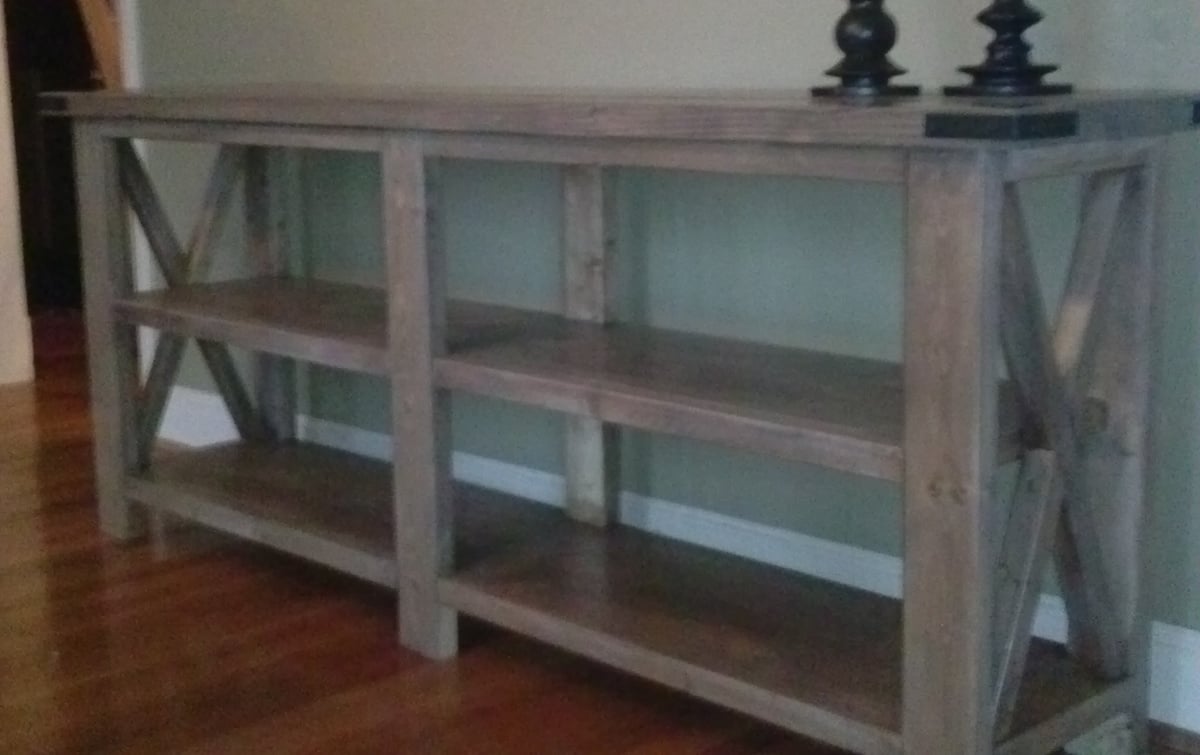
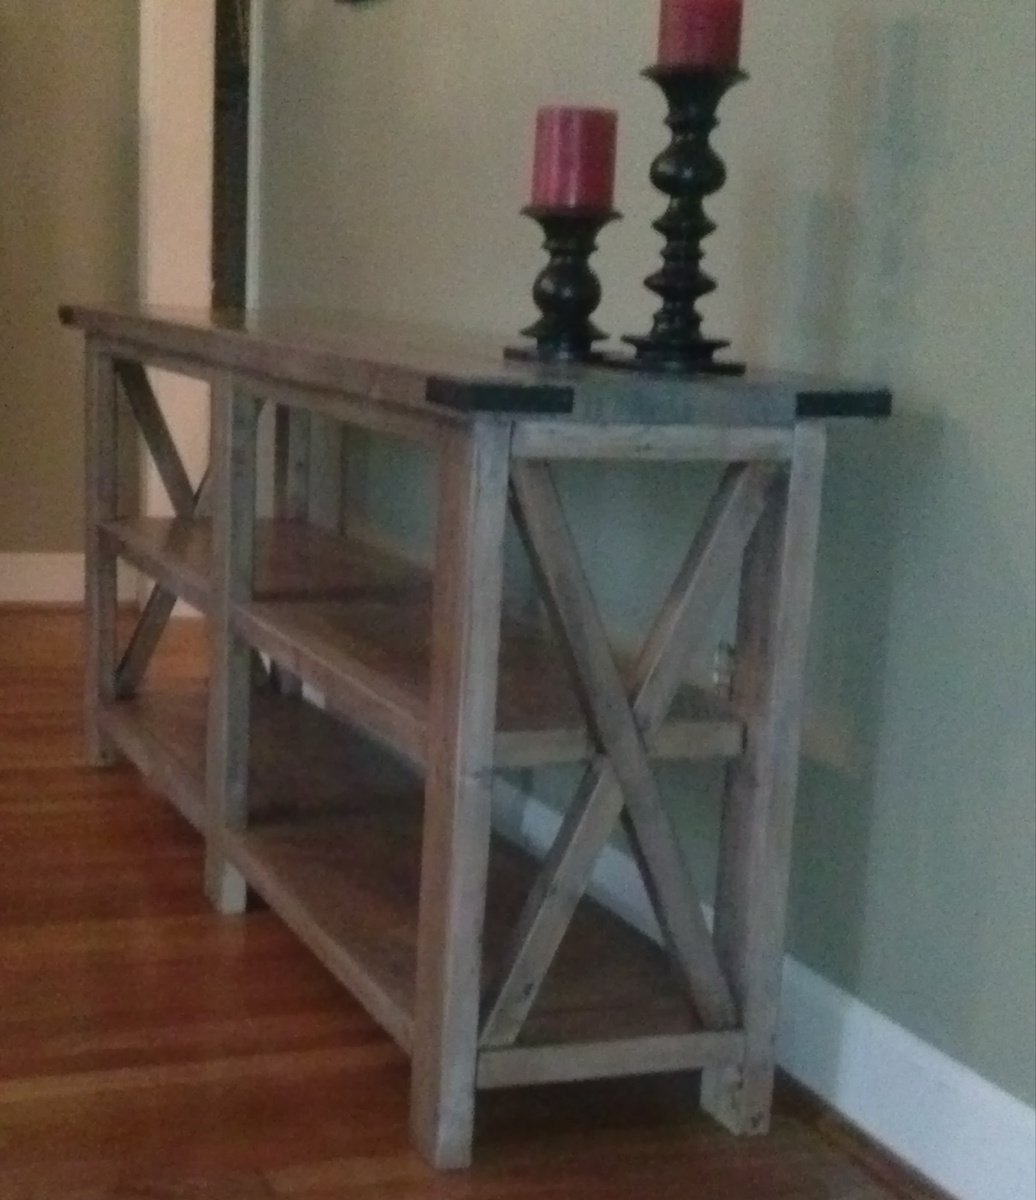
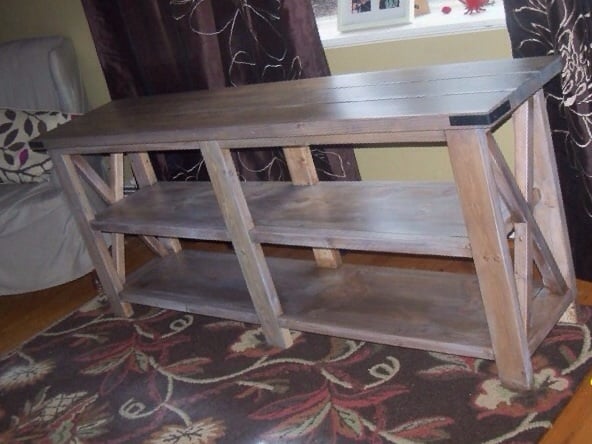
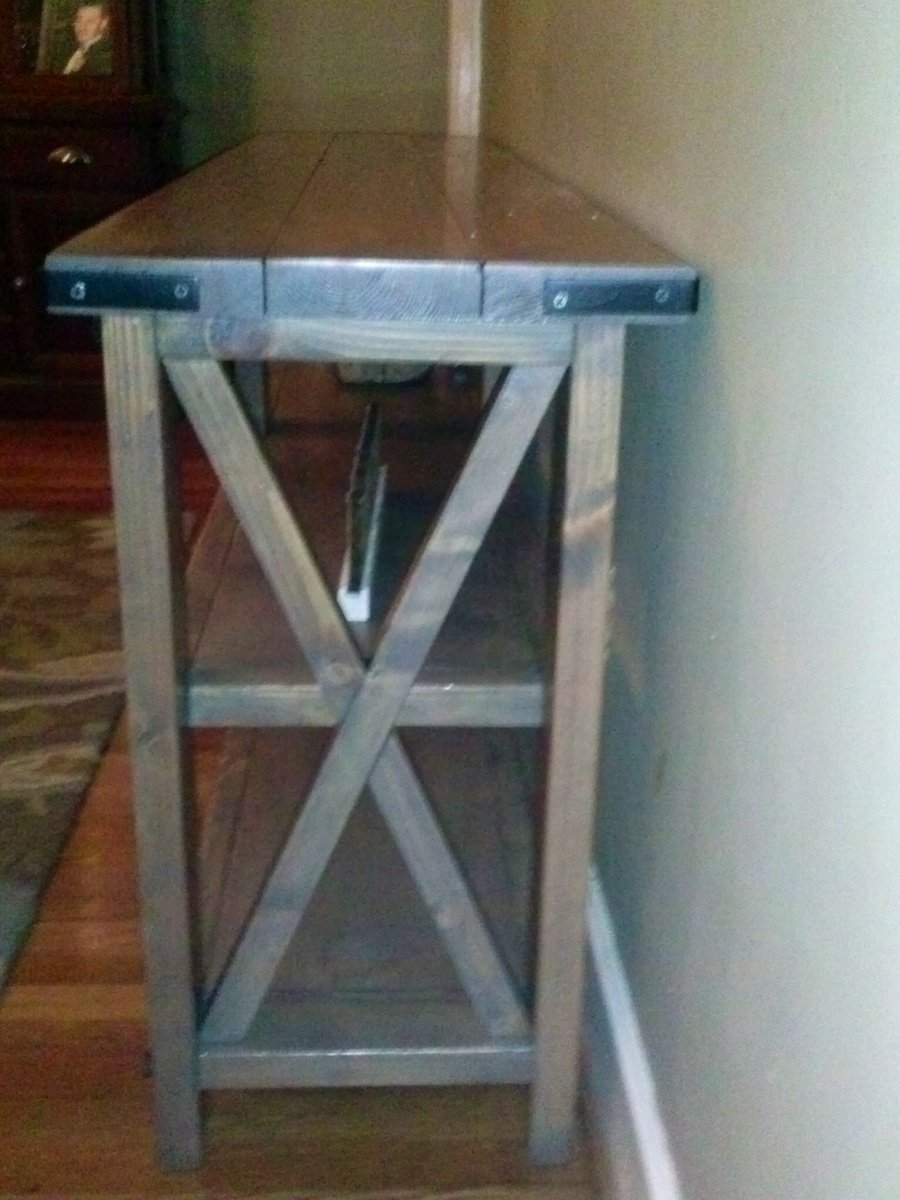
Rustic X Console....... I have made this table four times and love it!!!

Built from Plan(s)
Estimated Cost
80
Estimated Time Investment
Weekend Project (10-20 Hours)
Finish Used
Special Walnut, Weathered Oak, Ragged White and Hellsman Spa Urtheane
Recommended Skill Level
Intermediate

Potting Bench

Submitted by Anonymous (not verified) on Fri, 05/13/2016 - 06:44

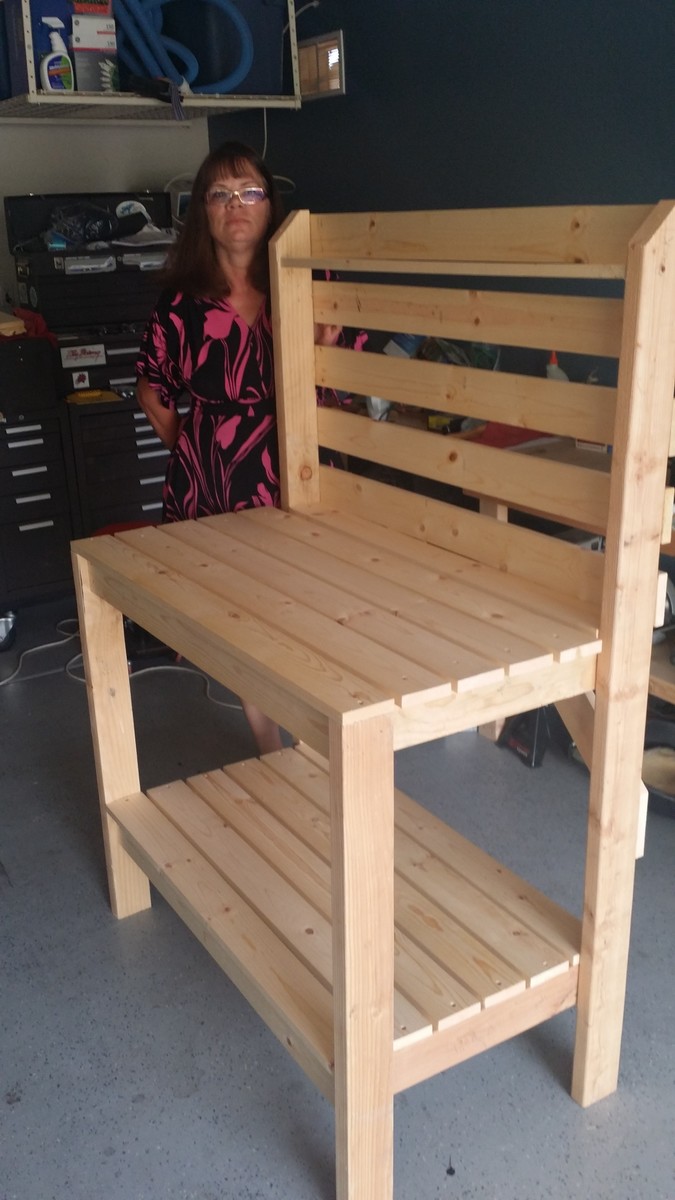
Hello Ana, this is my second project that I have done according to your plans and surely not my last. I had bought the wood I needed a few months ago and it wasn't until the day before Mother's day that I realized I didn't have anything for the Mother of my three children. I could have made an excuse and told her I was broke from our trip to Key largo and the Grand Cayman islands in April but then I remembered your plans for a neat potting bench. I went to my home office and printed off your plans. Next I cleaned out enough room in my garage to access my tools and benches, four hours later...Boom! Potting bench with a surprised wife. We are going to allow all of the Grandkids (13) to sign it after she decides what color she wants me to paint it. Thank you so much for posting these great projects. After all it is true "Happy wife, happy life"

Estimated Cost
Approximately $50
Estimated Time Investment
Afternoon Project (3-6 Hours)
Finish Used
Undecided as of yet
Recommended Skill Level
Beginner
Back