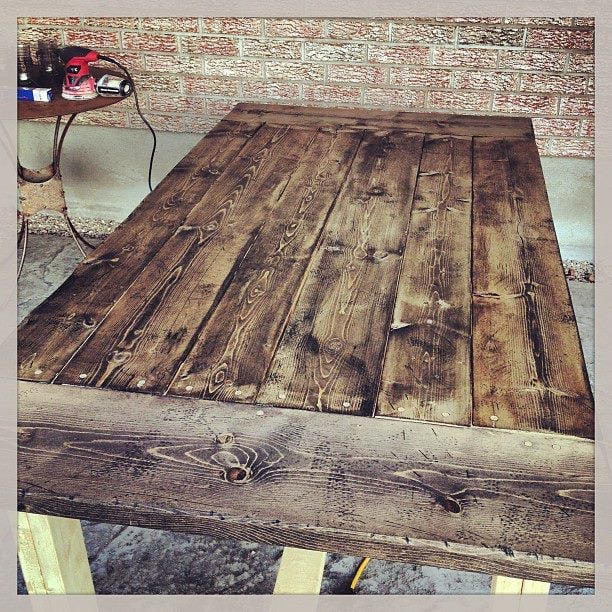
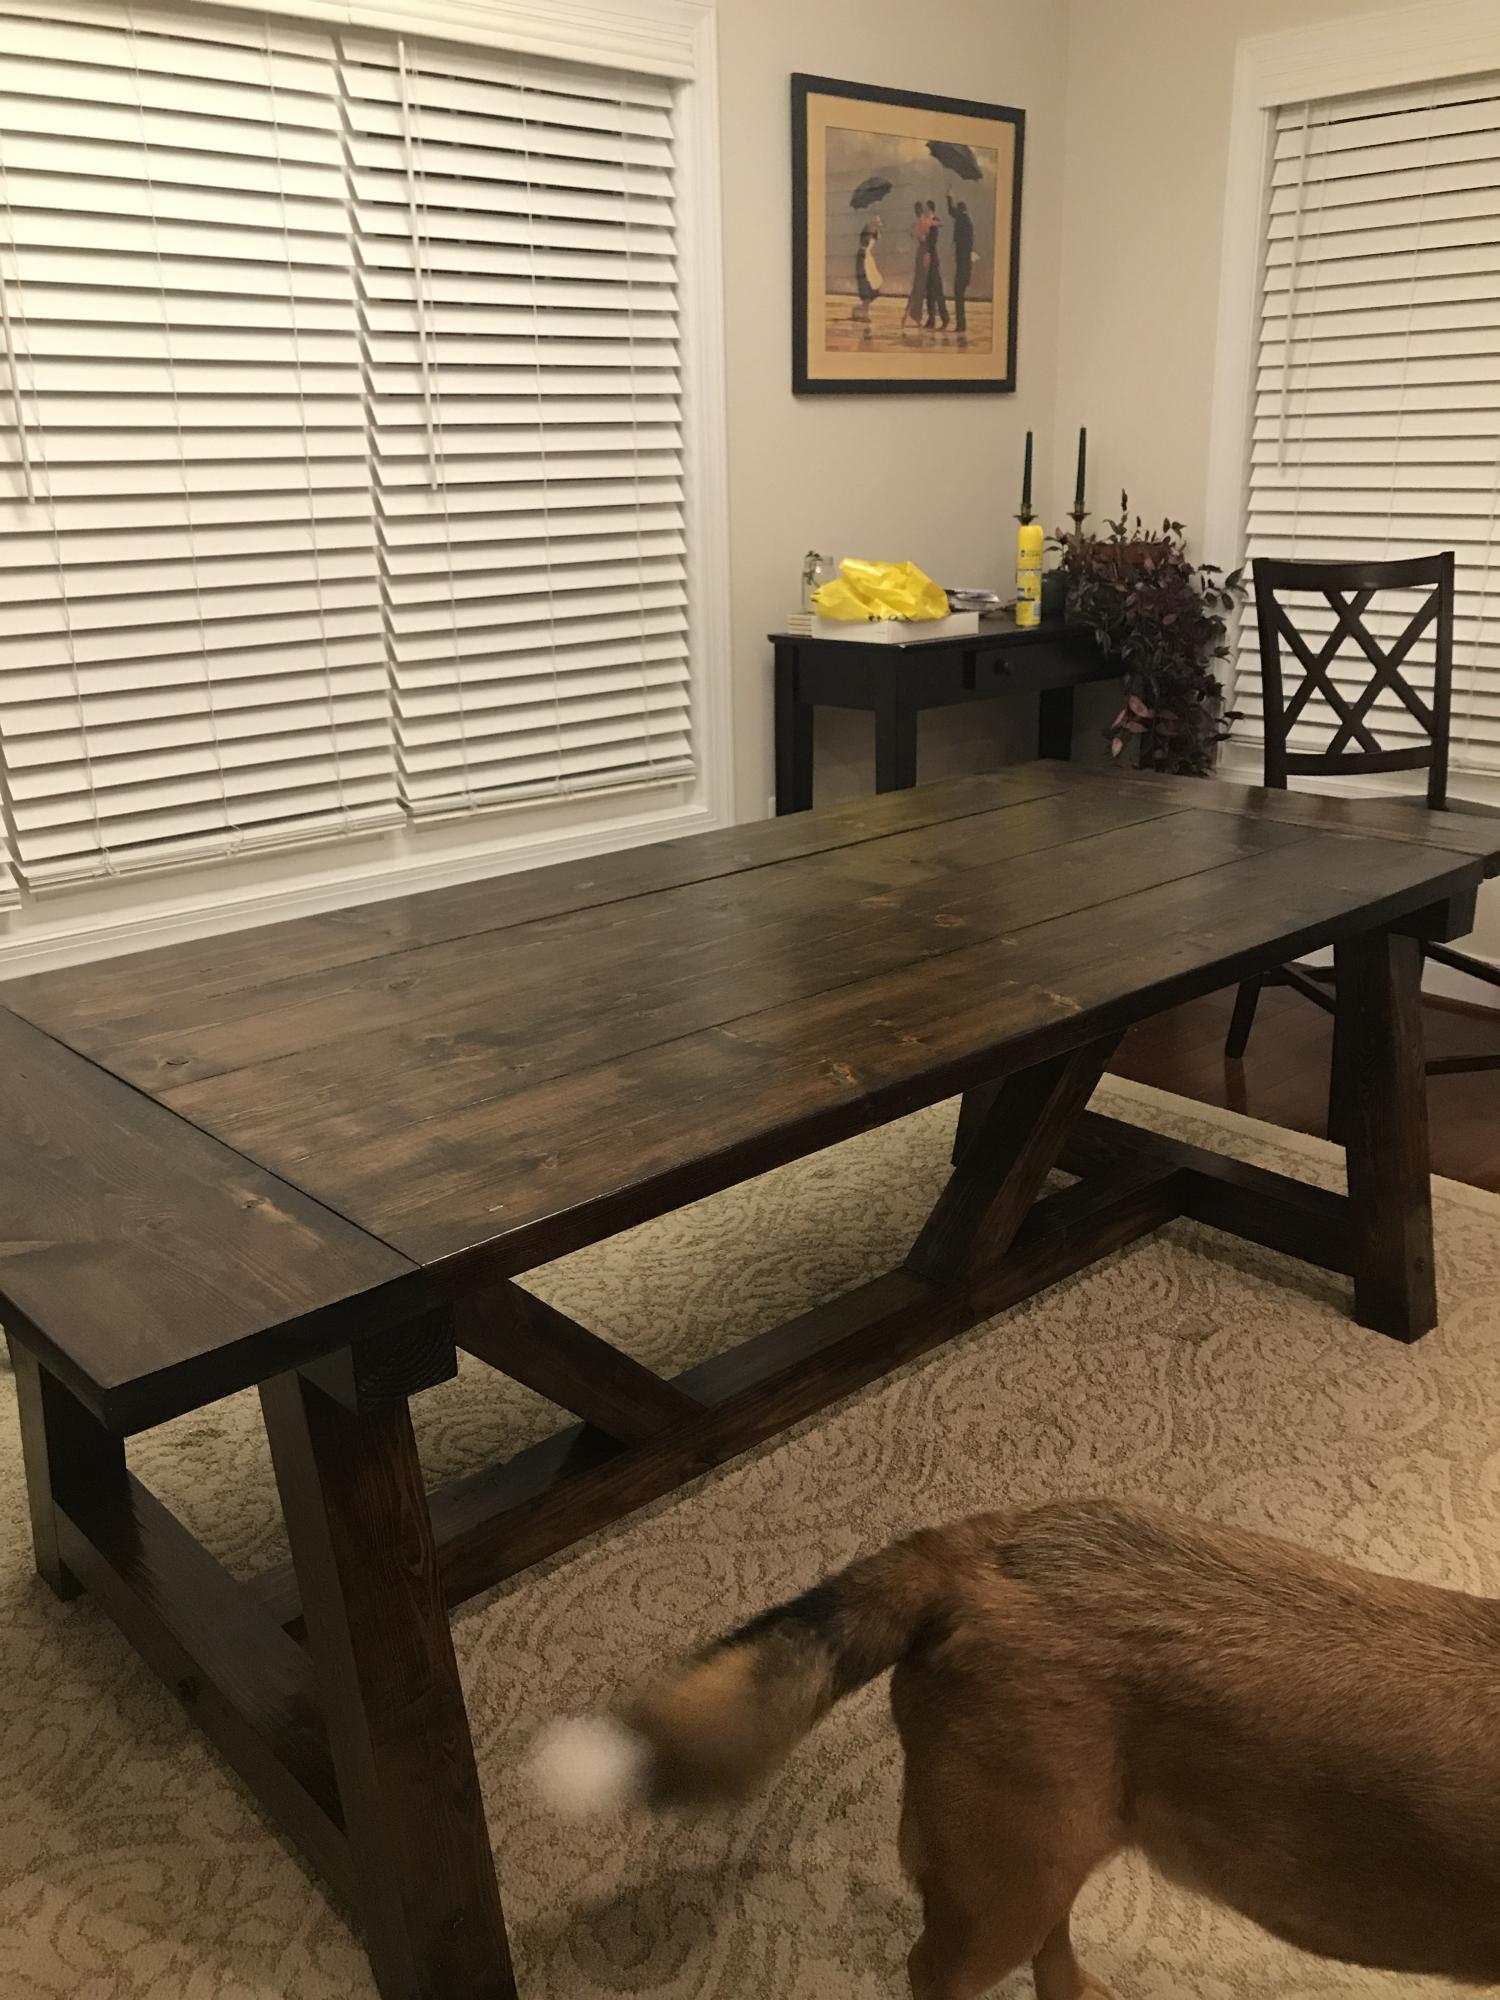
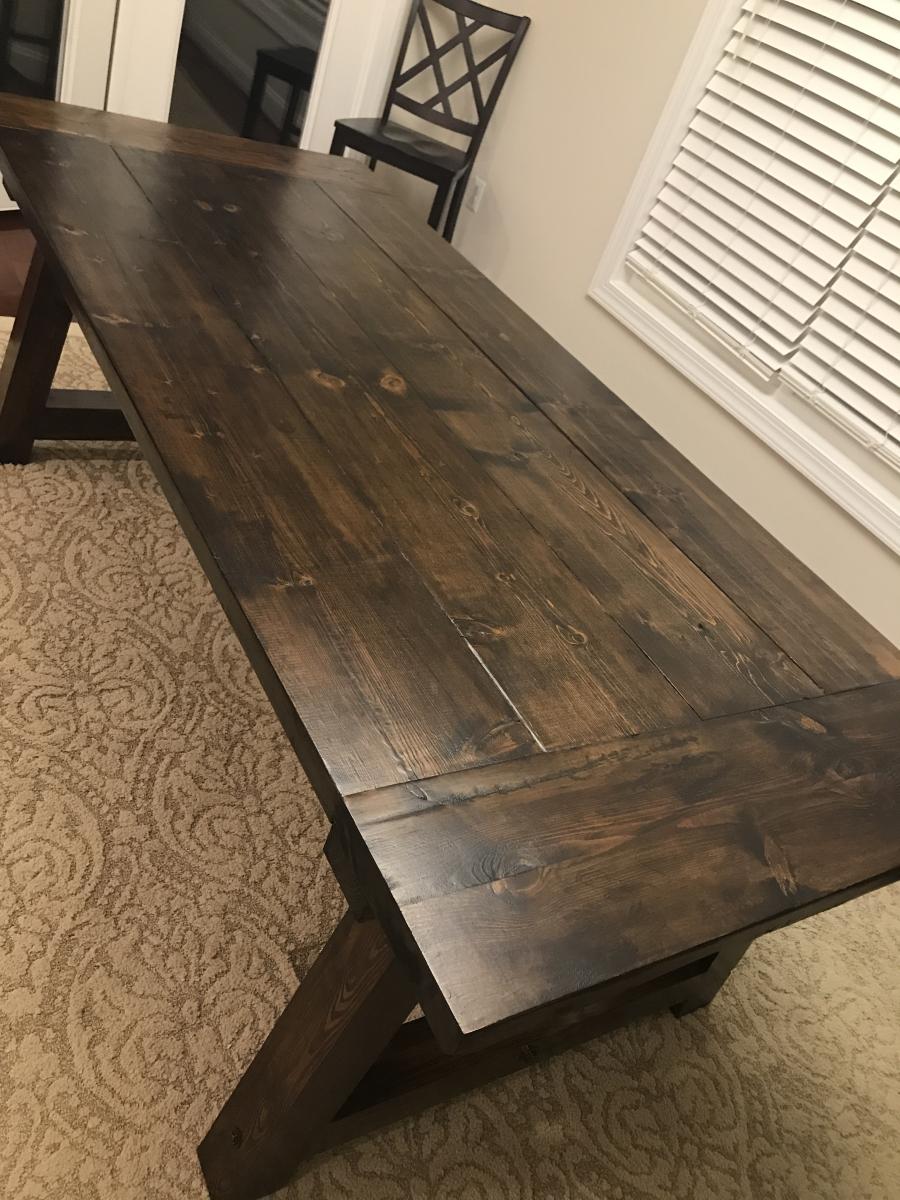
Reclaimed Wood Headboard, Queen sized

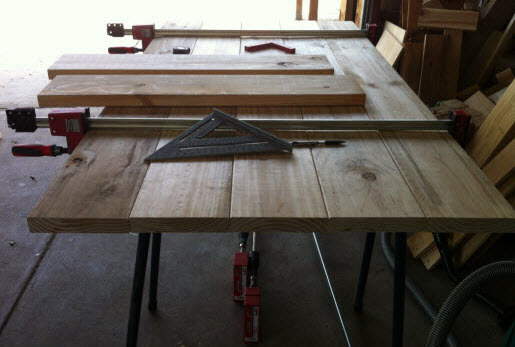
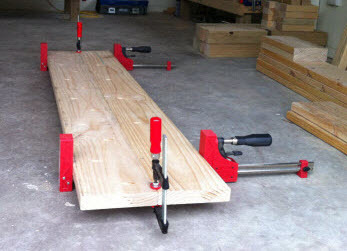
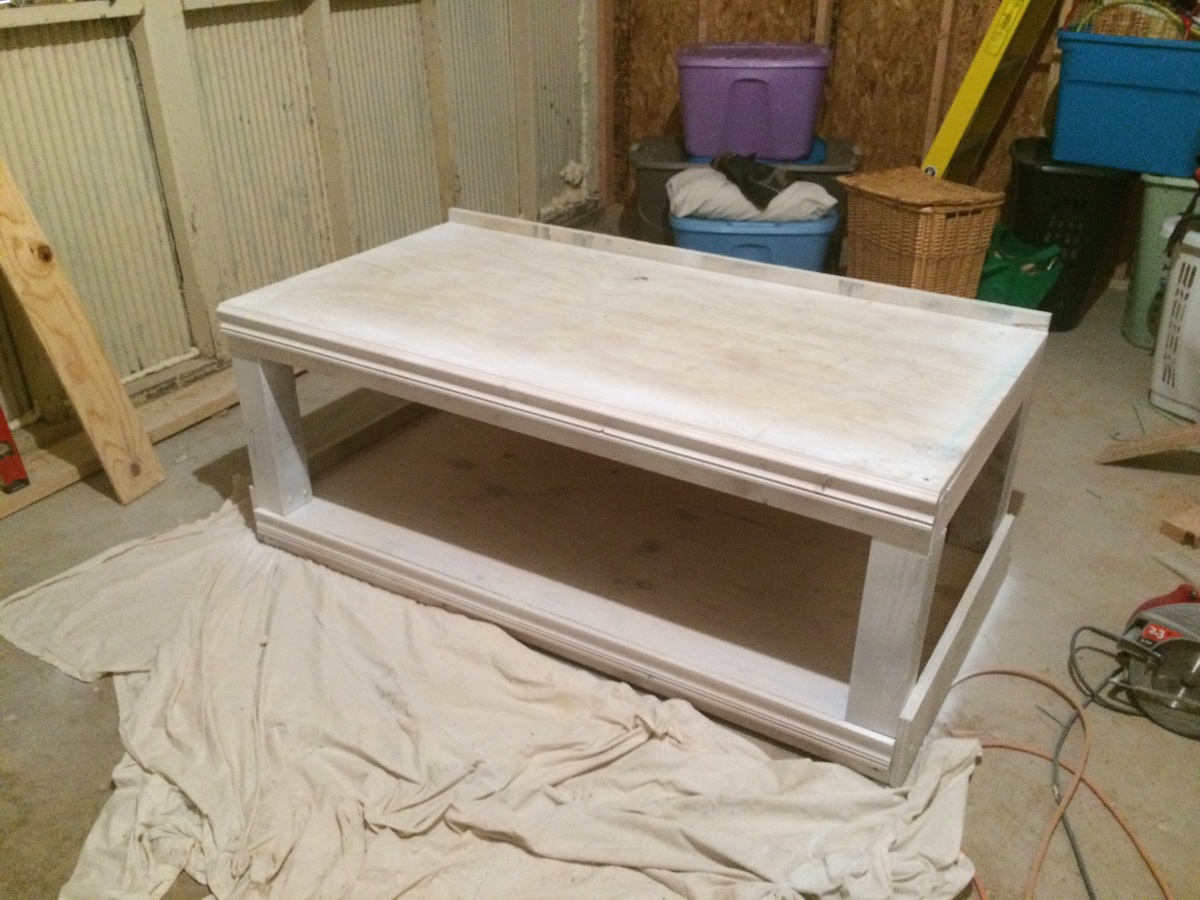
My boyfriend and I wanted a calm relaxing beach feel at our Florida vacation home, however with kids in college and two getting married, we were on a tight budget. We found these plans on Ana White's website. He made the headboard and bench and I distressed it to make it look weathered. We used Minwax Dark Walnut as a base, let it dry over night, and lightly wiped it down in the morning. We then used Rustoleum "Chalked" in White Linen and applied it with a large stencil brush we found at Michaels craftstore. We applied it almost haphazardly, purposely making it look rough. The chalk paint dries quickly. We then brushed on some clear Americana creme wax. We are very happy with the end result, it was our first project build, and we nailed it. Thanks. Ana!!!


Rustoleum Chalked: White Linen
Americana Clear Creme Wax
(All the above purchased at Home Depot)